The circumstances of racing allowed us another shot at restoring the Donovan #61 E-Type aluminum race bonnet. We completely restored this bonnet after a bad crash at Watkins Glenn in September of 2012, and got the job done just in time for the Jaguar Races at Lime Rock in May of 2013. Then last Summer, we freshened it up even more, with another new wing.
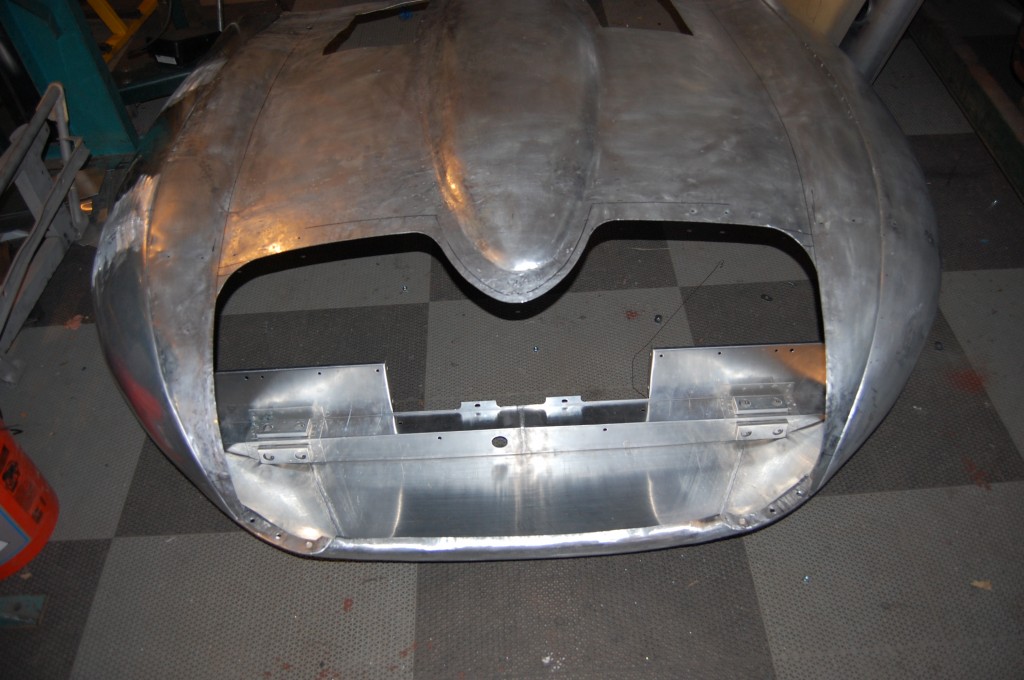
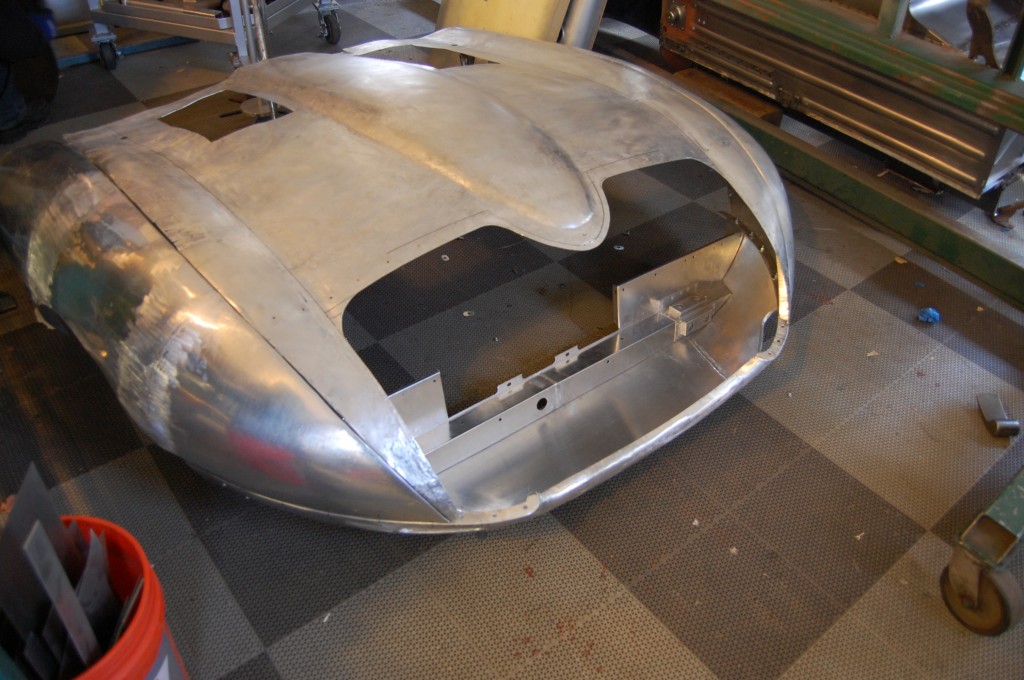
This past Winter, we had the opportunity to do the job over again, with more time, and “no-holds-barred” – and the results amazed even me! This was once a stock-shaped E-type bonnet without headlamps, but 40 years of racing had changed the shape of the mouth considerably. We’re now back to the stock configuration, and she is in better shape than ever!
But – as usual – getting there was another marathon session of long nights working into the wee small hours of the morning…
Finally, the bonnet was completed, and we were ready to leave early on Monday morning – only to wake up to an unexpected 5 MORE inches of snow in March! Will this Winter never end!?!
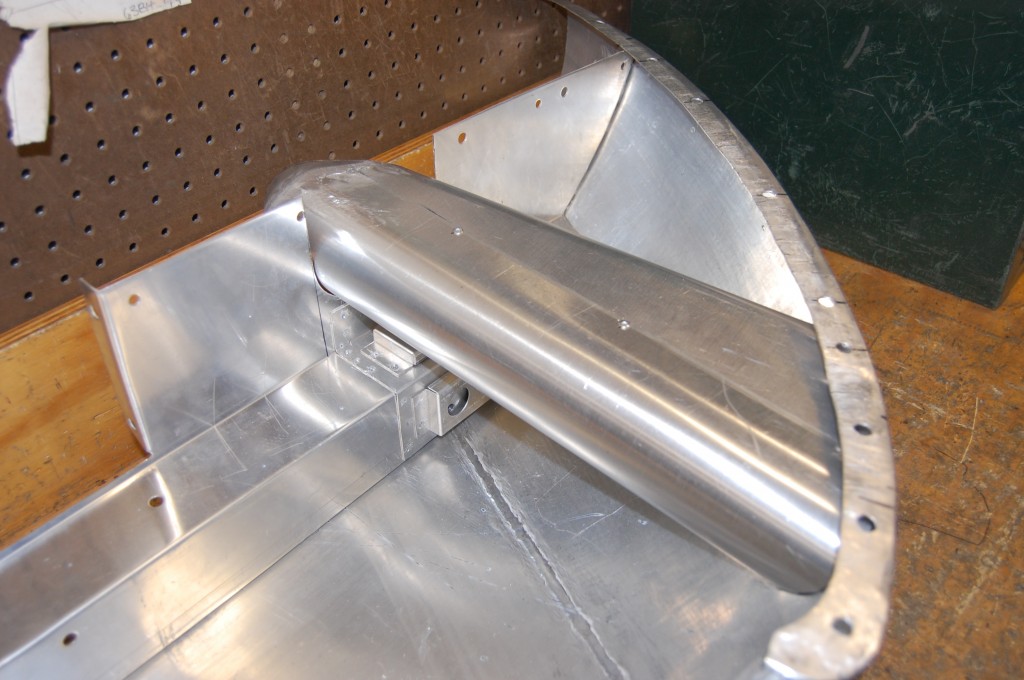
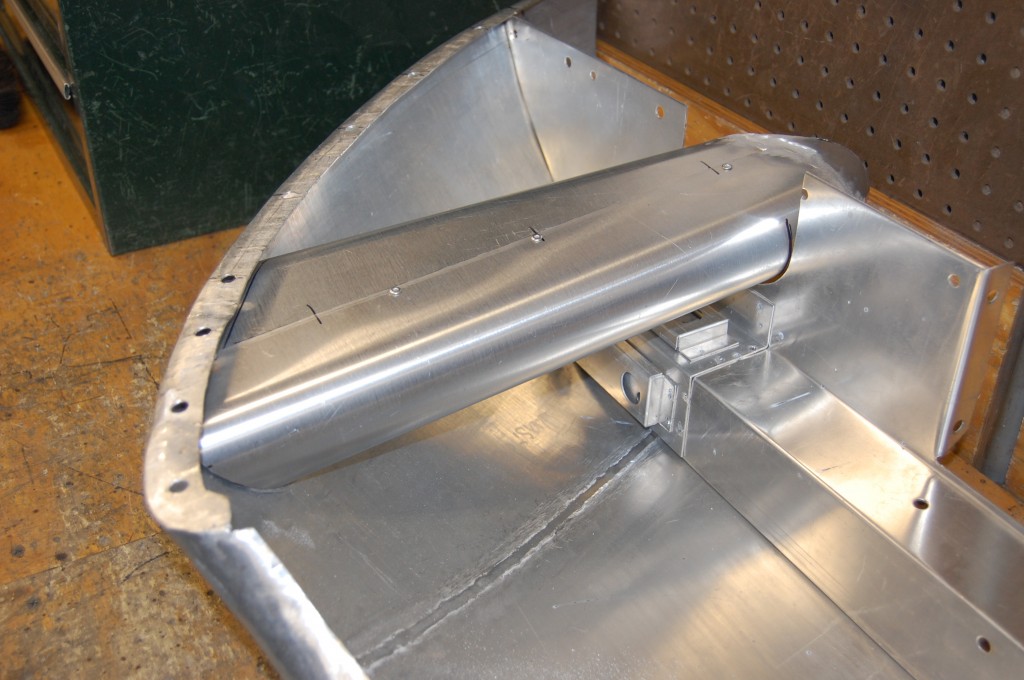
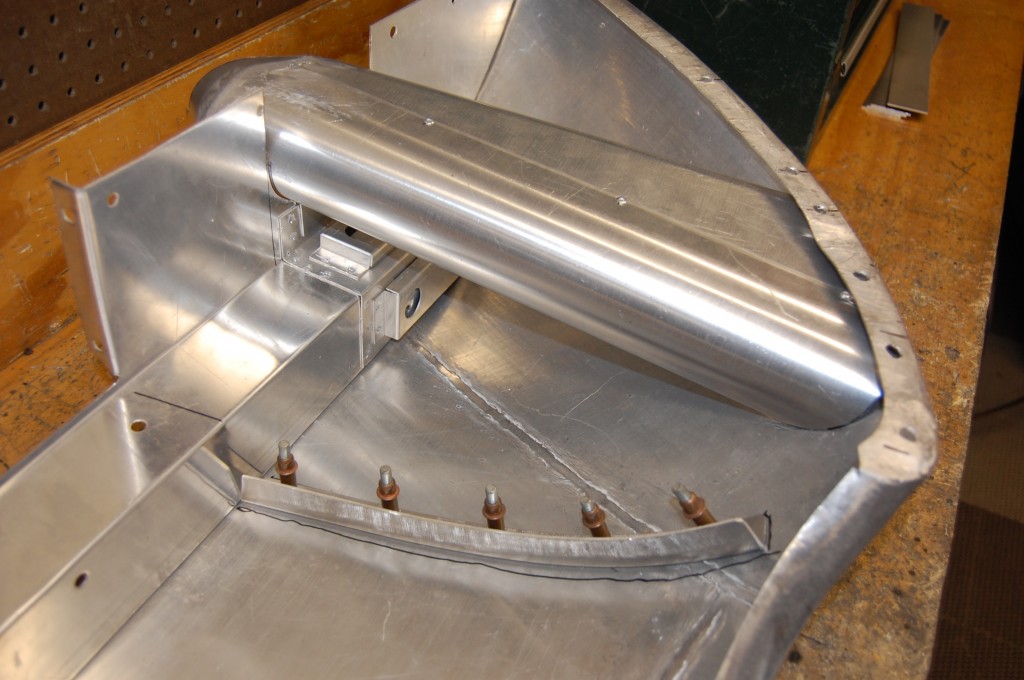
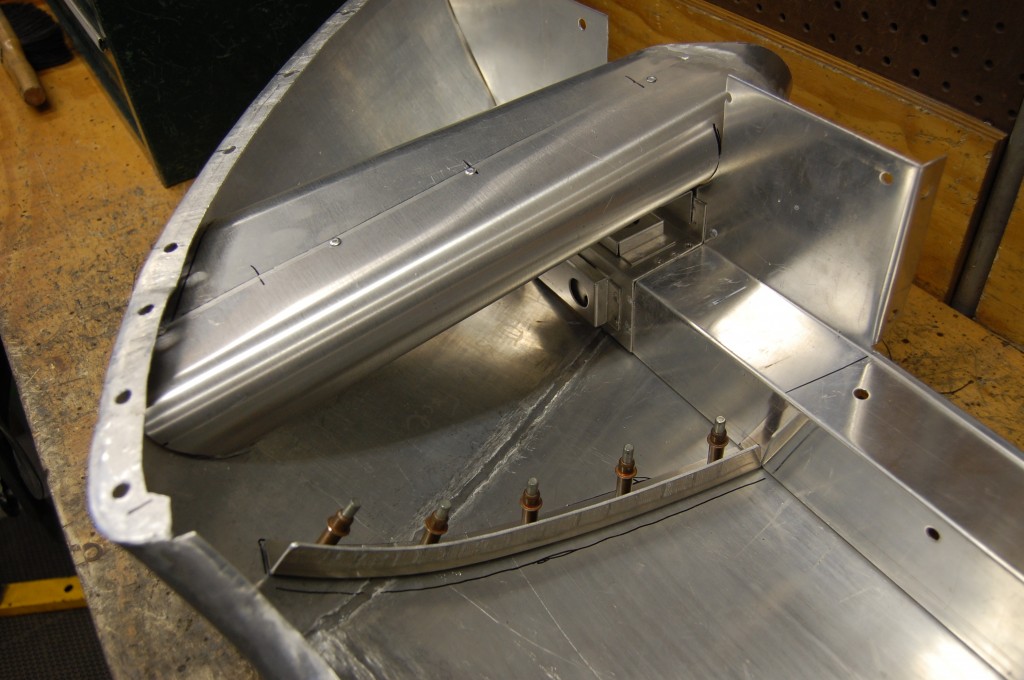
So, our trip was postponed by one day, and it turned out to be a good thing, since we had finished everything except the fresh air ducting, and they were going to get it back without those parts installed. Even though I had worked on the bonnet 50 hours over the previous 4 days, I just plain ran out of time… But I took advantage of the snow day to dive back in and complete the fresh air ducting for the monstrously large Weber carbs – increasing the flow in the process.
One interesting thing about this recent “re-do” is that Brian and I both were not wild about the crude patch in the nose of the center section, but we just didn’t have time to get into all that last year. This year, we decided to go ahead and fix that area as well. Ironically, I was surfing the jag-lovers forum a couple of months ago, and there was a posting about my work on this bonnet last year, where one user had said, “I really wasn’t that impressed with his work on the nose of that aluminum bonnet…” Well, I’ll just let you imagine my reaction to that… Needless to say, I was QUITE motivated to build a new nose this time around!
Take a look at what I came up with this time!
- For this years rebuild, we would need a completely new lower valance, and also a new RH wing…
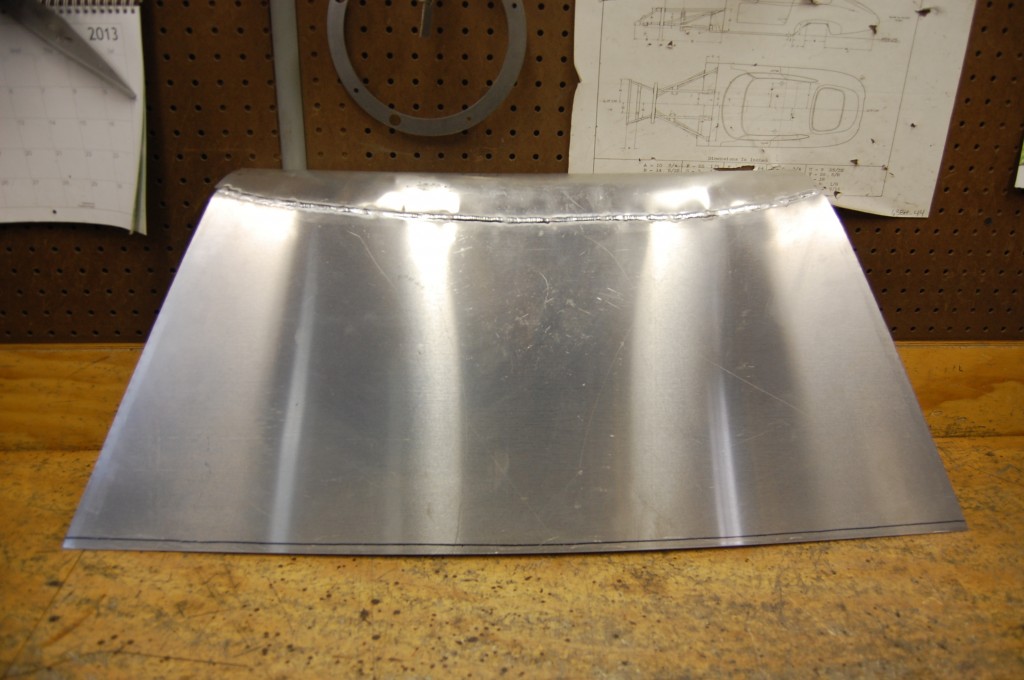
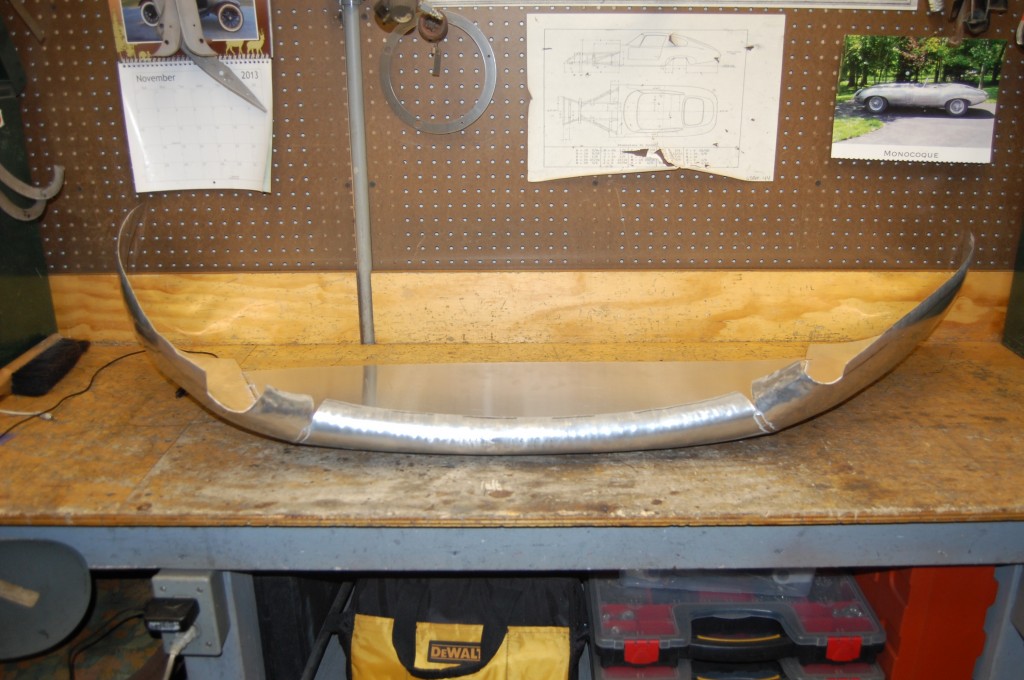
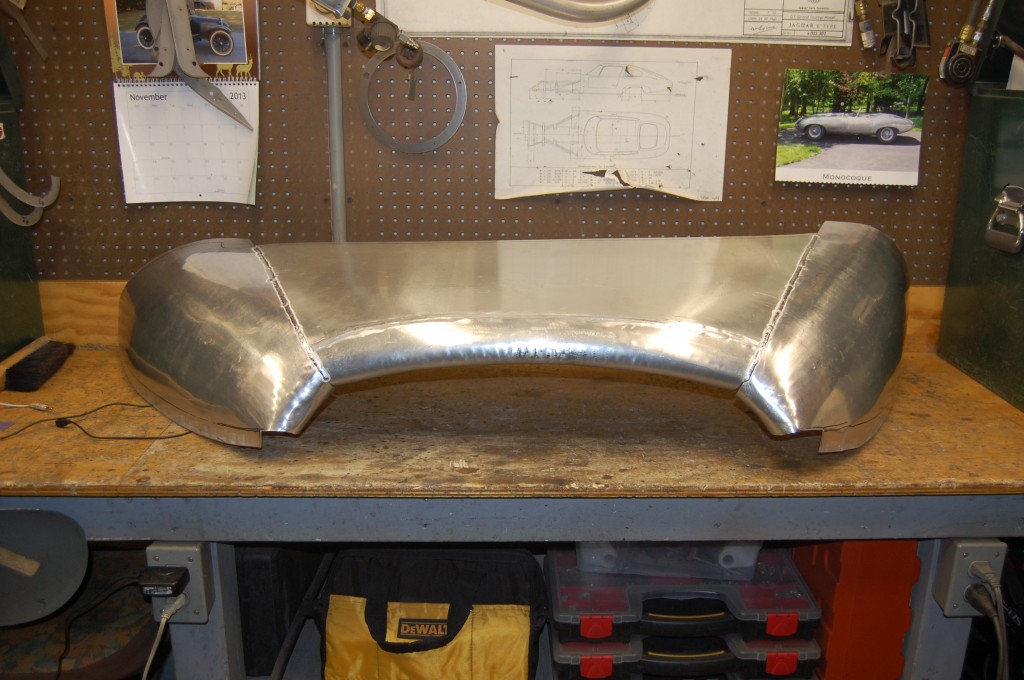
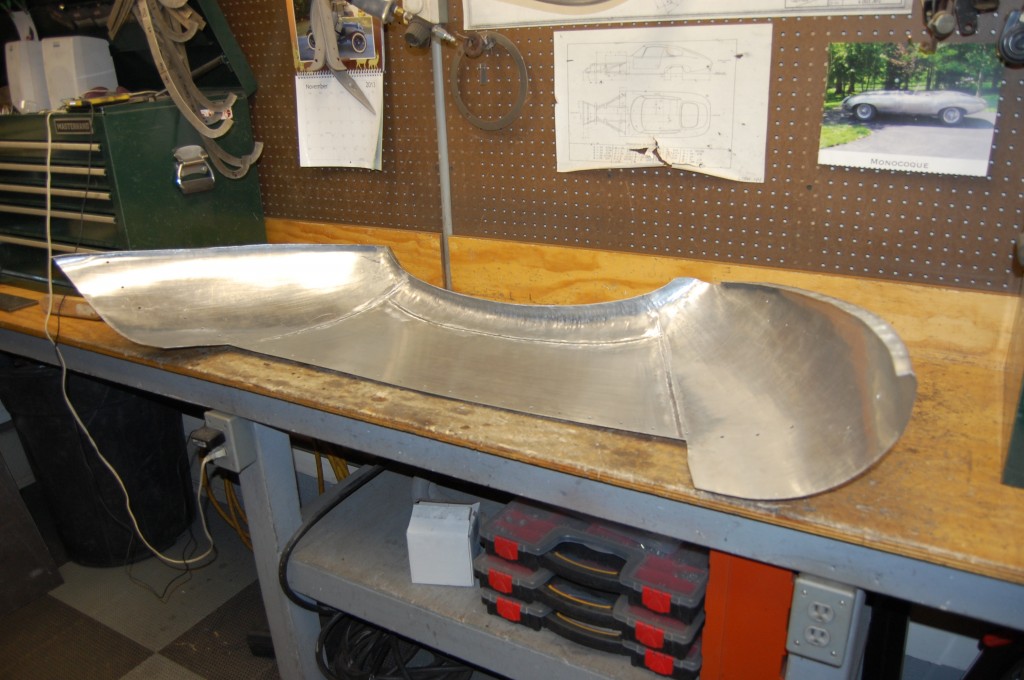
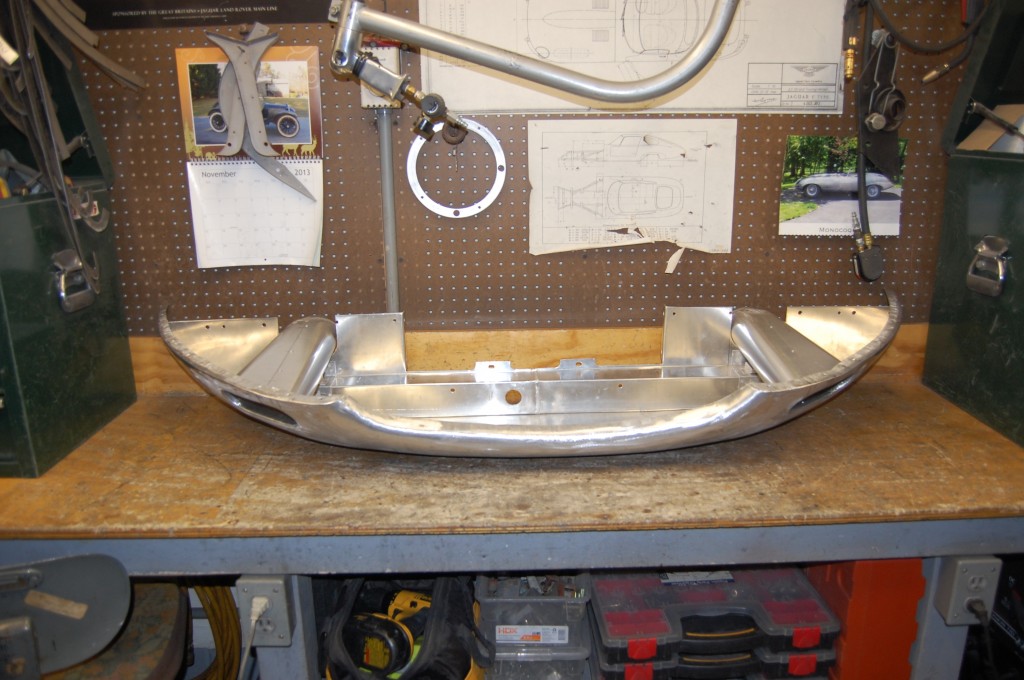
- This is the lower valance taking shape in aluminum, based on our patterns from a stock, virgin Series 1 bonnet.
- Lots of time spent patterning, shaping, and welding the pieces together already – and we’re just getting started!
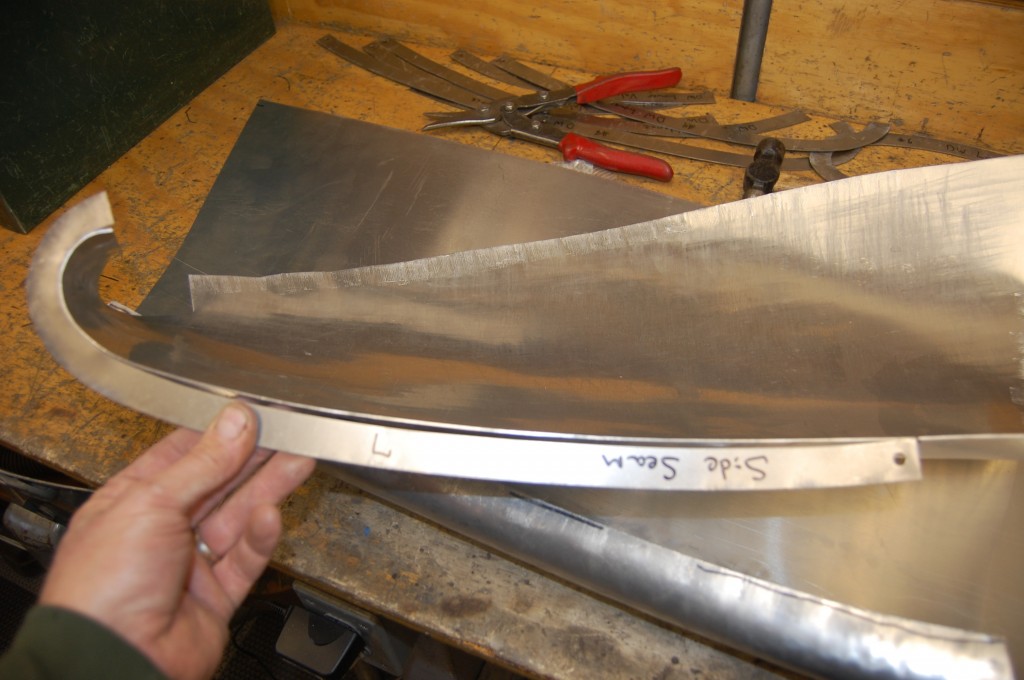
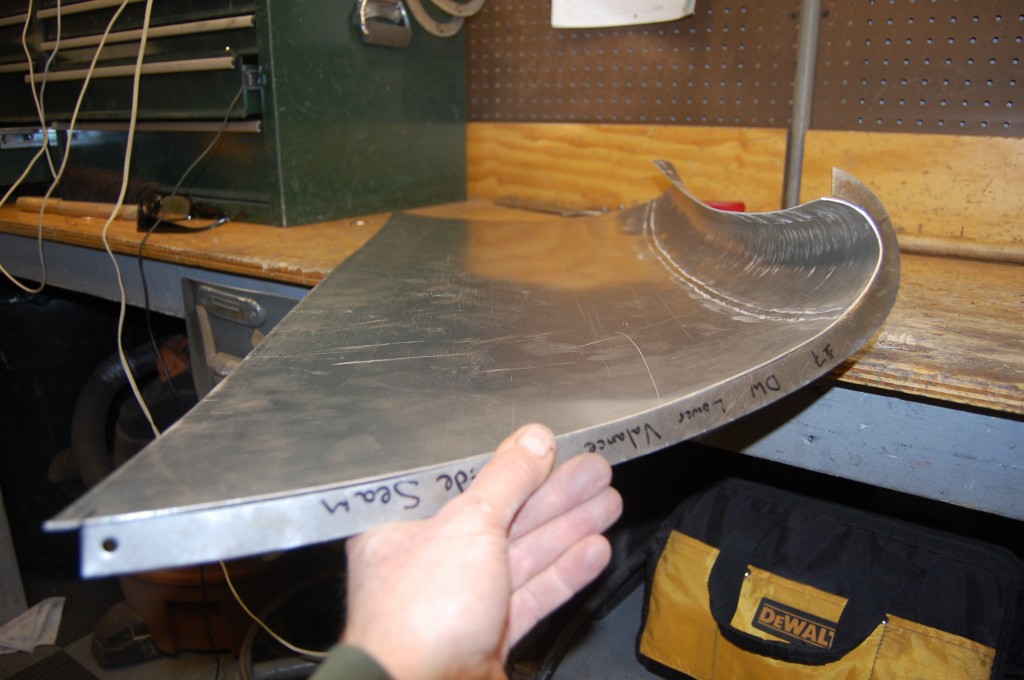
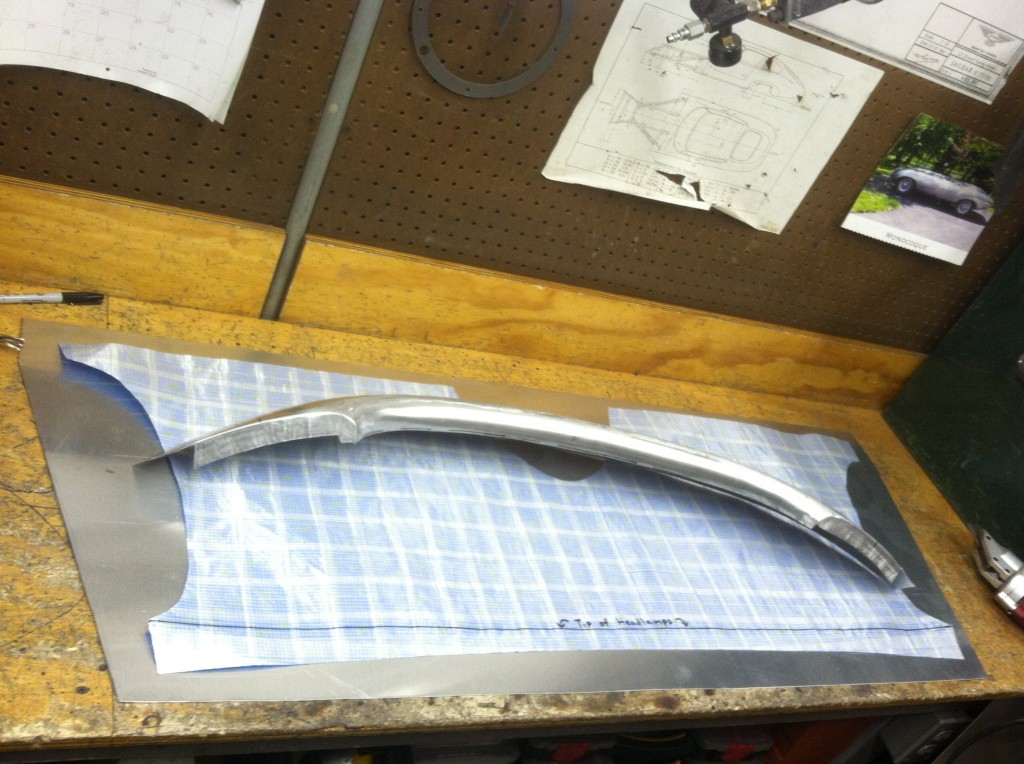
- This is a side piece for the lower valance.
- Here we are checking the seams in the lower valance “sub-sections” for the proper contour before we start welding things together.
- Both pieces need to be pretty close before they are mated.
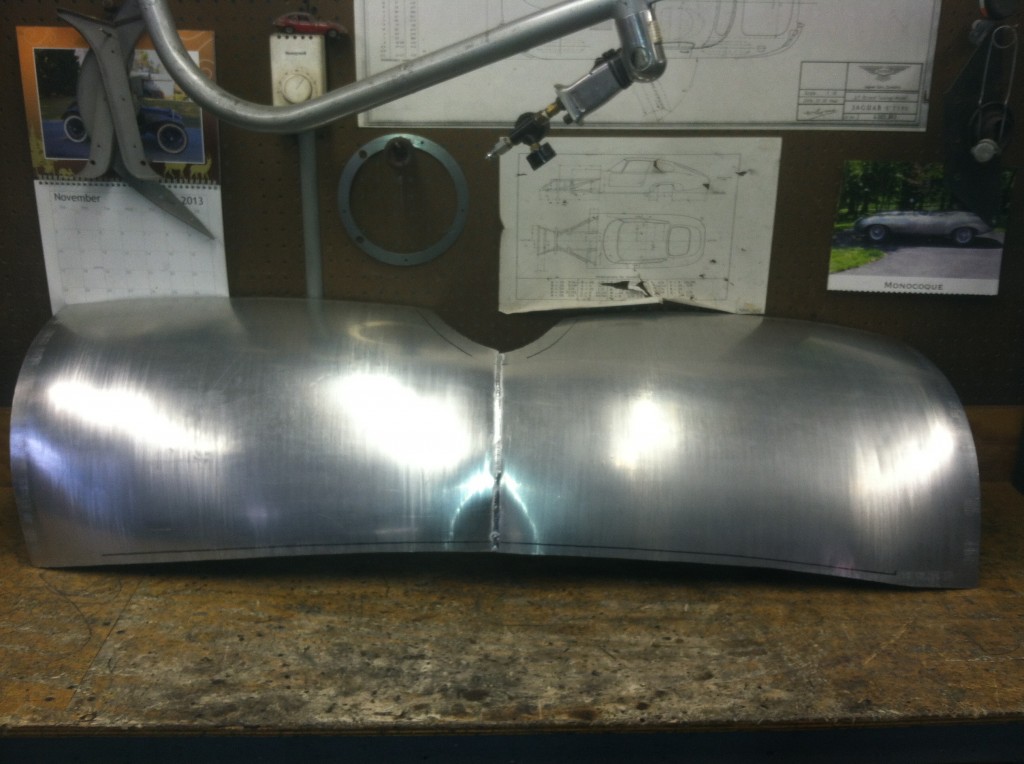
- Here’ the four main pieces are weled together.
- They’re not very pretty yet…
- …but after several hours of planishing and dressing of the welds, we’re getting there!
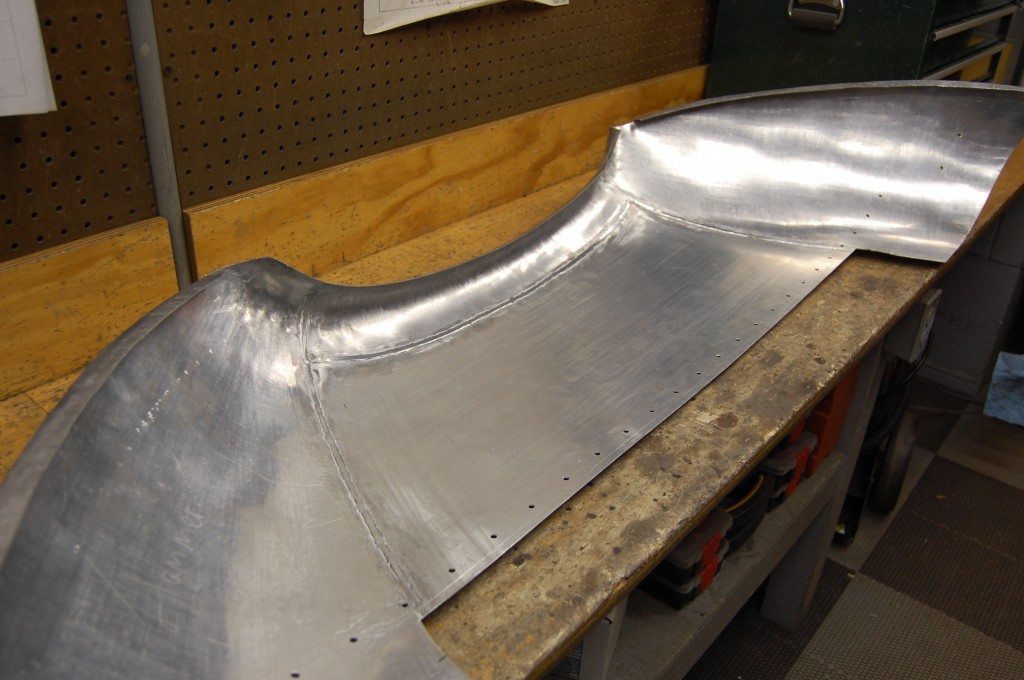
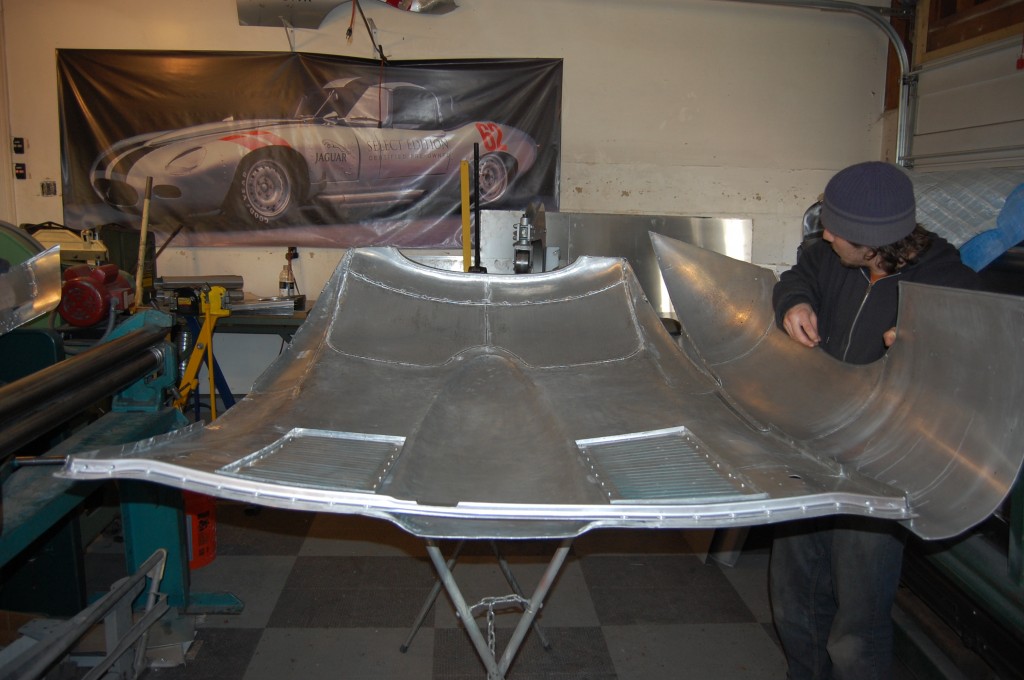
- But this is just the beginning! Note that alot of extra material is in the rear. This racing bonnet’s lower valance is a coupe inches shorter from front to back than the stock piece we are patterning it after.
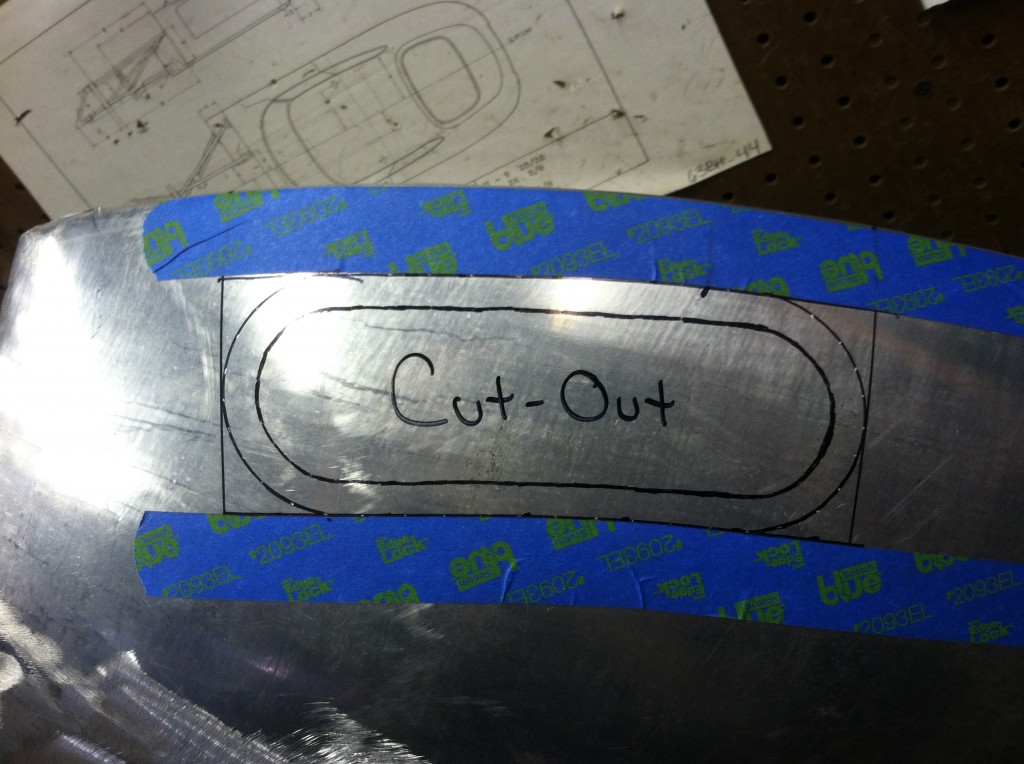
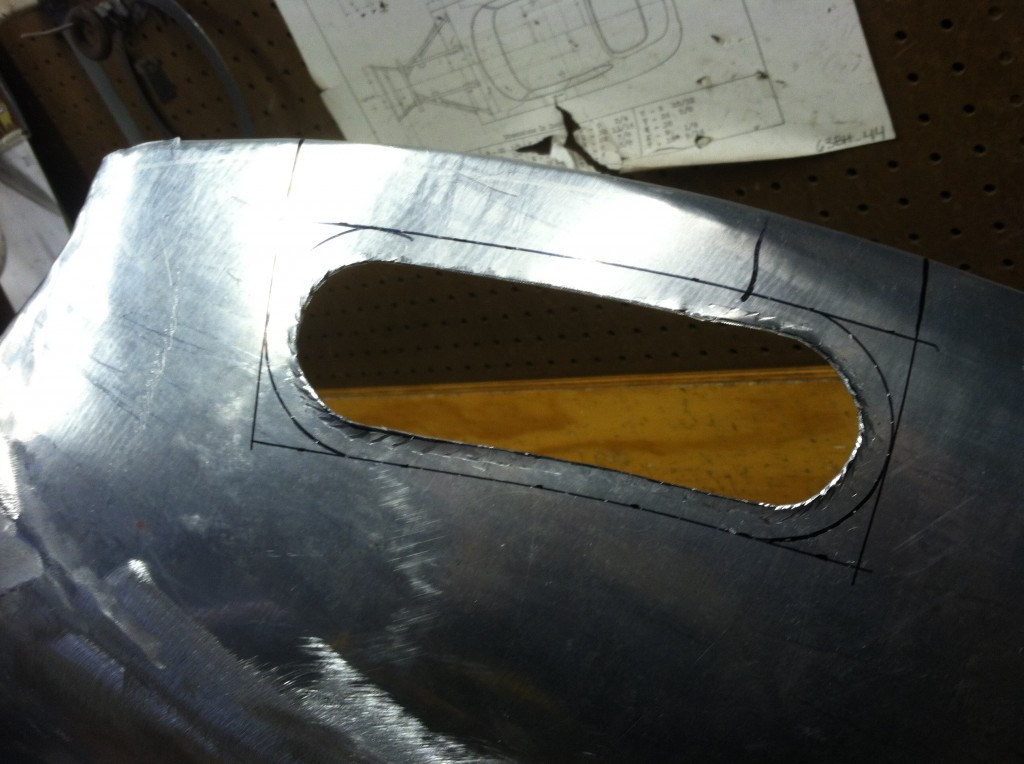
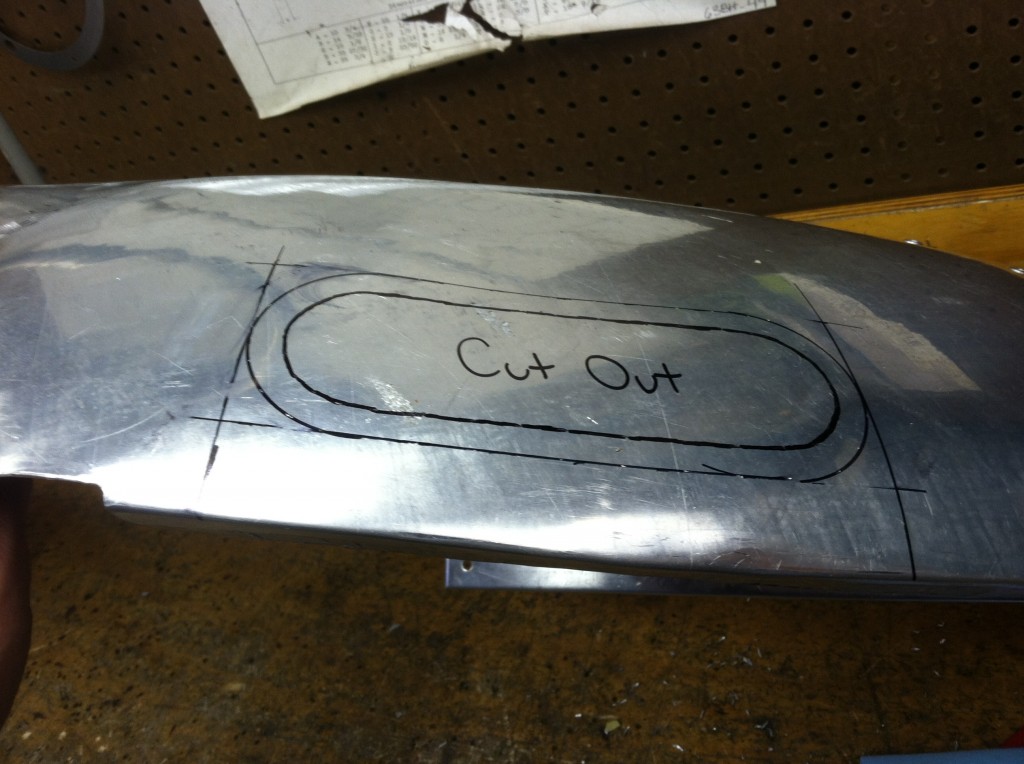
- Next, we need to position and shape in the brake cooling holes.
- As with everything else on this job – a very tedious task…
- Now the other side…
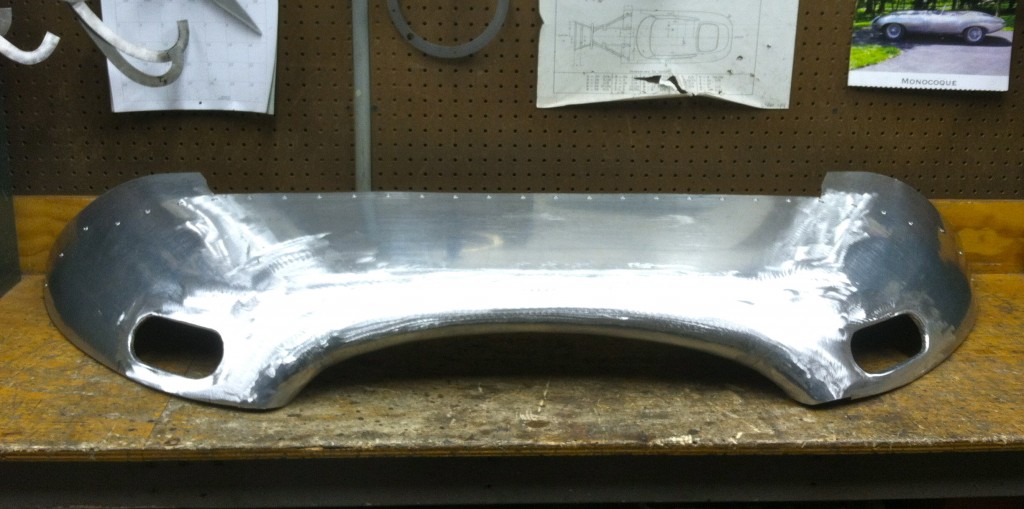
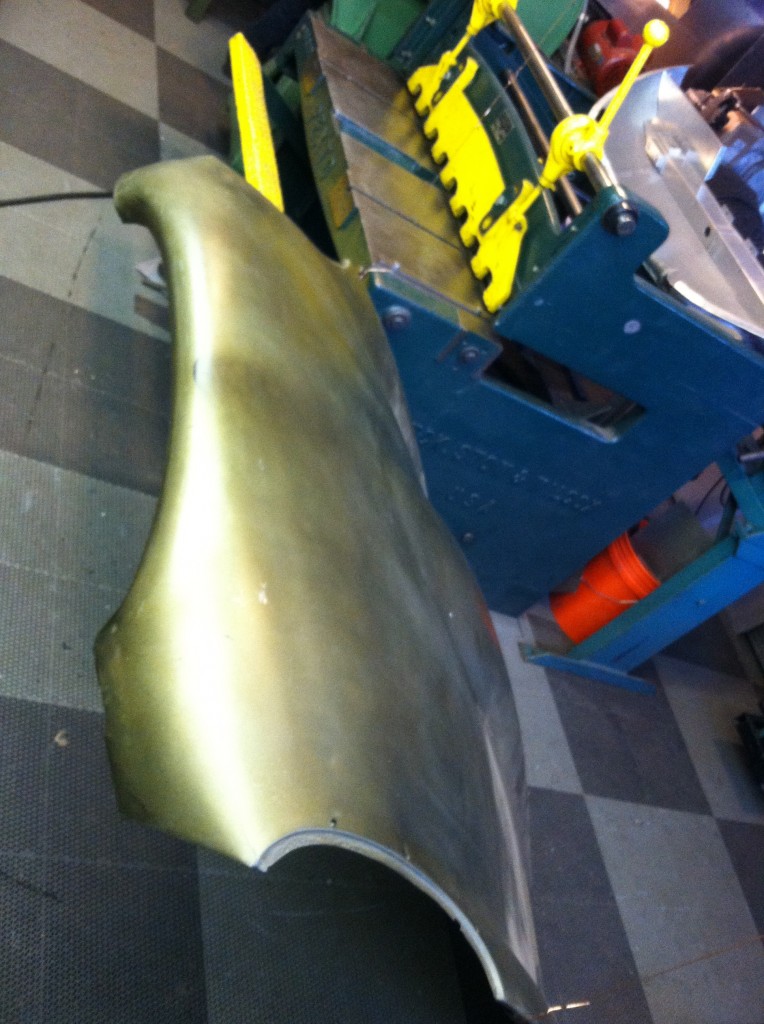
- And here is our semi-completed racing lower valance sklin in aluminum.
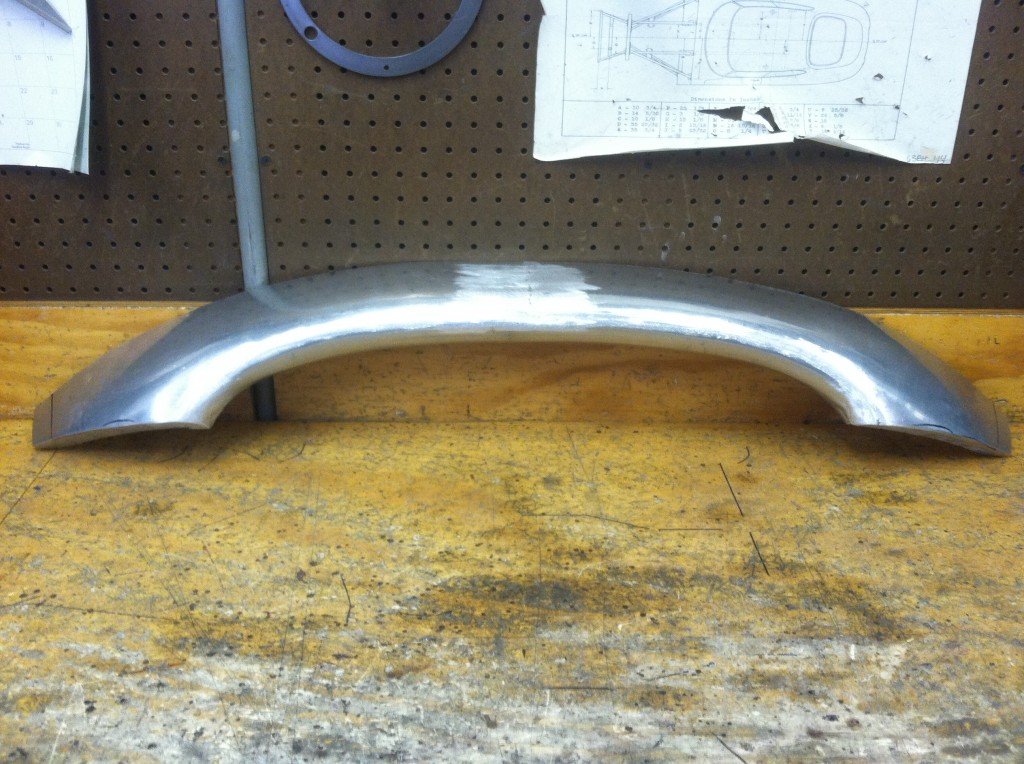
- Next, it’s on to the new RH wing in aluminum.
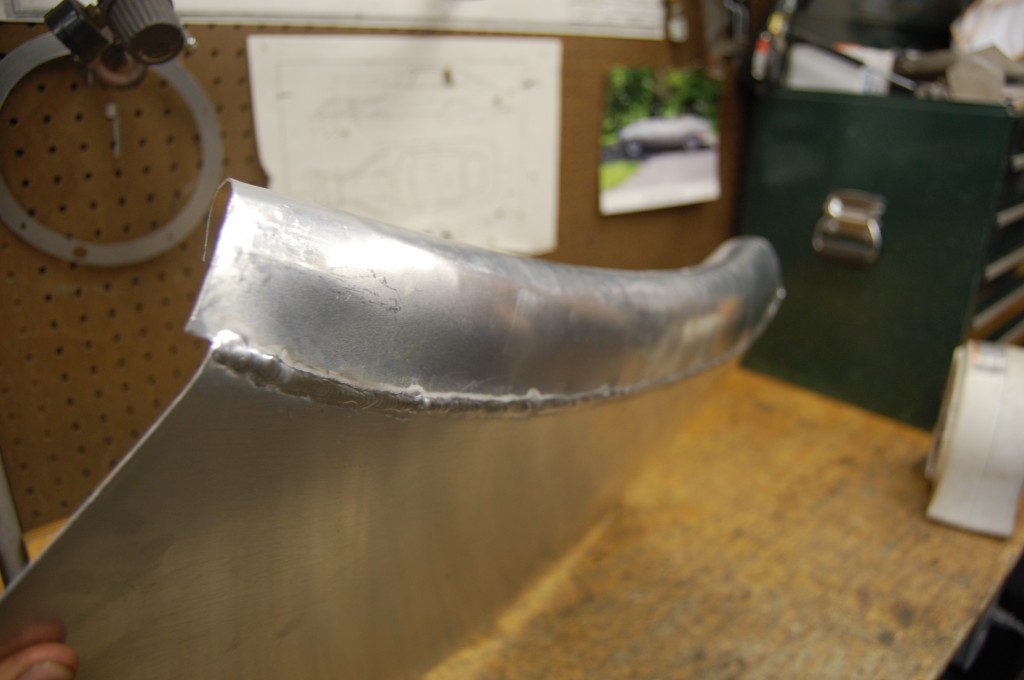
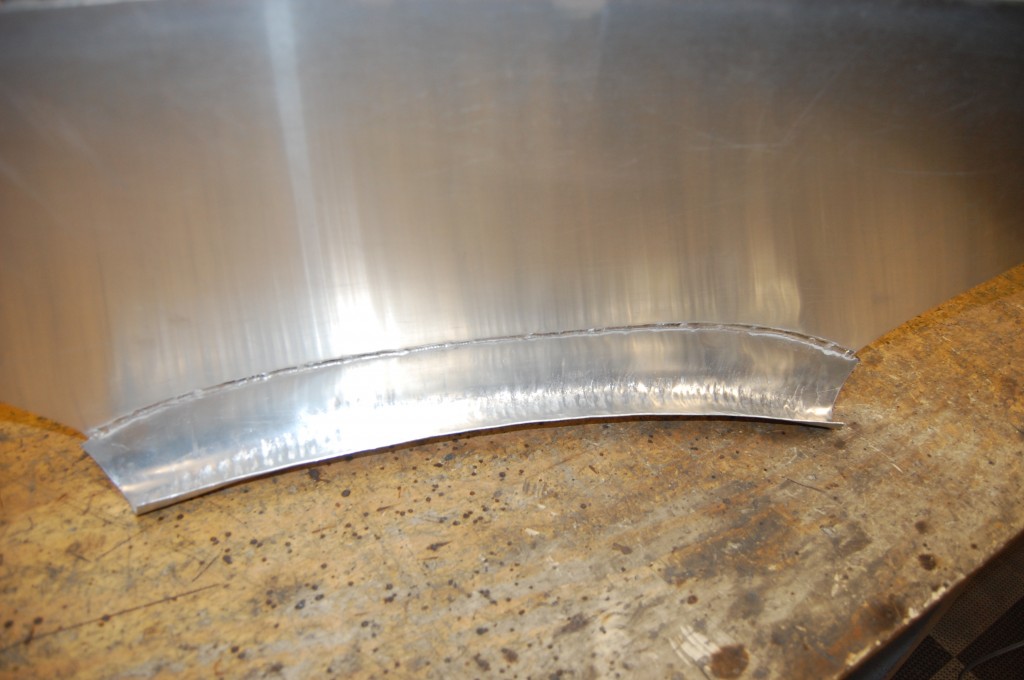
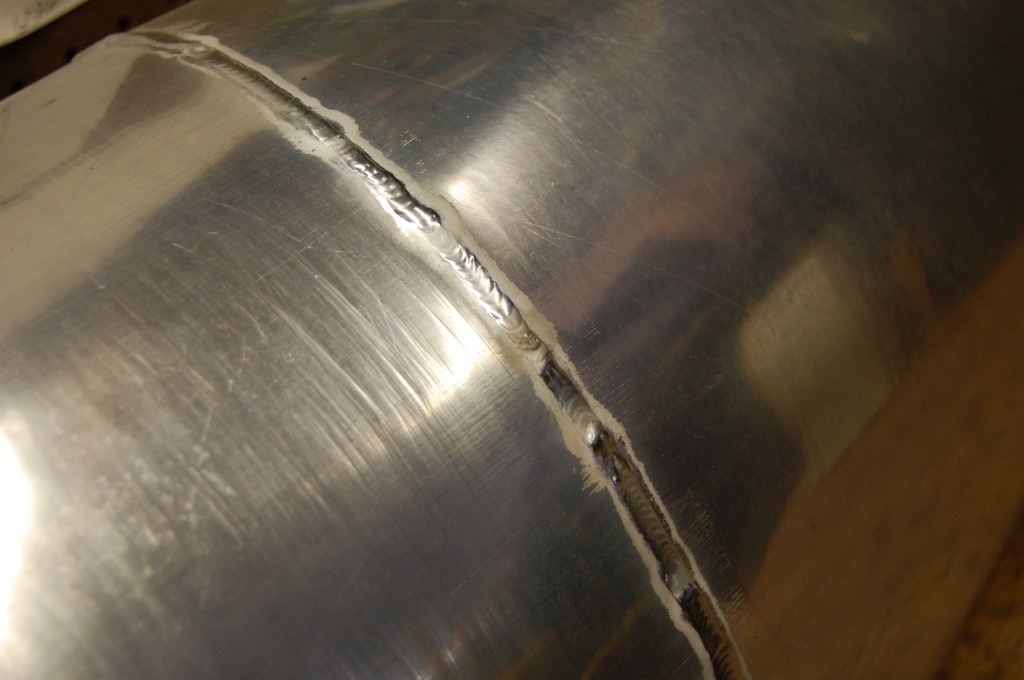
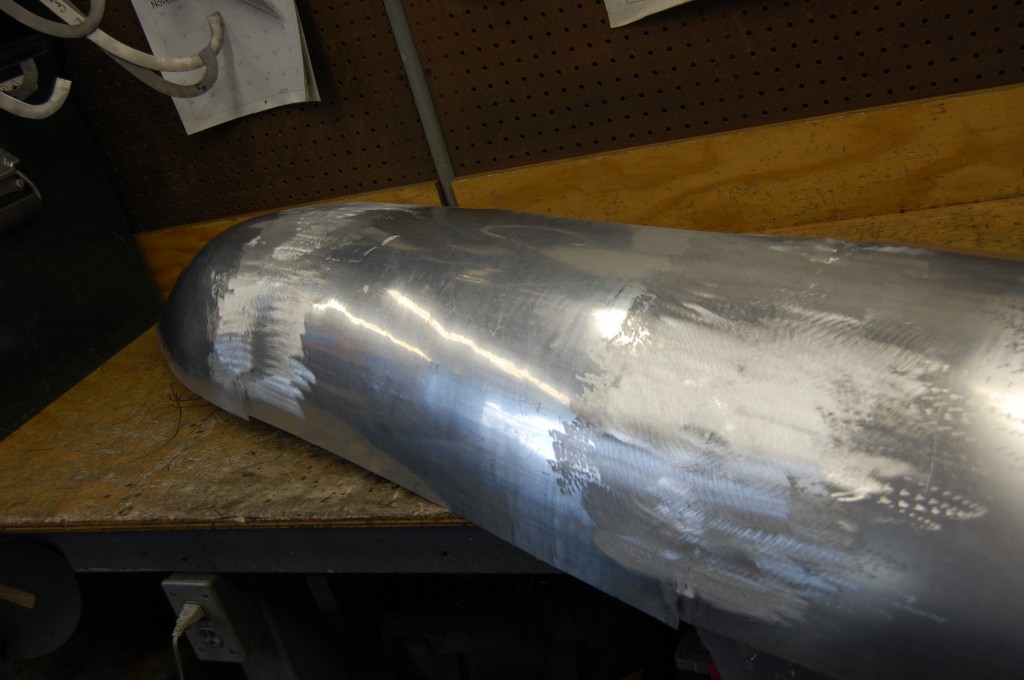
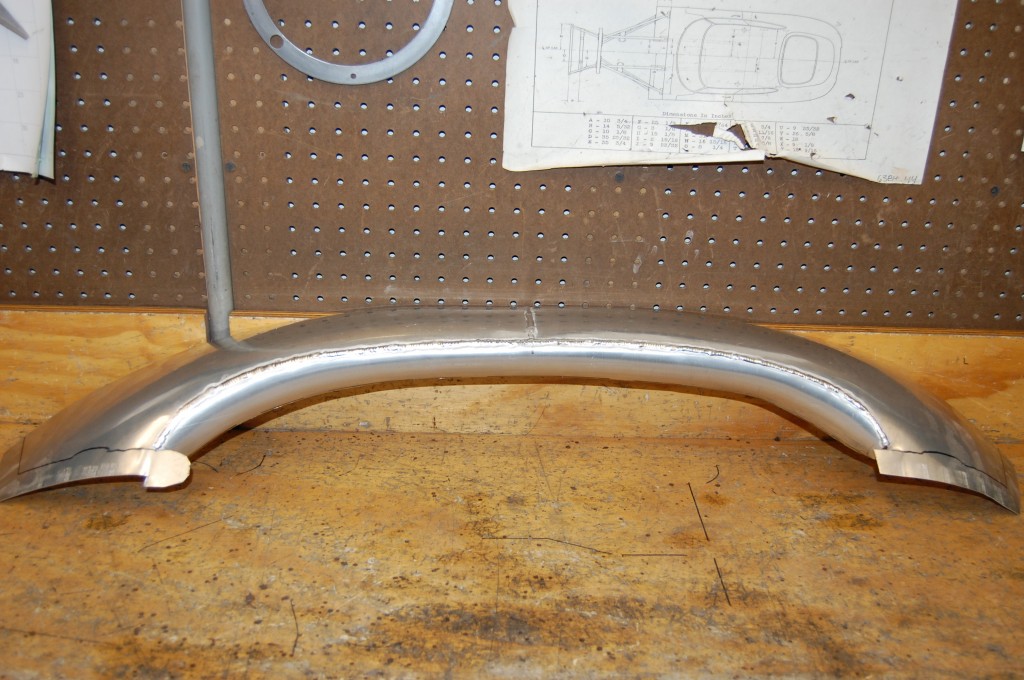
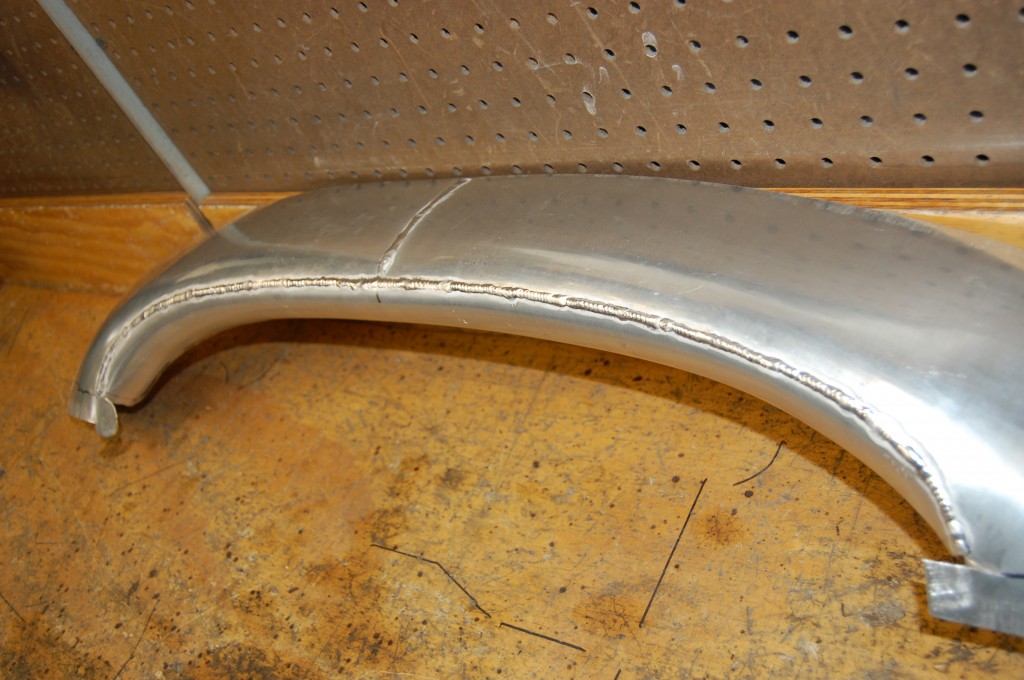
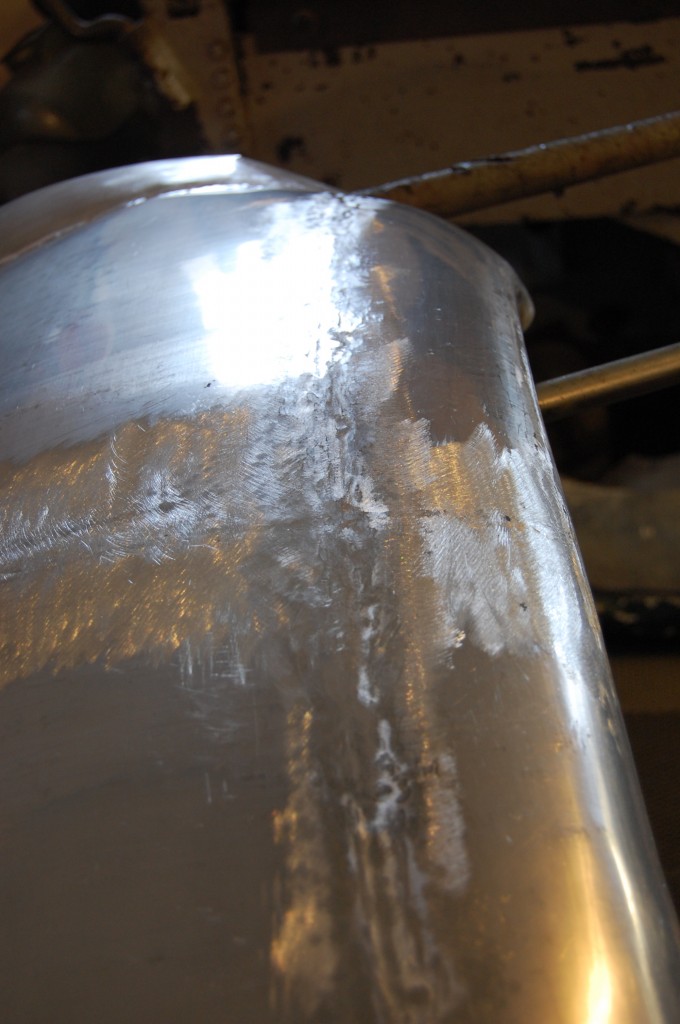
- The aluminum warps badly near the weld, and so much dressing is required…
- …but all that’s needed is time and patience – and ALOT of experience doesn’t hurt!
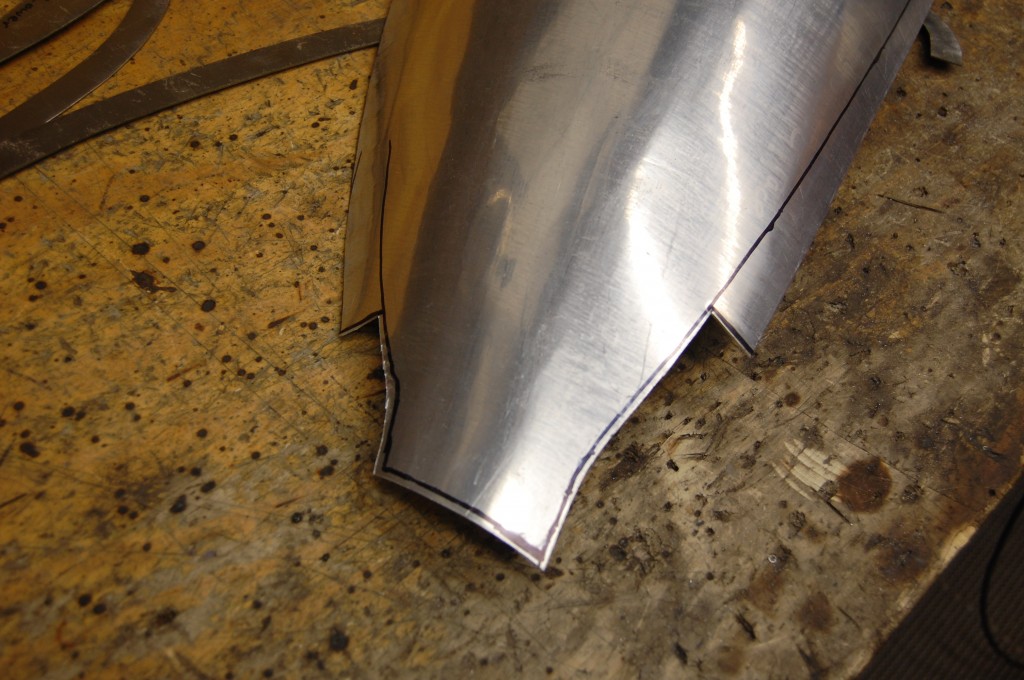
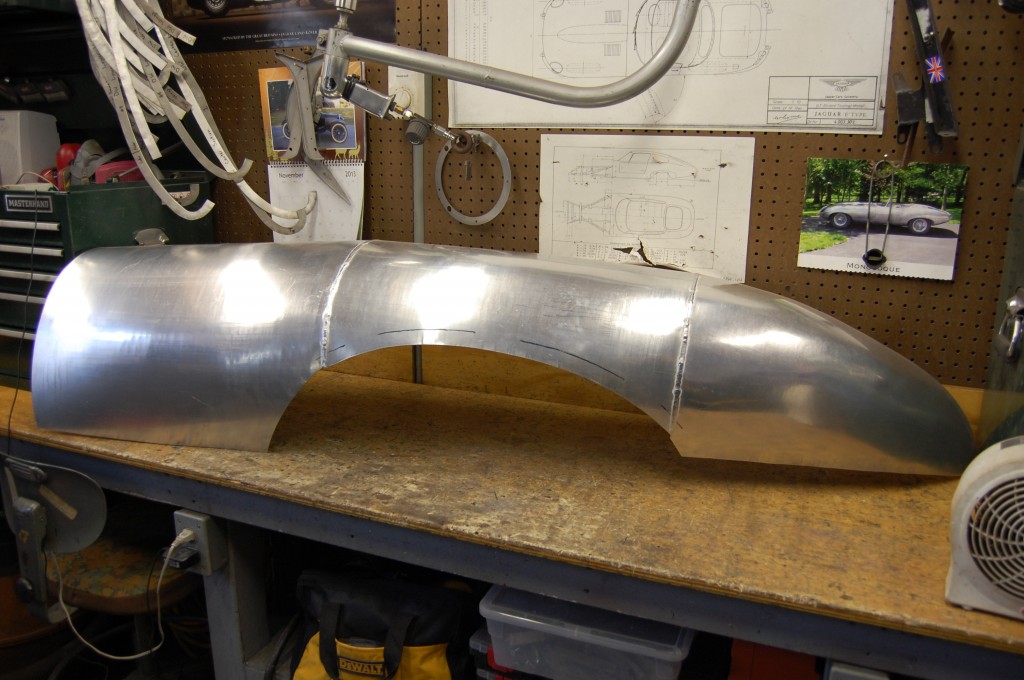
- The rough skin is now having the pattern re-fitted so the edges can be trimmed.
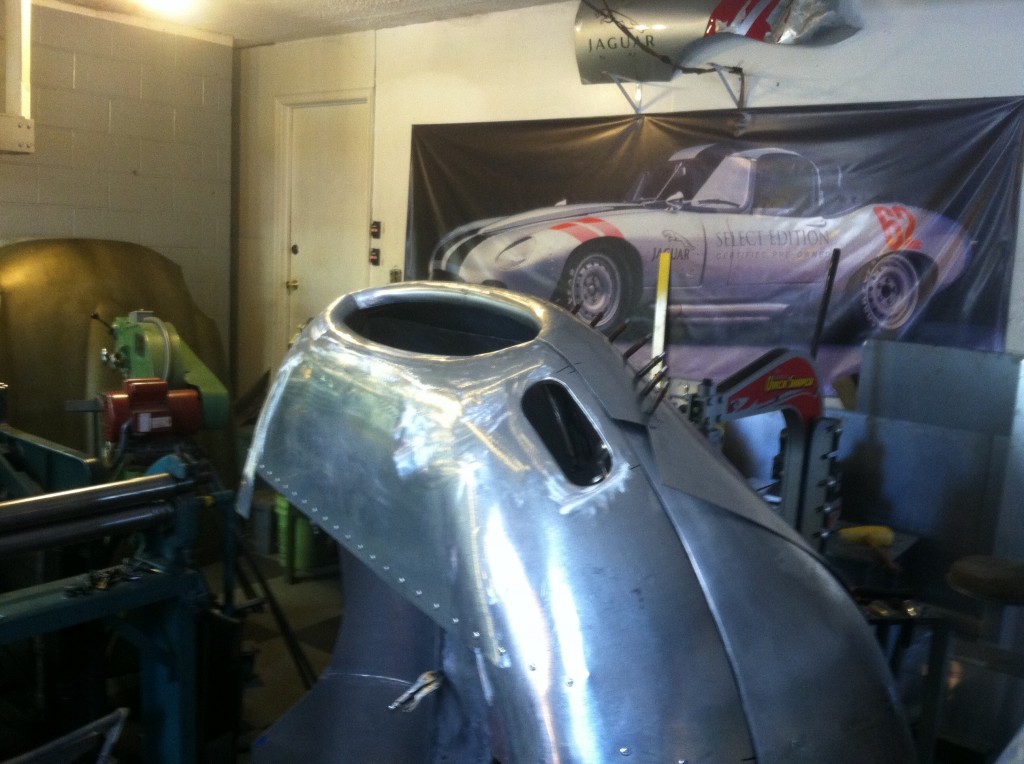
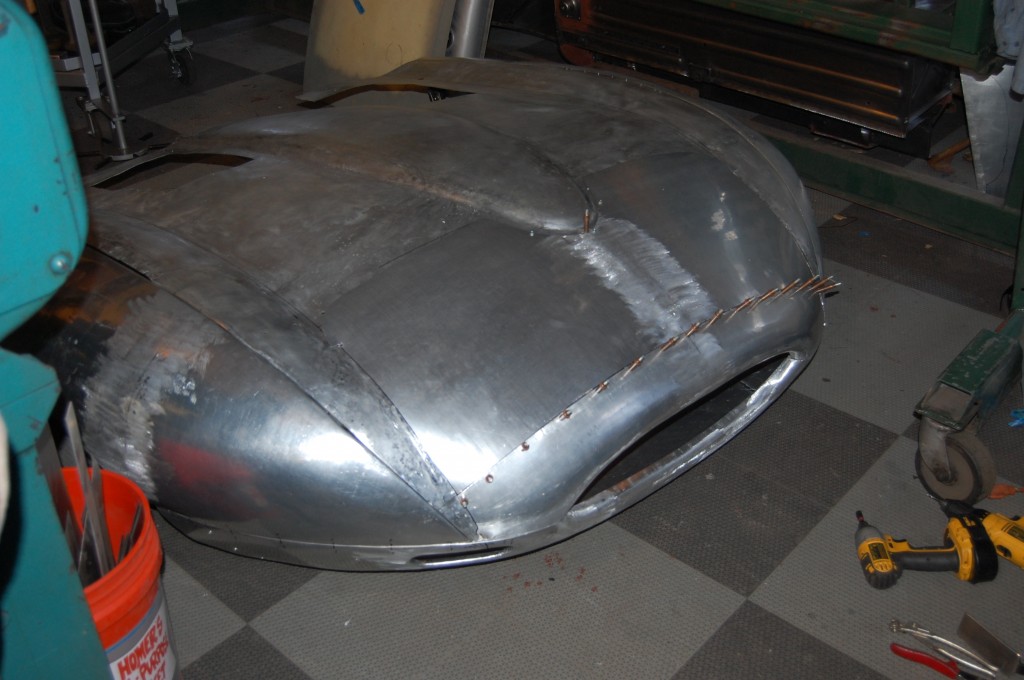
- Here is the center section – let’s just say that much work has already been completed at this point… This year, we have the time to pull that ugly patch out of the nose and do something a little better. At this point, if I had ANY idea how much work that would turn out to be, I probably would have skipped this improvement!
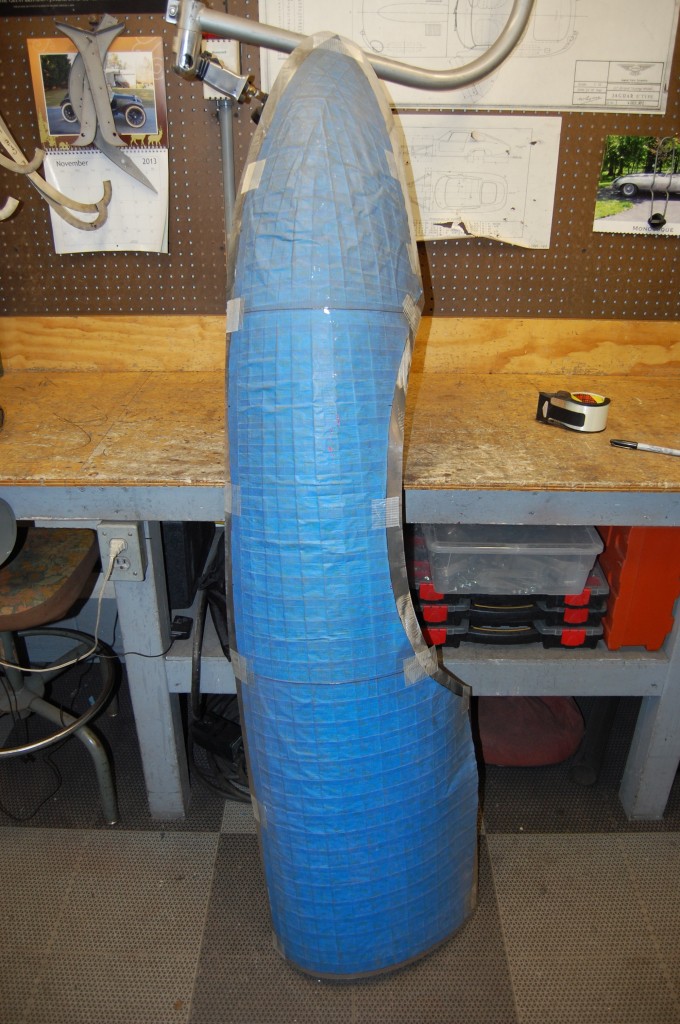
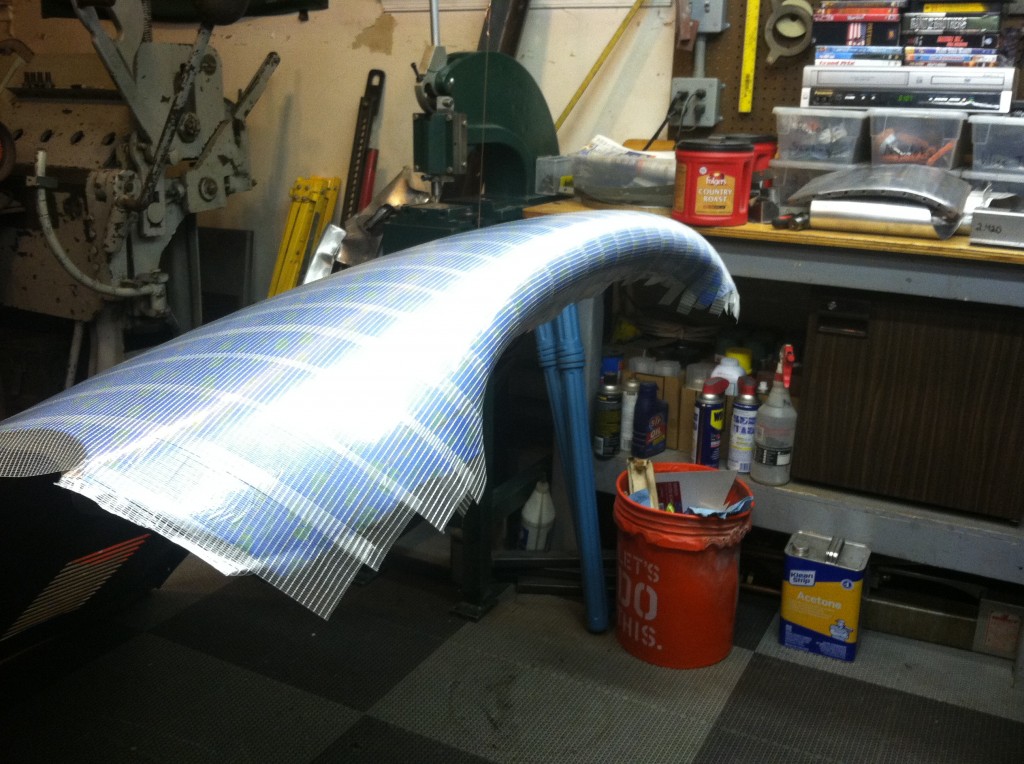
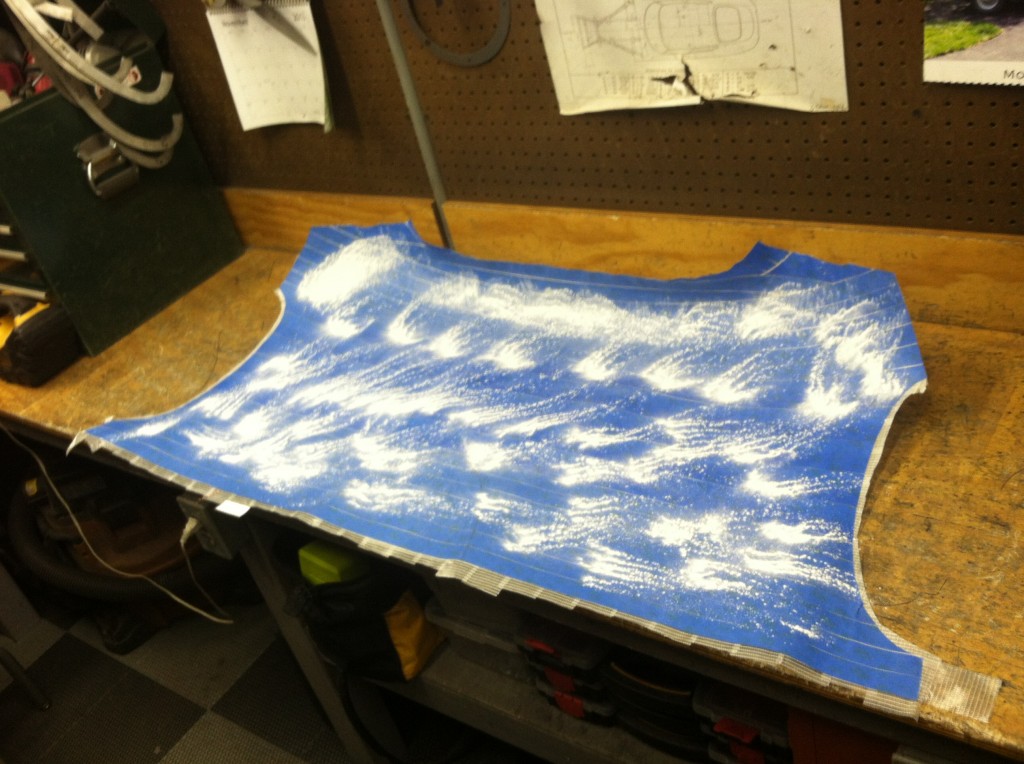
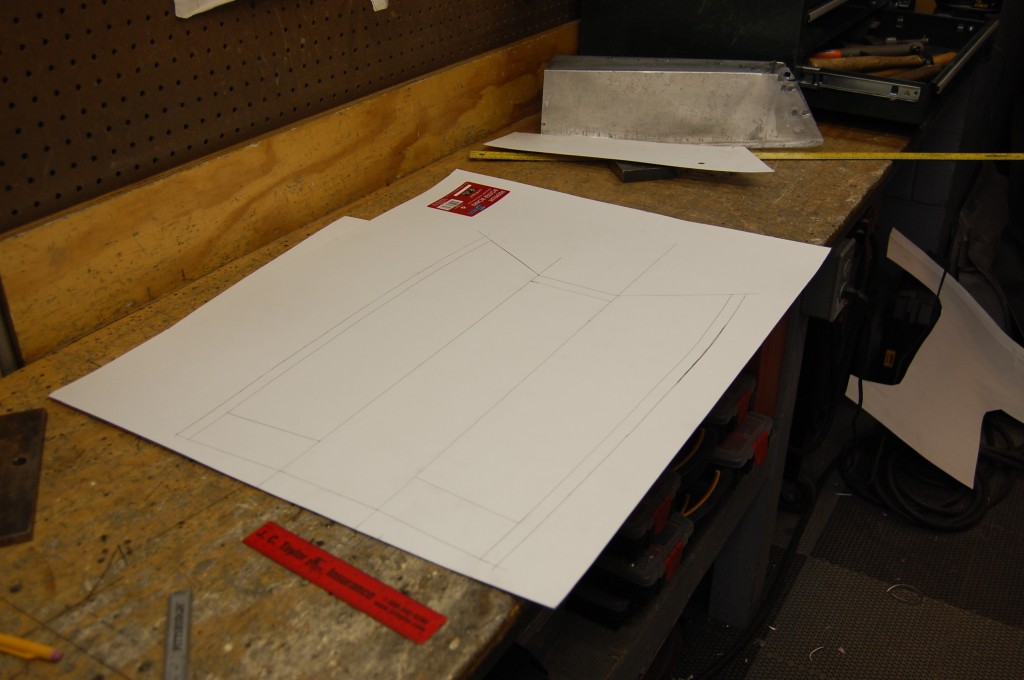
- The first step was to pull a pattern from a known perfect center section. This one is excellent! We already have a whole center section patterned, but I did not want to cut that pattern up…
- So we are doing another pattern on the nose area of this one. LOOK how beautiful that is! I just included this center section with the ’62 roadster basket case project – which is now sold. THIS is what you get when you purchase a project car HERE – enough said about that topic…
- The pattern is carefully removed, and the stickiness is killed with copious amounts of baby powder – which always makes the shop smell nice (or like a bunch of strippers just showed up, if you prefer…)
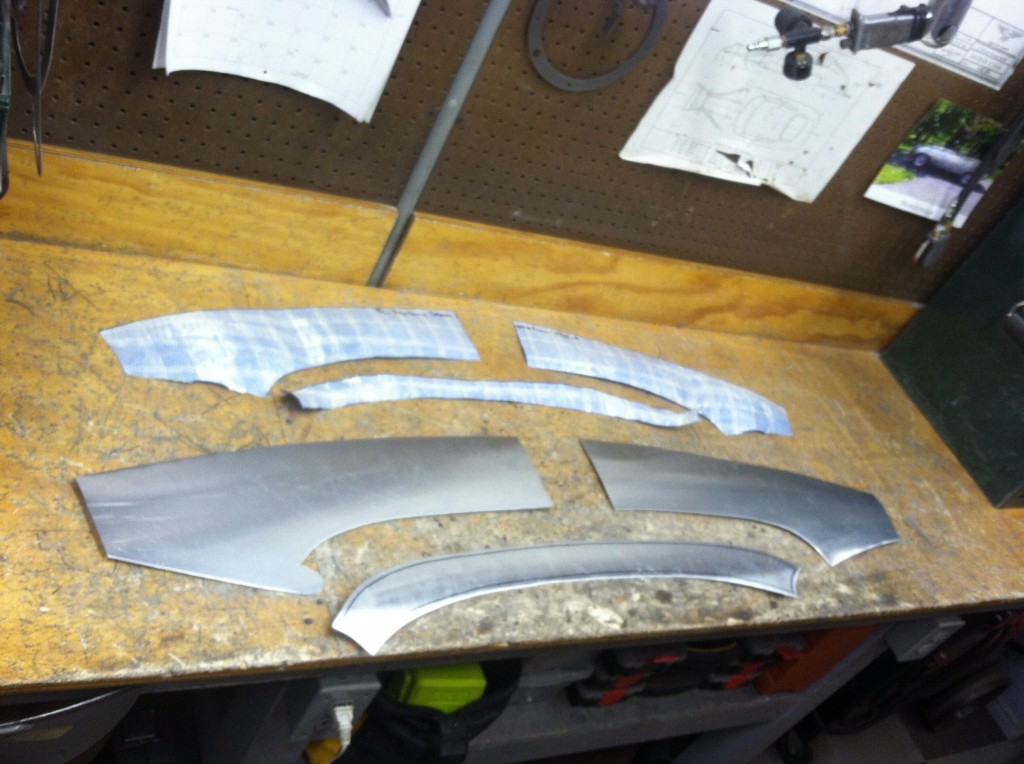
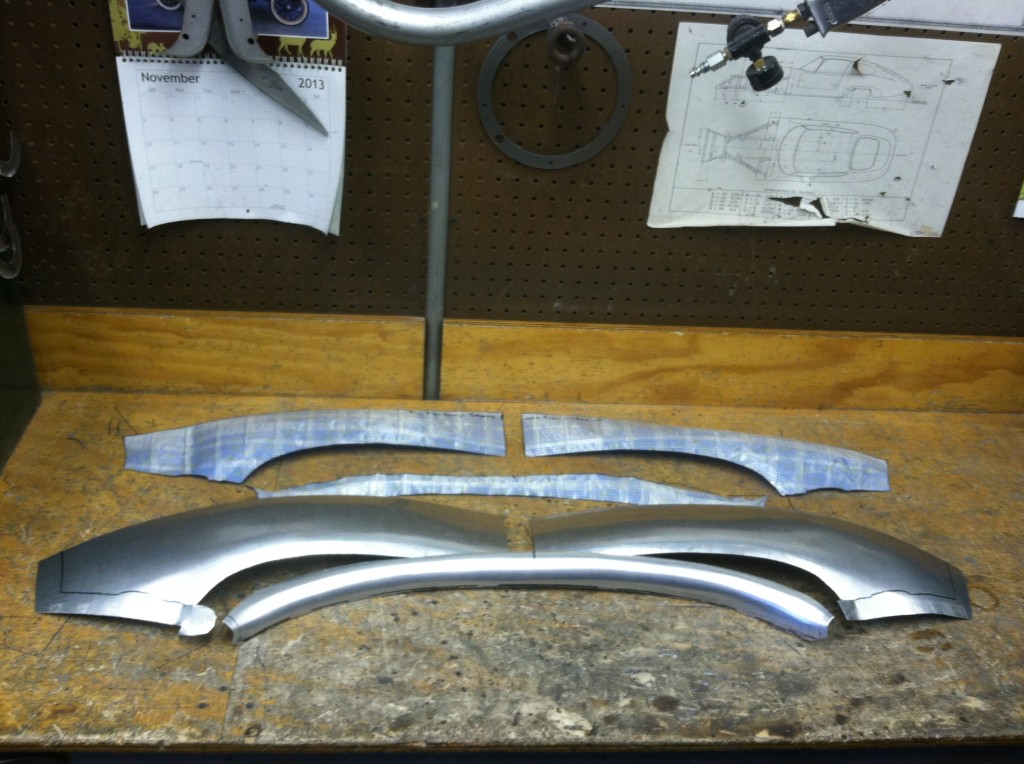
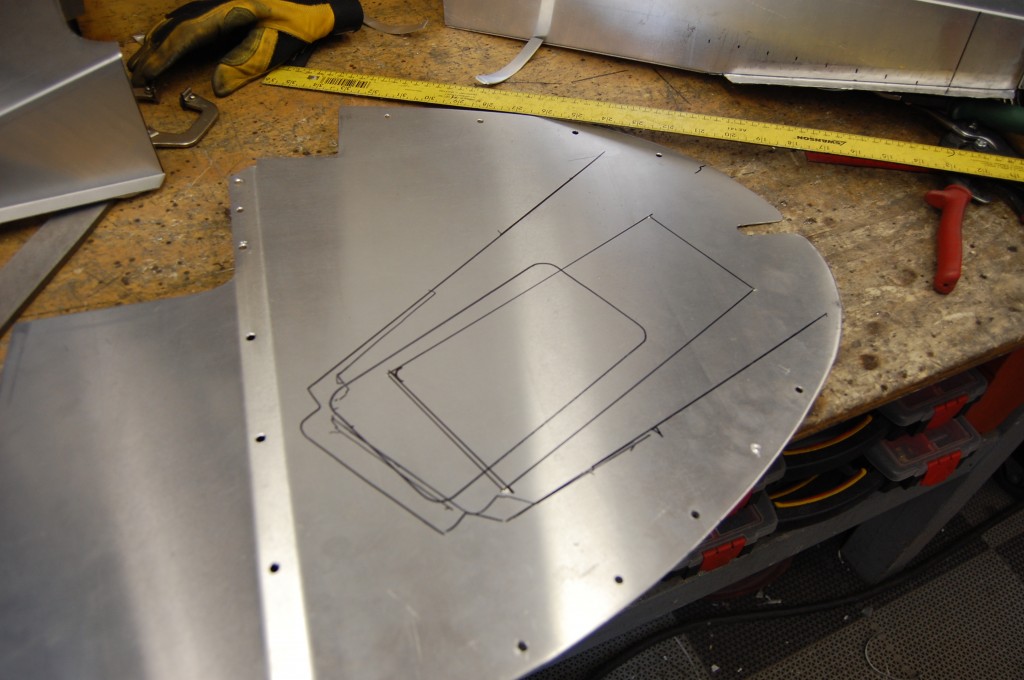
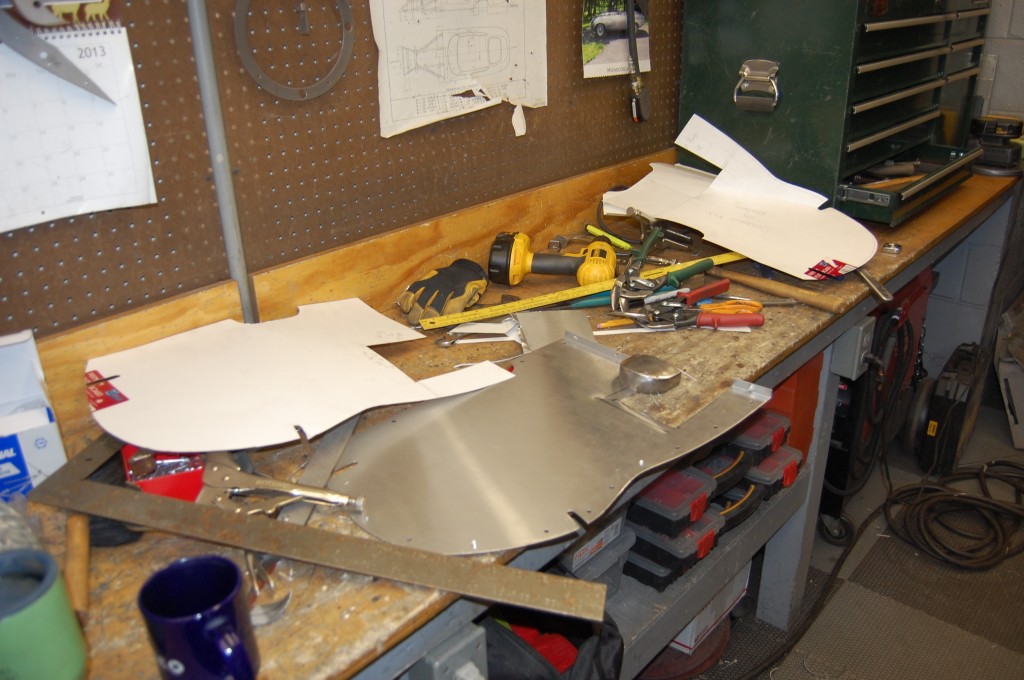
- Next, we cut up the pattern into pieces that make sense for the shaping, and cut blanks for that.
- Then we shape the pieces in the English Wheel…
- …weld them together…
- …and begin to dress down the welds.
- Now this piece is completed, and ready to be fitted to the old center section – or so I thought…
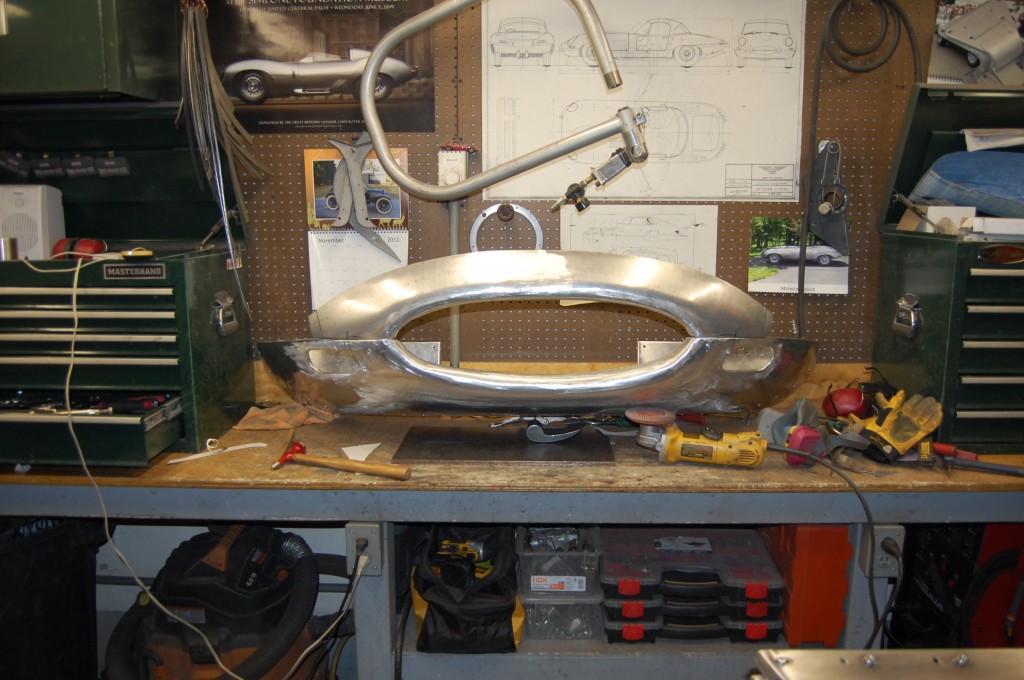
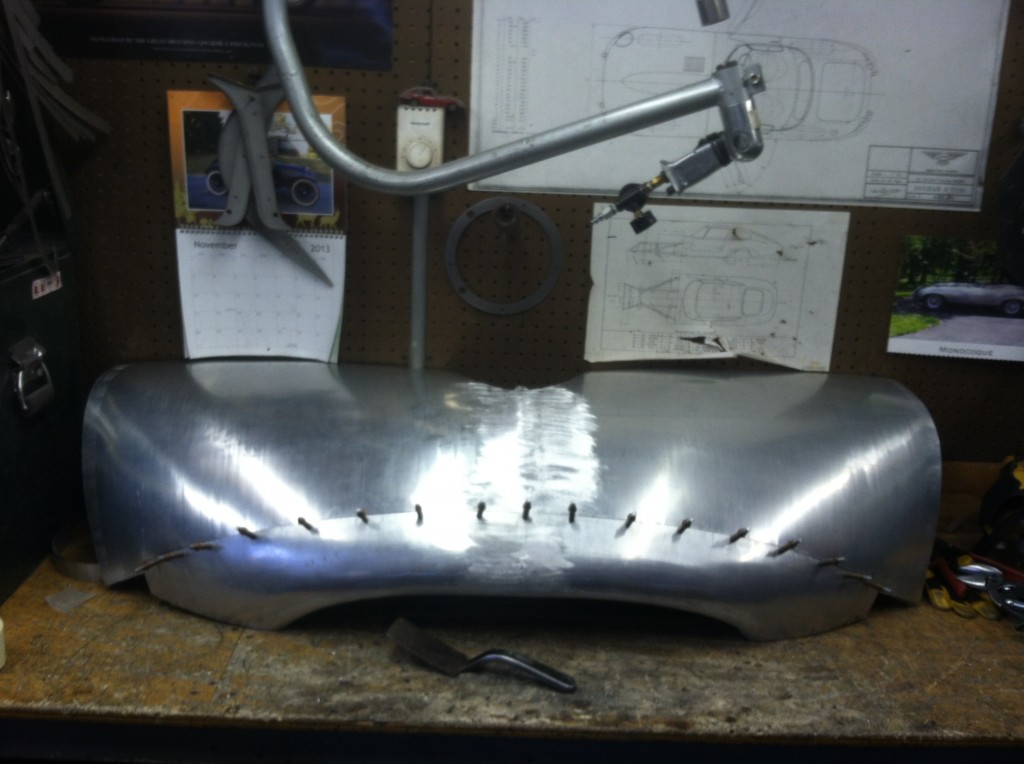
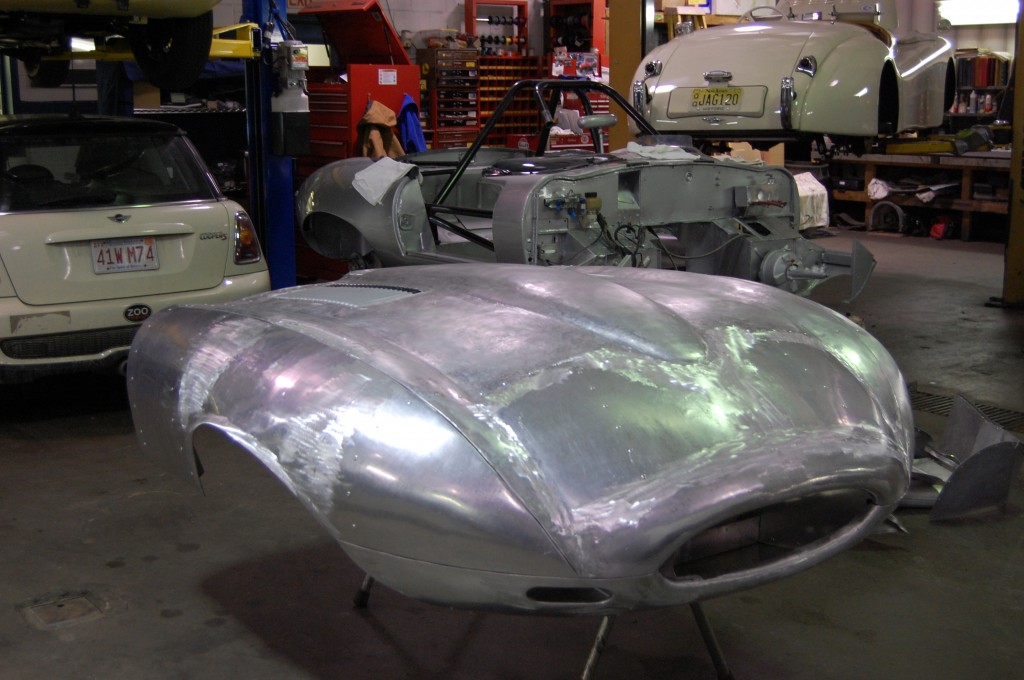
- It was all coming together well with the new lower valance – on the bench…
- …and from this angle, it looks like no big dela, but the skin of the center section was REALLY far away from this piece. There was NO WAY we could force these two pieces together! Uh-oh…
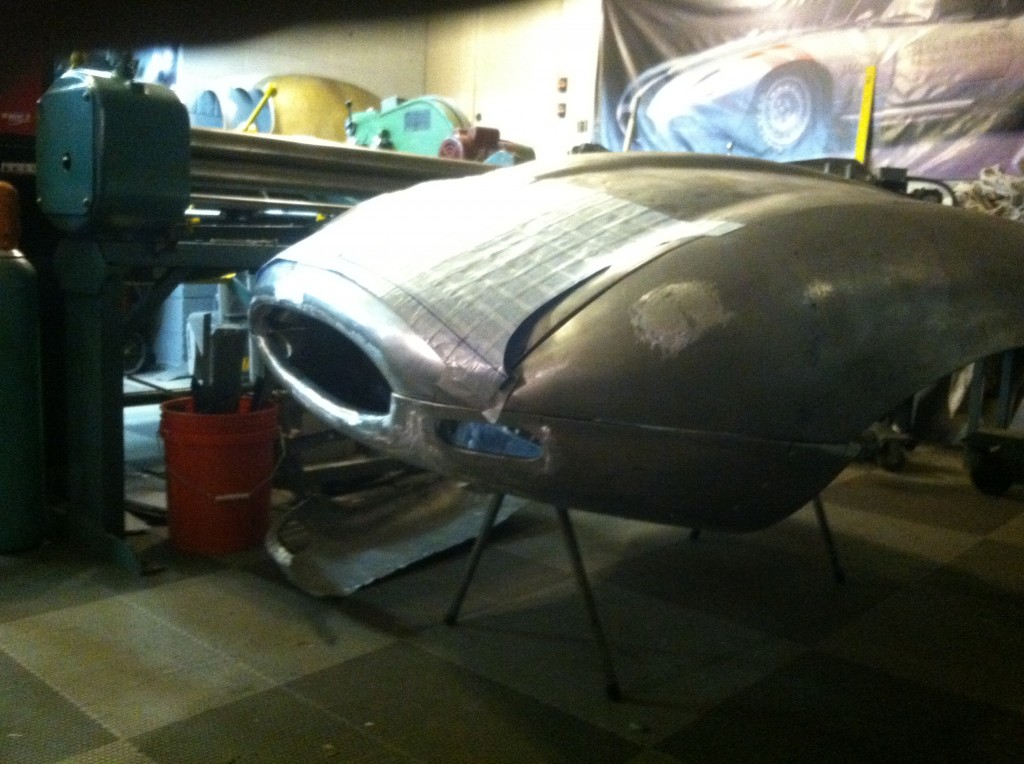
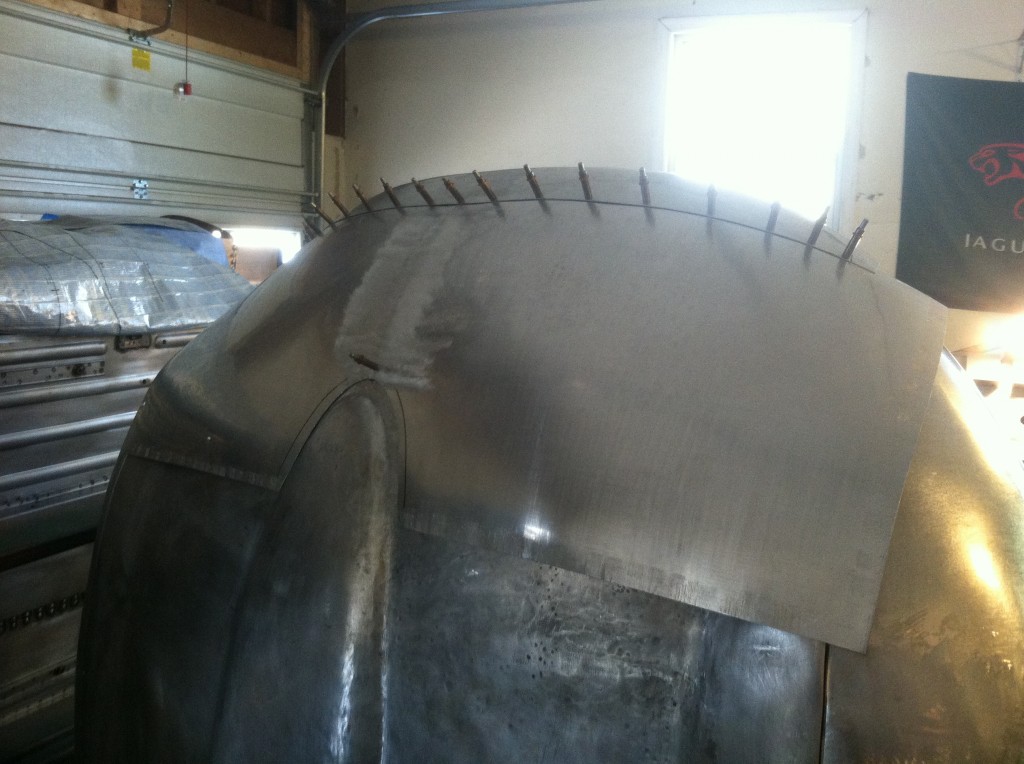
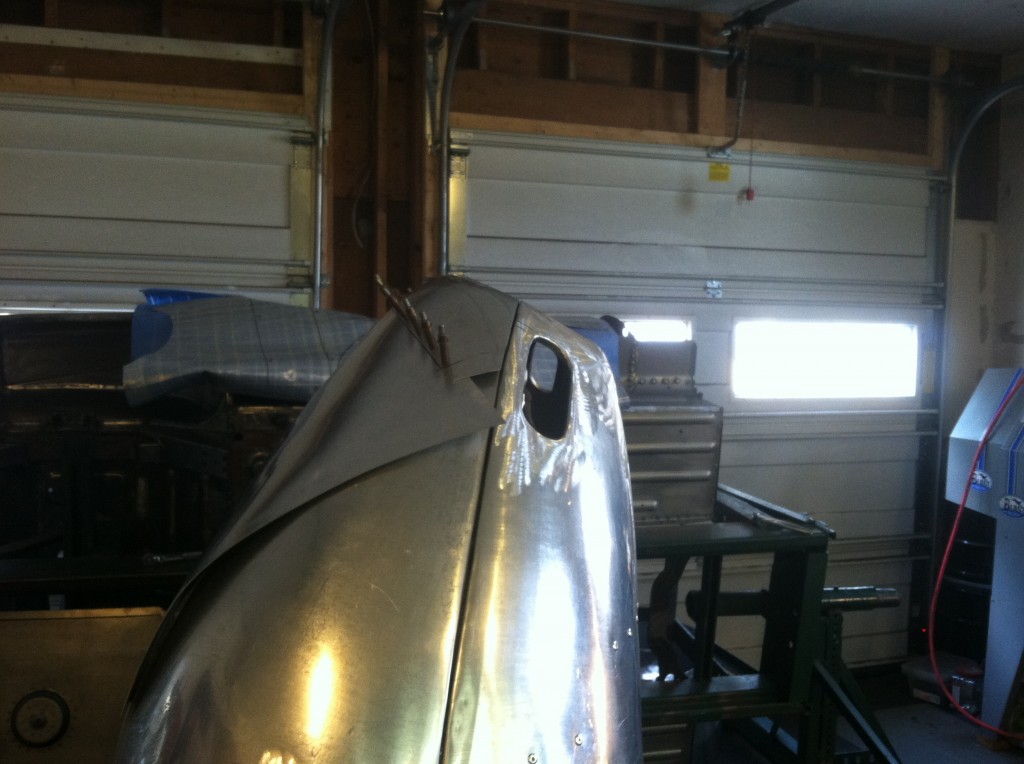
- Luckily – I had patterned everything forward of the power bulge on that other center section. Here, the rest of that pattern is bridging a HUGE gap between the old center section and the new nose!
- But that looked like the only way to go, so I pressed on…
- That piece looked WEIRD coming together – the pattern semed almost flat, but the pieces had alot of curve to them in both directions.
- Fitting it to the bonnet, though, started to make things come together much better.
- There’s alot of extra, and figuring out how and where to tie it in was a real brain teaser…
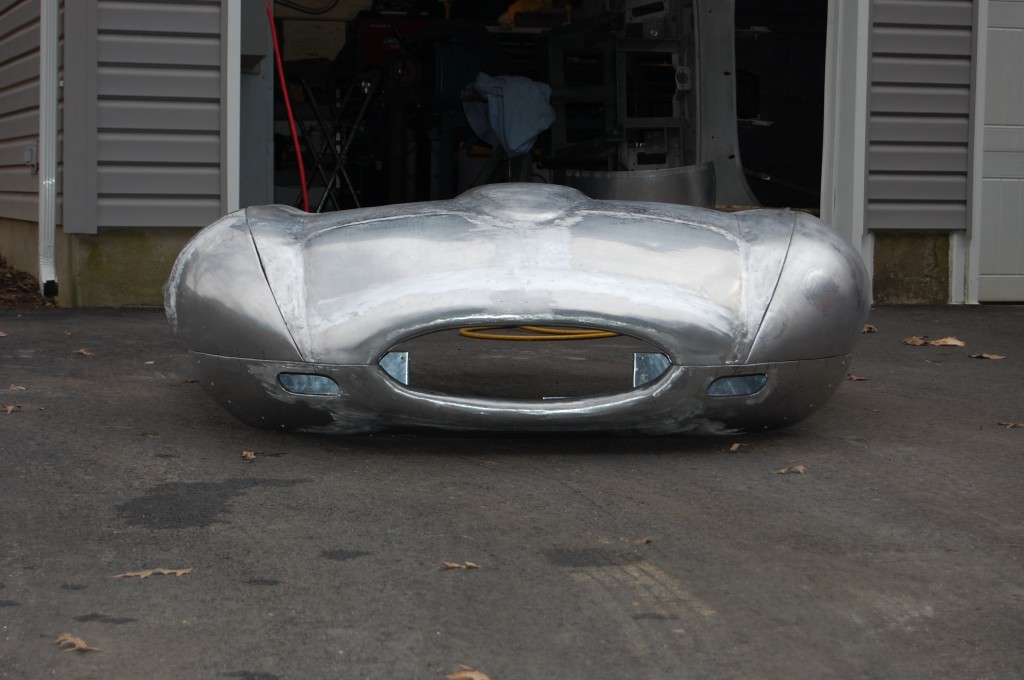
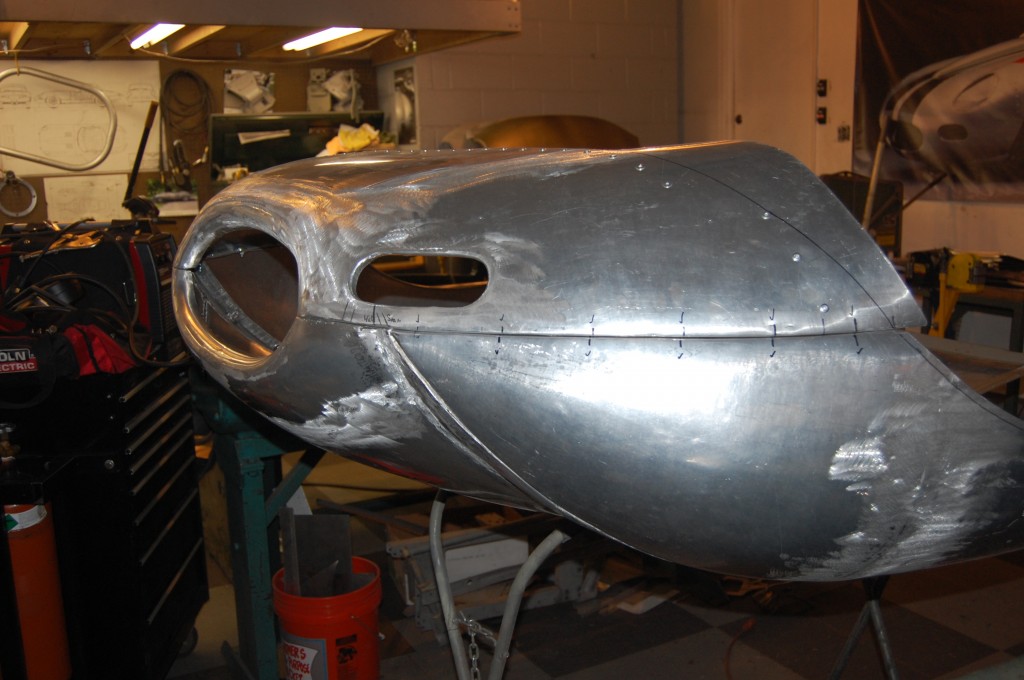
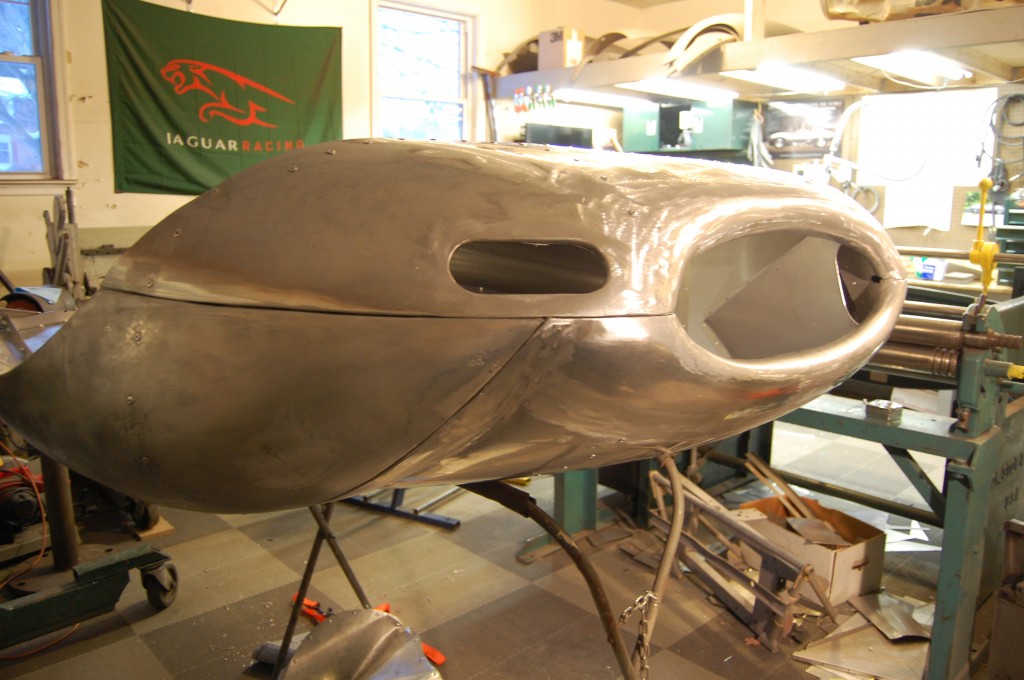
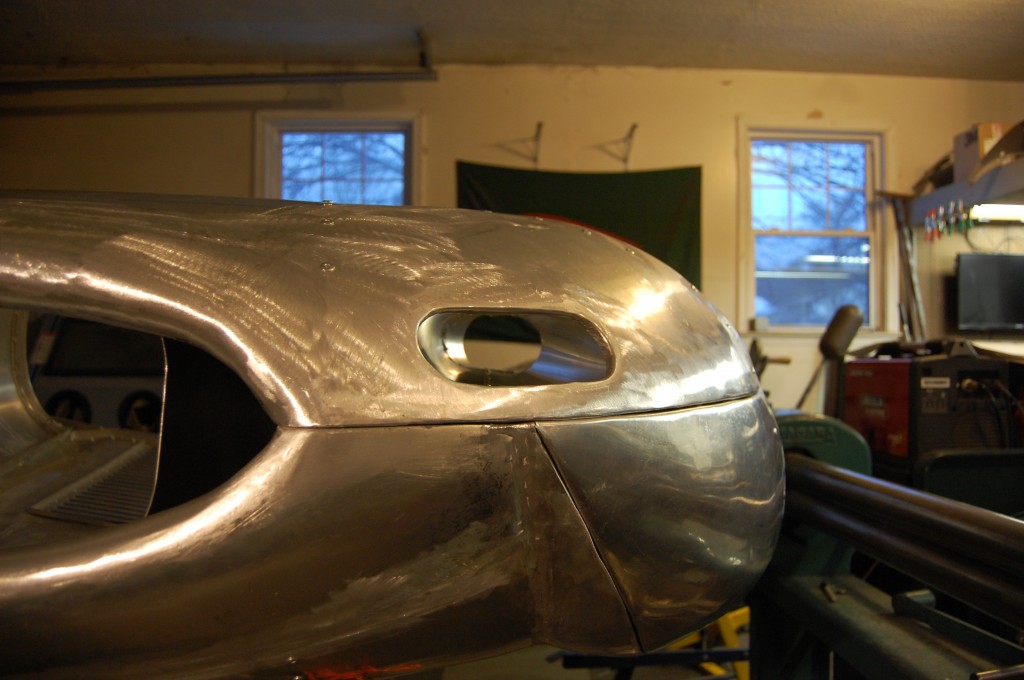
- This mouth is slanted considerably – JUST LIKE the original E-Type – which you don’t realize when the car is all together, but this is how they are. The racing bonnet had been mashed and reshaped to an almost vertical mouth over the years, and that is where this problem came from.
- This shows the new nose piece attached to the “bridge” piece – getting these two to play nicely like this was a NIGHTMARE – I was pulling and tugging – ALOT, but just when you had it, it would EXPLODE out of your hands under tension. Eventually, I was out there pulling things together, with Janie attempting to work the Cleco pliers – weaving a very colorful web of obscenities in the process…
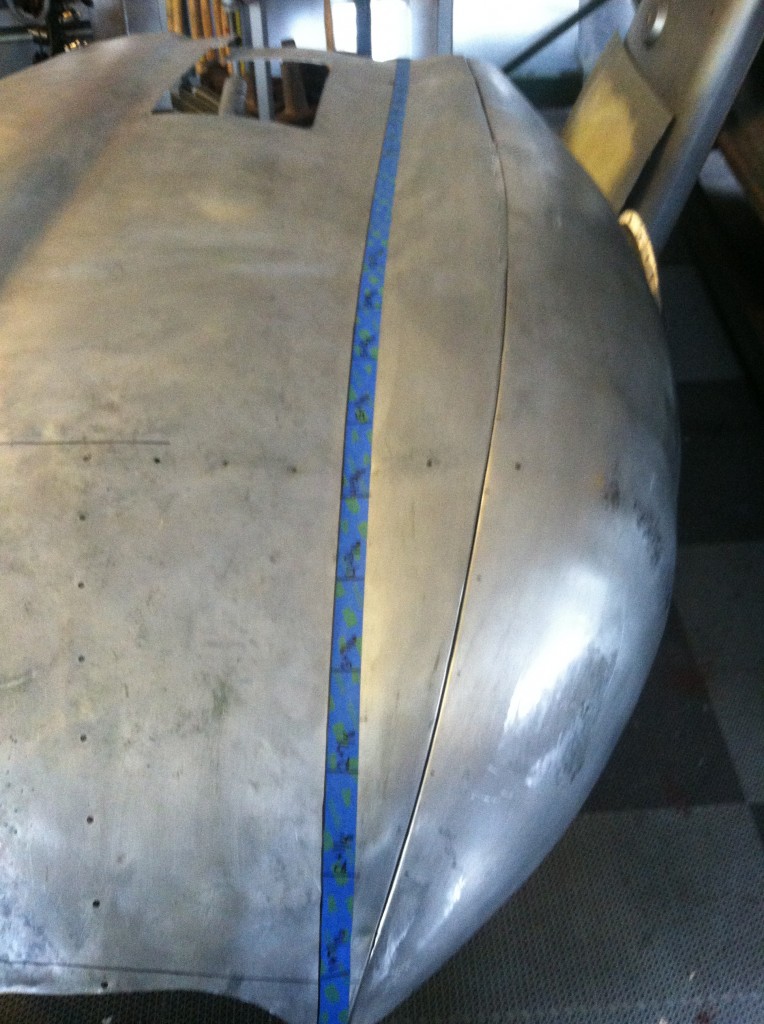
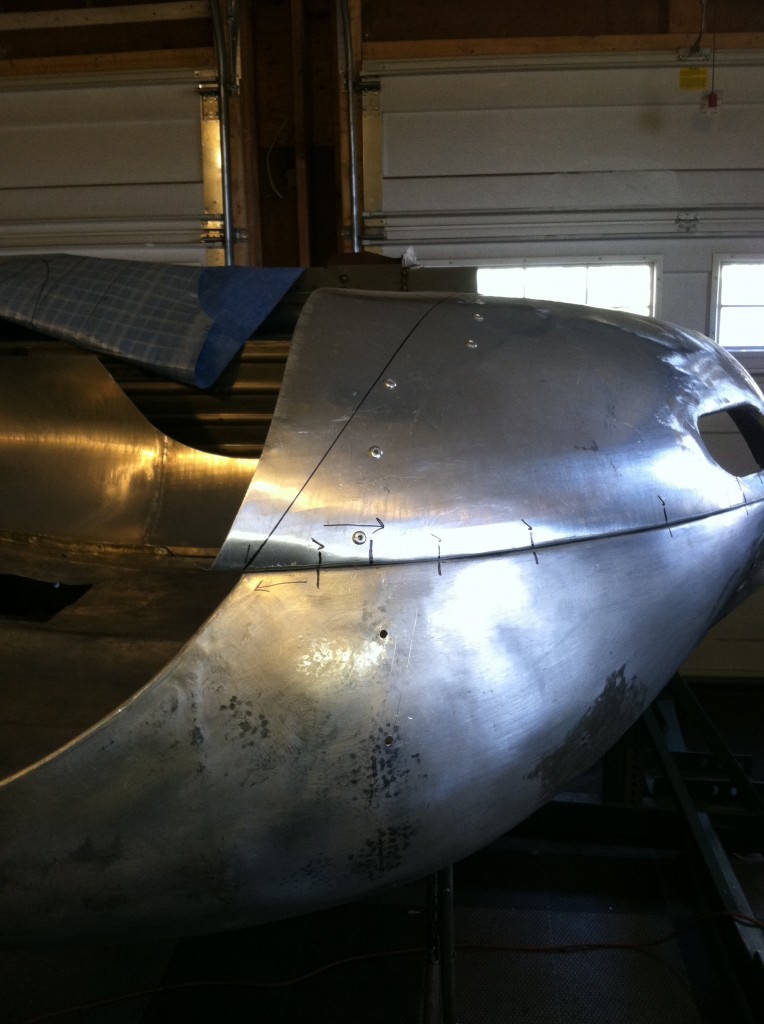
- I eventually decided that if I played my cards right, I could use this bridge piece to actually solve another problem – keeping the “valley” right where I wanted it – which was a BIG problem last year when working on this bonnet. So I put the seam between the old and new pieces right at the very bottom of the valley. Here, I’m figuring out where that is…
- After MASSIVE amounts of figuring, fitting, and marking, this is finaly location of the piece – although this is a rough cut. Here’ you can start to see that the tip of the power bulge is not centered. That has been that way for a LONG time, and with the history of this bonnet, the over-working of the metal, etc., I decided to leave it that way – it’s barely noticeable – if at all, when things are painted.
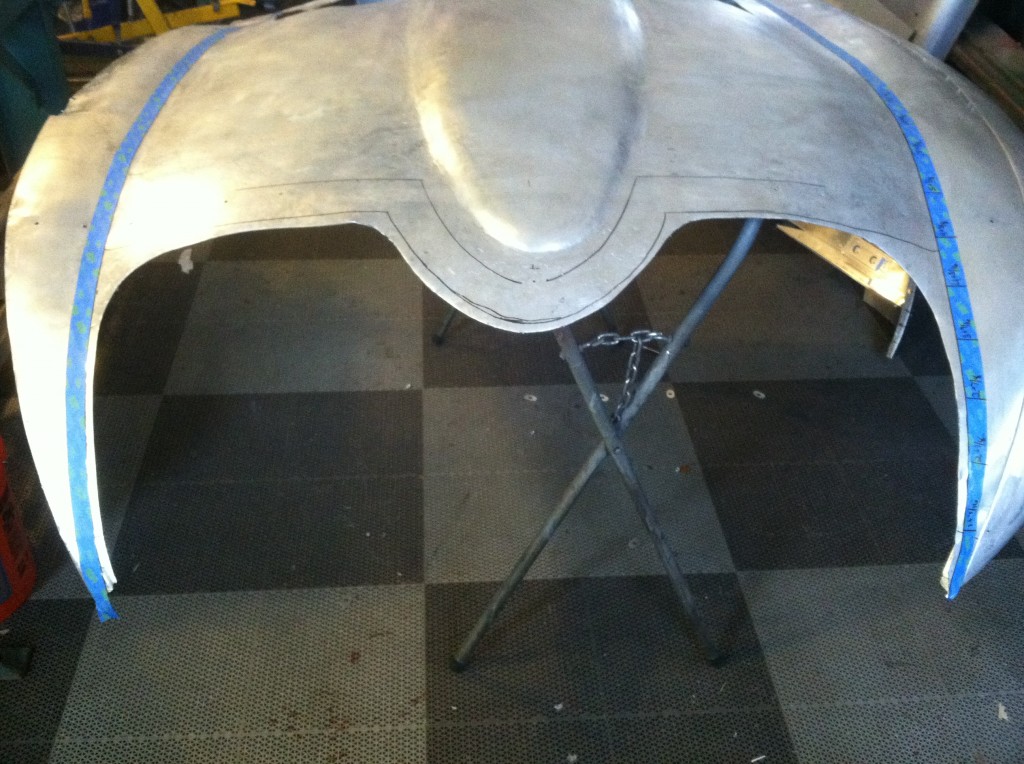
- Things are now trimmed toa final cut, and it is time to fit and mark the bridge piece.
- Another shot…
- The bridge piece is now fitted right where we want it.
- Another shot of the fitting – it goes under along the sides, but over along the back edge – that’s just what worked for the fitting…
- Back apart and ready to be welded…
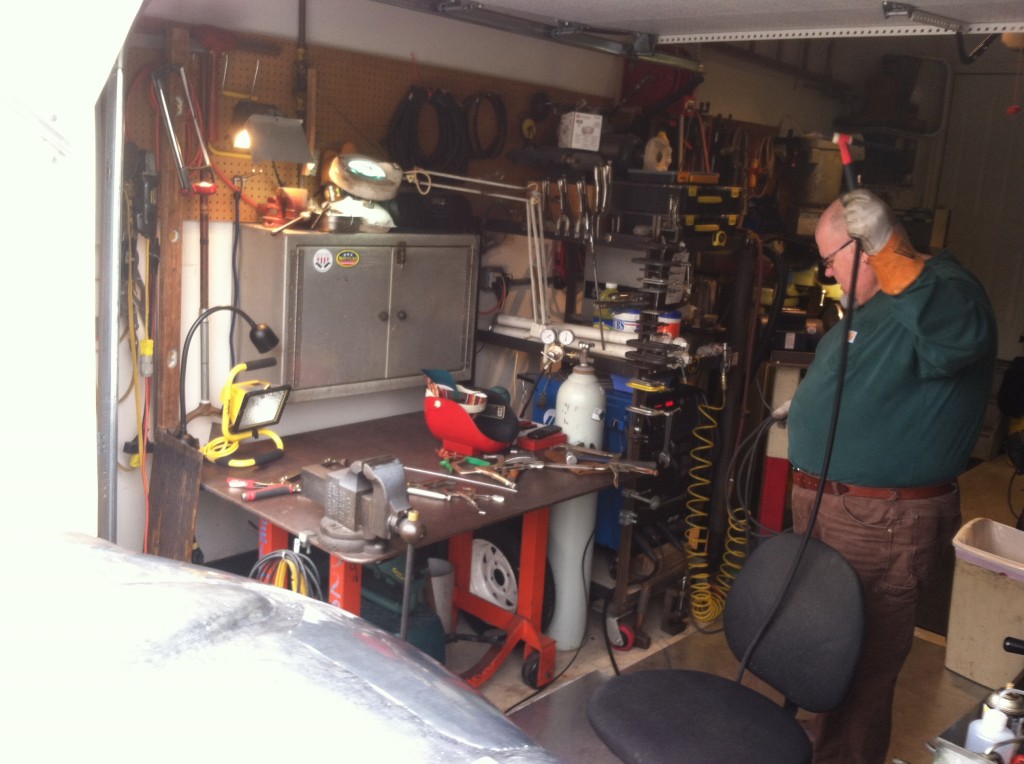
- …which was a job for Charlie – best aluminum TIG welder on the planet! This was a MARATHON session – there was about 10 feet of bead to run – on both sides!
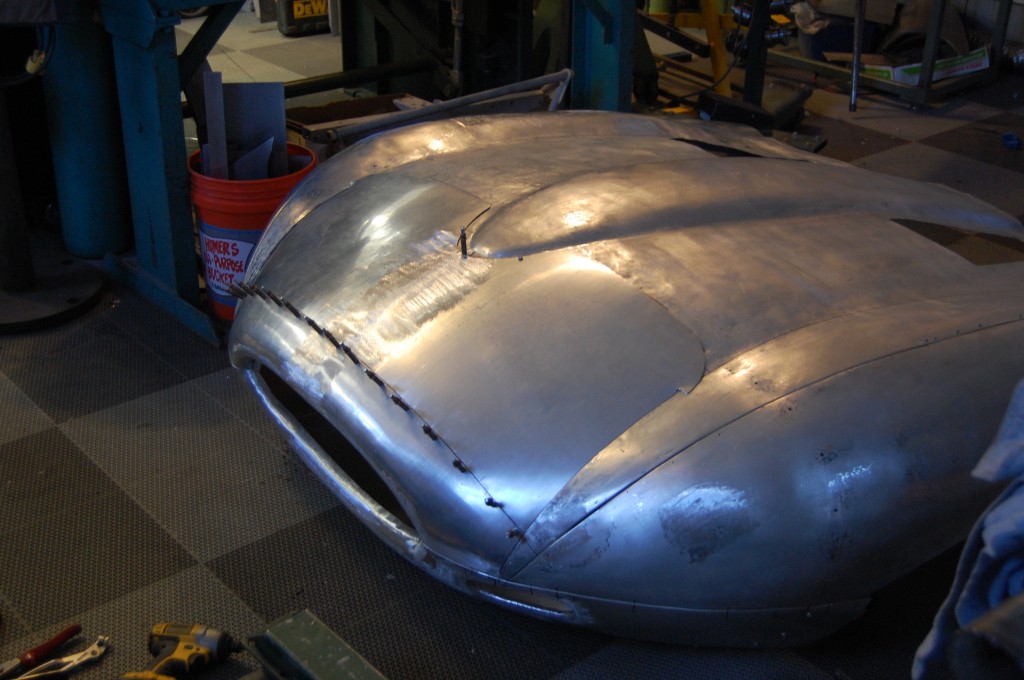
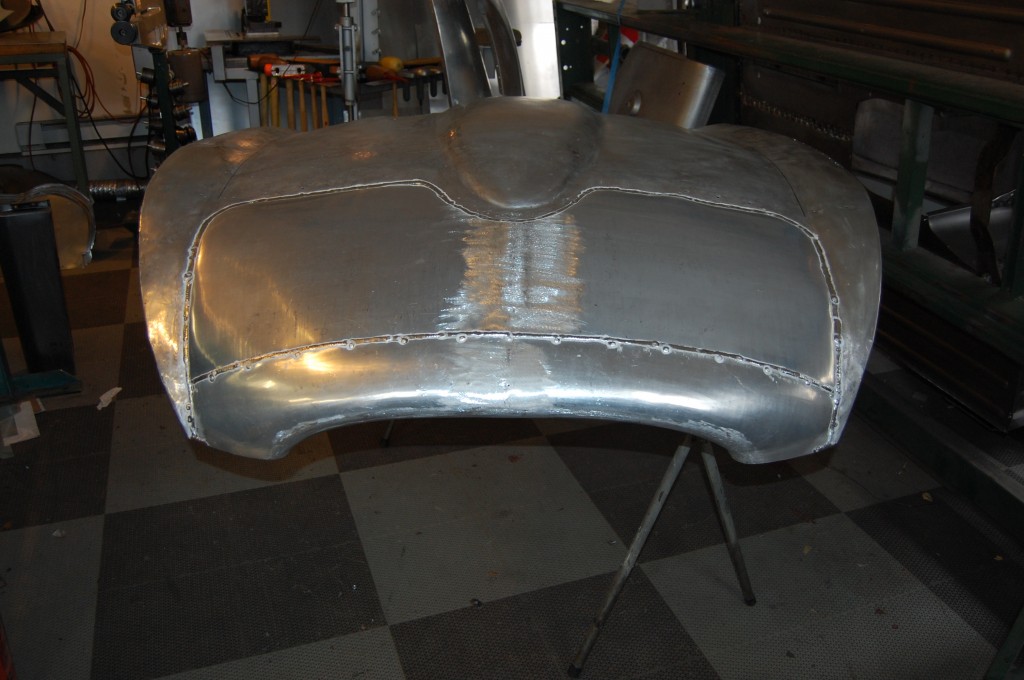
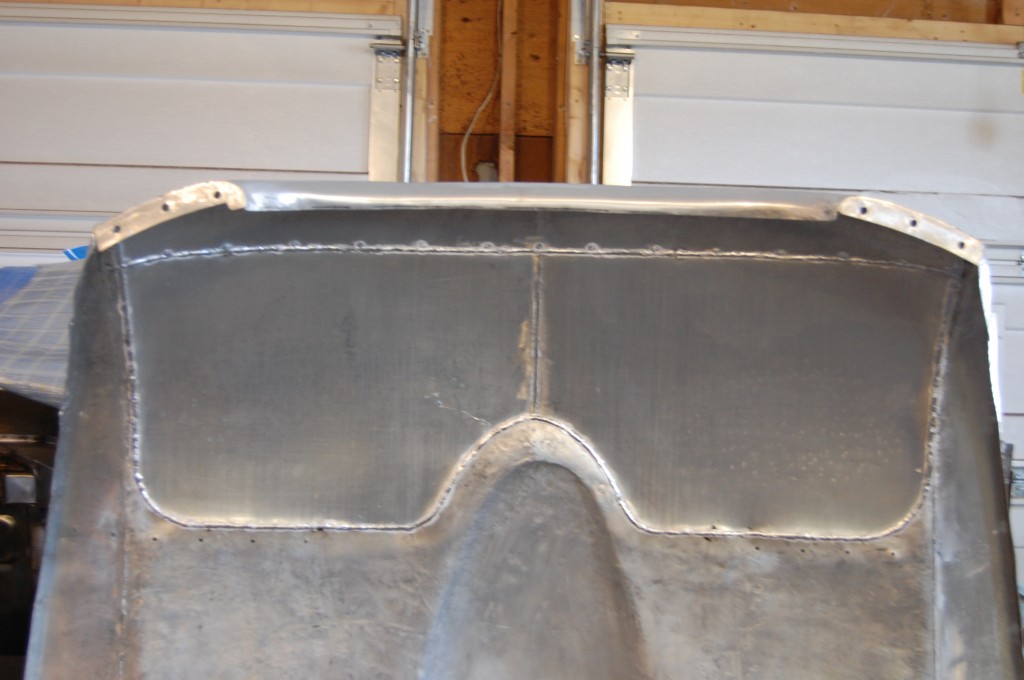
- Now she’s welded in and back at the shop – but there is MASSIVE planishing and dressing to be done!
- Man, that’s alot of weld to clean up…
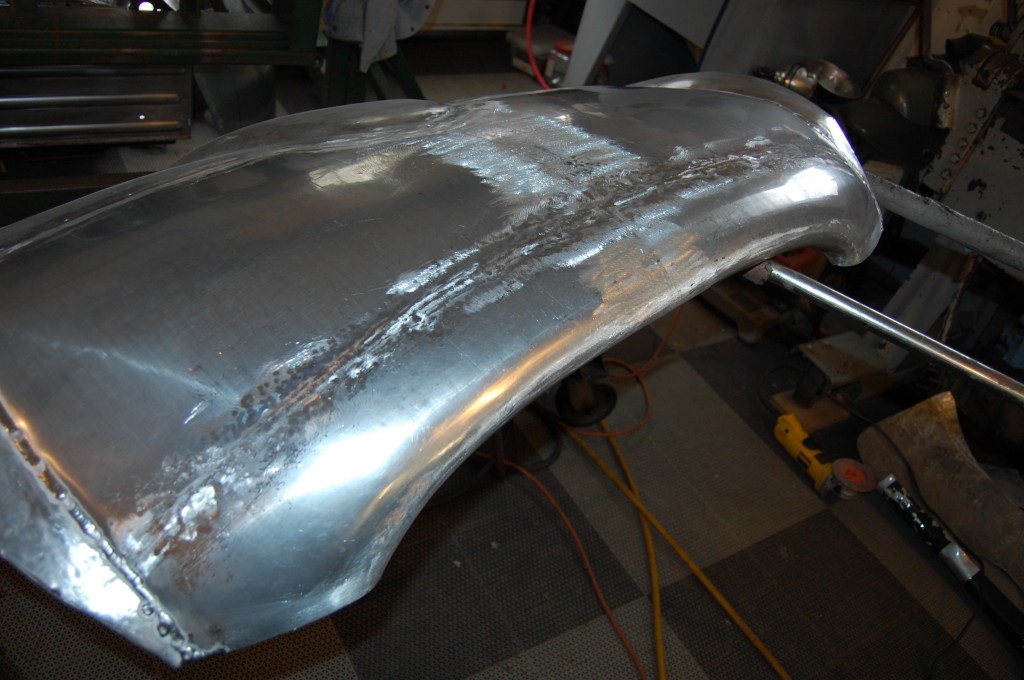
- First, it is planished – stretching things a bit in the process to take the shrinkage of the welding back out.
- Lots of hammer and dolly and slapper work comes next…
- …and then we’ll dress it down with a sanding disc as a final smoothing step.
- Outside for another fitting session to see if things are OK and we can move forward.
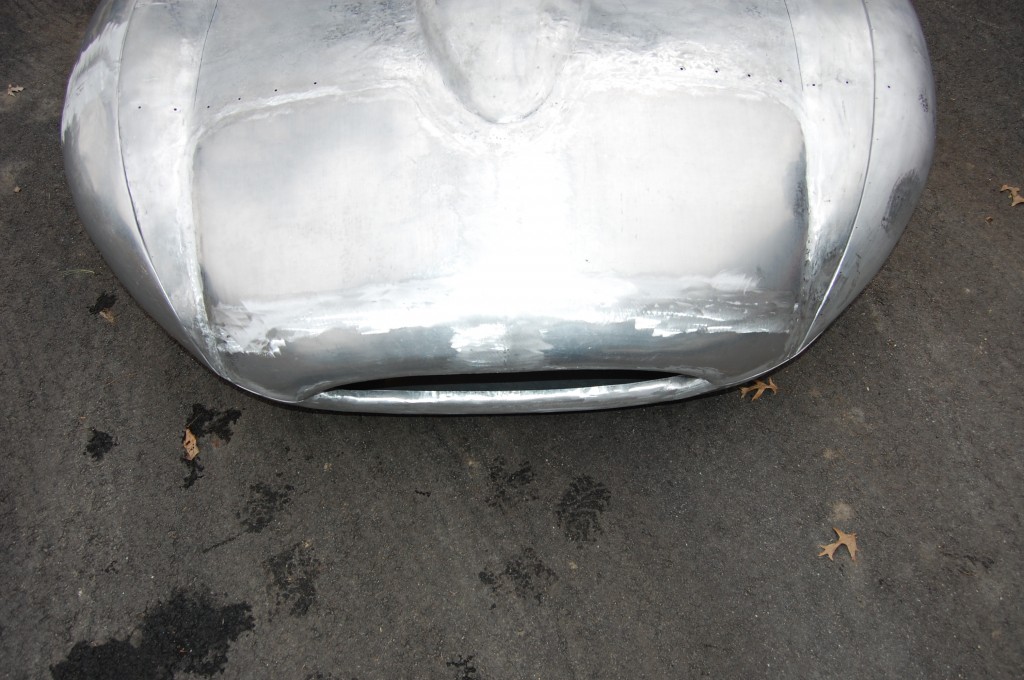
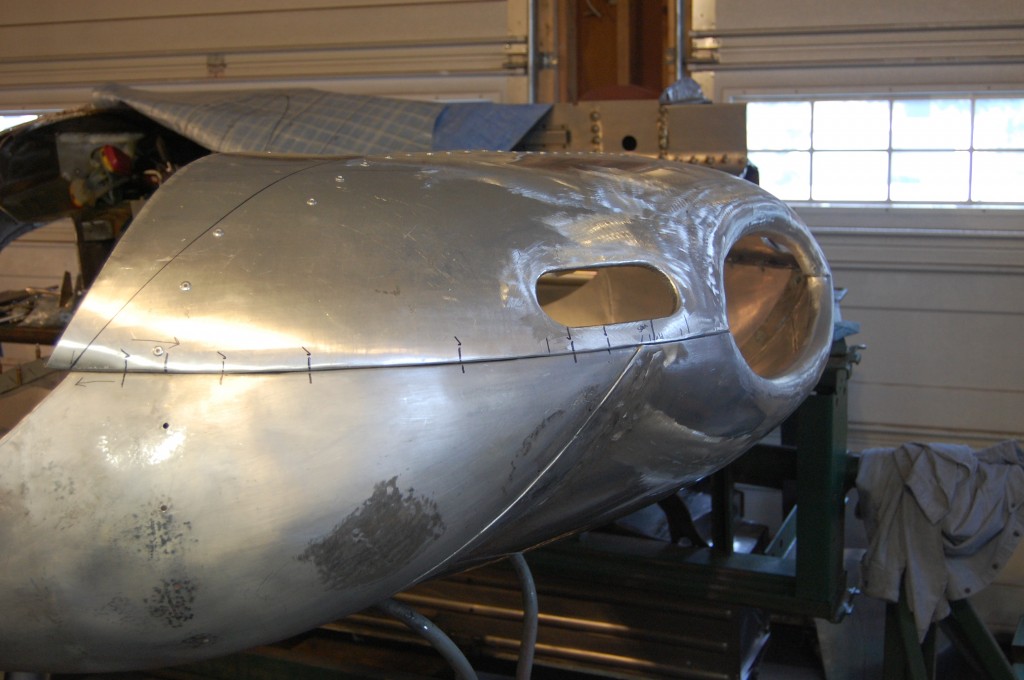
- And it looks pretty good! NOW we’re getting somewhere!
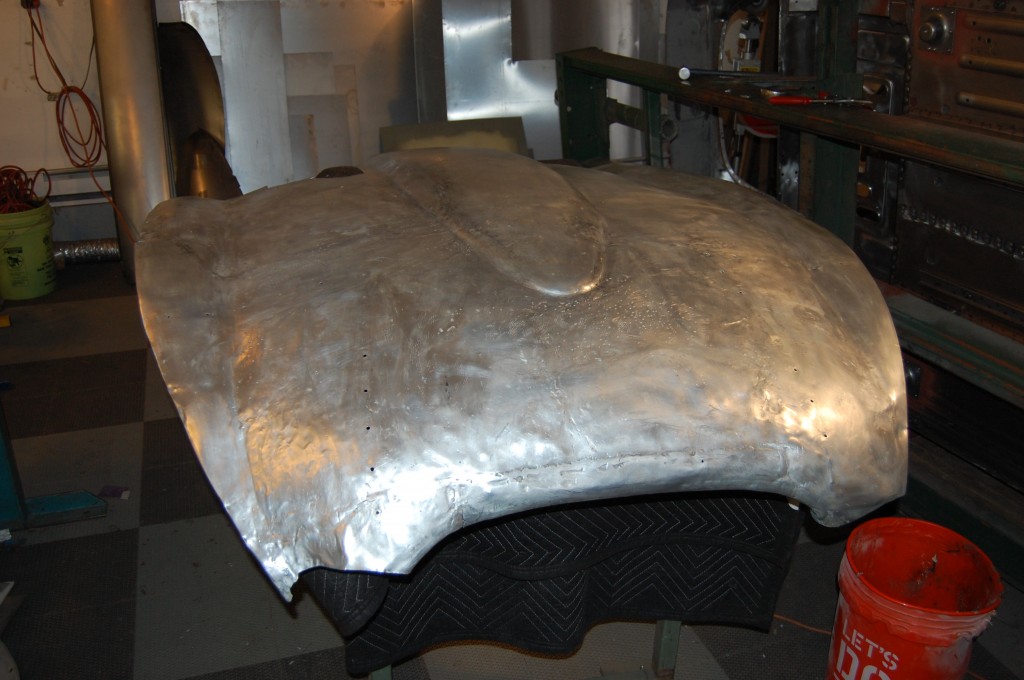
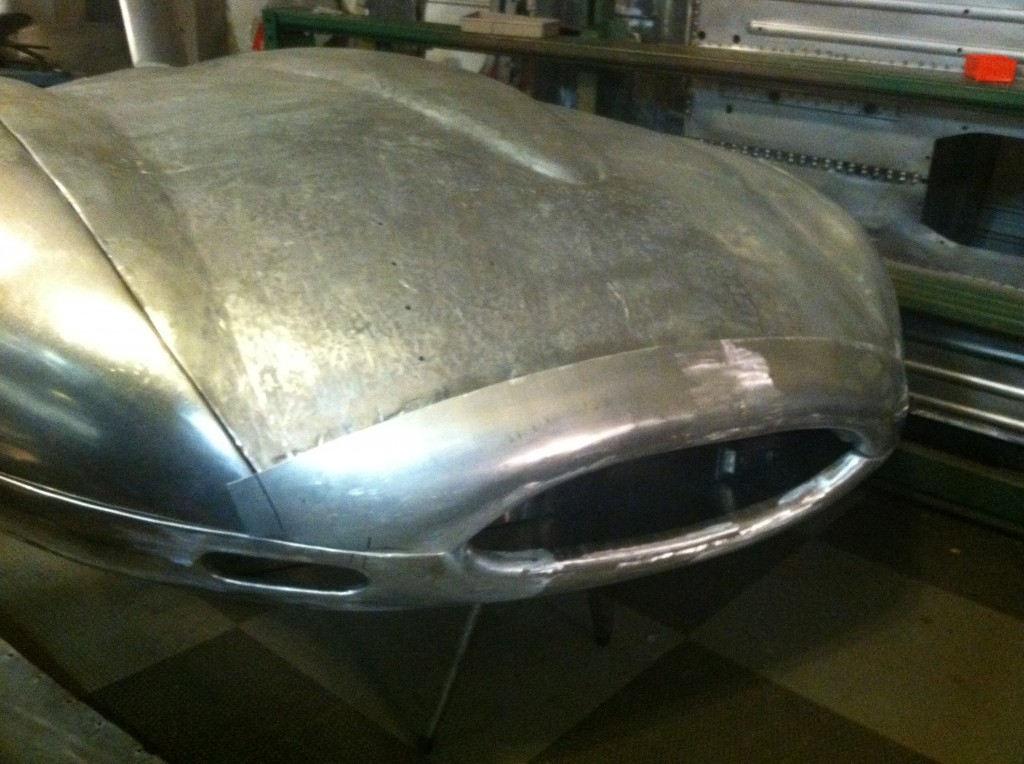
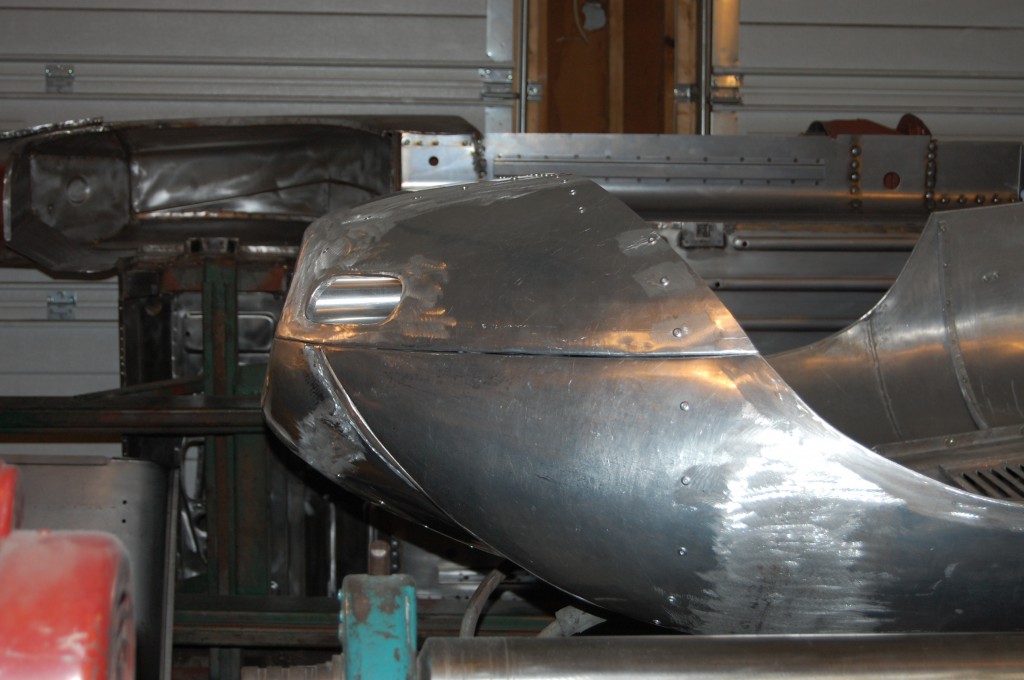
- There’s getting to be VERY LITTLE left of the original Jaguar racing piece – basically just the power bulge! Over the past 18 months, I personally fabricated EVERYTHING ELSE! Note that while they are not completely smoothed and finished up, the “valleys” are right where they should be!
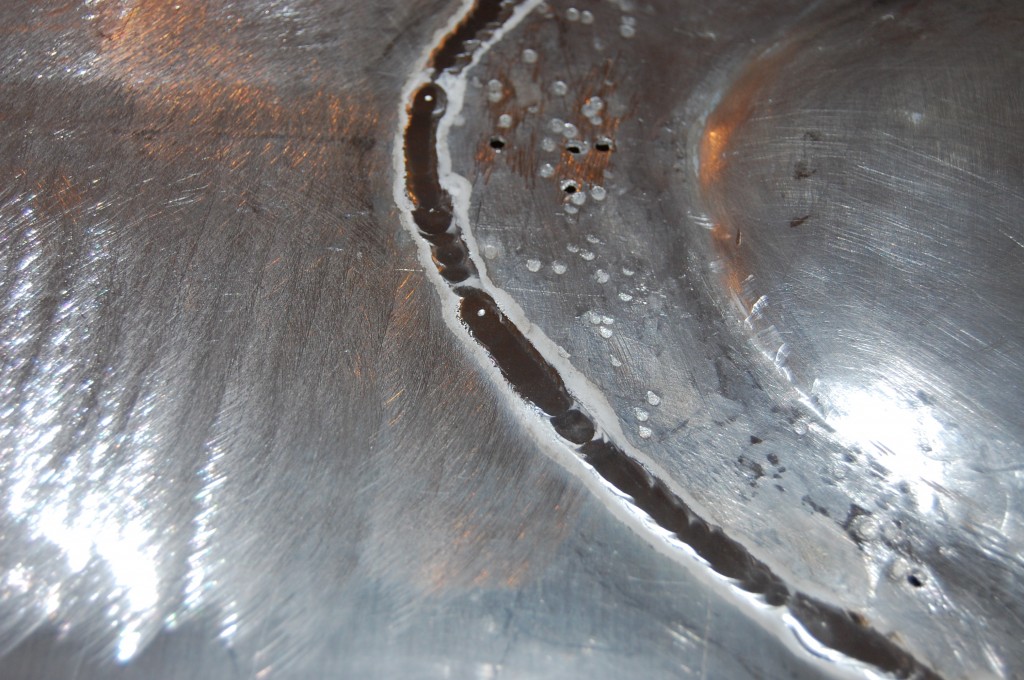
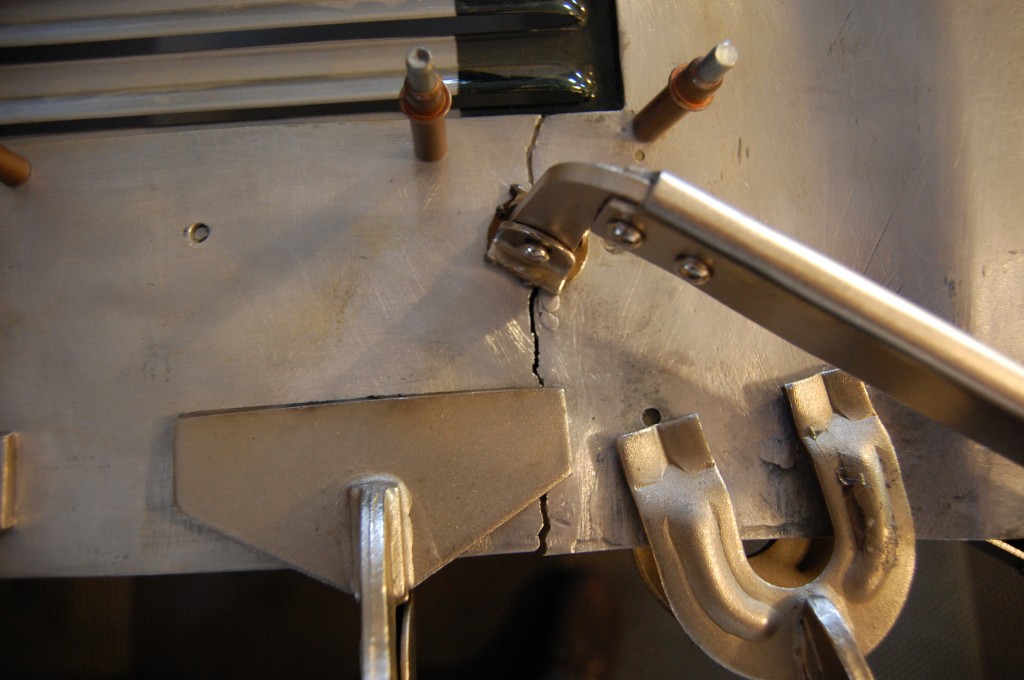
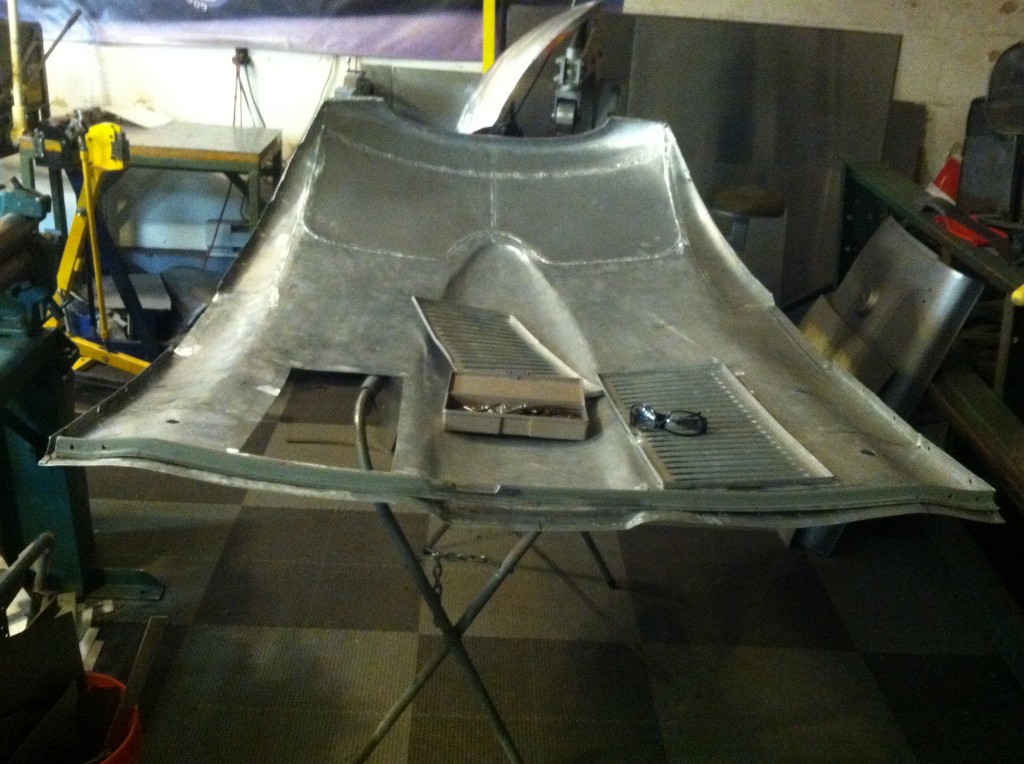
- Next we took things back apart and got everything ready for final assembly. The rear of the center section needed alot of attention… At some point in the past, large patches had ben put in back there of a much harder aluminum. This is a seam between the original bonnet and those patches that had cracked and split during all this work…
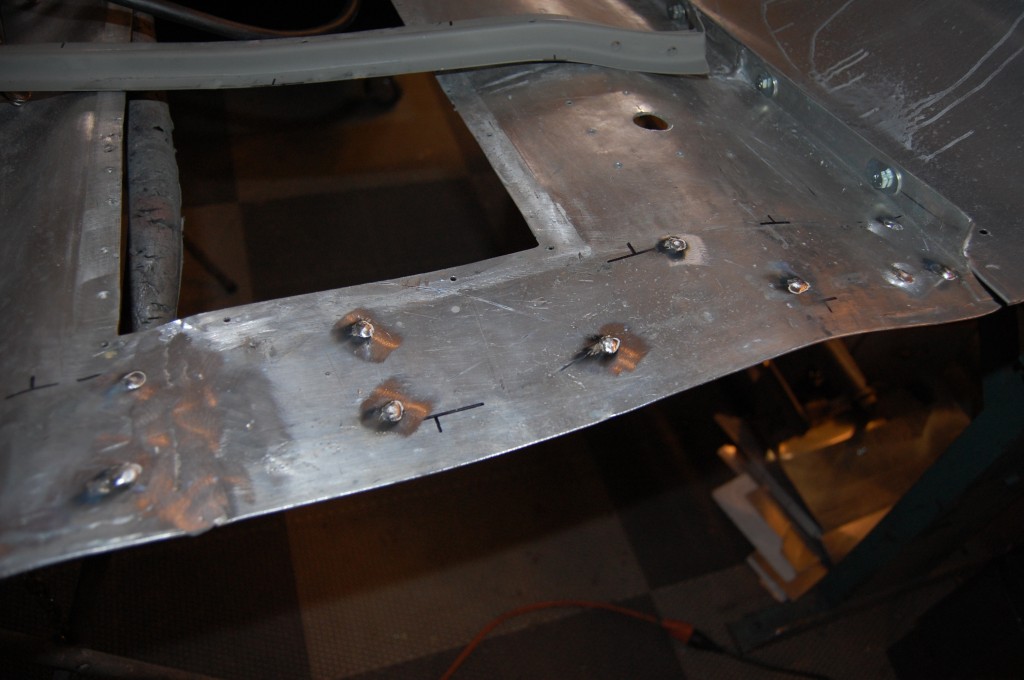
- This year, we purchasec a spool gun for small aluminum repairs, and that works great for filling holes! SO – being sick of looking at all of the “disorganized” rivets in the rear of this bonnet, I welded up EVERY SINGLE rivet hole for the rear support and the louvers, and just started over!
- Lots of marking and re-figuring was required to get the best spacing for the rivets back here – I’m pretty anal that way…
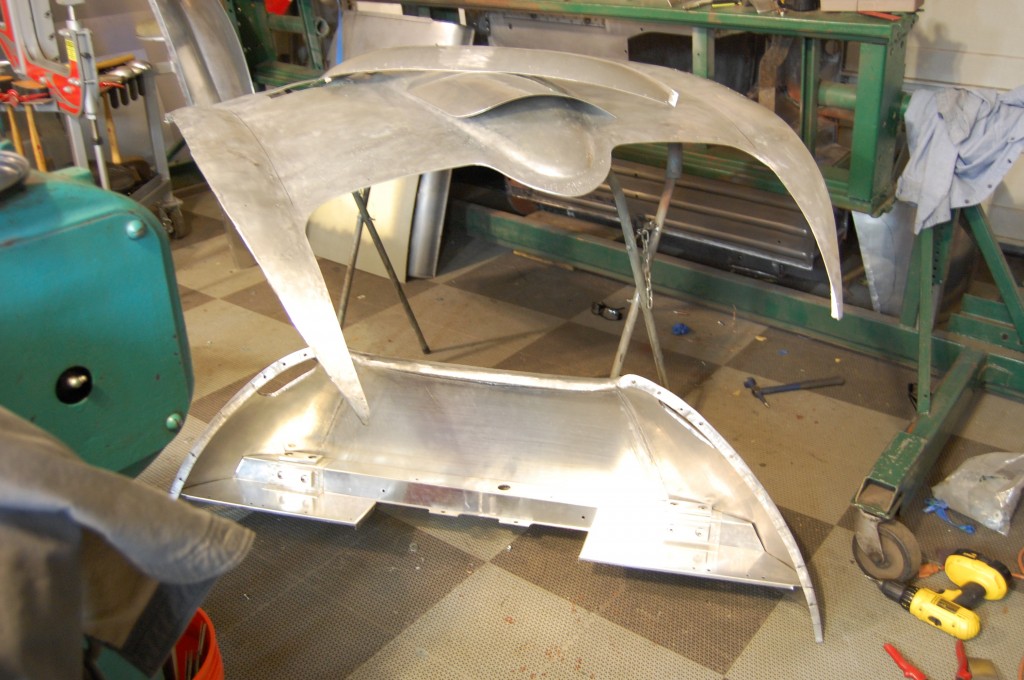
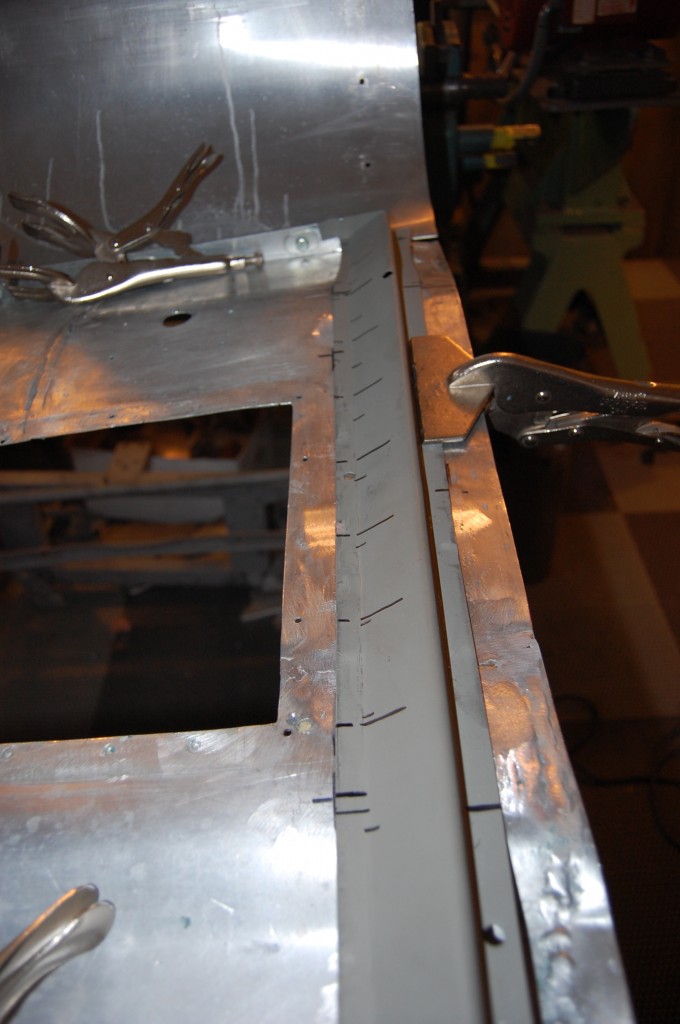
- Another test fitting of the large pieces so we can trim the rear edges of the lower valance to meet the wheel arch smoothly.
- Here’s a shot of the other side – things will mate up better once we get the wired-edge into the wheel arch…
- Another shot…
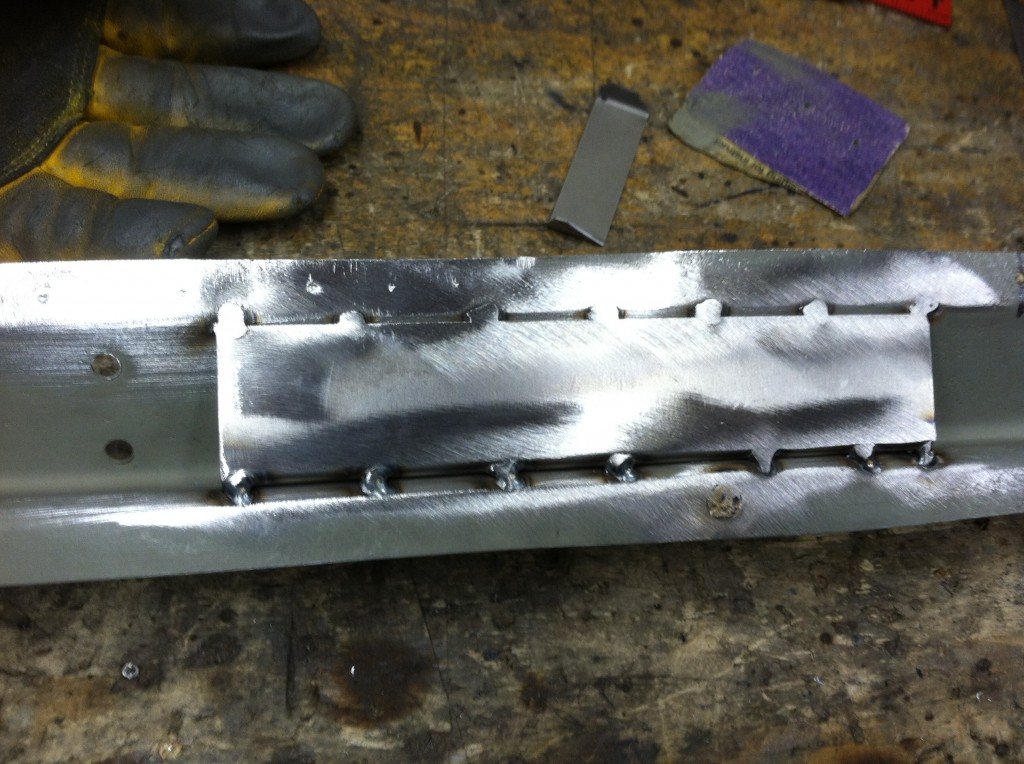
- Last season, brian had trouble with the RH rear cam cover studs rubbing this piece, so this year, I cut a relief into it – but welded this brace in to put the strength back in. This is an original steel support piece from a dead bonnet – I really like having this steel piece in there to give the rear edge of the bonnet strength and shape. It costs us about a pound – which drives the guys at Donovan CRAZY!
- Here is that notch…
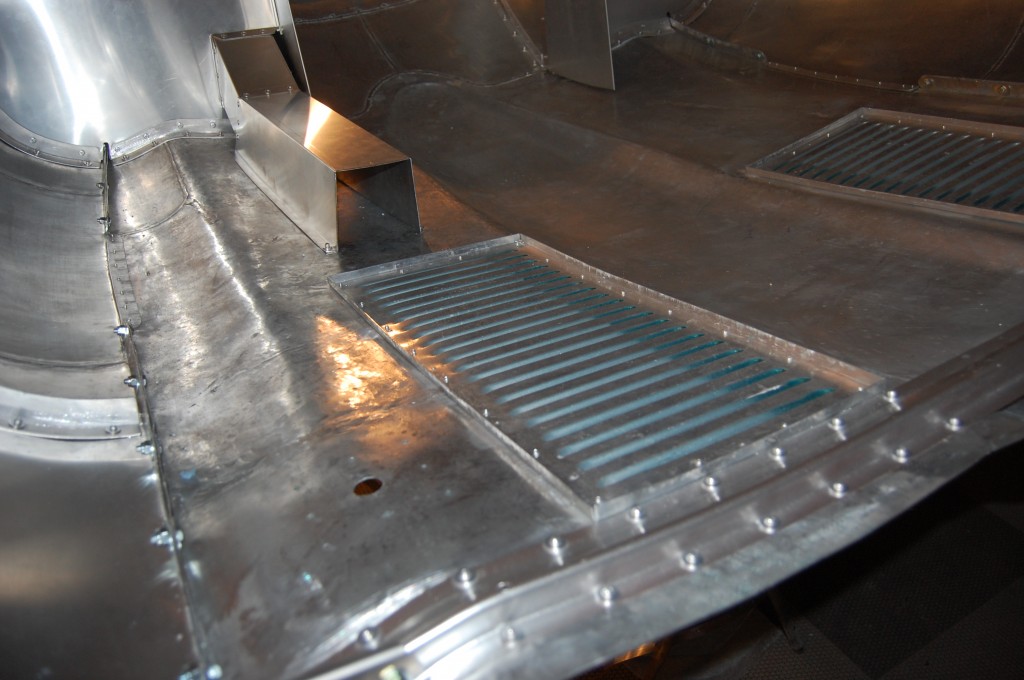
- The rear support is now painted silver, riveted in, and so are the louvers.
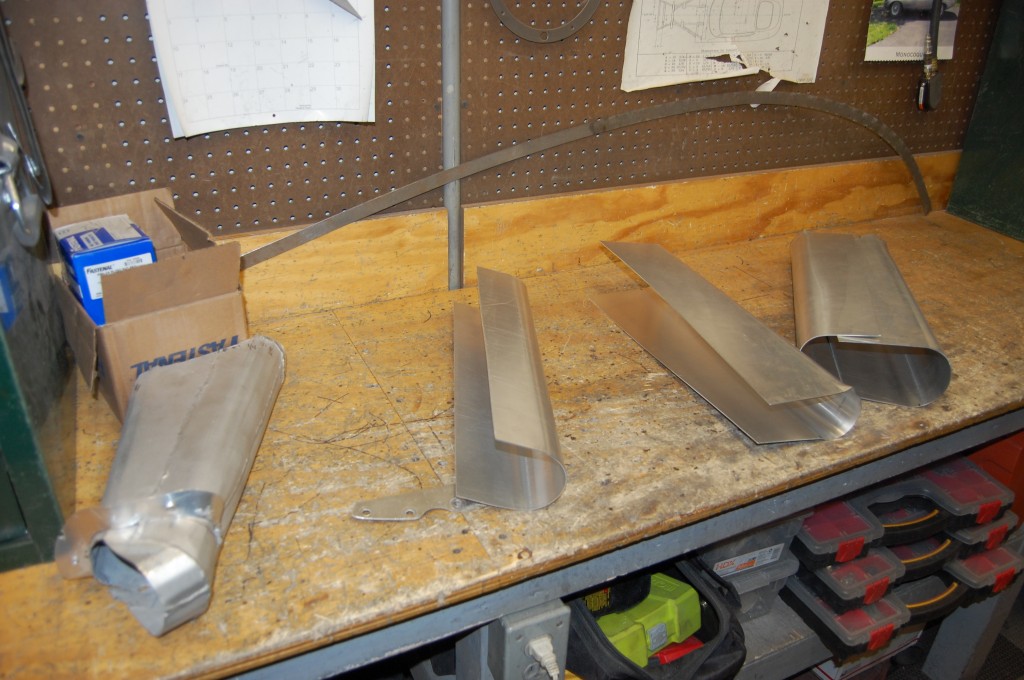
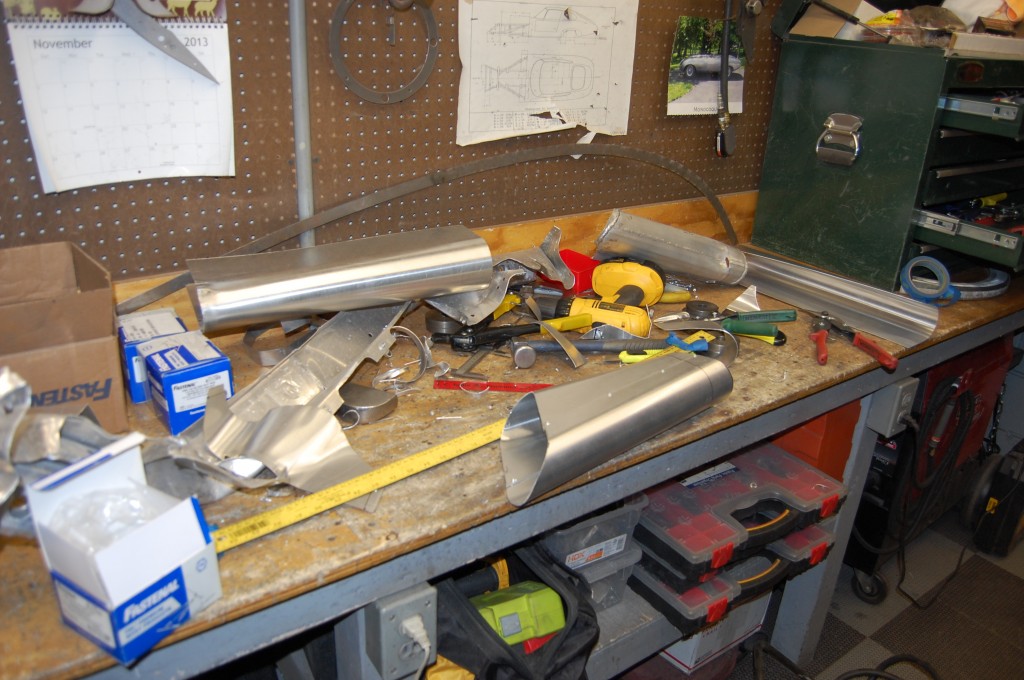
- Next, we needed to make new brake ducts – one got “lost” this past year…
- That was a real advanture – this was a late night in the shop – I was watching “Mystic Pizza” during this…
- Done!
- Cleaner and lighter – I cheated a bit and used rivets rather than weld that whole seam – it would have been overkill anyway…
- Other side.
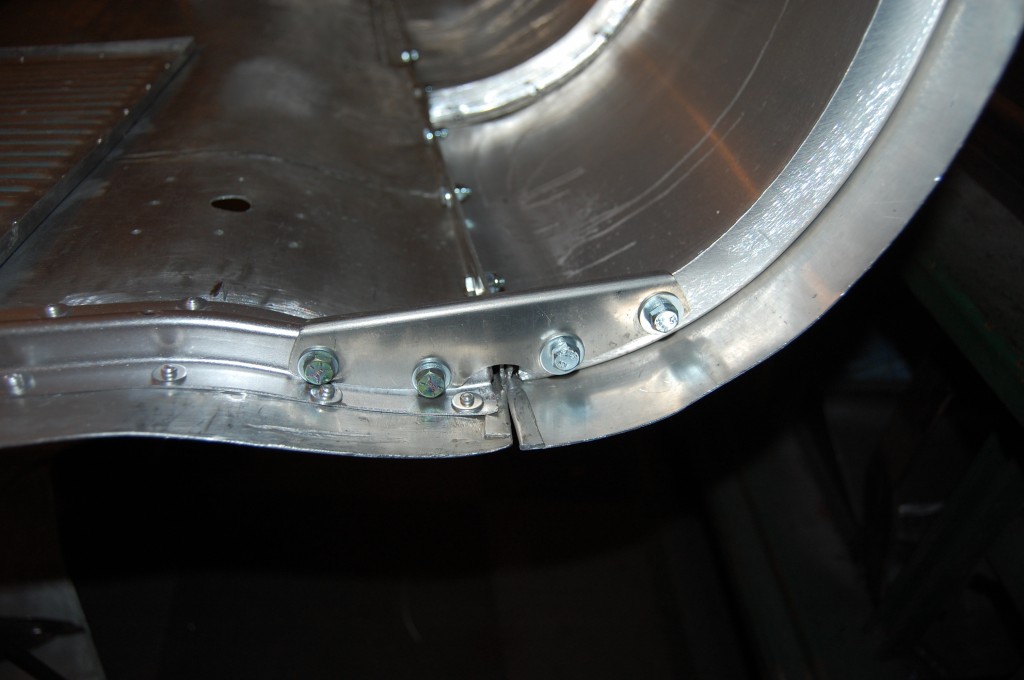
- Now, it was time to make all new flanges of heavier aluminum. We had some problems with some of the flanges last year as far as strength – Not this year!
- And the other side… These photos are very rewarding to look at – I made EVERYTHING you see!
- The project was a nightmare, but there are happy times of great pride – this was a selfie I sent to my kids who were away for the weekend with Janie while I stayed home to knock this out.
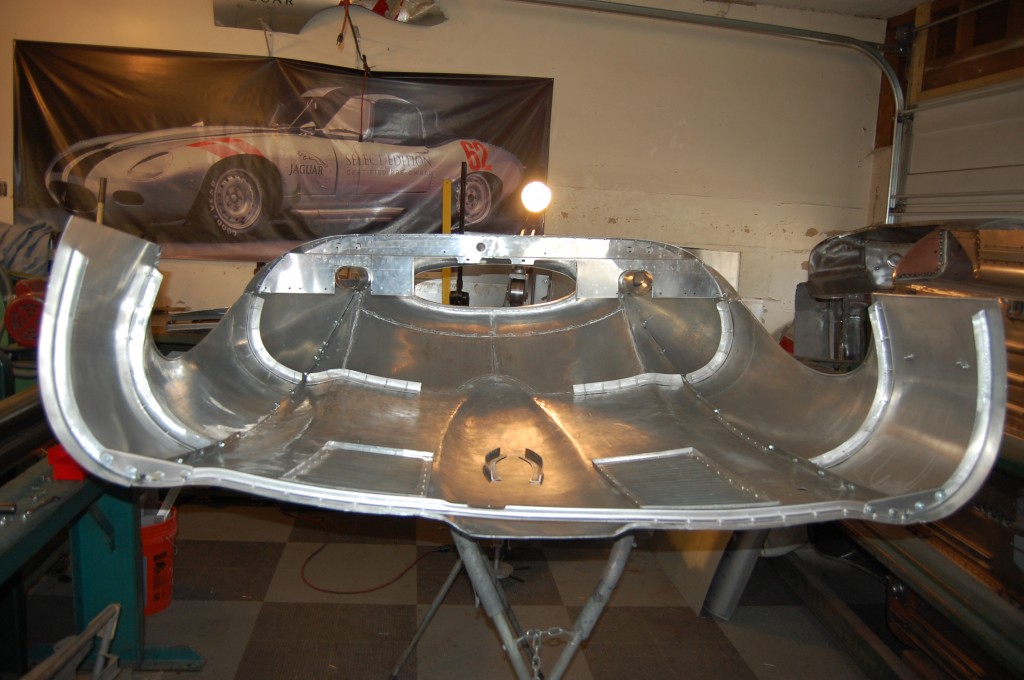
- OK – all together fiunally, and I’ve made all new flanges in the heavier gauge aluminu, but now we have a new issue – it’s “wracked” – twisted. The internal panels could help with that – ALOT – IF – we get things lined up right before we make and install them… Hmmmmmm……
- Here was my answer – straighten things out, THEN build and install the inner panels. I used ratchet straps to the rotisserie on one end and the roller on the other to pull down two opposite corners and straighten things out. DON’T TRY THIS ON YOUR BONNET! I could only get away with this because all of my flanges are riveted to the skin. If they were glued, this would not have worked…
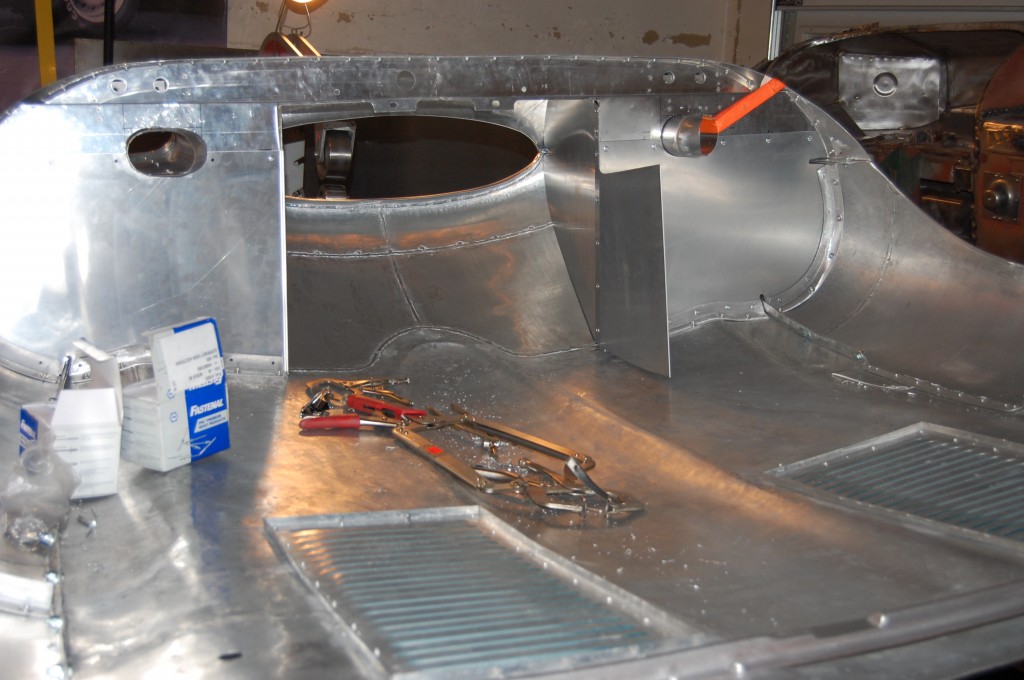
- Time to start making the new inner walls.
- Things are coming together nicely, but this is meticulous work, and these are LONG days!
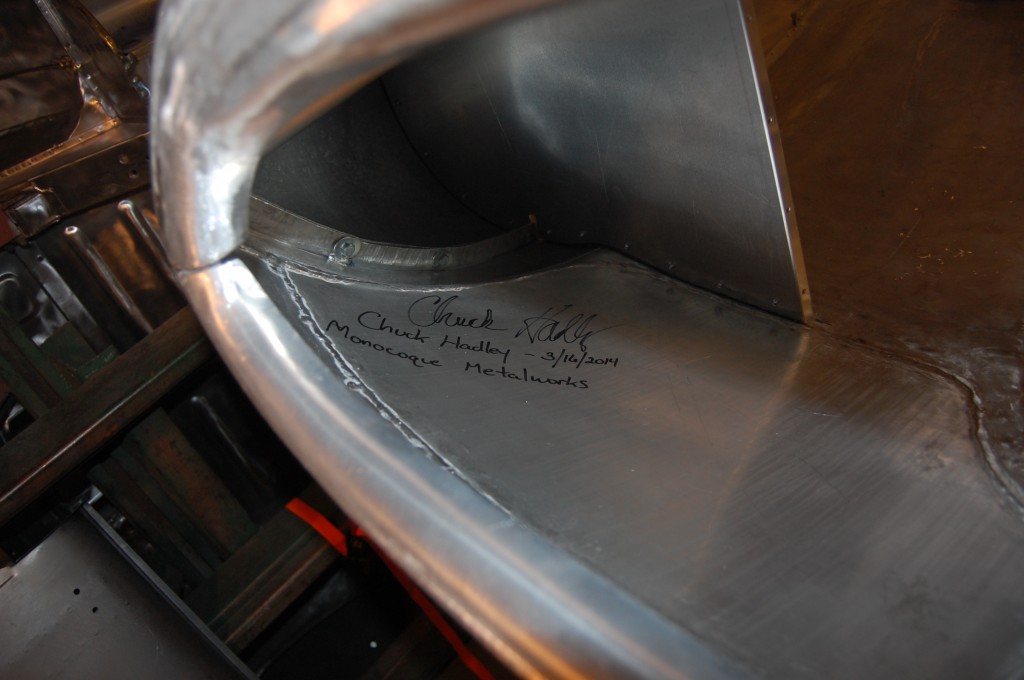
- It’s not the greatest work out there (it seems like there is always someone doing it better…), but I’m proud of this stuff, and I sign all my work…
- Next comes these inner walls.
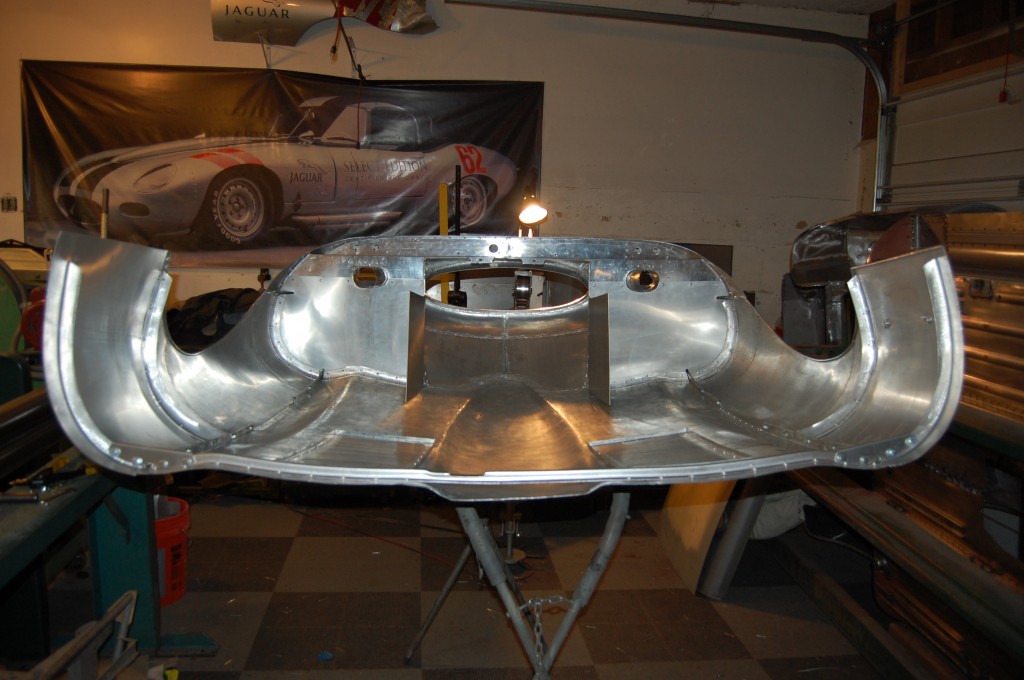
- All the walls are in, the straps are off, and we are DEAD STRAIGHT! PHEW!!!
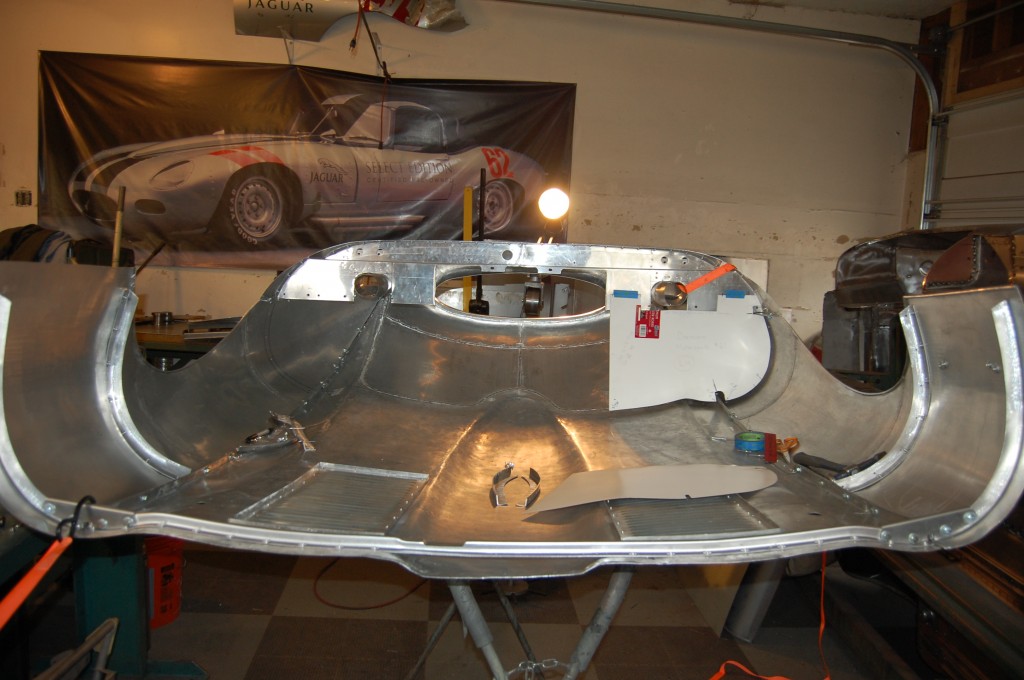
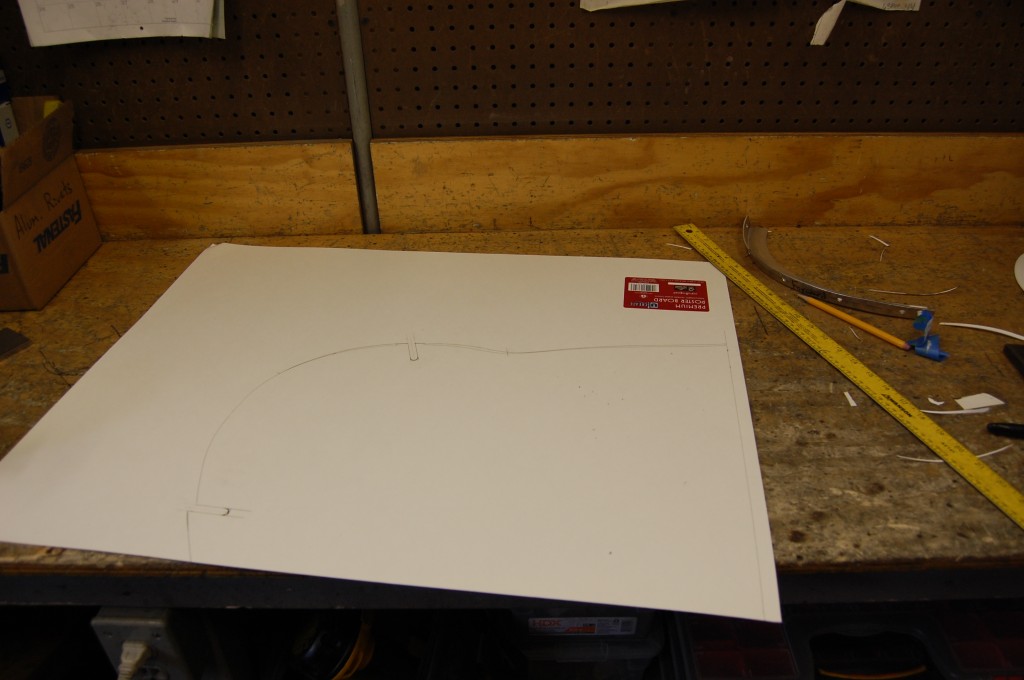
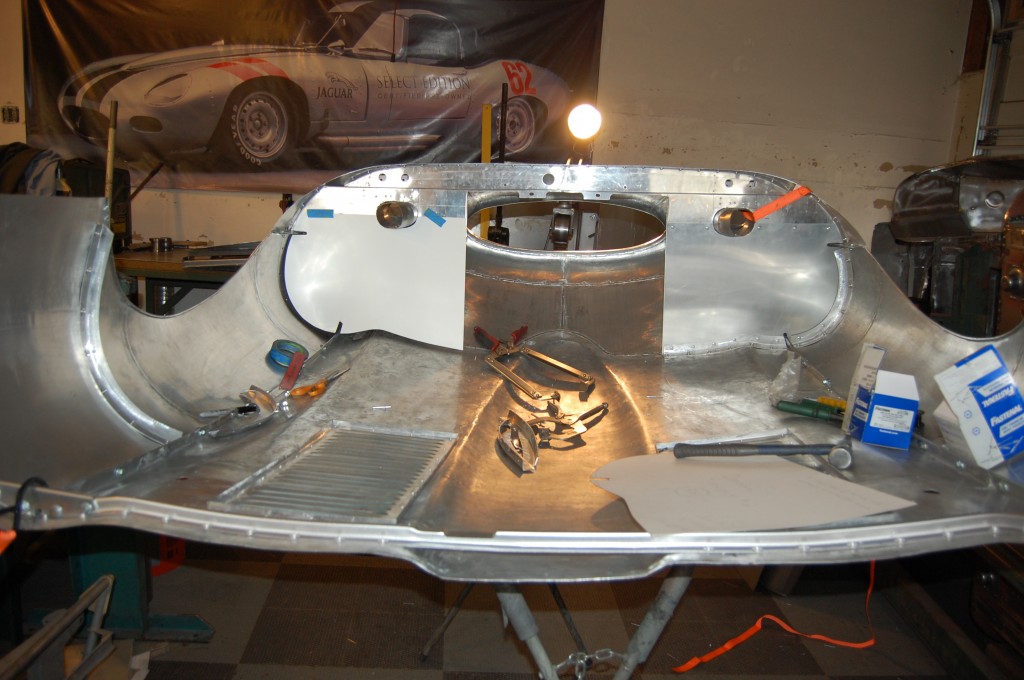
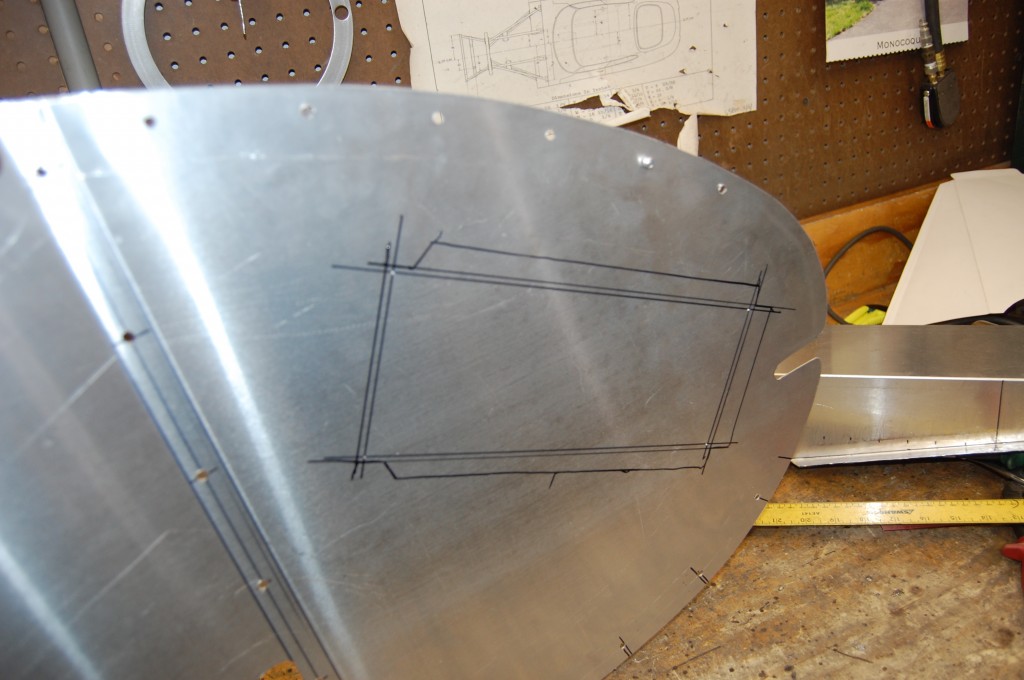
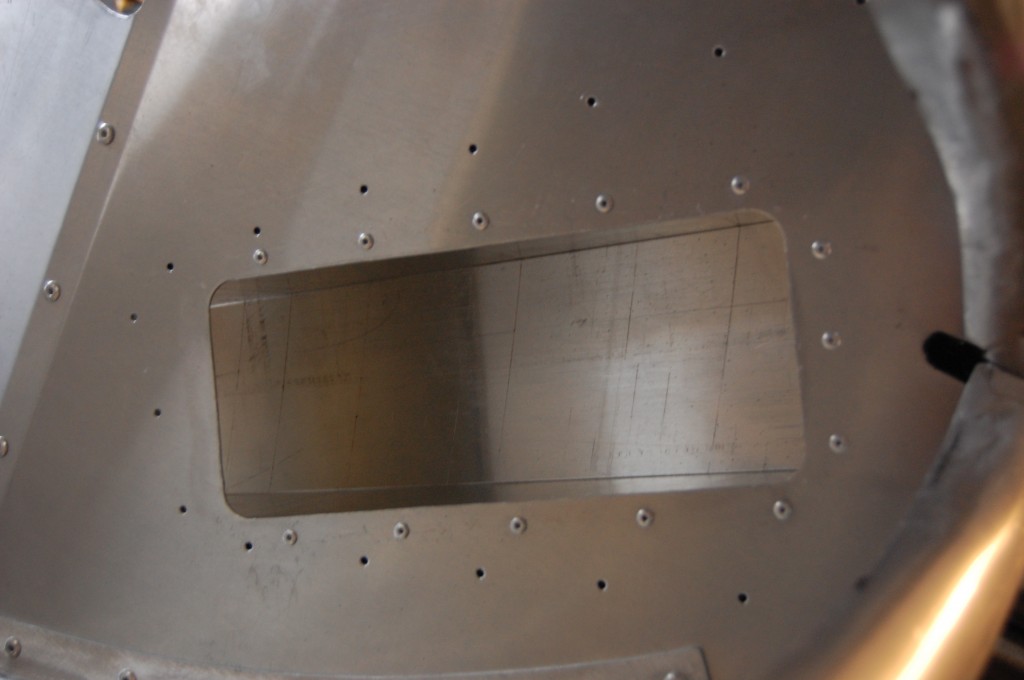
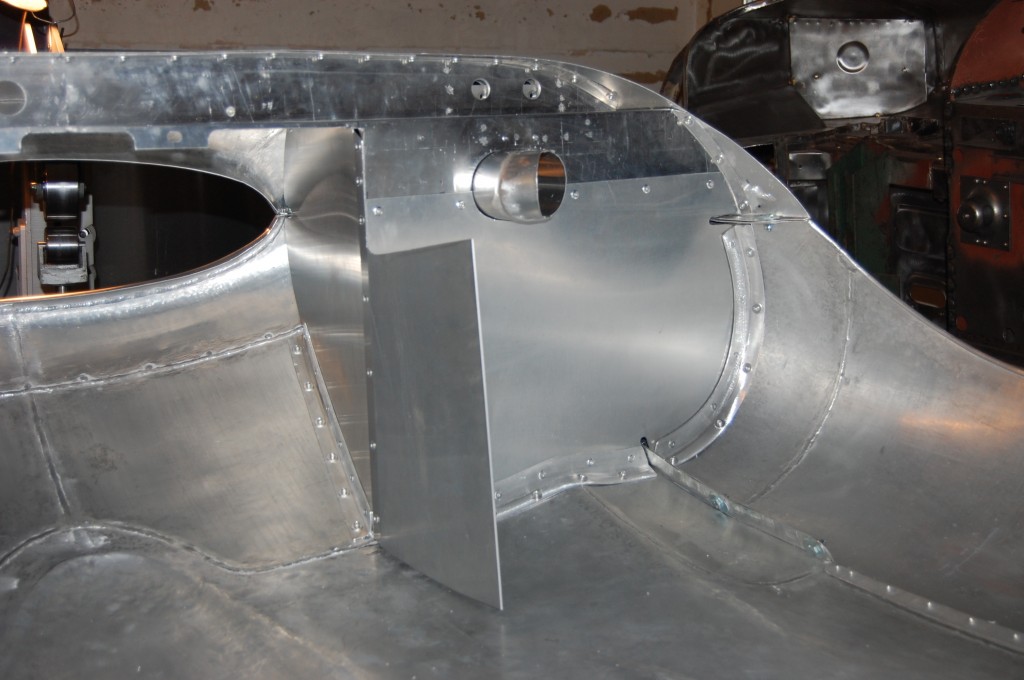
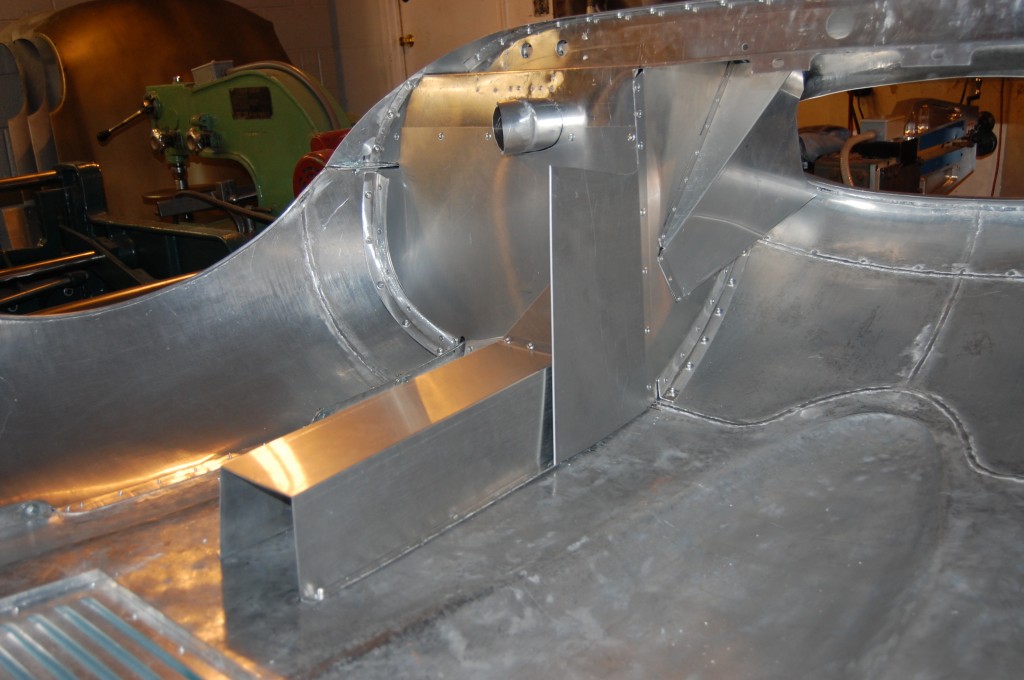
- This RH wall then came back off for the fitting of the new fresh air ducts. As you can see, getting this right takes ALOT of trial and error – BEFORE you cut!
- Things need to line up right on BOTH sides!
- Late, long nights – and lots of coffee…
- But results like this are well worth it!
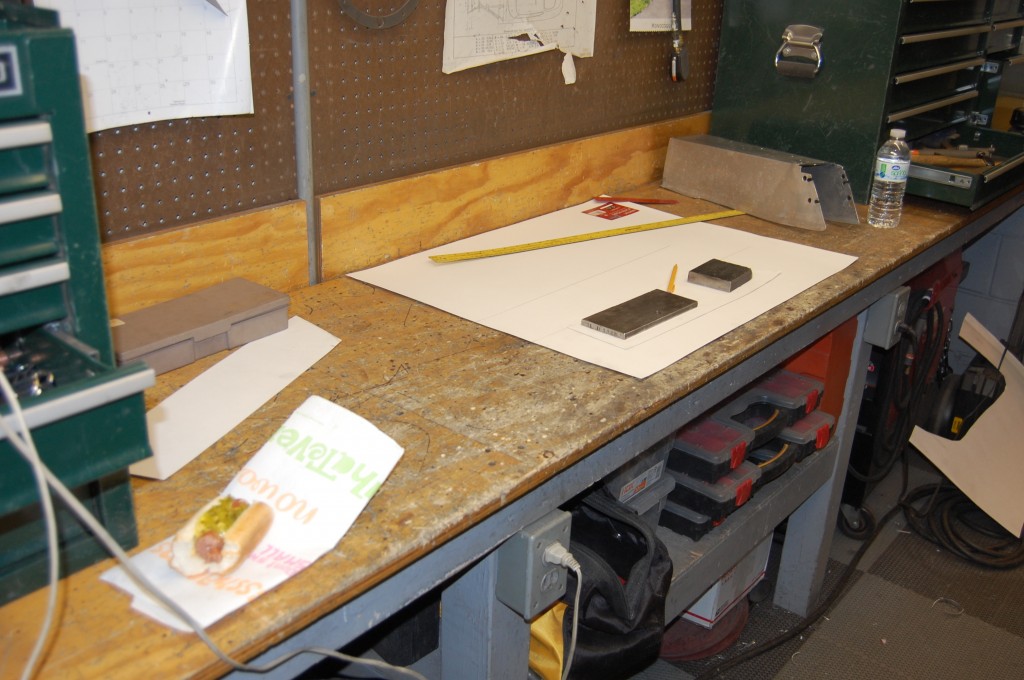
- Janie brought me out this hot dog late one afternoon when I started acting weird – she can always tell when I’m hungry! I just keep working sometimes and forget to stop and eat!
- The final piece!
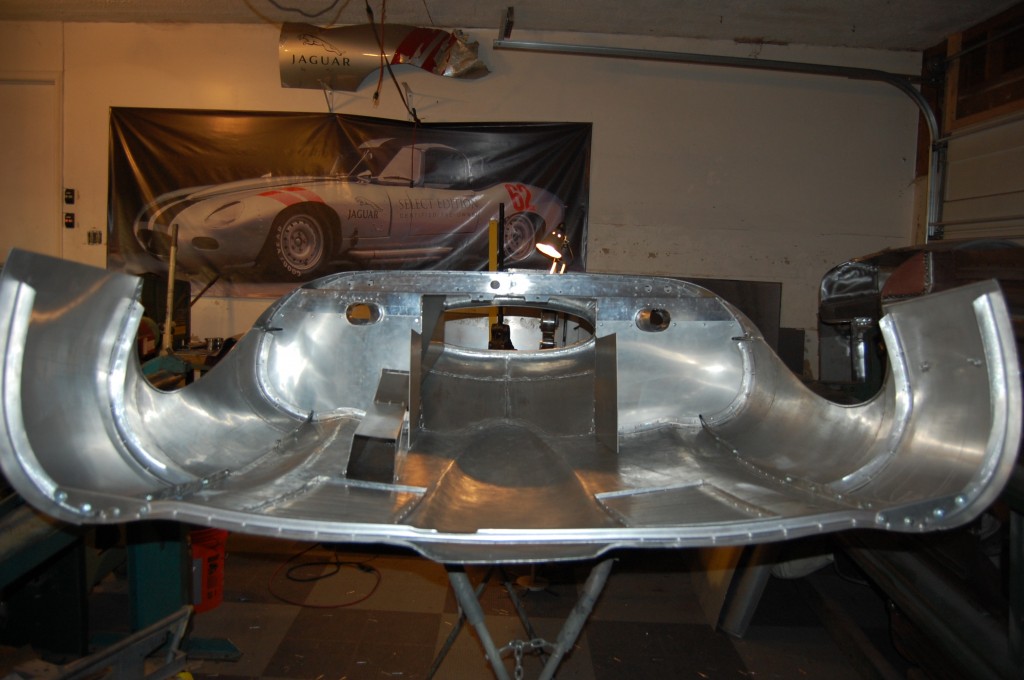
- Finally – DONE!
- Nice and clean – and in the process, we were able to move this wall forward 3/4″ to give us more tire clearance.
- The fresh air ducting was all new – and me were able to make it larger and less restrictive in the process.
- I may have gone a little overboard with the rivets in the rear support, but things were messy with the skin back there, and this helped – ALOT.
- Aluminum center-to-wing brackets.
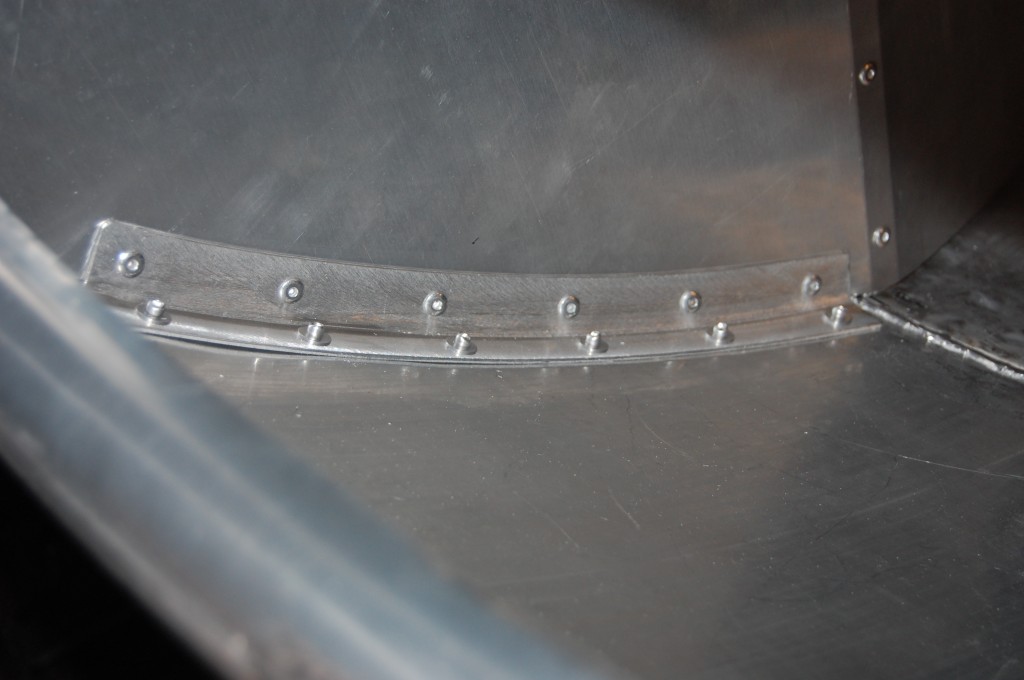
- Rear edge of the rear lower valance is trimmed to match the wheel arches – which now has the wired edge in it.
- All new flanges of the heavy aluminum allowed us the straighten this bonnet out. My signature is hidden right behind this wall to add some history for wheover opnes this up in 30 years (or 30 days – it’s a VERY active racer!)
- The new fresh air ducting gives PLENTY of access to the GIANT Weber carbs!
- The end of a LONG haul to finish her up – 10 straight days virtually around the clock…
- Lots of air will be blasting down this chute at 140 mph!
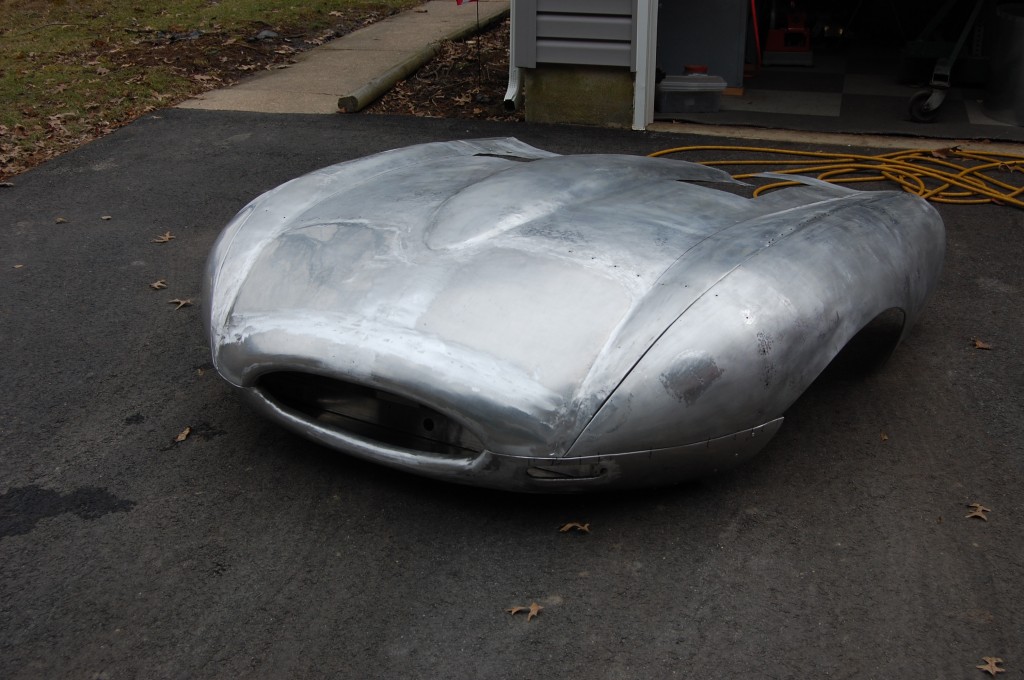
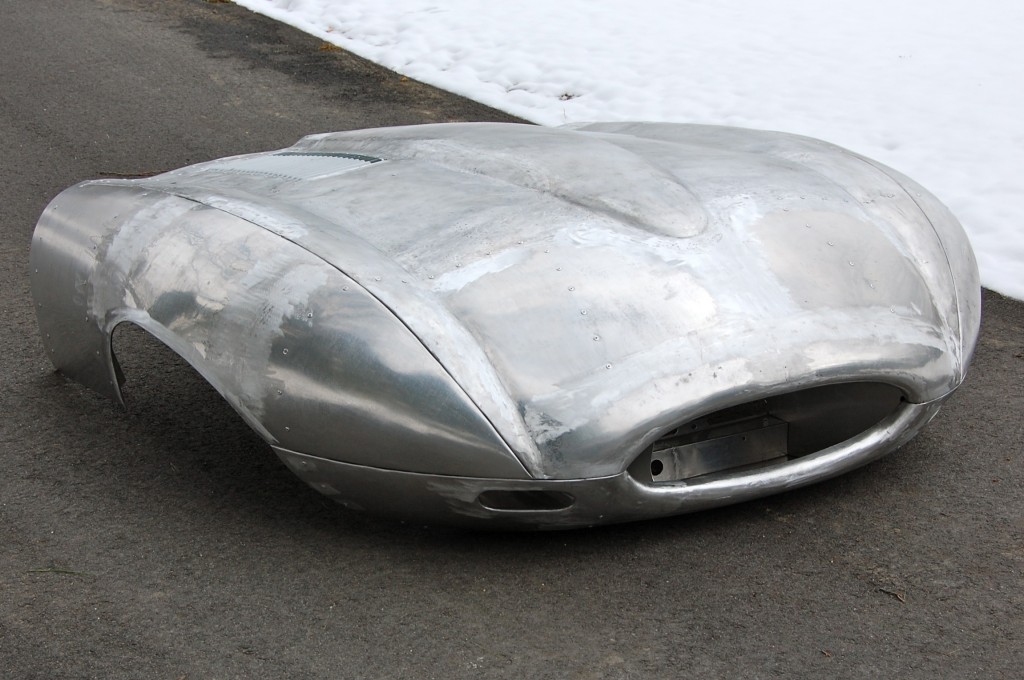
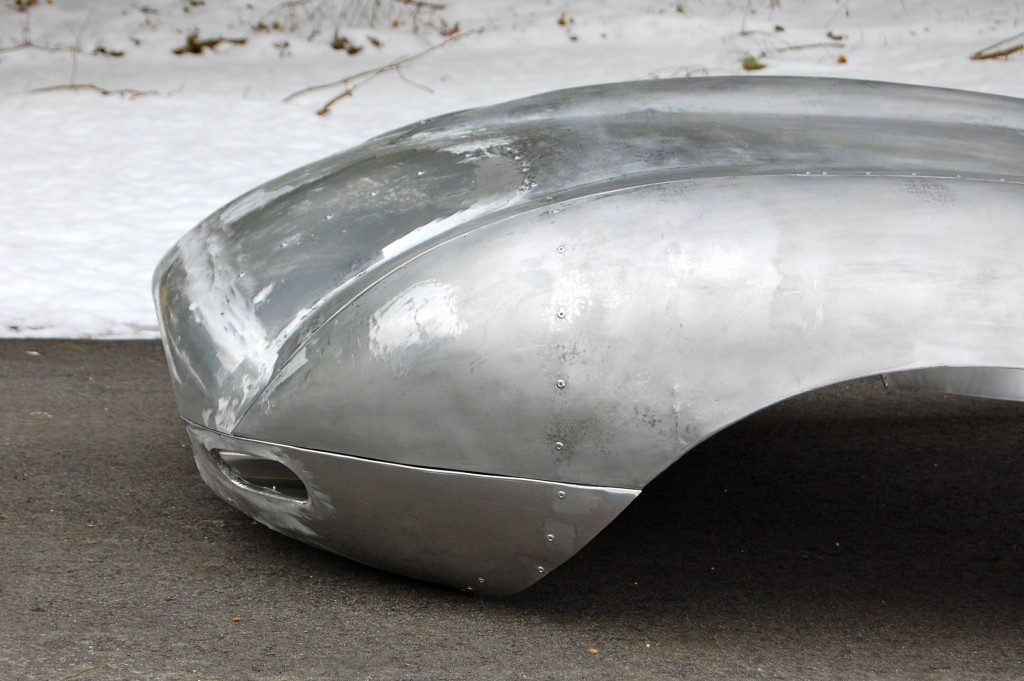
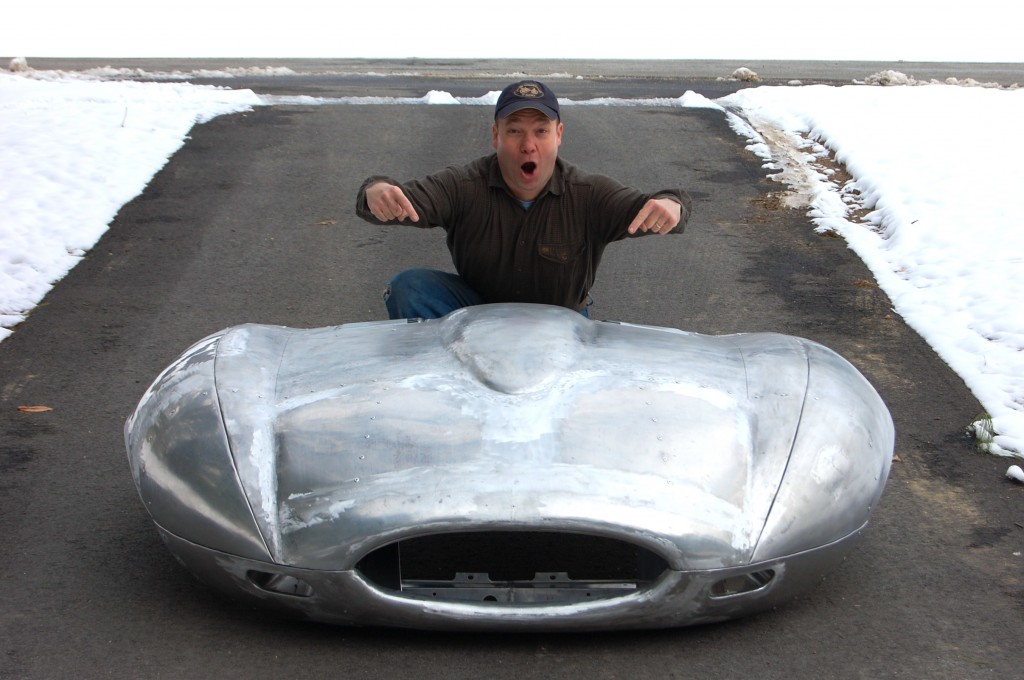
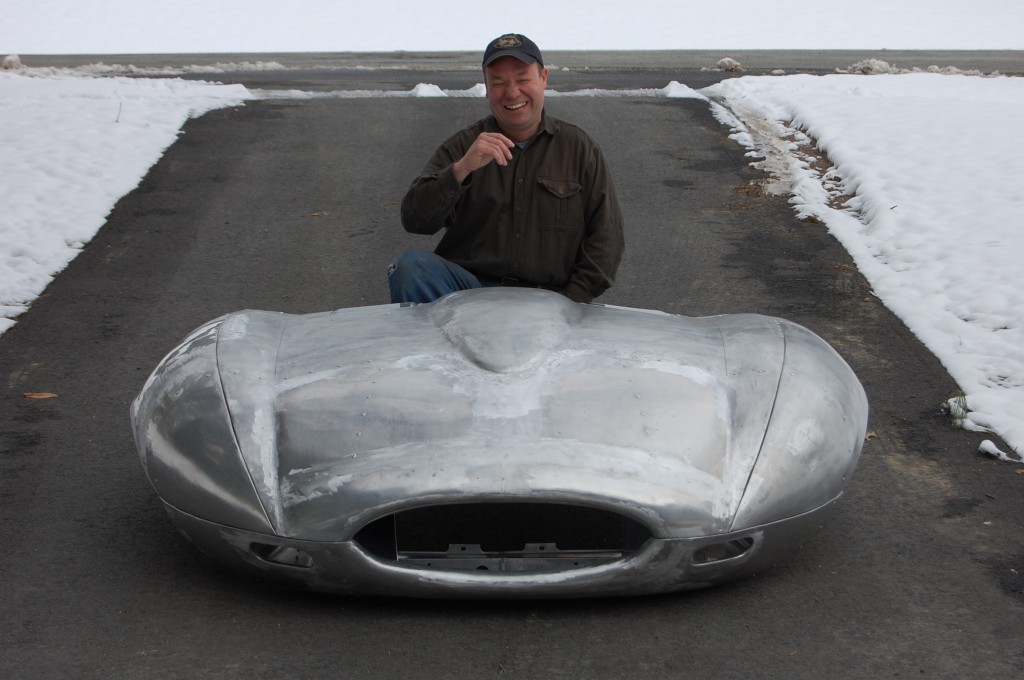
- No time to waste – the following morning, we dragged her out for photos and then loaded her up and hit the road! This looks MUCH better!
- The nose is different than it was, but is still a great look – half stock E-Type, and half Donovan 61’s classic “droop snoot” look!
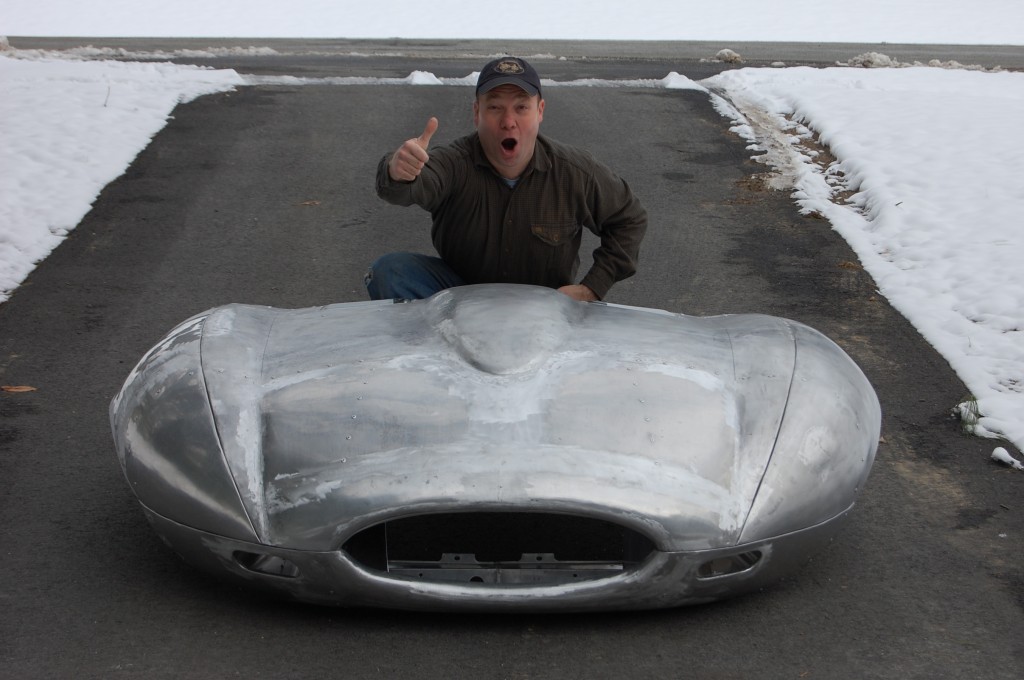
- A few months ago, someone had posted on jag-lovers that they weren’t that impressed with my work on the nose of this bonnet (even though that part of it was not my work..), Well… GET SOME OF THIS, BABY!!!
- OH YEAH!
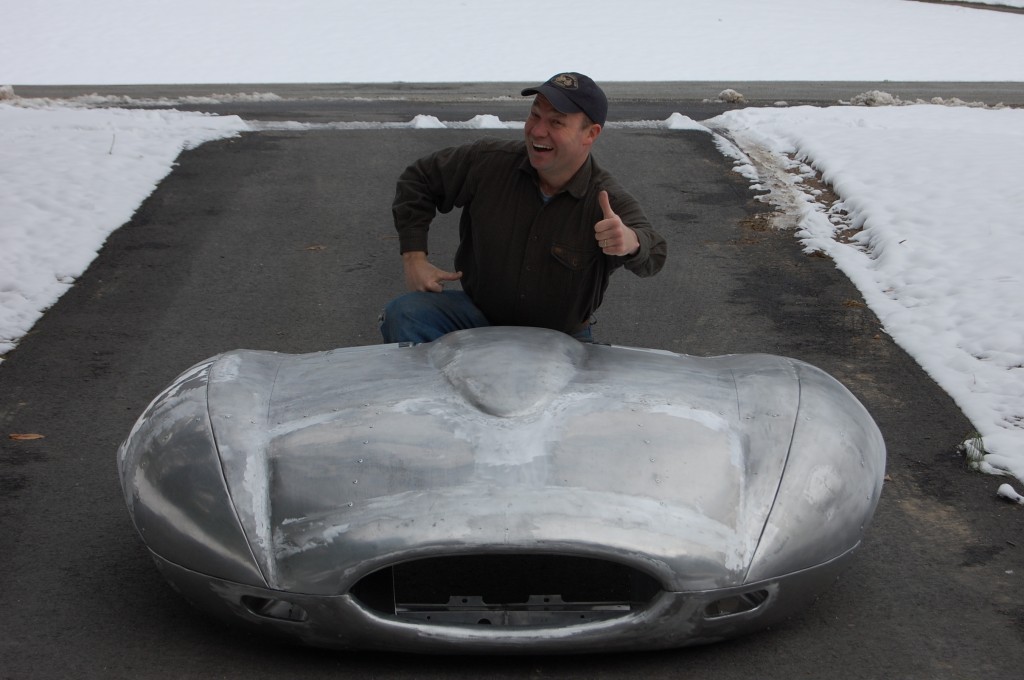
- I’M THE MAN!!!
- And finally, the idea of how crazy I must have looked during this photo shoot hit me, and I just cracked myself up…
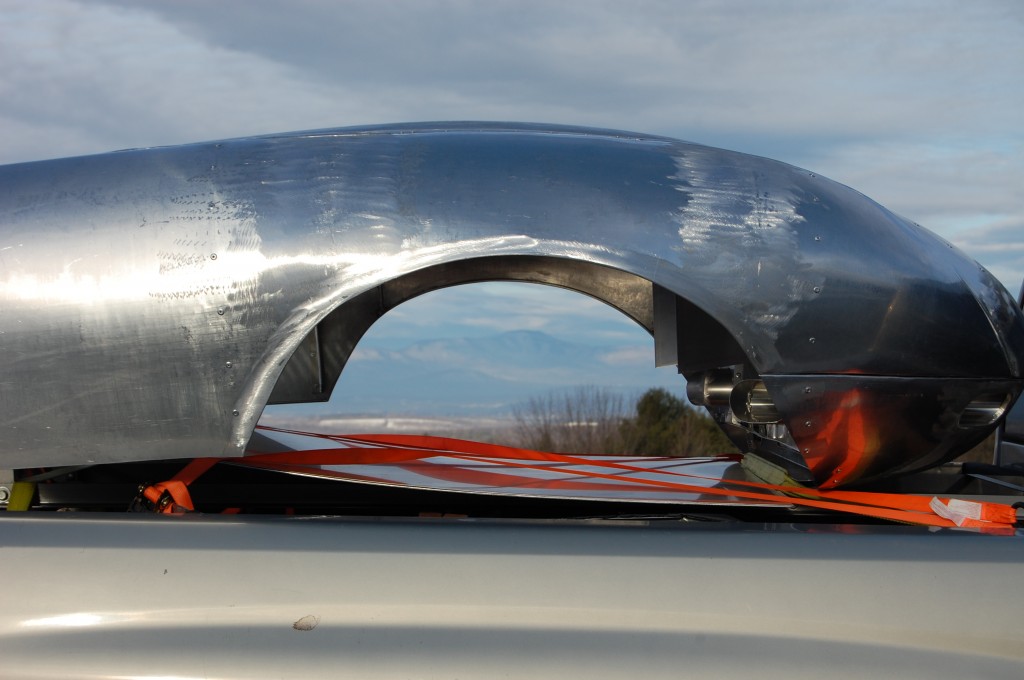
- On the way back to Donovan Motorsports, with the sun rising on the Adirondack mountains in the background.
- Home Sweet Home.

