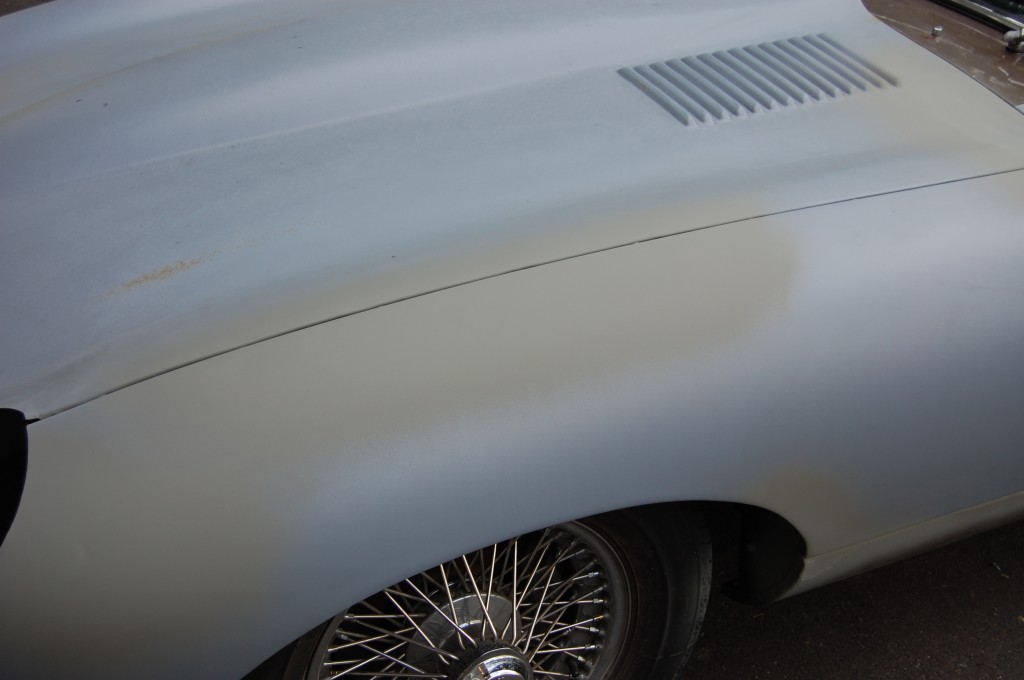
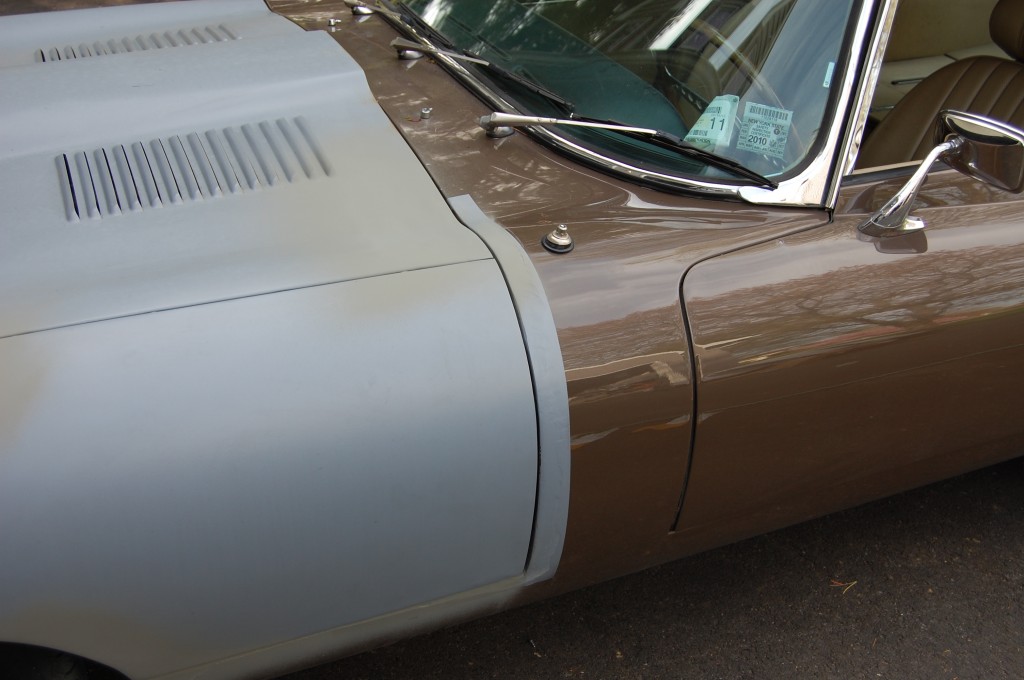
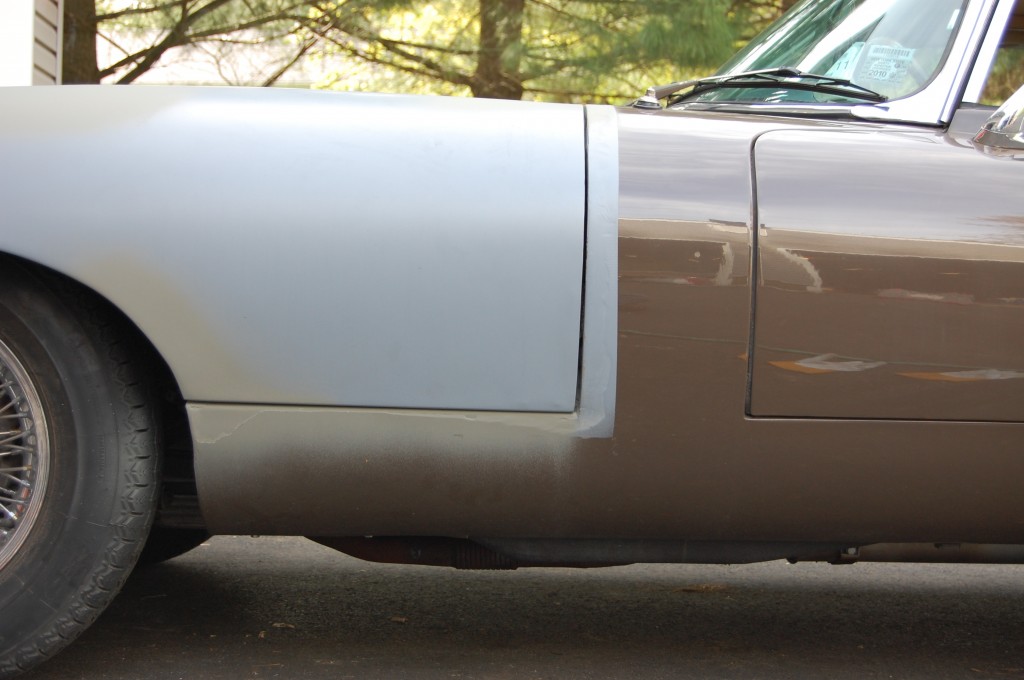
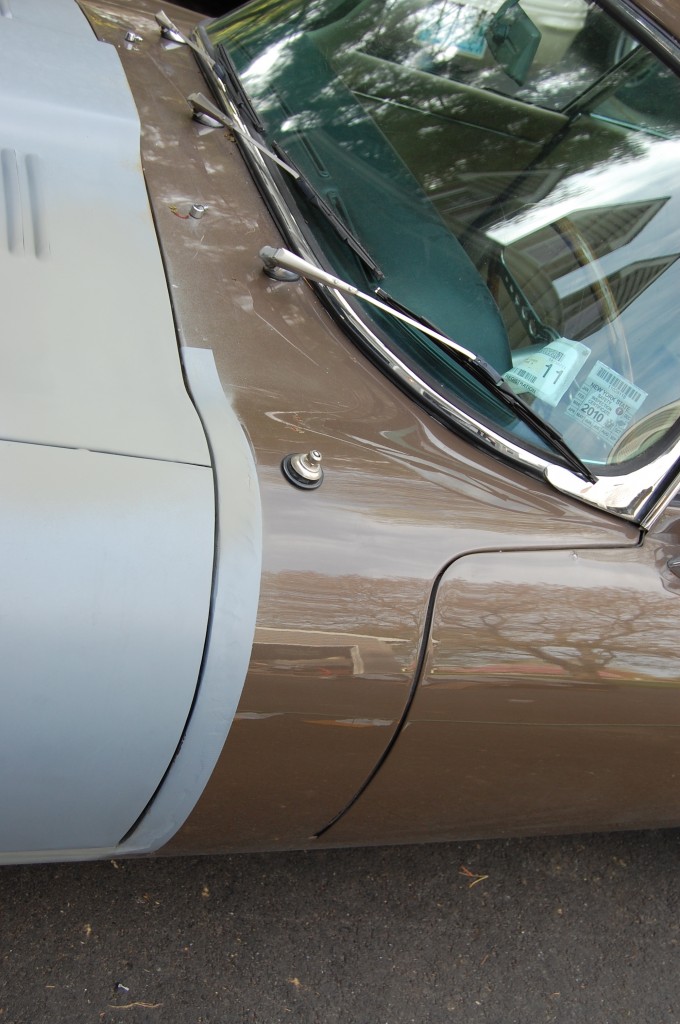
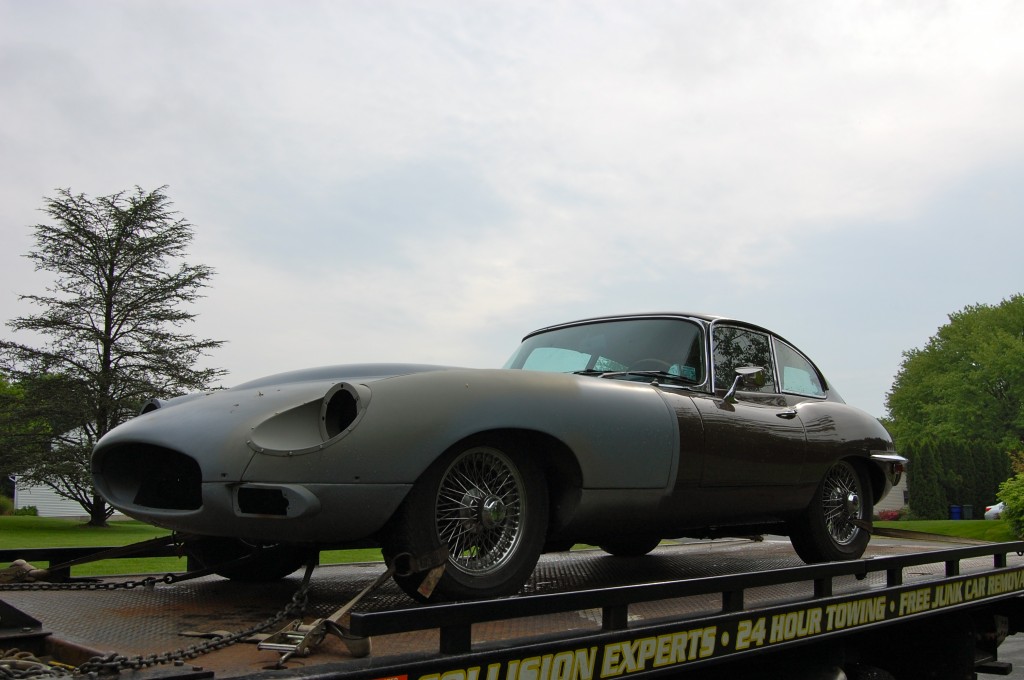
Earlier this year (kind of in the middle of the Donovan bonnet work, part 1…) a body shop in Long Island, NY brought down and E-Type to have the bonnet fitted. We had restored this bonnet for them about a year earlier, and a local “Jaguar specialist” was supposed to mount it for them…
That guy called me half a dozen times to basically explain that “this bonnet can’t be mounted to this car…” for this or that reason. Finally, the body shop and car owner called and practically begged me to mount it for them.
You see, this is how things get backed up… What am I supposed to do now, say No? It’s just impossible. So I did manage to put them off a couple months while the construction was going on upstairs in the new shop, and they finally brought it down.
This was the original bonnet from this car – and after 12 hours, it fit like a glove – beautifully! I actually spent most of that time undoing what the other person had done…
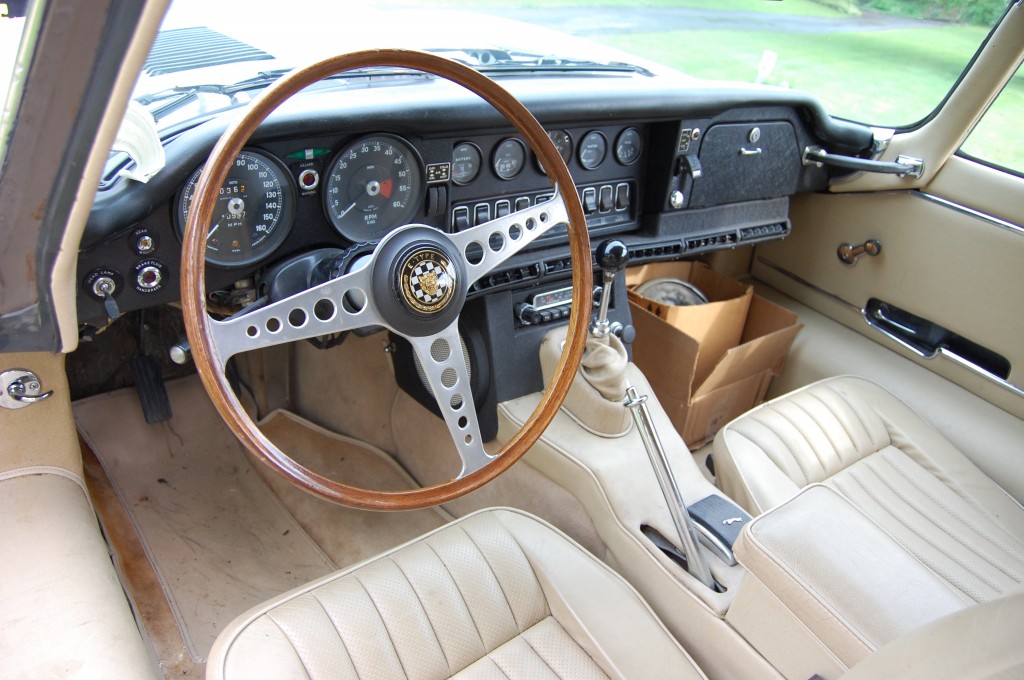
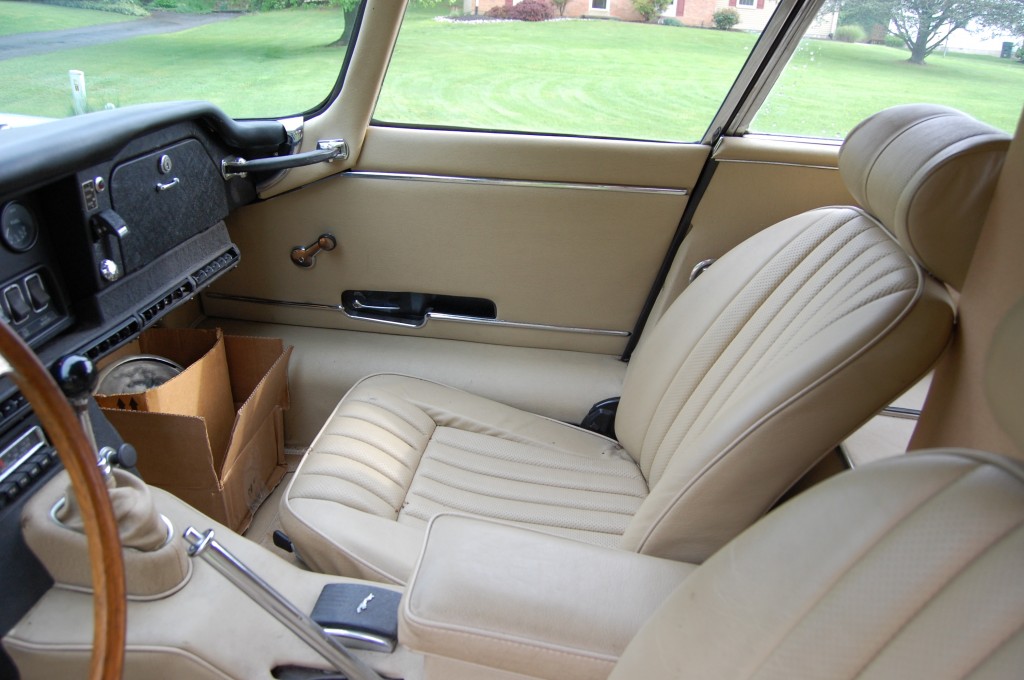
At first, I wasn’t wild about this car. Not to be a snob, but it was a brown Series 2 coupe… However, it had 10,997 ORIGINAL miles! You would not believe how SWEET this car was! After mounting the bonnet and tidying up the interior (which was full of parts spilled all over the place when it arrived) I started warming up to it more every day!
You see, when it was done, they couldn’t schedule the pickup for about a week, so it just sat there in the driveway looking pretty – even with the bonnet in primer. And it RAN – a rarity around here! And it ran great… And the weather was getting nicer every day… And so finally – I think it was a Thursday morning around 10:30, I cleaned up and told Janie I was taking it for a spin around the block.
“Chuck – don’t even come back here if you wreck that car…”
And Oh my God – that made it even BETTER! It was like I was back in high school and I was being “bad”…
Well, let’s not go into detail concerning how long I was gone. But I must tell you – it was THE BEST driving E-Type I have EVER driven – EVER!!! It literally WAS a BRAND NEW CAR! I’m used to driving E-Types that have been wrecked and “restored” multiple times – none of them have probably ever had a good alignment – and they have fabulous road feel anyway. This one went SO FAR above and beyond that I can’t even begin to tell you!
So I went around the block a few times, cruised a few local country roads, just gave it my basic E-Type shakedown, and for a little while behind that wheel, with only 10,997 miles on the odometer, and all the correct sounds and smells of an E-Type, let me tell you, it WAS 1969 again!
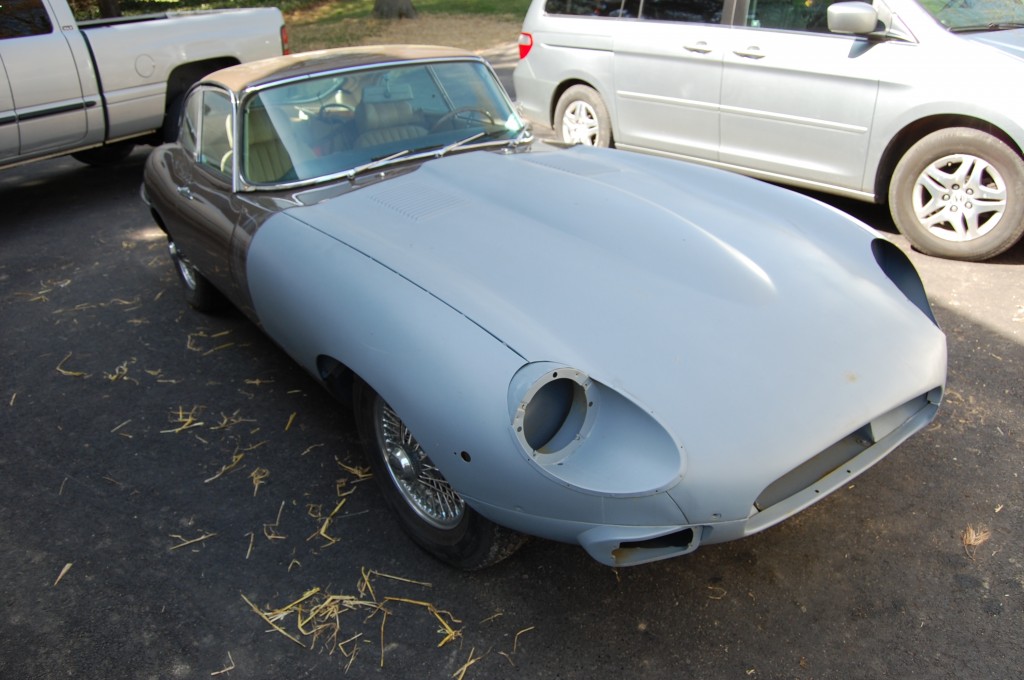
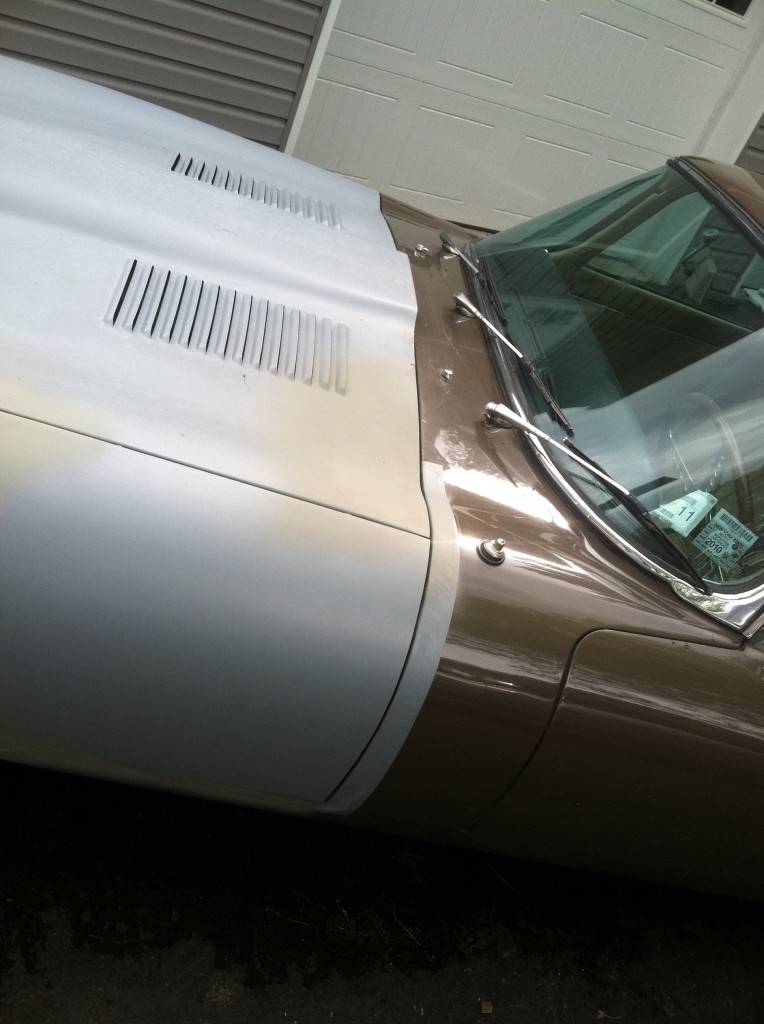
- Here she is – as received. That bonnet looks familiar (look back through the blogs to see the full restoration on it – do a search on Series 2…)
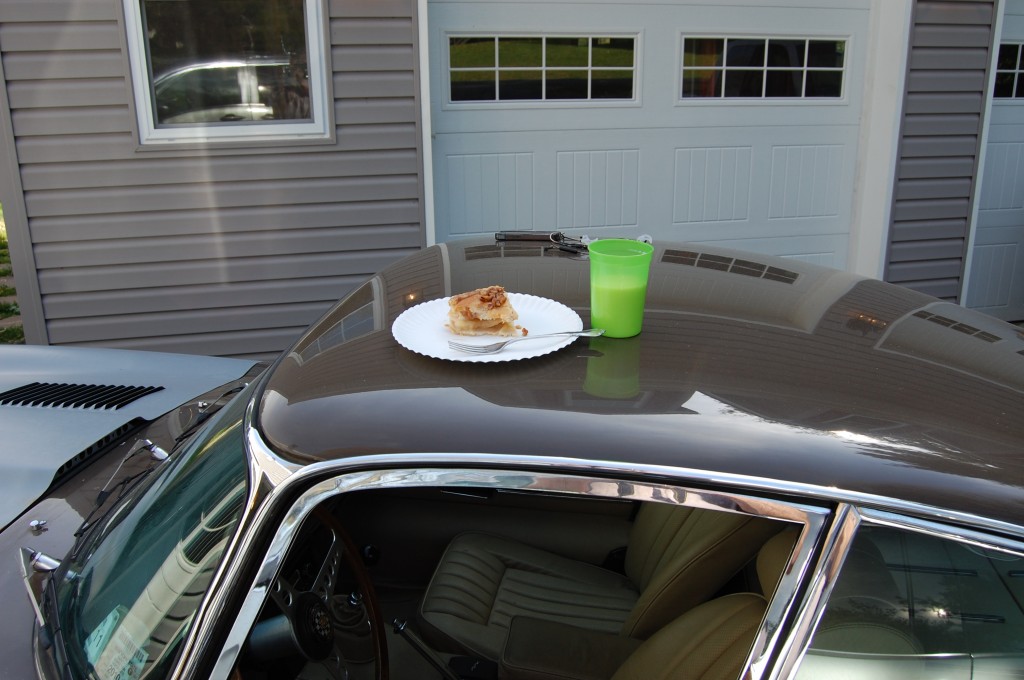
- Breakfast at Monocoque Metalworks – milk and apple pie on an E-Type. I love this job!
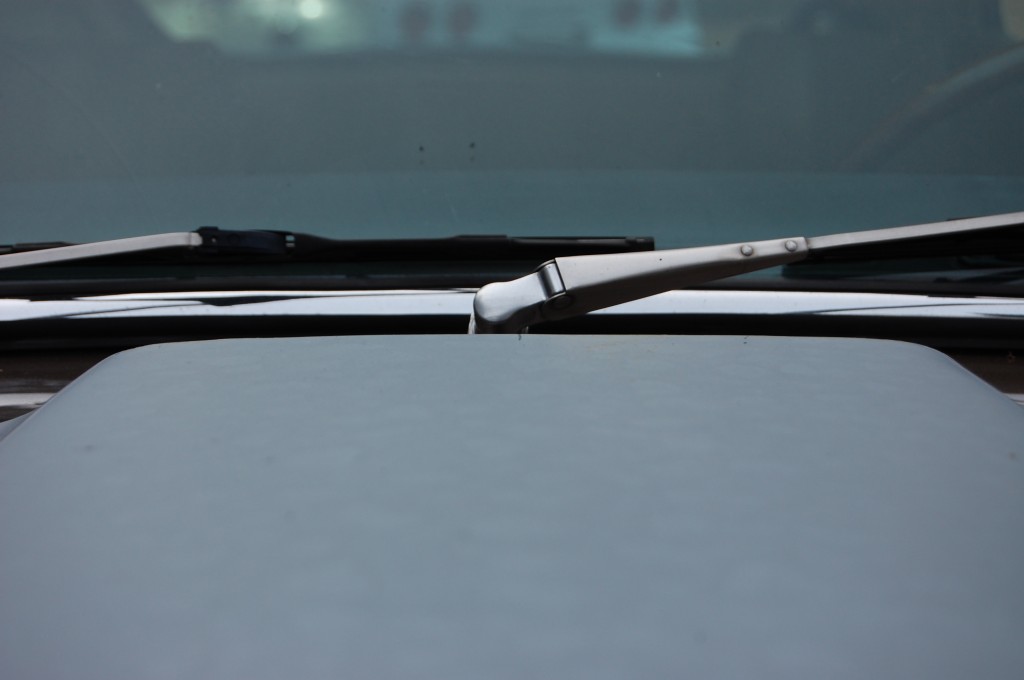
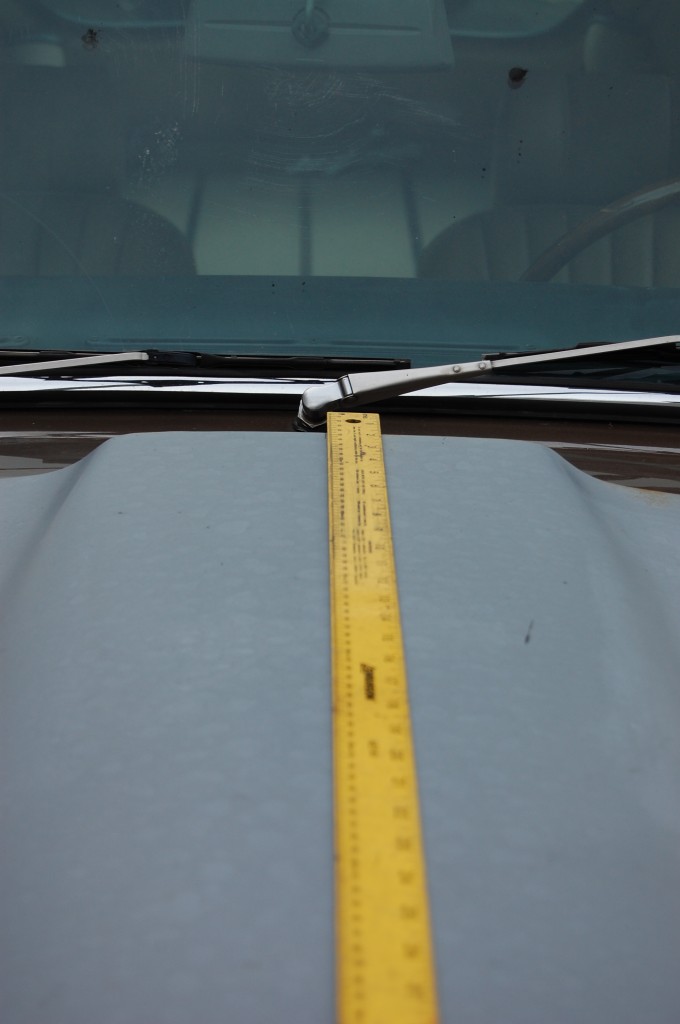
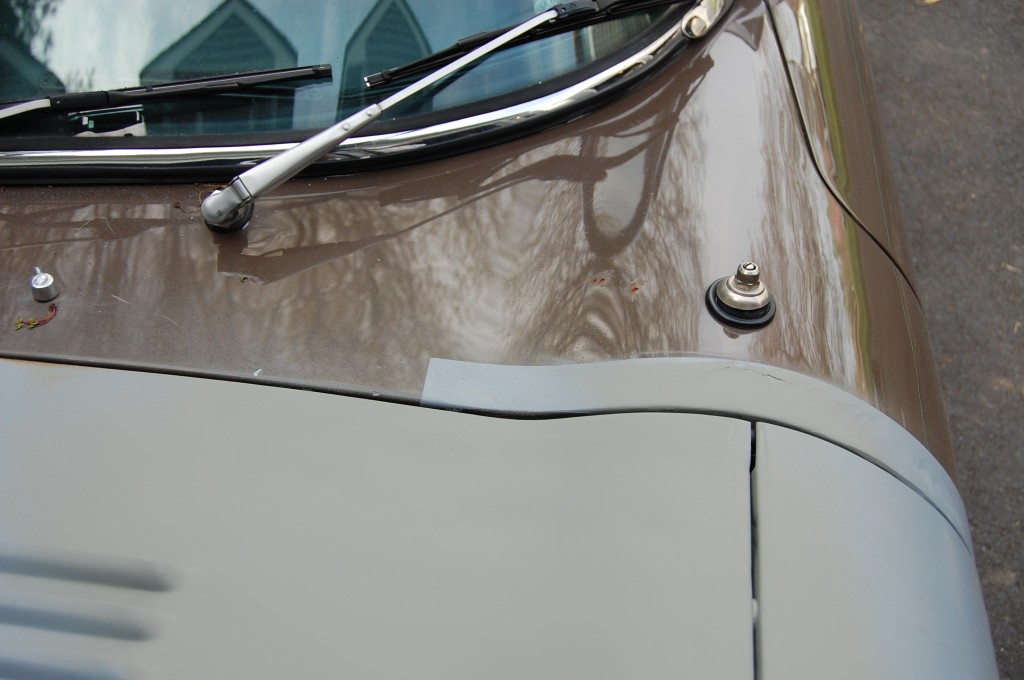
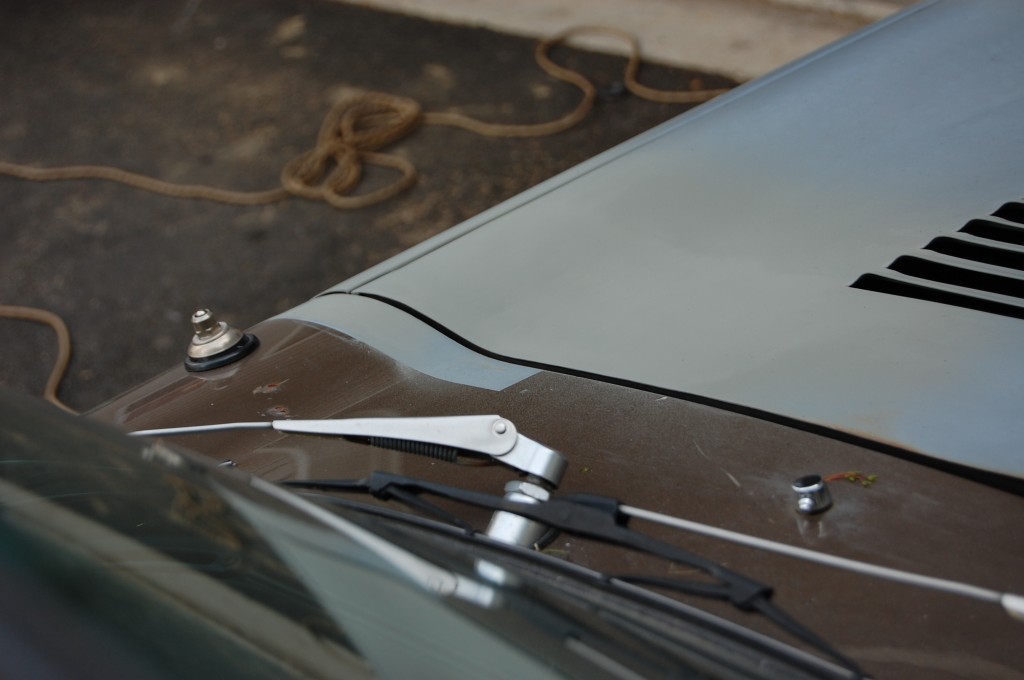
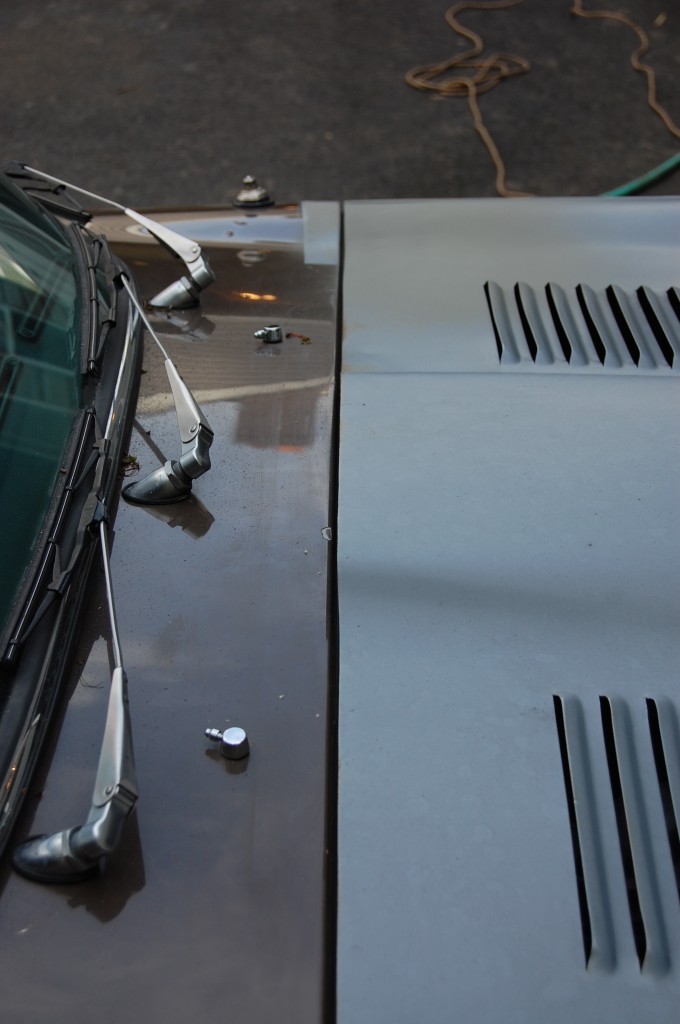
- OK – first things first. I’ve made a mark in the center of the bonnet, which should line up with the center wiper – but doesn’t…
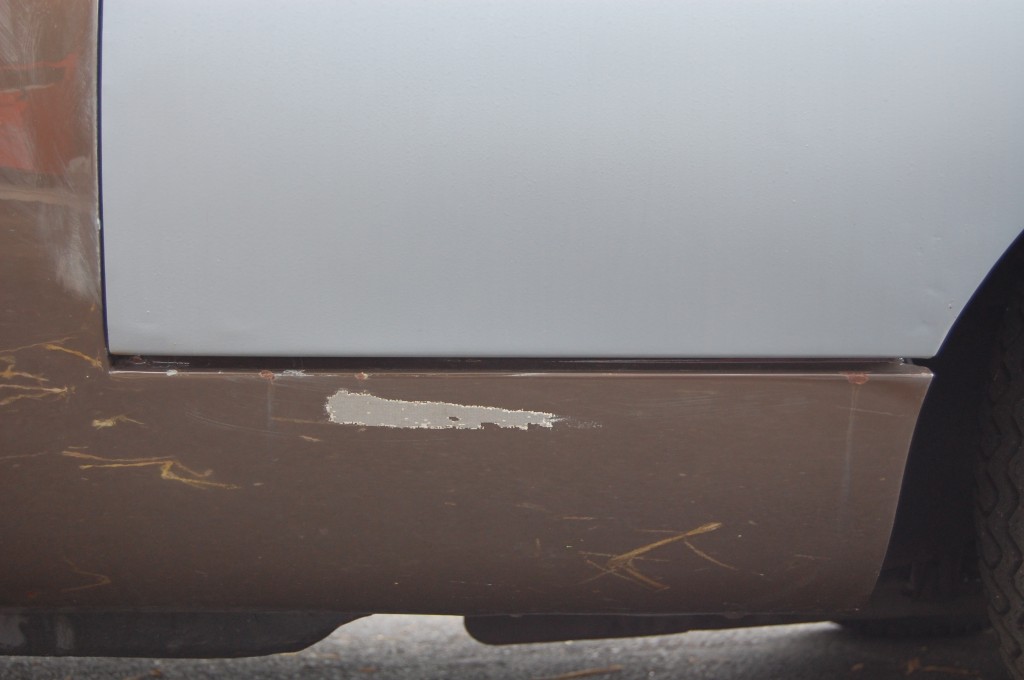
- This was the undamaged side (it was wrecked in the LH front). So there’s no reason why it does not fit perectly…
- This is a new, new wing. The other “Jag specialist” decided that the wing was the problem, and purchased and installed another new one. Soo how this is stickking out, well DUH! – the whole thing is not in the center of the car!
- It’s over 1/2″, and then the wing is “wrapped in” to compensate for that – and over on the other side it was “wrapped out”
- This REALLY aggravated me… Who does this to a 50-year-old sportscar with only 11,000 miles!?!
- AAAGGGGHHHHH!!!!
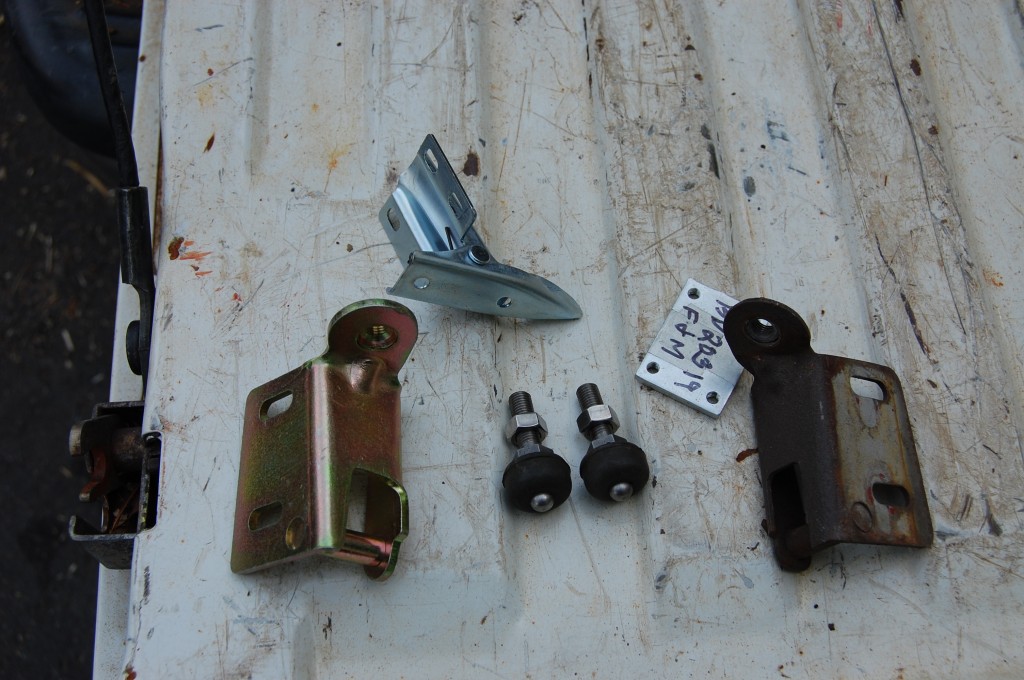
- Original latch from the RH side, and a new latch for the LH side.
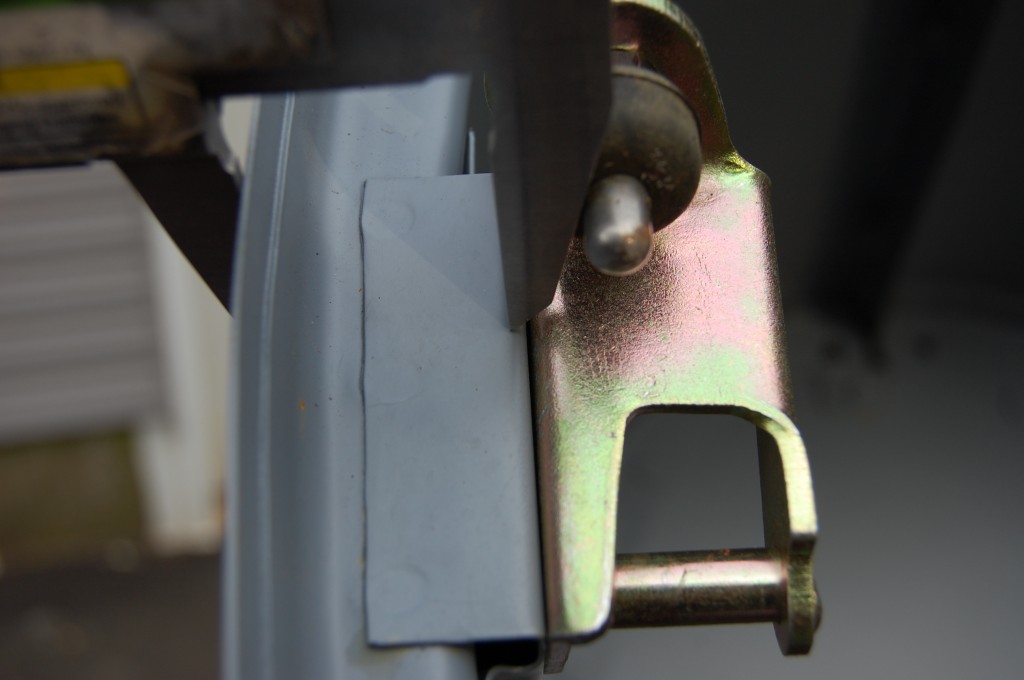
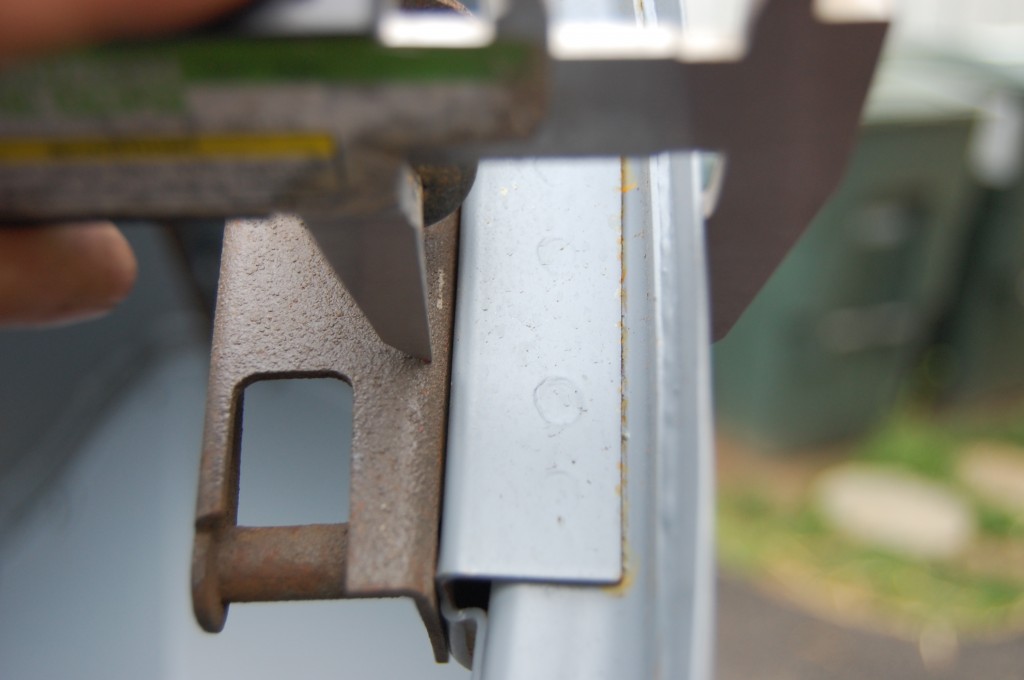
- The new wing latch mount sticks out from the wing too far. The new latch is too wide, and the pin is in the wrong place… All of these reproduction parts are just so half-assed – get original stuff and restore it instead.
- This is correct for the wing and the latch.
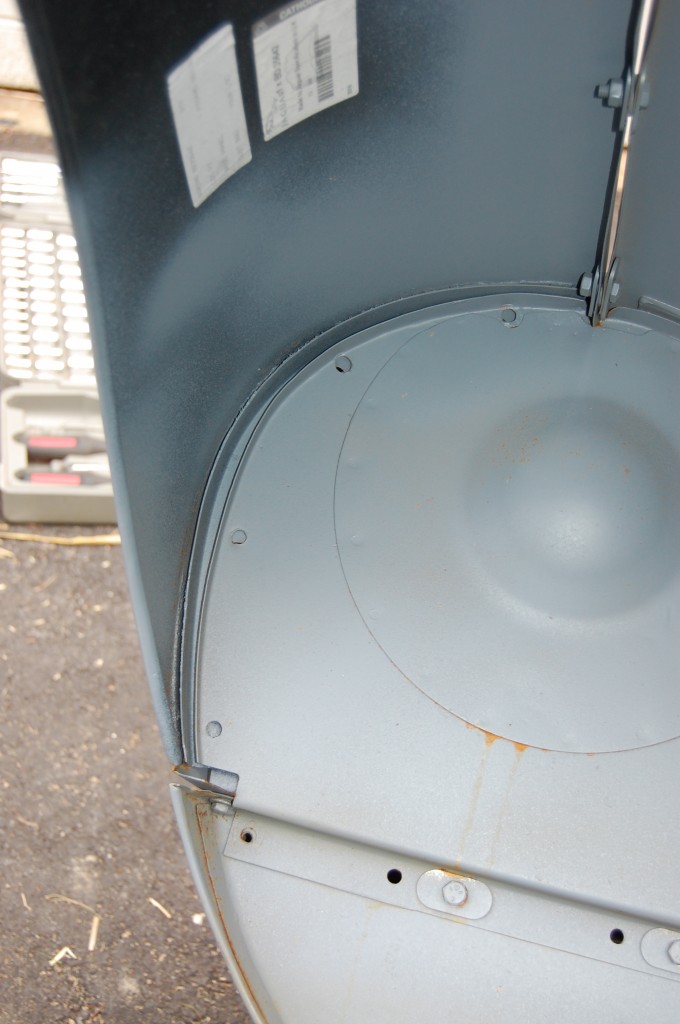
- stickers still on the new wing…
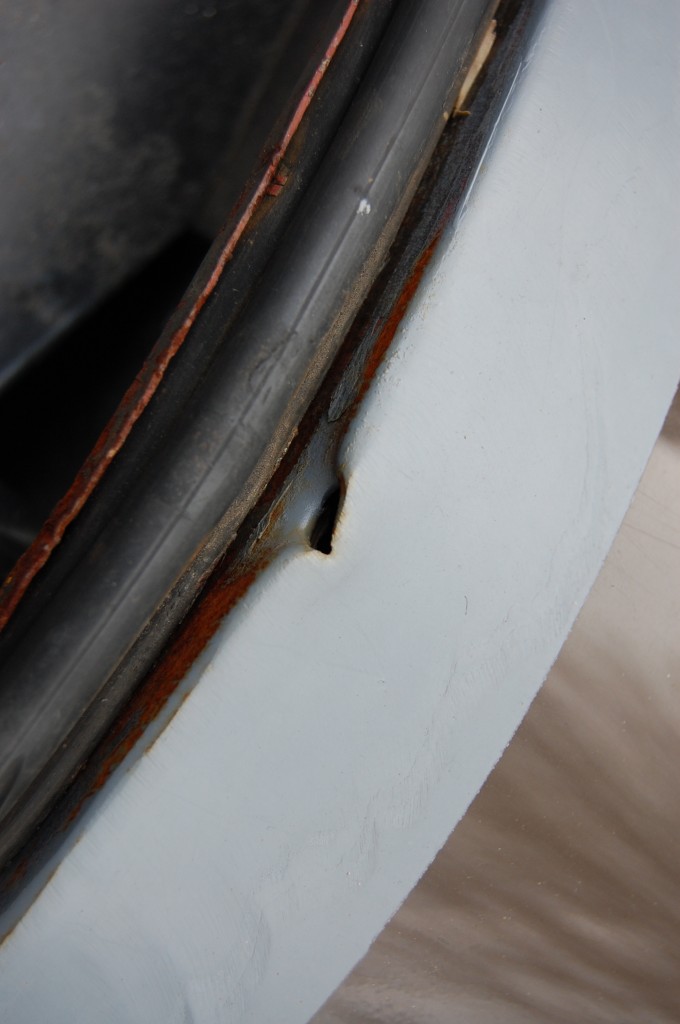
- Typical puncture in the LH cowl edge where the bonnet was pushed back and the bonnet beading has punctured the cowl.
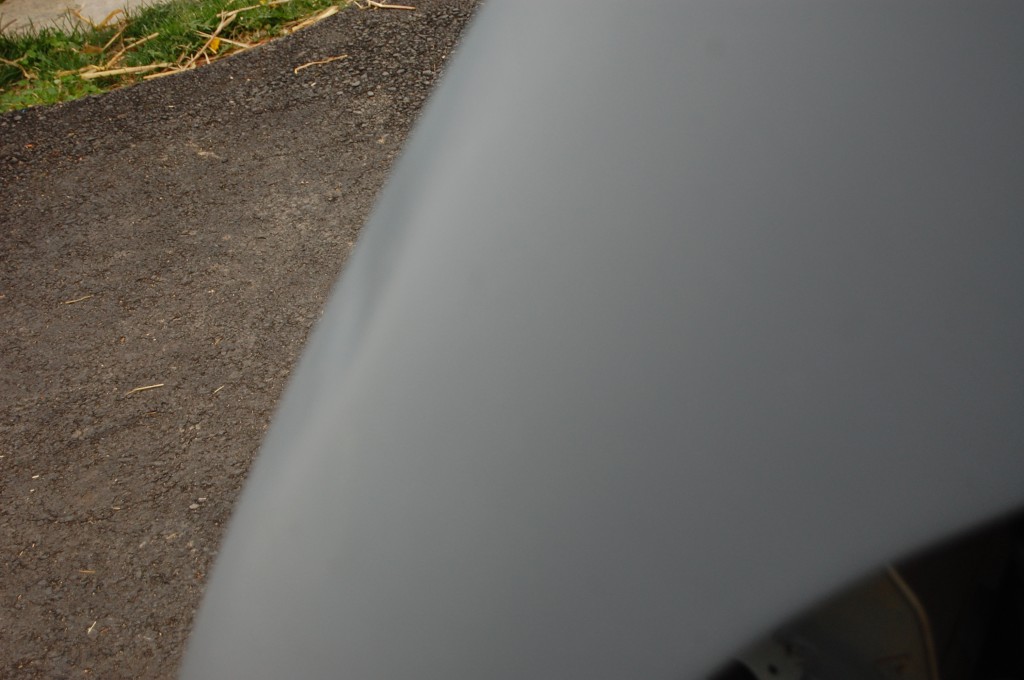
- The nightmare continues – the NEW wing that was put on was dented in the process!!!
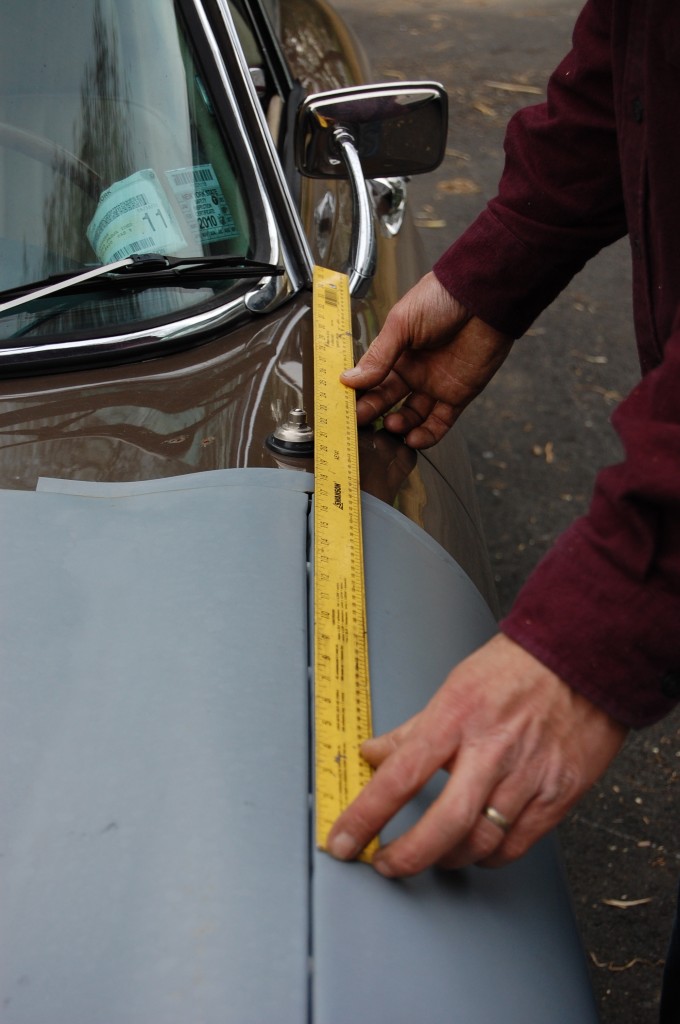
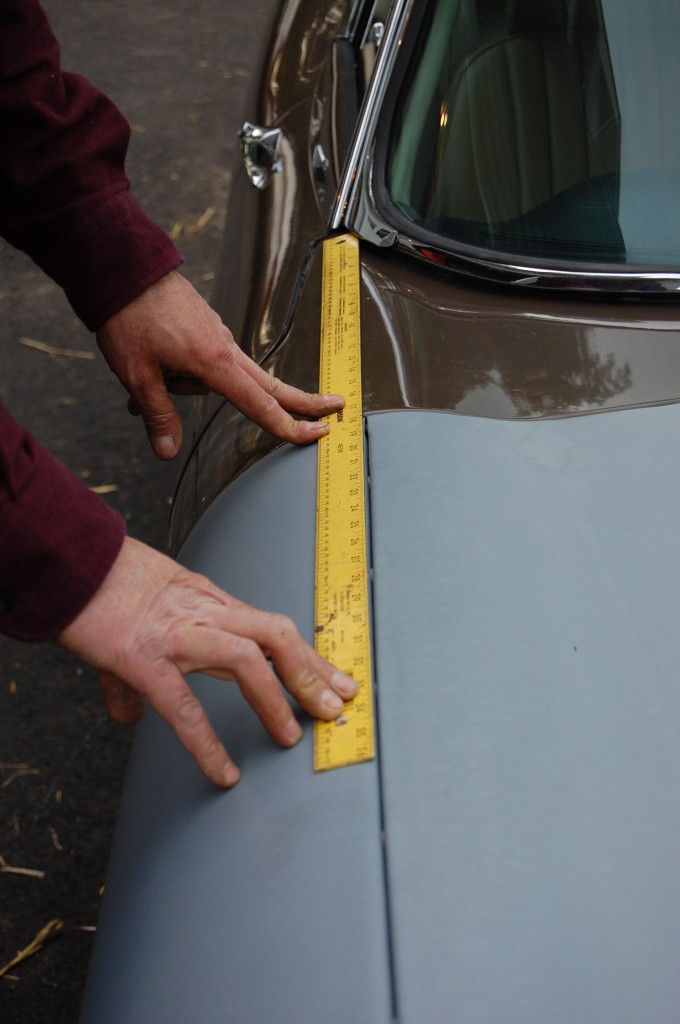
- OK – so what do we have? Line up the straight edge here and see where it ponts.
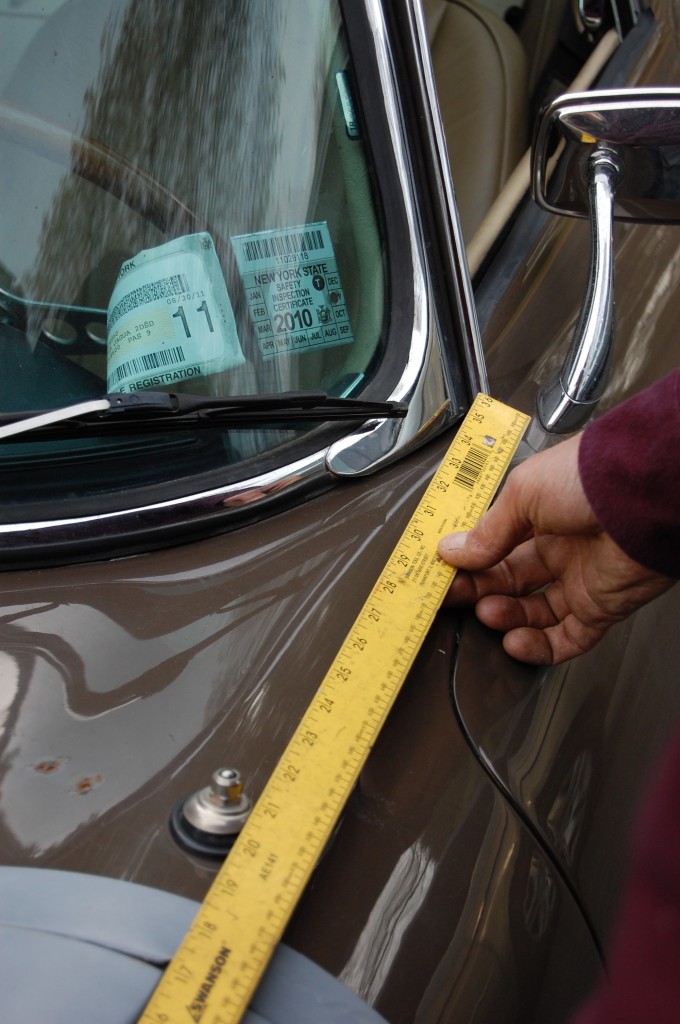
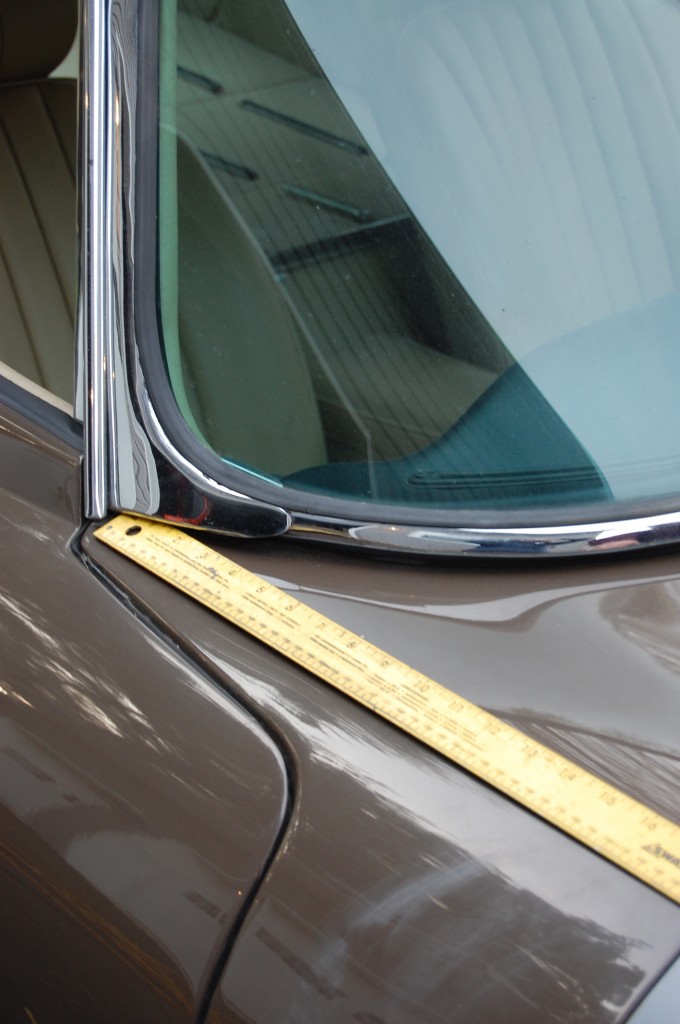
- It points right to the outside of the pillar chrome on this side.
- Now this side…
- Ah-ha – this whole thing is cocked over about 1/2″ – or more…
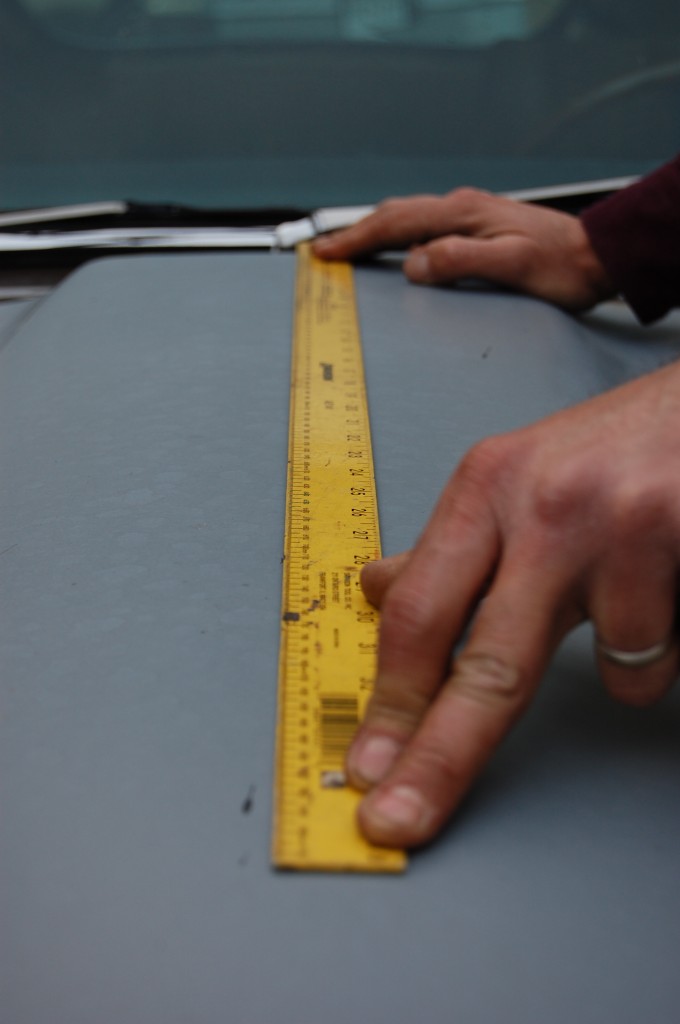
- You can put multiple centering marks on the power bulge and line up the straight edge like this.
- See? We’re off center…
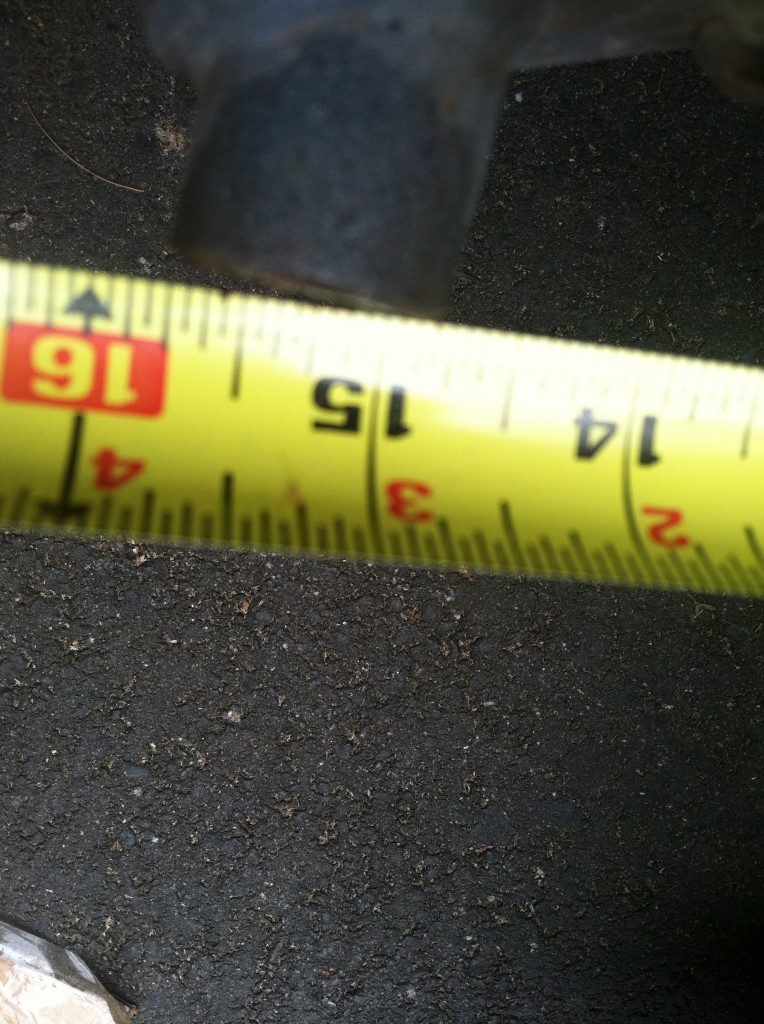
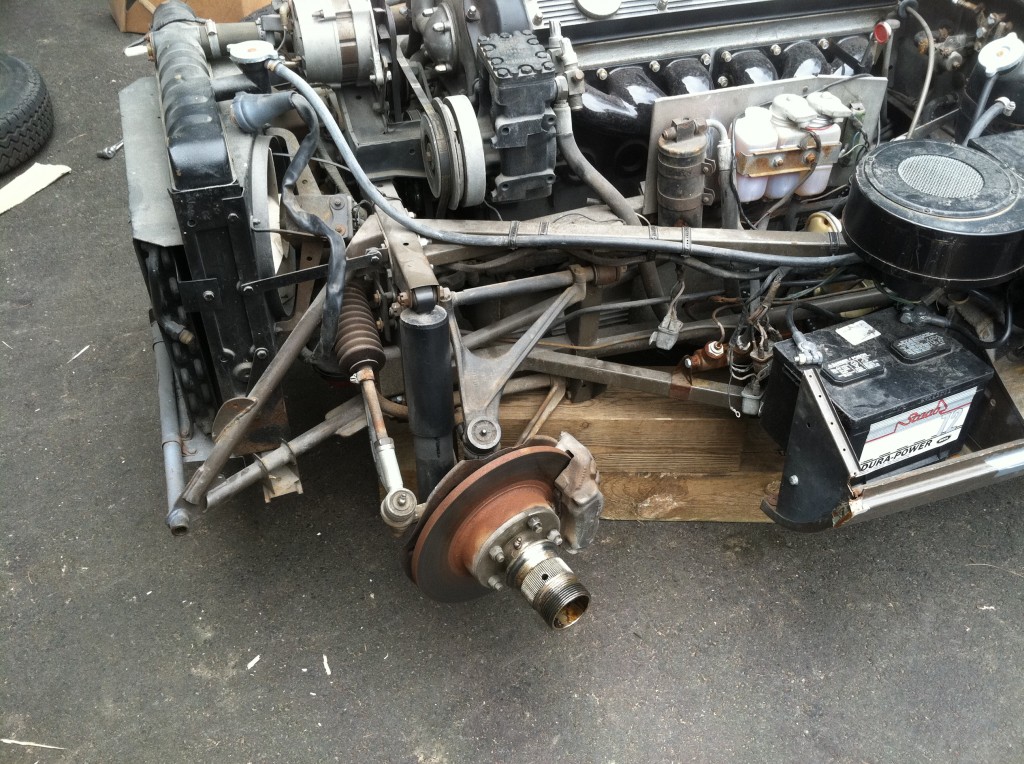
- So I took the bonnet off to start over. Then I started thinking, “OK, this thing got smacked in the LH headlight. There’s almost no way to damage the bonnet as much as it was, puncture the cowl with the beading, and NOT damage the bonnet carrier…” So I measured it – 14.75″ on the left…
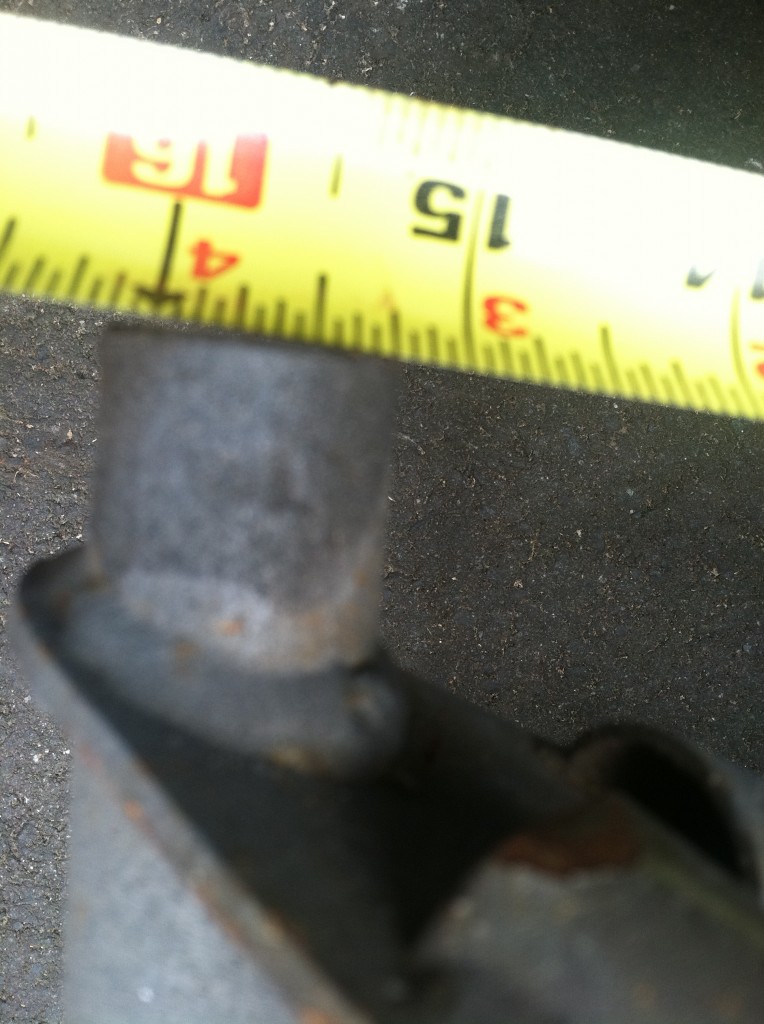
- 15.25″ on the right… And shifted sideways too. This is GAME OVER – there is NO WAY you’re going to get the bonnet on with this thing off by this much!
- So I just took care of this problem the old fashioned way. We jacked it up, took the wheel off to give me some room, and Brent held a 2×4 on it while I “gently but with authority” hit it with a sledgehammer. I figured what the hell – if I split a brazed joint or something I’ll have to pull it off and fix it, but this might work – and it did – nicely. You have to know where – and from what angle – and how hard – to hit it, but hey – I’ve wrecked alot of bonnets – I’m experienced here… LOL
- So then I evened out the shims, centered the aluminum hinges, and set her back on to line things up. First I fixed this up though.
- A little time with the MIG and some creative grinding and filing is all it takes. You don’t want to do this with filler and have it flaking out down the road – do it with metal like this and smooth it out with filler…
- Then we had to fix this… With all the beating and banging on this to try and mount it wrong, the adhesive popped here and this no longer had the correct contour. It’s a mess when this happens, but I have a solution for this…
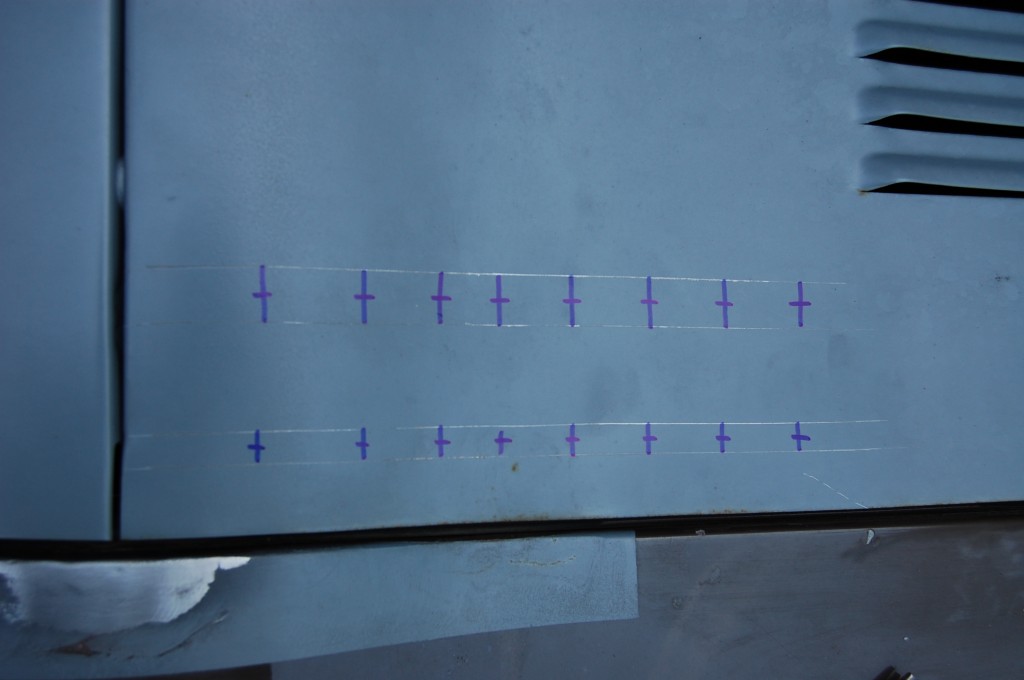
- Marke where the support is…
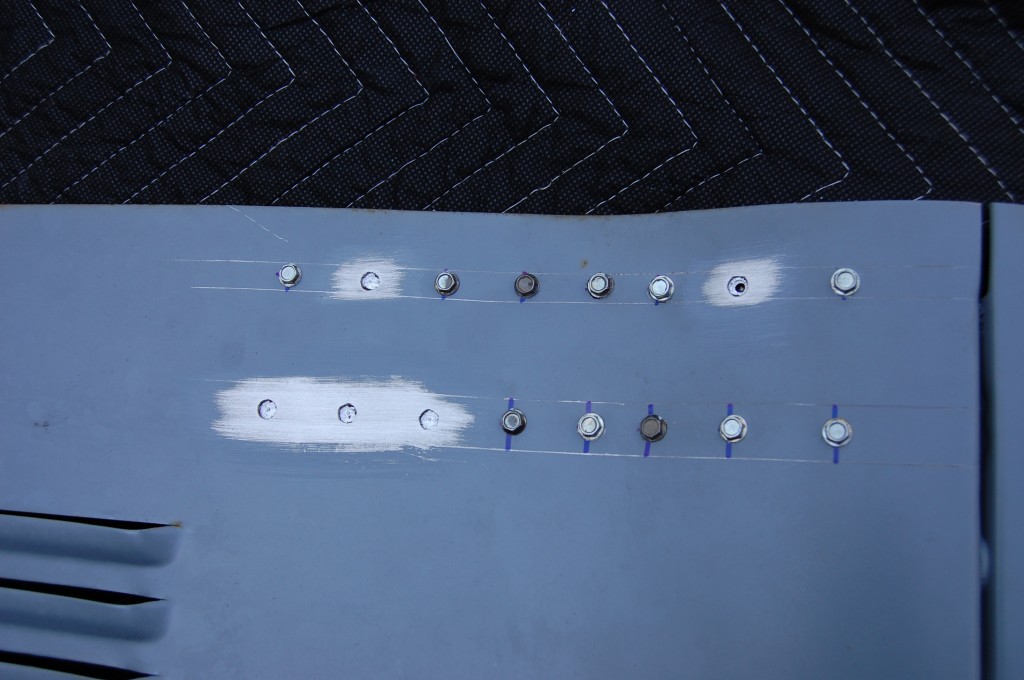
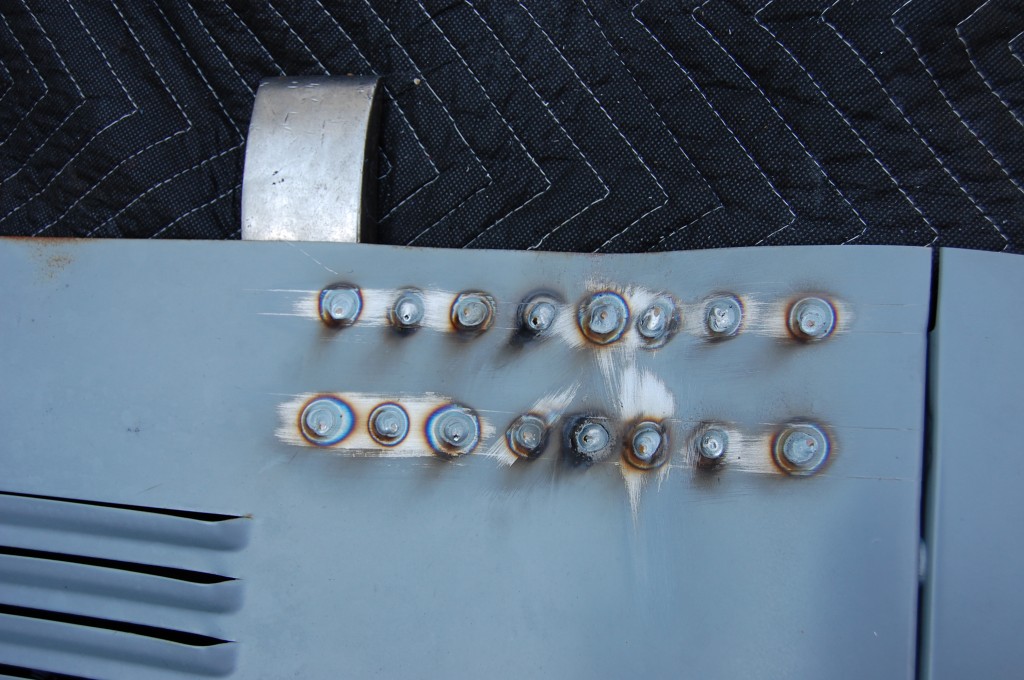
- Drill some holes and screw it down tight…
- Remove the screws one by one and plug-weld the holes…
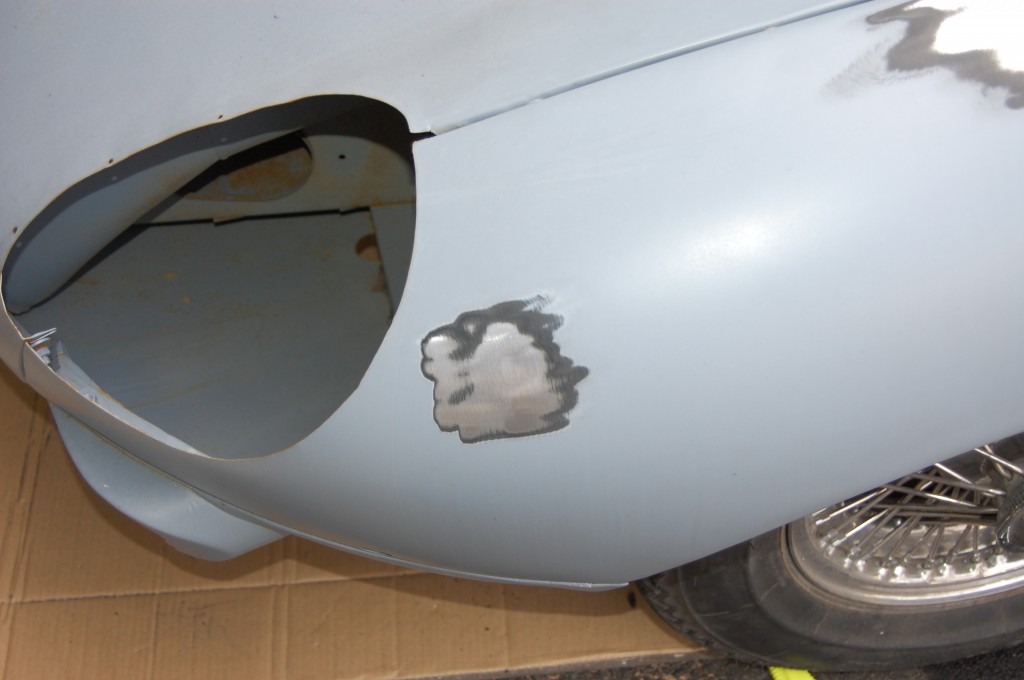
- This is a little out of order, but I removed the dent…
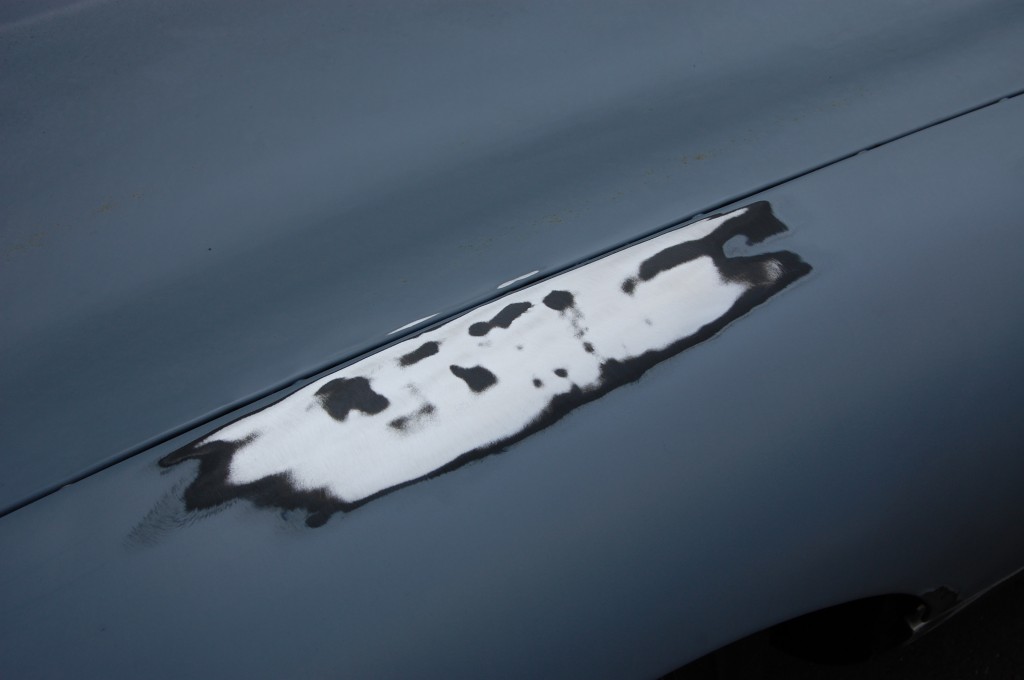
- And another one up here…
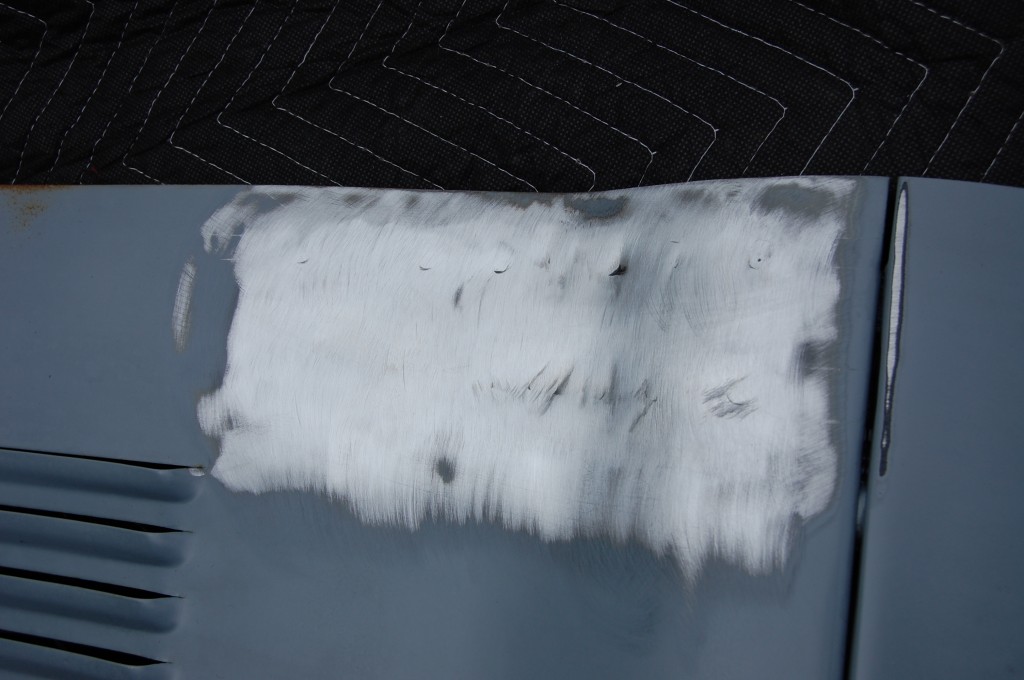
- Then dress the welds down and use a little filler to smooth things out. Now the contour is where it should be.
- Dents are removed from the replacement wing, and coated with self-etching primer.
- This back corner now fits like a glove!
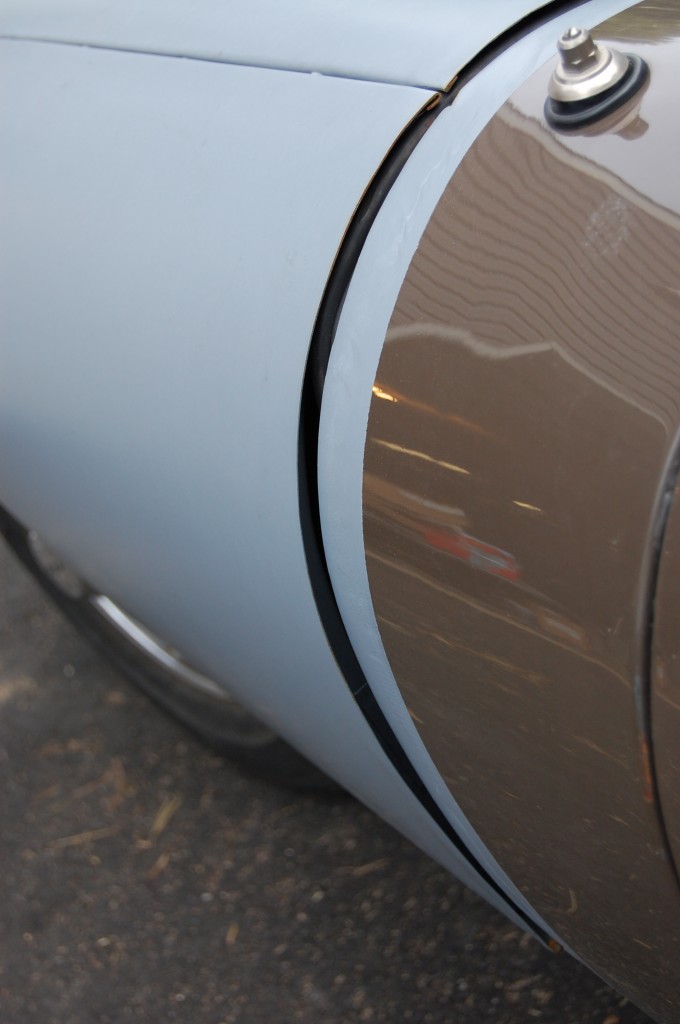
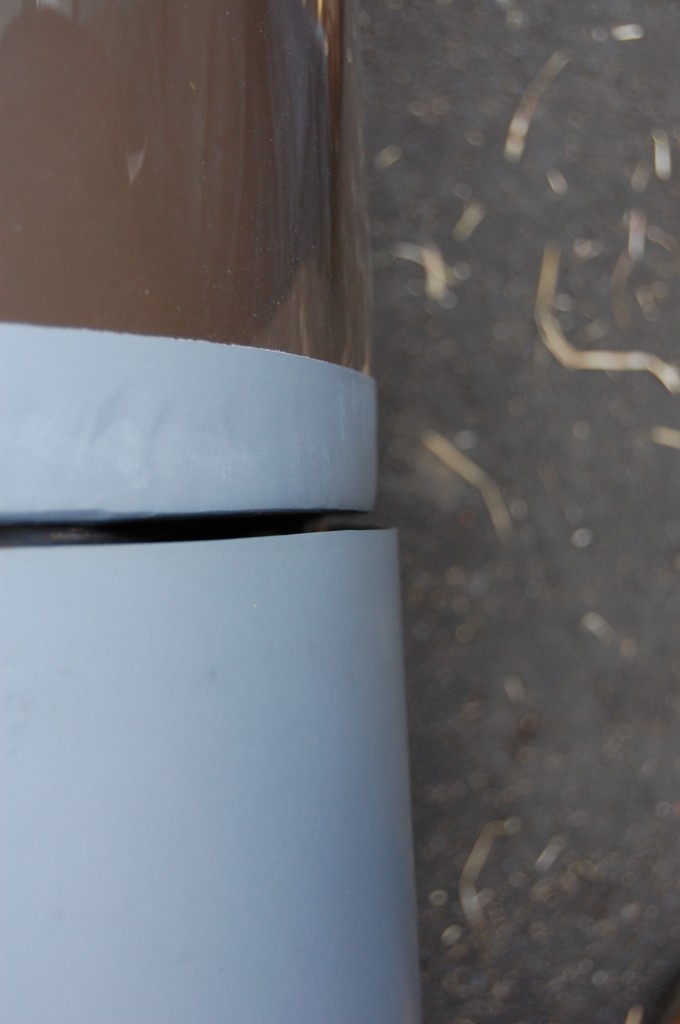
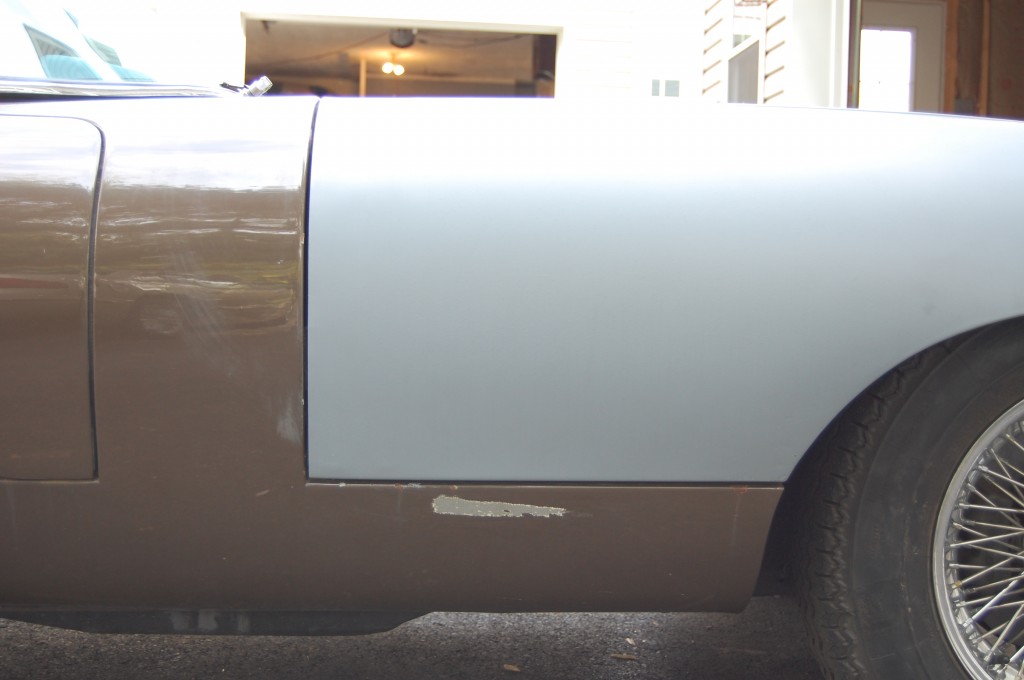
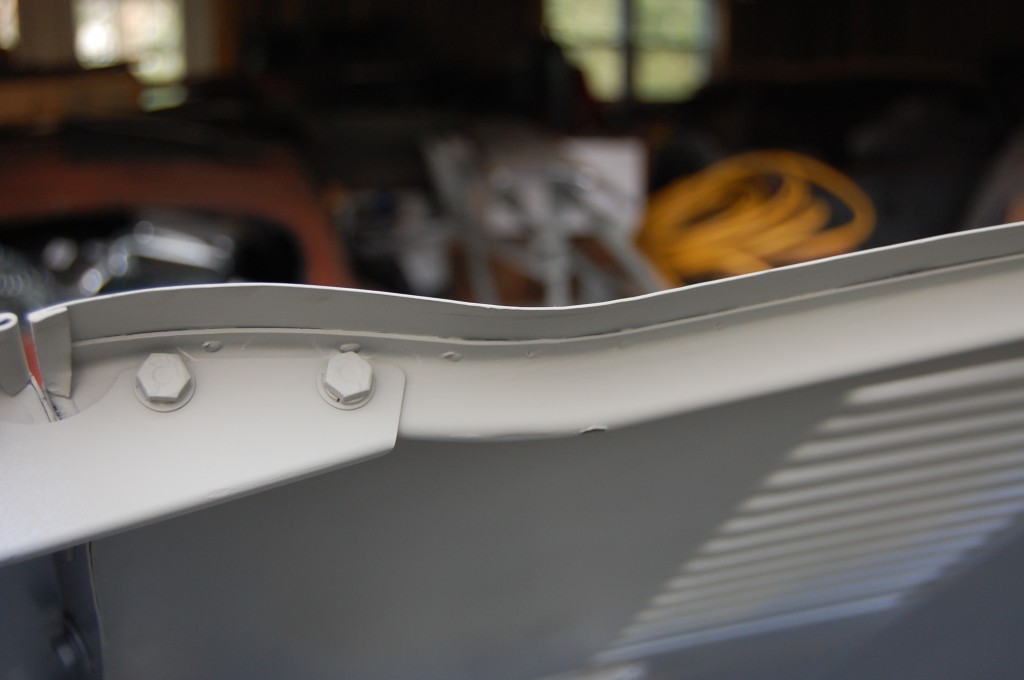
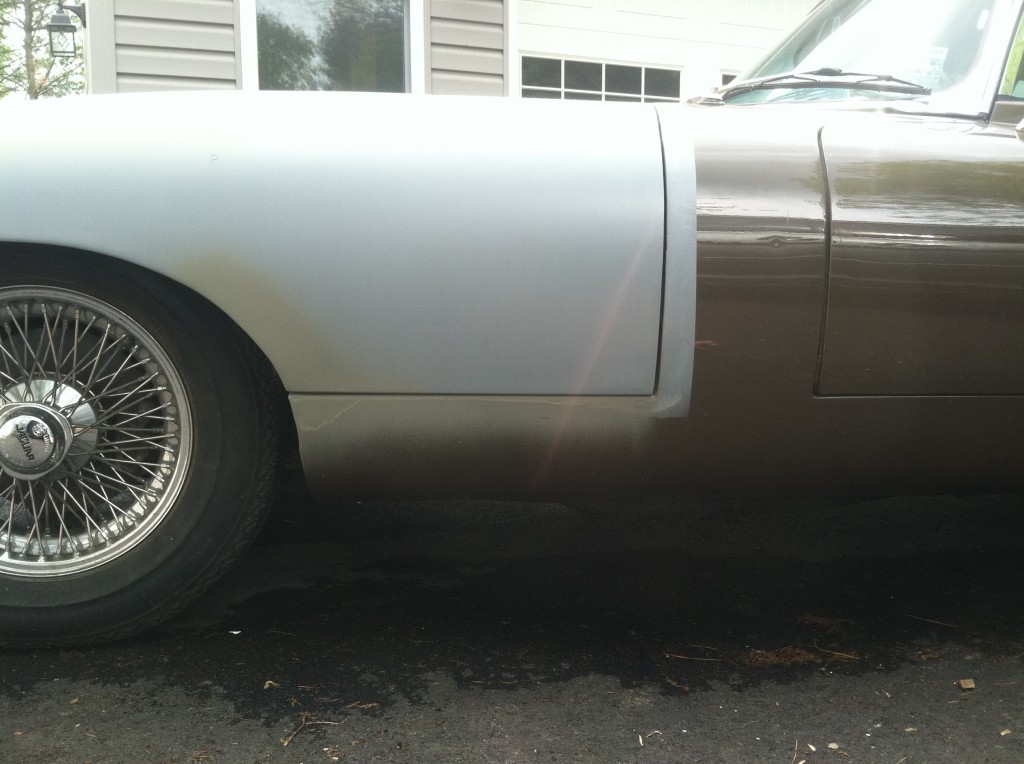
- A nice even gap all along the sill and the back edge. Note the earlier photos where you can see that the previous person sanded the back edge of the wing all wavy – I see this alot too. You have to mark it and SLICE it – sanding it down a little here and there looks horrible. Also – note that the lower edge of the wing seems close. It’s actually an optical illusion – the wing is actually sticking out some down there too. This is because I melted and chipped ALOT of lead off the sill from the factory. The lower edge of the wing now lines up with the cowl and the sill and door, etc. The body shop will need to build up the top edge of the sill just like they did at the factory – bringing it out and sloping downward some as they go – that is how it was…
- Another shot – this is where the puncture was in the cowl.
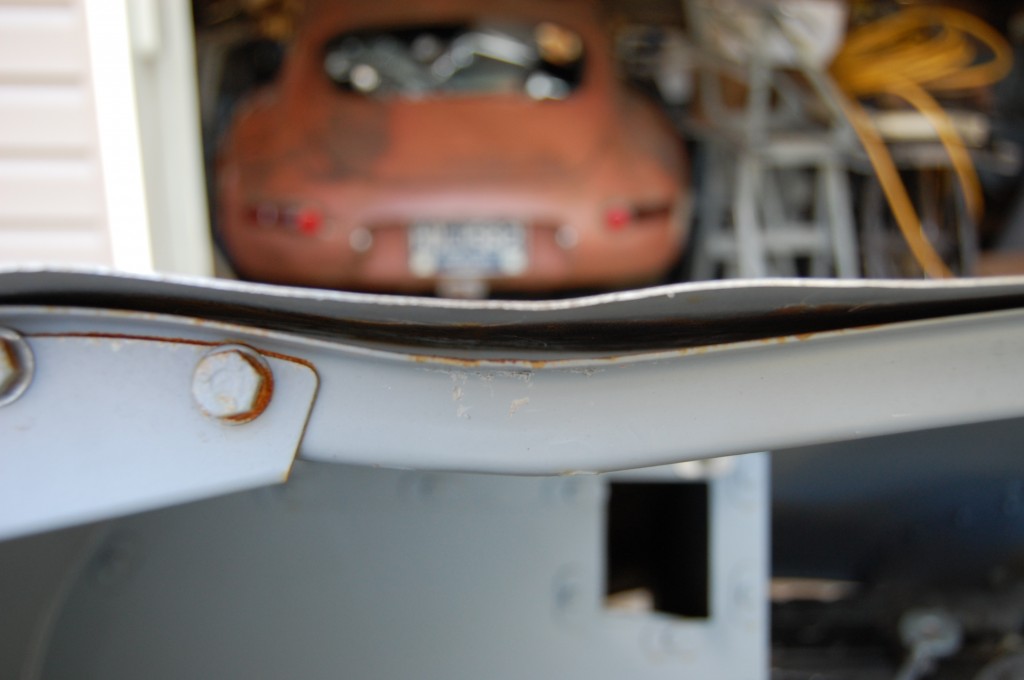
- This contour is now perfect after welding it to the support member so aggressively. SOmeone had beaten so badly with a hammer trying to do that, that there was no way it was going to lay down without alot of plug welds…
- Here’s the other side – remember earlier when it was touching the cowl, and WAY up off the sill?…
- Another shot of this contour – this is what the owner was most worried about.
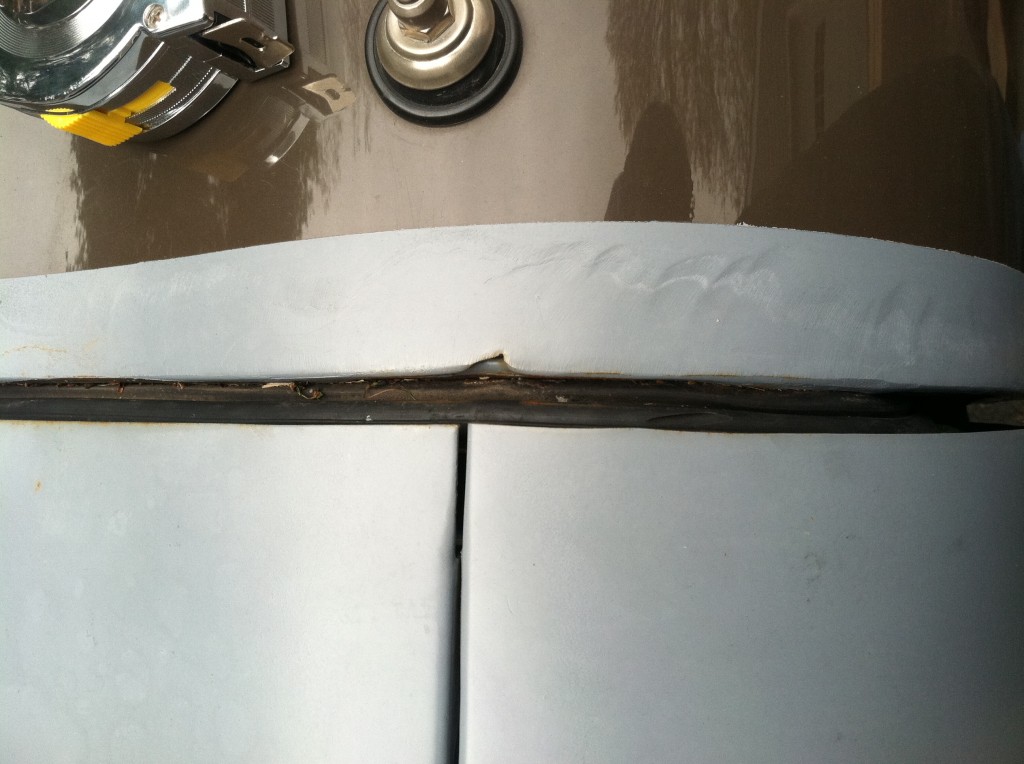
- A nice even gap along the back edge of the bonnet to the cowl. Some people say 1/8″, some say 3/16″, I’ve seen them OVER 1/2″!!! I shoot for something that’s uniform, between .180 and .220…
- You can just see a couple divits of plug welds poking down, but otherwise, this is dressed off and unnoticeable.
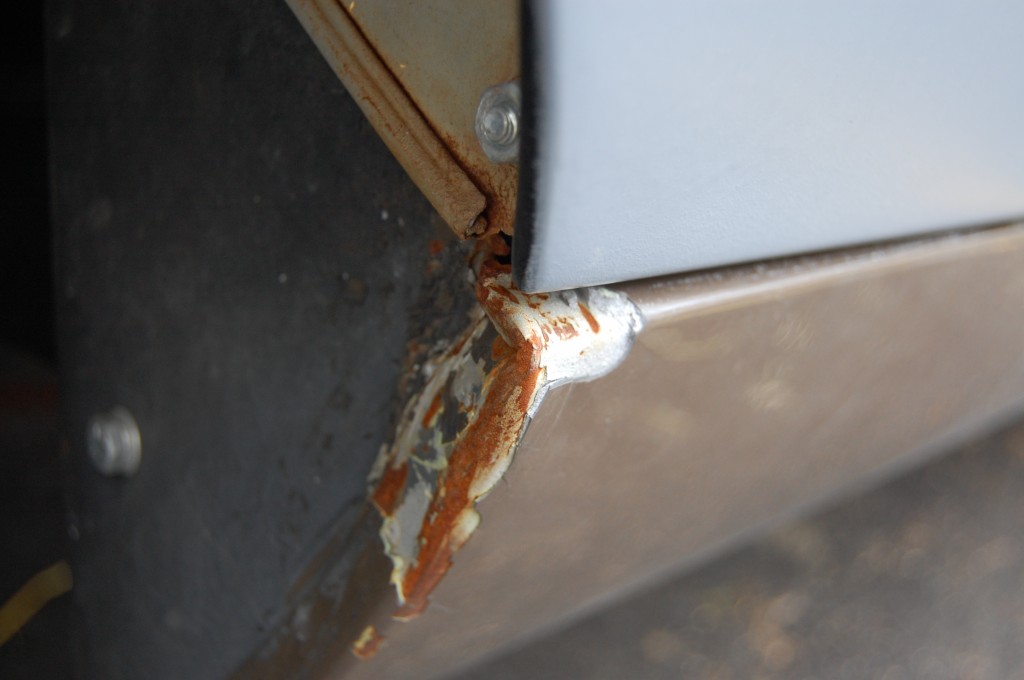
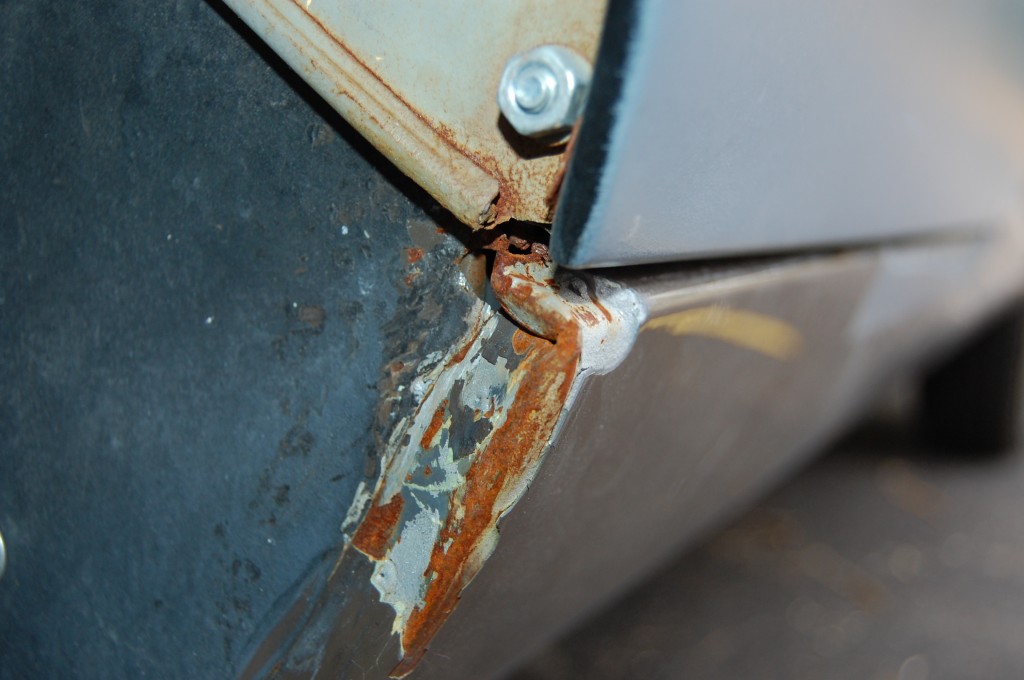
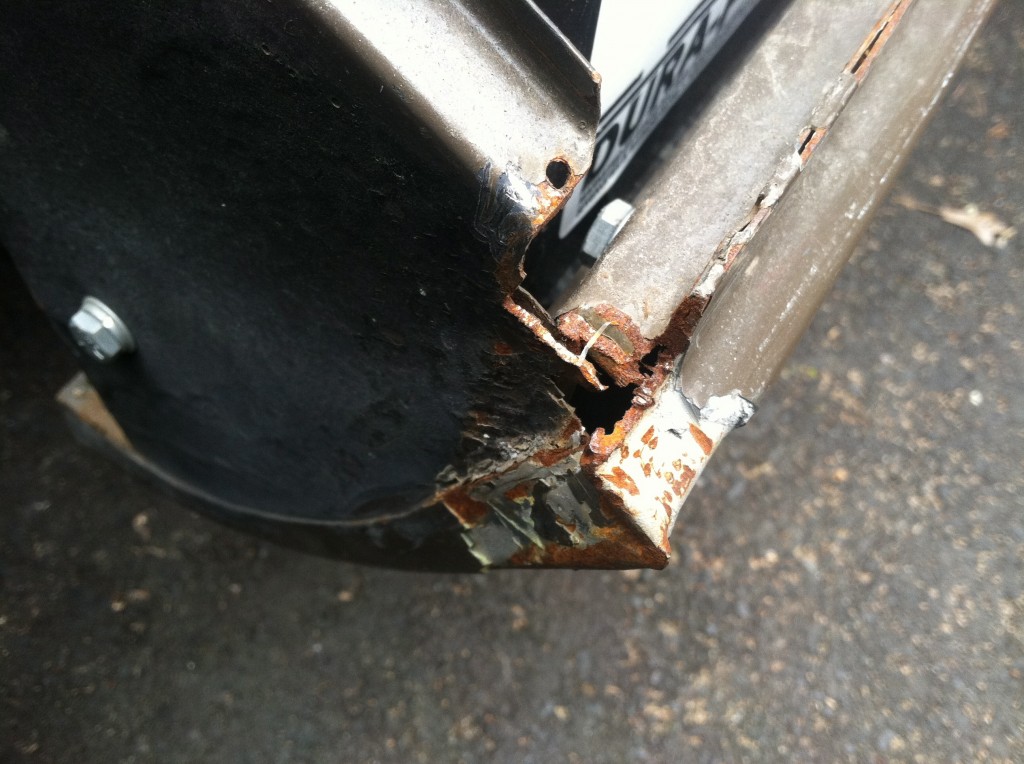
- Remember this abomination?…
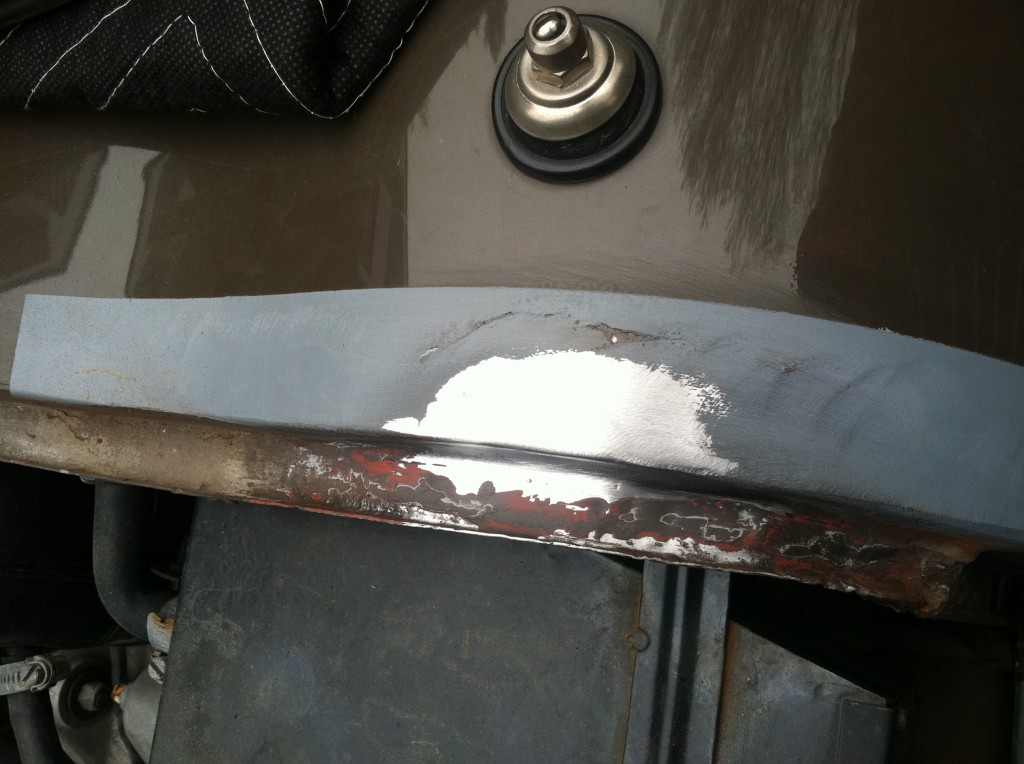
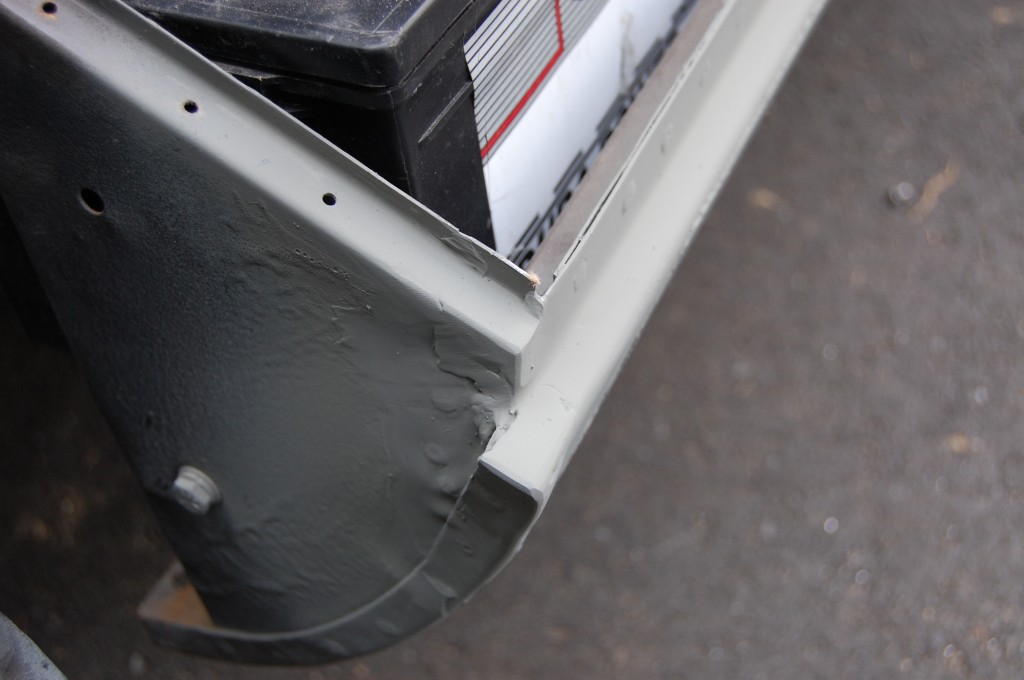
- I spent a great deal of time building the area back up with weld beads, and then dressing it all down. You need to build the point of the sill with STEEL – anything else is going to flake off later! Don’t attempt to sculpt this little point out of filler or lead!
- It’s close enough now to use a little filler for the final work. Also, notice that here and several other places during this repair, you have to take the panit off the car and get down to metal – make sure you are lining up the bonnet to STEEL – not an 1/8″ thick layer of filler and paint.
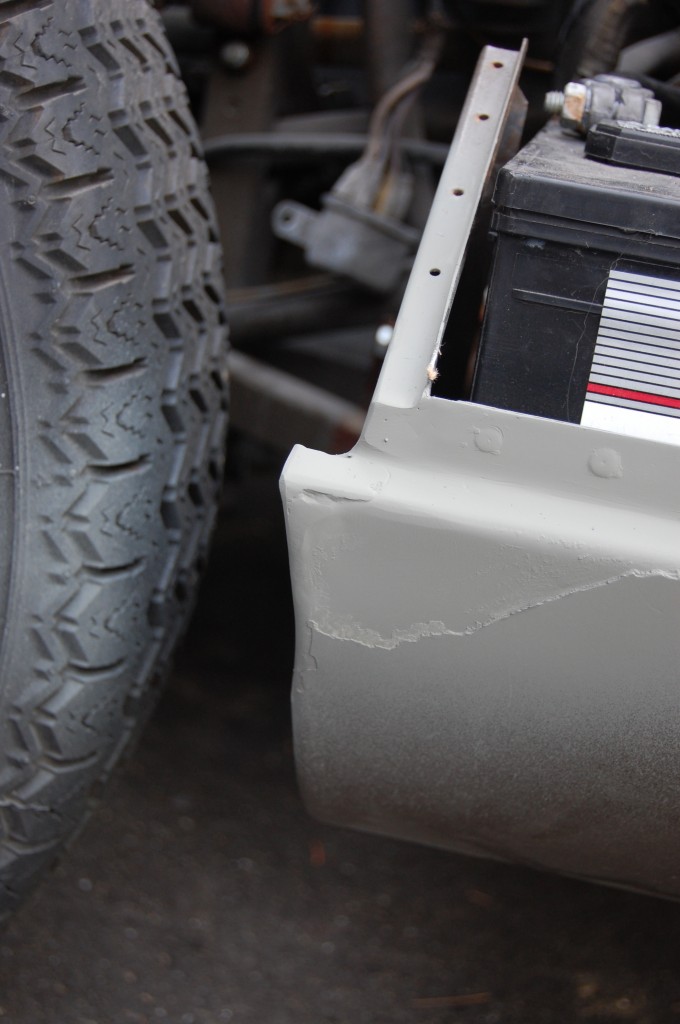
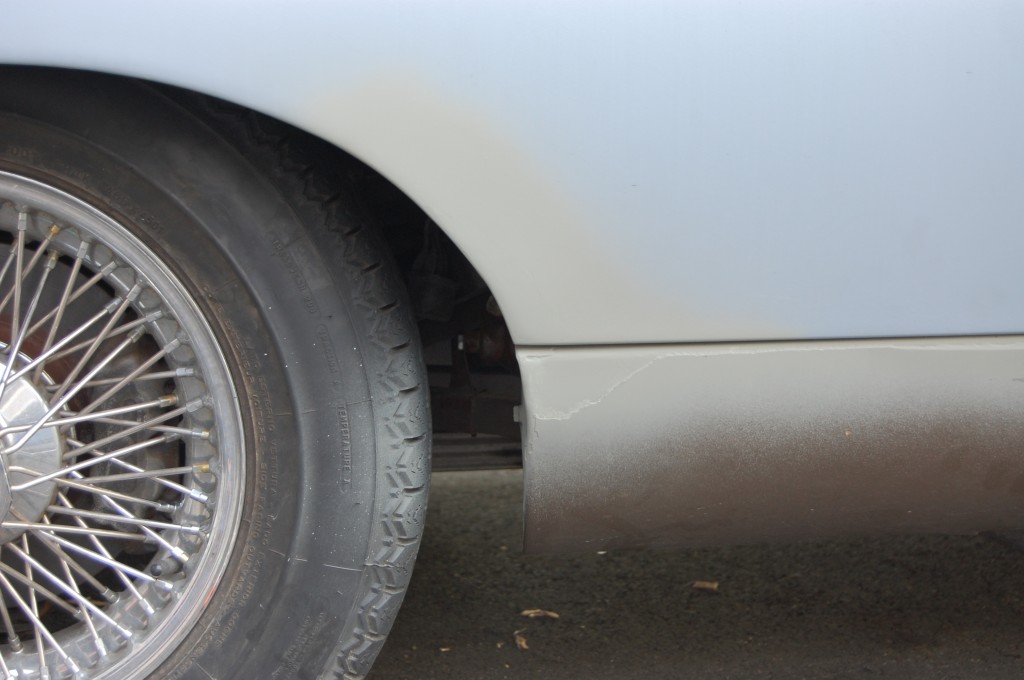
- They had bashed this corner in because the wheel arch of the new wing was too wide (shocking…). I instead built the sill area back up to stock, then added beads of weld along the edge of the wheel arch to bring it fornward down there. Now that I’m looking at this photo, this curve does not sweep quite as cleanly as I would like to see, but it is good enough I think – especially considering that I had to bring the edge forward almost 1/2″ at that bottom corner! You can see how far up I had to go in order to feather the curve in based on the primer.
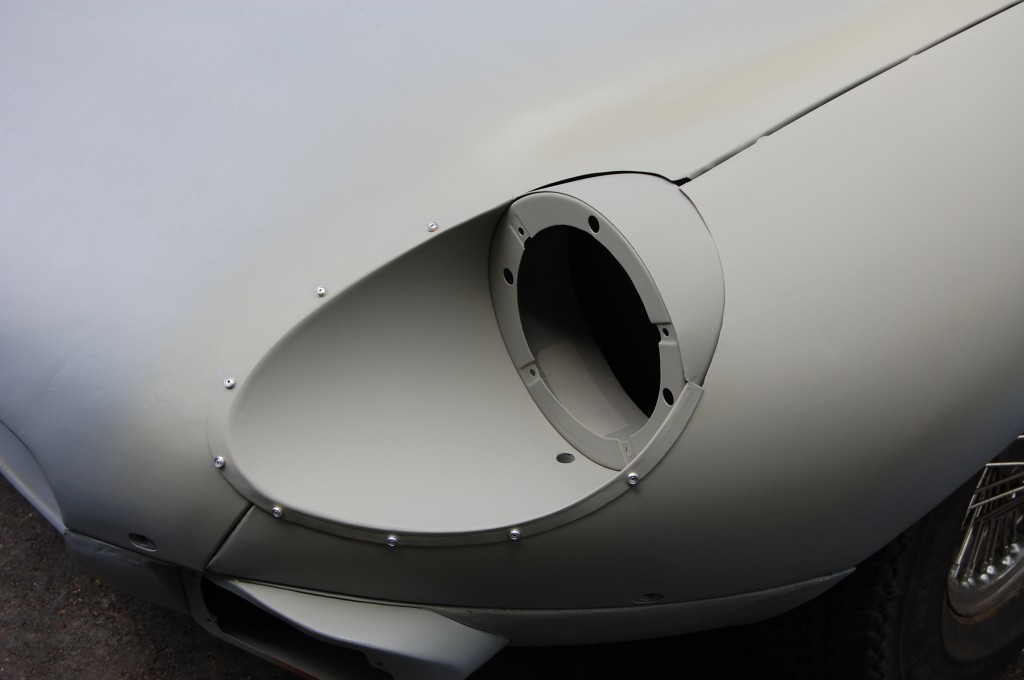
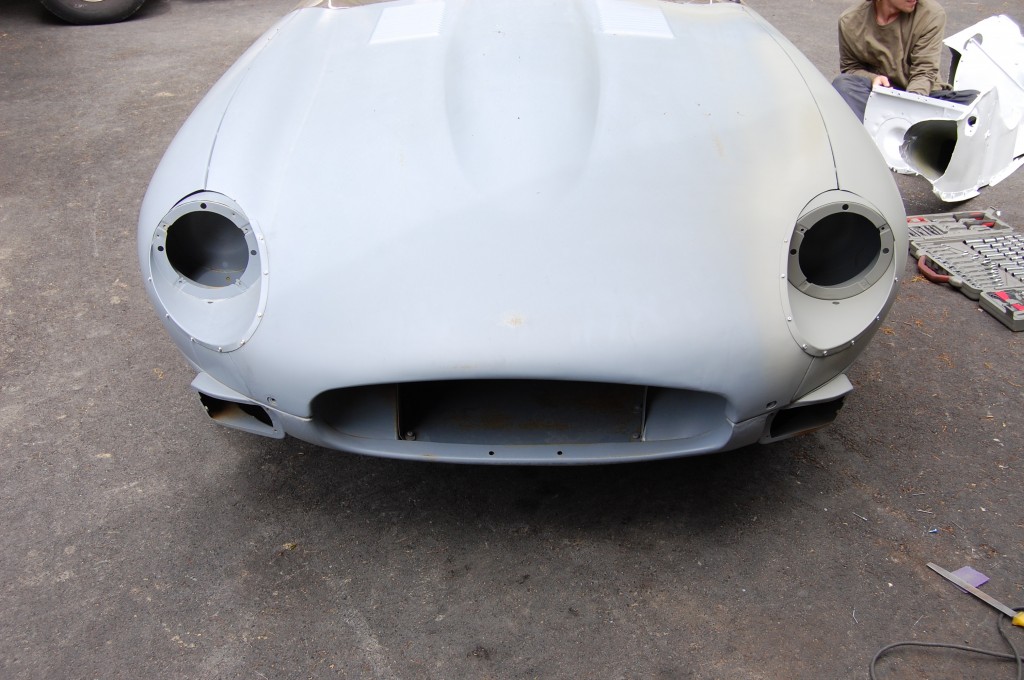
- The “Jag Specialist” who decided to replace the wing also was unable to fit the headlmap scoop back in. I had to reshape the wing some up here around the hole, but it wasn’y THAT bad…
- All Done! Chuck… I’m bored… Let’s go for a spin!
- Another shot…
- And another…
- Finally, it was time for her to go home and get resprayed and finished off – she’s in good hands now for the paint, and the crash damage has all been resolved – she’ll be good as new soon!
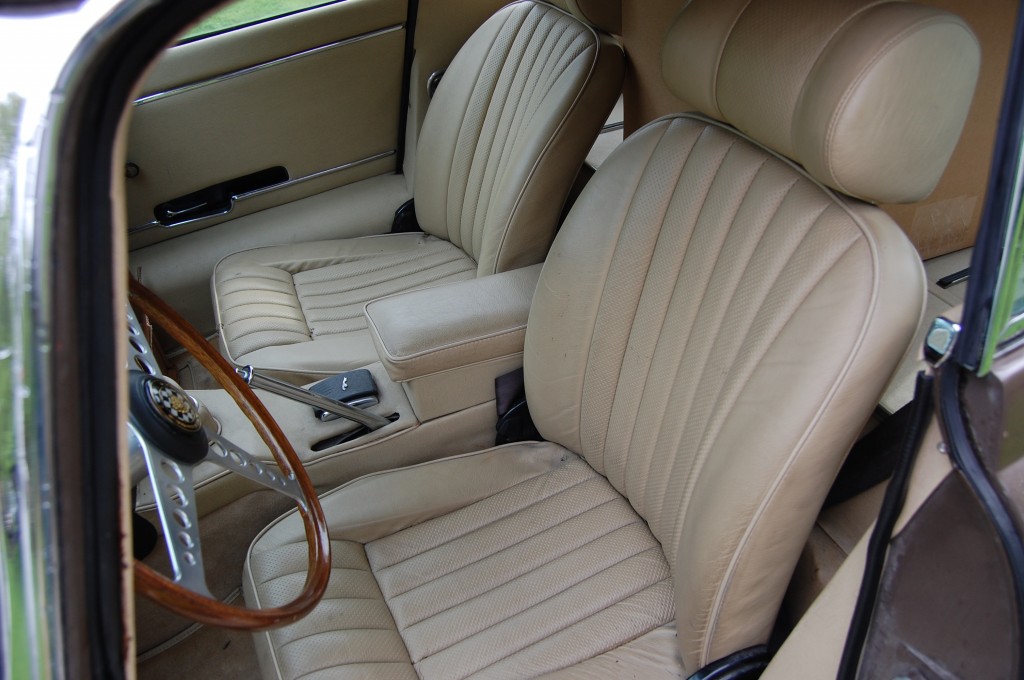
- The interior was FLAWLESS – and the leather seats were supple and felt brand new – but worn in just right…
- Factory fresh!
- Another shot of the 11,000 mile interior.
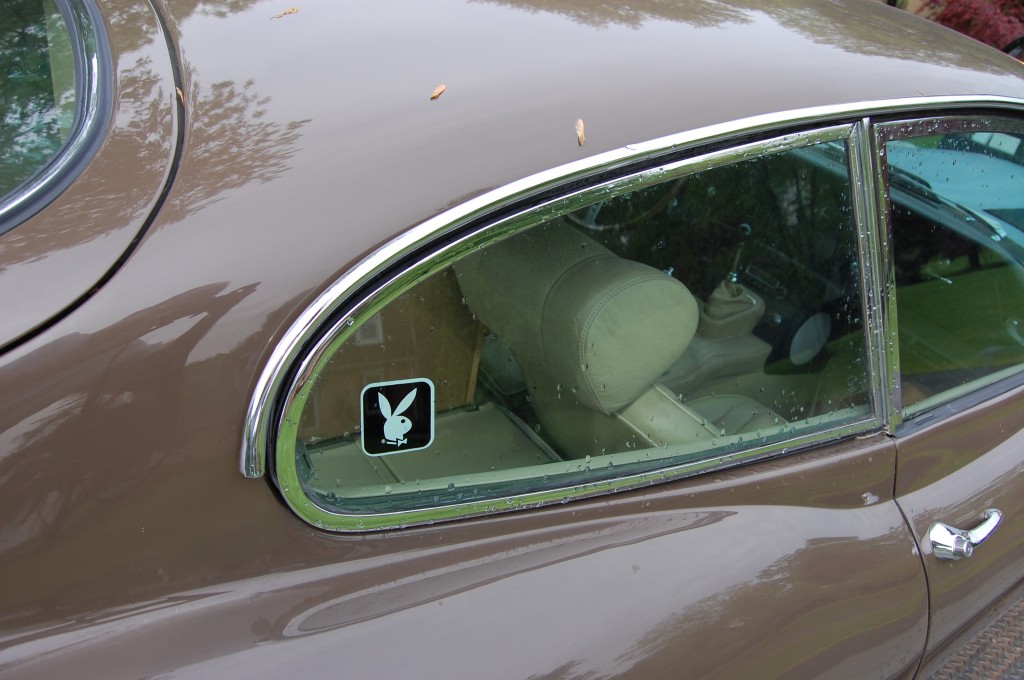
- Green tinted windows, capped off with a vintage Playboy sticker – it’s so tacky that it’s cool!
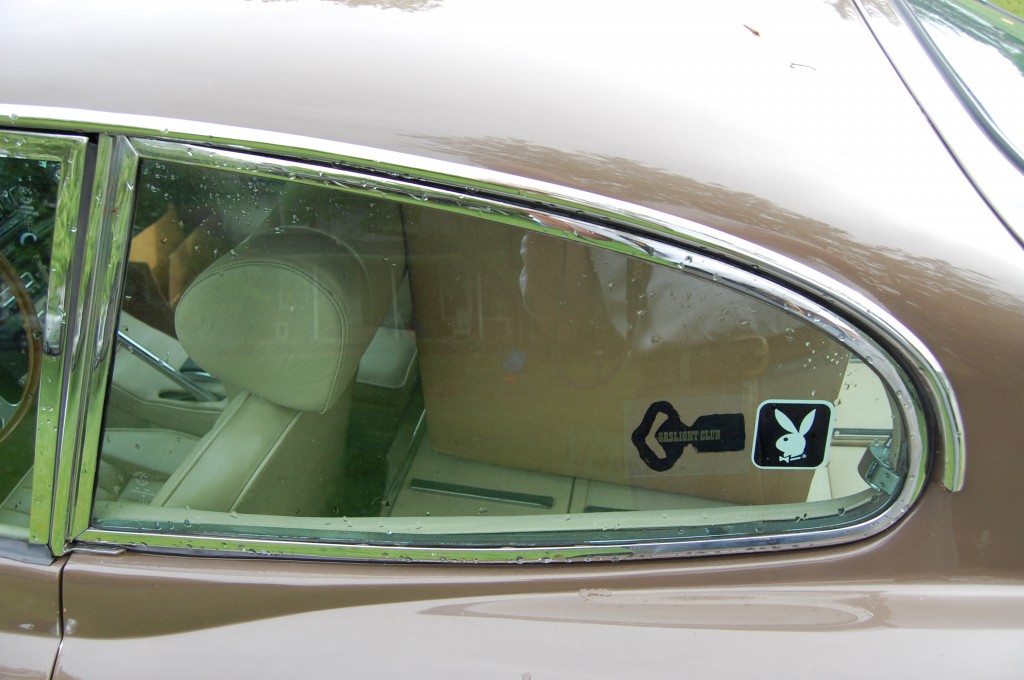
- The other side had a matching sticker, plus one for the gaslight club. I didn’t know what that was – some kind of pre-16 car club?… So I looked it up – it is a burlesque type gentlemans club in New York in the 70’s – this guy must have been a real piece of work – Oh the stories this old girl could tell!

