About this time last Winter, blasting was a MAJOR ISSUE around here – I couldn’t find anyone to do it right, at a reasonable price, and within 100 miles. I know that sounds crazy, but it’s true! So in the end, we had to build our own booth here and re-invent the wheel. And of course we had to learn everything the hard way through trial and error – about media types and grits, nozzle sizes, pressure and CFM, even the constuction of a sufficient dust collection system and the booth itself. What an adventure…
Listen to me VERY carefully – I know what it took to get this right – to get the panels and shells clean without warpage. It took a FANATICAL approach to the whole process! SO when your local sandblast guy says, “Don’t worry, we know what we’re doing, it will be fine.” – and over his shoulder you can see a freshly sandblasted snowplow – RUN!!! I have pictures from all over the country, sent by sad E-Type owners that have had their bonnets blasted into the grave by these guys…
THIS Winter – we’ve come full circle – I can’t keep up with the blasting guy! After we got everything sorted out, we moved the whole 9 yards down the street about a 1/4 mile, and John – one of the guys who used to fabricate parts for us – is now fully in charge of all of the blasting. Suiting up and getting into the booth is no picnic – it’s not a fun job. And in the Summer, it’s hotter than hell in there – the compressor heats the air, and after a while, in a Tyvek suit, you are SOAKED with sweat. PLUS – from about April to October, the parts start rusting FAST!
That means that most of the year, as soon as parts get blasted, I have to deal with them. I have to fix whatever is wrong with them and then get them into primer. But this time of year, they can sit around for weeks or months in bare steel because it is so dry. In addition, John has gone crazy with the blasting. I think he’s on a mission to get the entire 2013 year’s worth of parts blasted while it’s still cool in there!
SO – the latest insanity around here is the MOUNTAIN of sandblasted parts that are piling up. In addition to shells and customer bonnets, he’s now blasting parts from our stock of used panels! But I was at least smart enough to only give him stuff that needed minimal work – if we can “blast and prime” that’s OK. But you know how E-Types go by now – there are DAMN FEW original panels in that kind of condition!
Here are some photos of pieces we had to just stop and deal with this week – I did this stuff in the evenings over a few days. Several of these pieces are available – give us a ring if you see something you can use!
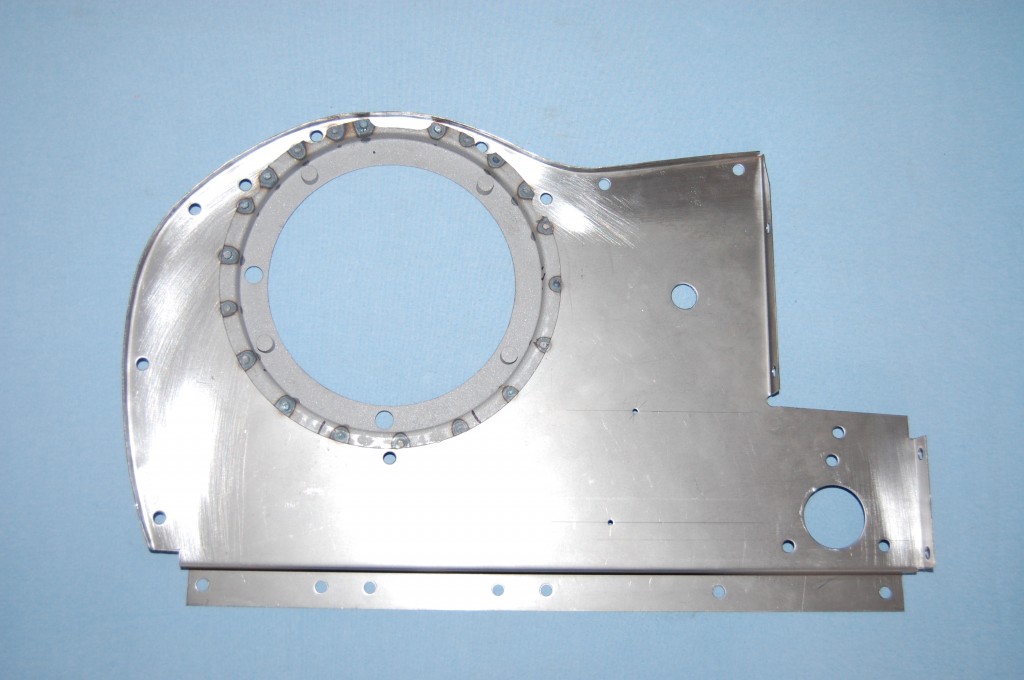
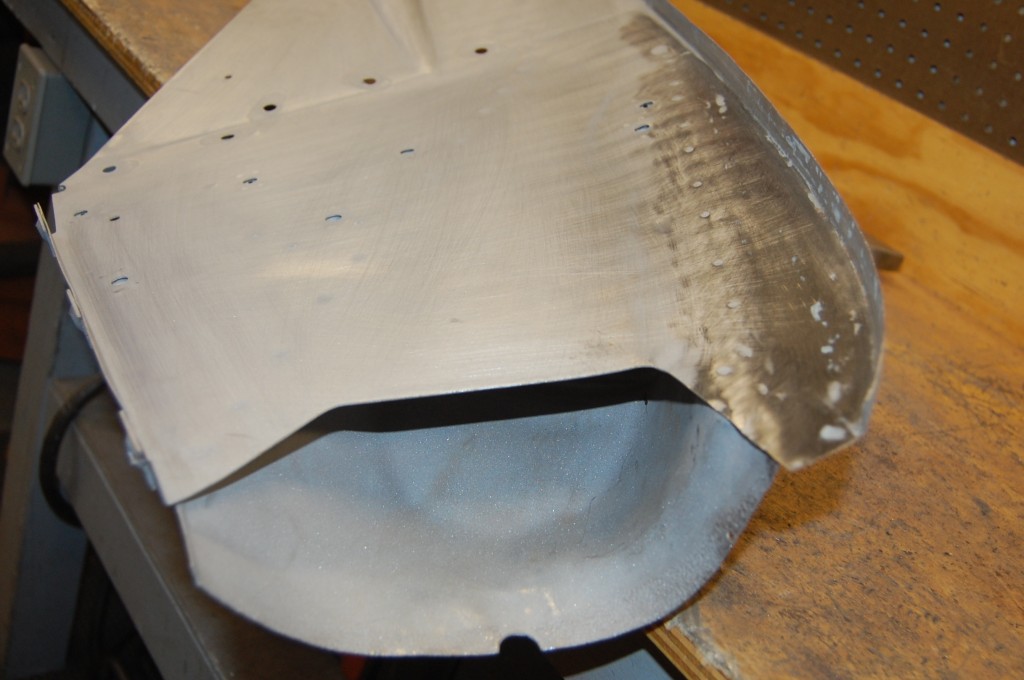
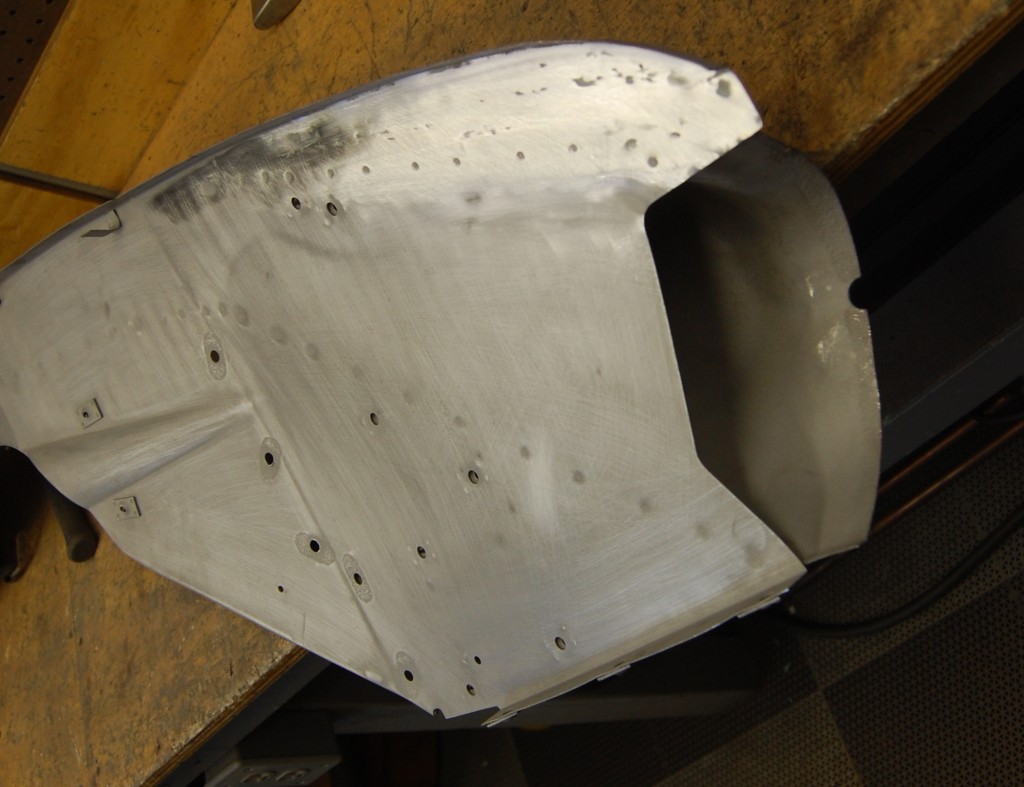
- Figured I’d better throw in some photos of headlamp diaphragms since I put them in the title. This is part of an order for a customer in Alberta, Canada – he is getting a complete Series 1 bonnet – minus the center section and lower valance.
- As you can see from the photo, this is a new piece we fabricated, with an original headlamp ring spot-welded into it. I tried to make the rings about a year ago and failed miserably… It was too deep of a step for the way I was doing it (so the 7th attempt went flying across the shop in anger!) and the tooling has been sitting on the shelf ever since. But before I figured that out, I made about a dozen of the plates, and so I have just been throwing dead diaphragms into a pile if they have decent rings. One night this week, we dissected 6 dead diaphragms and recycled their rings into new pieces like this.
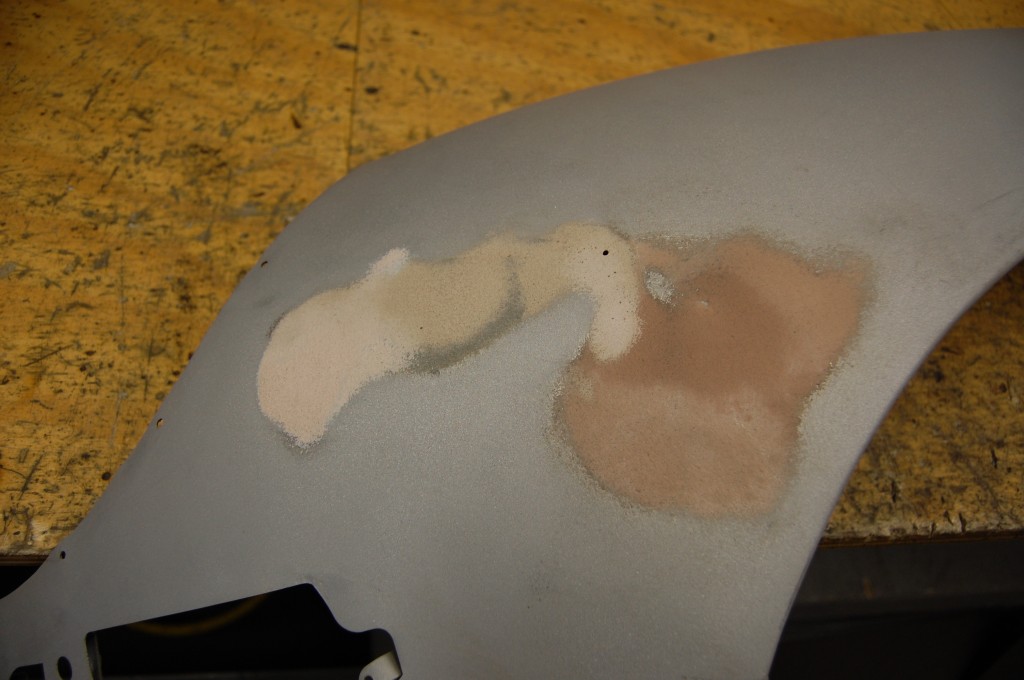
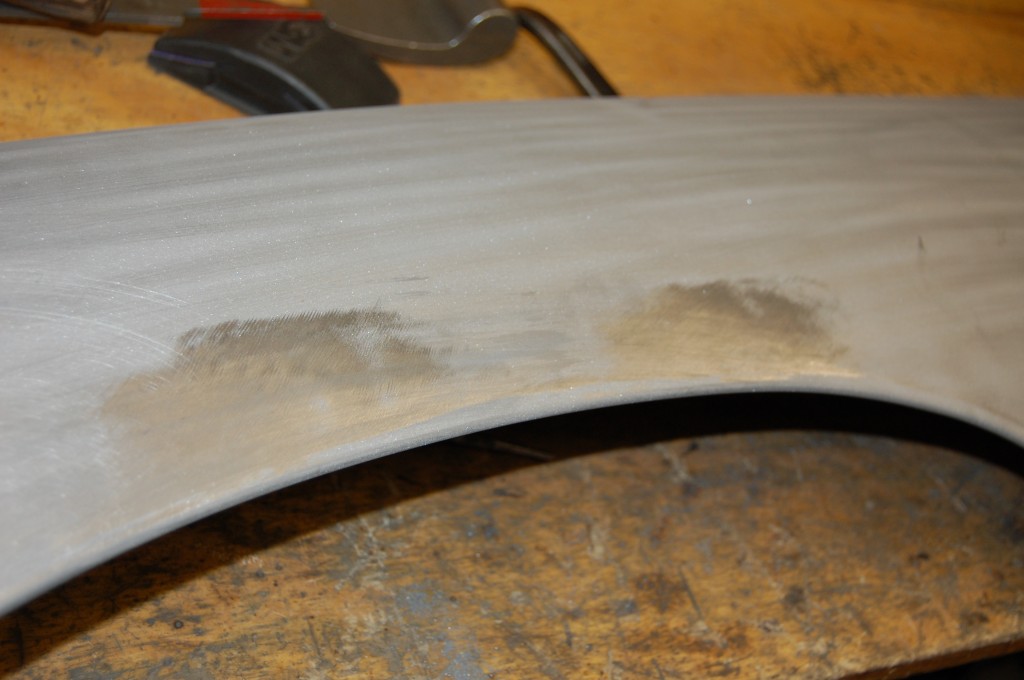
- LH Series 1.5 fender – relatively nice and straight, except for 2 issues – this being the first.
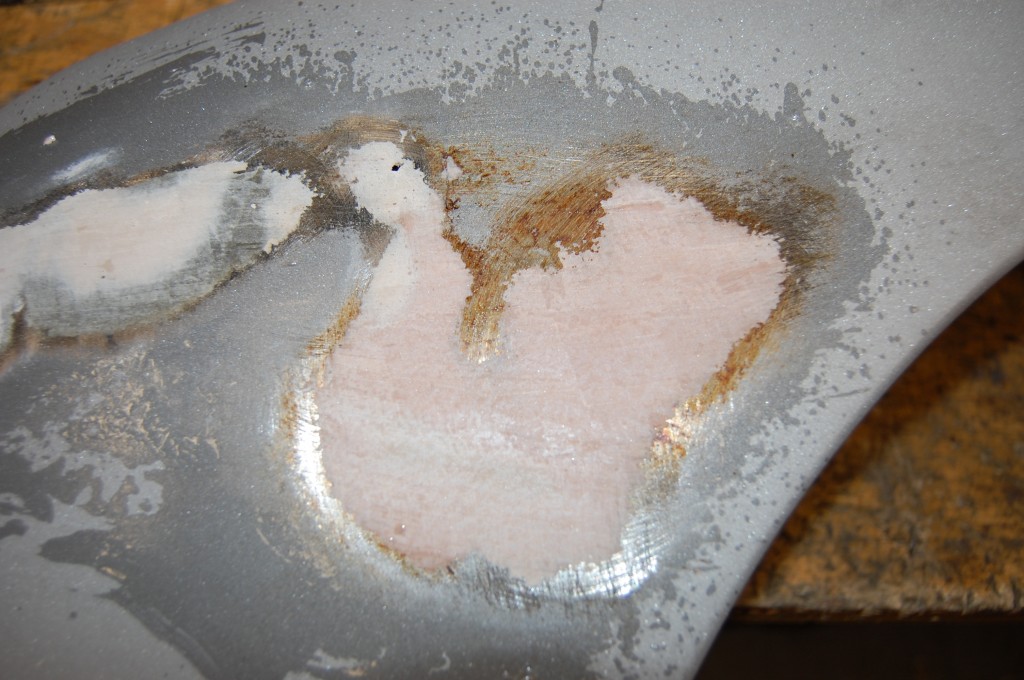
- We remove the filler with chemicals, and a few other trick methods – we don’t blast out filler – takes too long, makes too much dust, and risks warpage!
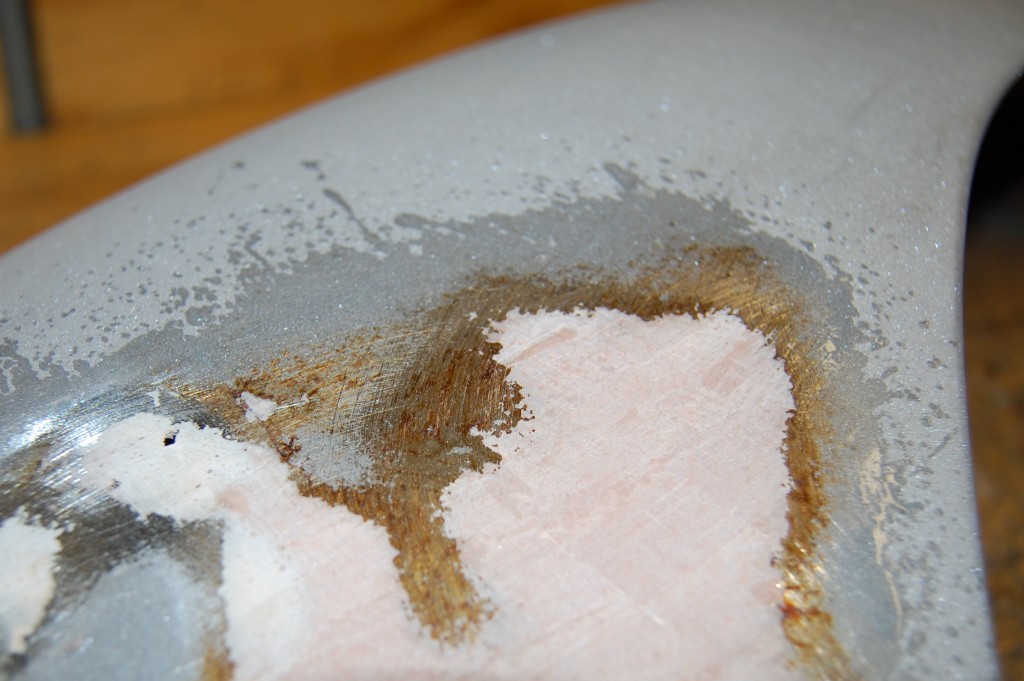
- Yes, that’s RUST under the filler! Filler absorbs moisture, and this is what happens when you put it right over bare metal – which for years was the accepted best way to do it. Now, the filler goes over a base coat that is designed to accept the filler with a good bond. Just another reason you want to get the metal back into shape as well as you can and eliminate thick patches of filler.
- A couple of small dings along this edge were dollied out and hand filed smooth.
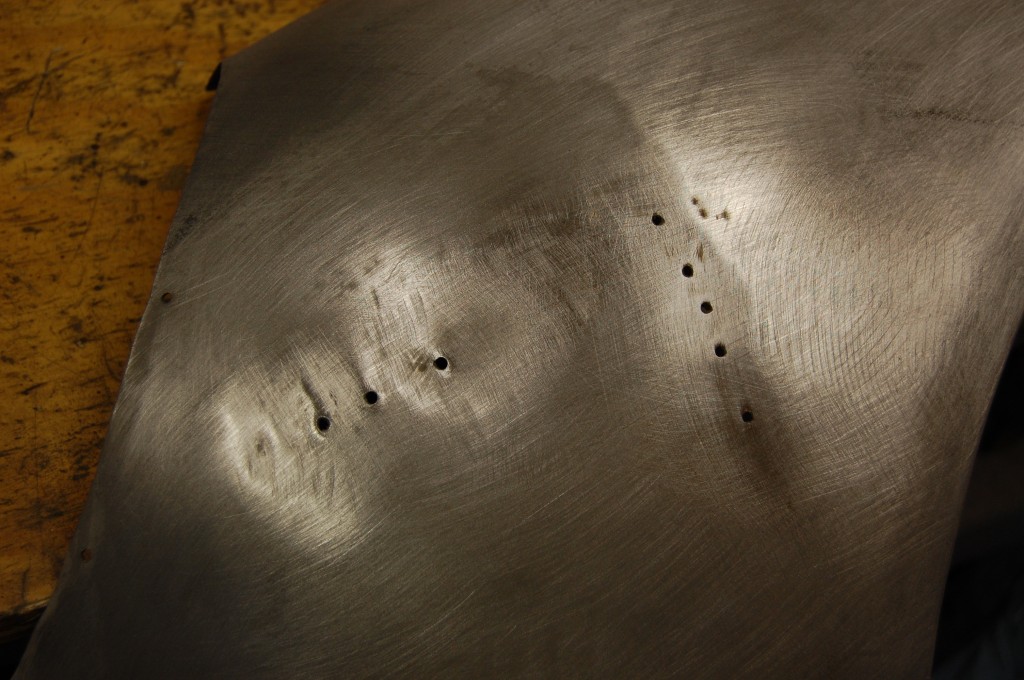
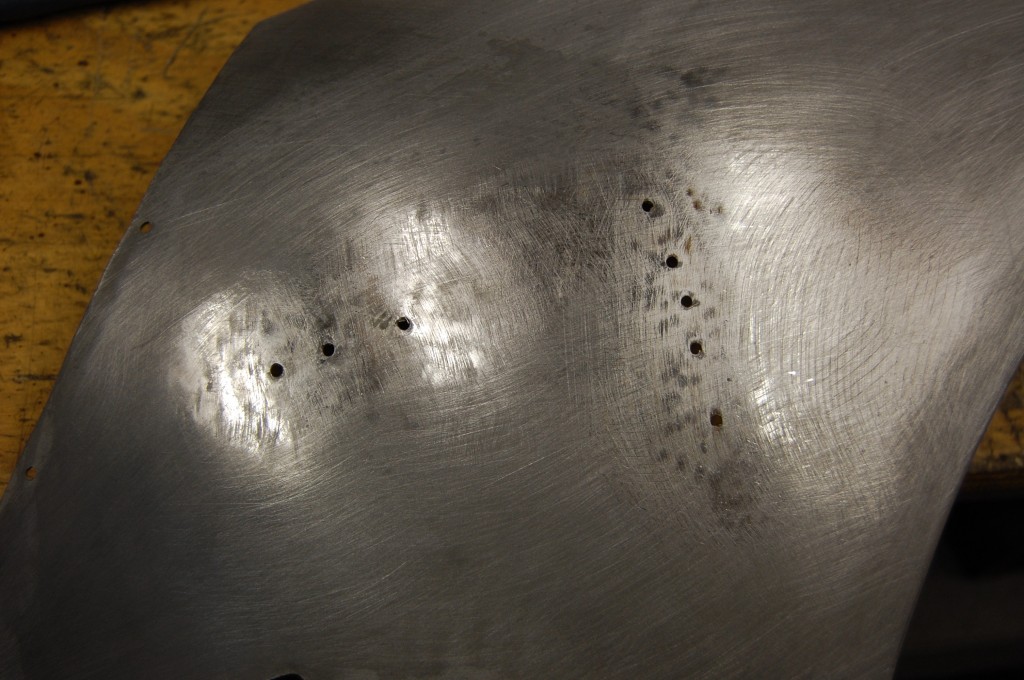
- After all of the filler (and fiberglass resin in this case…) is out, we next have to deal with the dent-puller holes.
- First we dolly and slap the whole area back into shape and as smooth as possible.
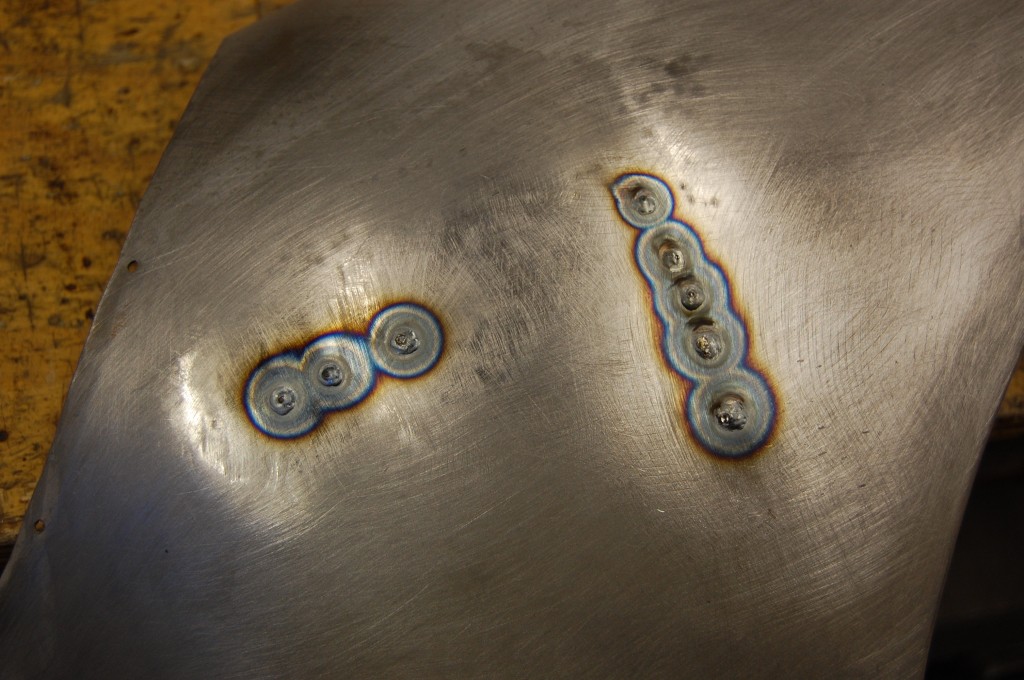
- Next, we carefully TIG-weld up the holes.
- Skipping a few steps here, we have ground down the excess weld bumps, planished the whole area smooth again, run the shrinker over it a few times, and scuffed the burnished surface left by the shrinking process. Here, the repair has just been cooled and set with soapy water. Back into shape and ready for high-build primer to finish it off – NO filler!
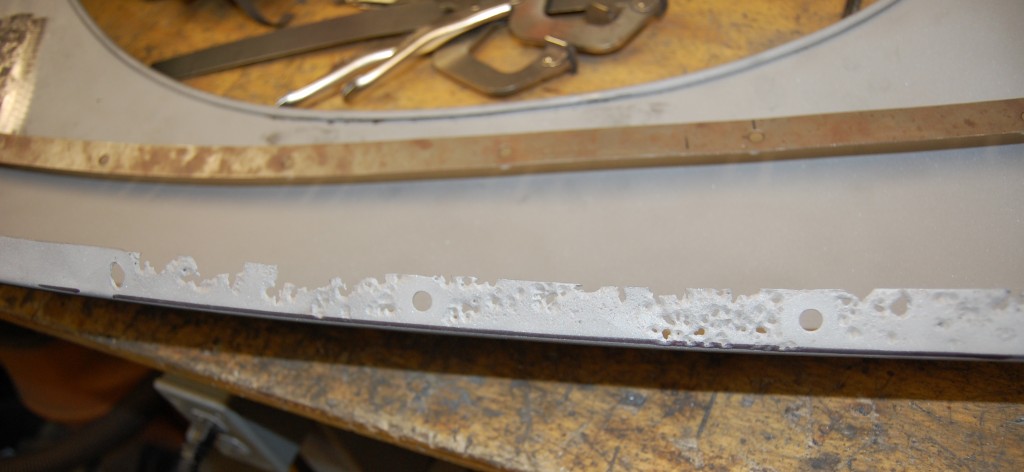
- Here is the other issue with this otherwsie very good Series 1.5 wing. Very common – cancerous rust in the side flange above the wheel.
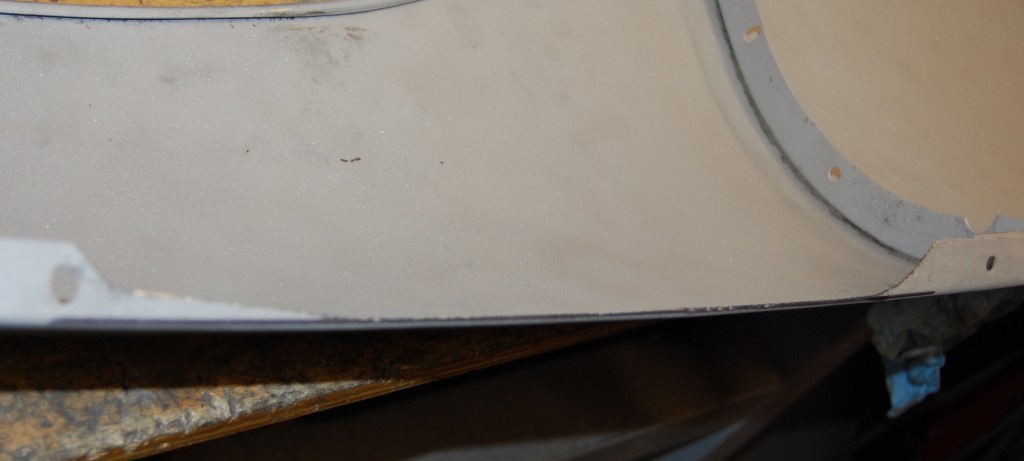
- Here is a wide shot of the full width of the issue. This fender came from the shells and parts we picked up in Michigan last October. It was a “single” – the only part from this bonnet, and I’m sure it was replaced in an earlier restoration due to this issue. Probably with a brand new wing that didn’t fit worth a damn… With some careful repairs, we can make this perfect again.
- First, we have to carefully slice out all of the rotted area.
- The wing is VERY vulnerable right now, and keeping the proper arc as close as you can is crucial!
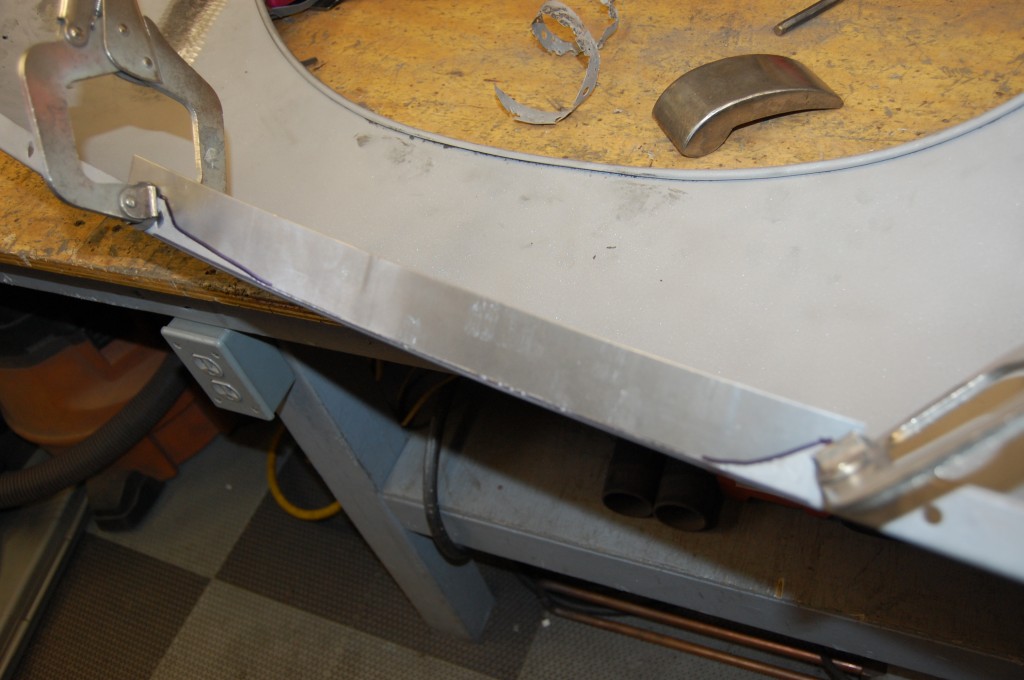
- Here is our patch fitted into place – it is oversize for now, and we will trim it down once it is welded in.
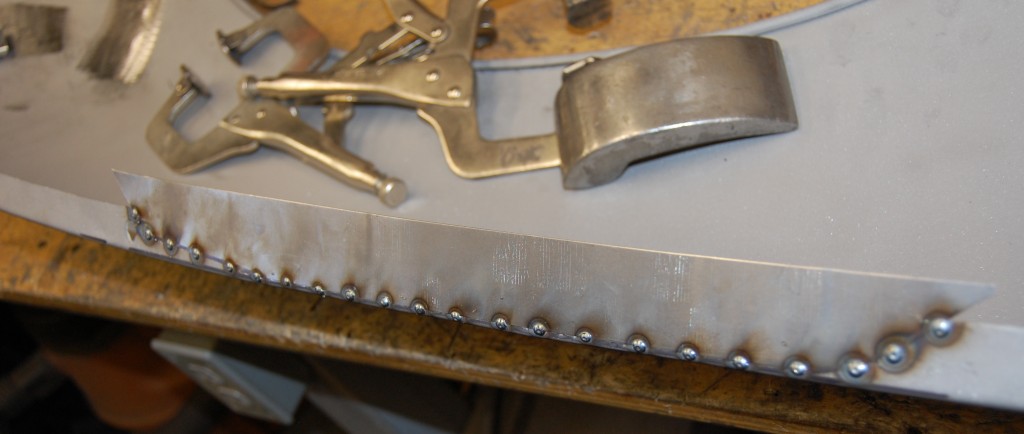
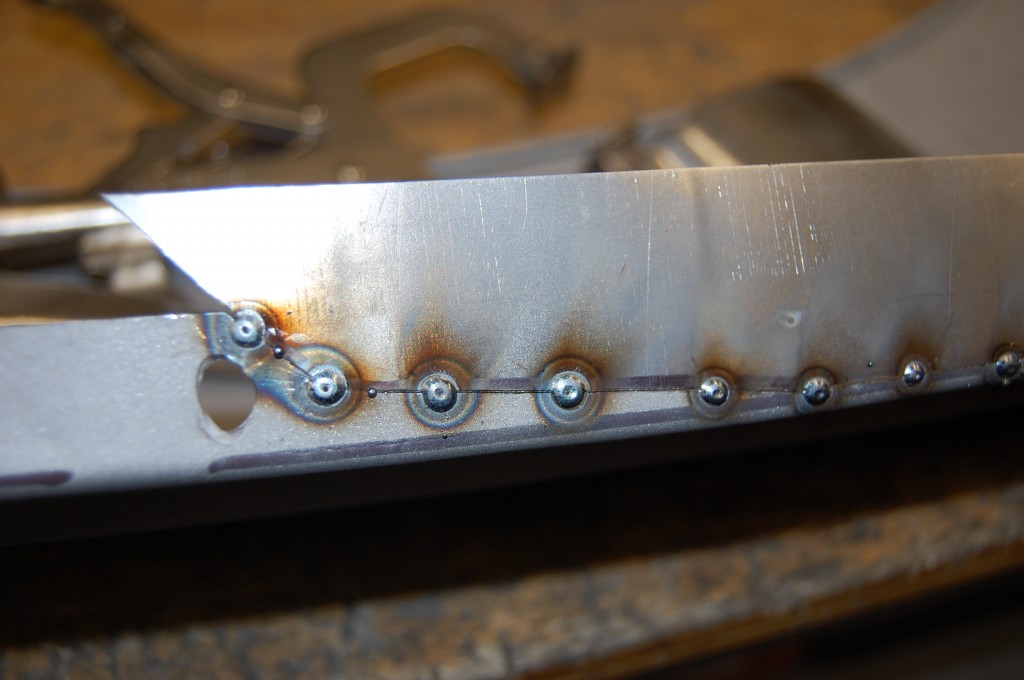
- First, we carefully tack the patch into place with the MIG.
- Usually, several of these tacks will “blow out” in the thinner areas – that’s why you need to make sure you cut out the thin areas as well as the rusted ares – but don’t go nuts! The new MIG welder is also working very well for these tacks versus our old one – the trigger was starting to get sloppy on that one…
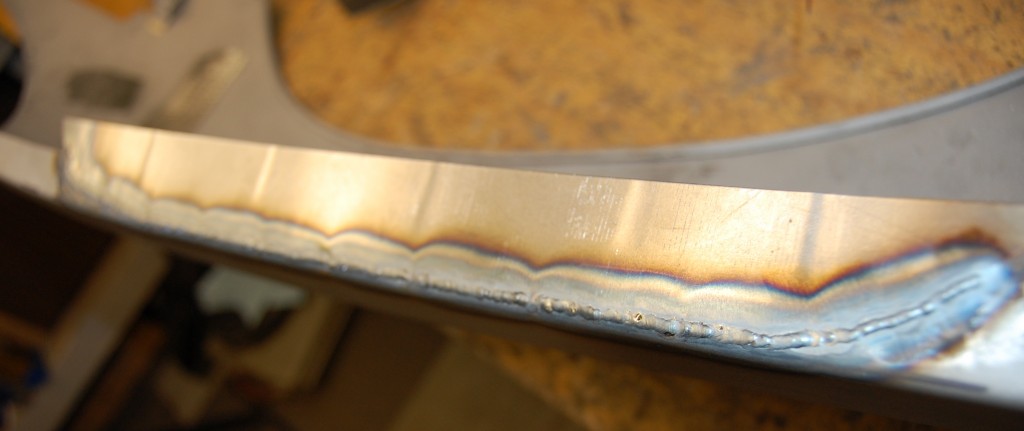
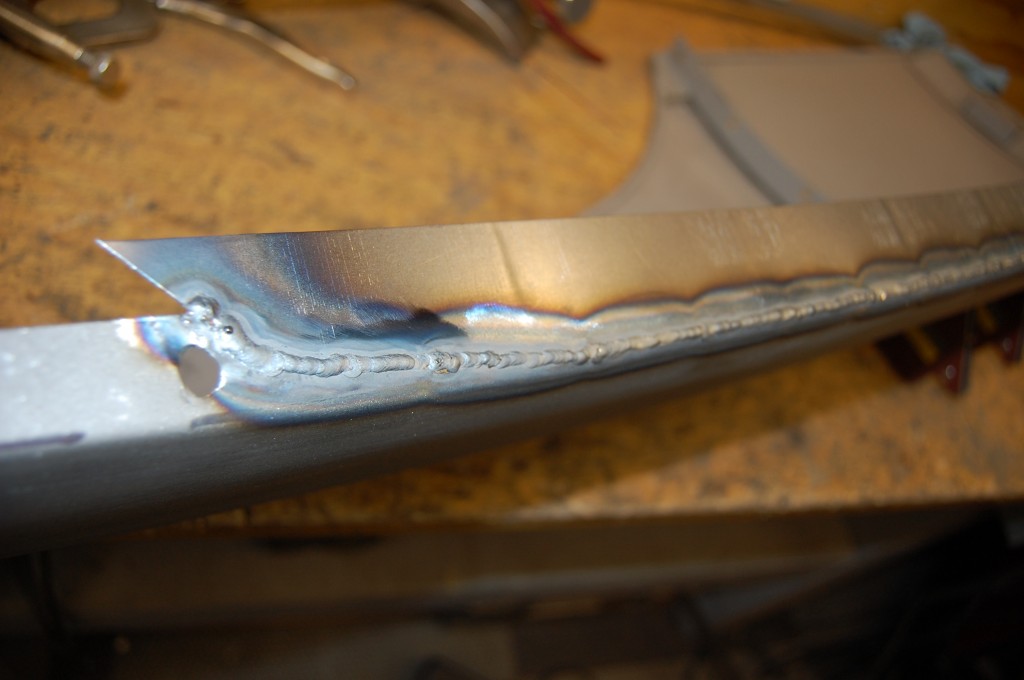
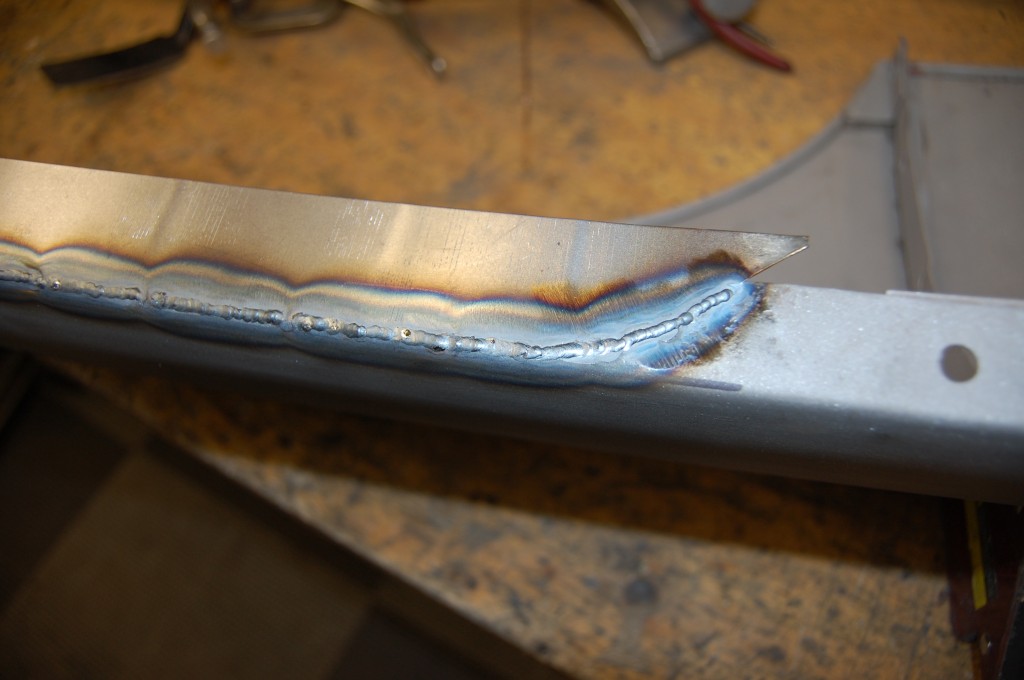
- Now here is where we can pull off this repair where some of you guys at home wouldn’t be able to. You MUST use the TIG to fully weld this up. For one thing, it’s highly unlikely you could pull this off with a MIG – the original metal is very delicate with thin areas, and you would just make a big mess – “blowing out” all over the place… Even if you COULD use a MIG, but when finished, you would find that the outer skin of the wing itself was warped like crazy from the excess heat the MIG puts into the panel.
- Even in our case, we’re so close to the edge on this repair, that we experienced some minimal warpage even with the TIG. The heat of the weld shrinks the metal, and it pulls metal in from wherever it can.
- So the outer skin there where you see the blue heat marks is a little wavy – but JUST A LITTLE – so we dolly it out and planish it with the slapper, and it’s fine. The MIG will create the same effect, but 4 or 5 times as much, and then you’re sunk.
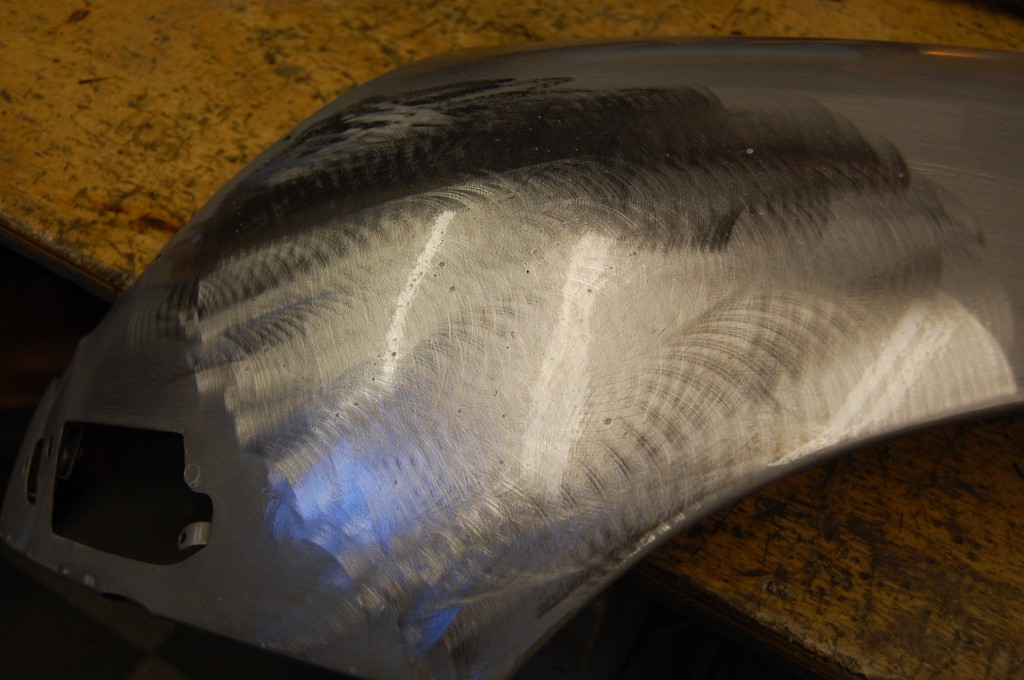
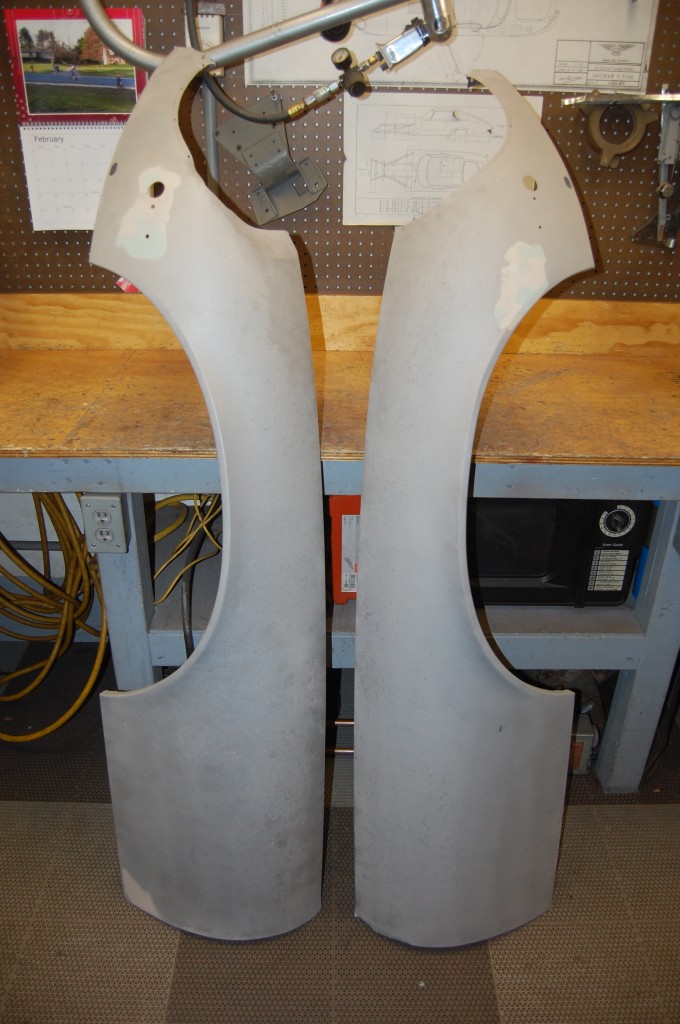
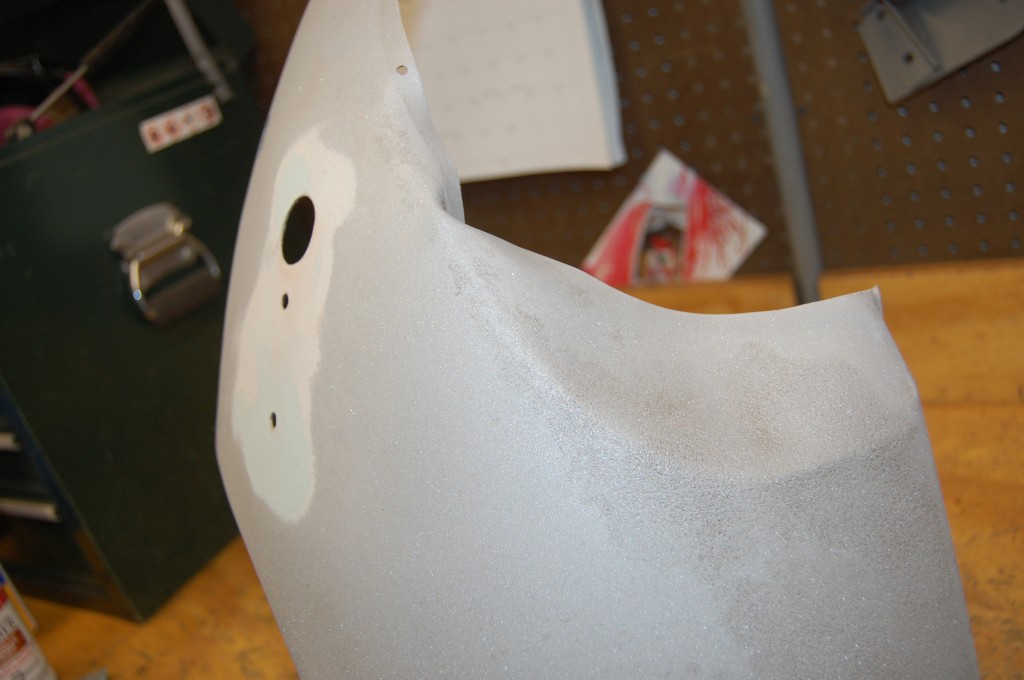
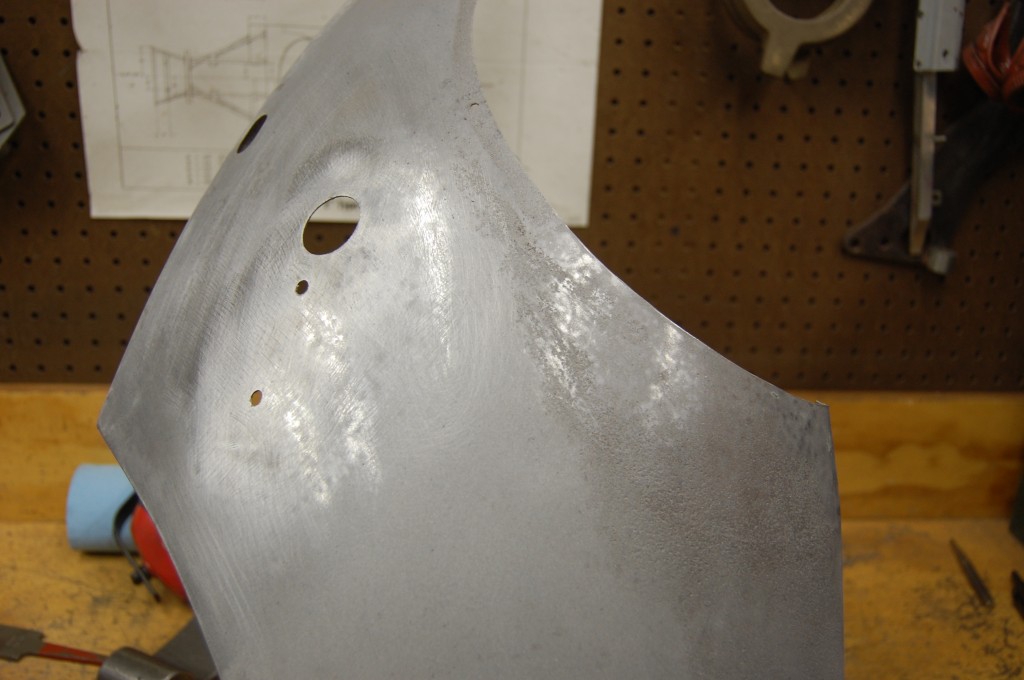
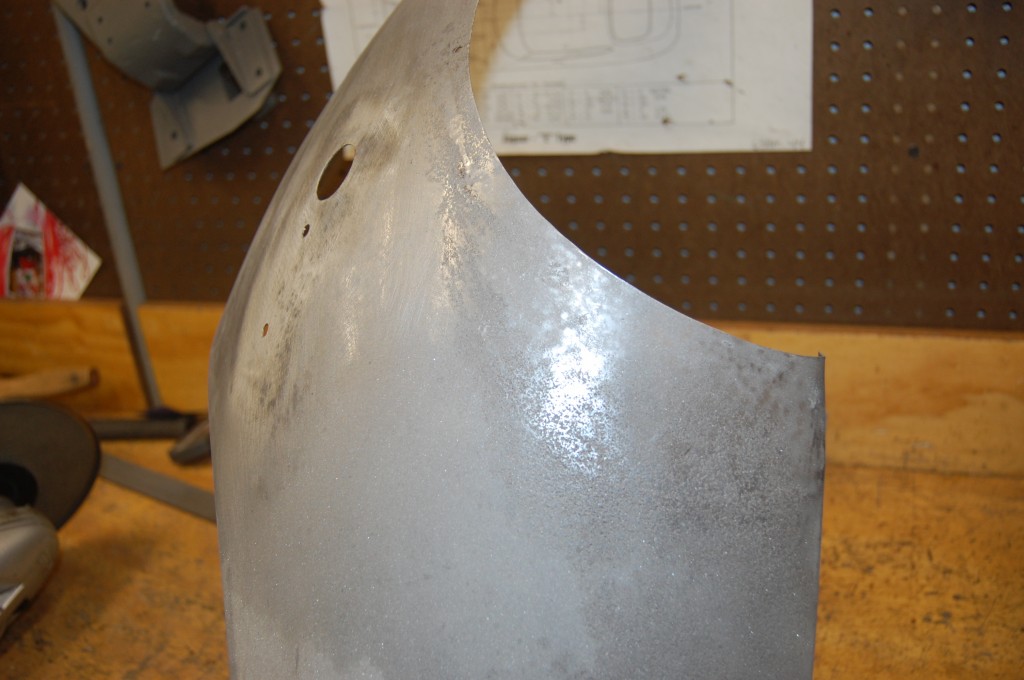
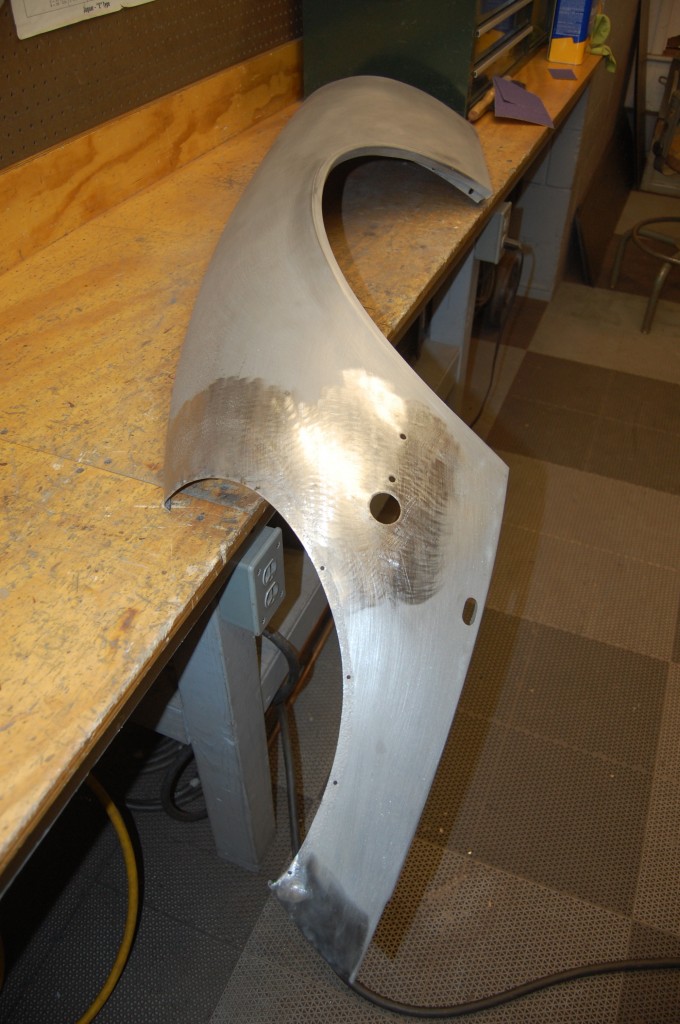
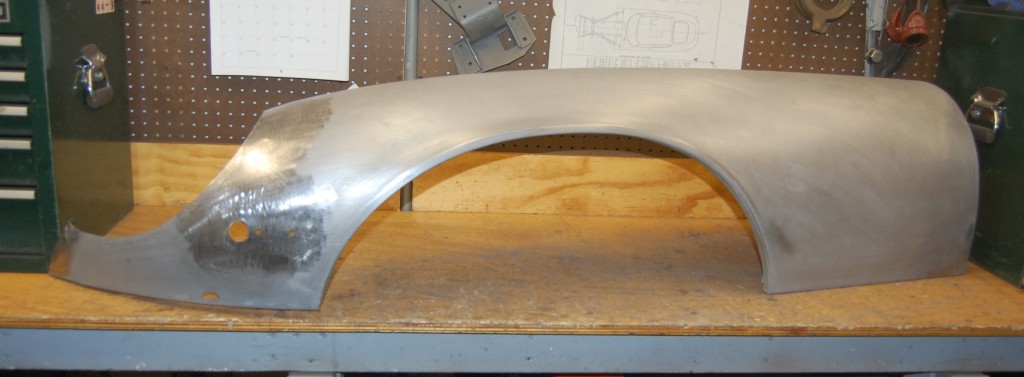
- Next contestant is a pair of rust-free Series 3 V-12 wings we purchased in California last Winter and had shipped out here. These are FABULOUS! Look at the flared wheel arches – except for a little bondo at the very front on the RH wing, they are PERFECT! Once a Series 3 wing has it wheel arch all mashed up, that’s pretty much it…
- This is the worst of it, and I think this will pop right out for me. These wings did have some surface rust, and so there is some pitting in this area and in the upper areas of both, but this is the worst of it, and it’s really minimal – the block sanding that all of these cars get (or at least SHOULD get!) will easily handle it.
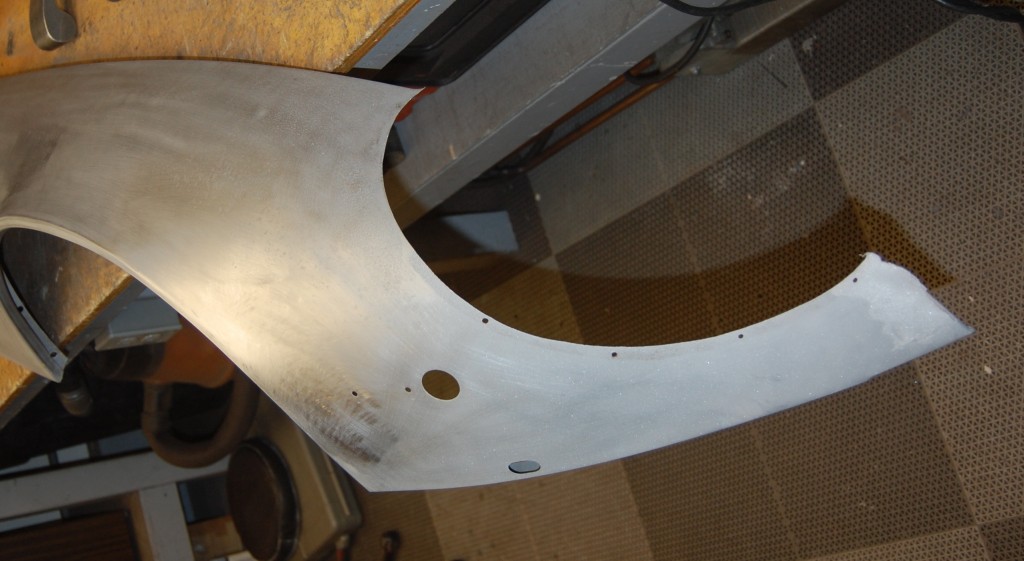
- Here is the RH wing – we have removed the patch of filler, and carefully used the dolly and slapper to reshape the leading edge of the flared wheel arch. If you look at the earlier photo, there was also a little wrinkling along the trailing edge – that smoothed right out as well. LOOK at this beauty!
- Back to the LH wing – fist step is to dolly out the damage.
- Here is another shot – the kink is totally gone, but there is still a “ghost image” of where it was.
- Smoothed, shrunk, and scuffed – and good as new!
- Like I said earlier, this pair of Series 3 wings is FABULOUS! If you need some, you should pick up the phone and call me right now – you’ll never find a more solid, matched pair of originals!
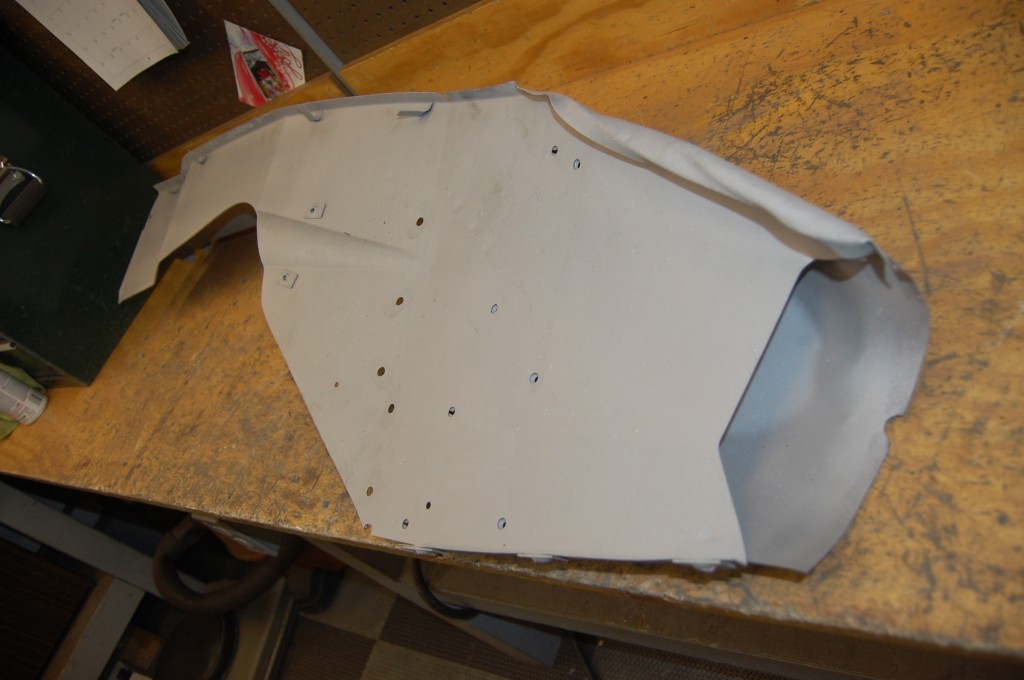
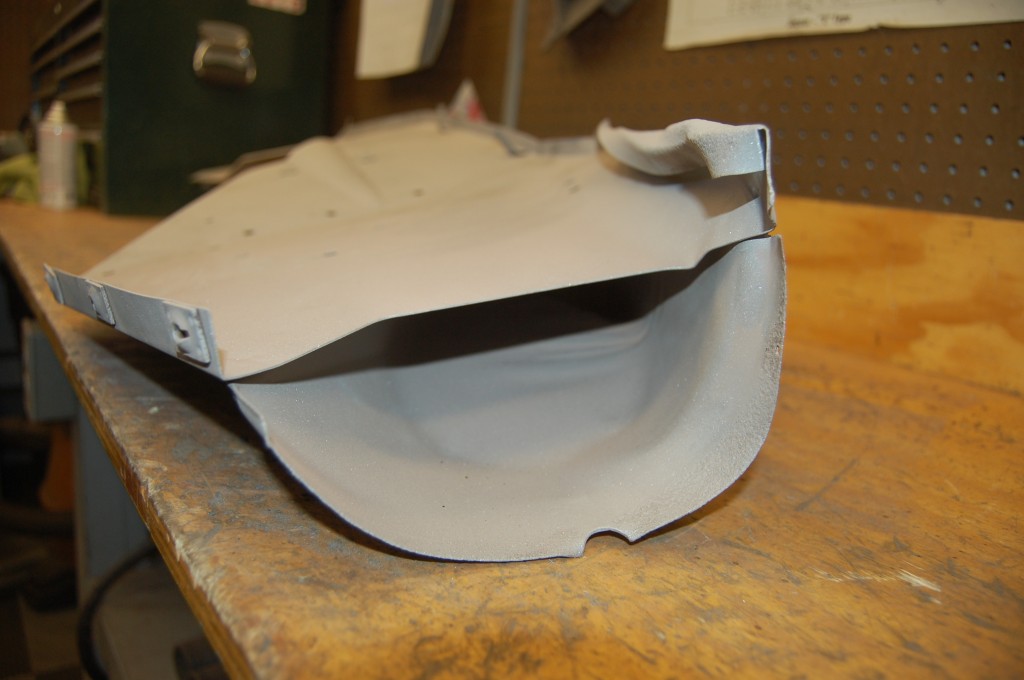
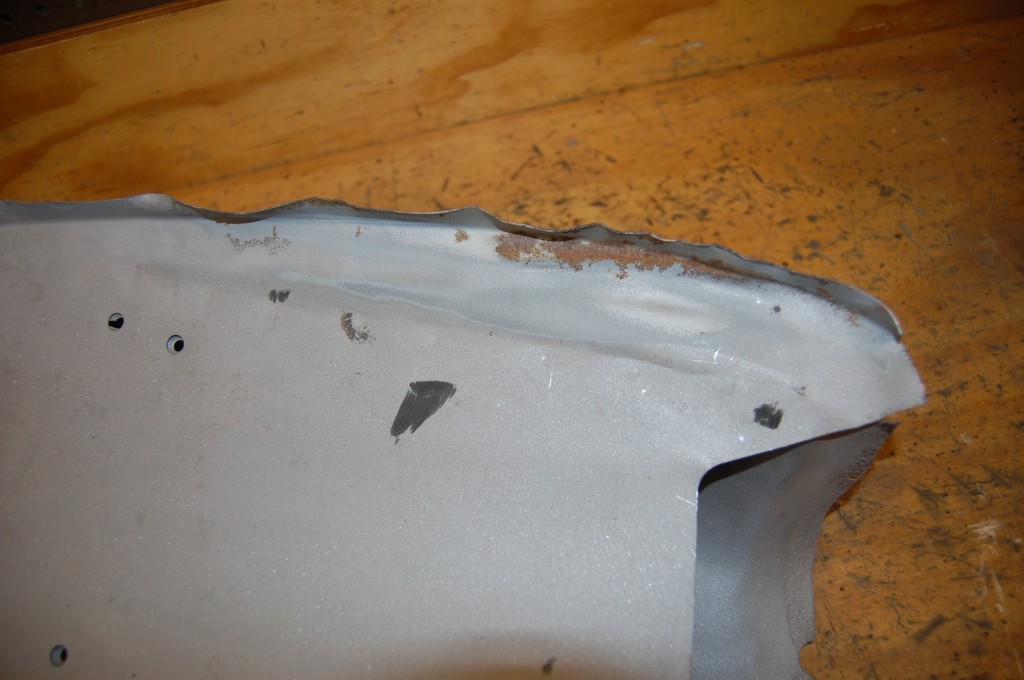
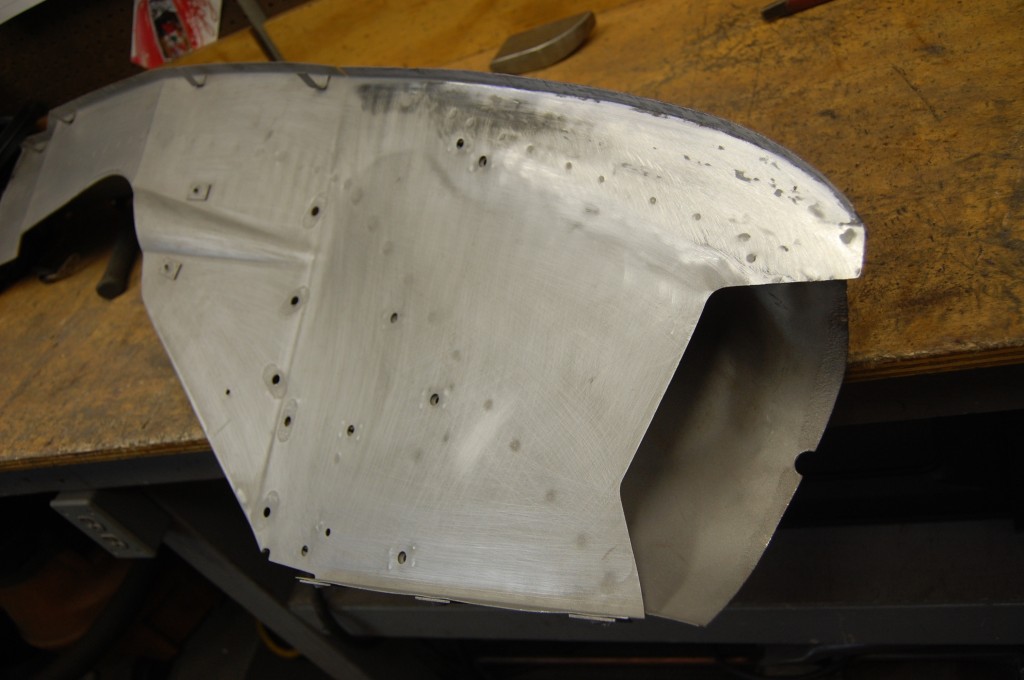
- Here is the Series 3 V-12 LH inner valance that went with those wings – we got the wings and the inner valances. The bonnet was for sale last year – it had been hit and mashed up in the center section – like something came down on it or it went under something. And so I made a deal where I purchased the complete bonnet, but they took the wings and inner valances off and just shipped me those.
- As you can see, this has been mashed straight down from the top.
- Step 1 is to do whatever you have to in order to “unroll” this. I used a rubber mallet and my hands mostly…
- Then after that, you just do the usual – hammer, dolly, slapper, picks, shrinking, scuffing, and VOILA! – good as new! This inner valance will fit all Series 3 cars. It is from a later car with the shock-absorbers built into the front bumper for crash protection – note the cone-like bump about halfway back – that is for clearance for that shock – which is mounted directly to these valances.
- The other valance was perfect – it was a true “blast and prime”. So we have the wings and the inner valances here, and can sell any one or all of those pieces. We also have a Series 3 center section that can be repaired and mated to these pieces – OR a complete, EXCELLENT late-style Series 3 bonnet in the original paint – basically, LOTS of Series 3 bonnet stuff in great shape!
- So that’s it for now – overall we put 4 wings, 5 inner valances, and 6 headlamp diaphragms on the shelf in self-etching primer – perfectly restored and ready to be fitted up to YOUR E-Type!

