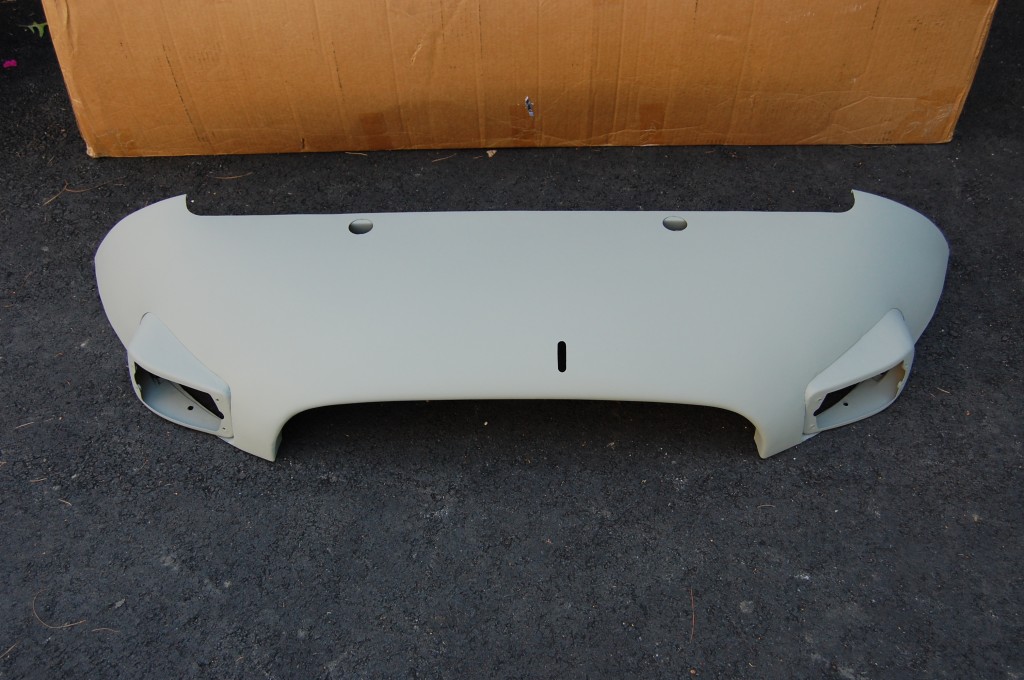
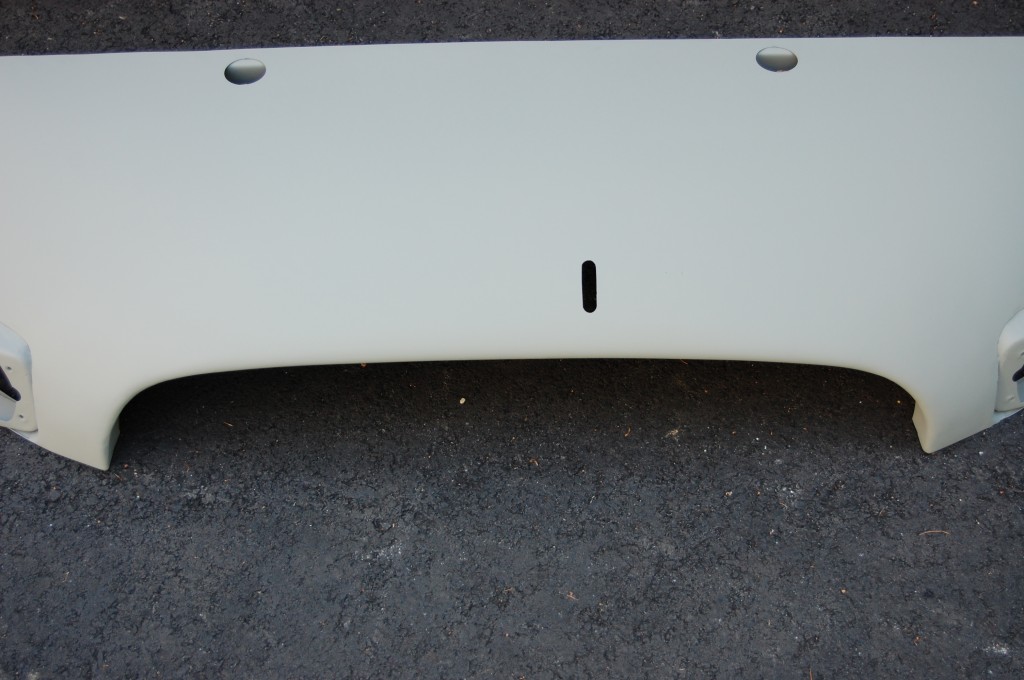
Well, not really “restoring”, but it would be nice if they were ready to go out of the box…
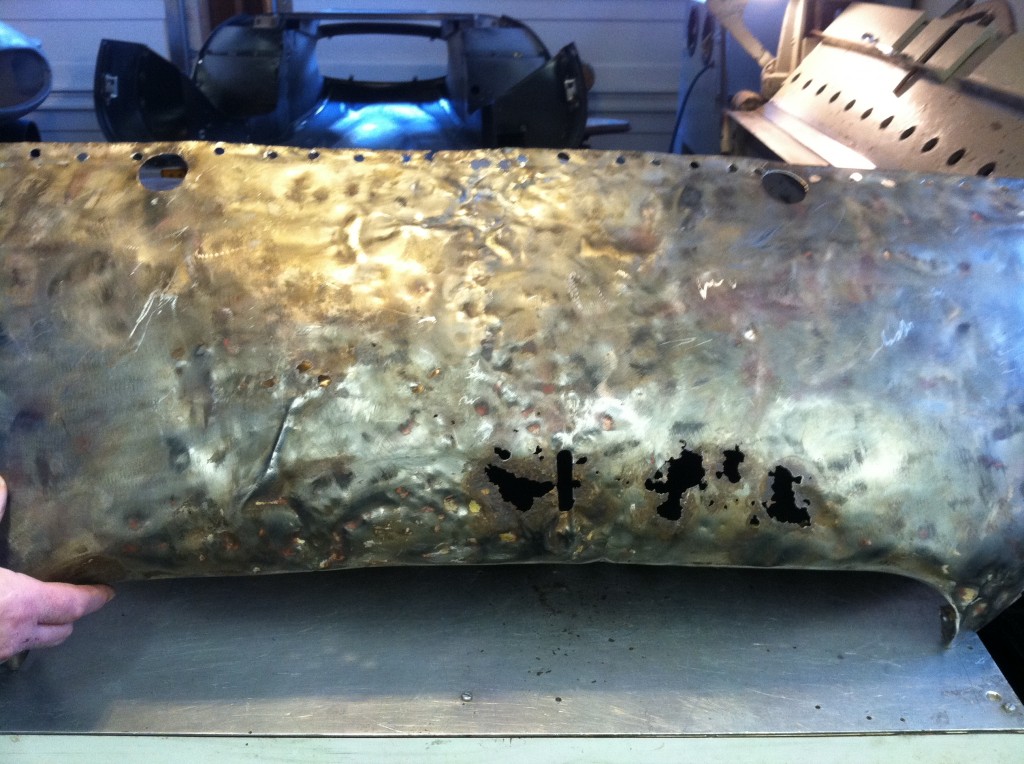
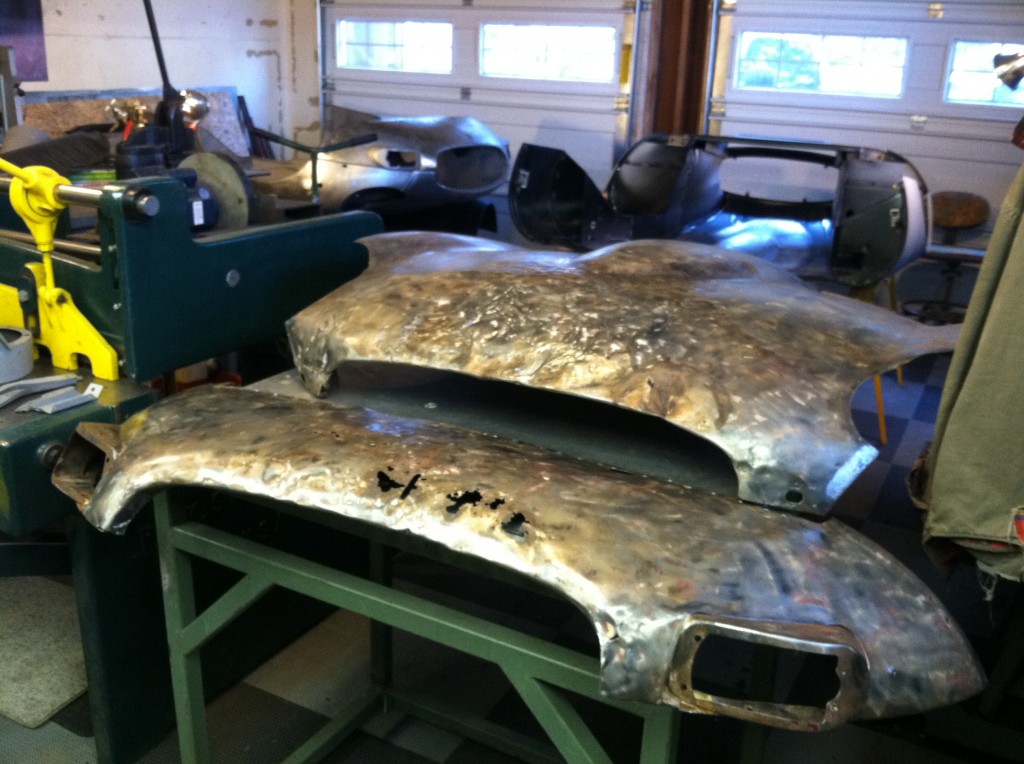
This is a new lower valance for a Series 2 bonnet we are restoring in the shop. The original lower valance was TOAST – seriously. I must have looked at it half a dozen times thinking that maybe it’s not that bad, but it was…
Series 2 lower valances have been backordered pretty much worldwide for about a year. The customer and I had both been calling around for one all Summer, and we finally got word from one of the parts houses that they had come in.
This was not a perfect piece, and we had to doctor it up a little, but this is LIGHT YEARS ahead of where we were, and this piece will put us back in business!
- Here is what the customer found under over 3/4″ of filler!
- Here’s another shot. We ended up replacing both of these pieces for this customer – see our earlier posting last week for photos of the center section we sourced and restored to replace this one.
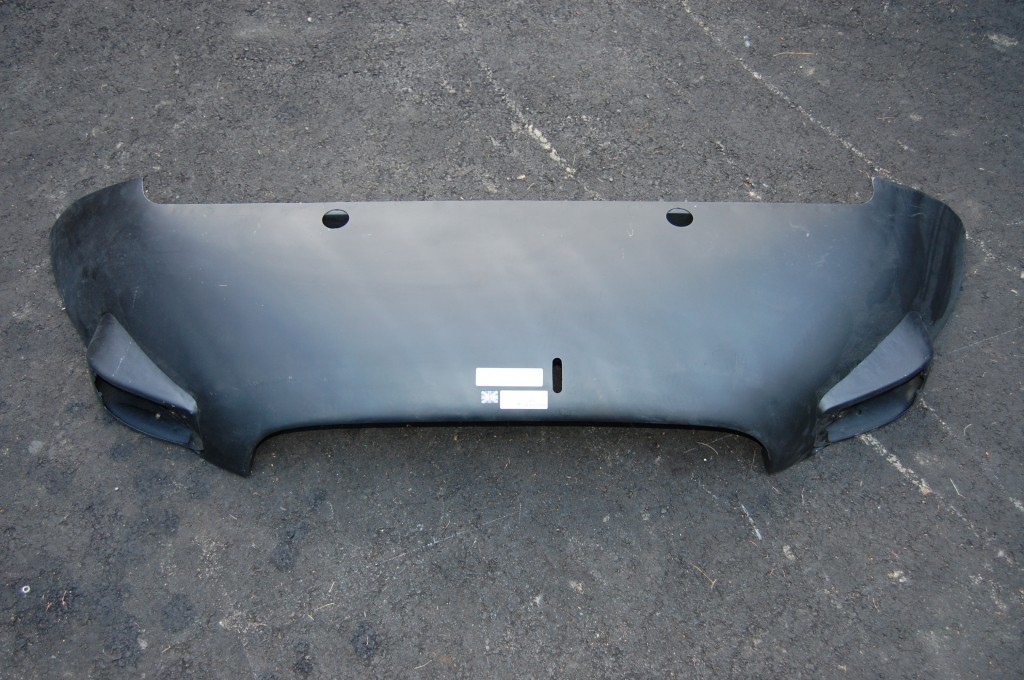
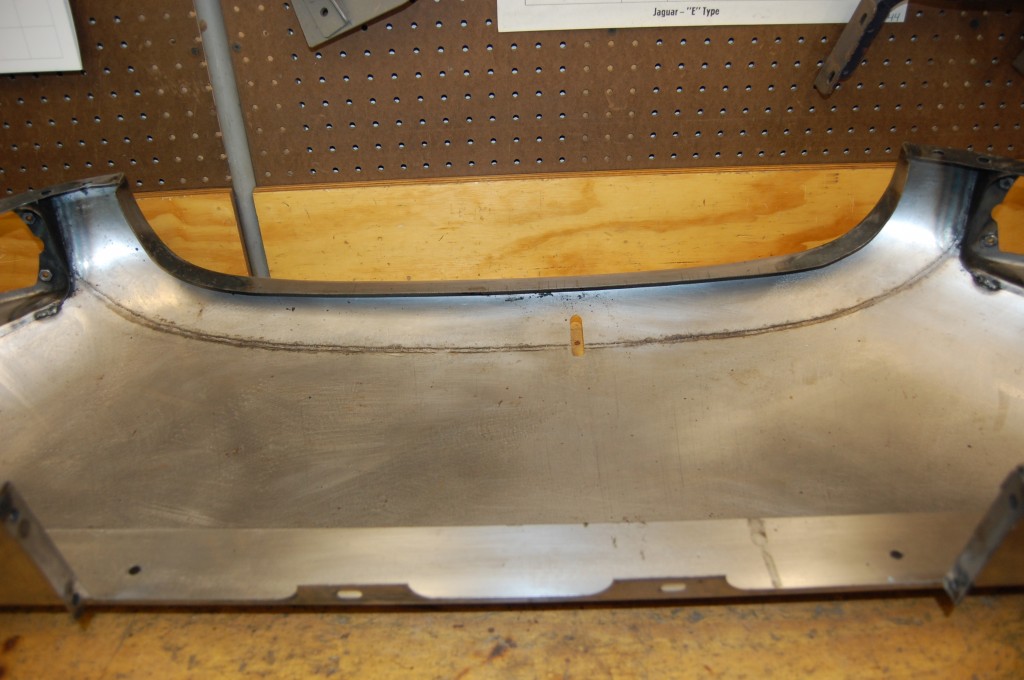
- Here is the new valance, as received.
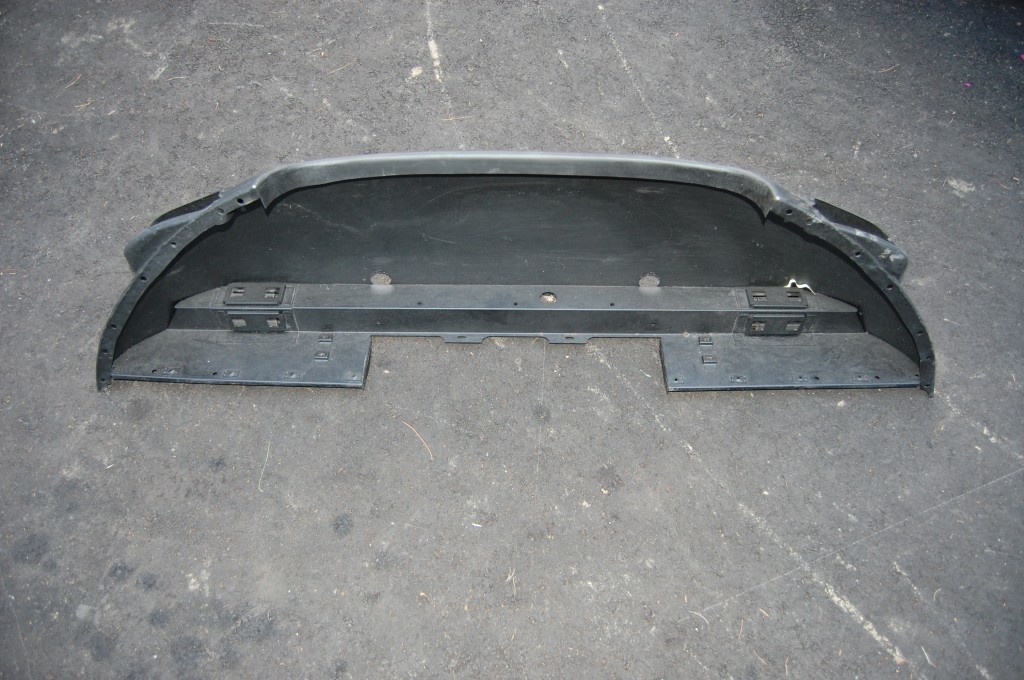
- The inside reveals the caged nut assemblies having square holes instead of round, and they are rather large. I have mixed emotions about this – I don’t like things that aren’t “as original”, but this would probably be handy in the bonnet fitting stage, and in that regard, I’m kind of into it!
- This piece is not pressed from one large sheet like the original. This reproduction is instead made from two pieces that are welded together.
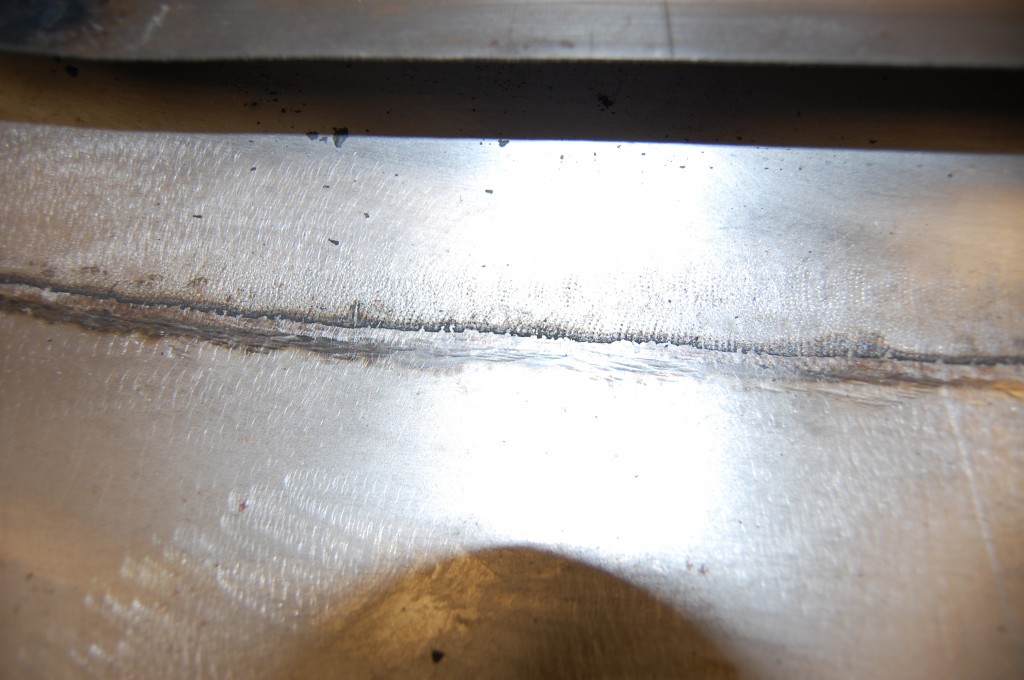
- The weld is very uniform – I’m pretty sure that this is done in an automated fixture with a wire-feed (MIG) machine.
- Unfortunately, this weld is the issue. As you can see in this photo (after the questionable black primer has been stripped), the two pieces are well joined, but the shape of the piece makes a drastic change at the weld seam itself. Fixing this in the bodyshop would almost certainly require filler in the nose, and getting filler out of the nose of this E-Type is the whole point here, so we grabbed some tools and went to work to see if we could at least improve this.
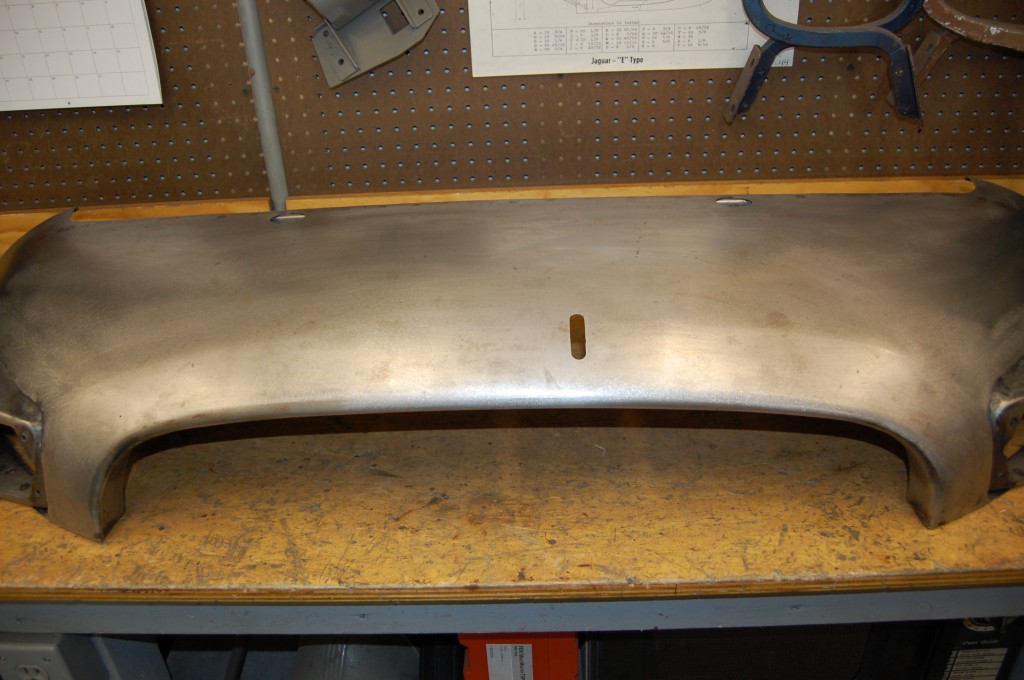
- After some work with a dolly and a slapping spoon, and some shrinking, we have drastically improved this. You can still feel a change in the shape here, but the change in direction is now very minimal – MUCH less abrupt than how the piece arrived.
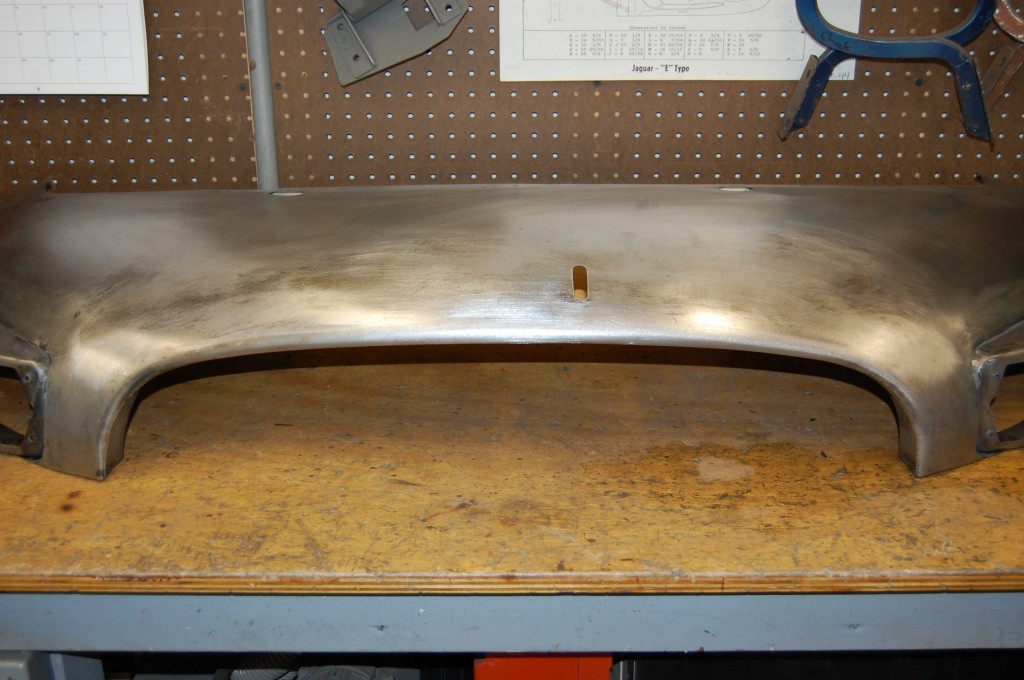
- This angle shows the improvement. I’d still recommend some filler here – I usually tell customers, “Put a good coating on there and then block sand it all off until you start hiotting metal all over the place. Then start the high-build primer and block sanding.” This allows the panel to “take what it wants”, but you aren’t using filler to define the shape – just to help even it out.
- Coated in two coats of self-etching primer (after hand sanding all of the rust we found under the black primer – oh yeah, you heard me – VERY common on these new panels…)..)
- In the grey primer, the step has been reduced to the point where although you can still just slightly feel it, you can no longer see it.

