We restore E-Type shells in-house, make our own panels, and sell those panels. But we also support many other shell restorations by owners – remotely. Customers who do decide to jump in themselves send us photos of their problem areas, and then we supply the panels they will need to make the proper repairs.
Here are some photos of one of those pieces – custom formed to solve the particular problem that owner is facing. If you are doing your shell yourself and could use some help, give us a ring – we’re happy to do whatever we can to make sure your E-Type’s shell is rebuilt as well as it can be!
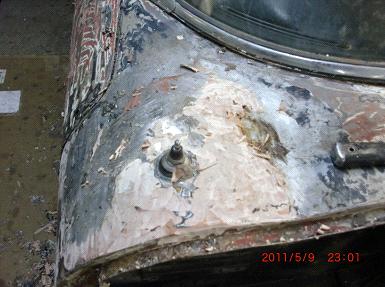
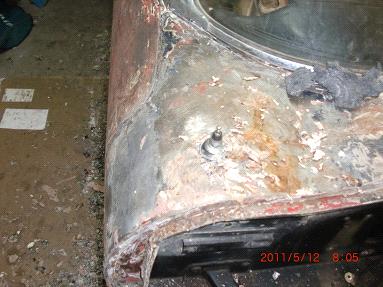
- During the stripping phase, the customer started to reveal a pretty major dented and crushed area, filled with bondo, of course… The top portion of the cowl is often “over-filled” because it is very tough to get behind it to being the metal back to where it should be.
- It’s tough to tell from the photos, but much filler has been stripped here, and we’re still going – it’s DEEP!
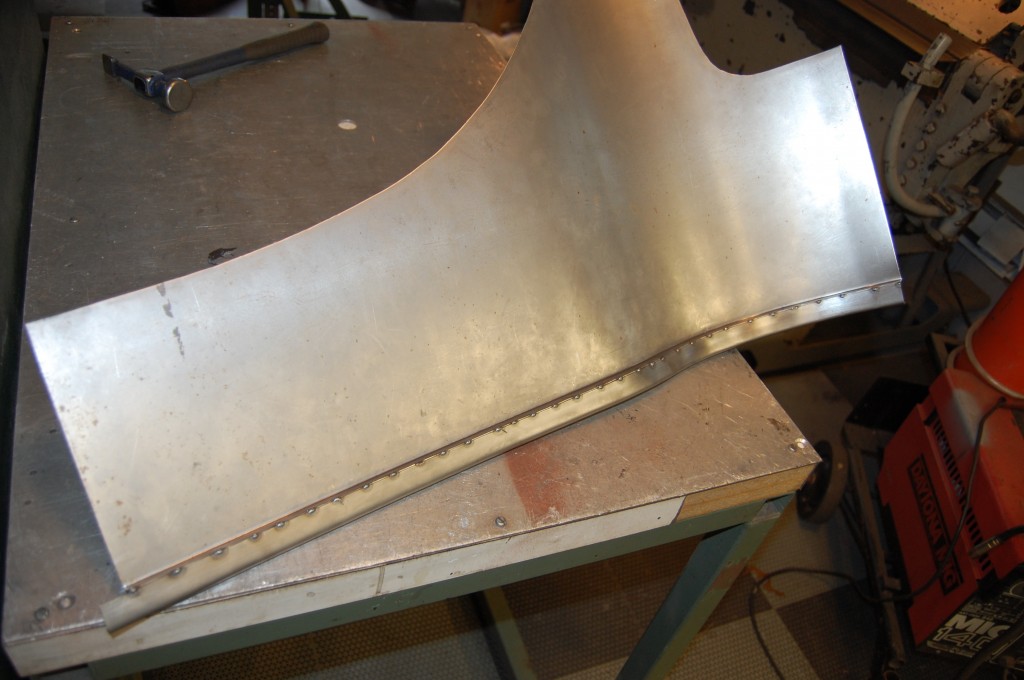
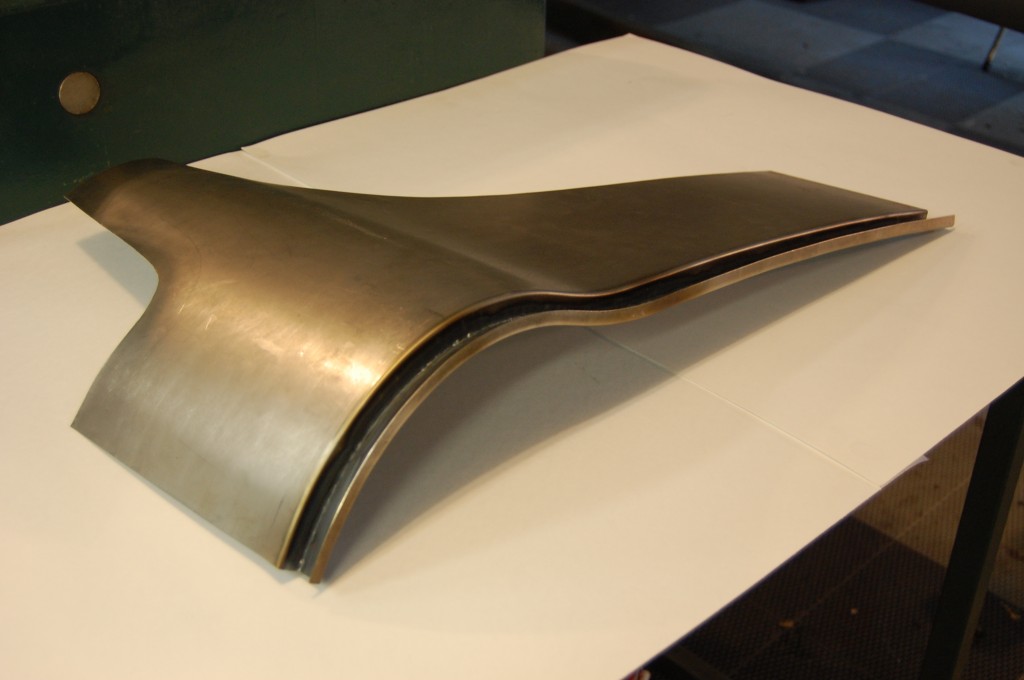
- This is the piece that we agreed to form up for them to repair this area properly. This is being made oversize, and they will trim this down on their end to what makes the most sense for their repair.
- We start by rolling in the shape. This will get screwed up when we put the flange on the edge, but we can fix that – it is important that the metal wants to be back into this shape.
- Fitting the piece to a virgin cowl.
- We are just about dead-on here, so we can fold the edge now.
- Skipping a couple steps – I think I took some photos with my phone and will add them later if I find them. here, the edge has been folded, and a channel for the rubber bonnet seal has ben formed and is being welded into place.
- We start by forming the drip channel to be a perfect match for the piece, then we tack the piece on at 1-inch increments.
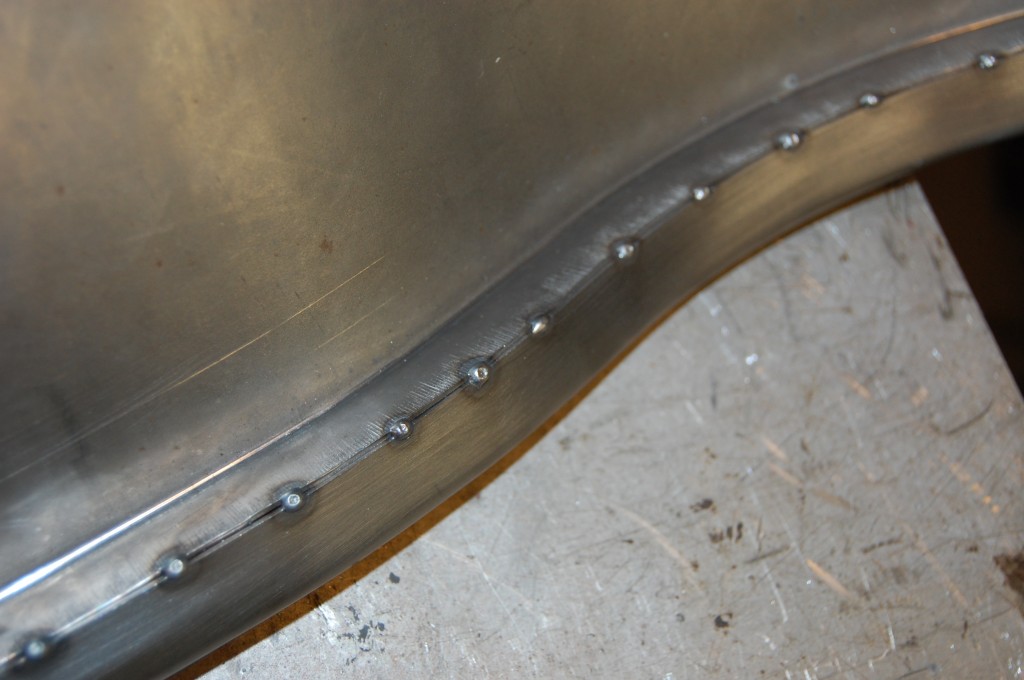
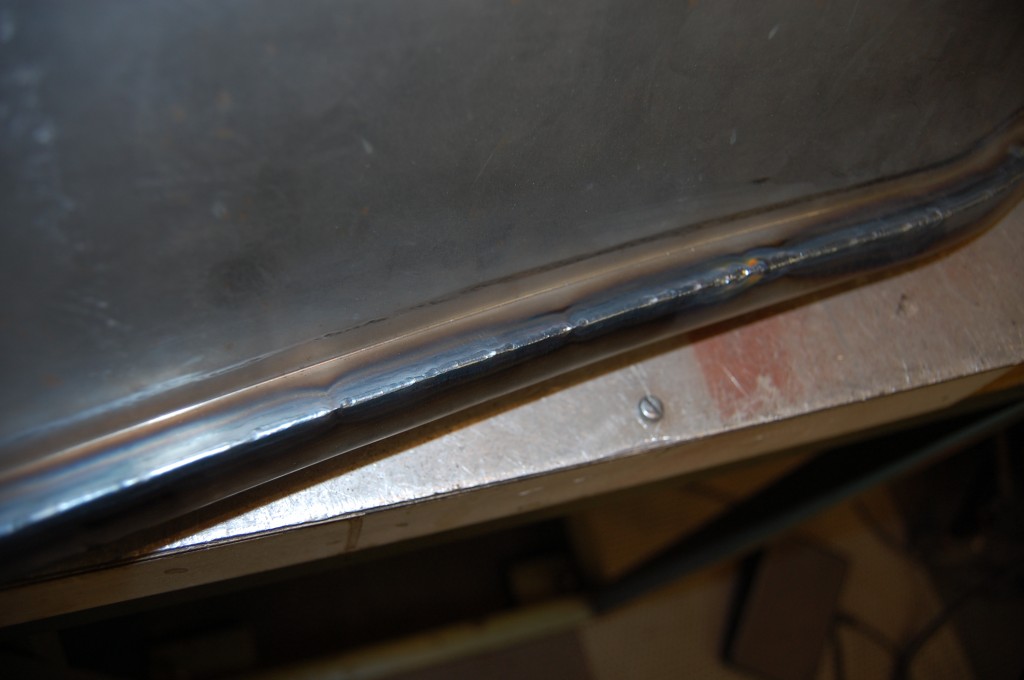
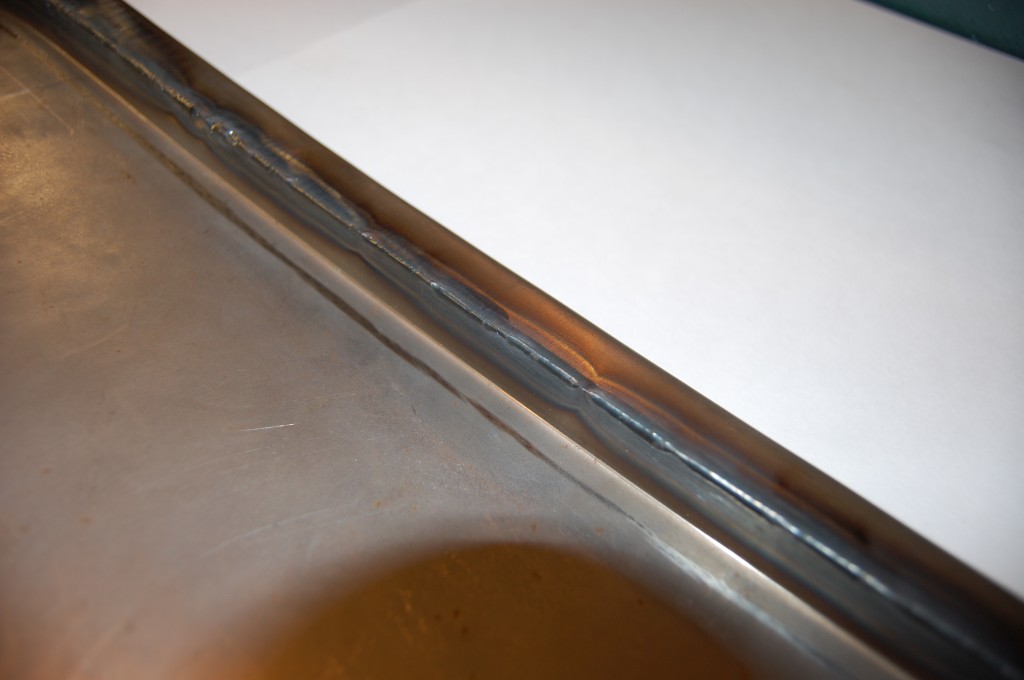
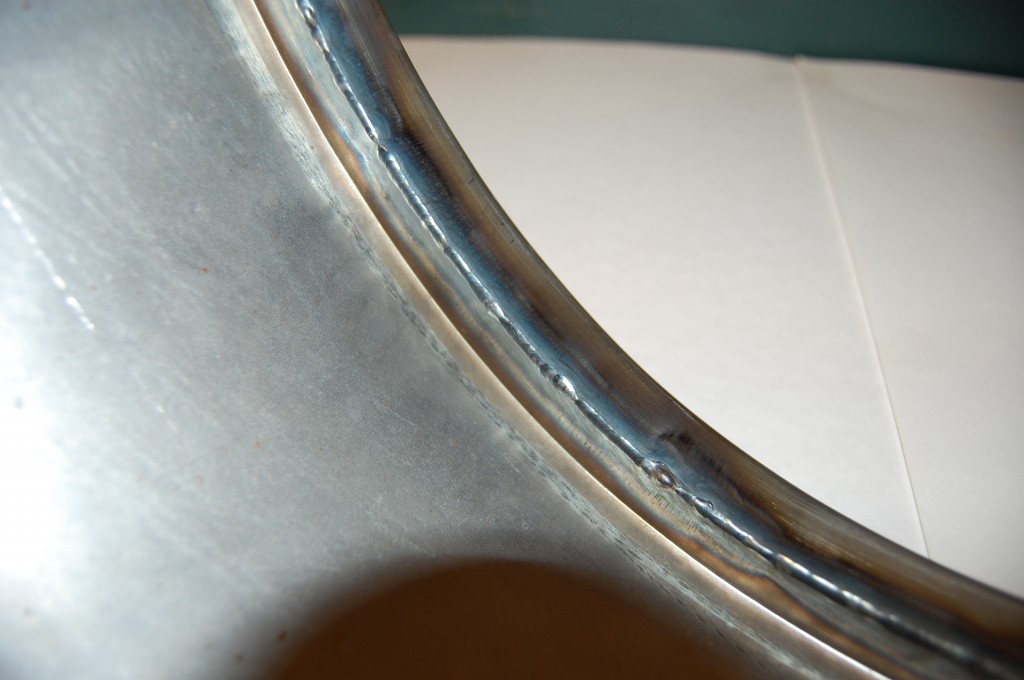
- Next, we TIG-weld the edges together. This weld was crucial – too much heat would cause shrinkage, and shrinkage in this area would have changed the curvature of our piece. So we very carefully FUSED these two pieces together with a .045 Tungsten needle in the TIG torch, using no filler rod.
- Our delicate welding procedure was a success, and the piece is now complete, and still has the proper shape! The customer will cut out their dmaged area, flange the existing shell, and then lay this piece in ance carefully weld it down to avoid warpage of the surface. To help with that, we made this piece from 18-gauge CR steel.
- I was pretty proud of this weld – a good fit of the two pieces was key here.
- Oh YEAH – get some of that!

