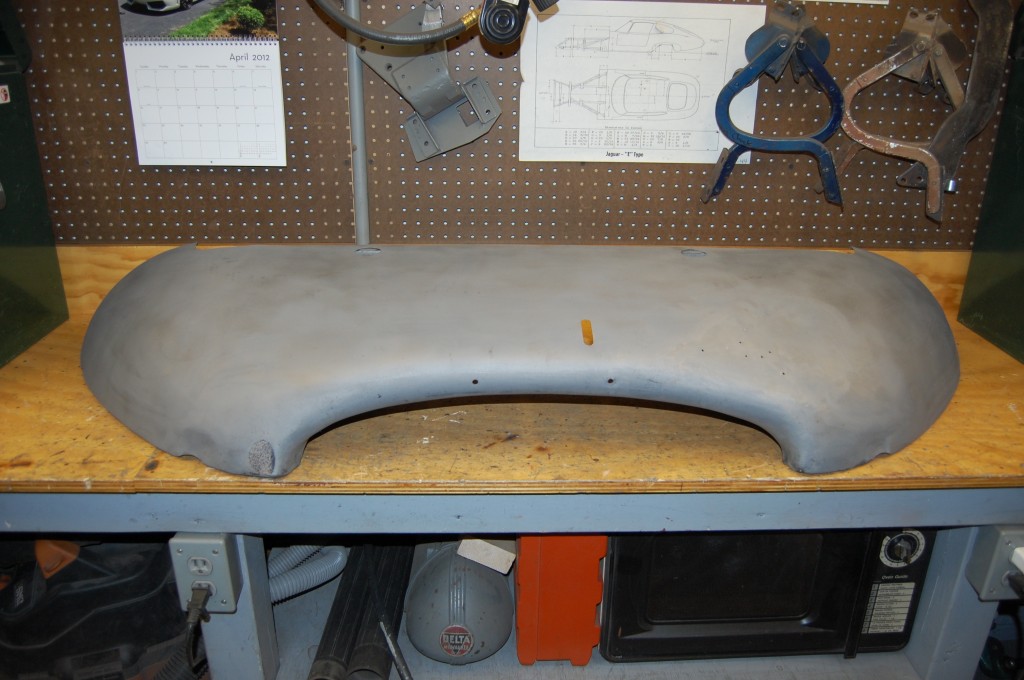
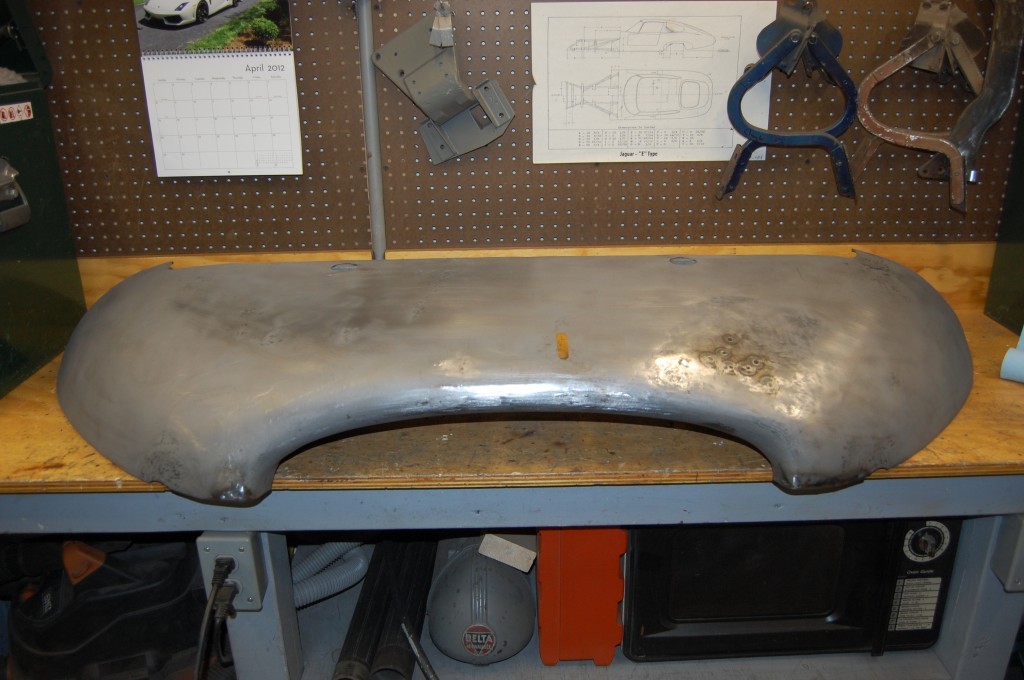
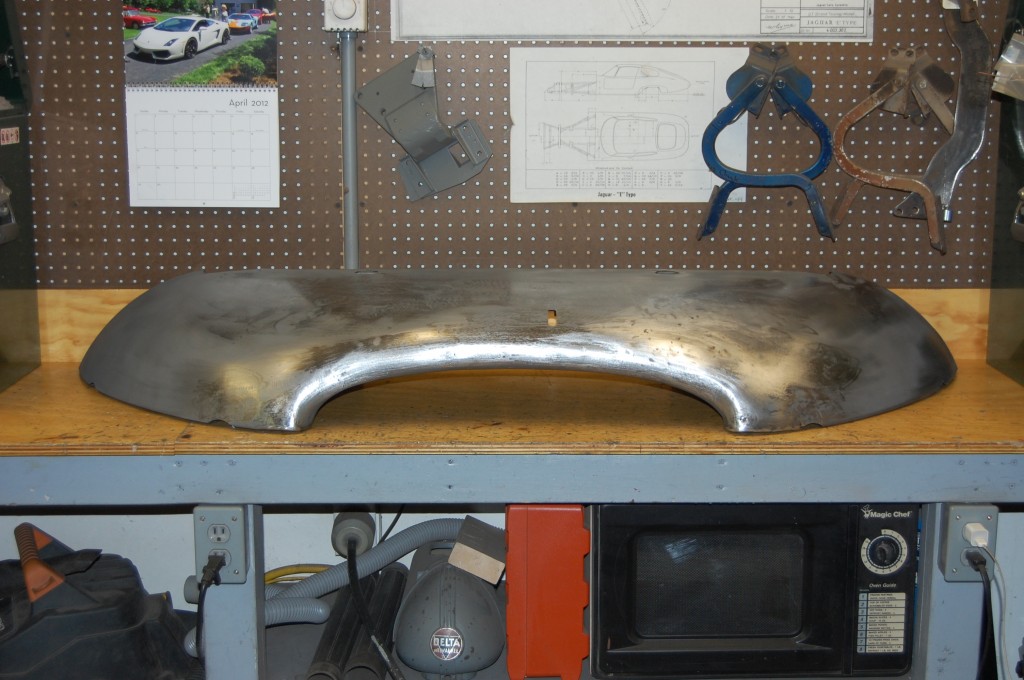
This is the lower valance from the Louisiana Bonnet. NO RUST on this baby – not ONE SPEC! The whole support member and caged hinge plate assembly is absolutely beautiful – inside and out – on most of these that we repair, that stuff is GONE – and I don’t mean it’s in bad shape, I mean it’s GONE – like it has CEASED TO EXIST!
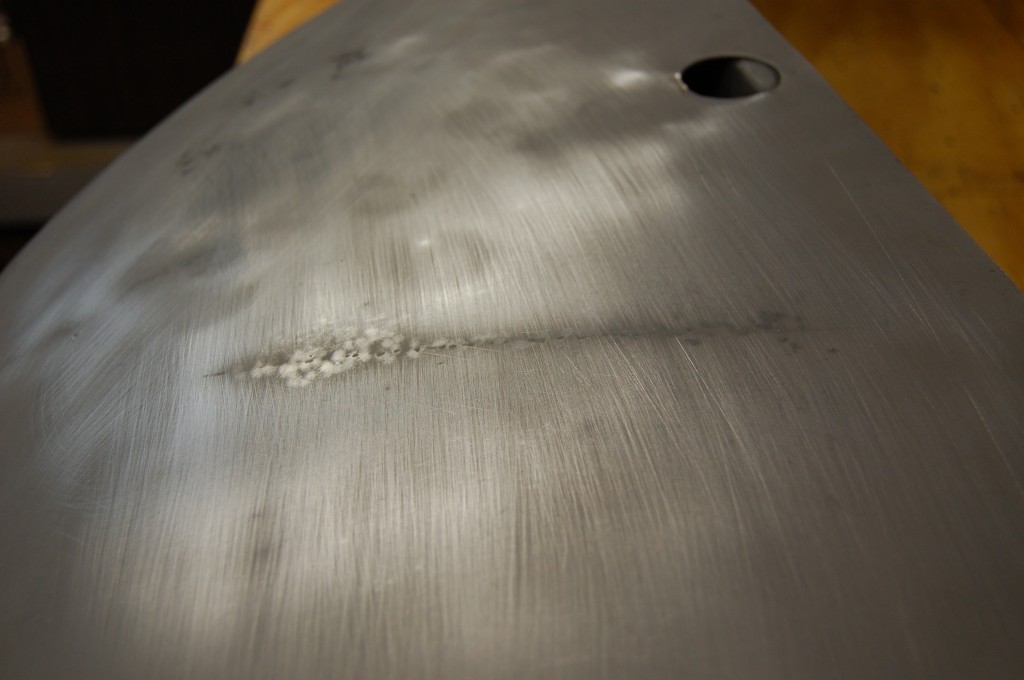
This panel just had a few dents and dings, and then one larger dent that had been abused by the dent puller in the past. We will weld up those holes, weld up the license plate mounting holes, and then shape, slap, and shrink the panel until it is absolutely perfect in bare metal.
- Here’s the panel – it has a strange surface because we have wiped the black primer off and it kind of “stained” the panel to this funny grey color instead of the silvery matte finish we get when these come out of the blast room.
- Here is the repaired area – it looks good in this photo because of the dull finish.
- Light block sanding starts to pick up the true surface…
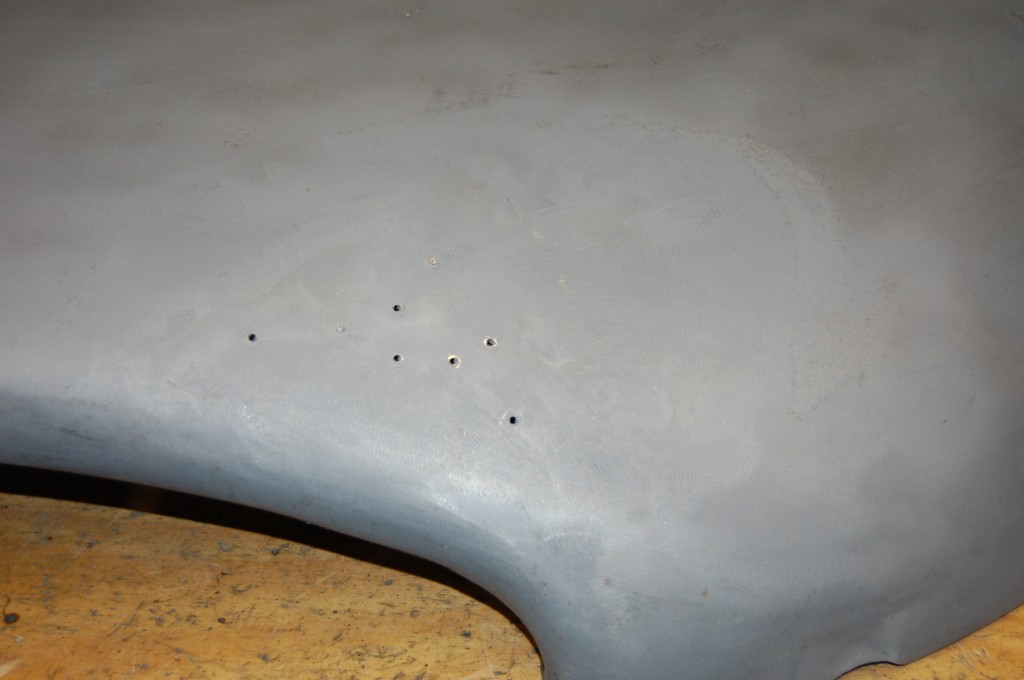
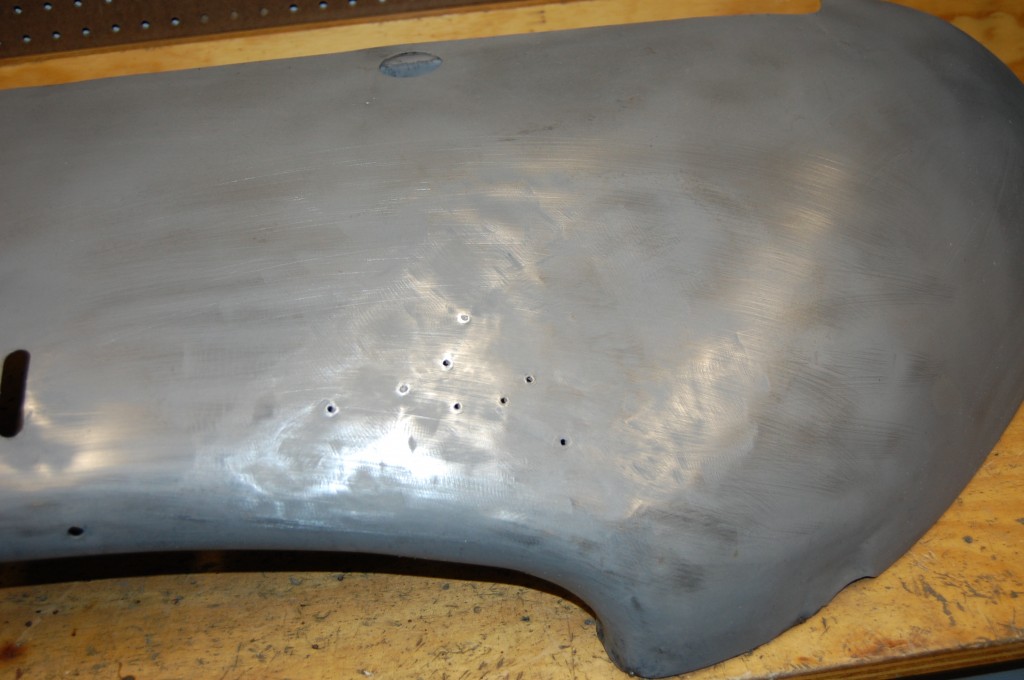
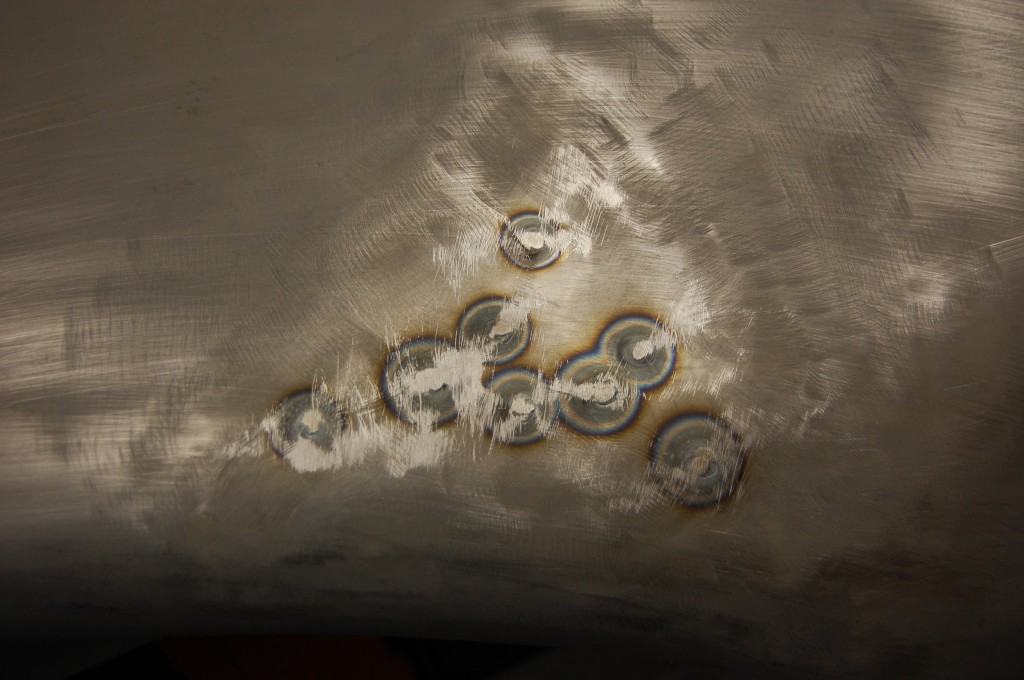
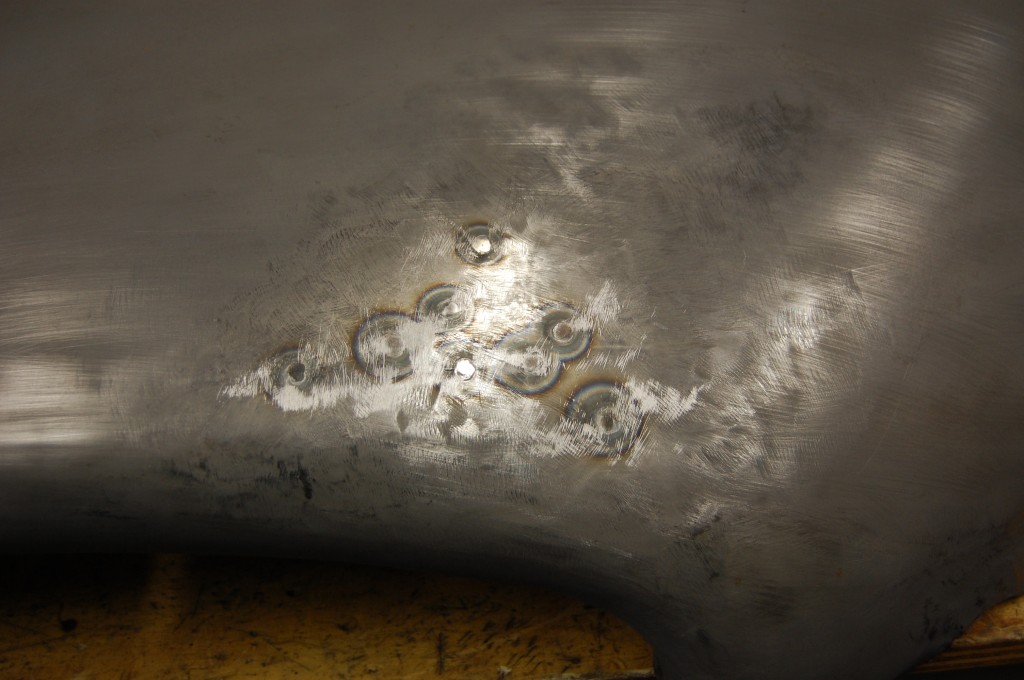
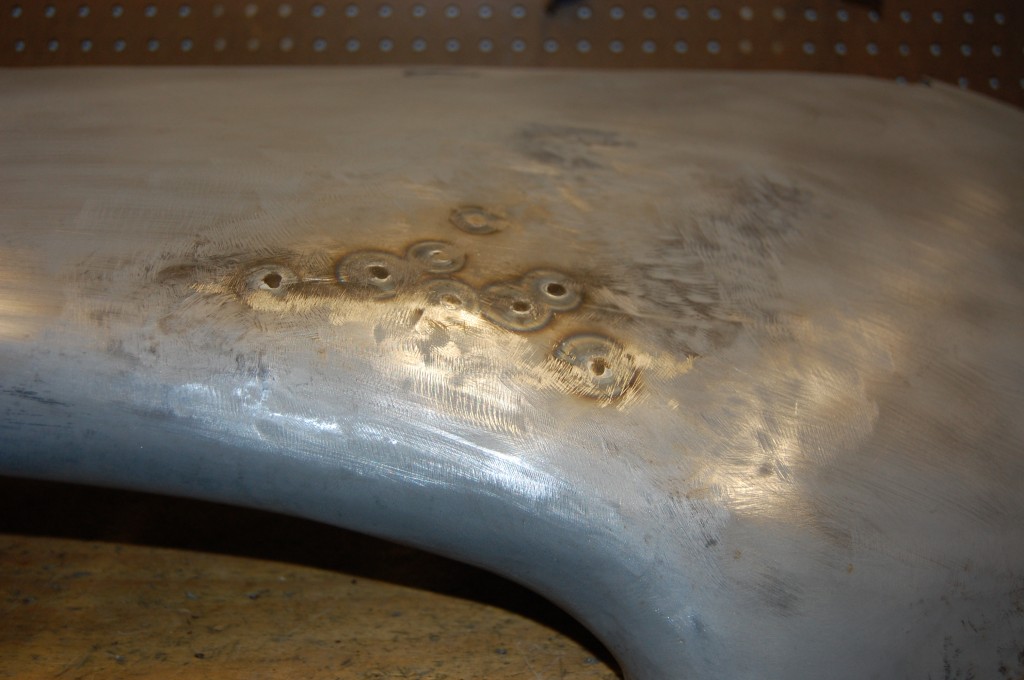
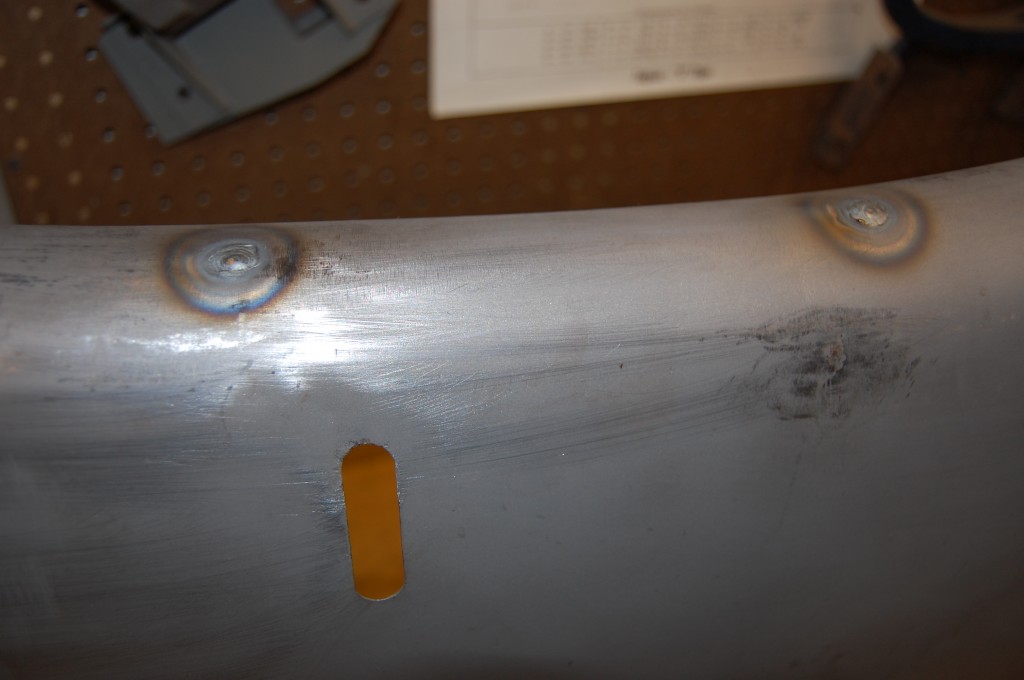
- First order uf business is to TIG up the holes.
- Here is a close-up.
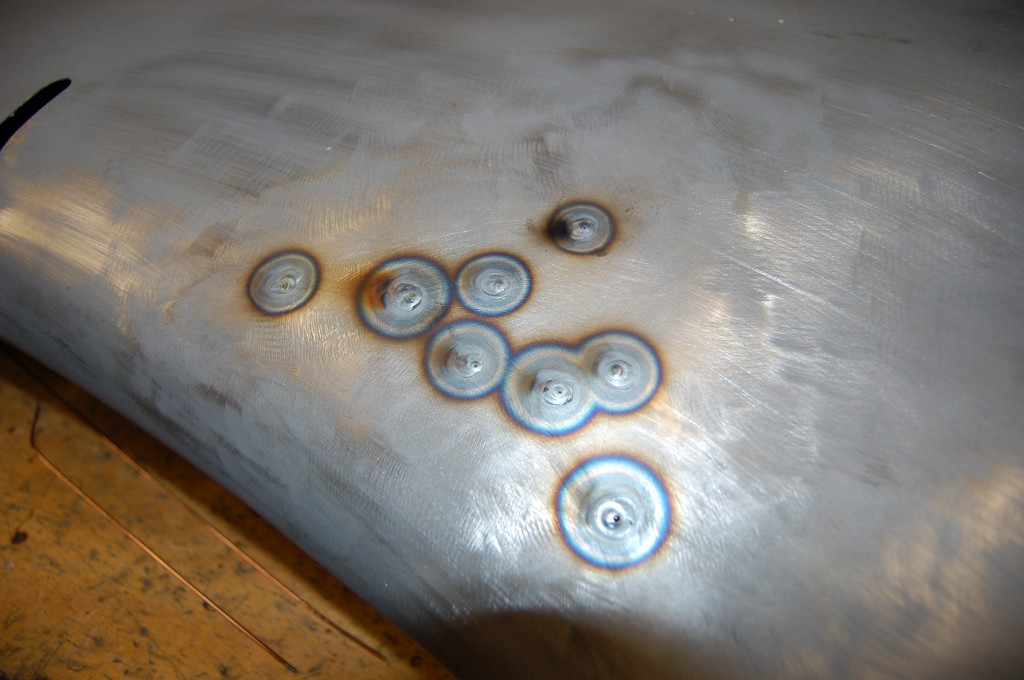
- Next, we planish these welds to remove any shrinkage and begin to get these holes back in line with the true surface shape.
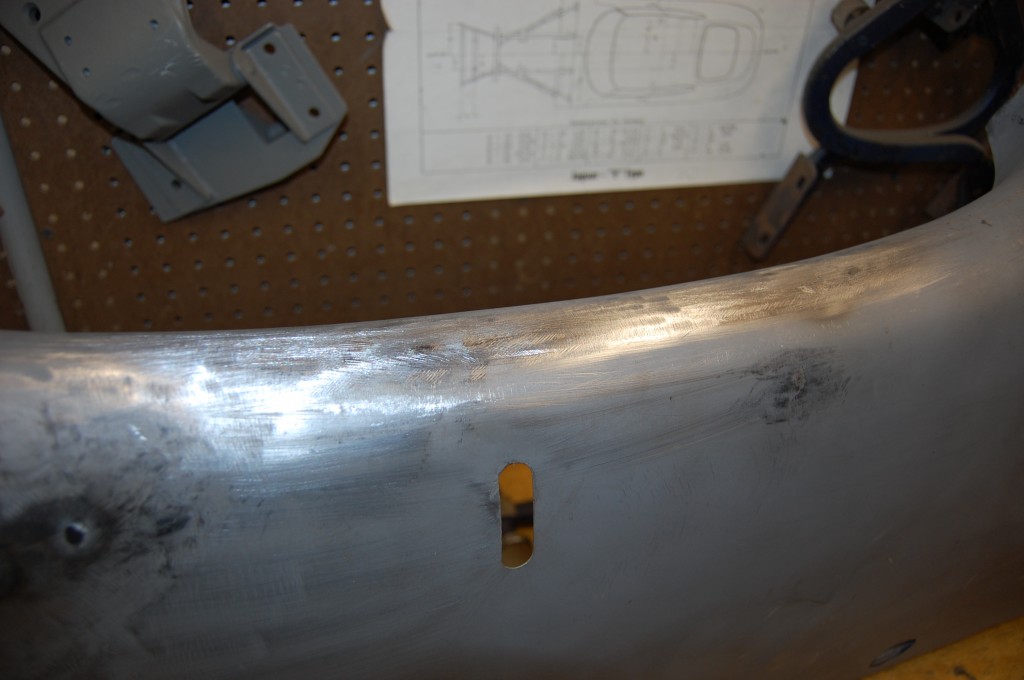
- Next, the welds are filed smooth.
- Here is another shot – we have now planished the whole area with the proper radius heads. Good, hardened planishing hammer heads are about $40 each and you need a couple dozen radiuses to choose from. Don’t even THINK about touching this panel with a planishing hammer from the local Chinese Tool Mall – you will get a crash course in how fast a panel can be stretched beyond repair!
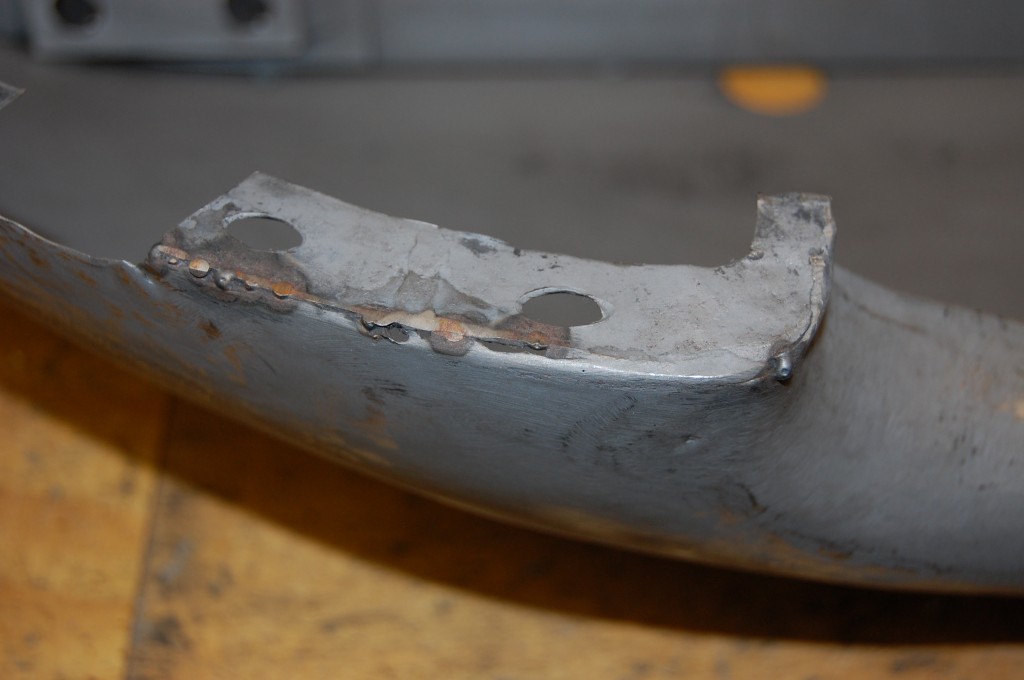
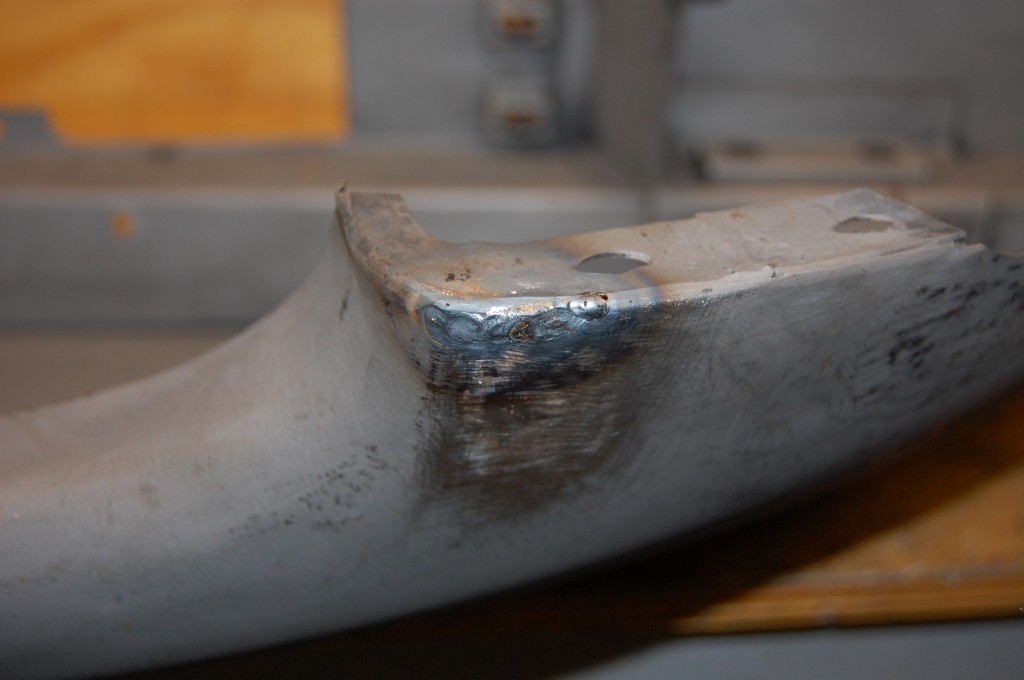
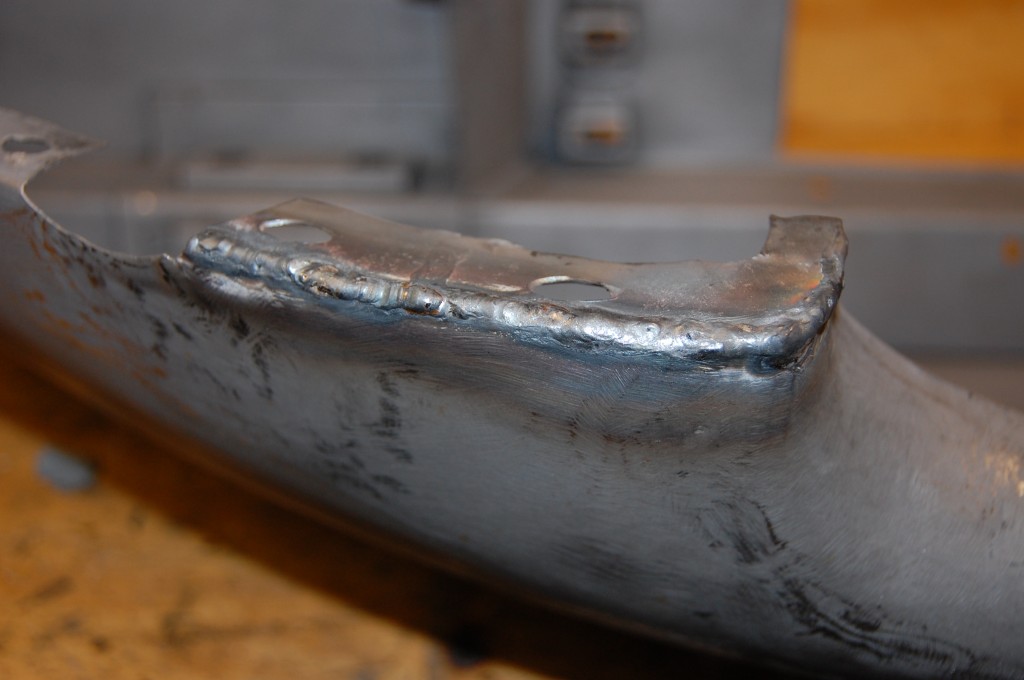
- There was some tearing here that was previously tacked by a MIG.
- Since this is a Louisiana car, we are welding up the license plate holes. (OK, I’ll just admit that I always recommend this because front license plates on an E-Type bother me and I don’t put them on – period. I guess I’m a “law-breaker”…)
- Now also planished and filed smooth.
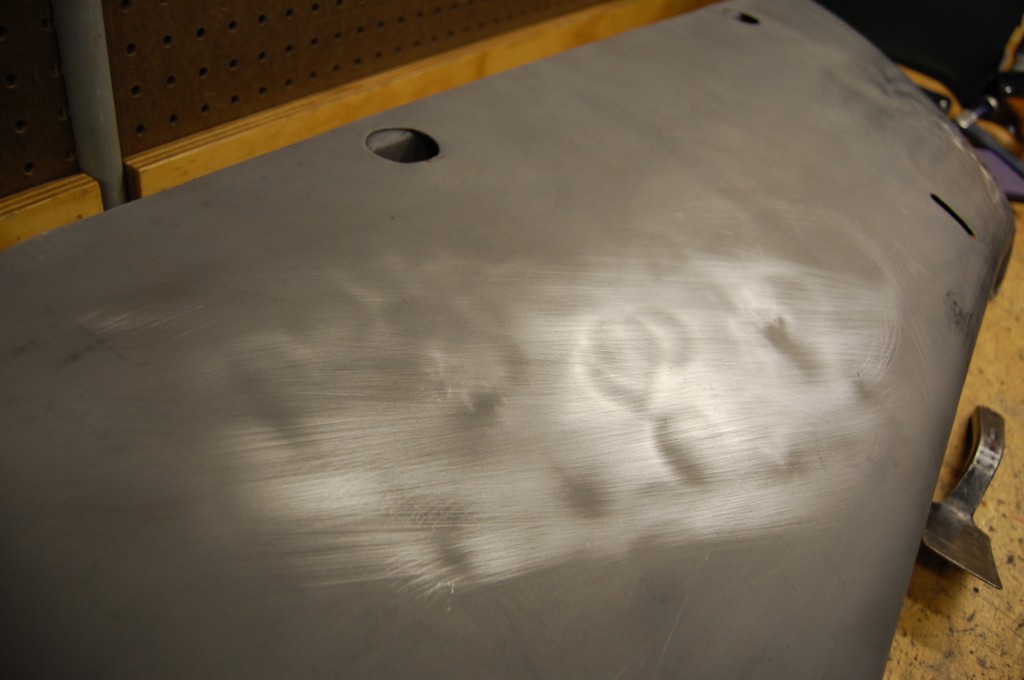
- Block sanding revealed the craziest hammer marks I have seen – large, perfectly round, and soft. I’m thinking these might have been some type of hand-hammering, finishing hits at the factory…
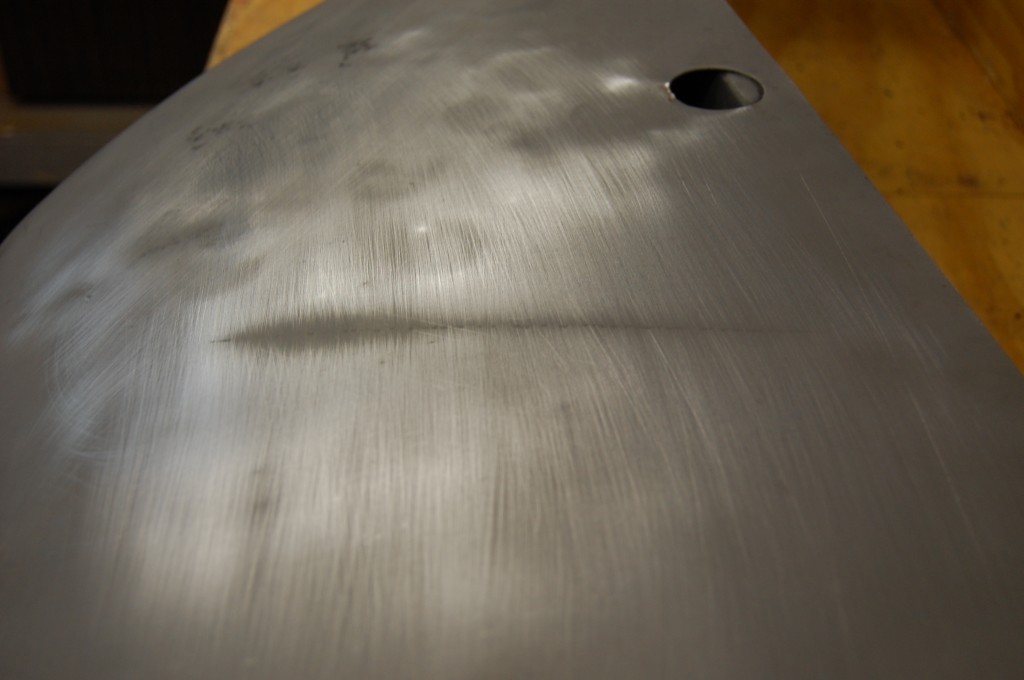
- A scratch that block sanding reveals is actually a light crease.
- Here we are starting to bring it up to the surface – carefully.
- This was a small dent filled with bondo – we popped that out, reshaped it, and then TIG welded a small tear that had formed.
- Here that other side that was MIG tacked has now been fully welded with the TIG, and will be ground smooth.
- The big work is done and now it’s time for some finishing.
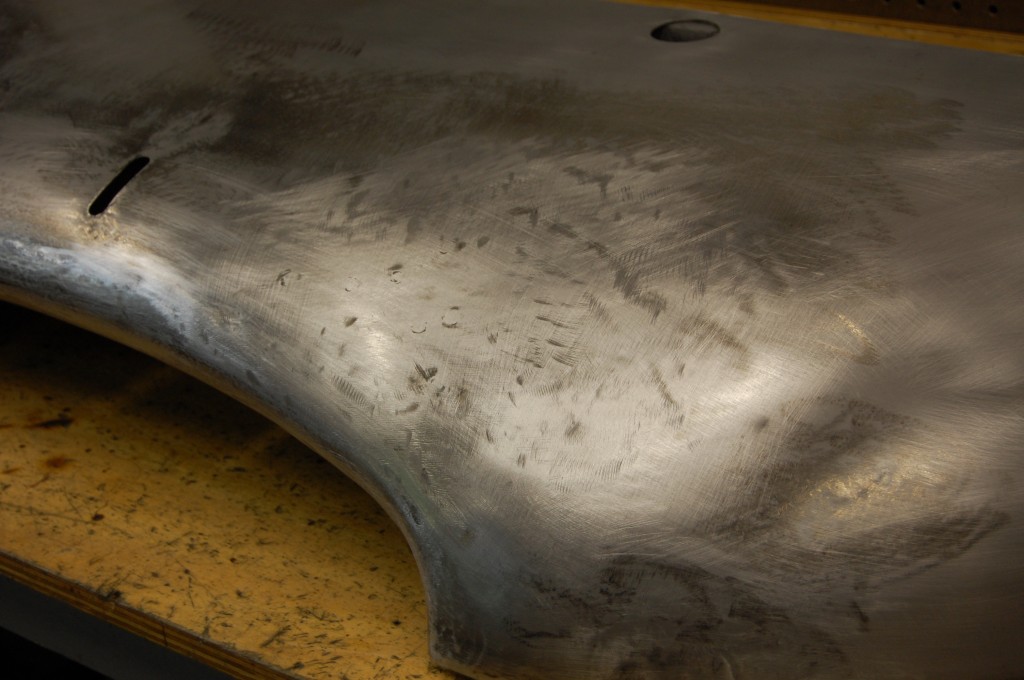
- The burnished metal is a tattle-tale that we have been shrinking – and as a result, this whole surface is now silky smooth – so much so, that we have scuffed it back down with 60-grit sandpaper by hand to put some tooth back into the surface.
- The little surface imperfections that remain here are almost all due to the grinding that had taken place before we got our hands on this panel. It looks like this was not donw with a large disc, but rather a small flap whel on a 4.5″ grinder, and these are all markes where the edge has dug in. The planishing and shrinking took alot of this out, and we also worked on it with a little filing. High-build primer will take care of the rest.
- This underpanel had lots of dents and dings, tears, and even holes. It is now perfect, and can be primed, sanded, and sealed and painted – it will require NO filler. Mission Accomplished!

