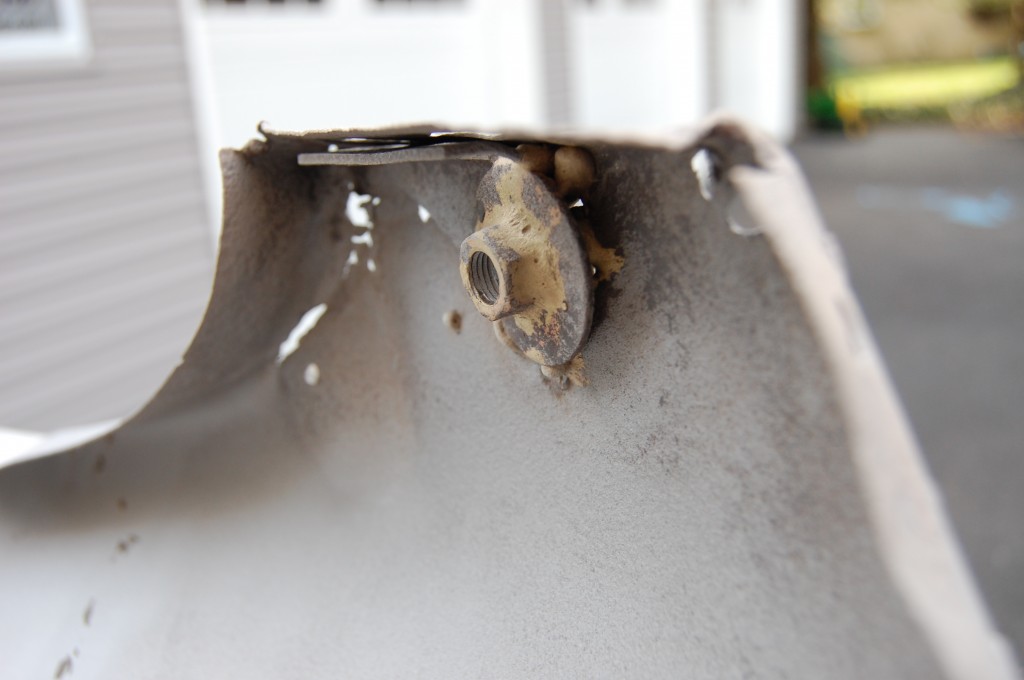
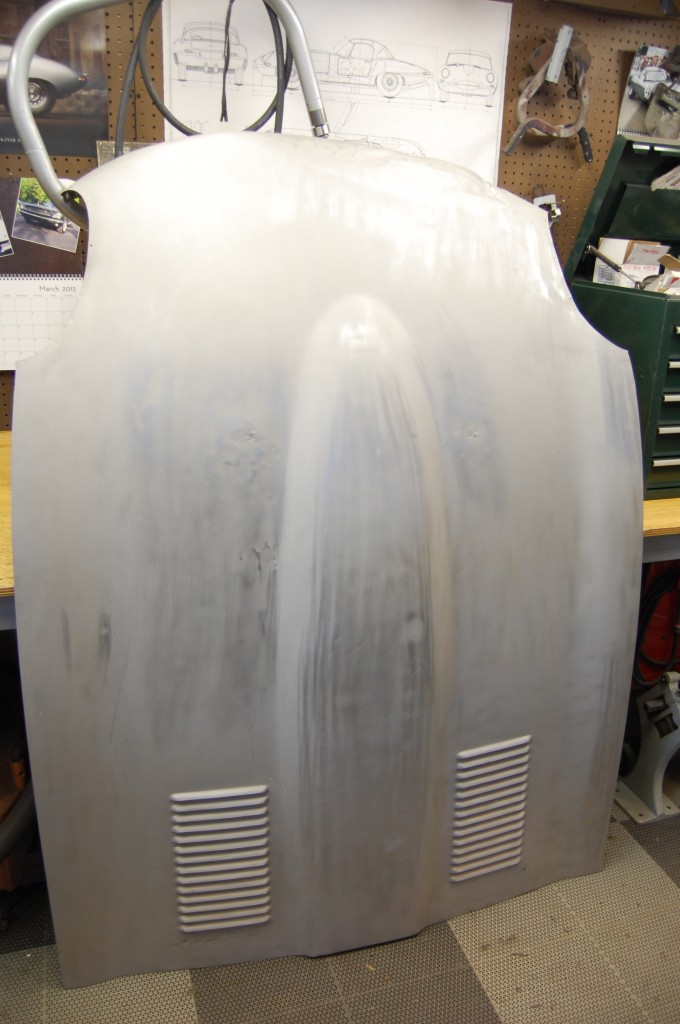
We were recently contracted by a customer to build a good original bonnet for his 1972 Series 3 V-12. He had no bonnet for this car at all, and was not having any luck finding a new bonnet from the usual suppliers. Series 2 and 3 bonnets are basically out of stock “new”, and he was told that he could be placed on a 16-MONTH waiting list.
I told him that we could build an excellent original bonnet in 2-3 months, and that it would be more correct that what is available new anyway – the new bonnets have SERIOUS issues that you are welcome to call and discuss with me…
There are 2 styles of V-12 bonnets – the early style, which is the basic configuration for V-12’s, and the later style, which has 4 holes in the nose for the bumper shock absorbers, and kinked and specially formed inner valances to clear those shock absorbers. By welding up the holes in the later style bonnet, you CAN use it on any V-12 E-Type, but if you have a ’73 or ’74 car with the shock-absorbers, you MUST have the later style inner valances – a rare piece (we have excellent originals here, so call if you need some…)
Originally, we purchased a later-style V-12 bonnet for this customer, intending to simply weld up the shock-absorber holes and go with the later inner valances. But after finally sourcing some of the earlier inner valances without the kink in them for the shock absorbers, I decided to take the plunge and build up a correct early-style V-12 bonnet from pieces.
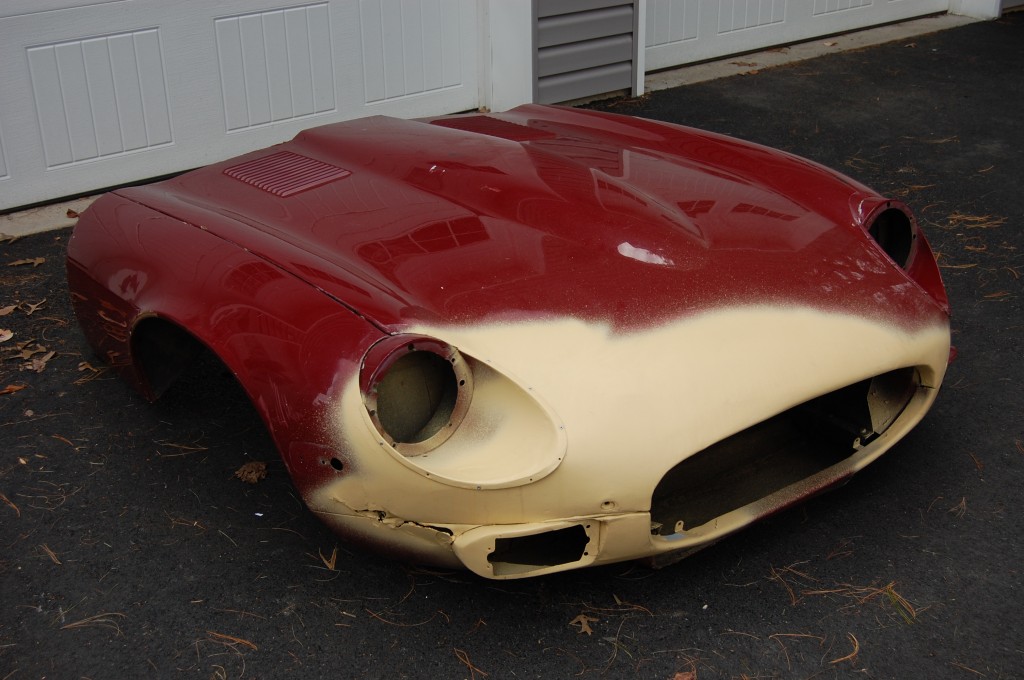
The starting point was the center section, which we sourced from a very tired early-style Series 3 bonnet we picked up on eBay…
- The eBay donor bonnet.
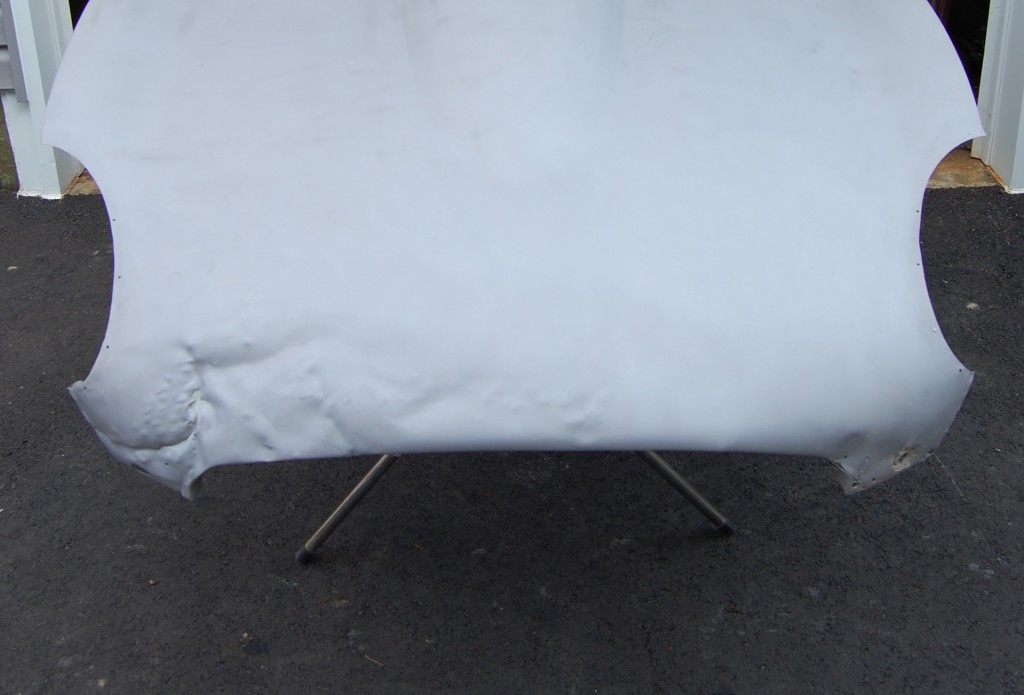
- Center section stripped bare.
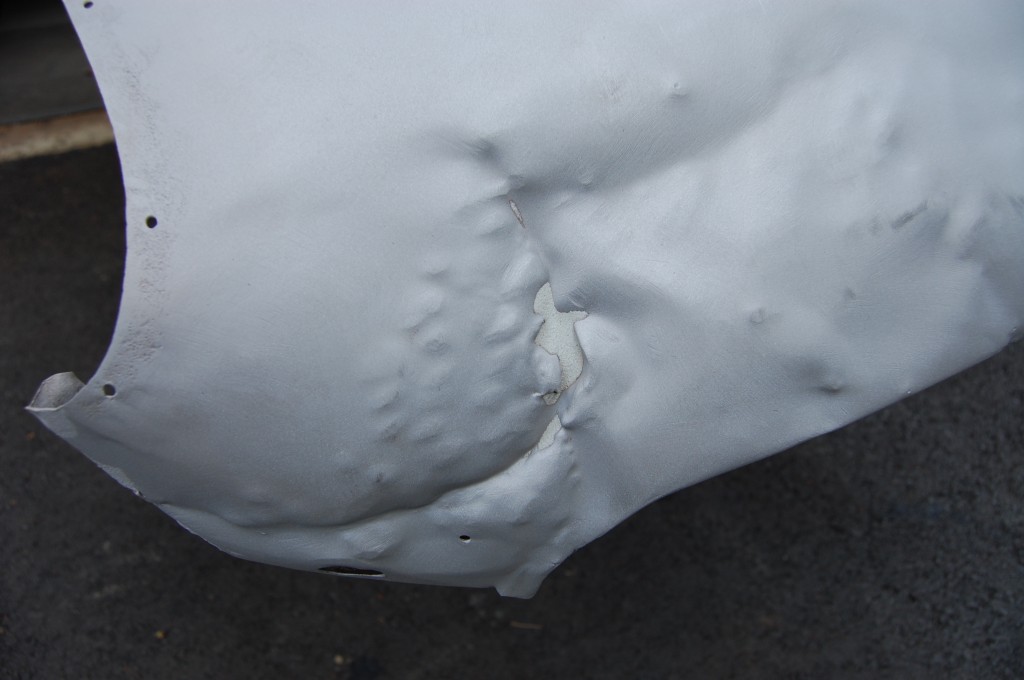
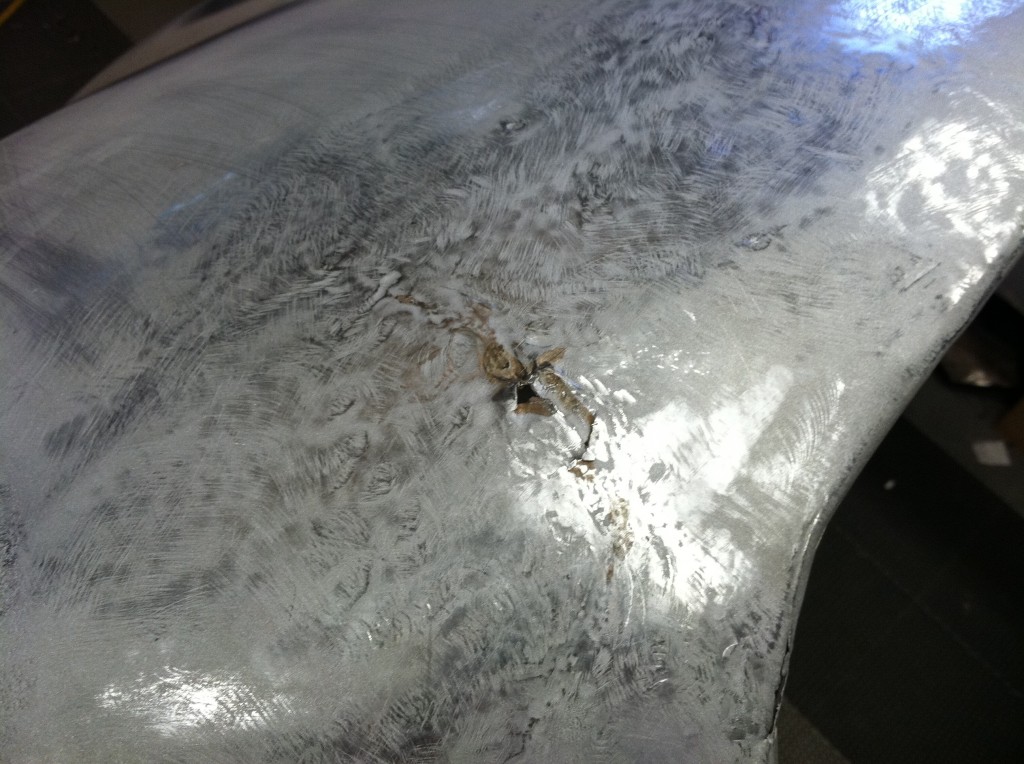
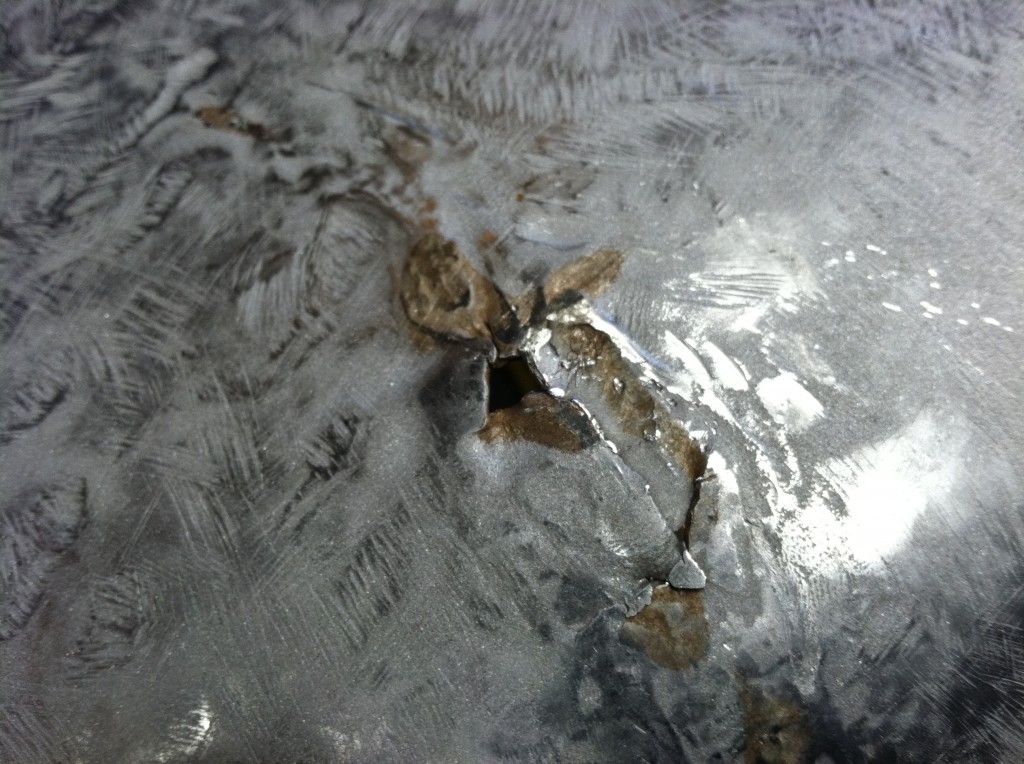
- Close-up of accident damage – this thing looks like it got speared in a joust or something, then was abused from the underside with a ball-peen hammer.
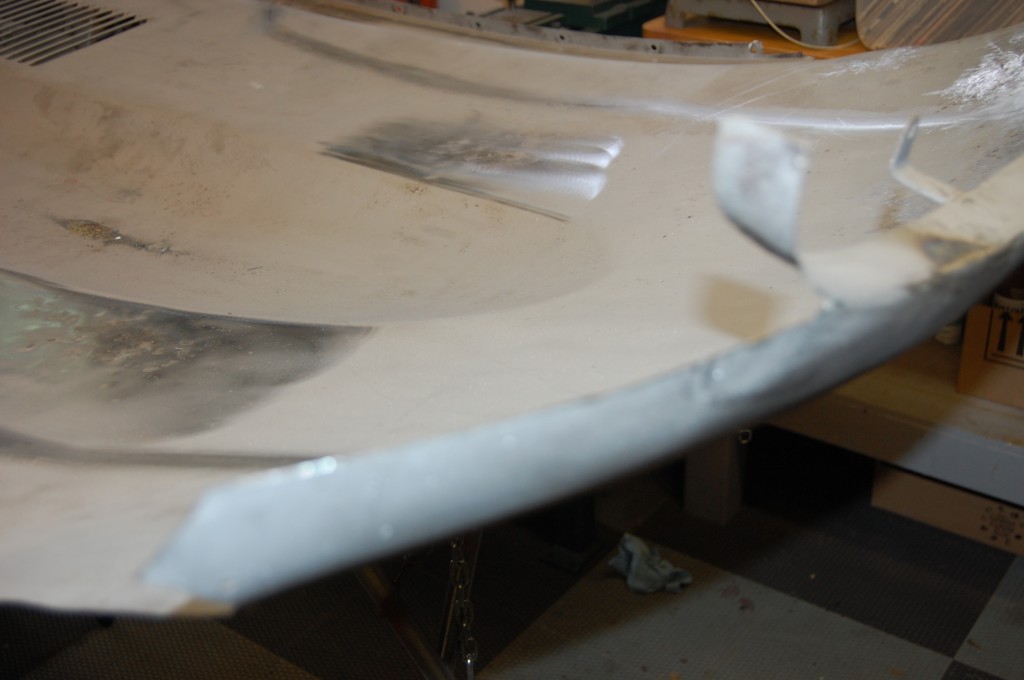
- The other front corner is messy too.
- Not our definition of “metalworks”…
- Into the shop for reshaping.
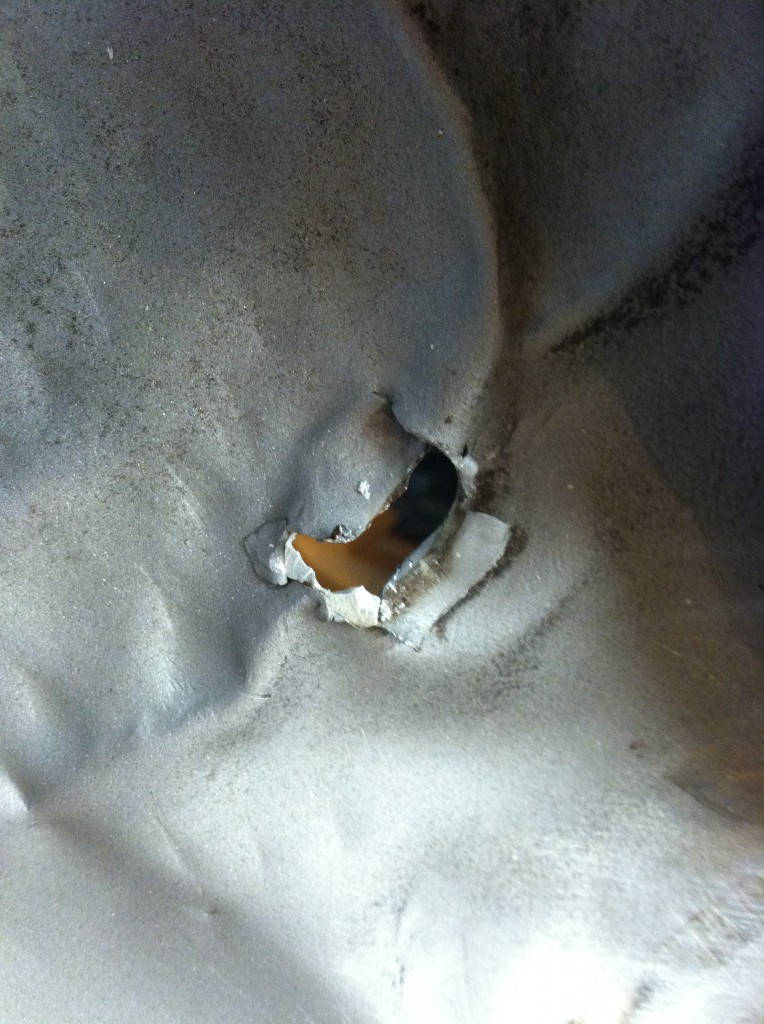
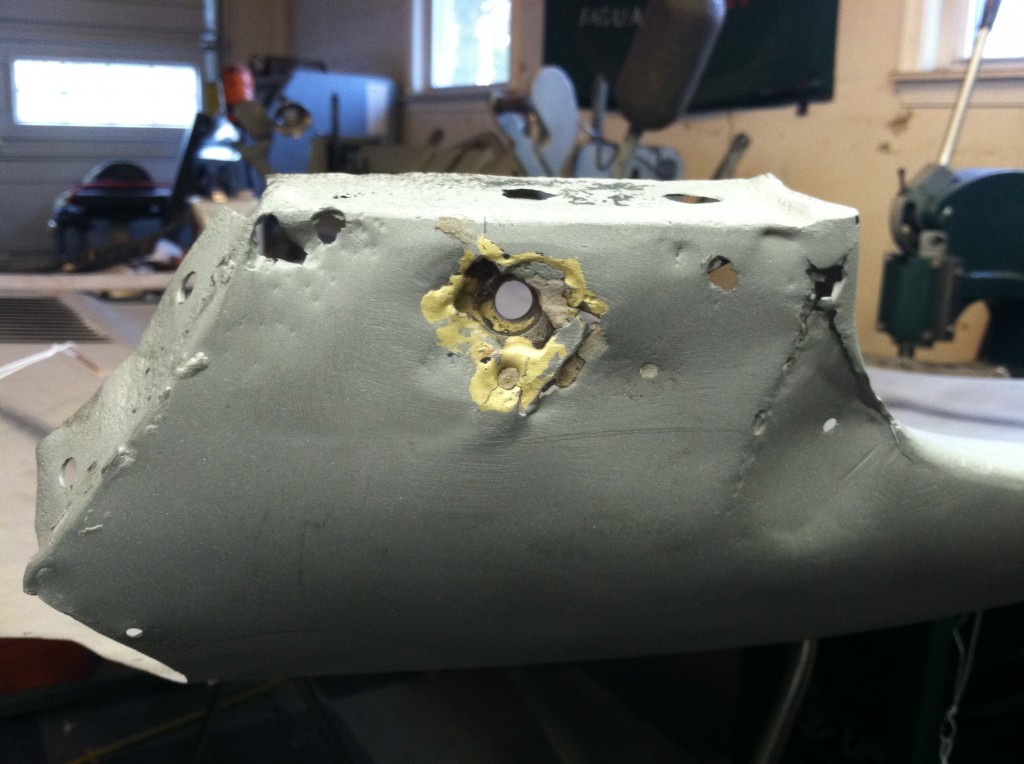
- Crudely hammered damage from the radiator being pushed up into it.
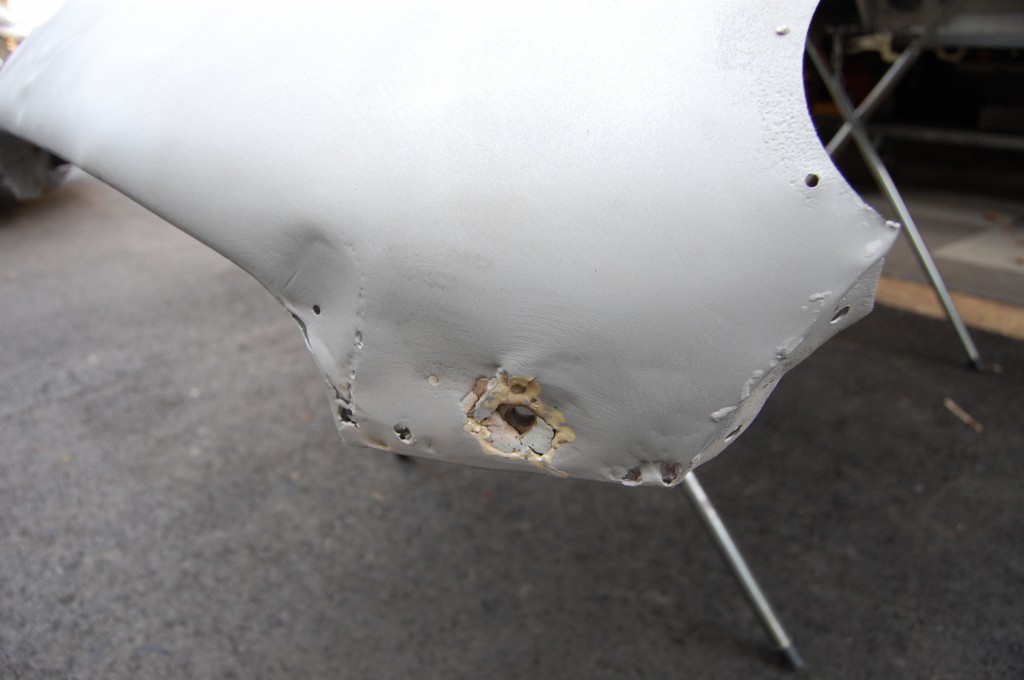
- This is an underside shot of the hole – packed full of bondo.
- First, we reshape the nose with a combination of hand and mechanized hammers, using special contoured heads, etc. We have folded back the edges of the holes, essentially reversing time on this puncture.
- Here is a close-up, after a little more coaxing of this tear, we fused this back together with a very fine tungsten needle in the TIG torch.
- Here is a “before” shot of the other corner.
- Let’s just get that mess out of our sight!
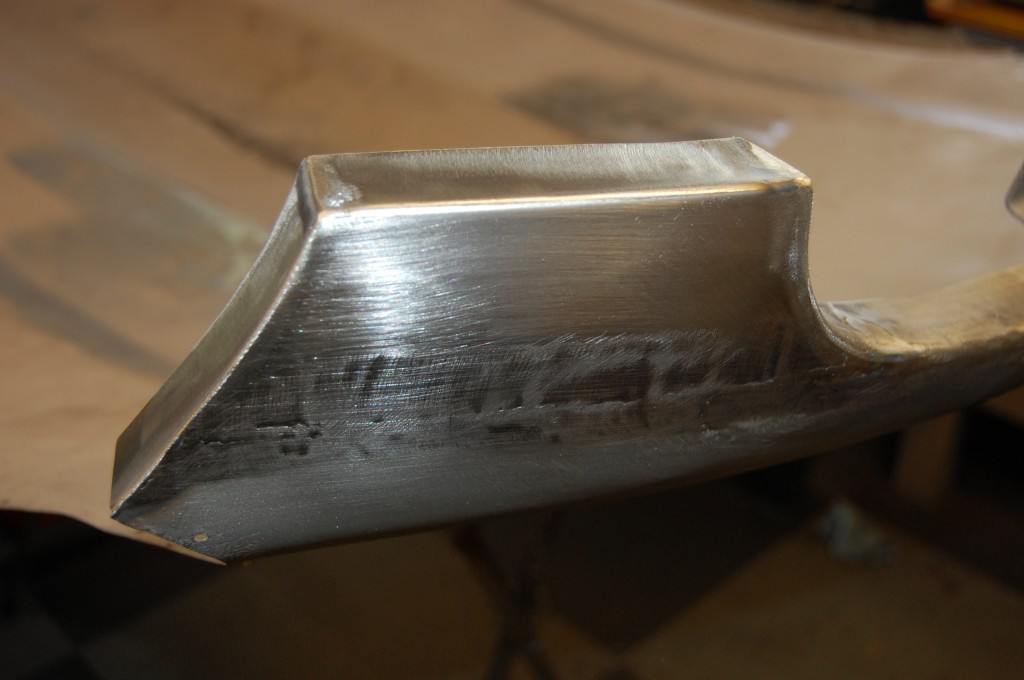
- And stitch in a properly contoured piece of new, 18-gauge cold-rolled steel.
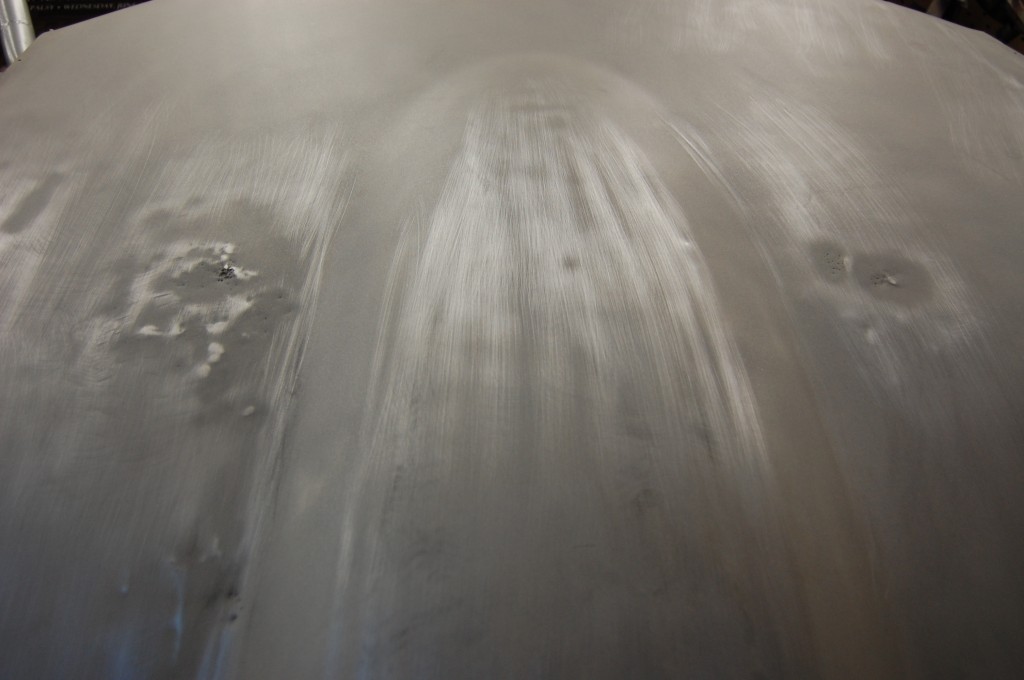
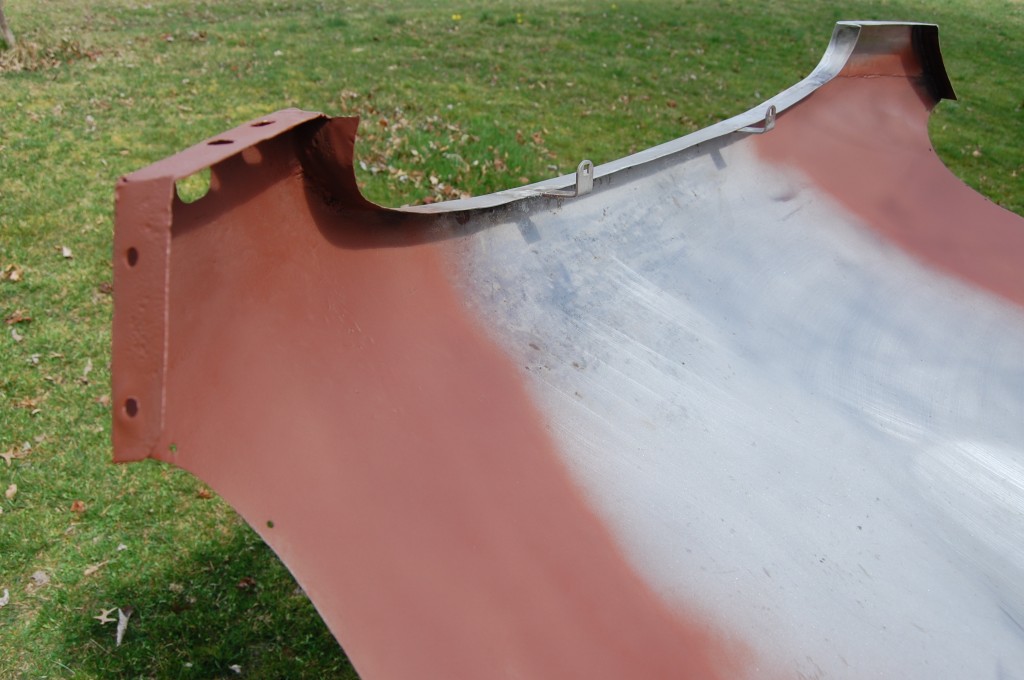
- The reshaping is done now, and we’ve coated areas of the underside that had been surface rusted with a coat of red oxide. This is the corner that had the puncture – to can see here that the metal has been reshaped, and the puncture tears fused back together, so that this panel is essentially perfect again – inside and out!
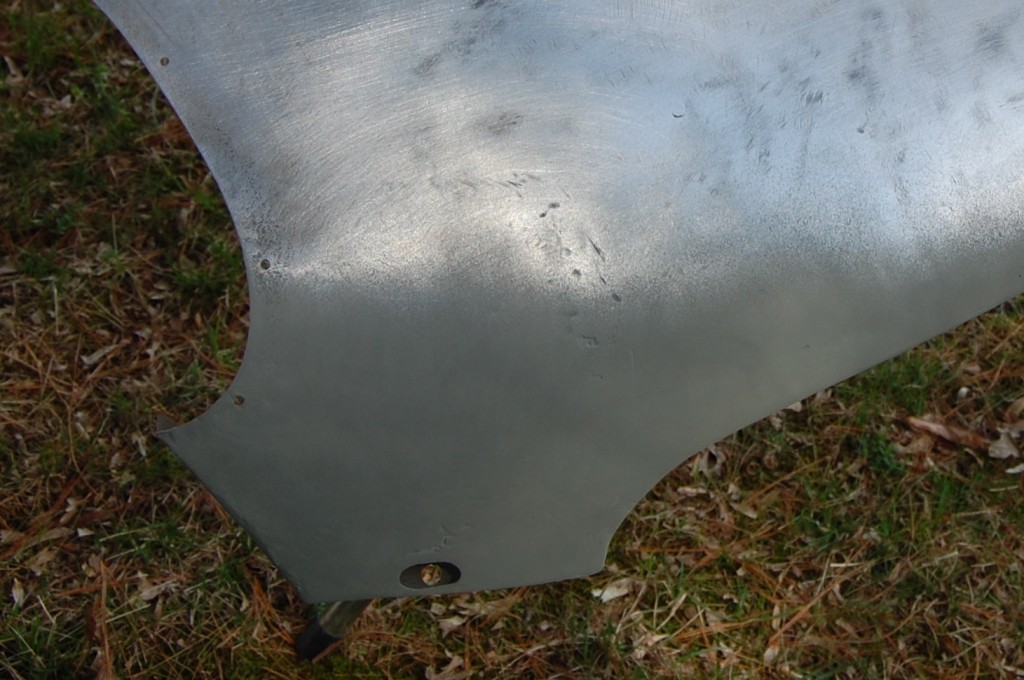
- Here is the oter side. There are a few slight dimples in the very center of the puncture that will require just a slight little dab of filler. Otherwise, this whole area can be smoothed with a simple coat of high-build primer. The grey areas are just a very light coating of etch-primer – there’s nothing to hide there, I just painted it while the panel was upside-down and forgot I should have taken a photo of this repair in bare steel first – sorry…
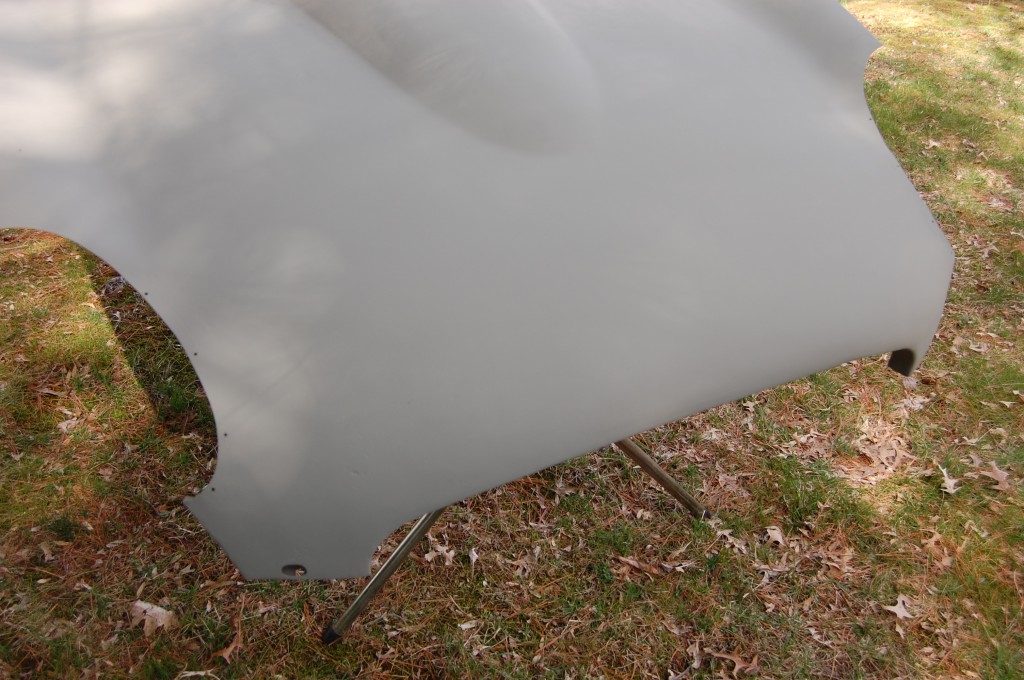
- After some TLC by Monocoque Metalworks, another excellent original center section!

