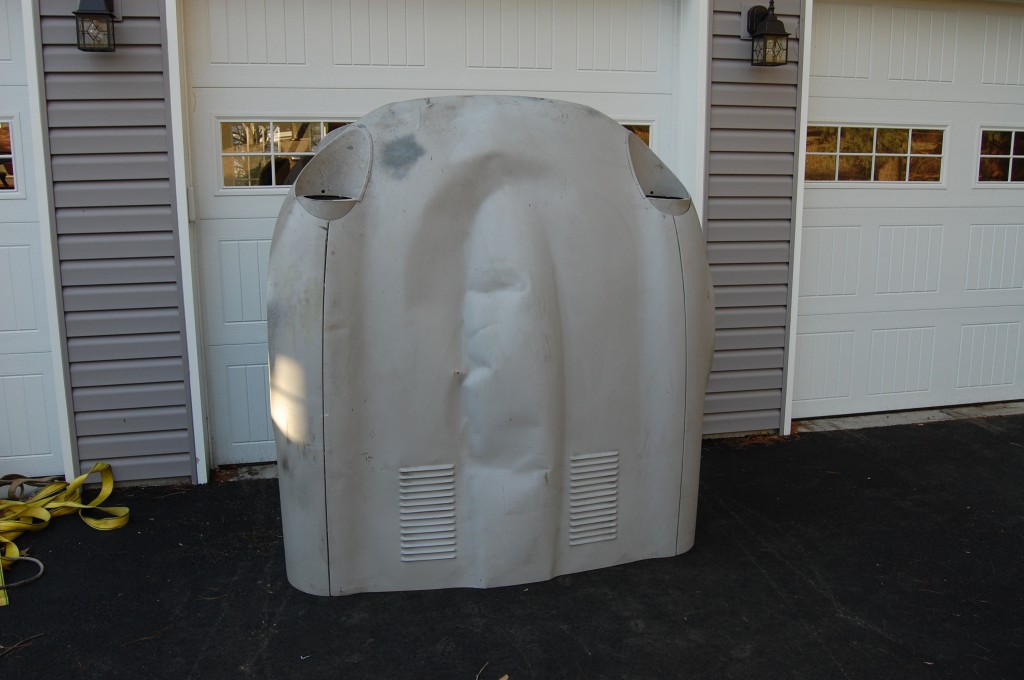
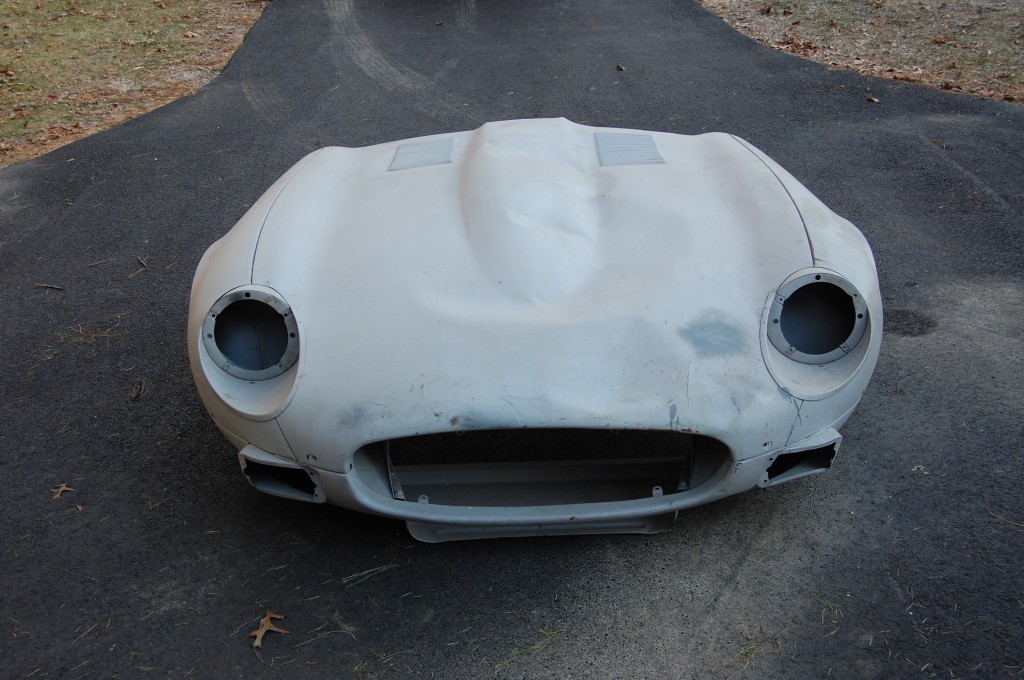
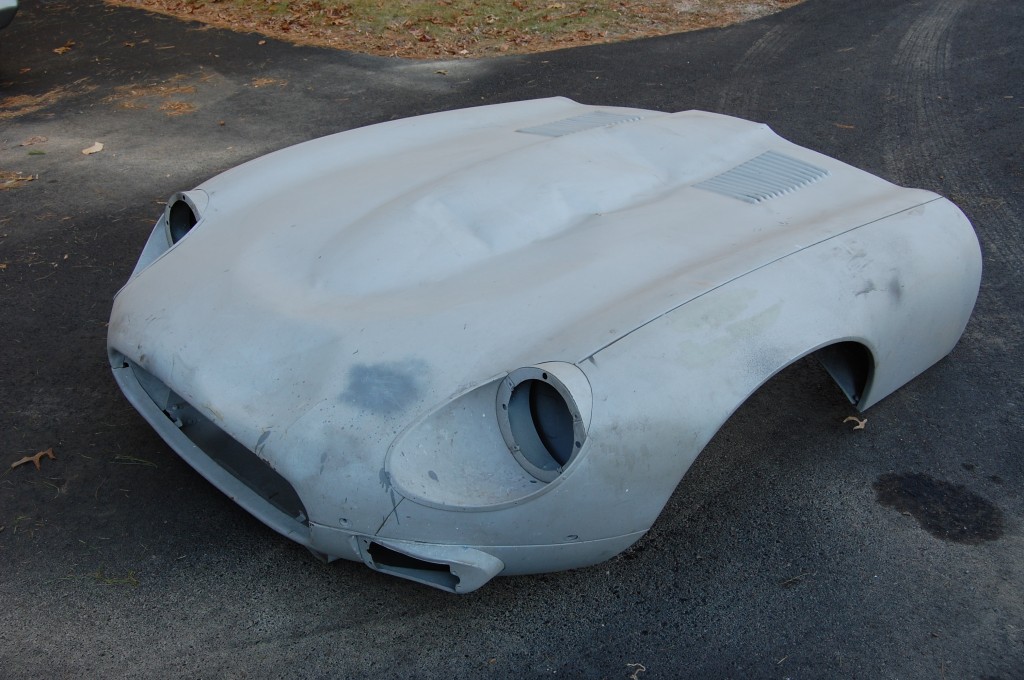
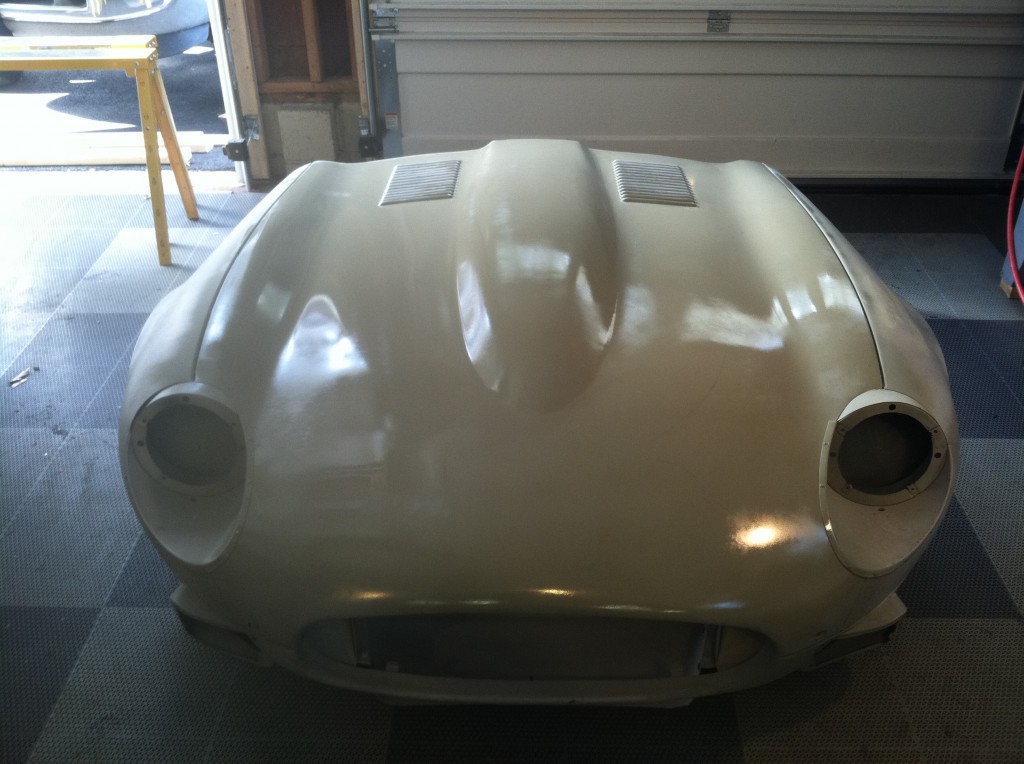
“You have got to be kidding me…” – that’s what I said when this customer showed up with this bonnet in the back of a box truck. They had said over the phone that the ceiling of a storage building they were using had fallen in on the car, and that the power bulge had some dents in it. Dents in the power bulge are something I’ve gotten pretty good at – THIS is a whole different story!
And here’s the worst part – this was a BRAND NEW bonnet!!! It had been mounted and fitted to the car, then finished in primer and was waiting to be sanded and final painted.
So I took the bonnet in, but was very clear that I didn’t think I could pull this one off. Having the power bulge pushed down into the flat areas was the big concern – I did not think I’d ever get them anywhere close to flat again…
Finally, one day after I had just done a really sweet patch on a Series 2 center section, I decided I was ready, and I pulled this out and had at it! Take a look – as you’ll see in the photos, this turned out pretty GREAT – I was really proud of myself on this one!
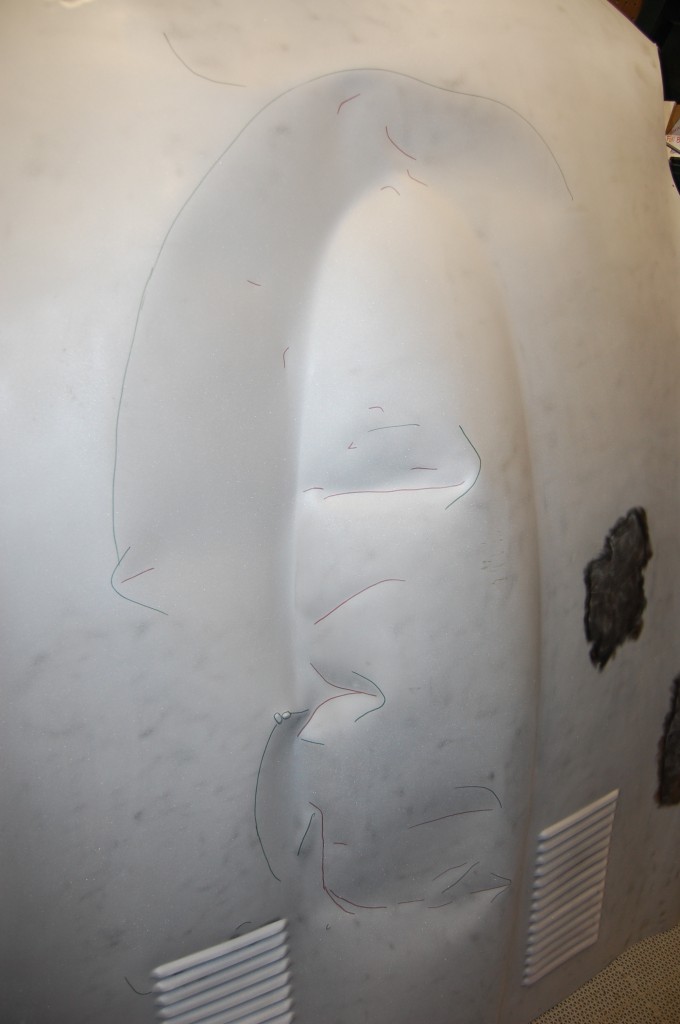
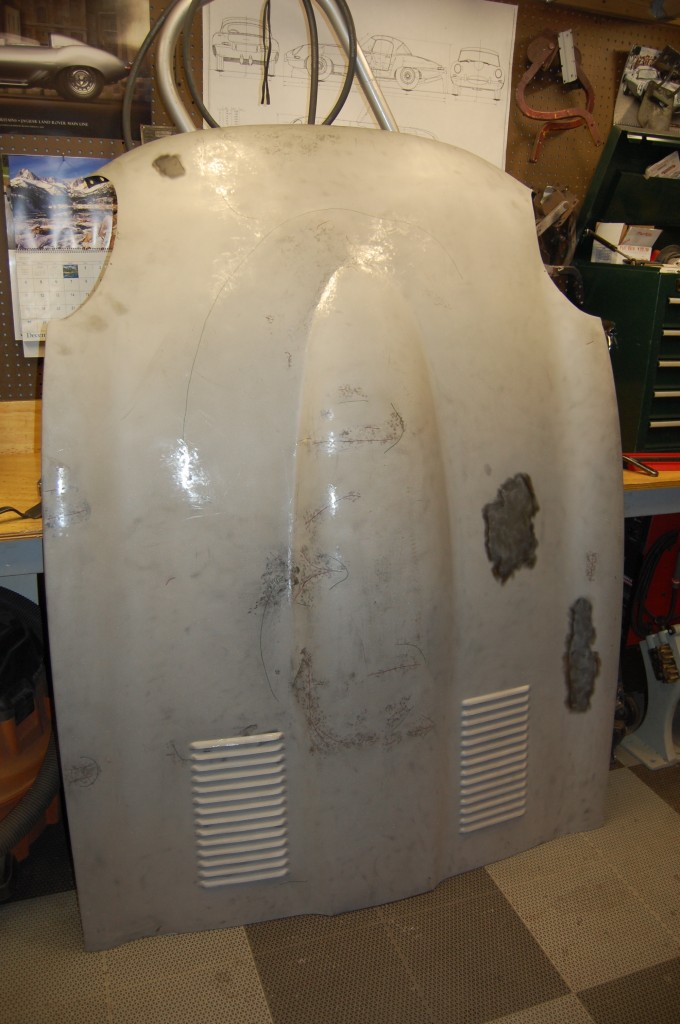
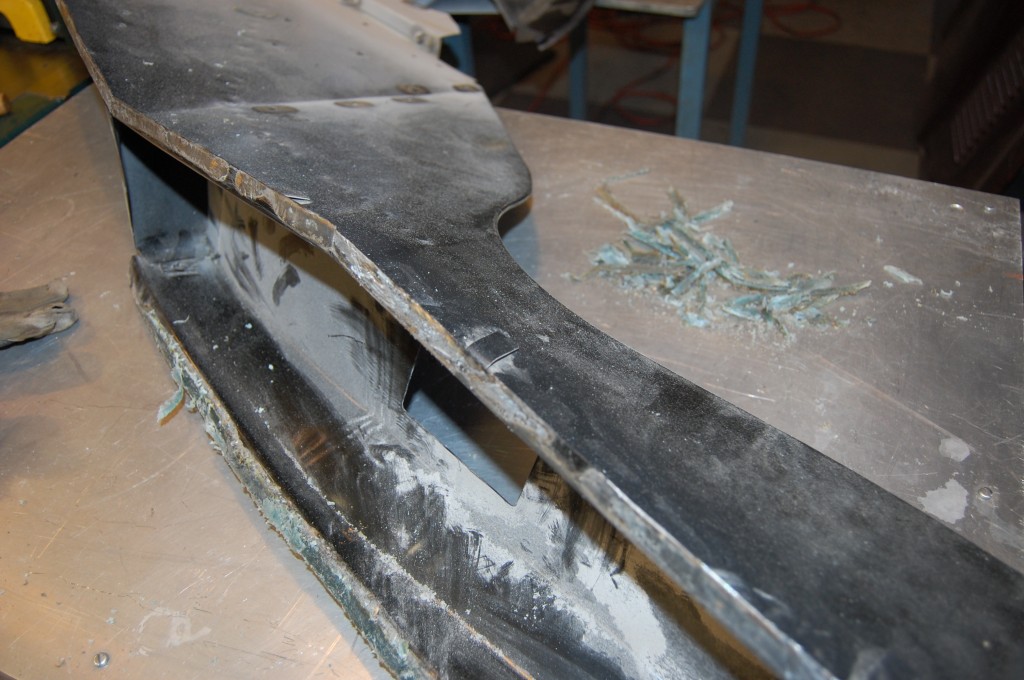
- Here’s what came out of the truck…
- Pretty bad… The owner of the restoration shop that picks up E-Types where I leave off saw this in the shop this past Fall and said, “Dude – come on, no-one can fix that…”
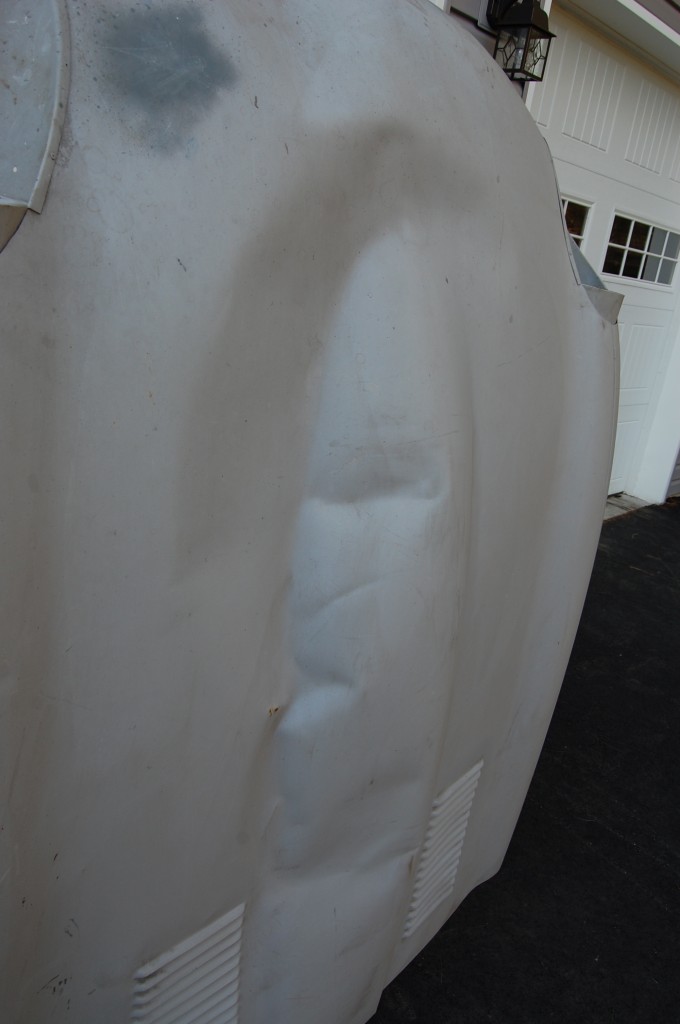
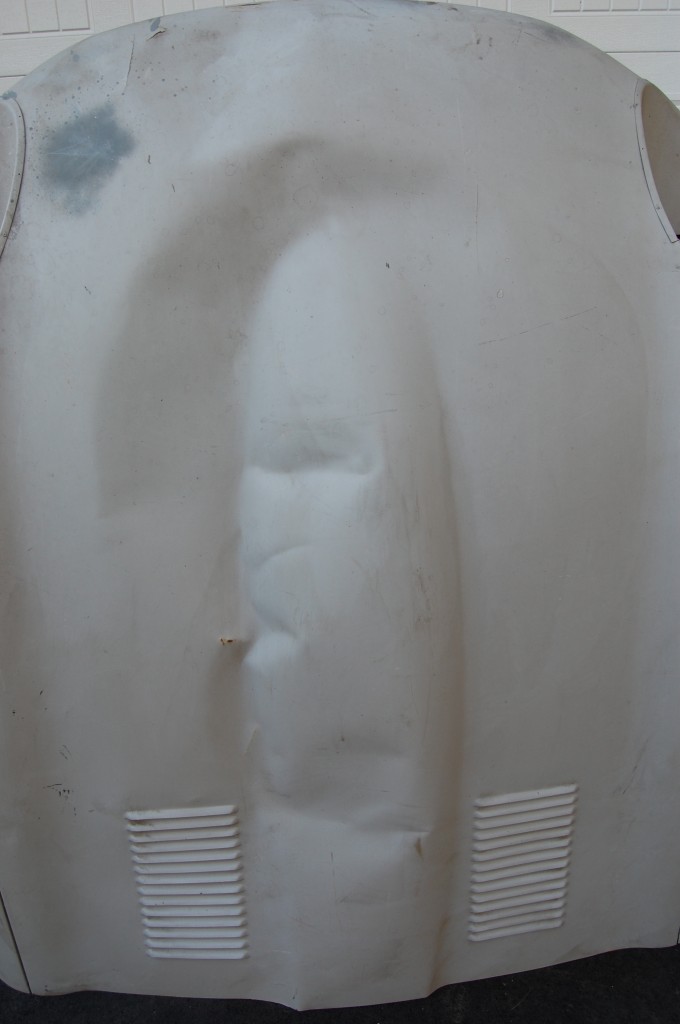
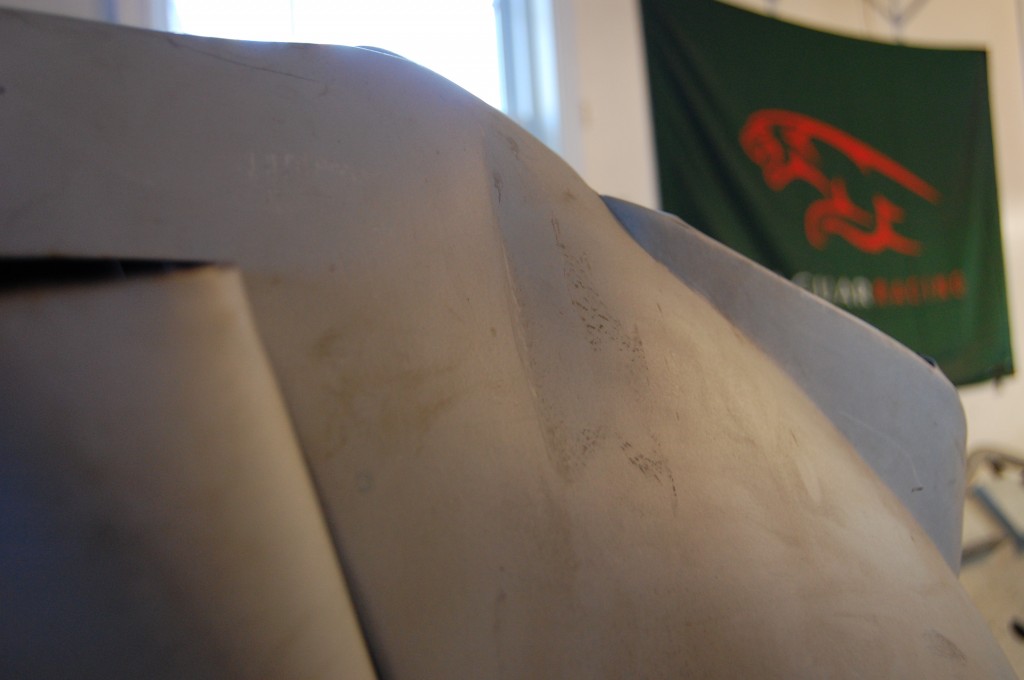
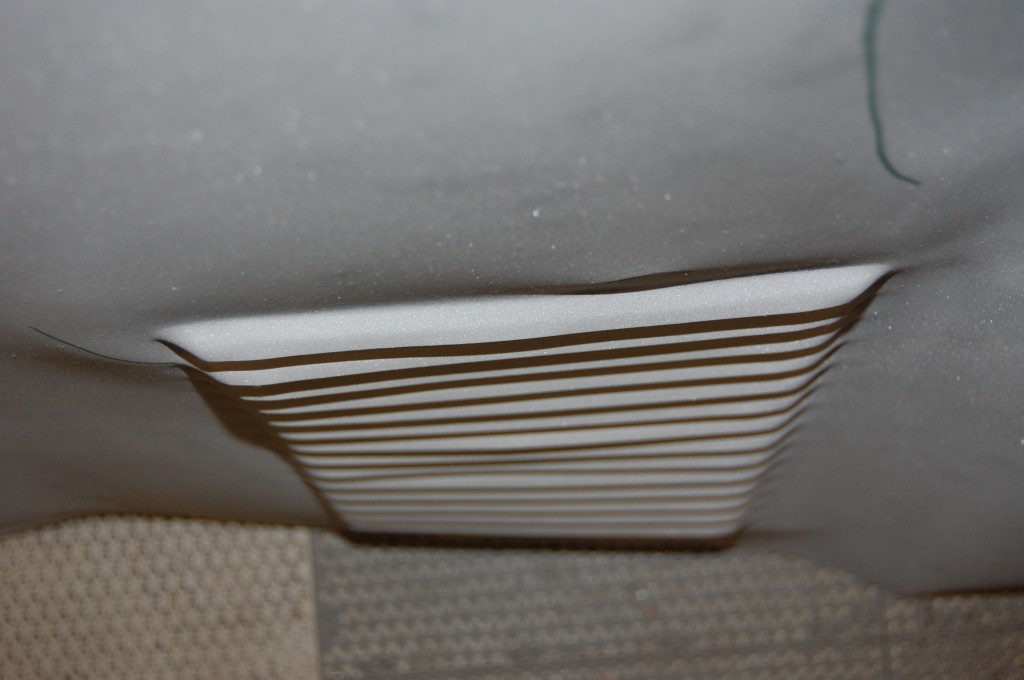
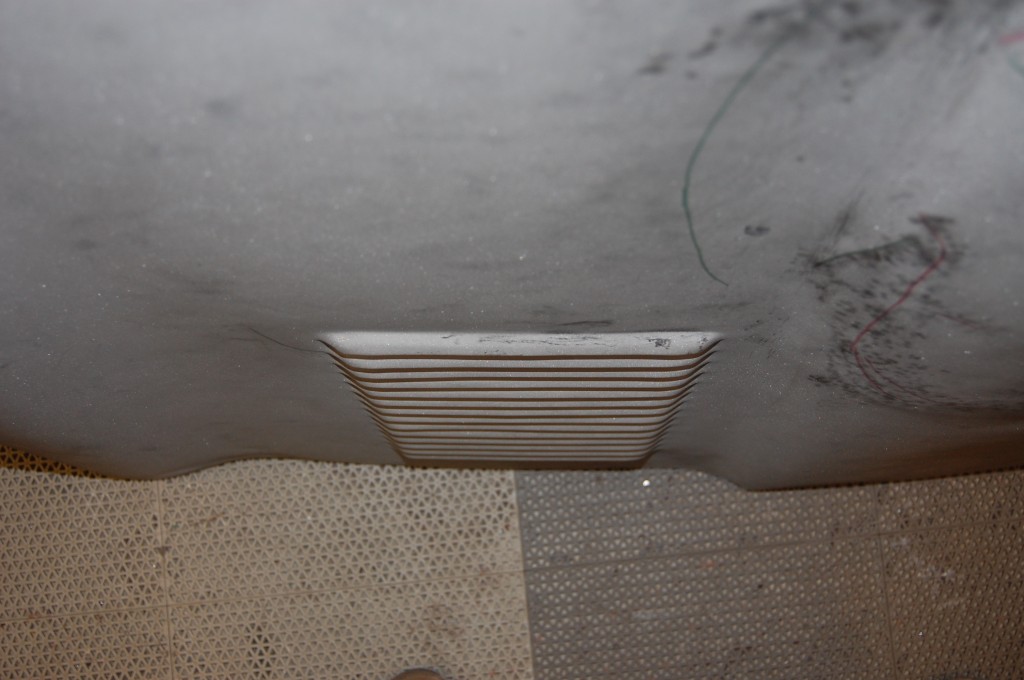
- Having the power bulge pushed down into the flat area is the worst part – and having the edge of it disturbed and “locked” with those ridges doesn’t help either…
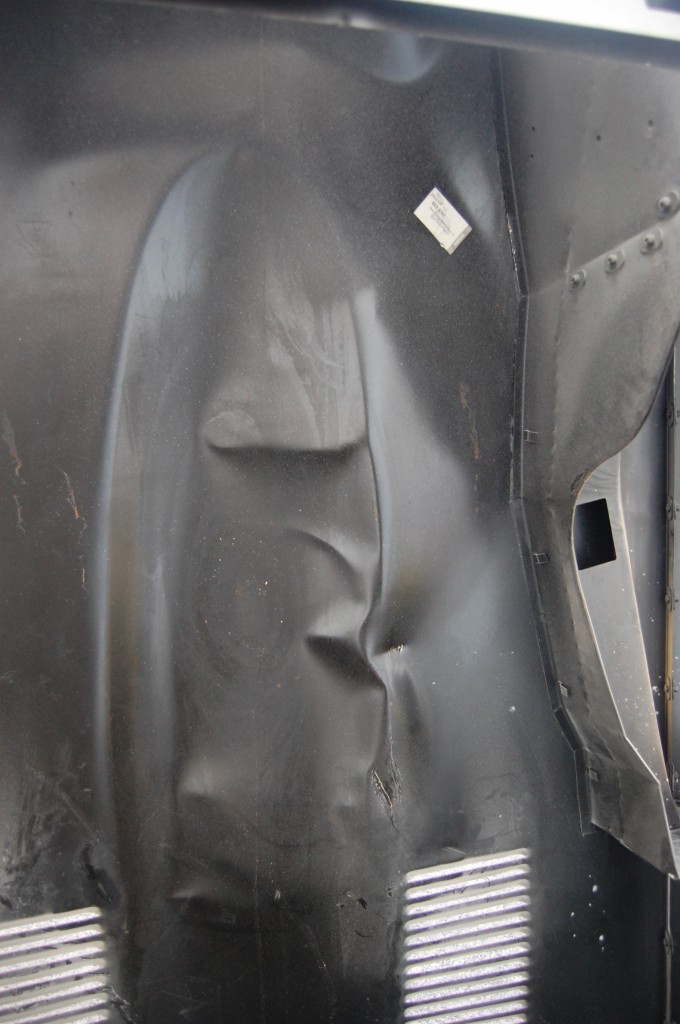
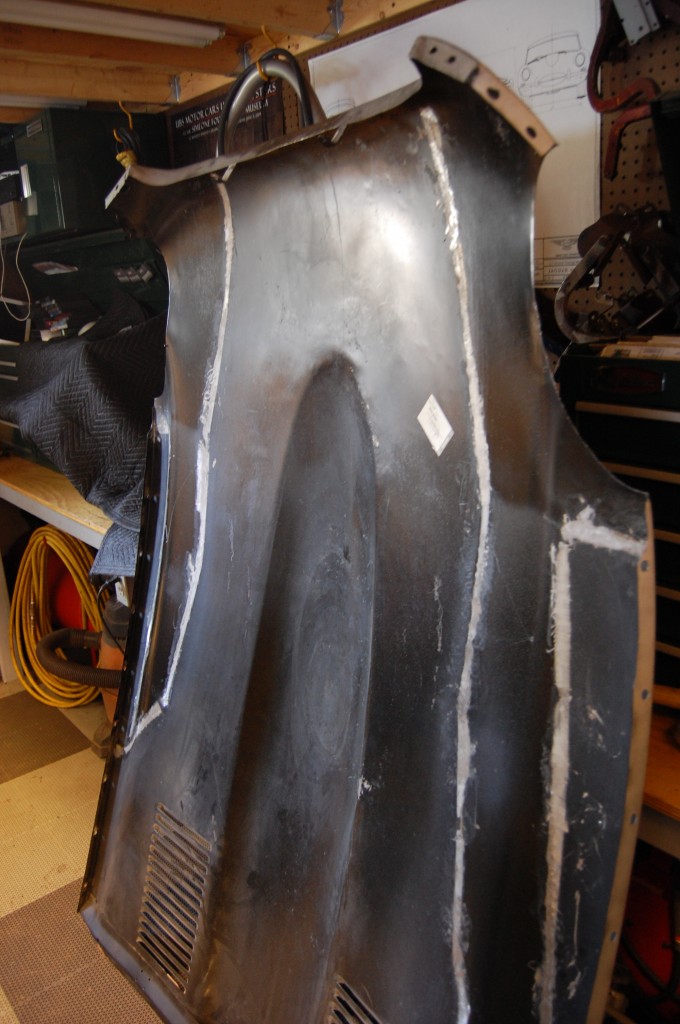
- The big issue turned out to be the edge of the power bulge – it was folded tighter than it should have been and that was a real bear to get back again. In this photo you can see the sticker still on the new bonnet from Jaguar.
- Frontal shot.
- Another shot of the damage.
- And the hits just keep on coming!
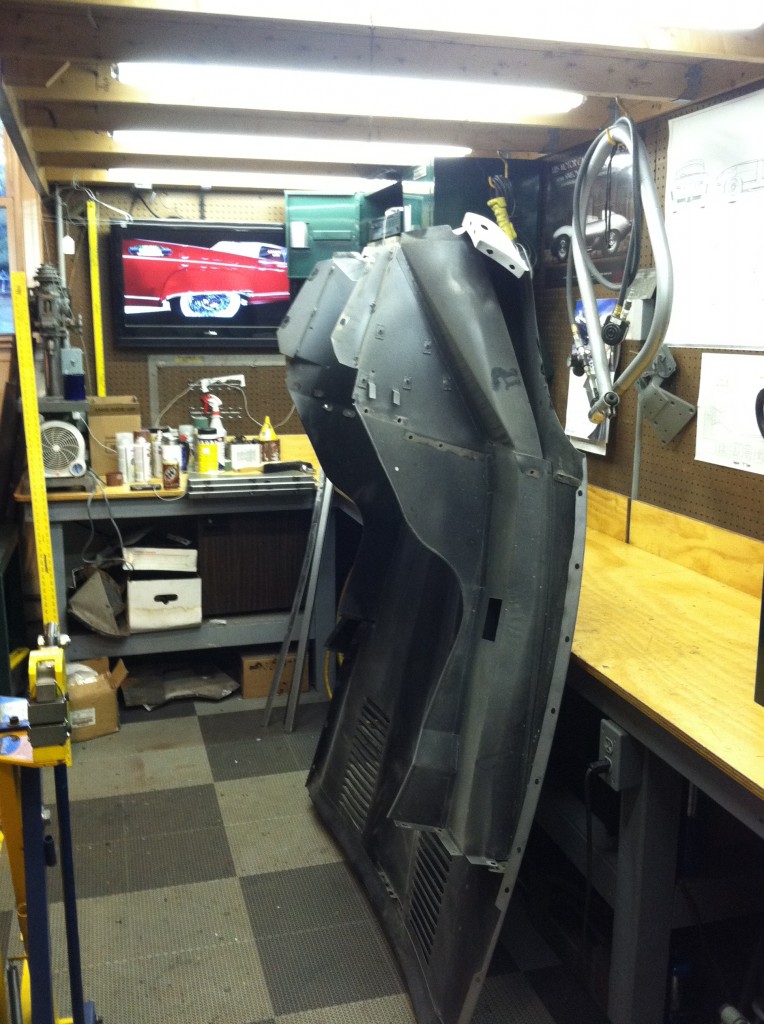
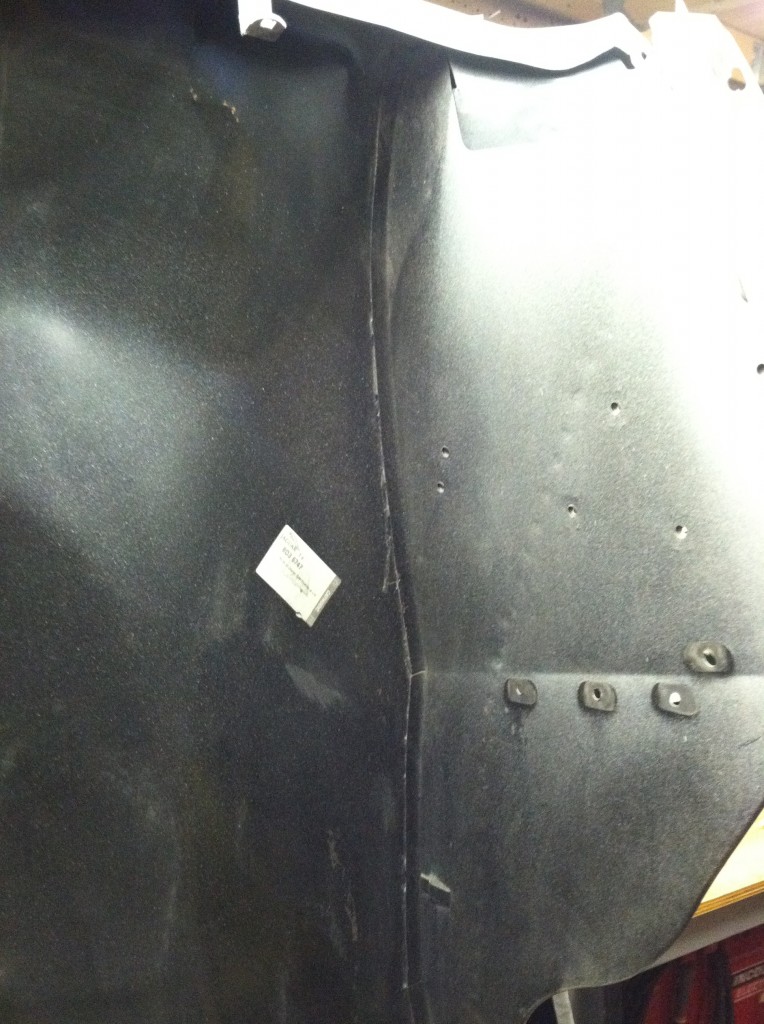
- First order of business was disassembly. But why are the inner valances still on there?
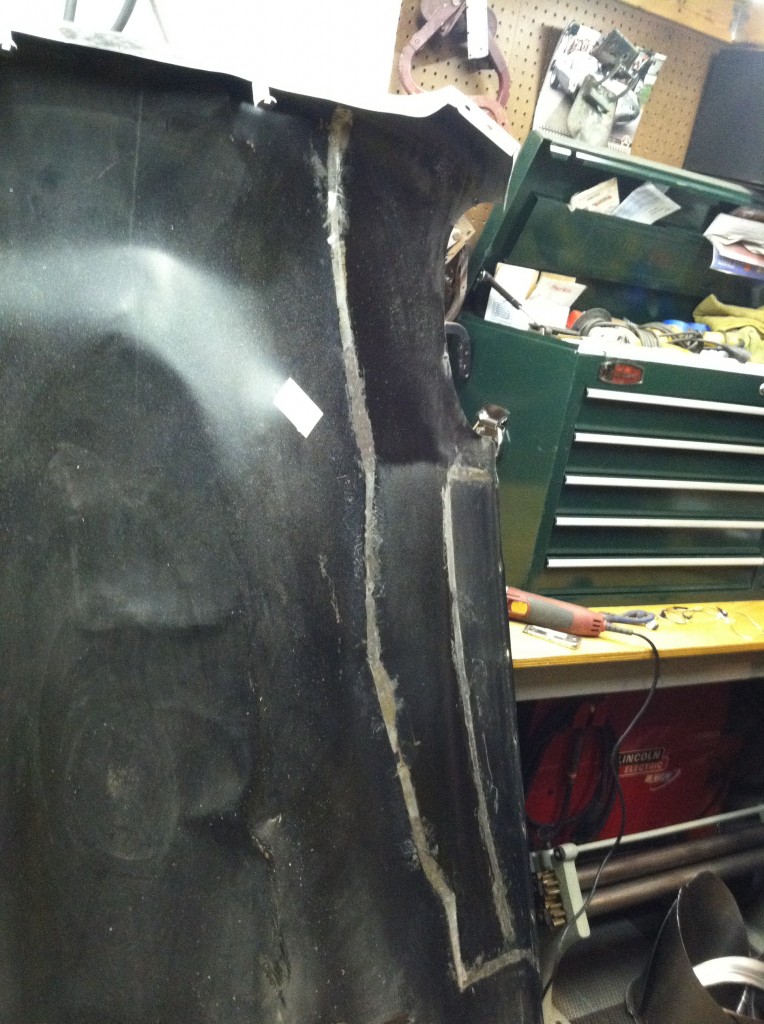
- …because on a Series 3, there are no flanges and they are glued directly to the skin. This makes Series 3’s a MAJOR pain coming apart AND going back together!
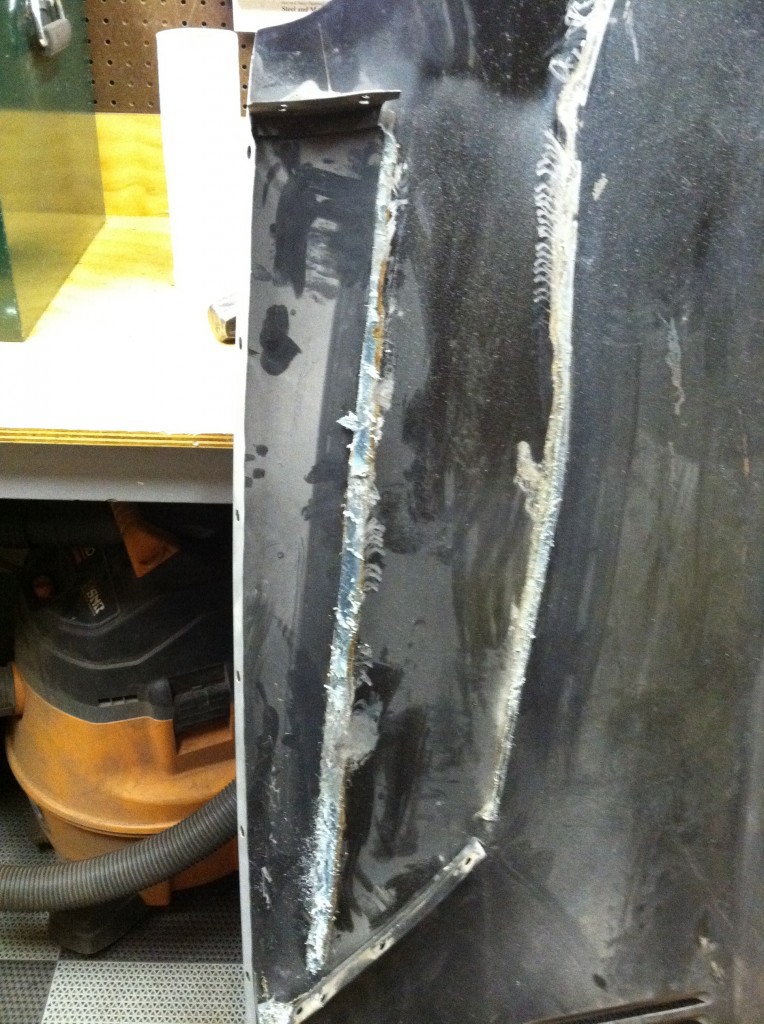
- What made this bonnet even worse is that it was assembled with a modern adhesive that cured MUCH harder and tighter than what we use here. We use a strong adhesive that very closely mirrors the original rubbery consistency, but holds very strong. This stuff ws like concrete, and we had to SAW through it to get these off!
- They’re finally off after hours of painstaking work. Any “bossing around” of this task, and you will kink the outer skin (even worse that it already is…)
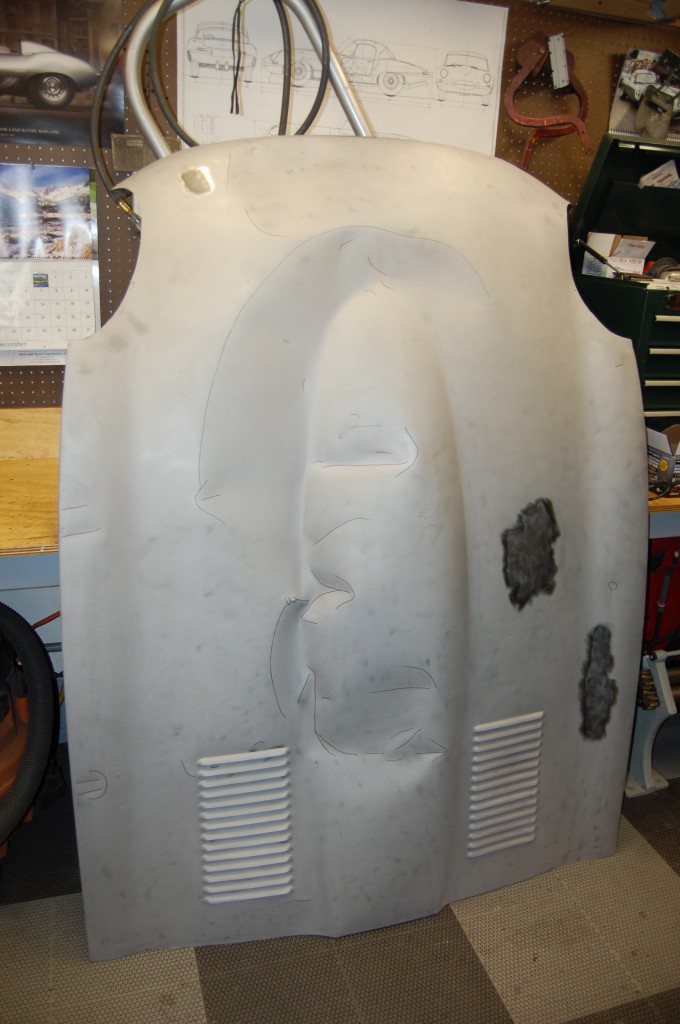
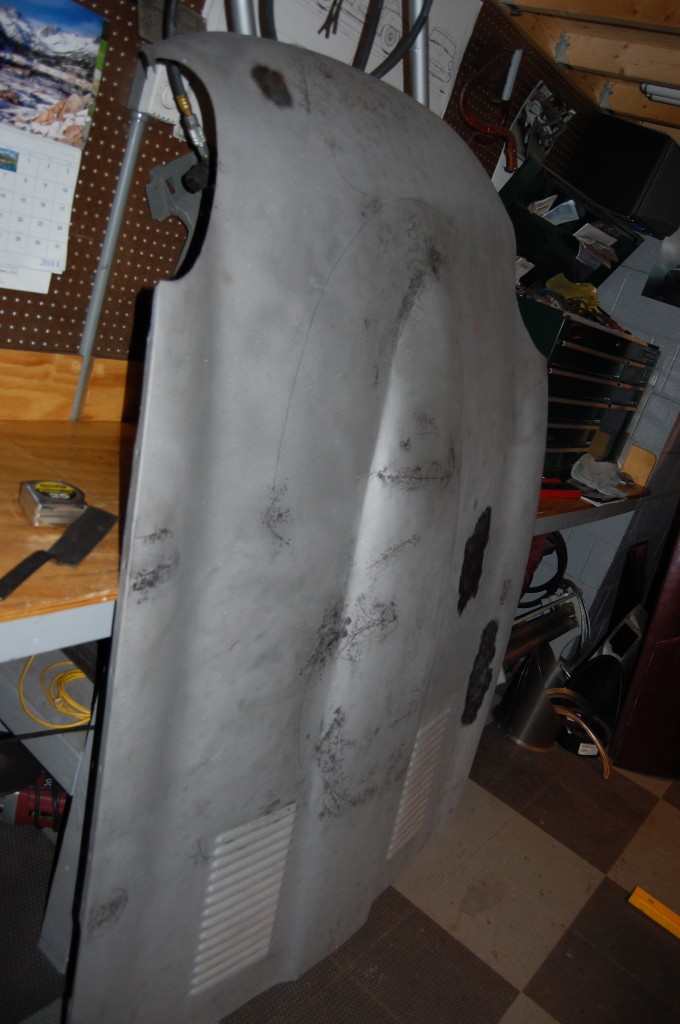
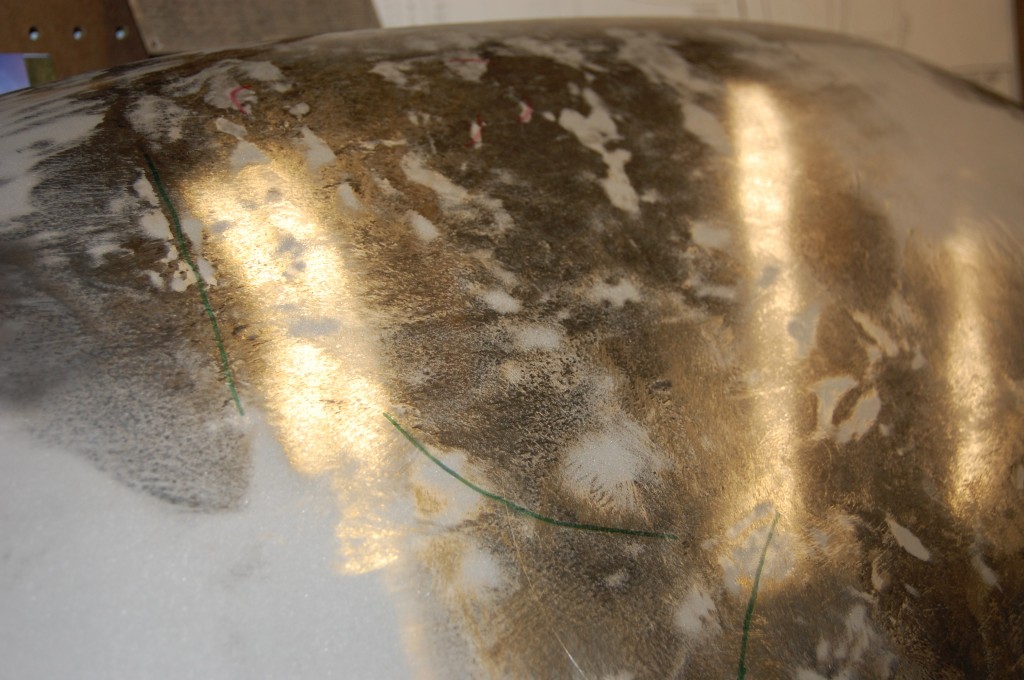
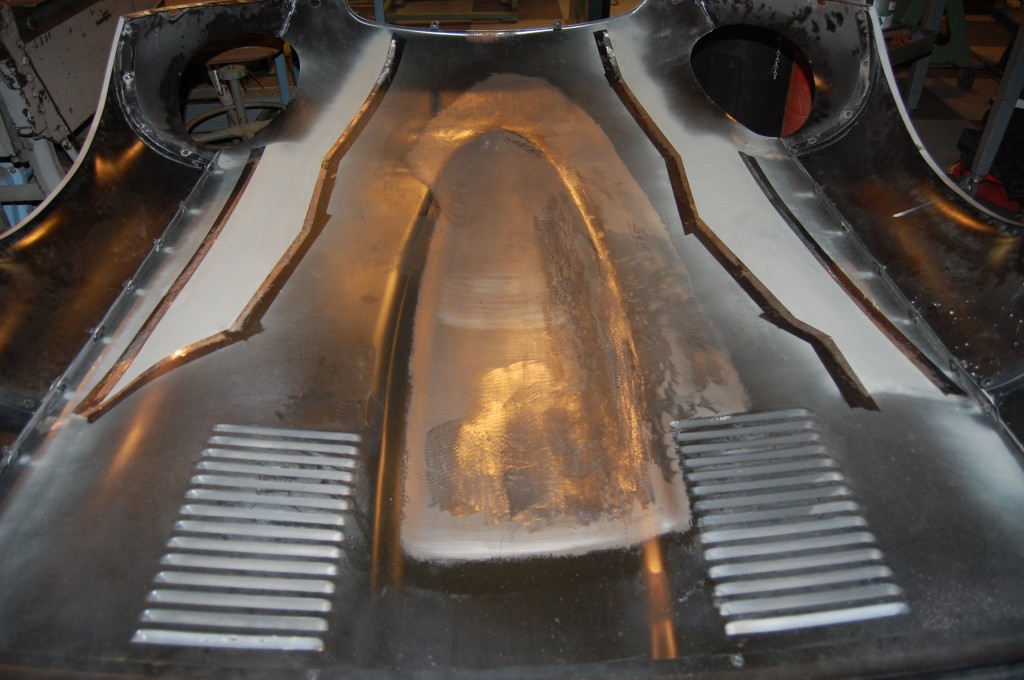
- Now the center section is out of the bonnet, stripped of its inner valances, and blasted bare. The shiny patches are where there were patches of filler used in this new piece already.
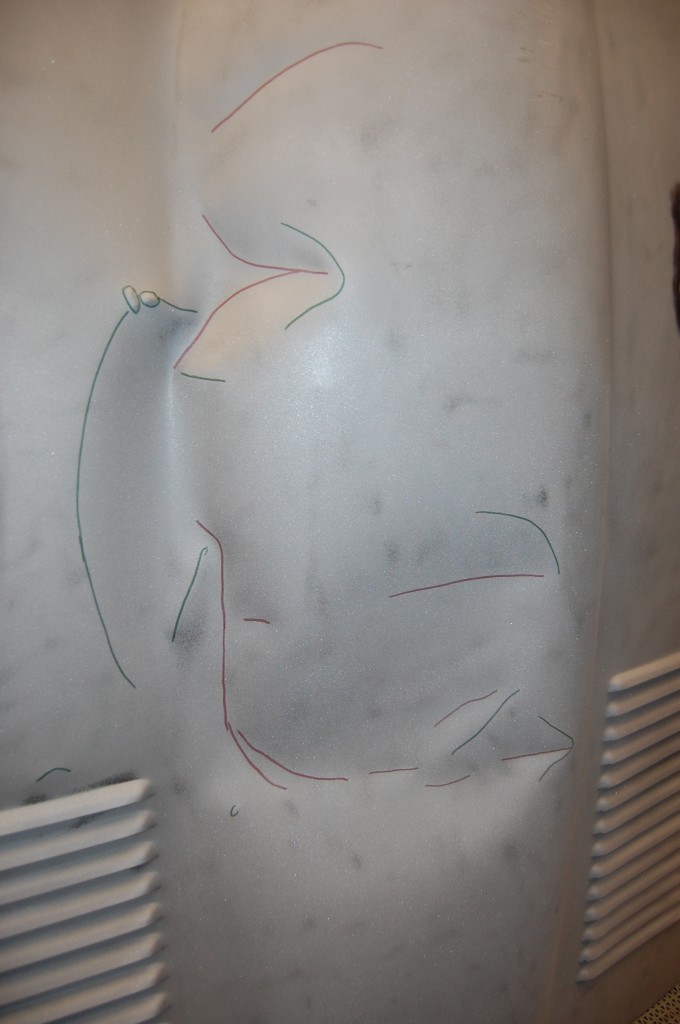
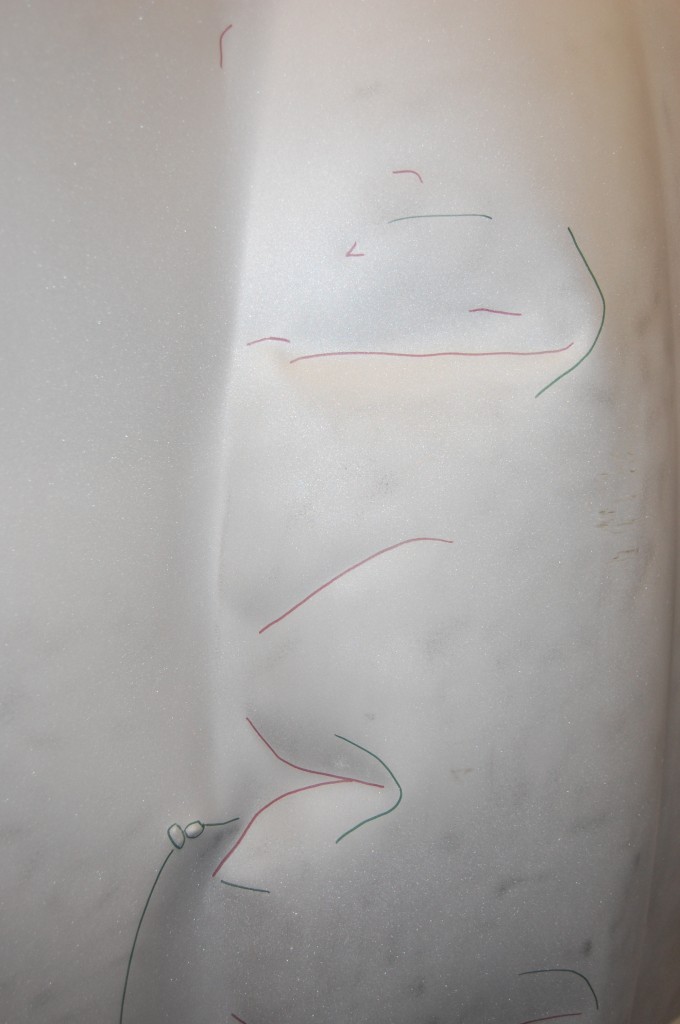
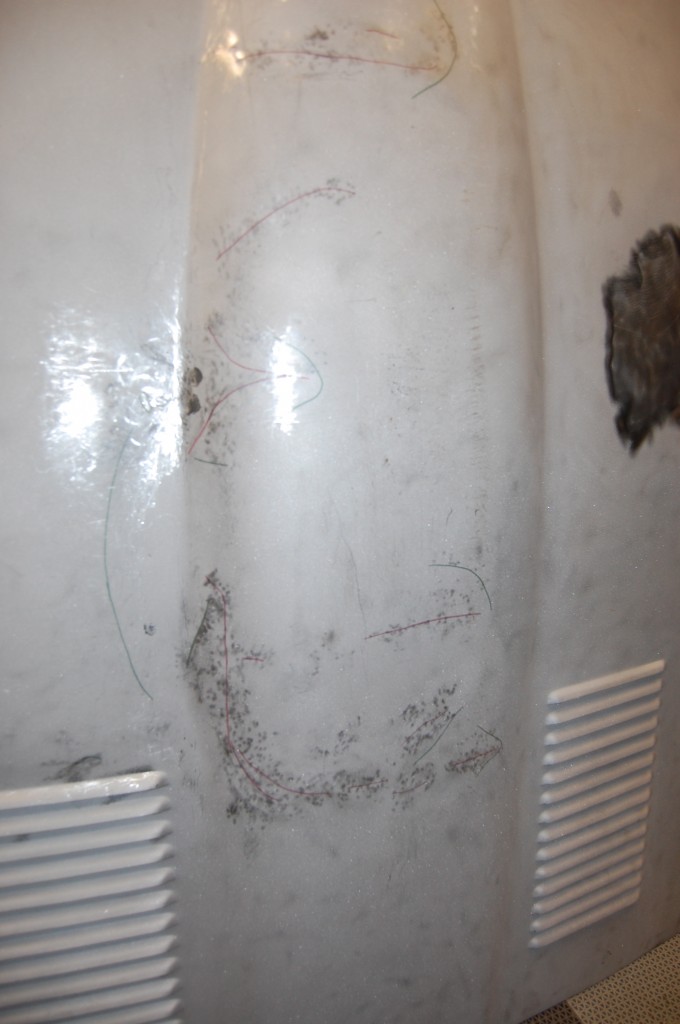
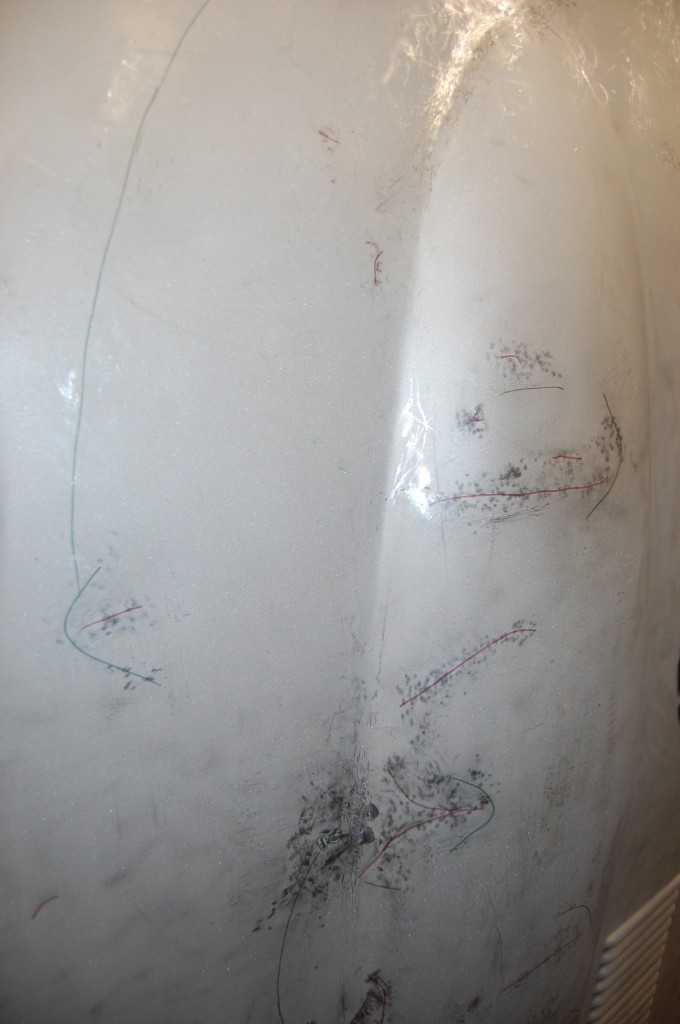
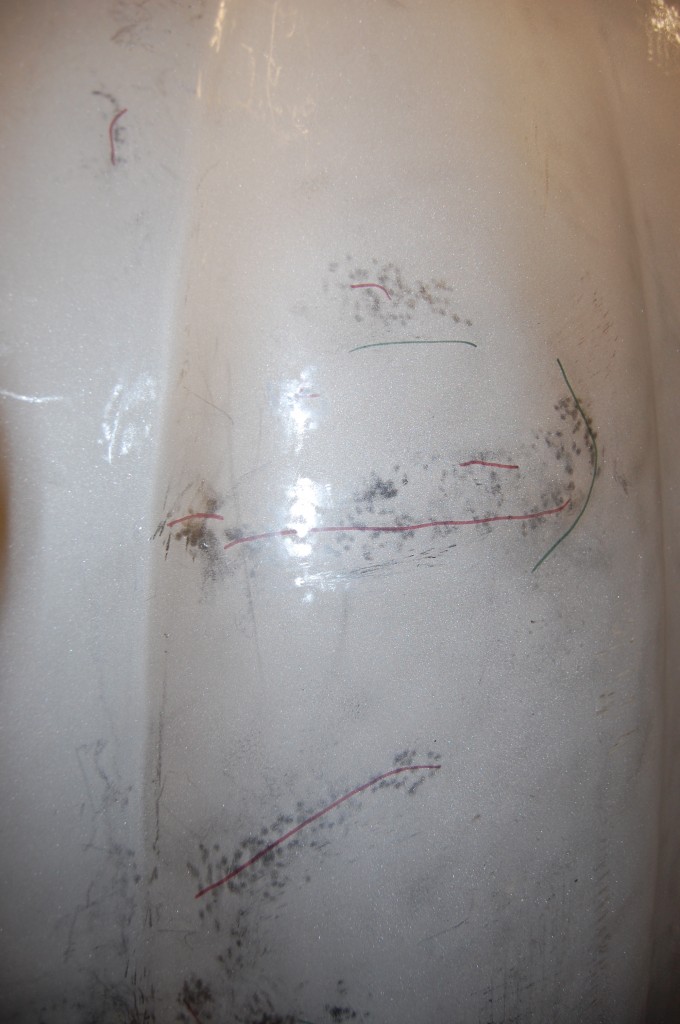
- For starters, we drew on a “map” so we could see where things started out. The green lines are the ridges and the red are the valleys.
- Lower section of the power bulge – before.
- Upper section of the power bulge – before.
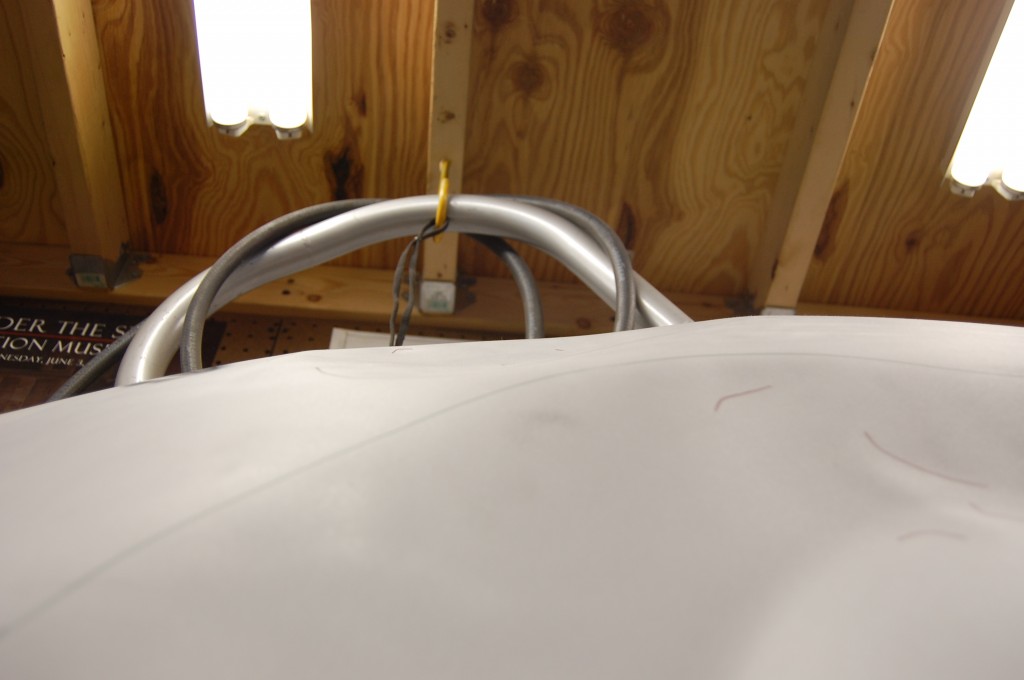
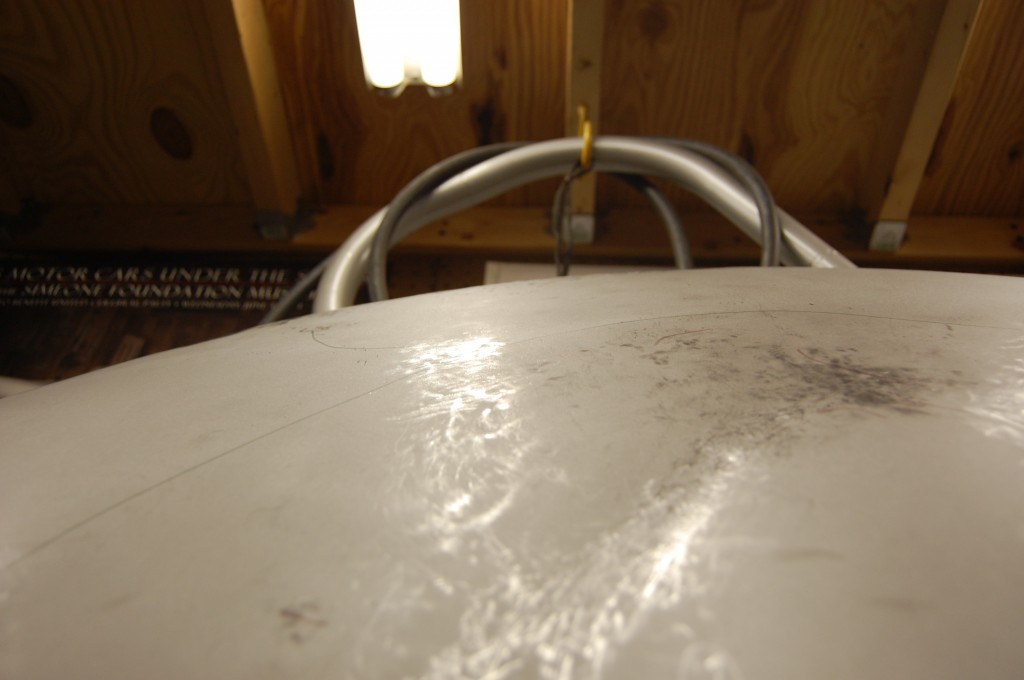
- This shot shows the wrinkling as seen looking over the LH louvers and forward to the nose.
- Here was my other BIG concern – how to straighten this out…
- This next group of shots is after 5 hours of initial hammer and dolly work which was a test to see if the repair was even possible. This is the same set of louvers shown above. OH YEAH BABY – we’re getting there!
- Get some of that! (these are the types of things I was saying/yelling in the shop on this day, so I thought I’d put that in here too…)
- Oh Yeah!
- Yes!
- Who’s the man!?!
- Now, don’t get too excited, this looks alot better in the photos than it was after this first session. There is still ALOT of work to be done.
- And while this looks great here, and the ridges and valleys have been re-aligned for the most part, the bigger issues were yet to come. The overall shape of the power bulge was all wrong now. It had been flattened very expertly in the back section – the shape was wrong on one side but there was really nothing to “fix” – hmmmmm….
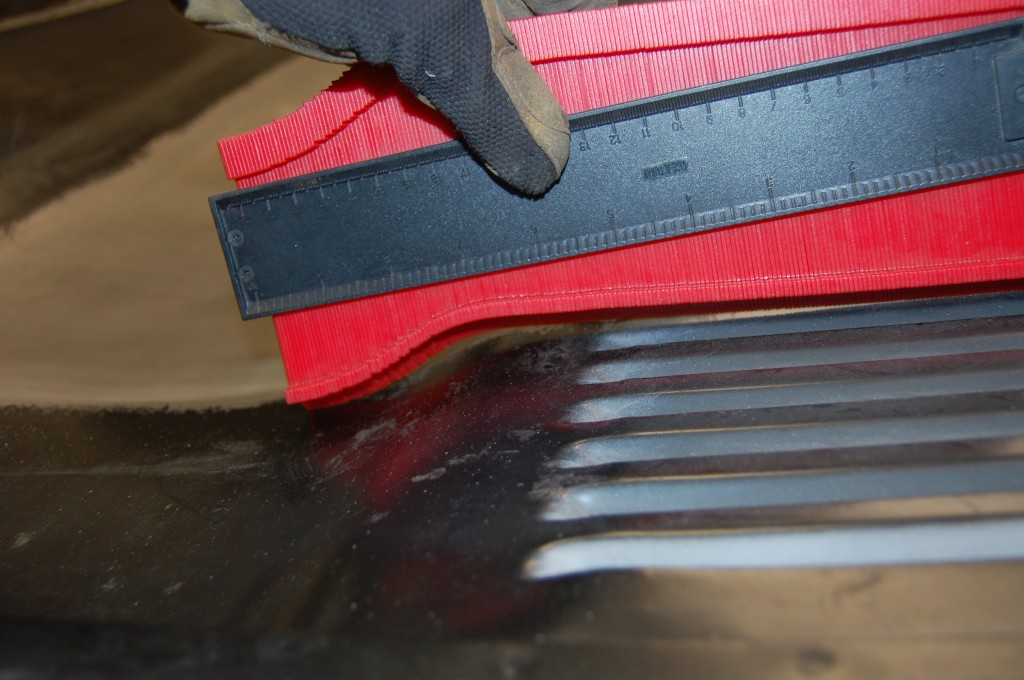
- Next we cleaned up the inner valances to start using them as contour guides – a very important step on this bonnet because these are complicated pressings and BIG – and the worst part is that we really couldn’t re-arch the curve like we can do on the 6-cylinders removeable flanges.
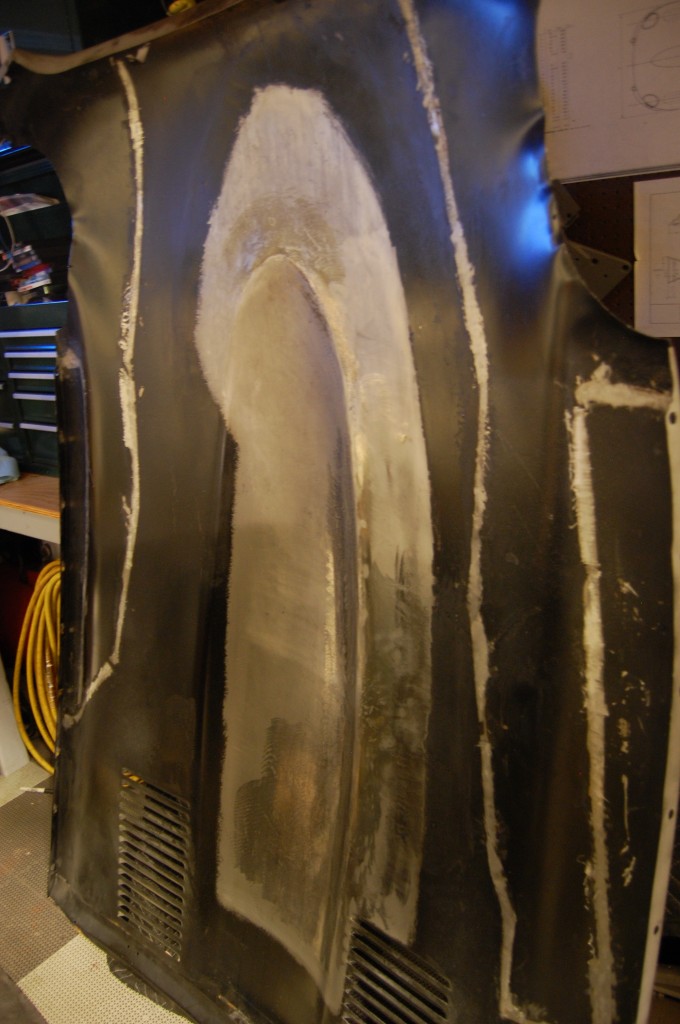
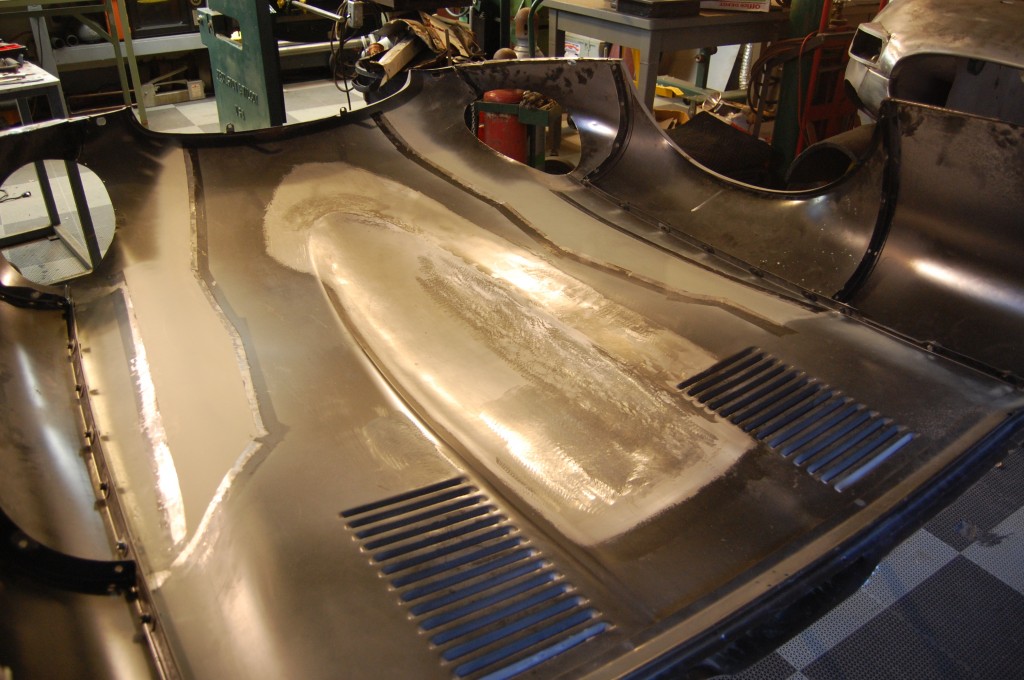
- Here’s a shopt of the underside after the initial re-shaping.
- See what I mean on the shape? The edge of the power bulge was WAY too shallow. In the end, the only way out of this dillemma was to simply beat the shape back in with mallets and then reshape the whole area – a very long and sometimes frustrating afternoon…
- After much shrinking, we’re getting there, but work in other areas is channeling stretch into this point and kinks were building up repeatedly here – a very common problem on really wrecked E-Type center sections – this area is my nemesis. Often, a kink will develop here during assembly of a heavily re-worked bonnet, and you have to slap and hammer it out after the bonnet is assembled.
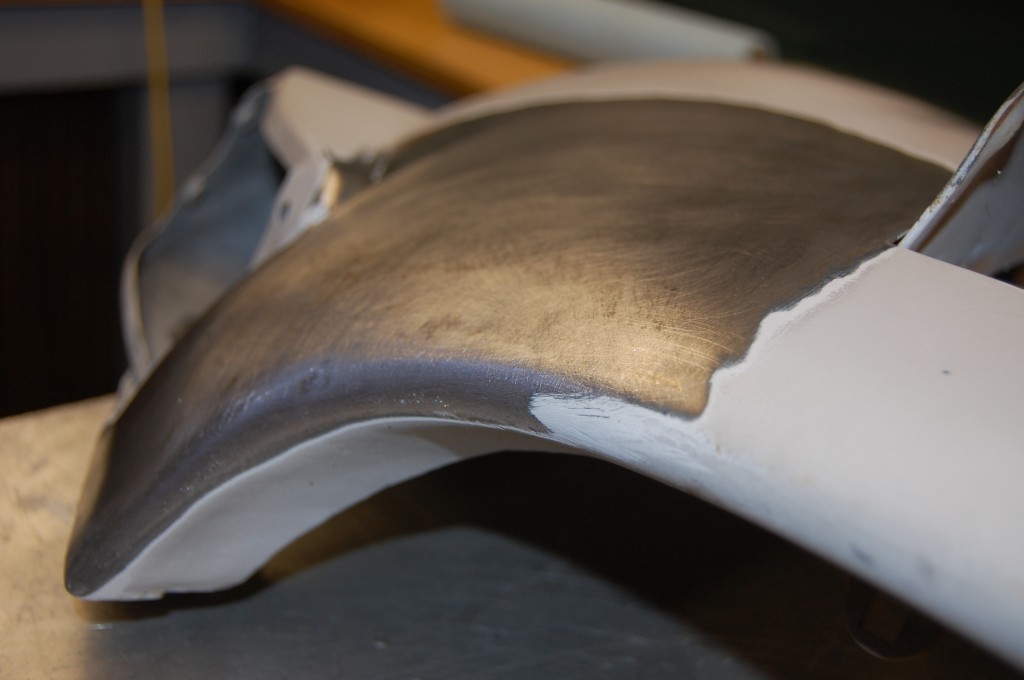
- Our shape is back, after ALOT of hammering, slapping, planishing, shrinking – you name it!
- You can still see high and low spots after the shrinking, but the lows are only a couple thousandths below the highs at this point – they can’t be picked up by your hands when feeling it.
- The underside of the power bulge was stripped and there was work performed from both sides to get this one back into shape.
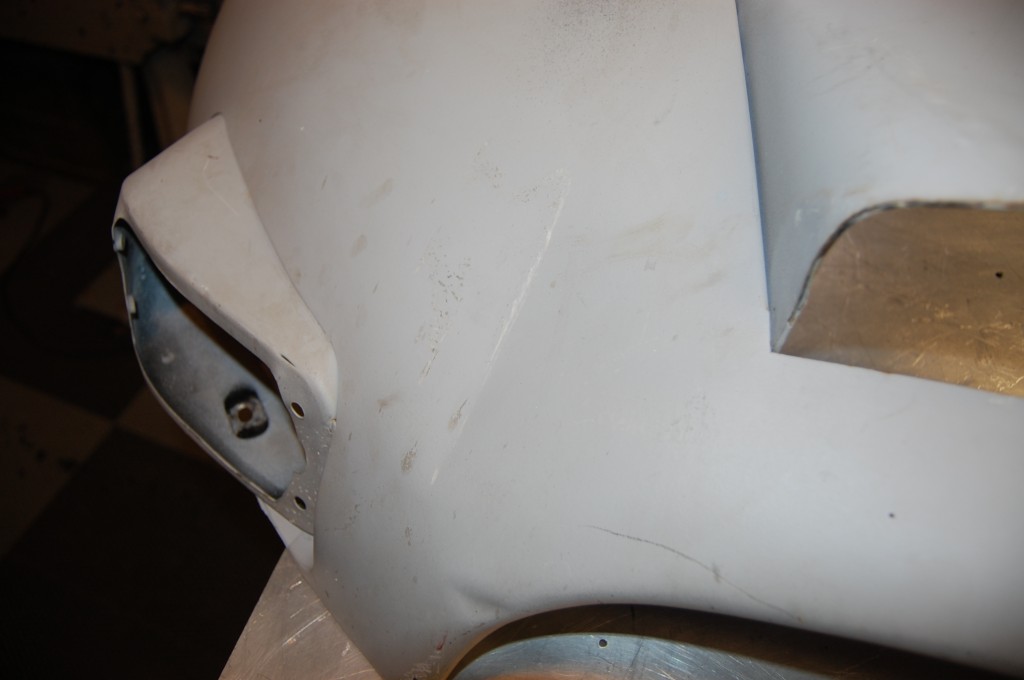
- Here we’re fitting the headlamp scoops and dealing with secondary strecth that was forced out into the headlight recesess. That’s the frustrating part on a prohect like this – the metal you are moving has to go somewhere, and sometimes that’s into a place that WAS fine…
- Oh yeah – forgot about this little gem.
- This is the type of thing that when it’s still a virgin hit, we can erase COMPLETELY – this dent is GONE!
- This piece has finally been beaten into submission – literally! The contour of the power bulge edge on that one side is not perfect and will need filler to clean it up, but that will be minimal. Here, we’re making sure that reas boxed in by the inner valances will have two good coats of primer at least.
- Here’s another shot of the finished underside. This bonnet will look new again from the top AND bottom after a little block sanding – NOT 1/2″ of filler on the underside like I have seen MANY times….
- She’s re-assembled, but did need more slapping and shrinking after assembly – one this bad always does…
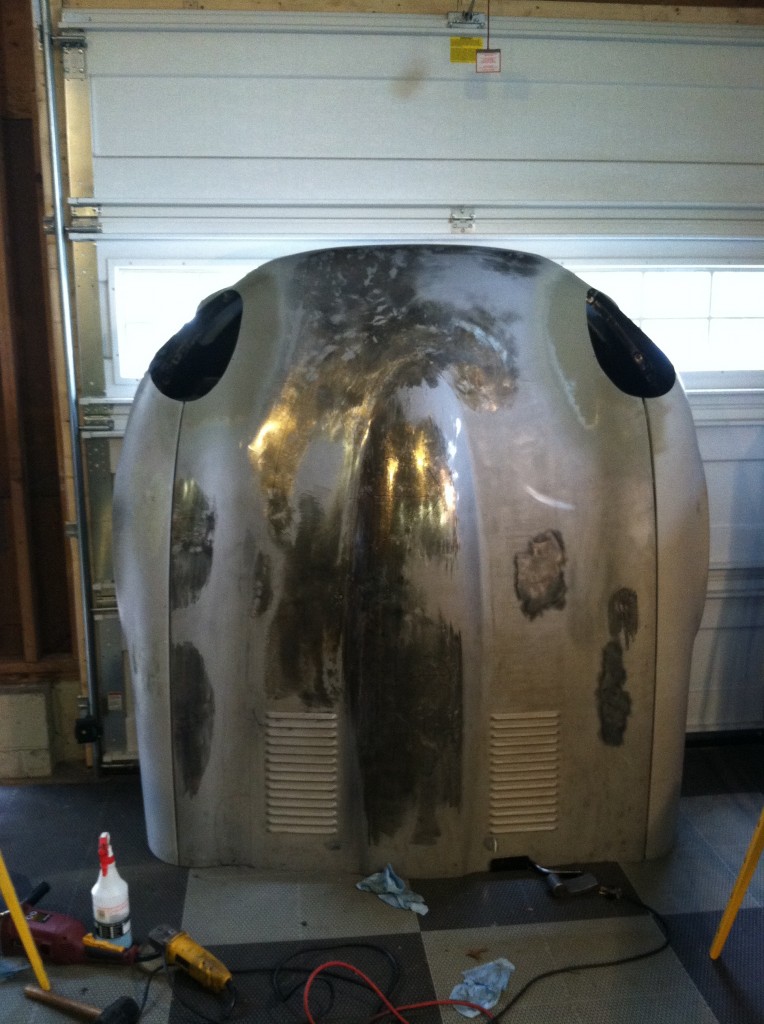
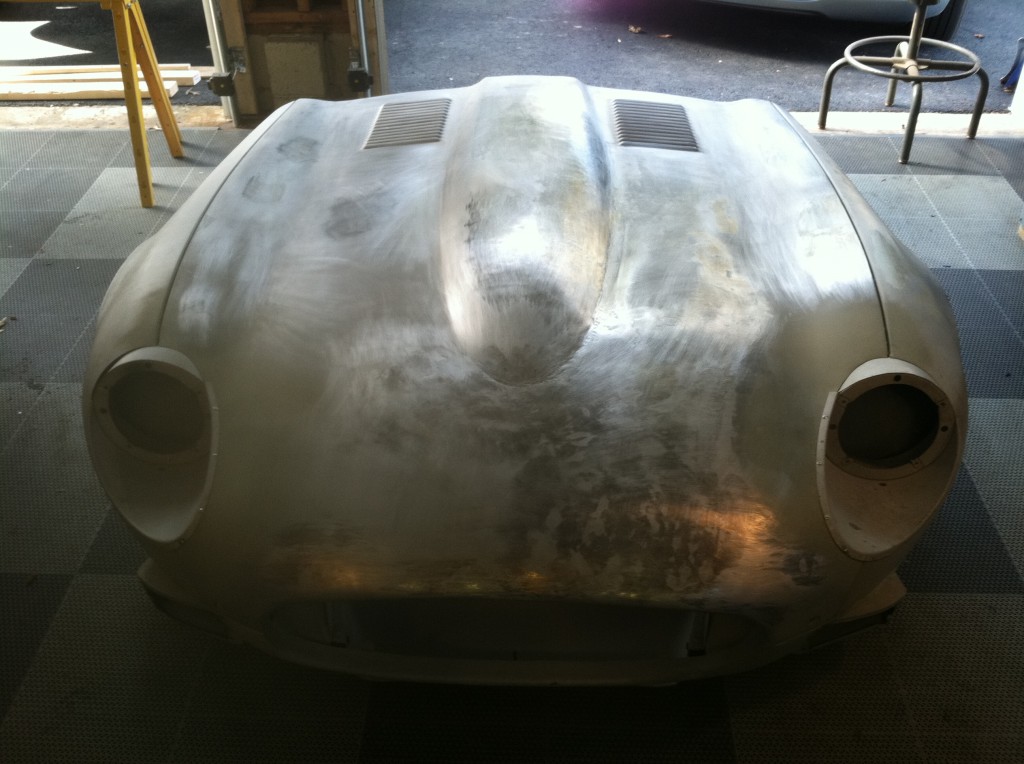
- Headlamp scoops are installed and everything has been scuffed down for etch-primer.
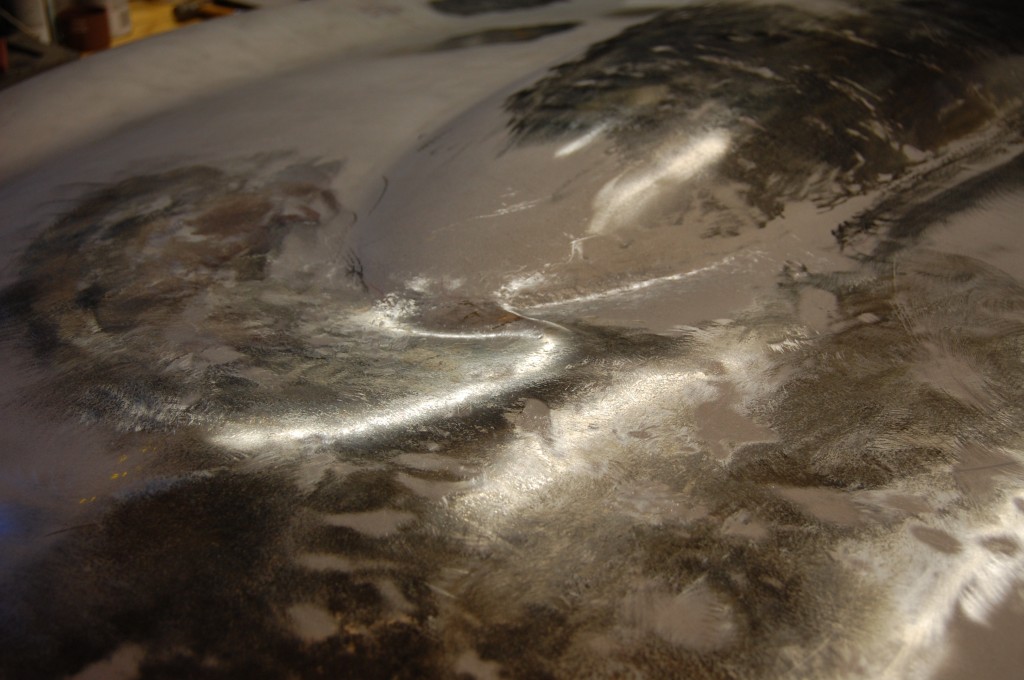
- GET SOME OF THAT!!! That is bare metal in one super-thin coat of WET etch-primer! I will get some more photos up of the finished bonnet outside in the sunlight soon, but I just couldn’t wait any longer to show you guys this one! 🙂

