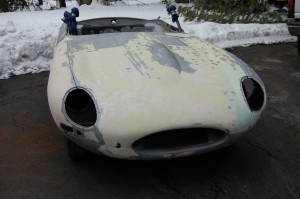
Back from the blasters - the filler is THICK! You don't want the blaster to take this out - that's almost guaranteed to warp the panels. We recommend getting it this far and then taking the remainder out by hand with a variety of methods.
The first order of business was to pull the bonnet apart. This also gave me back some much-needed space – which is at a premuim until the new shop is completed!
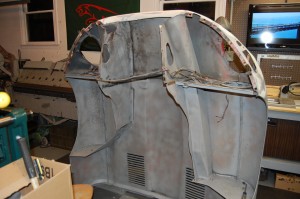
There weren’t any big surprises here – the underside of the center section is about as lumpy as I figured, and we’ll know the real story once we grind out the filler. The underpanel is going to need the vertical section replaced – a piece we reproduce in our fabrication shop. Usually, these fall victim to rust, but in this case, it’s all twisted up in multiple directions. It is very important that this section of the bonnet is straight and solid, since it is the mounting point and basically “ground-zero” for the bonnet alignment.

Here is a look at the underside - the entire RH front "quadrant" of this bonnet has been hammered on, and the RH inner valance is bent from top to bottom. Not one trace of rust, though, so all of this can be coaxed back into shape.
I’ll post more on the bonnet once we get the filler out – hopefully we’ll just find lumpiness under there, and not heavy grinding of the outer skin – this makes it ALOT harder to get things straightened out…
The shell itself is EXCELLENT! I don’t think this car has seen much water or moisture in it’s life – the inner and outer sills are original and look solid and great – and so do the floors! For that reason, and to speed up the overall time-frame on this project, we have decided to make the necessary repairs to this shell without mounting it into the rotisserie. This saves quite a bit of time – and money…

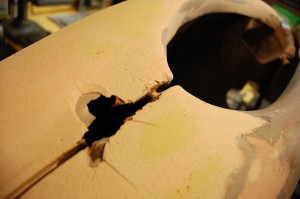
Panels don't fit like they should? NO PROBLEM! - Just build a small tower of braze to hold them together 3/8" apart, and then bondo the hell out of it! - Actually, that sounds alot like something I would have said - and done - 20 years ago...
The major areas of work in the shell are replacement of the boot floor, both footwells, and repair of the passenger door. This door has already been re-skinned in the past, but has had a very sloppy repair on the bottom of the inner shell.


