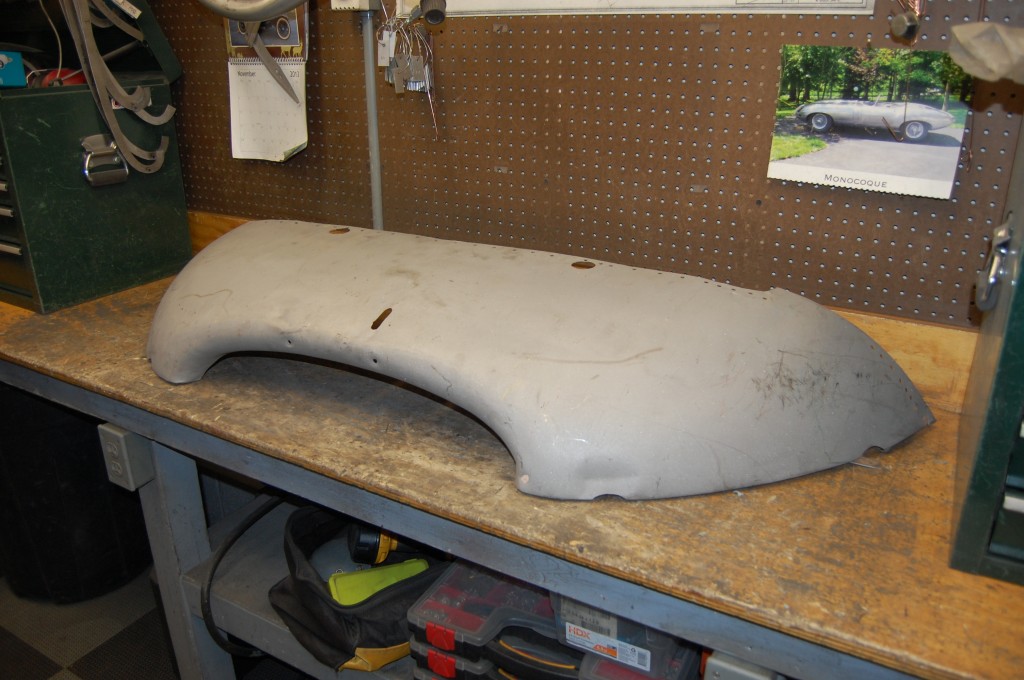
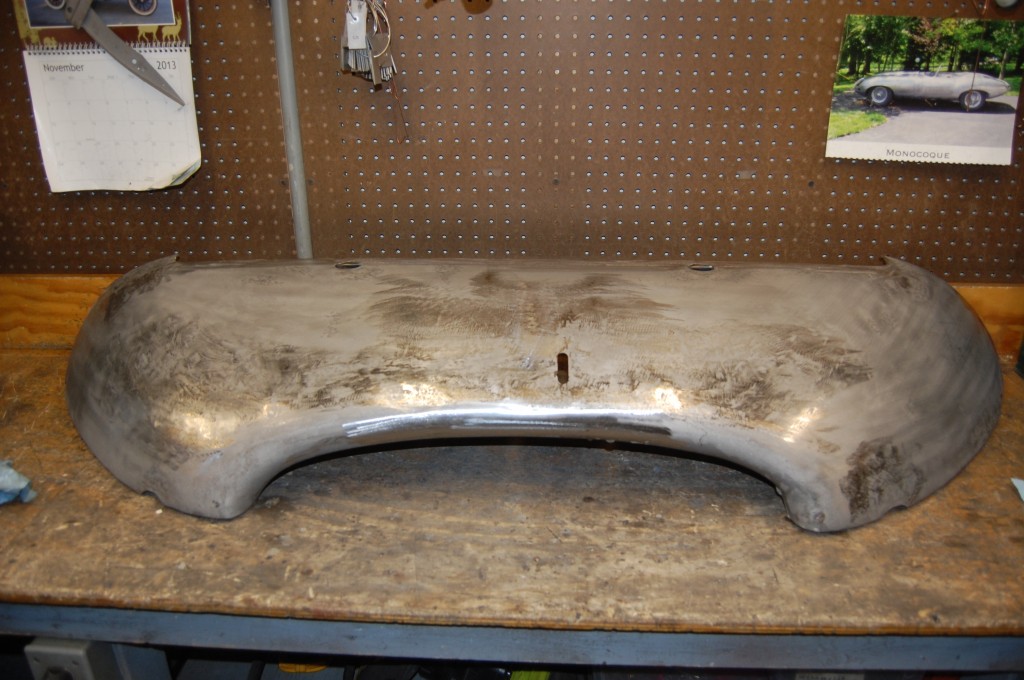
This blog shows no less than THREE E-Type Bonnet lower valances being restored but smoothing and repairing the outer skin, and replacing the rear main support member with a new piece. This is a GREAT way to save your lower valance without spending a fortune on a new one – which have a poorly shaped mouth, AND always seem to be a little too wide…
Over the past month I have been on a big push to pump bonnets out the door. I try hard to keep everyone busy around here, and so Brent disassembled and scraped pretty much every bonnet in sight, and then John blasted all of them. By the end of the Summer, bare bonnet parts were EVERYWHERE!
It actually got so bad that one day I picked up all of the parts of one bonnet and loaded them into the truck for blasting, and I loaded up the wrong wings into the truck. I finally realized it when I was sure that these wings seemed alot better than I though they were! Then a few weeks later, I picked up a blasted E-Type inner valance (most people call them the air ducts or air tubes), and for about a minute, I didn’t know whose bonnet it belonged to! Of course, this all got worked out and NOTHING got mixed up – it never does around here, and I NEVER swap parts between customers – that is just wrong and a REAL slippery slope…
Let me tell you, this NEVER happens with me – I always know what everything is just by looking at it – even if it has been around for 10 years! For one thing, most bonnets have a pretty strong “signature” – they are a certain Series, color, and have their own flavor of damage – rust, or wrecked, etc. So that blue, wrecked Series 1.5 stuff over there is Bob’s, etc…
One other thing happened right around this time that really started to freak me out about how much stuff is around here. I was headed up the stairs one day and grabbed the original coil from my ’67 2+2 which was sitting on the steps. Just out of habit, I looked at the date, but it said “5-61” instead of the “5-67” I remembered. I must have looked at it 10 times, in different light, with and without reading glasses, but it still said “5-61”. Then I went to the box of 2+2 ignition take off parts from this Spring, and the “5-67” coil was in there! So then I’m REALLY freaked out – “What the hell is this!?!” A good “5-61” coil is actually a real prize – I would know if I had one! Oh No, I finally have so much E-Type junk I can’t keep track of it anymore – OMG – I’M A HOARDER!!!
Anyway, with about half a dozen average Series 1 bonnets around, and they were all blasted – I finally reached my limit. I came out into the shop one evening after dinner and made 6 sets of numbered, thick aluminum “tags”, Gave each customer a number, and went around and wired the tags to every bonnet piece the shop. This included a huge pile of “MM” tags for stuff we own ourselves.
I’ve finally got just about all of the tags back onto hooks on the wall – things are getting cleared out pretty well now. AND – I’m happy to say that I was NOT losing my mind over that coil – just last week a friend of mine (whose ’61 OTS I restored one Summer during college) stopped by and said, “Hey – did you get that coil I left on your stairs this Summer?” Mystery Solved!
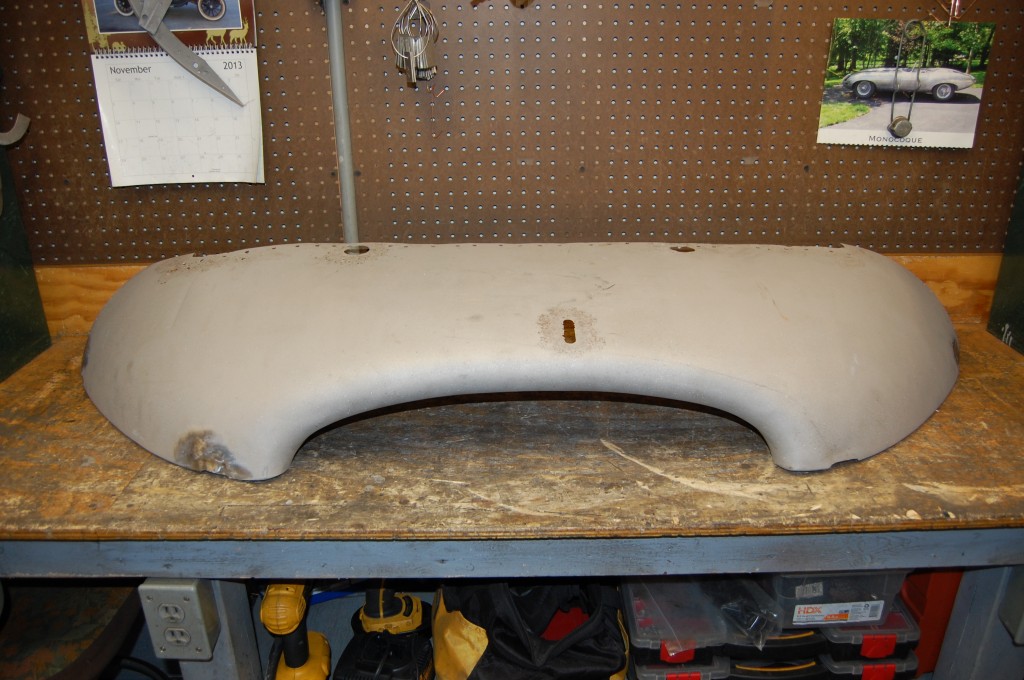
- Valance #1 – SP: Here is our starting point – BEAUTIFUL!
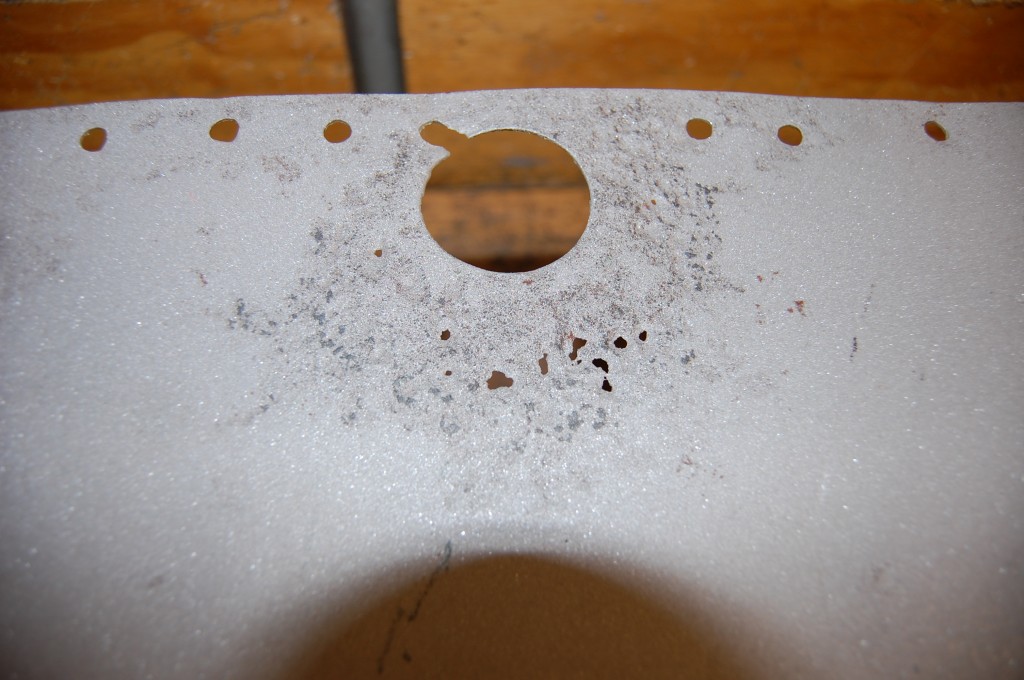
- Valance #1 – SP: The skin is almost absolutely perfect, except for two areas where rust pitting has penetrated the skin – here.
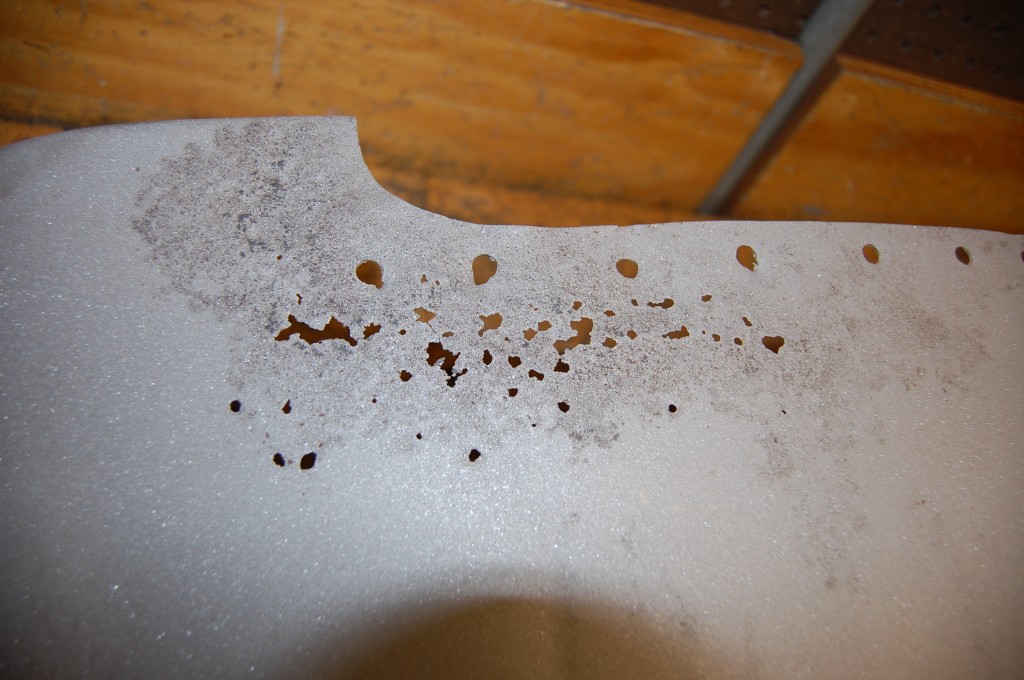
- Valance #1 – SP: And here…
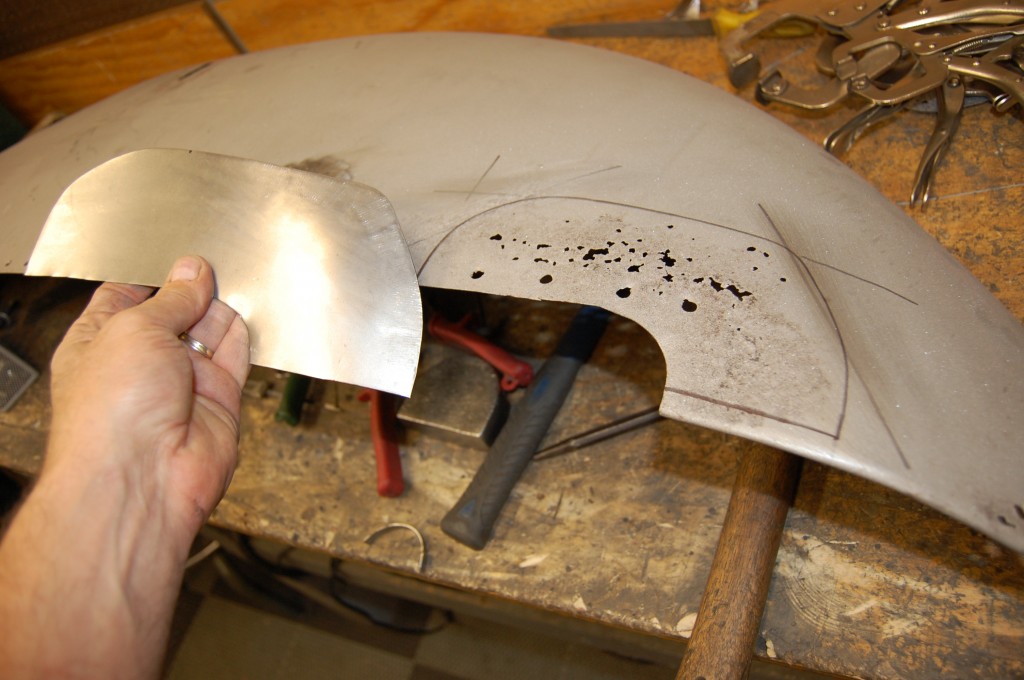
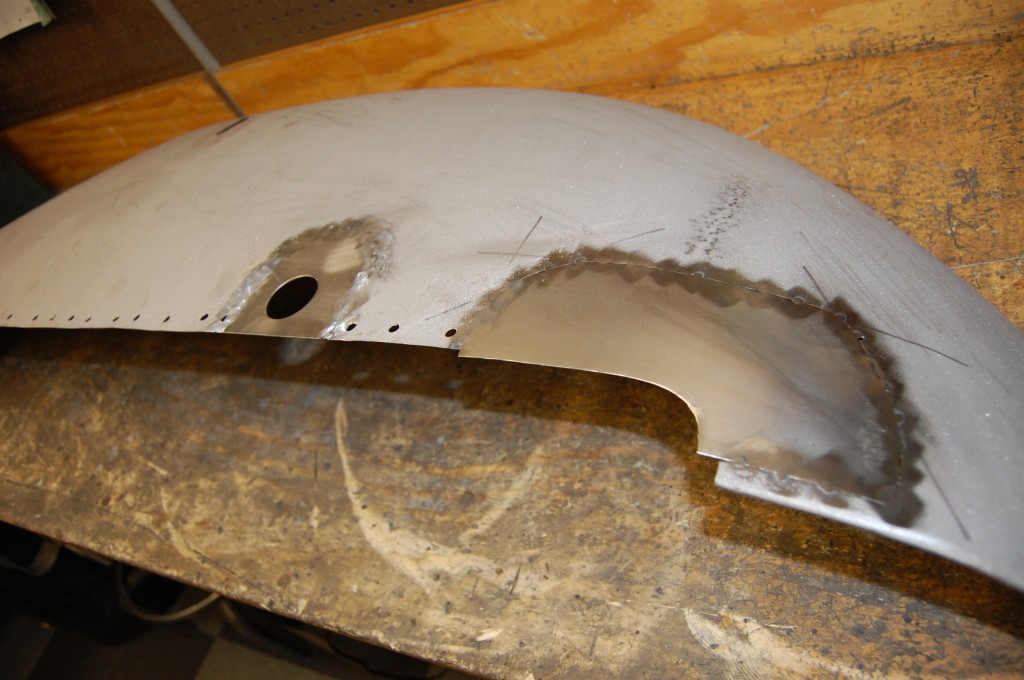
- Valance #1 – SP: We’ve decided where to make the cuts, and have made a patch that covers the problem, AND goes out to the point of good metal. Don’t just handle the area with holes, once you are making the patch anyway, go all the way until you hit good metal, otherwise you’ll be trying to weld to paper thin metal…
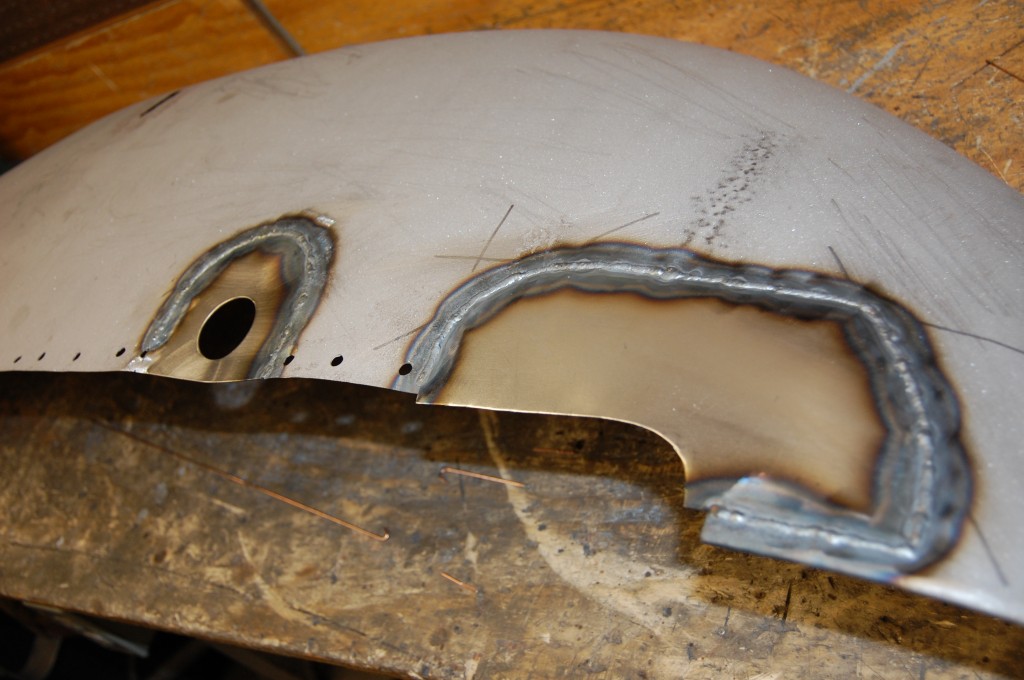
- Valance #1 – SP: Here is the patch tacked in with the MIG, and the MIG tacks ground down to a minimum before welding the patch in entirely with the TIG.
- Valance #1 – SP: Both patches have been welded in with the TIG, and will now be ground down, planished, and smoothed.
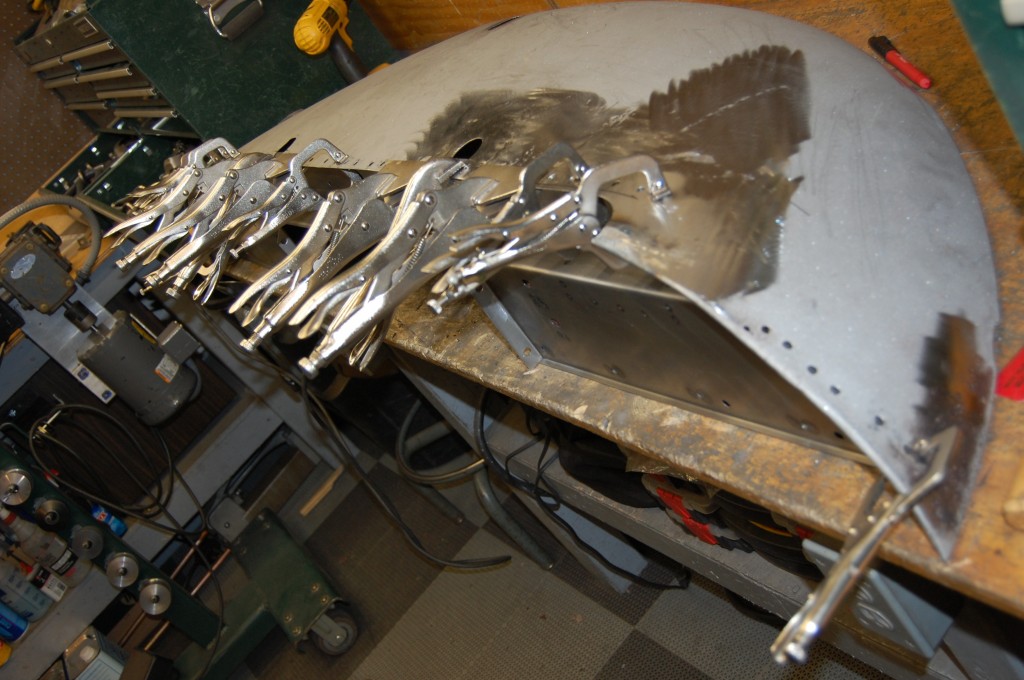
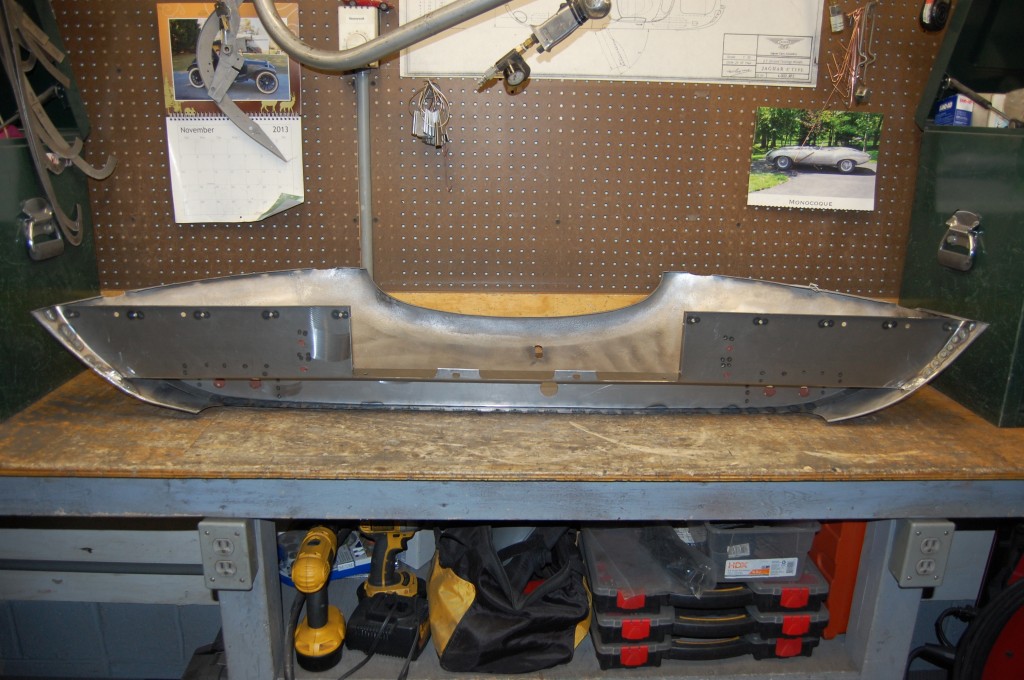
- Valance #1 – SP: Patching is complete, next it is time to attach the new rear main support member (available in our store.)
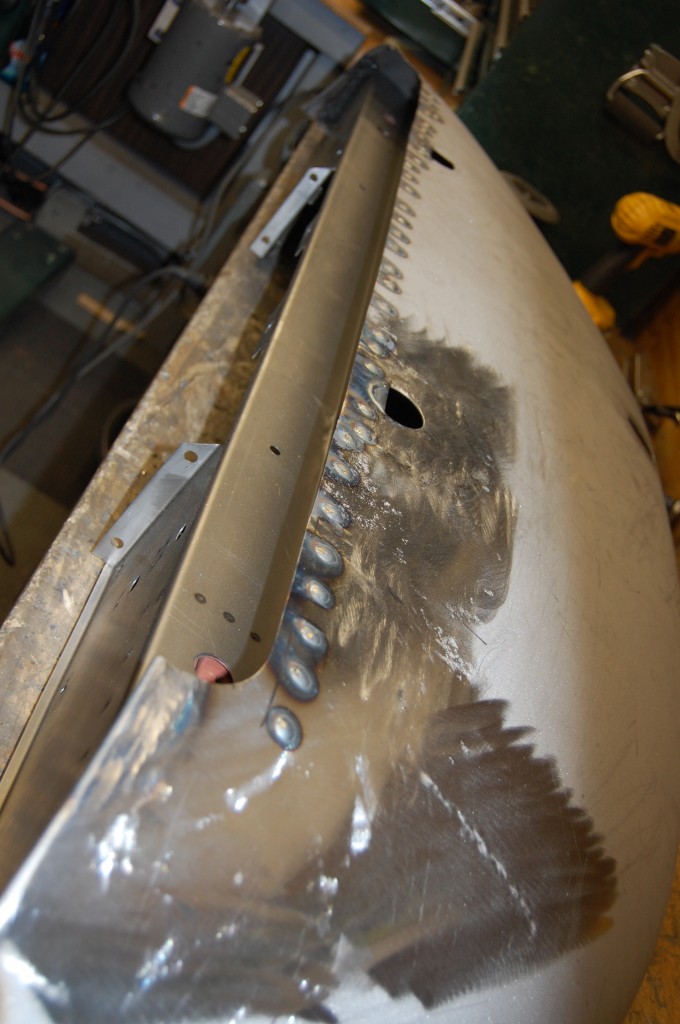
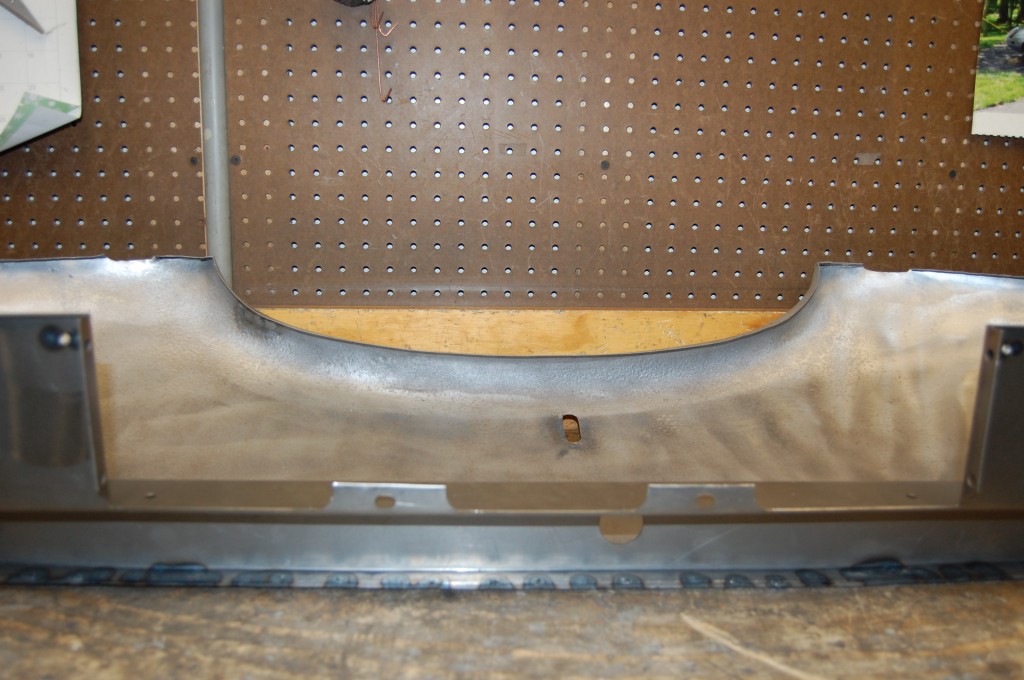
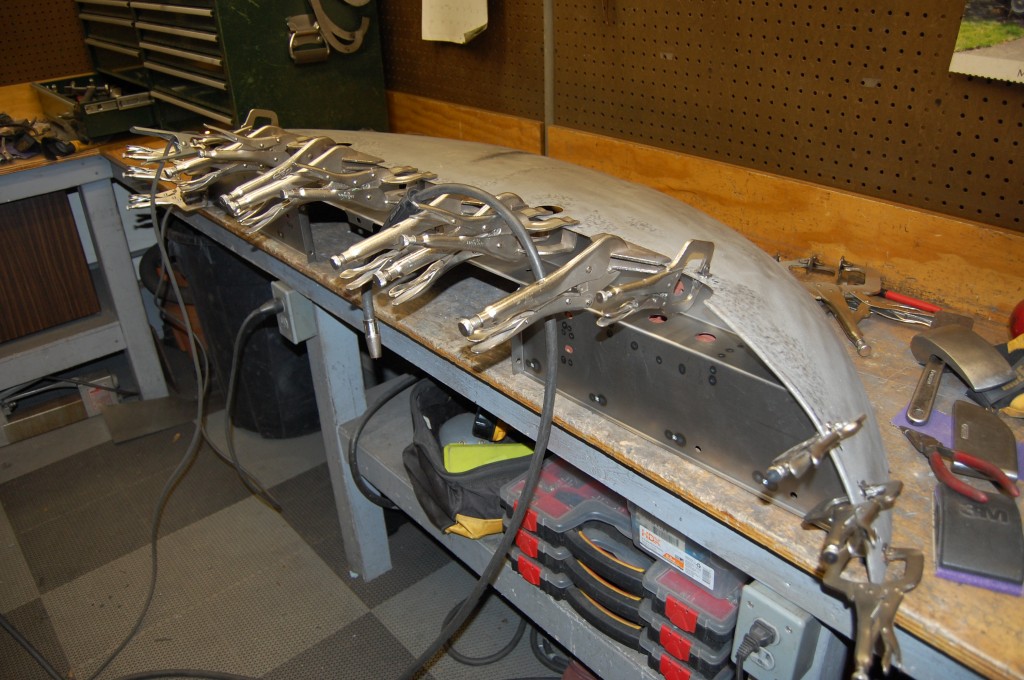
- Valance #1 – SP: Now we have welded in the new rear main suppoert member with plug-welds, using a MIG, and the holes that were drilled in the skin to remove the old support member. The old support member will leave a “ghost image” of rust pitting that will make it really obvious where the new one goes, along with the row of holes. But you can also use this – the two large drain holes at the bottom are partially closed off by the support, and it usually leaves about 1″ to 1&1/16″ of hole remaining. The side flanges that are curves just follow the existing holes from the old spot welds, and often do touch the beaded edge on the inner end, and should be tucked in so that a round flat washer can be used on the end bolt hole of the skin on the upper, outer end.
- Valance #1 – SP: Done! The skin has been smoothed, the new support installed, and all of the plu welds ground smooth!
- Valance #1 – SP: The inner surface of the skin was heavily pitted, and we have gone over it with a soft wire wheel to make sure all rust is removed before priming.
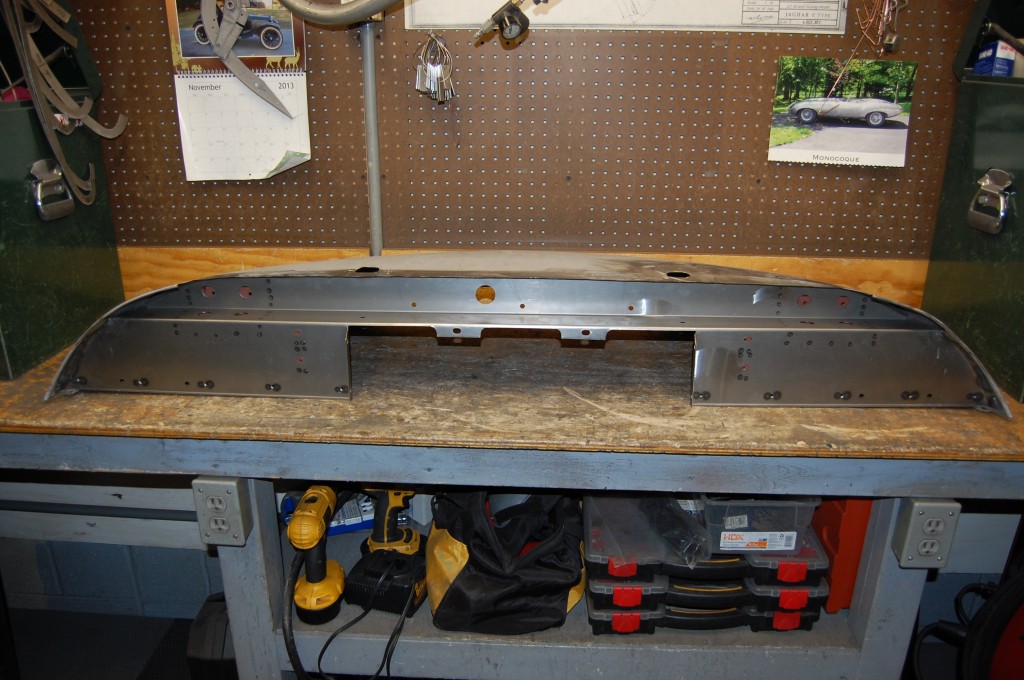
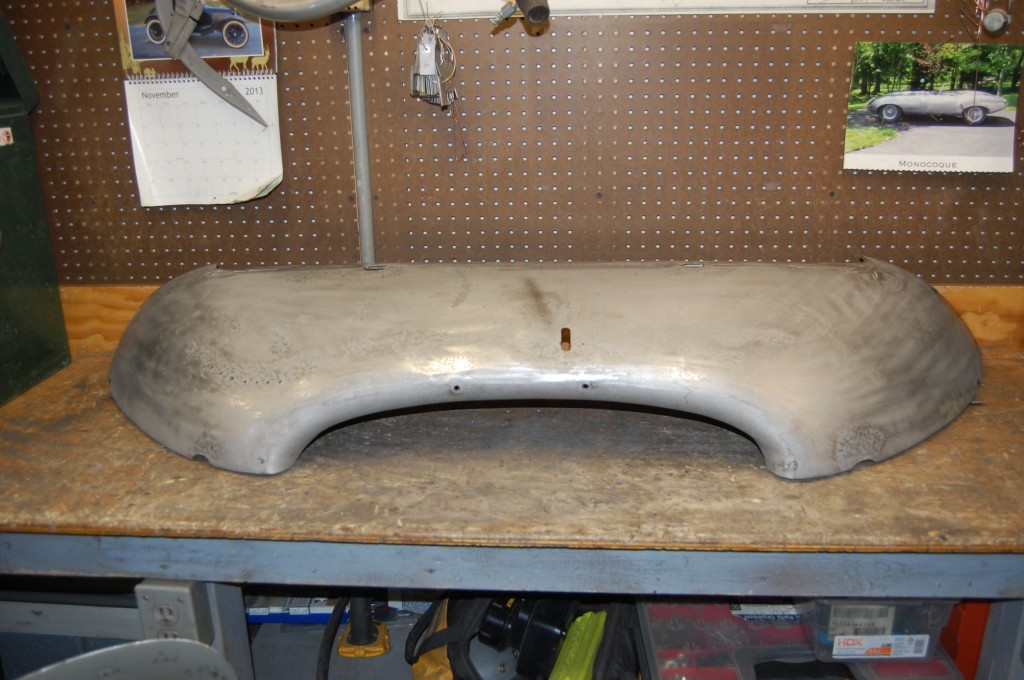
- Valance #1 – SP: When completed, the valance should sit on a bench nice and flat, just like this…
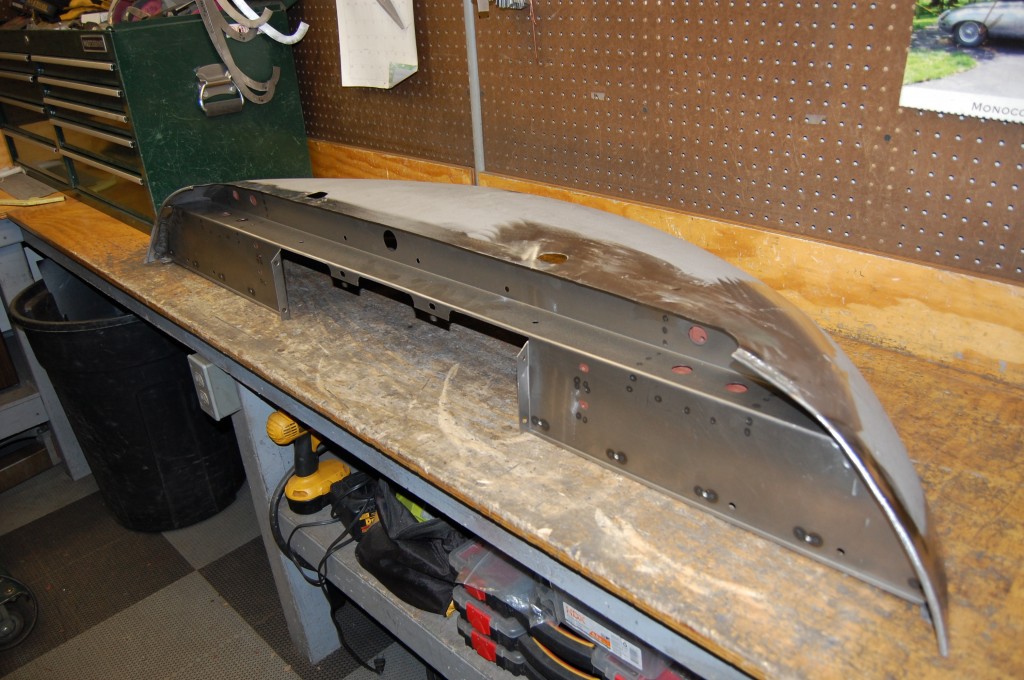
- Valance #1 – SP: Another shot of the completed E-Type Bonnet lower valance. Trust me, this new support is WELL WORTH the cost and effort – if yours is even a little bit rusted in the hinge plates, replace it – it will give you a nice, straight, and solid basis for the entire bonnet – this is the only place where it meets the rest of the car!
- Valance #1 – SP: We NEVER see this anymore – this mouth was PERFECT! Look – NO work!
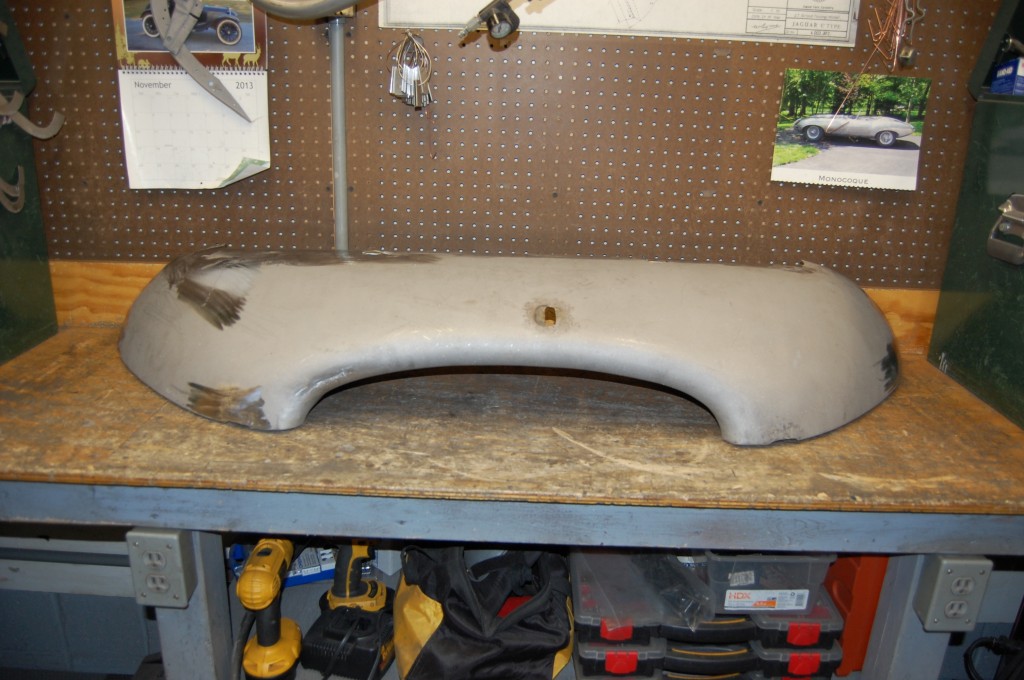
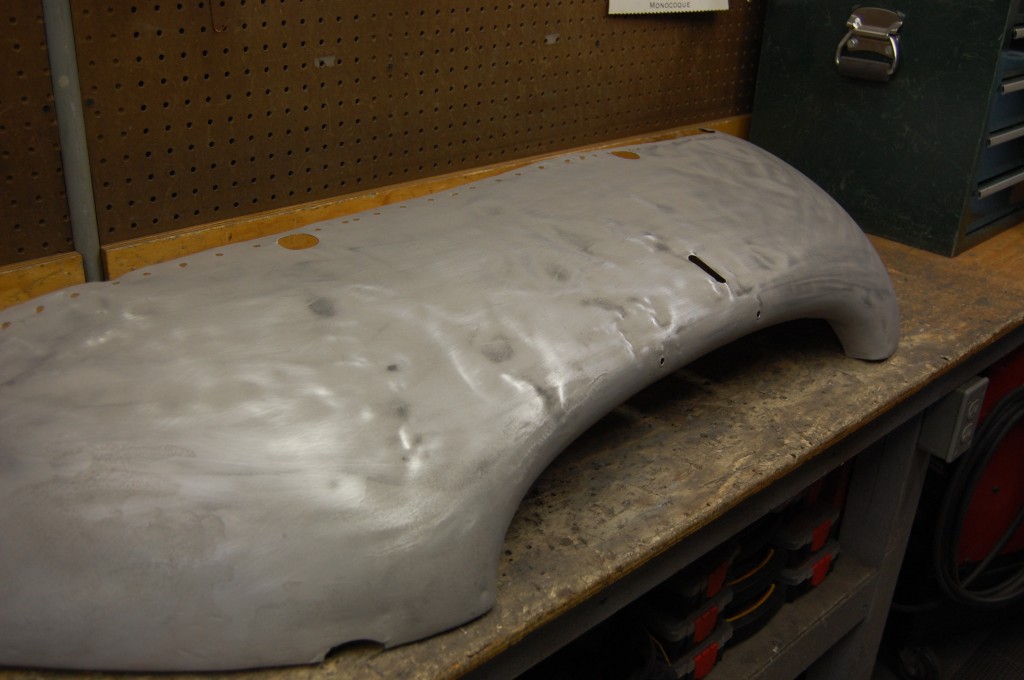
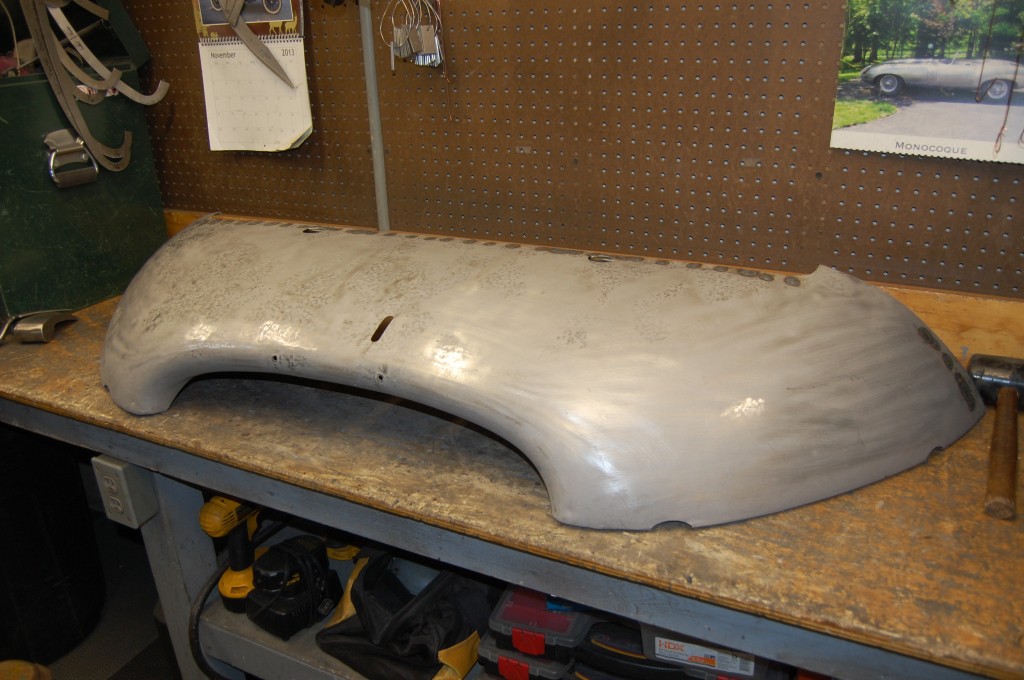
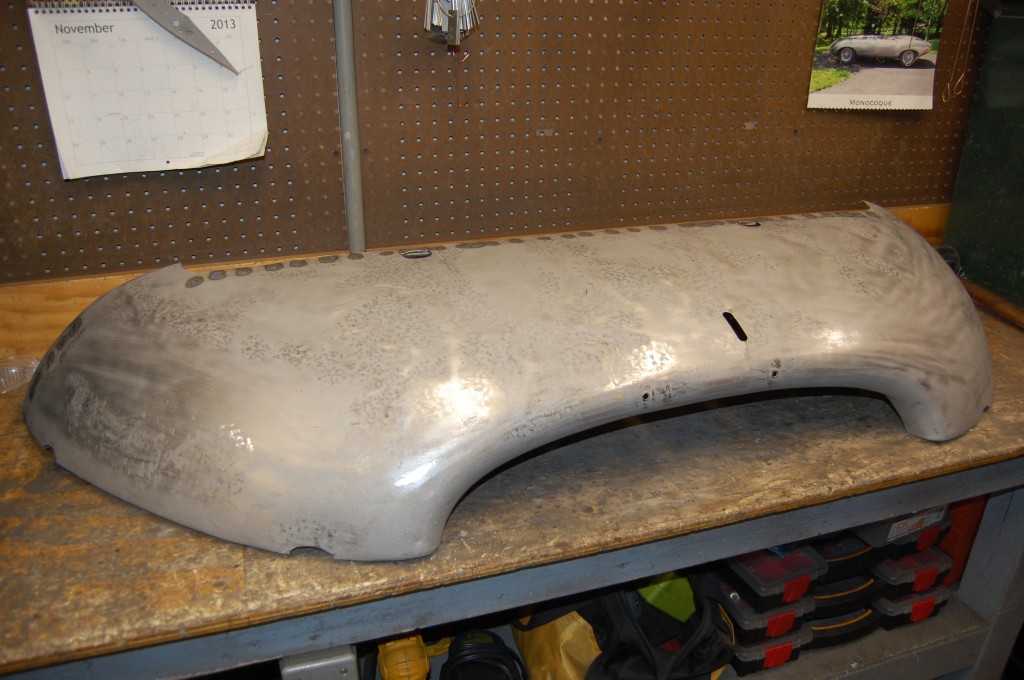
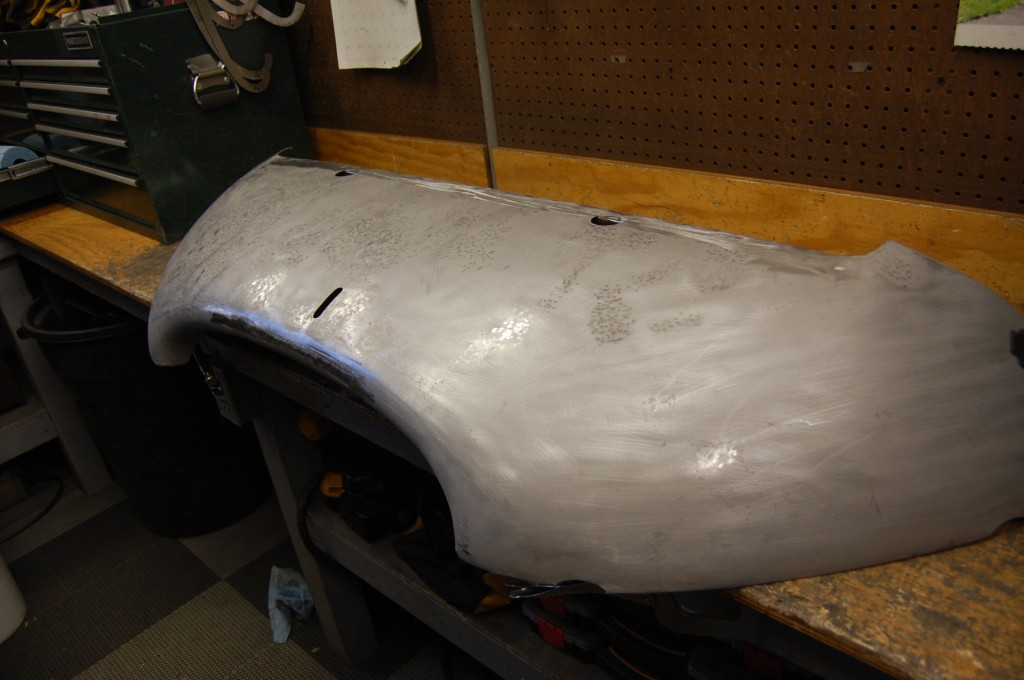
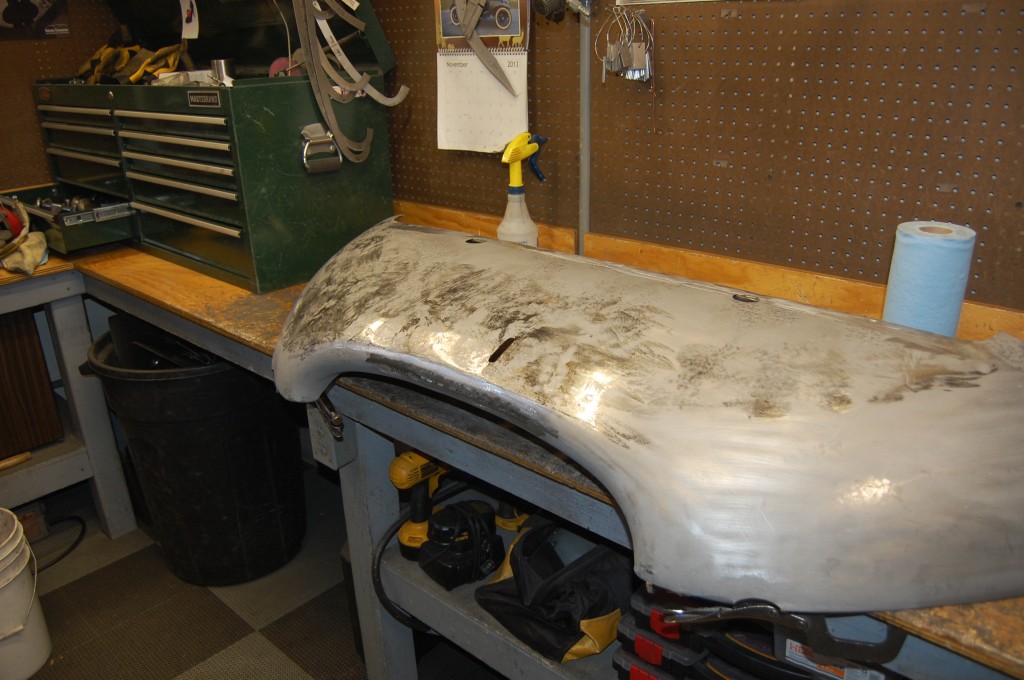
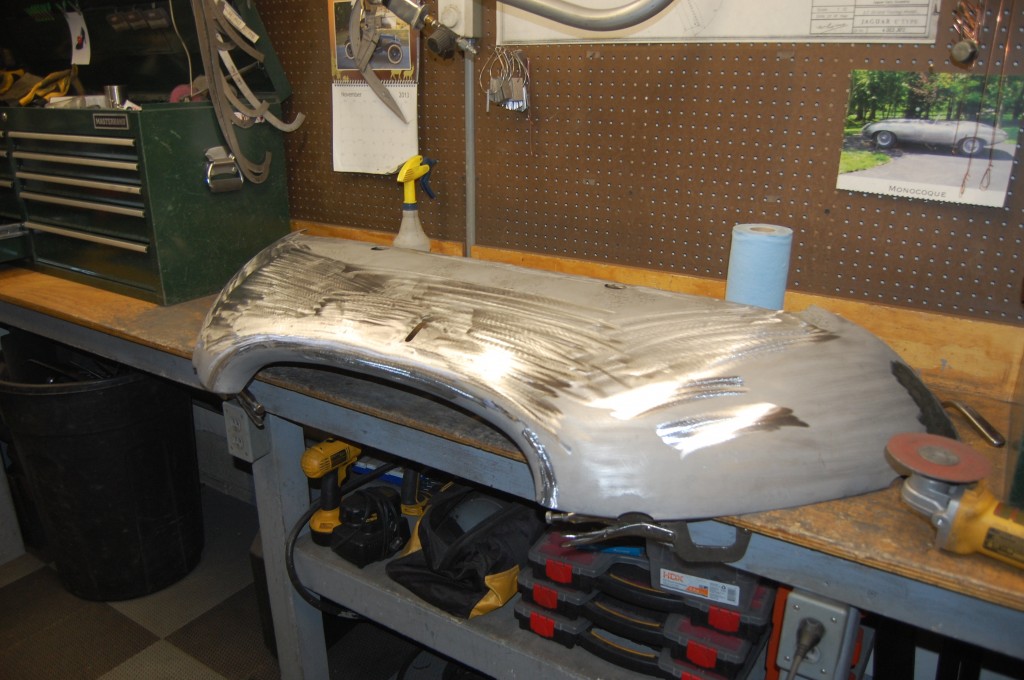
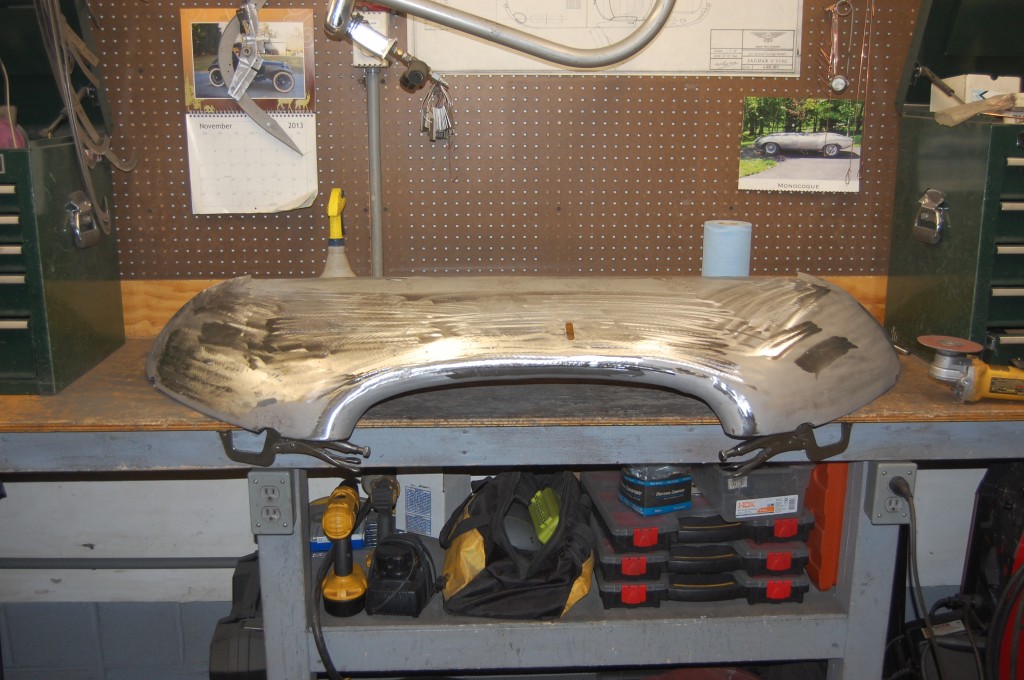
- Valance #2 – DC: Here’s the next one – no rust this time, but ALOT more dents! They don’t show up much here when freshly blasted, but…
- Valance #2 – DC: …from a different angle things start to look worse…
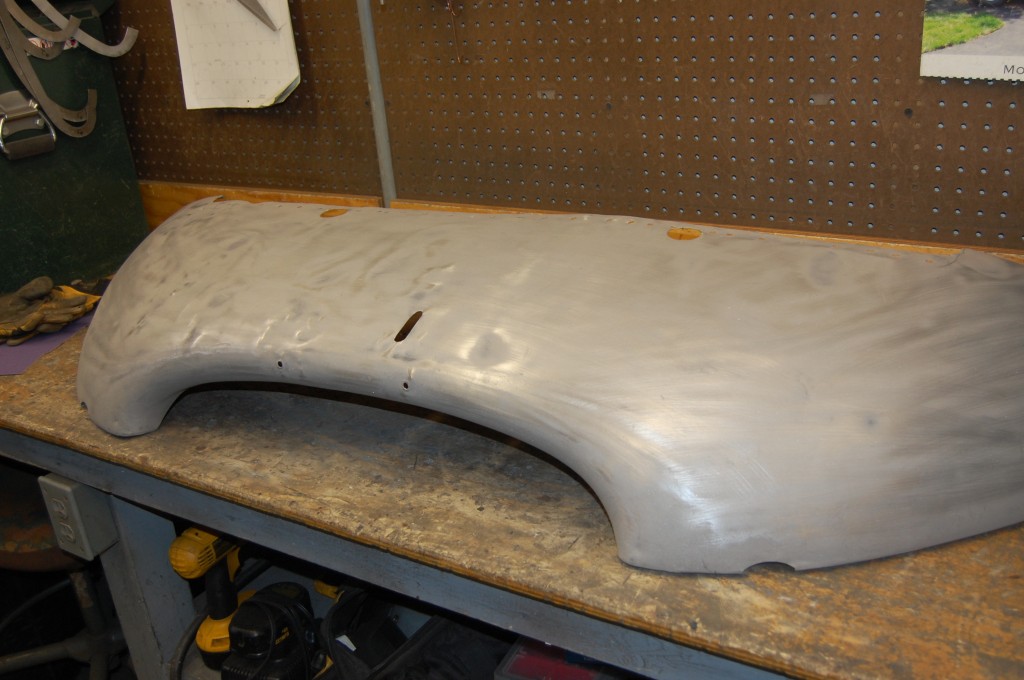
- Valance #2 – DC: …and block sanding makes it look even worse…
- Valance #2 – DC: …until finally, block sanding AND the right angle and lighting shows a real mess!
- Valance #2 – DC: Fast forward a few hours, and she’s almost done – sorry, I got into this one deep and stopped taking photos. Here, the new rear support has been installed – you can see the plug welds – and I have also spent about three hours with the dolly and slapper to smooth the entire surface by hand.
- Valance #2 – DC: This is ALL hand work – no planishing hammer, etc. After years of doing this, I find that a simple “comma dolly” and a medium weight slapper is just the best way to smooth the skin. It has taken me about 3 years to perfect this process. If you werer standing there watching me, it looks the same as it did 3 years ago, but I have adjusted the way I hit it, how hard, and where I hit in relation to the placement of the dolly – and it has made a BIG difference. I now use the shrinking disc MUCH less because this step has gotten so much better. Practice makes perfect, and I get ALOT of it!
- Valance #2 – DC: Another shot of the hand smoothing.
- Valance #2 – DC: The polished shots are the tell-tale sign that we have now used the shrinking disc to get that final smoothness as close as we can.
- Valance #2 – DC: The last step is to go over the repaired areas with a flat sanding disc. I have said it before and it is worth repeating – DO NOT try to smooth or level the surface in this step!!!! That will thin the metal, heat it, and warp it again! Instead, simply use this step to remove the highly polished surface of both the shrinking disc and the slapper hits – the primer has a tough time adhering to this mirror-like finish.
- Valance #2 – DC: #2 is now finished as well! It started out ALOT worse than the one above, but is just as good in the end!
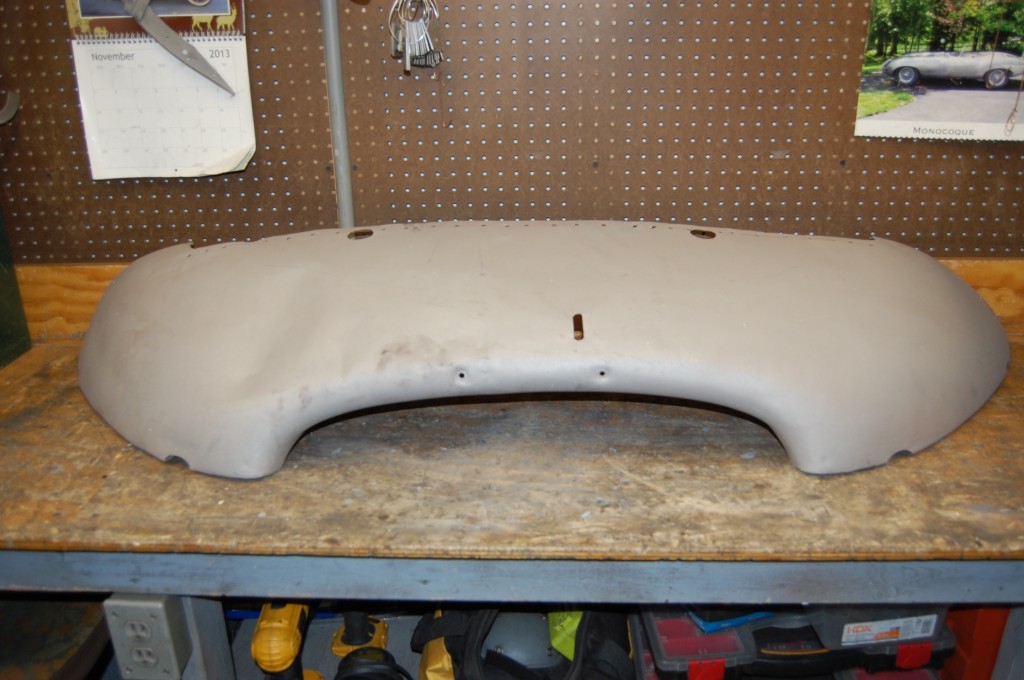
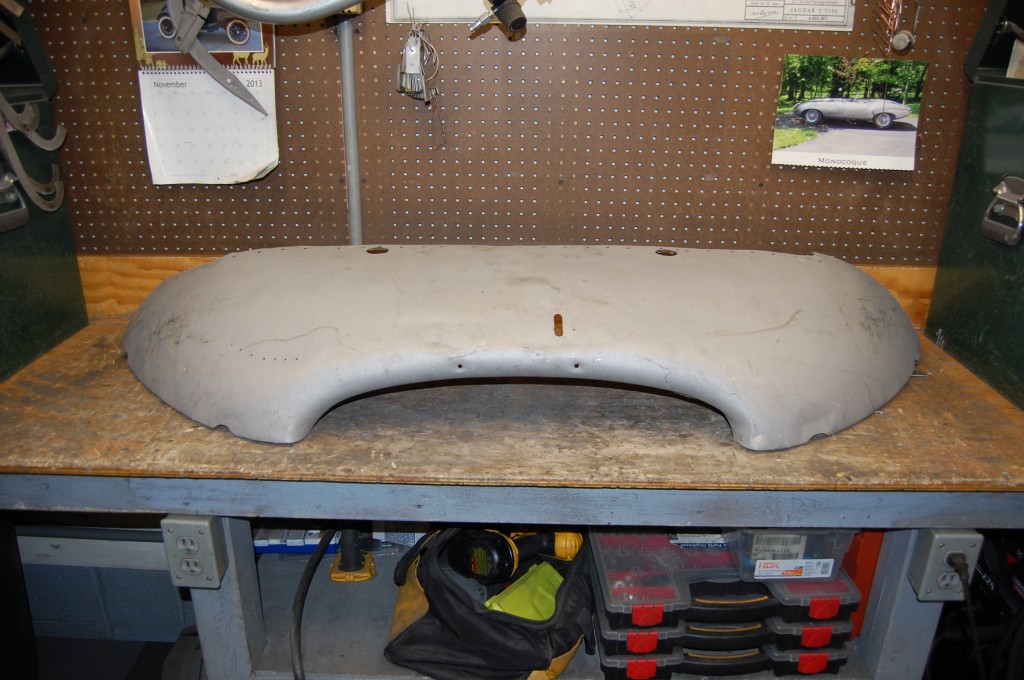
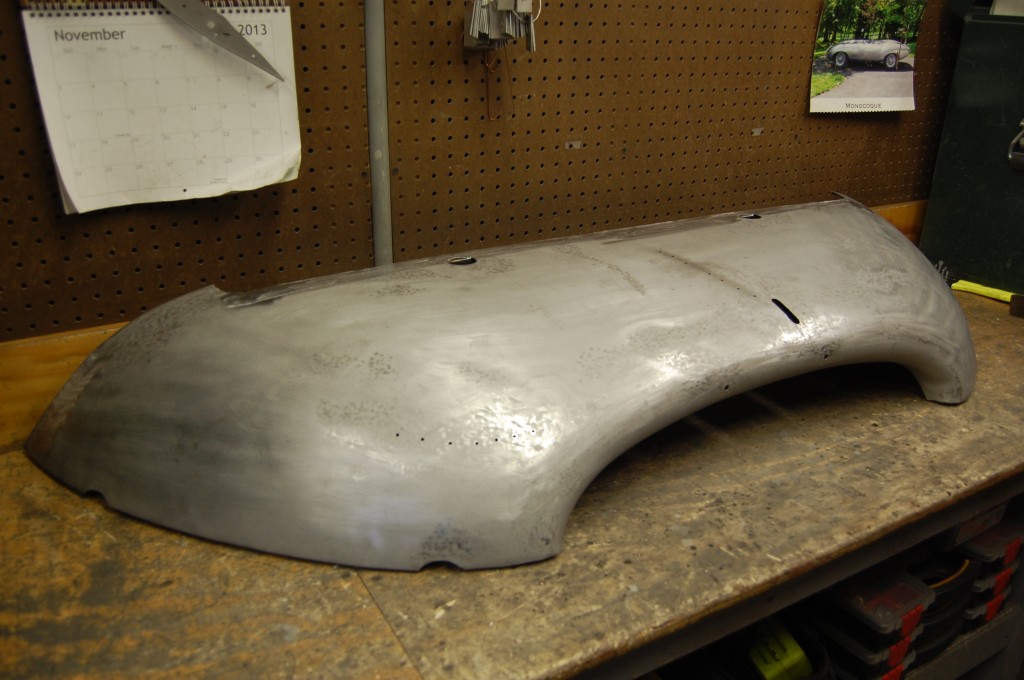
- Valance #3 – GH67: Here goes #3 – also looks like a pretty good starting point!
- Valance #3 – GH67: This skin has actually been bouncing around in the shop for a long time – too long. It spent most of the Summer sitting on the back of the shear, bouncing up and down with every cut! That’s why you see the scratches, a littel paint, and a few spots of flash rust. But overall, the still clean and bare metal speaks to how hard we work at keeping the climate INSIDE the shop dry and controlled!
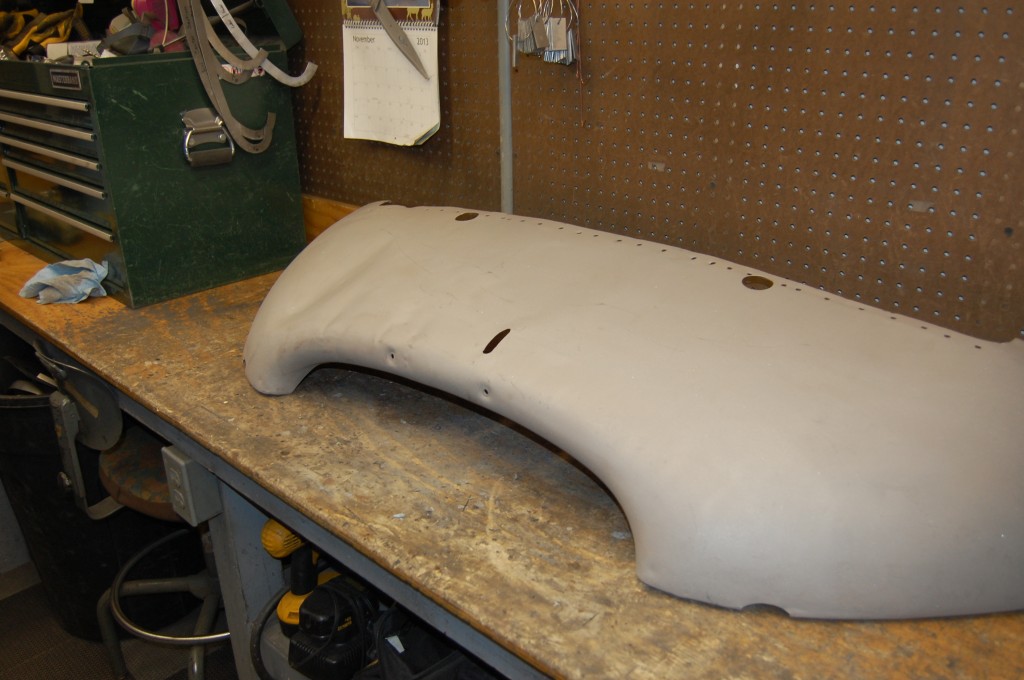
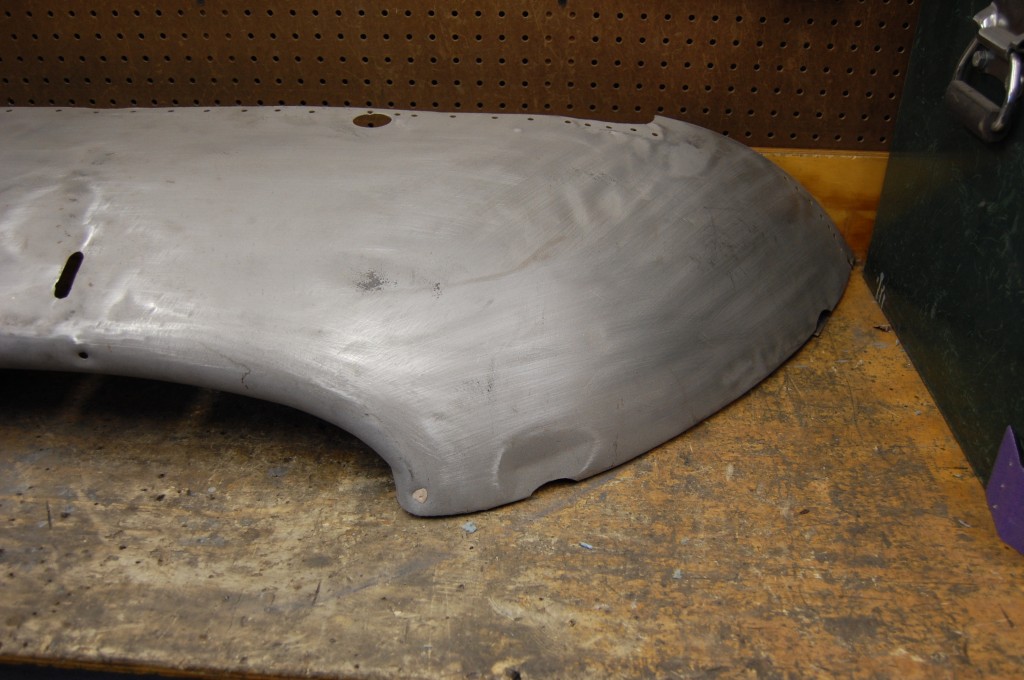
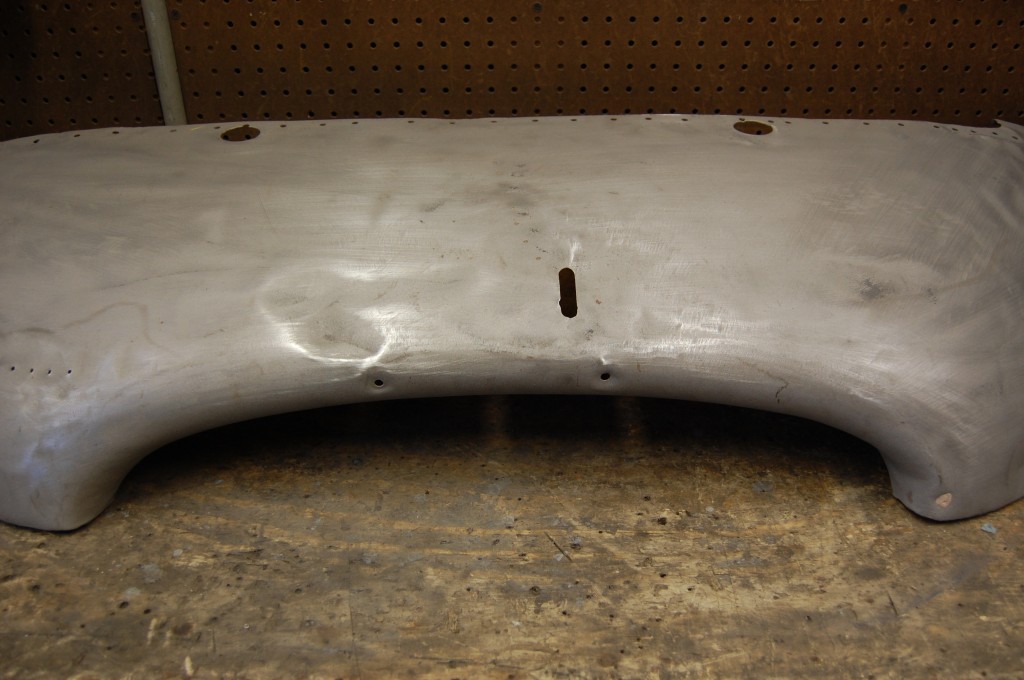
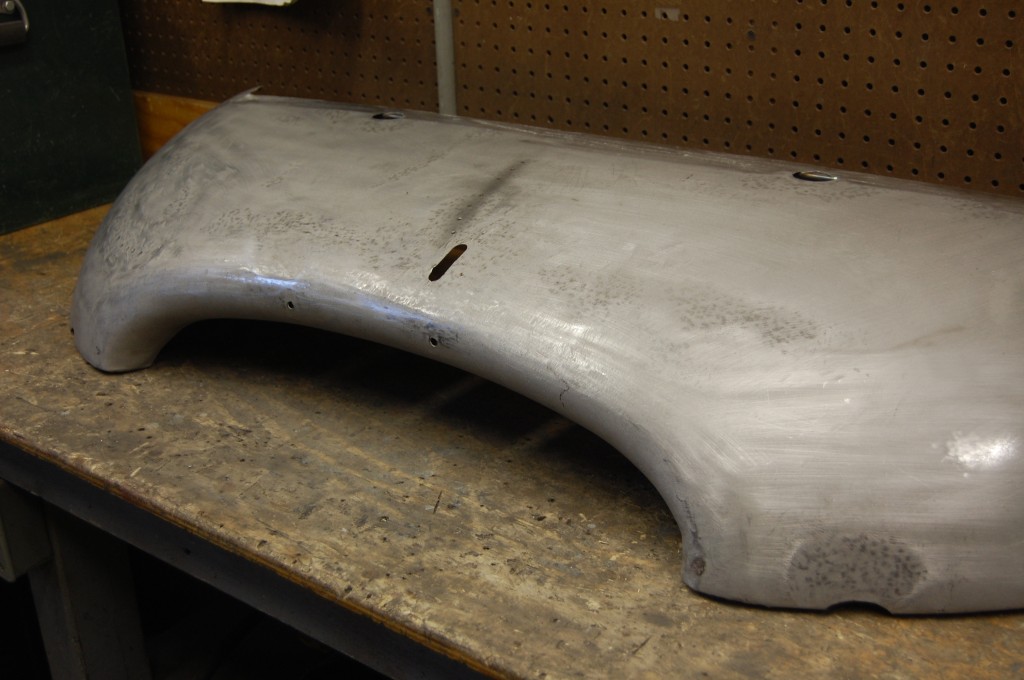
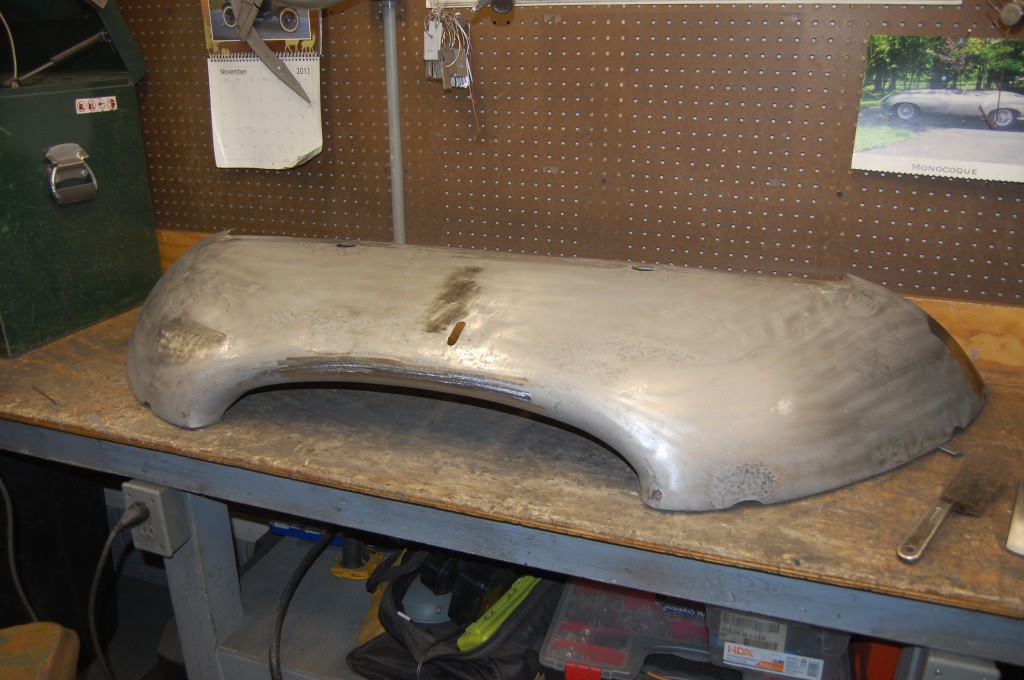
- Valance #3 – GH67: As usual, block sanding starts to reveal all of this pieces bumps and bruises…
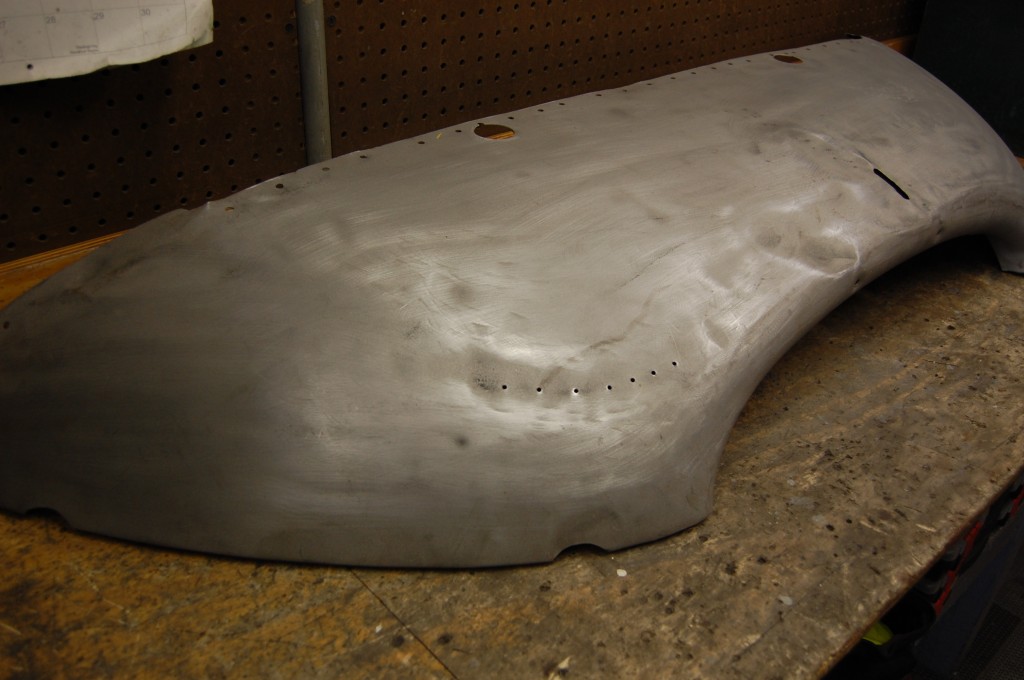
- Valance #3 – GH67: She’s looking more tired with every swipe of the sanding block.
- Valance #3 – GH67: And this piece has not escaped the E-Type’s #1 nemesis – the dent puller…
- Valance #3 – GH67: What I usually do is complete all of the hand dolly work on the entire rear edge and flat area, and then stop and install the new rear main support. This gives me a much more stable work area for doing the more delicate work around the mouth itself. Otherwise, the skin is just flopping all over the bench while you’re trying to smooth it.
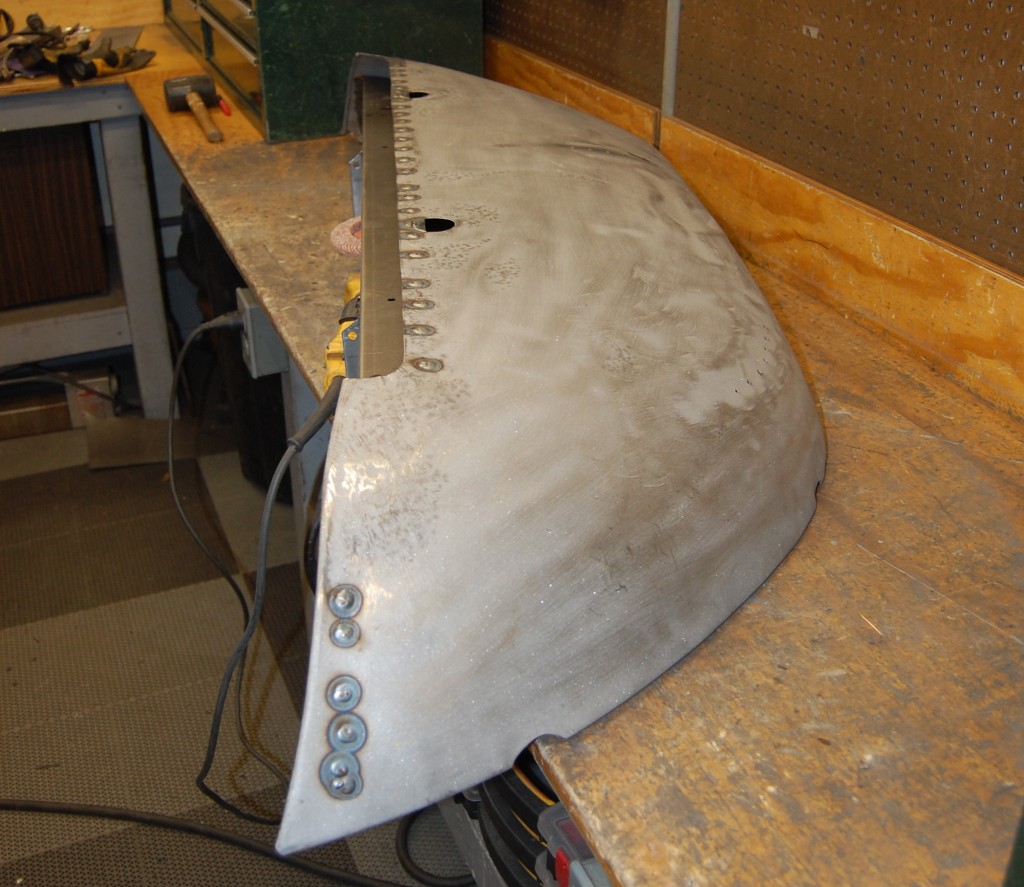
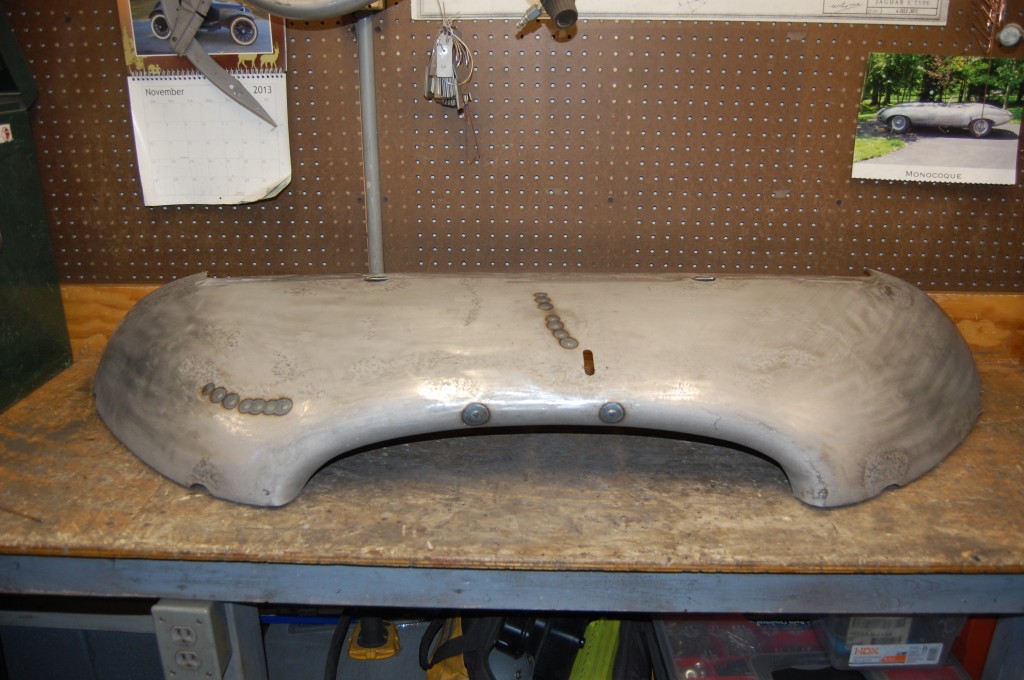
- Valance #3 – GH67: The new support has been plug-welded into place. You will almost always end up with an indented “valley” in the rear sides where the short row of welds goes in. I usually leave this indented and rely on a little filler to smooth it. You COULD hammer the seam from the backside and bring the surface up, and that is what the factory did. But I don’t do that for 2 reasons – A) the factory pieces were spot welded and not plug-welded like we have done here, and that lent itself much more to this approach. Now, with these hardened MIG welds, you are going to have a tougher time moving all of the meatl uniformly. And B) This would make the outer surface smooth at the expense of the look of the inner areas, shich do show, and you’l STILL need filler on the outside a little. I would rather use a little more filler on the outside and have a very nice looking (and smooth and tight) inside.
- Valance #3 – GH67: We have now tirned the piece around and completed the hand dolly and slapper work to smooth the entire piece.
- Valance #3 – GH67: Experience has taught us to smooth the areas with holes BEFORE you weld them up, then just complete a small amount of additional smoothing after they are welded up and ground down.
- Valance #3 – GH67: The completed hand dolly smoothing work…
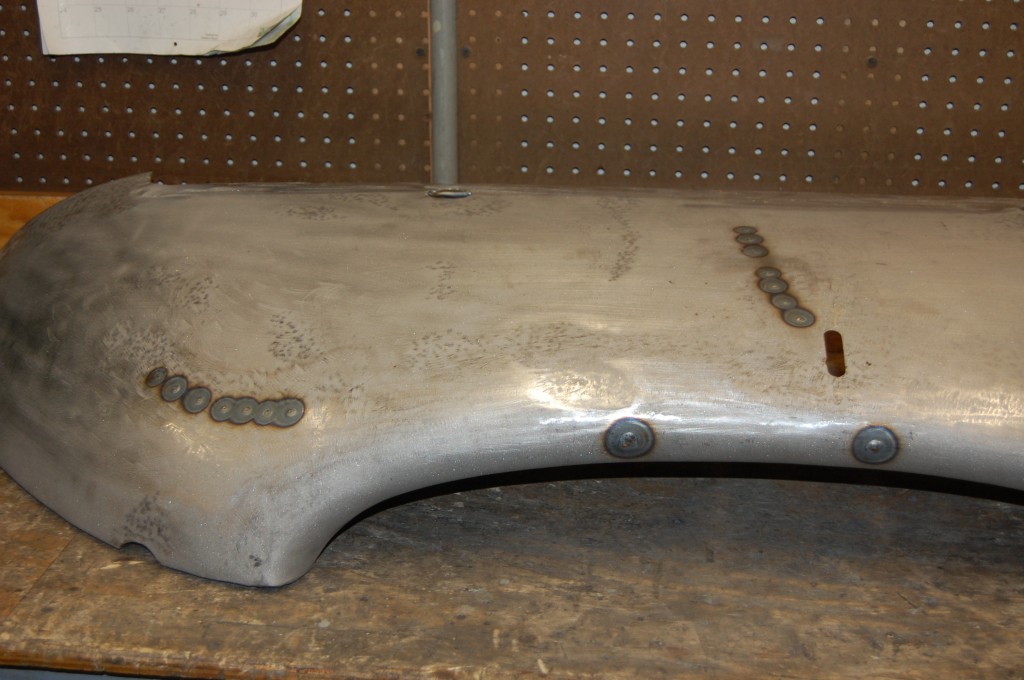
- Valance #3 – GH67: Next, it is time to weld up the dent puller holes and the license bracket holes. I ALWAYS weld up the license bracket holes, because a front license plate ruins the look of the E-Type. Don’t even get me started on Amco Bars! This is also how the bonnets came frm the factory – with the slot, but WITHOUT the holes.
- Valance #3 – GH67: Another closer shot of the welds. These are done with the TIG. You can do it with a MIG, but I STRONGLY advise against it. For starters, the ue of a dent puller is VERY OFTEN used in conjunction with HEAVY grinding of the surface afterwards. This makes the metal just around the dent puller holes VERY thin! A MIG will blow right through and instead of a line of a few small holes, you will have a BIG mess that you might not even be able to recover from – DON”T DO IT – just leave the holes and fill them instead! Also, even if you do pull it off, the MIG weld is HARD, versus the soft TIG weld, and you won’t be able to hammer it this smooth and it will crack around the weld… Think REAL HARD before you attempt this with a MIG! If you do – consider small steel circles behind the holes, or a copper backer… For
- Valance #3 – GH67: The holes are now ground smooth and we have also used the dolly and slapper to planish them a bit and smooth the surface again.
- Valance #3 – GH67: The final step is always the use of the shrinking disc, and then the scuffing of the surface to remove the polished surface (not shown on this one…). Good luck! each of these lower valamnces was about 5 hours of labor plus the cost of the rear main support member – and gives you an original lower valance that is MUCH better that the reproductions in mouth shape AND overall fit! And it costs less too!

