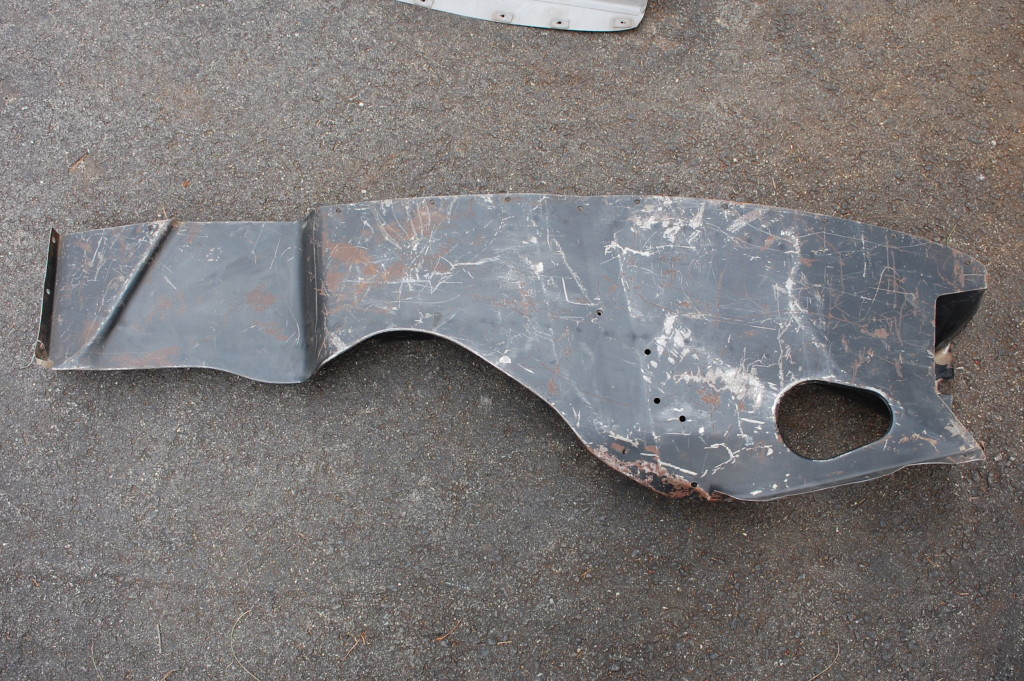
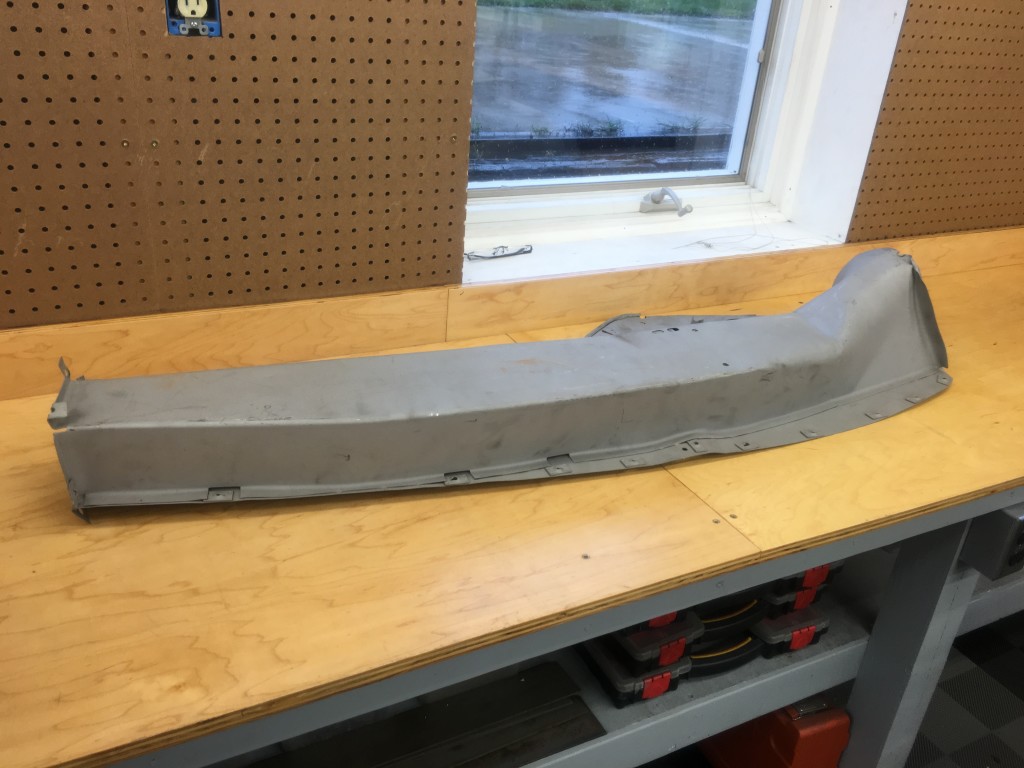
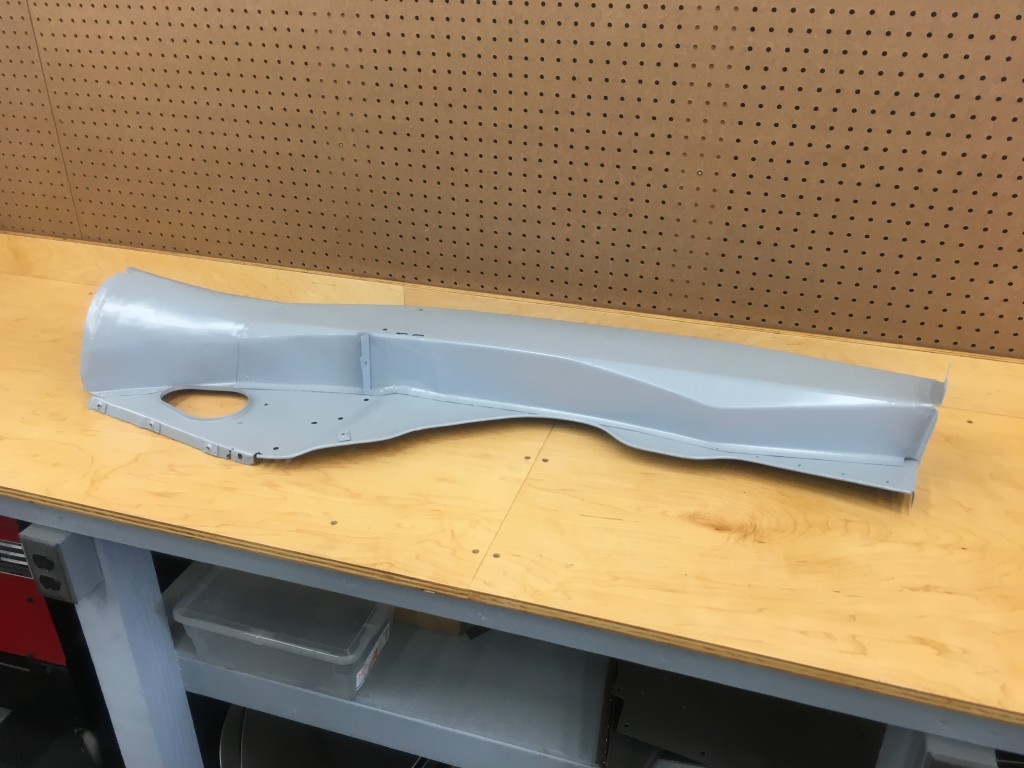
This is the restoration of a Series 2 LH Inner Valance that is actually more of a rare piece, since it is an original from a NON-AC Series 2 bonnet.
Late Series 1 cars have the same Air-conditioning setup as Series 2 cars, and the York-style compressor was bolted to the same brackets, but in an upright position. I THINK that AC may have only been available on 2+2’s originally, and this may have been true into the Series 1.5 cars – where the compressor is also upright. Having the compressor in an upright position meant that there were no clearance issues with the LH Inner Valance wall of the bonnet.
When the Series 2 cars came out – or soon after, the compressor was layed onto it’s side – no doubt because the York-style compressor oils better that way, and this DID interfere with the LH inner valance, and so AC-equipped cars had a special LH inner valance with an indent to clear the compressor. But the NON-AC cars had a LH inner valance with a flat wall that looked just like the Series 1 bonnets.
However, it seems like not long after the SEries 2 cars came out, as more and more of them were built with AC, the factory finally wised up and said, “Wait a minute, if we put the dished inner valance on ALL cars, we don’t even have to keep track of this at all!”
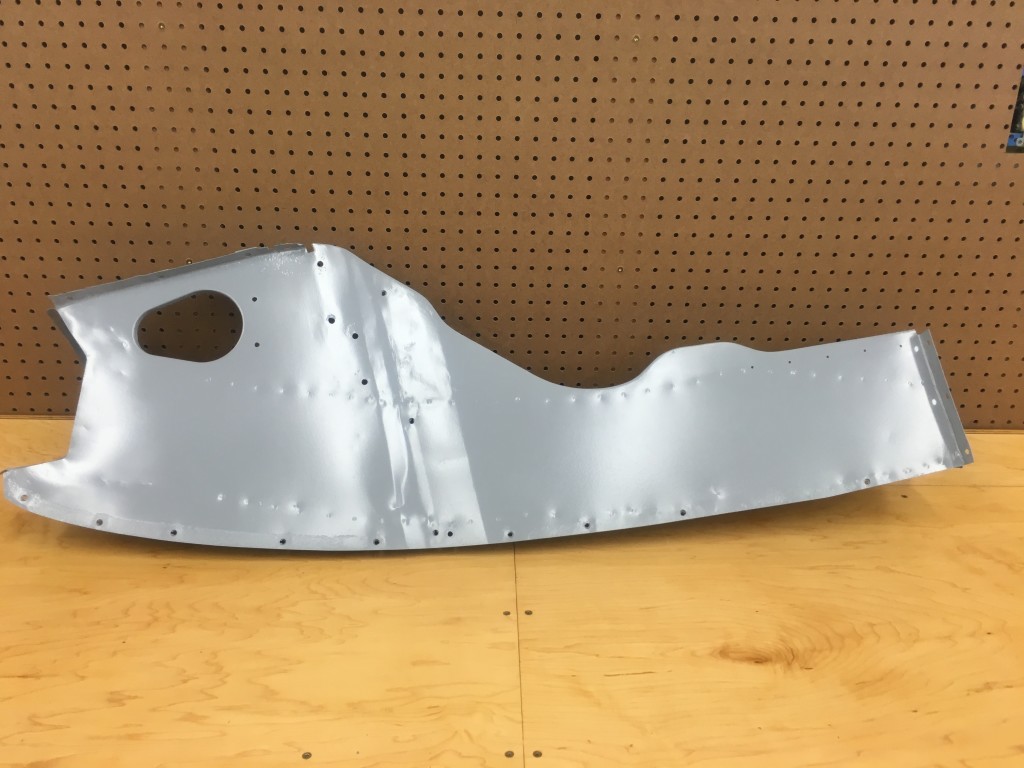
And so the LH inner valance that you are seeing here is now a rare piece – a factory NON-AC Series 2 inner valance with a flat wall. It was in good overall shape with just a few issues, and it is going to find a new home on a non-AC 1969 E-Type Roadster.
Enjoy! – Chuck
- This is the typical LH inner valance you will see on a Series 2 bonnet – WITH the dished section in the rear of the wall for clearance of the AC compressor.
- Here is the early Non-AC style we are restoring for use on this 1969 roadster.
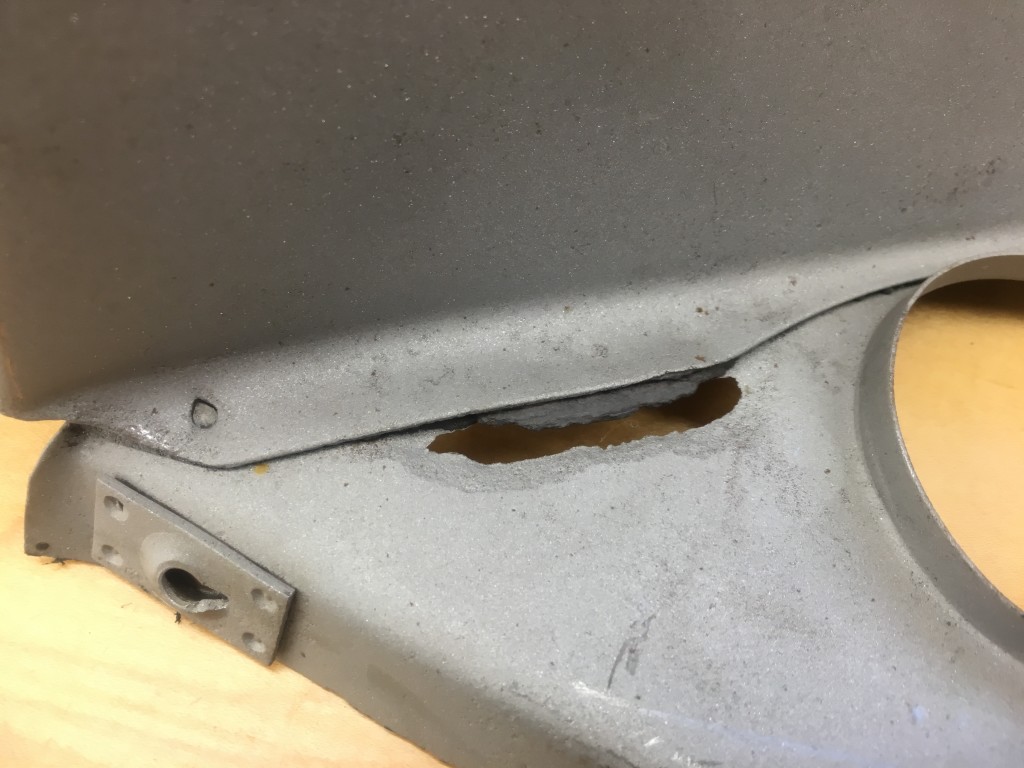
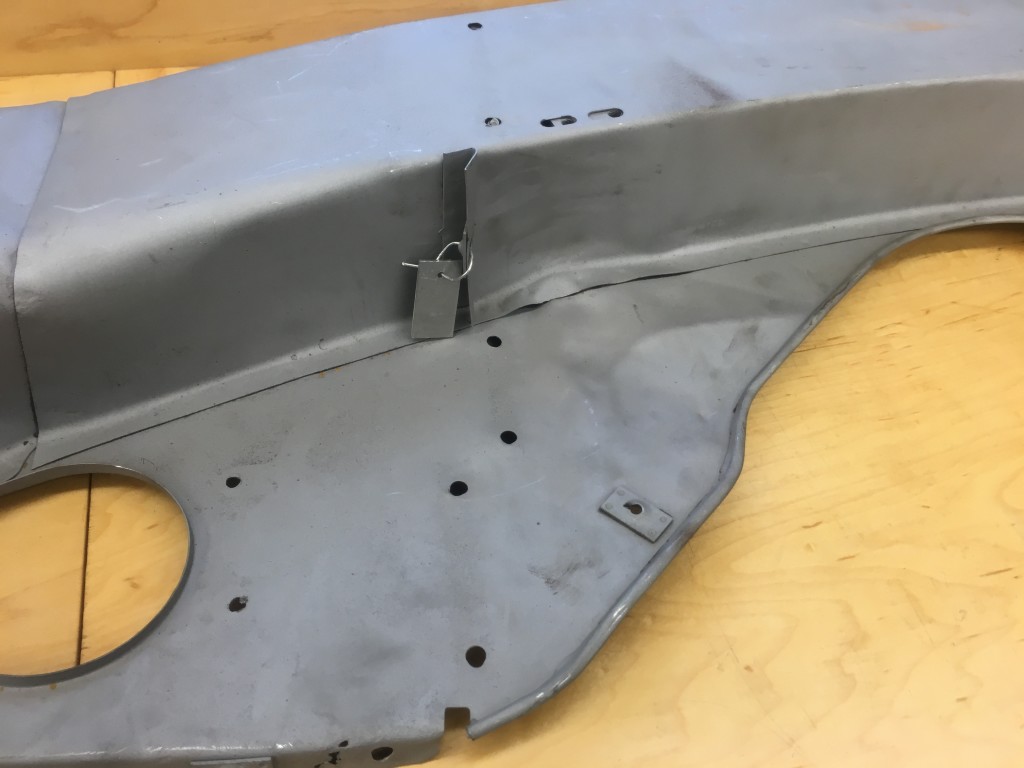
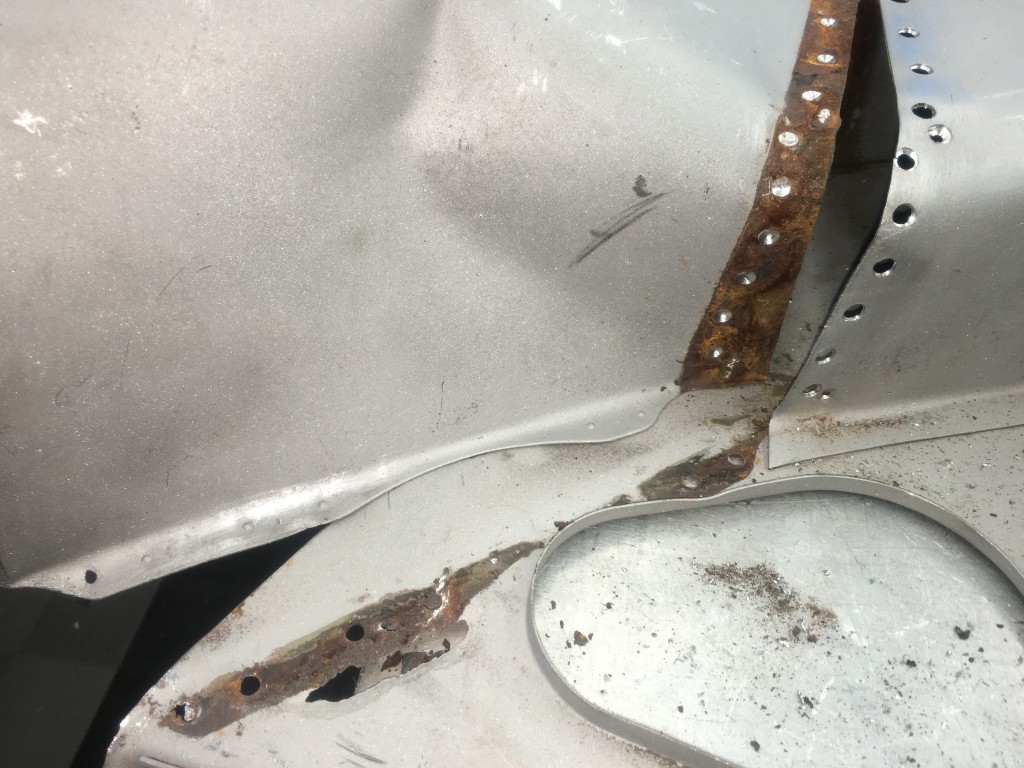
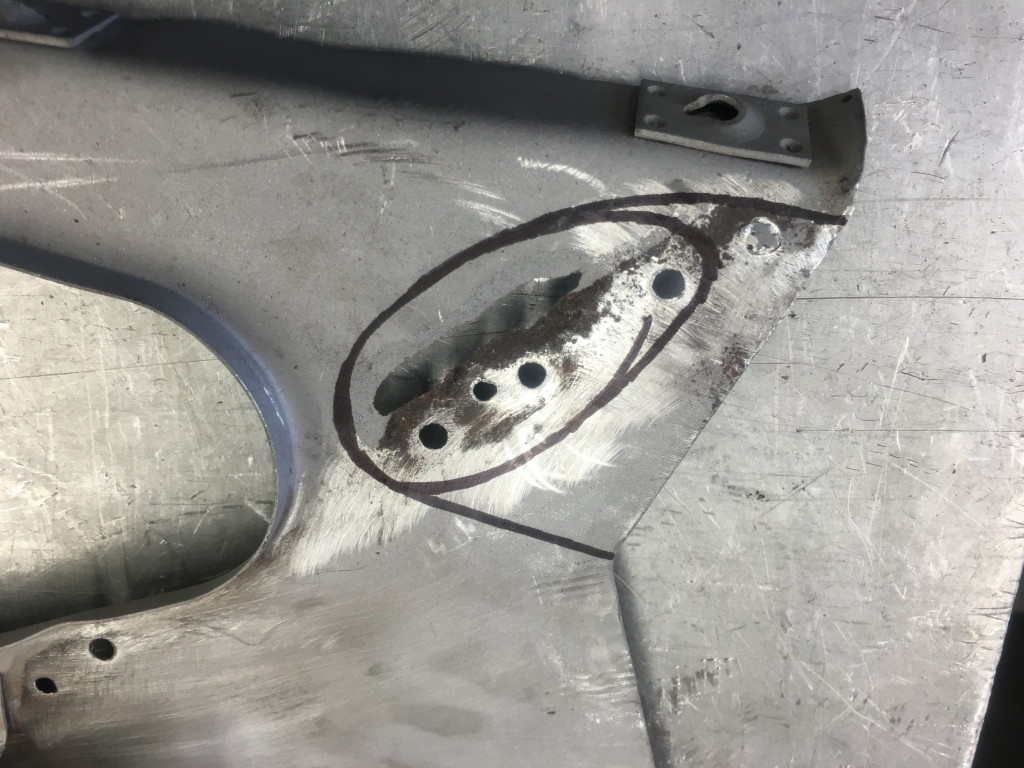
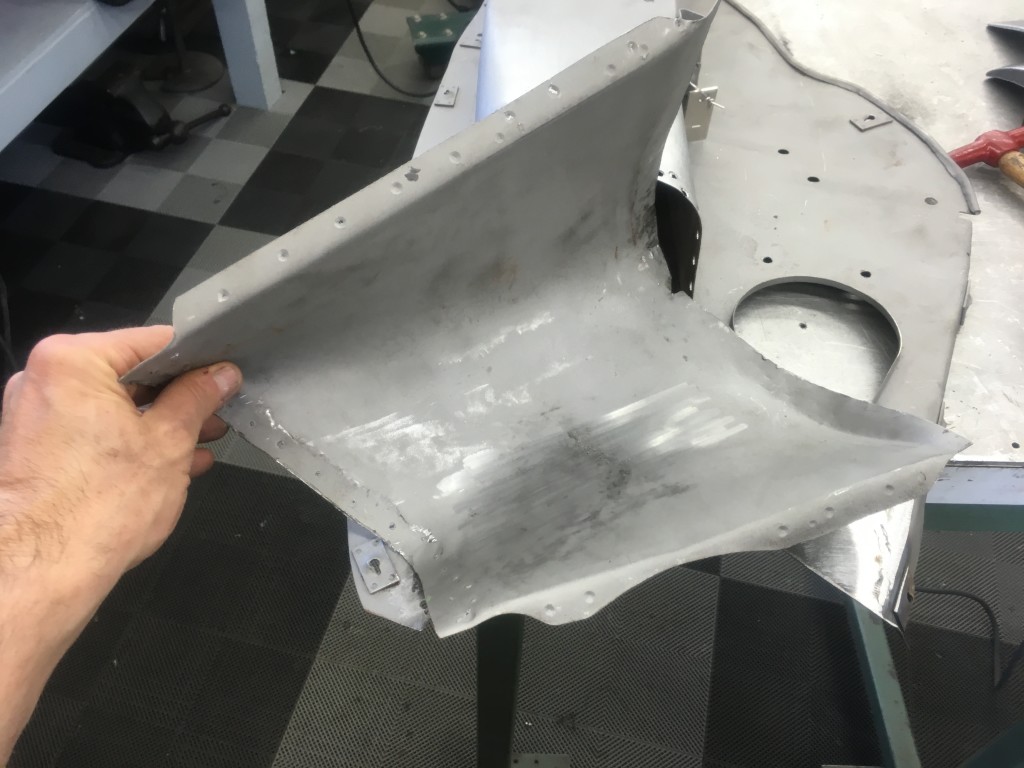
- It is in good condition overall, with only minor issues – two of which are shown here – the kinked forward trumpet of the air tube, and a small rusted area just below that. Actually – having this exact rusted out shape in this area is very common.
- Here is the top side of the forward trumpet.
- And a close-up of that rusted area.
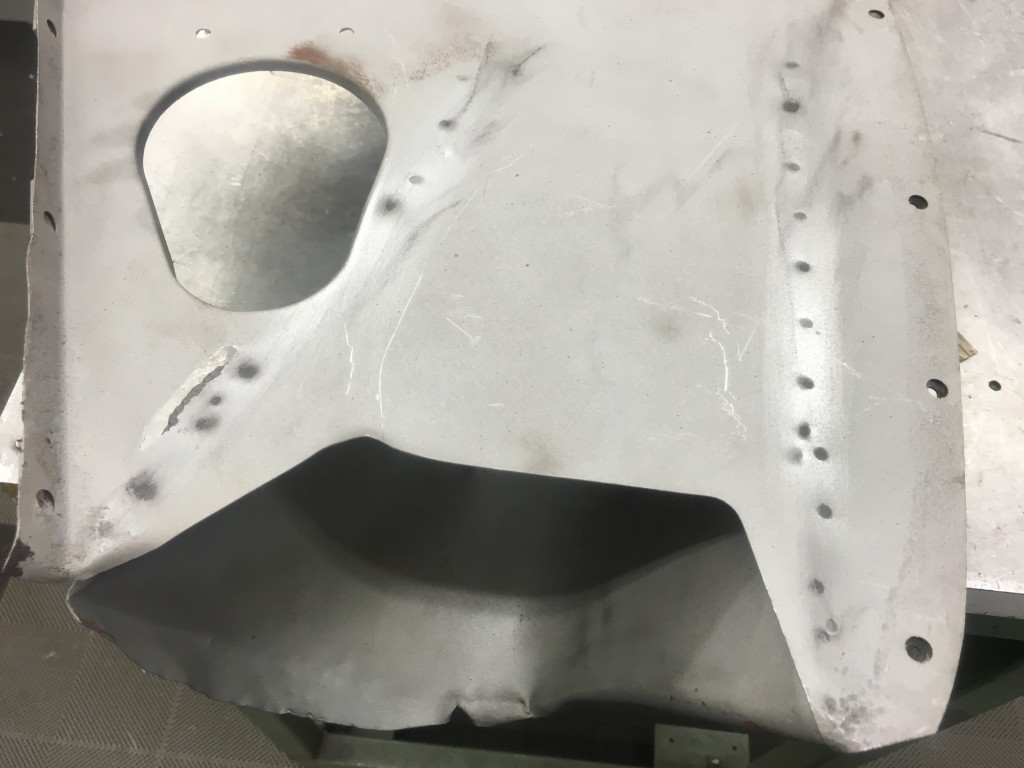
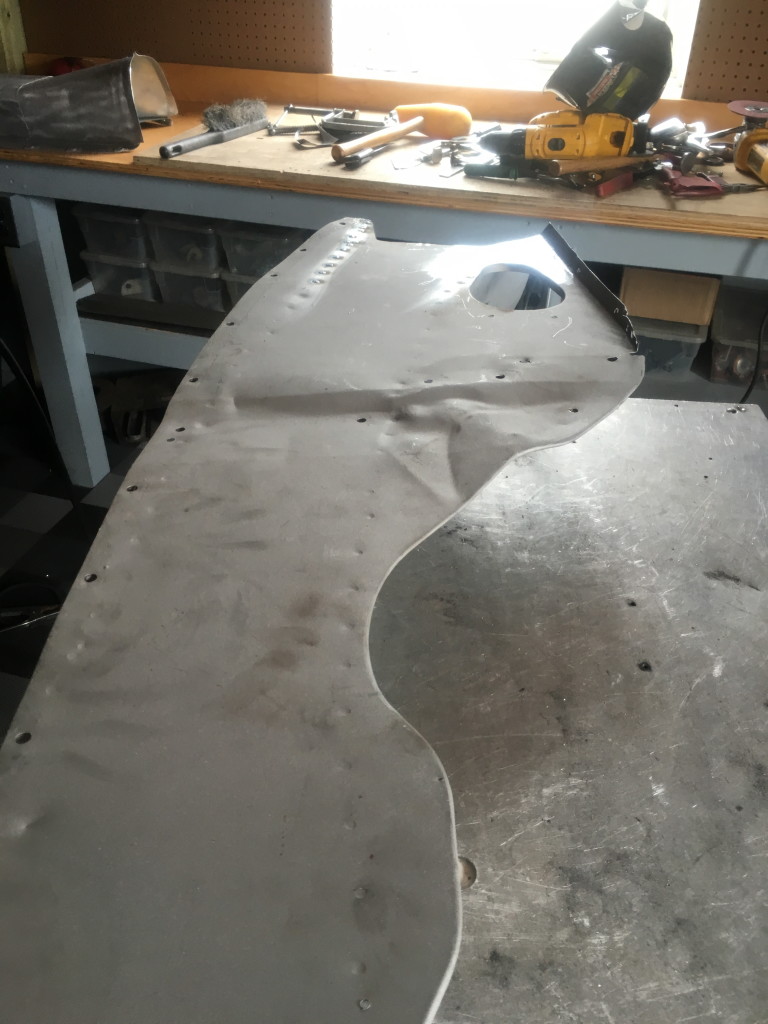
- The other issue is some wrinkinling and damage in this lower area of the wall – also common.
- When the air tube is kinked like that – it is pretty much impossible to straighten it in place – you can’t get in there with hammers and having it spot-welded to the wall makes a structure that while it was once in the right shape – it is now VERY happy in it’s new shape and does not want to straighten out while still welded to the wall…
- So I determined that removal of the forward trumpet piece would help me reshape it, and also give me much better access to that little rusted area.
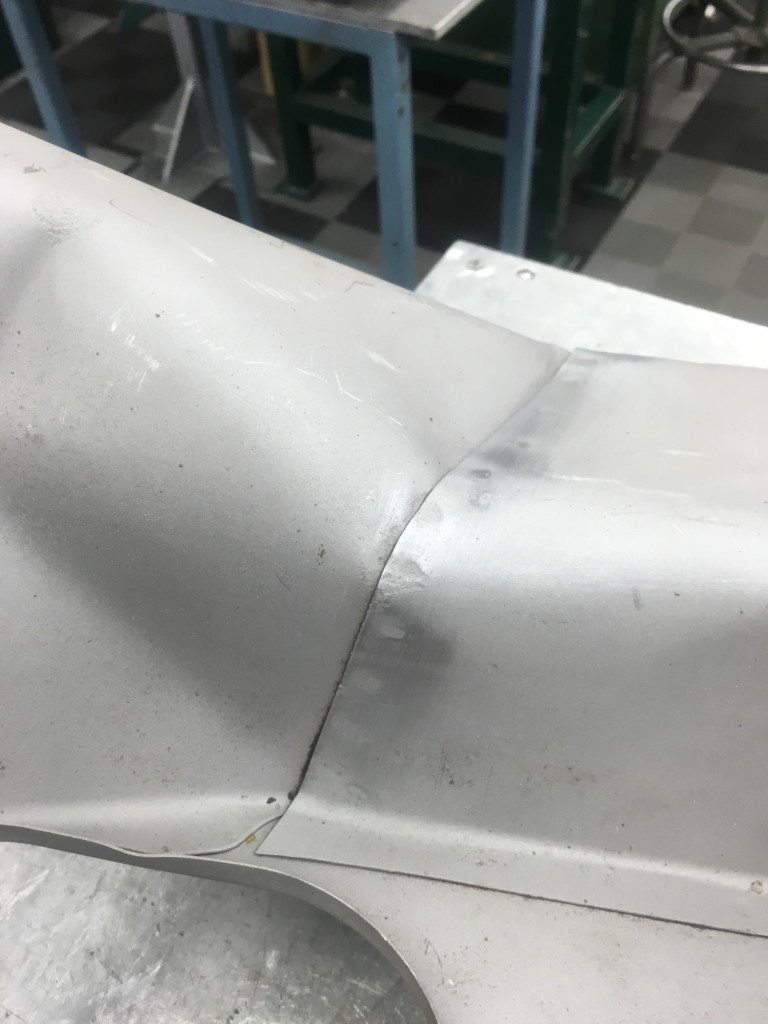
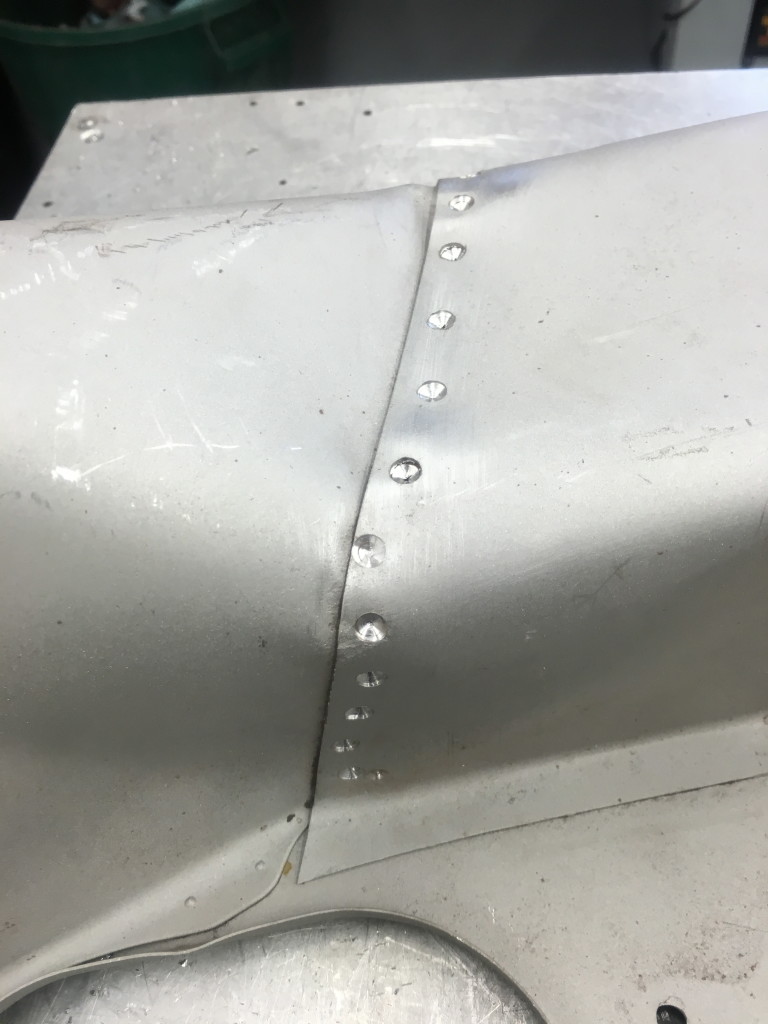
- Series 1 bonnets have these air tube pieces as all one piece, but Series 2 cars have it in two pieces, adding in a new, much bigger flared front section that I call the “trumpet”. This seam between the trumpet and the rest of it was the perfect point to remove just the damaged trumpet itself…
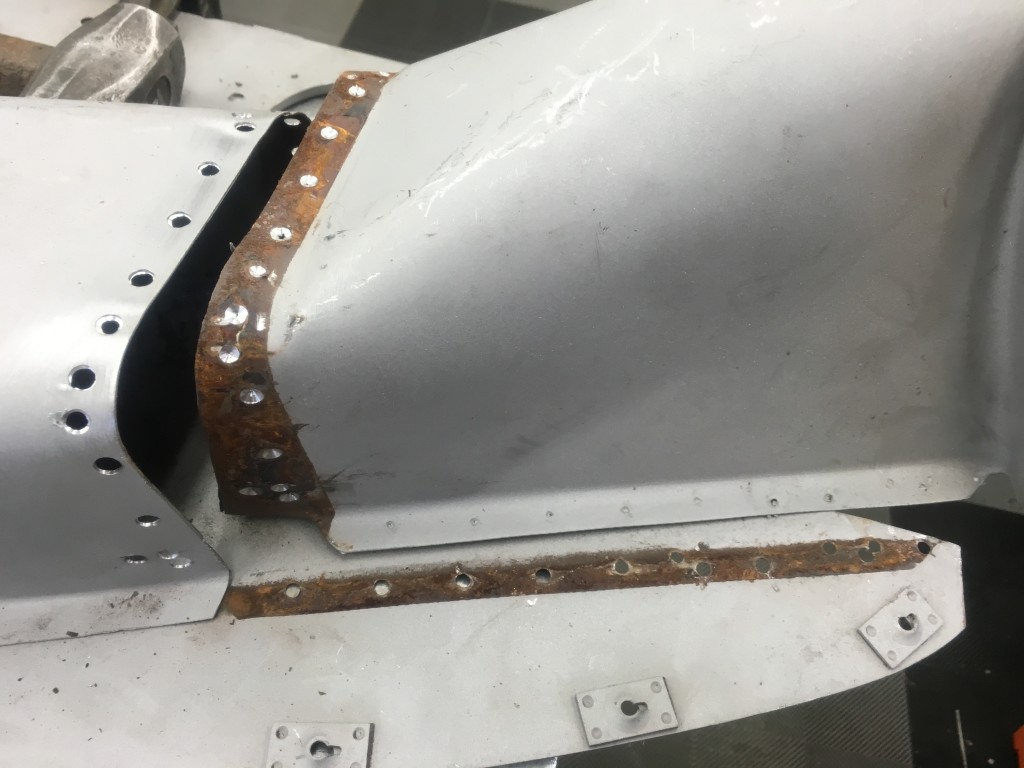
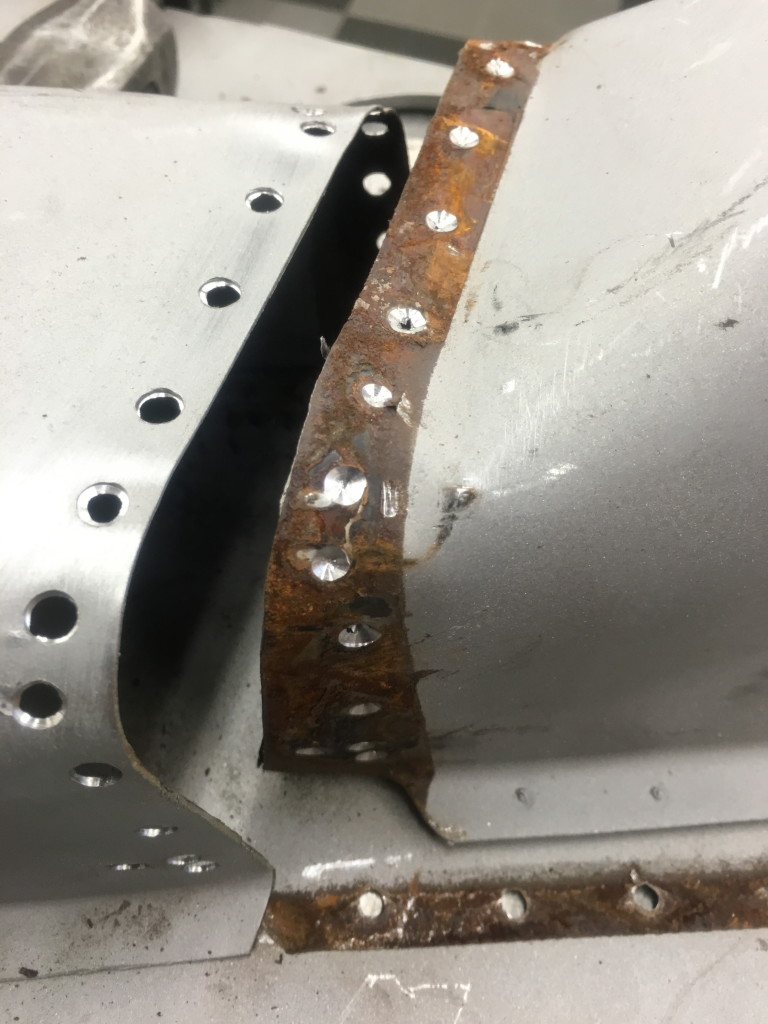
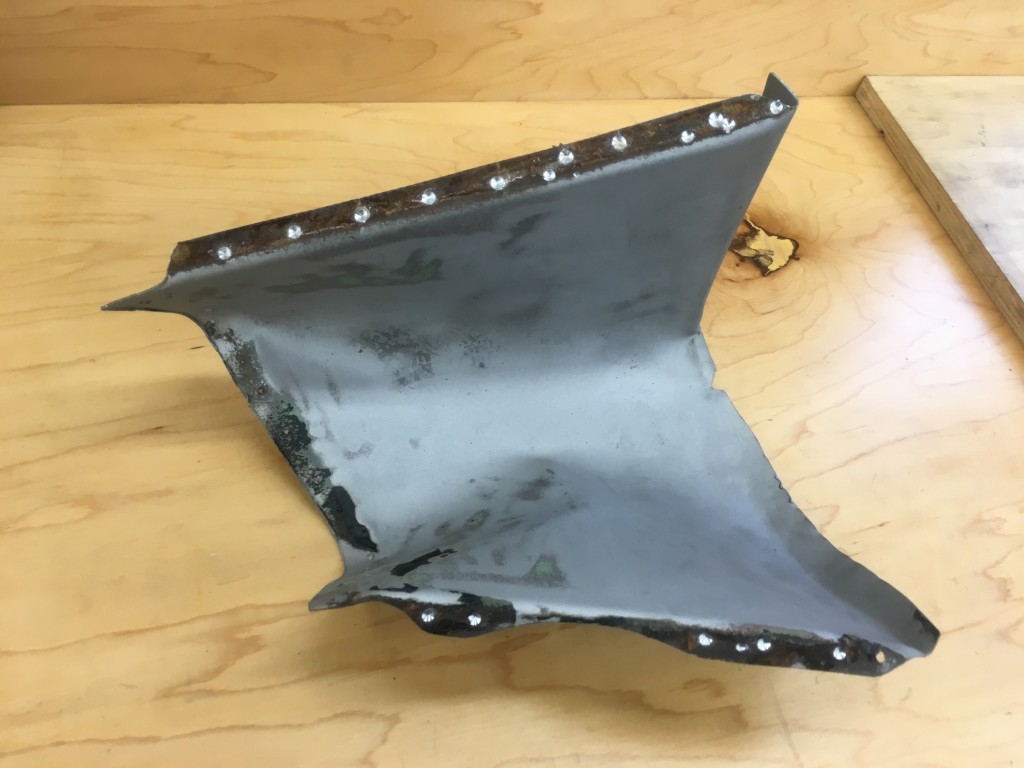
- So we have drilled out the factory spot welds and removed the trumpet. Note the rust between the seam on this piece that is otherwise blasted down bare…
- Sorry to break the news to you, but this is what EVERY seam on your E-Type looks like inside!
- Here is another shot of the piece completely removed from the wall and the rear section of the air tube.
- Off the inner valance, we are able to easily reshape this piece – AND throw it into the blast cabinet and get this rust off of there!
- Next, we turned our attention to the small rusted area. AS you can see, at first I was going to do a small oval patch…
- …but ultimately decided that going all the way to the edge of the piece made alot more sense – and would give me less trouble with shrinkage.
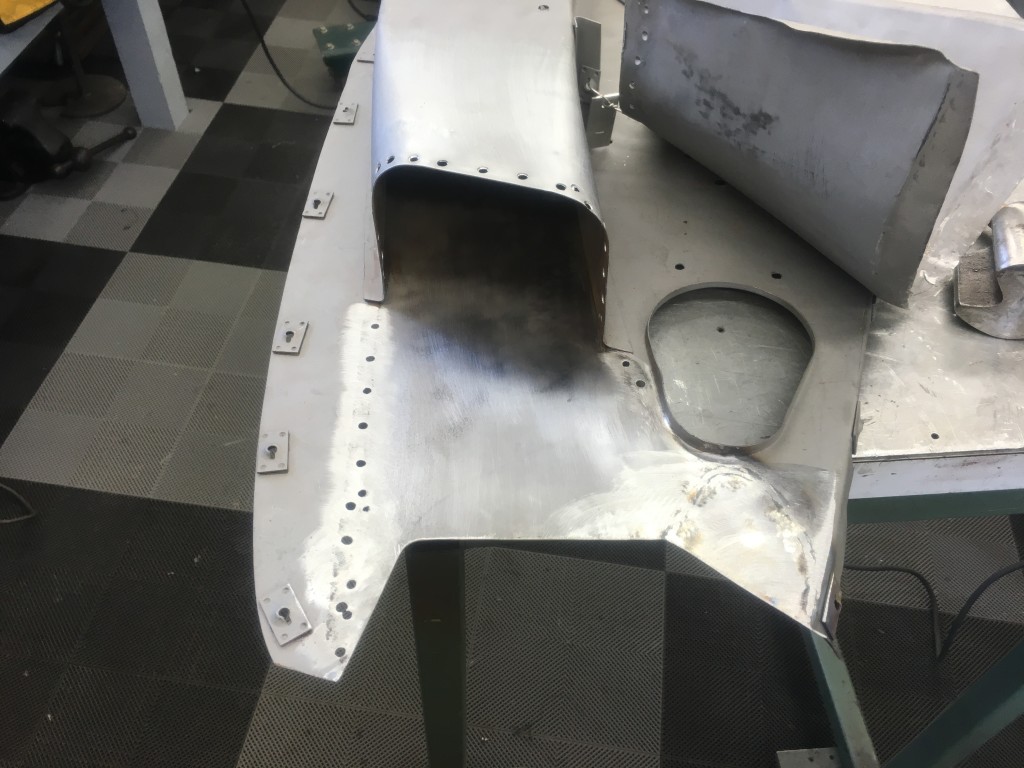
- Here is a shot of the main section of the panel repaired, and blasted down, ready to weld the repaired trumpet back on.
- Speaking of which – here is the repaired trumpet. I hammered this out and then smoothed it in the English Wheel.
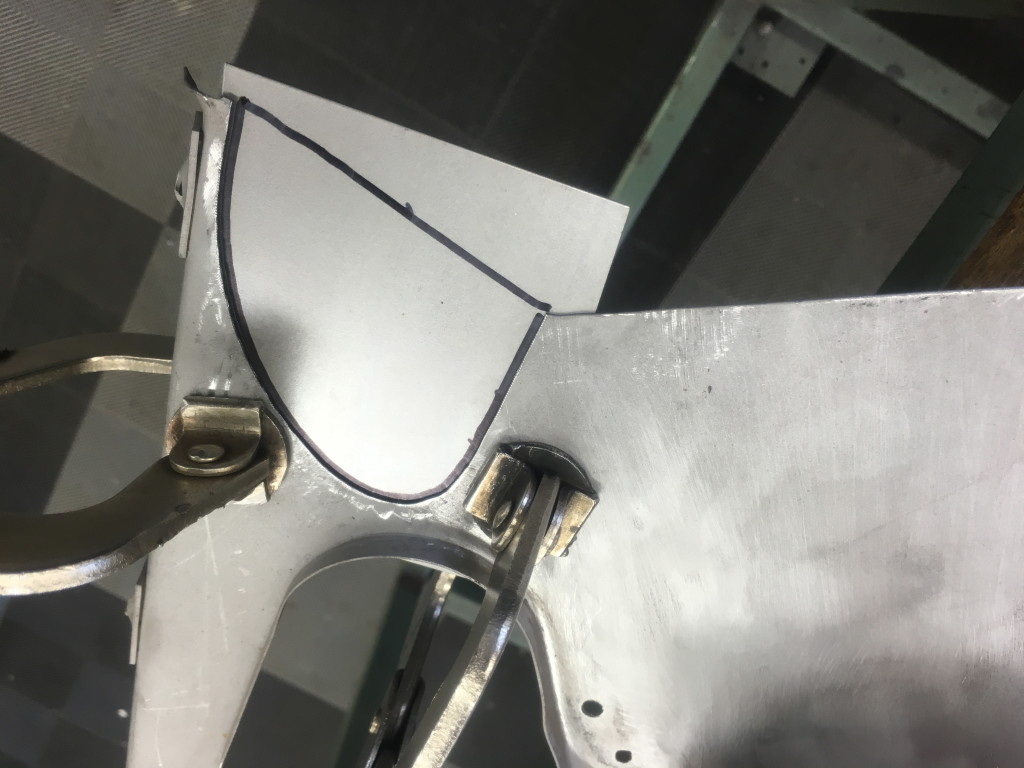
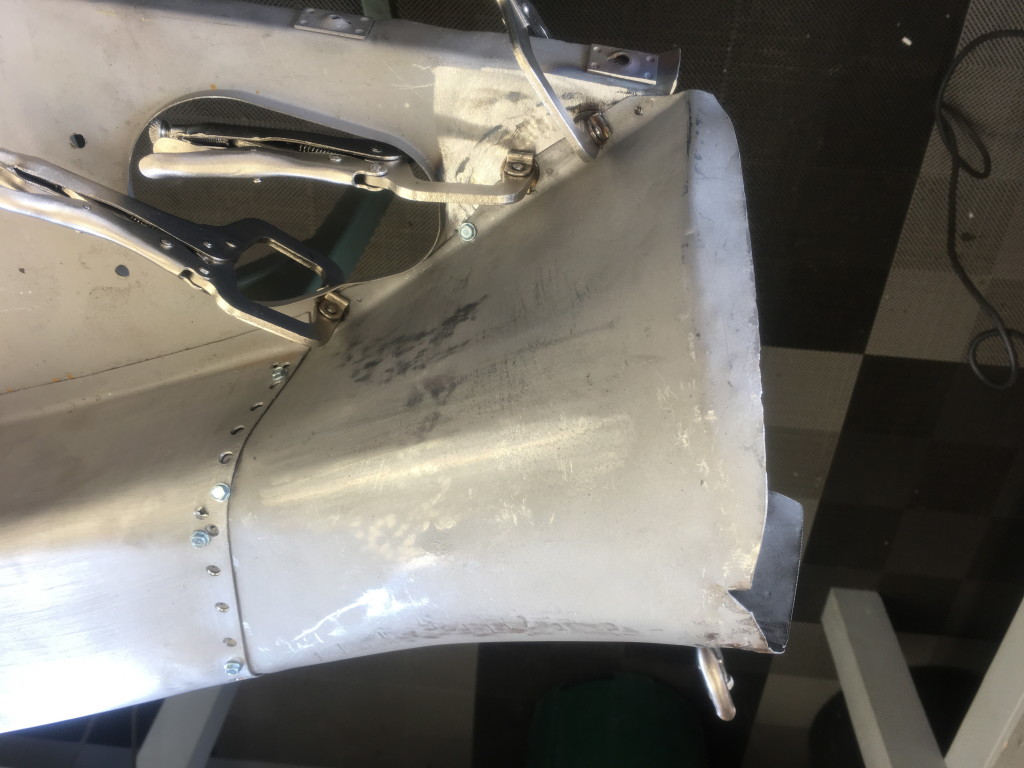
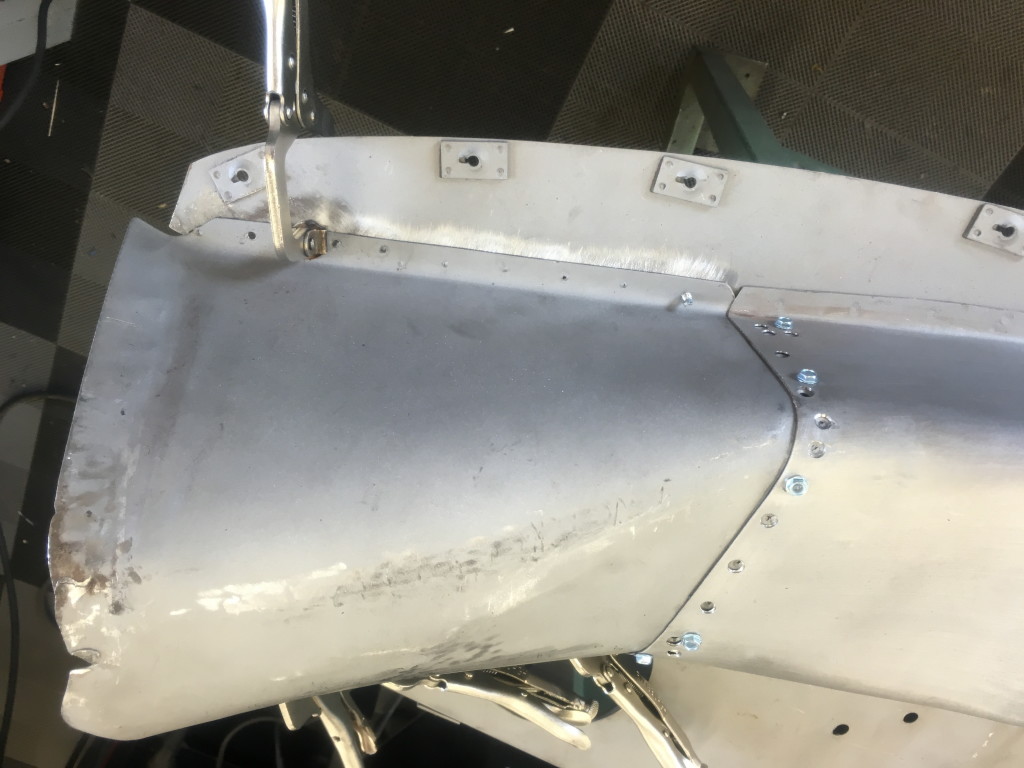
- It is looking MUCH better now, and we have used vice-grips and out trusty little self drilling screws (MUCH cheaper, easier, and overall just better than Clecos…)
- Another shot of the piece mounted into position and ready to be plug-welded back into place using the very same holes made by drilling out the factory spot welds.
- Here is a shadow shot of the wrinkles in the wall before straightening.
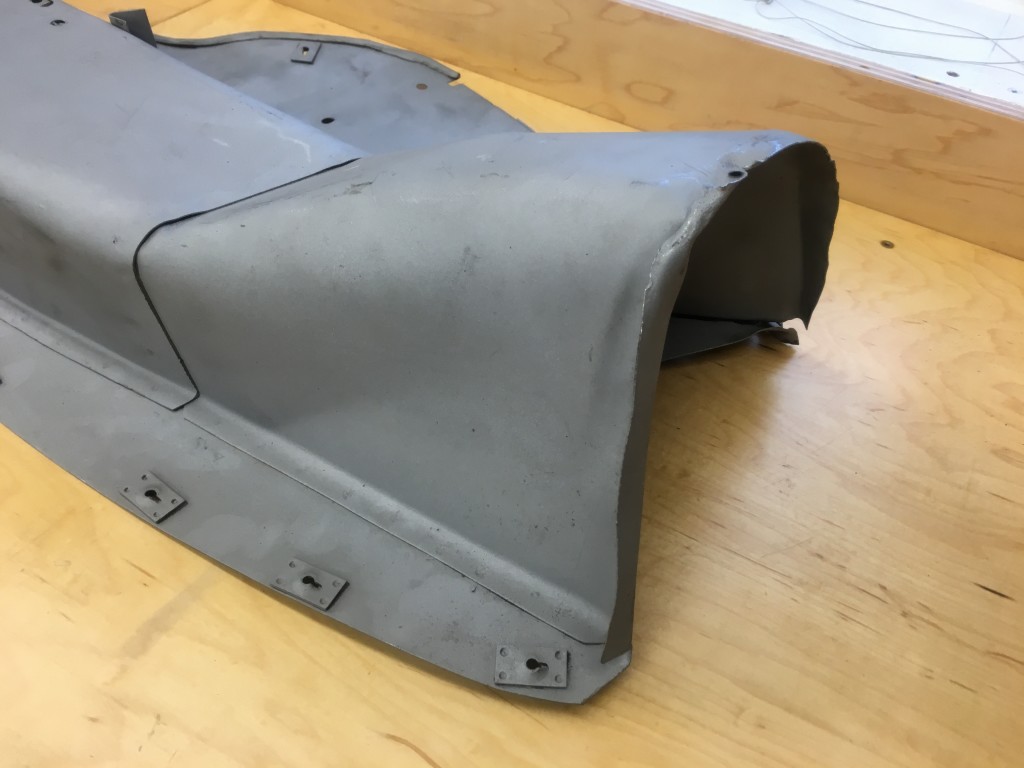
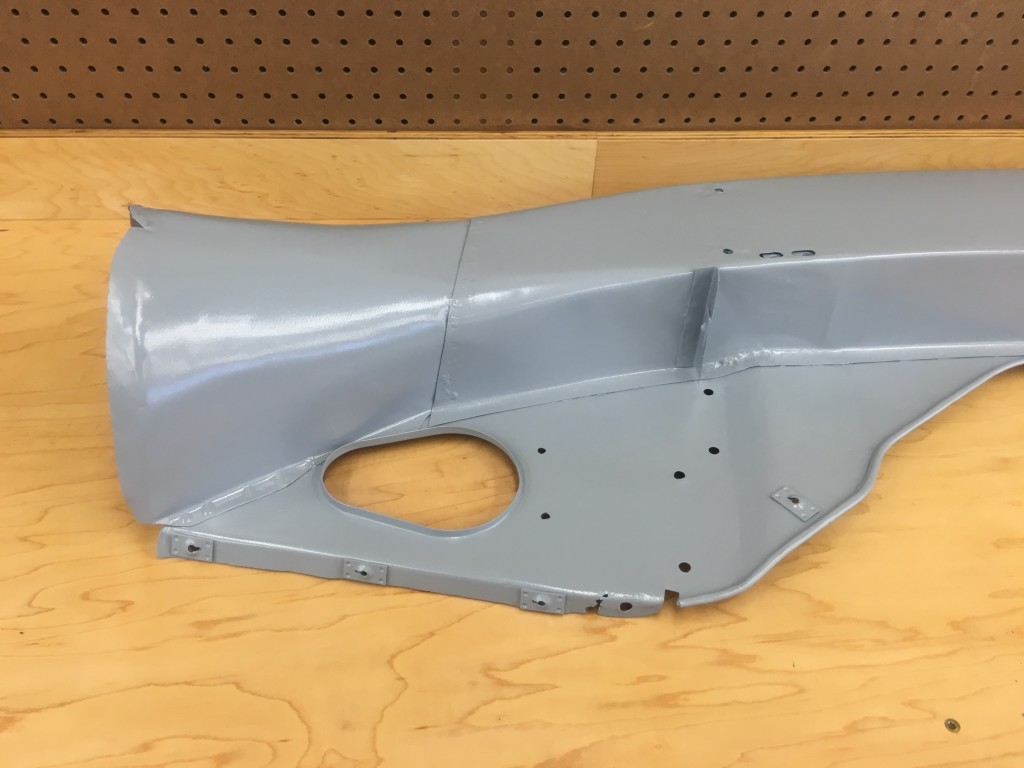
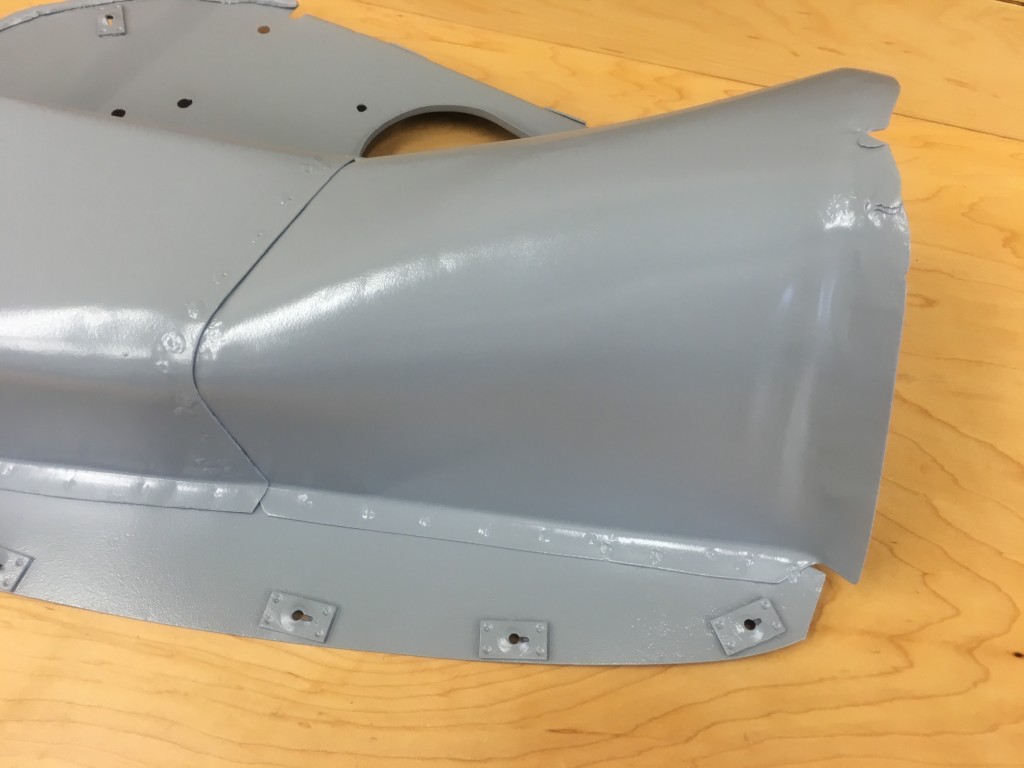
- And here is the final piece in 2 coats of PPG epoxy.
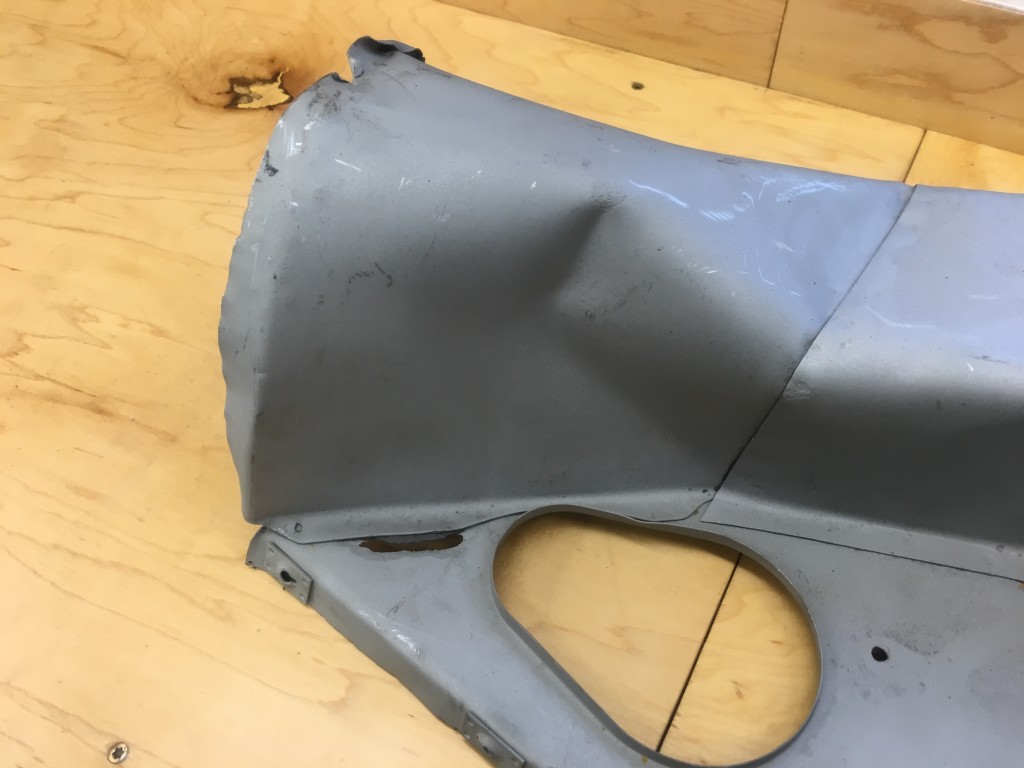
- The rust is repaired, the trumpet is re-shaped and re-attached, and it is VERY well selad in epoxy.
- In this case, I just left the plug-welds as they were, since this whole sectrion of the panel is completely enclosed in the front section of the bonnet and will never be seen.
- The plug welds in the wall section WERE dressed down, and you can also see the completed work on those wrinkles too. This will make a great piece for a Series 2 bonnet we are building – stay tuned!

