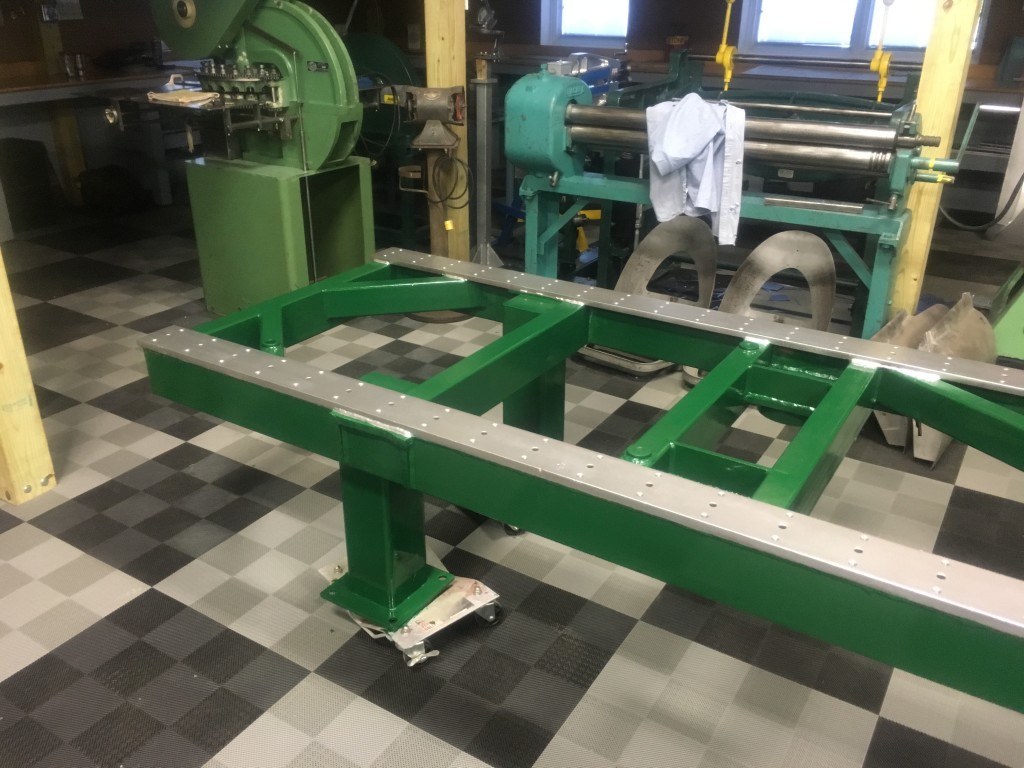
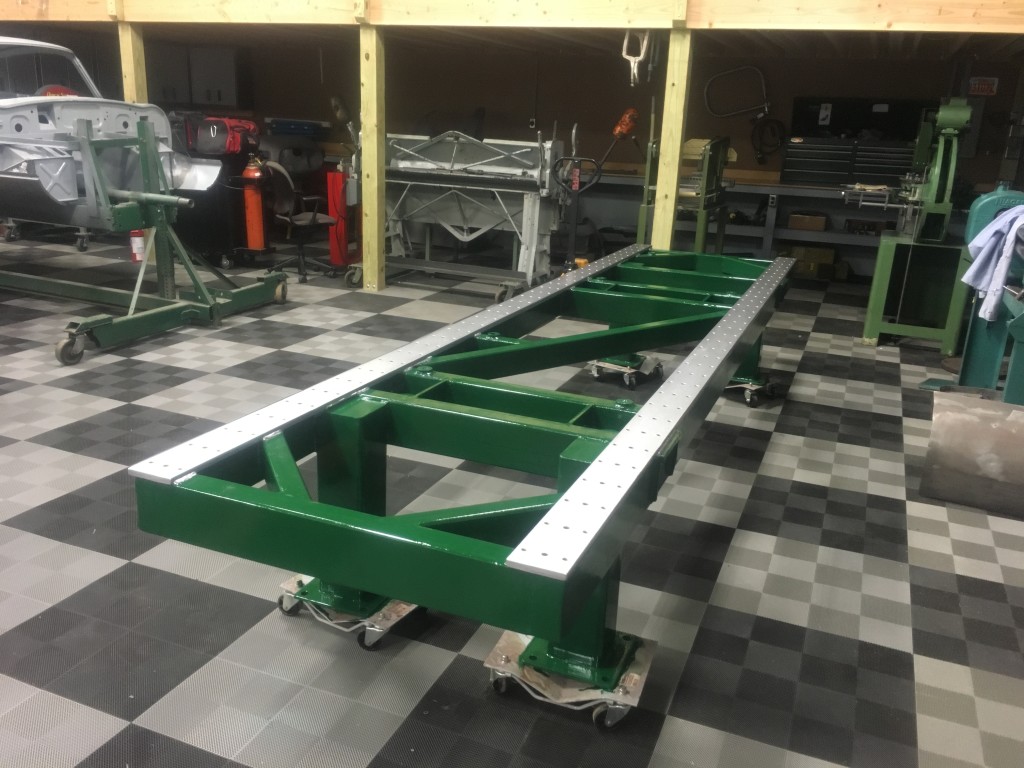
Despite the endless backlog of restoration work and parts production, we have been steadily moving forward on our ultimate goal of building complete, NEW E-Type monocoque body shells.
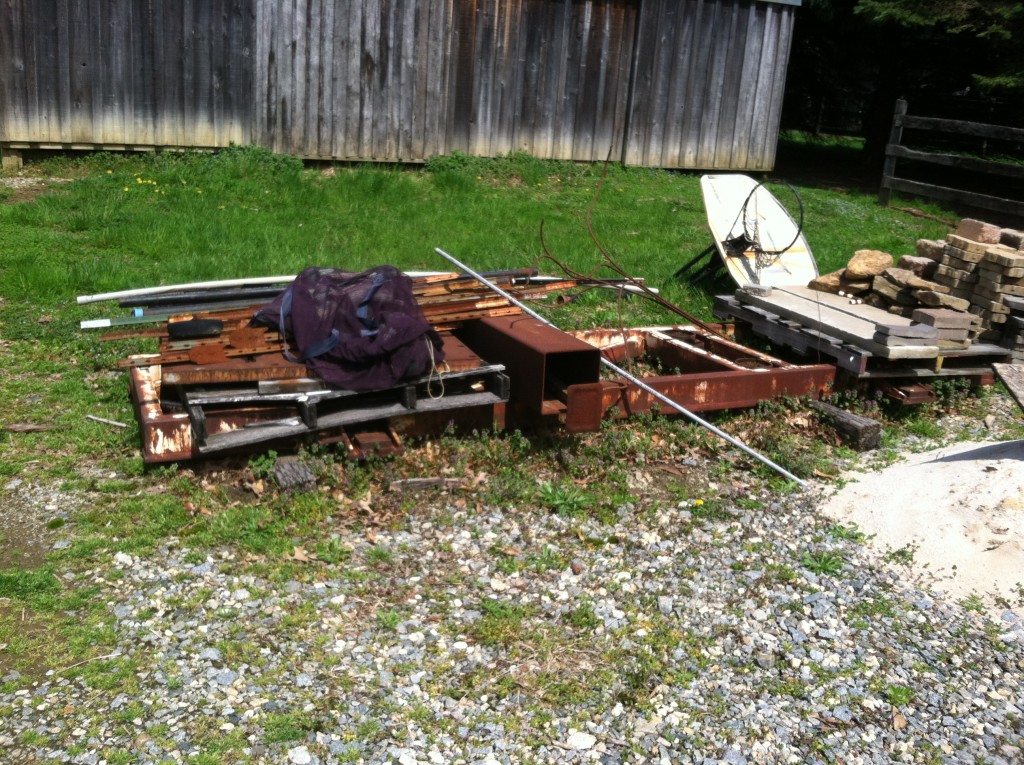
Along those lines, I found this little gem about a year ago, quietly rusting away outside the shop of our new part-time employee – Steve.
Steve lives just up the road and worked at the GM Boxwood Road assembly plant in Newport, Delaware with our machinist, Charlie… And Steve worked there a LONG time – starting in 1971 (the year I was born…) assembling Buick Electras, and eventually building the final cars there – Saturns – and then helping to dismantle the plant just before it was sold to Fiskar – which ended up failing…
One of Steve’s duties in disassembling the plant was to take all of the spot-welding trolleys to a local scrap yard. These were long frames with thick top plates that were ground LASER straight, that were used to precisely locate the body parts before they were welded up with spot-welding robots.
Now, Steve’s personal passion is racing an NTF dragster – which is “Nostalgia Top Fuel”, which is the category for all front engine or “slingshot” dragsters. Of course they weren’t classified as “nostalgia” when Steve started racing them in the late 1960s… And so it occurred to hime that one of these trolleys would make a PERFECT chassis table for building dragster chassis, and he went back to the scrap yard and purchased the best one (which he had conveniently set aside, and brought it home to the shop next to his home on his small horse farm not far from here.
Steve has raced his NTF dragster with his brother regularly ever since, but alas, the “chassis table” just languished in his yard as one of the last remaining relics of the GM plant where he worked for nearly 40 years…
Then I came along…
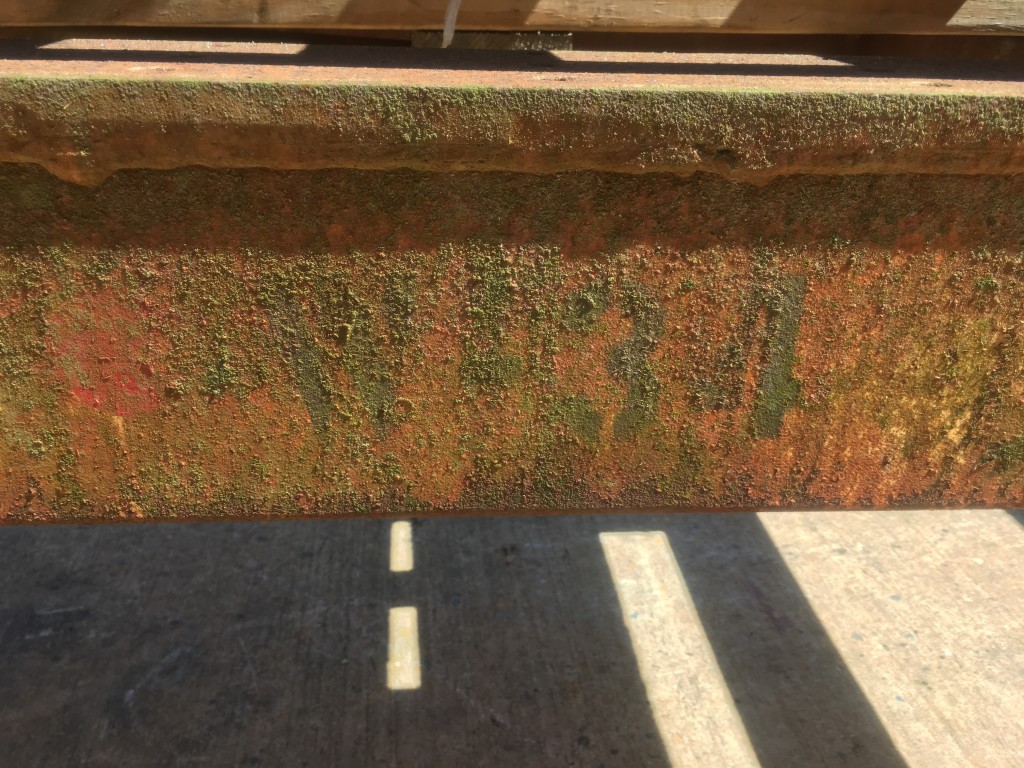
- This is the new chassis table as found (we actually call it the frame table…) It has been sitting here next to Steve’s barn for close to 15 years.
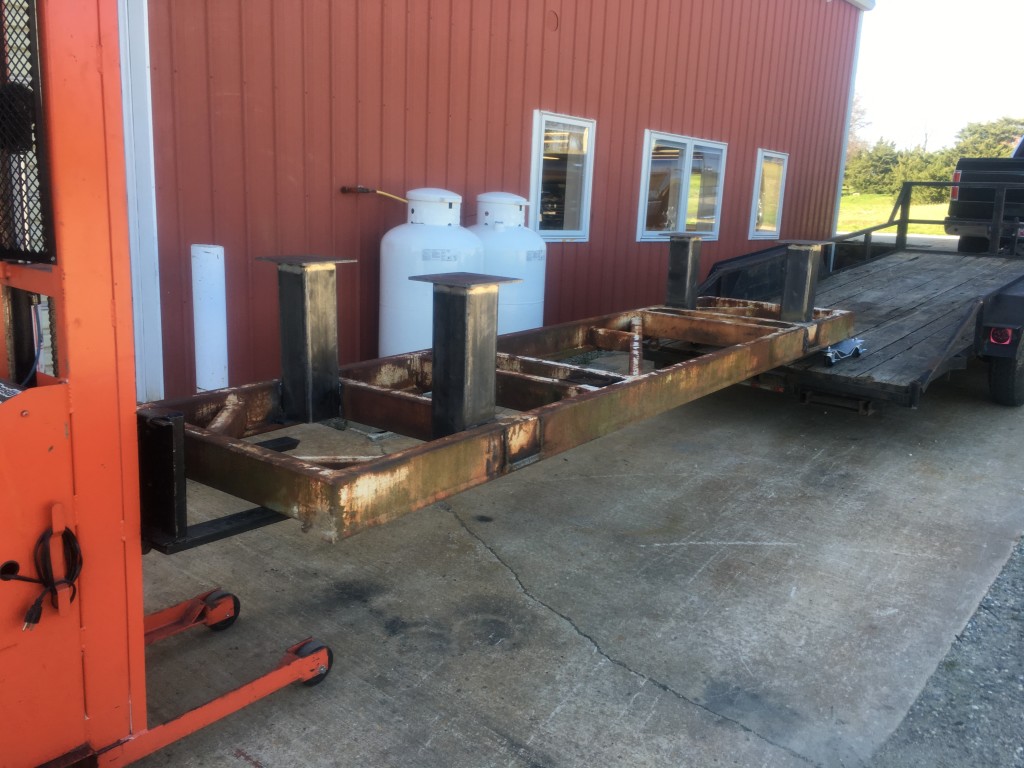
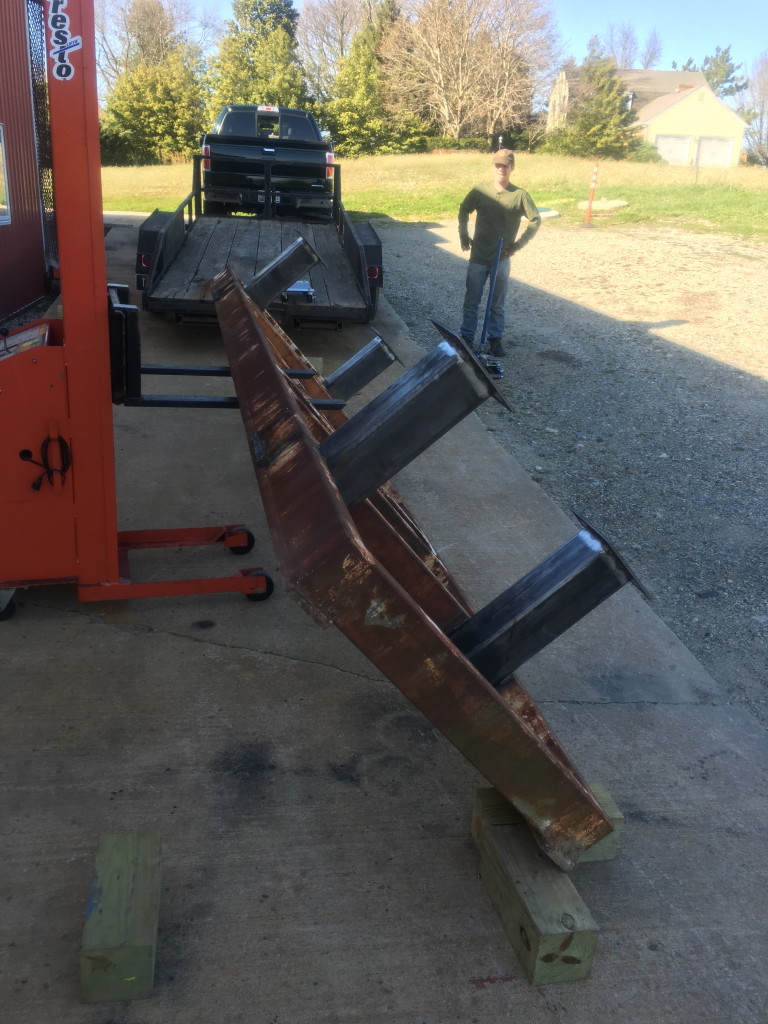
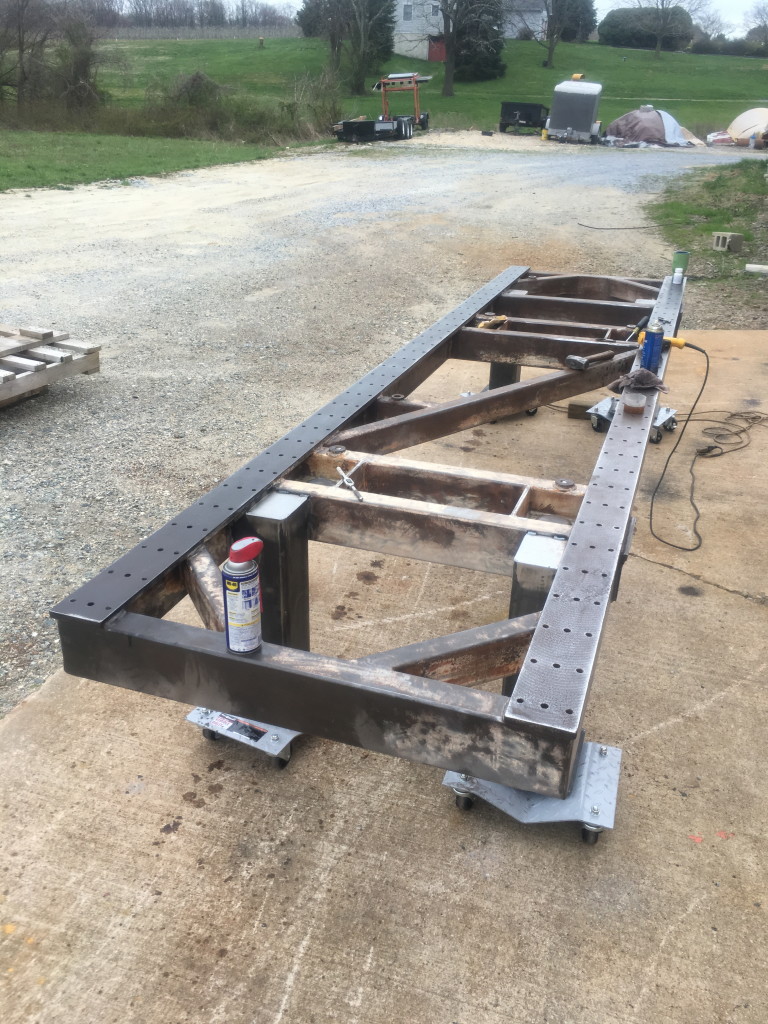
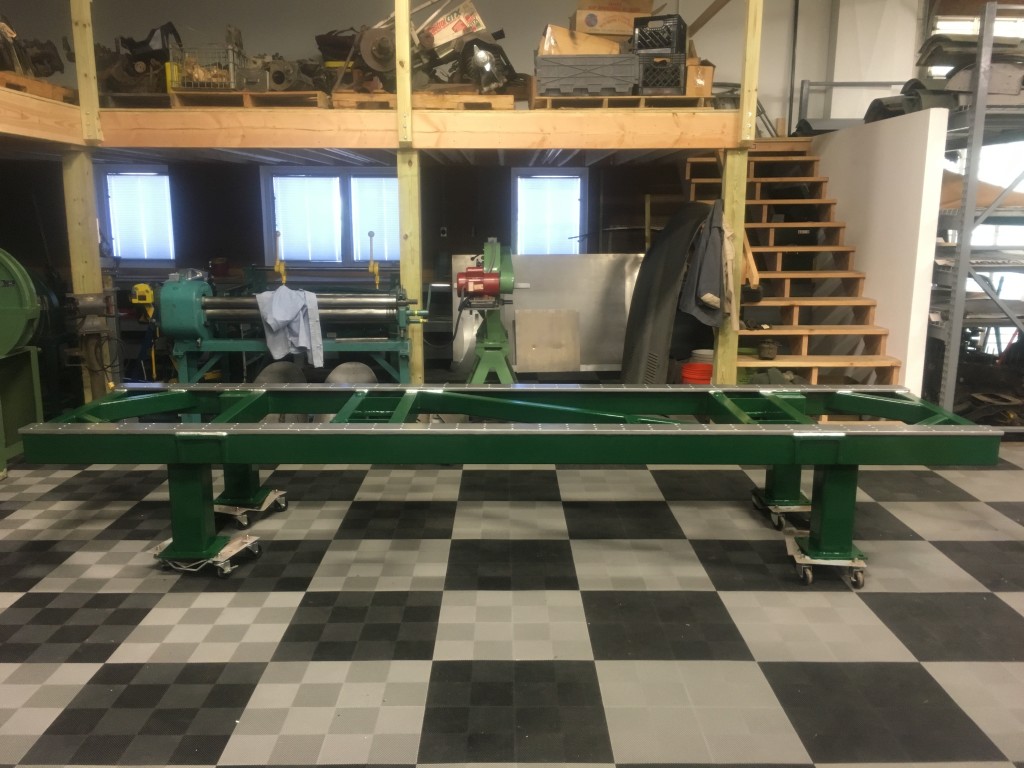
- It had 4 “ears” on it that held thick steel pads and large balls – these sat down into cones at the factory and perfectly aligned the table before welding. We cut those off, and welded on these legs to get it up to a good working height.
- This is ALOT heavier than it looks! And as you can see, Brent is keeping his distance during the flip!
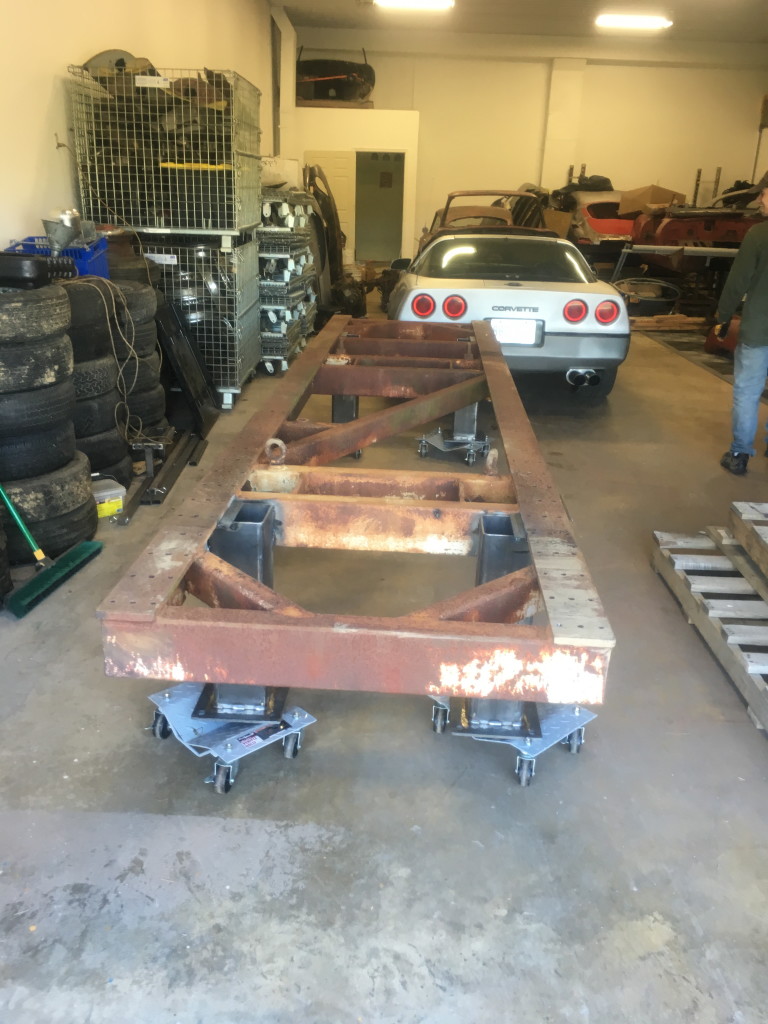
- Phase 1 is complete – it’s out of Steve’s yard, has legs welded on, and is in the new shop!
- Steve said he thought there were about 40 of these. This one is number 34.
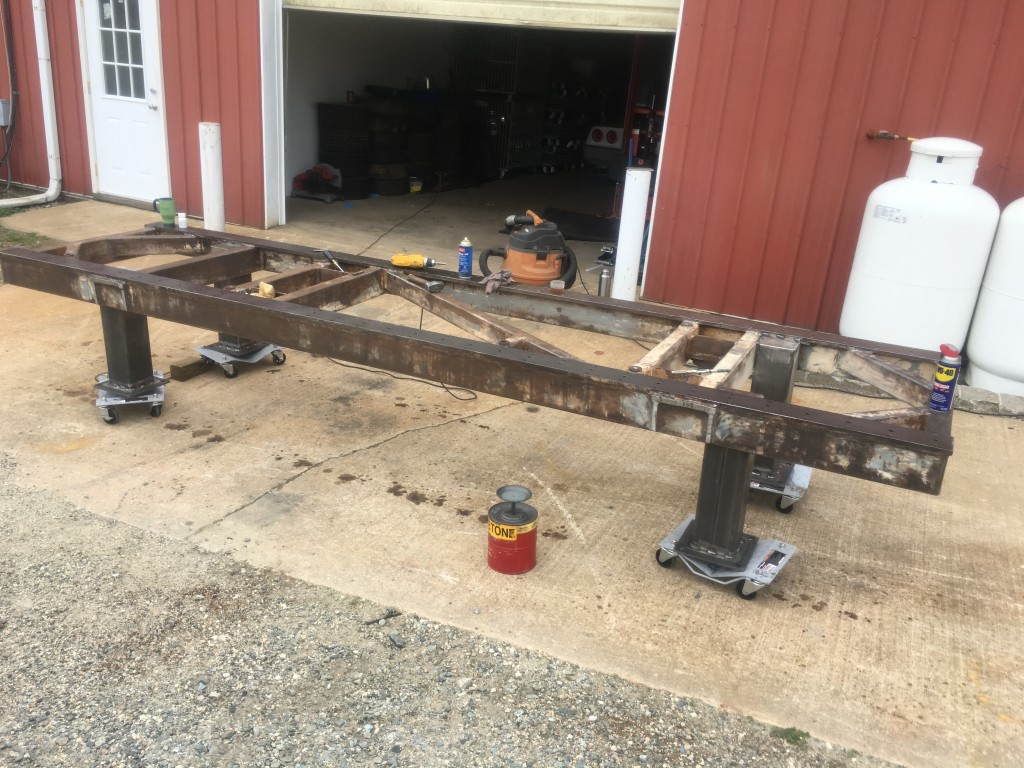
- This all happened about a month ago right when the weather was warming up, and so we were working on it outside. In this shot, we are finishing up the wire brushing and have welded caps onto the top ends of the feet.
- The next step was to re-thread all 140 1/2″ holes. Let me tell you, THAT was a MAJOR pain! The threads were rusted up pretty good, and we had to dig them out and file them out first. Next we threaded them with several different taps – breaking three and a tap holder in the process. By the end of the day, I had a MAJOR blister on my left palm, and there is still peeling skin there a month later – and that was WITH heavy leather gloves that were insulated!
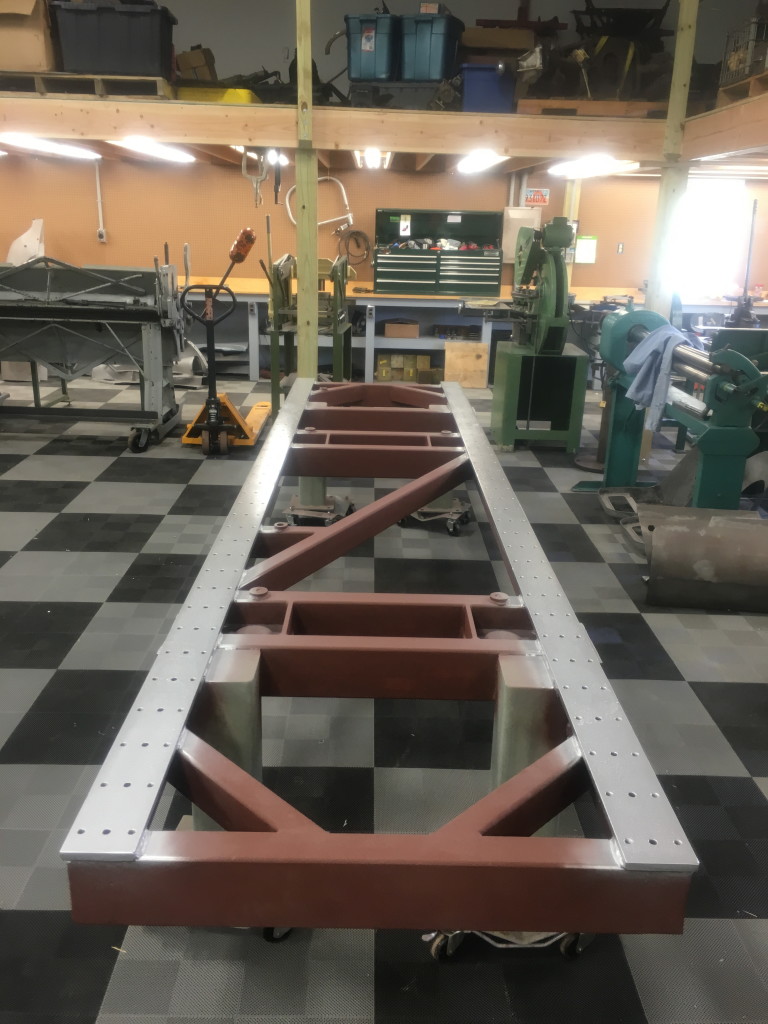
- A few days later, I went nuts on the whole thing with about 6 cans of rustoleum rusty metal primer. I love that stuff, and it was a perfect choice for this project. We did use our standard etch on the legs, which were new steel.
- As the primer was just beginning to dry, I sprayed the top plates with Rustoleum Metallic bright silver – MANY coats, and then topped it off with a few coats of their crystal clear acrylic coating. This is all good stuff if you use it right.
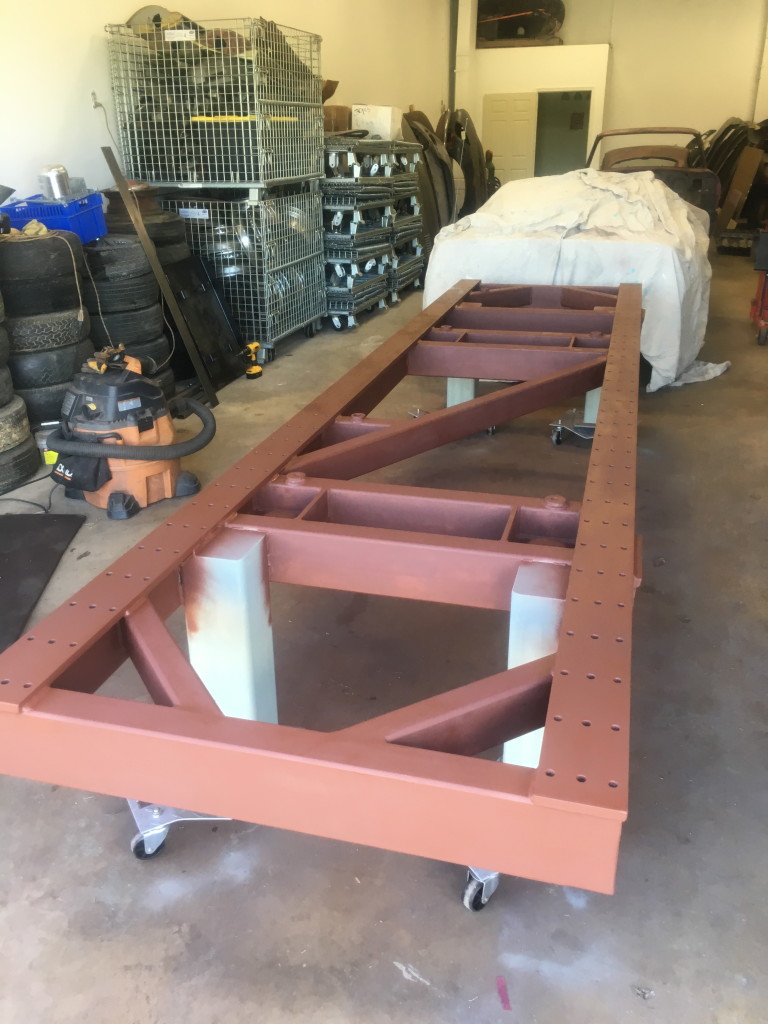
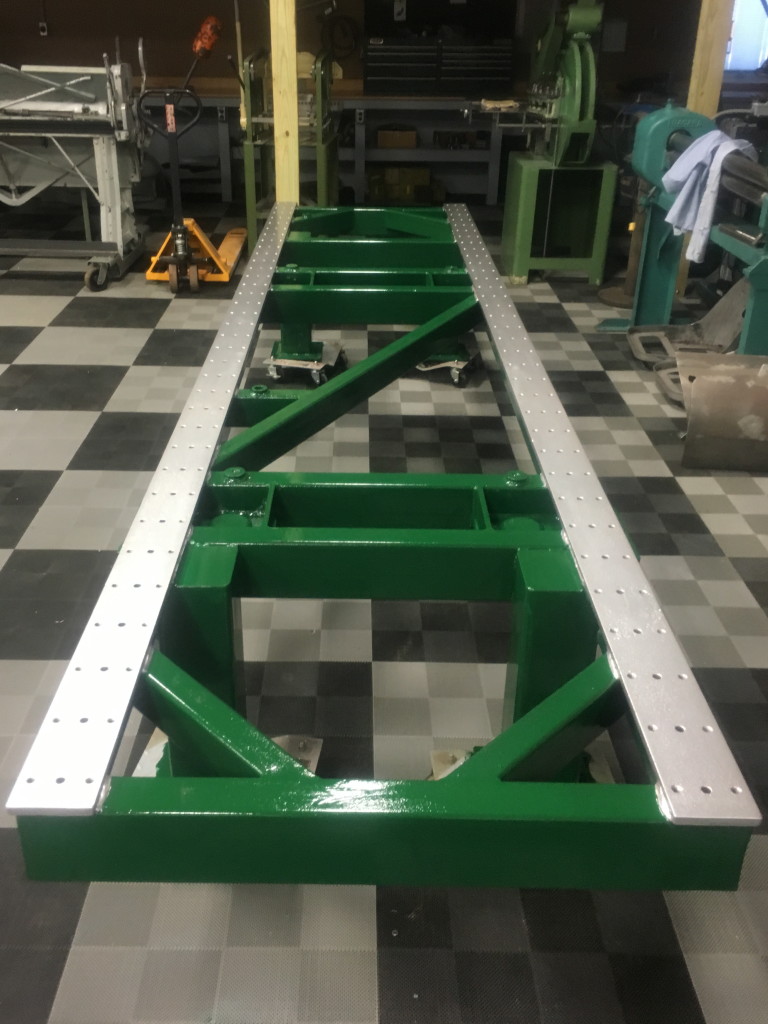
- I try to work on these types of long-term projects in the evenings and on weekends so that is does not hold up the regular work. And so this was after one evening when I put the first coat of finsih paint on with a brush. It is also just rustoleum paint in the gallon can. Use a good brush and take your time and it gives a great finish.
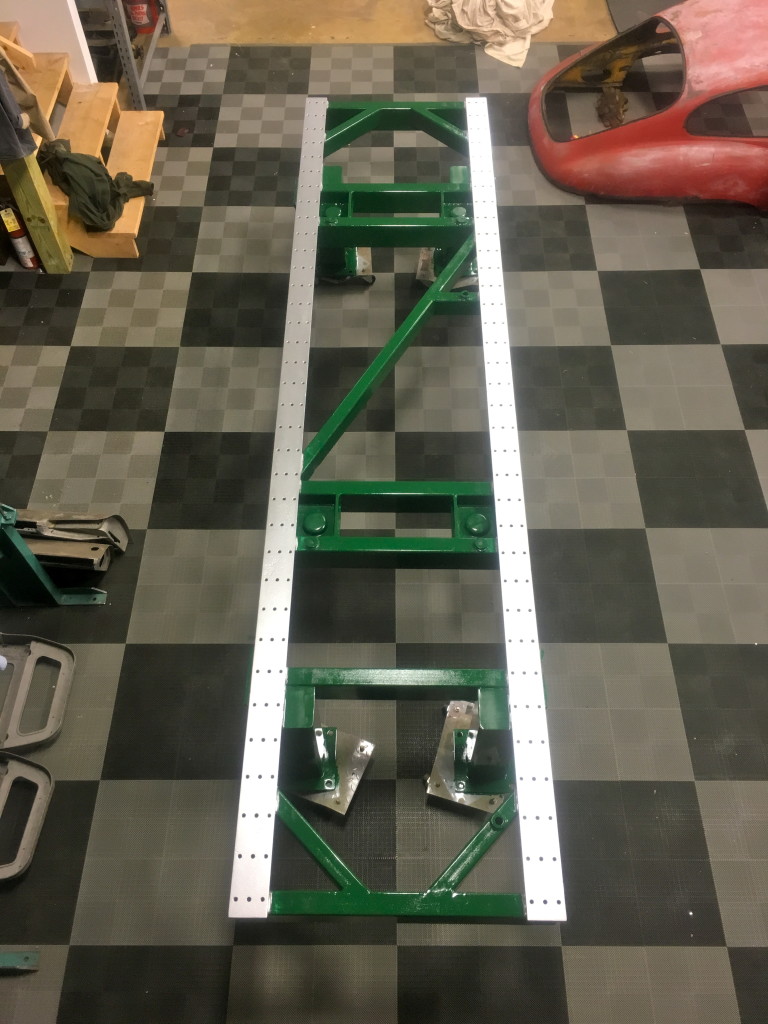
- Here is a shot looking down from the parts mezzanine. Pretty cool, huh!?!
- The finished table is 14 feet long – which is PERFECT for doing E-Types!
- I wanted to have the top plates in bare steel as they were originally, but there was just too much heavy pitting for that and it wasn’t really necessary. I think this was a good solution.
- Well, the easy part is done – now we have to build all of the E-Type jigs! It’s frustrating because I have had to jump off this “pet” project. But I work on it every night in my head while drifting off to sleep!

