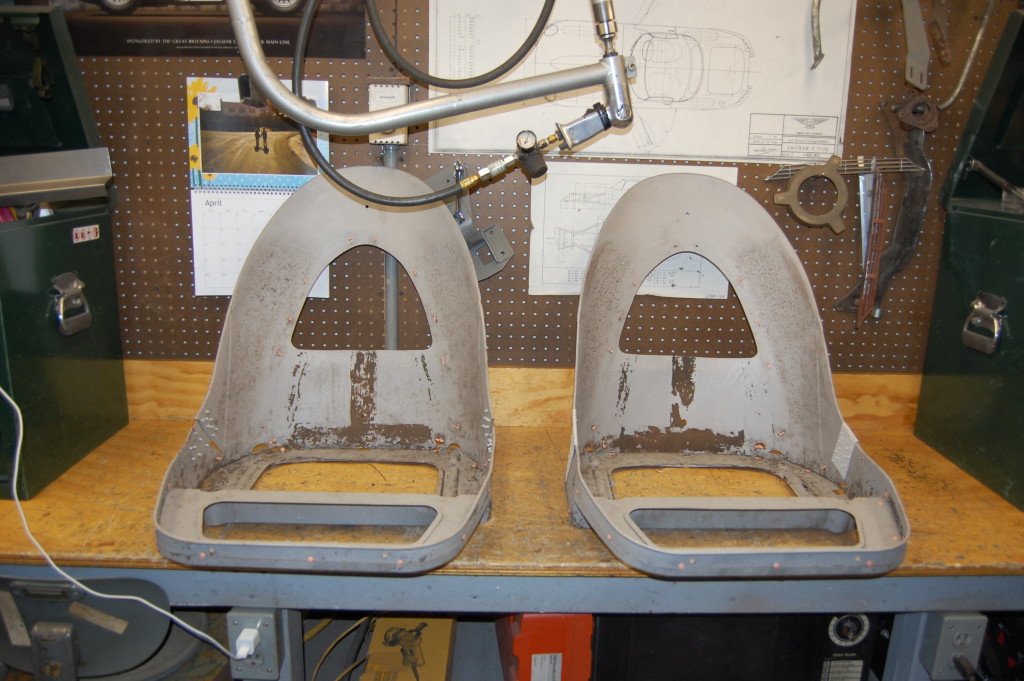
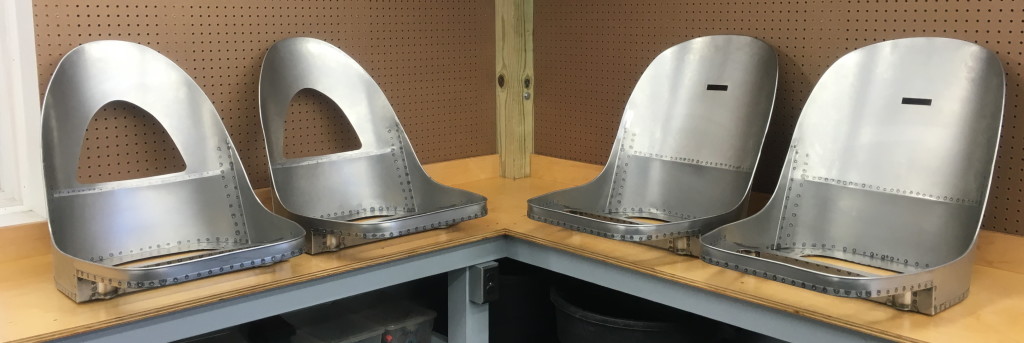
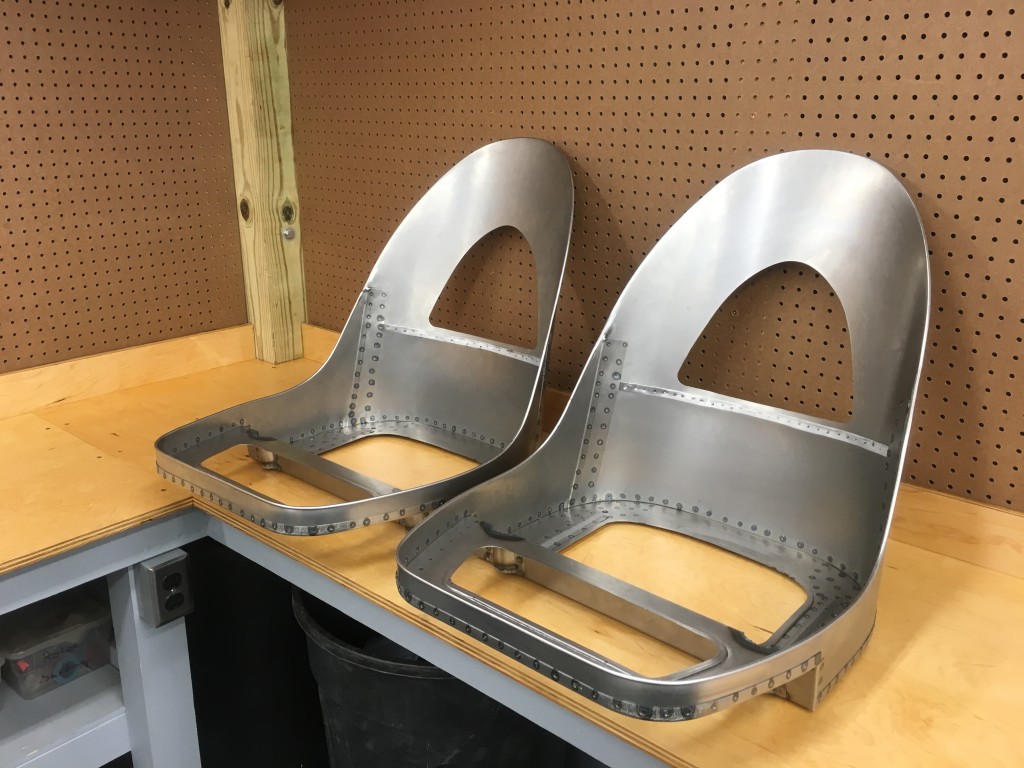
3.8 E-Type Seat shells – I’ve been looking forward to tackling these for YEARS! Finally, we had the necessary skills, machines, and excuse to build a pair, and after alot more time than we planned (as usual…), I’m happy to say that I think we have conquered these!
I had a BALL building these – I told Janie on Thursday morning that I hadn’t been this excited to get to work in a while! Every night last week I laid in bed planning out the next step, and after lots of careful planning and patterning, the results just knocked my socks off – I LOVE THESE!
The project was also a passionate one due to the fact that I spent alot of up-close and personal time with the seat shells from my personal 3.8 roadster that started all of this when I was 14. For hours and hours, I patterned and measured those seats, while thinking about all of the people that sat in them and the adventures we had together… SO – I mean it when I say this was a true labor of love…
I’m proud of these- we went to alot of effort to make them identical to the factory originals, and they turned out GREAT! Honestly, I think they are TOO GOOD TO COVER!!! But in the end, I have to agree that for as much effort, care, and “love” that went into them – while I hate to see them go, there’s really no better place for them than inside of a road-going E-Type!
If you would like a pair for YOUR E-Type – call or write to us and we will build you a pair for your 3.8 FHC or OTS!
NEW 3.8 OTS (Roadster) and FHC (Coupe) seat shells like the ones featured in the photos below are AVAILABLE! Call or write if you would like to purchase a pair for YOUR E-Type! – Chuck
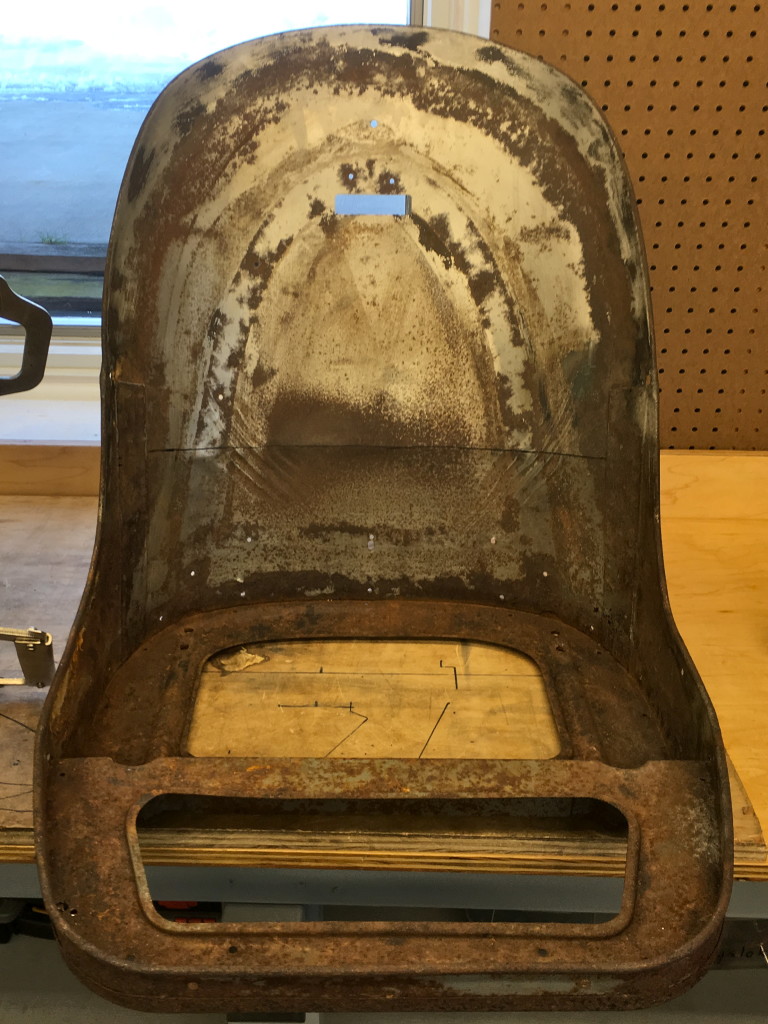
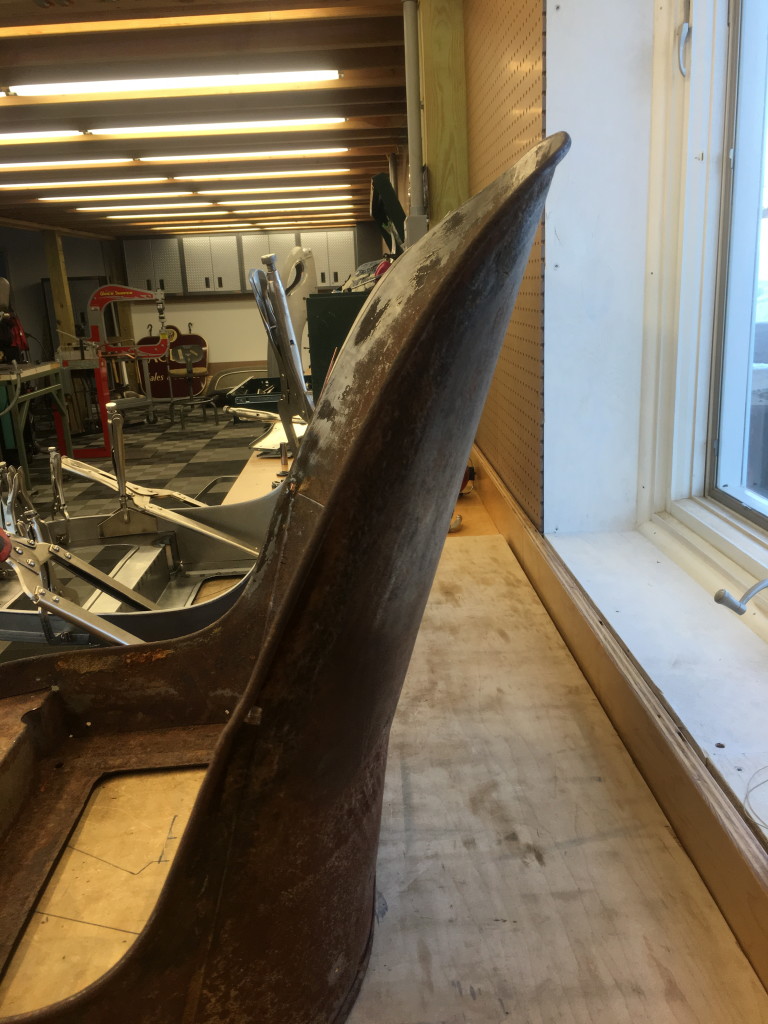
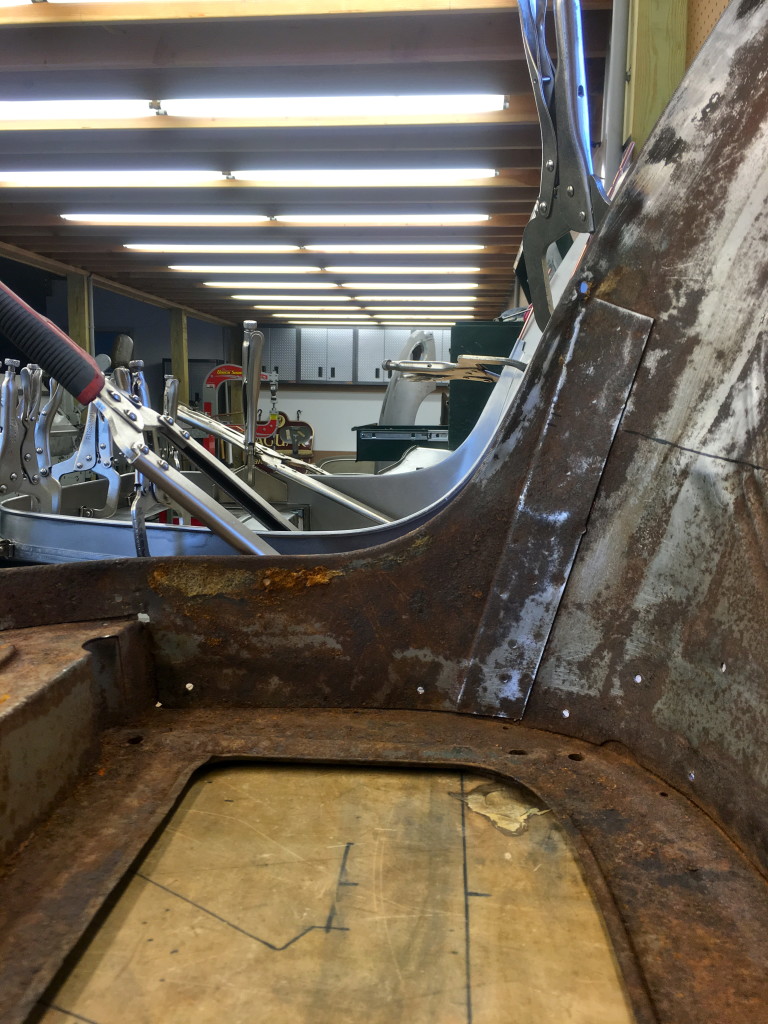
- Here is where it all started – I grew up in these seats… These are the original seat shells from my 1963 roadster – and as you can see, they have seen better days! Unfortunately, I have lost track of which is which, but it doesn’t matter – between the times I had in one, and the people who rode in the other, they are both priceless to me. We used these, plus some other seats we had – coupes and roadsters, 8 in all – to pattern the new 3.8 seats.
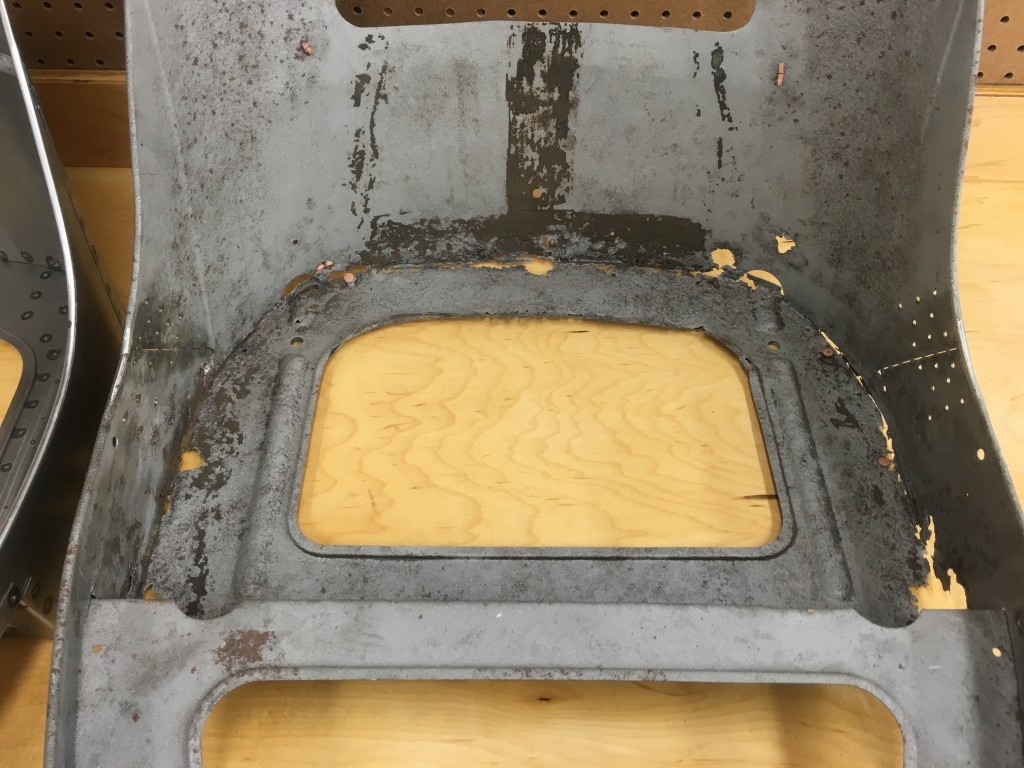
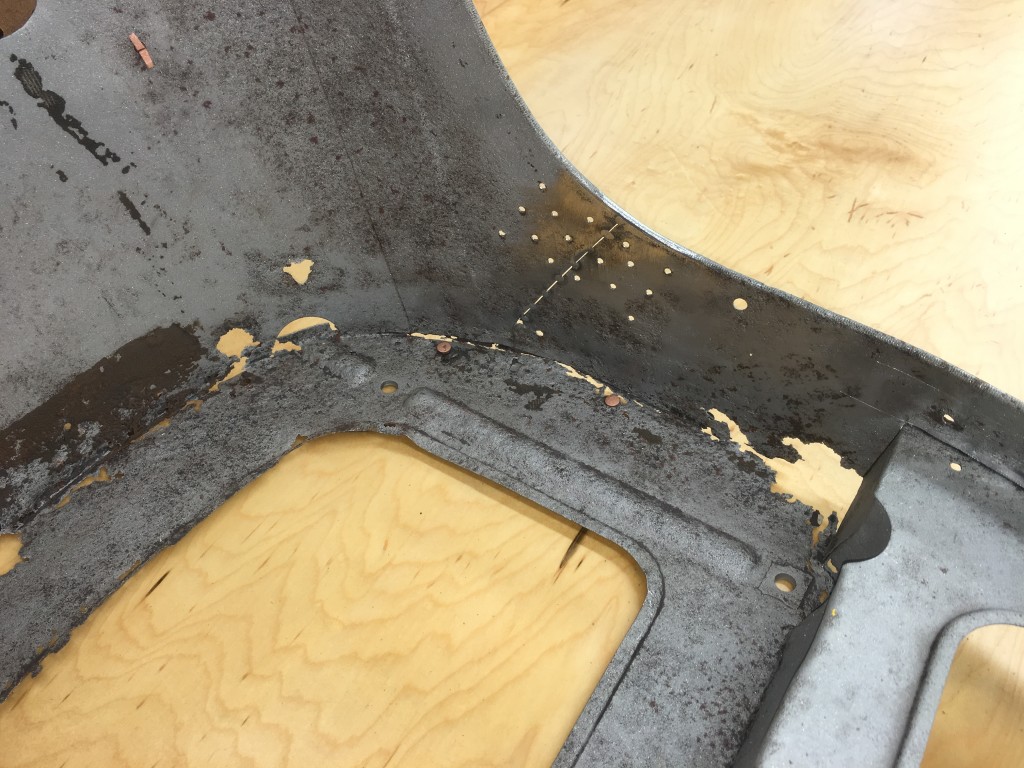
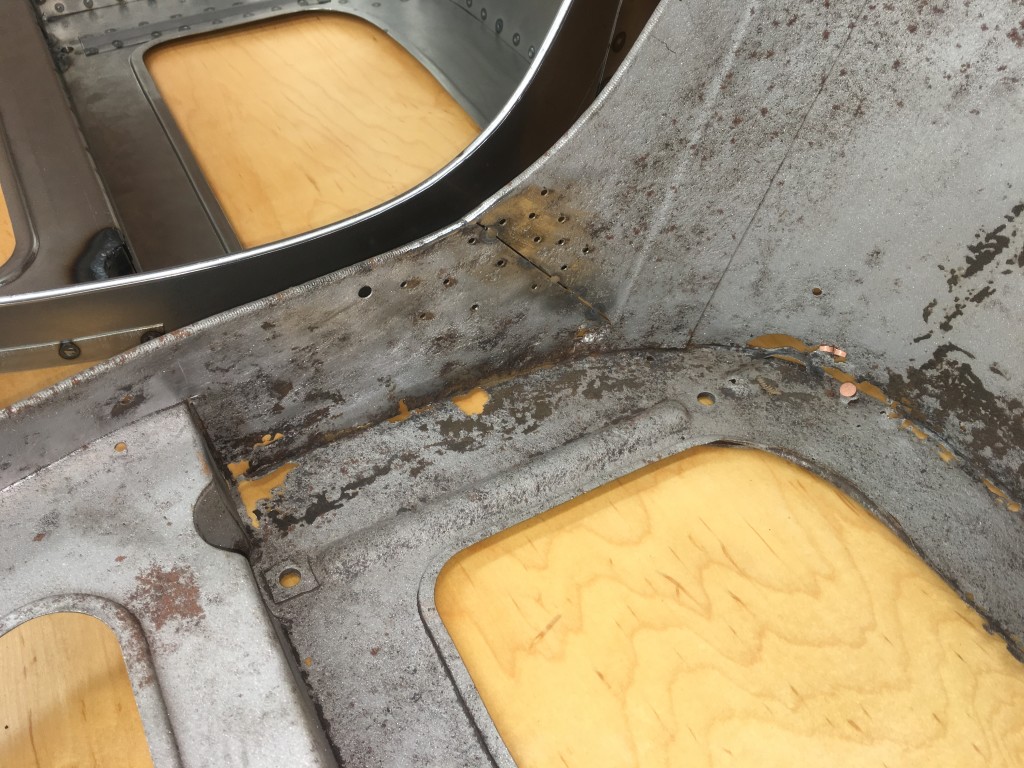
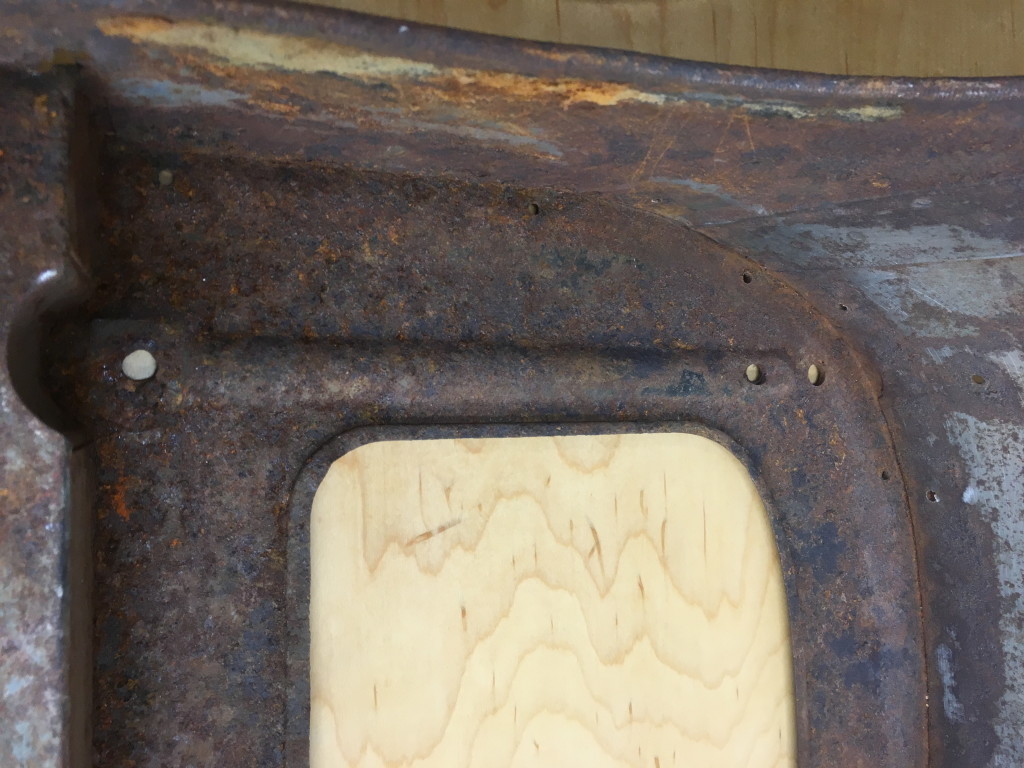
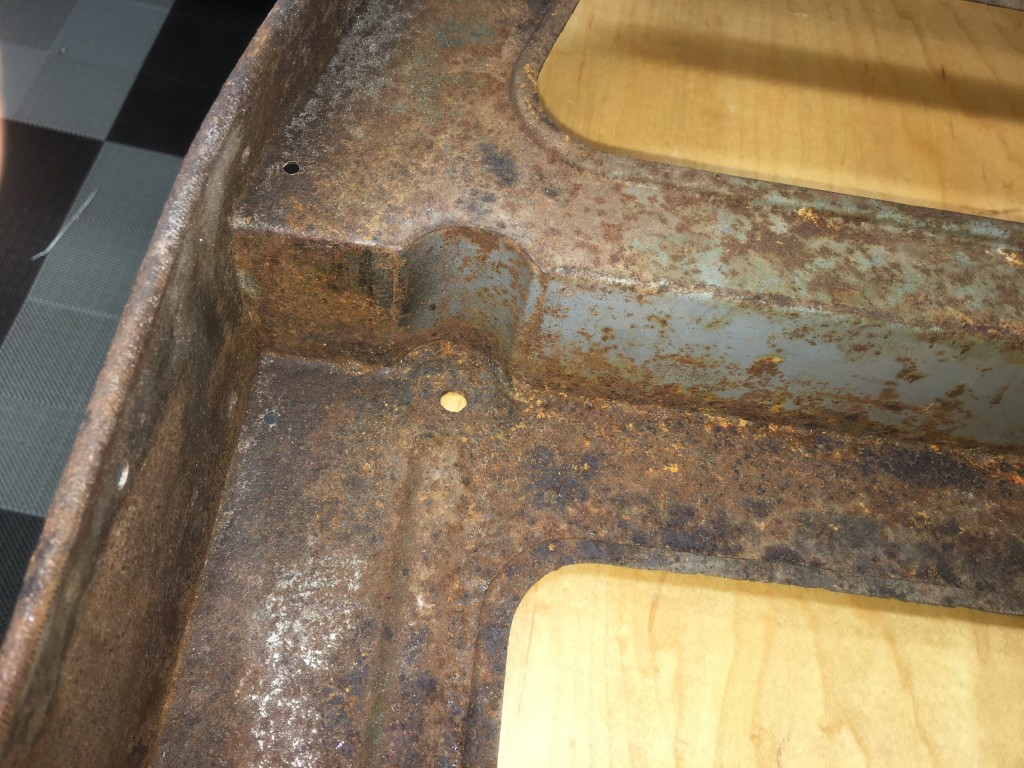
- As you can see, my seat shells turned out to be REALLY rotten on the bottom…
- …and it makes me wonder how much of this corrosion is due to the large Diet Coke that one of my college girlfriends dumped on my head while sitting in it?…
- …but that is another story… Let’s just suffice to say that these seats have seen ALOT of miles…
- Here’s an early photo from the prototype seats for a FHC – that was what we had an order for that I finally decided to accept and agree to build them. This set is going to France if they turn out OK.
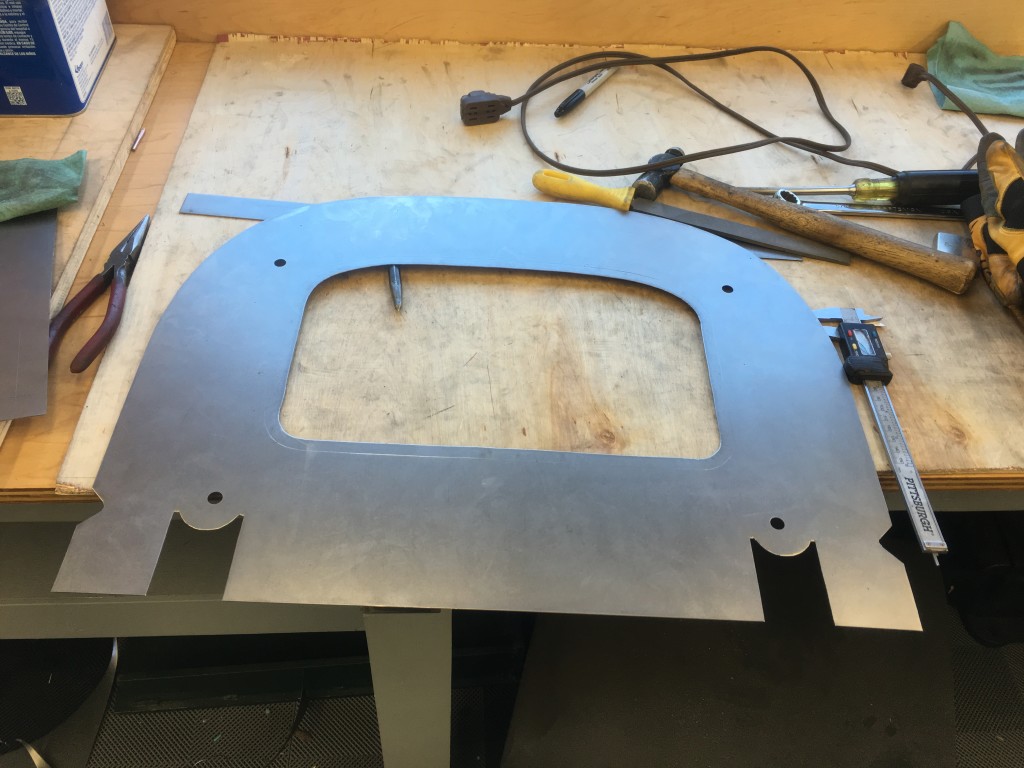
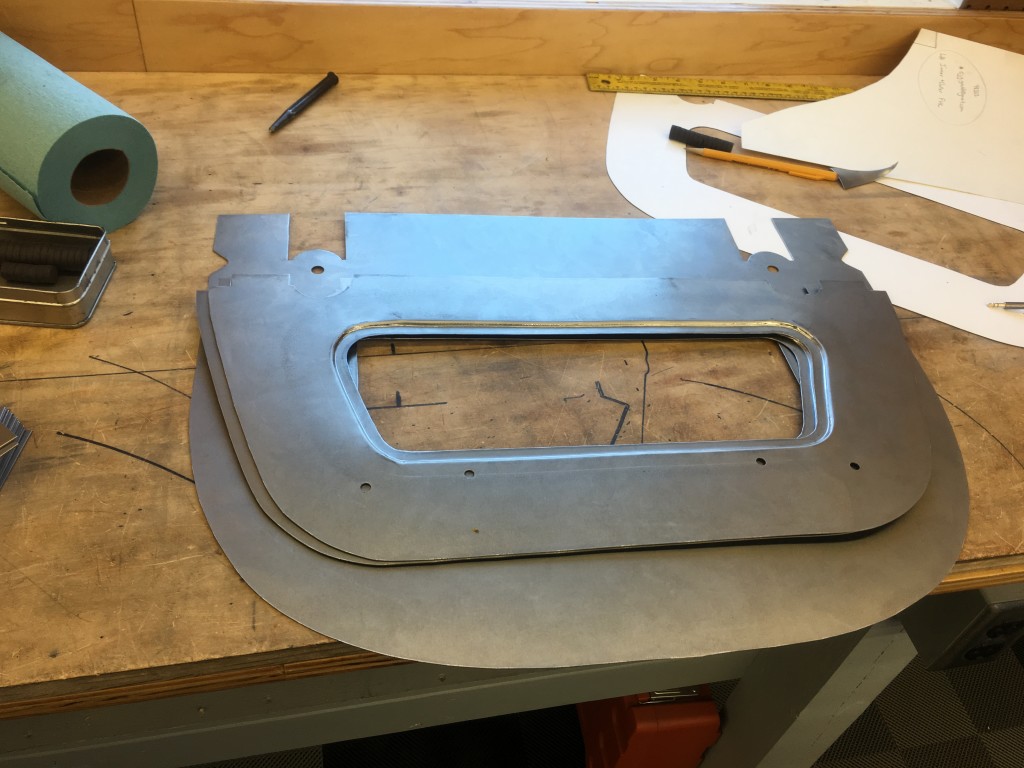
- One of the early challenges was this strengthened edge in the seat bottoms. We managed to get this in there without distorting the base with some careful rolling and shrinking/stretching…
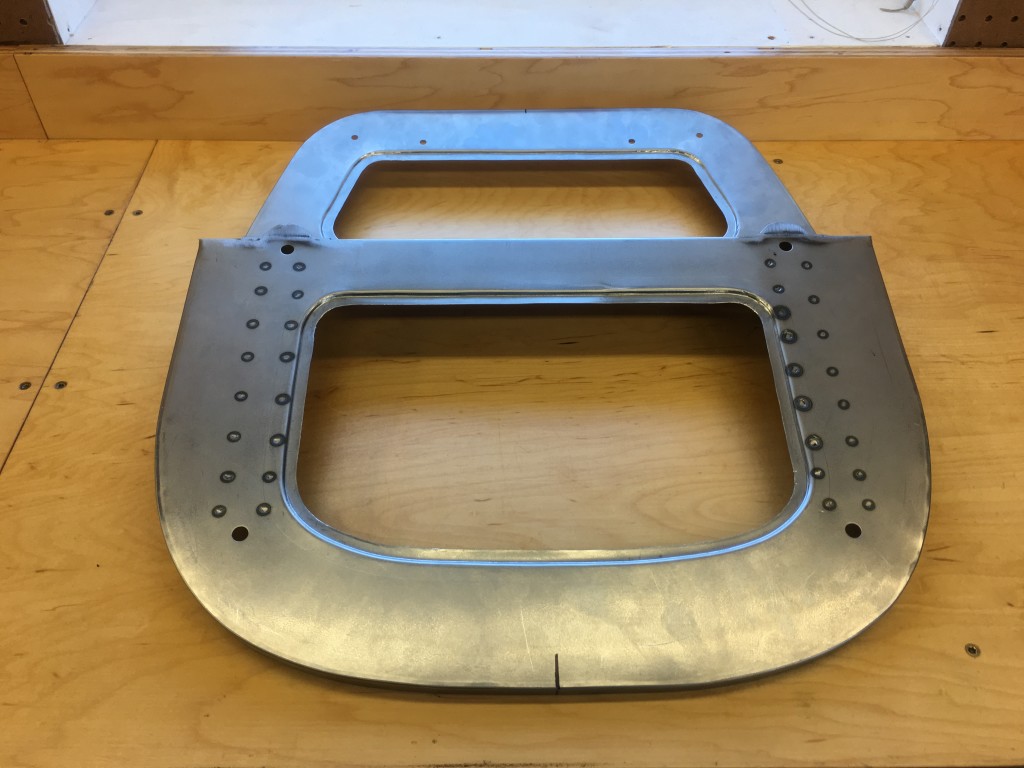
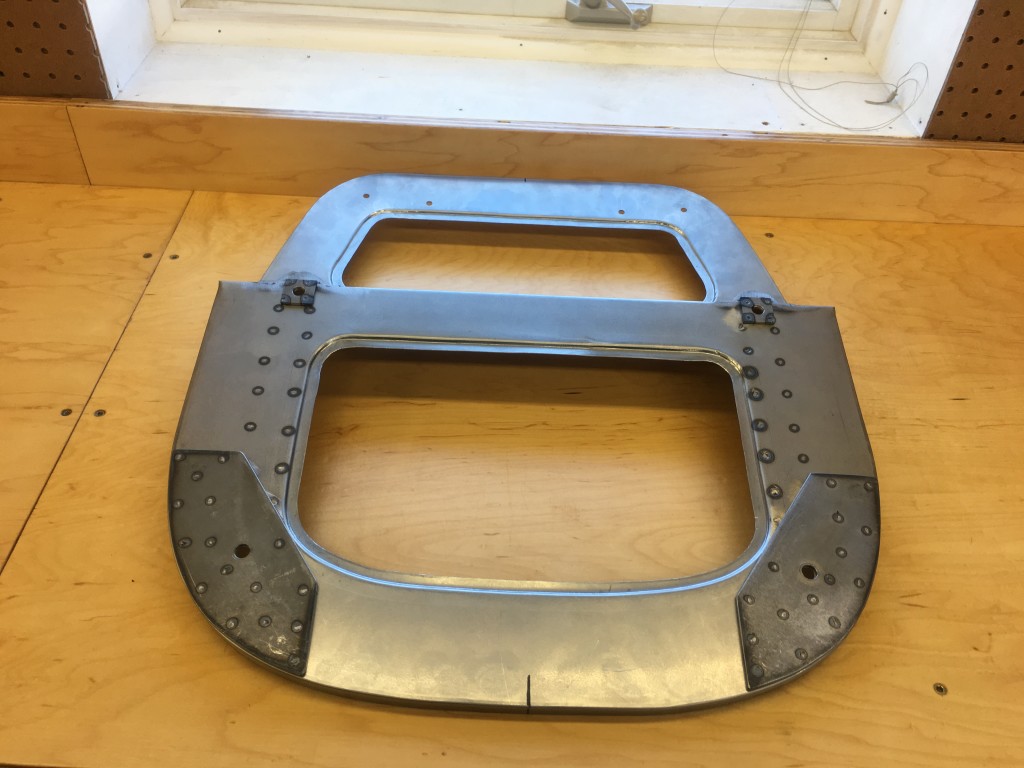
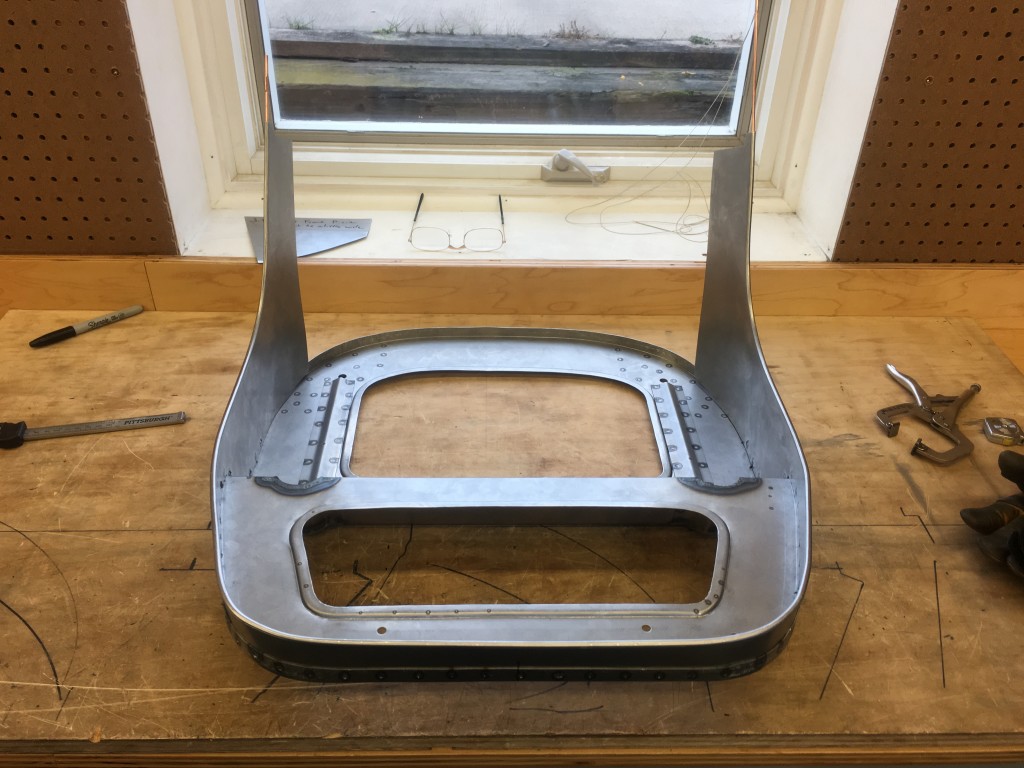
- Skip forward a few steps, and we have attached the two bottom halves now. The original seats were all one piece for the bottom, but the truth is that we could not fit that in either one of the brakes to make the bends after the edges were turned up – and we didn’t want to turn the edges up after it was bent, so we made the bottom in two pieces. This actually worked out well in the end, and also added strength to the bottom.
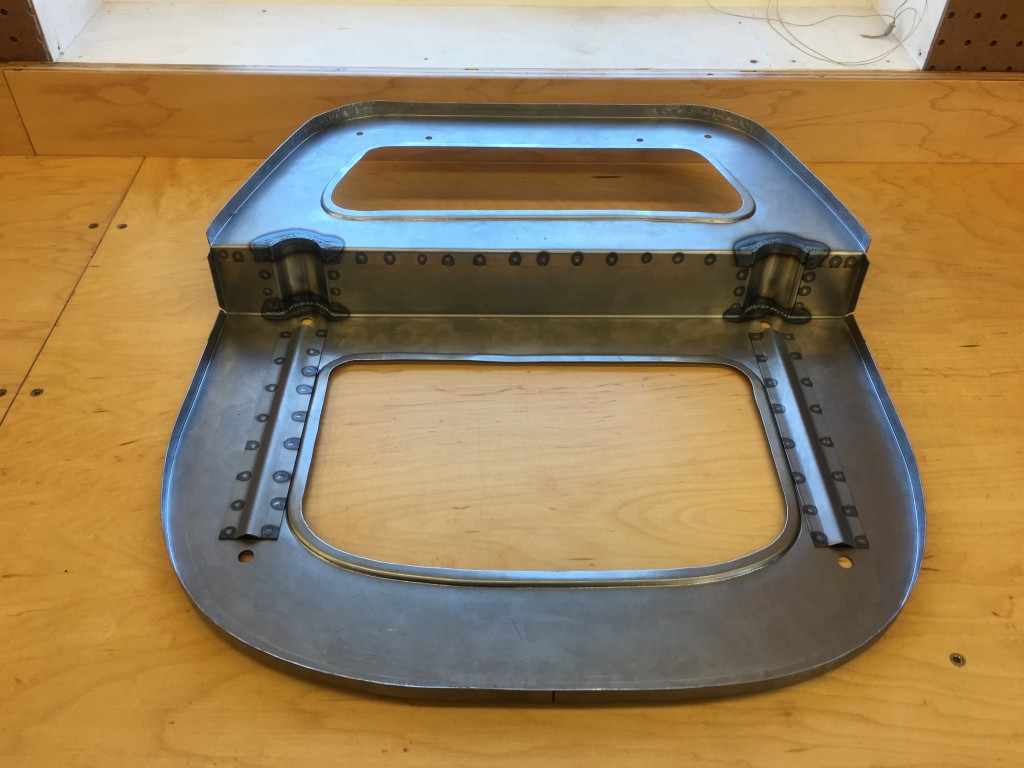
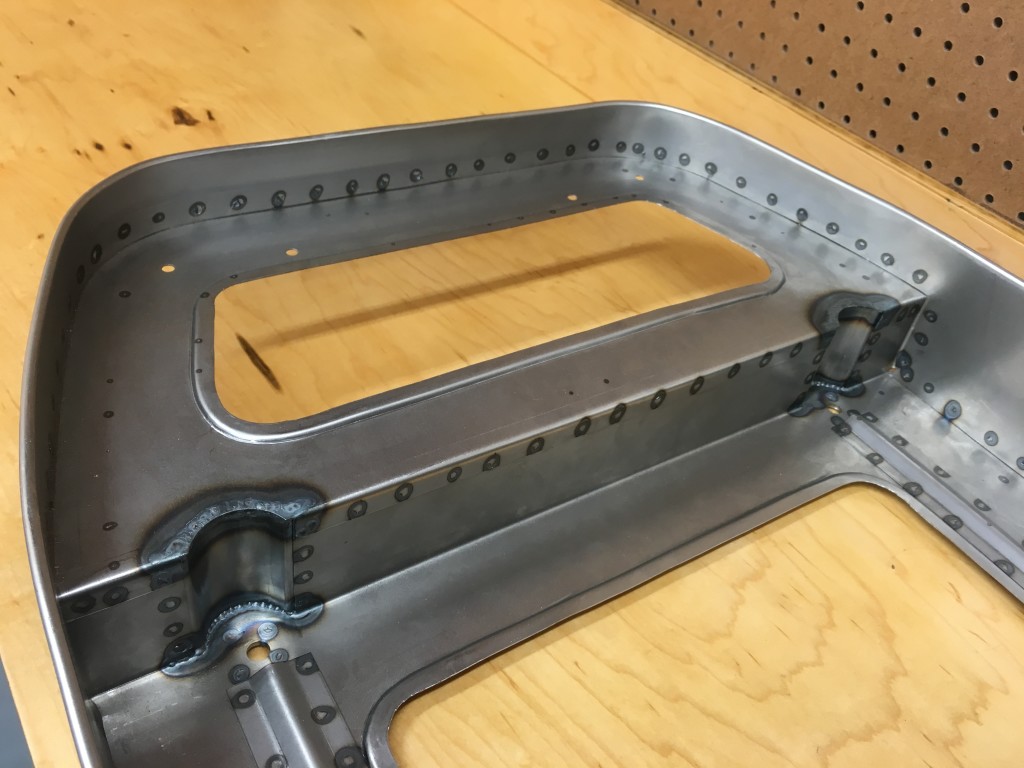
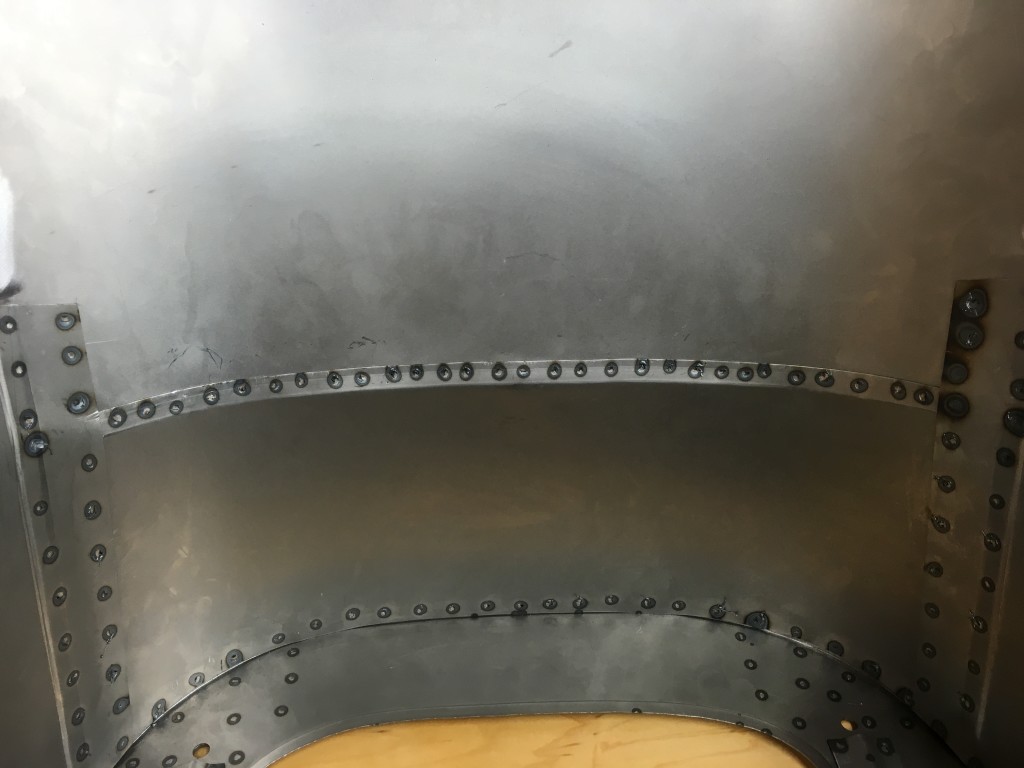
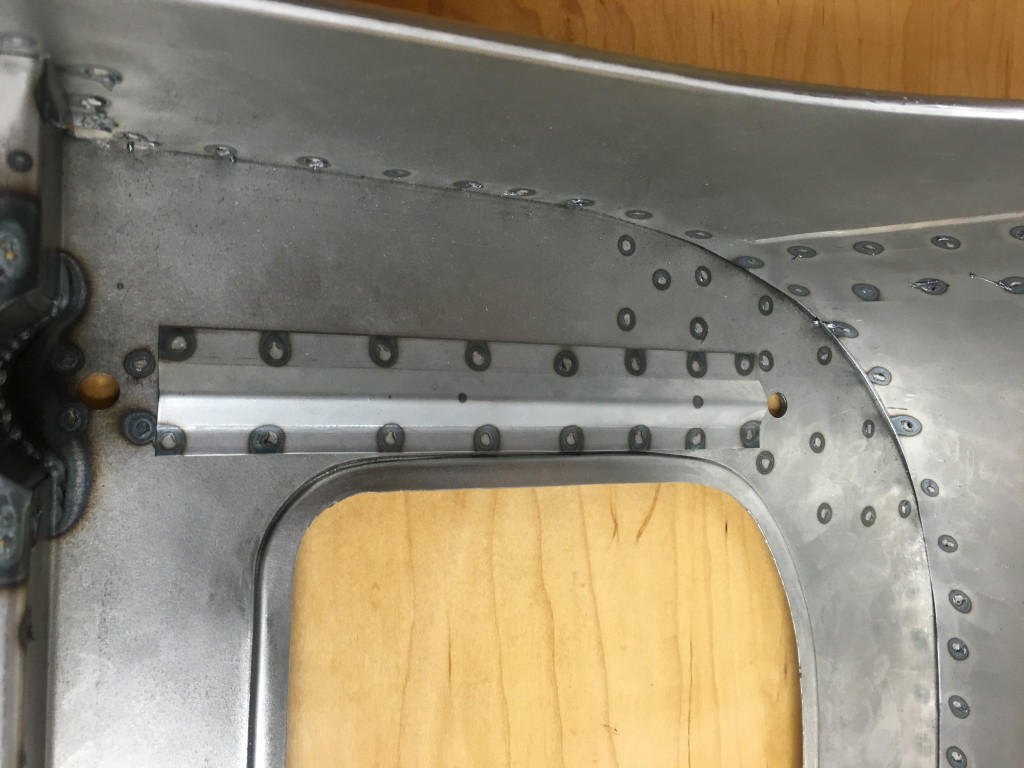
- Here is the seat base from the top side. OUr next little variation was to use welded on strengthening ribs instead of rolling a bead into the base. We could have rolled in the bead, but would have had to tool up for that with a special roller since it is so close to the turned edge of the inner holes. This ALSO turned out to be better – as you could tell it made things ALOT stiffer down here – especially since the stiffener we made was in thicker 18-gauge steel.
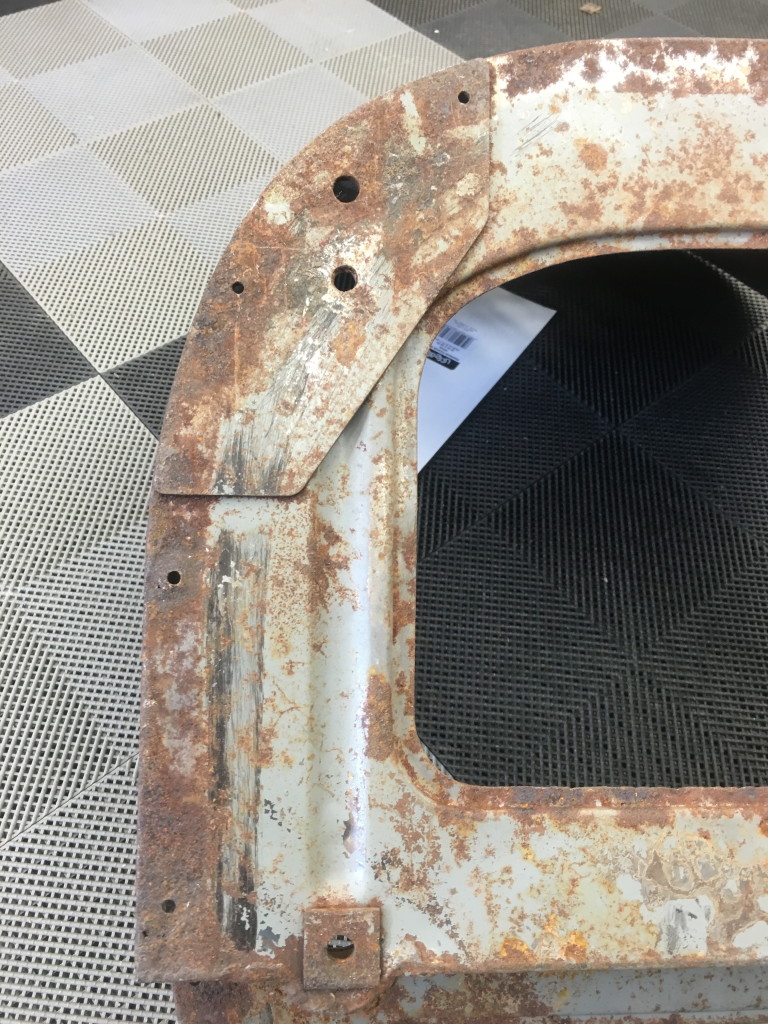
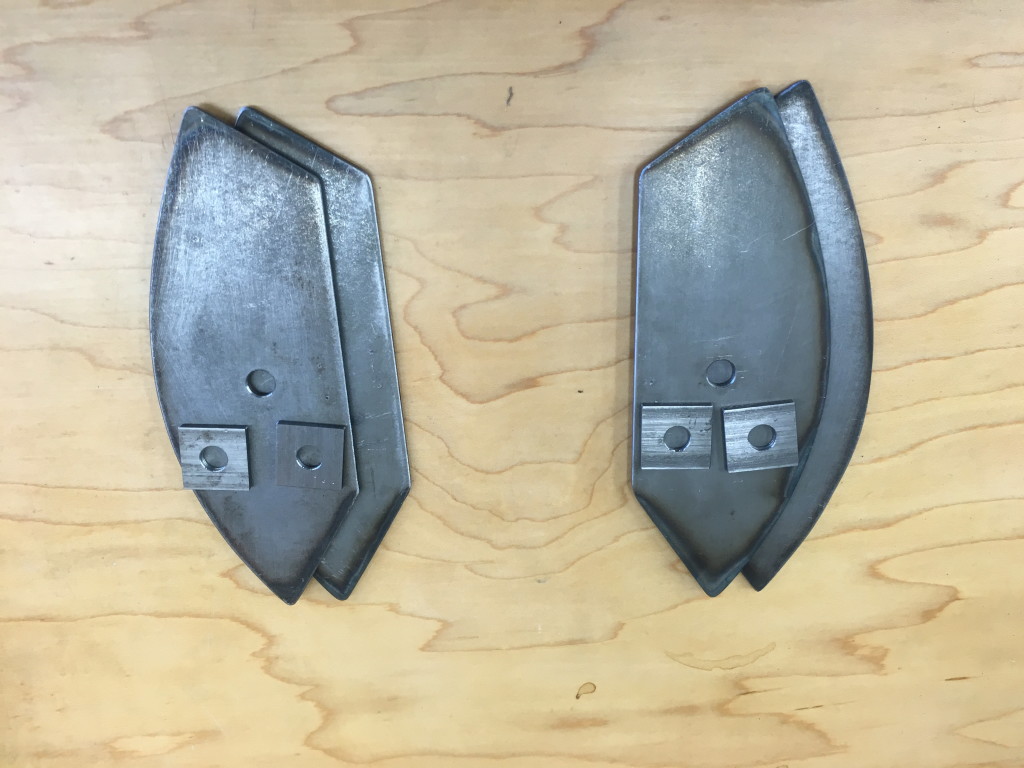
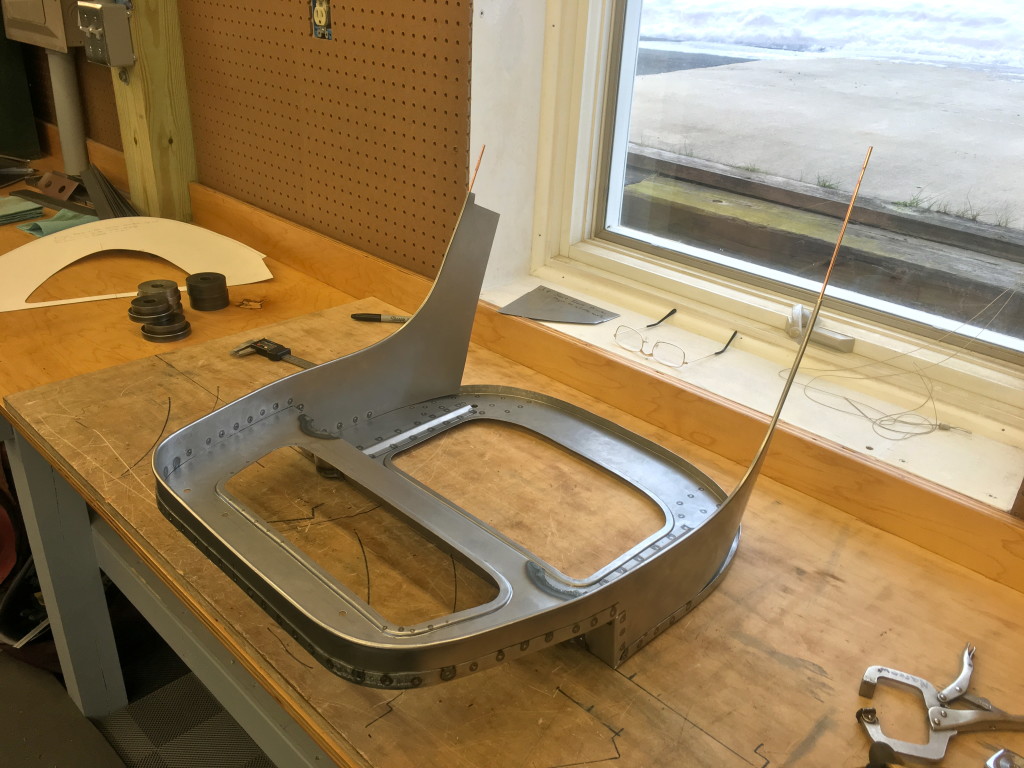
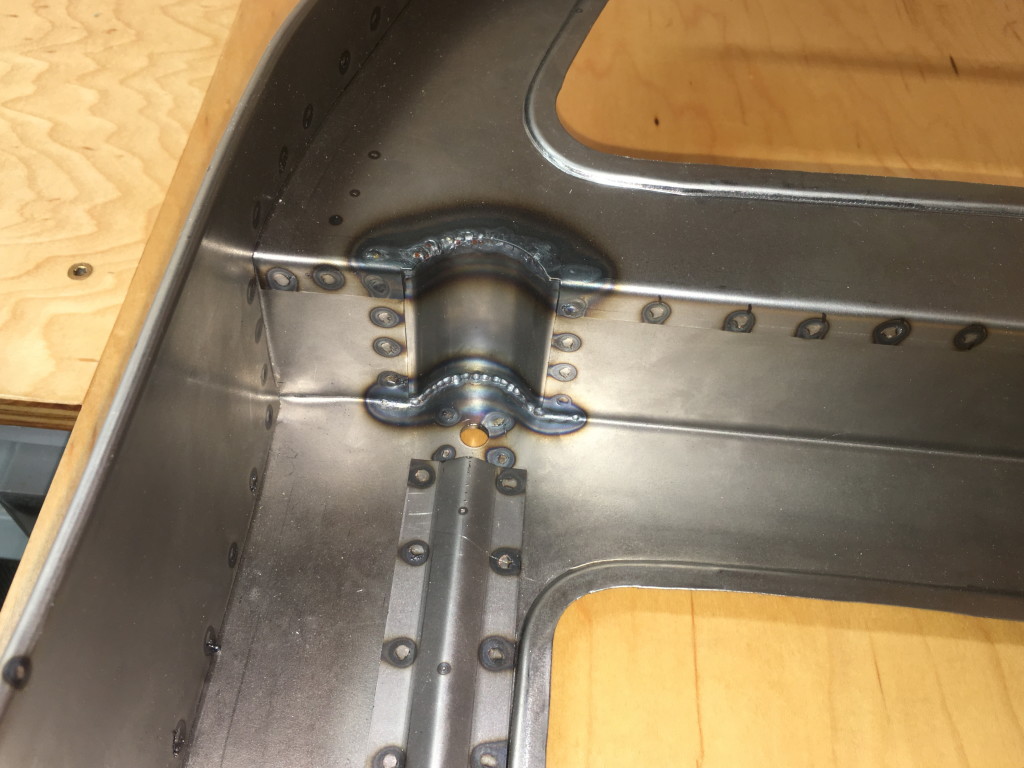
- Next, we had to tackle these large corner braces… For all of the machinery we have around here, all of it maxes out at around 14-16 gauge, and these are 1/8″ thick… Hmmmm….
- Steve ended up cutting these out for us with a jig we made, and used a plasma cutter to do the job nicely!
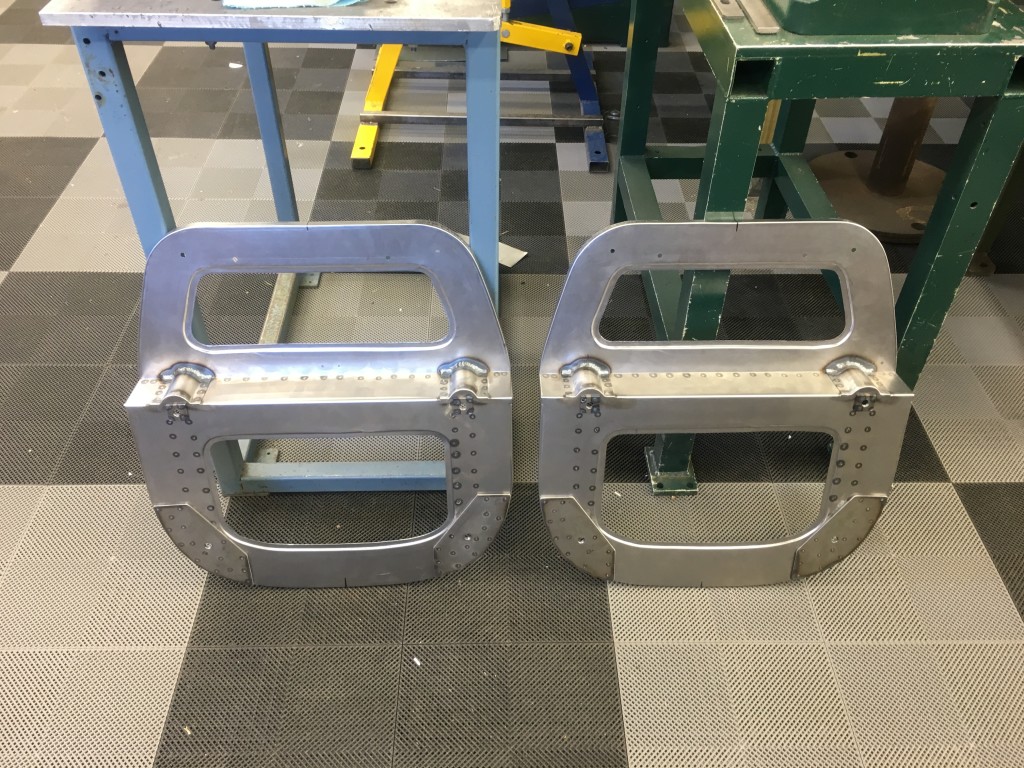
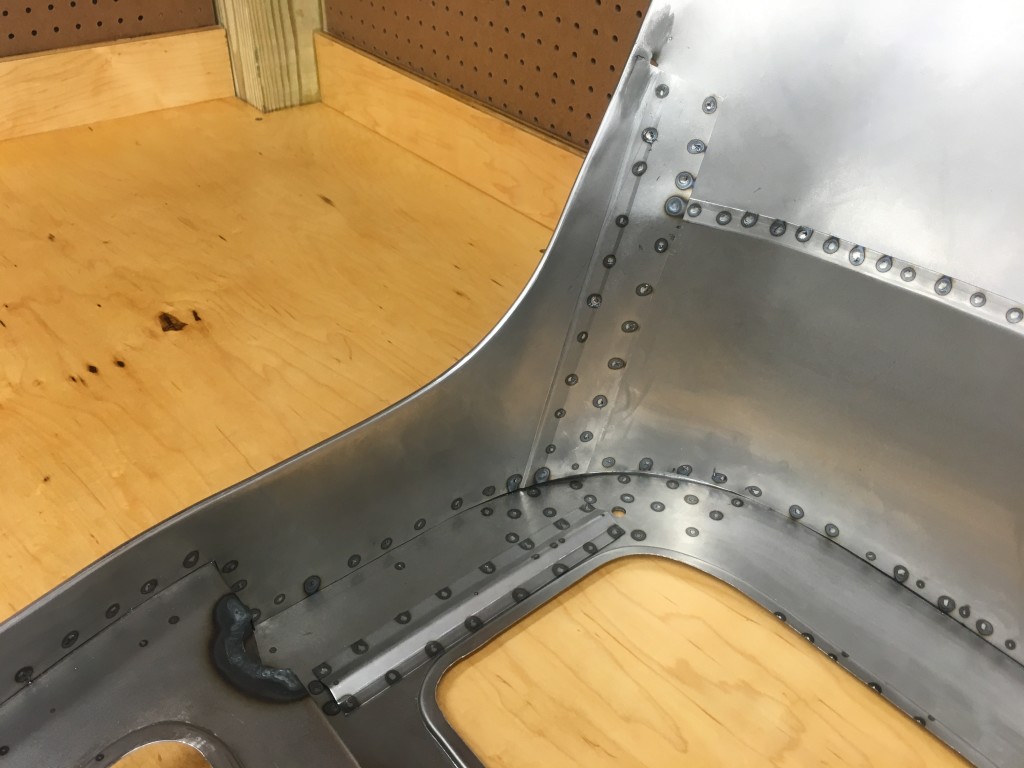
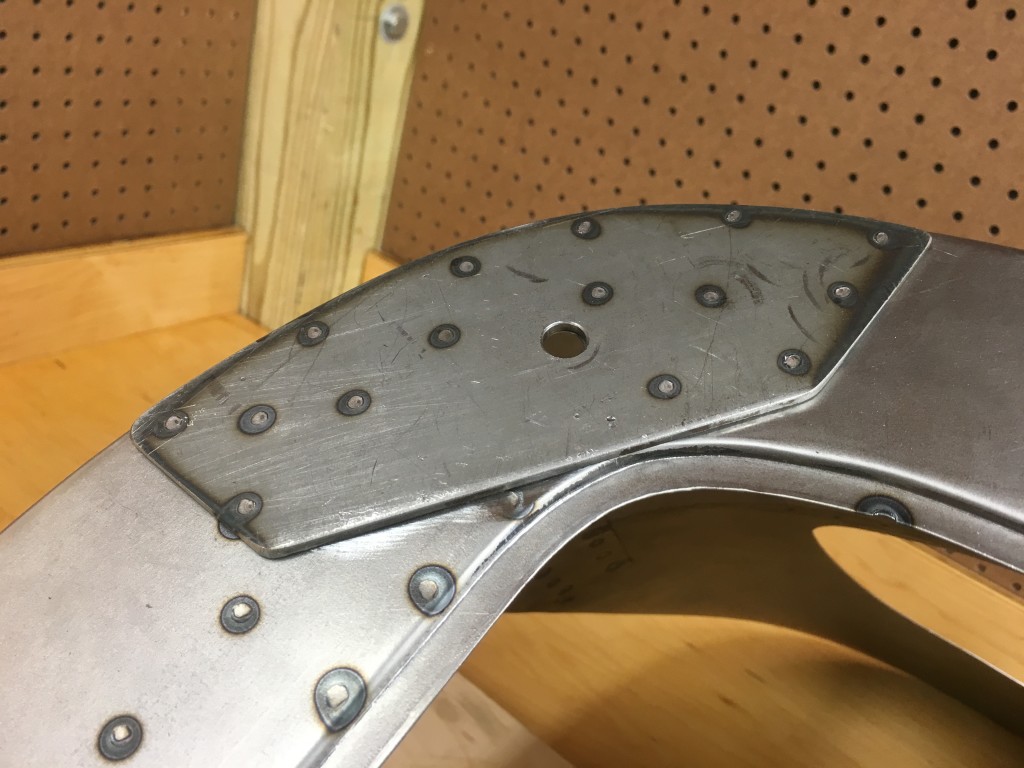
- Here they are spot-welded onto the seat bases – JUST like the original! I was starting to get REAL excited now – these were starting to look GREAT!
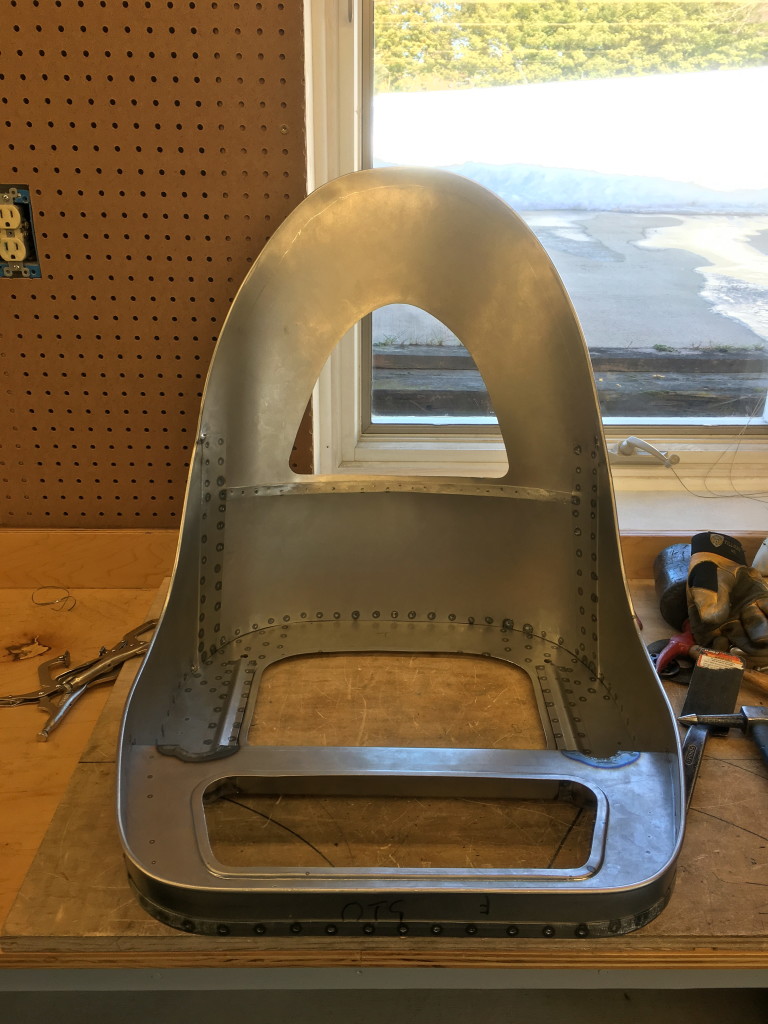
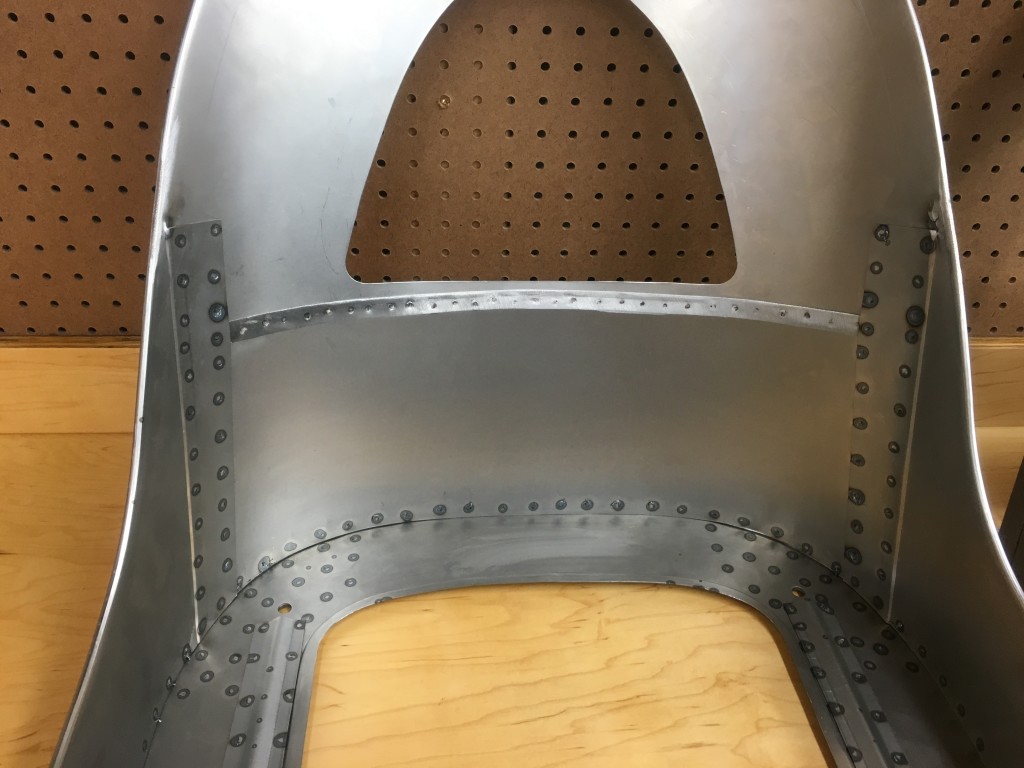
- Once they got to this point, I was getting REALLY excited – I kept telly Brent, “I think we might actually pull this off!” Those little half-round channels were a real pain – and in the few reproduction seats that I have seen, they usually skip or omit that in some way – which depending on how they get around it, is either going to screw up the seat cover shape and fit – or the ability of the seats to fit the factory seat tracks and slide fully… One great thing about reproducing the seats EXACTLY – including their construction methods as closely as we could, is that we can also sell bases only to repair your existing seats – something I didn’t actually even think of until I saw these finished!
- Here is the “Master” Coupe seat… This was actually not a bad original, and with a little repair work and a good blasting, will be a good seat again!
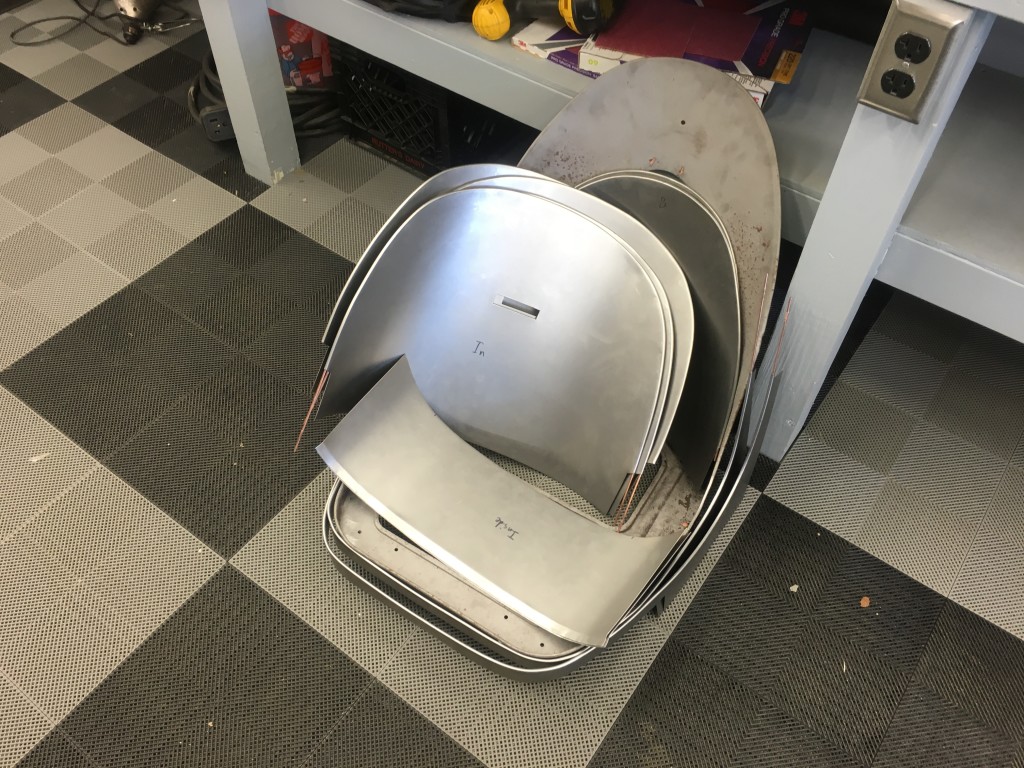
- Here are all of the pieces for the front and back sections of the seats – ready for assembly. That is ALOT of linear feet of beaded edge – all the correct diameter with e-coated rod, and all expertly rolled in by Brent!
- OK – we’re underway! But I soon found out that starting with the back was a BIG mistake…
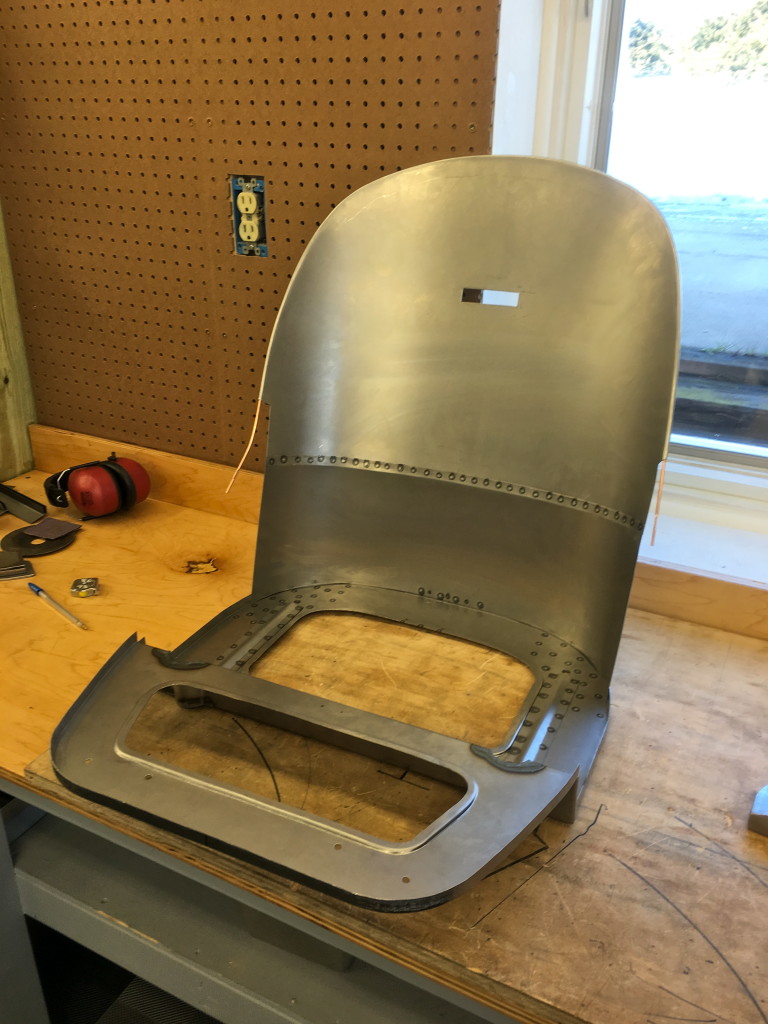
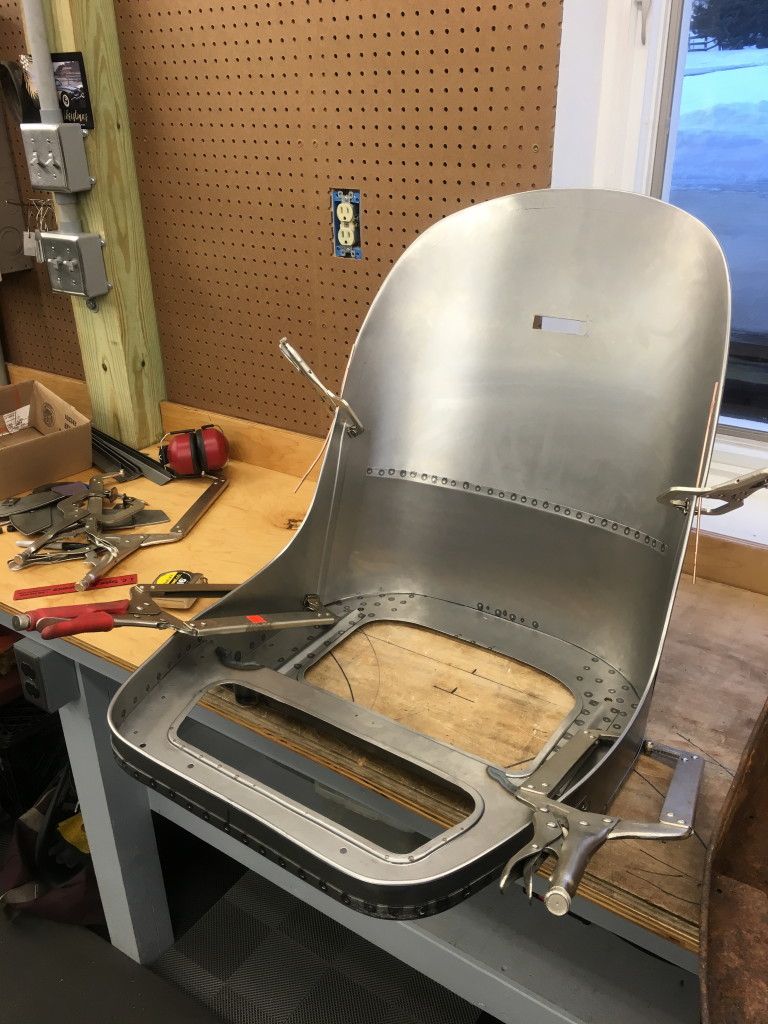
- Here are things being mocked up – despite out best efforts in shaping the pieces ahead of time, getting them to play nicely together was a real fight!
- And all through the asssembly of this first seat, we were careful to make sure everything was coming together properly – with the correct rake to the seat back, etc.
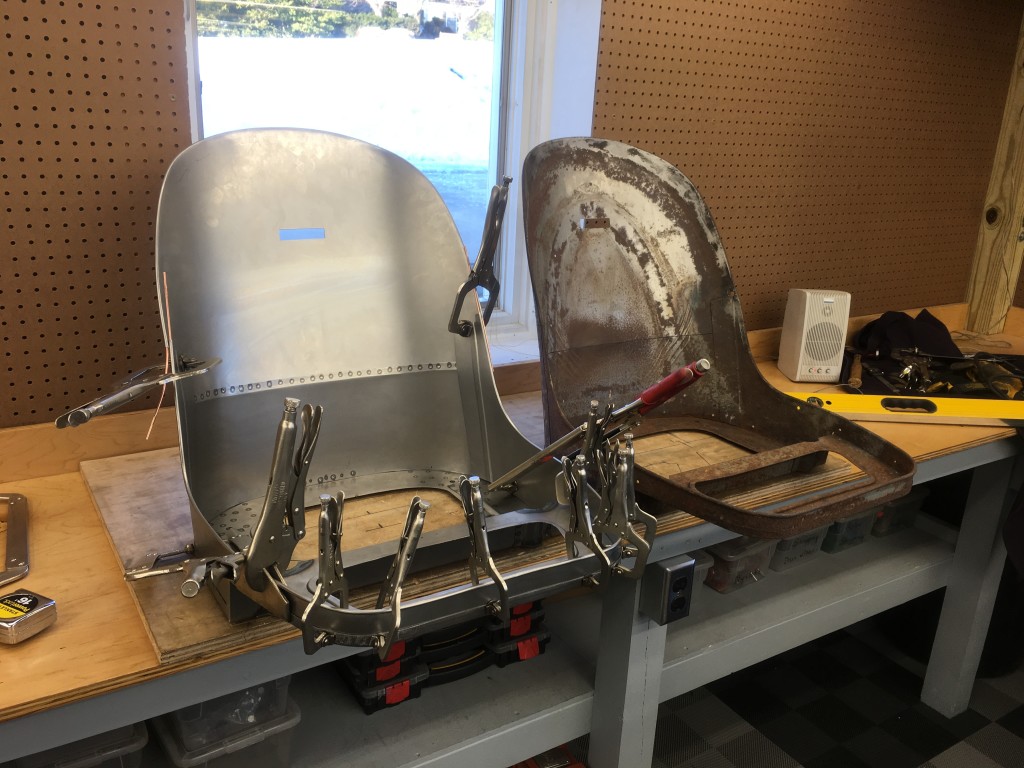
- This shot shows that the edges are identical – but also shows that the “master” seat has its front section bent downwards – VERY common we figured out when the seat bases rust and get weak…
- Coming down the home stretch!
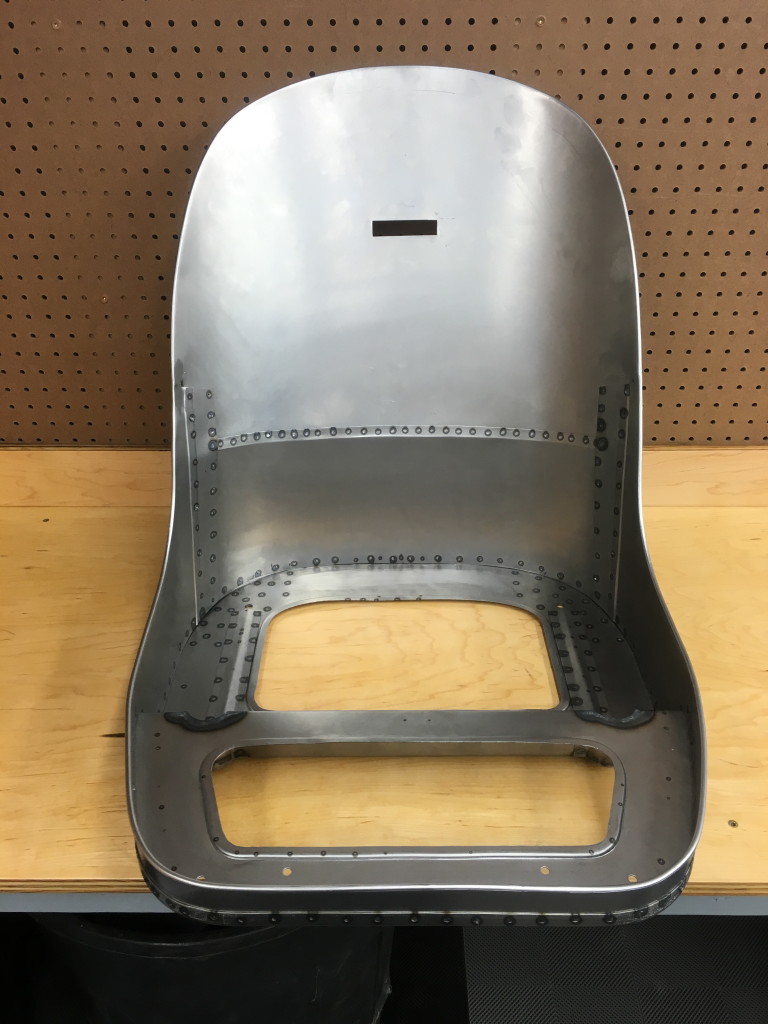
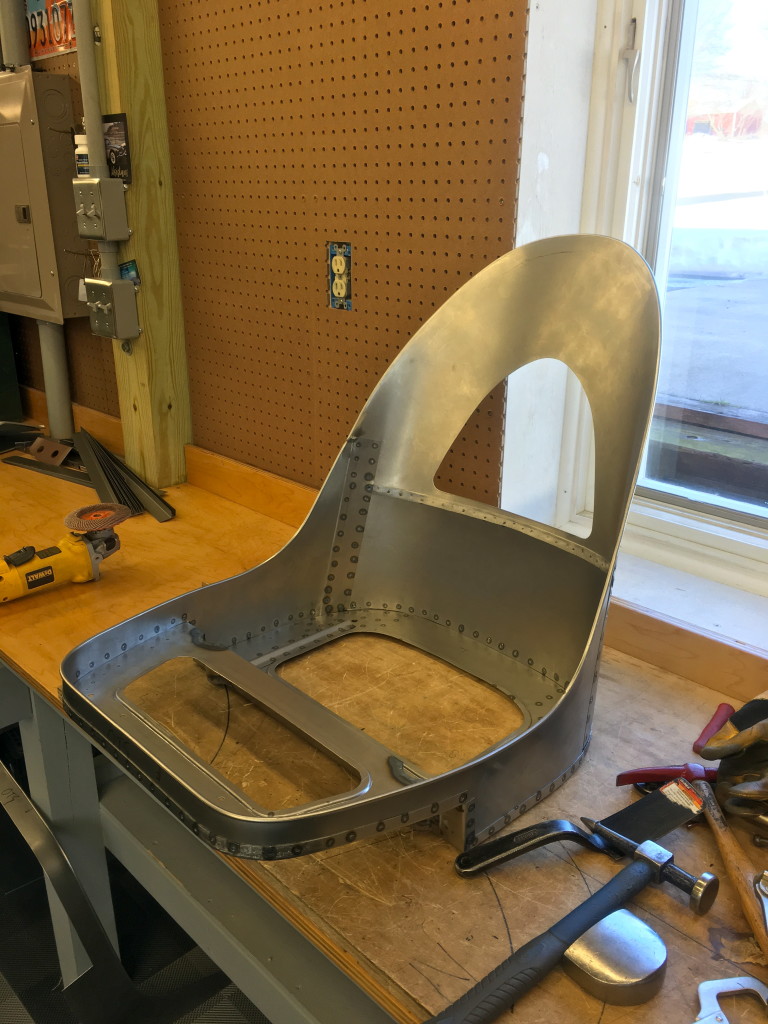
- Voila! She’s done! And I went NUTS – running around the shop and yellingabout how great it was! These pictures don’t even begin to do justice to hoe COOL these look in person when they are new like this! Something about the blue circles of the spot welds just sets them off, and they look like bomber seats from a rat rod!
- We were very careful to pull this all together just right, and it all turned out PERFECT!
- This shot shows the front section of the finished seat. Those holes up front in the bottom are for a small bracket that bolts on and holds the front seat adjuster – which ALOT of seats are now missing!
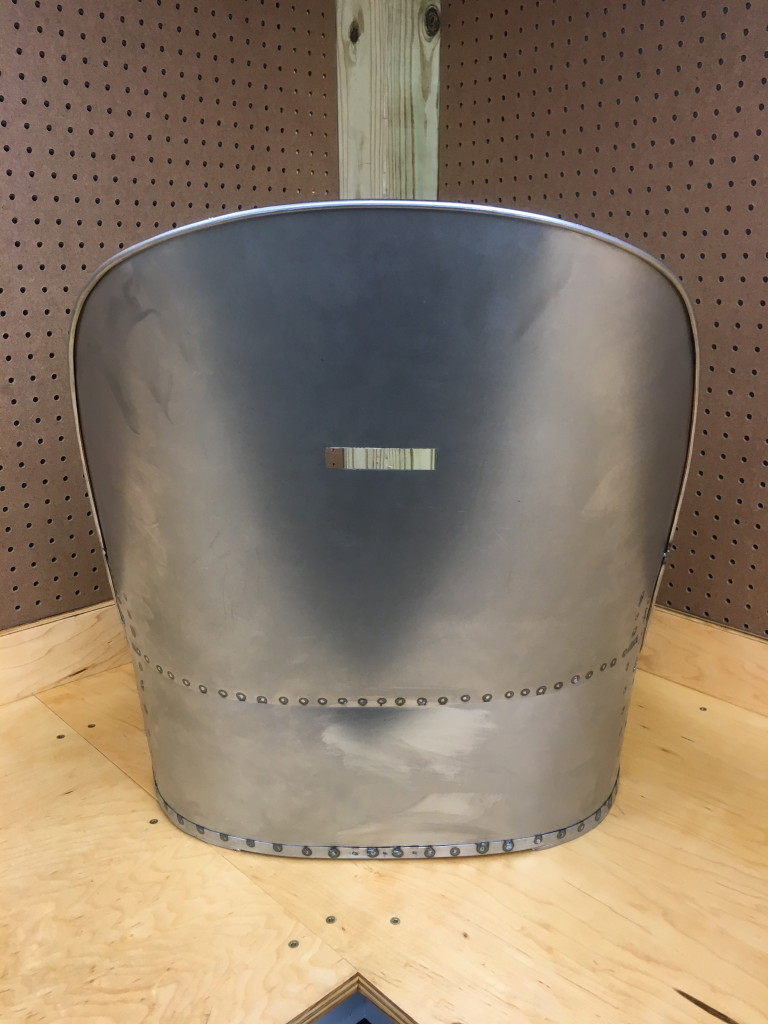
- For some reason, they don’t look nearly as cool from the back. I think because they are raked back, and with the fish-eye action of a camera lens, it makes the top look bigger than it is from this angle…
- Next, we moved on to building the second pair, and started benefitting from the lessons learned on the first pair – for example, it’s ALOT easier to put the front section on first!
- These were just plain FUN to make!
- And REALLY FUN to see finished! here is the first roadster seat to be completed!
- Are you getting this, people! Man, I was PROUD of this one!
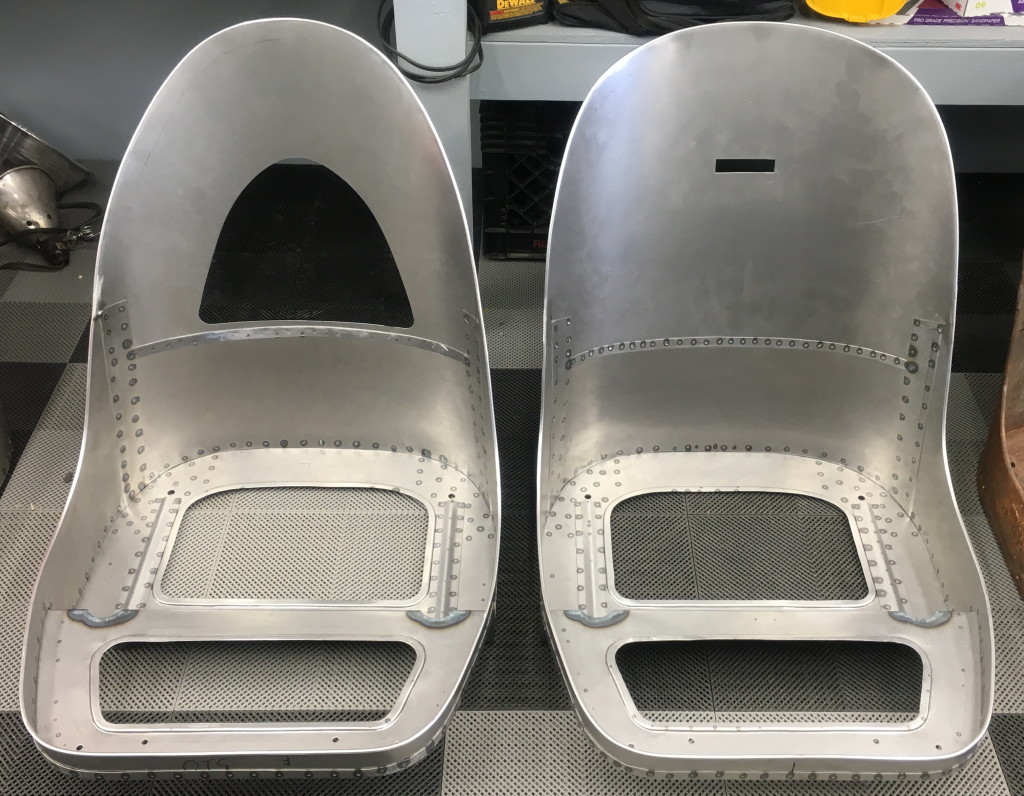
- Here is a shot of the completed coupe and roadster prototypes next to each other. Over a week of nights and weekends – stayiong late to draw and re-draw the patterns – finally pays off!
- And now for some detailed shots of the finished products – Monocoque Metalworks newest product – 3.8 E-Type seat shells!
- A pair of NEW 3.8 E-Type FHC seat shells – the first in 52 years!
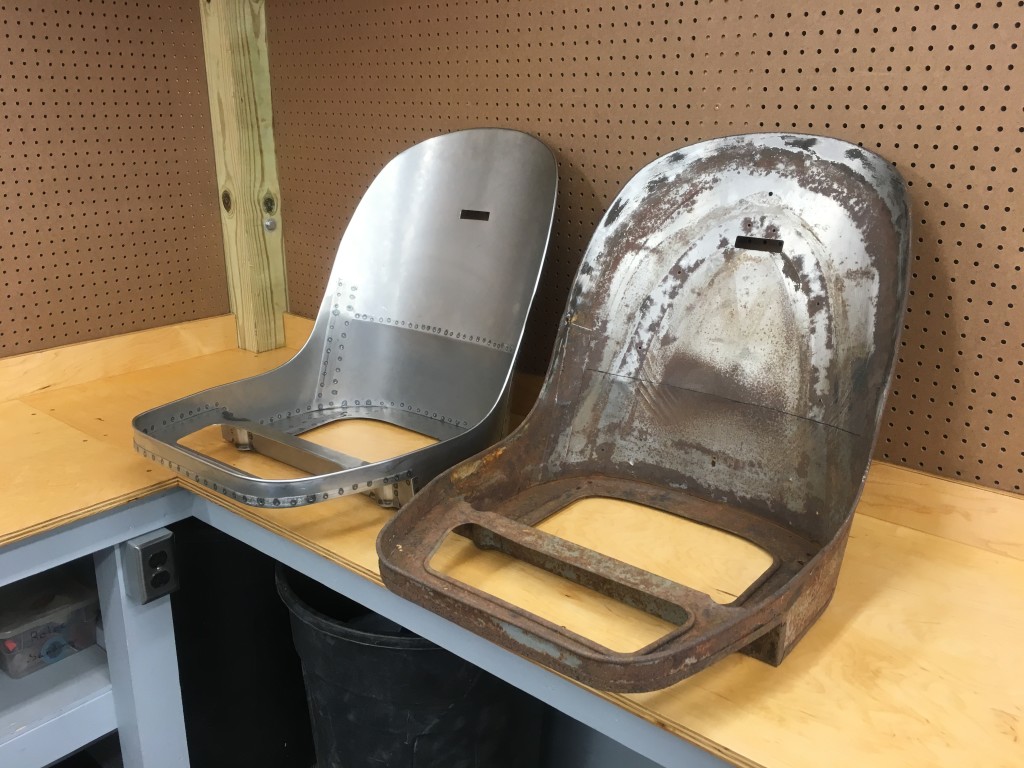
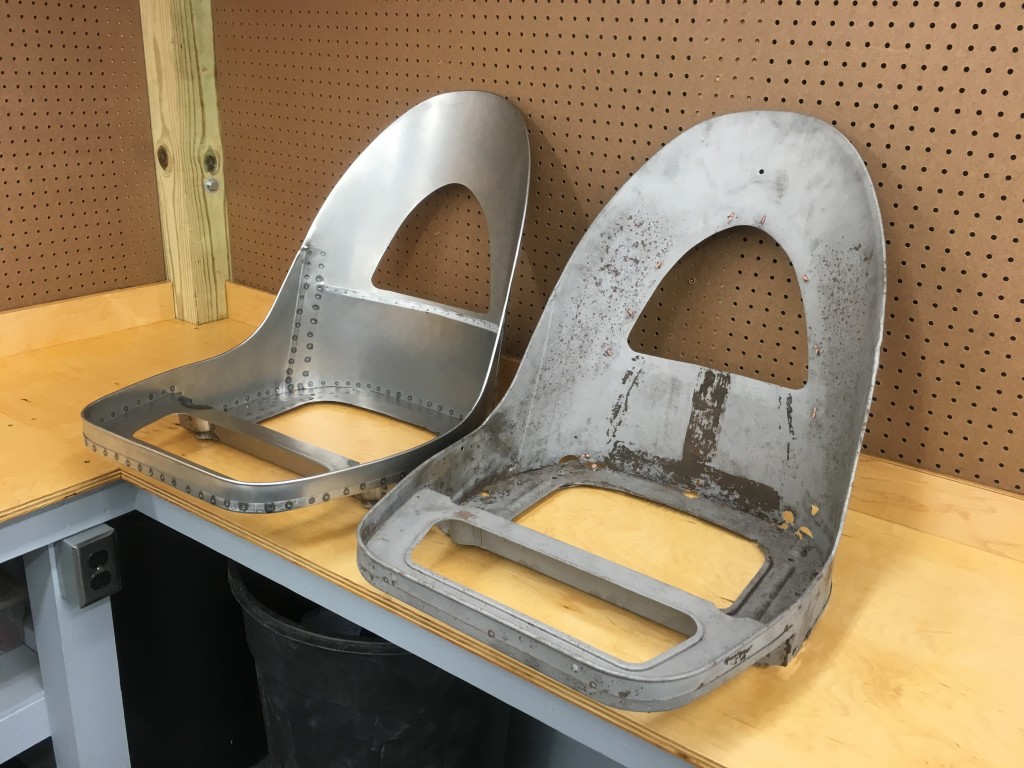
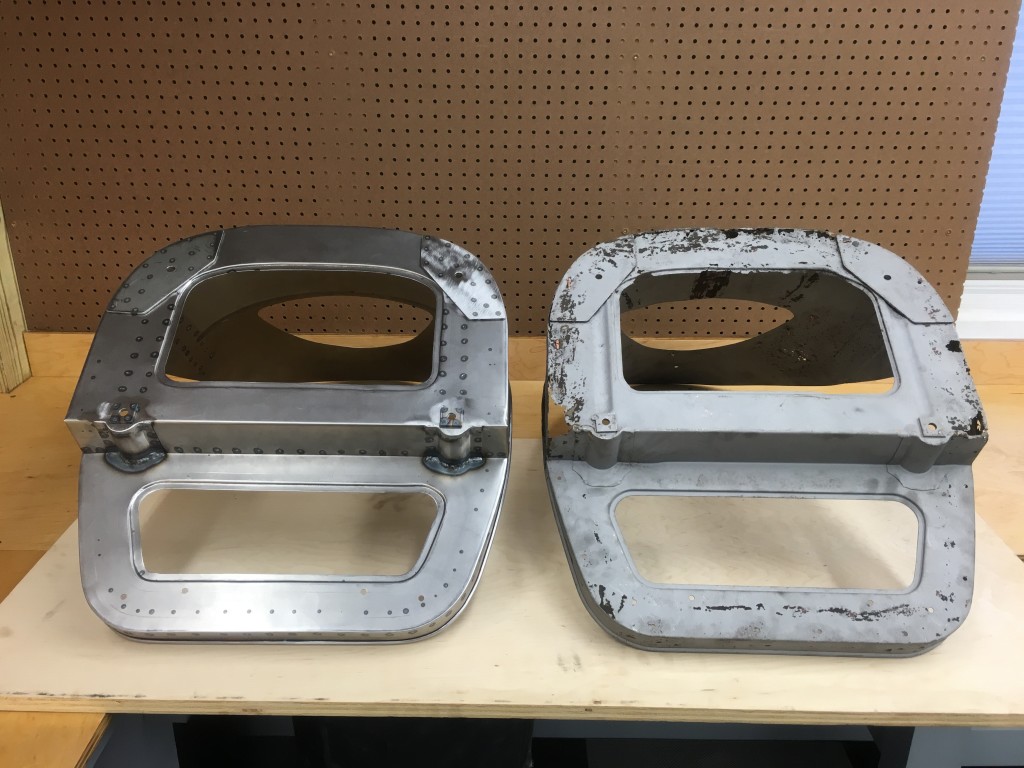
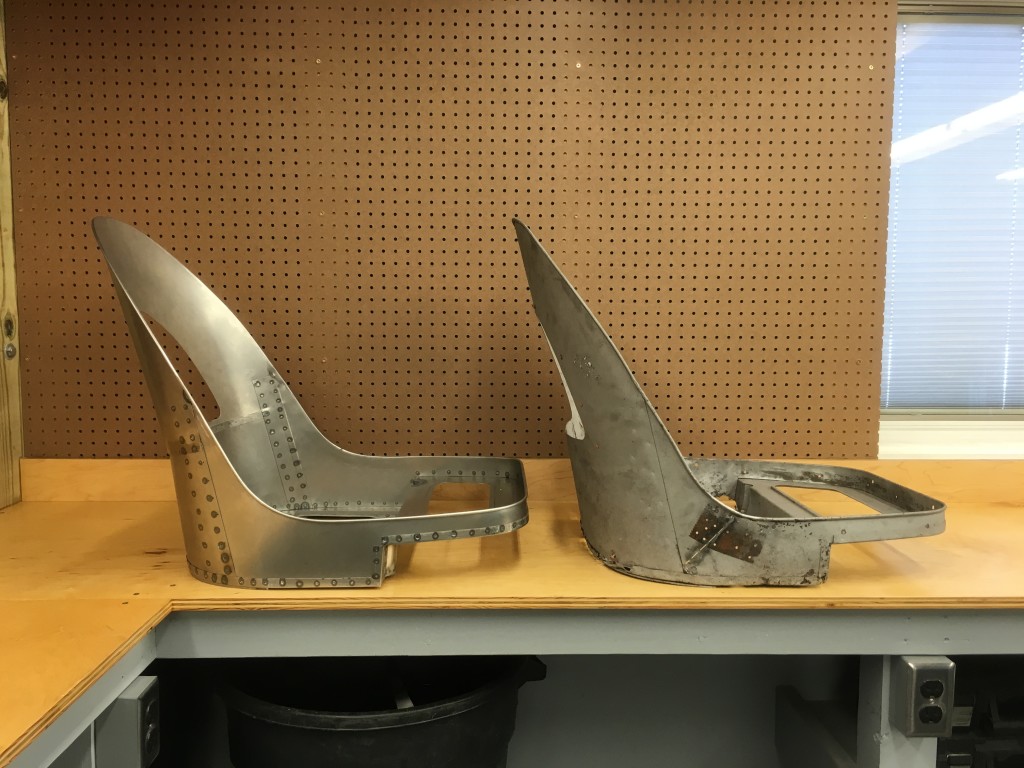
- Our new 3.8 FHC seat shell next to an original – EXACT in every dimension!
- From another angle – A pair of NEW 3.8 E-Type FHC seat shells – the first in 52 years!
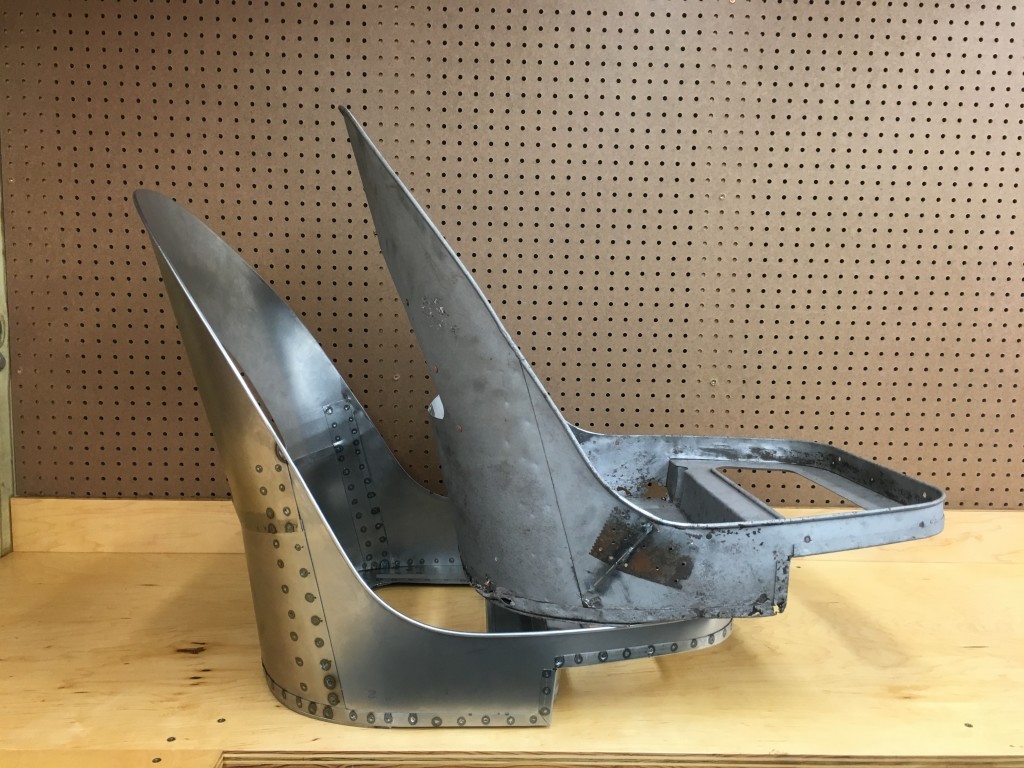
- From another angle – Our new 3.8 FHC seat shell next to an original – EXACT in every dimension!
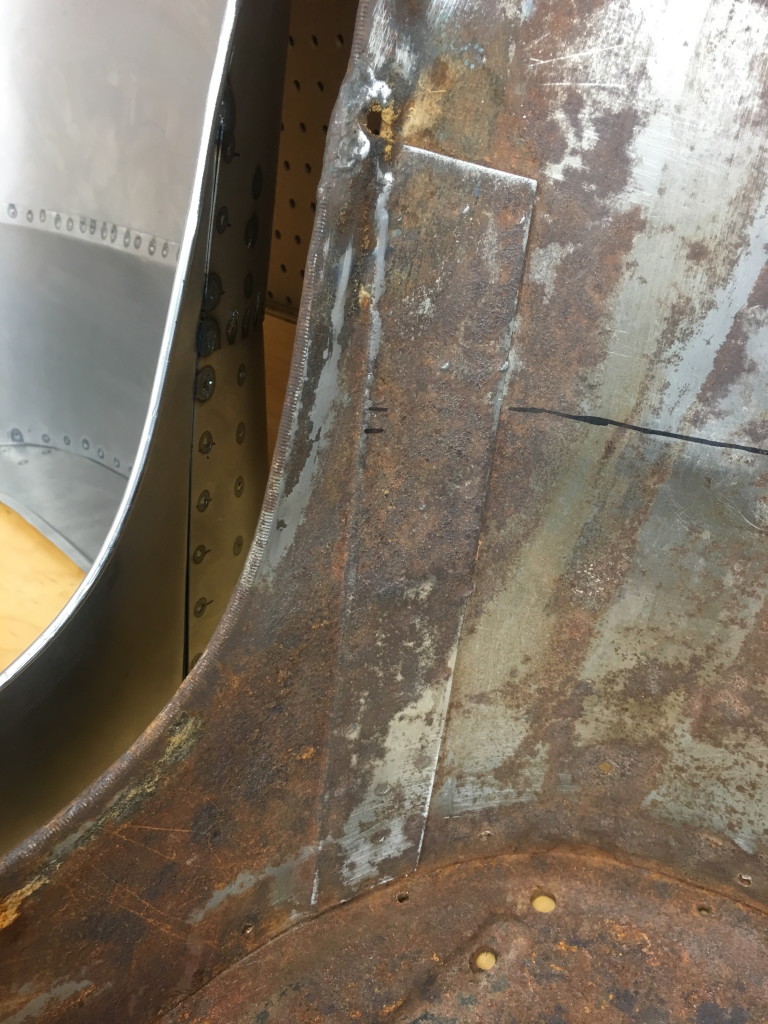
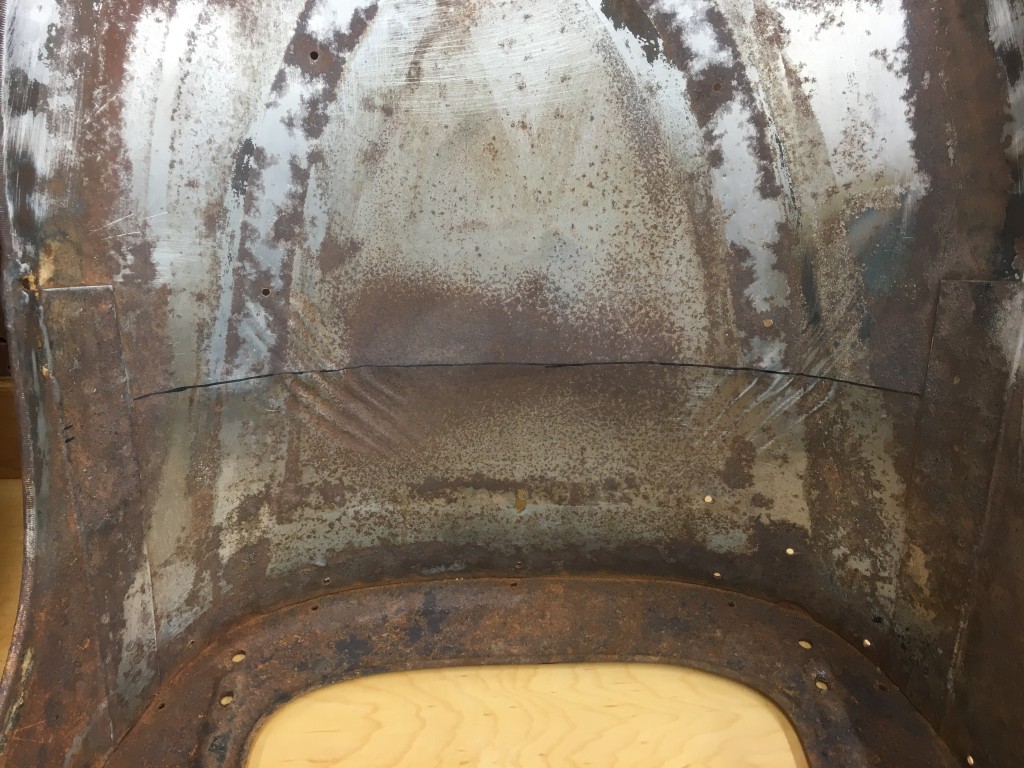
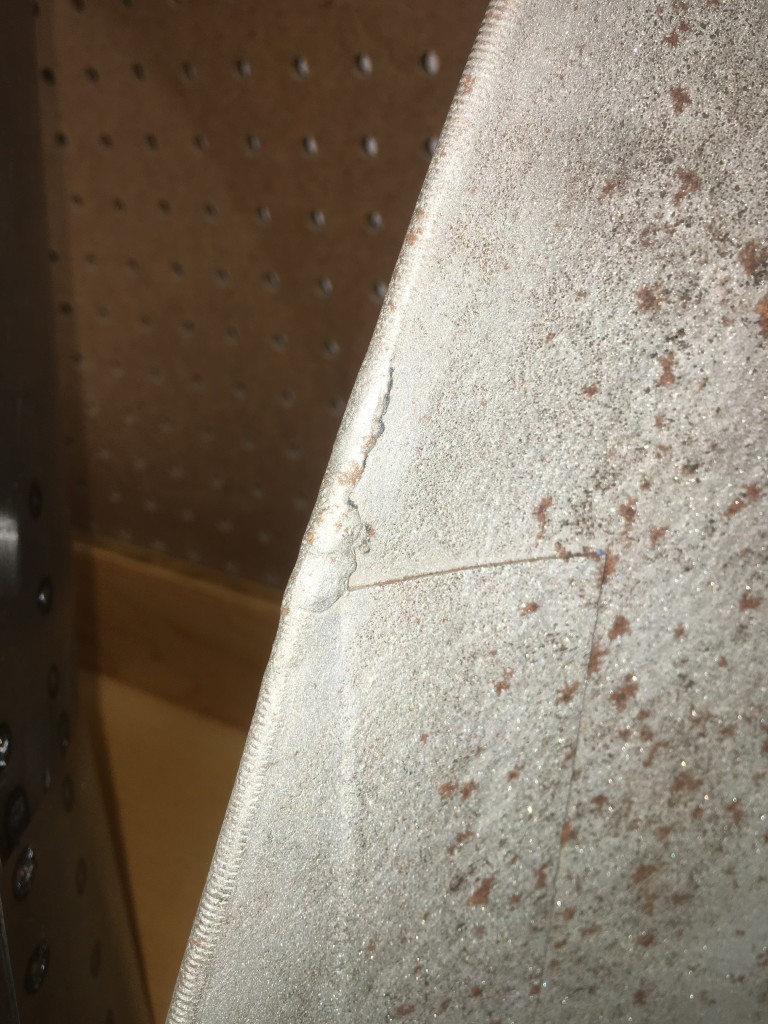
- This is the factory join where the front and rear sections come together. Note the black line drawn on the back – this is where the factory kink in the back is located…
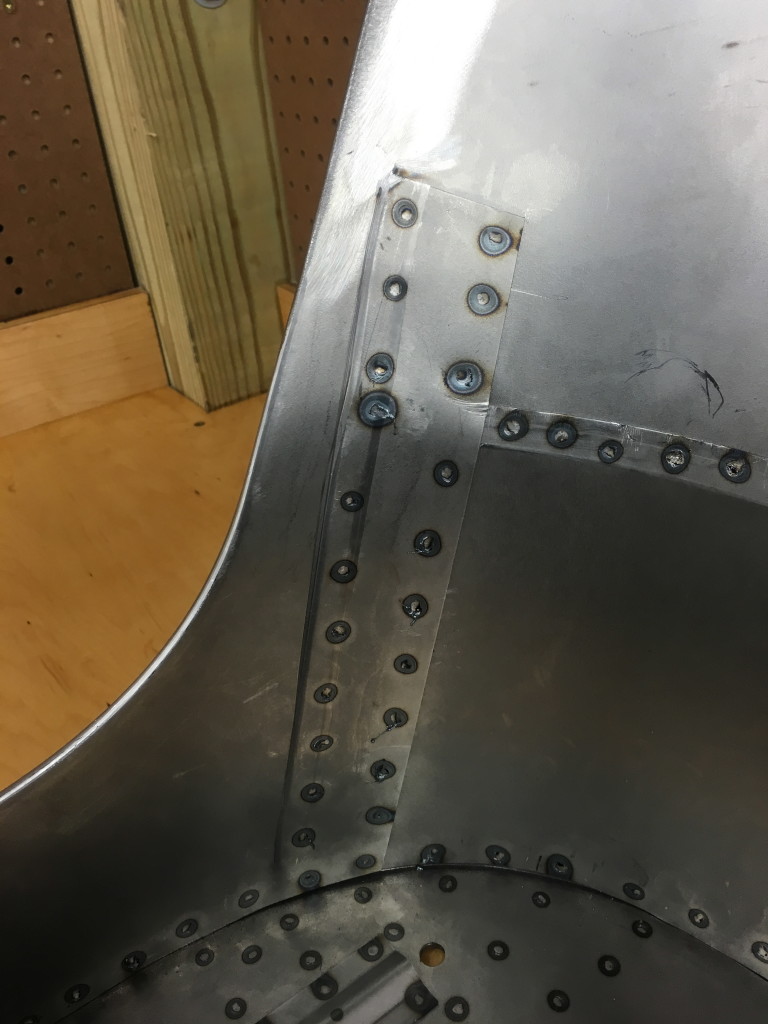
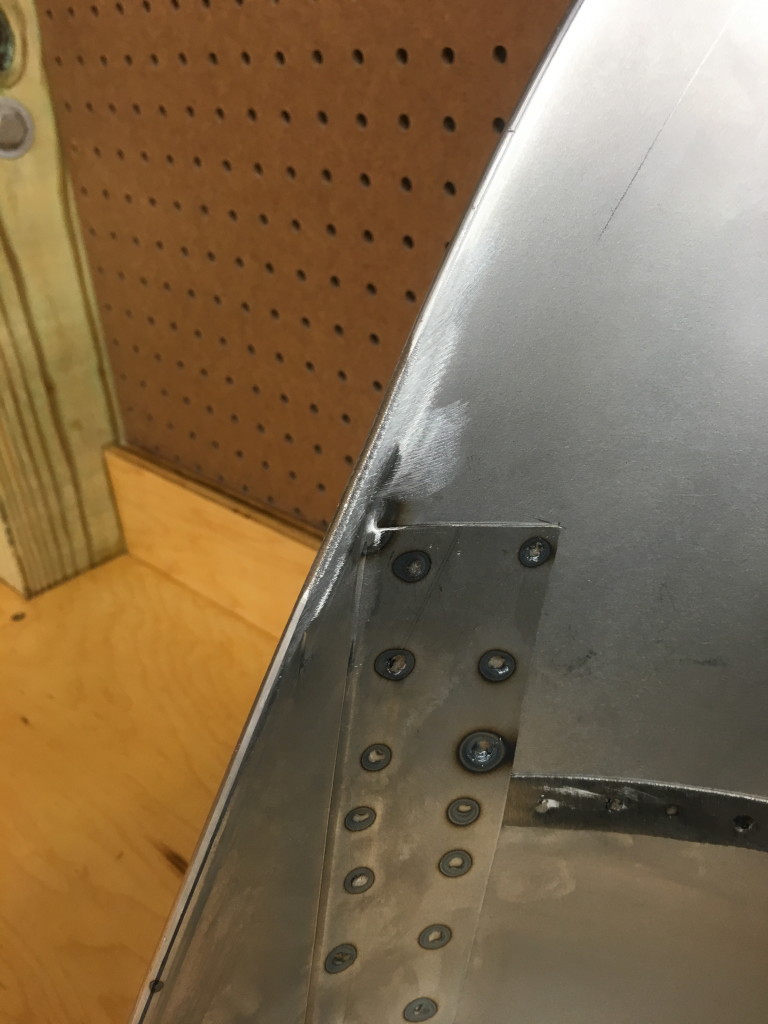
- Our seat – with a seam in the same location as the factory kink, to give an identical shape to the back, but with added strength across the middle of the back. For that reason, the two piece design turned out to be a great idea!
- Another shot of the factory kink. Also note the wrinkles in the back…
- …our seat has this seam, but NOT the wrinkles – which are from the prss forcing ONE piece of steel into this shape!
- The factory seat bottom strengthening bead…
- …our seat, with a strengthening rib instead. Same deimension, triple the strength…
- The factory bolt hole recessed groove…
- …and ours – identical.
- Our bottom plates compared to the factory seat…
- …also identical.
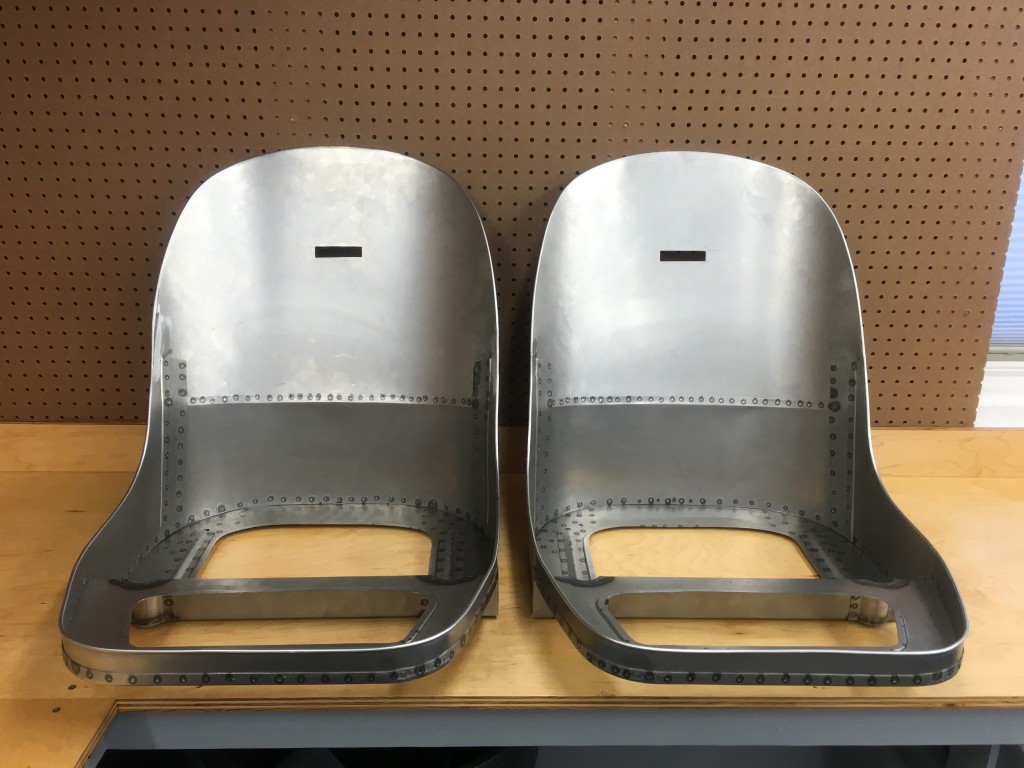
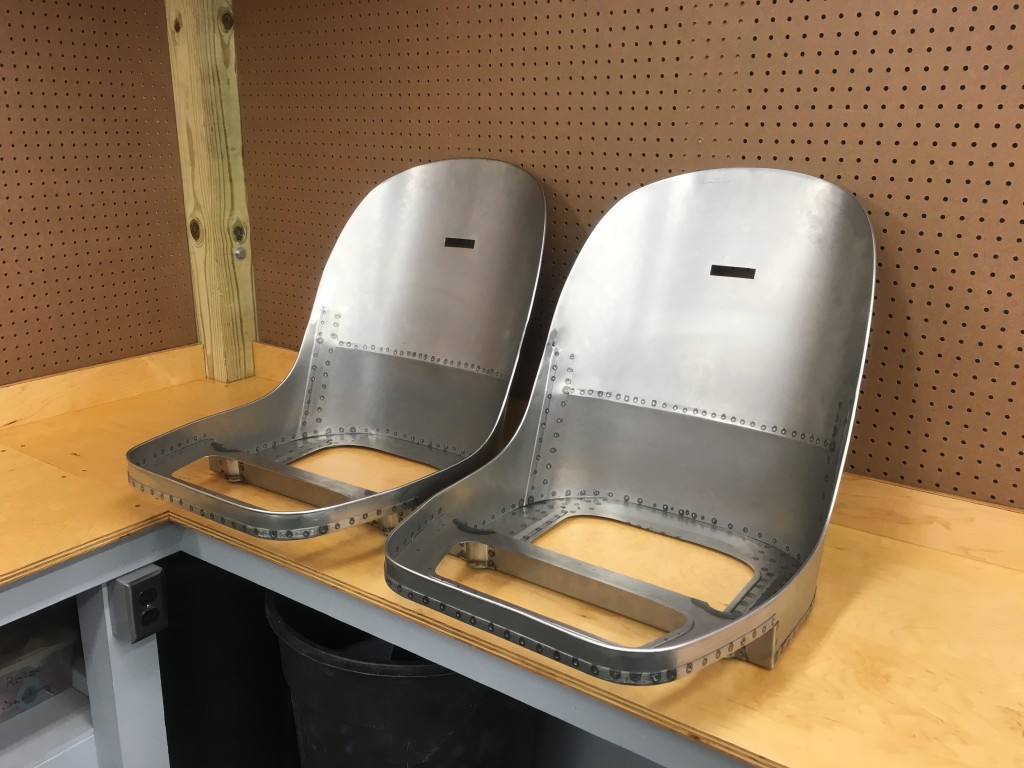
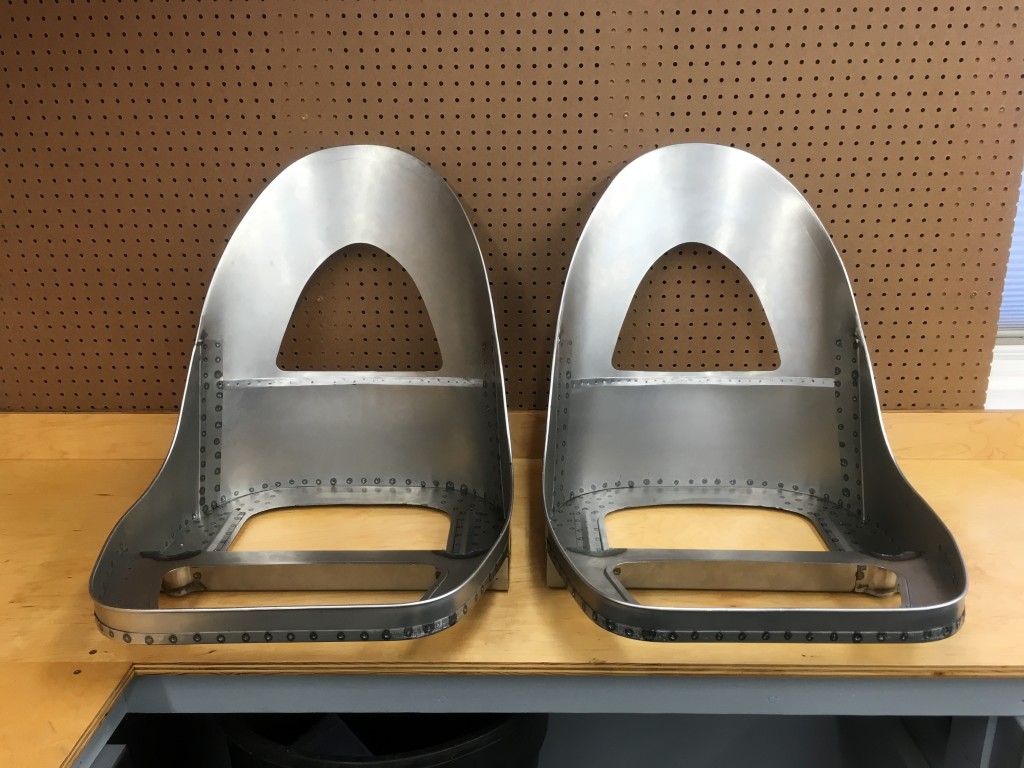
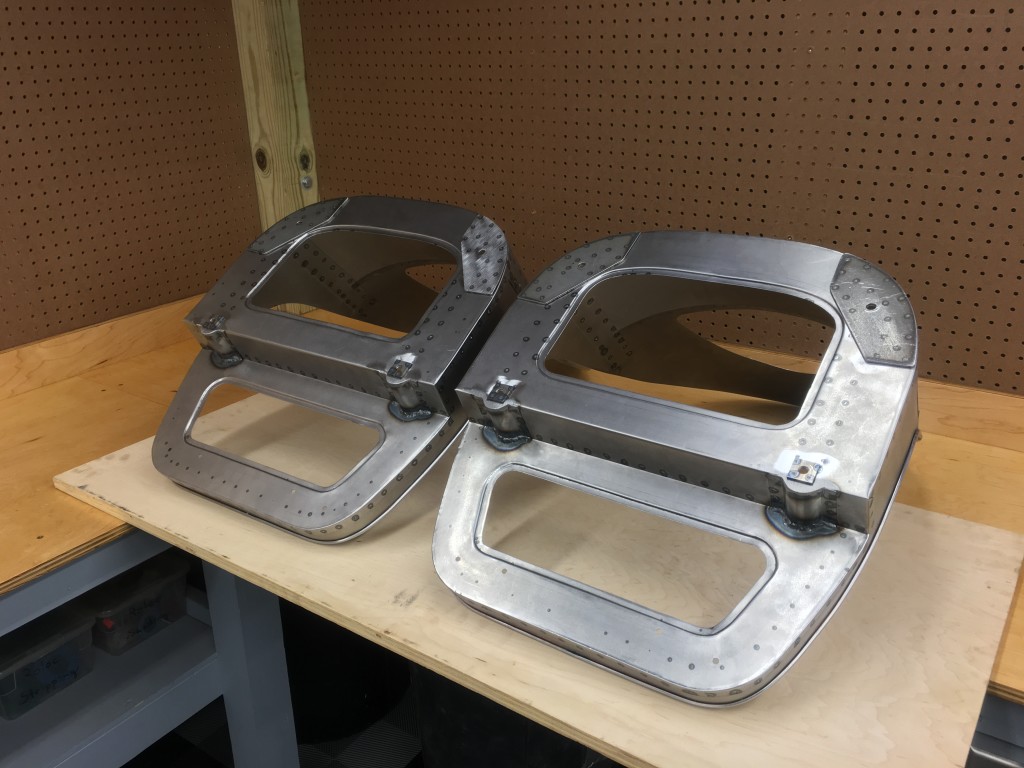
- A pair of Monocoque Metalworks 3.8 E-Type OTS Roadster seat shells.
- Another angle – A pair of Monocoque Metalworks 3.8 E-Type OTS Roadster seat shells.
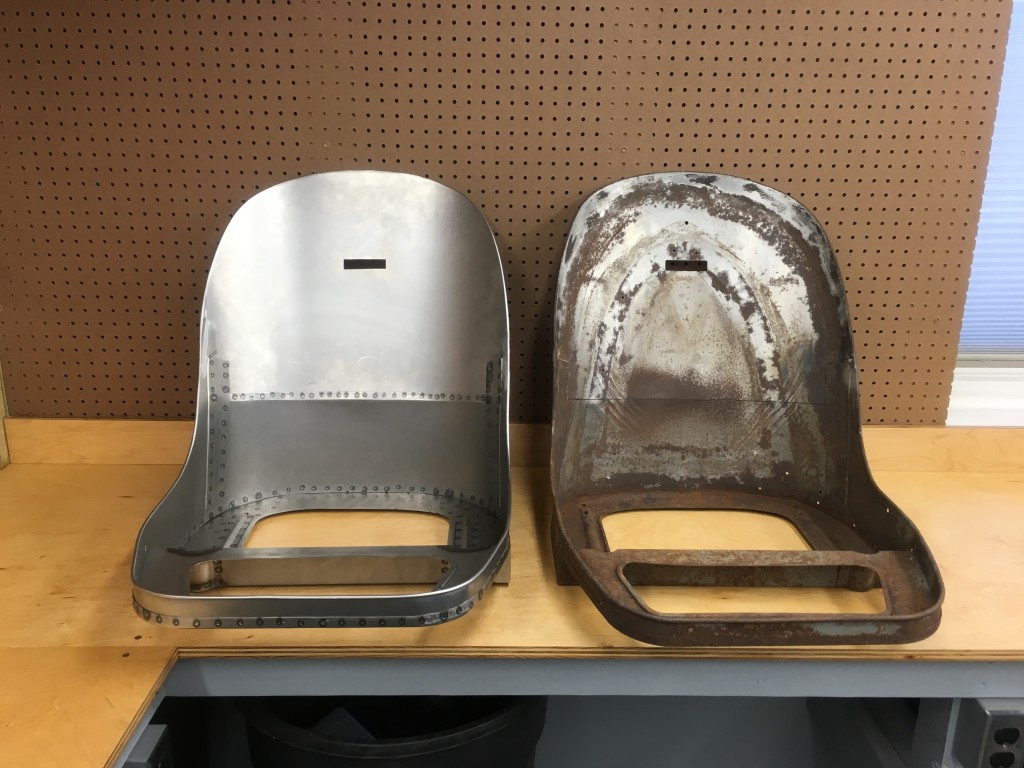
- The new Monocoque Metalworks 3.8 OTS seat shell next to a factory original.
- This is the factory gas weld of the beaded edge where the front and back sections come together.
- And here is ours – same method, just a little more finished and neater. The whiole time we were making these, Brent and I joked that the only way to make them more like the original was to do a crummier job assembling them!
- On the roadster seats, the two-piece back design (which I admit was a necessity based on our lack of a billion ton press) turned out to be an improvement – as it REALLY stiffened up the back!
- The bottoms of two NEW 3.8 E-Type OTS roadster seat shells by Monocoque Metalworks.
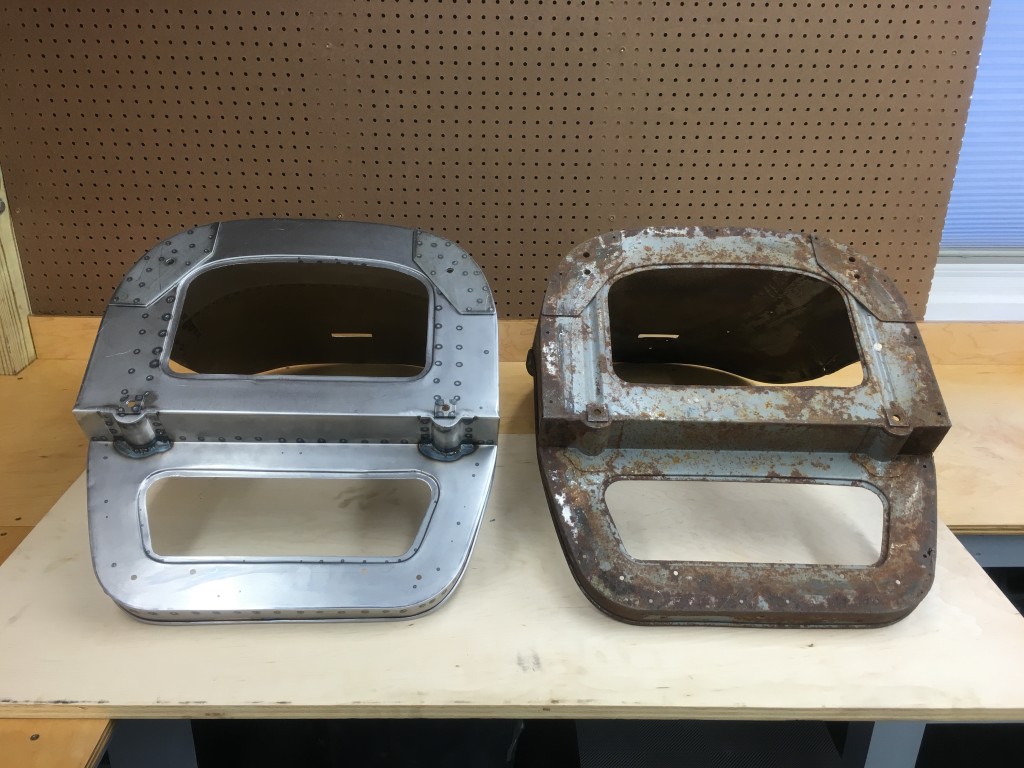
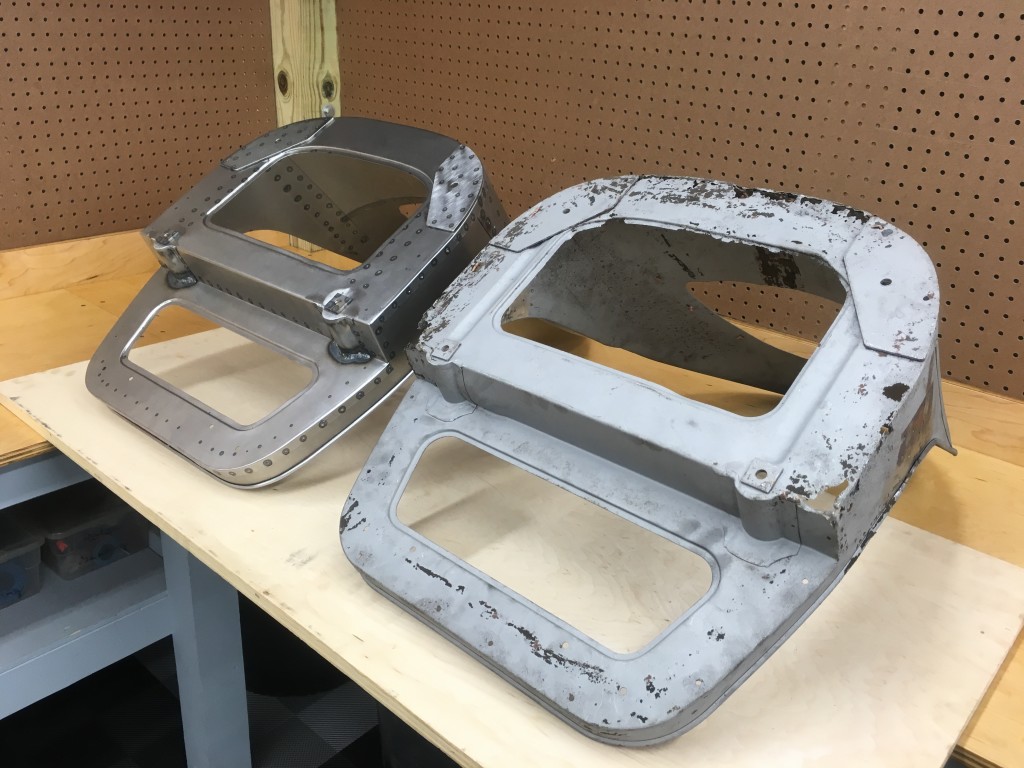
- The new Monocoque Metalworks seat shell next to a tired original.
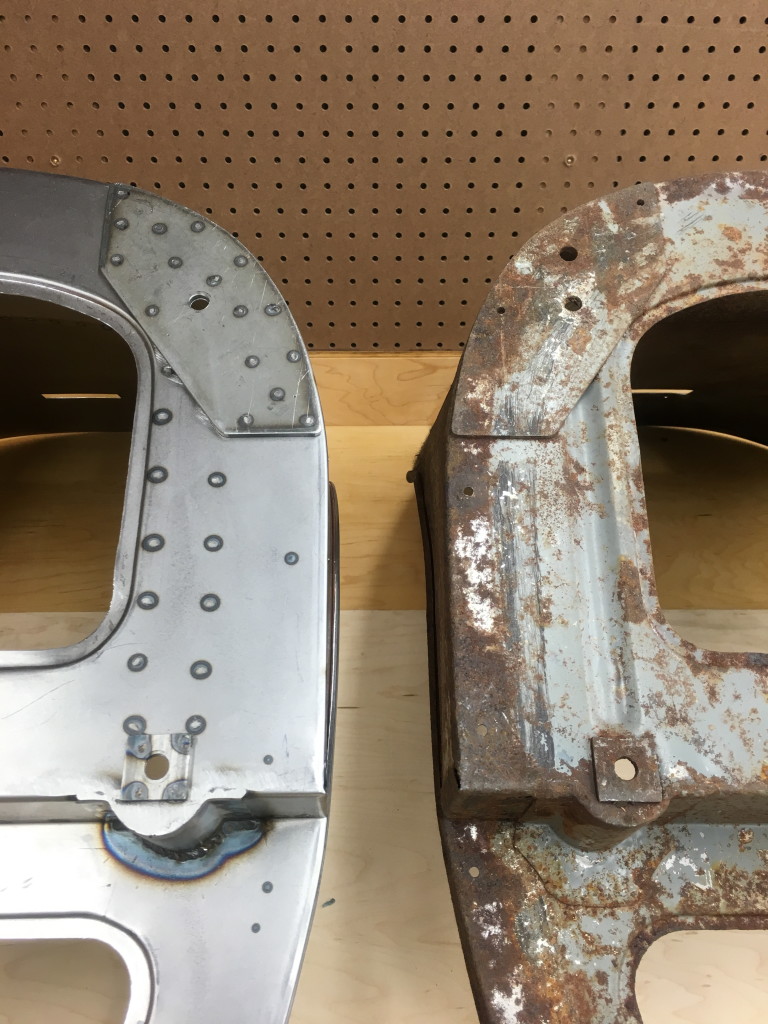
- A close-up shot showing the thcik reinforcing plate in the corner of the seat base.
- Another shot of the base of the NEW Monocoque Metalworks 3.8 E-Type seat next to a factory original.
- This shot drove me CRAZY! I was trying to show that the rake of the back of both seats was identical, and you could plainly see that standing there, but the nature of the camera lens just WOULD NOT let me do that without making the seats look like one or the other was turned…
- In the end, I just did this to show you – they’re identical – trust me!
- This is a just a neat shot I took at the end of the photo shoot for the promotional photos – Monocoque Metalworks NEW 3.8 E-Type OTS Roadster and FHC Coupe seats – next to the originals used to pattern them to EXACT factory specs. Call us and we’ll build a rock-solid, NEW pair of seat shells for YOUR 3.8 E-Type!

