Before we show more of the whole “new shop” thing, let’s get back to some metalworking, shall we?
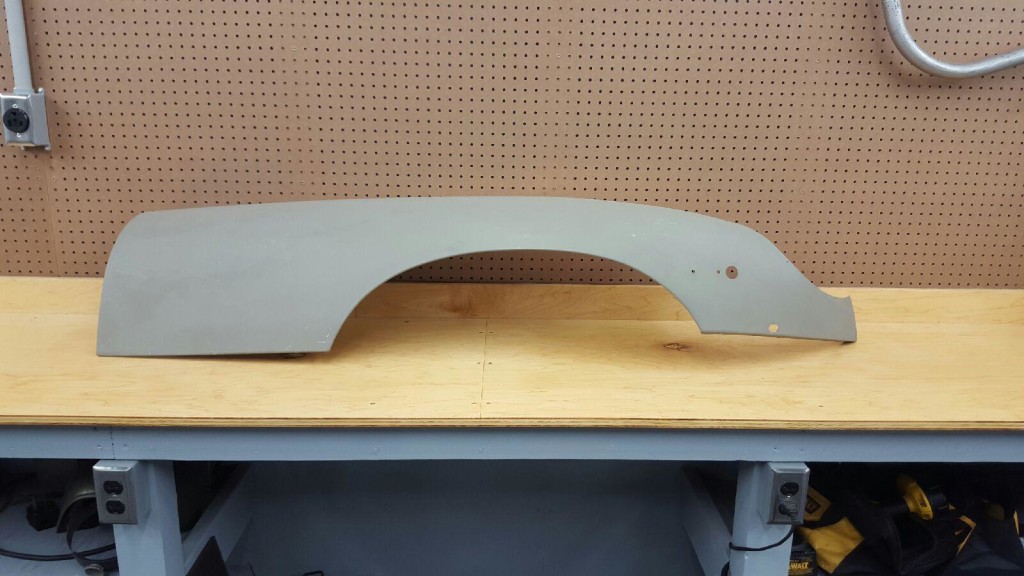
By the way – this work was done in the NEW shop – check out how clean and nice the bench is! I wonder how long that will last?…
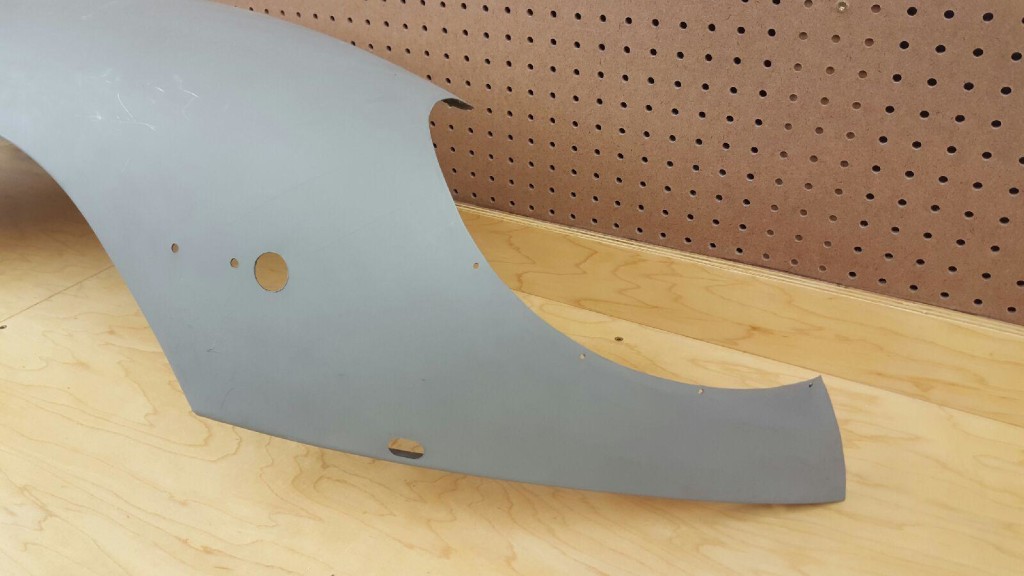
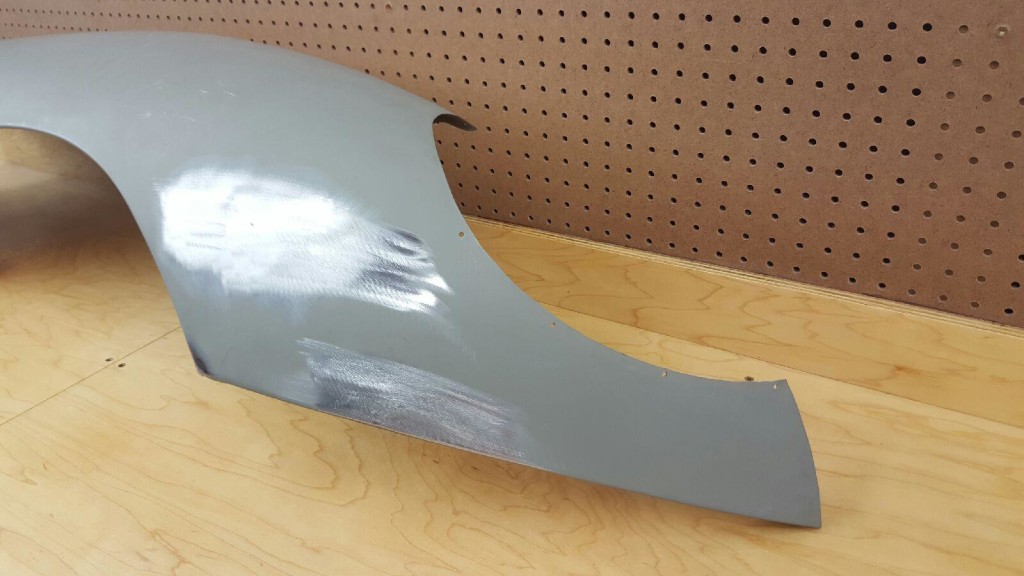
- Here is our starting point – an absolutely PERFECT Series 2 RH wing. I picked this up 3 years ago in a “panel shop” in Akron, Ohio – and tried for years to find it a good home on a Series 2… Finally, I gave up, and agreed to sell it to a customer for use on their 1965 Series 1.
- As a Series 2 wing, it has the exact same shape and dimensions as a Series 1, and is bascially a “blank” for a Series 1 wing.
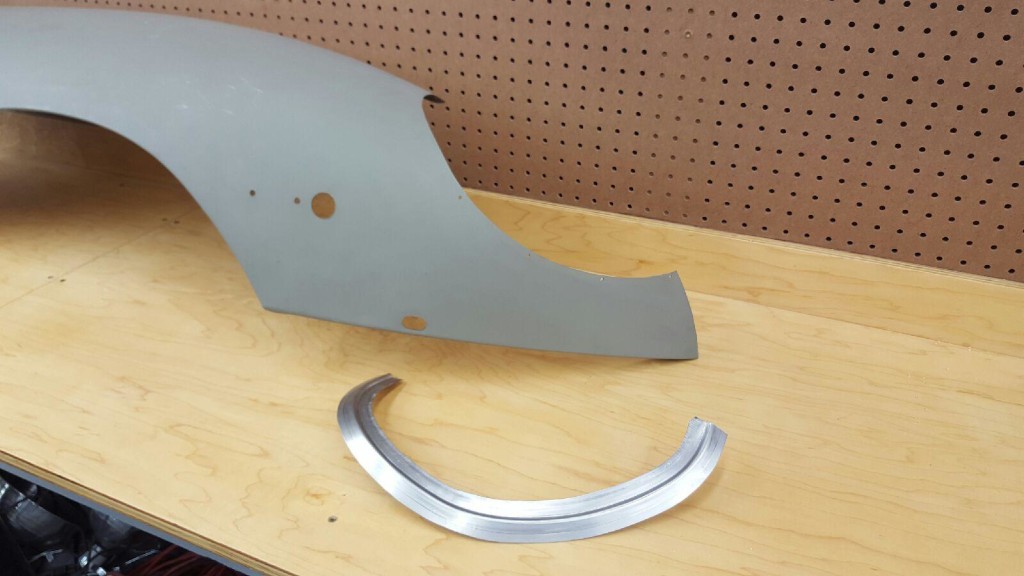
- All we need to do is weld up the side marker and bumper mounting holes, weld in this MM covered headlamp flange, and then cut in the holes for the Series 1 indicator lamp.
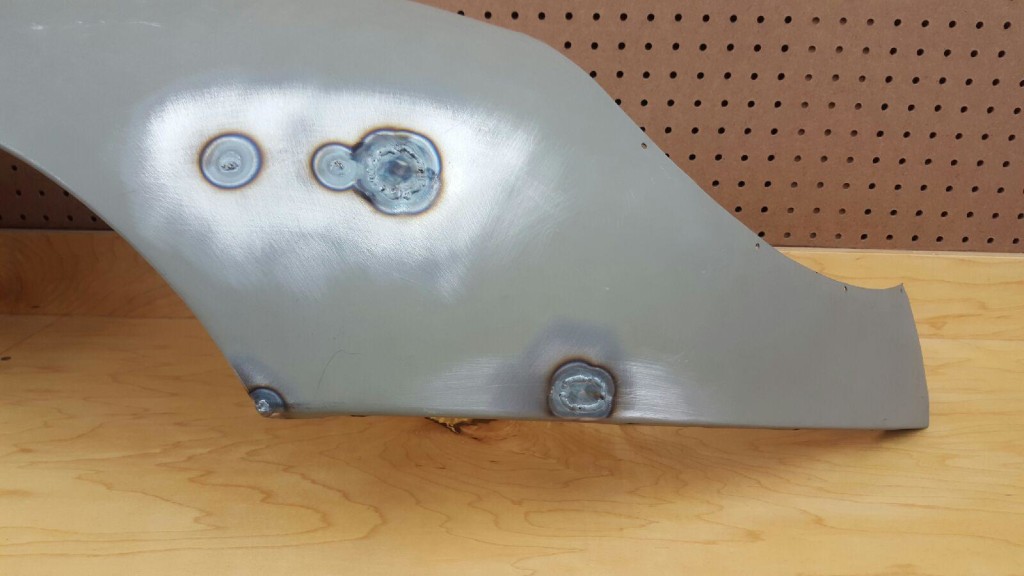
- First, we welded up the side marker and bumper mounting holes with a TIG, and also welded up a little tear in that rear corner – a very common problem…
- Next, we dress down those welds, using a slapper and dolly to shape things, and a sanding disc on a flat backer to finish things off.
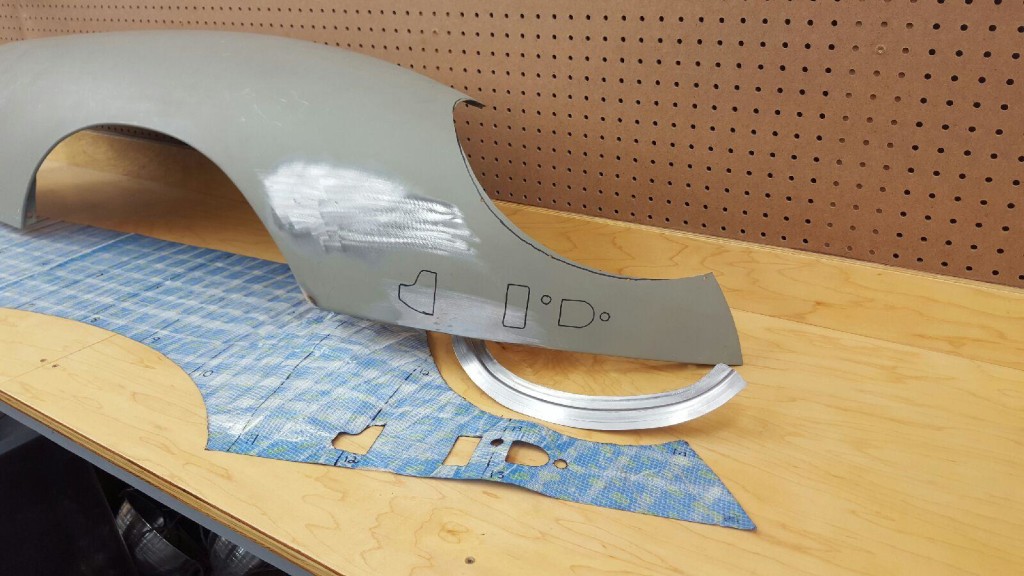
- Next, we use a flexible shape pattern pulled from a PERFECT 1966 2+2 bonnet a few years ago to mark the side marker and the true headlamp opening. Series 1.5, 2, and 3 bonnets always have very sloppy headlamp openings – and no two are ever the same…
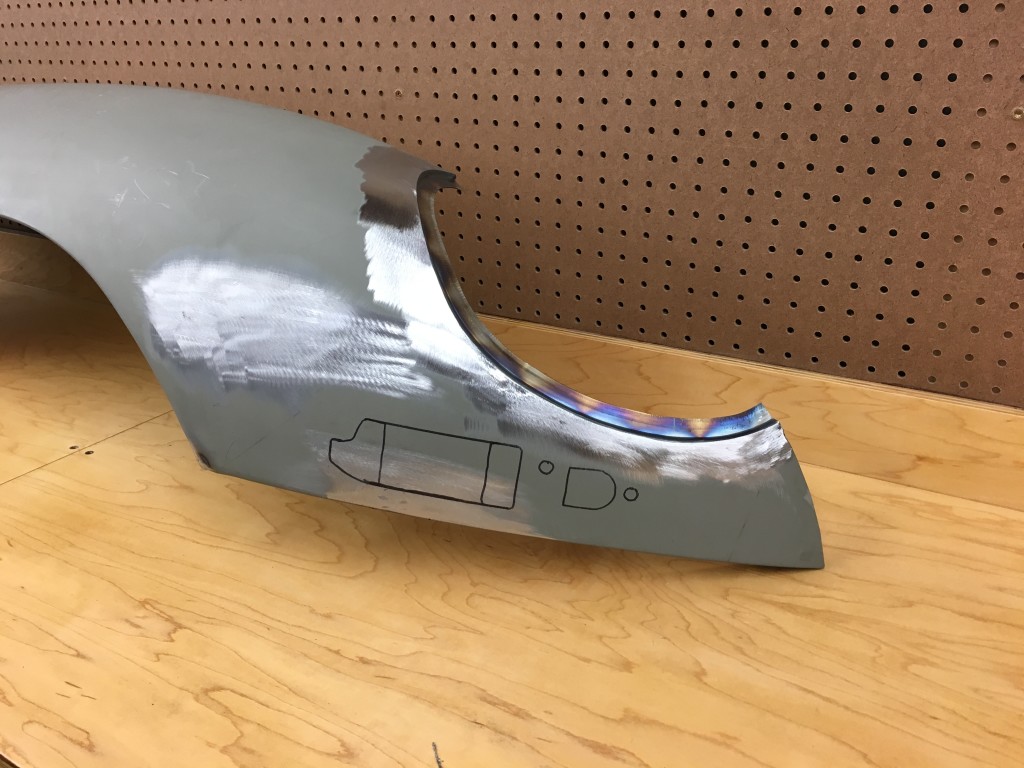
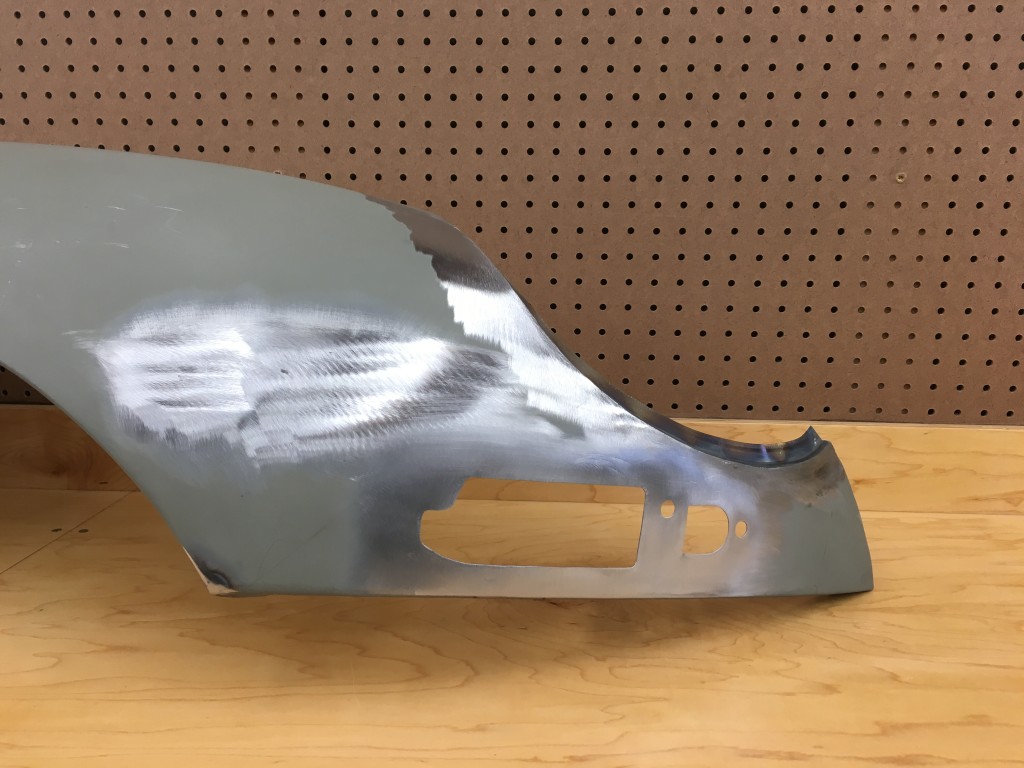
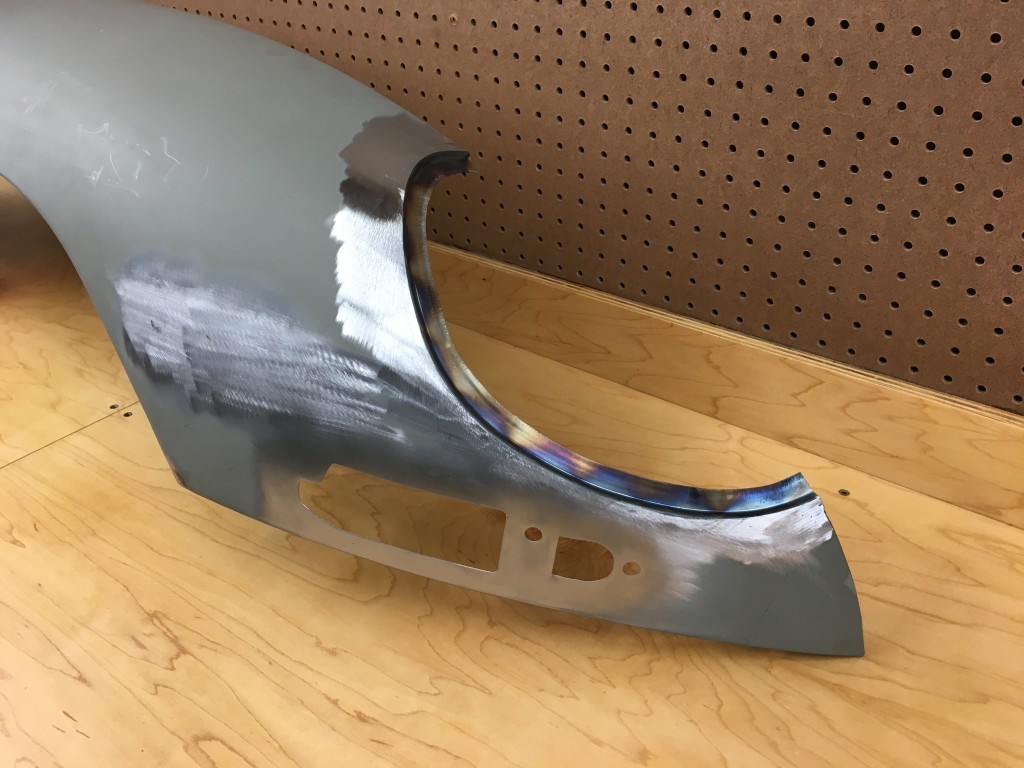
- Forgot to take a photo of the pretty TIG weld when the flange was attached, but you have seen that in these blogs MANY times before… Here it is after dressing it down.
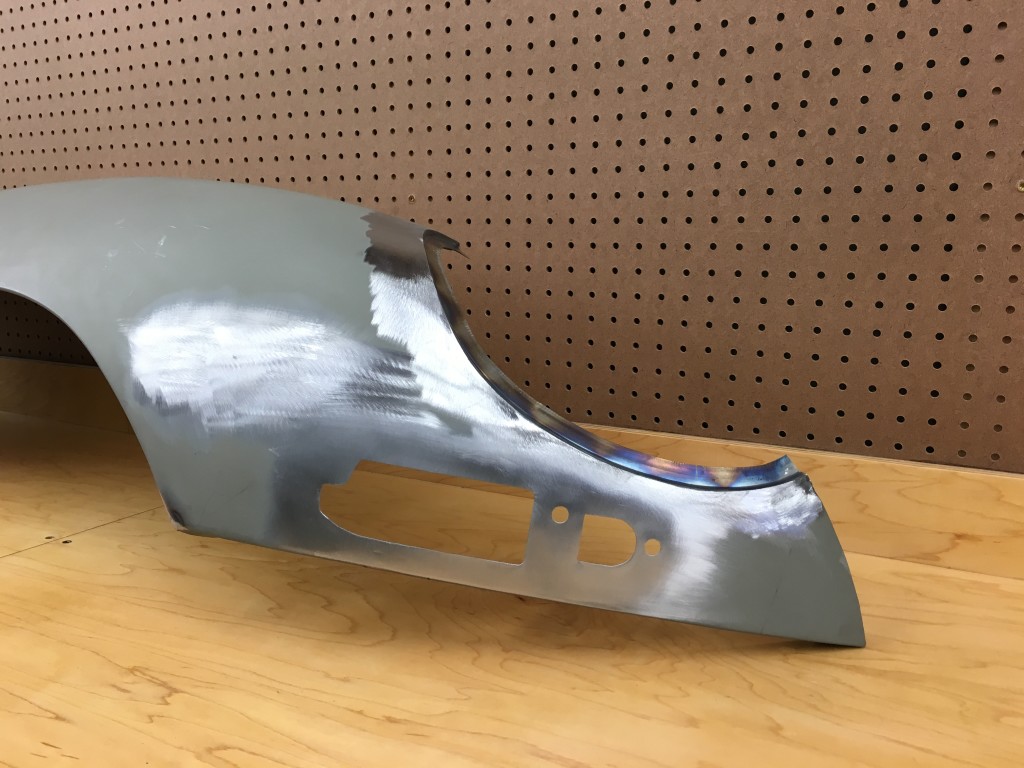
- Next, we carefully cut the holes for the Series 1 turn signal lamp.
- And Voila! Now it’s a Series 1 wing – that fits! The customer was VERY happy!
- Ironically, right after I finished this, another customer called asking if they could purchase a pair of Series 3 wings and have the same treatment performed – for a Series 3 hybrid bonnet with flared wheel arches, but Series 1 covered headlamps. No problem! Stay tuned for those!

