Earlier this Summer we filled a couple of parts orders that included some custom bonnet repair panels, and so I thought I would do a blog entry on that that shows you just what we can do here to help out with the repairs on YOUR bonnet!
If you think your bonnet is too far gone – GUESS AGAIN! With the pieces that we can fabricate for you here, that’s NEVER the case – we can help you save even the worst bonnets.
The caveat there is that you have to weigh the cost and time – sometimes the bonnet can be saved, but it just doesn’t make sense… If your bonnet can benefit from SOME of these panels, then do the work to save your original. But if it looks like you need ALL of this stuff – and then some, then maybe it’s time to step up to something better.
Notice that I don’t say “buy a new one” – that’s rarely my recommendation, as the originals just fit SO MUCH BETTER that it’s ridiculous…
Take a look through these photos and call or write – we’re happy to help!
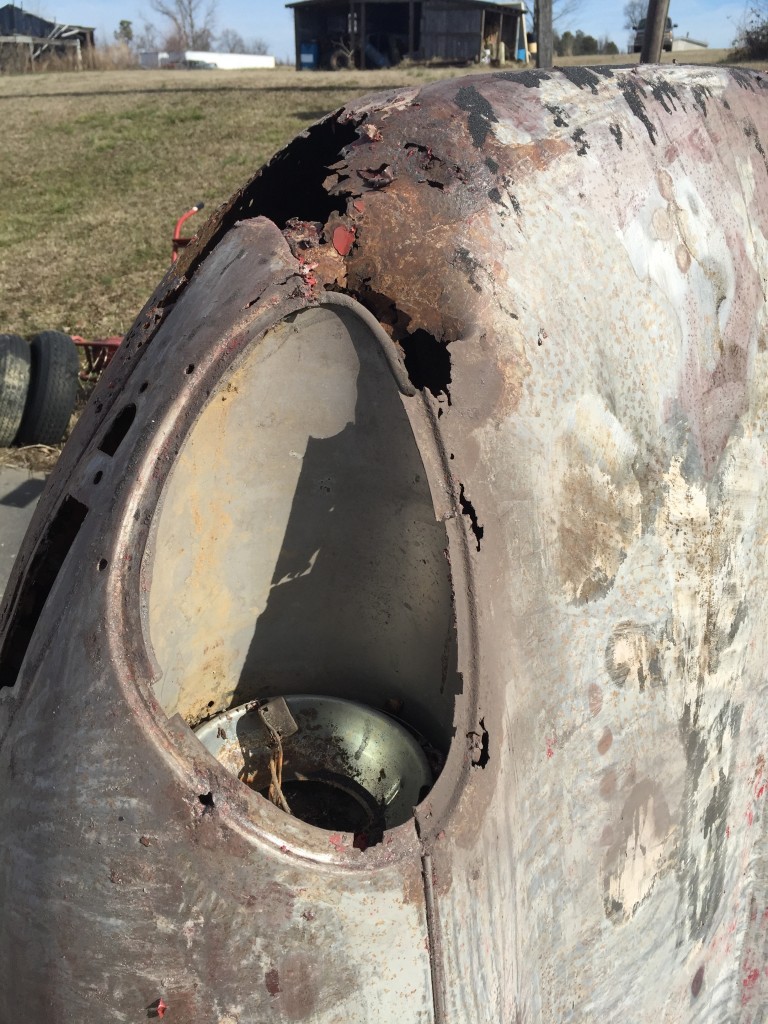
- This is the first in a set of photos sent to us by a customer in the southern US – I love the old farm buildings in the background!
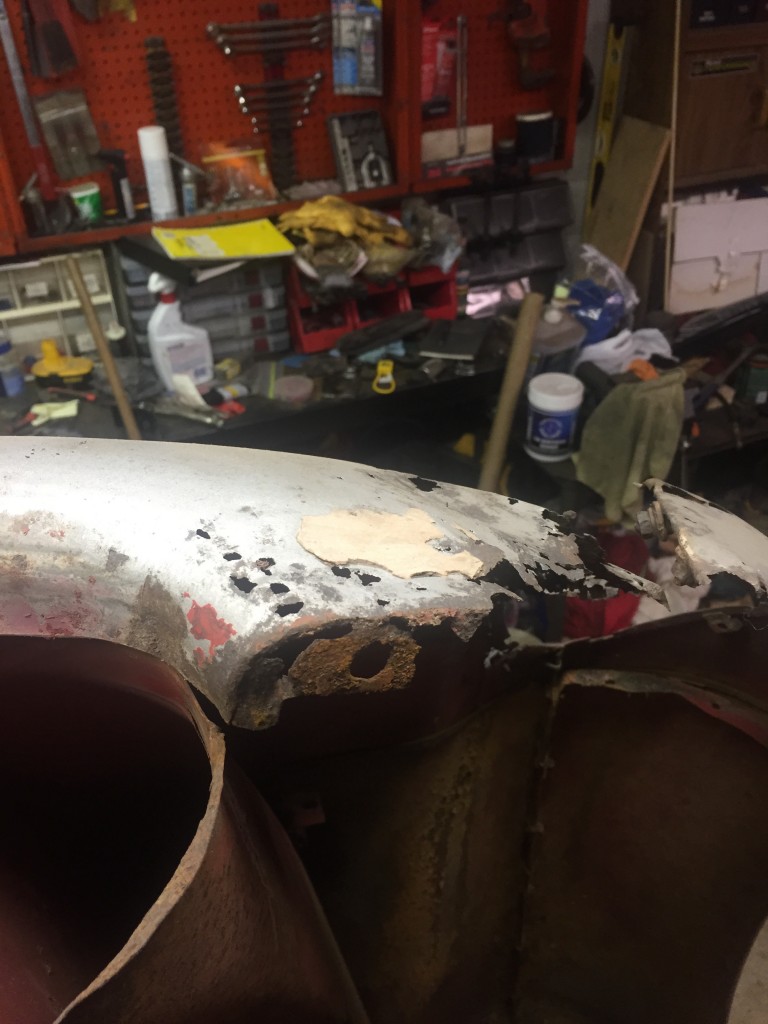
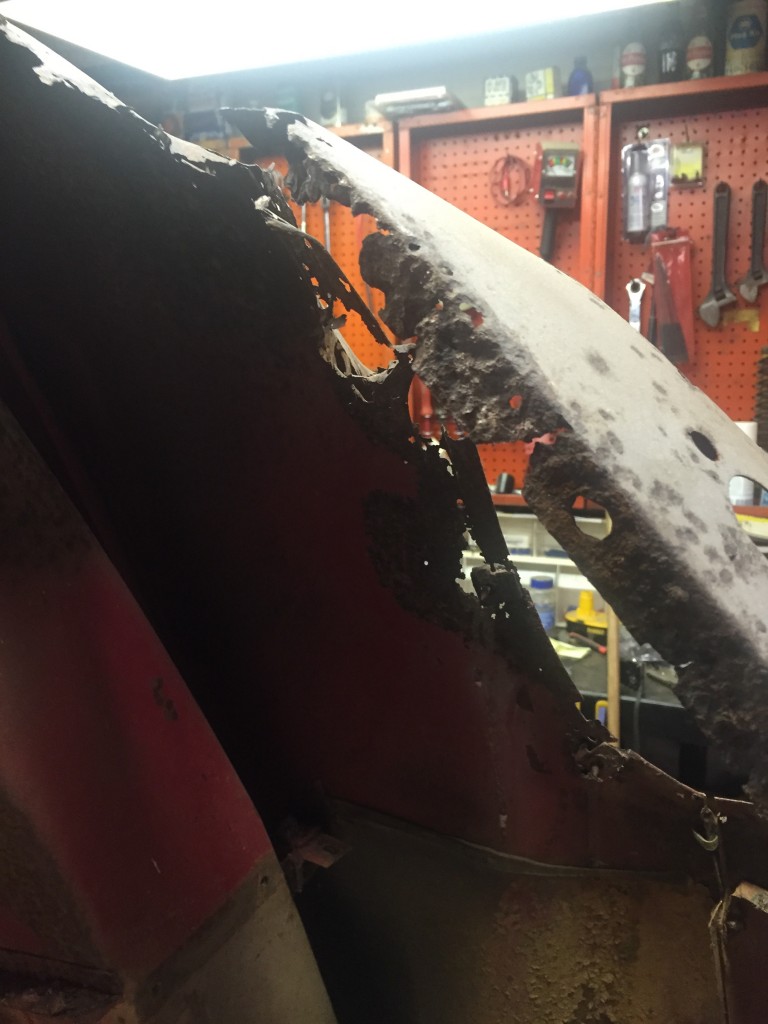
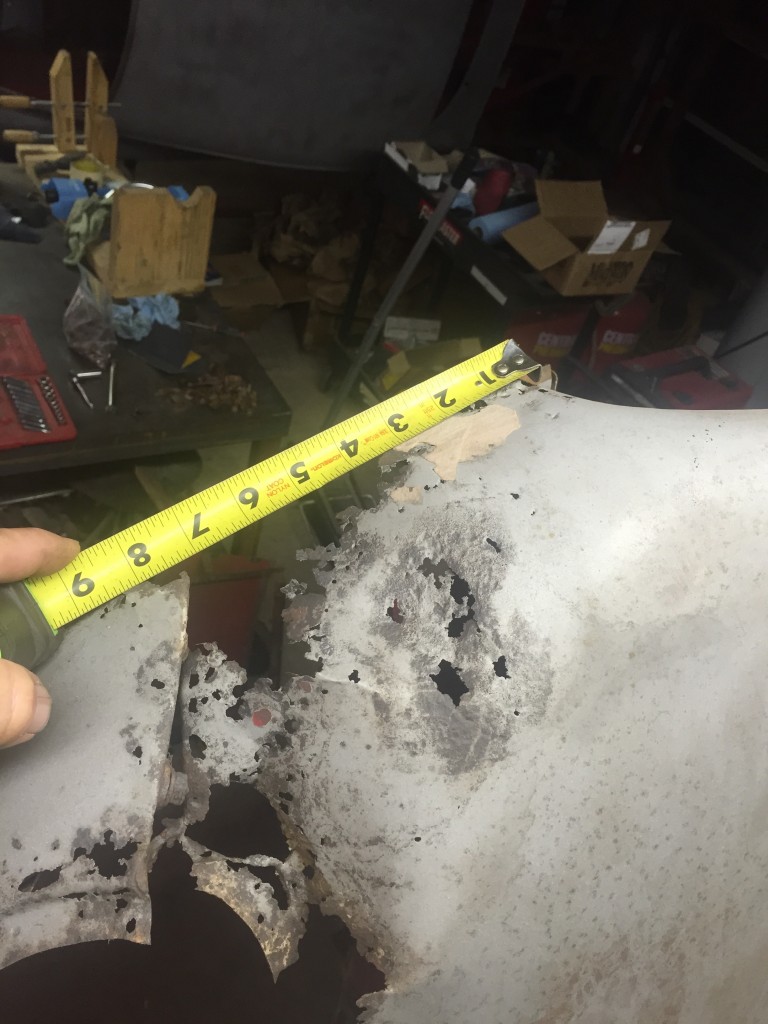
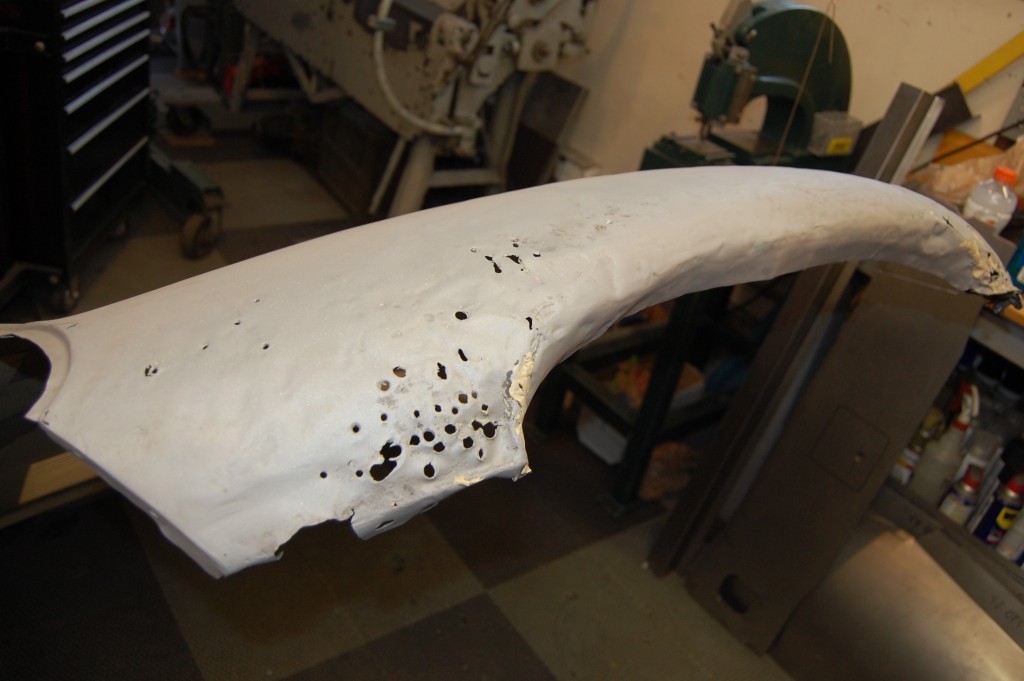
- Even before the bonnet was blasted bare, but especially afterwards, it was obvious that this bonnet needed LOTS of help!
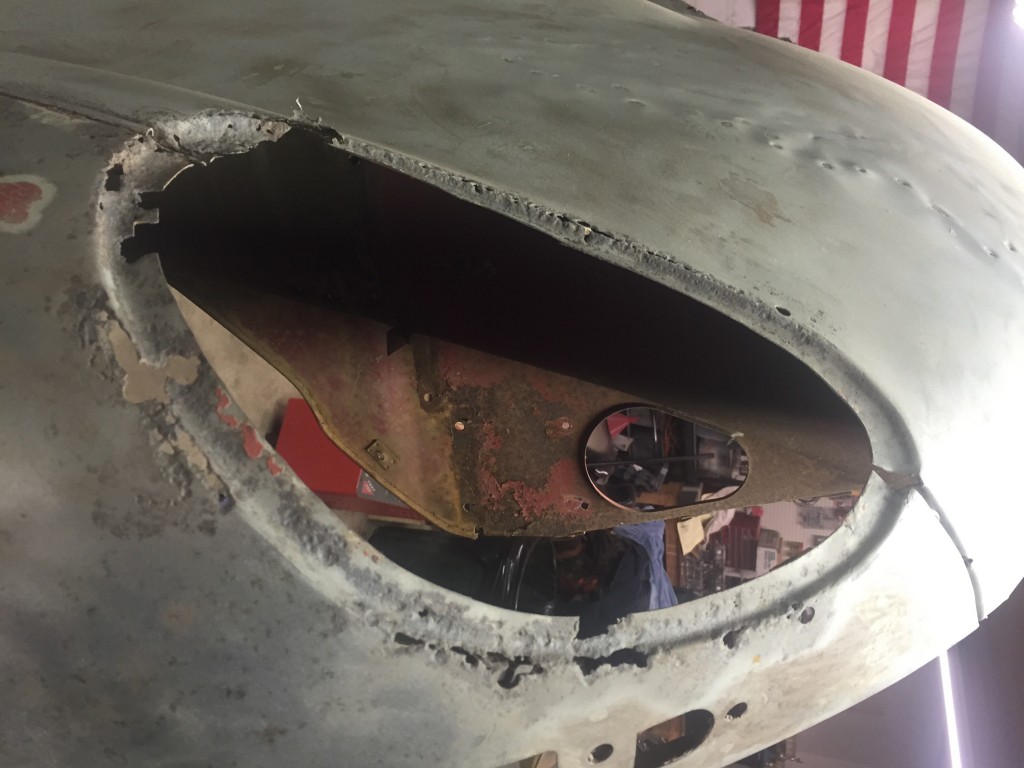
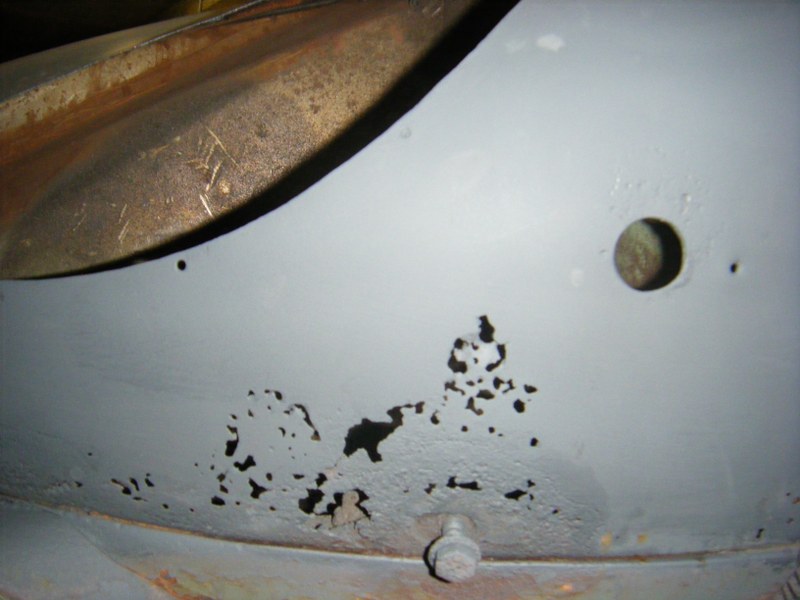
- The heavy rust corrosion was daunting to the customer, and replacement with a new bonnet was seriously considered…
- Stuff like this CAN make you think that your bonnet is a lost cause, but have no fear – we can help!
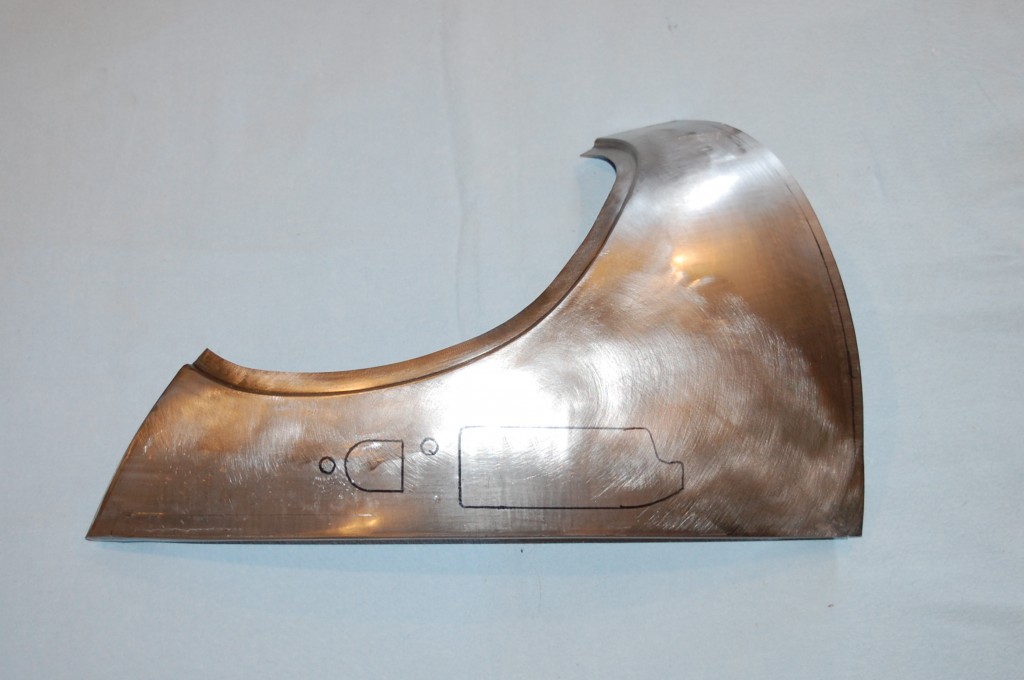
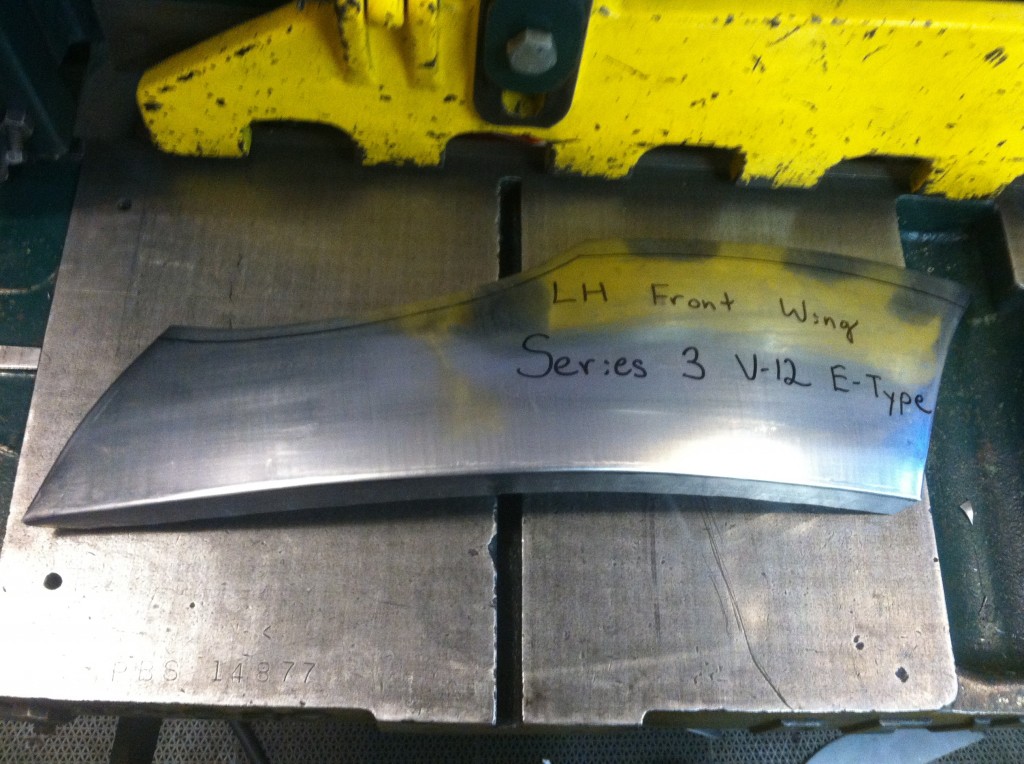
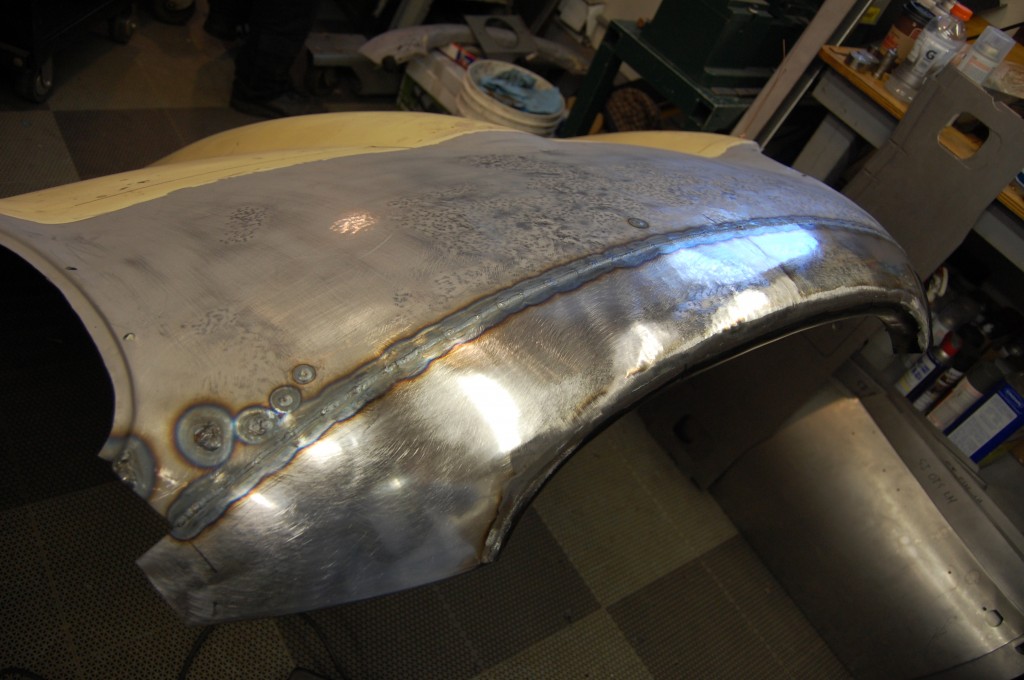
- This is a new forward section for the LH wing – handmade here from our patterns. Don’t let the term “hand made” scare you off – when we take the time to make a piece like this for you, it is EXACT!
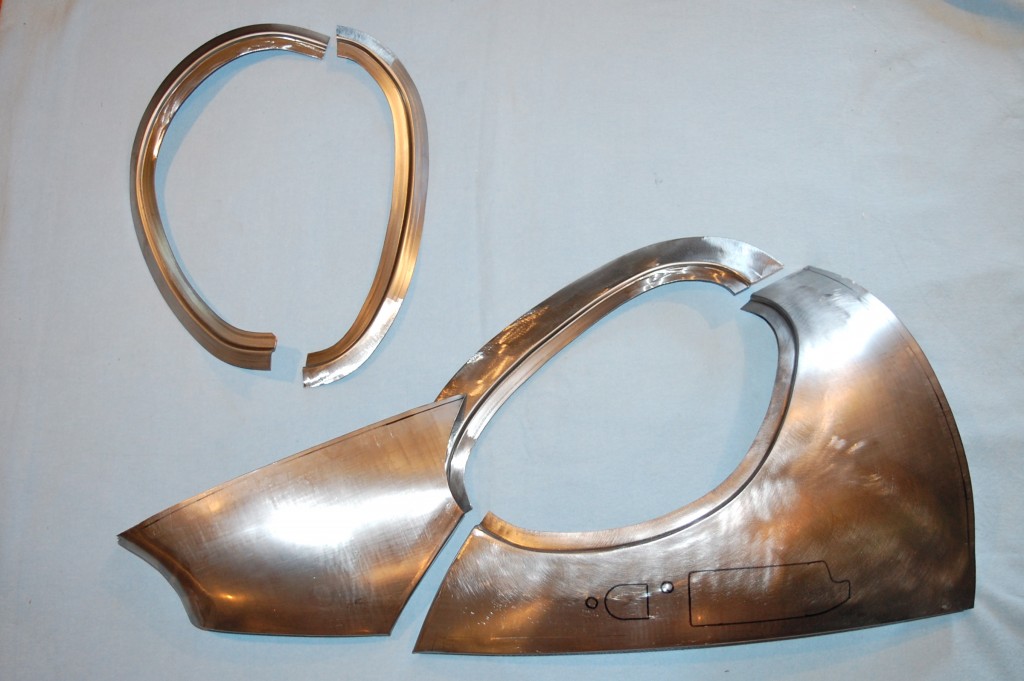
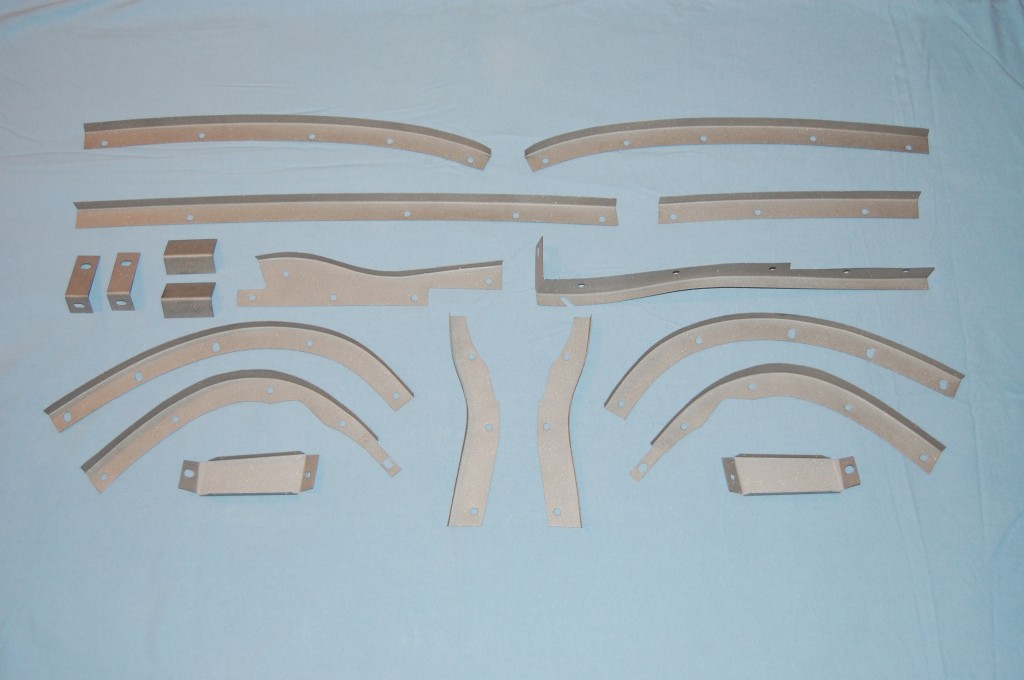
- Here is the complete package of pieces that we made for the customer to solve all of their problems. I’ll have to admit that I was pretty impressed with myself here! That little piece for the lower corner of the center section was REALLY tricky, but turned out great!
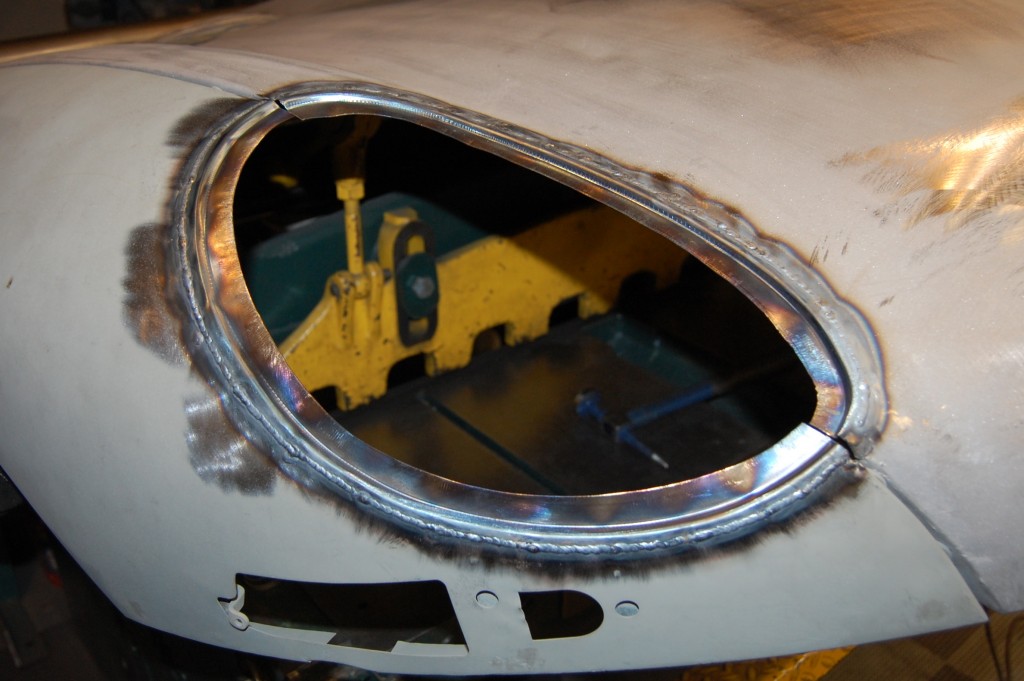
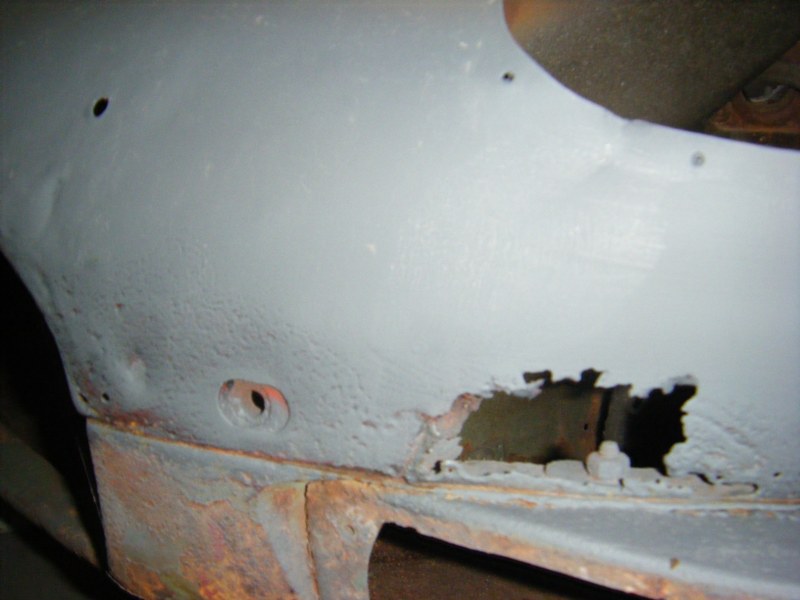
- In the photo above, you will note that there are repair pieces for the stepped flange of the RH headlamp opening – this is the reason. We see this often due to moisture accumulating under the chrome and rubber seal of the headlamp glass. Those pieces are actually our standard conversion flanges for putting covered headlamps on a Series 1.5 bonnet, but they also work well for this purpose!
- This is NOT the customer’s bonnet shown above, but shows how our conversion flanges will be used to repair this damage.
- This photo came in from another customer in Australia who was working on two E-type bonnets – this one is from a Series 3 2+2.
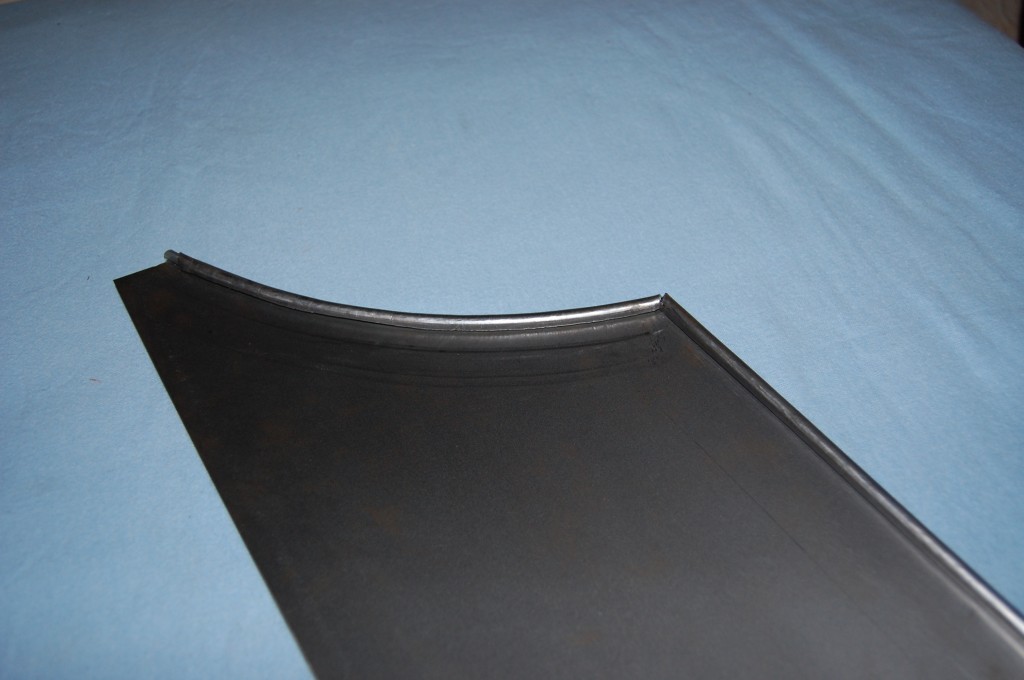
- In this case, we make a repair piece for the entire lower rear section – the detail of the wired edge is shown here…
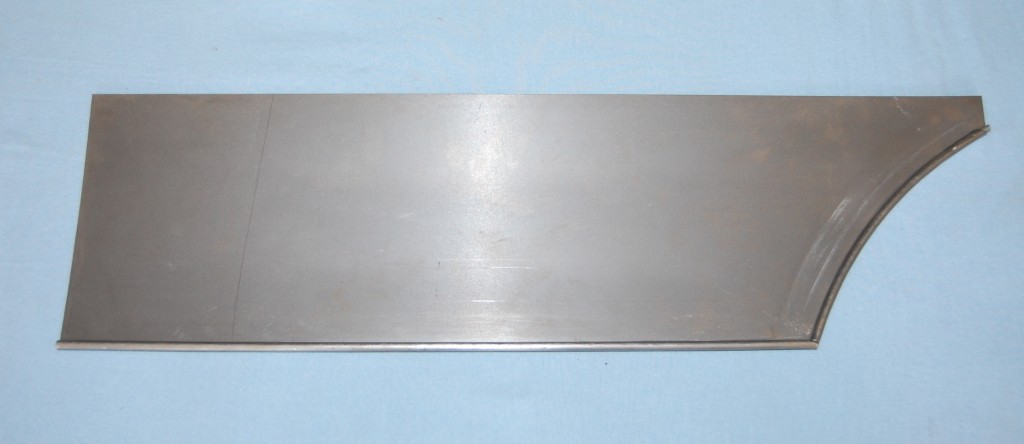
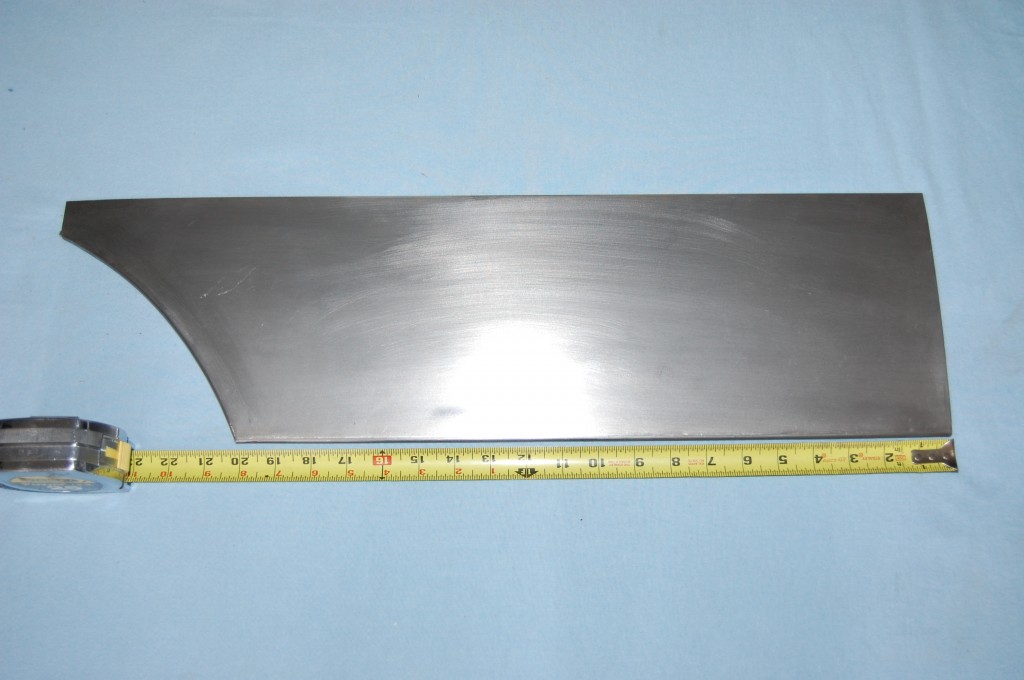
- …and this is a shot of the complete piece from the inside. This piece can be ordered in any height that you desire – I always recommend keeping this as SMALL as possible – if you can get away with 2 inches here, don’t order a standard panel that is 6 inches high – tell us exactly what you need and we will make it up that way. For this customer, they asked for a pair of these 5 inches high, with a stepped edge at the top to overlap with the existing wing – which is a wise choice for the home restorer.
- E-Types are typically 19.25 to 19.5 inches long in this dimension, so we always supply this panel with over 20 inches here so that it can be trimmed down to match your bonnet and cowl after it is installed.
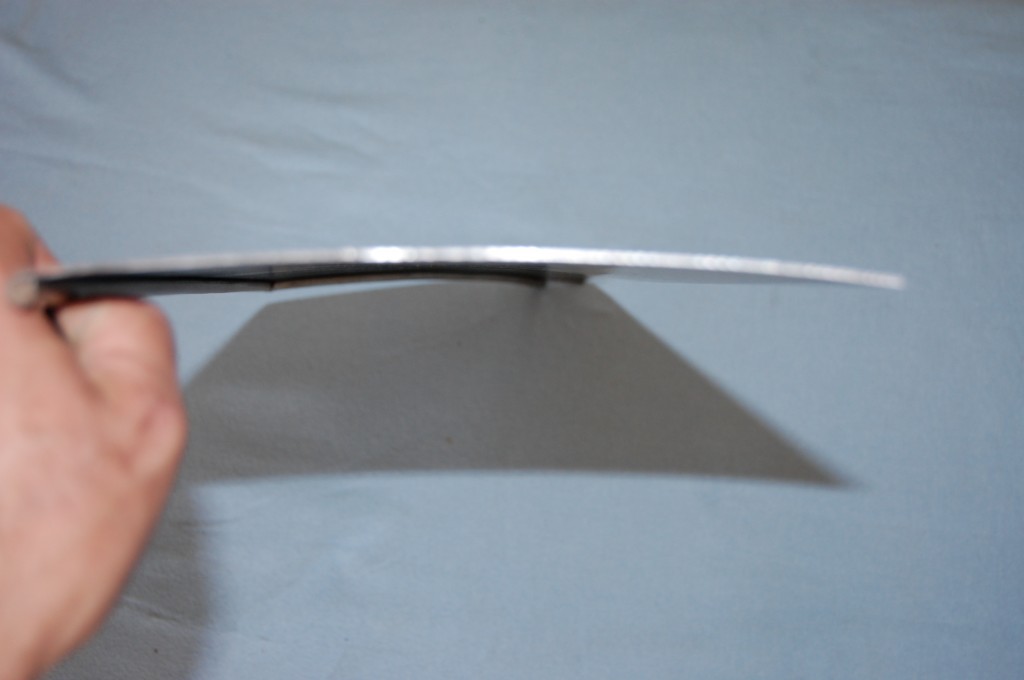
- And of course we also run this piece through the roller first to make sure the very slight – but important – curvature is present in the piece.
- Next, that same customer asked us for pieces to repair the forward section of the wings as well.
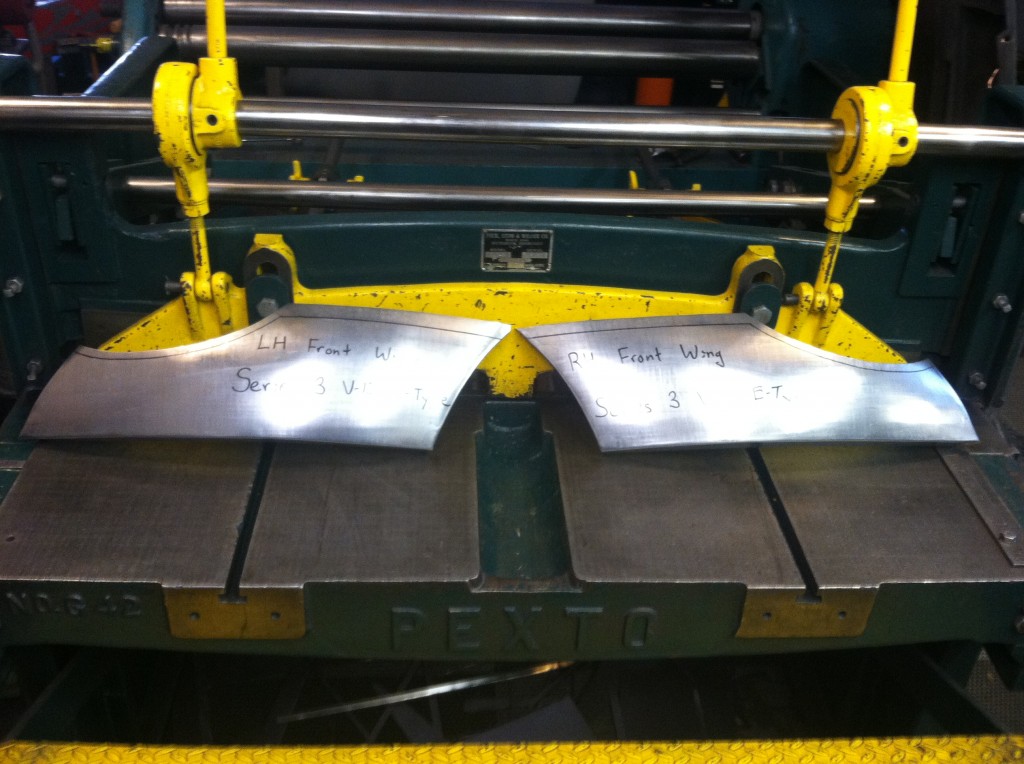
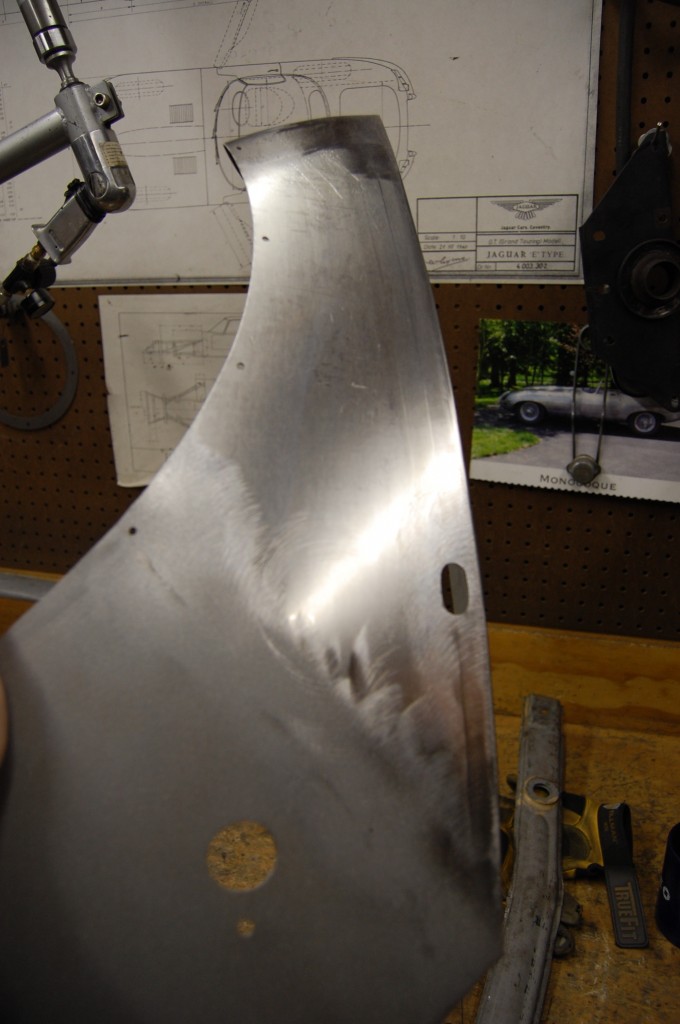
- Here is that piece – every curve, angle, flange, etc. is EXACT! And in the headlamp opening, we have marked the piece with our pattern, but left the extra material on for now to allow the customer to carefully match this all up once the piece is installed.
- The RH wing was just as bad up here, so…
- We made them a matched pair of perfect Series 3 E-type forward wing repair pieces!
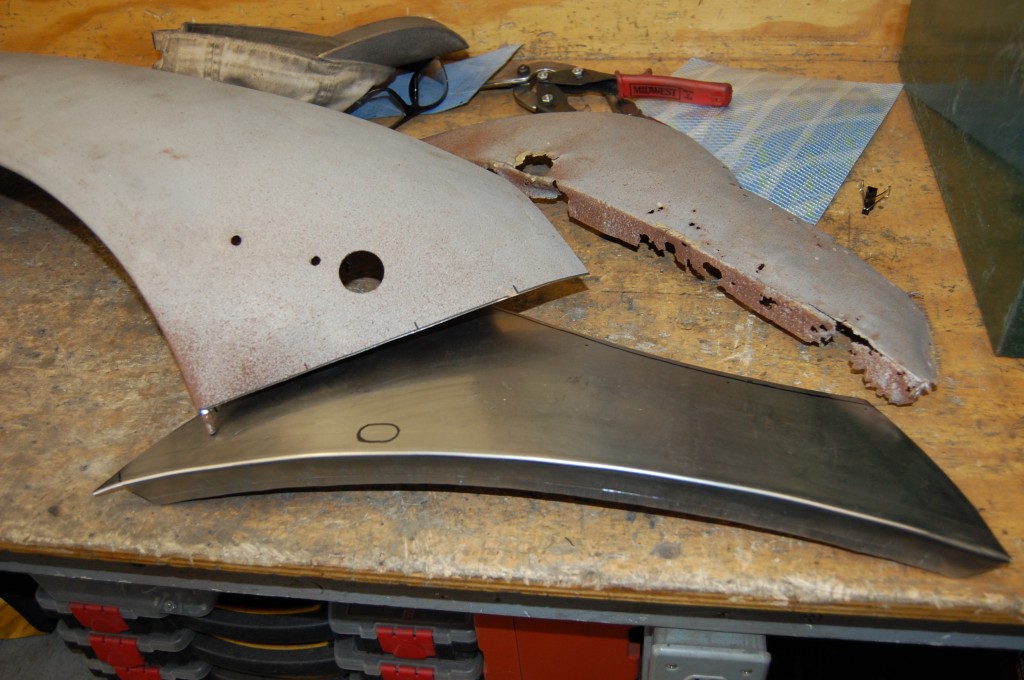
- Here is a photo from a couple years ago now, where a Series 2 RH front wing is being repaired in the same way here in our shop. Note the old piece on the bench in the background – YIKES!
- Same wing – as good as new!
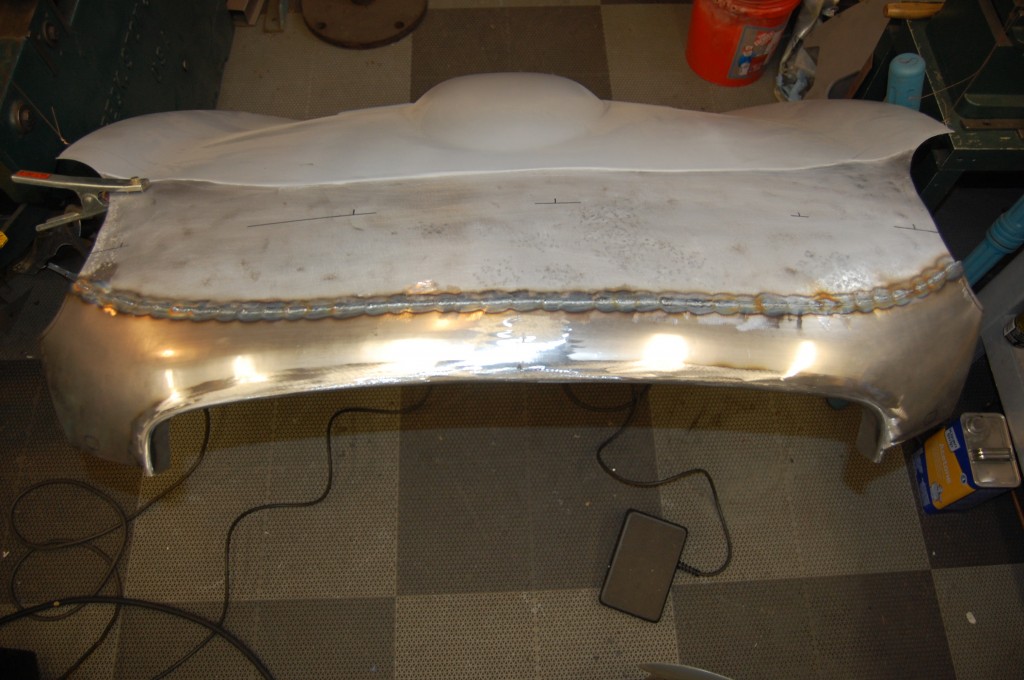
- This was the center section from an E-Type project car that we sold earlier this year. I just couldn’t sell the car with this center section, so…
- …we cut the whole nose off and fabricated a new one! This piece is VERY special order – it is very time consuming to make, and you really have to be an expert fabricator to install it properly. But this just goes to show that we really can make ANY piece of the bonnet that you need!
- And that goes for ANY E-Type bonnet – this is the same treatment for a Series 2! The sharper edge of the Series 2 was actually a little easier to work with, and this piece came together SO nicely!
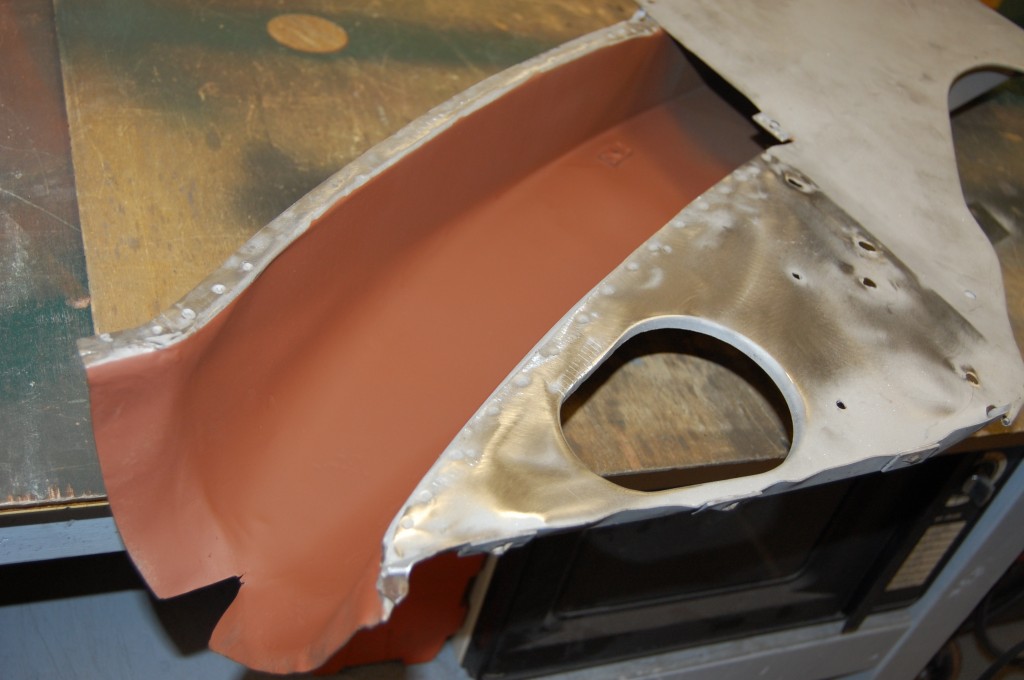
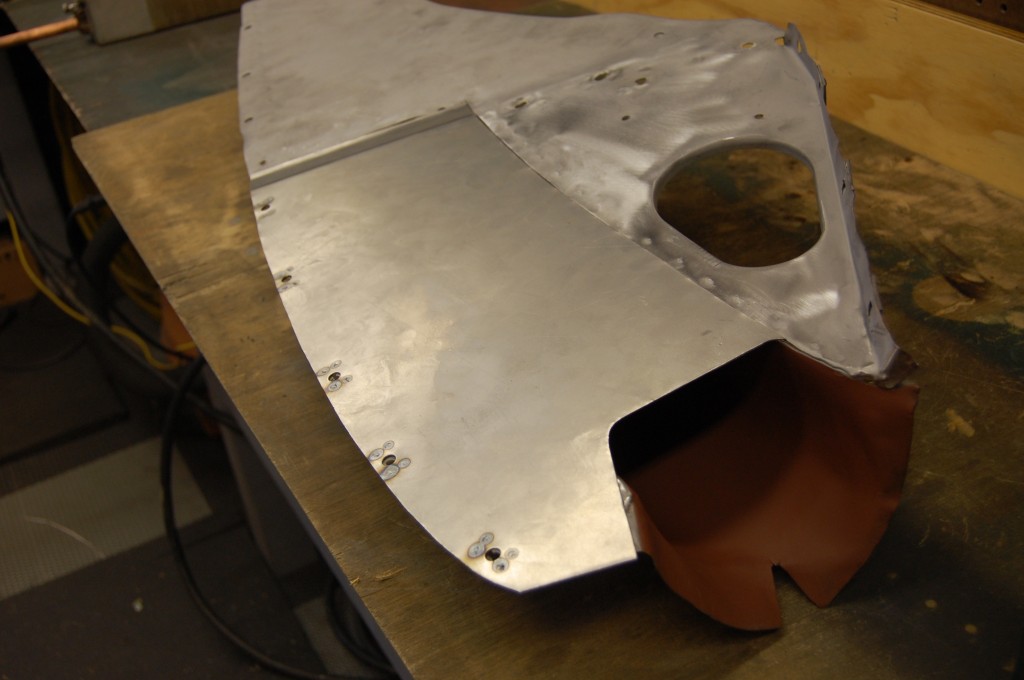
- Inner valances are often overlooked, but they are a KEY part of any E-Type bonnet, and need to be sraight and sound if you want to have ANY hope of getting things assembled properly. Here, a badly damaged section has been removed, the tube itself straightened, and…
- …a new repair piece has been formed up and is ready to be welded into place.
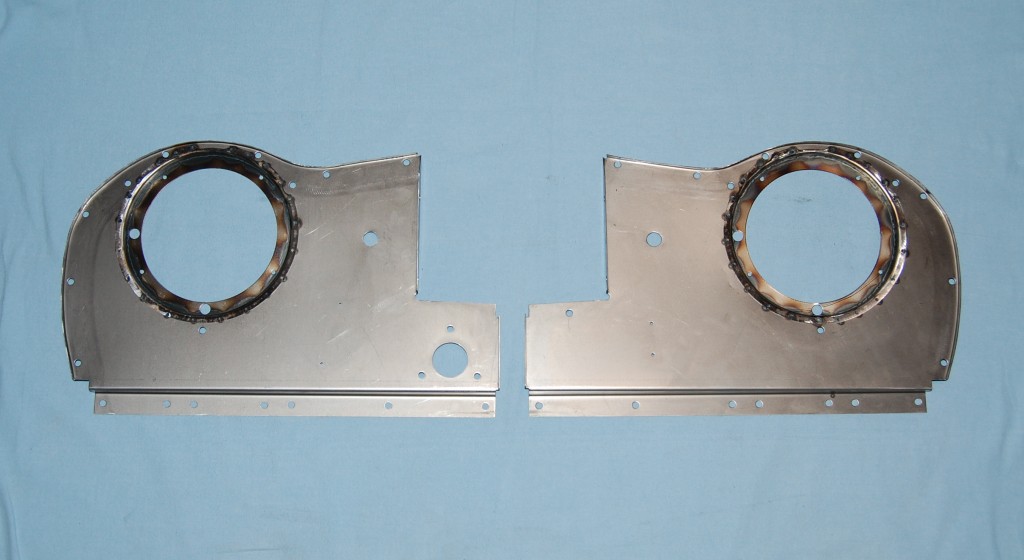
- Often, the inner valances are VERY badly rusted along the seam where the tube meets the wall, and in this case, we can fabricate the complete wall. This is a pair of inner valance walls for a Series 1 E-Type that we formed up and sent to another customer in Australia.
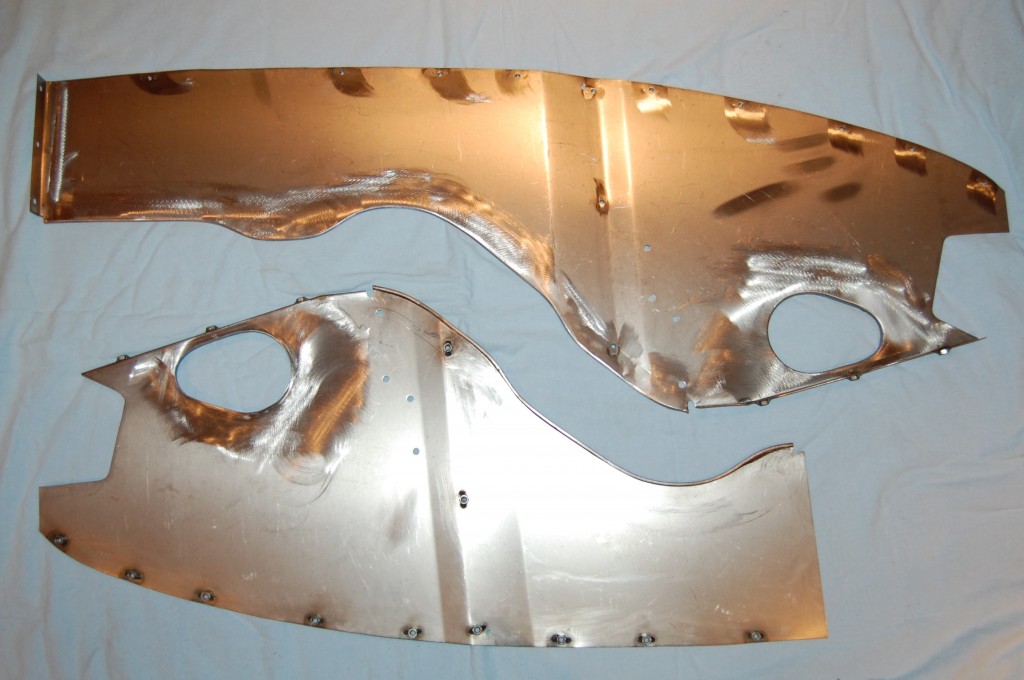
- Of course, we also make all of the smaller “standard” pieces of the bonnet, including being the only source worldwide for the bonded flanges. This is a complete set for a Series 1, 1.5, or 2 E-type – in stock and available in our online store.
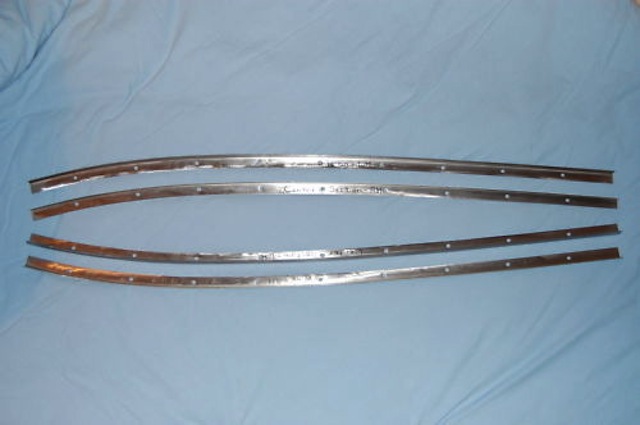
- Speaking of flanges, E-type bonnets are notorious for rusting out badly along the flanges that join the center section to the wings – especially above the wheels. Here, we usually replace only the areas that are necessary, and then re-arch the edge of the panel based on contour gauges.
- But at home, you typically don’t have the ability to do that, and these thick – and properly arched and matched – flange repair pieces will do the trick!
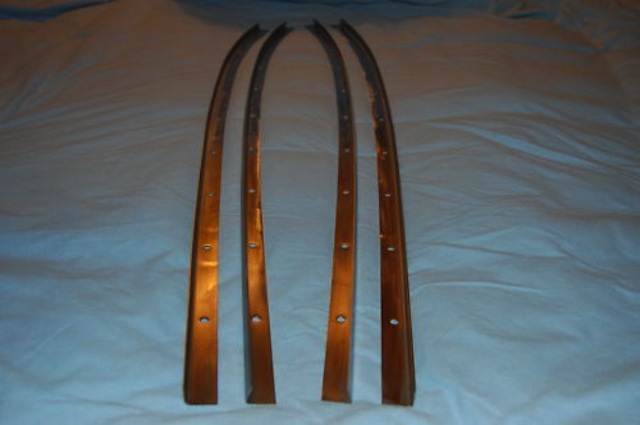
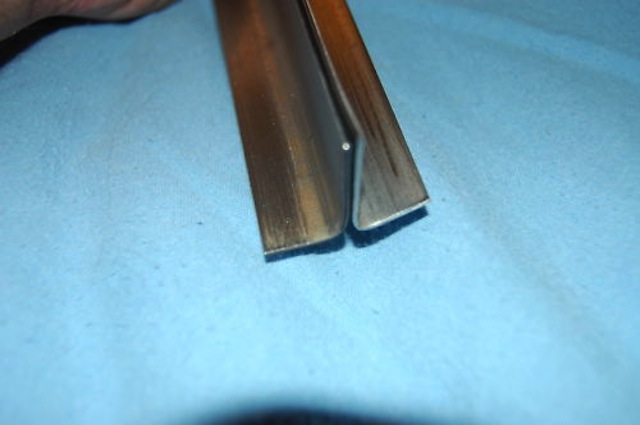
- At first glance, these side flanges appear to be a standard 90-degree piece, but thay are FAR from it!
- This is another BIG seller – though I think I use about half of the ones we make here! This is the complete rear wall of the lower valance.
- This piece is 100% precise in every dimension, and quite easy to install into your existing lower valance skin – see out blogs for this repair being carried out over and over again here – it’s a great piece!
- By using this piece to restore your lower valance instead of replacing it, you’ll save close to $1,000 – and more importantly, your original lower valance actually FITS! There are two different sources of complete lower valance reproductions, and both have their issues – one is too wide at the rear corners, and the other has a VERY poor mouth shape…
- Also available in our online store are all of the “medium” bonnet pansl as I call them. These are headlamp diaphragms for a Series 1 E-Type.
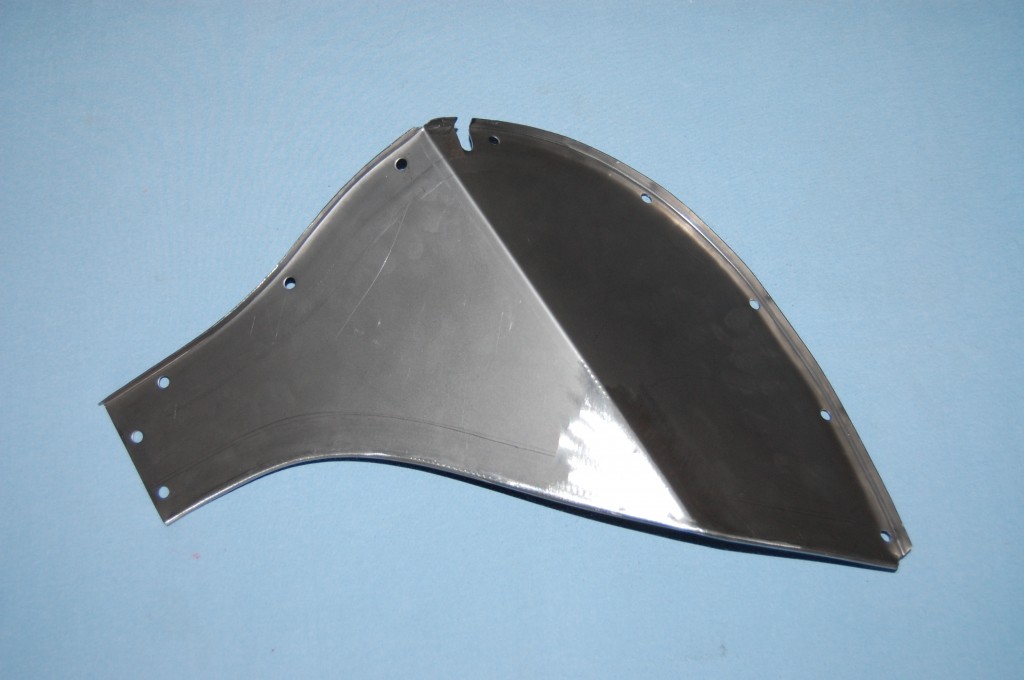
- A standard, off-the-shelf part – the RH rear mudshield for a 6-cylinder E-Type bonnet. We also have patterns for this piece for the V-12 bonnets.
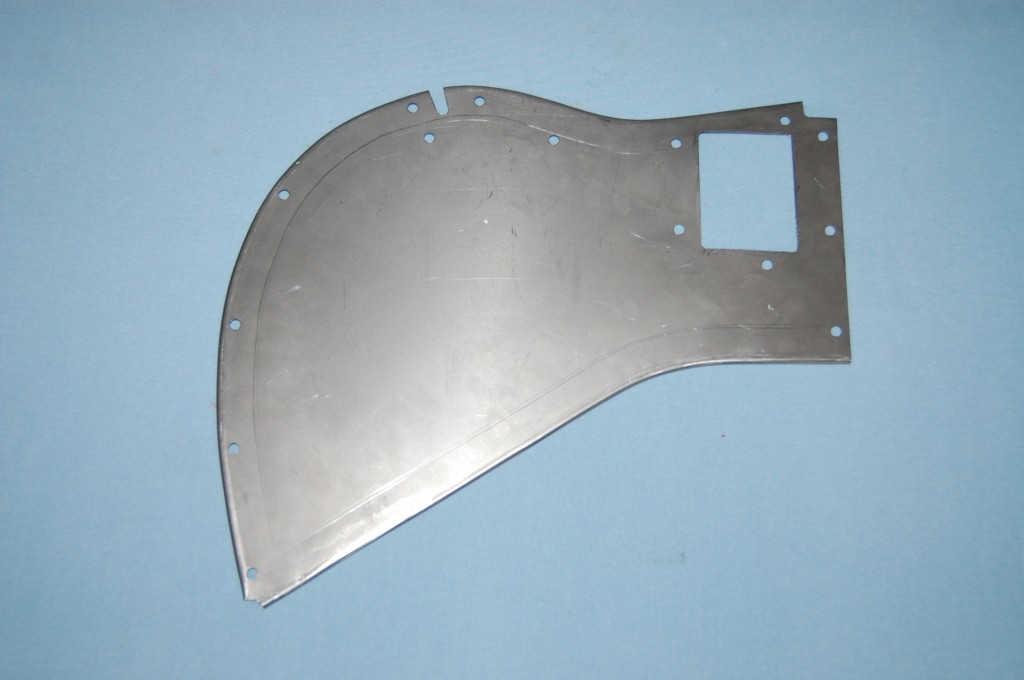
- ANd here is the LH mudshield. On these pieces, we have fine-tuned the patterns so that they are PERFECT – and also use a wire for the wired edge that is the proper diameter – AND it is e-coated for rust prevention!
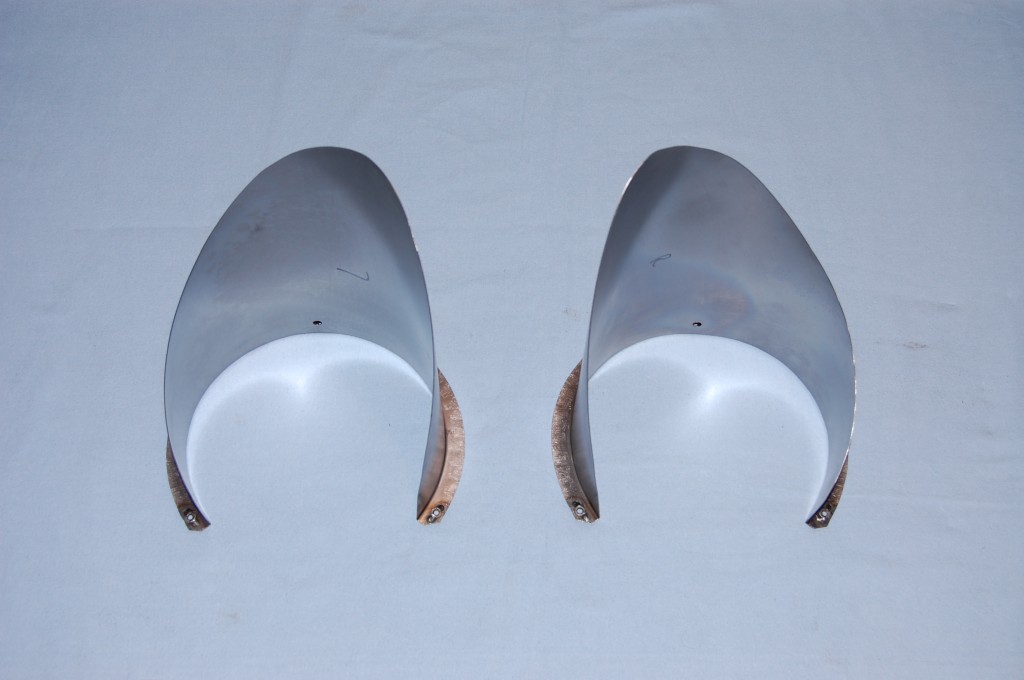
- Finally, a set of Series 1 headlamp scoops. Whatever pieces you need to bring you bonnet back to life, we either have on the shelf or can make. AND – restoring your original bonnet is ALWAYS a wiser choice: it’s MUCH less expensive, fits the car MUCH better, and let’s face it, will retain the “soul” of your E-Type for future generations!

