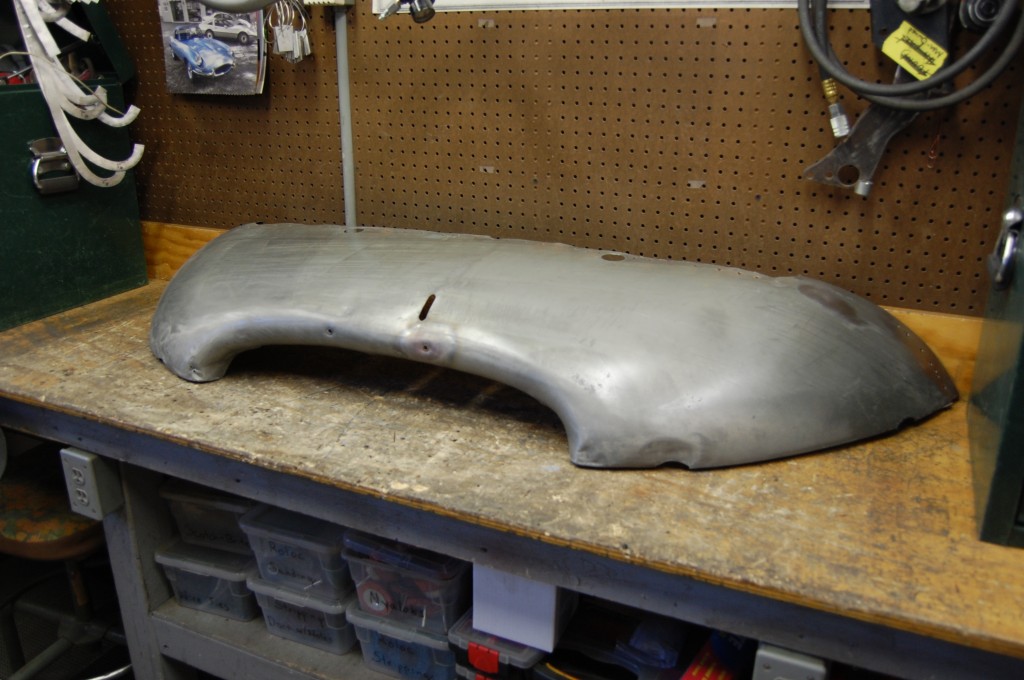
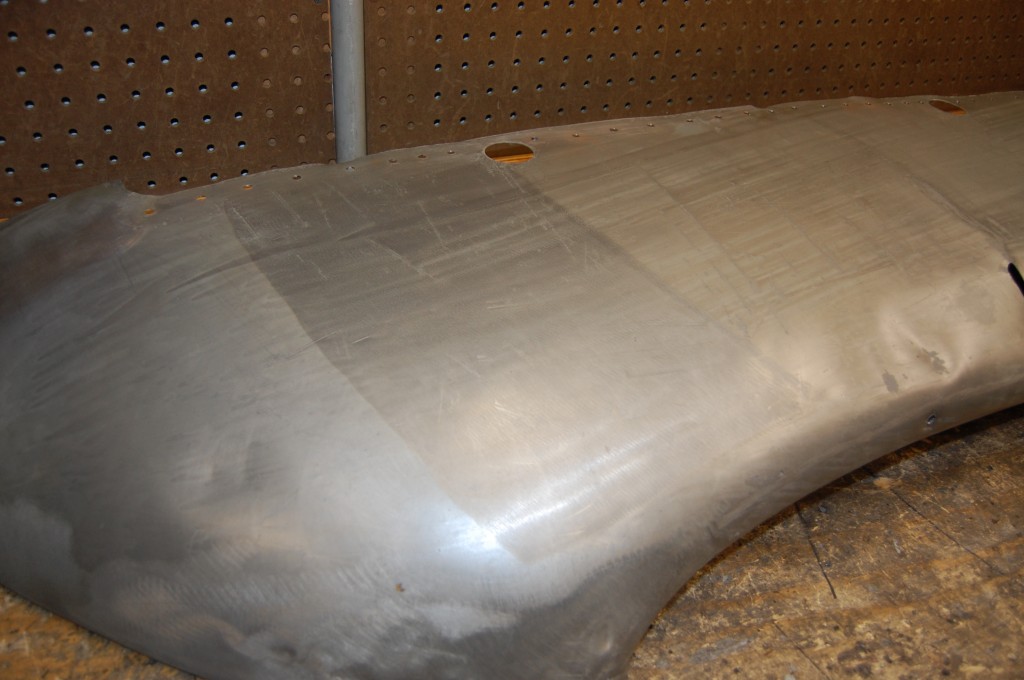
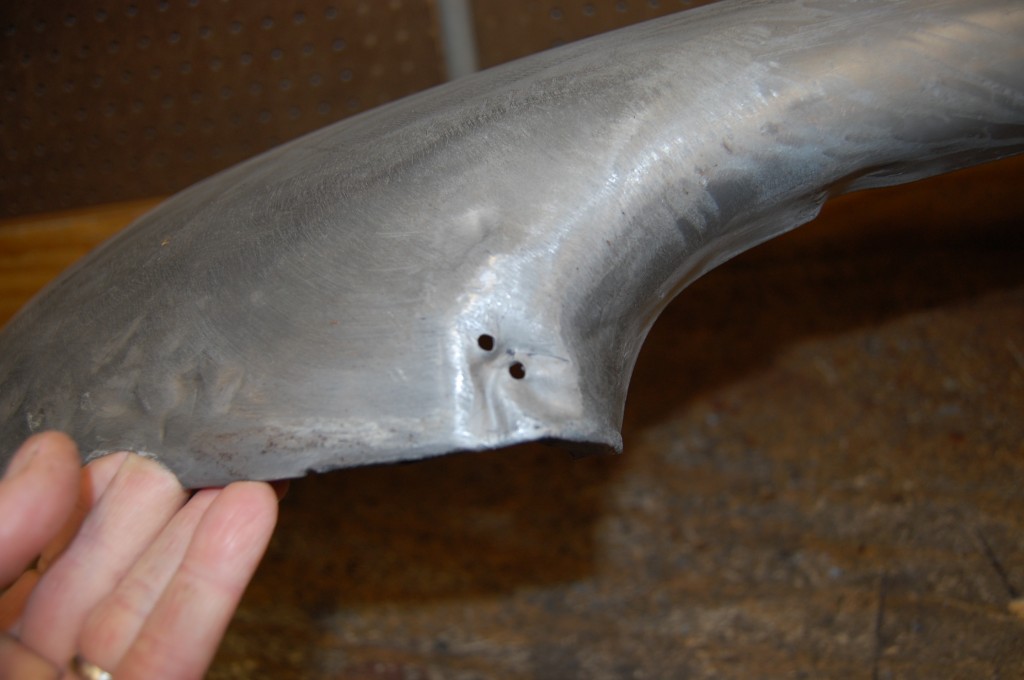
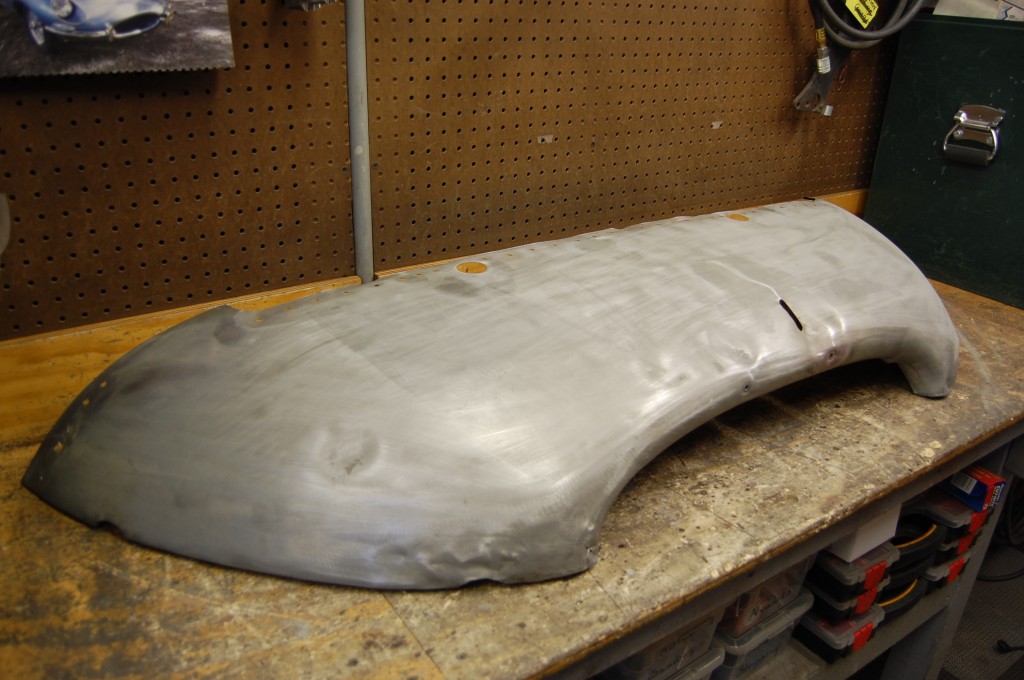
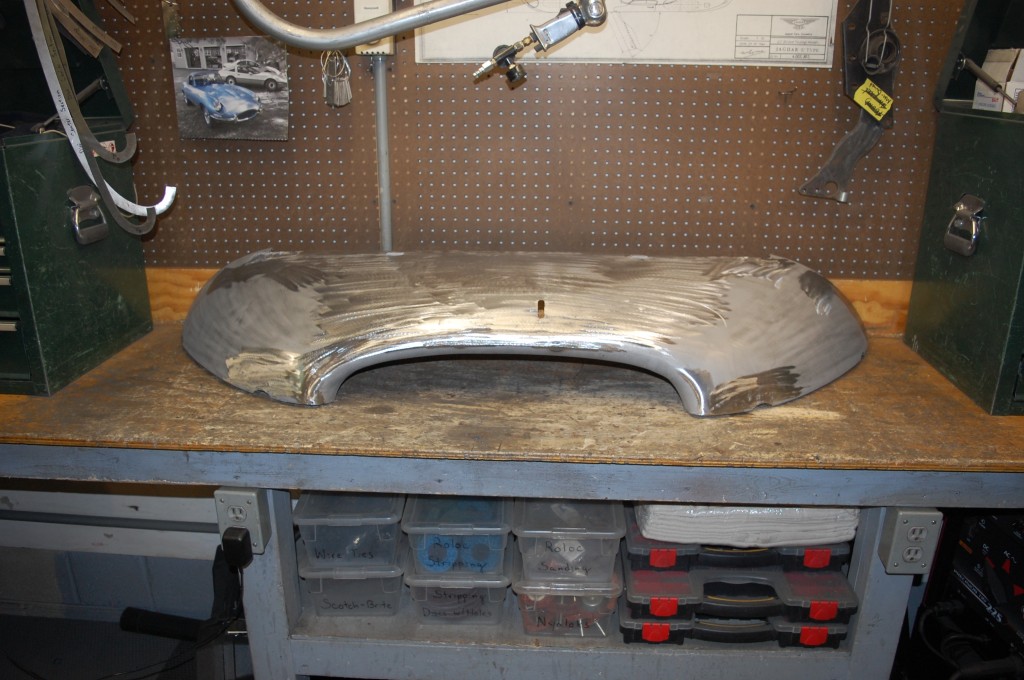
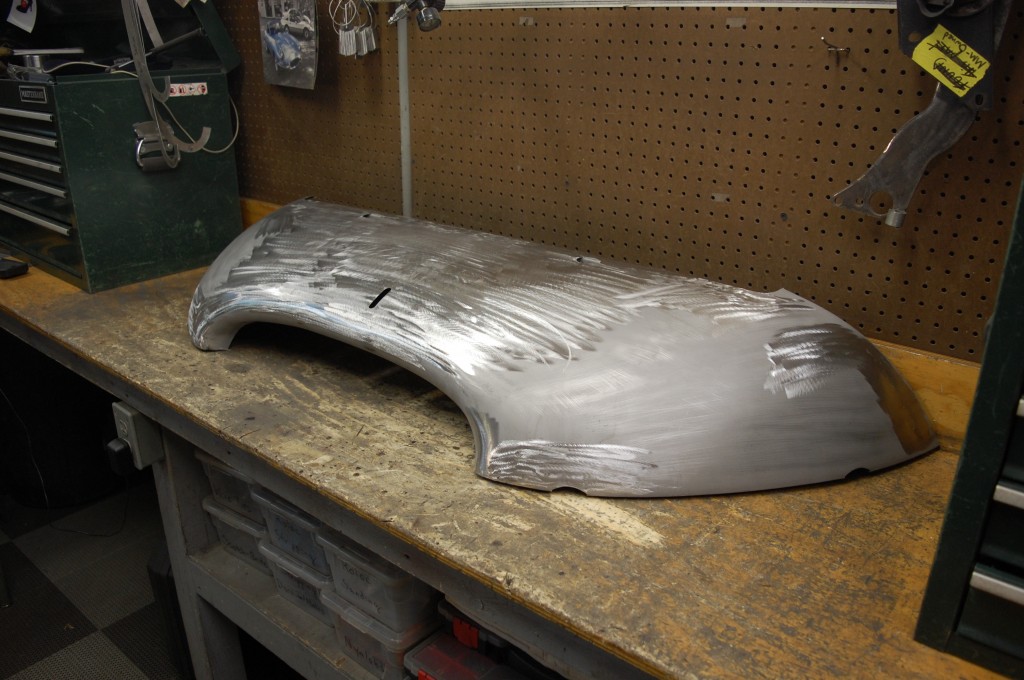
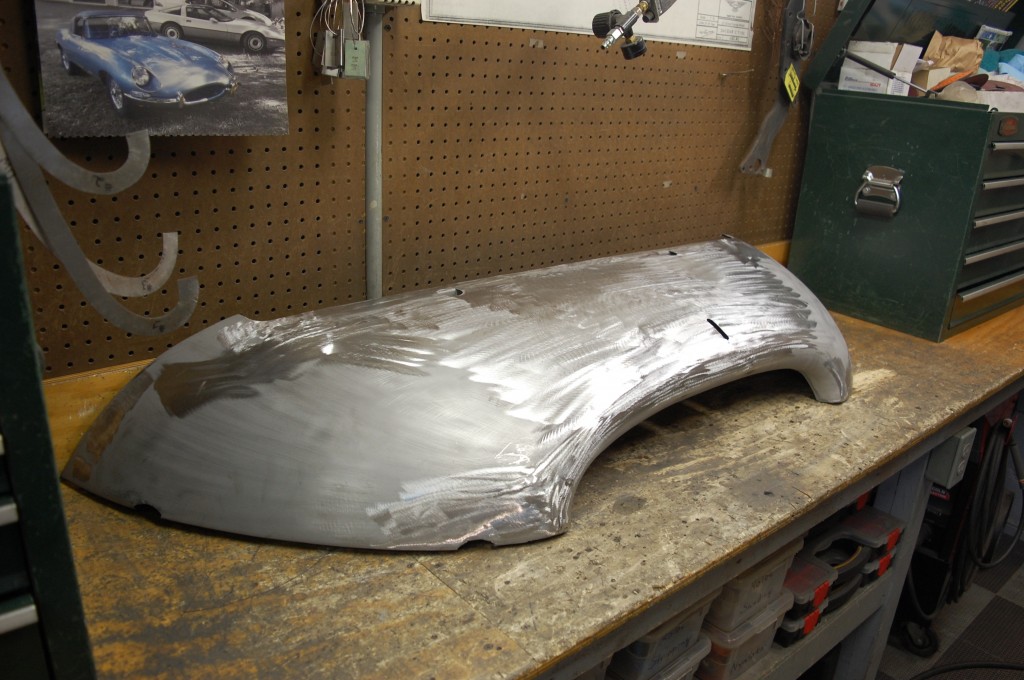
Next Up for this bonnet was the restoration of the lower valance. We have done ALOT of these, and blogged it many times as well, so I’m going to try to keep the captions short on this one and get this blog entry done in record time.
Ready, Set, Go!
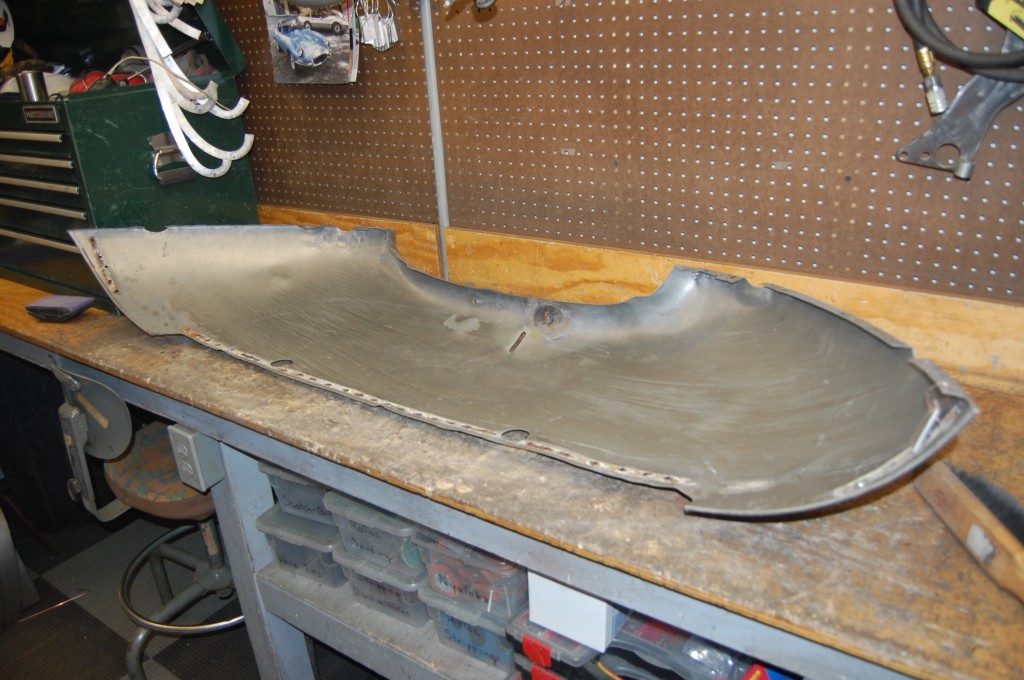
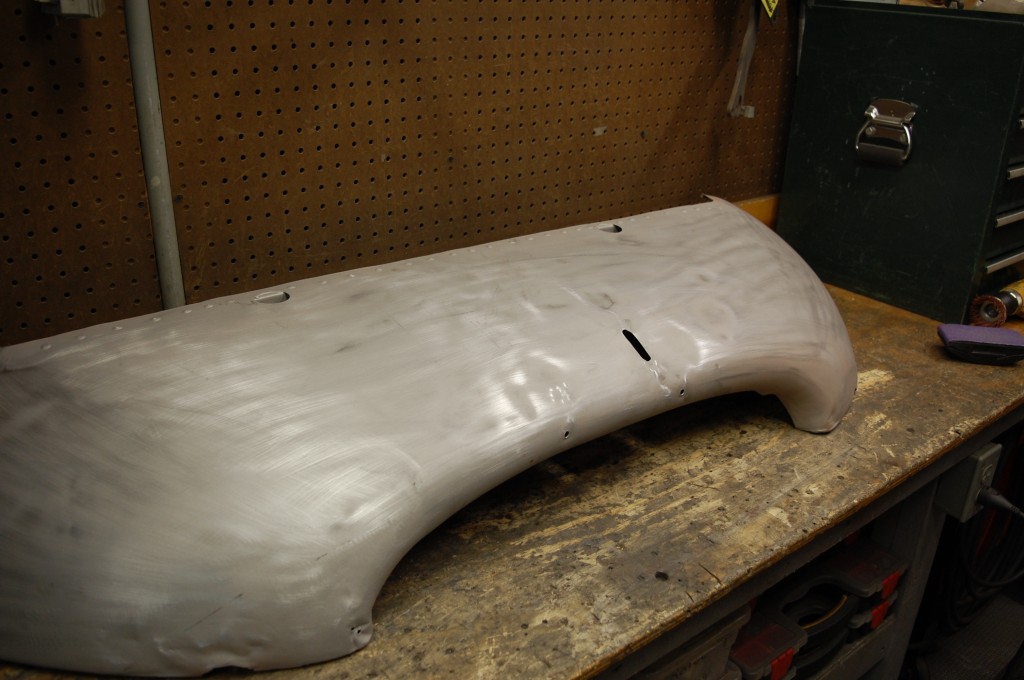
- As received fresh out of the crate.
- This coating was just so tough to navigate visually!
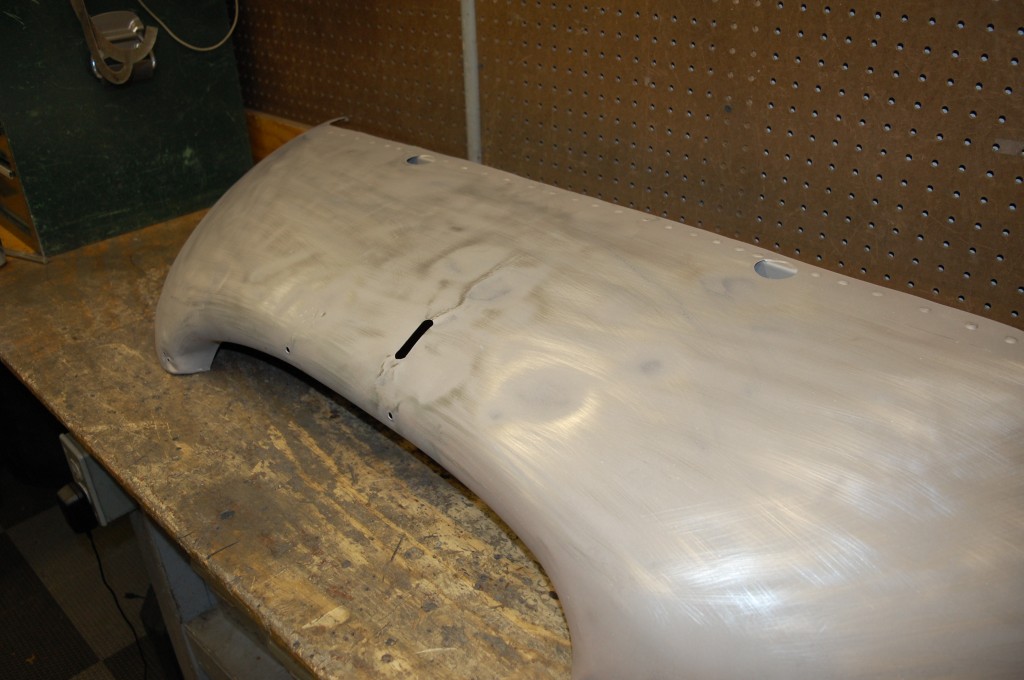
- A failed attempt with a dent puller…
- Scufing shows that it’s never as smooth as it looks…
- We removed the support panel – it was better than most, but still needed replacement.
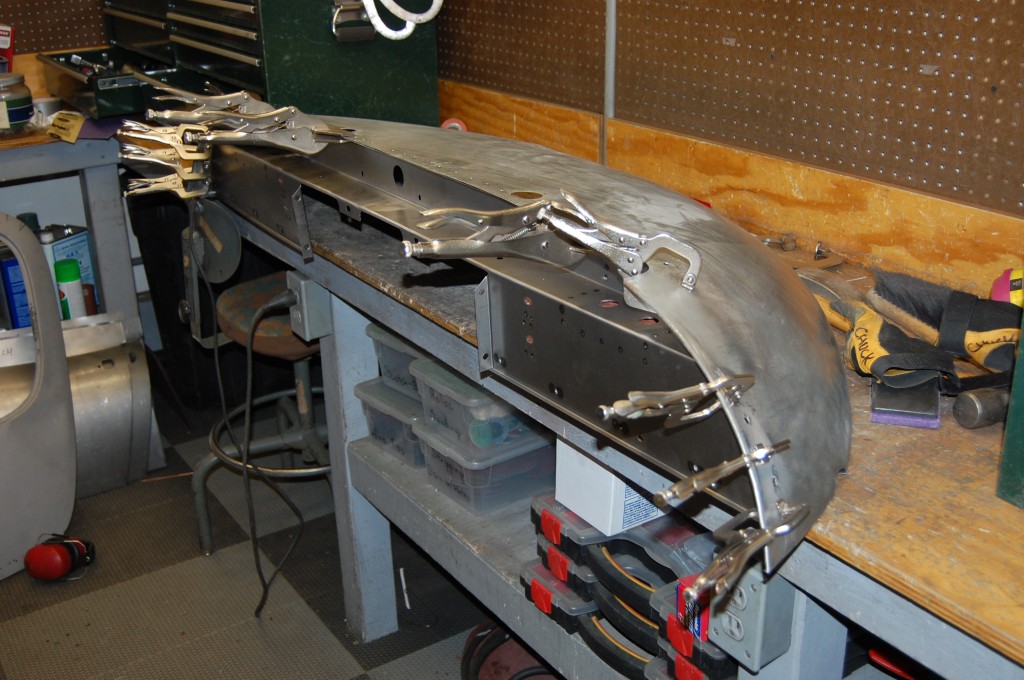
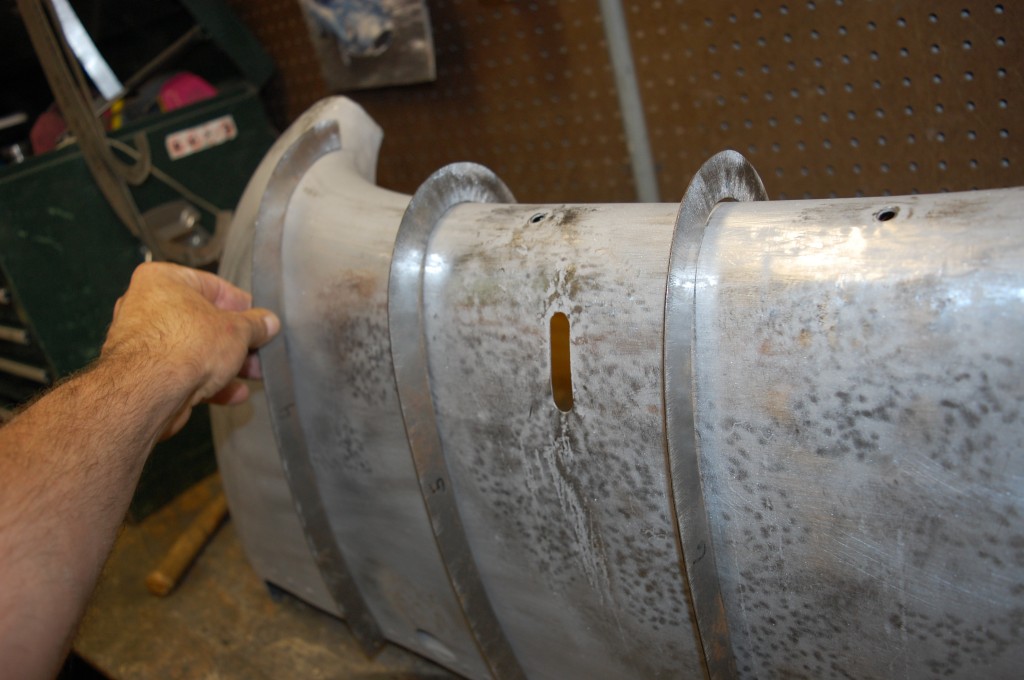
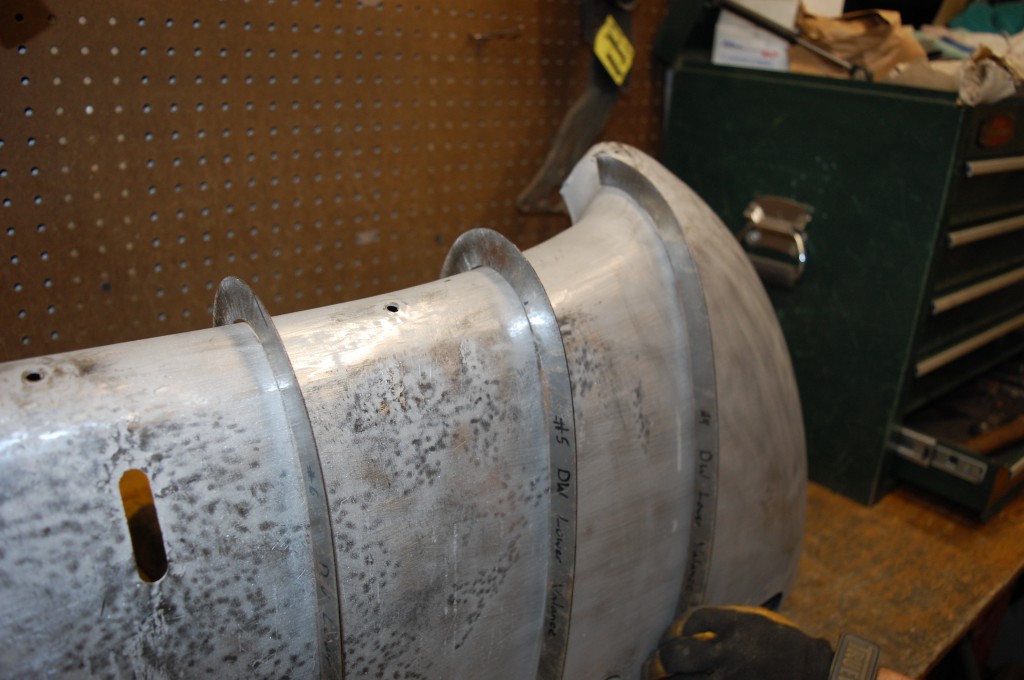
- Here is one of our new support panels, clamped into place and ready to be welded back in using the same holes drilled to remove the old panel.
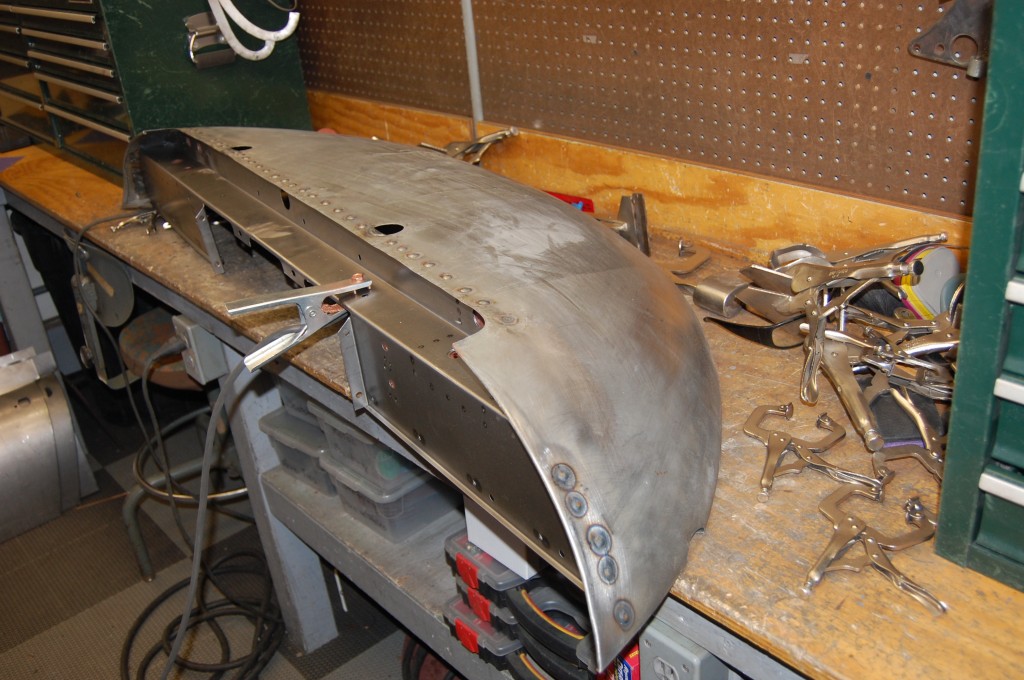
- Welded in now. You’ll always have a depression in the sides after clamping it tight, but that is OK, even the factory did. You are better off smoothing this out with a little filler than screwing up the appearance of the flange on the inside by hamering this falt on the outside.
- Next, we had it gone over in the blasting booth – I just could not do the smoothing work on that shiny surface.
- Now, scuffing with a sanding block shows where we need to smooth things out.
- The starting point from another angle.
- After a little over an hour, the dolly and slapper work is completed, and the contour gauges show that we have done our job well!
- The other side is just as correct!
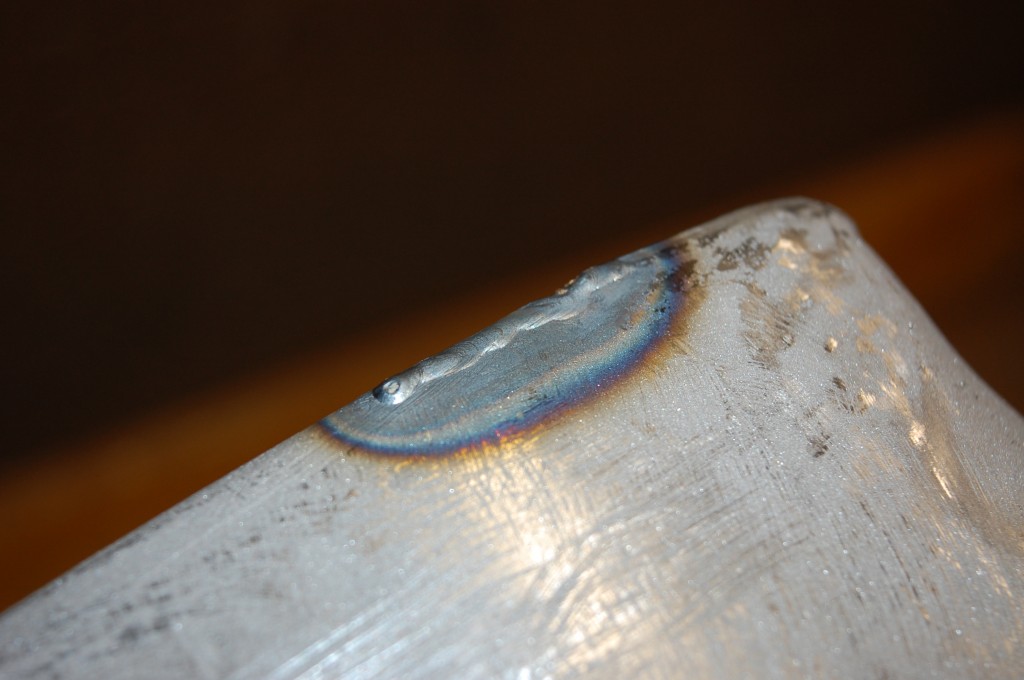
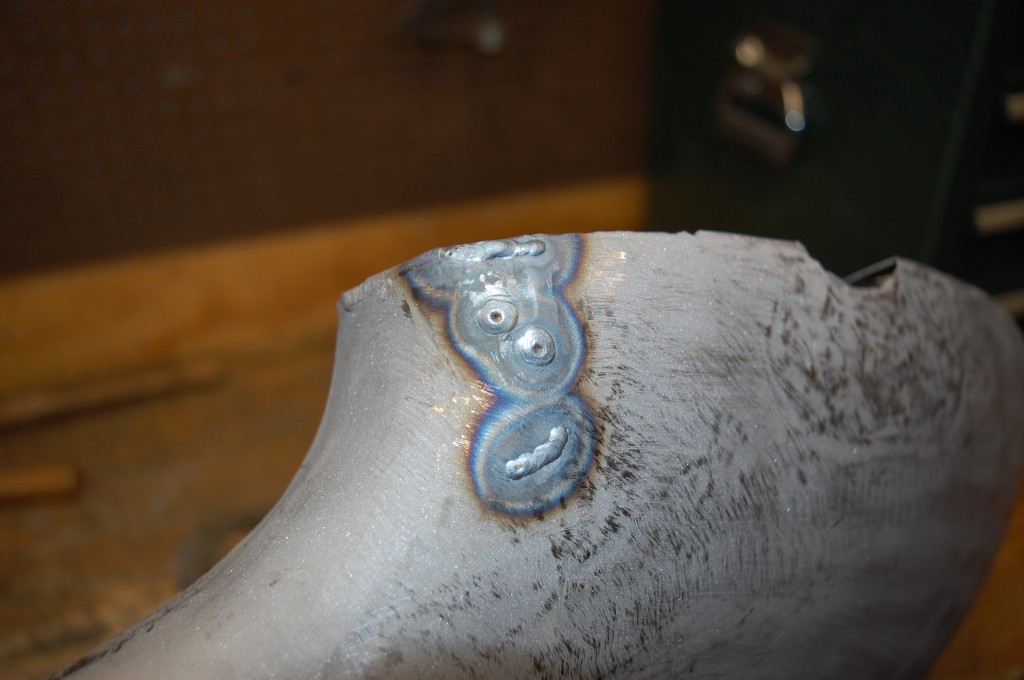
- Next we handled a few tears in the factory gas welds…
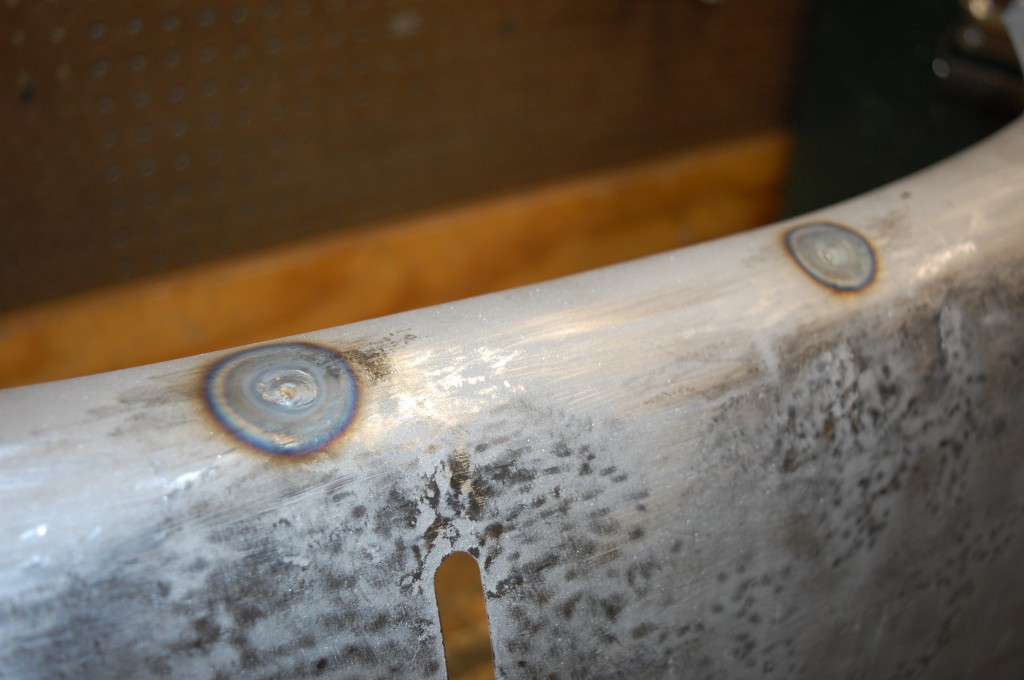
- …and welded up the front license plate bracket holes…
- …and hammered out this little corner and welded up the dent puller holes and a couple small tears with the TIG.
- Next, all welds including the plug welds attaching the new support member were ground down smooth.
- We did use the shrinking disc just a bit – to great effect – and then scuffed off the burnished smooth surfcae left by the shrinking disc.
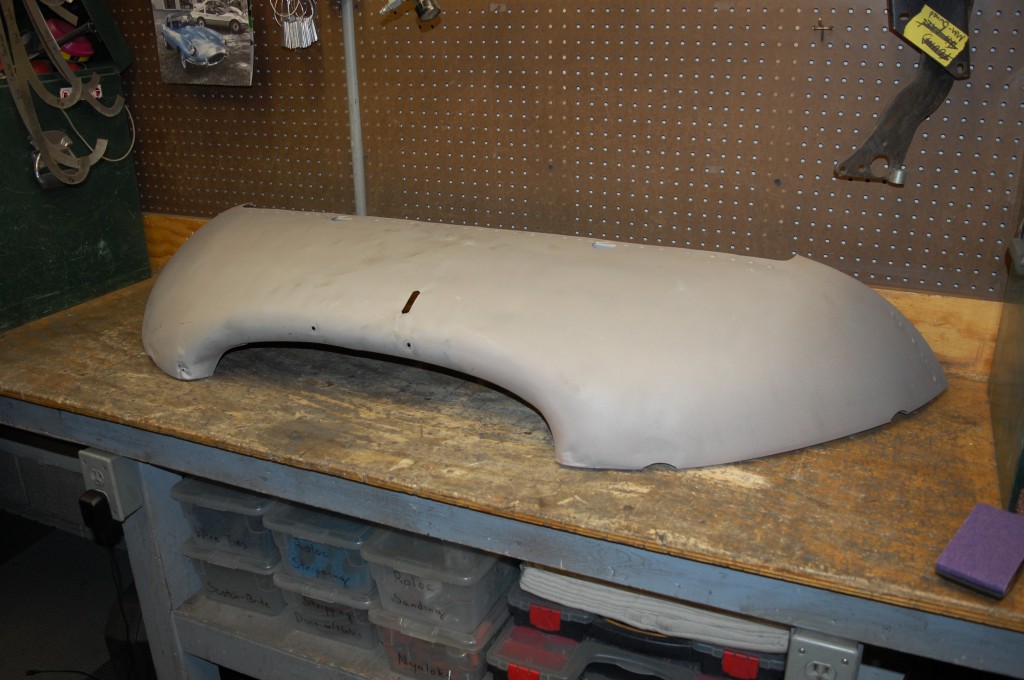
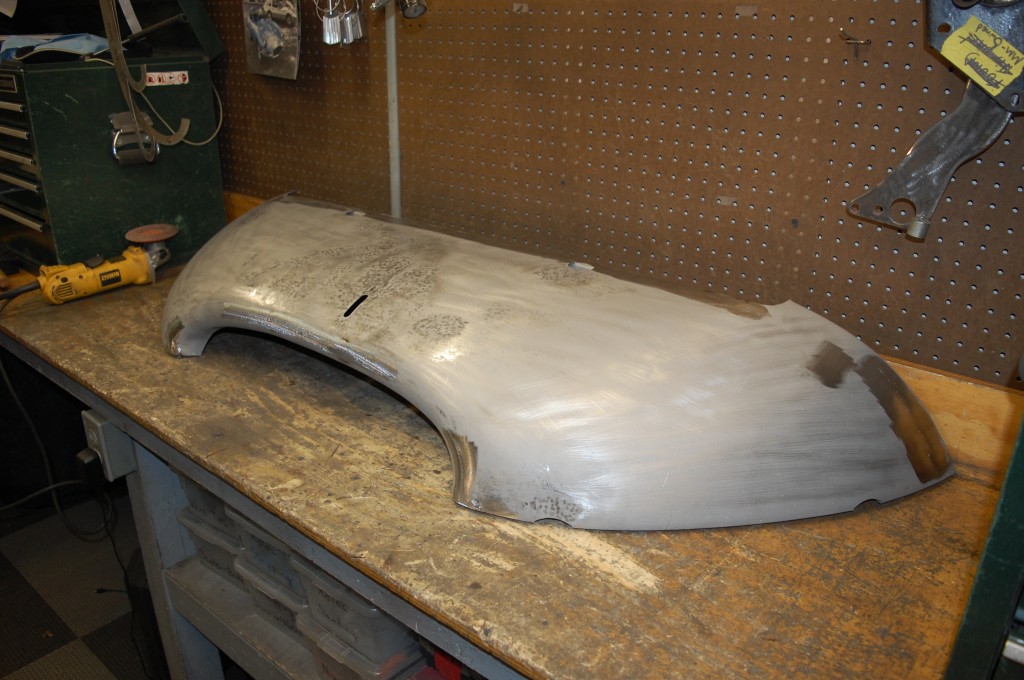
- This is the completed piece, and she is SMOOTH!
- Now… STAY AWAY from those parking blocks!!!

