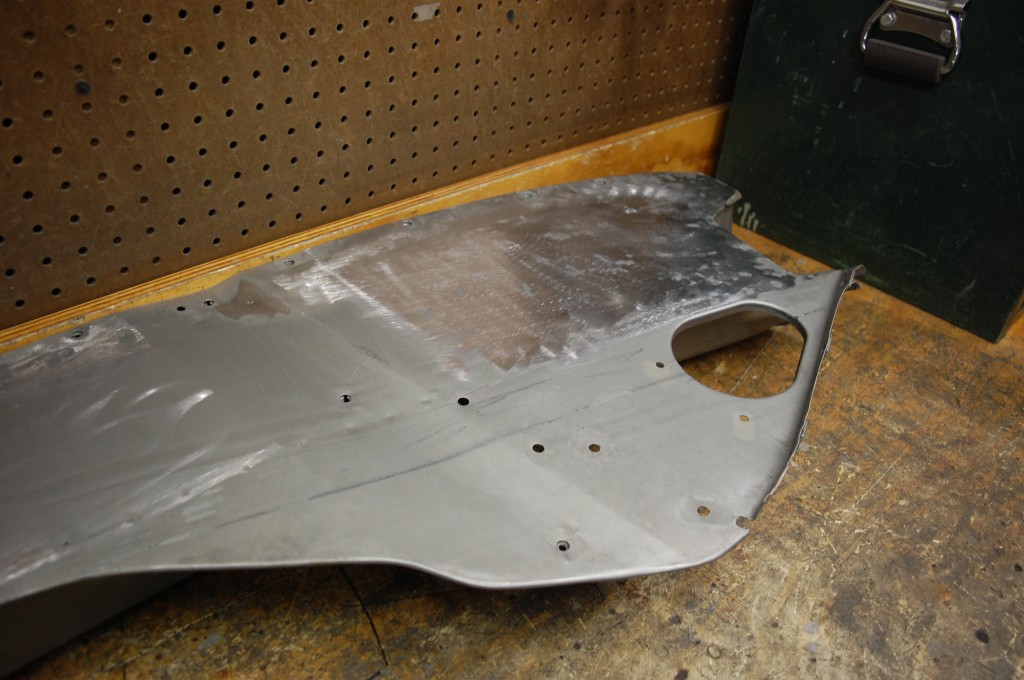
Well, it happens – and it’s been a while – so I guess I was “due” to hurt myself, and did a first class job of it yesterday afternoon…
I was drilling out ONE spot weld in the middle flange of a LH front wing for a Series 1.5 bonnet, the drill slipped, and I promptly pretty much obliterated my LH thumbnail… I use VERY sharp 1/4″ drill bits to remove spot welds, and this one did it’s job, let me tell you! Man, that hurt! I’ll spare you the gory photos of that…
So needless to say, I’m not working in the shop today, and now I have a chance to catch up on the blogging. I can still type without using my thumb, although every keystroke sends a little shot of pain down through it – as a little reminder to stay focused when working and ALWAYS put safety FIRST!
The moral to the story – BE CAREFUL!!! You only need to take your eye off the ball for a SECOND to screw yourself up good! Doing sheetmetal work all day, every day, certainly has it’s share of cuts, bruises, and other minor injuries, but screw-ups like these are never any fun – and usually last a LONG time – I imagine this thumbnail will never be quite right again… DAMN!
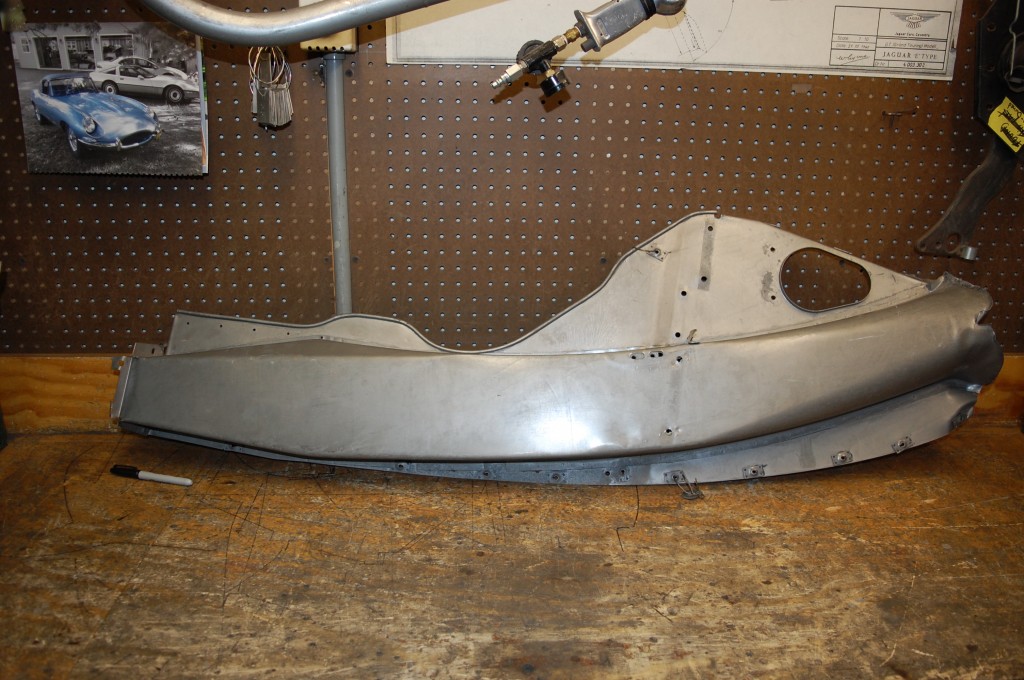
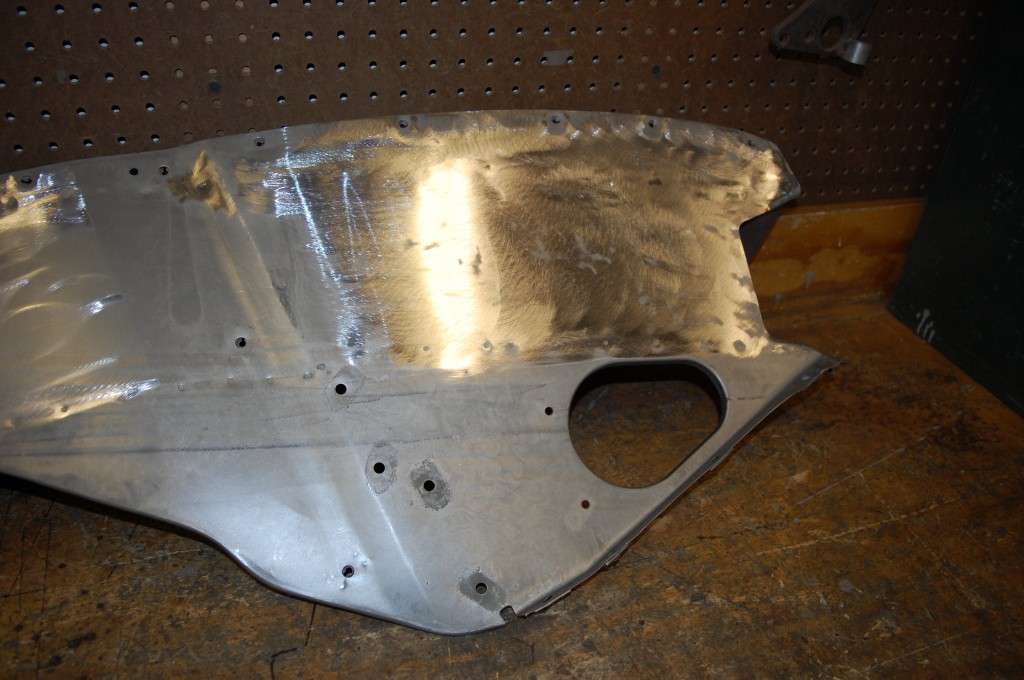
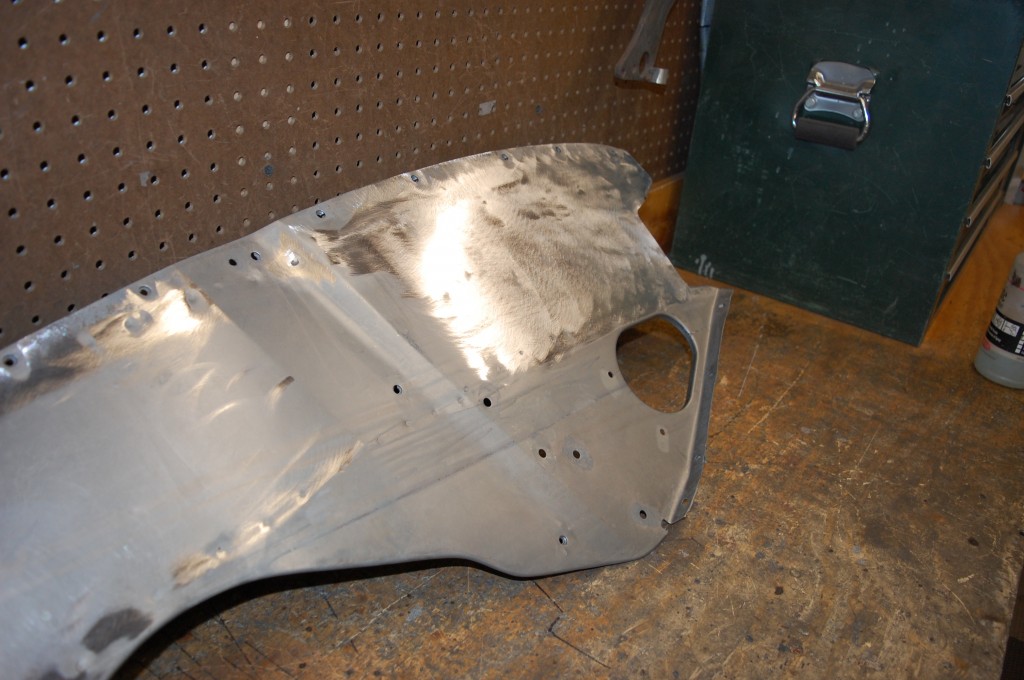
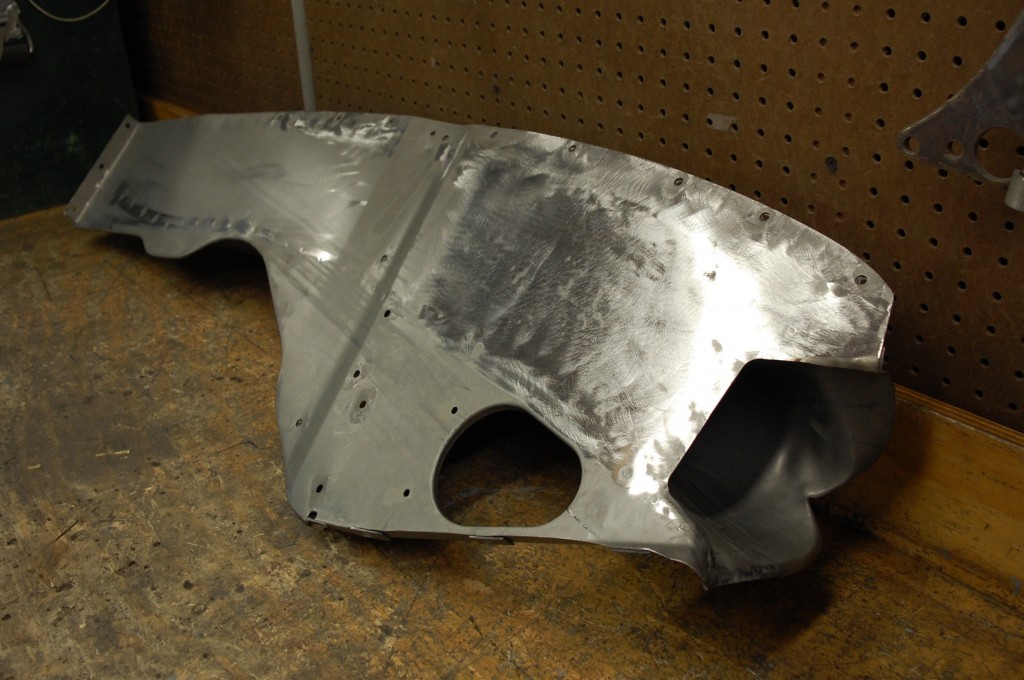
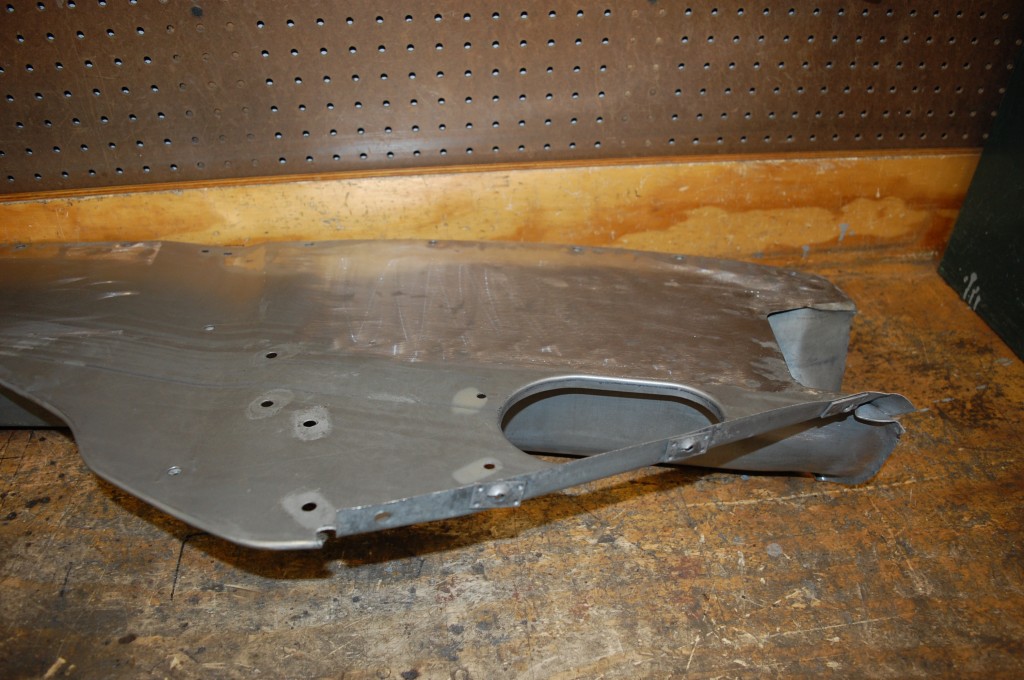
Anyway – here are some other pieces of that bonnet, which we are fully restoring and converting to Series 1 covered headlamps.
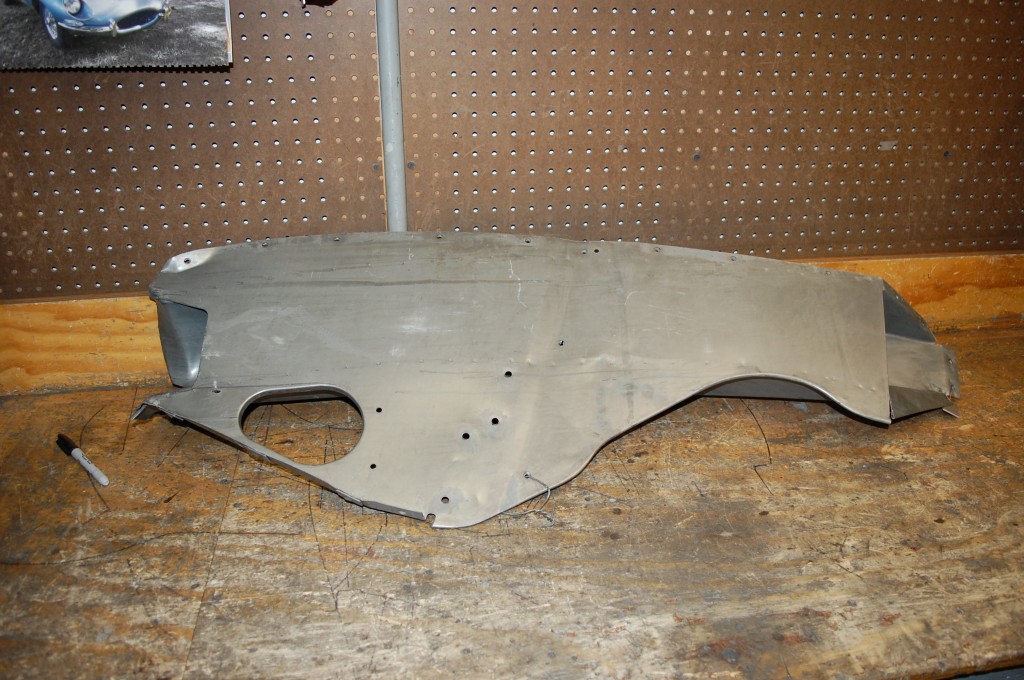
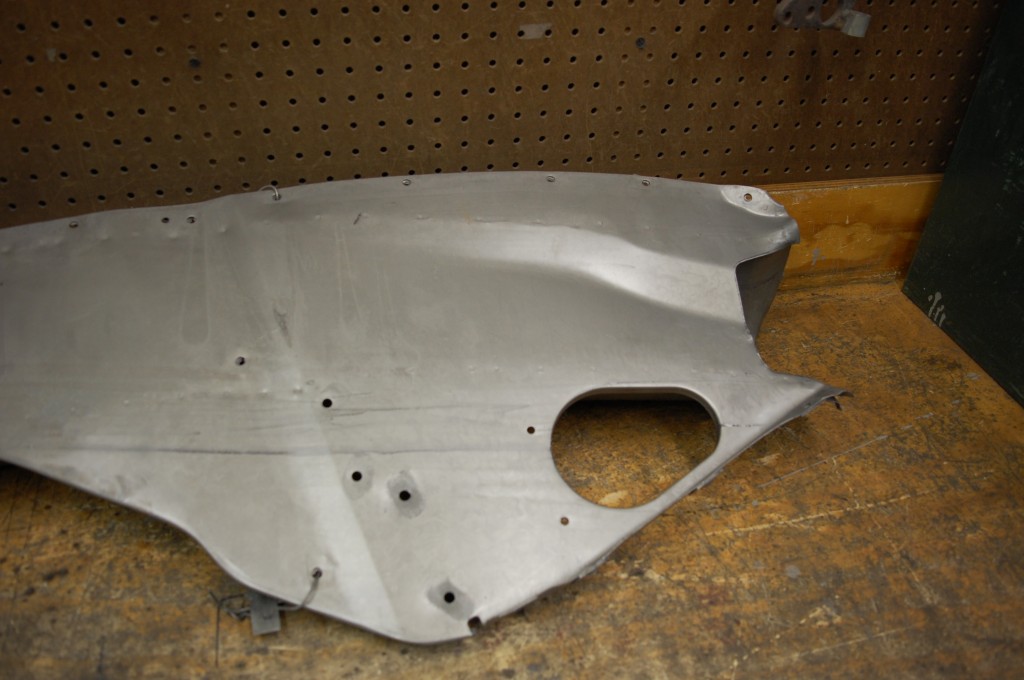
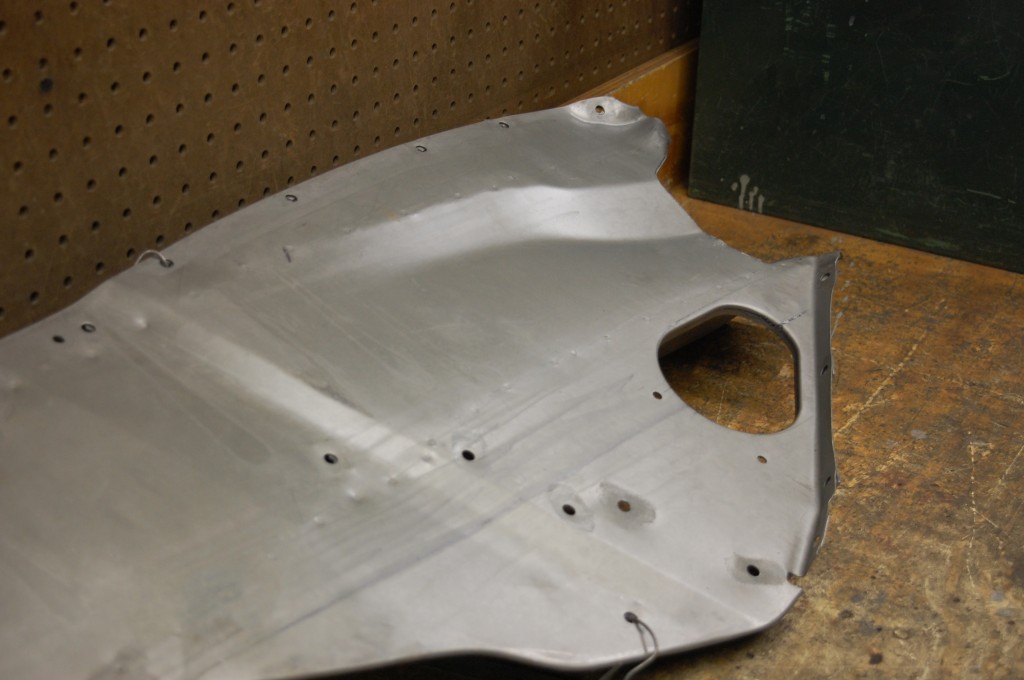
- Here is the RH valance before work starts. This bonnet was shipped in from San Diego, CA, disassembled, but in a crate large enough to ship it back, assembled. The bonnet was dipped in chemicals to strip it and remove rust, and then “E-coated” to seal the panels and prevent future rust. This is kind of a clear-coat, that actually proved difficult to work with in the hammer and dolly phase because I could not see what I was doing on the metal, and we ended up blasting some of it off to get around that…
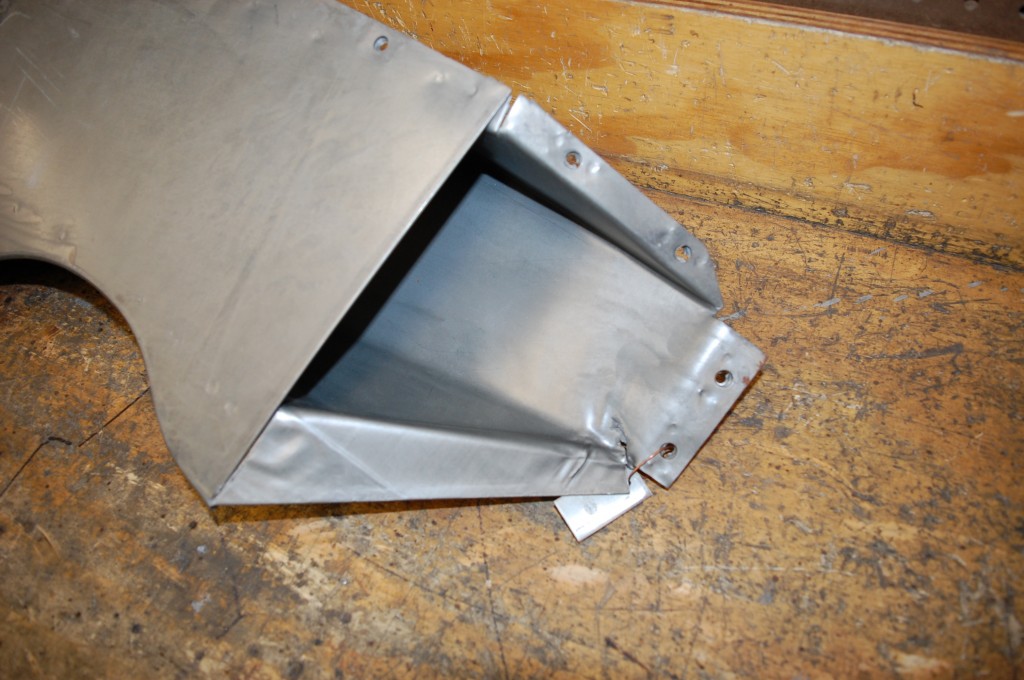
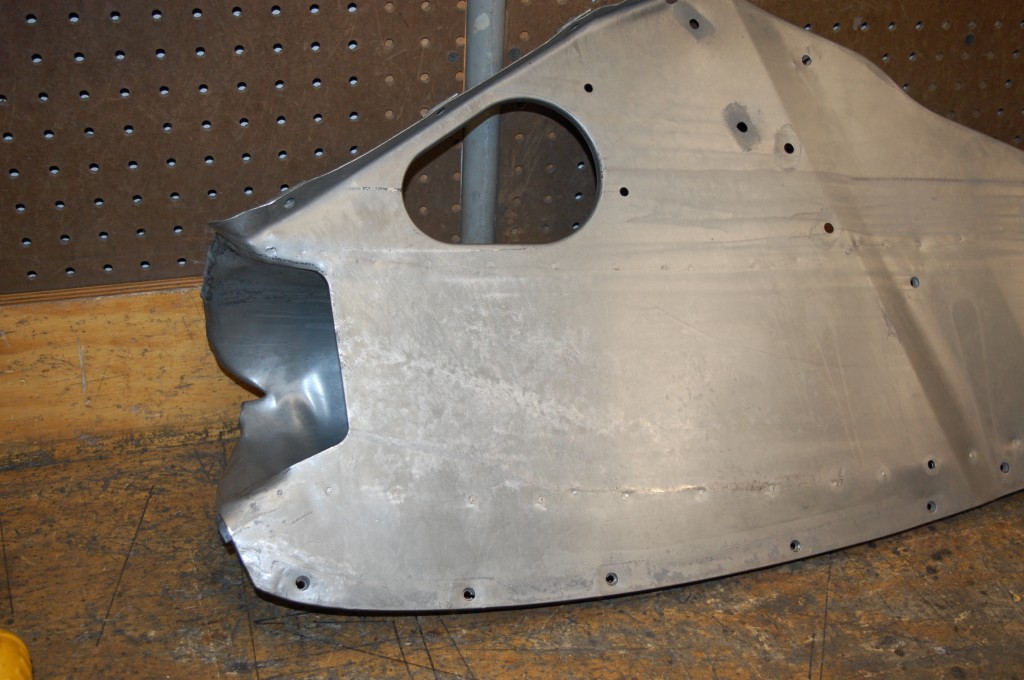
- The pieces were in excellent condition – virtually no rust, but the car ws in an accident that was poorly hammered out and suffered the dreaed dent-puller – you will see that in later blogs. And of course, the RH inner valance has the typical tear in the rear lower corner. I have only seen ONE – IN MY LIFE – that was not torn here…
- This was an excellent piece overall!
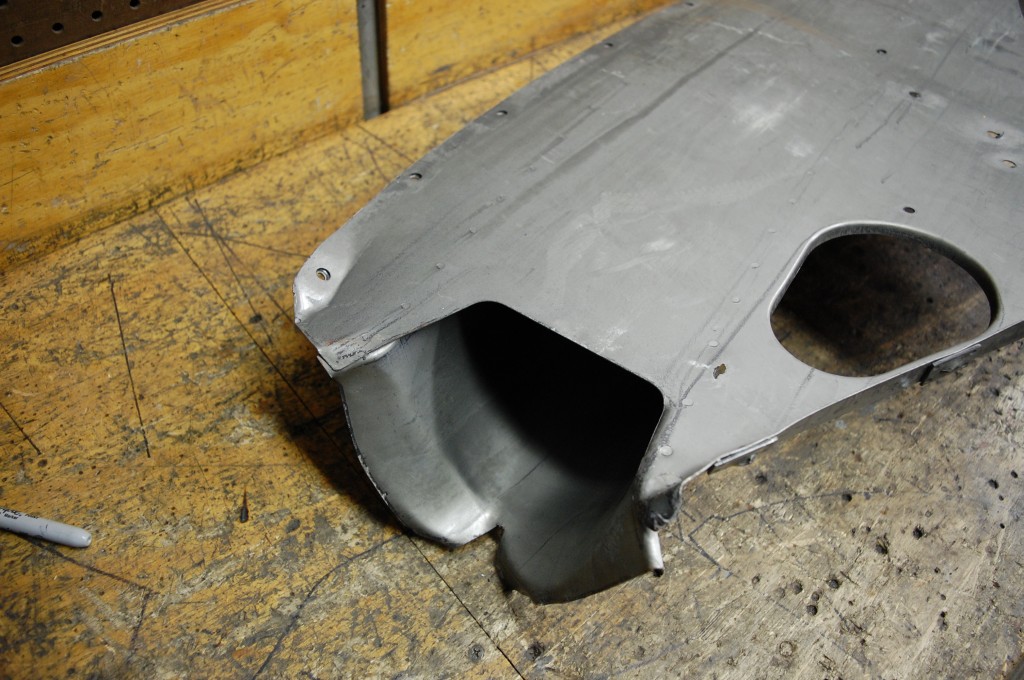
- These are almost NEVER this virgin up here in the front!
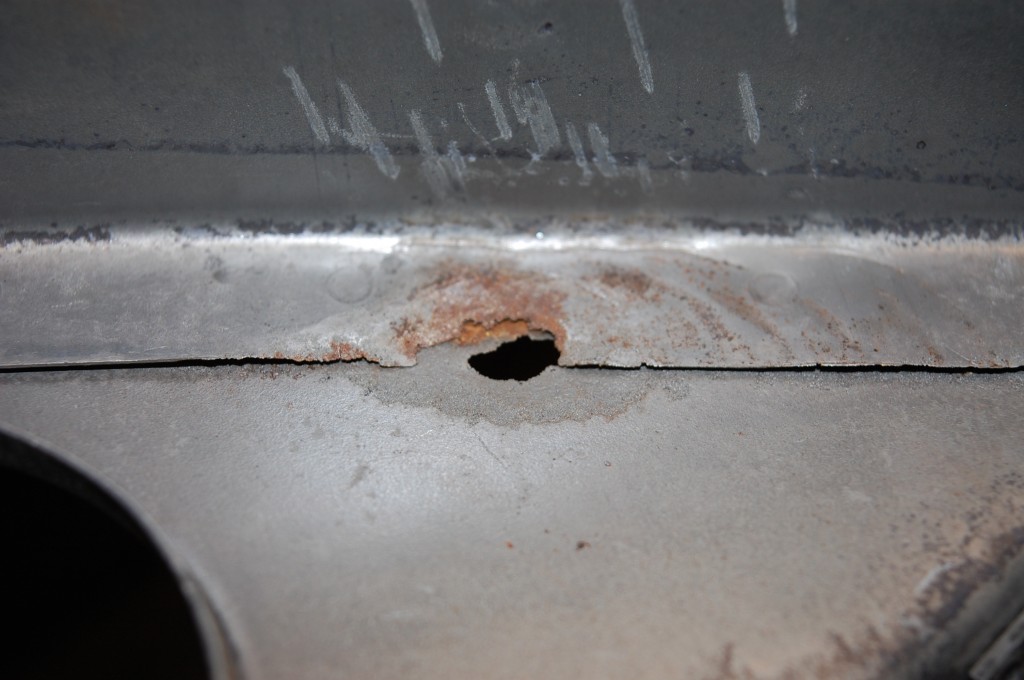
- This was the only rust spot on this panel. We scraped and hammered this, getting all of the rust that we could out of the seam, then welded it up carefully with a copper backing plate. You have to be careful in a spot like this – the metal is thin around the edge, and something like this can get ALOT worse, REALLY quick if you don’t know what you are doing!
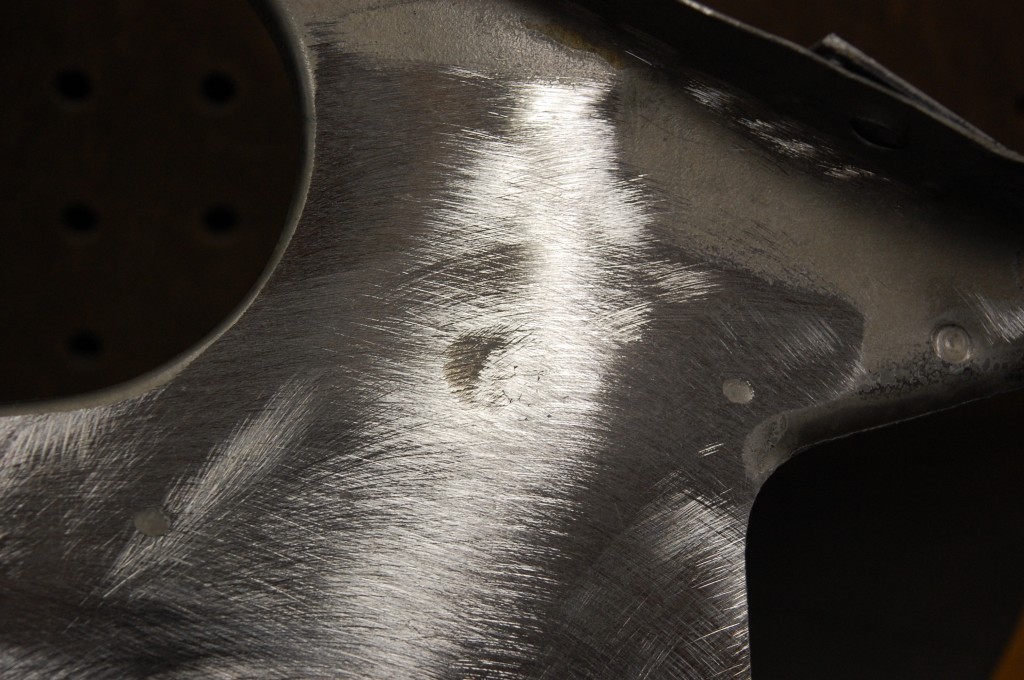
- This is the side of that small hole that shows – like it was never there!
- Goodf as new!
- Everything is straightened and sharp edges from spot welds, etc. are scuffed down.
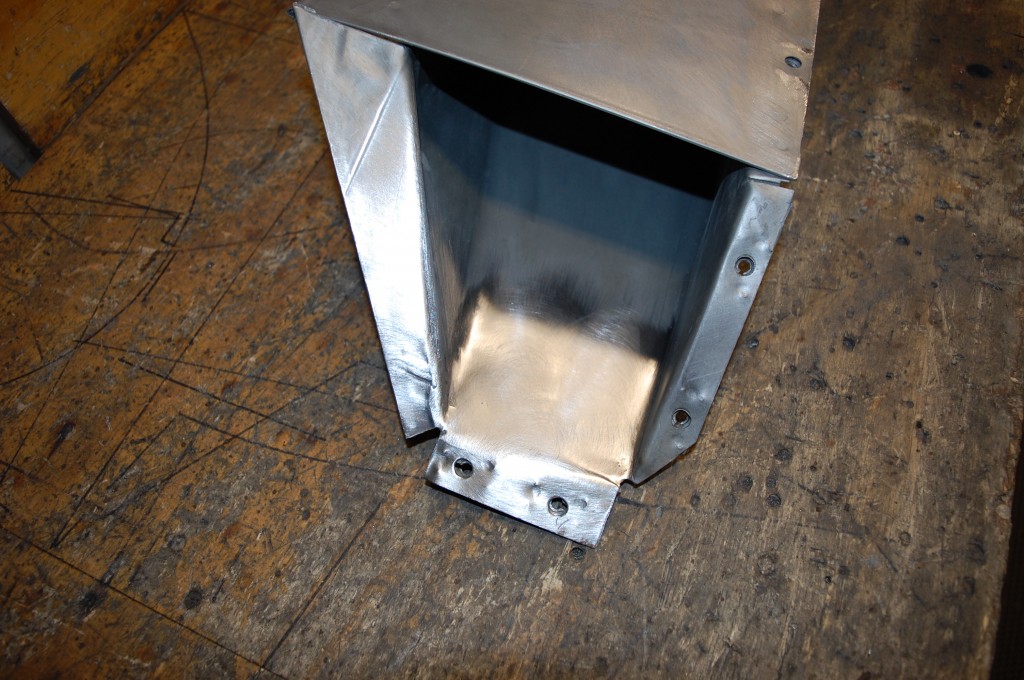
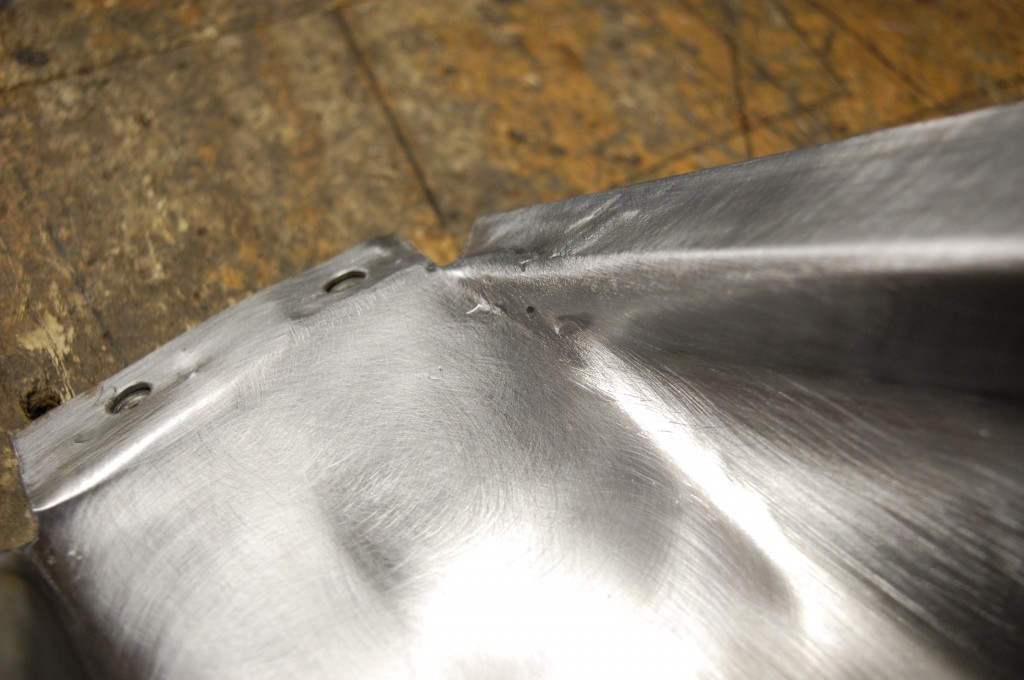
- This shows the typical tear welded and ground smooth – which is always a bit of a small “sculpture” project!
- It takes time with hand files, etc. to get this just right!
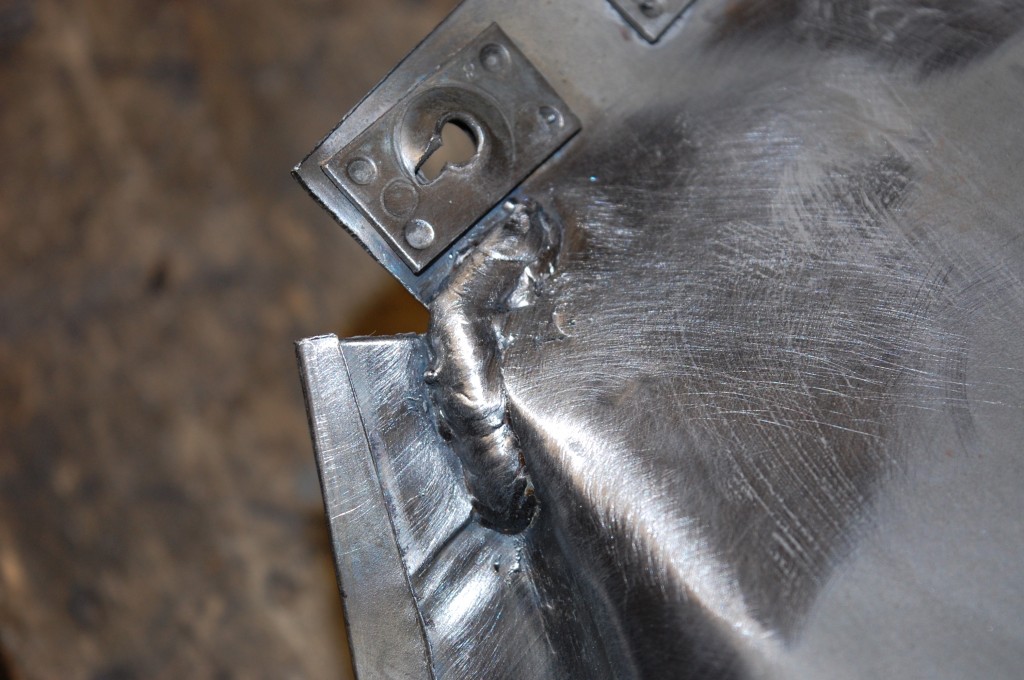
- And, we always do this on the back side – I call this “the worm” – it is my signature solution for making sure this does not tear again, as it is a factory weak spot. This is the back side, and well up inside the wheel well, and once covered with paint, undercoating, etc. it is not noticeable. It’s a small price to pay for making sure your restored bonnet with gleaming paint doesn’t tear again – and it WILL if you don’t do this!
- On to the RH side – which looks great from this angle, but…
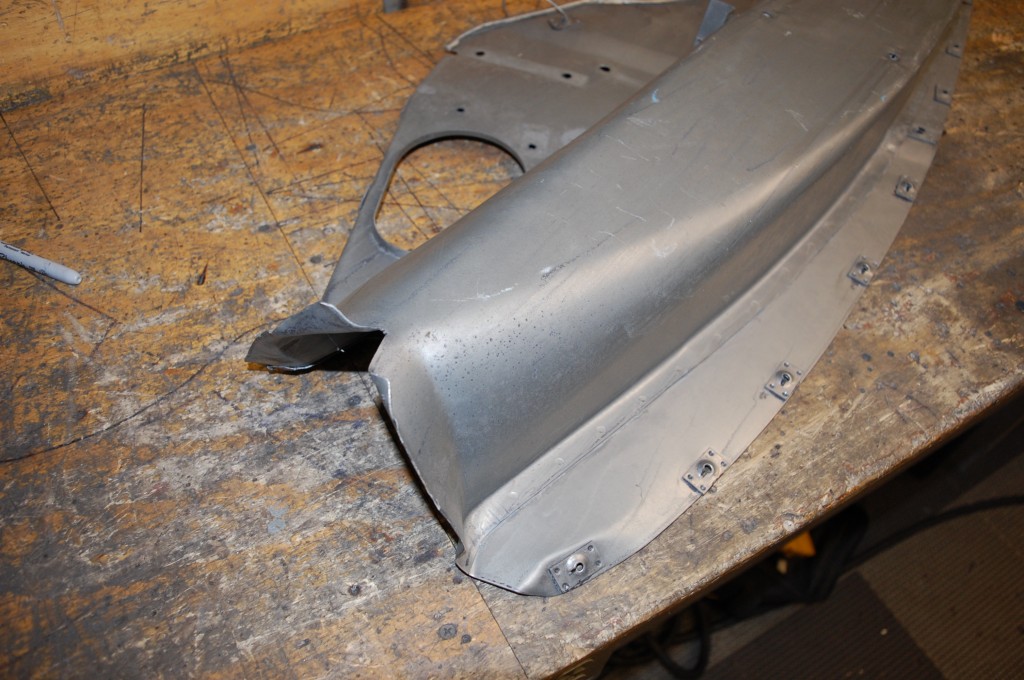
- Not so from here… This is from the accident pushing this panel down from the top. The tube welded to this wall is now also deformed, and there is NO WAY to get this back into shape while the tube and the wall are still welded together.
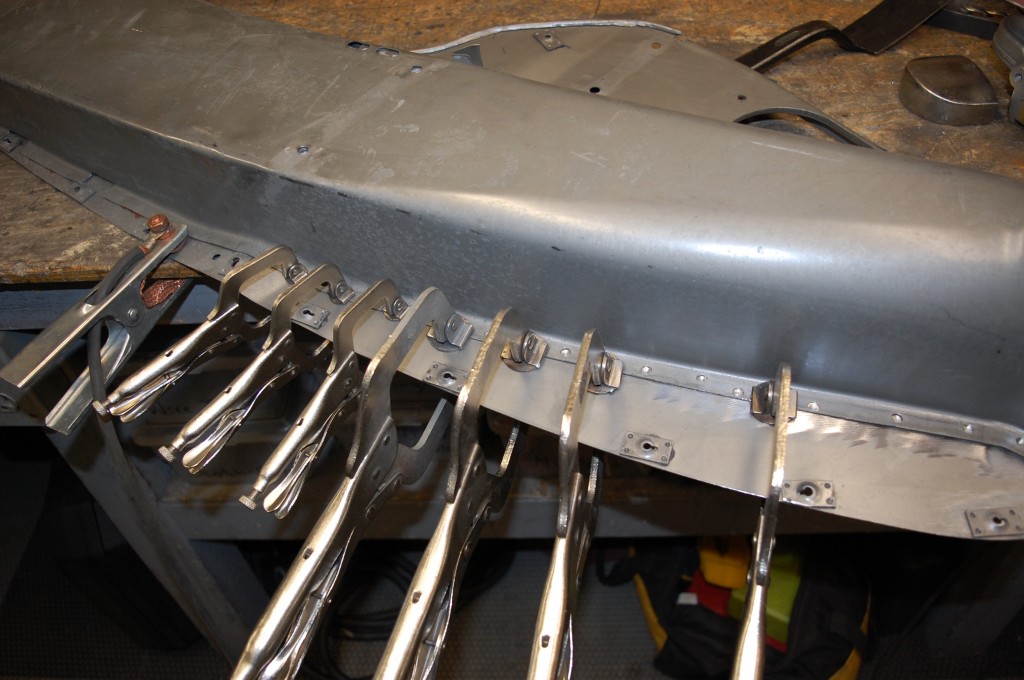
- So what we do in this case is “unzip” one side of the tube from the wall to relieve the stress on the metal, then both pieces can be straightened seperately, and then welded back together.
- In this shot, we have drilled out the spot welds along one side, then used a dolly and slapper to iron the creases out of the wall. the tube was easily bent back by hand. See how it’s tough to see the hammer and dolly work on that shiny surface!?!
- Once smoothed, it is time to clamp the tube down where it belongs, and weld the drilled out spot welds back up – CAREFULLY! Don’t go bananas and put a bunch of heat back into this panel, or it will wrinkle up and then you’ll just have a new problem…
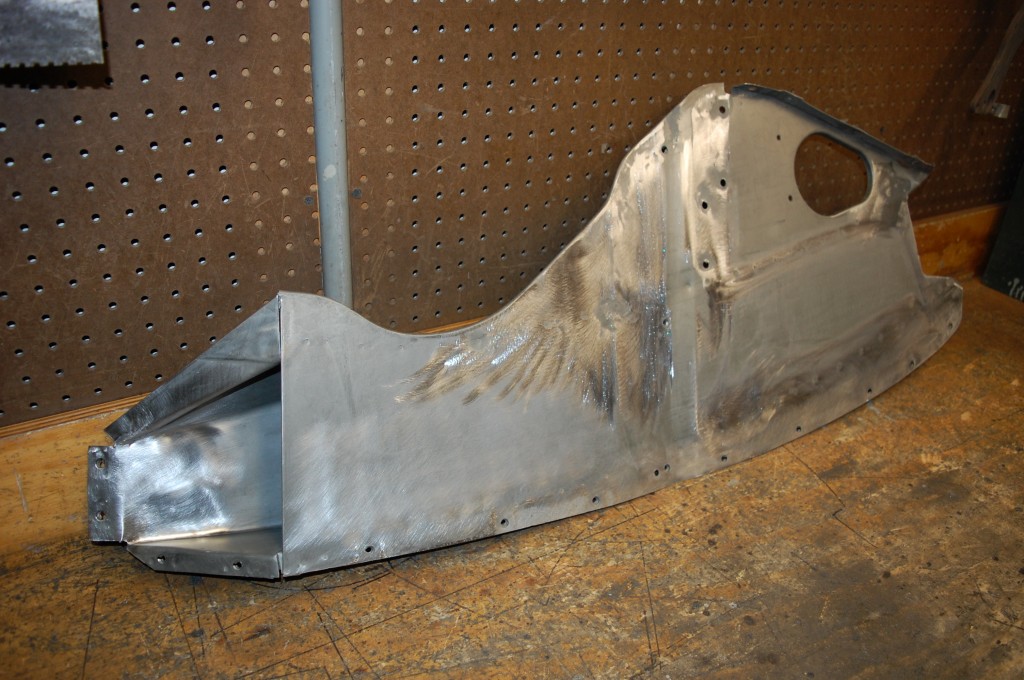
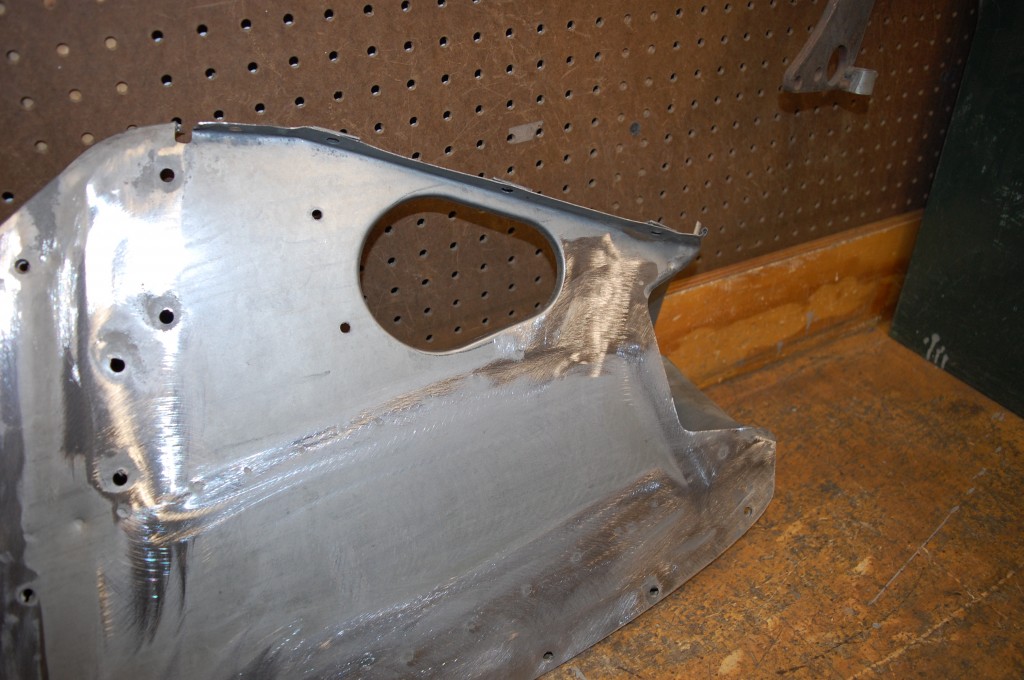
- The penetration from the spot welds is then carefully ground down, and the panel is gone over with a flat disc.
- This repair is actually a little tougher than it looks. In this case, less is more – if you start getting too crazy here trying to make this absolutely perfect, you usually overshrink from heat and the wall buckles in badly. CHILL OUT if you are making this repair – it doesn’t have to be absolutely flat when completed!
- This one is DAMN CLOSE though!
- It had just ever so slight of a wave in it, and I considered getting out the shrinker and going to town, but that NEVER works out, and so I just “called it” here.
- An hour later, the panel had completely cooled down to room temperature, and it was pretty much perfect. Sometimes you have to know when to quit – remember – “less is more” – go too far, and you’ll be chasing your tail trying to get something like this flat for HOURS – and eventually ruin it altogether. You learn that the hard way during the first 20 years or so of metalworking…

