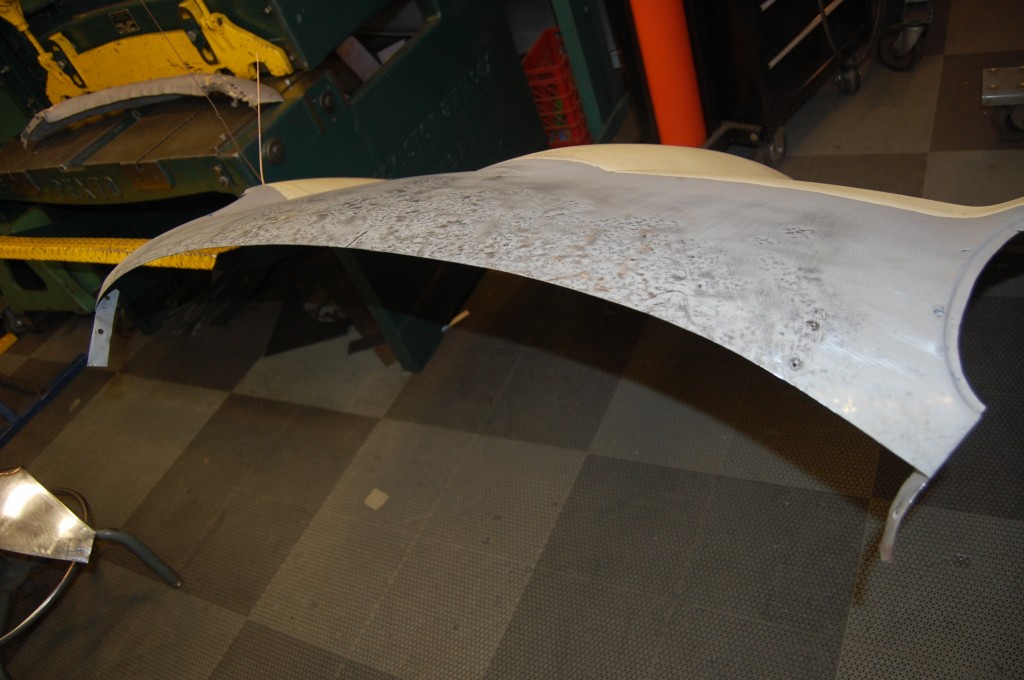
The ’66 FHC project that we recently sold had a pretty tired bonnet, and while the new owner was willing to jump in and tackle the panel replacement of the monocoque shell itself, he was concerned that he did not have the skill to restore the bonnet…
So, we ended up making a deal on the car that included a different bonnet solution, with parts that were better suited for an amateur restorer.
I knew that I had a couple of Series 1 center sections over in storage, but the as the pile of original bonnet parts grows over time, it also seems to get worse in quality… Restorable pieces are pulled out and used to replace “not really restorable” pieces, but those worse pieces go back into the pile, etc… On the other hand, as my skill level continues to grow, pieces that were a write off 3-5 years ago are now “not that bad!…”
I pulled out a Series 1 center section that I purchased a few years ago. It was straight and sold, but had the usual messy nose. At first glance, it looked like a small patch in both forward corners, plus the usual reshaping of the mouth would do the trick. Based on our agreement, the customer deserved about one full day of work on it, and this one looked like it would do the trick!
ONE day… I’m never going to learn…
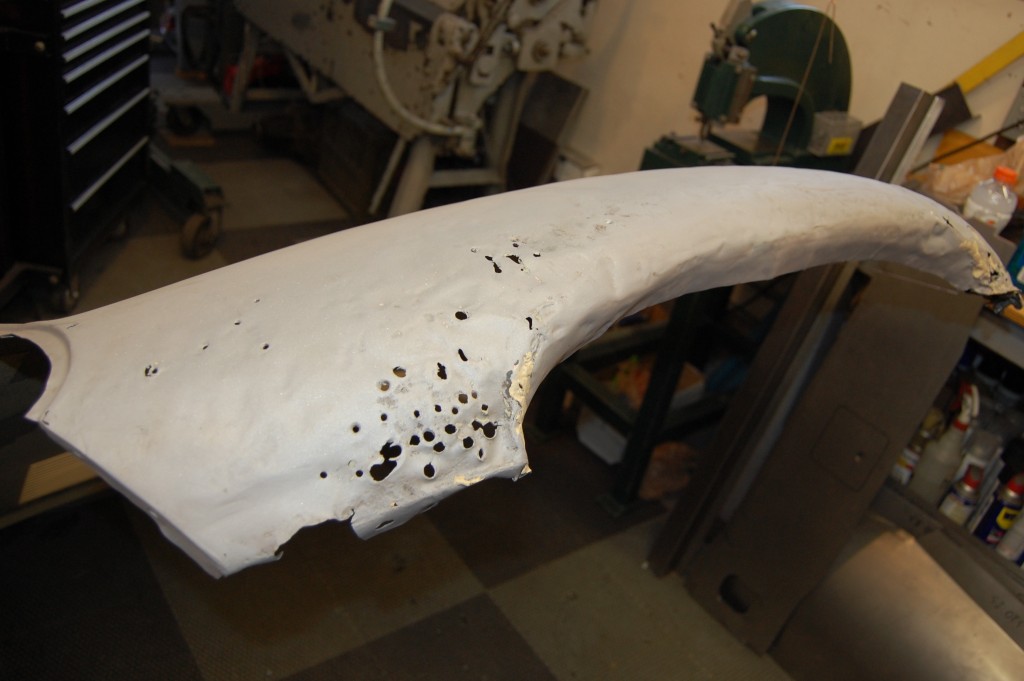
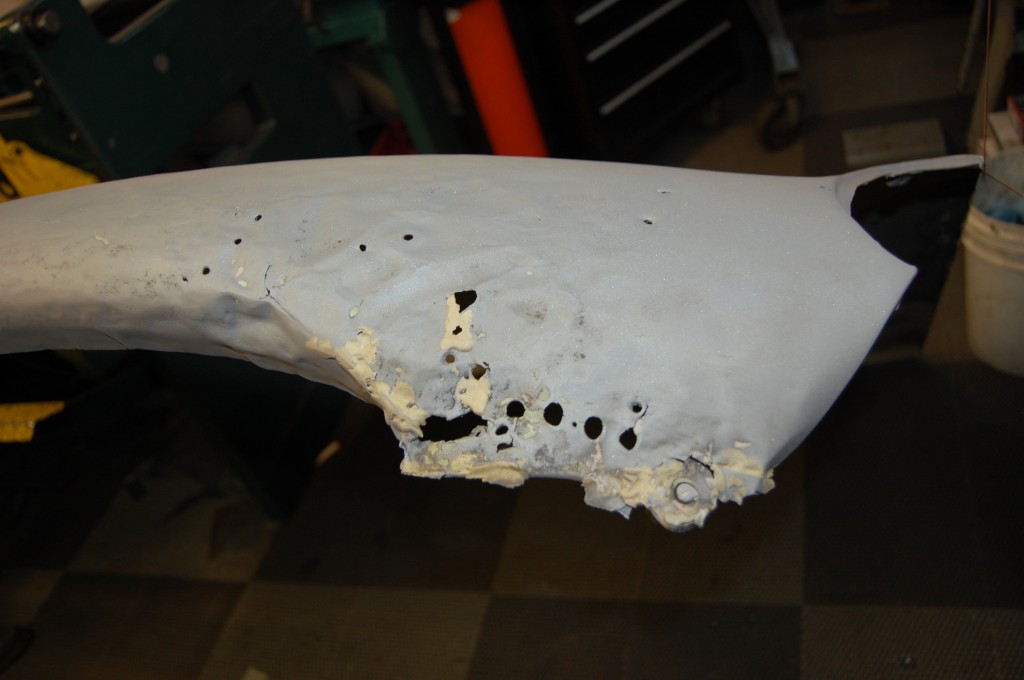
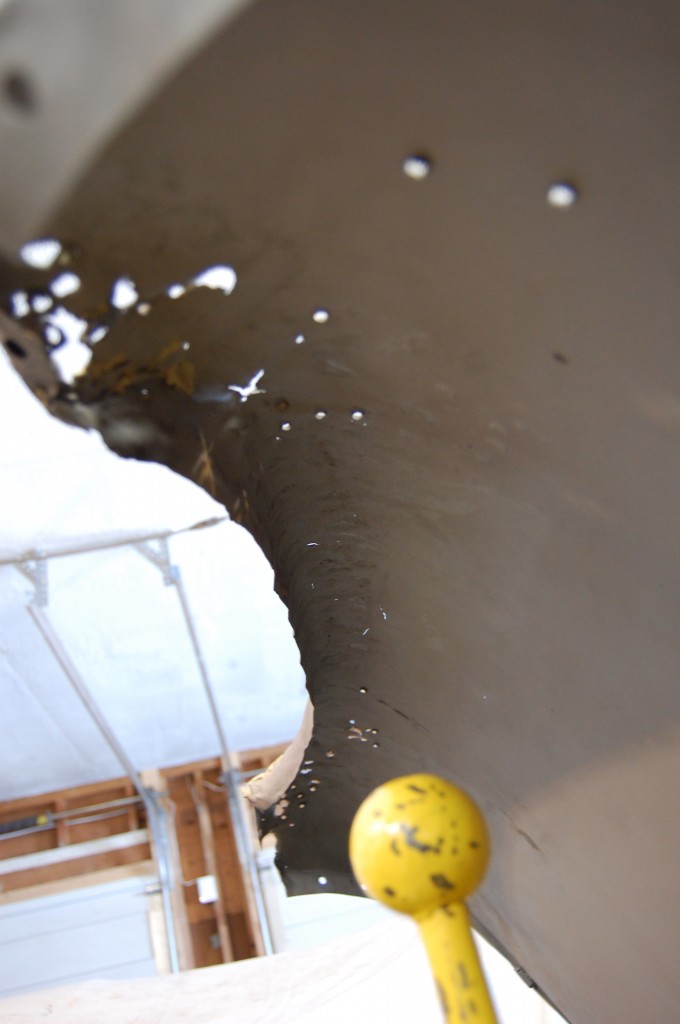
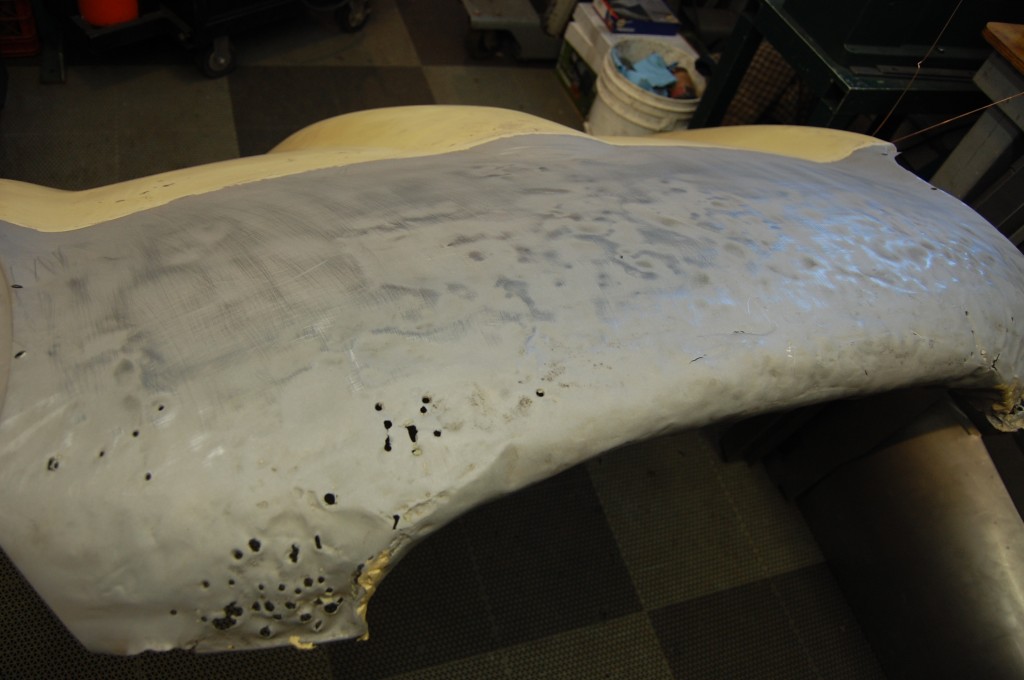
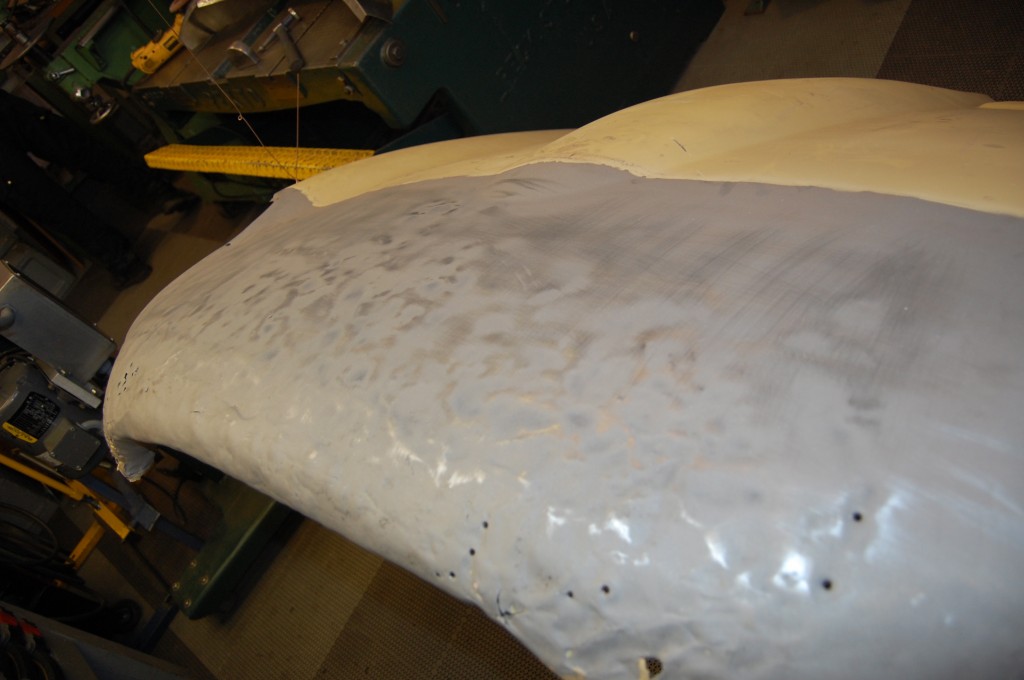
- Well, here she is coming back from the sandblaster… I expected a mess, but this is BAD!
- Oh man, I was starting to get a sinking feeling about where this was going…
- This is no surprise, and very typical. I JUST saw a completely restored E-Type on eBay last night, with a center section that came STRAIGHT across from one side to the other – FLAT across the top of the mouth… WHY!?! And it was the featured photo of the car – to me, it just screamed, “Don’t buy me!”
- Wrinkles are one thing, heavy grinding is another, holes are another, and brazing is another… ALL of them is usually the death of a panel.
- But this is TRULY the KISS OF DEATH! Look closely in the very center of the mouth. The light shining through in what looks like cracks are exactly that – where the metal has been ground down so thin that it is cracking arouund the lip of the mouth. This makes the repair of this piece 100% impossible…
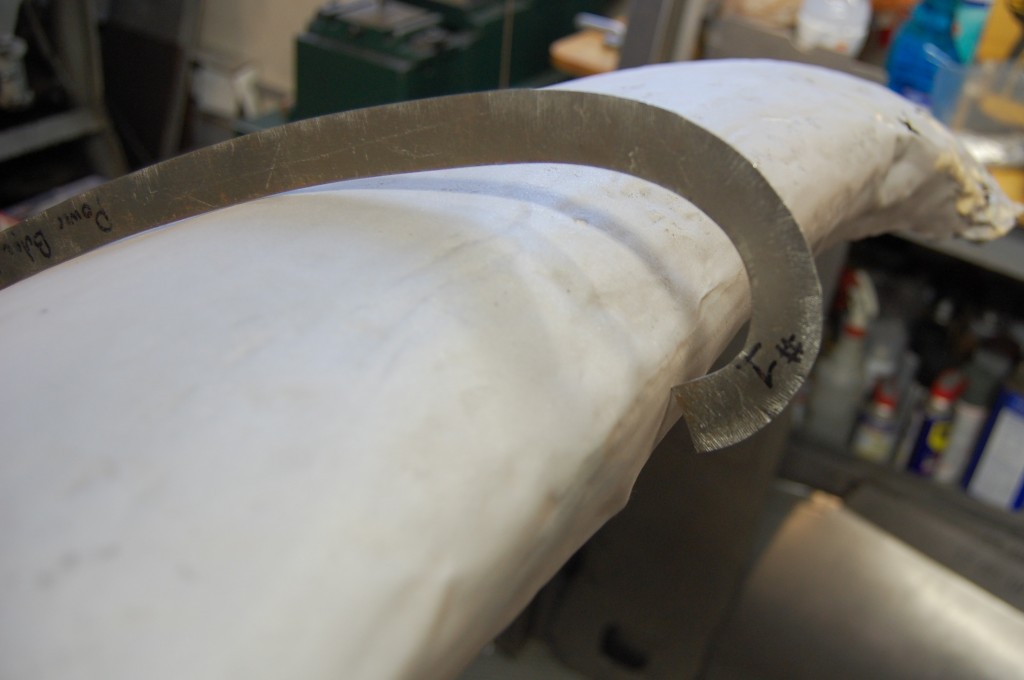
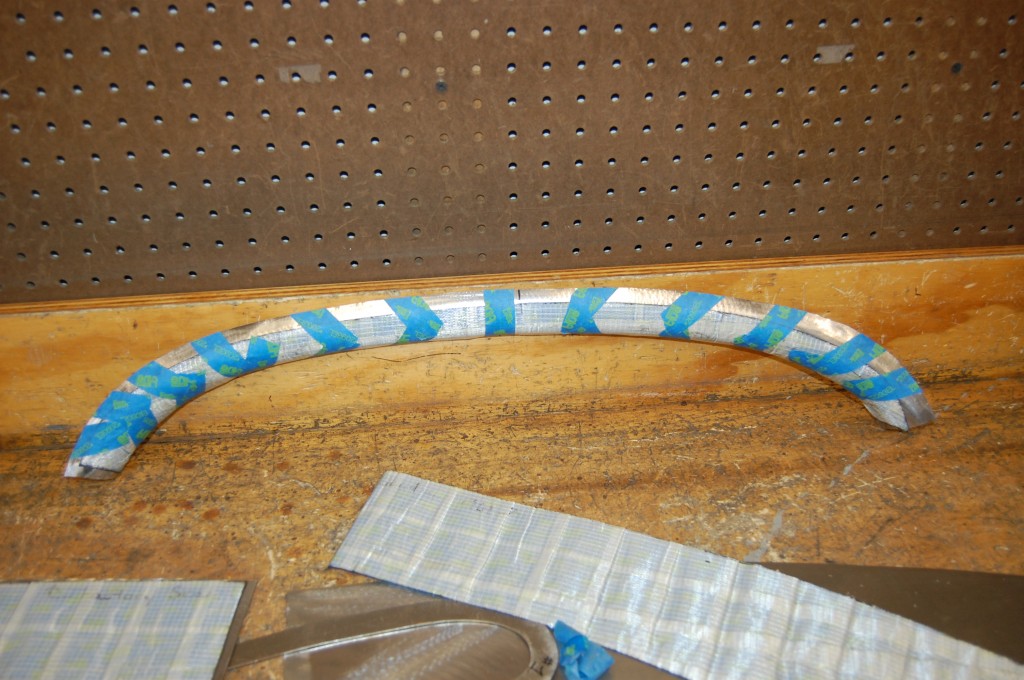
- So the next thing you know, out come the flexible shape patterns, contour gauges, sandbags, hammers, and English Wheel – we are going to have to replace the entire nose section.
- We have patterns that we have used in the past for this, and it gets a little easier every time.
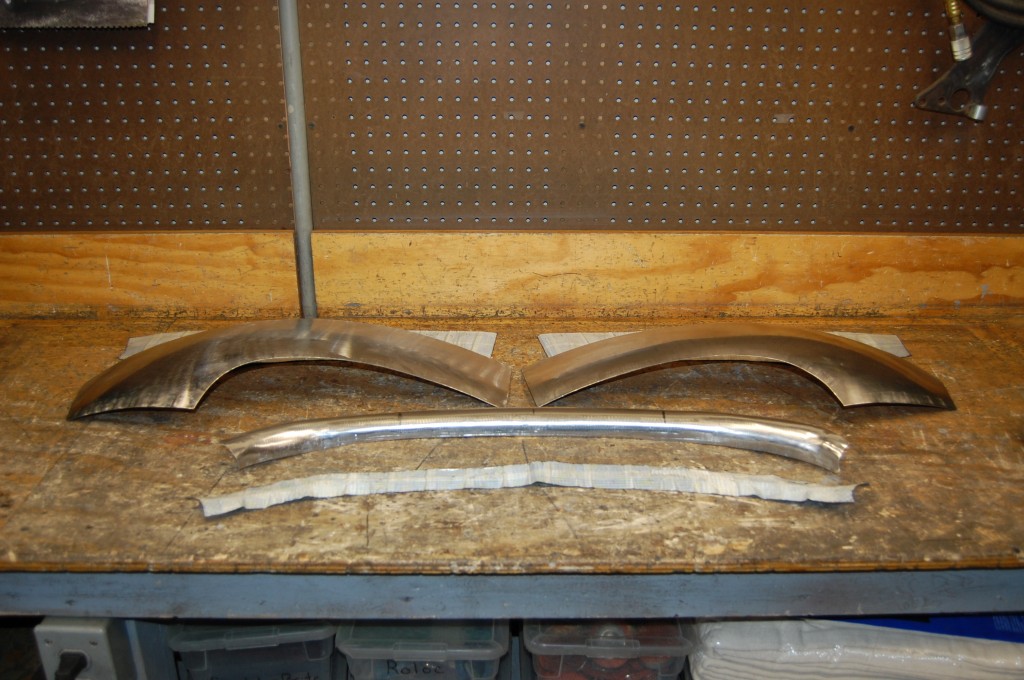
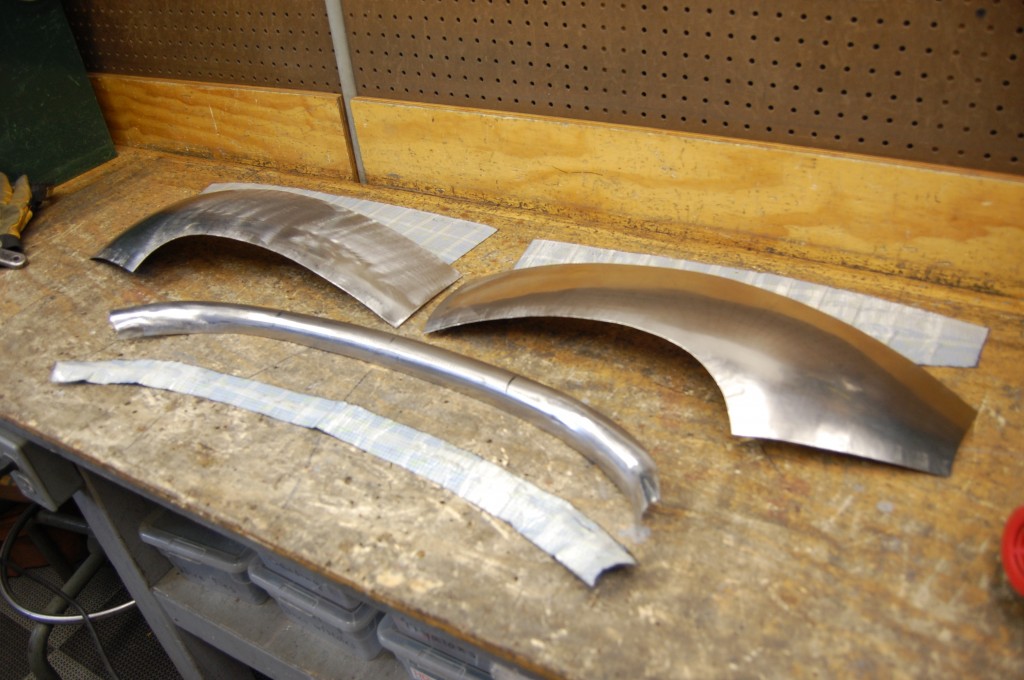
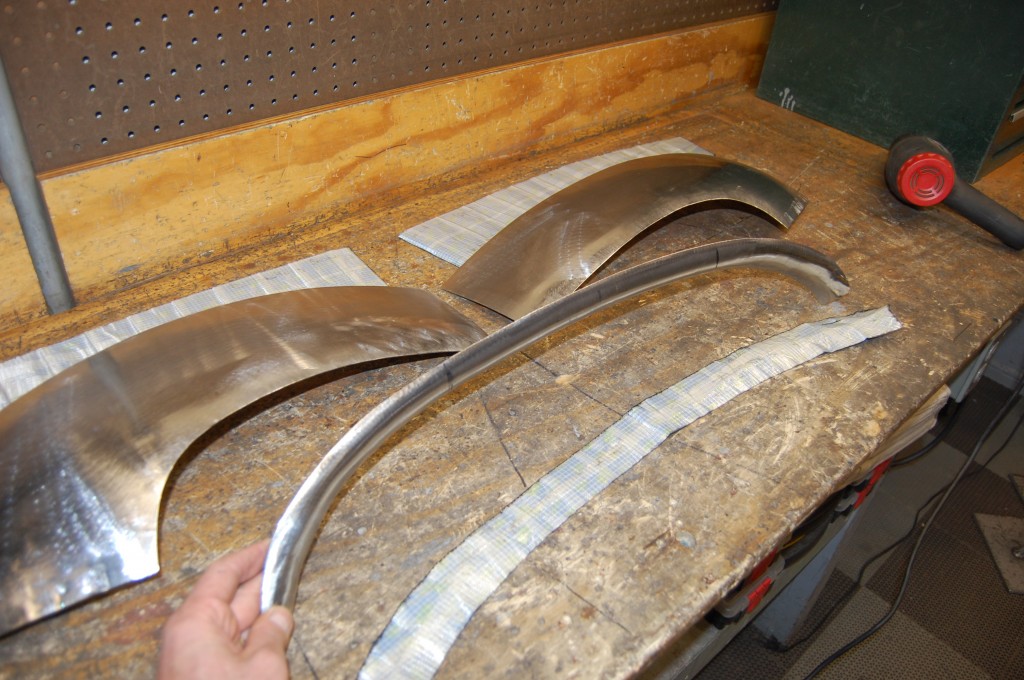
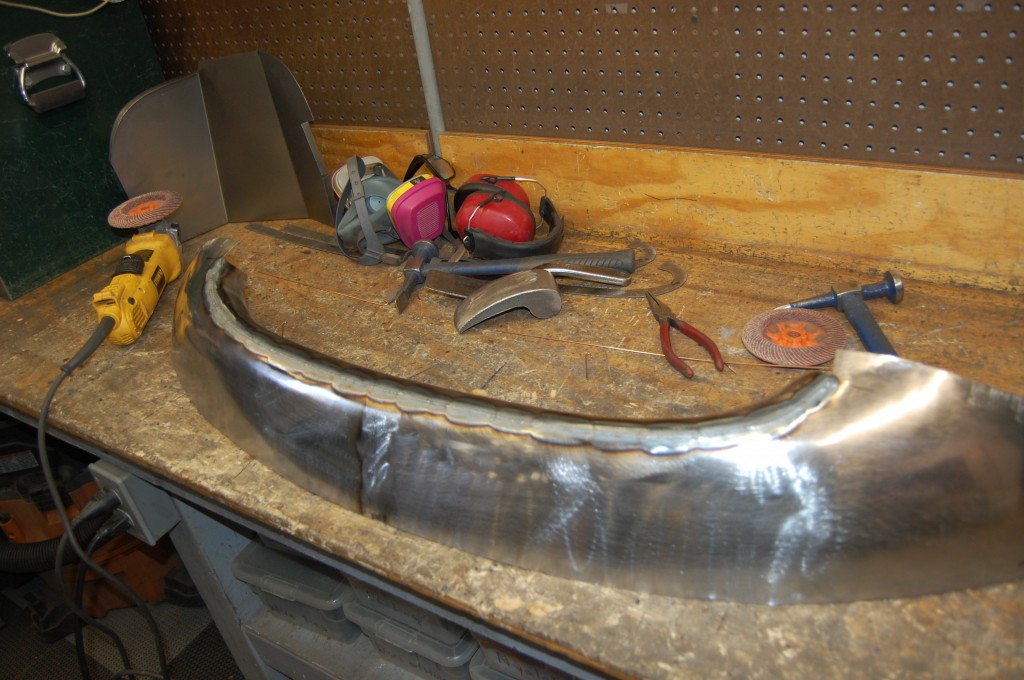
- These are the pieces that will be welded together and then welded into this center section.
- Holding this piece up will help you visualize things a little better.
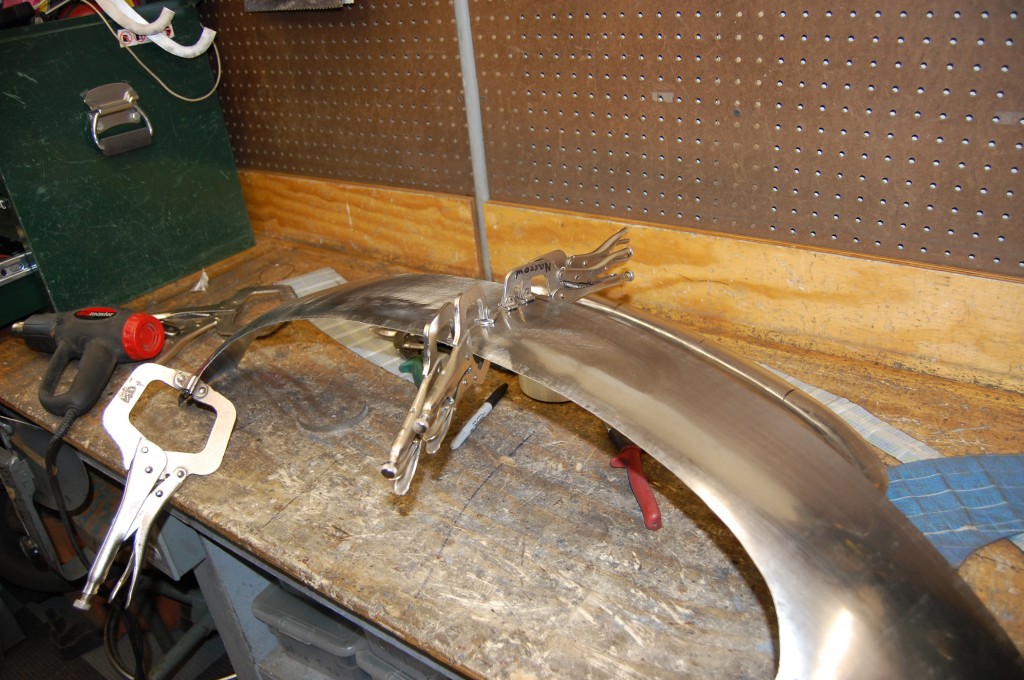
- First, we weld the two larger pieces together. Oh Yeah – see the heat gun in the background?… It was SO COLD that day, that we had to get the heat gun out to make the flexible shape patterns actually flexible!
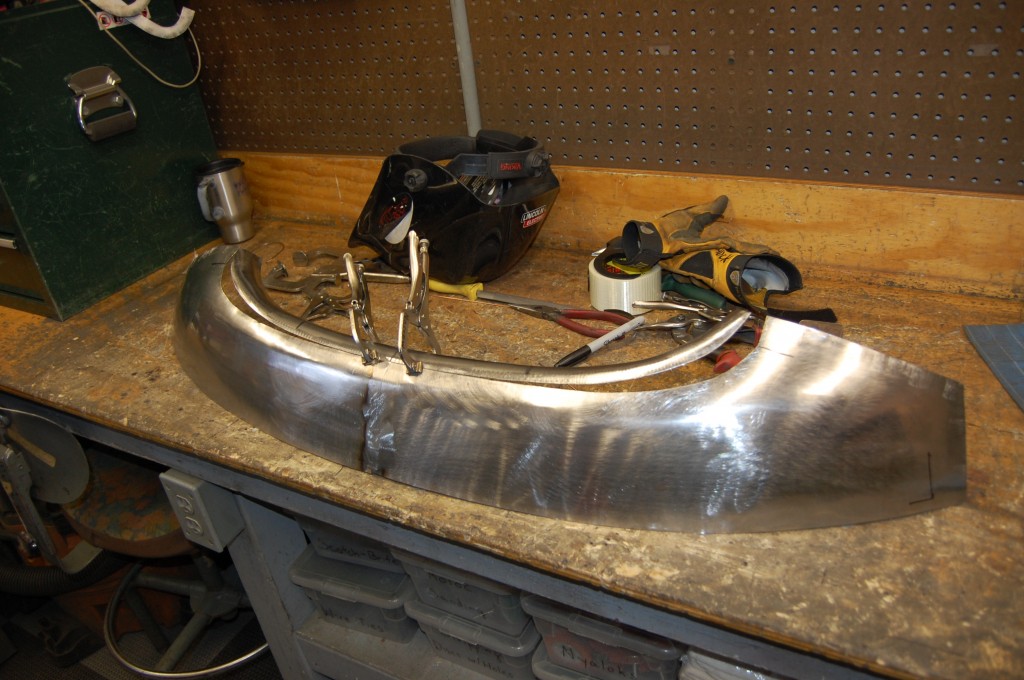
- Next, we start wresting the lip of the nose into place, an inch at a time…
- Now the lip is tacked into place and the whole piece is getting some shape.
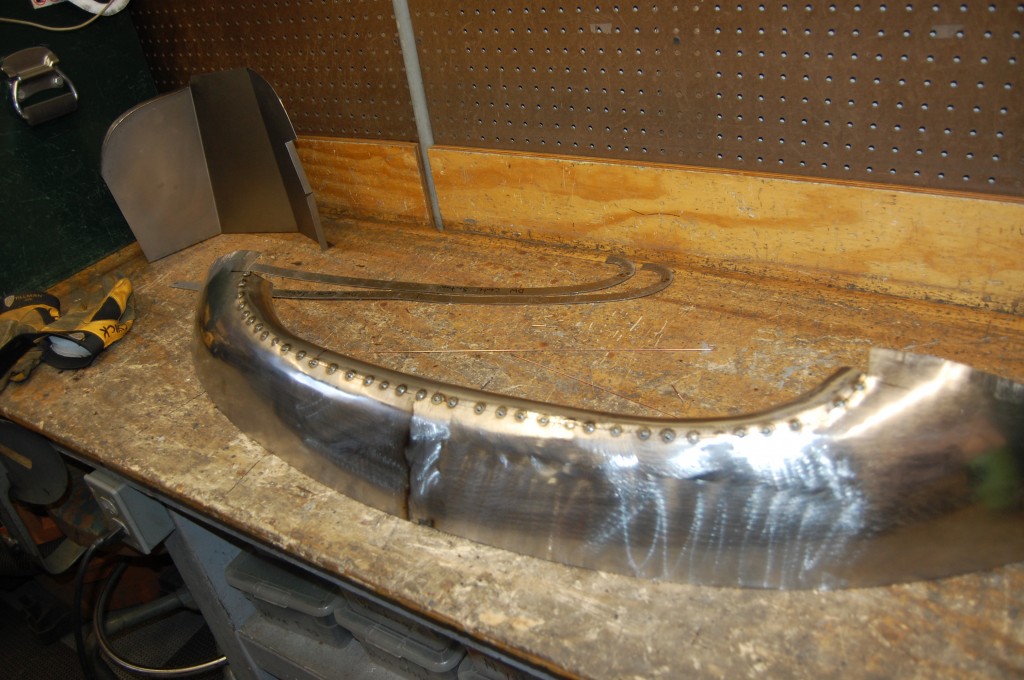
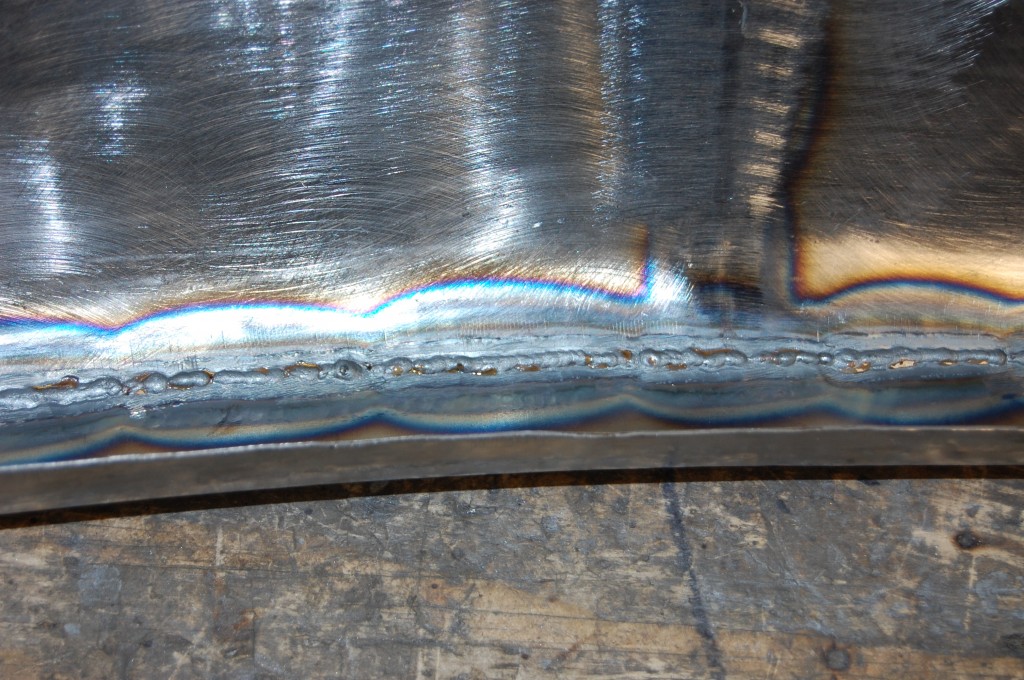
- After tacking with the MIG, we do a full weld with the TIG.
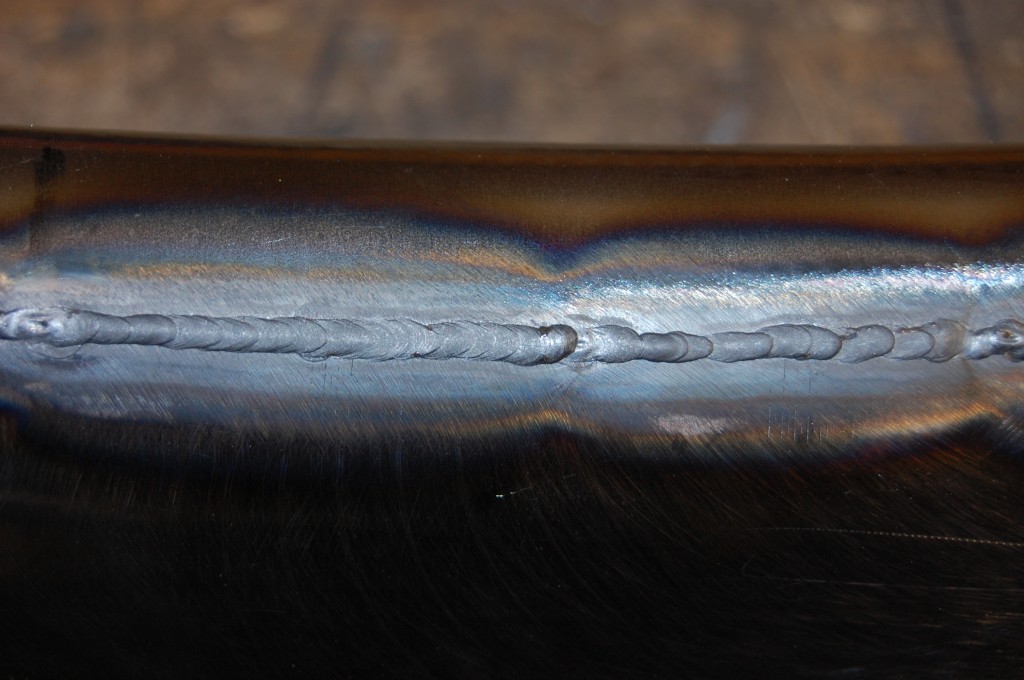
- I like to be sure we have plenty of metal in place, and probably overdo it just a little bit with the filler rod.
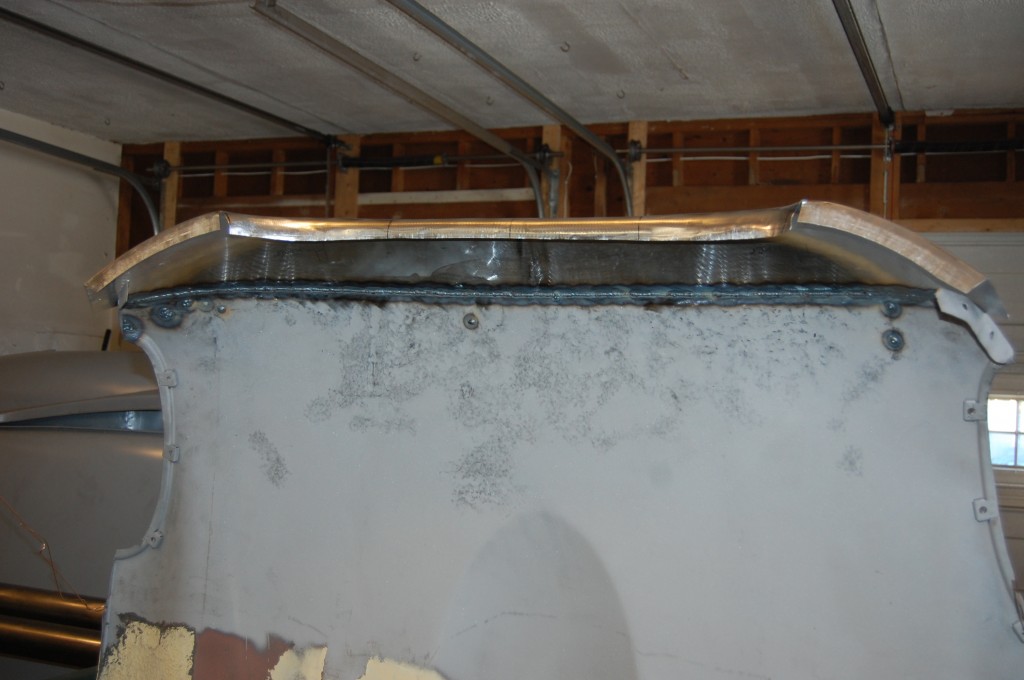
- Penetration is also important – this is the back side of the TIG weld, and will be ground down smooth just like the top.
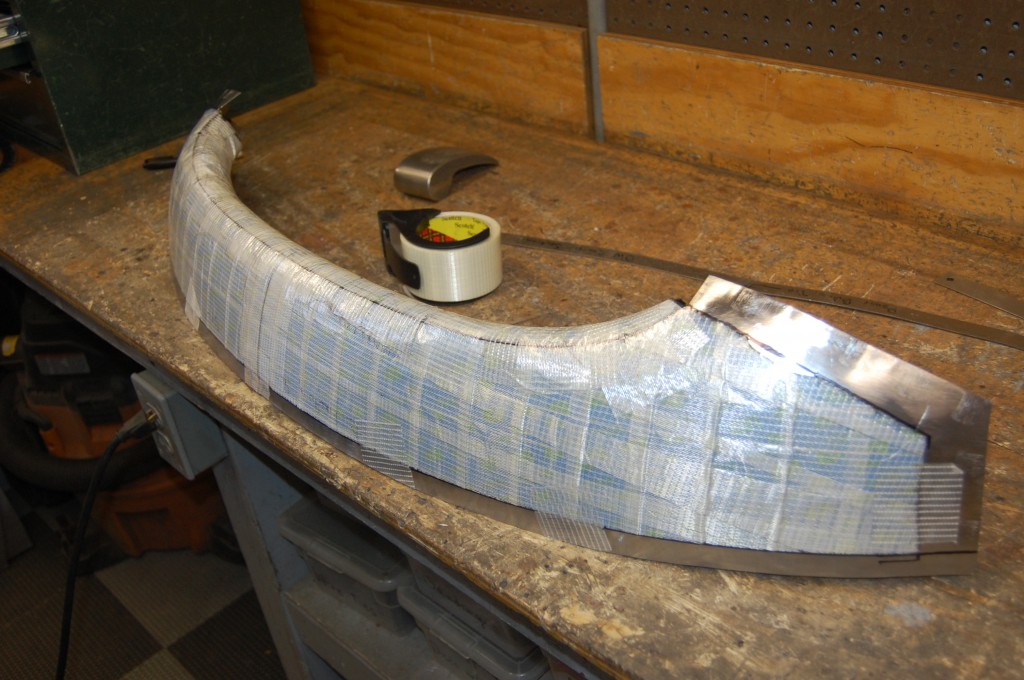
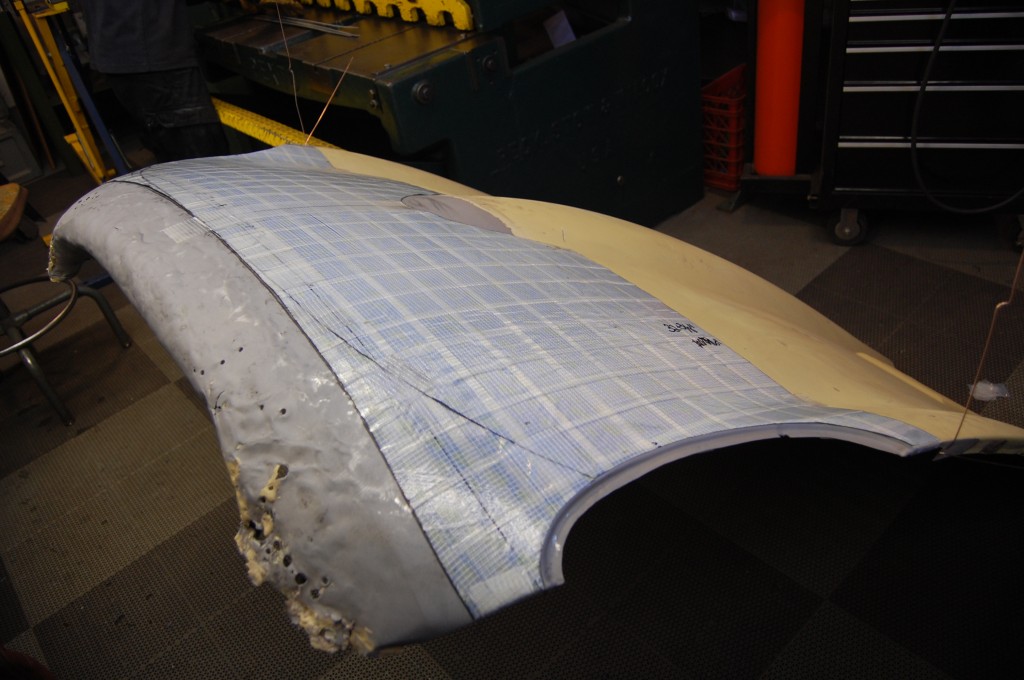
- The top has been ground down, and we have alos hammer and dollied and reshaped the nose sectiuon a bit after welding the three pieces together. We then re-assemble the sections of the FSP with strong tape, and begin to build the edges of the piece.
- Next, it’s time to prepare the portion of the center section that is being saved.
- Even with replacement, there is still a good deal of smoothing to be done.
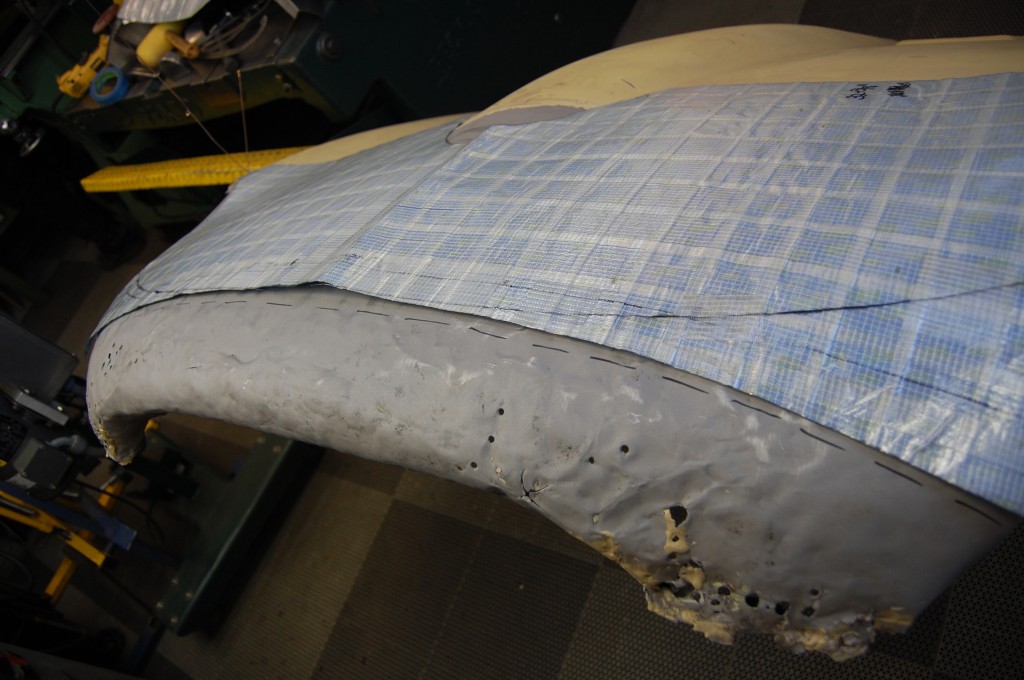
- This is the back half of the FSP – used to lay out the EXACT location of the seam. You simply CAN NOT be too careful about where this is cut! It almost always taks me AT LEAST an hour to mark this cut…
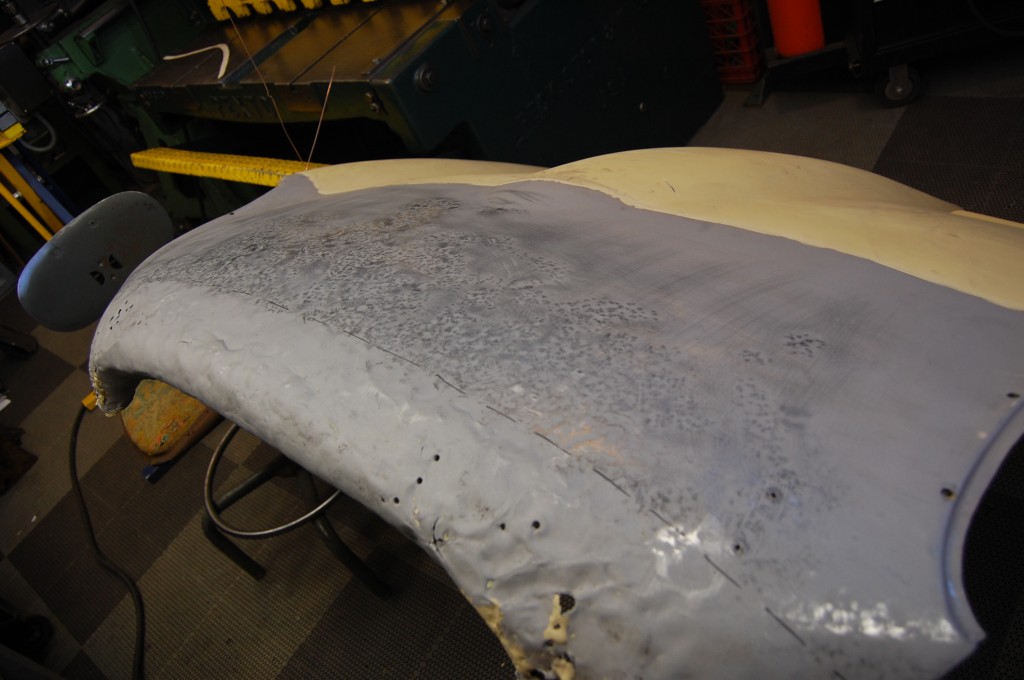
- Here, I have marked a general line of where the cut is going to be, because first, we need to smooth the panel behind that.
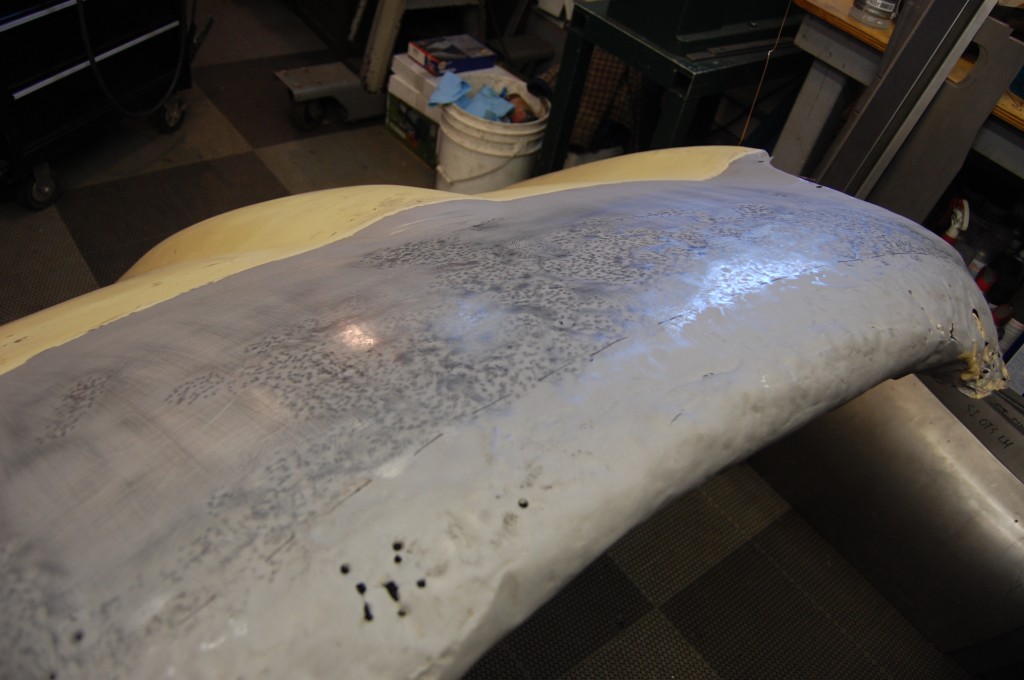
- After a few hours of dolly and slapper work, NOW the panel is ready.
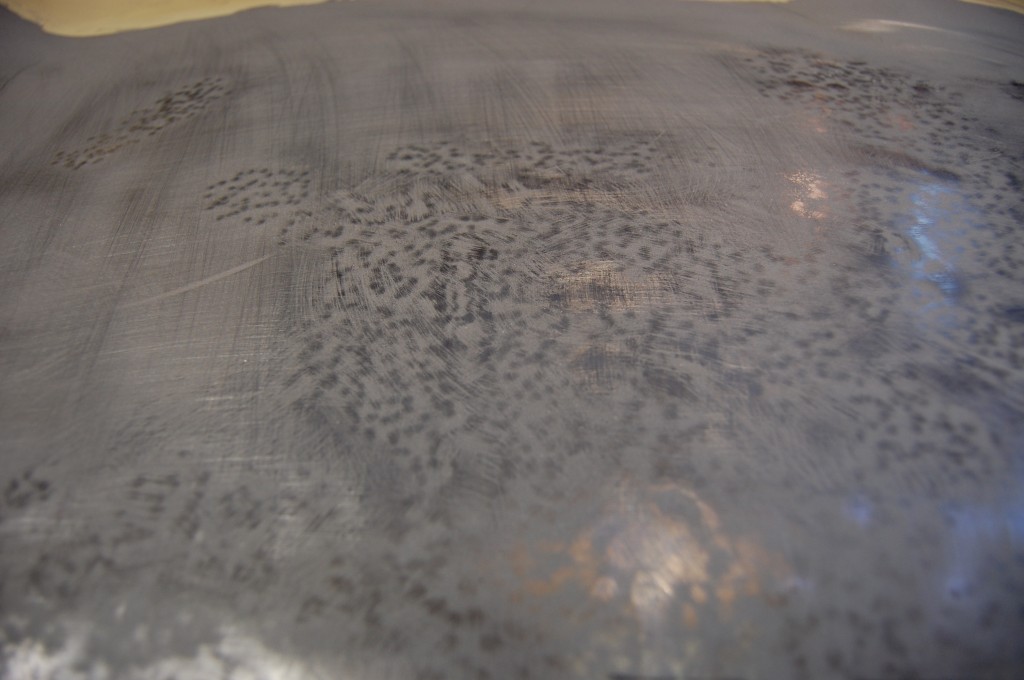
- a freshly blasted panel gives a perfect surface that acts as a “map” as you are doing the work. Each little shiny spot is one carefully planned hit…
- Back to the FSP for the final cut…
- First, we make a cut about 1/4″ off the final cut, so that there is no tension making the final cut difficult…
- OK – she’s ready!
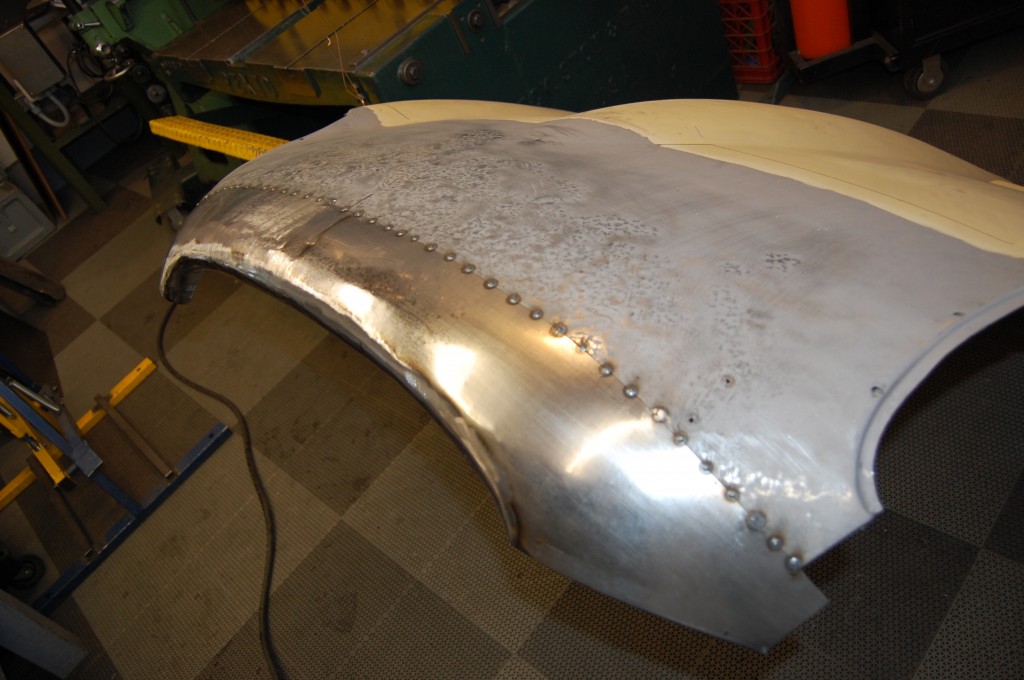
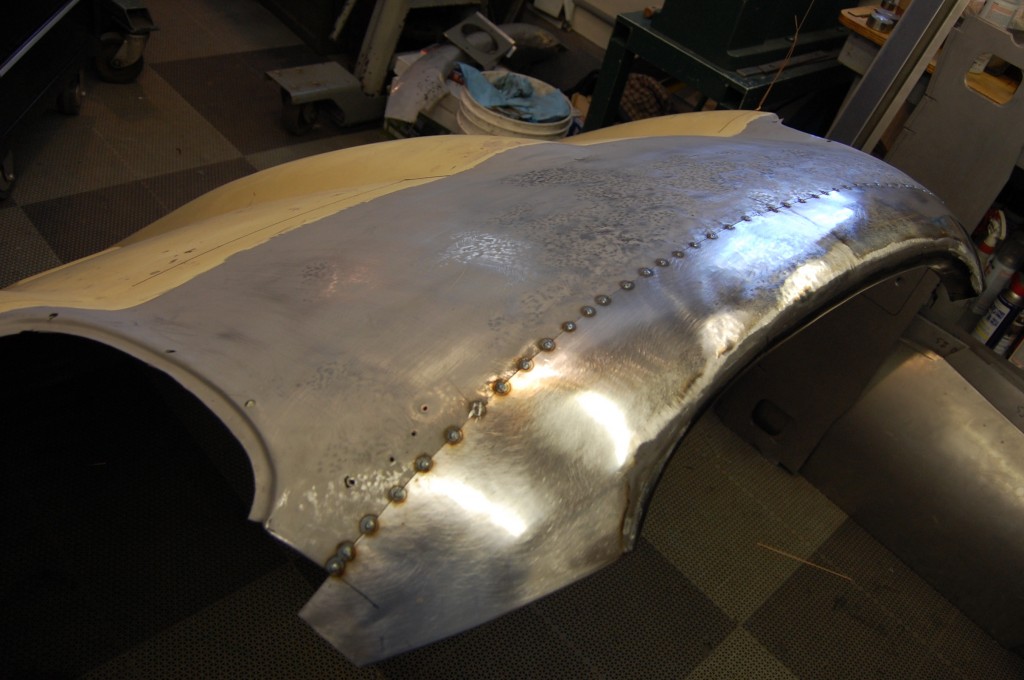
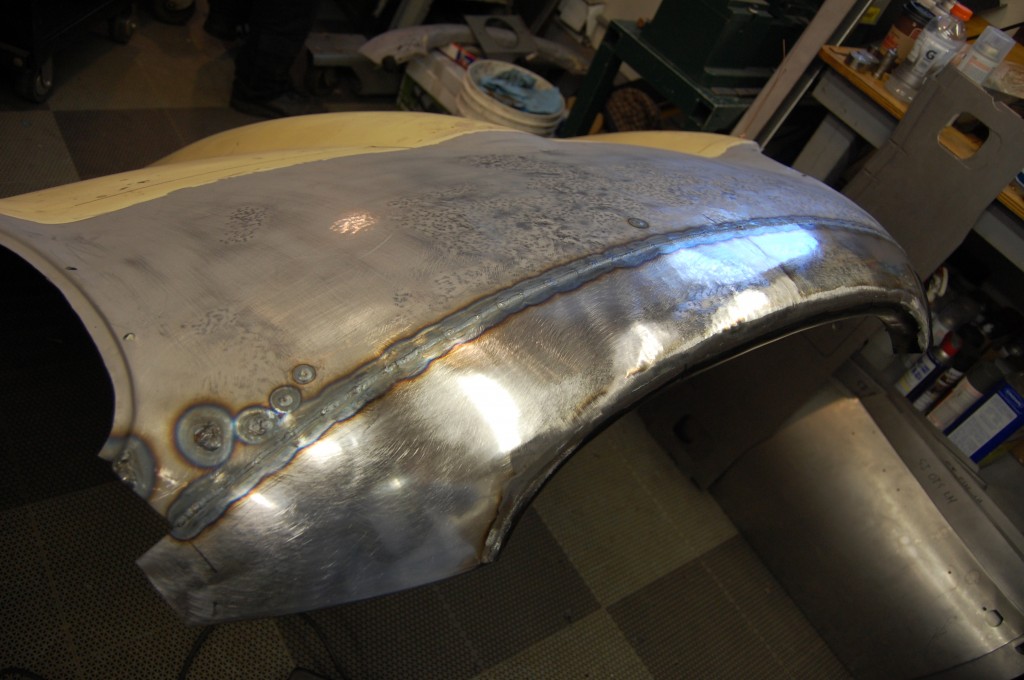
- Next, we just simply tack the new piece into place – NOT! This took Brent and I about an hour – this is another step that must be done CAREFULLY! And of course, the panels are fighting you the whole way! If you look at the phgoto above, the center section is alot flatter apart, and welding these two pieces together like this puts the shape back in – just another example of why the placement of the cut is CRITICAL! You really have to have an FSP of the whole bonnet to get this right…
- Another shot of the new nose tacked into place. This is MUCH better!
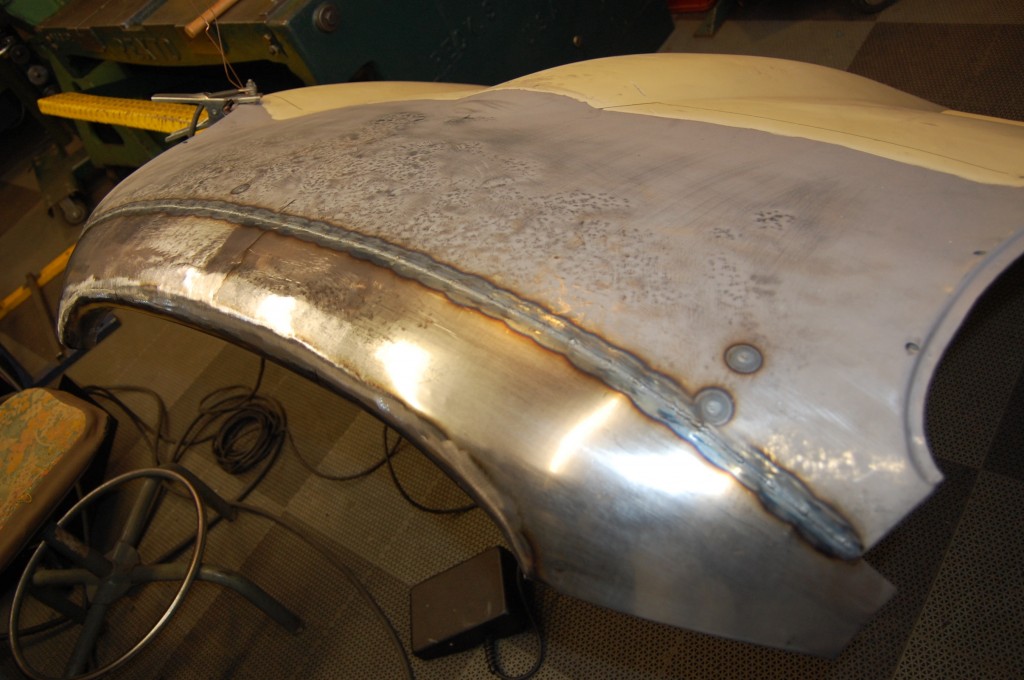
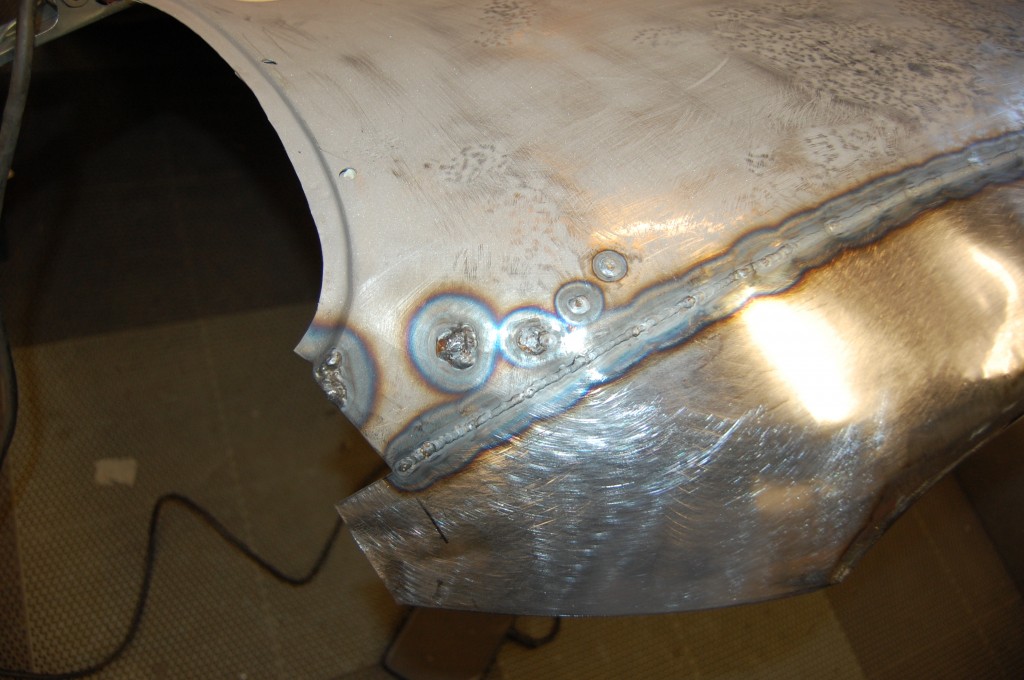
- Now, another hour or so is spent with the TIG, welding across the entire seam.
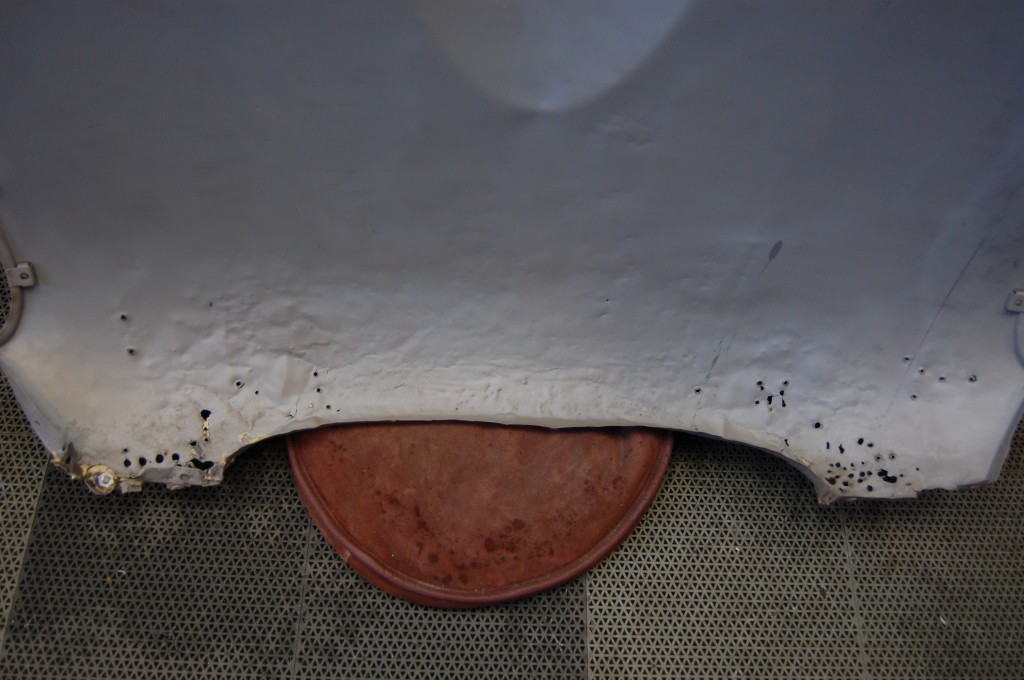
- And, we still had some holes and problems to take care of that were not covered by our new piece…
- You can see that I had a little trouble here – the meatl was in BAD shape – and THIN! Now you know why I had to take the plunge and make the new nose piece!
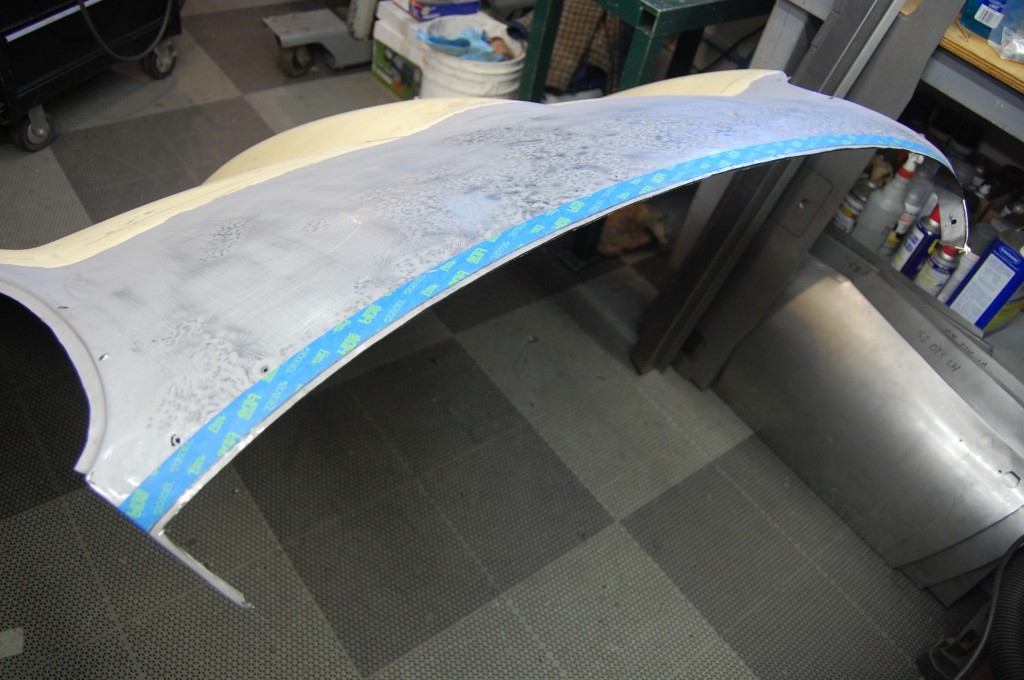
- Unfortunately, this is the last photo… This was supposed to take ONE day – instead, it took almost THREE! And so by the time this was completed, I ground down the welds, did the finally smoothing, threw some primer on, on went off to pack up the car to get on the road!

