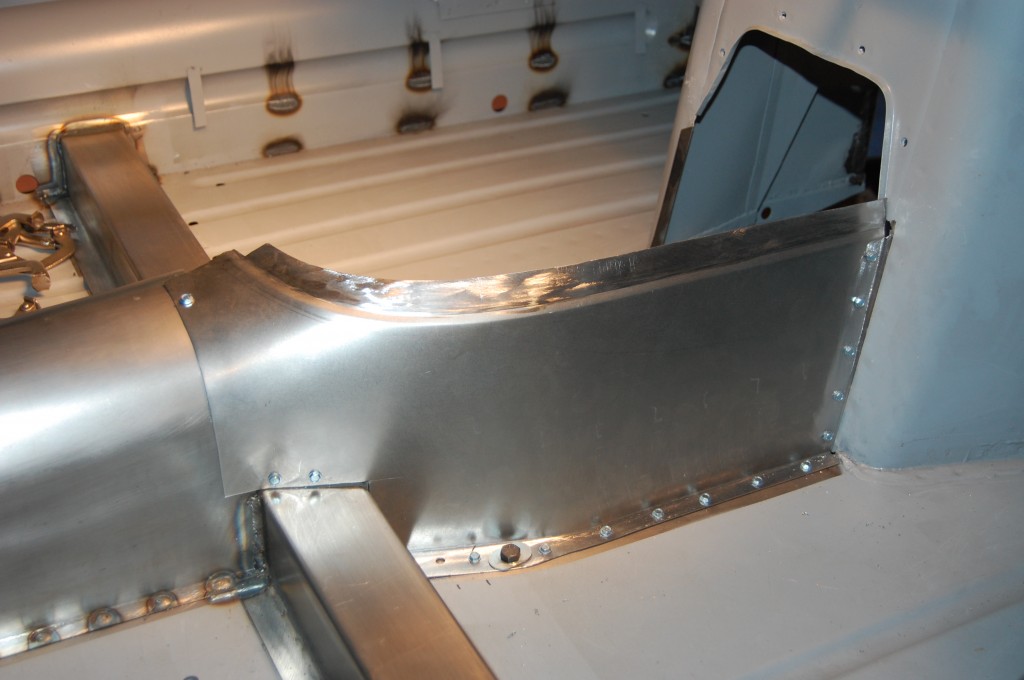
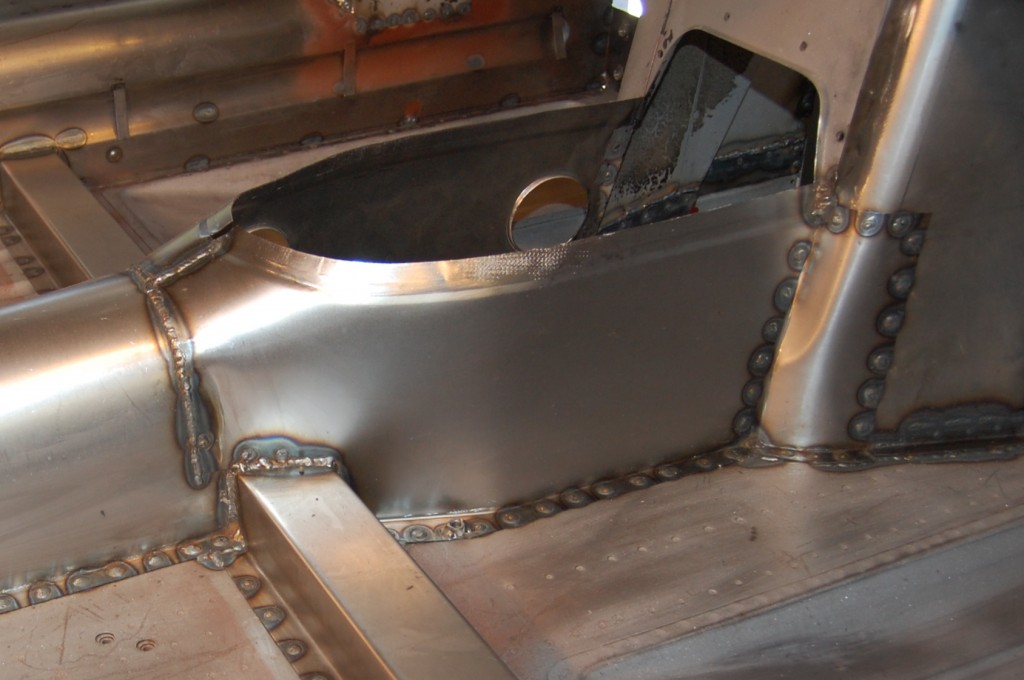
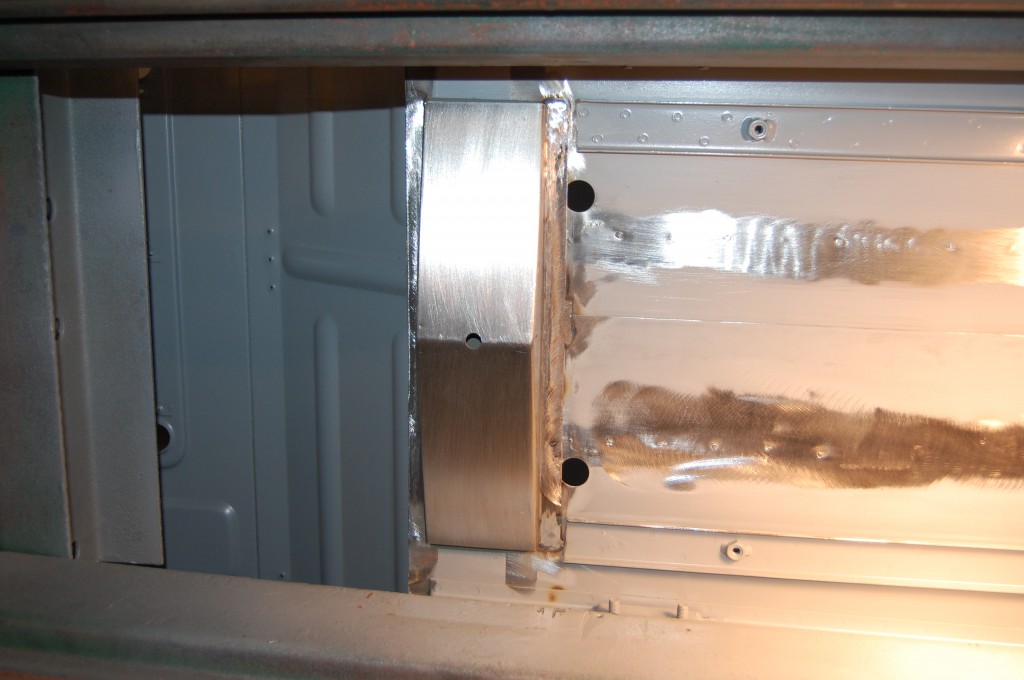
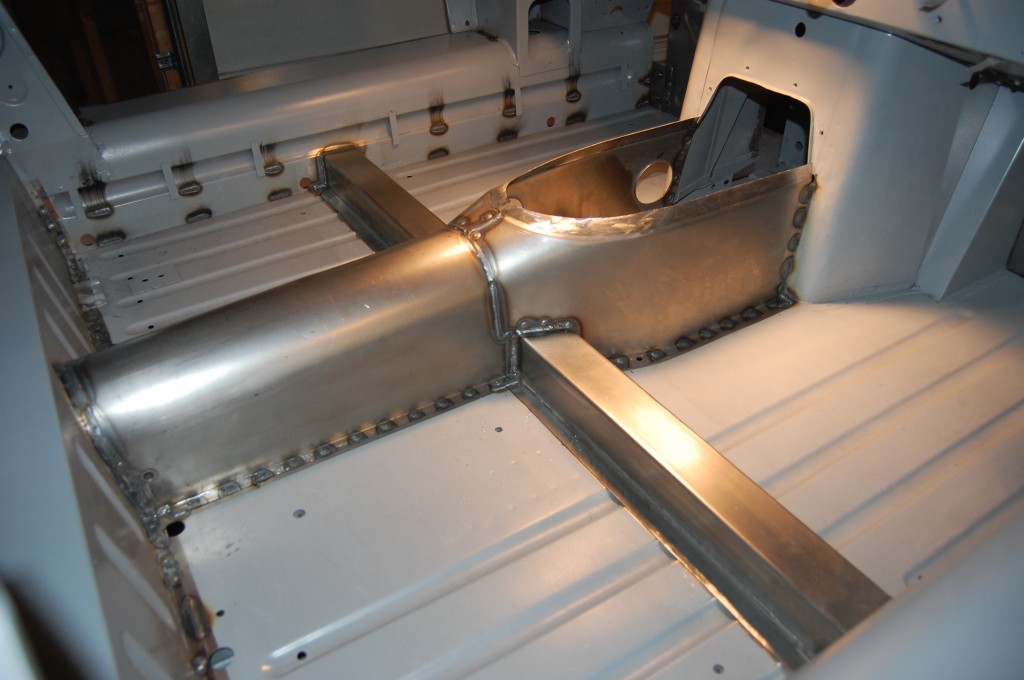
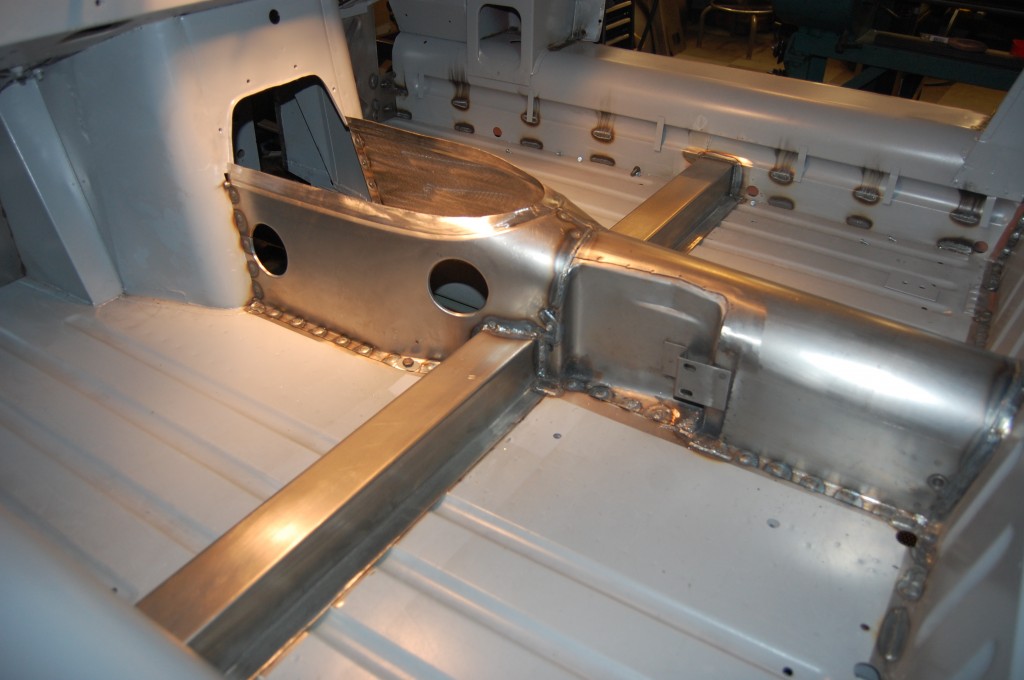
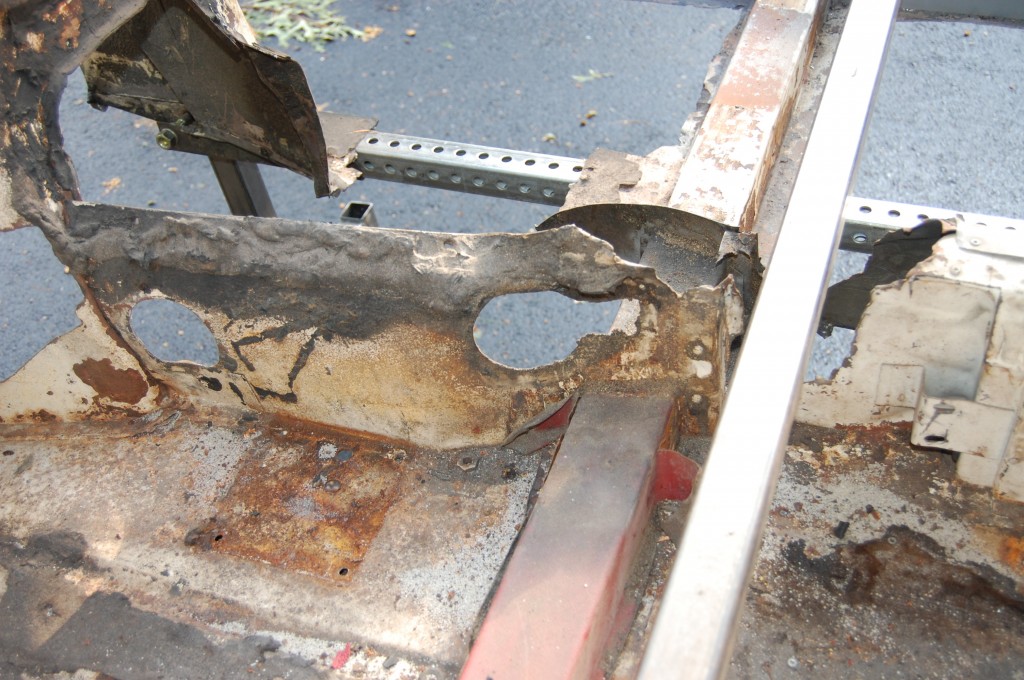
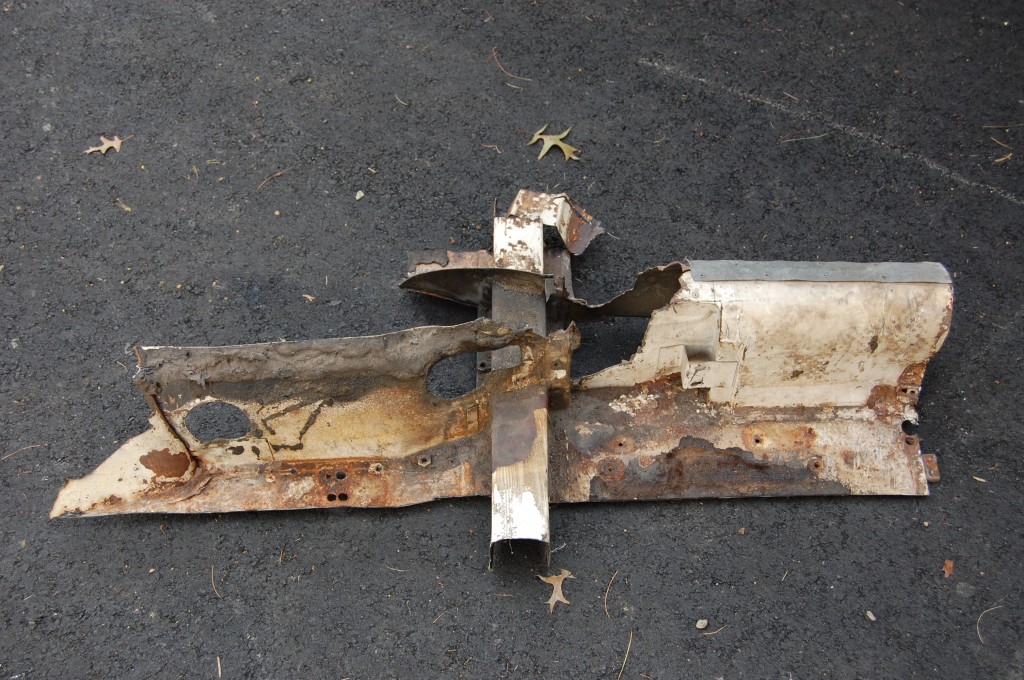
As an early car, the driveline tunnel was not quite the same as the usual E-Type – the RH gearbox side panel was a bit longer, and the car did NOT have the “wedge” panel between the RH gearbox side and bellhousing side.
I’ve always said that it was an afterthought, and this proves it… I used to think that it was for better access to the starter bolts from underneath, but I’m now pretty sure that it is for more clearance of the clutch fork as the clutch wears and the slave cylinder pushes the fork back farther and farther over time.
Take a look!
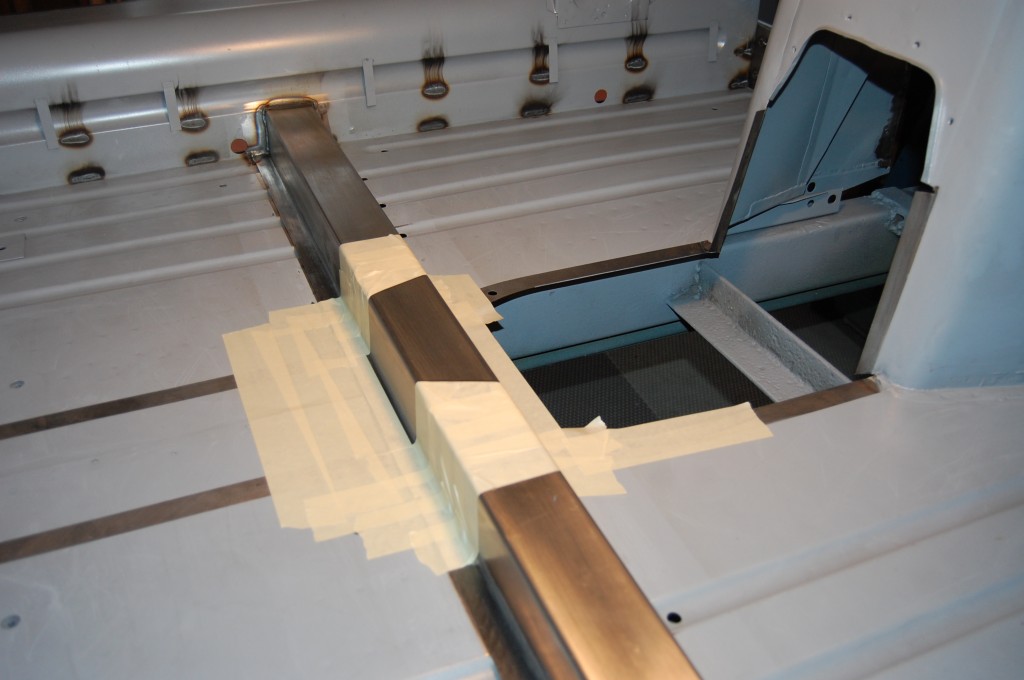
- Picking up right where we left off in the previous blog – we are priming the area under the center gearbox support.
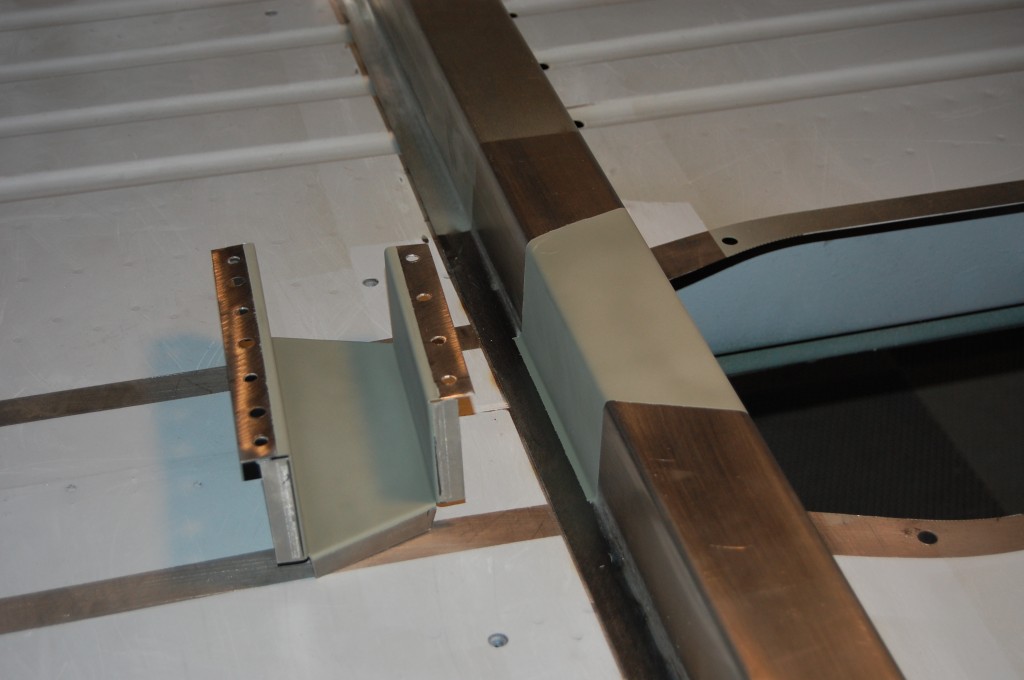
- A couple good coats of primer and we’re ready to position this piece in the exact center of the crossmember and weld it into place. We send this piece out seperately so that you can install everything with the most precision possible.
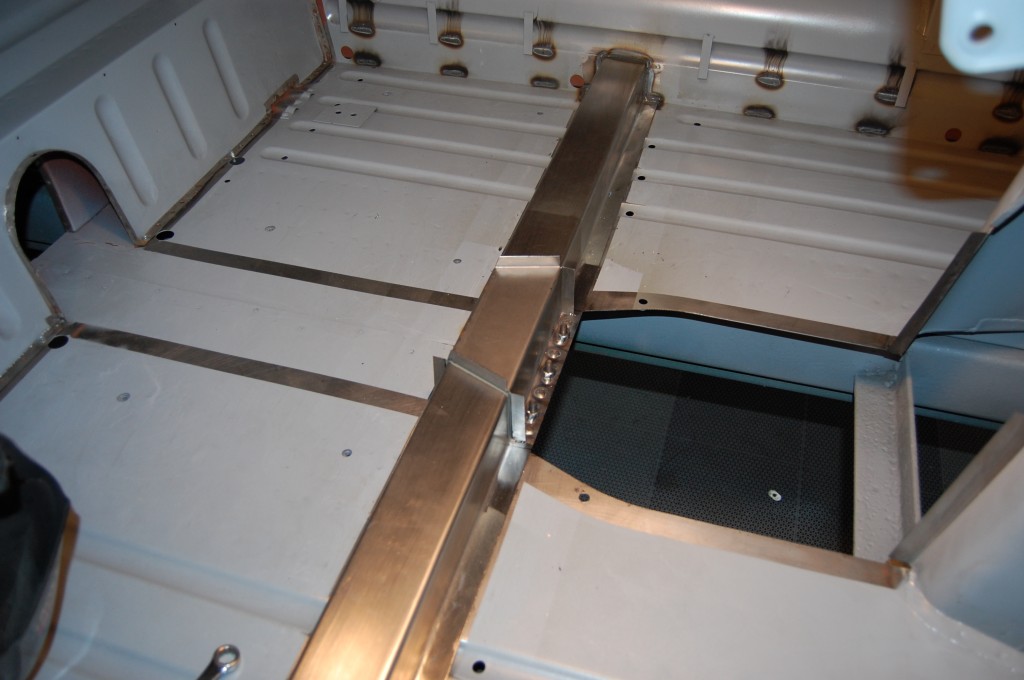
- The gearbox support is now in place, and we have also drilled through the crossmember and floor and welded in the three fine-thread nuts for the rear of the gearbox mounting plate.
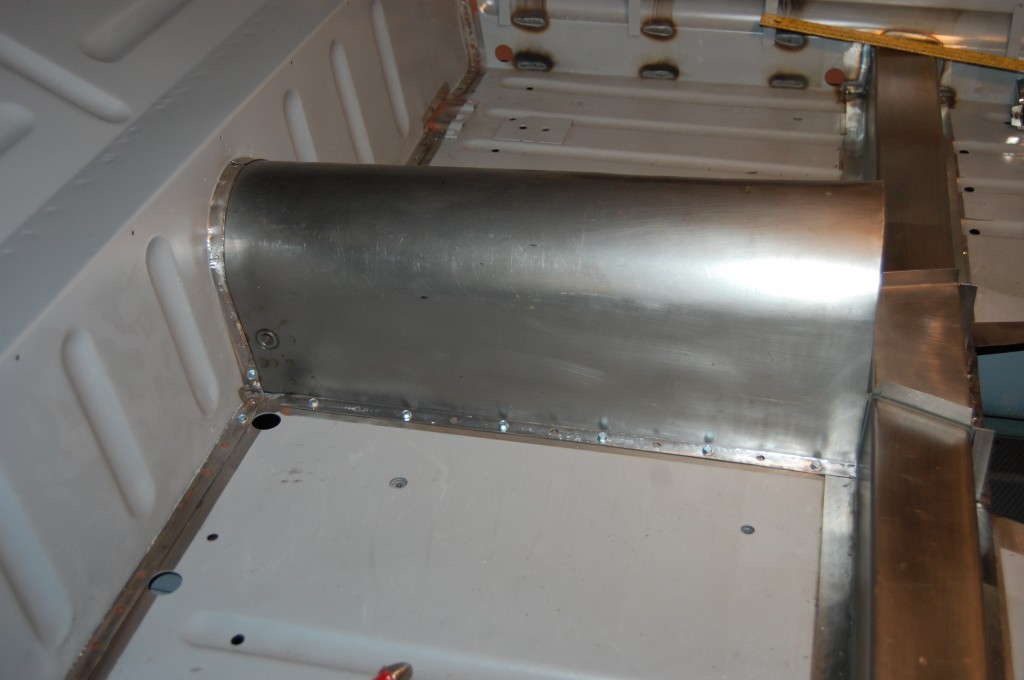
- Next, it is time to position the new propshaft tunnel. This is pretty straight-forward – make sure it is a tight fit to the floor, straight, and fits snugly up against the crossmember on both sides. It is typical and OK for the rear of the tunnel to protrude past the body about 3/8″ along the topd edge back by the IRS. That’s normal and stock – don’t worry about that. Make sure you replace the little tab inside the tunnel on the RH rear that holds the handbrake cable and keeps it from getting caught in the driveshaft.
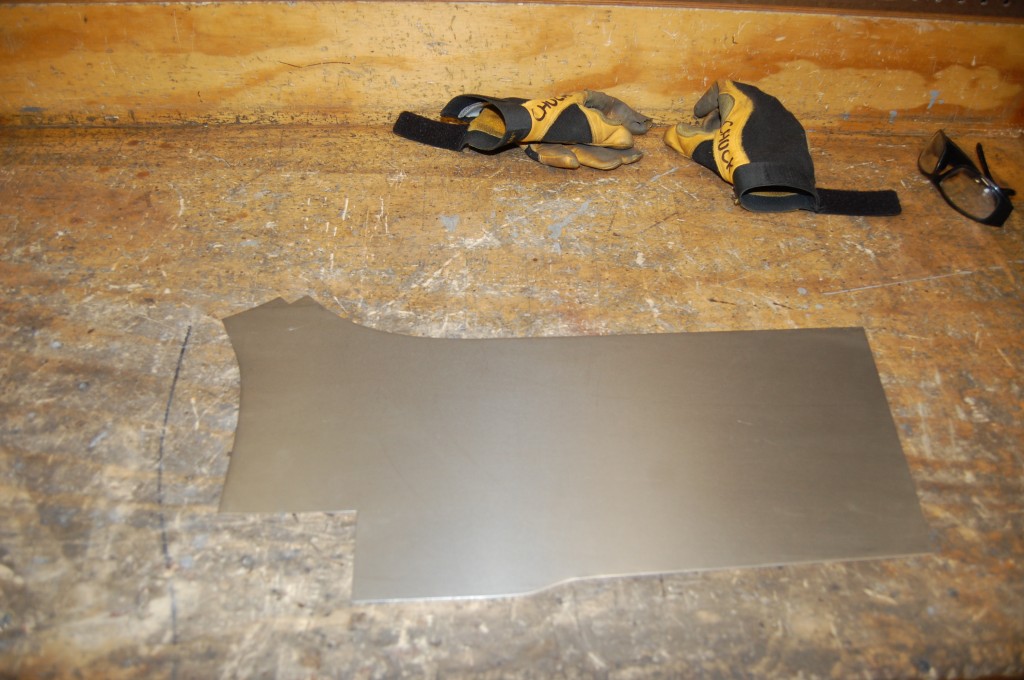
- Next, it was time to replace the gearbox sides with new panels. This car came in with new 3.8 gearbox sides from another manufacturer, but as usual, they were not quite right… On the LH side, the access holes were in the wrong locations – by about an inch – and on the RH side, this car required a special longer panel because it had no wedge panel.
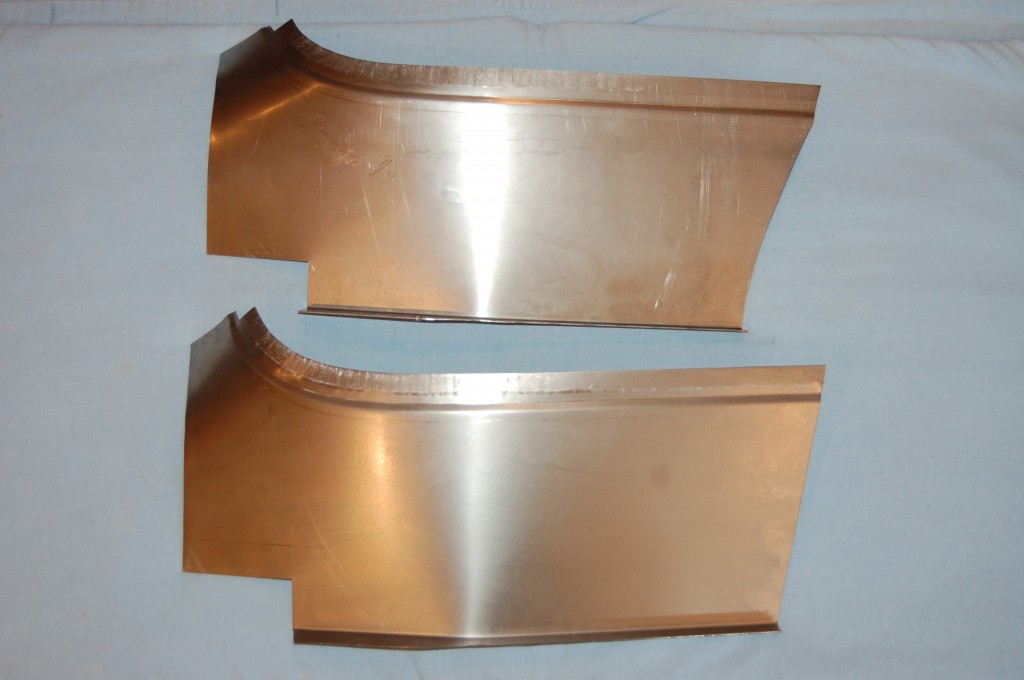
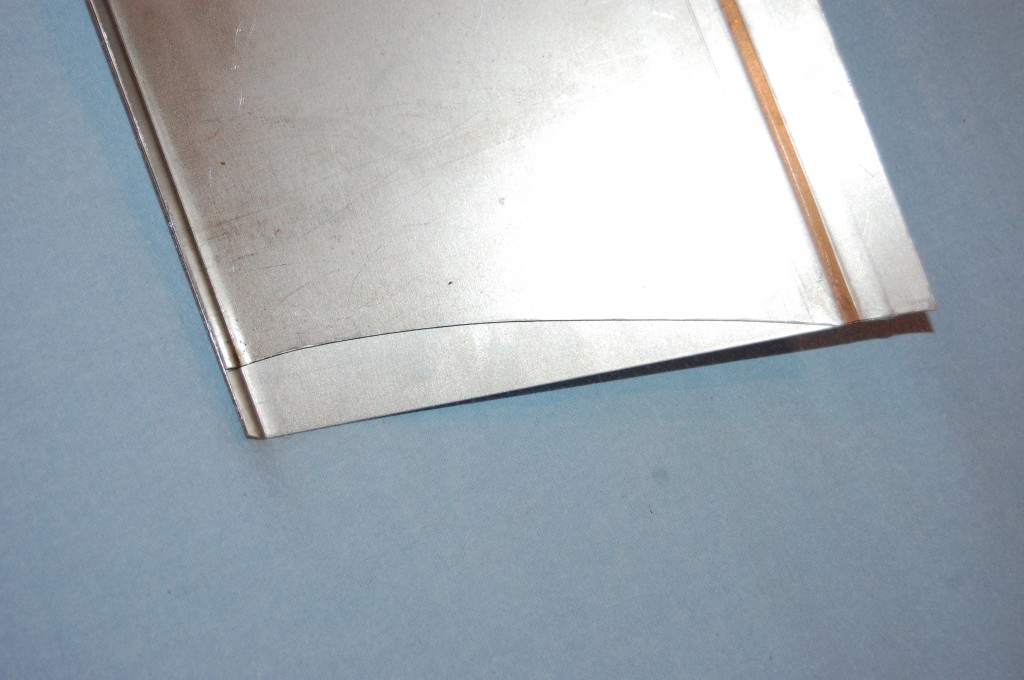
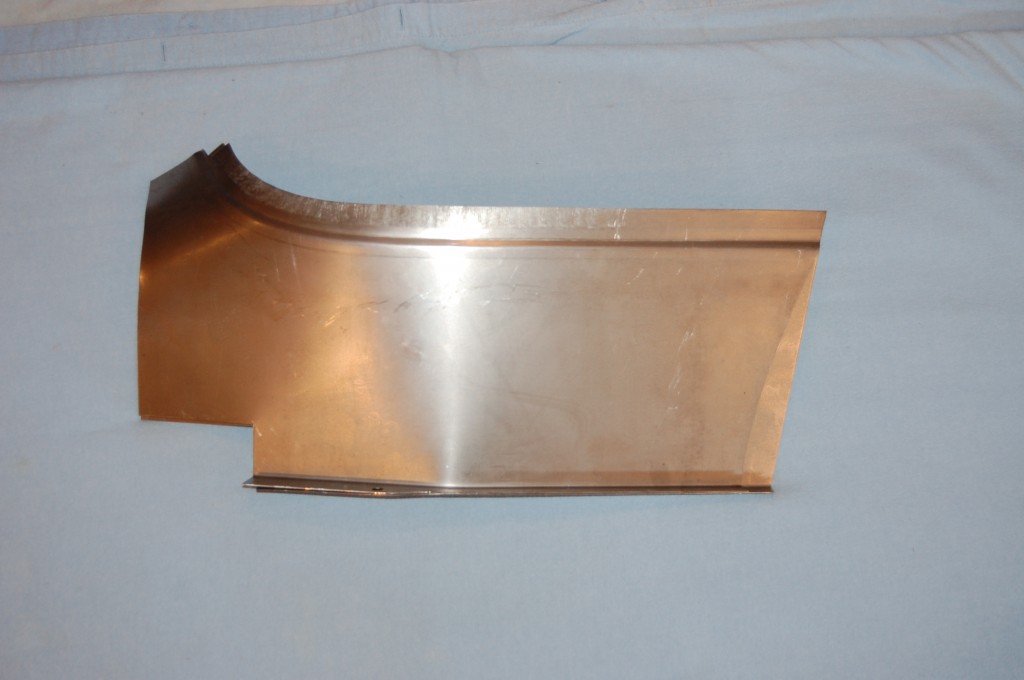
- So we made one up – the standard 3.8 RH gearbox side panl is shown on top, with the cut-back front edge to meet the “wedge” panel. Our special 1961 panel is at the bottom – the same in size and shape, but longer in the front.
- Here is a direct comparison – the 1961 versionis on the bottom, and the normal, later 3.8 version is on top.
- SO – if you need a RH gearbox side and have a very early flat-floor E-Type, we have it! Give us a ring!
- Here is that panel fitted into place directly up against the factory RH bellhousing side.
- THIS photo is a later 3.8 coupe, showing the addition of the “wedge” panel…
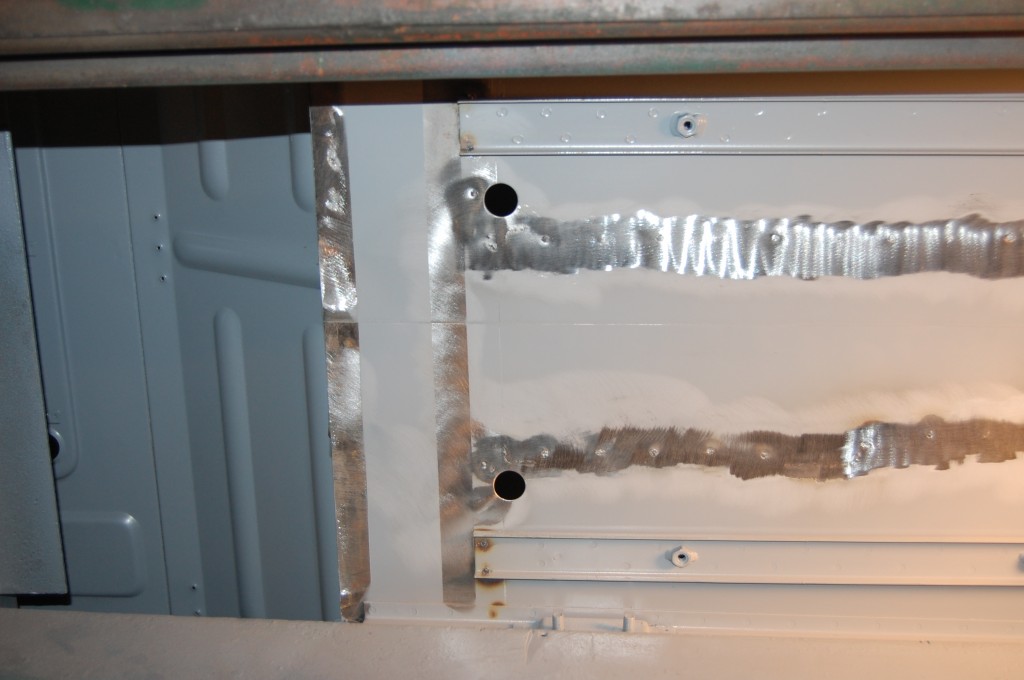
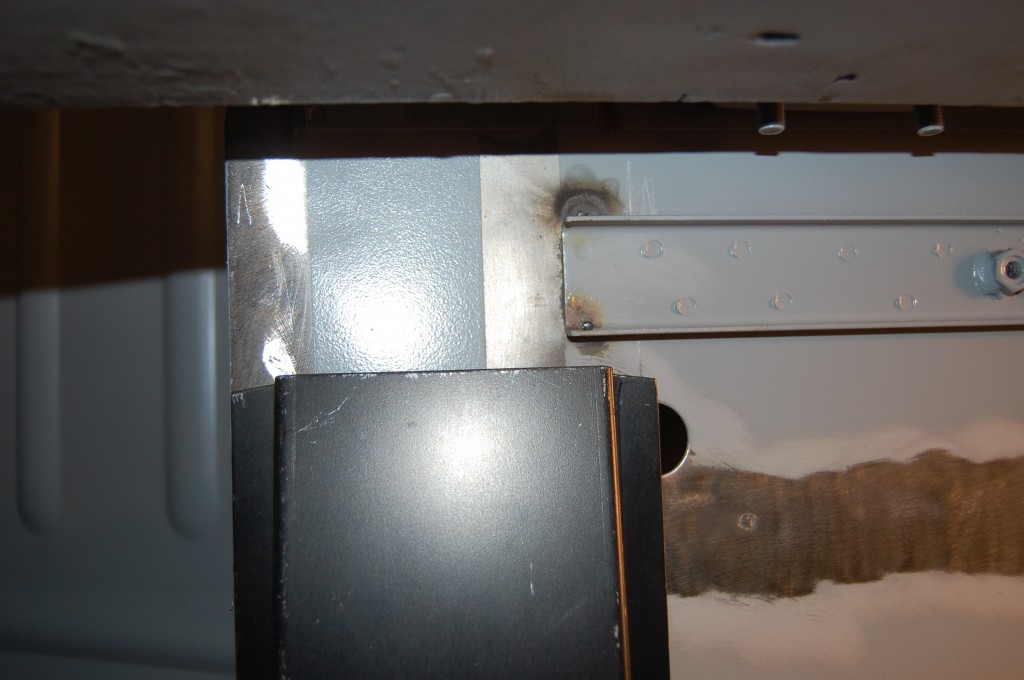
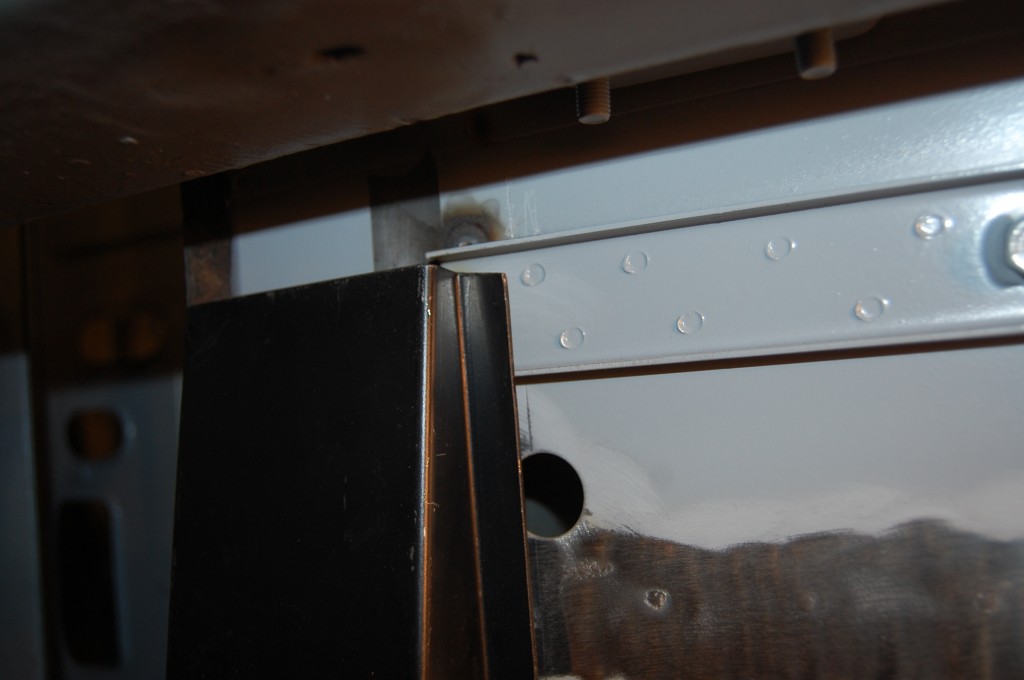
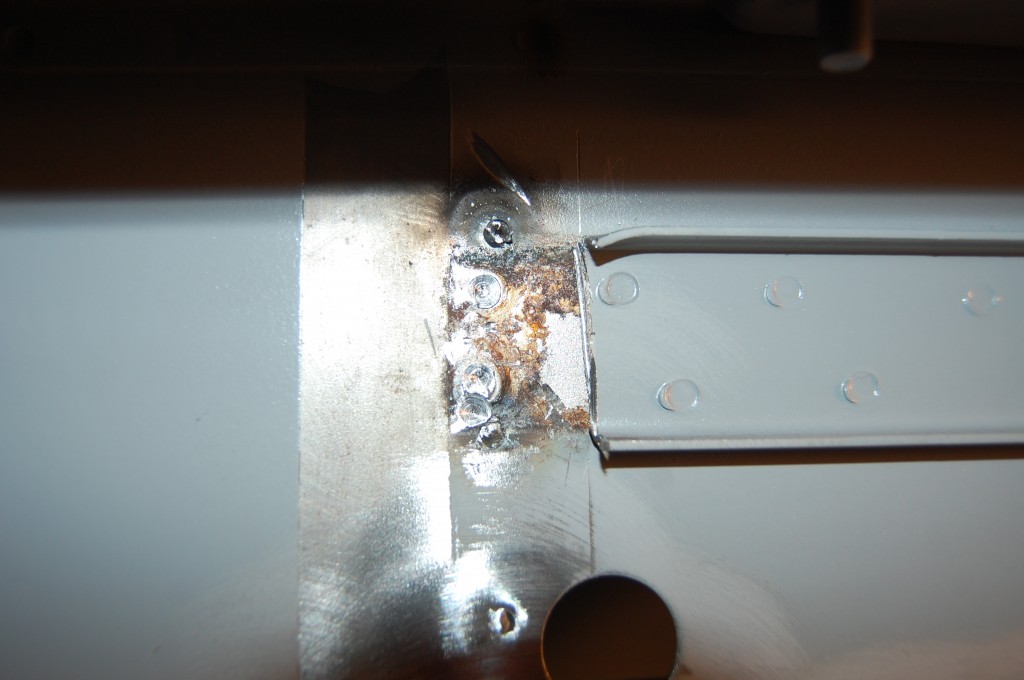
- Next, we turned our attention to the tie plate under the floors at the very rear. Usually, we simply weld in a piece of the strcutural hidden subframe tubing here – it is stronger, simpler, and gives a little more clearance for the exhaust. In this case, we wanted to keep the shell original from underneath, and we had not placed the tubes inside the rear lower bulkhead anyway, so we decided to just put in the factory piece…
- …the only problem being that the one that came in with this car did not come from the factory, but rather, from the “usual” aftermarket supplier… To be fair, they also made the floors for this car, so you would THINK that their tie-plate would fit their floors!
- No such luck… Not only was the tie plate too wide, the seat track ribs in the floor were too long – a double whammy!
- So, our first order of business was to CAREFULLY cut back the seat track ribs…
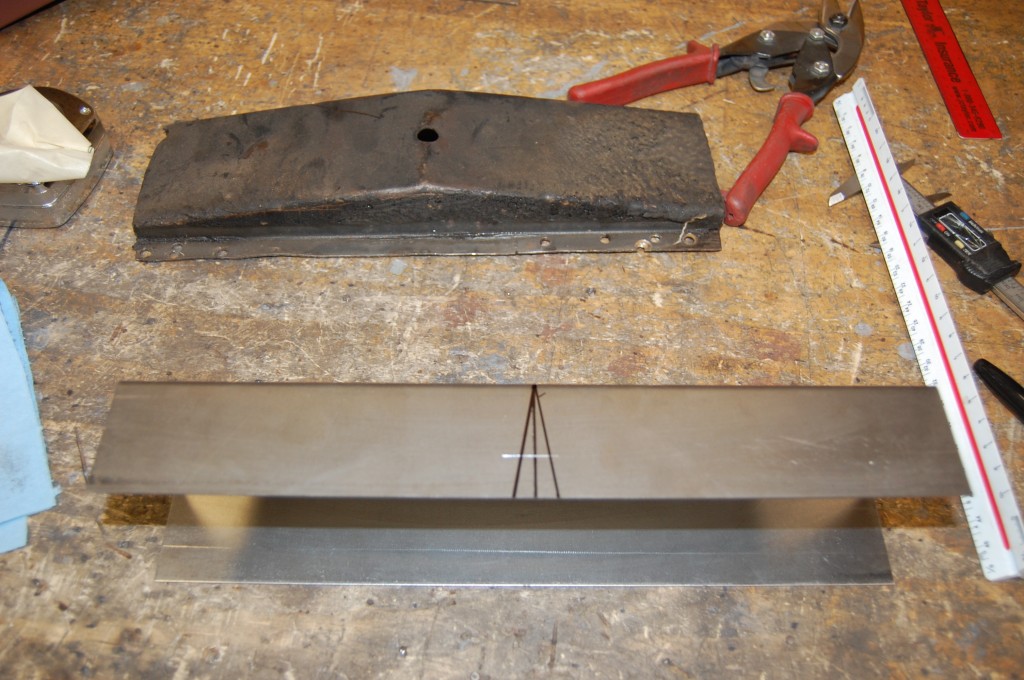
- Next, we had to form up a new tie plate from scratch. We’ve actually never made this piece before because I always just use the subframe tubing instead… The piece at the top of the photo is a factory original – and was removed from my personal ’63 OTS. And when the time comes, it will go back in… Like the Lindner-Nocker lightweight, the car will be rebuilt using as much of the original metal as possible. What can I say – I’m a sentimental guy! After two proms, two graduations, a few break-ups, and the first date with your wife, you tend to get attached to stuff!
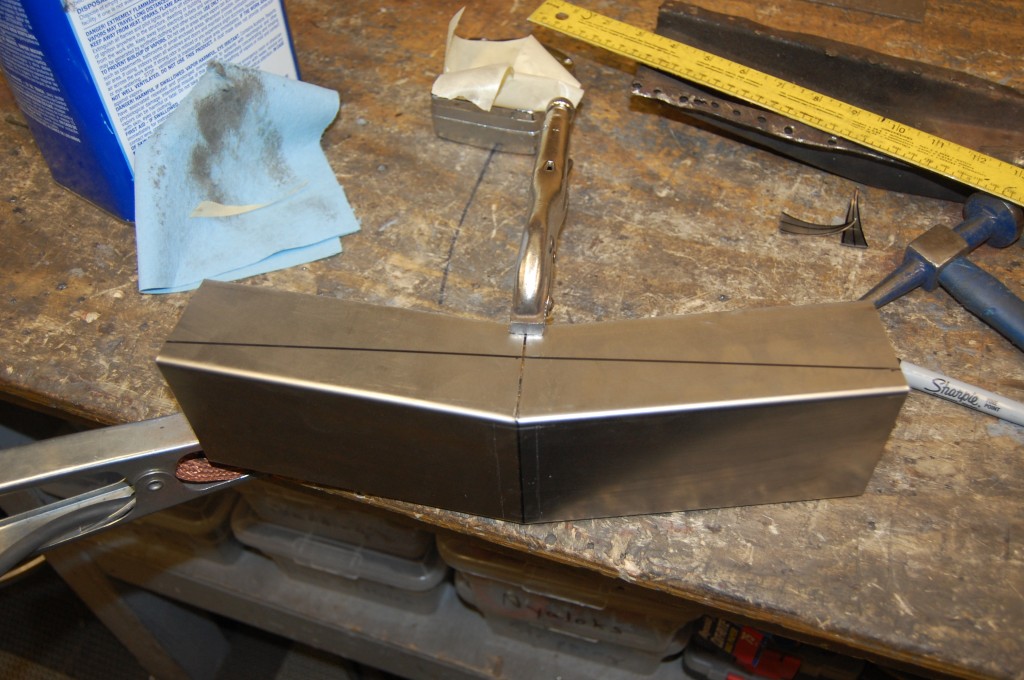
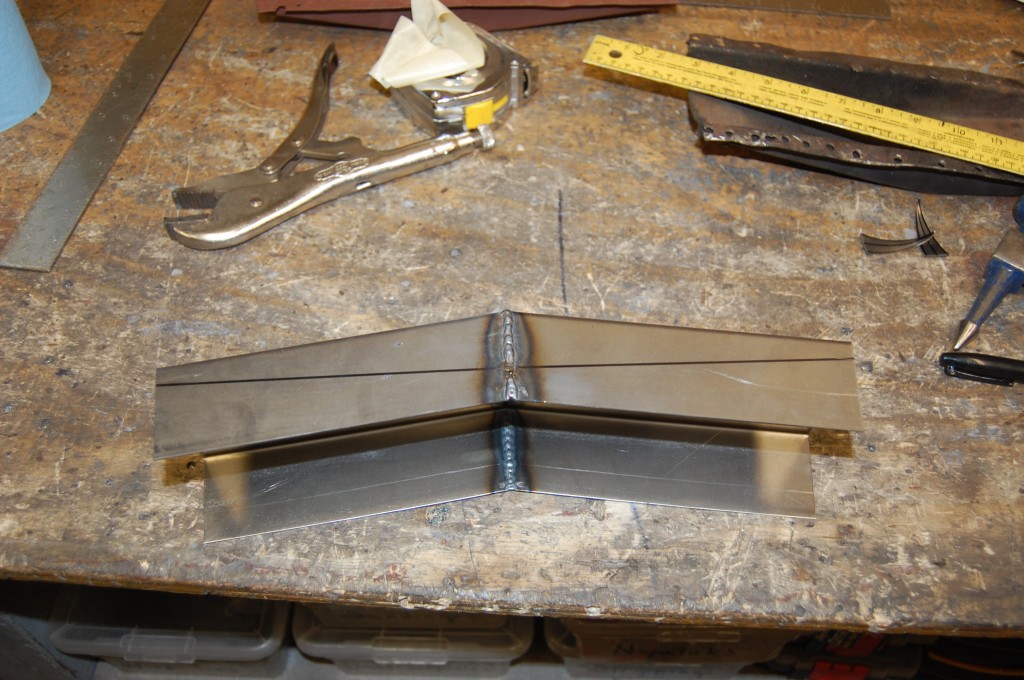
- So using a known original as our guide, we built this new piece from thick 16-gauge steel. After getting the proper width and putting the proper bend angle into the piece, we mark it for the correct height. Of course, ALL of these dimensions were wrong on “the other guy’s” panel…
- Here we are welding the seam…
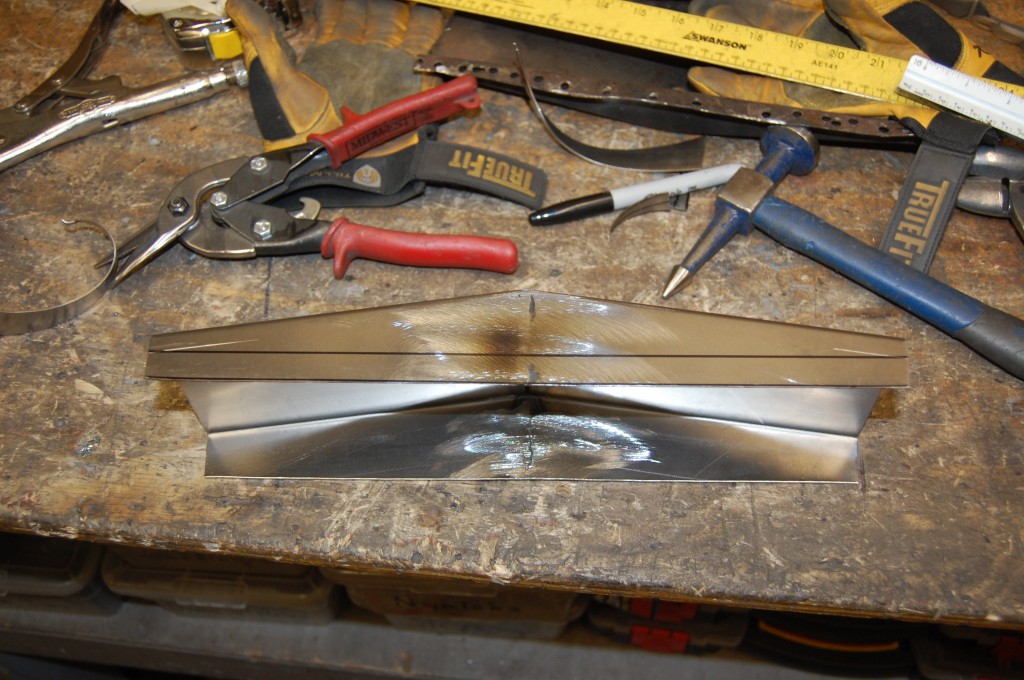
- And here, it is welded and the sides trimmed.
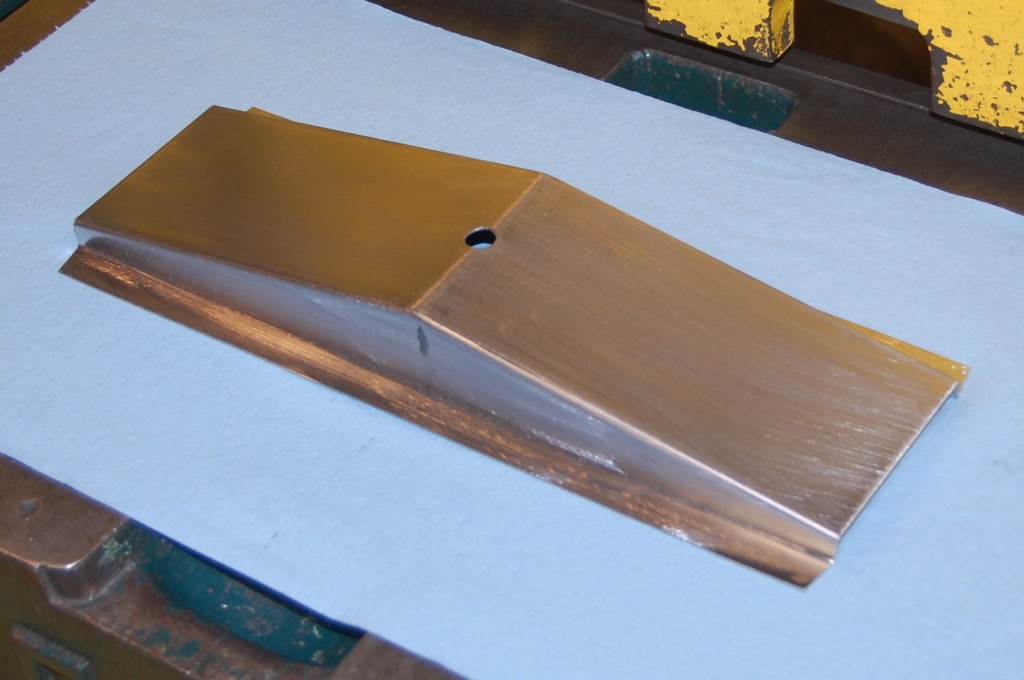
- The final step was to bend up the side flanges, and then clean it up for a photo shoot to offer as a new product – call if you need one!
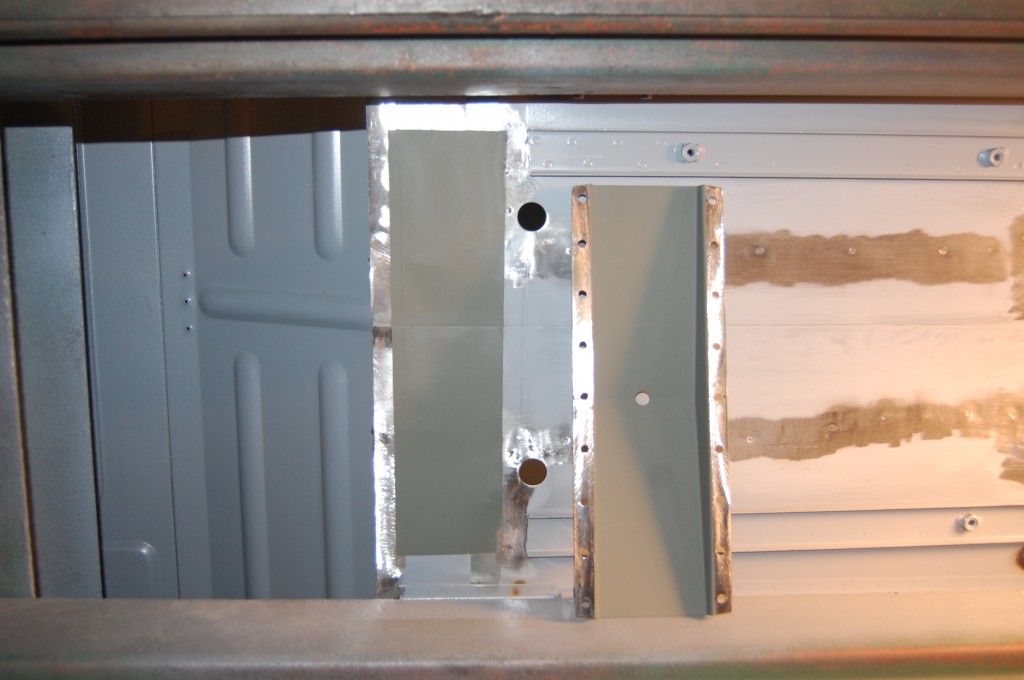
- Next, we drill holes for plug-welding, and prime the areas that will be inaccessible after installation.
- She’s in – perfect! Overlapping those 7/8″ holes a little bit is stock, and the seat ribs are the EXACT distance from the rear of the floor that they should be.
- Back up top, the LH gearbox side is now also fitted, and all panels have been welded into place.
- And – the LH access holes have the EXACT diameter and location as the original car.
- Not too bad considering where we started on this one!
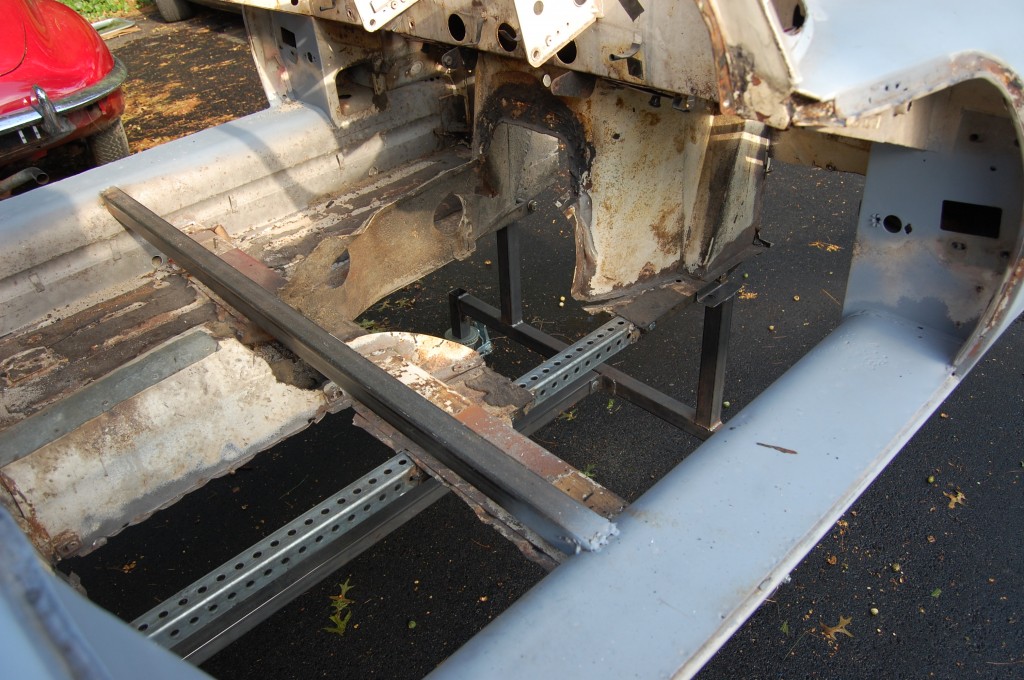
- Wow – V8 butchery at its worst!
- Here’s the old tunnel… We sure are turning this old girl around!

