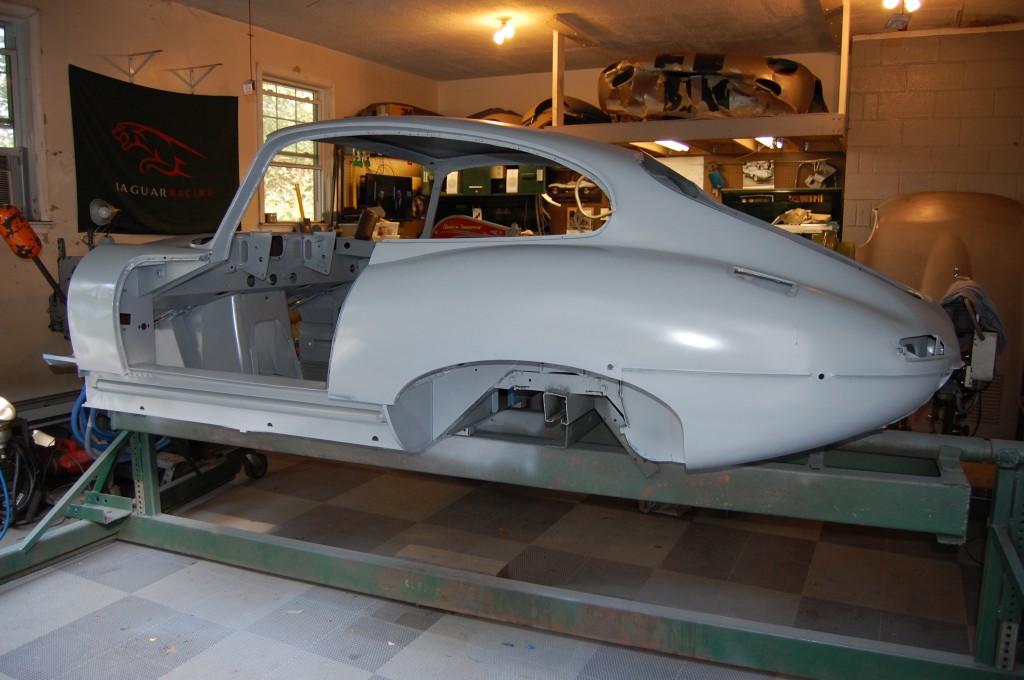
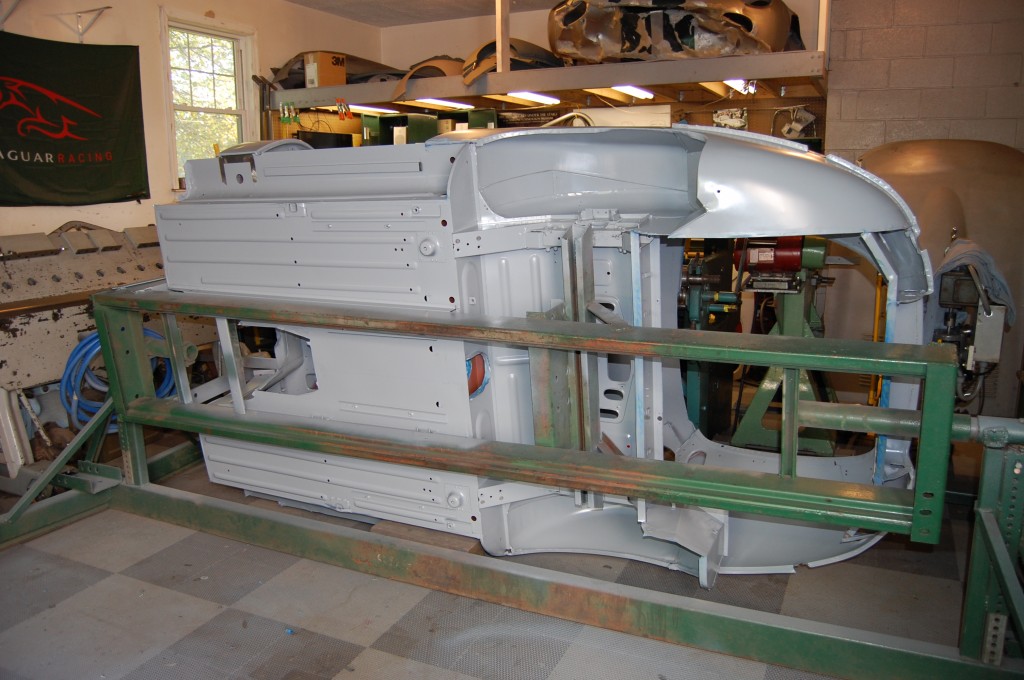
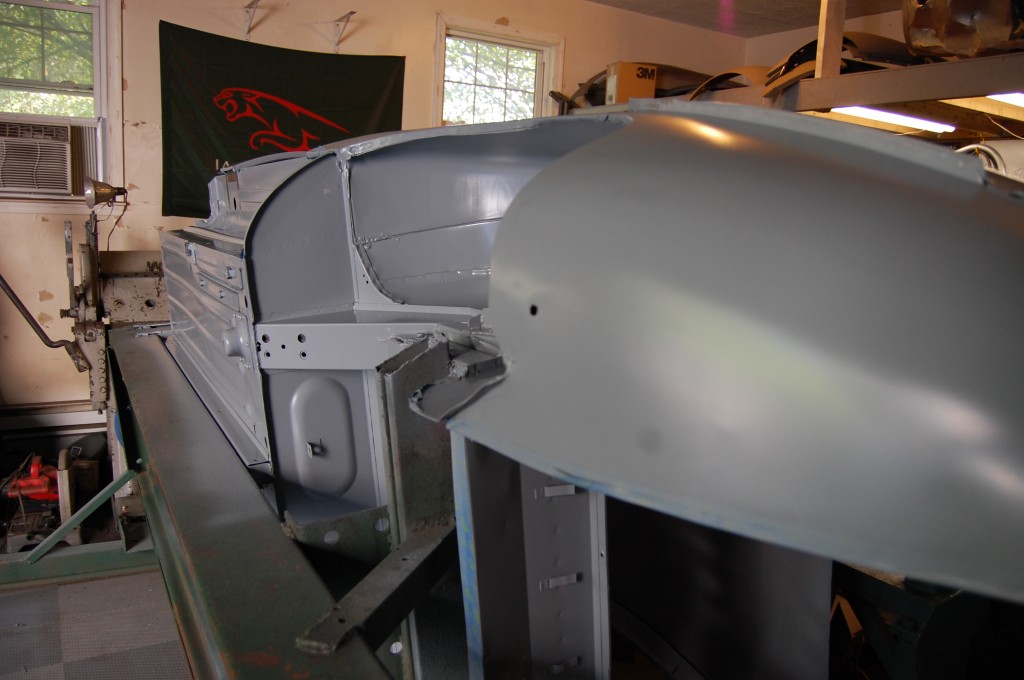
We eventually got to a point with the shell (and the weather…), where we just couldn’t wait any longer to get some good primer on the shell.
We have switched over from self-etching primer to epoxy primer. It is a much bigger hassle to work with – for many reasons, but I believe it is well worth the extra time and expense. Spraying it on is like encapsulating the whole car in a “candy coated shell” – you can really just see and “feel” the protection!
This is PPG’s most recent formula for 2-part epoxy. It is low-VOC, and it REALLY is – there is a BIG difference in fumes between it and the previous formula. In addition, it is easier to sand, and has a longer set-up time 7 days versus 2 days. Once it does set up, it needs to be scuffed back down and sprayed with itself before topcoated with other paints or primers or fillers.
The old stuff was TOUGH to sand, and with a set-up of basically a day, it was very difficult to work with. But I’m very happy with the new formula, and so are many of the body shops I have spoken to. This past Spring, this is the product that was being used on the original low-drag coupe – CUT-7, when I visited it under restoration. If it’s good enough for that multi-million-dollar E-Type, that’s a pretty good recommendation!
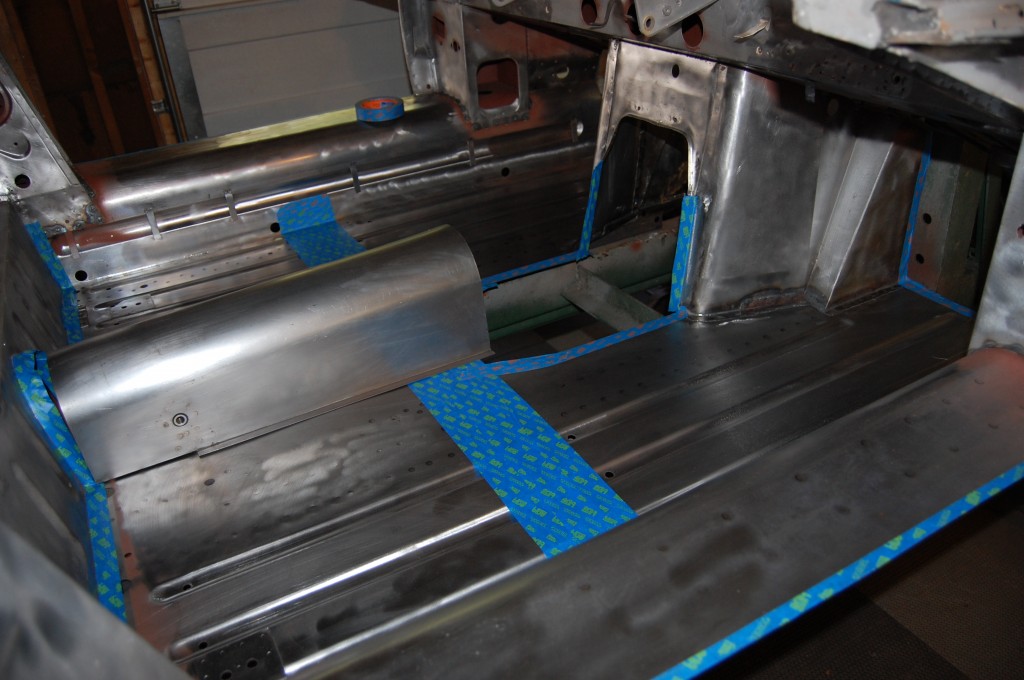
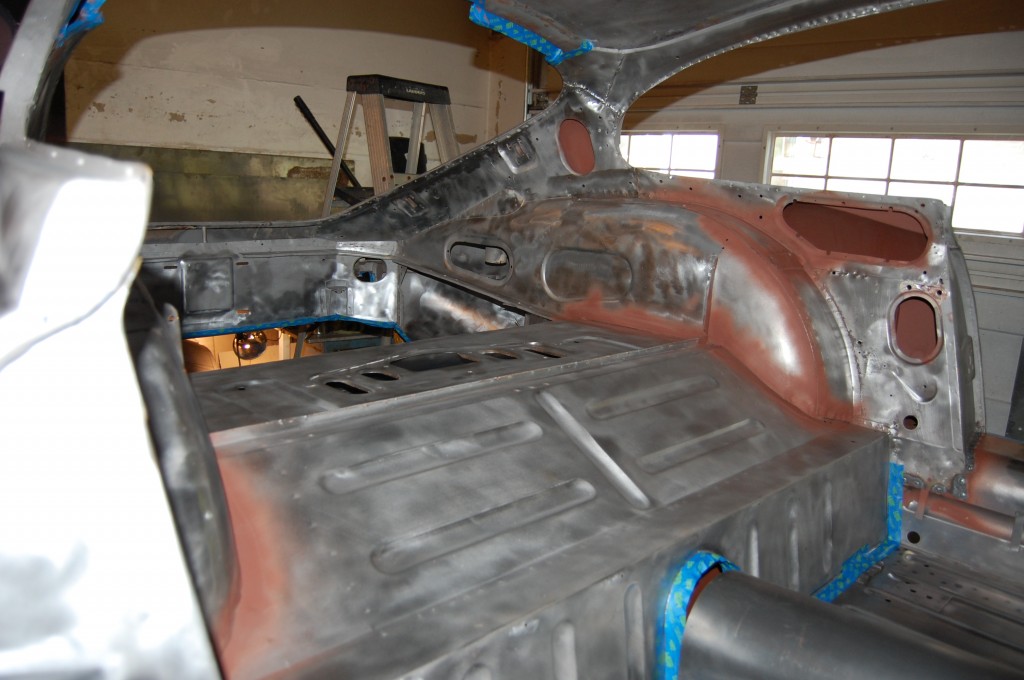
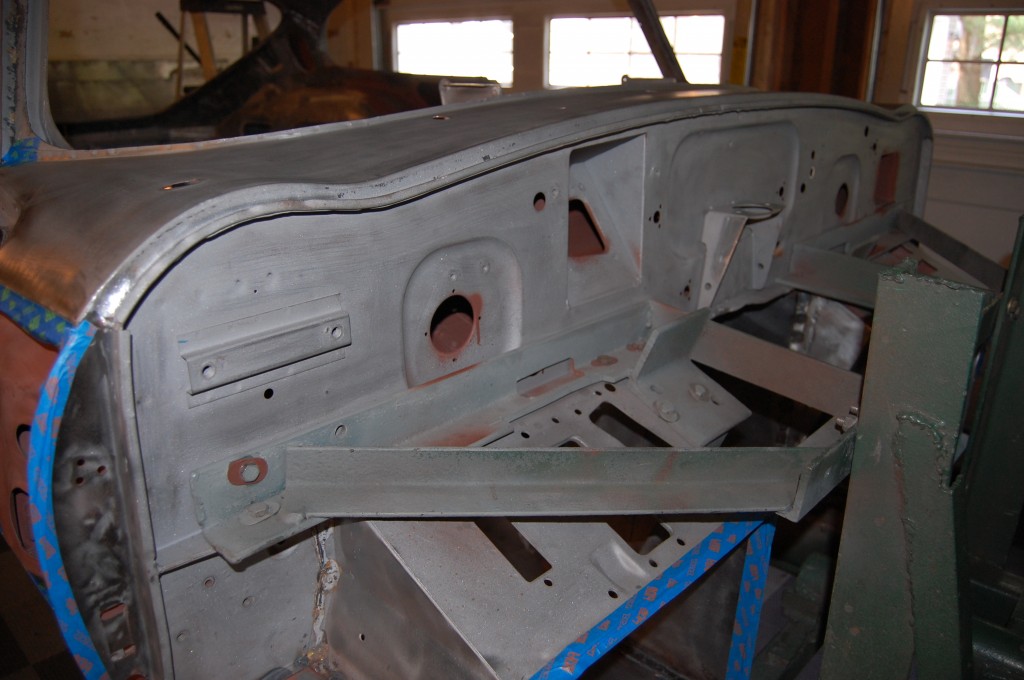
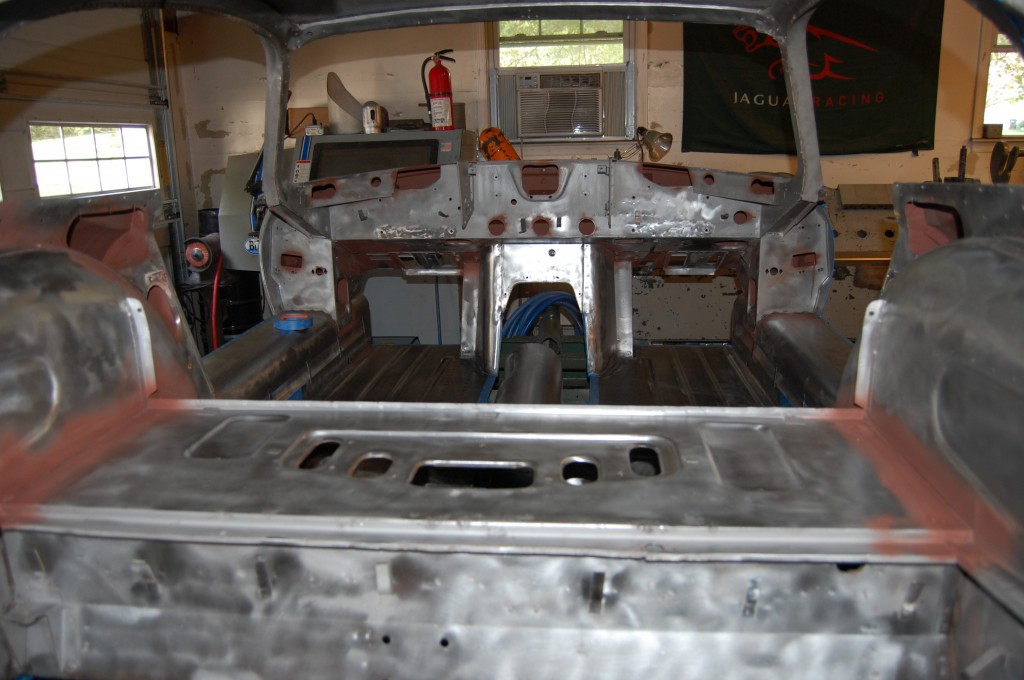
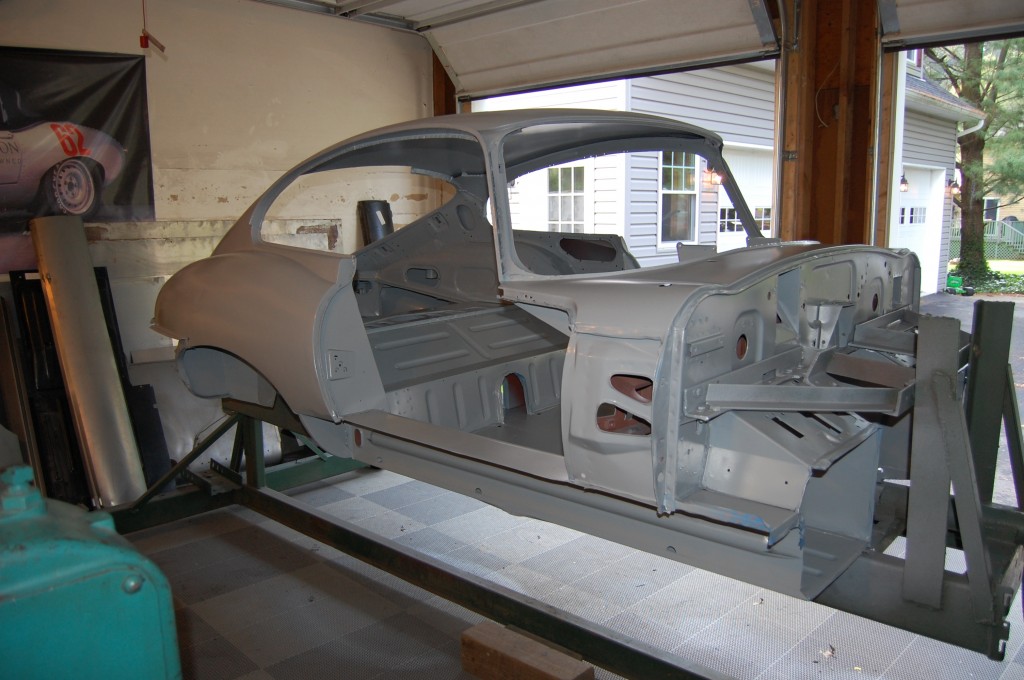
- Once we had the floors and inner sills welded into place, the internal enclosed sections well coated in red oxide primer, and the entire shell scuffed, removd of glue residue, etc., it was time to finally get some decent primer on her. There is still much work to do, but based on the weather (it was Summer…), and the fact that we have already pushed this a bit, it was a good time to do an initial priming of the shell.
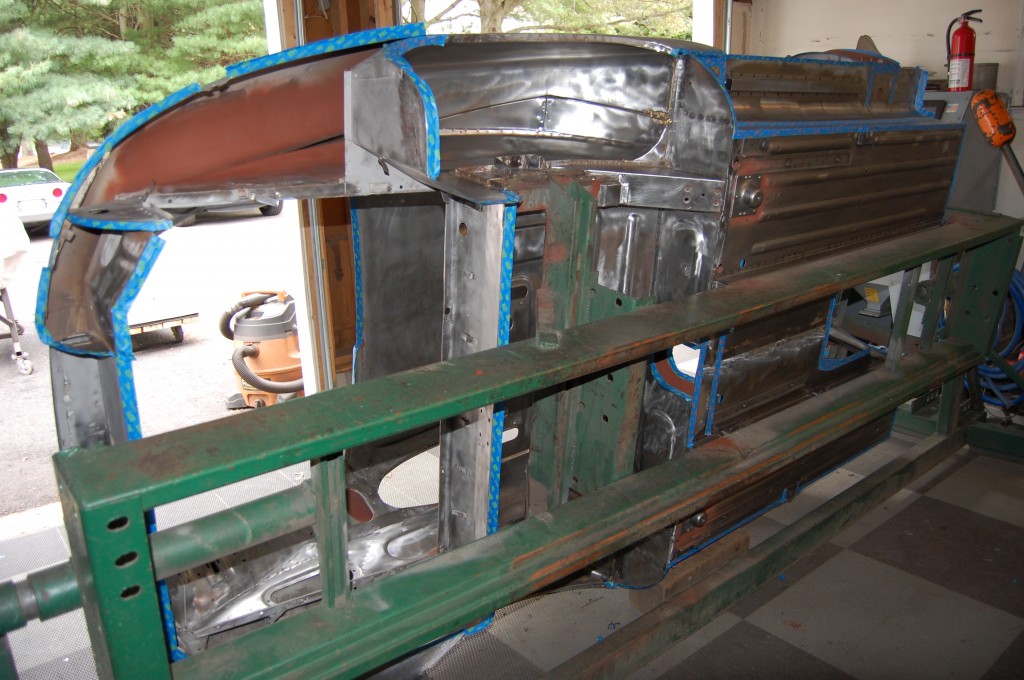
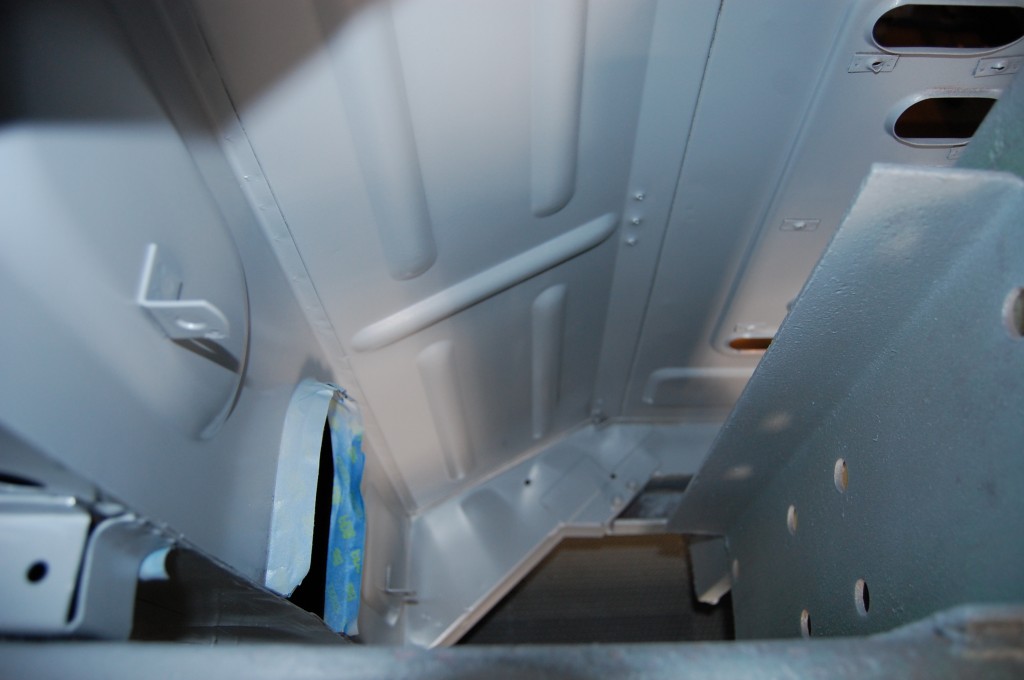
- In this shot you can see that we have cut out a large portion of the rear hatch drip channel and taped off the edge – that will be next. We have also put a little extra red oxide here and there where pitting existed, or we could drip it down inside of an original seam.
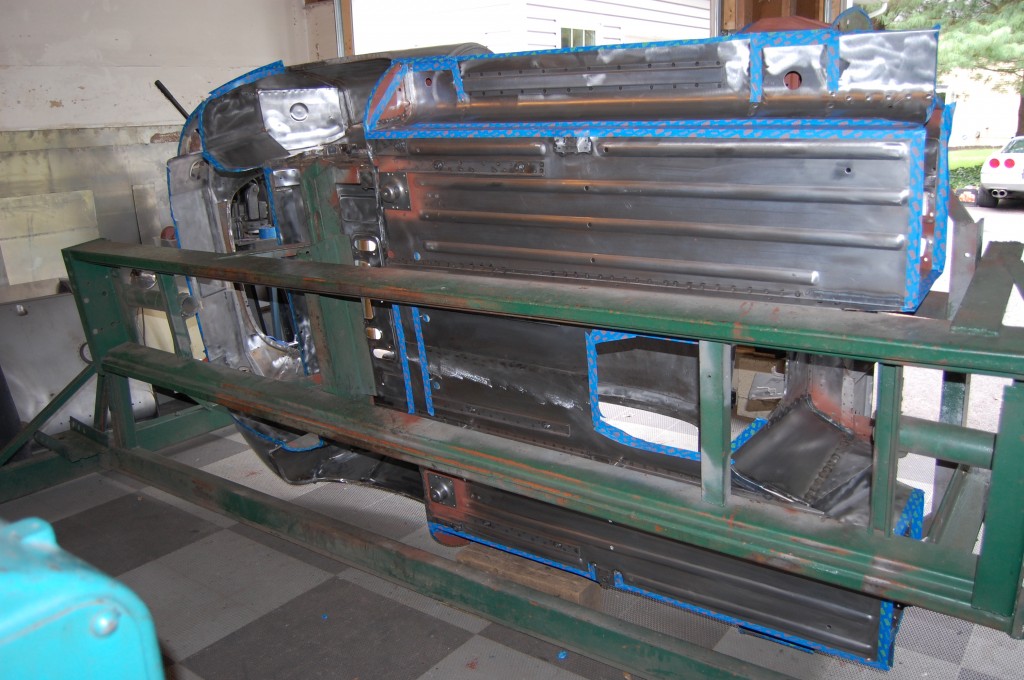
- We are taping off all of the areas where we know we are going to be attaching new panels and welding later.
- Another shot that shows we have spared no effort in scuffing the shell down absolutely bare, and making sure we have a roughed up surface everywhere for good adhesion of the primer.
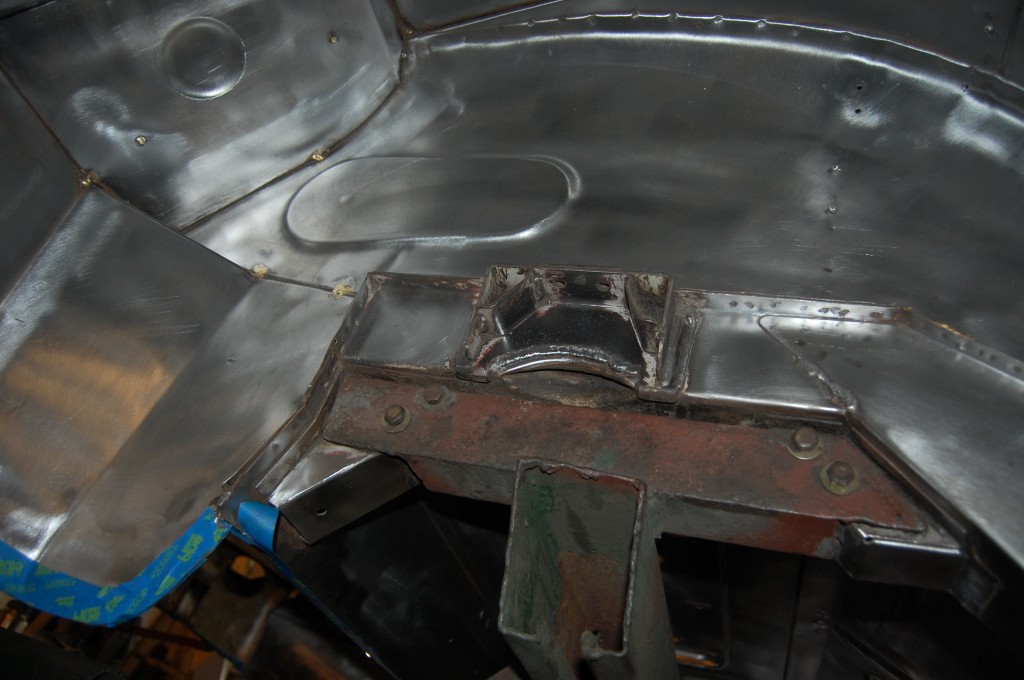
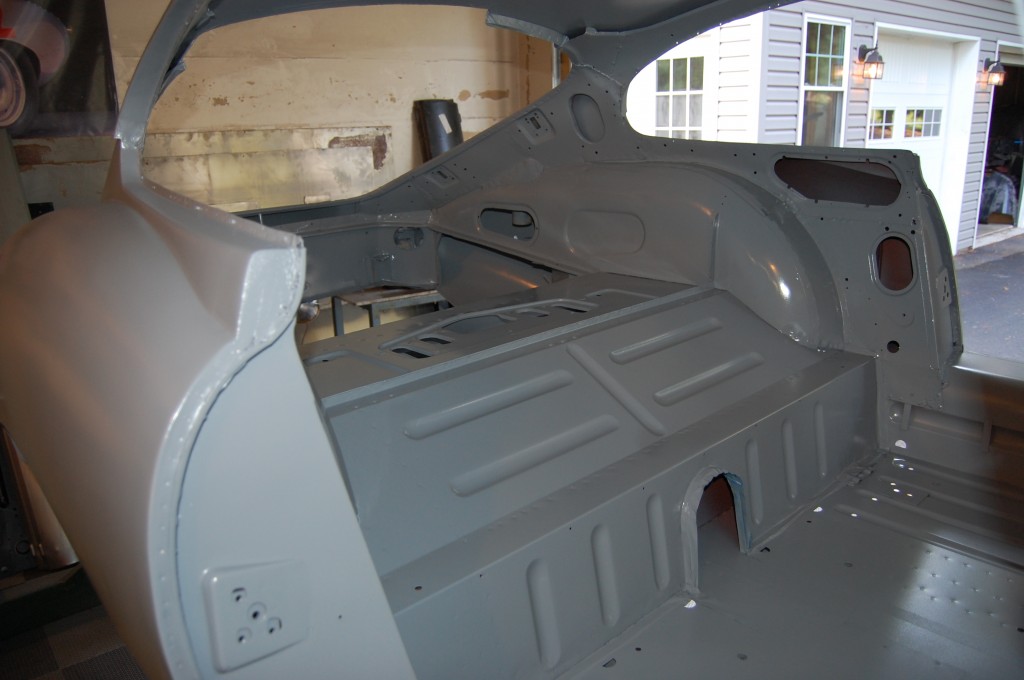
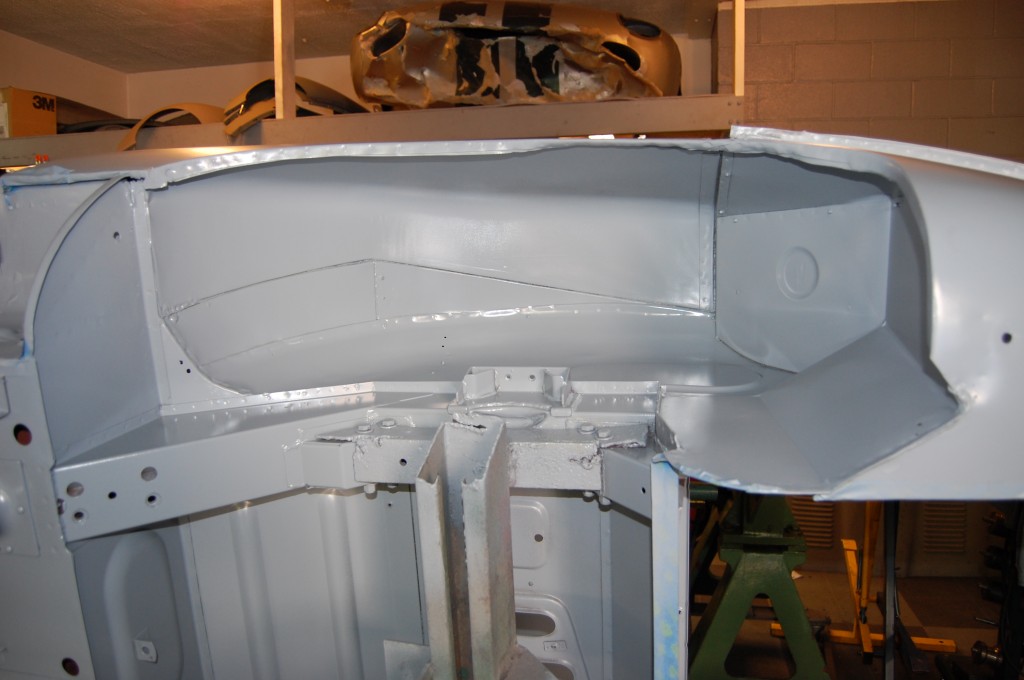
- These rear wheel wells are beautiful! It hurts to even prime them, but wait until you see them AFTER the priming!
- Here’s a tip… I am actually very “brand loyal” – when I find something that works, I stick with it. We use the blue tape here because it comes off easier with less residue, and you can also leave it on longer without any issues. We have always used the regular adhesion stuff with the green lettering. Well lately, I decided to try something new and use the lighter adhesion orange lettering to make flexible shape patterns… On this shell, we ran out of the green, and finished it with the orange. Well, about a week later, we started to get light surface rust where the tape had been, but ONLY where we used the orange… I guess the lighter adhesion glue on it has some chemical in it that promotoes rust. Well, I’M DONE WITH THAT!!!
- After SEVERAL hours of taping, wiping, rubbing with acetone, and mixing of primer, we are ready to shoot!
- Viola! Sealed in two coats of 2-part epoxy, this baby will NEVER RUST AGAIN!
- Some areas are glossy, and some are duller due to overspray – tough to avoid on a complicated shape like this in a shop like ours. No worries, though, this is just the first of MANY layers of primers and sealers before the final paint.
- It just does my heart good to see this very early car coming back to life!
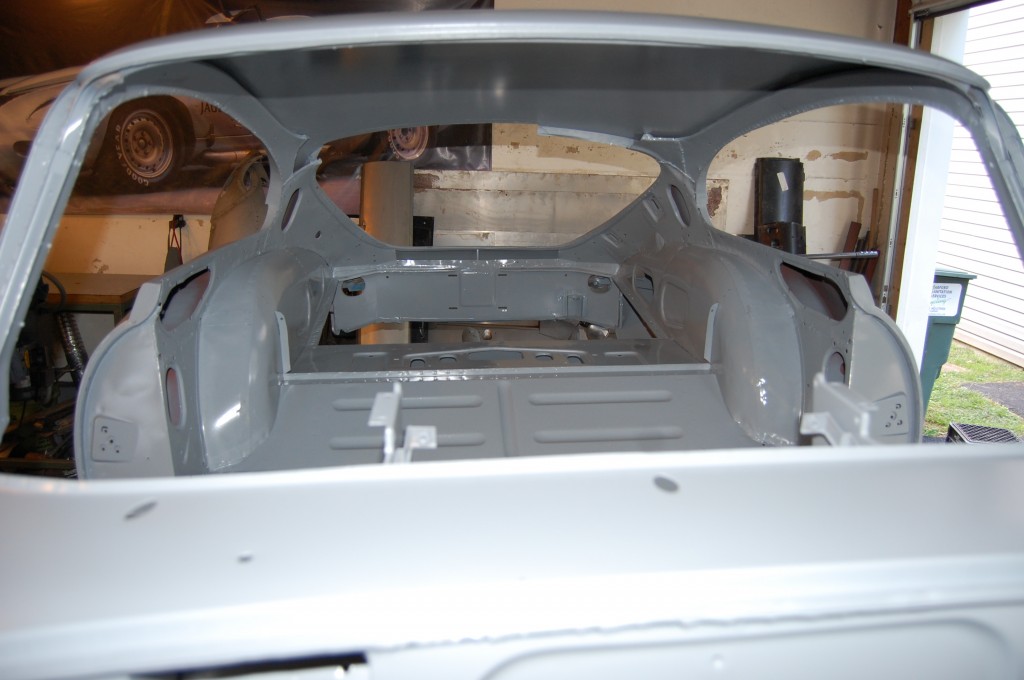
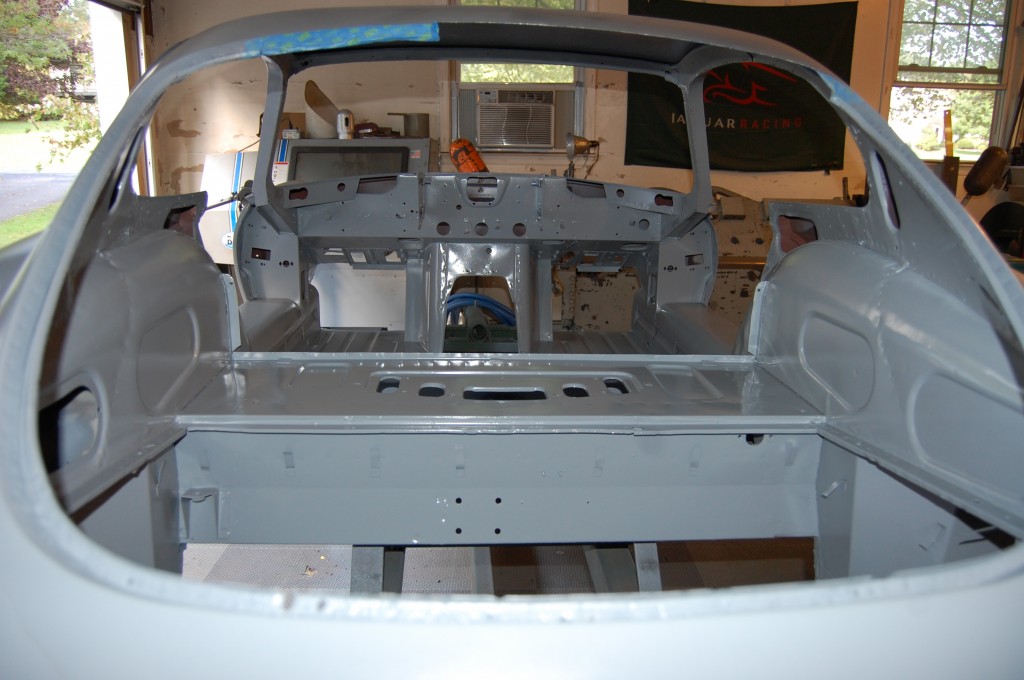
- Another shot of the rear interior.
- Here you can see that we have our work cut out for us – literally – around the rear hatch opening.
- OK – hard to believe, but that is the ORIGINAL rear wing AND rear lower valance, with ZERO metalwork! With all this car has been though, that wide expanse of original steel is still dent and rust free – AMAZING!
- A painting episode like this takes ALOT longer than you think – and ALOT more paint than you think!
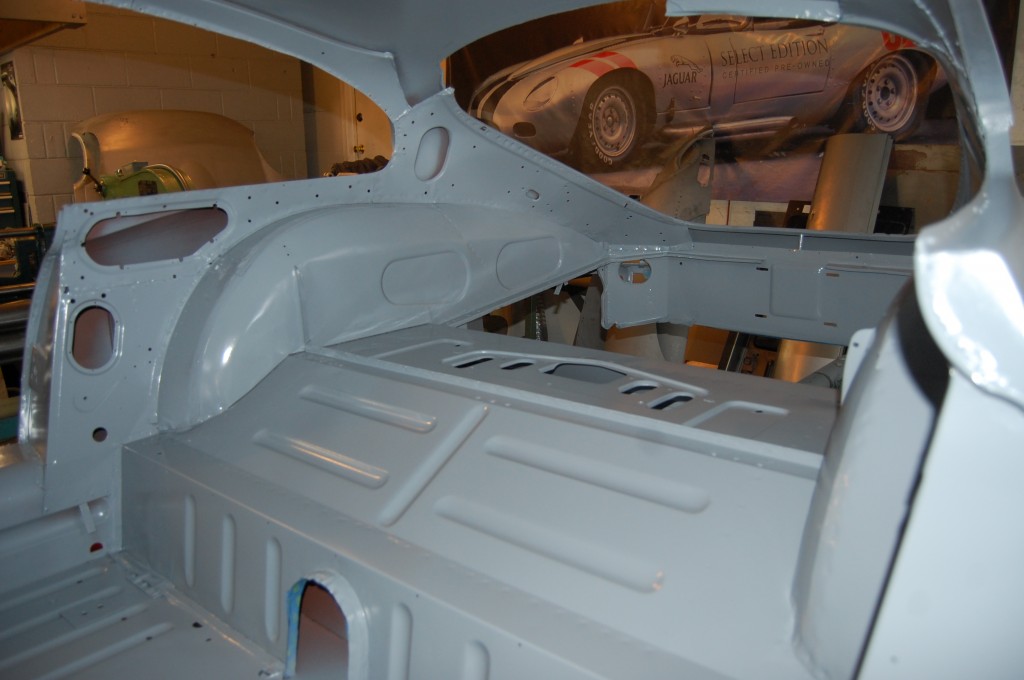
- Take a look now – smooth as glass up in here! I’m pretty sure that the hammered in edge at the rear half of the wheel arch is a factory modification – just not sure, though…
- Let me tell you, there are A-L-O-T of hours of manual work into getting this area into this shape from the oil and undercoating shown in earlier blogs!
- Still much work to be done, but I think we are “over the hump!”

