After the shell was dissected completely, scuffed down, and completely sealed internally, we were able to move forward with the project and weld in the floors and inner sills. Take a look!
-
- By the time this shot was taken, the floors and inner sills have already been fitted – but only temporarily to get them properly aligned with each other and the shell…
-

- Here, Brent is removing the original rear boot floor filler pieces, because…

-

- They are now included as part of the boot floor, as original. For DECADES, the only manufacturere of new boot floors made the floor without these extension pieces as all one pieces, and these were seperate pieces. It is nice to see this product improvement – and there are now seperate boot floors for FHC and OTS E-Types. Of course, the pieces still isn’t QUITE right – it is not exactly symettrical from side to side, but it’s close, and we will adjust during the install. The “shipping primer” has already been stripped by hand.
-
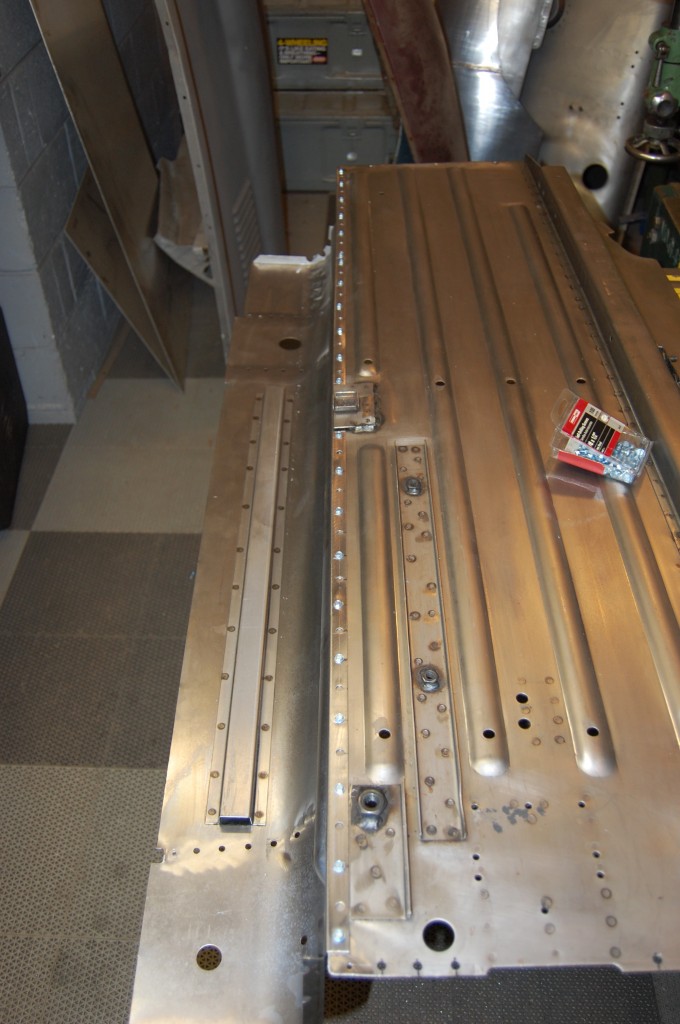
- Next, the floors come back out, and the inner sills are punched for plug-welding and fitted to the floors in the same position as they were on the shell.
-

- Then they are welded into place…

-

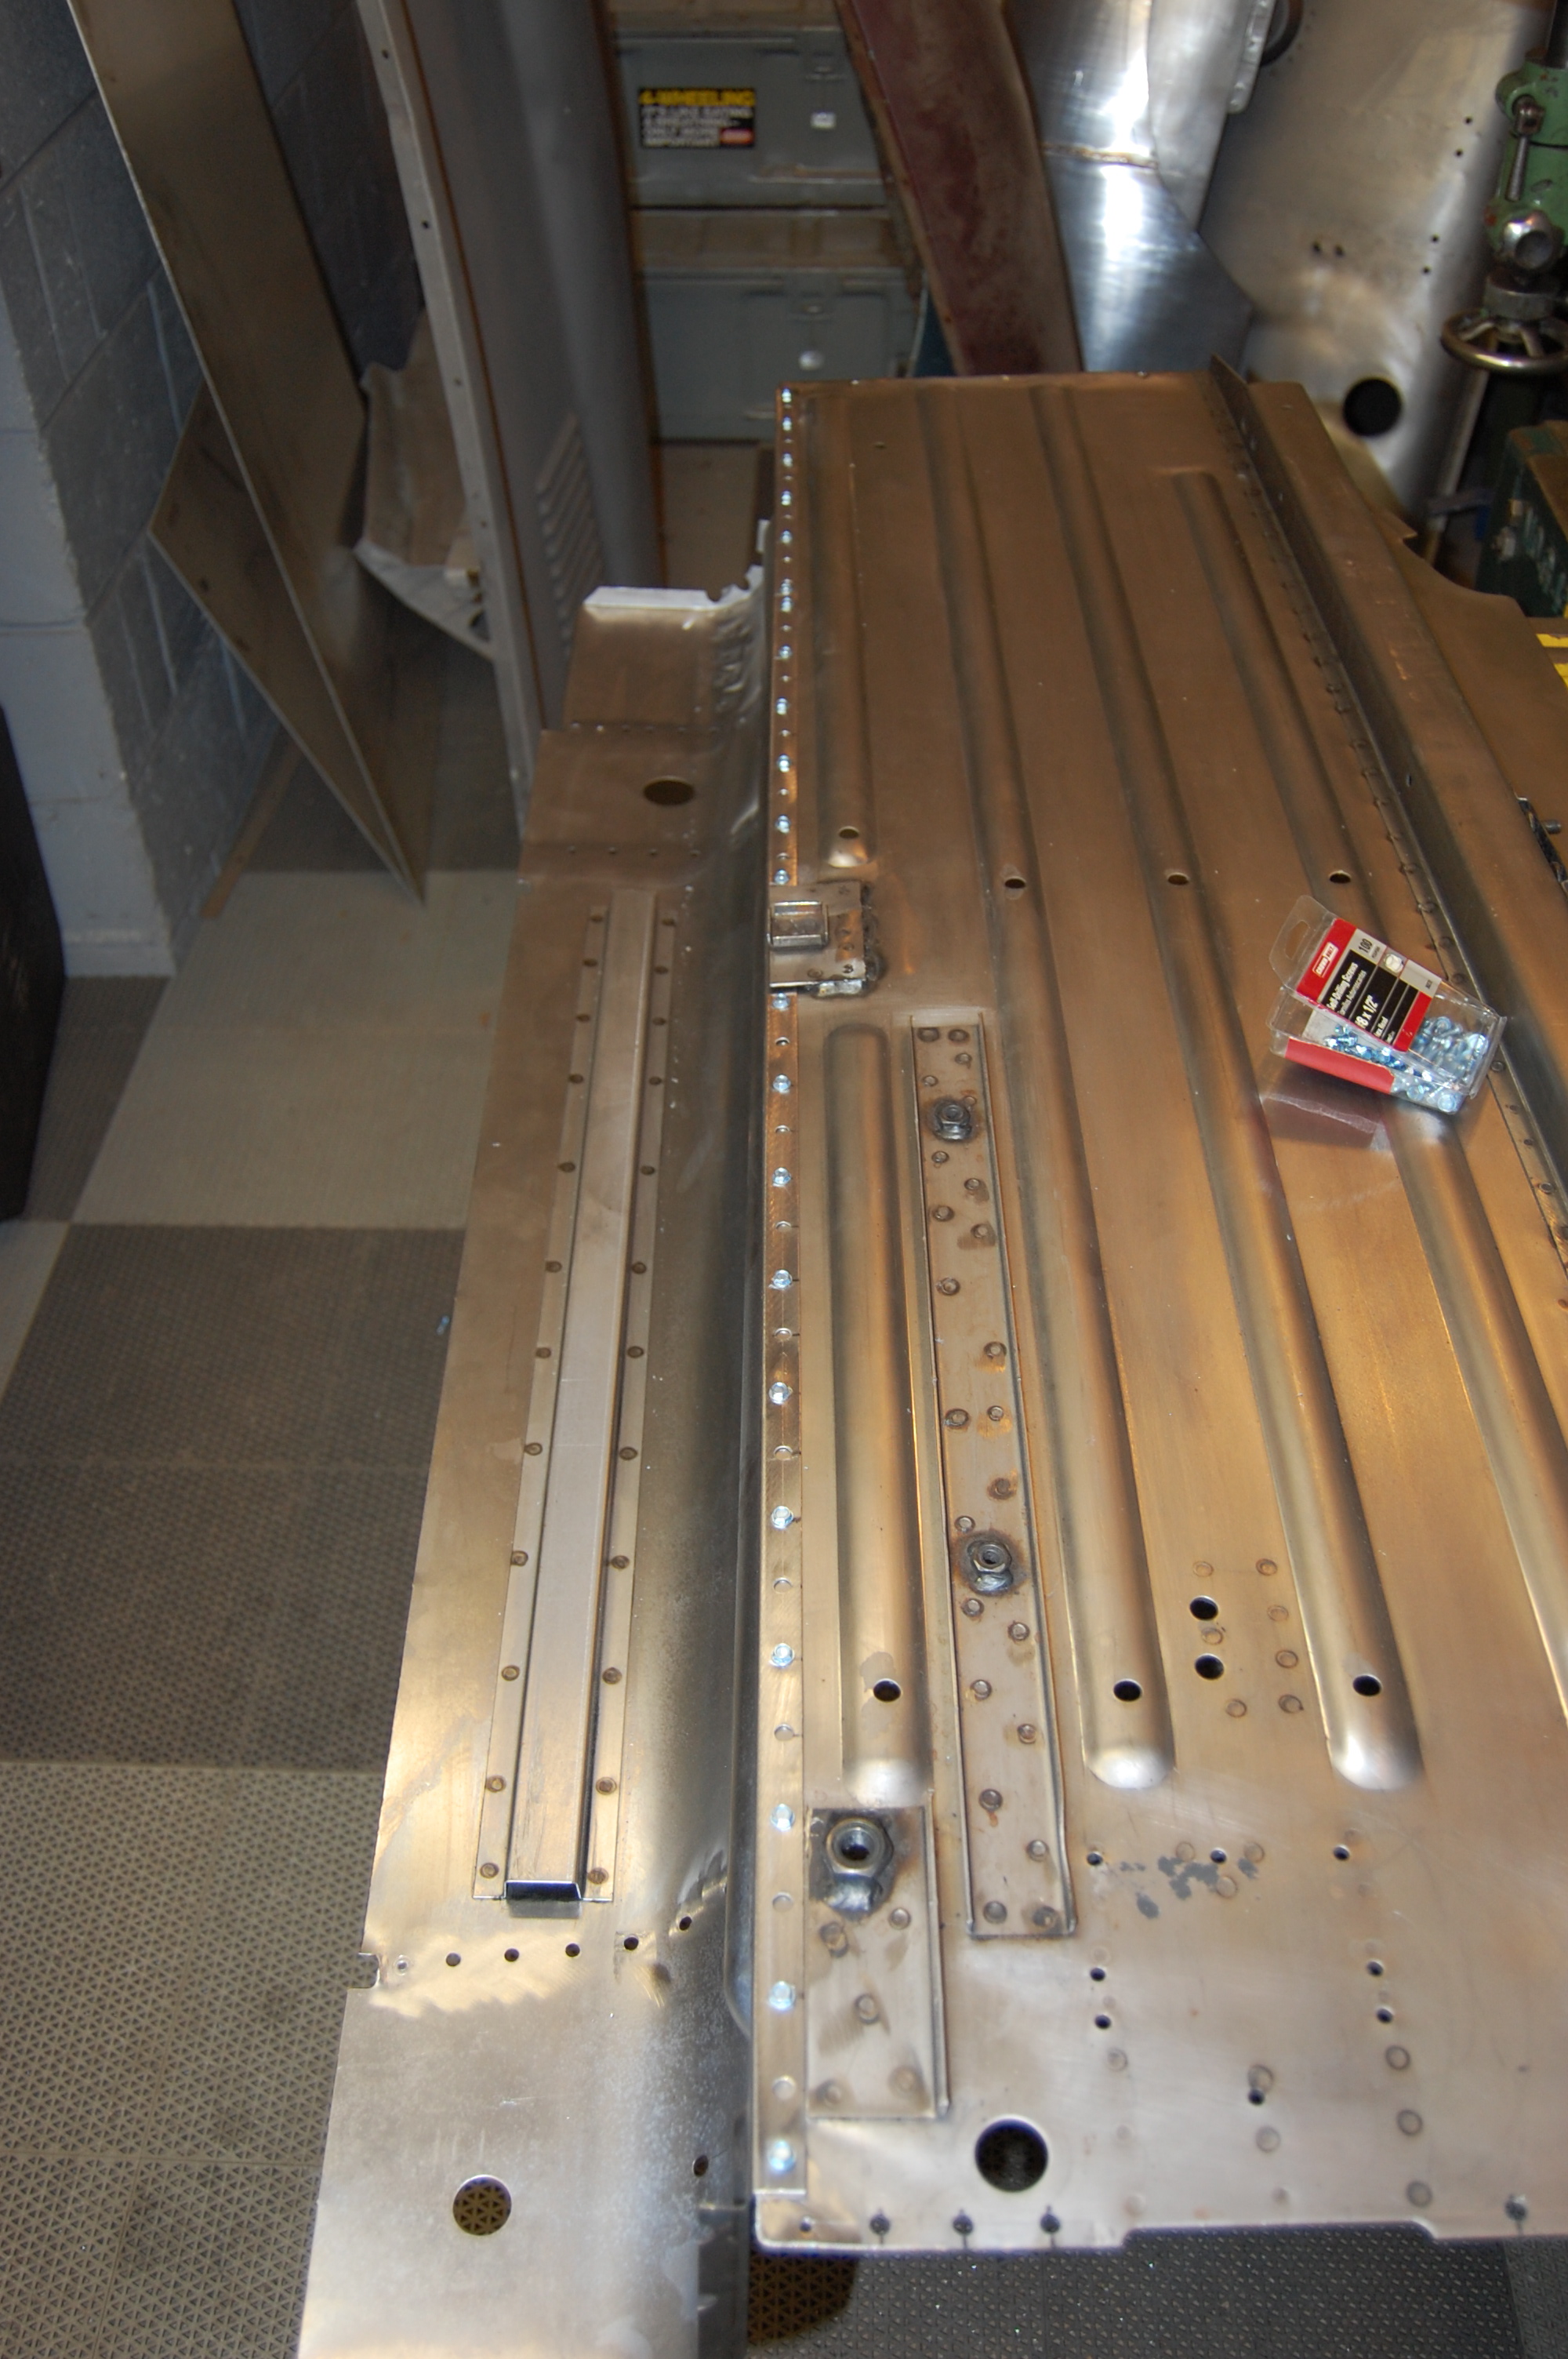
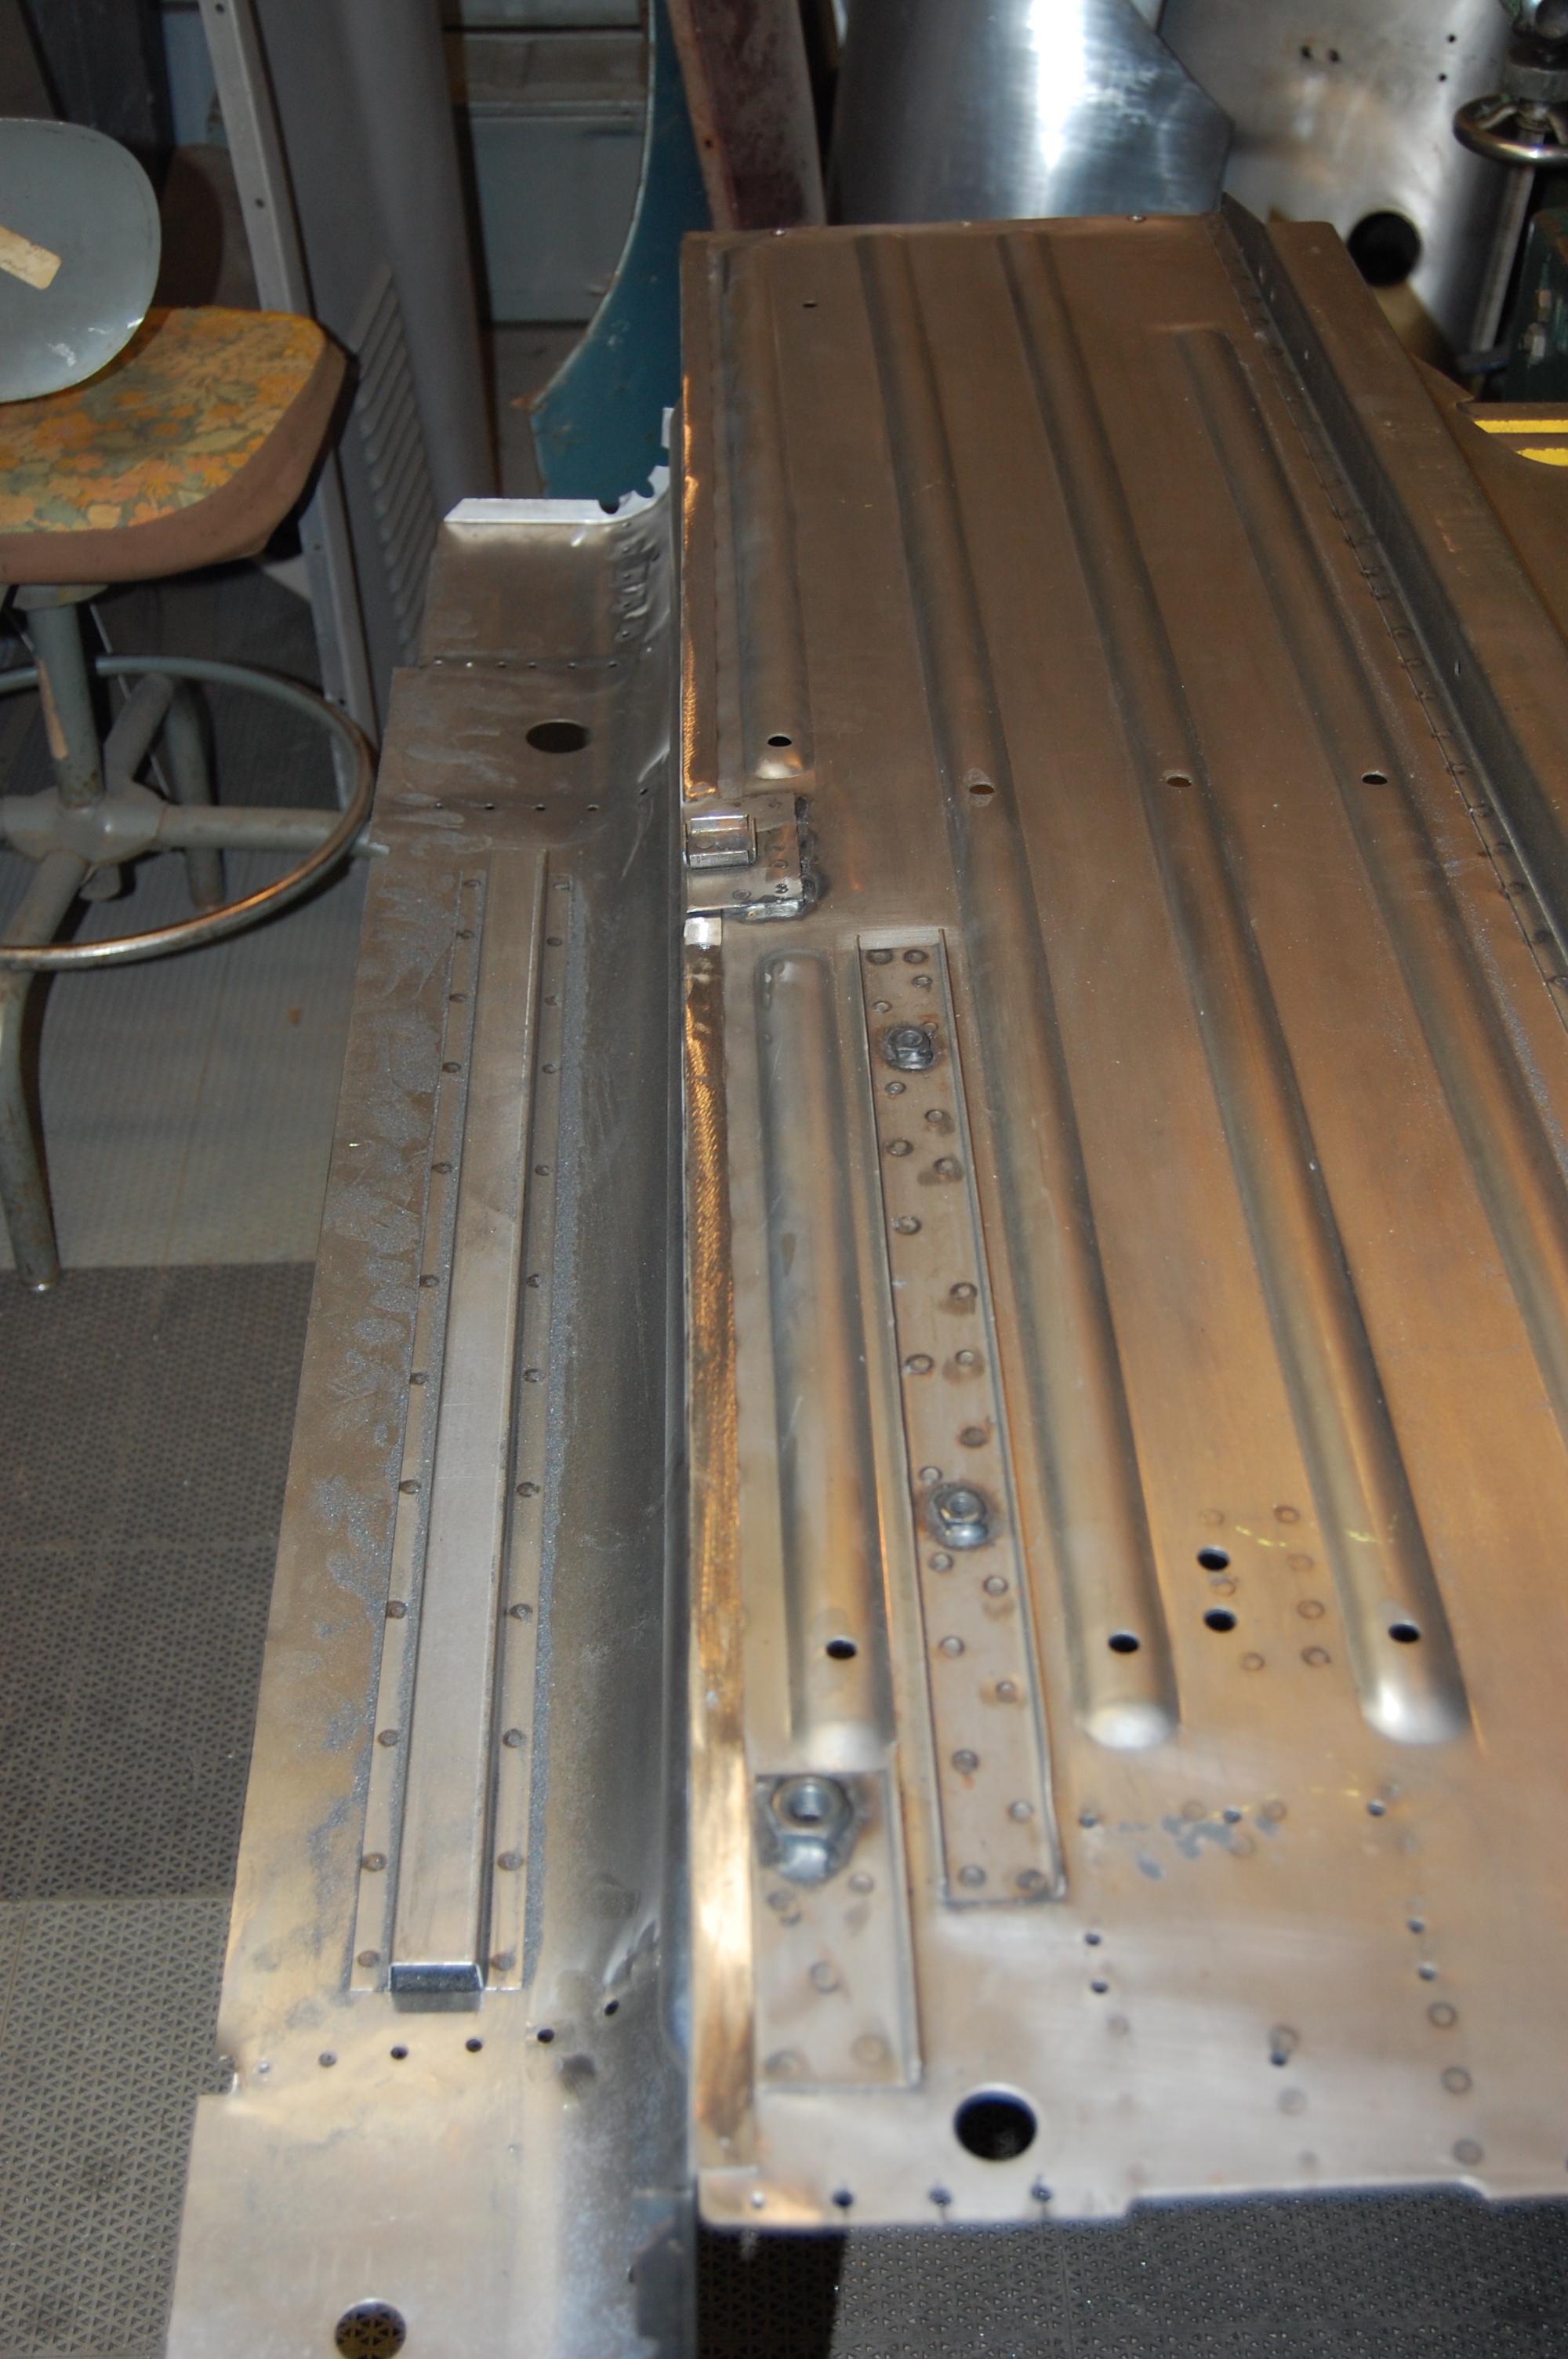
- …and the welds are ground smooth. Originally, the floor and inner sill was all one continuous piece, in our world now, they are two seperate pieces that must be welded together in this fashion. You theoretically COULD spot-weld these instead of plug-welding, but it’s tough to get a tight fit that way, and in addition, the footwell section makes for triple seam… Screw it down tight as we have done and plug weld it – it’s the best and strongest methoid in my opinion.
-

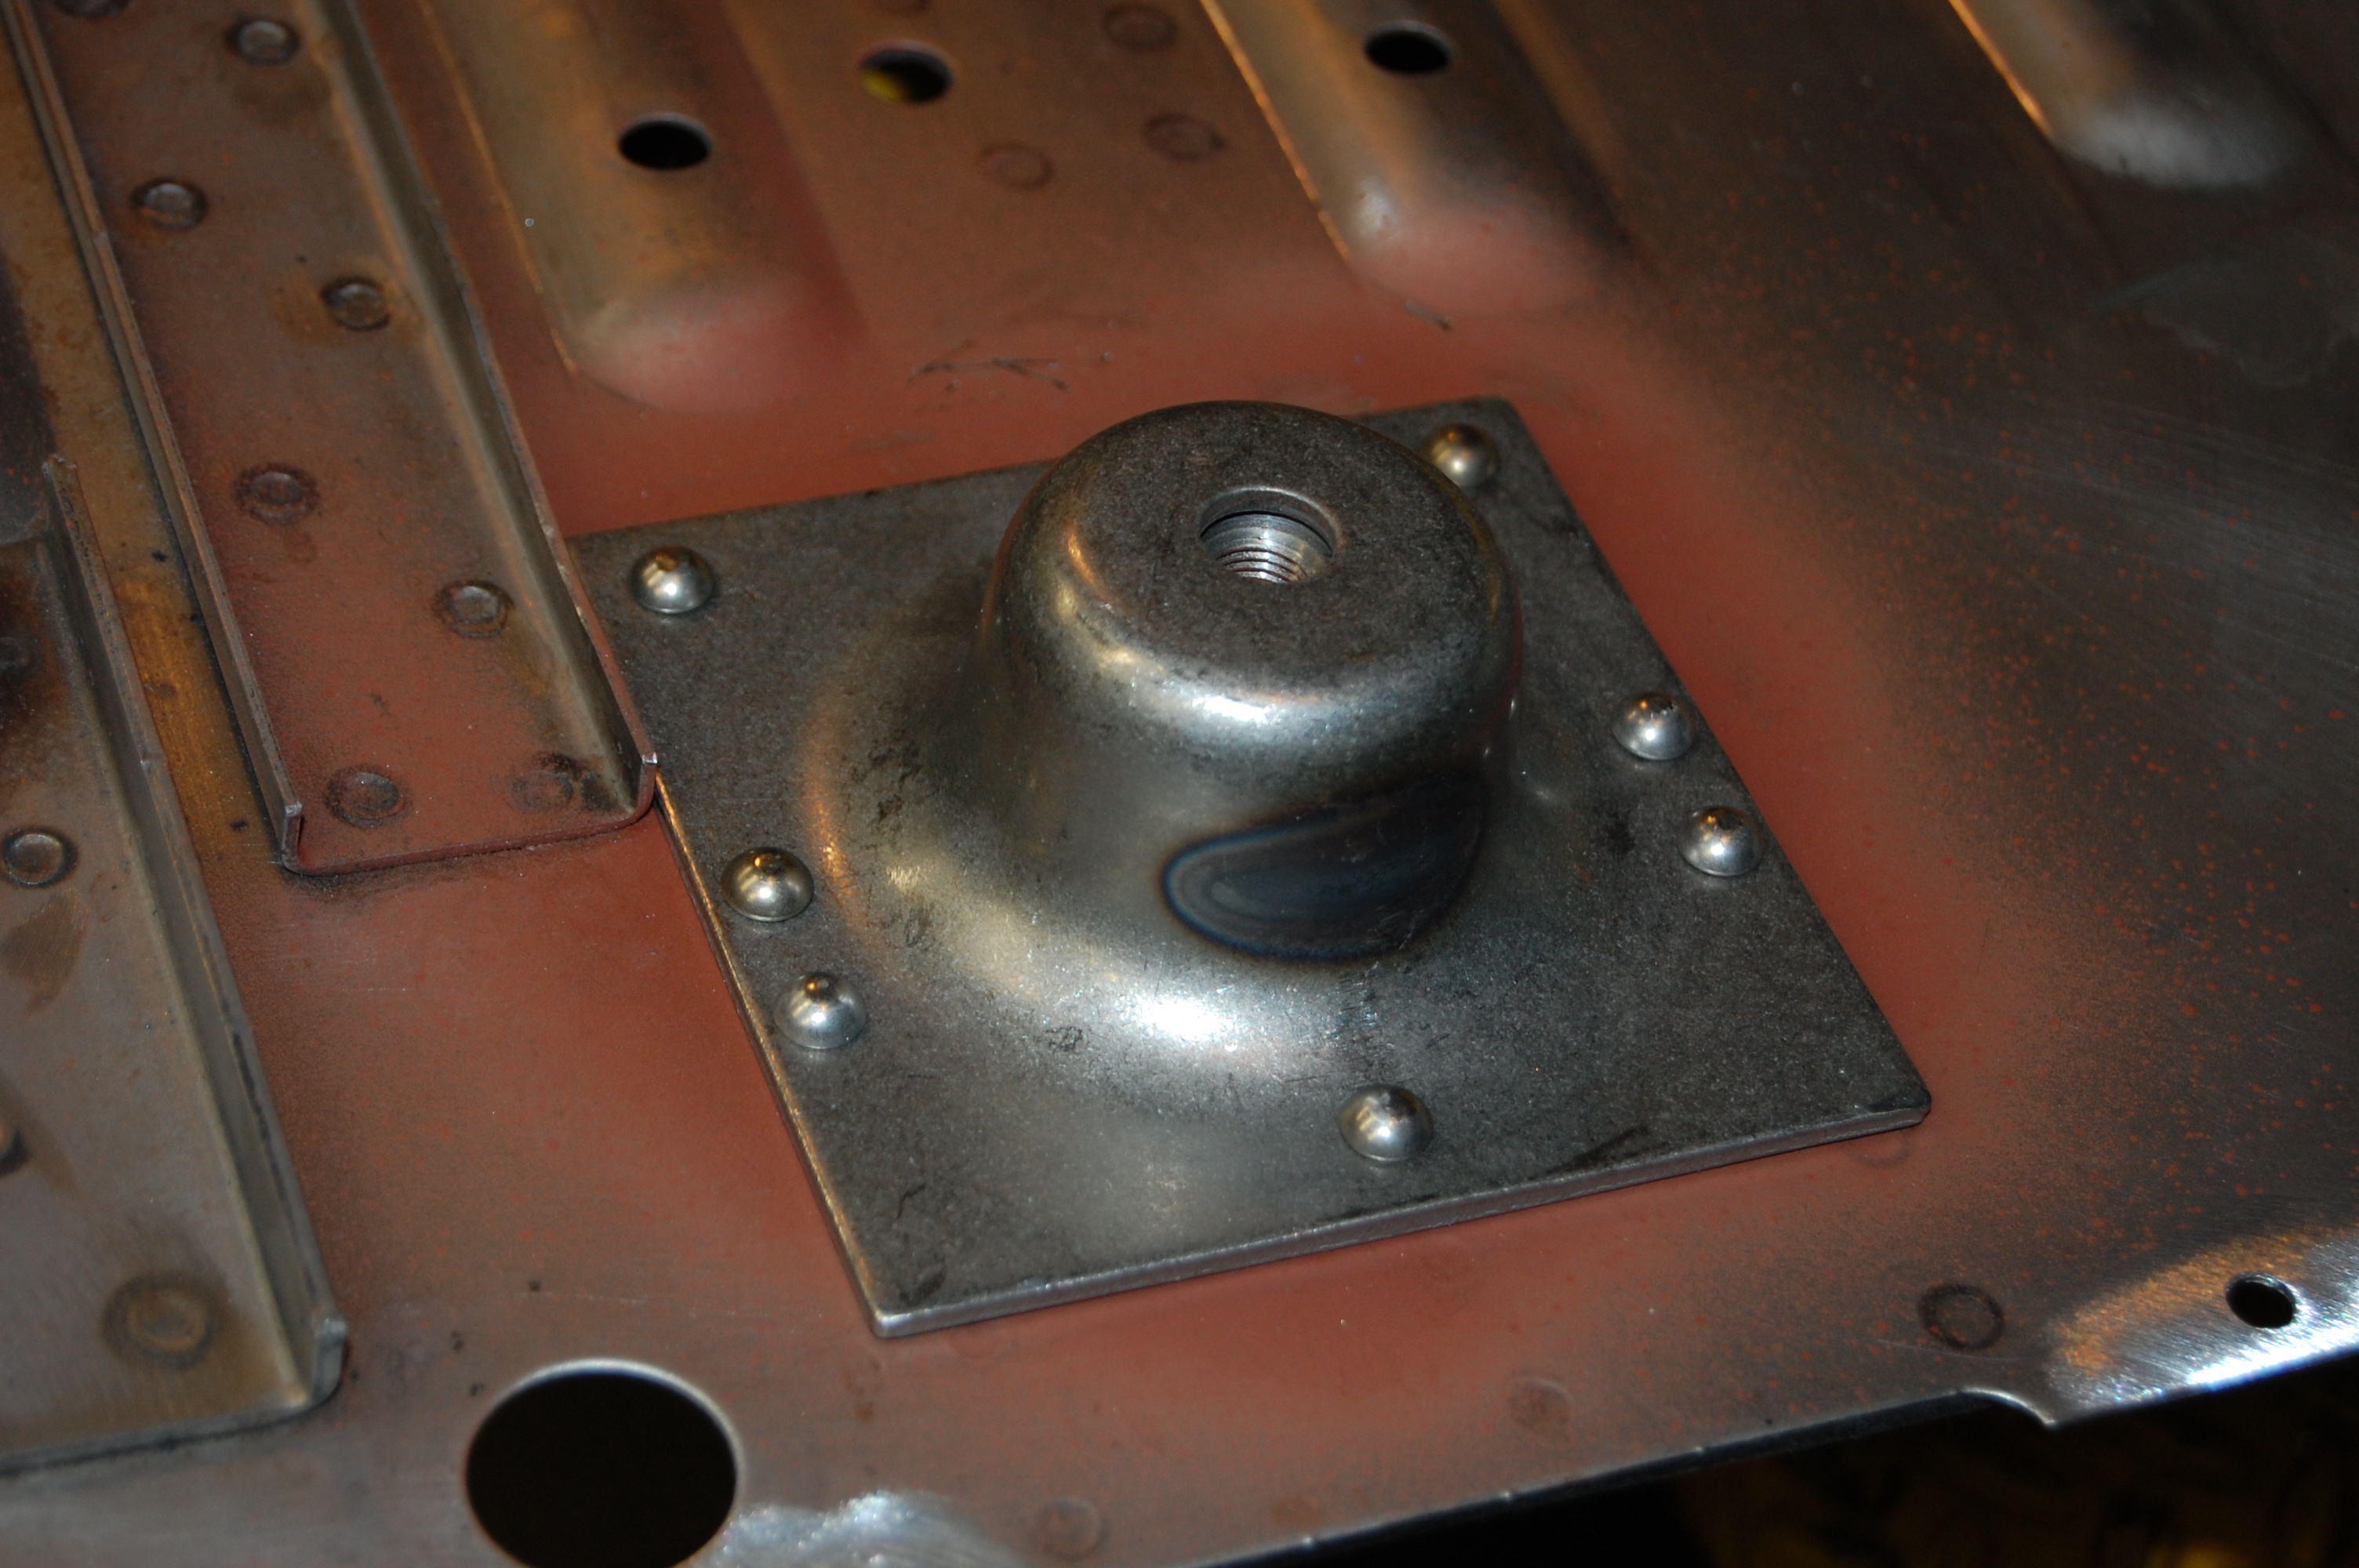
- Here is a new radius cup attached to the floor with our solid rivets – a DEAD RINGER for the originals! The one place that I do change from the factpry is that I put a rivet into all 8 holes. At the factory, they only used one of the two side holes on each side, for a total of 6 rivets. – I think it was for clearance of the flanges on the seat dish panels above to make them siut flat. Screw it – when you have ripped these out of the floor in heavy driving with high HP, 8 is better!
-
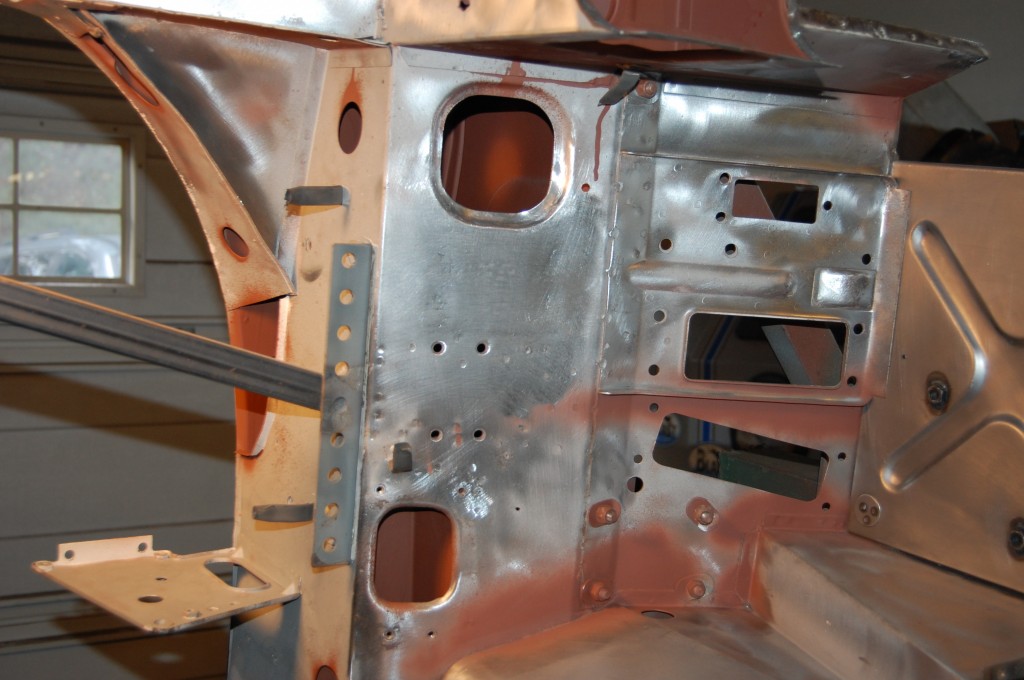
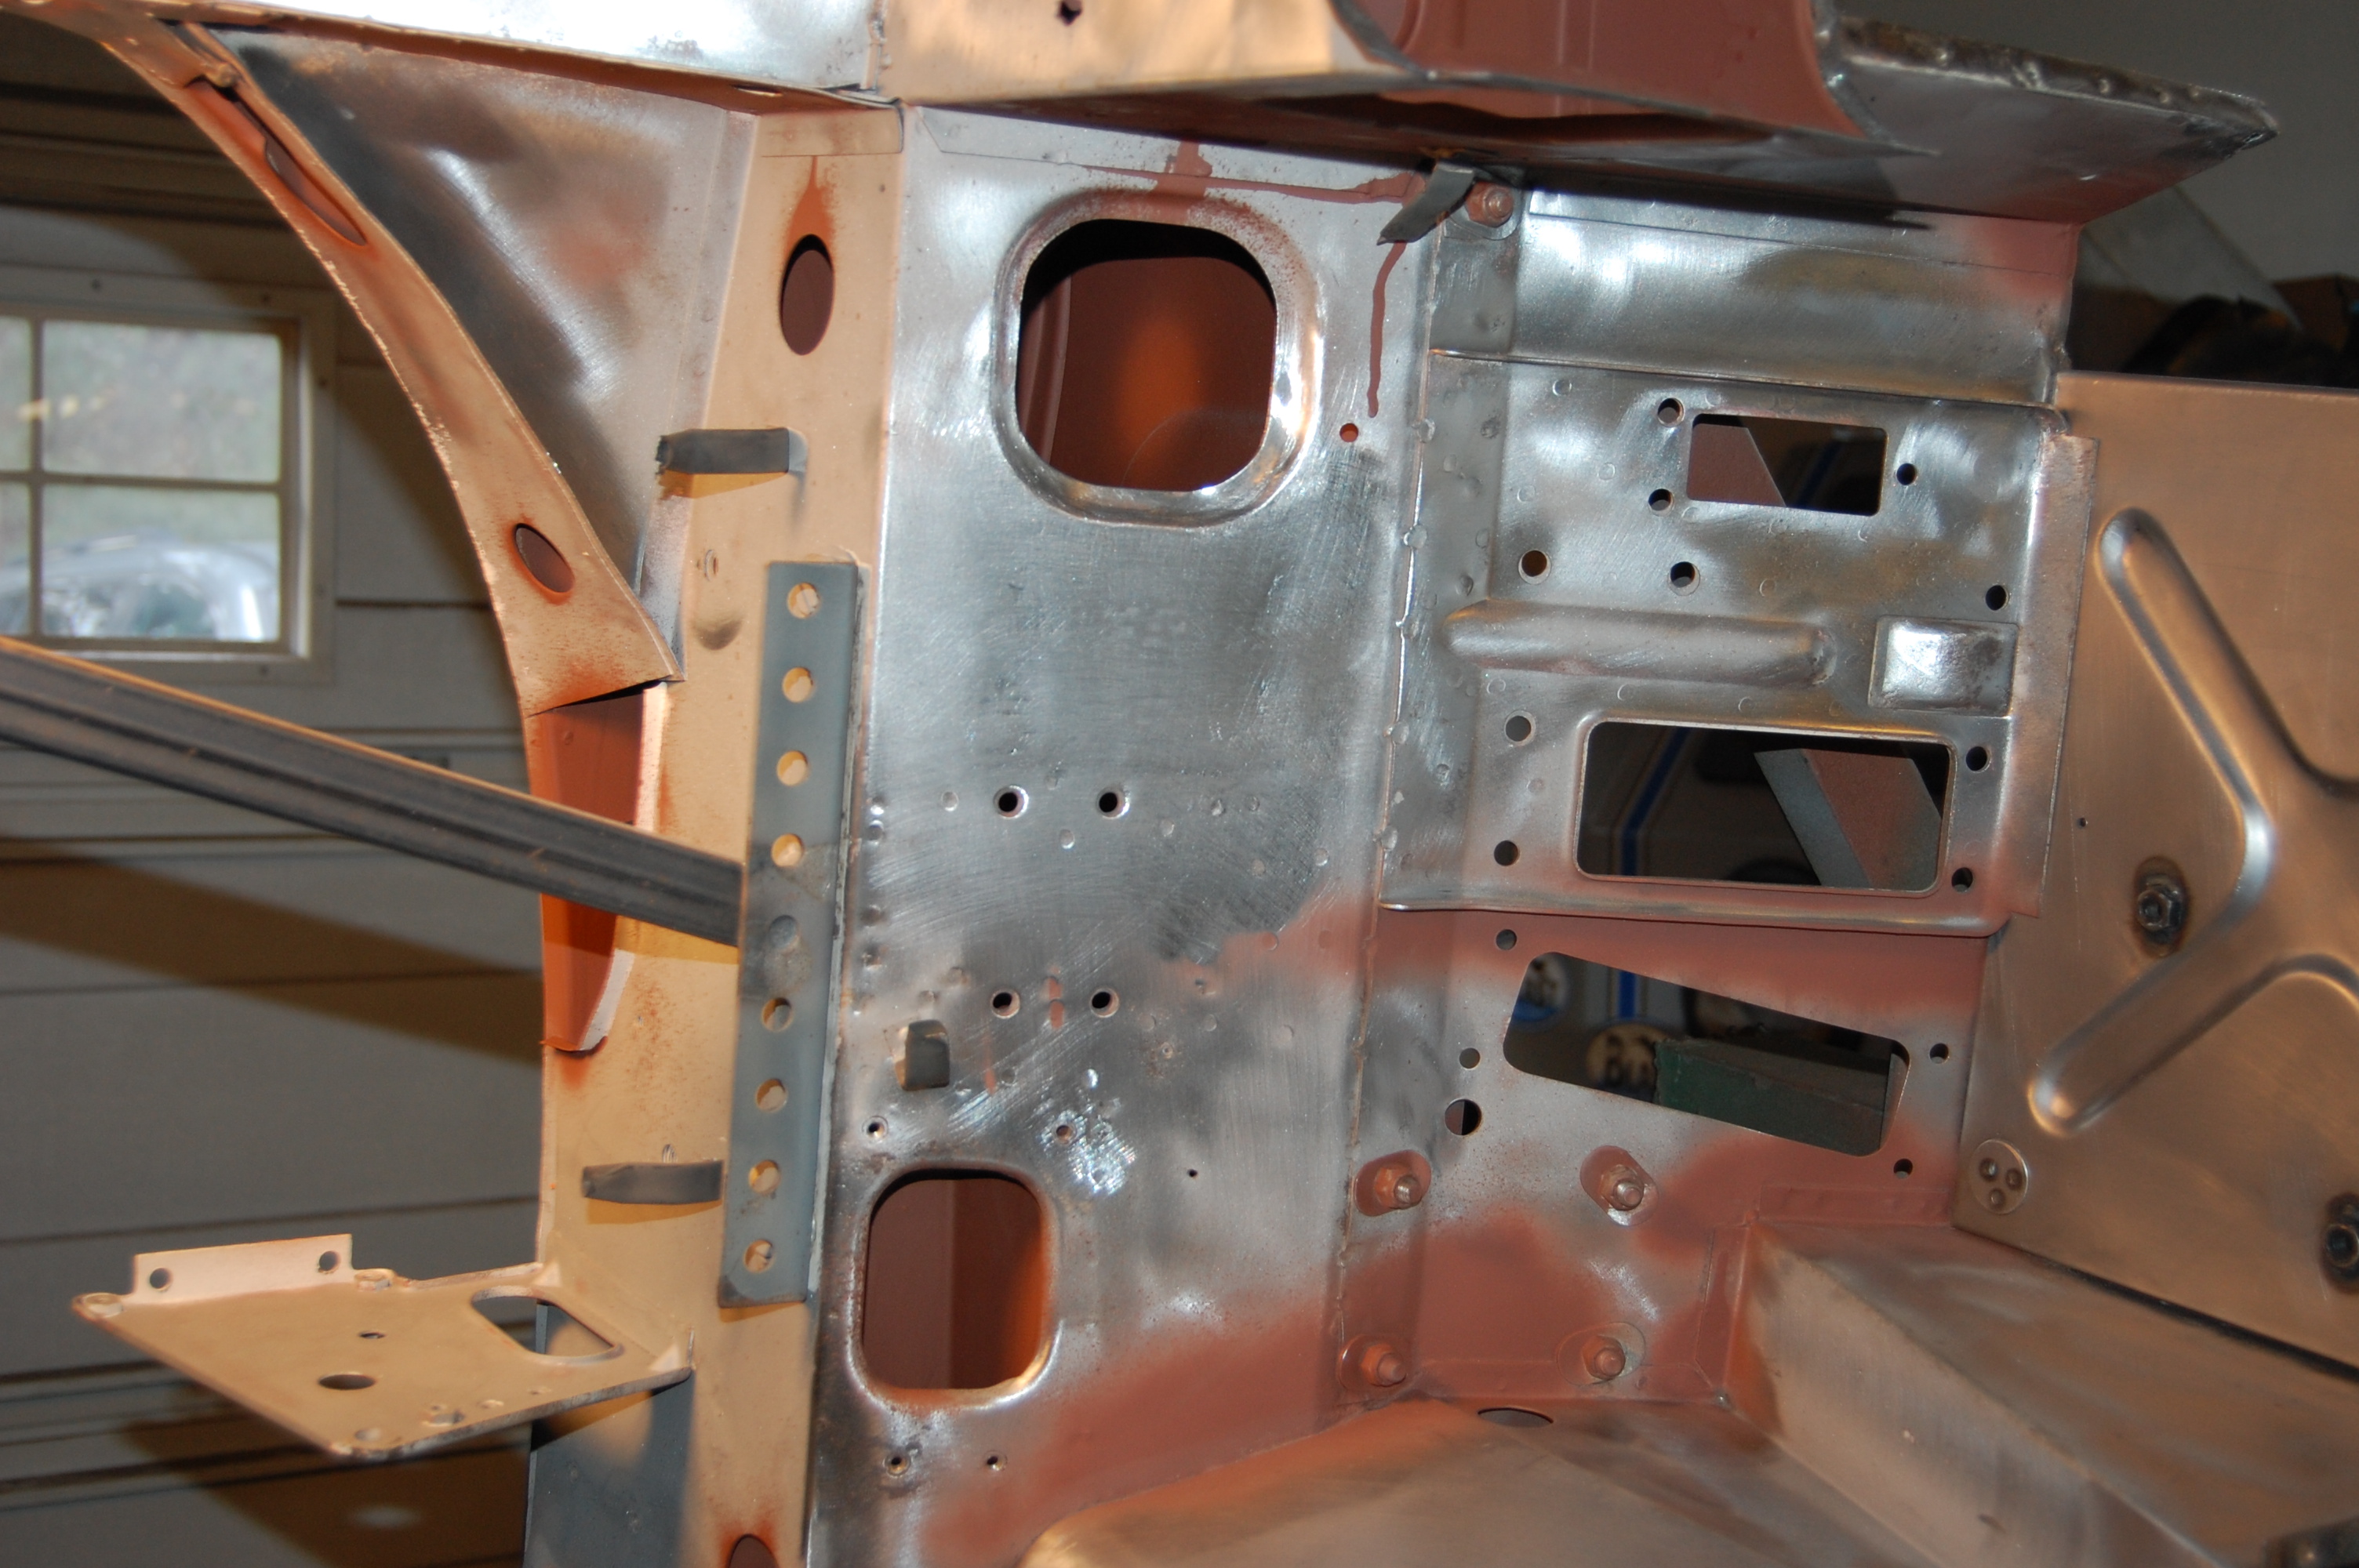
- Before we re-atach the floor and sill asemblies, we make any necessary repairs to the lower areas of the forward bulkhead. Several of the 10/32 screws holding the heater flaps on were wrung off during the disassembly – it’s common and unavoidable… All of these wrung off bolts were drilled out, and EVERY SINGLE THREADED HOLE in the forward bulkhead is chased with the proper tap.
-
- More broken machine screws on this heater flap hole and the radio console mount.

-

- And then we have this… This may have been the start of an attempt to put air-conditioning into this car, who knows… This isn’t going to hurt anything, and is going to be COMPLETELY covered up with a piece of interior carpeting that get glued in above the RH passenger’s feet, so we don’t NEED to do anything here. But…
-
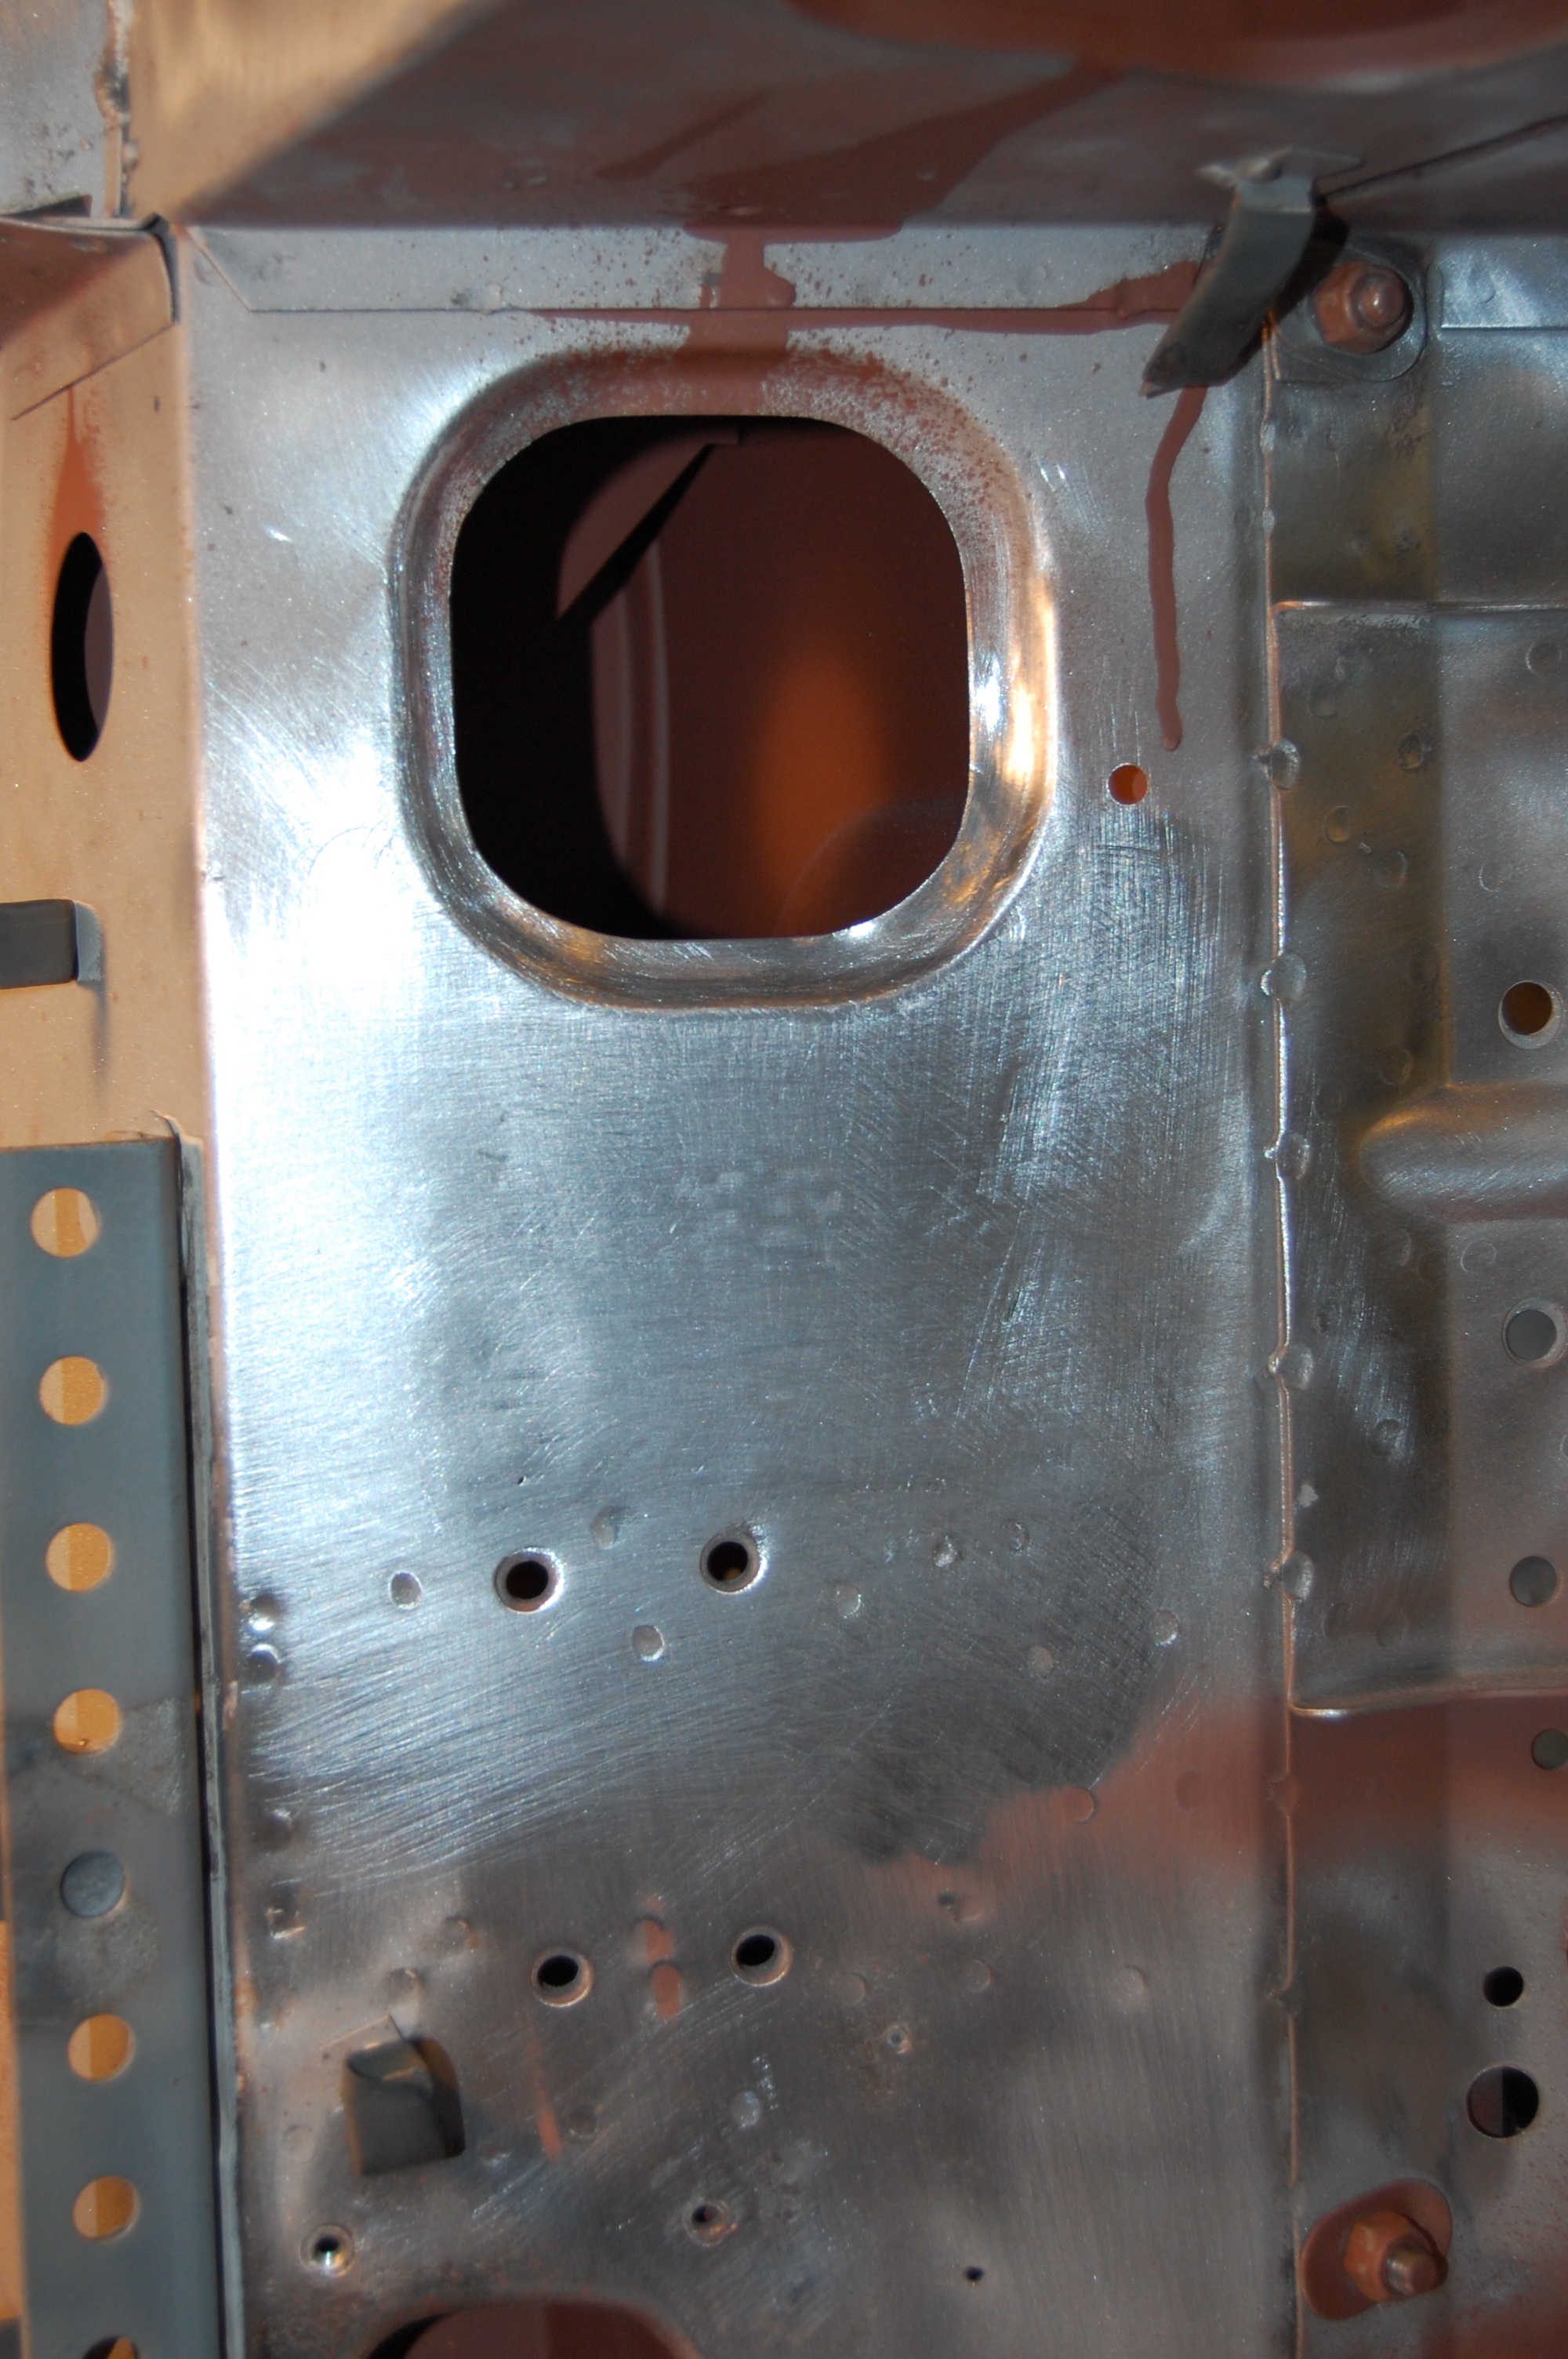
- …it’s the 43RD LHD COUPE! And I just couldn’t help myself… So I cut that flap out entirely, hammer and dollied it and smoothed it in a reciprocating machine, and the re-welded it into place – VERY carefully so as not to warp it at all! I was SO worried about warpage in this case, that I skipped the continues stitch with the TIG, and just did a series of quick little tacks with the MIG – which only worked because this was heavy steel in this location. The TIG would have been fine, I think there may have been an elemnt of not feeling like getting it out for such a small weld, and it would have been completely vertical as well…

-

- And then I spent over an hour carefully grinding down the weld and literally “sculpting” the repair. This was TOTAL overkill, but I am on a mission to make this shell 100% correct, and at the same time, BETTER than when it left the factory in 1961!
-
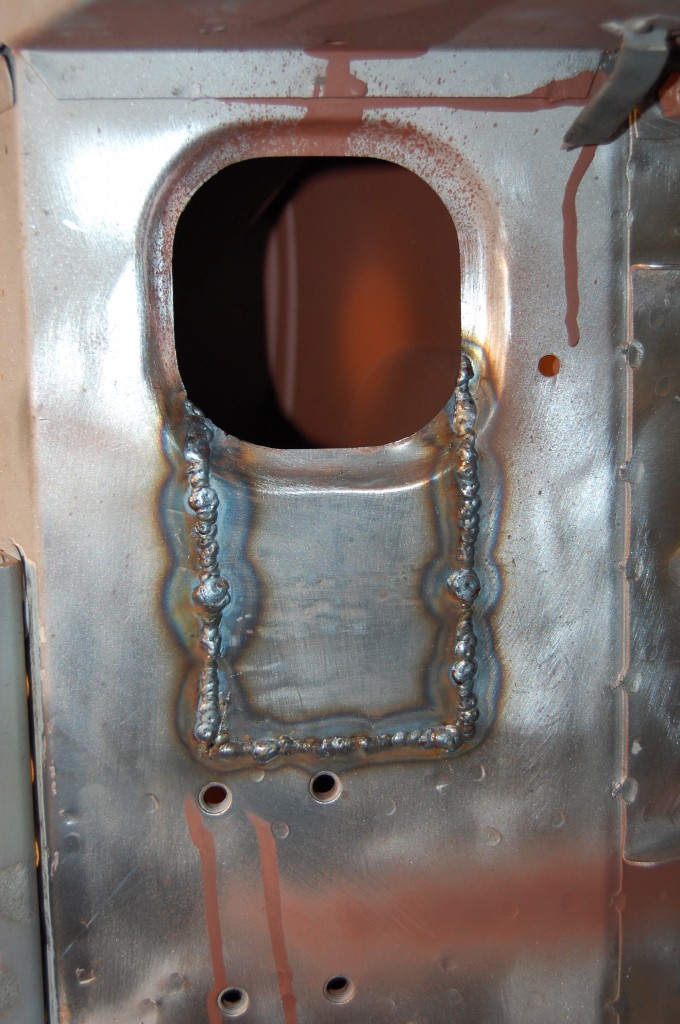
- OH YEAH BABY – GET SOME OF THAT! I am mentally disturbed…
-
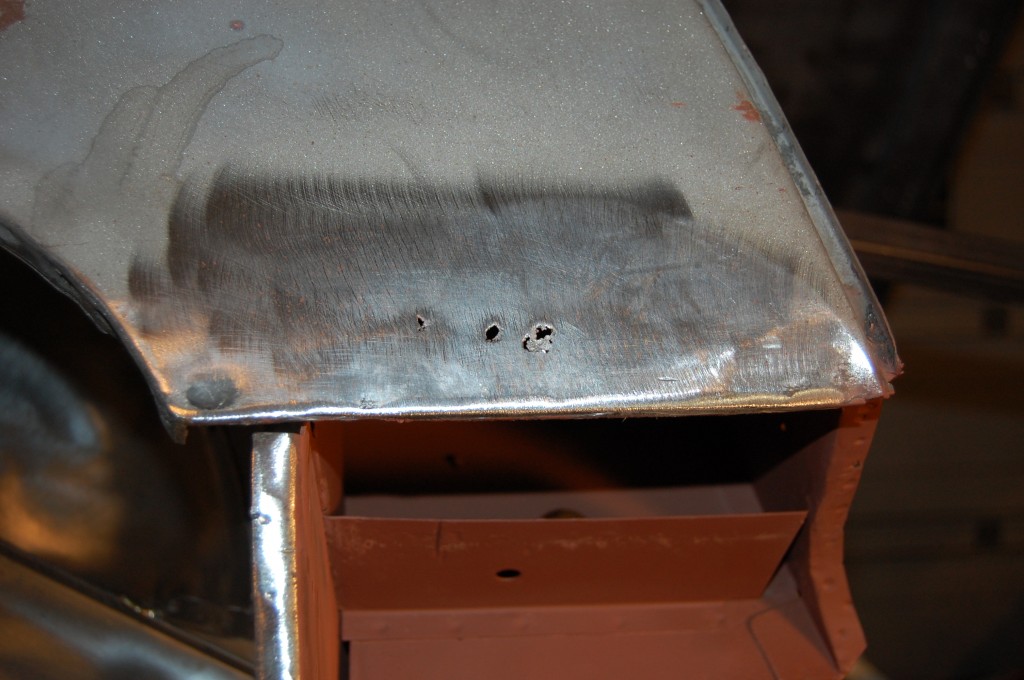
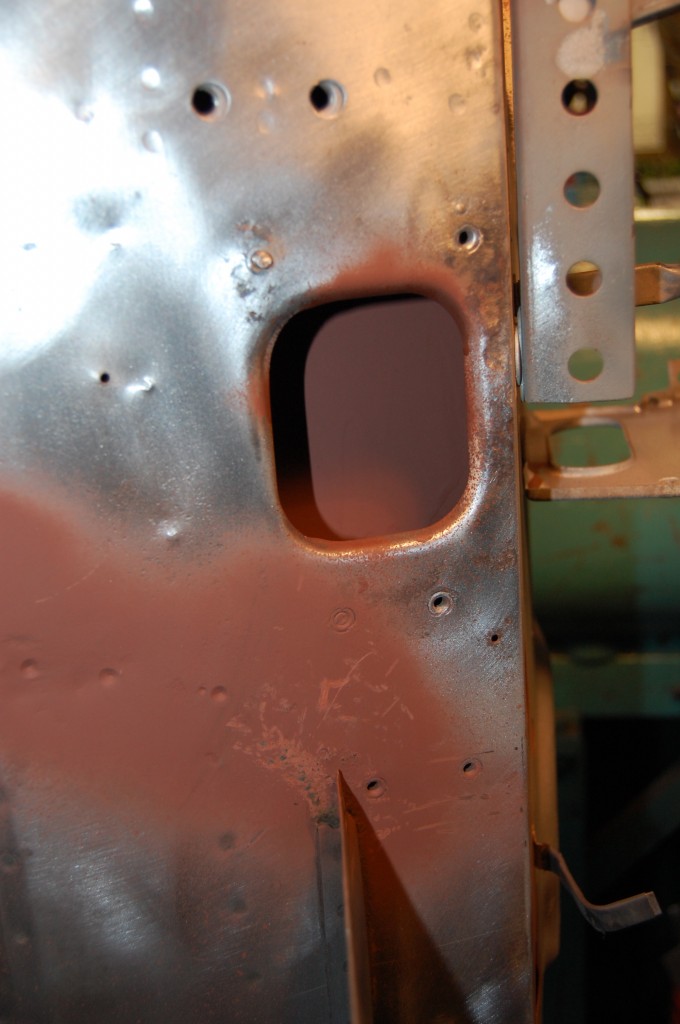
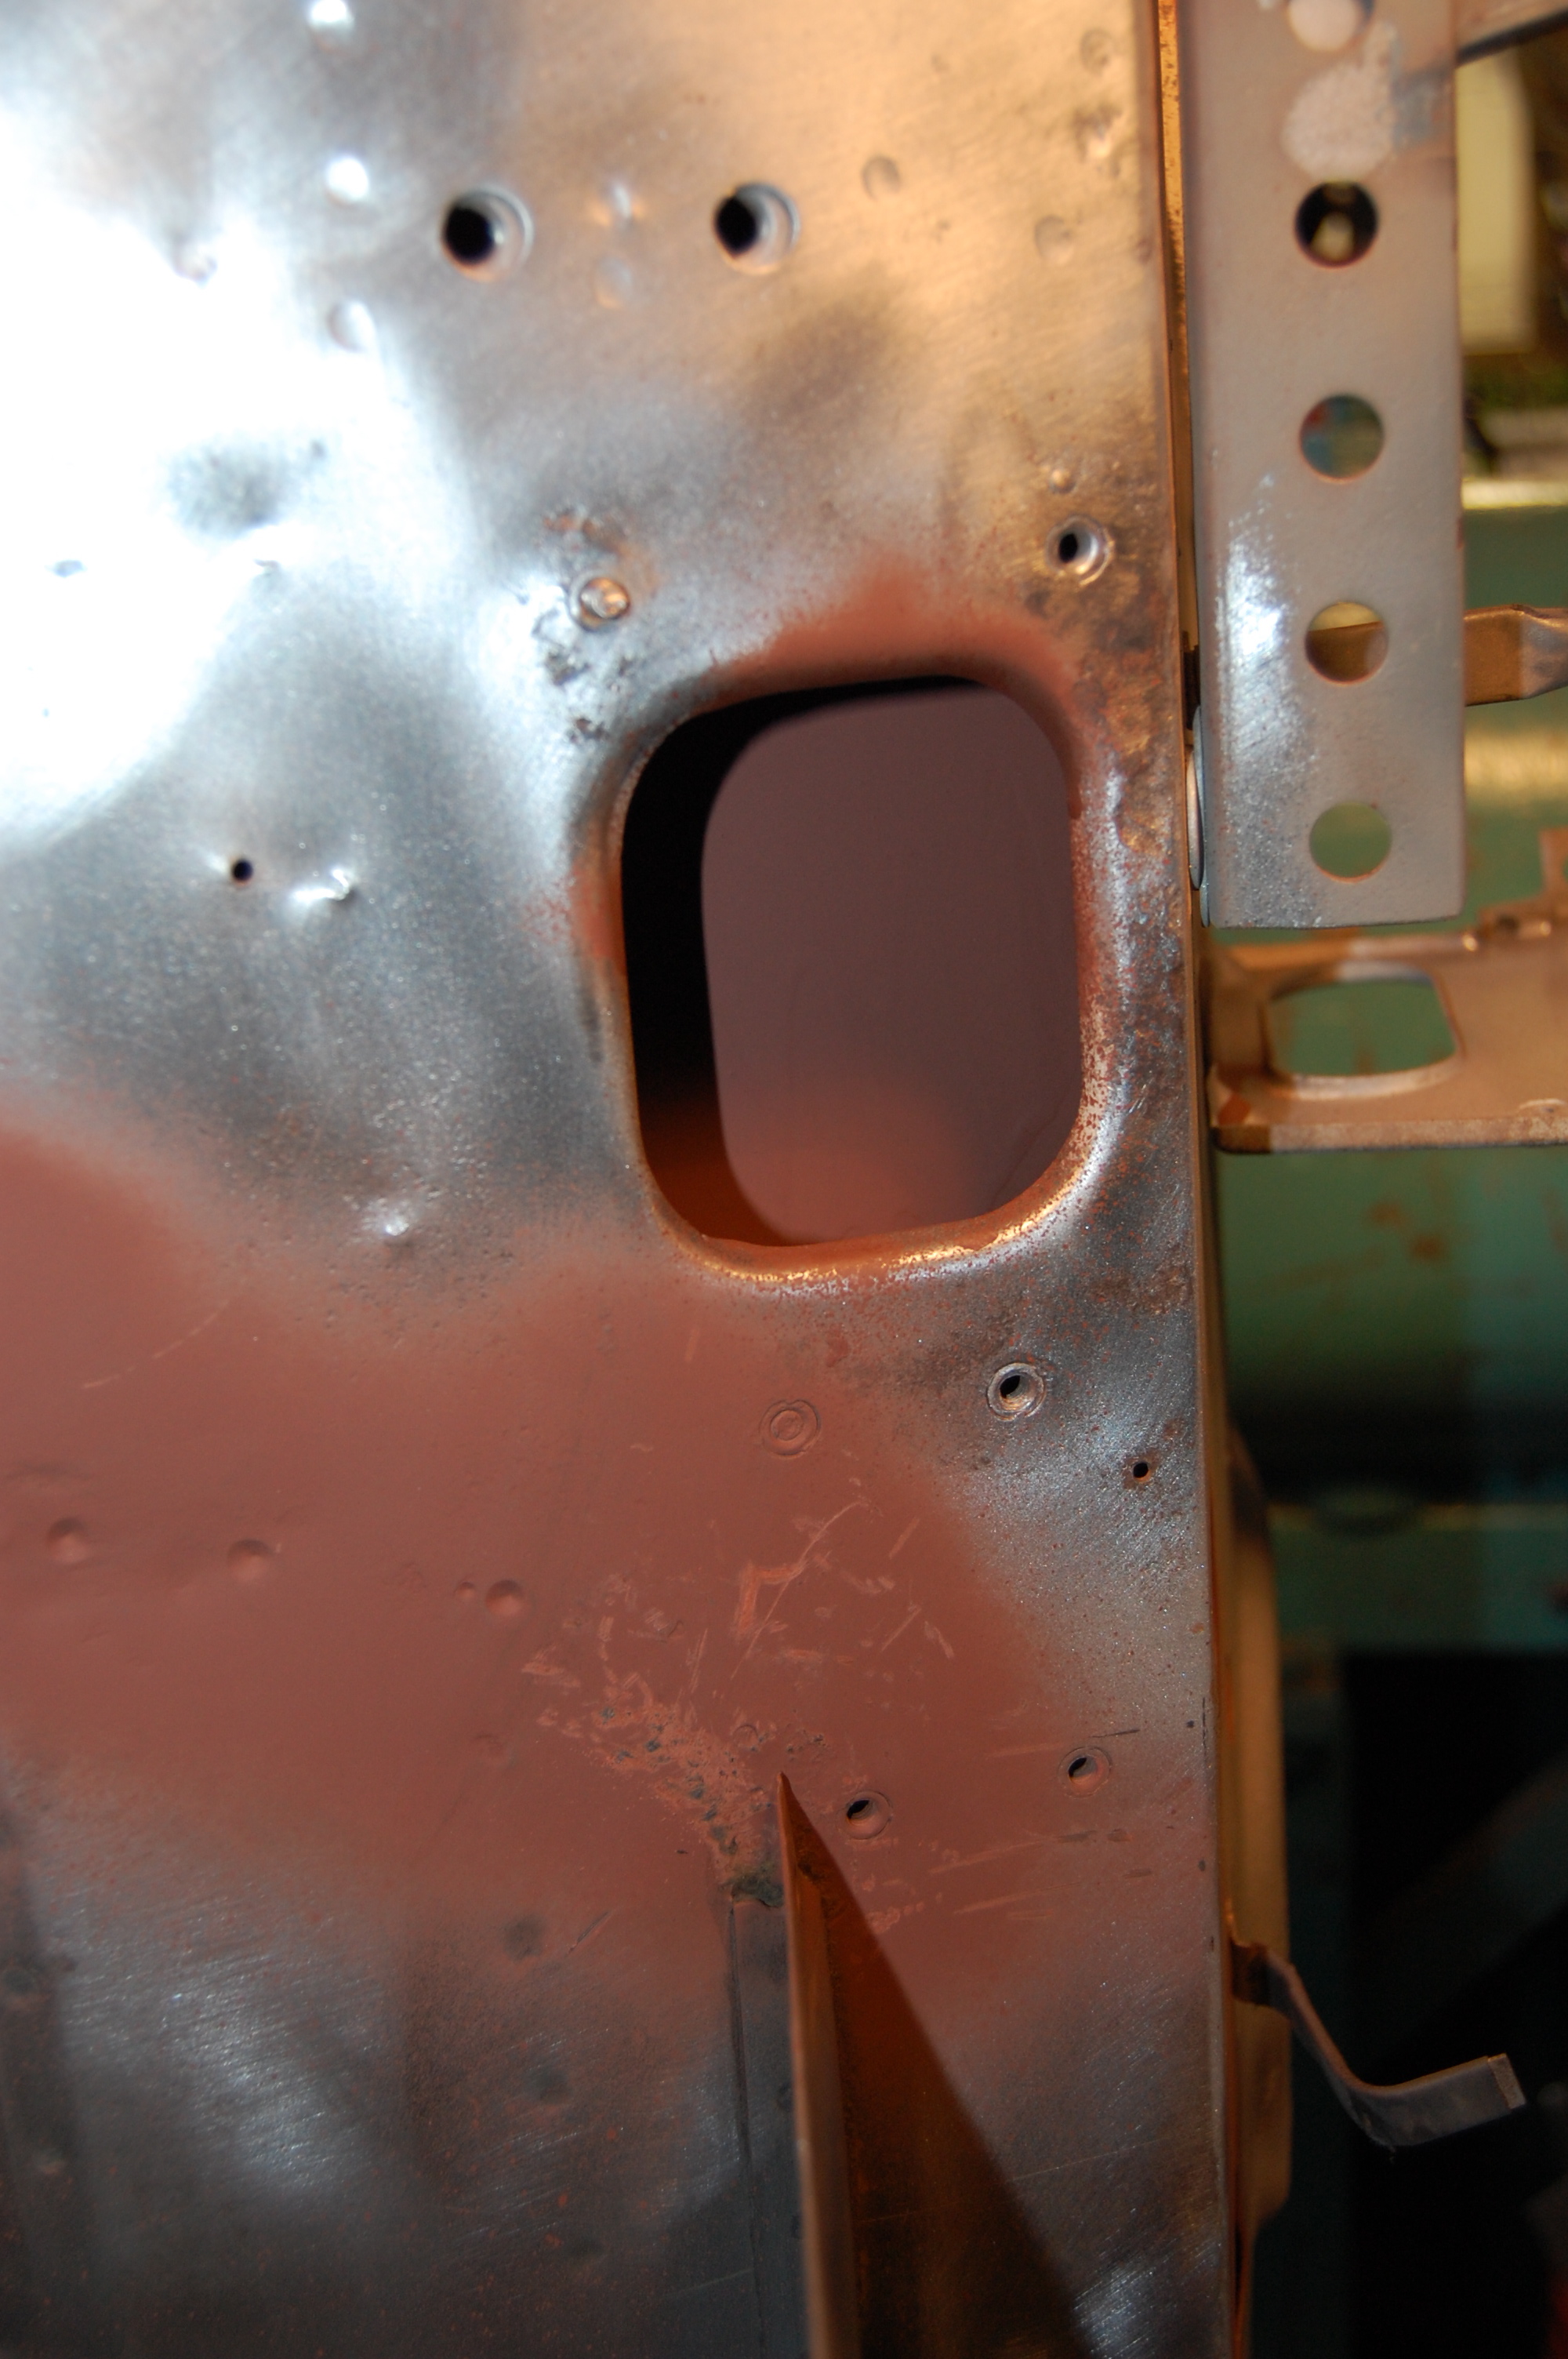
- Hmmmm… This is one of those judgement calls – do you cut out this section and replace, or try to weld up the holes with a TIG? The metal in and around here is bound to be pitted heavily on the backside, but it is also stripped bare and well coated with red oxed, so we are not goping to run the risk of it getting worse. Whatever we do, we need to do it before we put the inner sills back in…

-
- I was able to weld up the holes satisfactorily, and able to keep the factory edge of the rear wing in the process – what I was really after. Now the floors have been fitted back into place for final welding in.
-
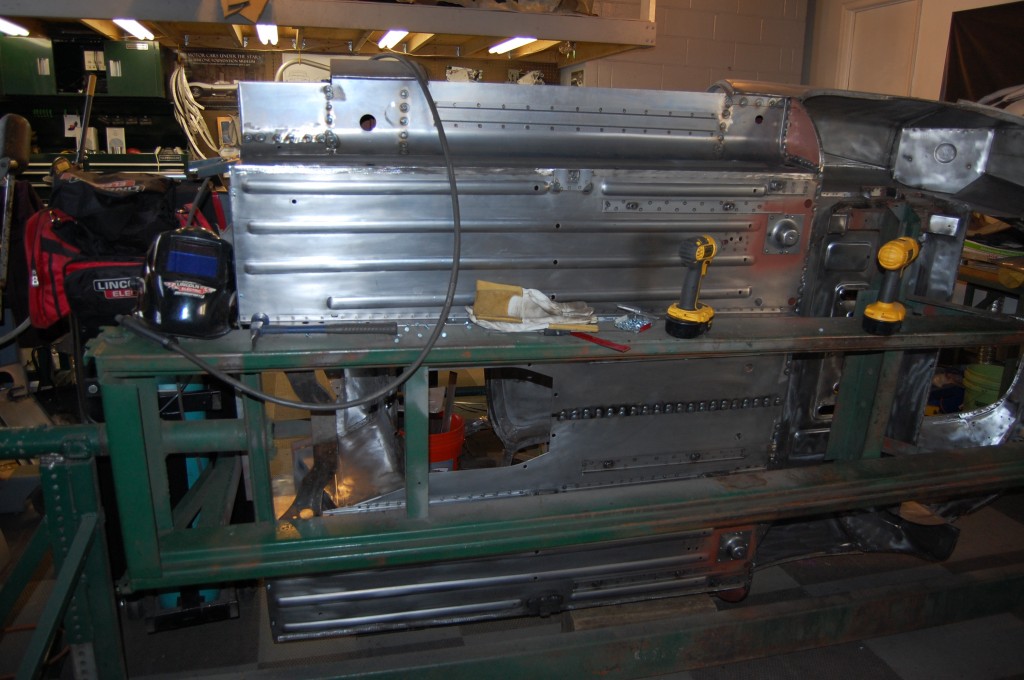
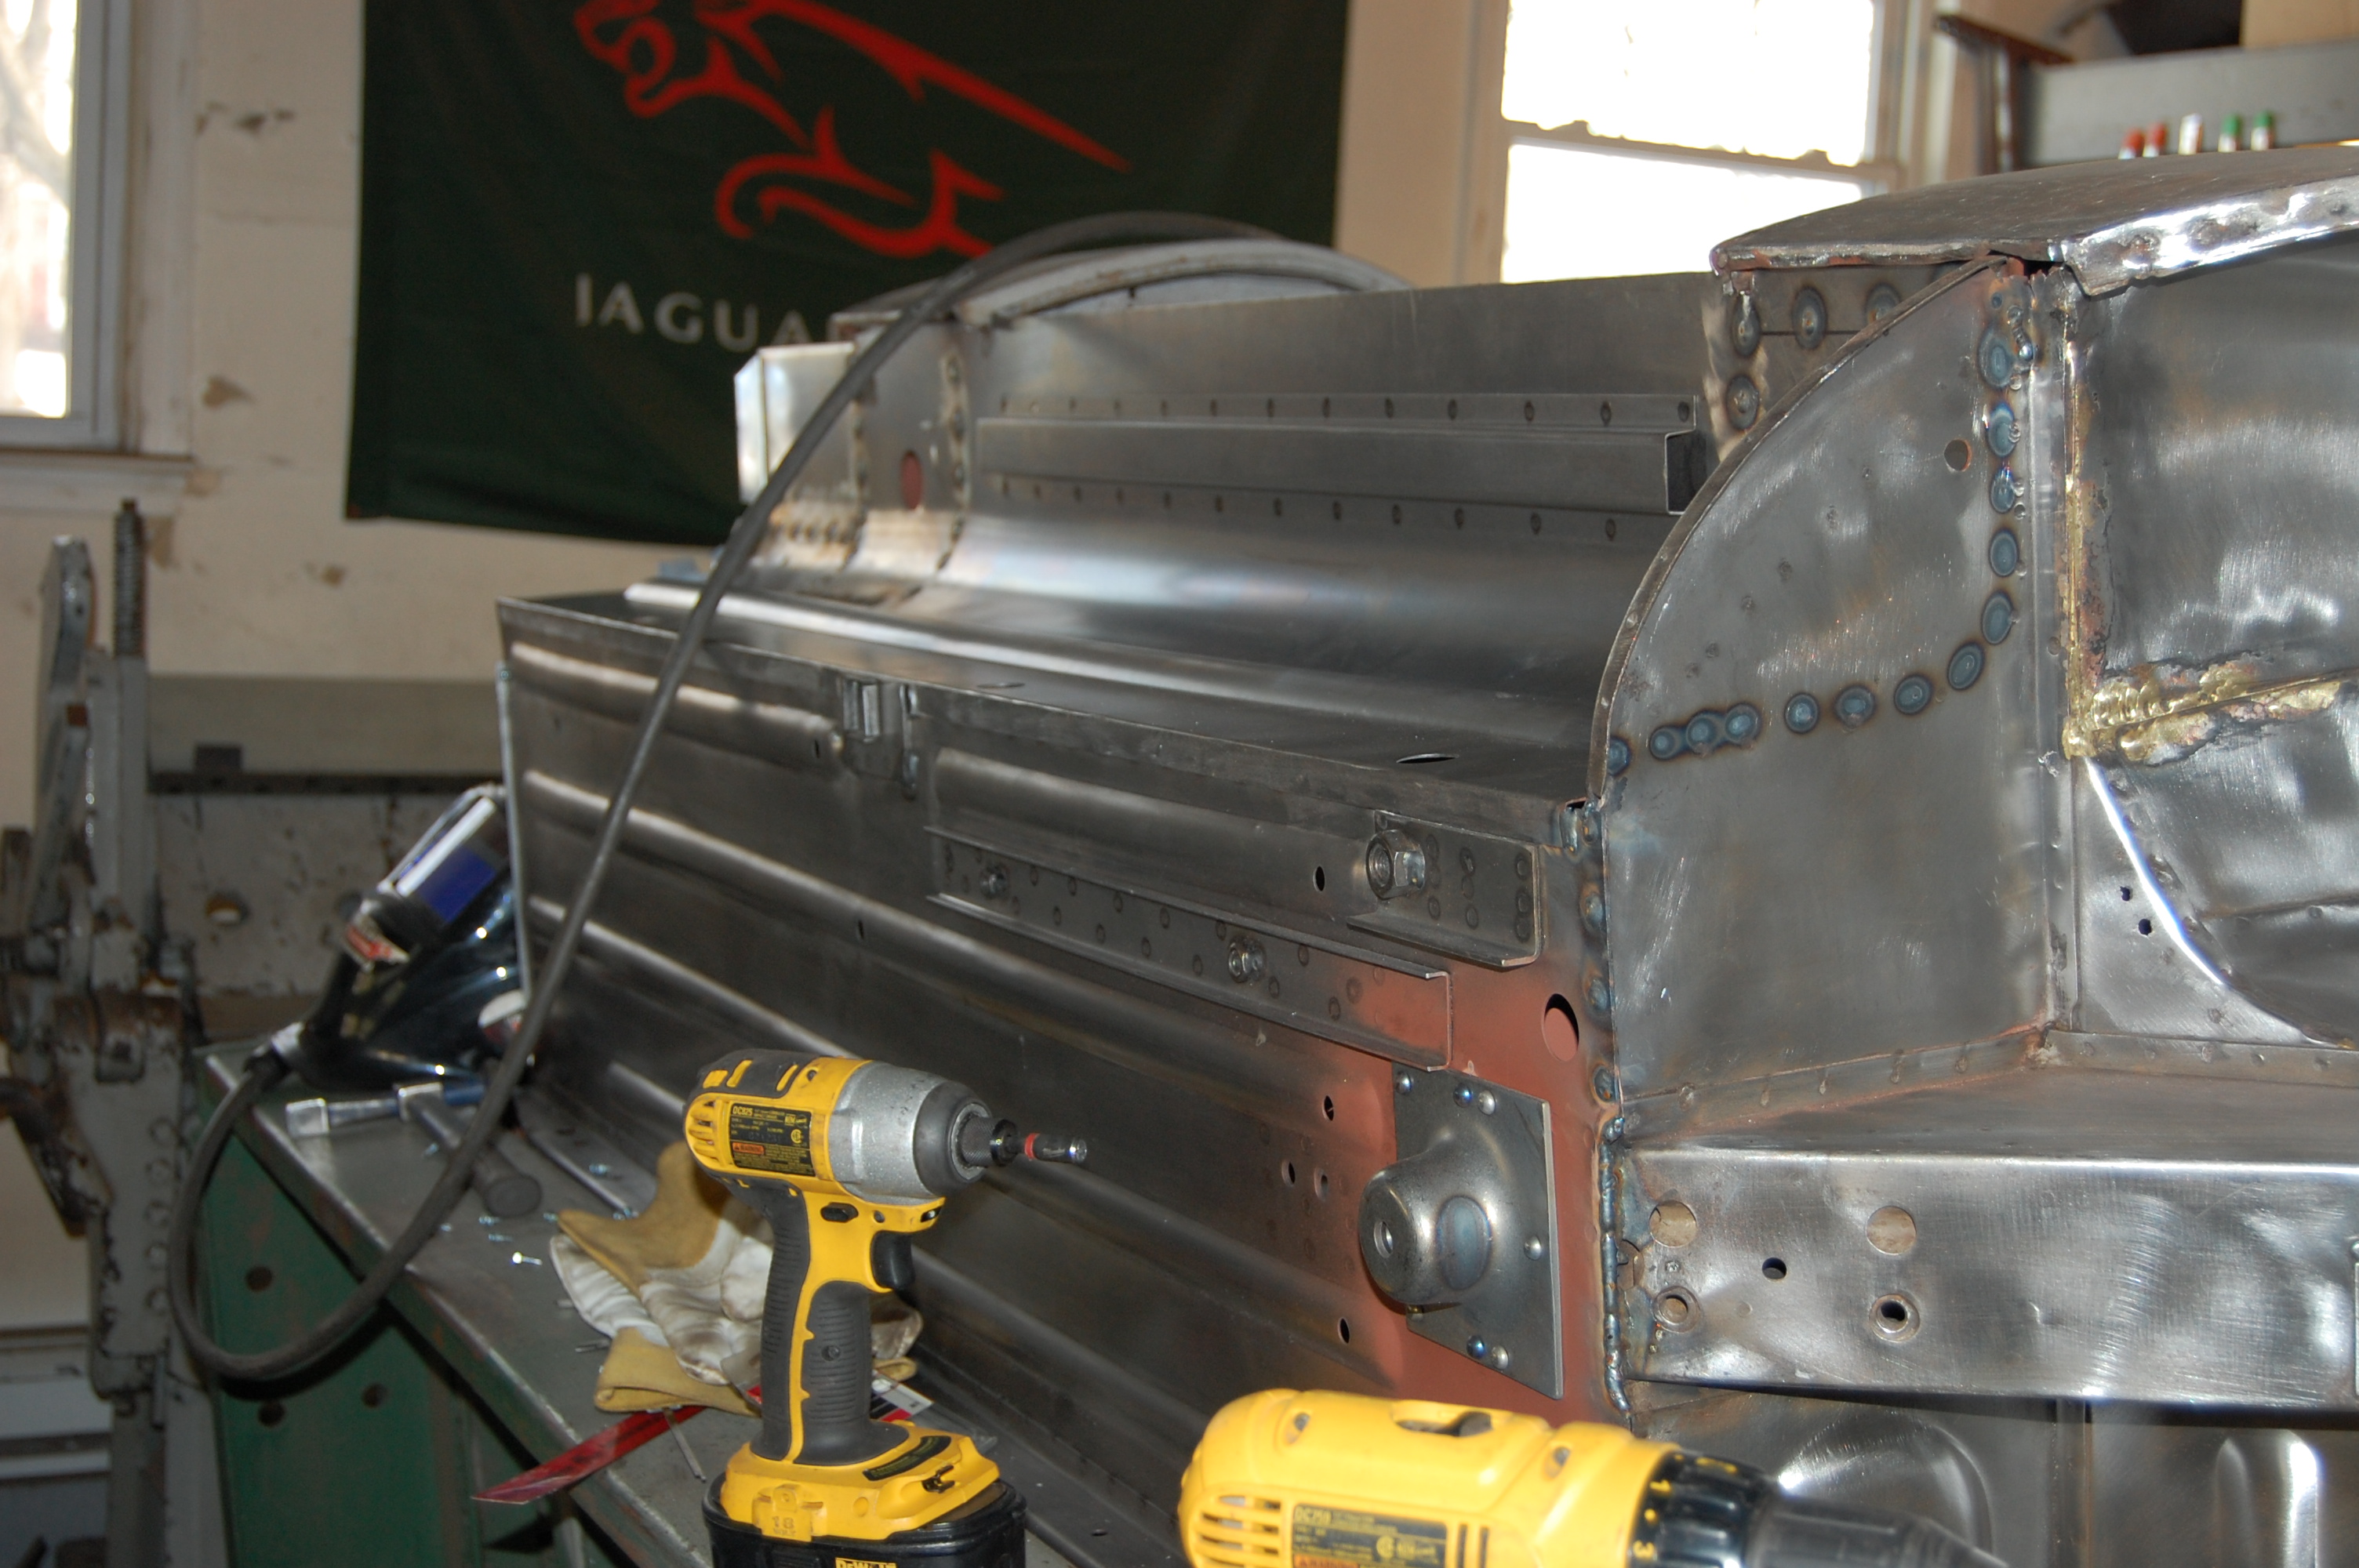
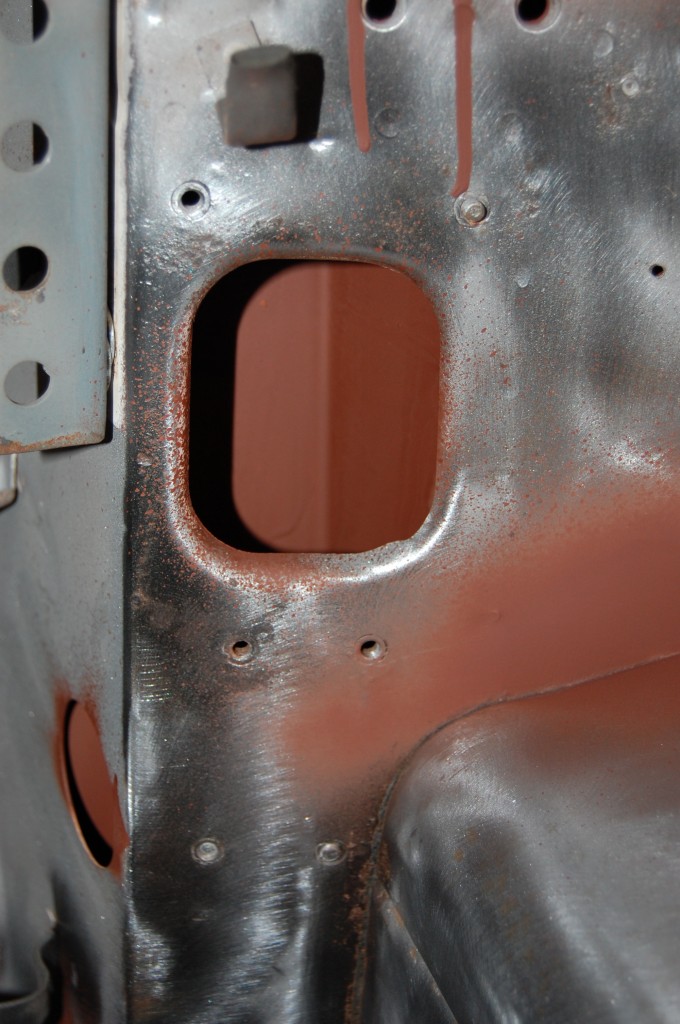
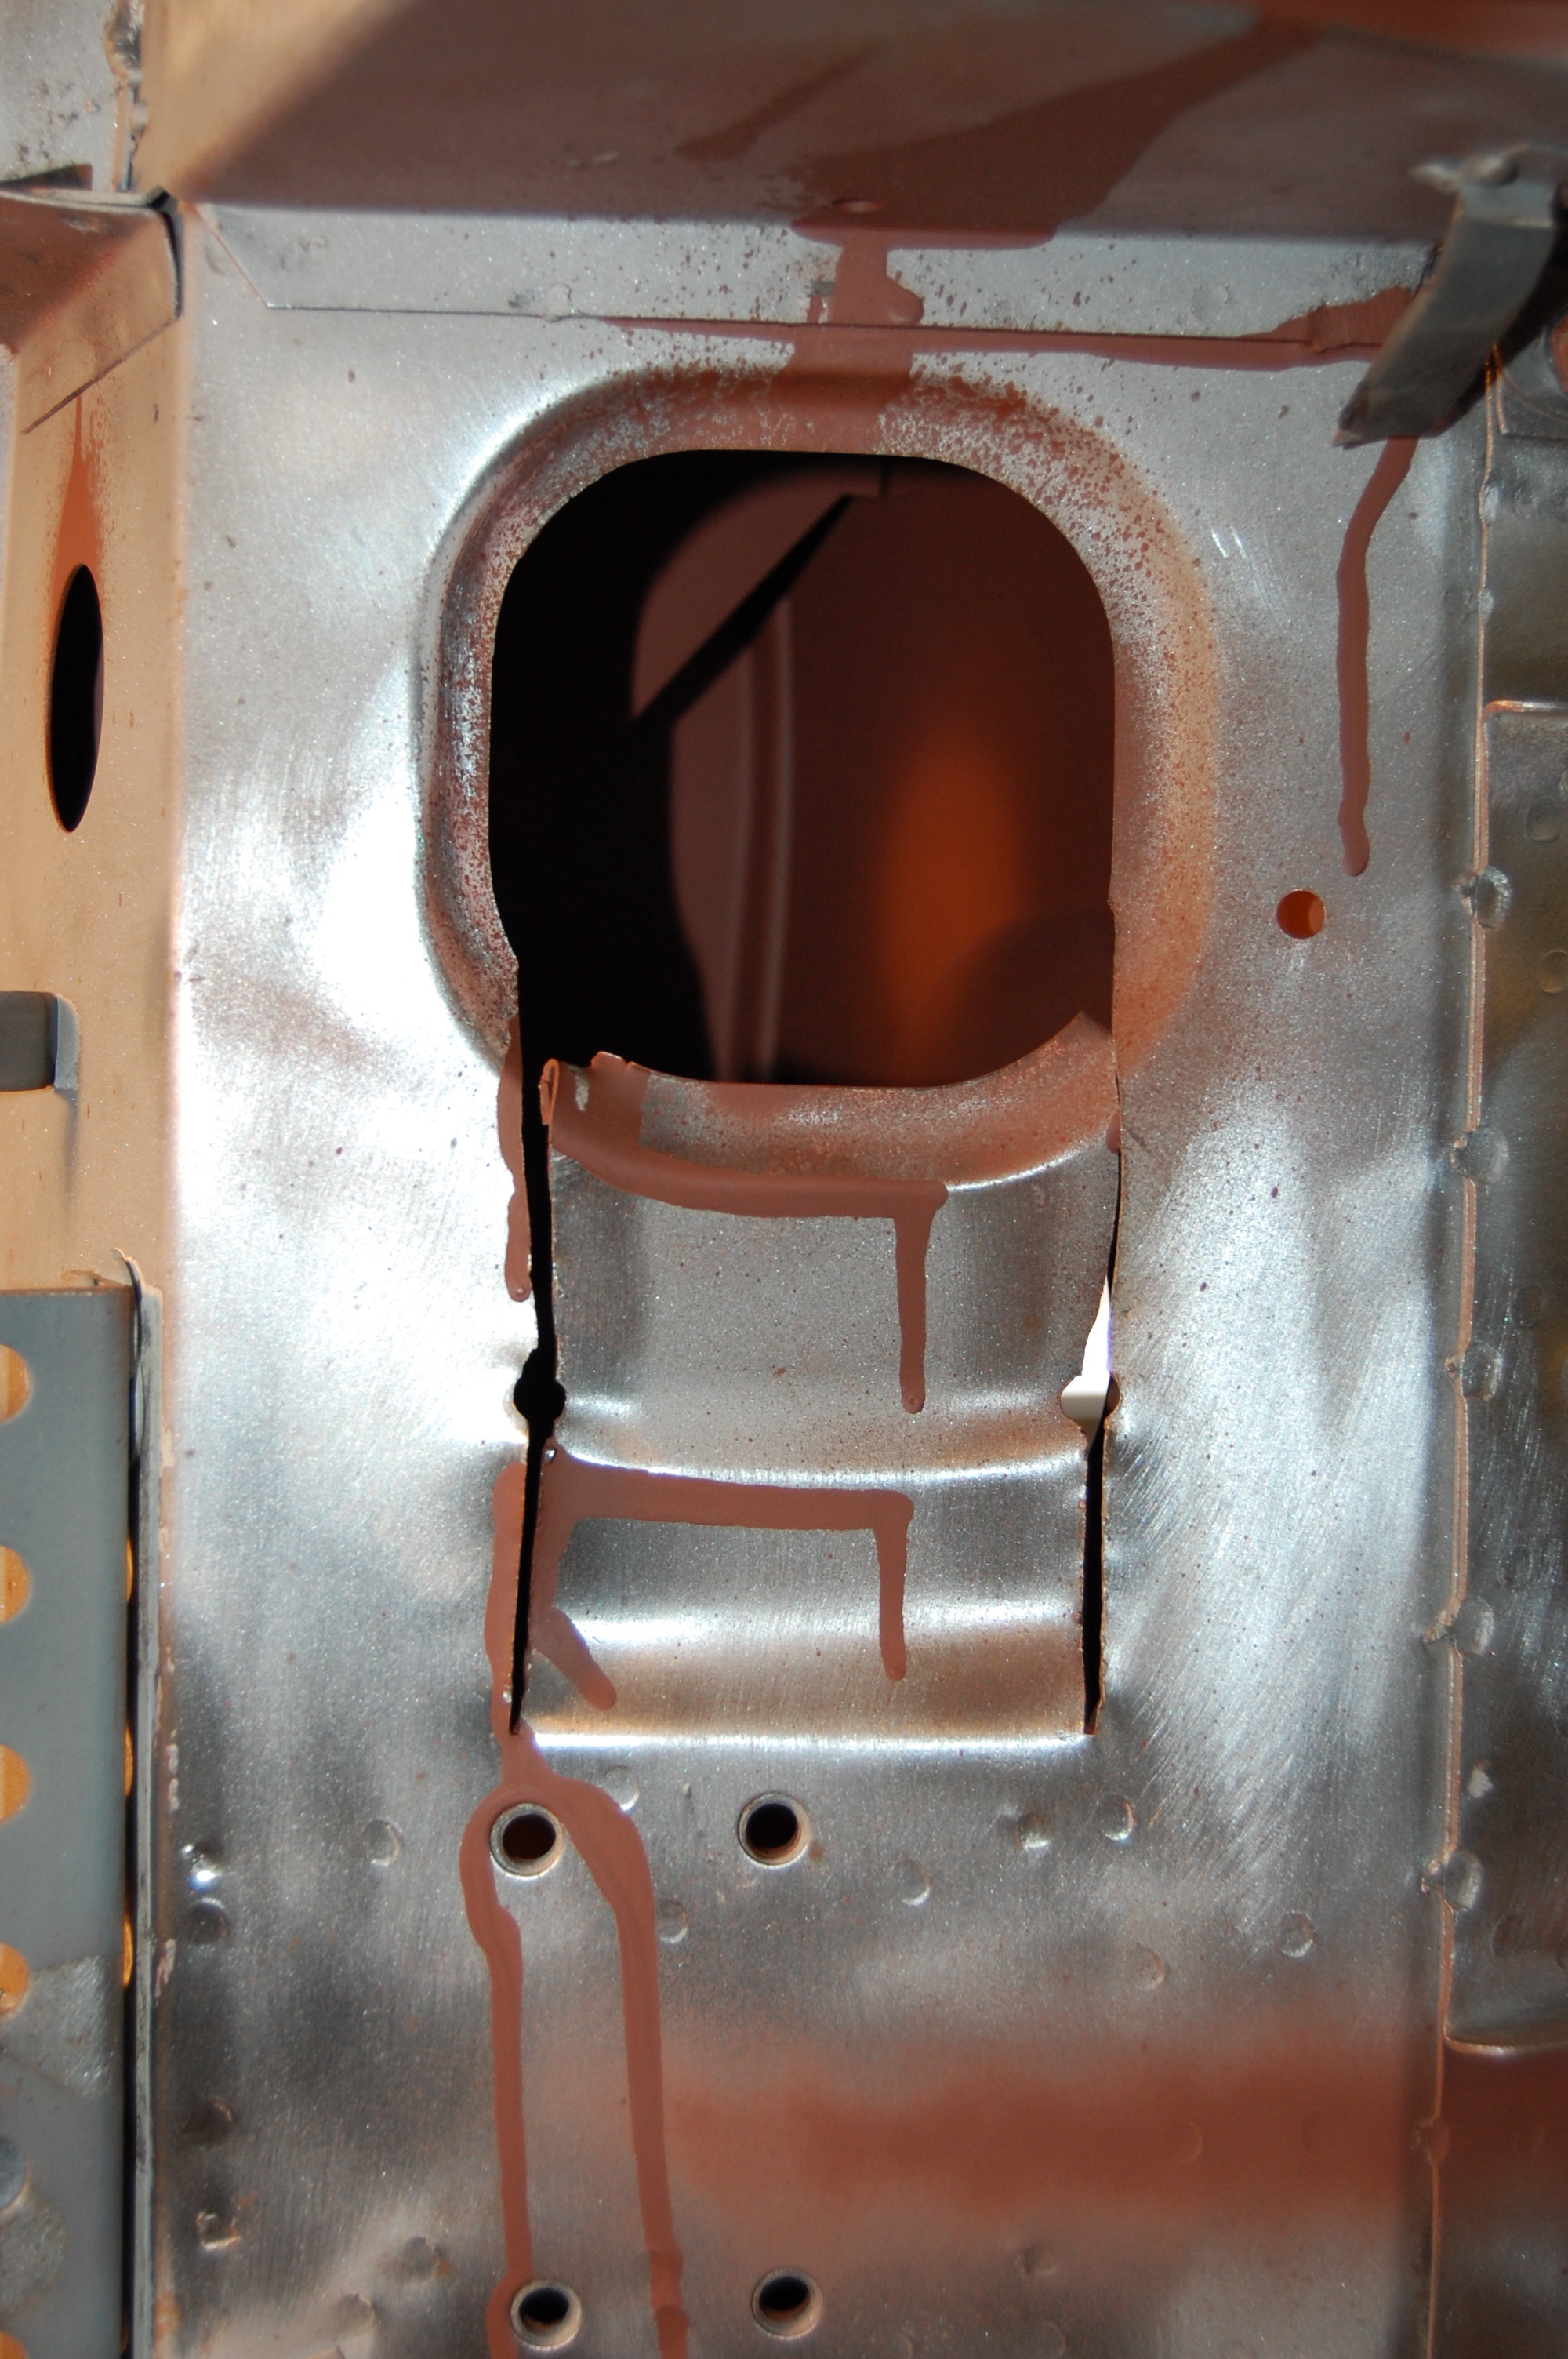
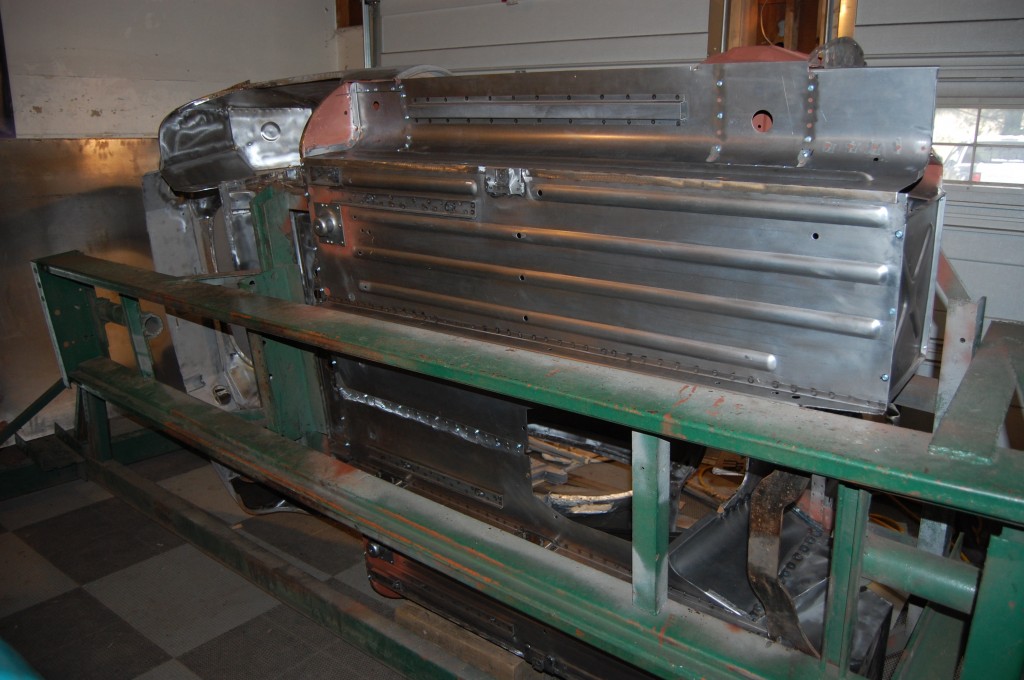
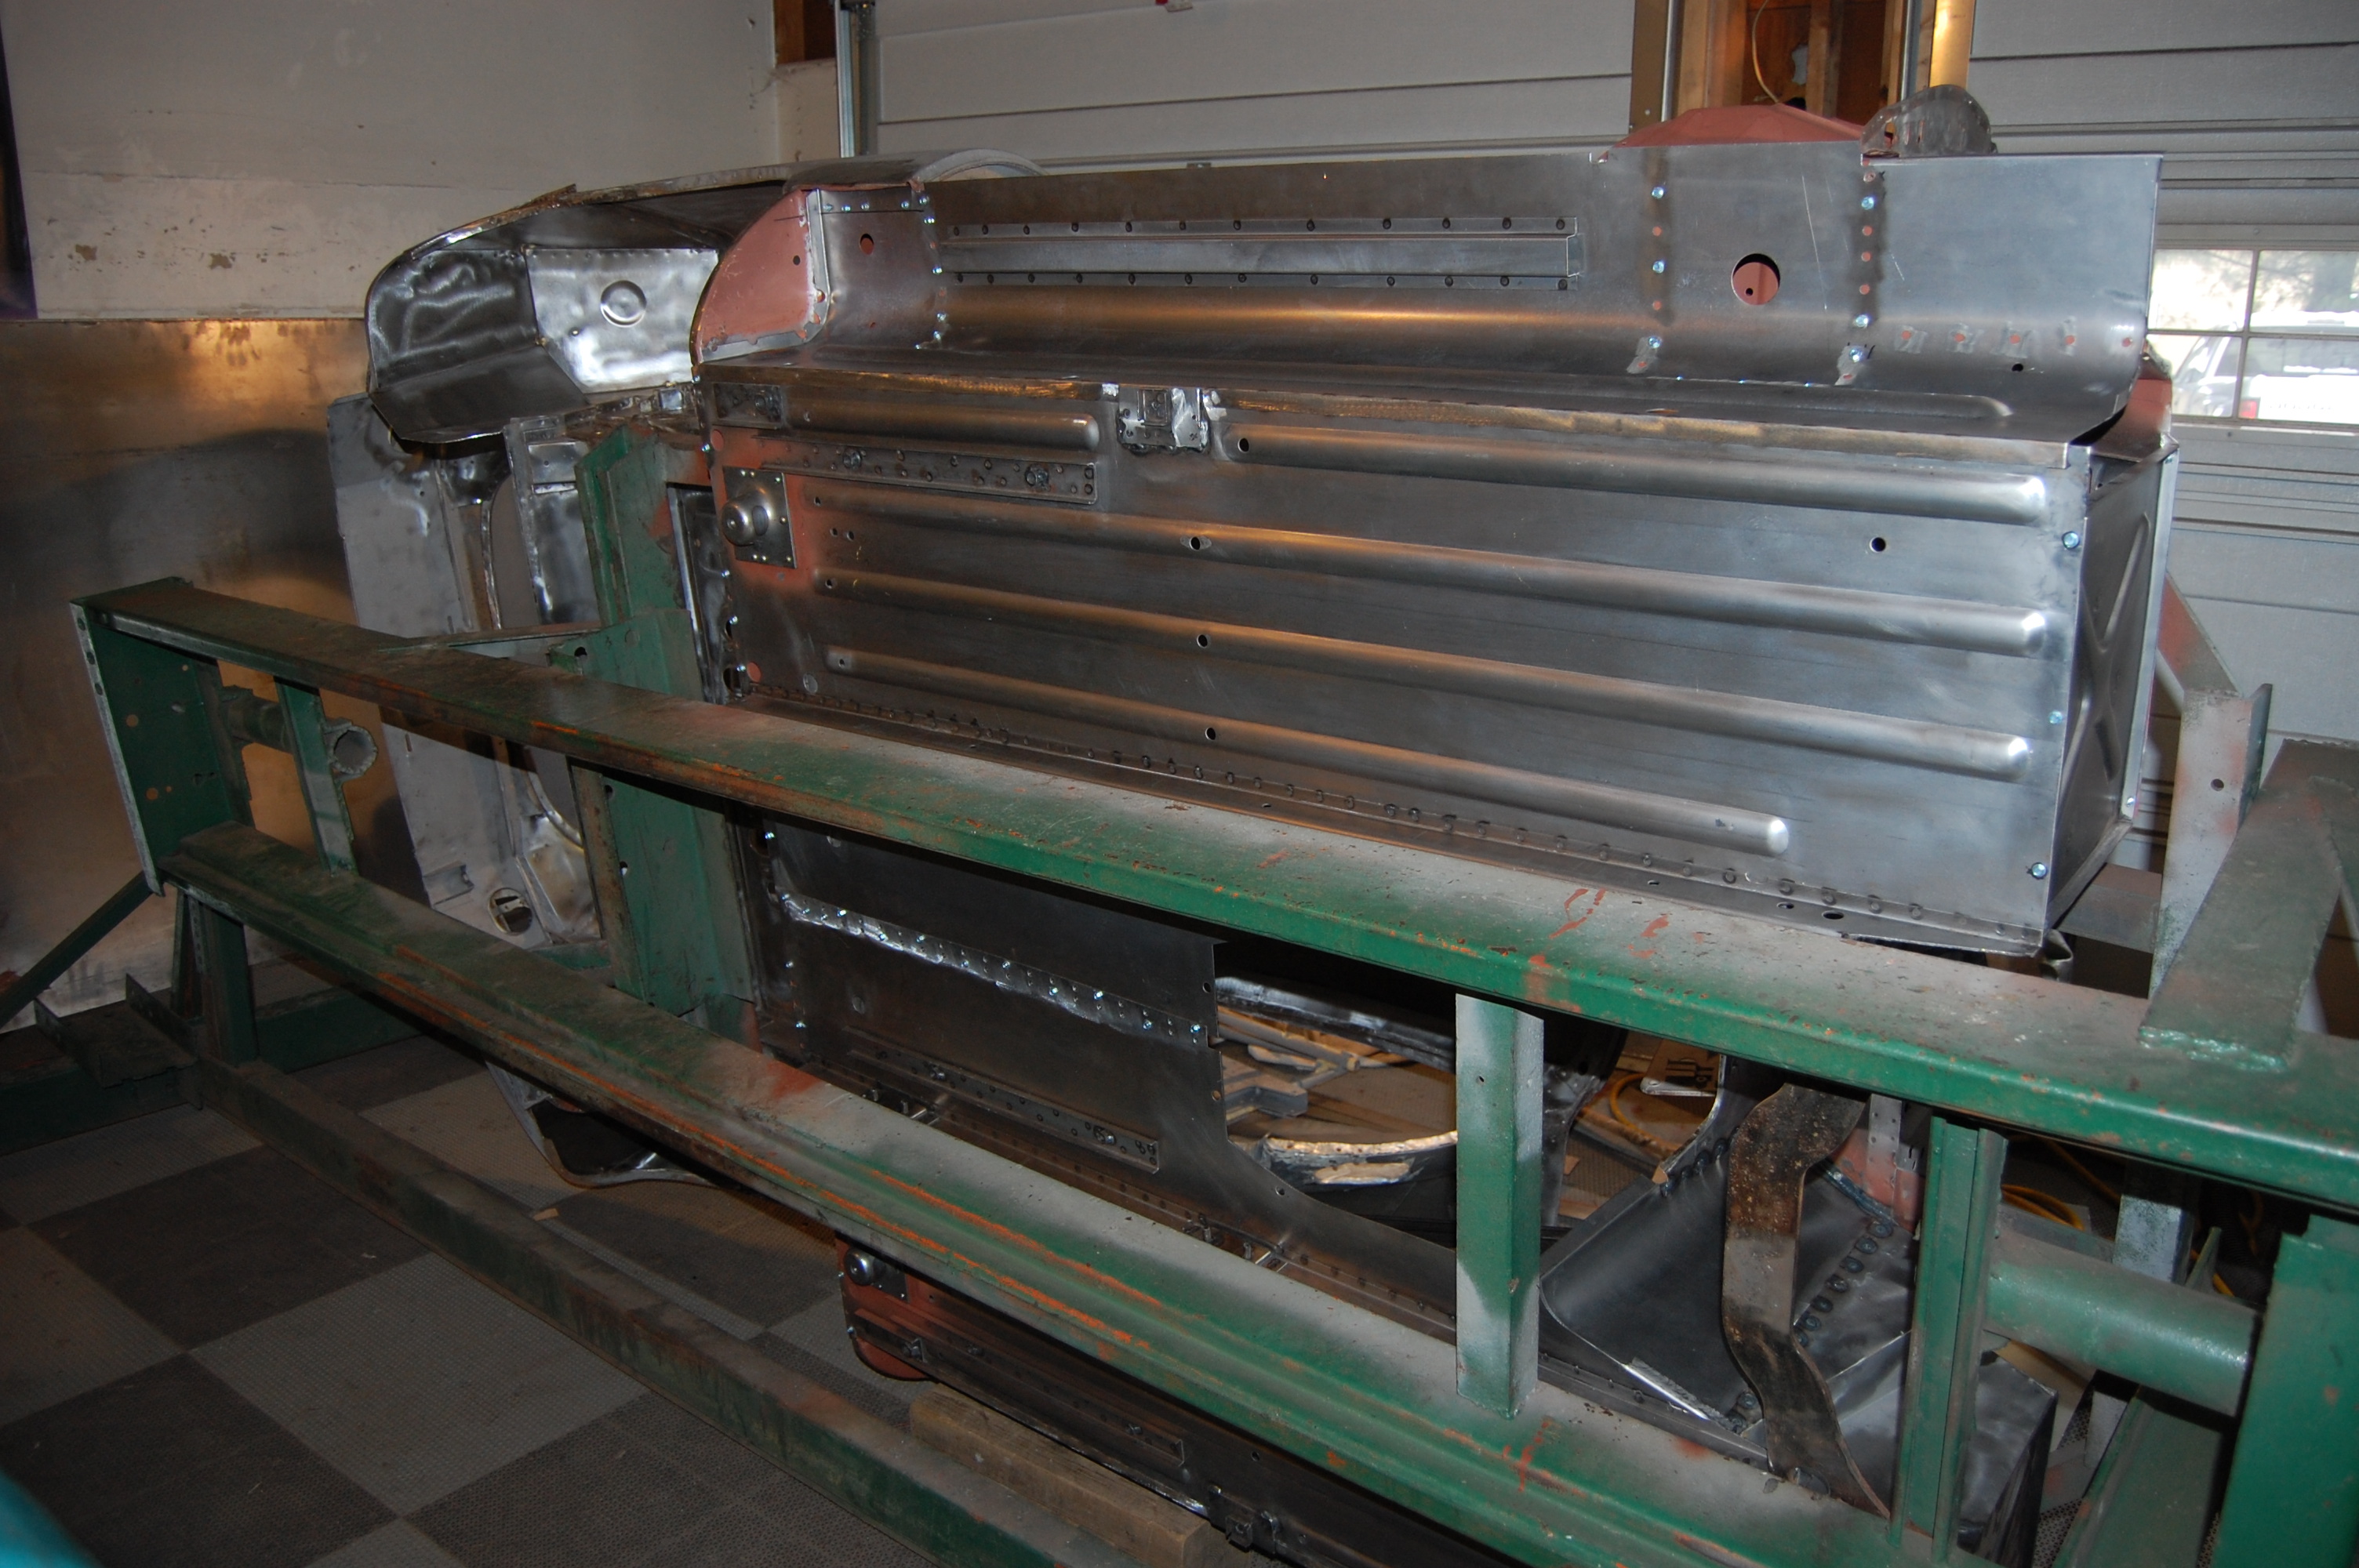
- Other side, and the plug-welding has begun. Note the heavy use of small self-drilling sheetmetal screws with a 1/4″ head to hold things into place. This is a MM specialty – I am DONE with Clecos – these just work much better in my opinion and are quick and easy. Follow my lead on this and you won’t be sorry!

-

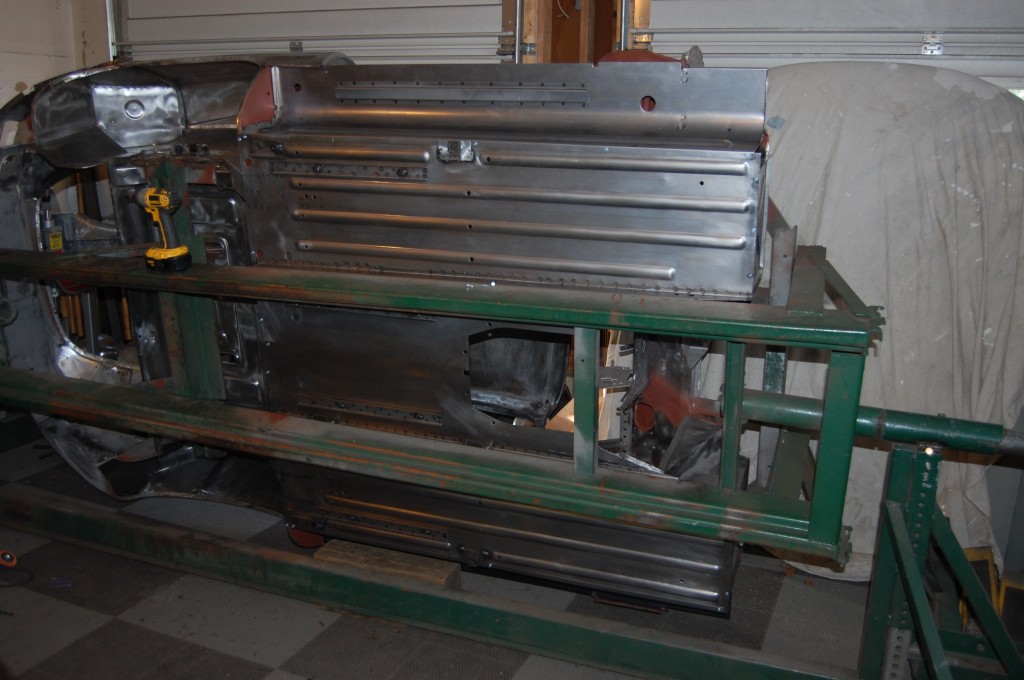
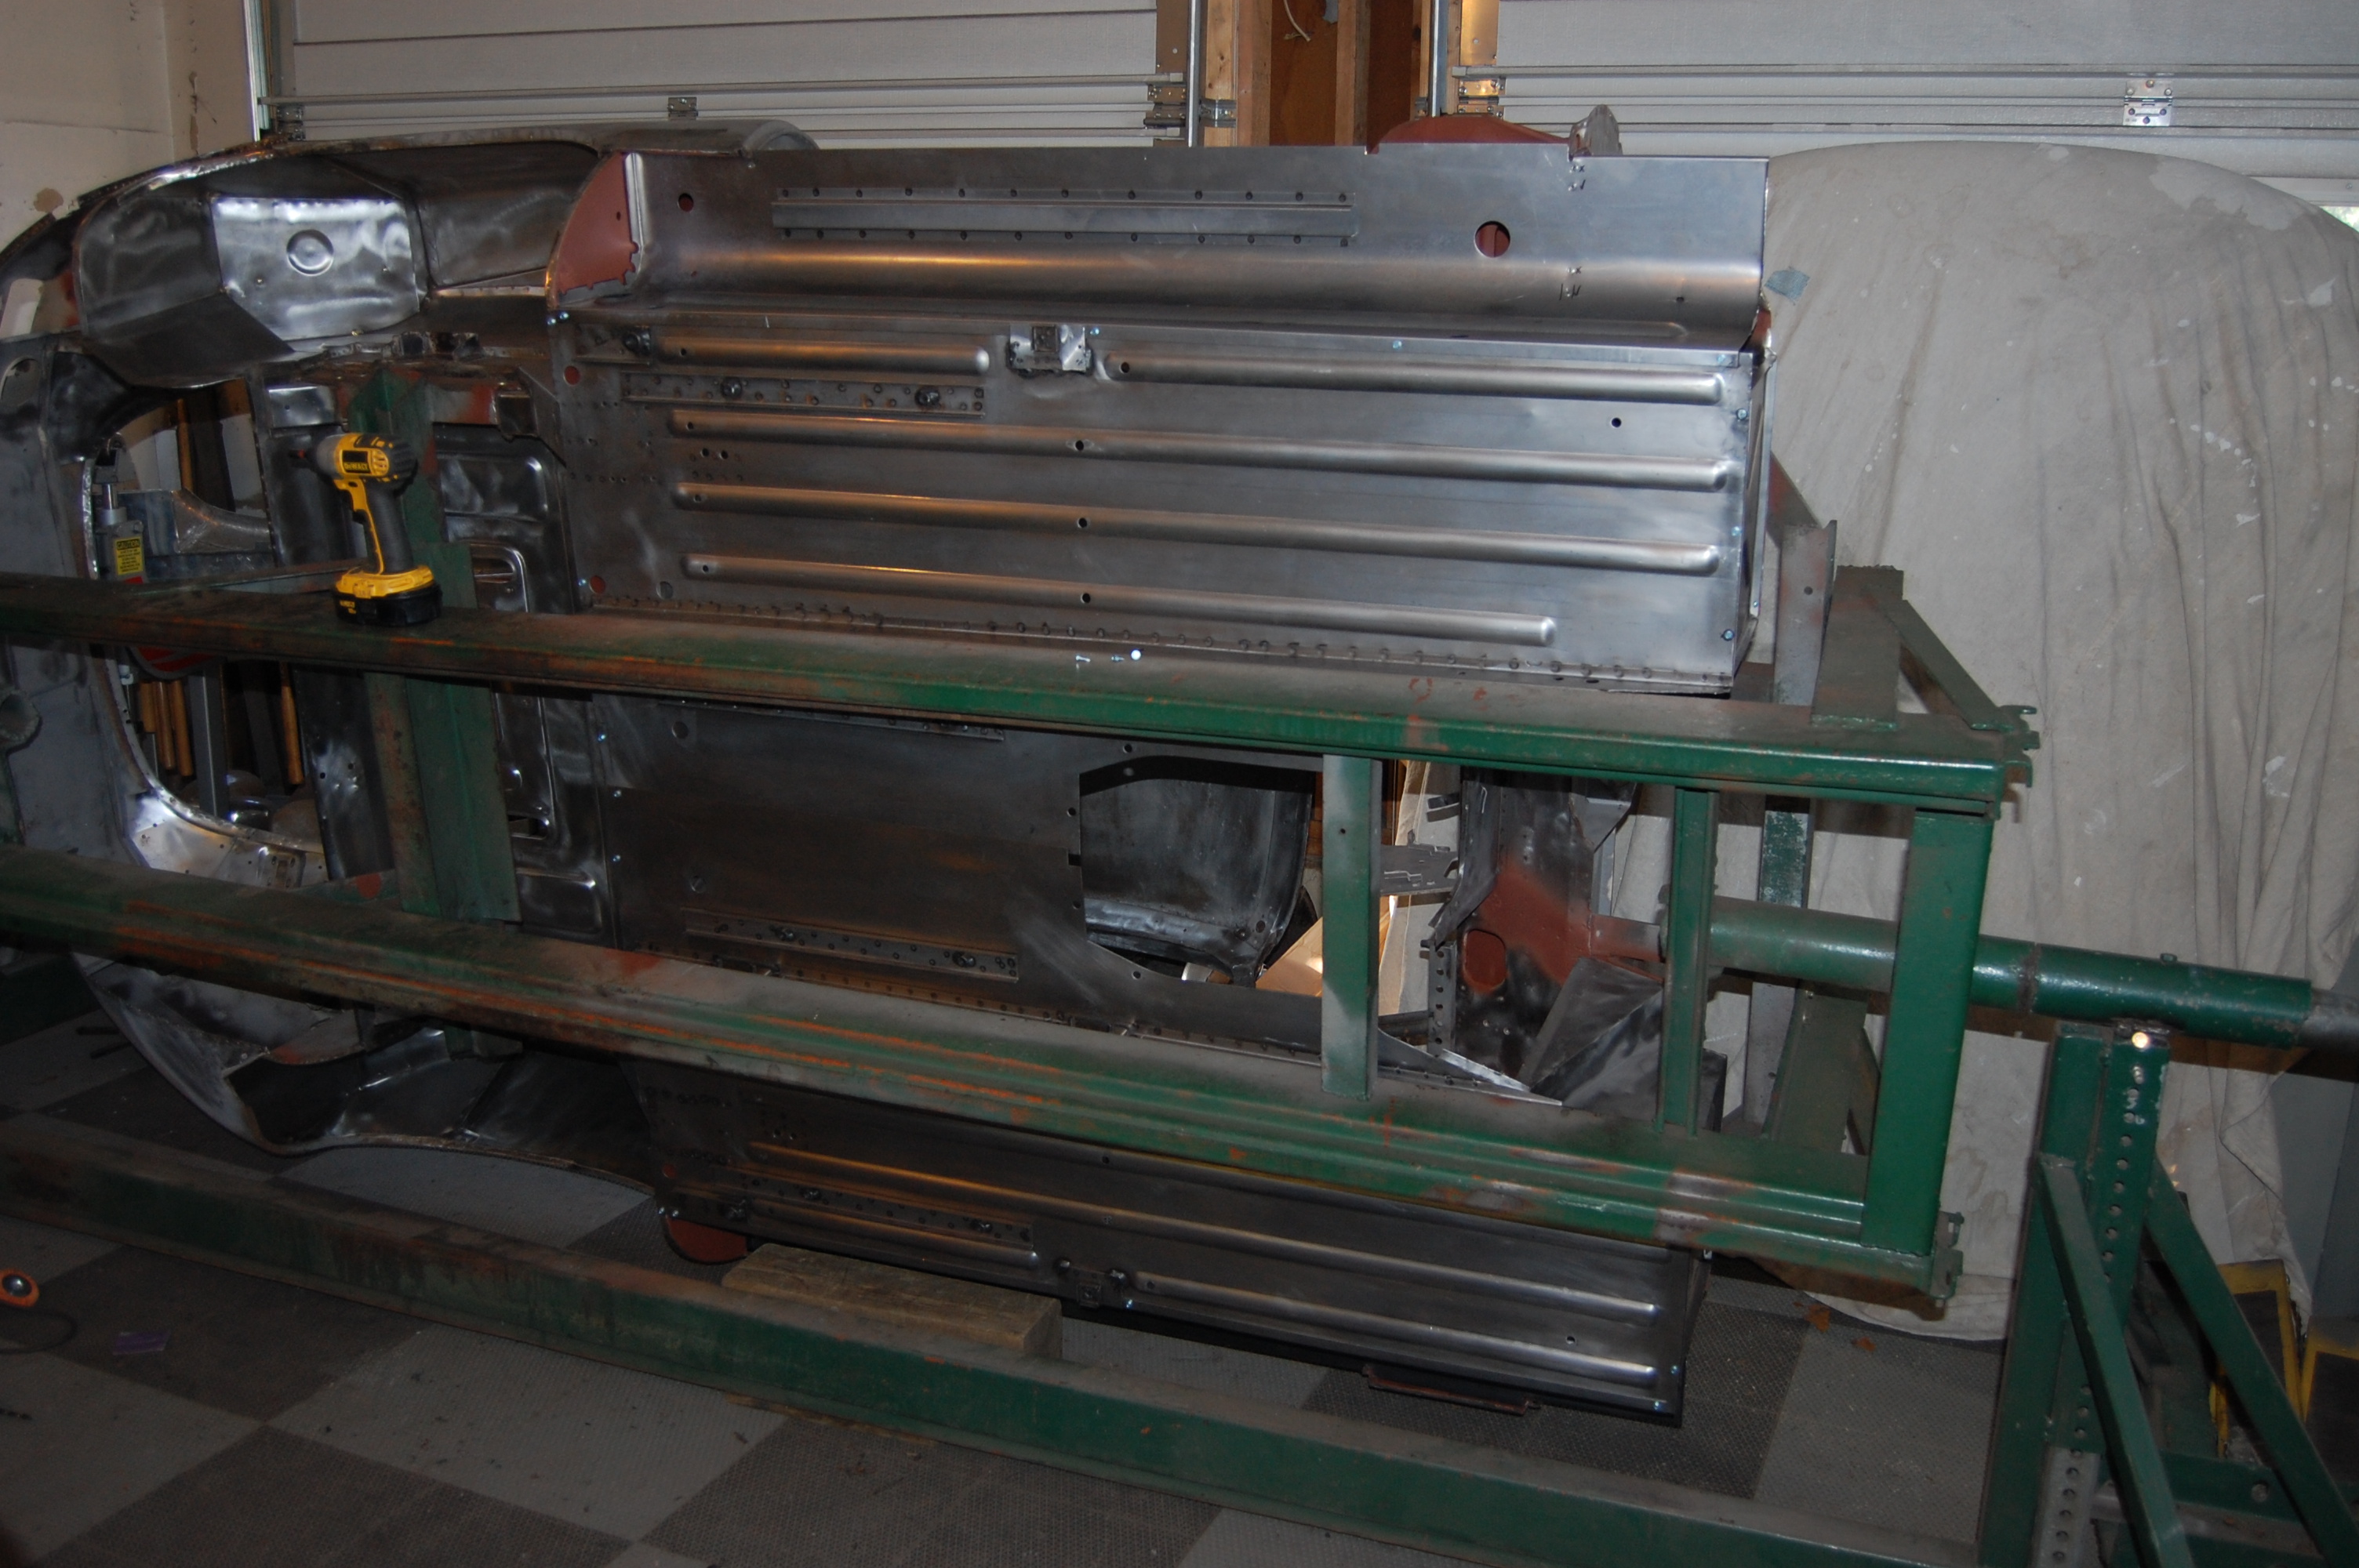
- She’s starting to come back to life!