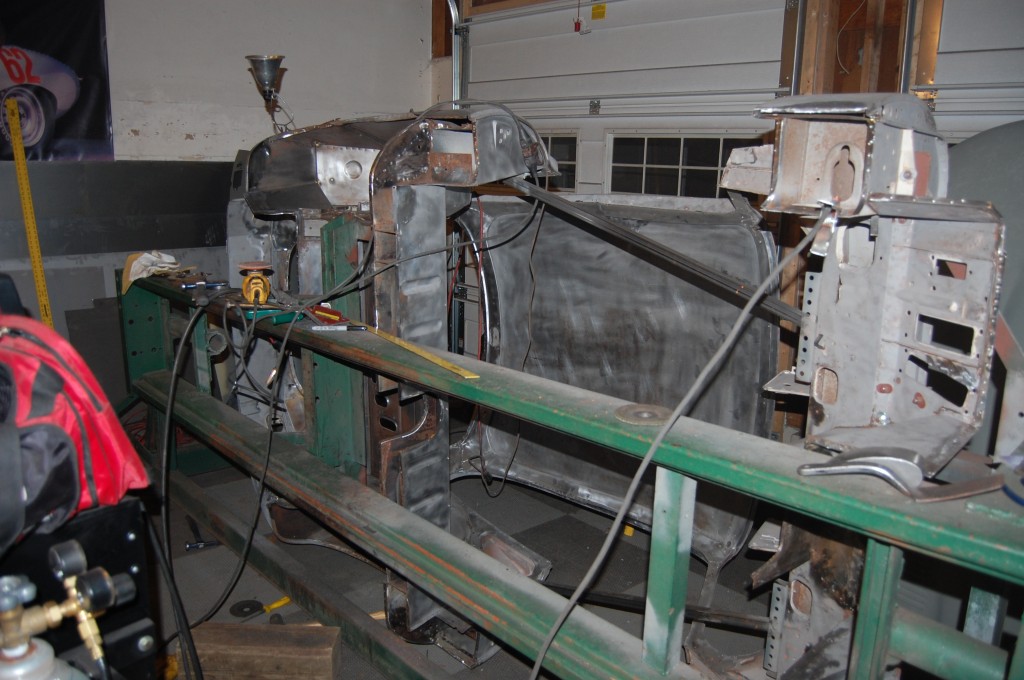
Here’s the next blog entry on this project, although all of this work happened last year – I have alot of catching up to do on the blogs for this one!
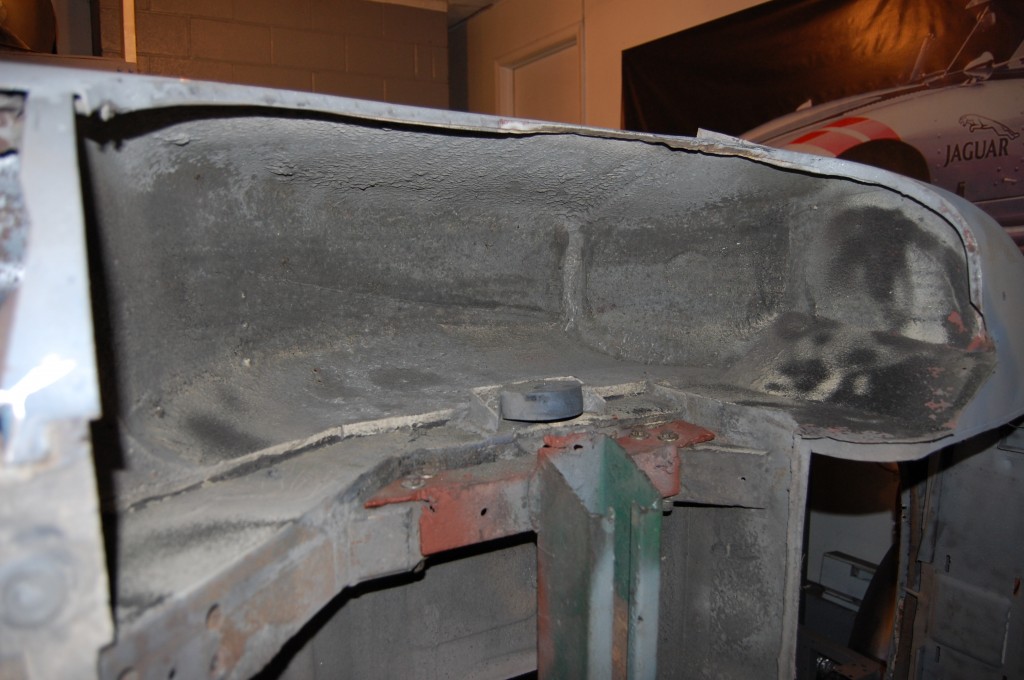
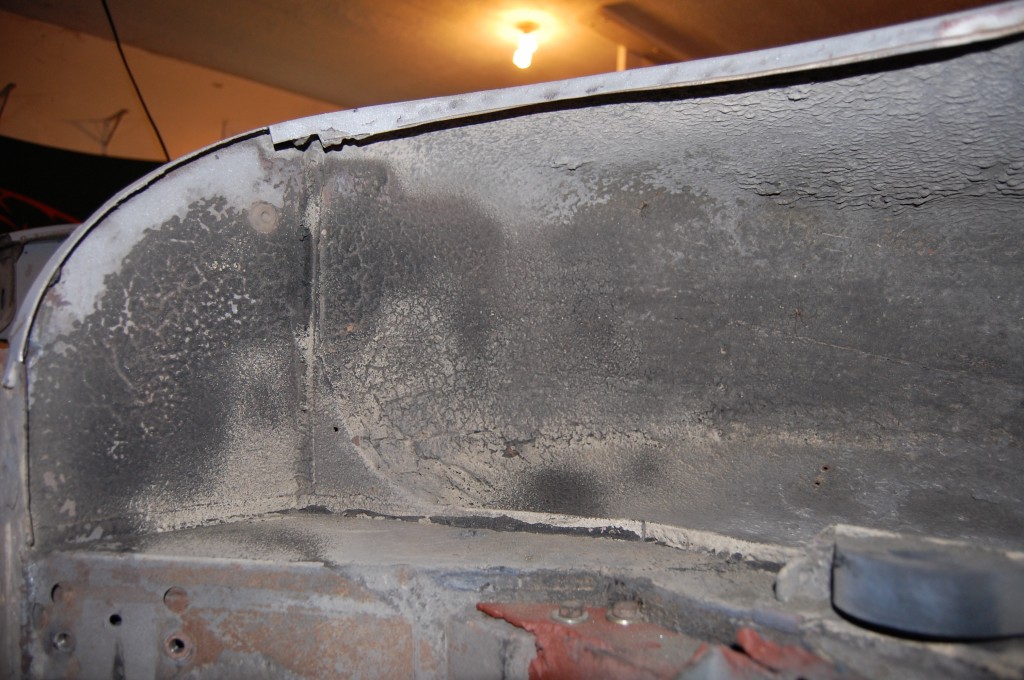
- We’ve done all of this in different orders on different cars – sometimes it depends on the schedule, the weather, etc… On this E-Type, we blasted the shell with the undercoating still present in the rear wheel wells and in the IRS area, and then stripped it out by hand afterwards – VERY time consuming – just ask Brent!
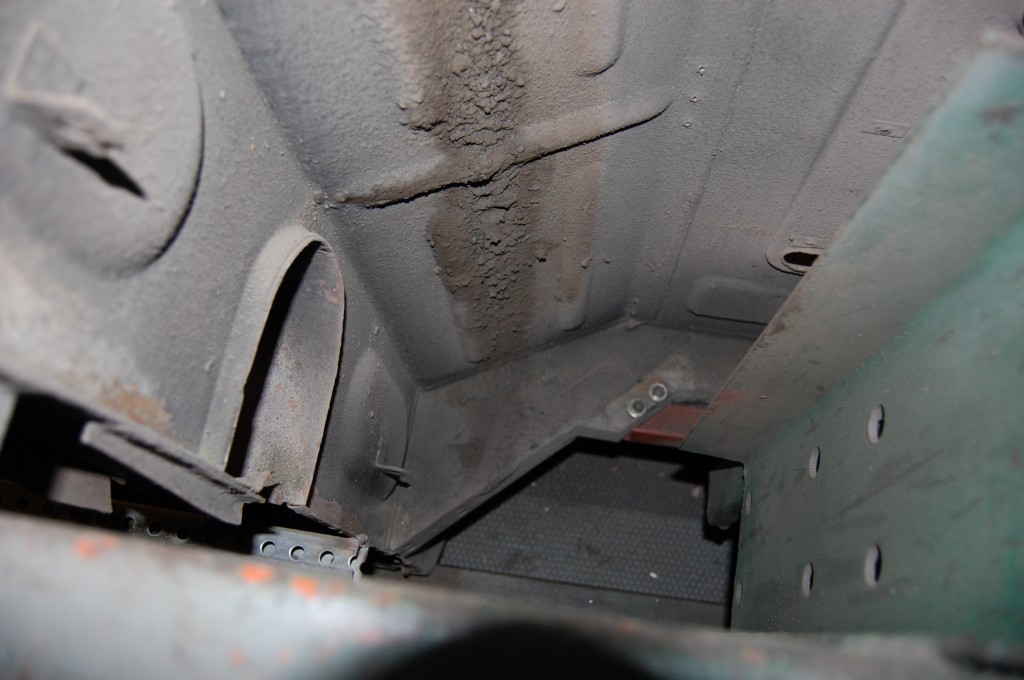
- This is factory undercoating – DO NOT try to blast this out! The sand or nedia will bounce right off, and you will warp the hell out of the panels trying to get it off… Hand removal and time consuming, but safe…
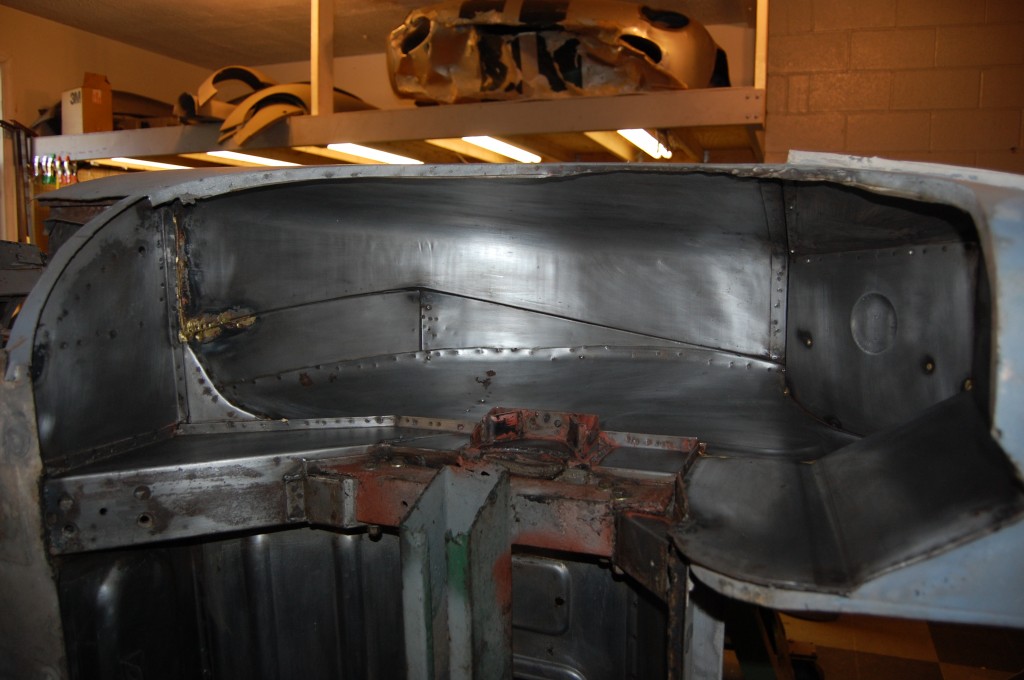
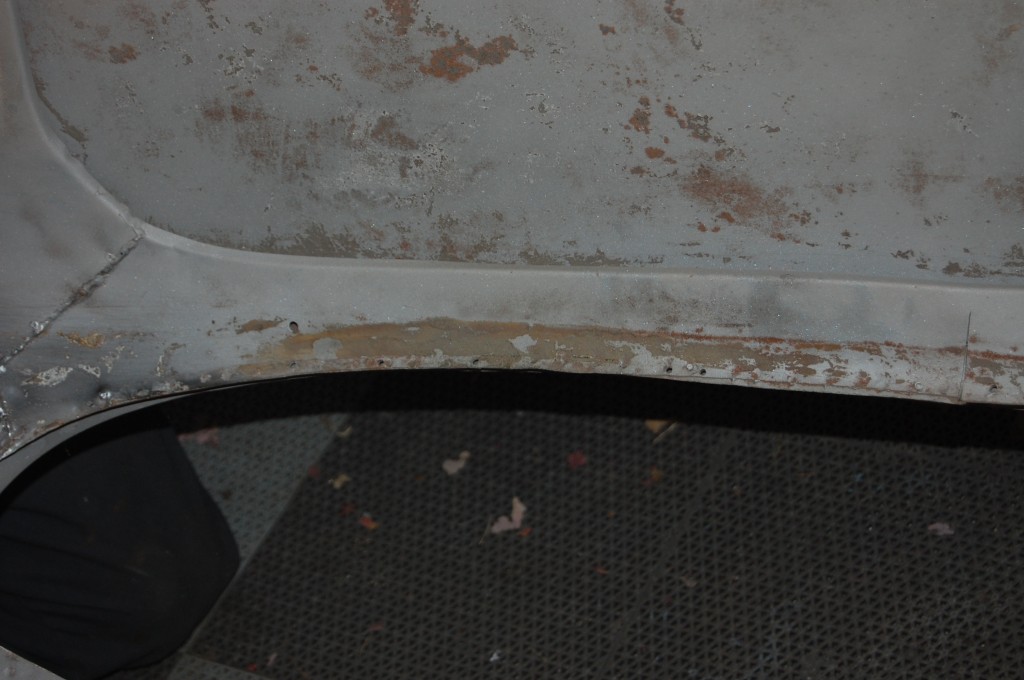
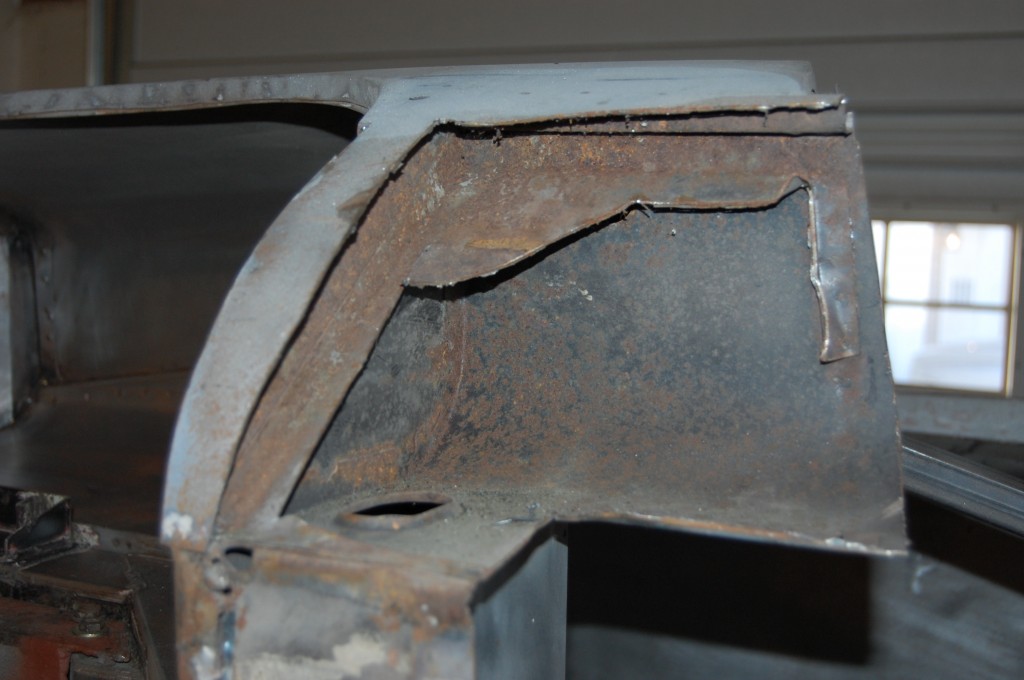
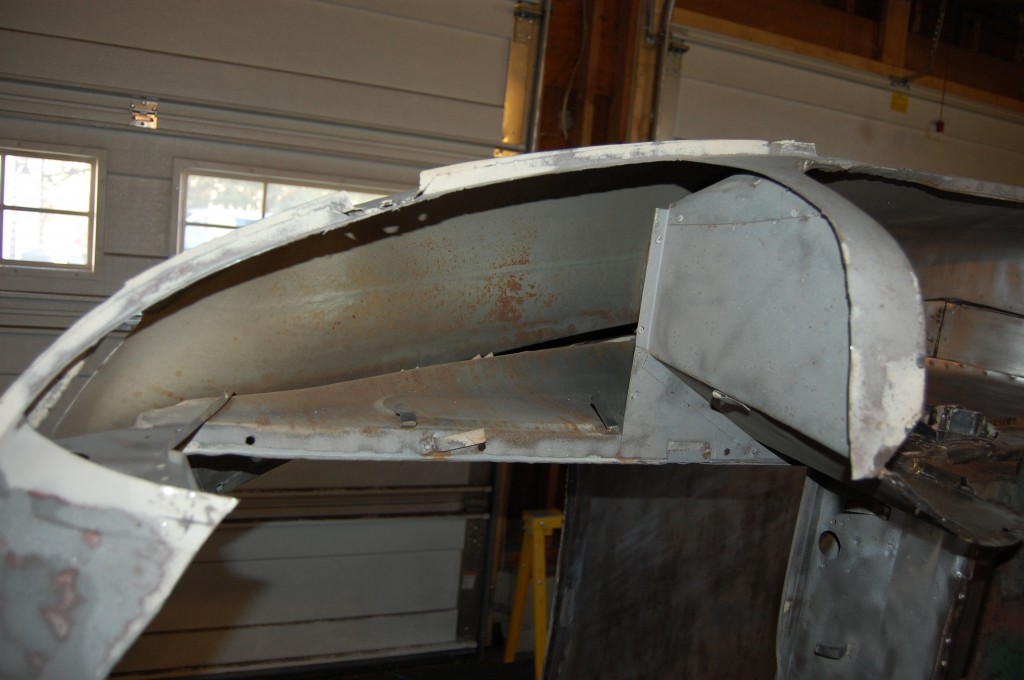
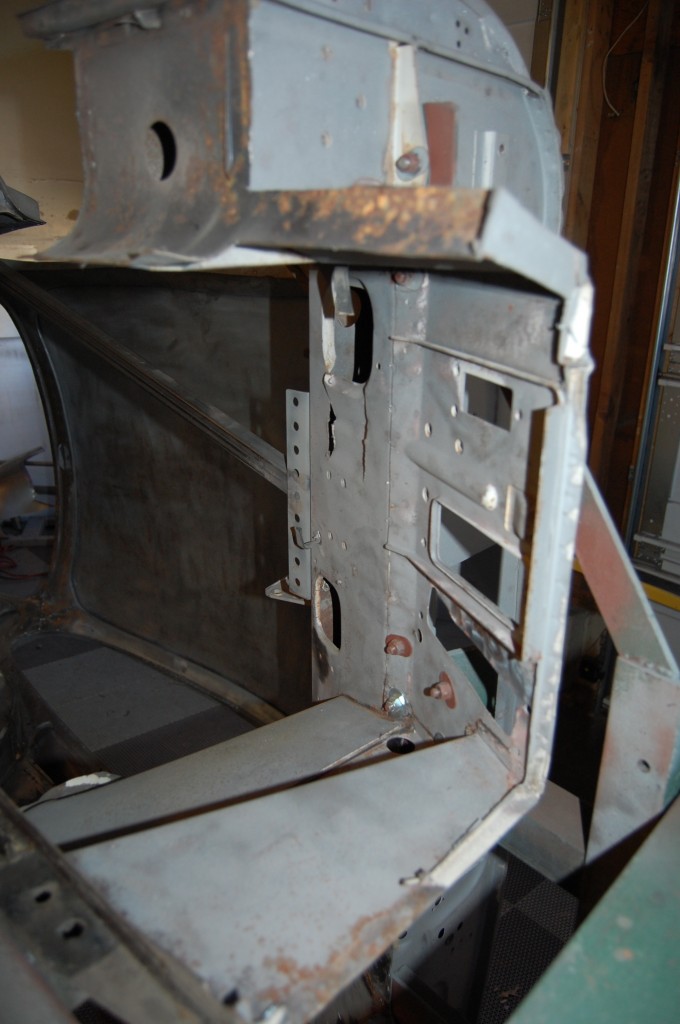
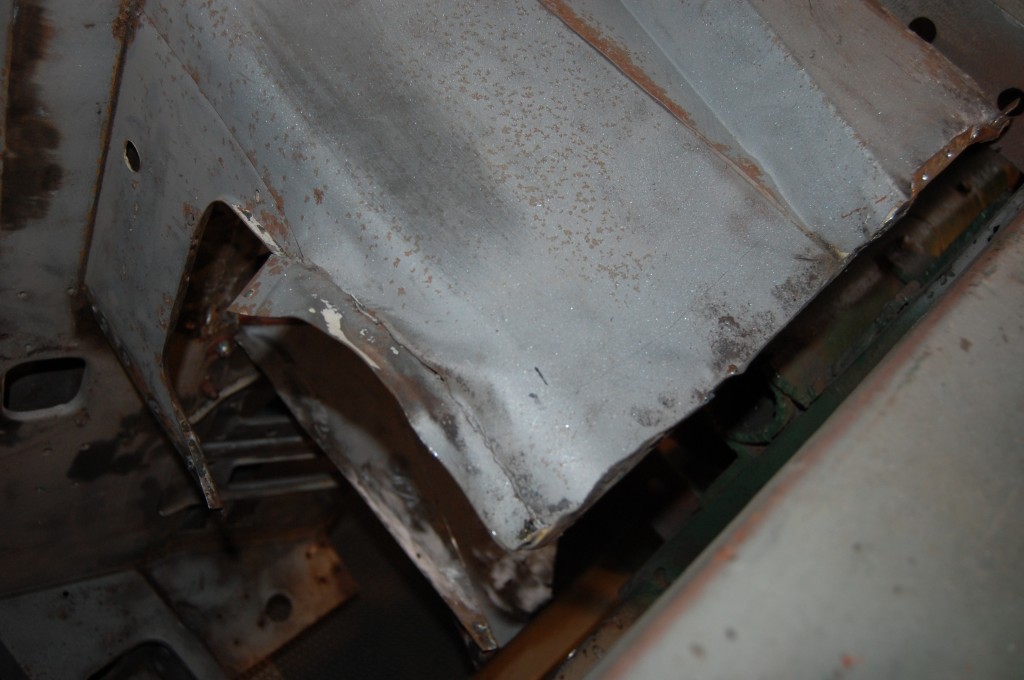
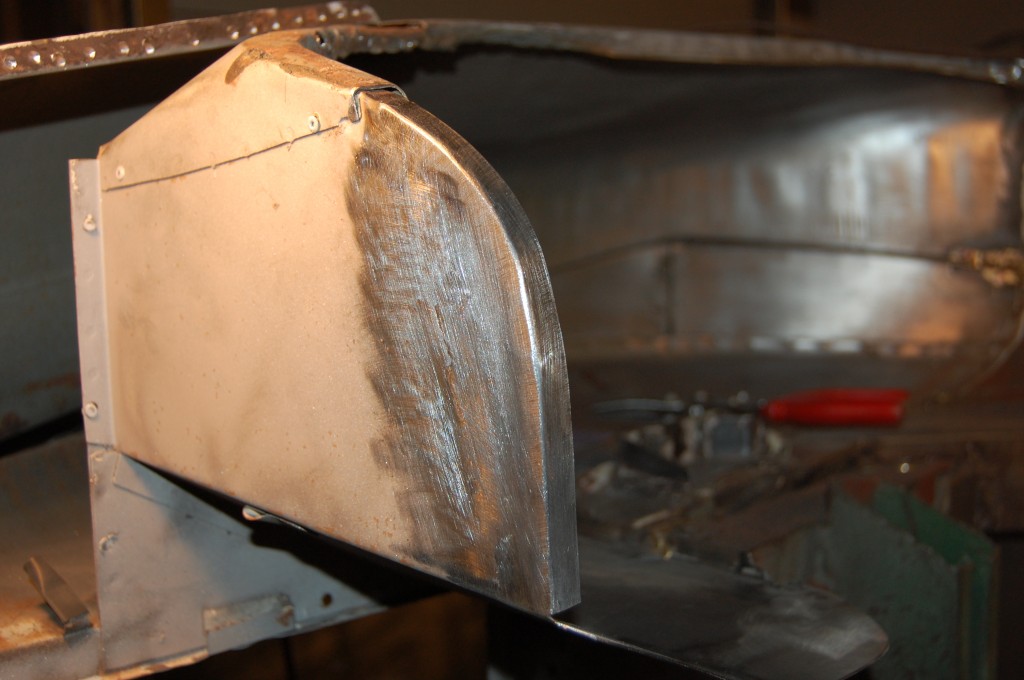
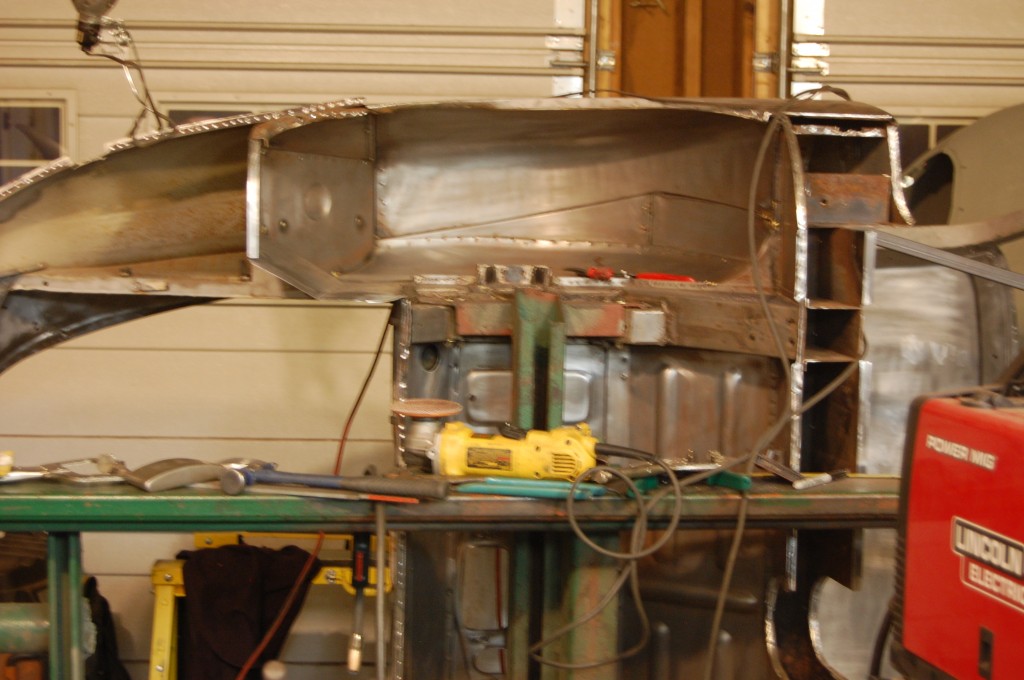
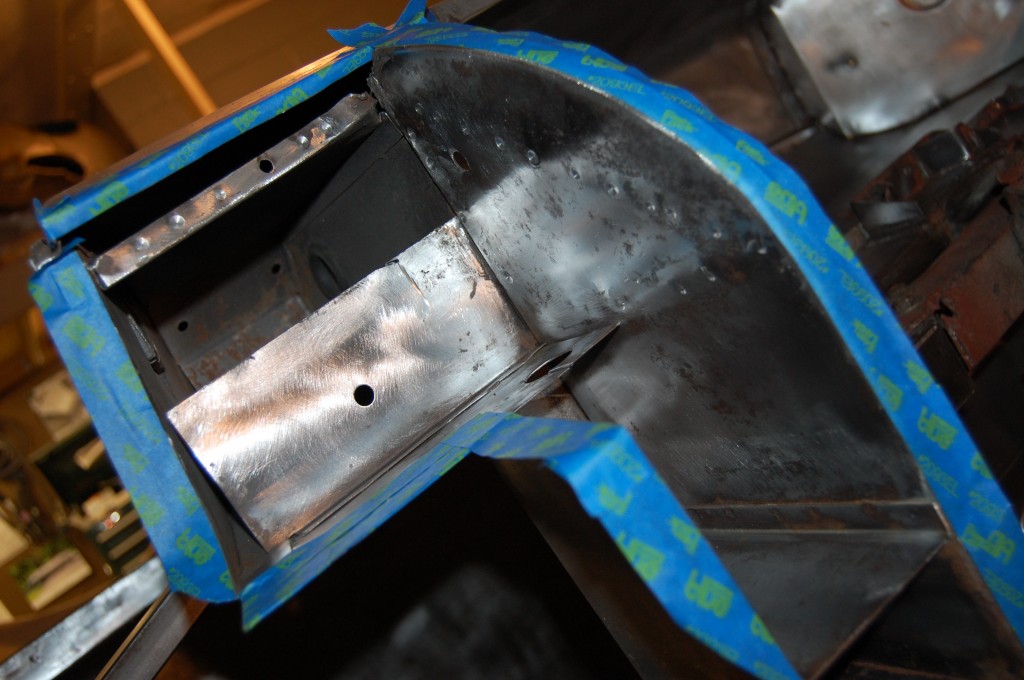
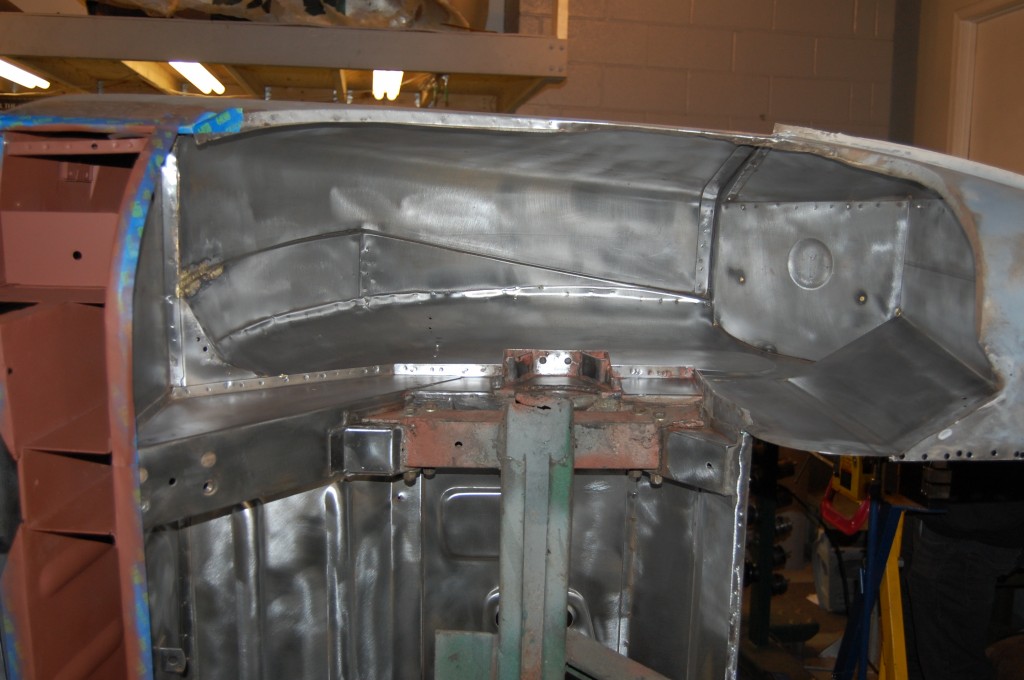
- …and as you can see, produces a very good result! This inner wheel arch is ALOT different from the later cars – there are many more smaller pieces involved.
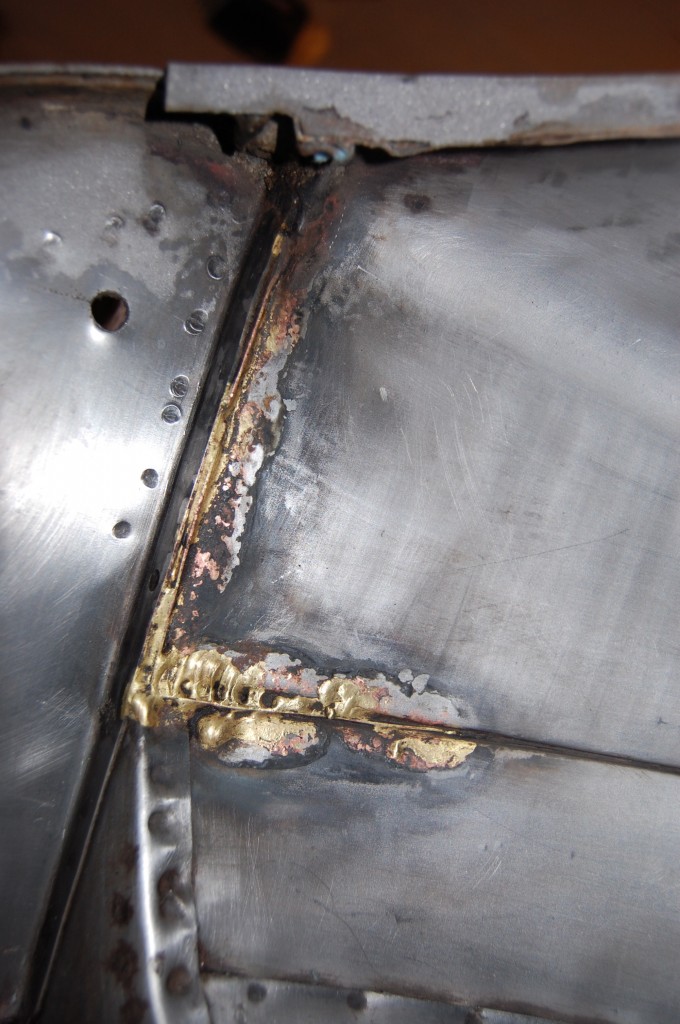
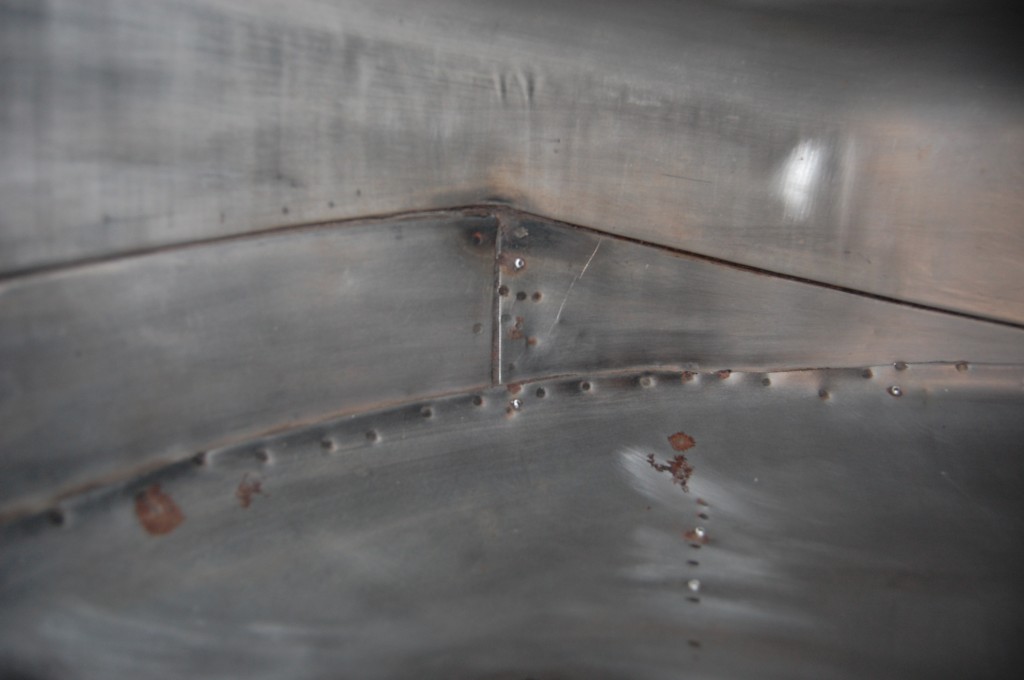
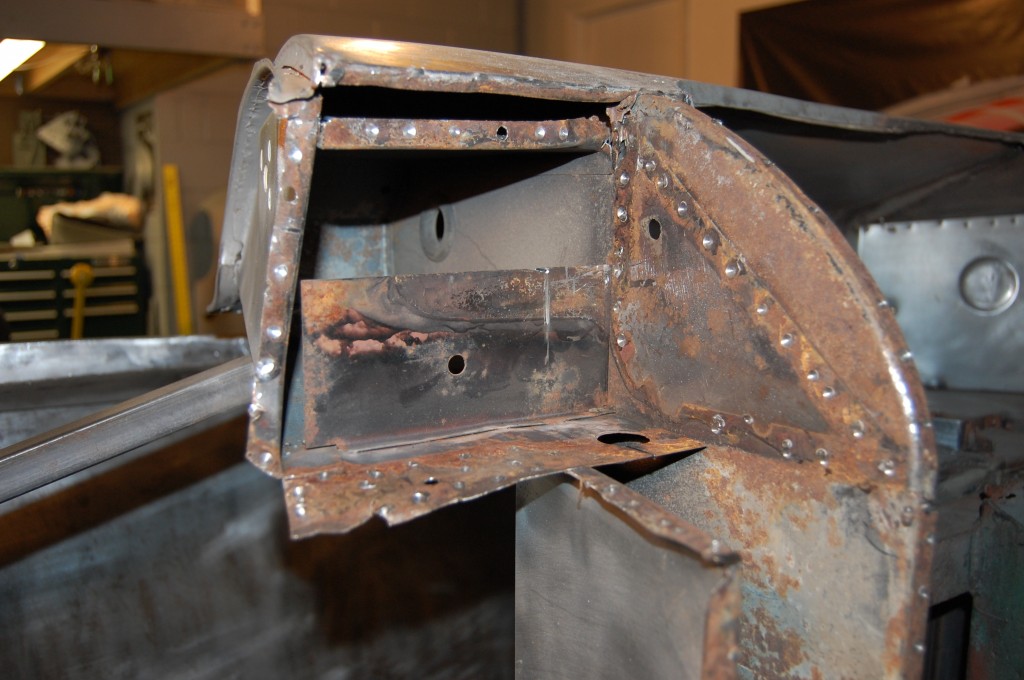
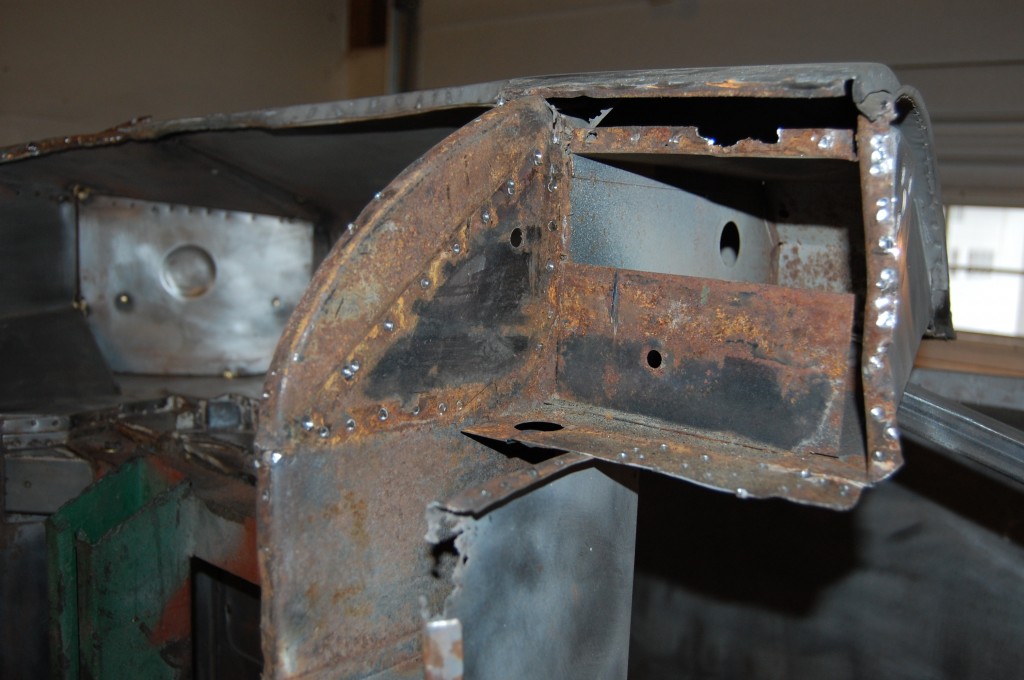
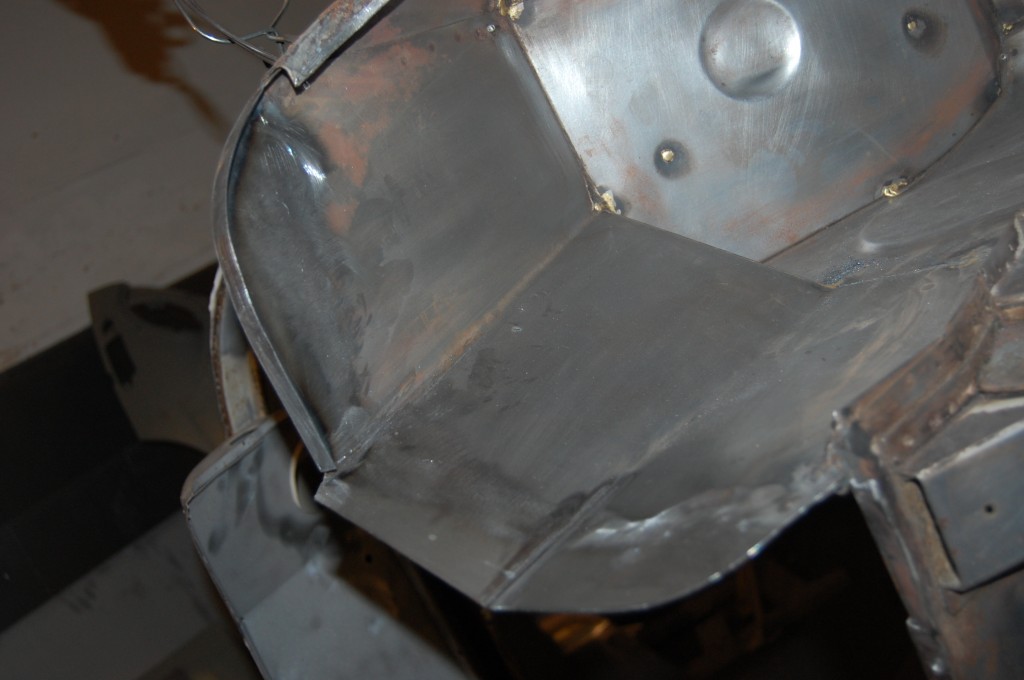
- All of this brazing is BONE STOCK – a feature of the early cars…
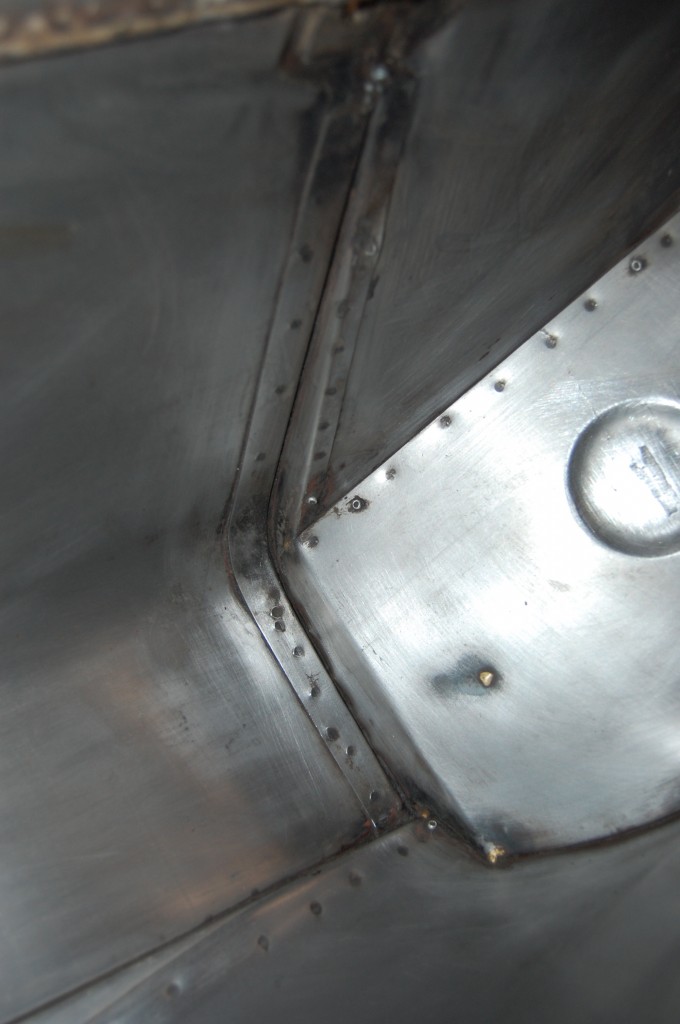
- The mutiple p[ieces coming together here are also a feature of the early coupes – which have a body shell that is similar, but different than the coupes built later on (sometime in ’62 I would guess…).
- More details of the inner wheel well that is particular to the earliest cars. You can see here that small simple angle pieces have been added to the end of a panel to attach it to the next one – basically a “mistake” – or just something not thought completely through when forming the larger panel, etc…
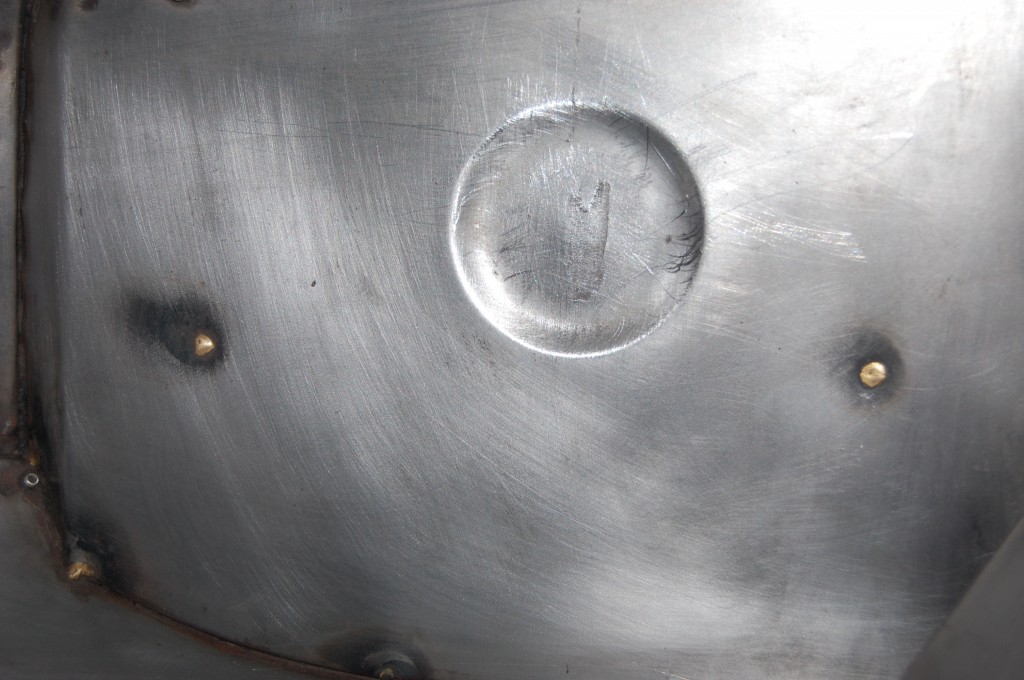
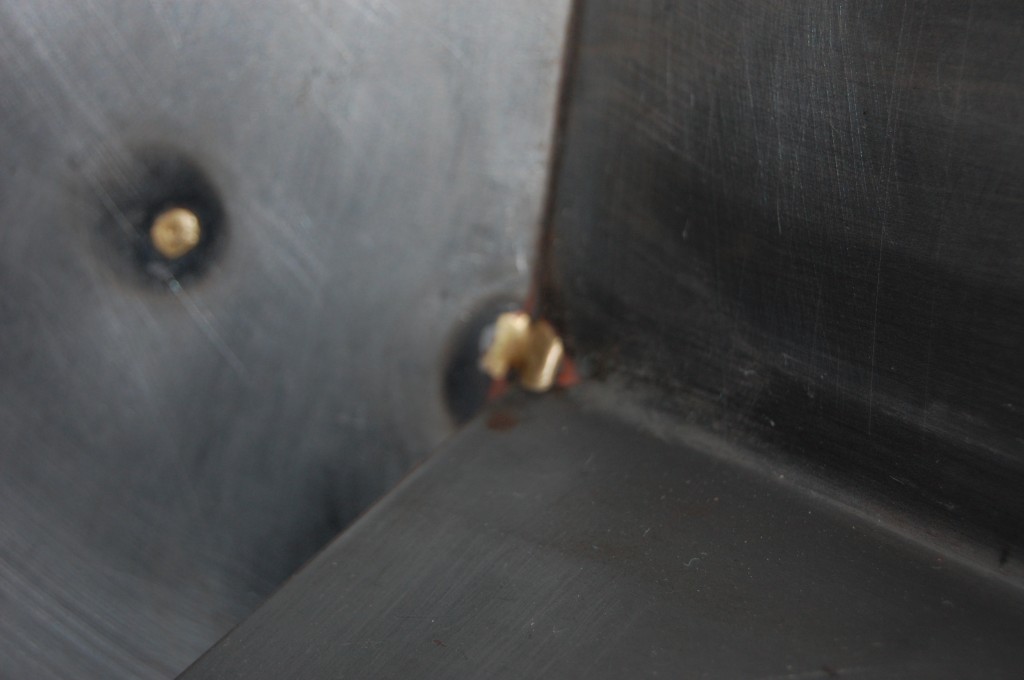
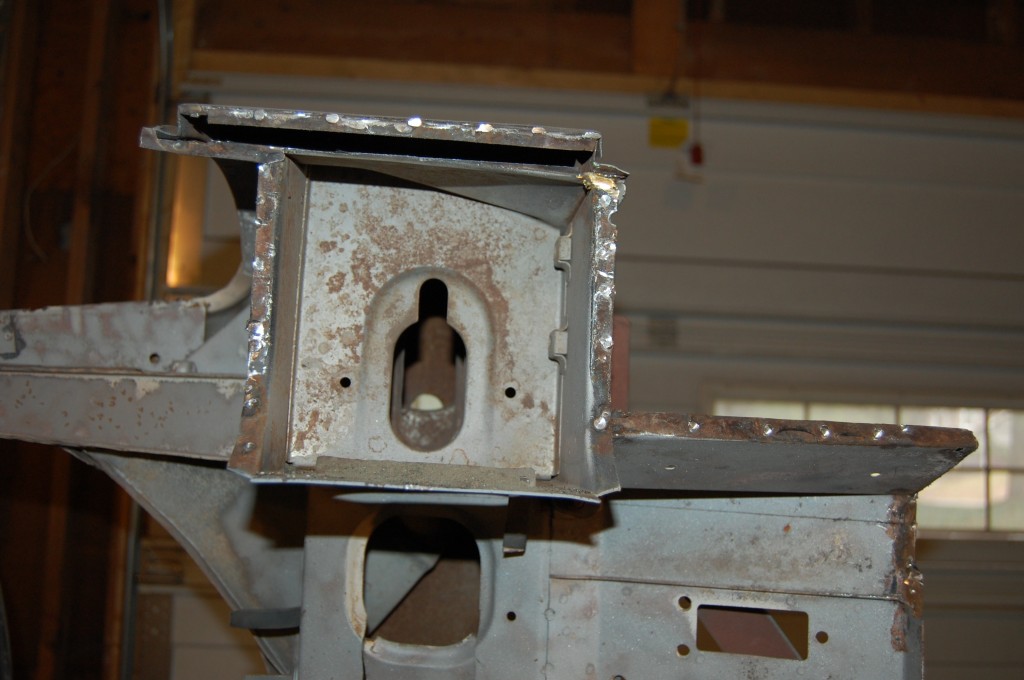
- These two little gold dots are factory jigging holes that have been brazed up – on later cars, these are either covered with small steel circles spot-welded in, gas welding in steel, or rubber plugs.
- brazing in the corners like this was also replaced with steel gas welding in the later cars.
- Here is a “before” shot of the IRS area – this car obviously suffered from a leaking pinion seal on the differential…
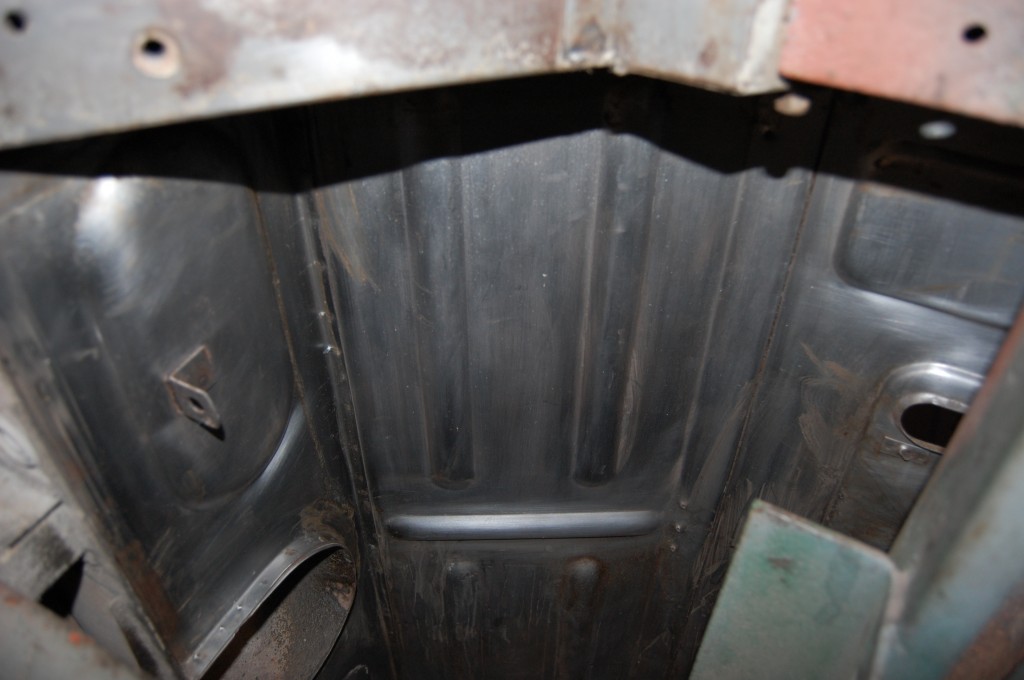
- Same area after MANY hours of painstaking undercoating removal by hand.
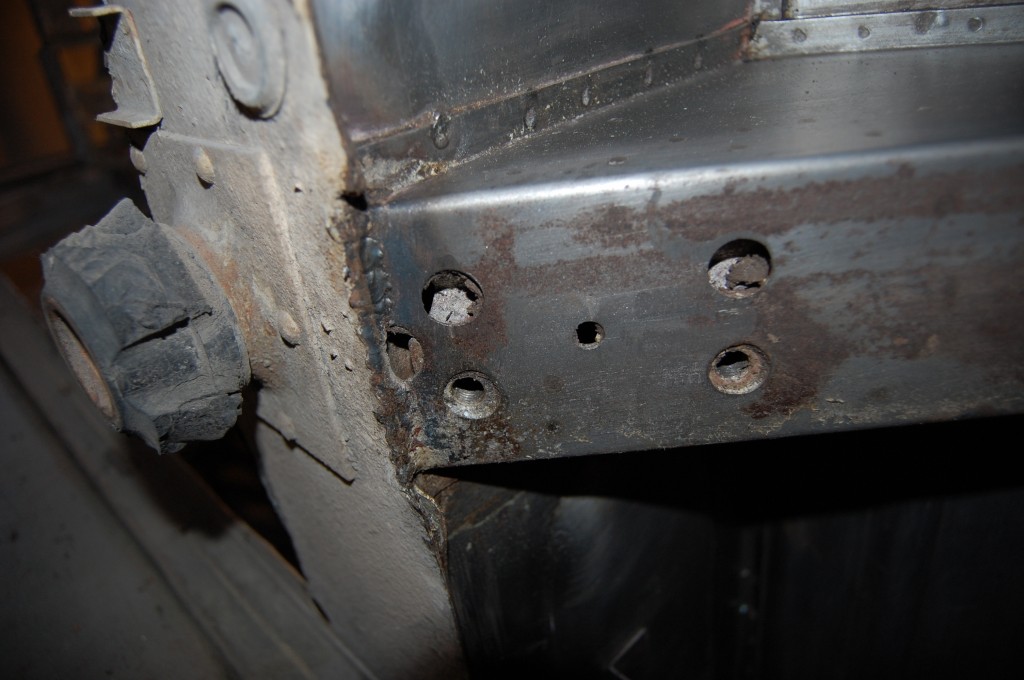
- This lower end of the rear chassis leg where the rear sway bar mounts up is ALWAYS rusted away – but not here! This car was nearly rust free, and most of the areas we are replacing were either dented, rusted only a bit, or butchered from the V-8 conversion. Note the heads on the original radius cup rivets – these are SOLID STEEL rivets. Later, the factory did use some type of heavy-duty pop rivet that takes a special tool to inster, etc. FORGET ABOUT THOSE – we, and you, should always use solid steel rivets like this. We have them in stock.
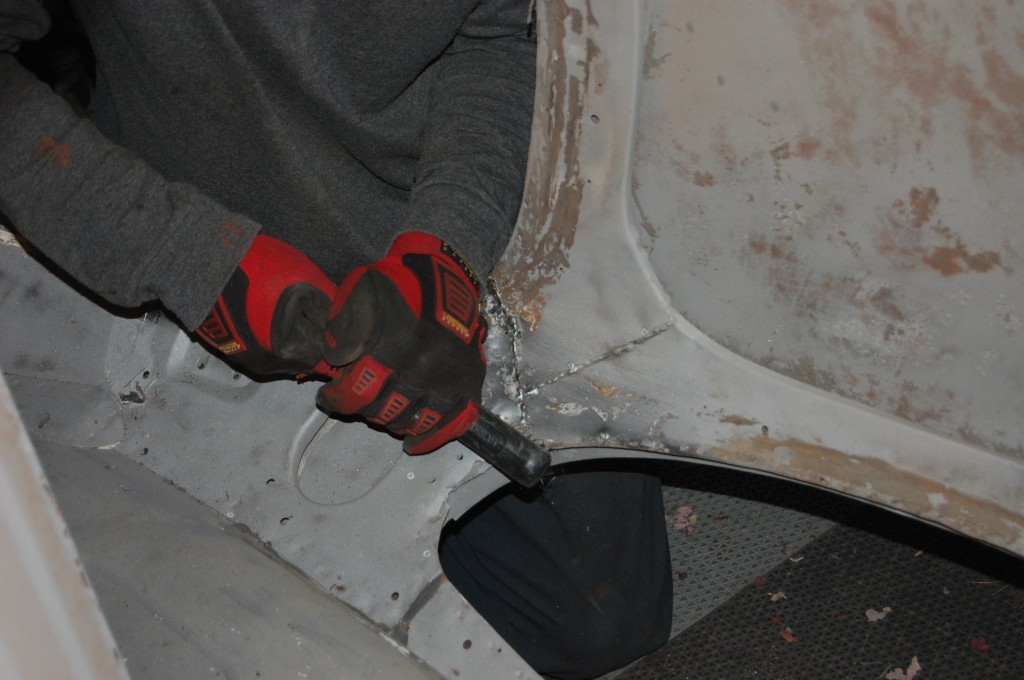
- A shot of Brent scraping the residual glue (basically contact cement) from the interior egdes of the roof support panels. I’m sure that you could turn up the pressure on the blaster and get it off that way – not on my watch! We protect the roof – and entire body shell – from any warpage at all costs! MANY other shops will just blast the hell out of the whole thing – undercoating, glue, and all, and then just “smooth out” any warpage they induce with copious amounts of filler…
- Here is a close-up. You can also see that we have lightly dusted off the roof panel itself, but at such low pressure that there is still alot of clean-up to be done…
- Next, we turn our attenton to completing the dissection – by removing al of the edge pieces and flanges from the panels that have been removed.
- This is very tedious work, drilling out spot-welds one at a time and gently peeling back the layers.
- I can’t figure out where this is on the car now… But this is a factory fitting that does look like an afterthought.
- Here we are removing what’s left of the driveshaft tunnel, taking care not to damage the rear lower bulkhead – which is straight across without the usual seat dishes for increased driver leg room.
- I often remin Brent that “you can do whatever you want” to the pieces that are being removed to make them come out easier – there is no benefit to being careful with the pieces being removed – cut, twist, bend – whatever works!
- What’s important is that the pieces that are staying are not damaged – or at least not made any worse than they already are. What you are seeing up inside of the rear lower bulkhead here is the factory treatment – light black primer on that top piece, but nothing of the rear panel, for example…
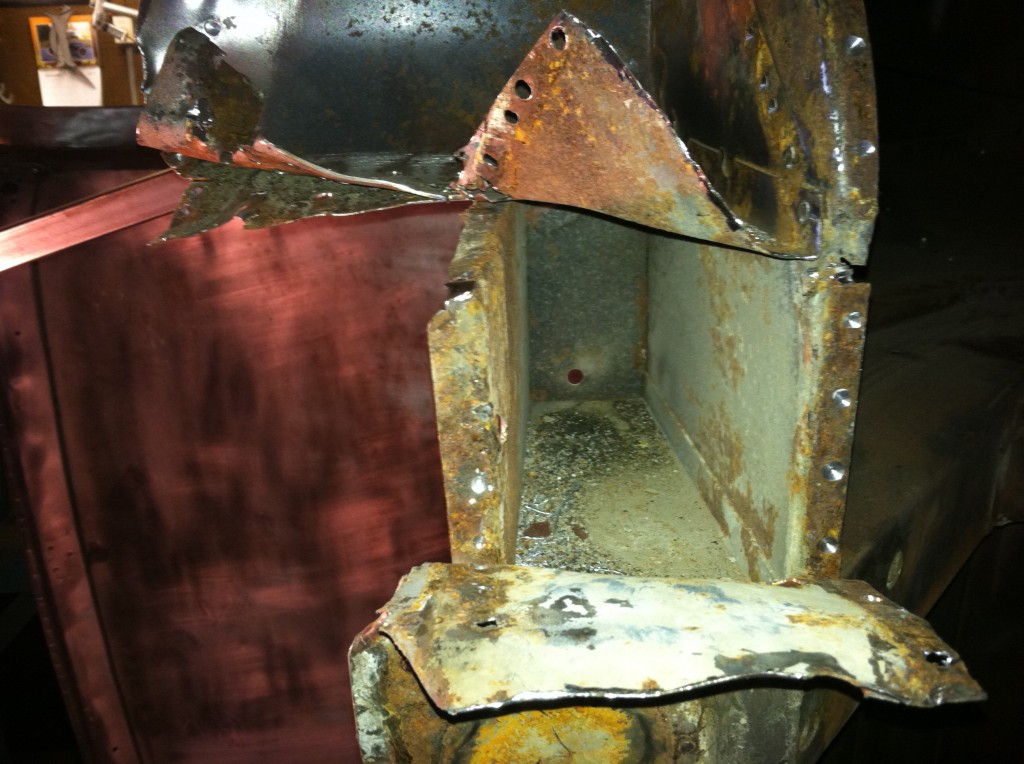
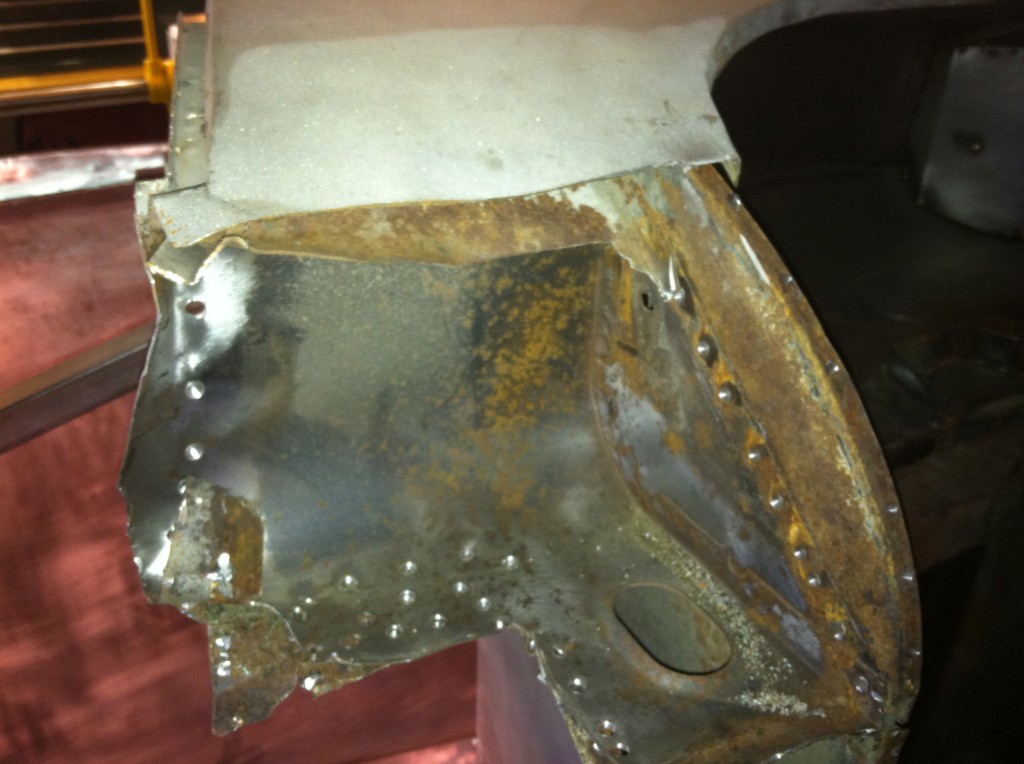
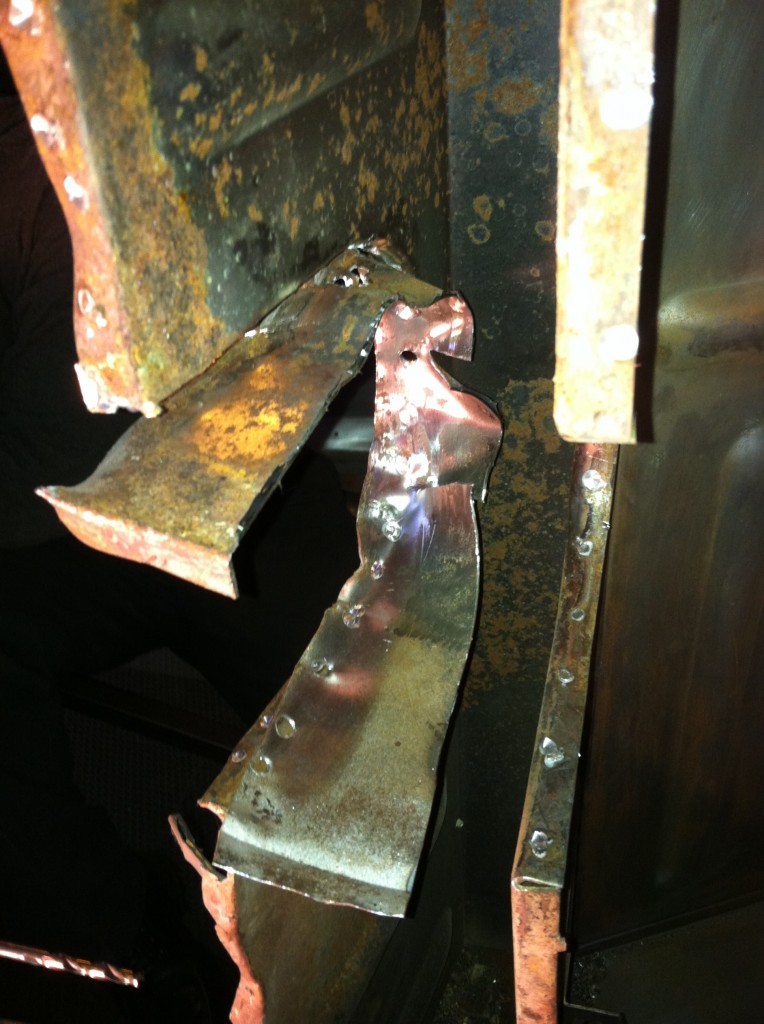
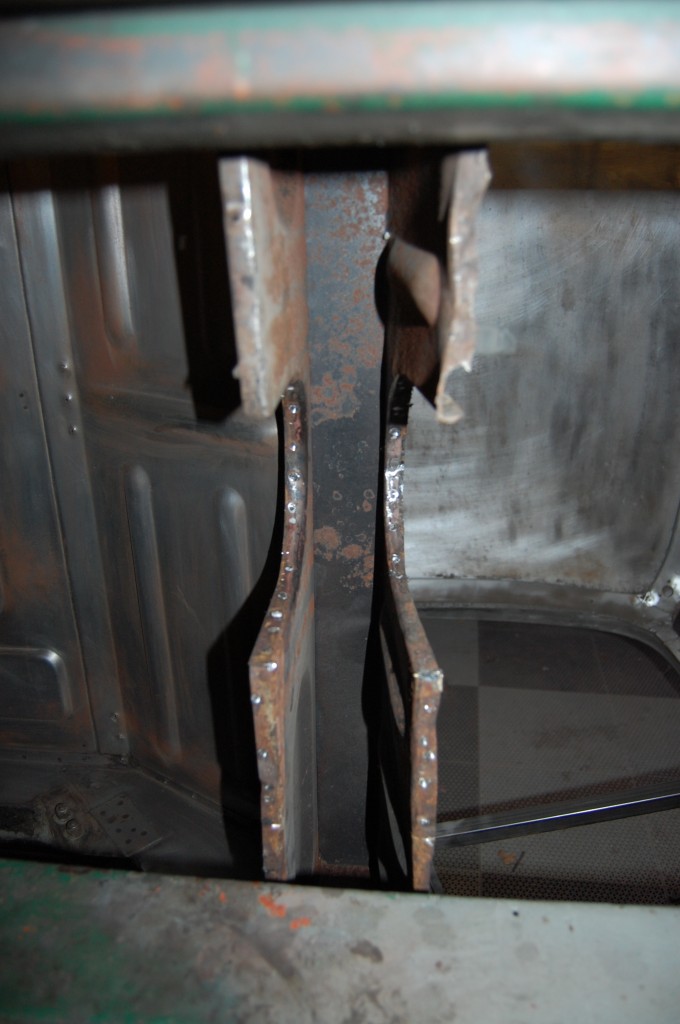
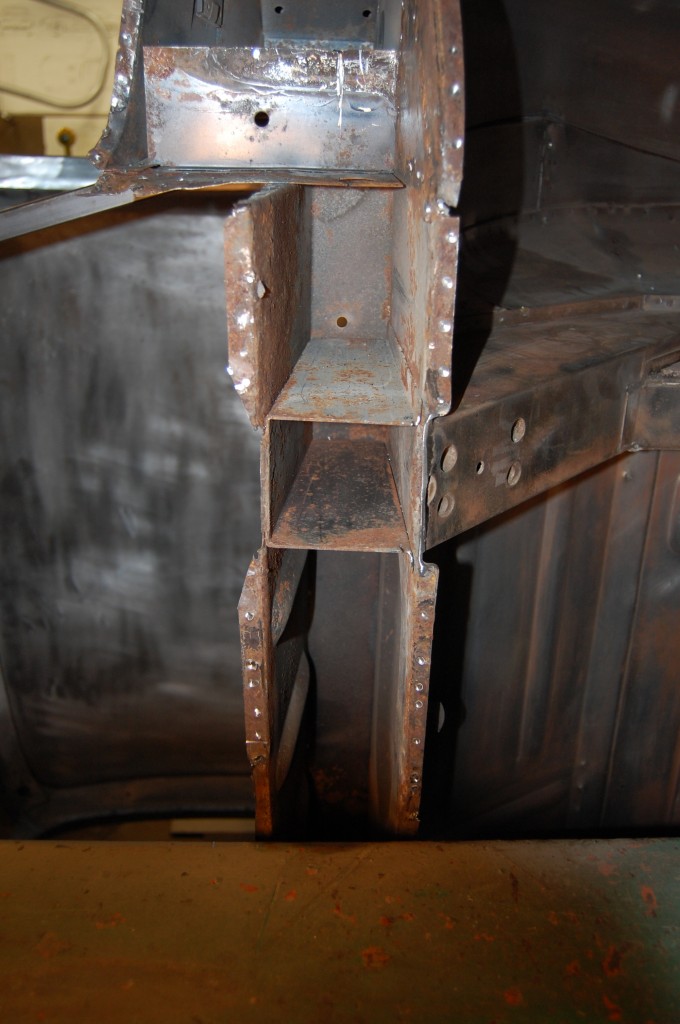
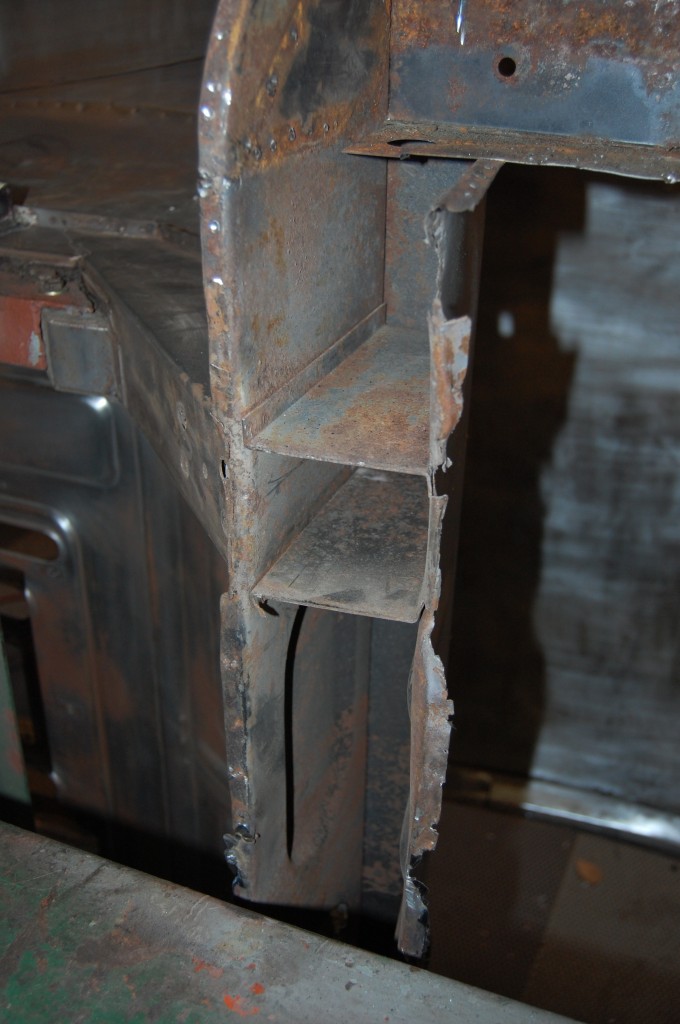
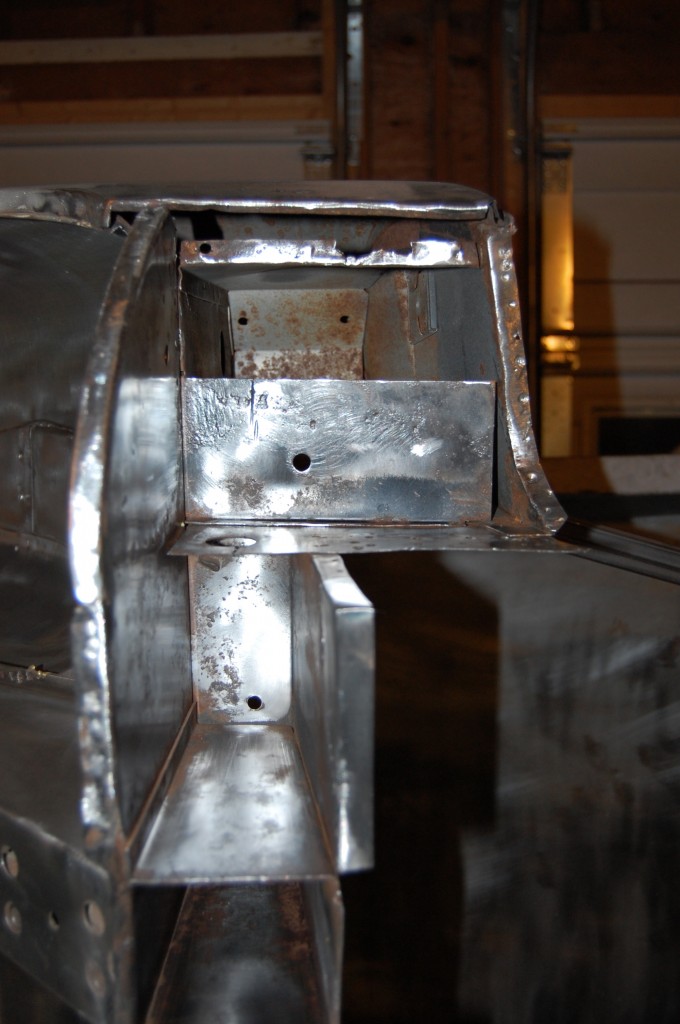
- Cutting out the floors and sills will give you 4 areas just like this at the bottom of the A and B-pillars. This is the lower end of the RH A-pillar, which is usually a little easier to dissect since it is usally not rusty, and the A-pillar itself is heavy-duty at 16-gauge – one of the few 16-gauge pieces on the shell.
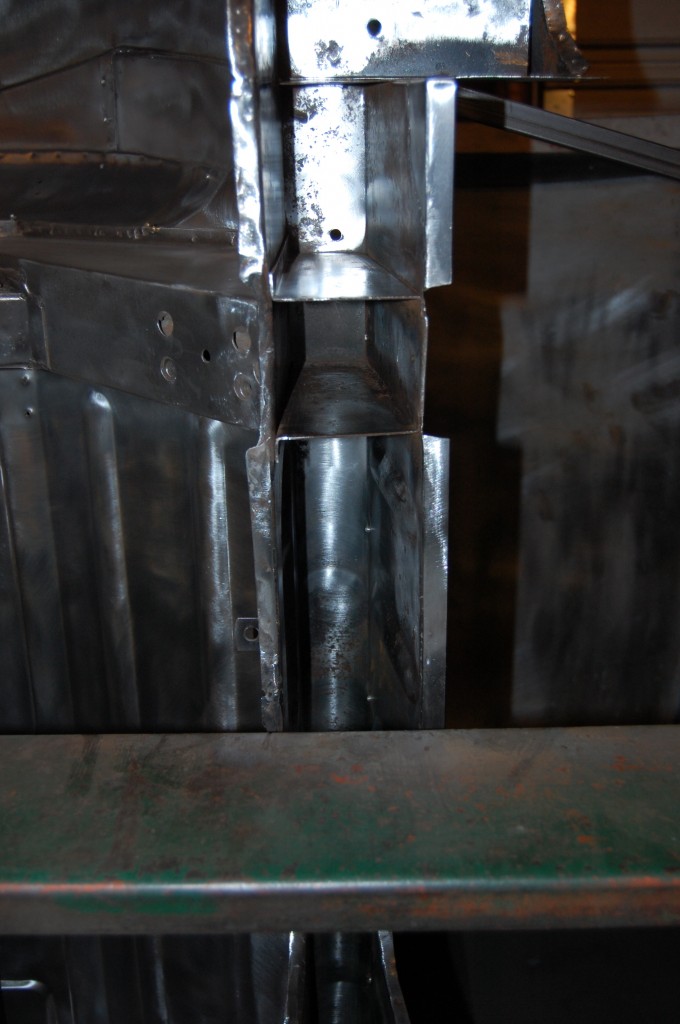
- This is what’s left to remove on the bottom of the RH B-pillar.
- The RH rear lower valance had one big dent in it, and the project came in with a perfect NOS replacement, so we did remove this piece. Note the weld seam up inside the rear wing – welded, hand hammered, and ground down with a disc on the top edge. ALL E-Type coupes have this seam, which runs the full length of the wing.
- This is a shot up inside the RH footwell area. Note that access hole with the flanged edge that has been cut and folded back – more on that later…
- Still chipping away at the LH B-post, and there is some surface rust in here, but this looks GREAT compared to most – I don’t think any of this will need replacement, and we have had several cars in here in the past year that needed the lower 2 inches of every panel shown replaced!
- This is a shot up inside the rear lower bulkhead again. There is minimal surfcae rust, and trust me, for an E-type, this is MINT!
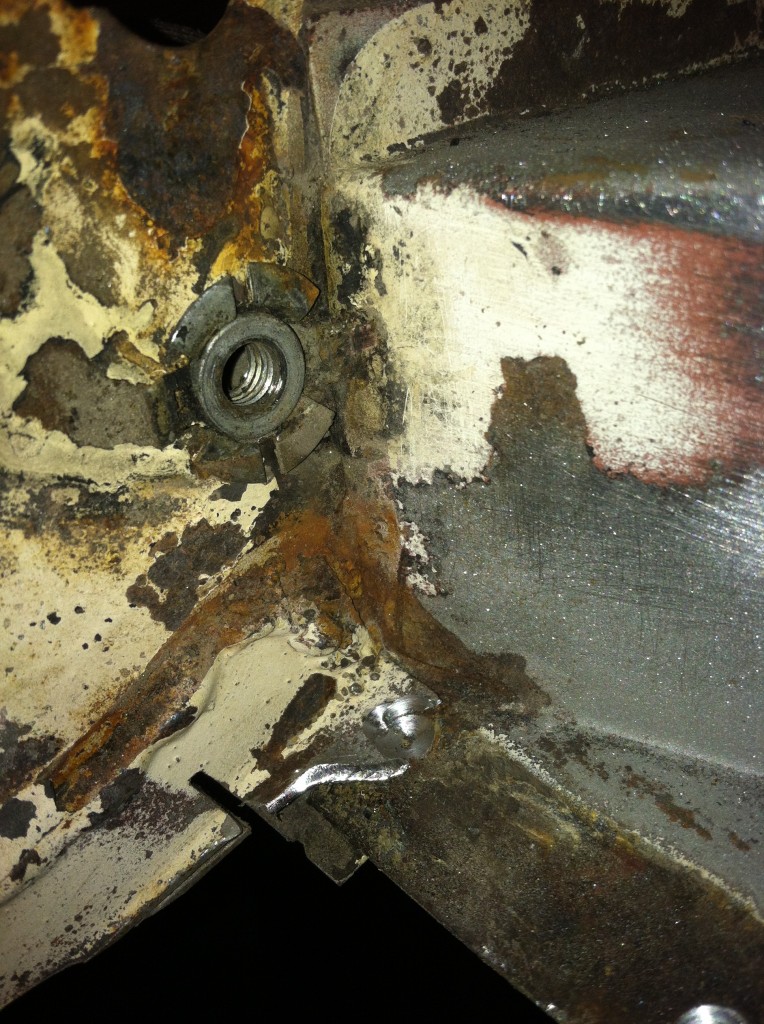
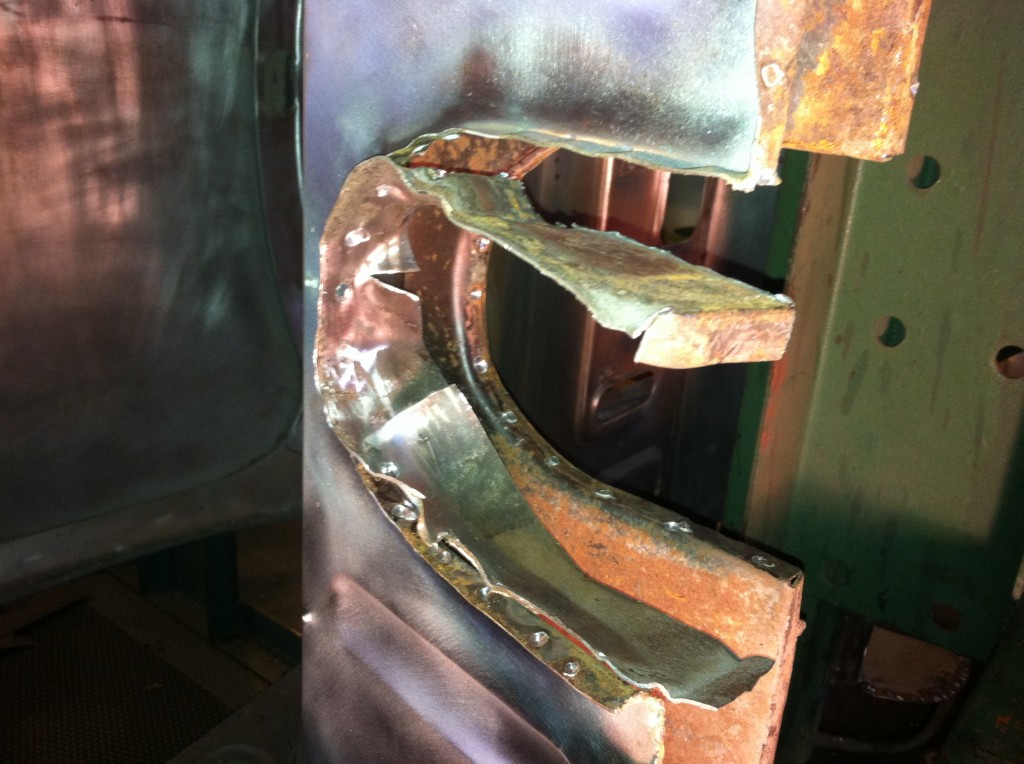
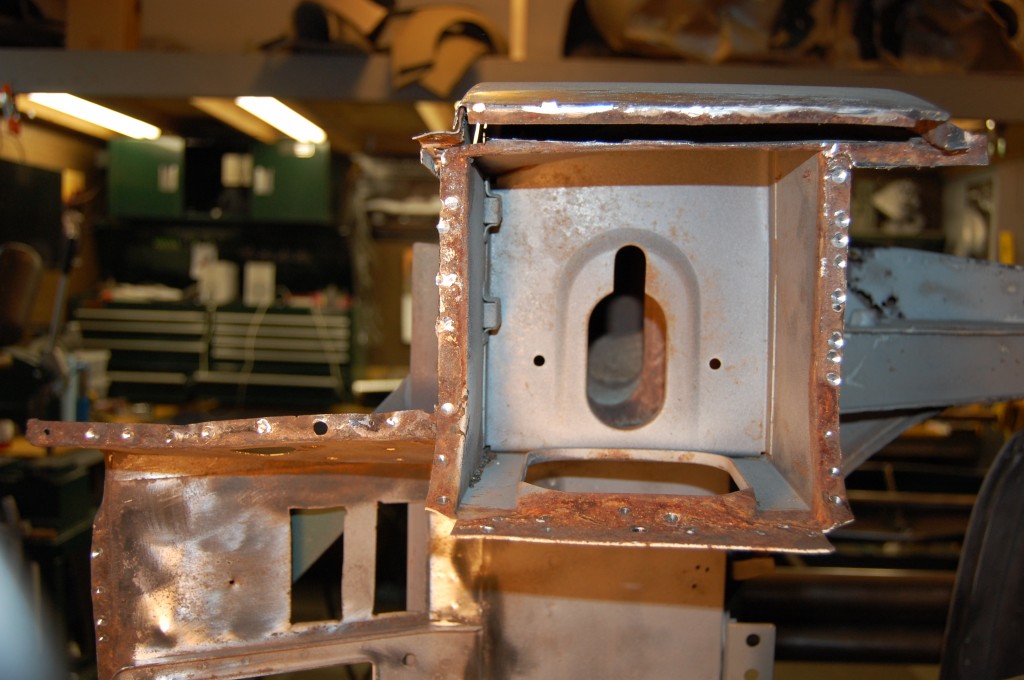
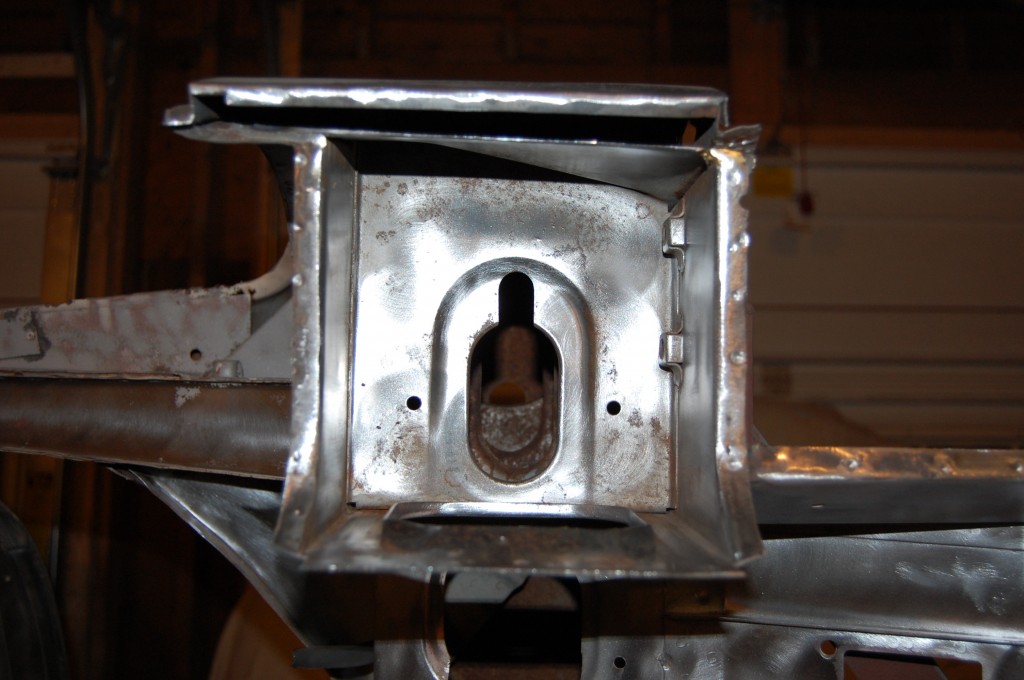
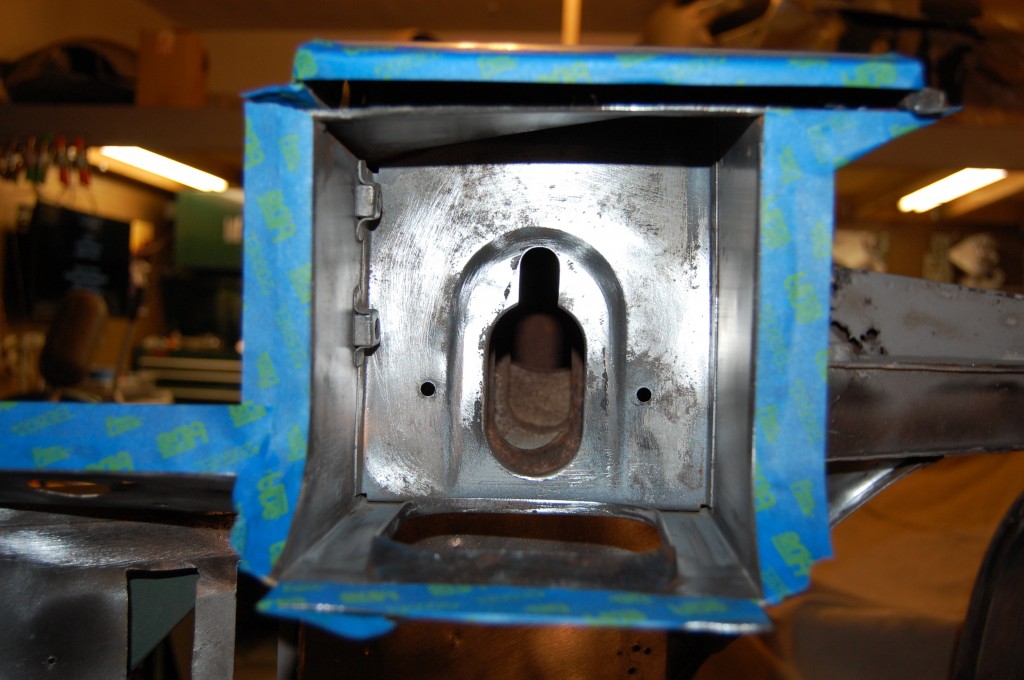
- This is a shot of the LH A-pillar bottom after dissection of the remaining sections of the inner sill have been removed, revealing this “keyhole” stamping present on all E-Types. At the factory, I believe a large alignment pin went up through here and several layers above as well.
- The LH bellhousing side panel was badly butchered (even though there was no rust..) and will need replacement, so it has also been removed.
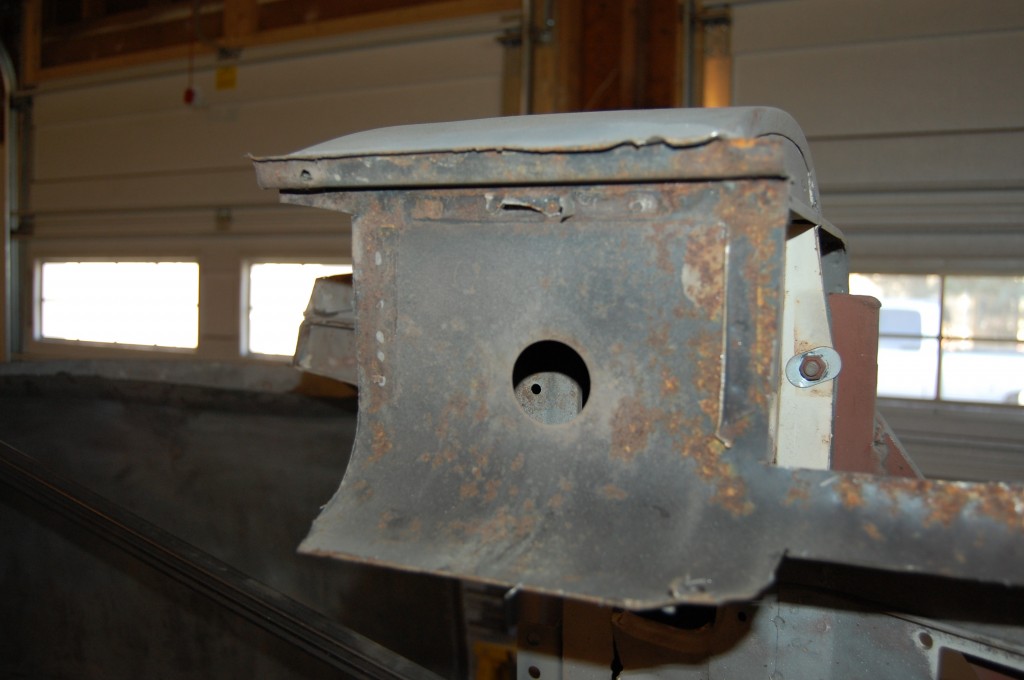
- This is a shot of the forward boot floor flange after dissection of the boot floor.
- The keyhole of the RH A-pillar. This is hands down THE CLEANEST forward bulkhead I have EVER seen! It probably came out of Coventry with the little bit of surface rust that is present!
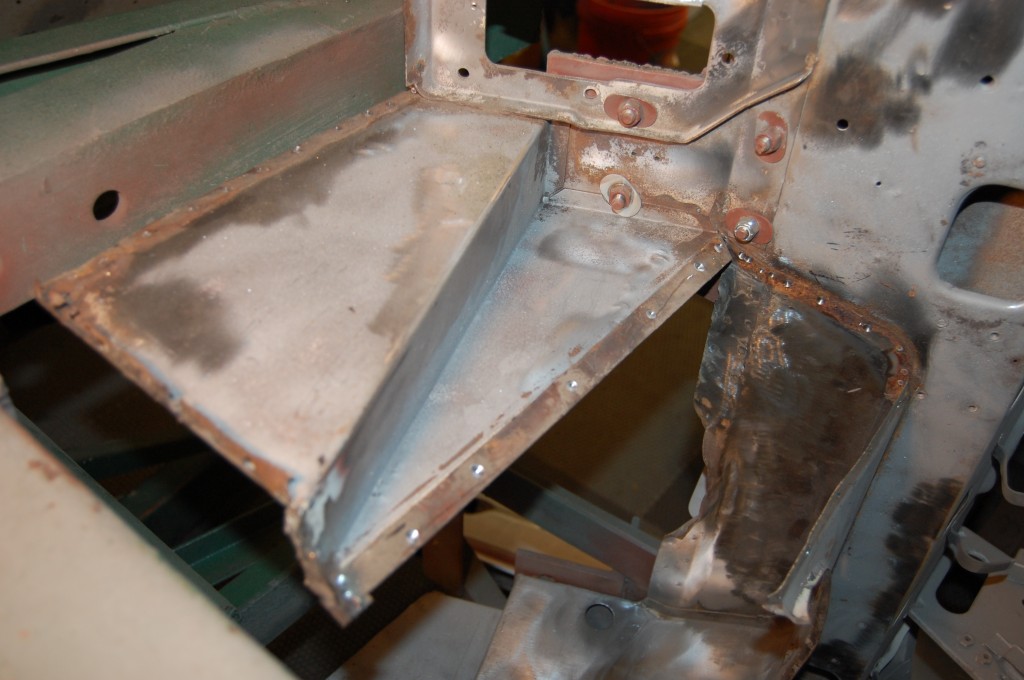
- Both gearbox side panels needed to be removed, and the RH bellhousing side panel needs some help here as well. Note that this early car does NOT have the “Wedge” panel!!!
- A close-up of that damage.
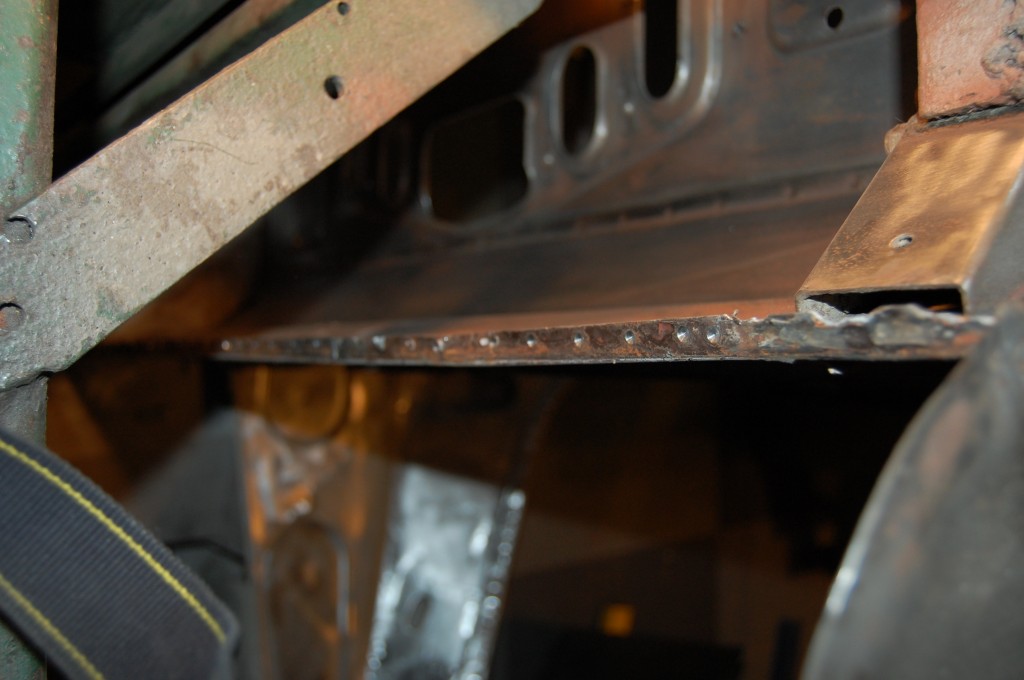
- The RH B-pillar area is not completely dissected. Note that little flat panel that sits on top of the inner sill. It doesn’t do anything, and it is NOT actually welded to anything other than the interiro side panel. For this reason, I’m pretty sure that this is a factory jig alignment panel – used to help the assemblers “set” the rear bodt shell onto the floor and sill assembly. This little piece often rusts badly, and we almost always just slice it off and do not replace it. In this case, it is still good and will be saved.
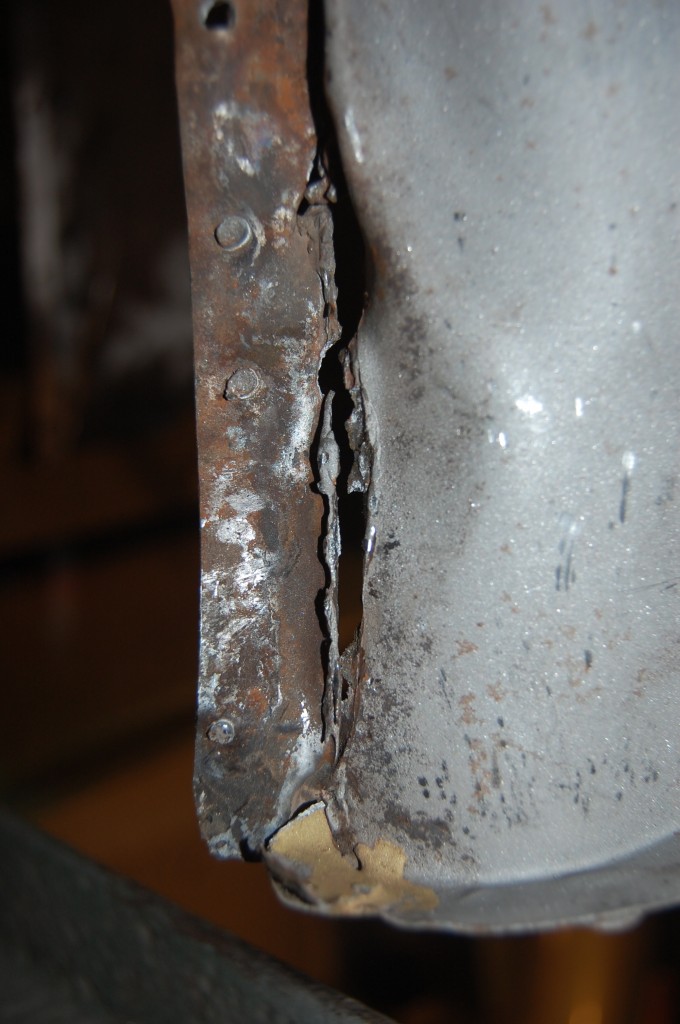
- This flange of the rear lower bulkhead face panel was rusty and difficult to save. We ended up slicing it off later and replacing it. It was one of the few “casualties” of this dissection – on some cars, we have to rebuild ALL of the flanges!
- Another shot of that – it was not our work – the job just could not be done without damaging this because it was already rusted so thin…
- There is perforation rust in the lower portion of the panel directly behind the rear wheel on the RH side.
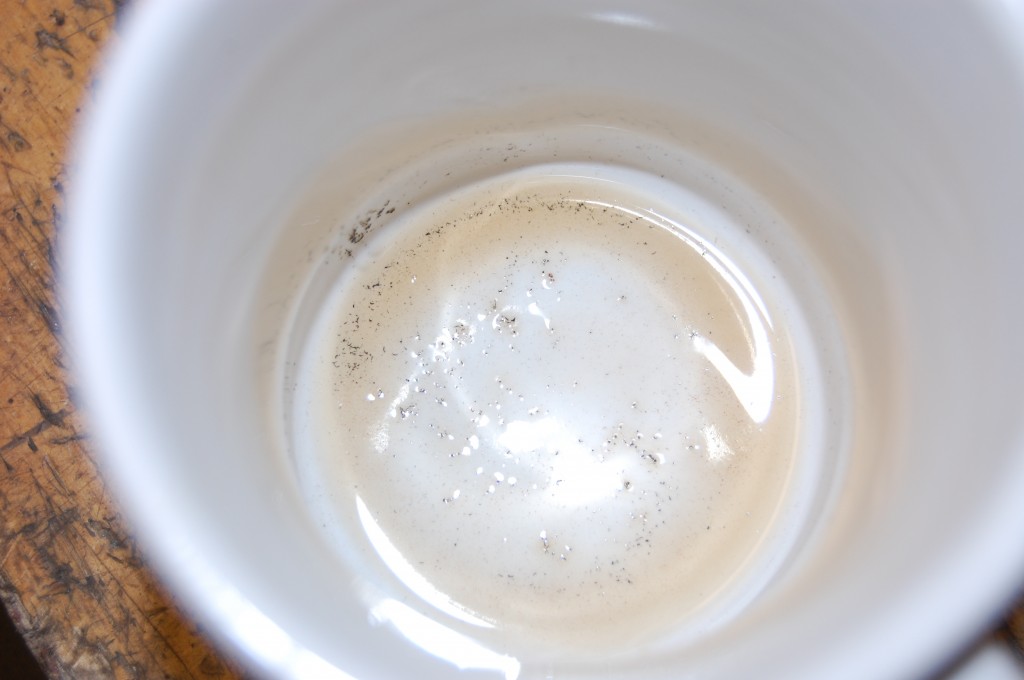
- This shot was mixed in with these… This is what my coffee cup often looks like at the bottom when I finish my coffee… Those aren’t grounds – it’s steel dust – and this is what sunk. I’m pretty sure I’m getting my fair share of “Iron”…
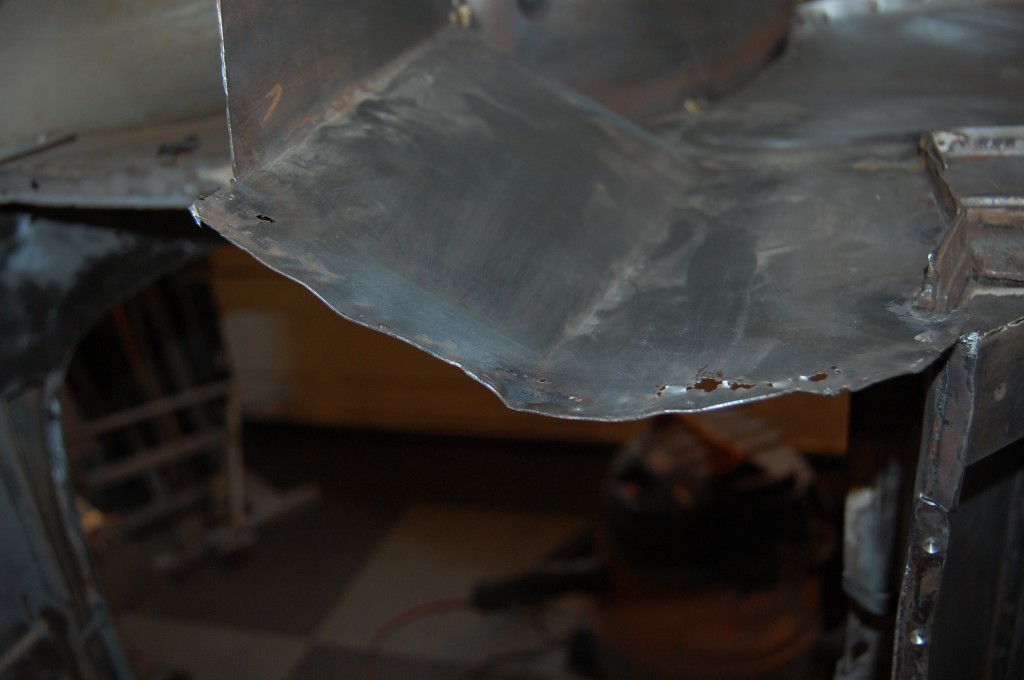
- After dissection was complete, we go ahead and replace any flanges or lower sections of panels that could not be saved. This got about 2 inches plus the flanged edge itself.
- And some other patches as well…
- Things are looking up! All of the “bad metal” has been removed, and we are well on our way to sanding and scuffing down the shell for priming.
- Most pictures you see are taken after things are cleaned or at least straightened up. Here is an action shot – during the work, tools pile up VERY quickly until you are literally tripping over them!
- The next step is to remove ALL of the surface rust that we can – by whatever means are at our disposal!
- This is the inside of the rear lower bulkhead after cleaning. You’ll note that a little bit of surface rust does remain… That will be OK – the red oxide is designed to stick to this well and will seal it in for evryone’s lifetime, and beyond… Optimally, this shell would now go BACK to the sandblaster, but it’s just not really feasible for multiple reasons, not the least of which is economics… And you can’t really go all the way on dissection before blasting, because you need that initial blasting just to see what you are doing!
- So we get in there and do the best we can, and it’s an ALL-OUT effort – just ask Brent…
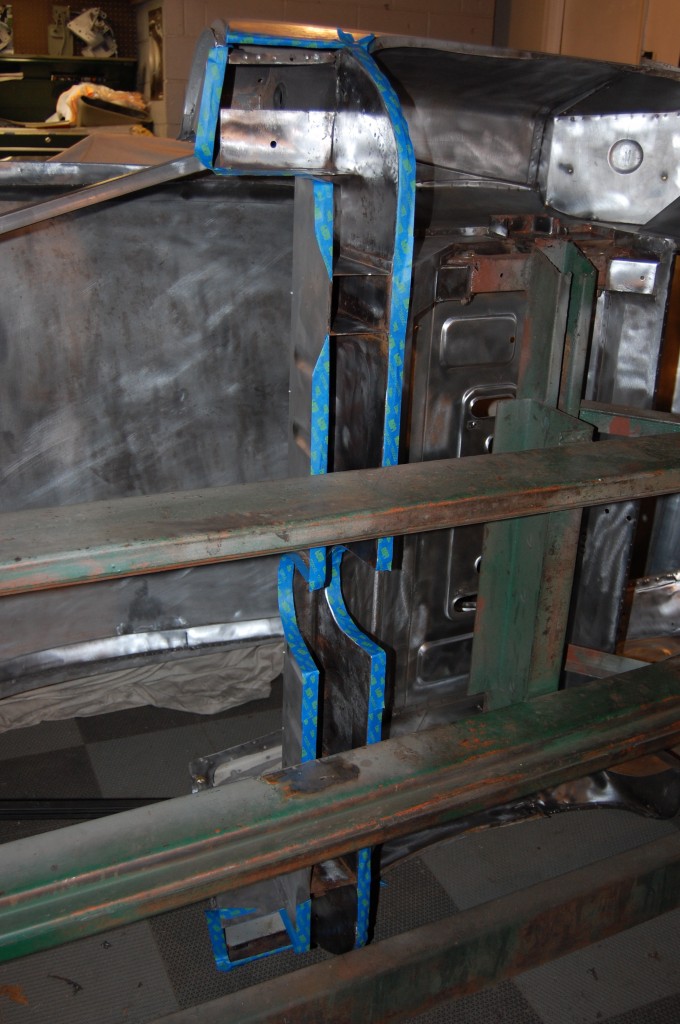
- Once things are scuffed and cleaned as well as we can possibly do it, we tape off the flanges that will be welded to the new panels, and prepare for priming with red oxide.
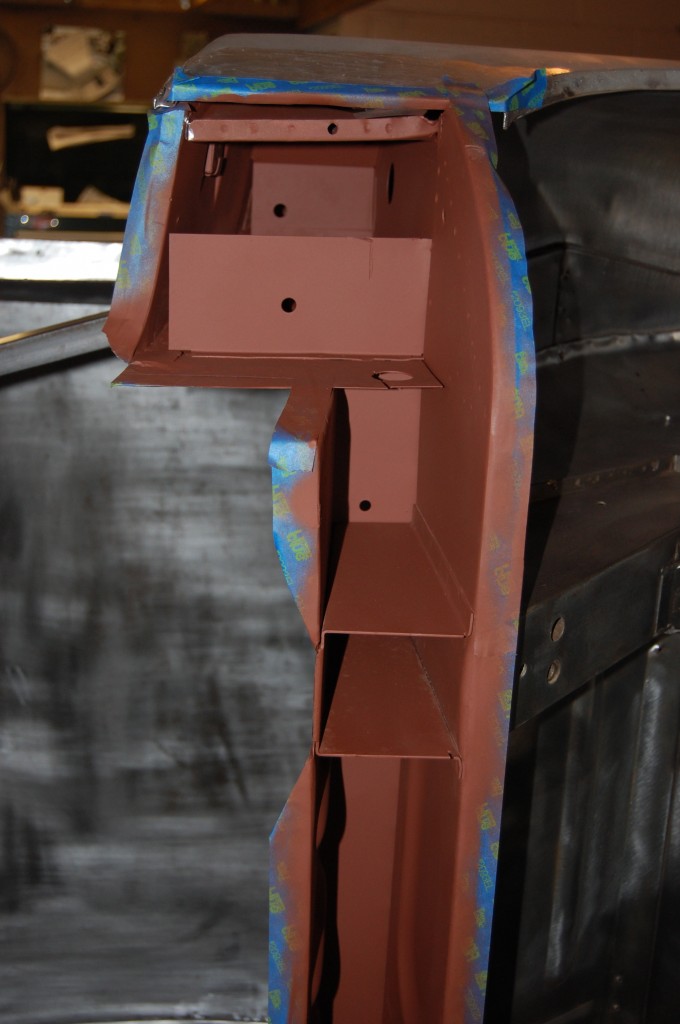
- Here is a shot of the LH B-pillar before internal priming.
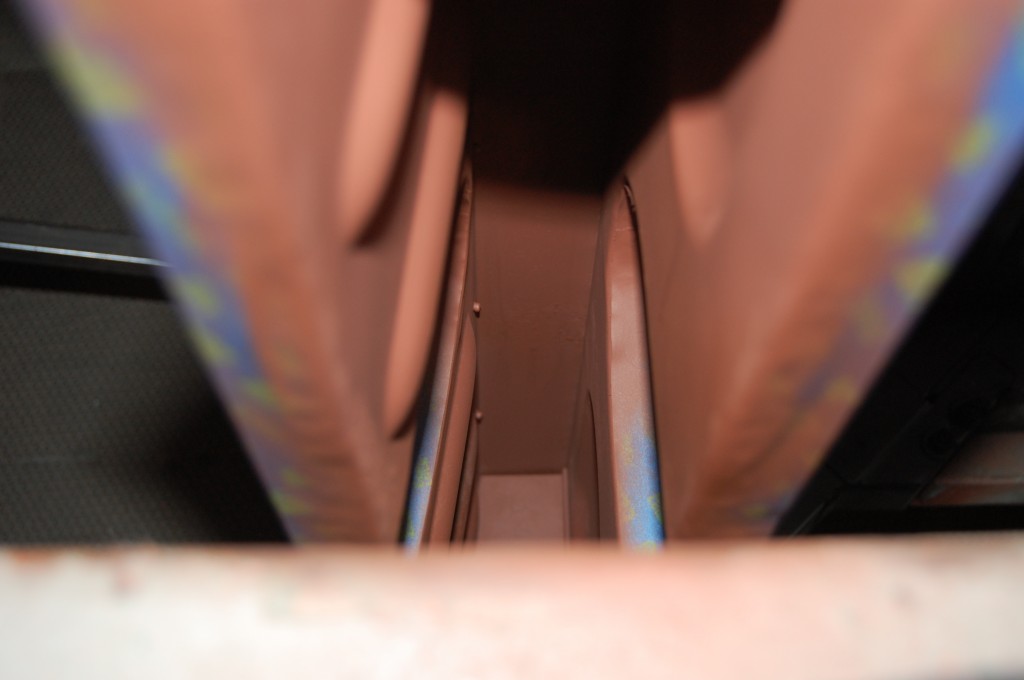
- And one final shot of the rear lower bulkhead internally.
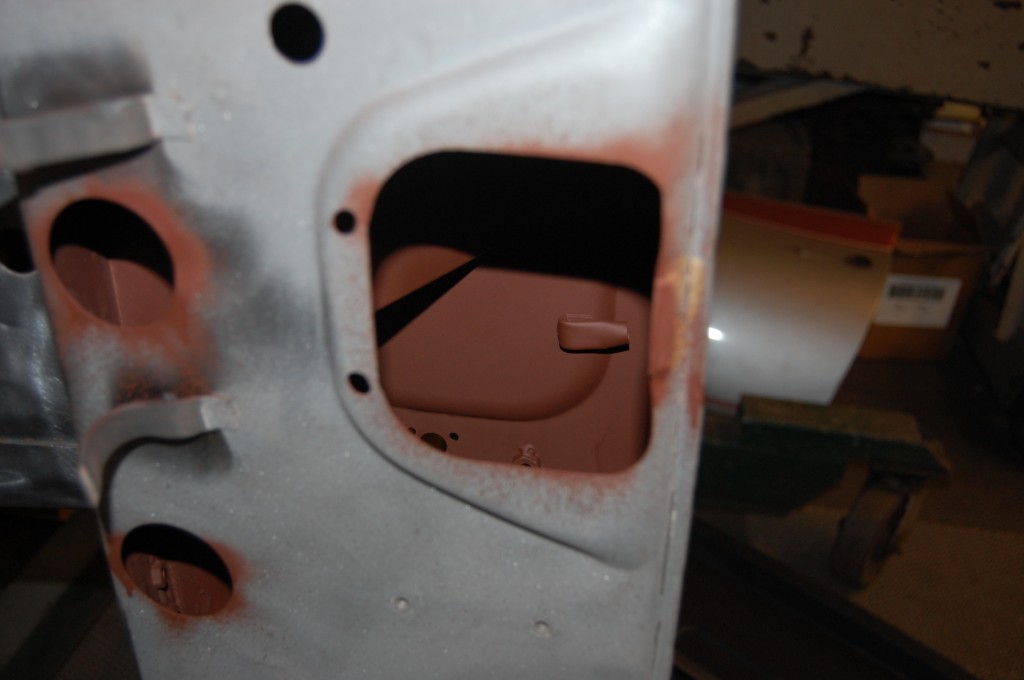
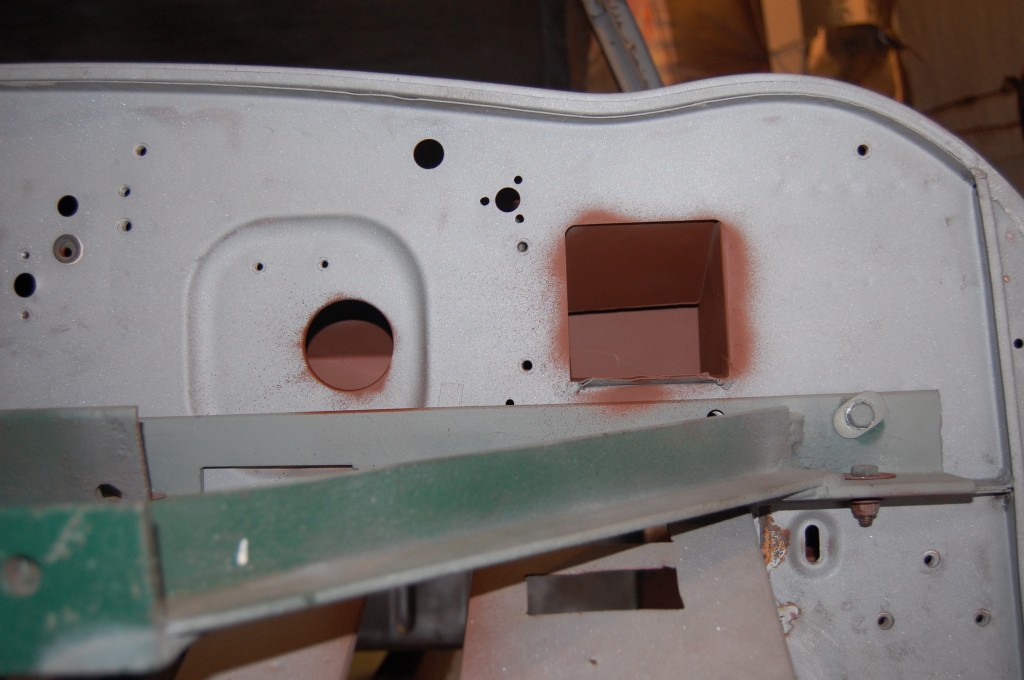
- The next step is to prime the enclosed sections with red oxide. This is a truly PSYCHOTIC effort by yours truly, where it just becomes a challenge and a game almost to get every square inch of the shell coated internally!
- I don’t just hit it from one angle – I will stick the end of the sprayer into any and ALL holes in the shell and go berserk!
- This is a shot up inside the rear lower bulkhead again.
- Everything is scuffed to make sure that the primer will really STICK!
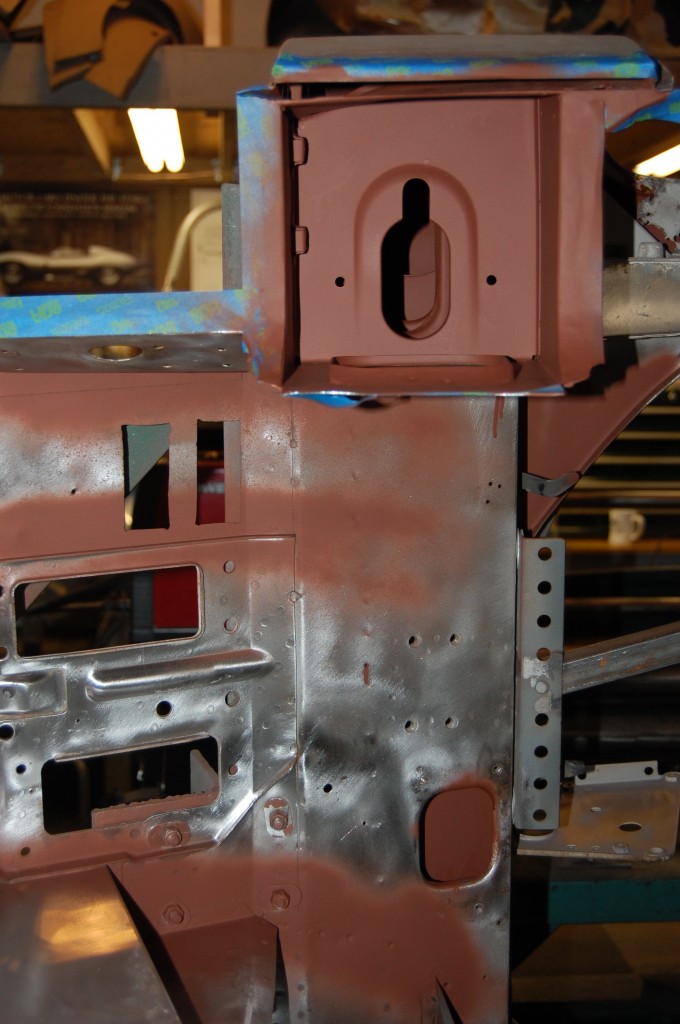
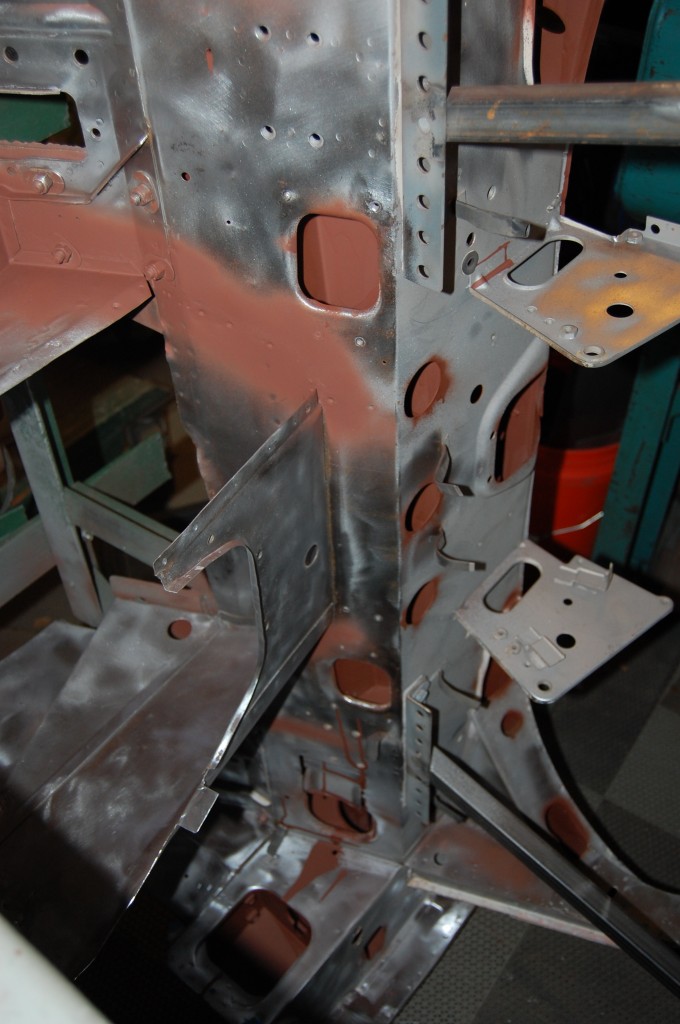
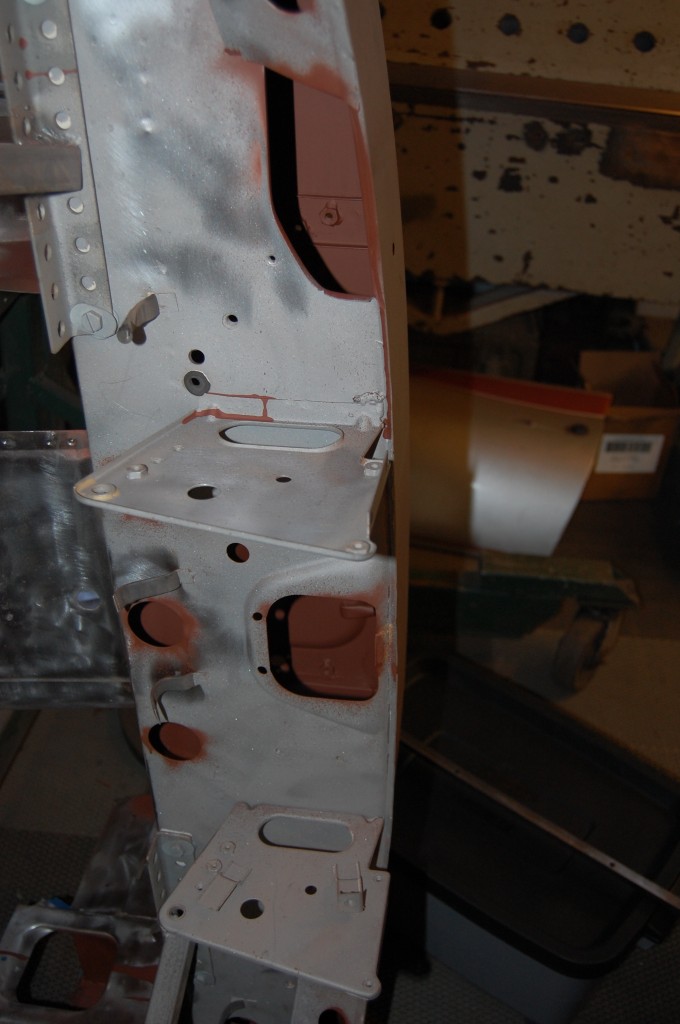
- Next, we turn our attention to priming the INSIDE of the forward bulkhead, and this is where the fun really starts!
- This is a real labyrinth of panels inside, and I promise you that EVERY nook and cranny is coated, and then some! Red Oxide is typically running out all over the paace during this step, which includes multiple turns of the rotiserie for access.
- I do try to keep the mess from expanding to the OUTside of the bulkhead, but inside, the gloves are off!
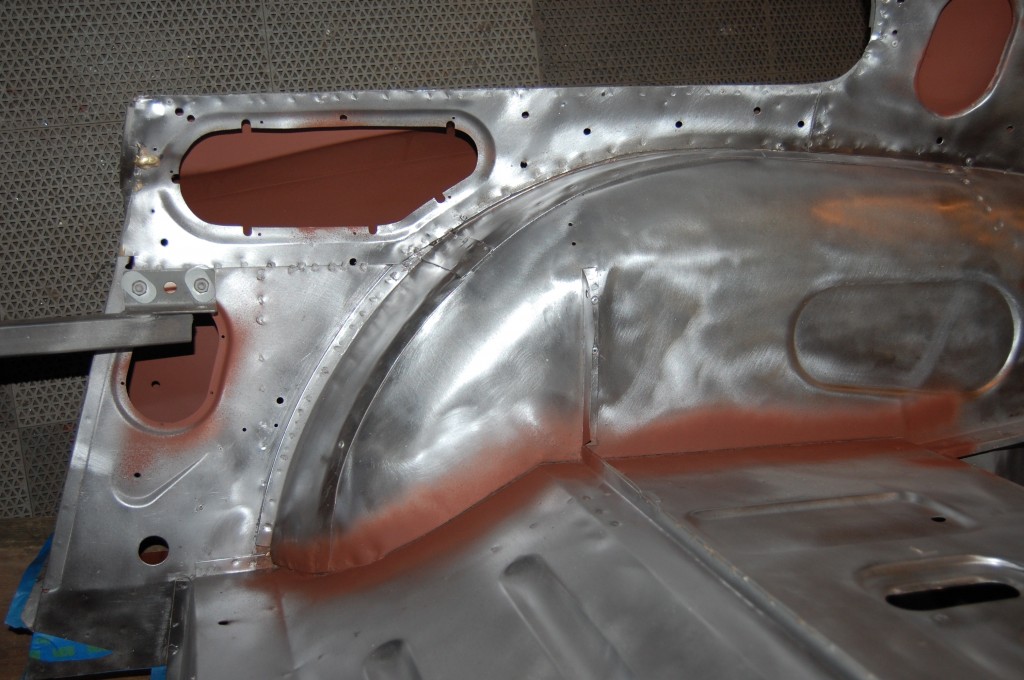
- The same is true of these areas inside of the rear wings. And I will also spray a little red oxide on areas that I feel are heavily pitted, etc, or just need a little extra “love” in their seams, etc.
- Finally, after a couple of HOURS of fun, I’m convinced that every internal surface is coated.

