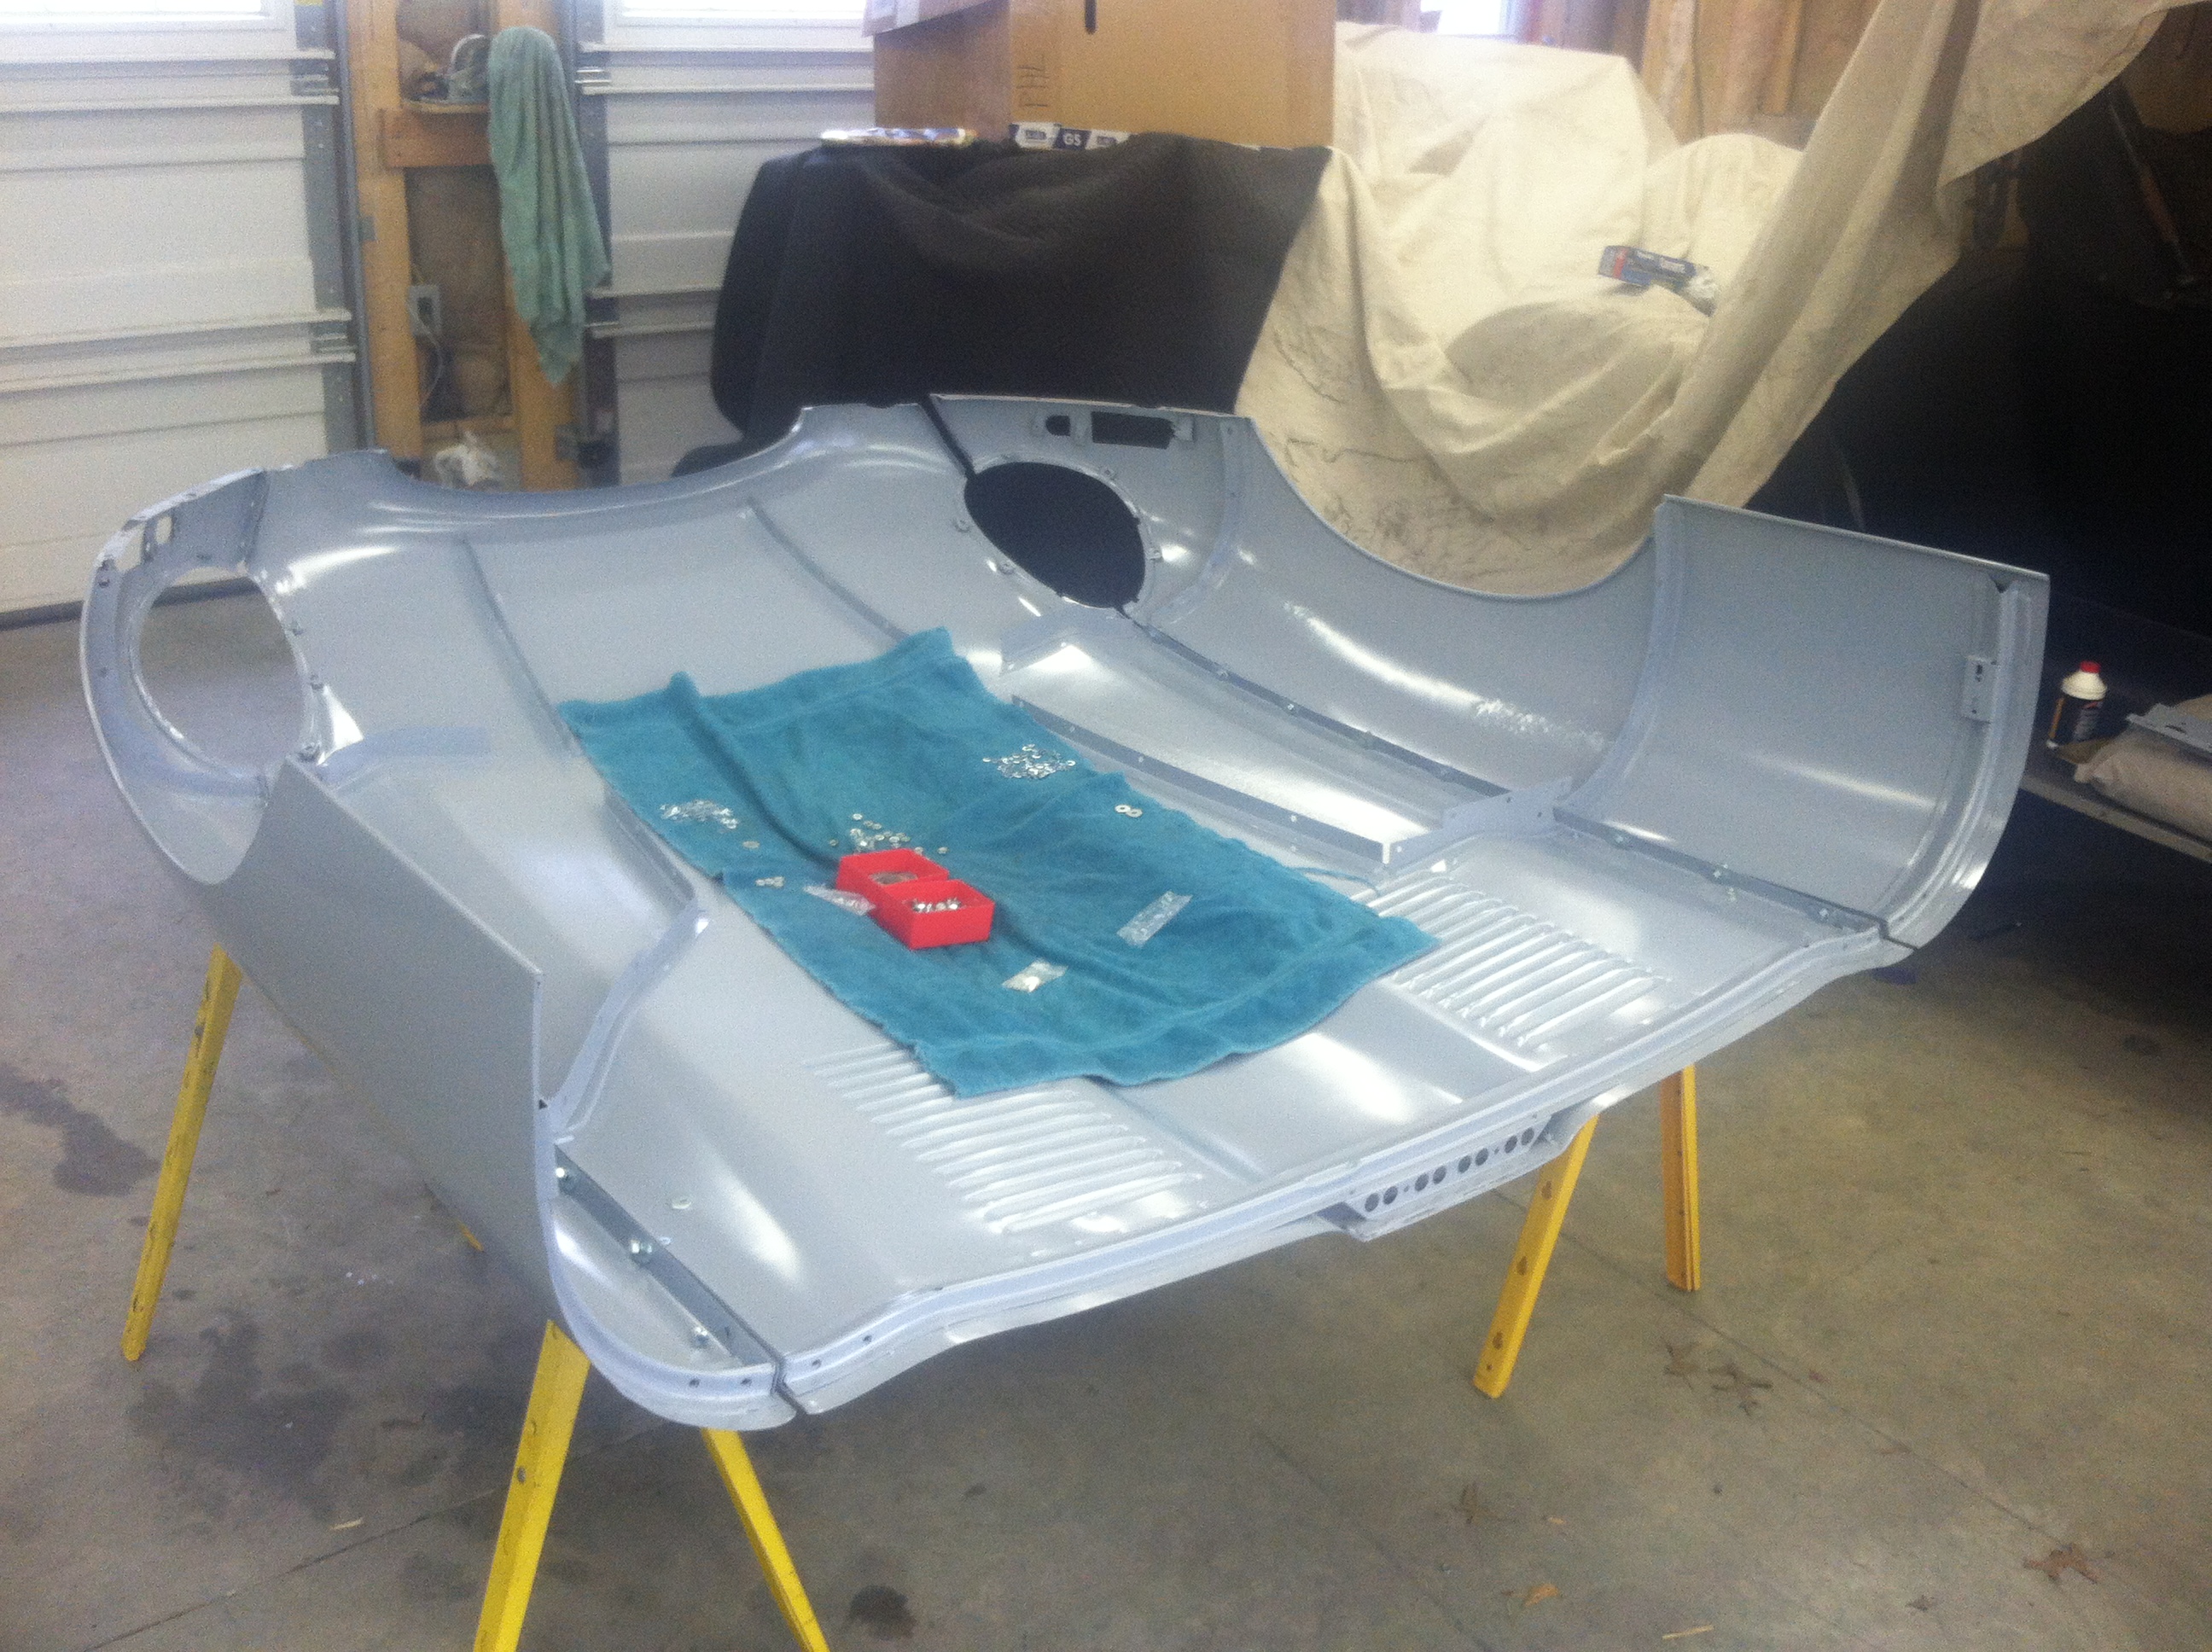
First we attach the wings using all new hardware. Look closely in the wheel arch section of the LH side (RH in the photo), and you can see the imperfect surface left as a result of the poor hammering and heavy grinding of the last guy who worked on this (explained in Part 1 of this blog…). This can be easily handled, but I did want to point this out in this photo, as the glossy primer shows the true surface here.
Series 1 E-Type Bonnet Project – Part 2 – Assembly & Primer

