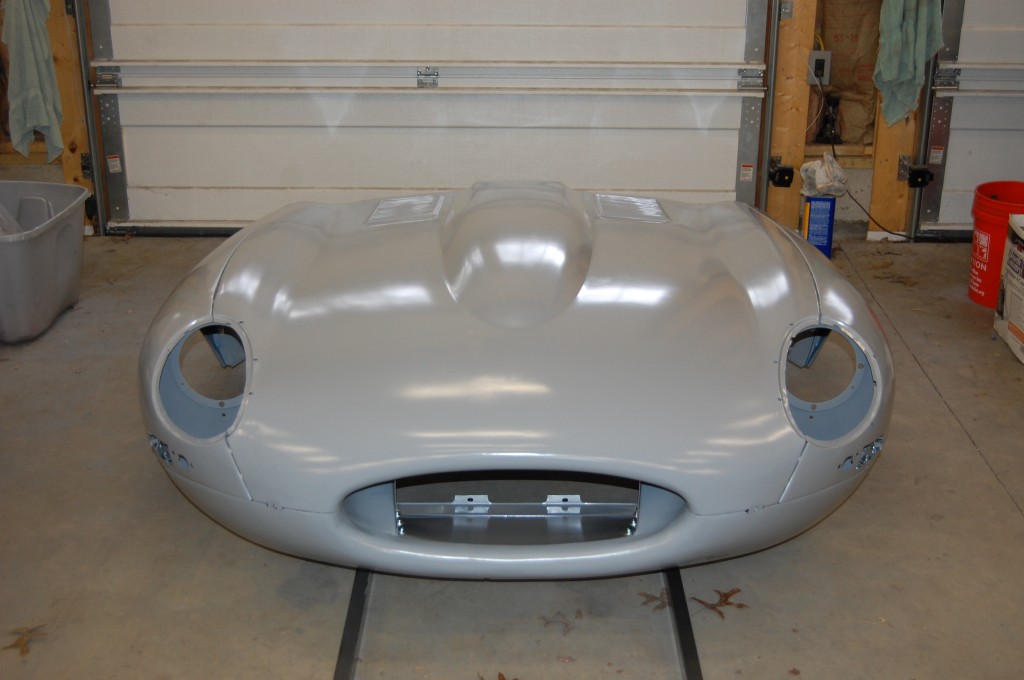
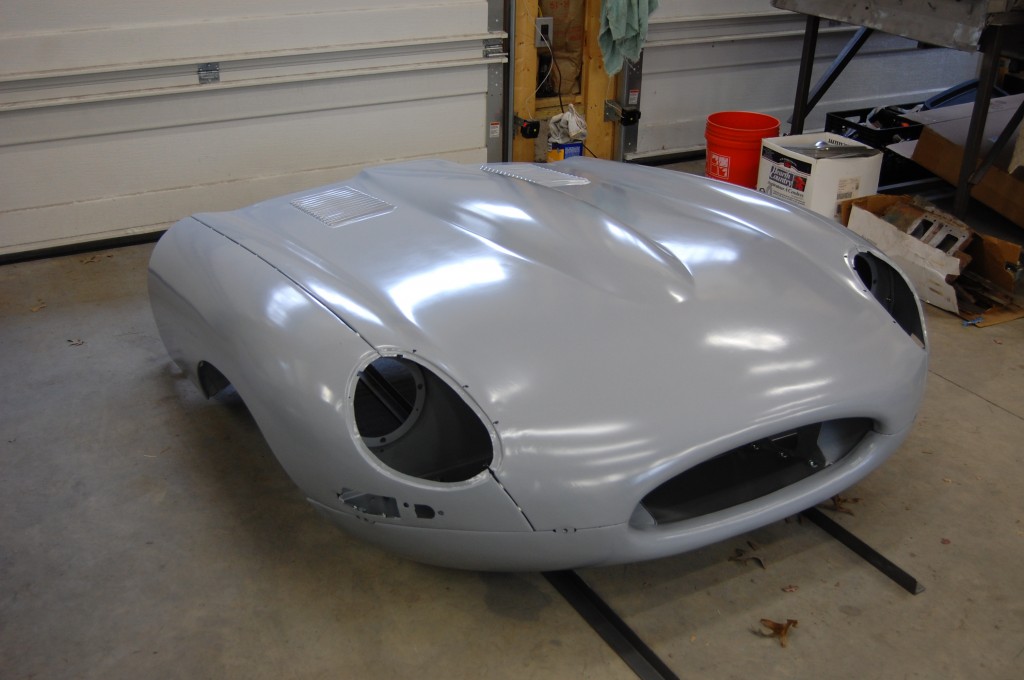
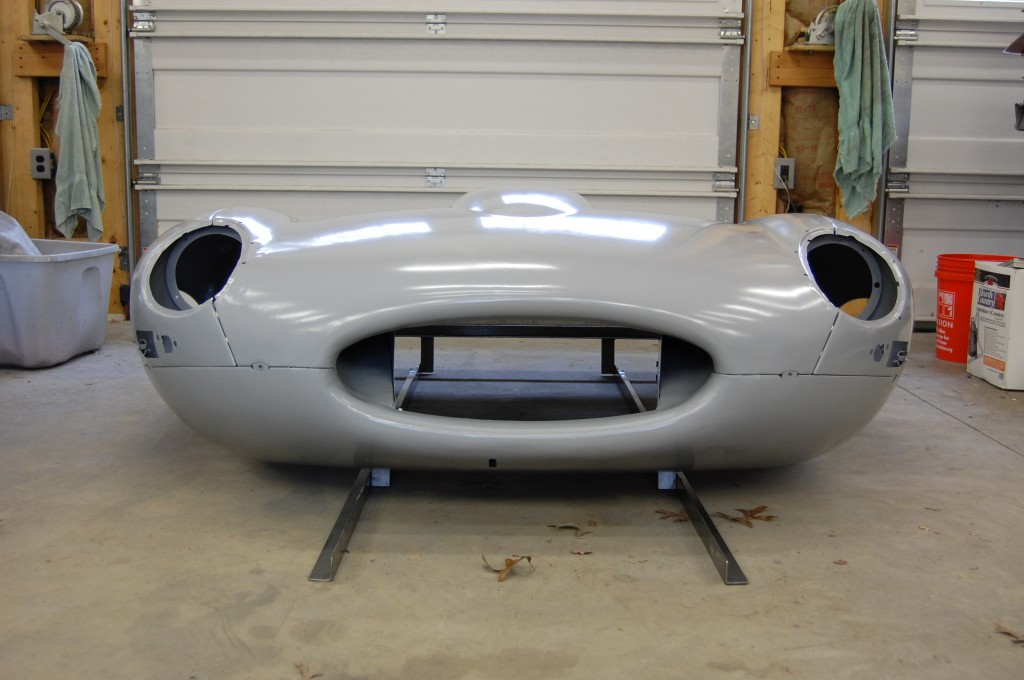
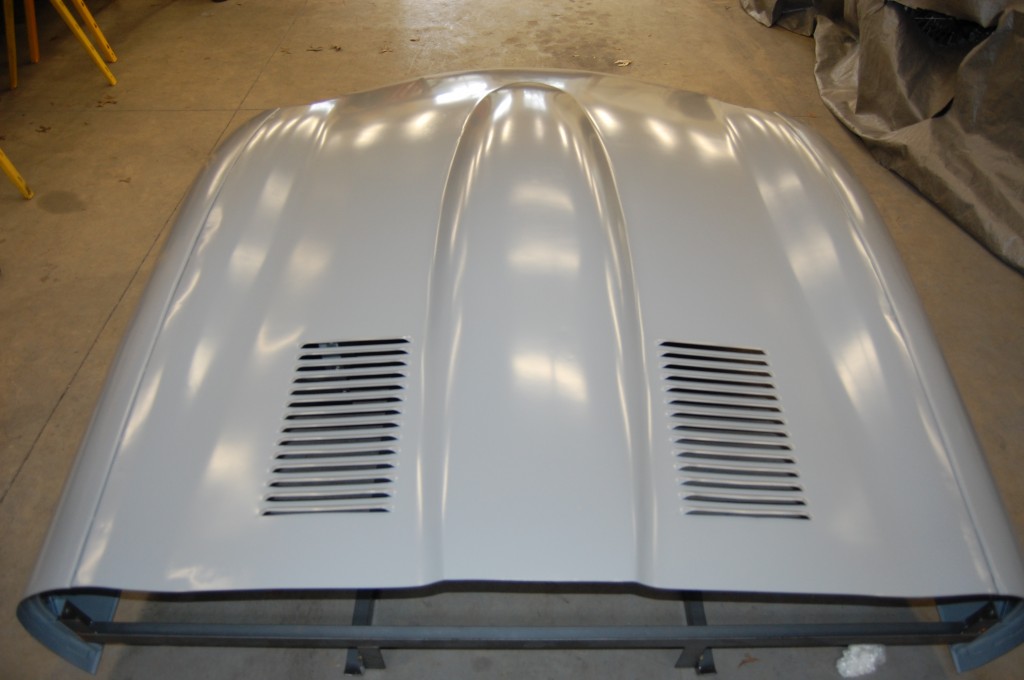
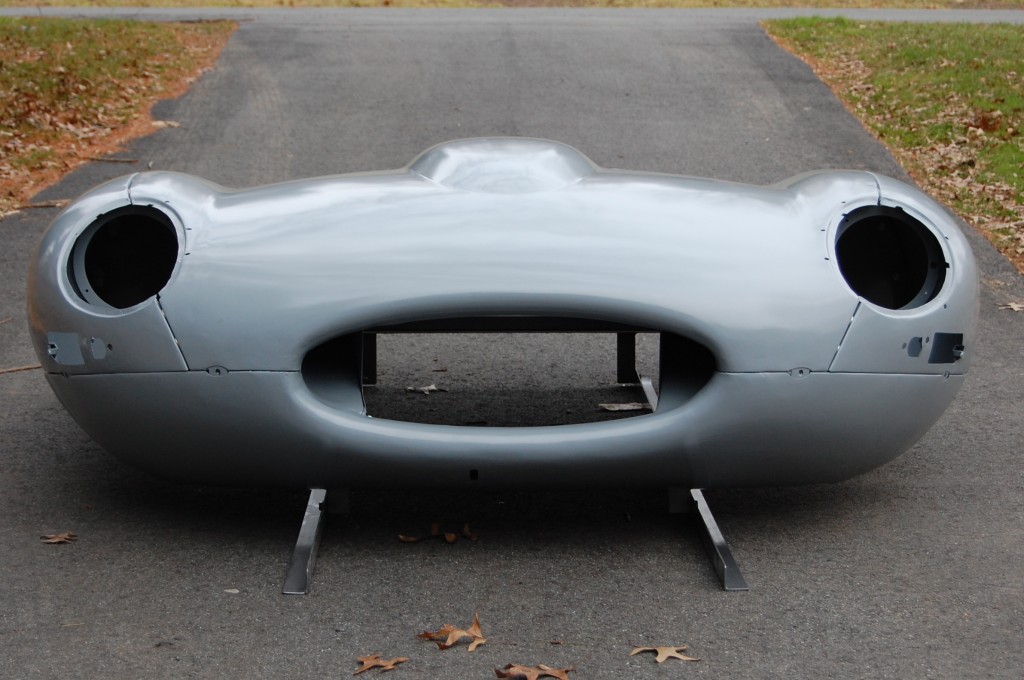
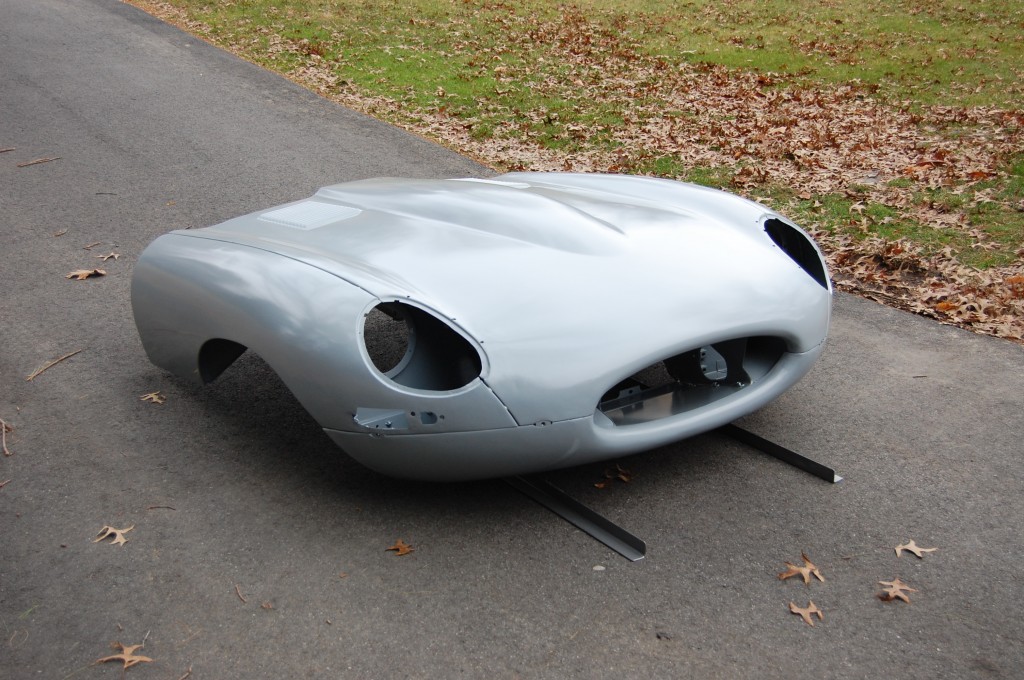
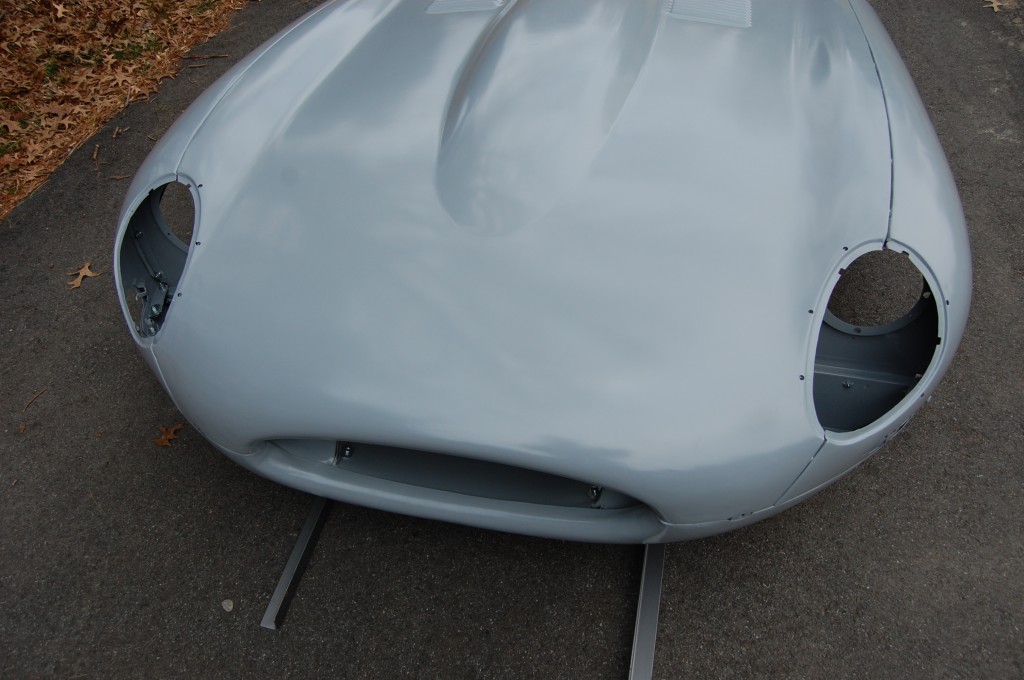
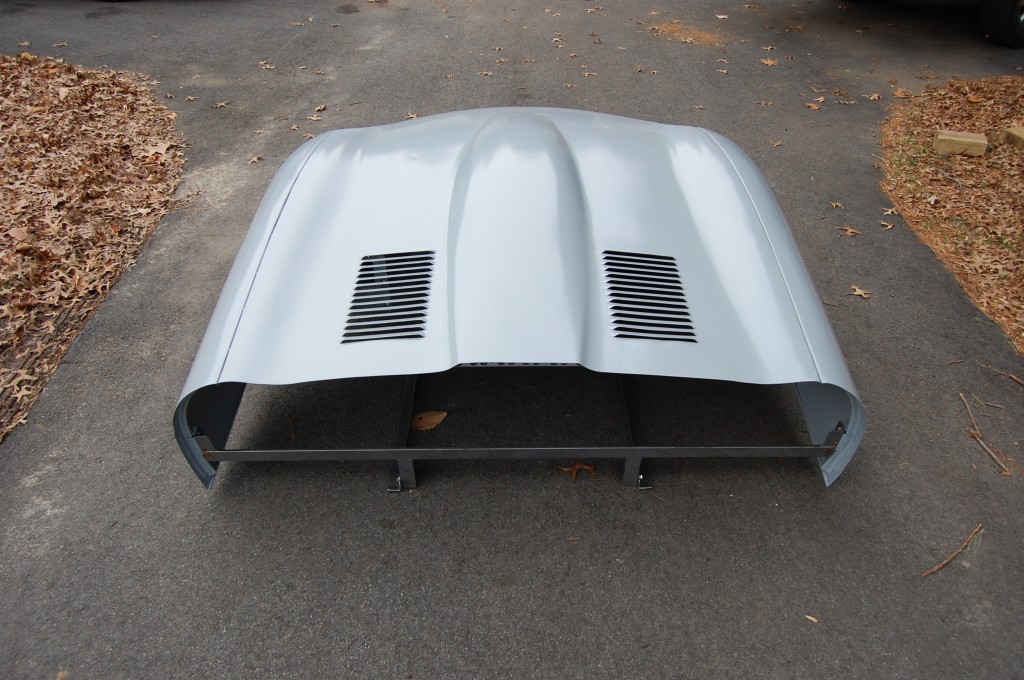
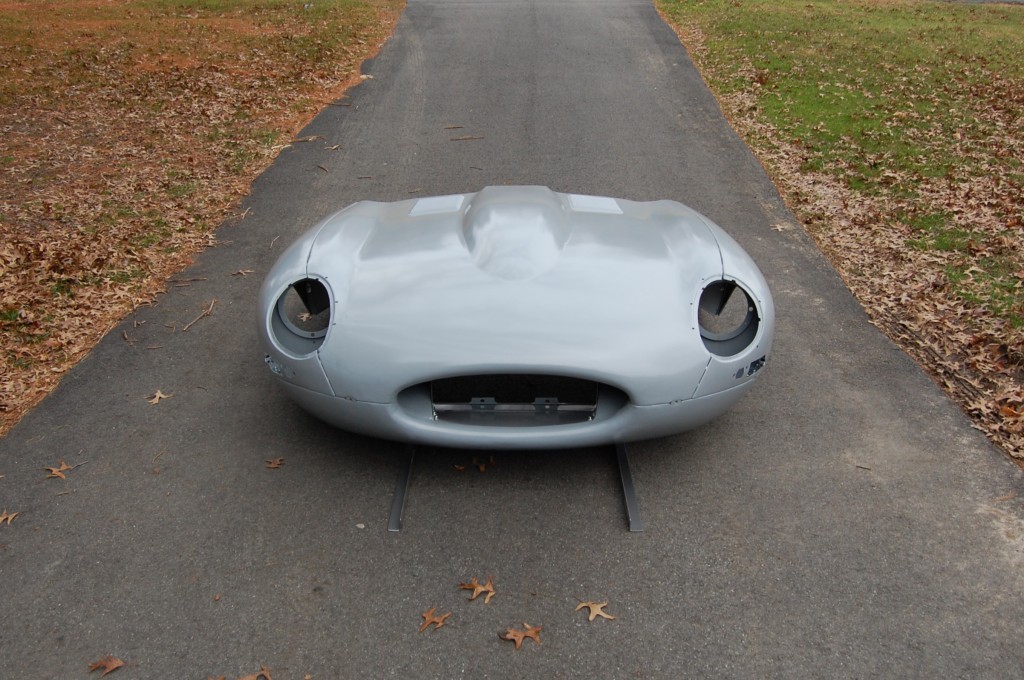
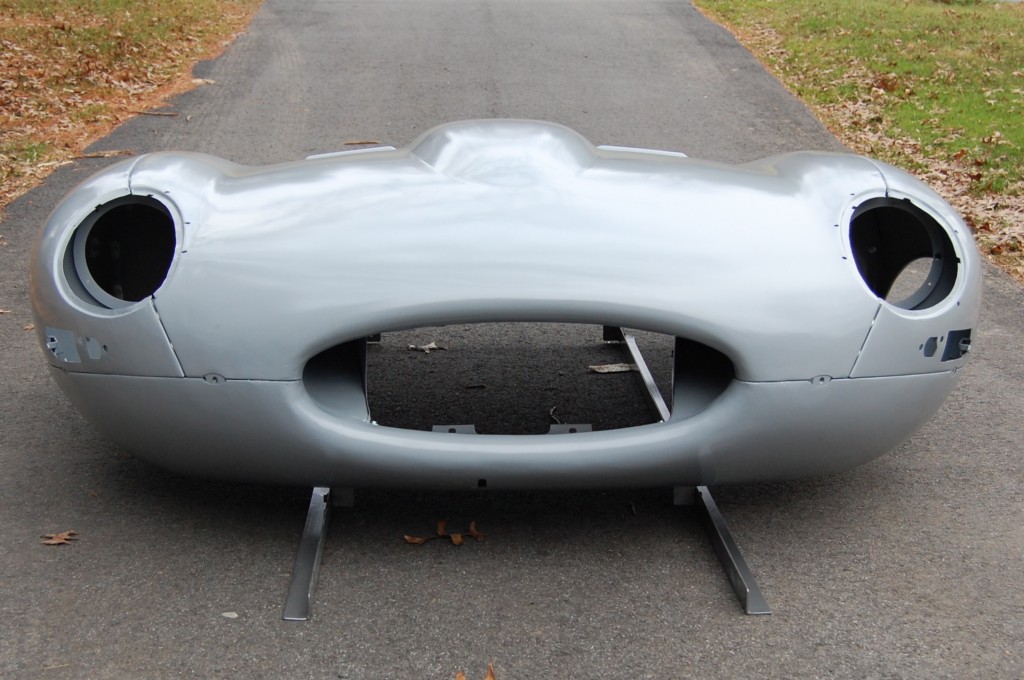
In the second half of this blog entry, you’ll see photos of what the finished product from Monocoque Metalworks looks like.
In my somewhat biased opinion, you simply cannot have a bonnet better than what is shown in these photos for your E-Type:
- It is an original bonnet from the factory – every dimension, curve, and especially the internal features are all EXACTLY as they should be.
- Because it is an original piece, it is going to fit ANY original E-Type body shell quite well with a “normal” amount of shimming and trimming of the rear edge.
- Every square inch of every panel – inside and out – has been blasted bare and coated in 2 liberal coats of the best 2-part epoxy primer available – it will NEVER rust – and is guaranteed against rust for your lifetime!
Take a look at what we can do with YOUR bonnet!
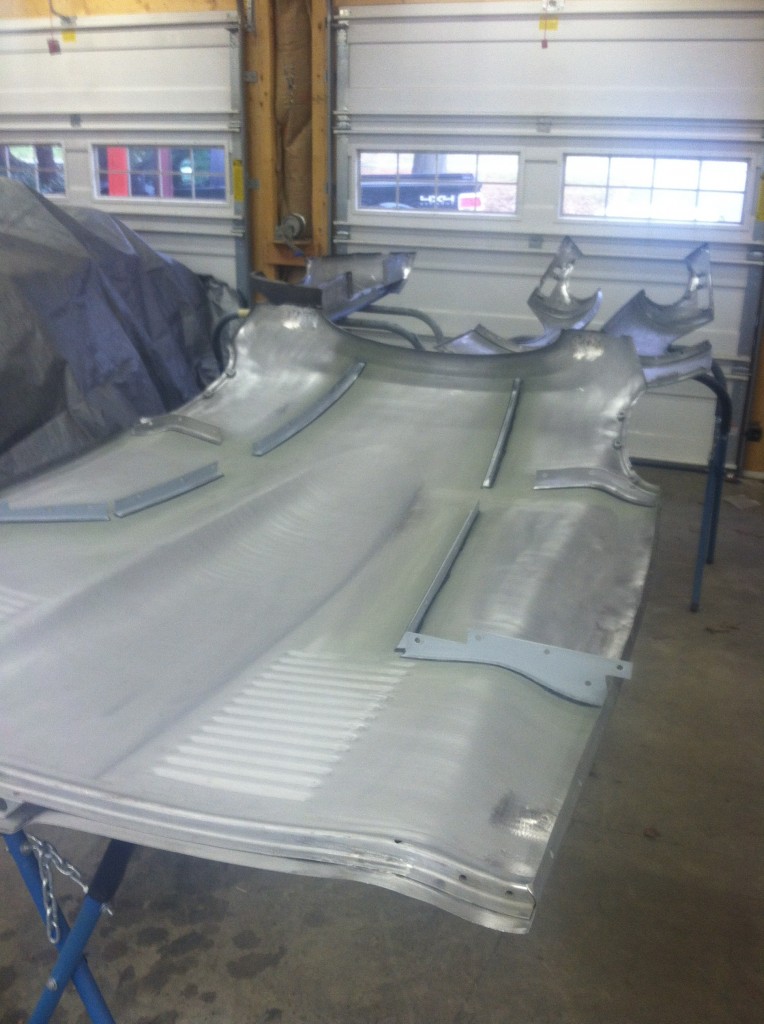
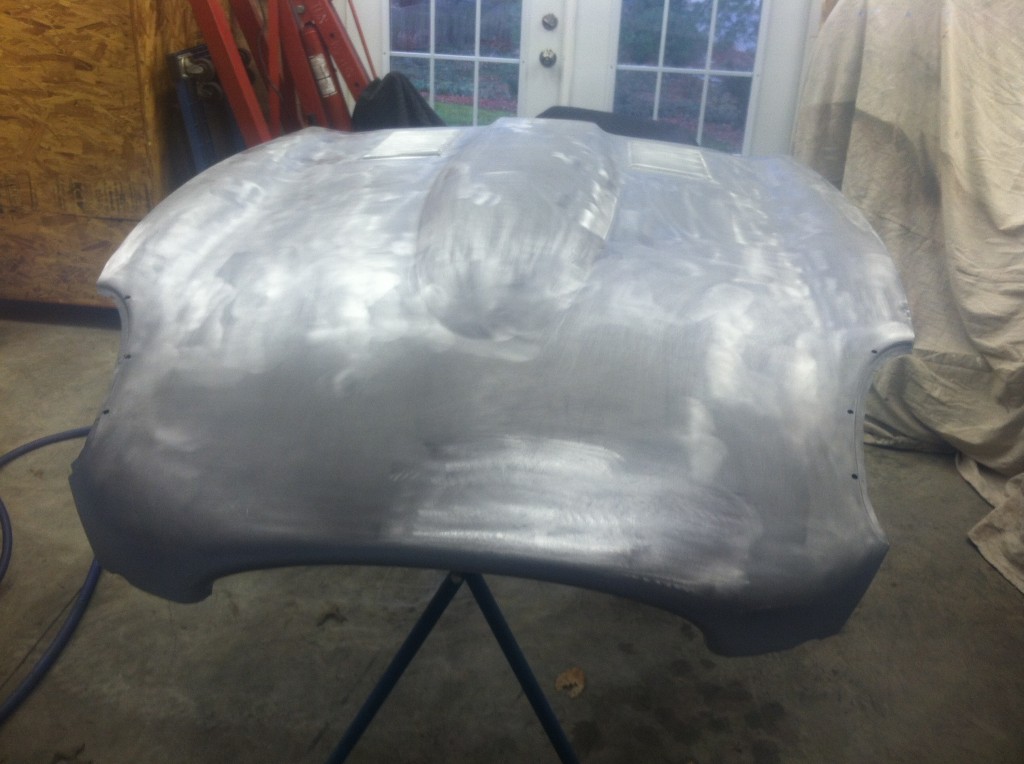
- Lately I have a new method/order of priming the bonnet. We prime all of the internal flanges, mudshields, diaphragms, and the inner valances, but leave the 4 main outer panels bare until after the test assembly and gluing of the flanges, during which step we often have to make changes to the corners of the panels, etc. But the adhesive should not be applied to bare steel, so I do spray the areas where the flanges will be glued down with a coat of self-etching primer, which is about to be removed in this shot before applying the final coat of epoxy.
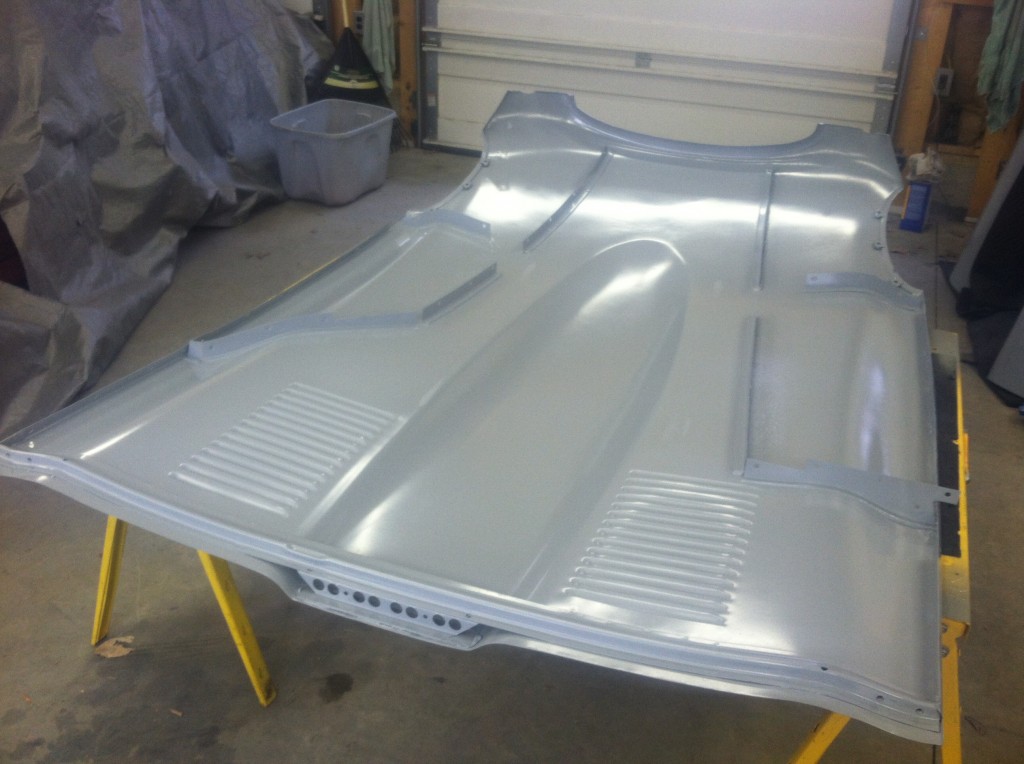
- The underside has been primed with two liberal coats of epoxy, and we have now flipped the panel to prime the outer surface. As you can see, every square inch of the panels are absolutely bare, perfectly clean steel before they are primed.
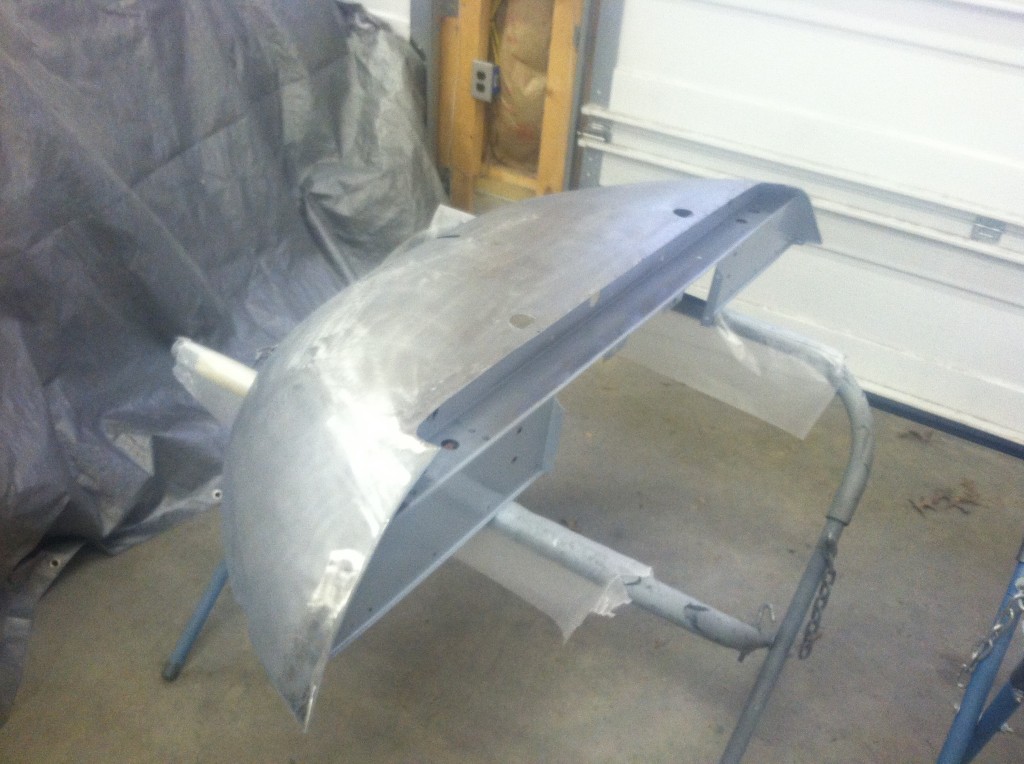
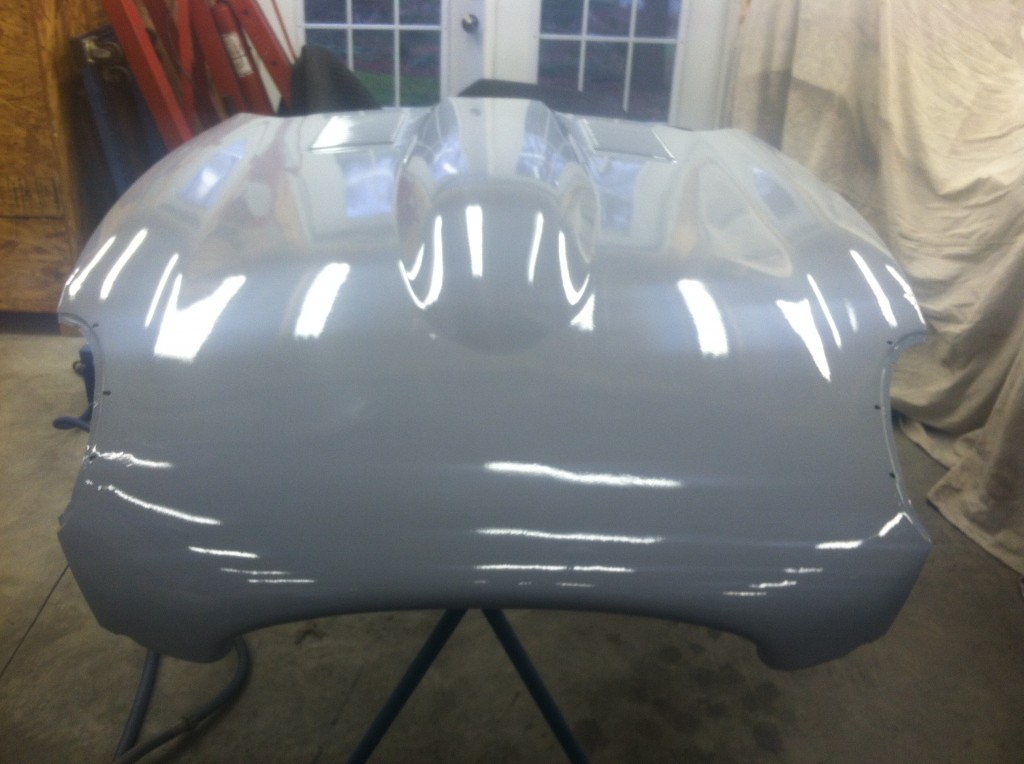
- The completed lower valance.
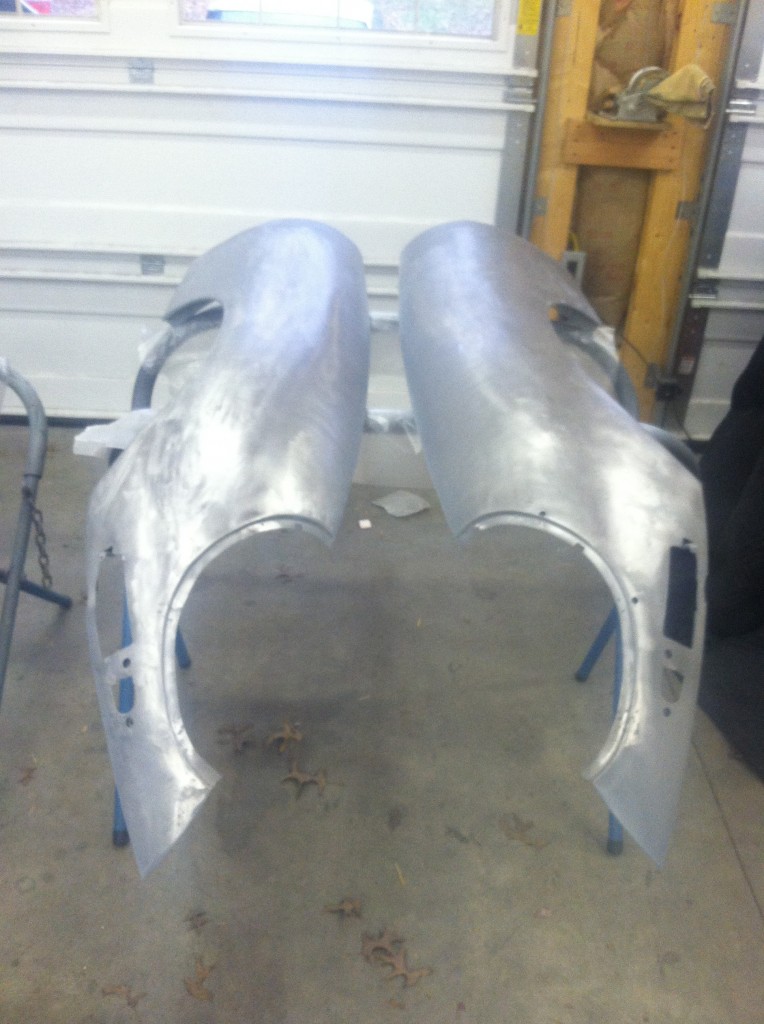
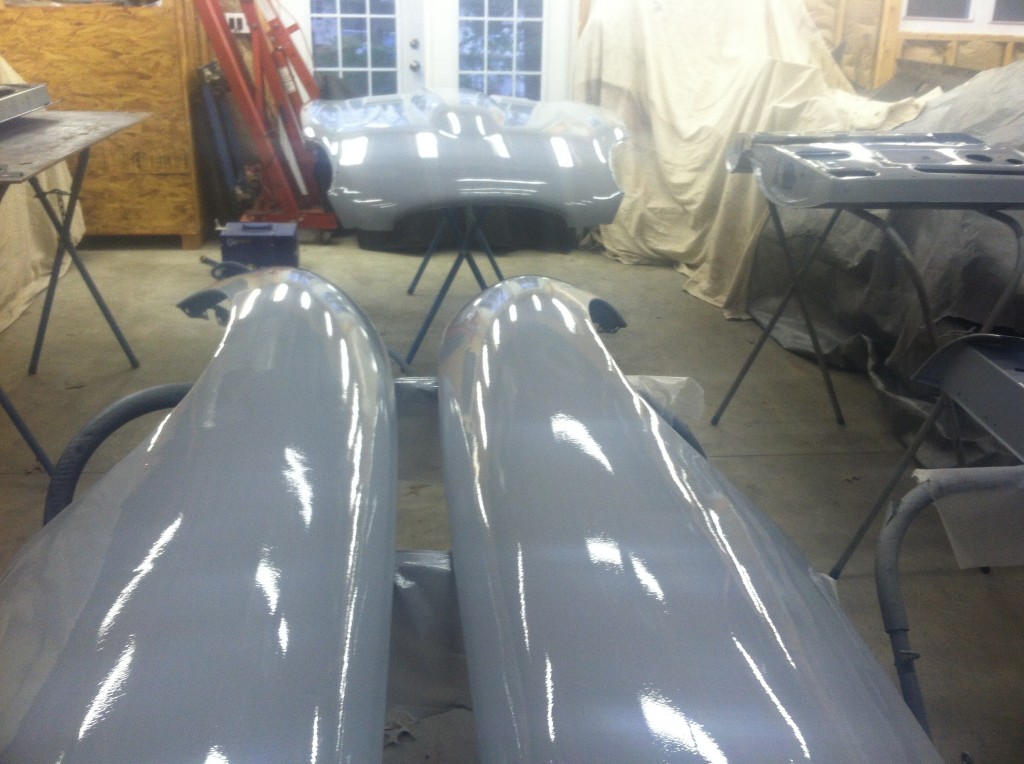
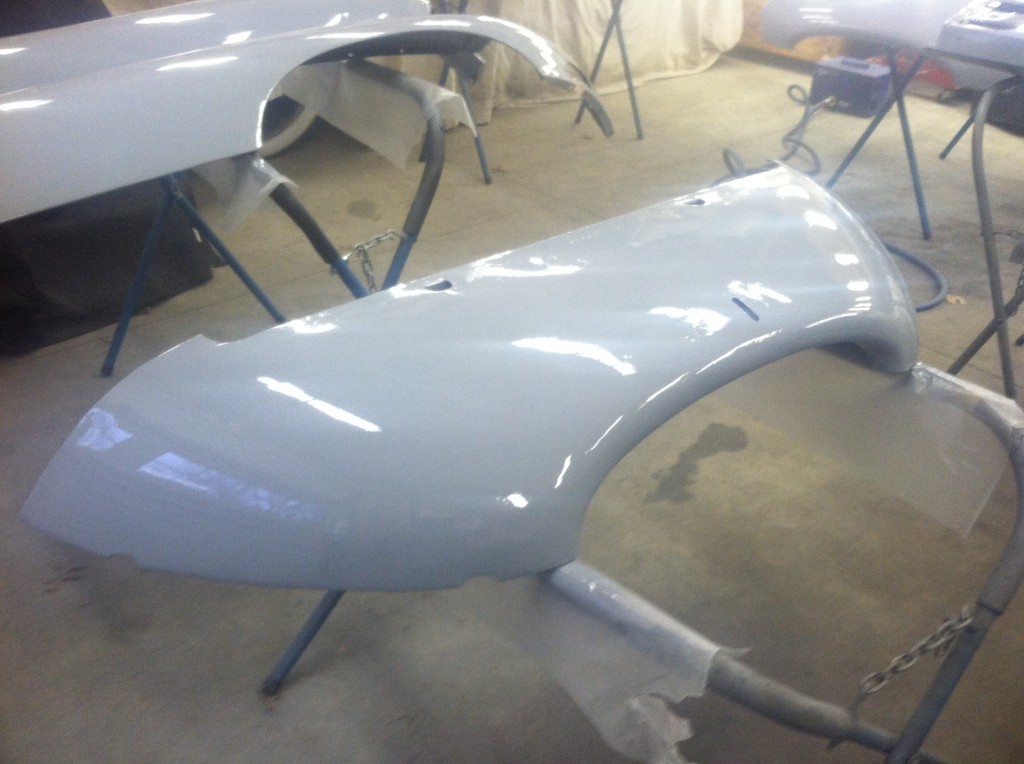
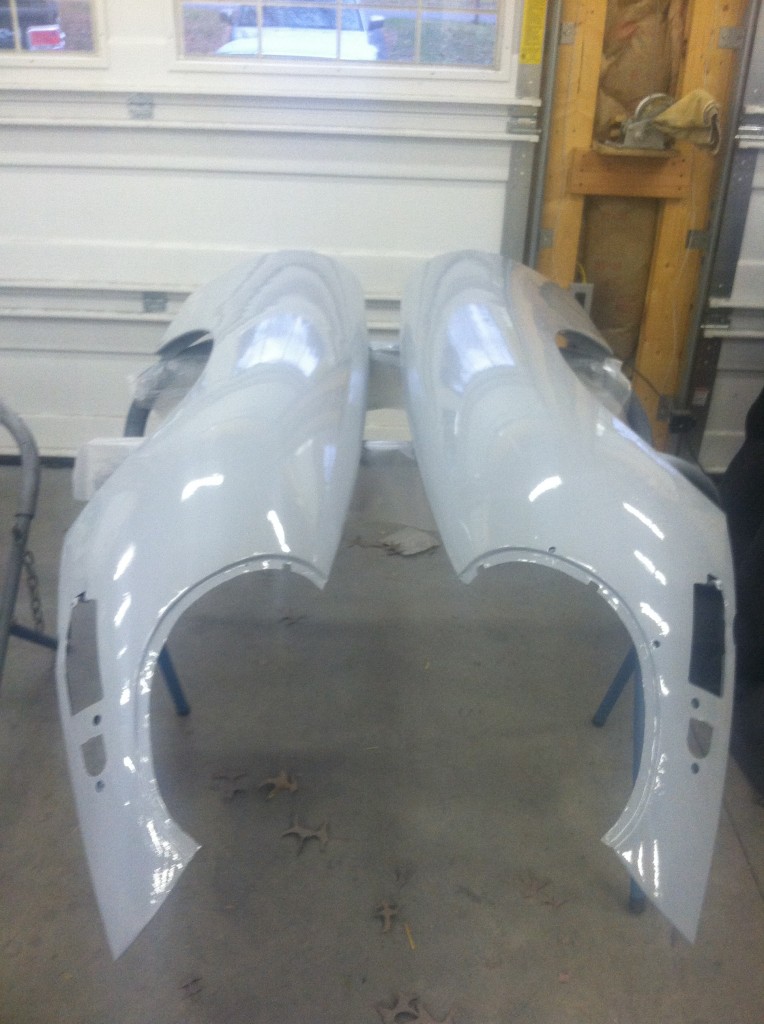
- And the completed wings. Remember those angry dent-puller hols on both sides, the corner patches, and all of the bumps? Well tale a look now – dead smooth!
- The top coats of epoxy have been applied and are probably still a little wet in this photo. Look at the wings NOW! That is nothing but carefully reworked steel and primer – NO FILLER!
- Same story here – nothing but steel and primer!
- I gotta tell you, I try real hard to be modest, but it’s tough not to be proud of work like this!
- What a beauty!
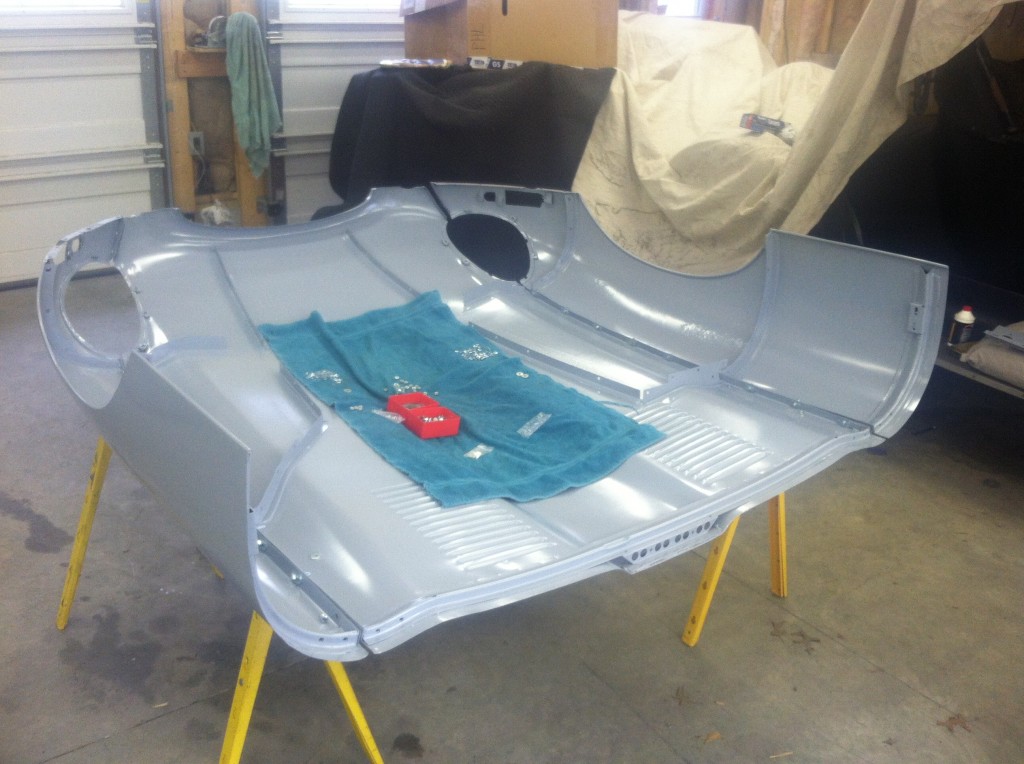
- The primer is now dry and it’s time for final assembly.
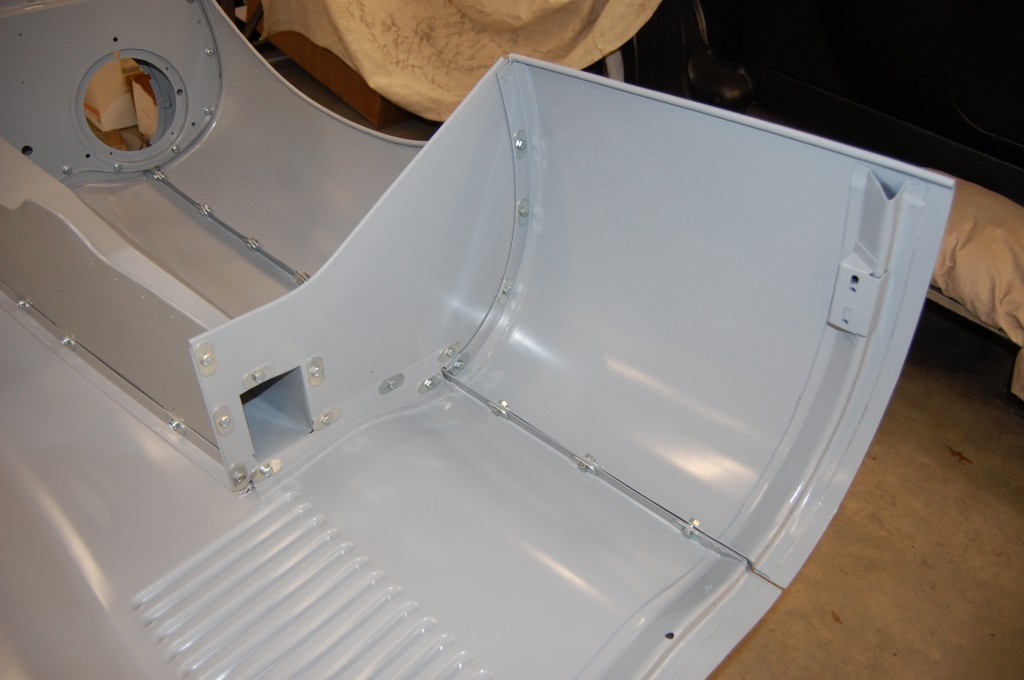
- First we attach the wings using all new hardware. Look closely in the wheel arch section of the LH side (RH in the photo), and you can see the imperfect surface left as a result of the poor hammering and heavy grinding of the last guy who worked on this (explained in Part 1 of this blog…). This can be easily handled, but I did want to point this out in this photo, as the glossy primer shows the true surface here.
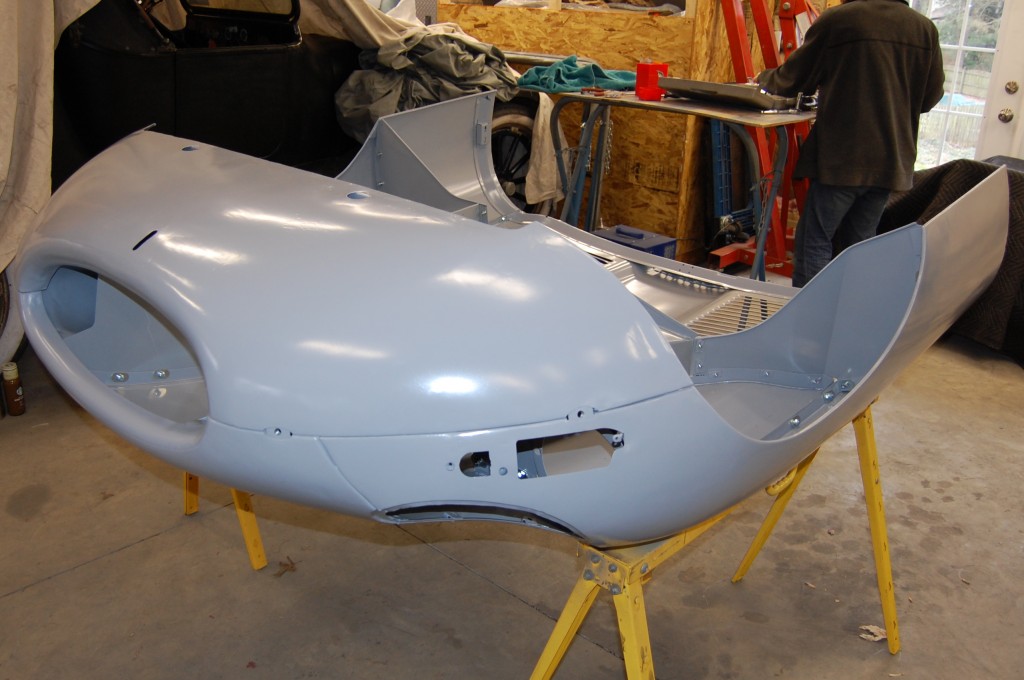
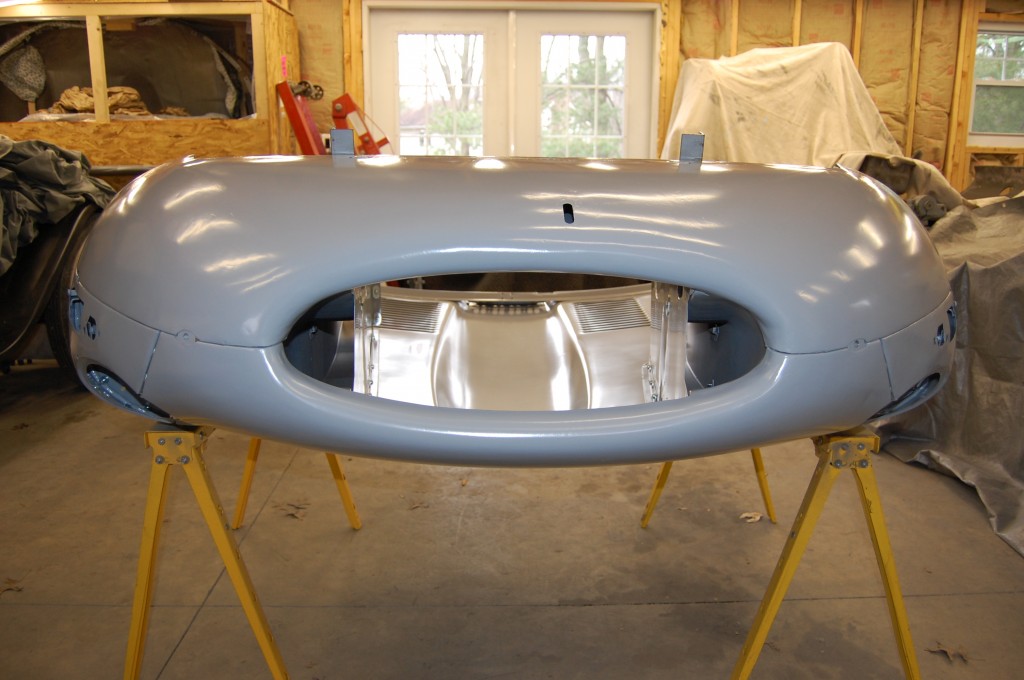
- This bonnet is truly perfect now from every angle!
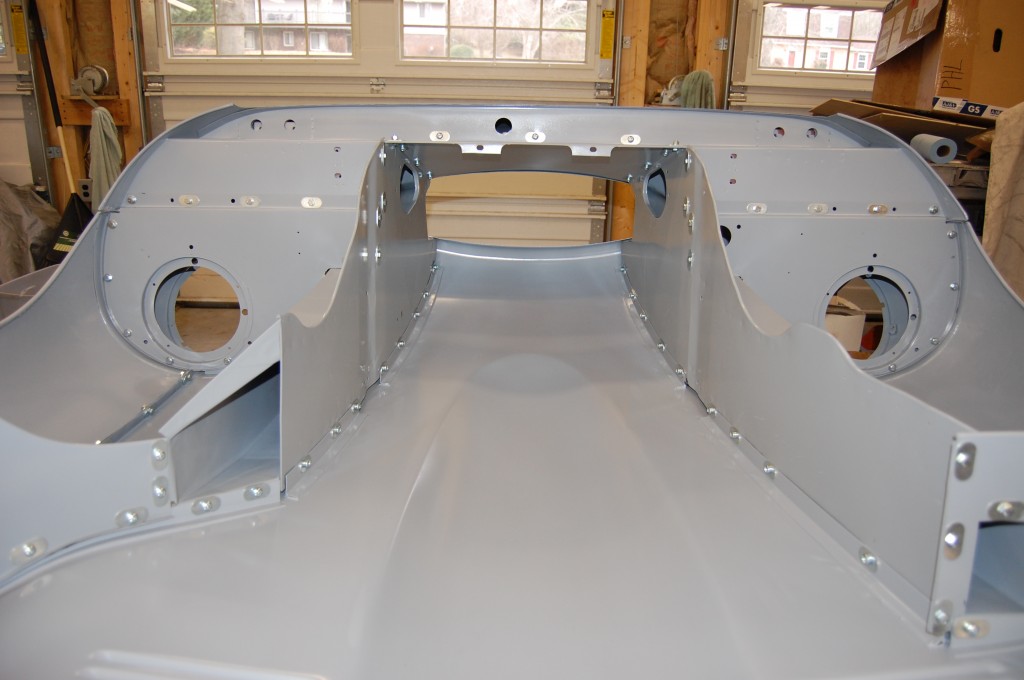
- We take great care in aligning every panel and minimizing the amount of adhesive used. Getting the flanges as tight as possible against the skin gives a stronger bond – something in the range of about 3/32″ seems to be about perfect, but anything up to 1/4″ is fine – over that and you should adjust things as they are certainly out of whack somewhere.
- Everything is aligned as it should be.
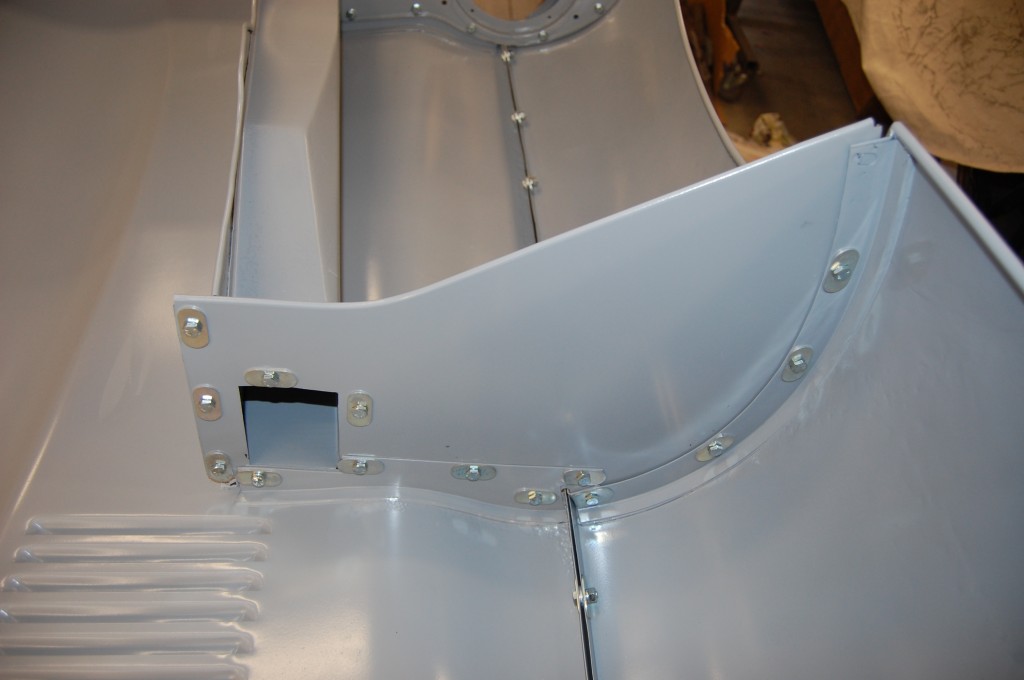
- In this photo, note that you really can’t even see the imperfect surface I keep mentioning now that the rear mudshield is installed – and it’s even more the case when the bonnet is right side up and installed on the car – it’s really not even worth mentioing, but we hide nothing here and I like to give the whole story of how these restorations go down…
- The completed assembly is 100% concours correct. This bonnet did not use the original GKN or Rubery Owen bolts, but we CAN do that if you like.
- Take a look at the lower beaded edge of the wing – remember the corner patch, scraping and beating out the rust from the channel, and replacing the rod? Well take a look now!
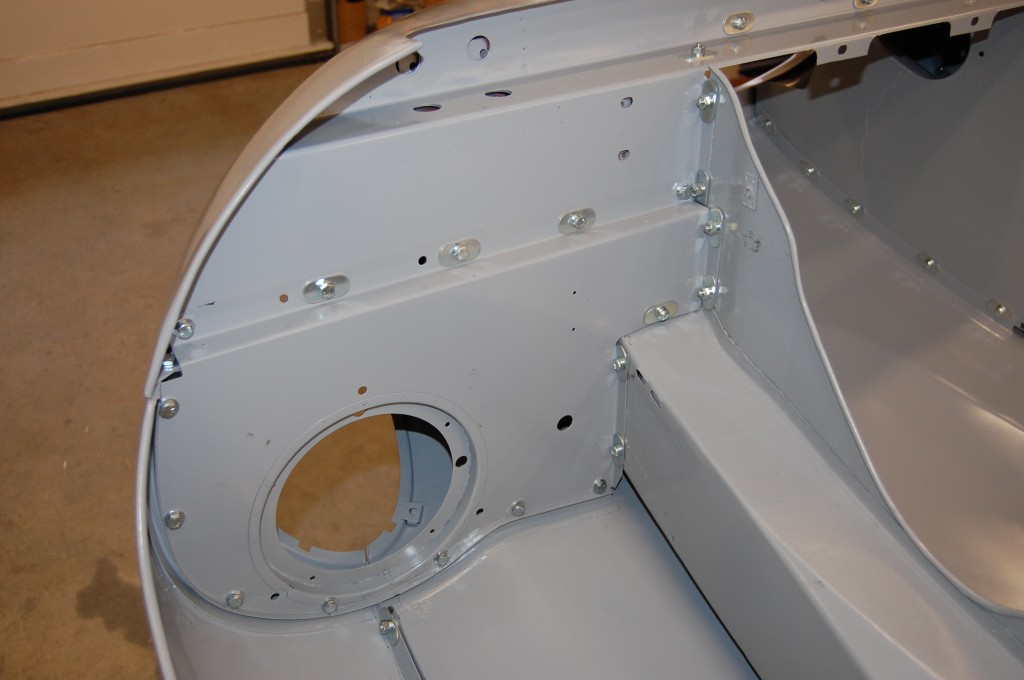
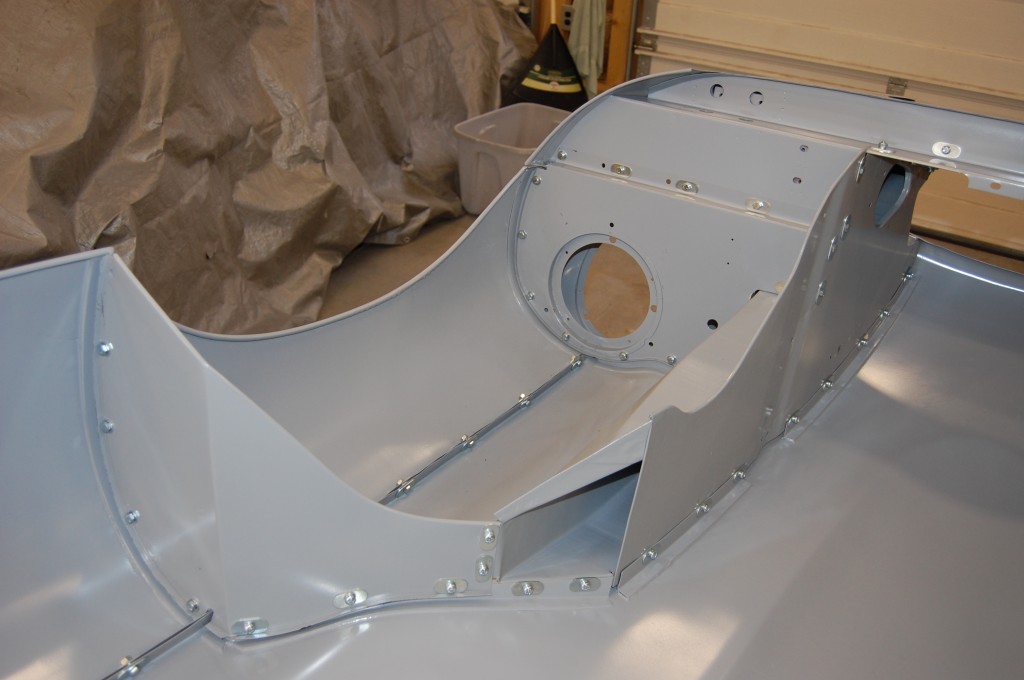
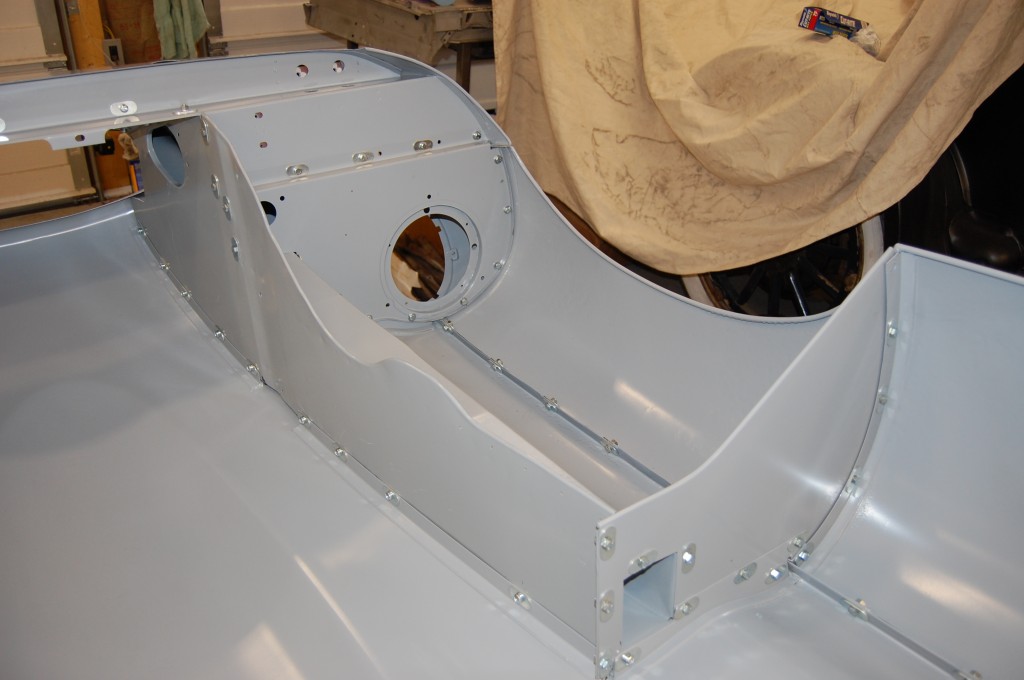
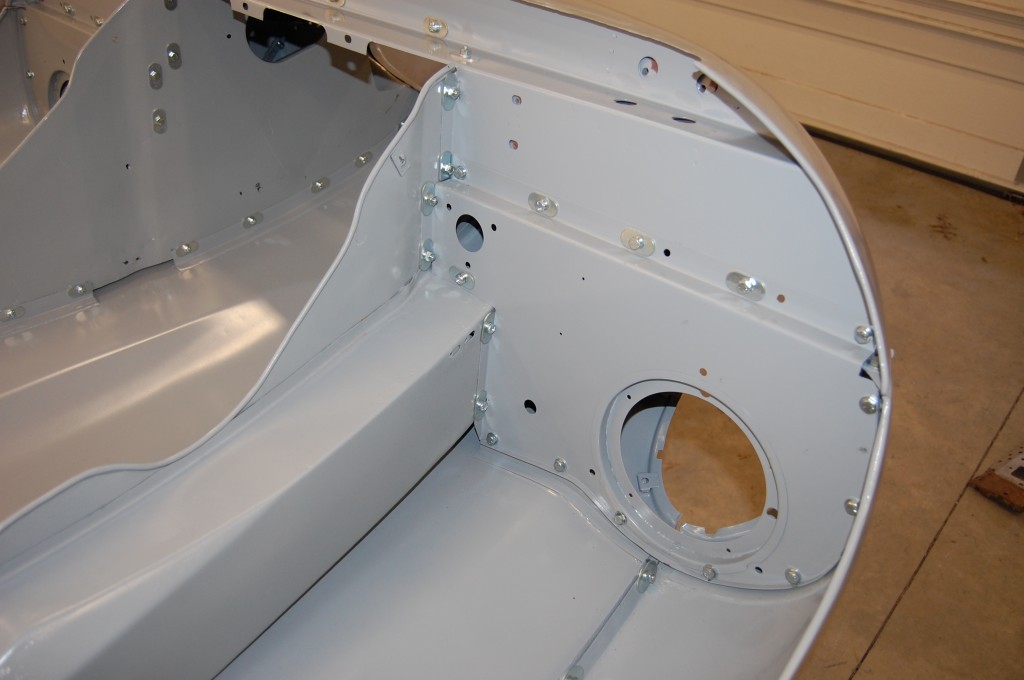
- This entire wall is new stell from Monocoque Metalworks – that is our lower valance rear main support member, and our headlamp diaphragms too!
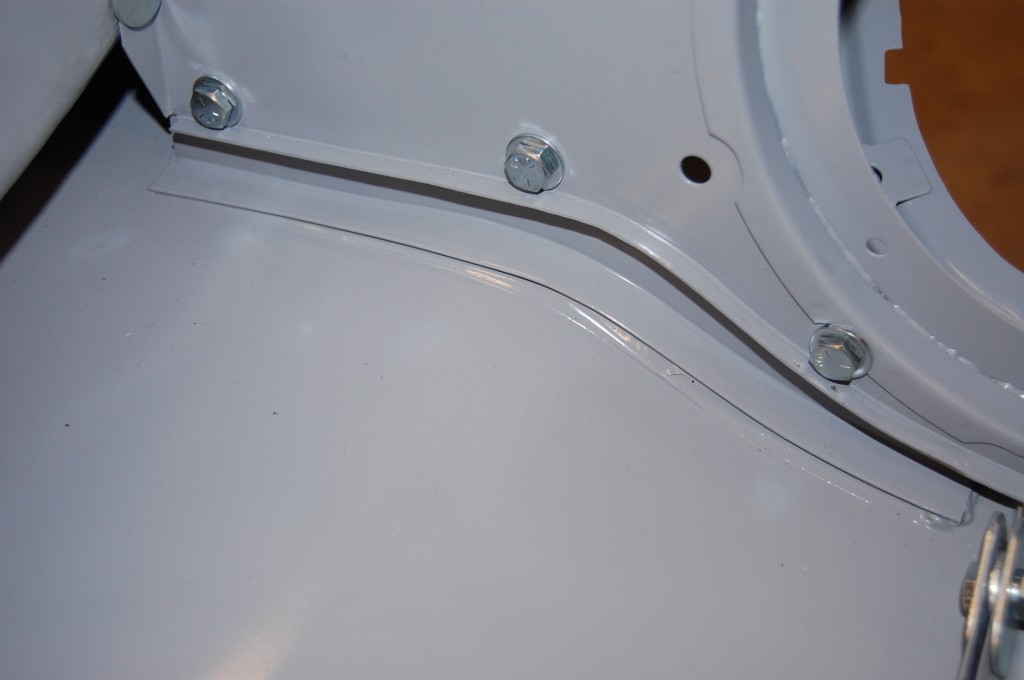
- Here is a good close-up of the glued flanges.
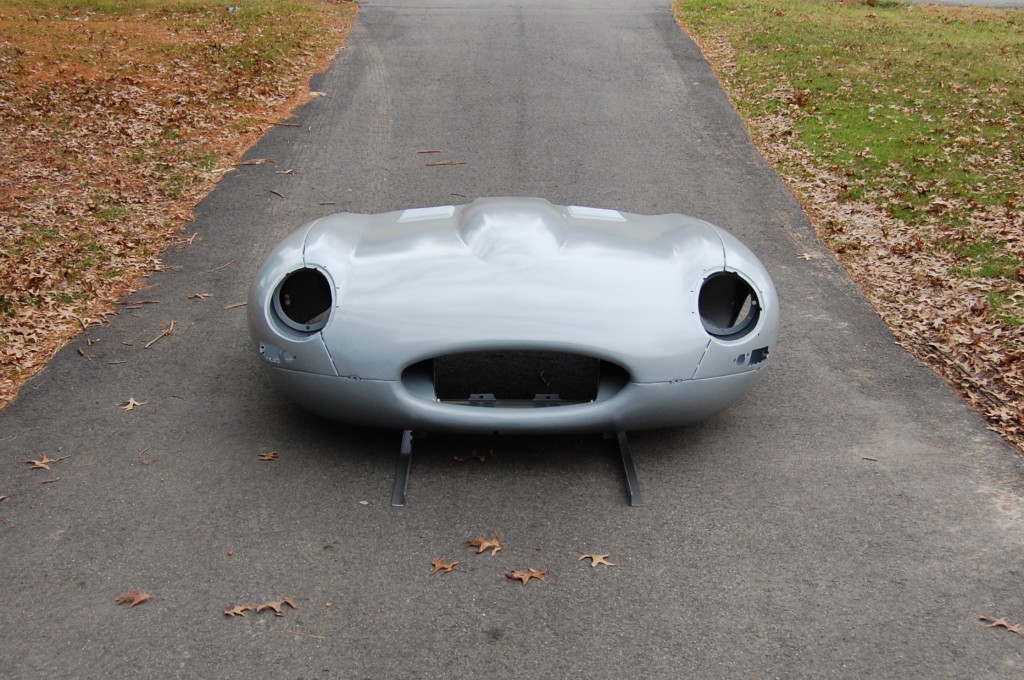
- What a nose!
- The rear mudshields are also Monocoque Metalworks pieces.
- Flipped back over, she’s beautiful!
- The glossy epoxy really leaves noweher for imperfect metalwork to hide. What you see here is exactly what it looks like in bare steel!
- Note that we always weld up the front license bracket holes, but leave the slot in place – this is how the cars were shipped over from the factory – like me, they could not bear to drill holes into the lower valance and ruin the nose with a US license plate!
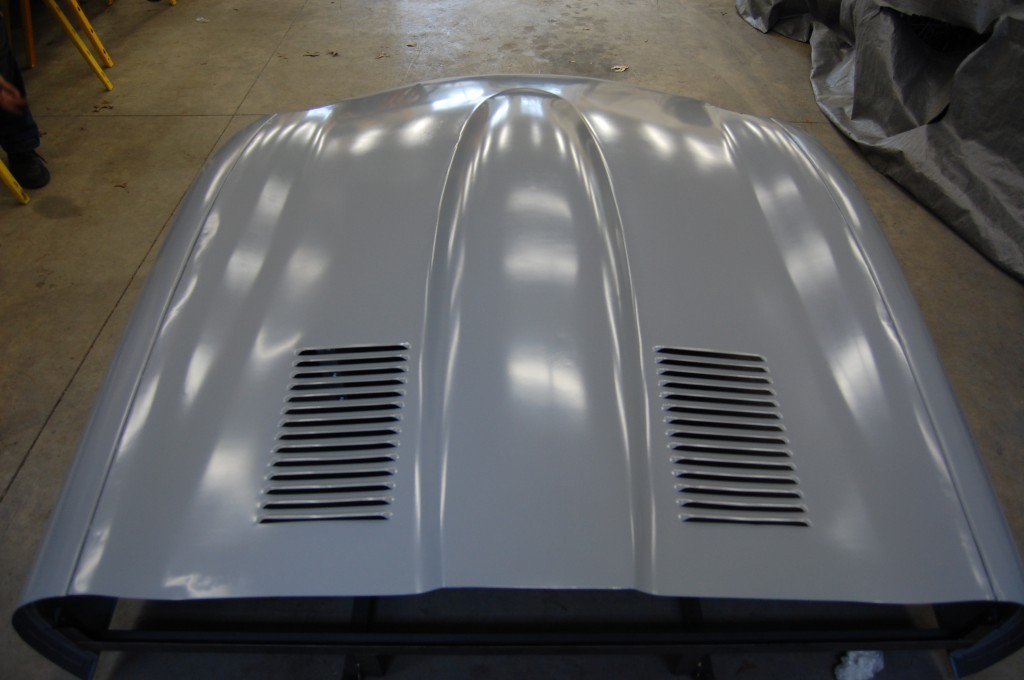
- We also make sure all of the louvers are OK. Note that the rear two always look a little funny – just like this.
- Another shot of a perfect original bonnet!
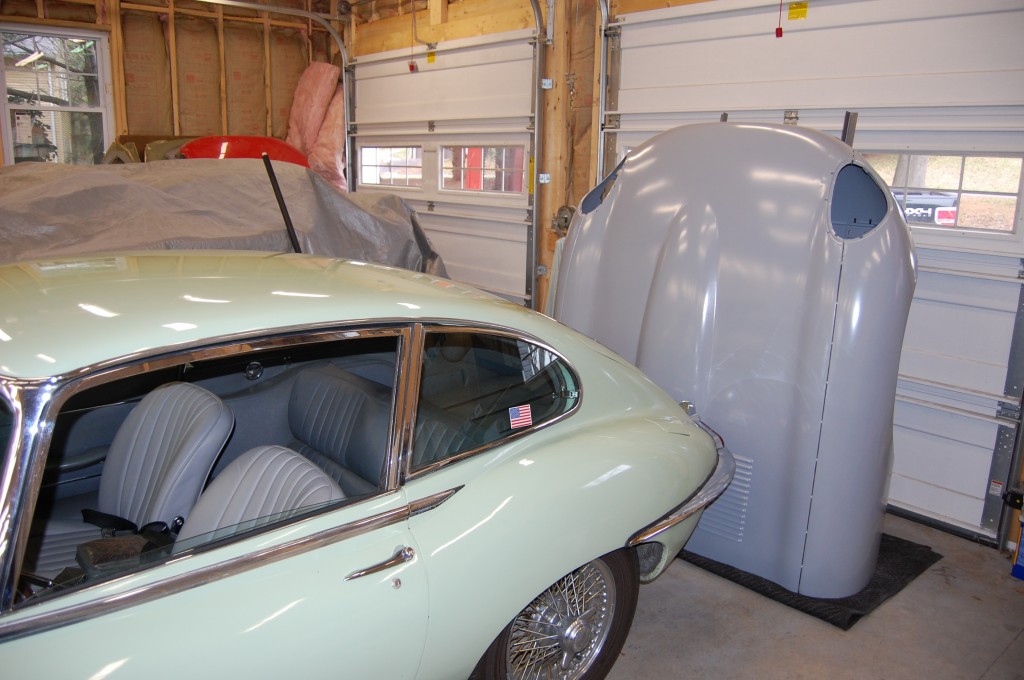
- Stood up behind the “company car” and ready for delivery!
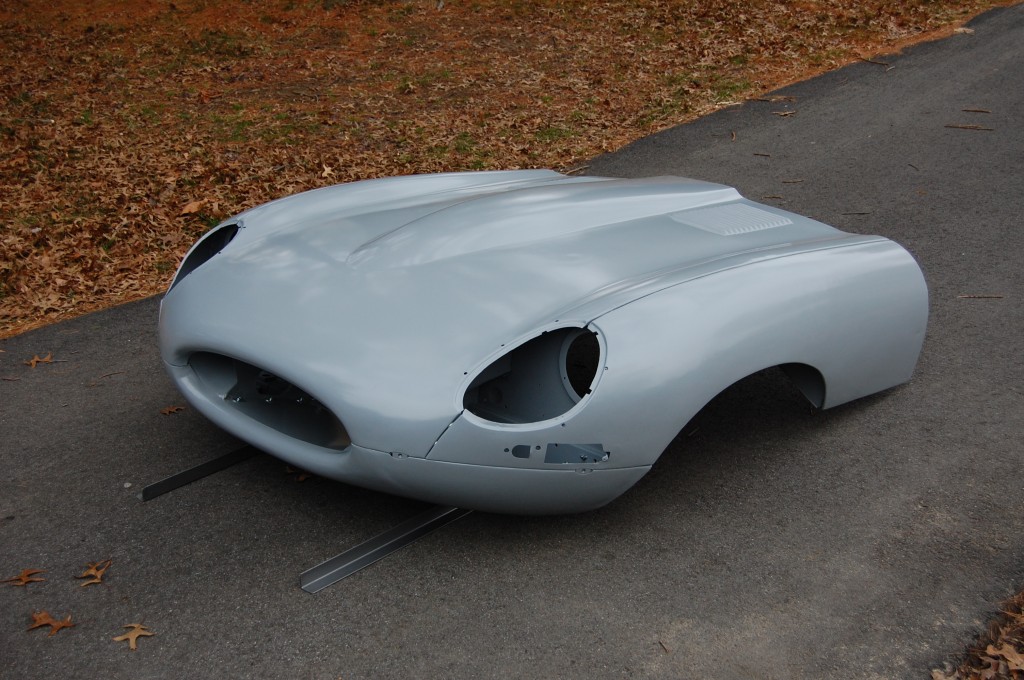
- As you can tell, I was really in love with this bonnet! Before we loaded her up on the truck for delivery, I took some more photos, and will show them below, but I’ll spare you any more self-serving comments about how great the finished product is! Just look at these photos and know that this is what we can do with YOUR bonnet!
- An original Series 1 Jaguar E-Type Bonnet – completely restored by Monocoque Metalworks.
- An original Series 1 Jaguar E-Type Bonnet – completely restored by Monocoque Metalworks.
- An original Series 1 Jaguar E-Type Bonnet – completely restored by Monocoque Metalworks.
- An original Series 1 Jaguar E-Type Bonnet – completely restored by Monocoque Metalworks.
- An original Series 1 Jaguar E-Type Bonnet – completely restored by Monocoque Metalworks.
- An original Series 1 Jaguar E-Type Bonnet – completely restored by Monocoque Metalworks.
- An original Series 1 Jaguar E-Type Bonnet – completely restored by Monocoque Metalworks.

