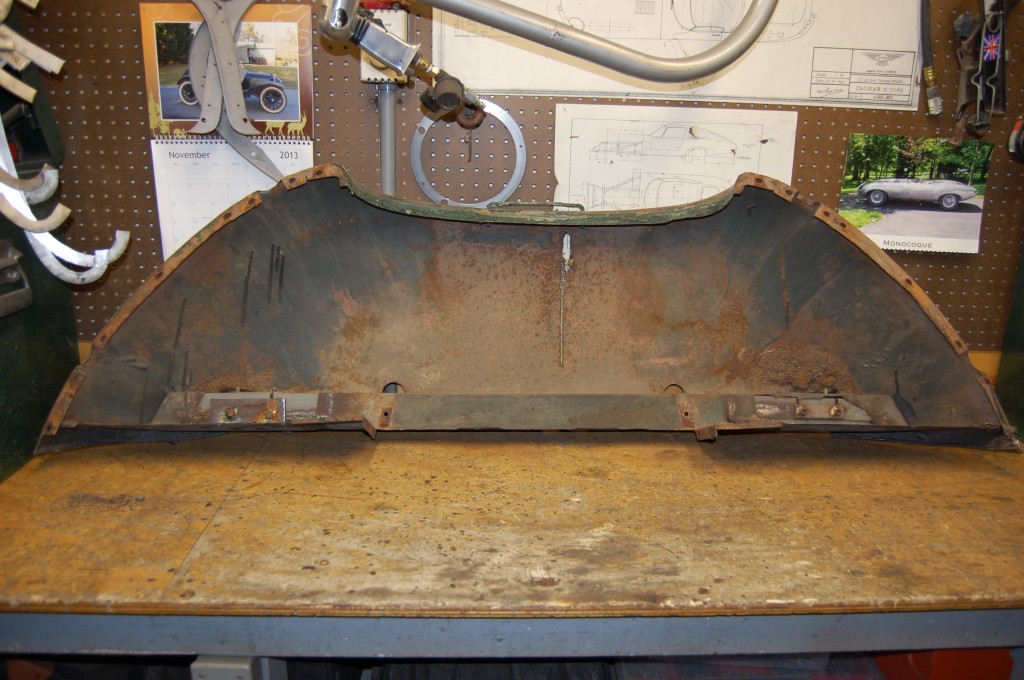
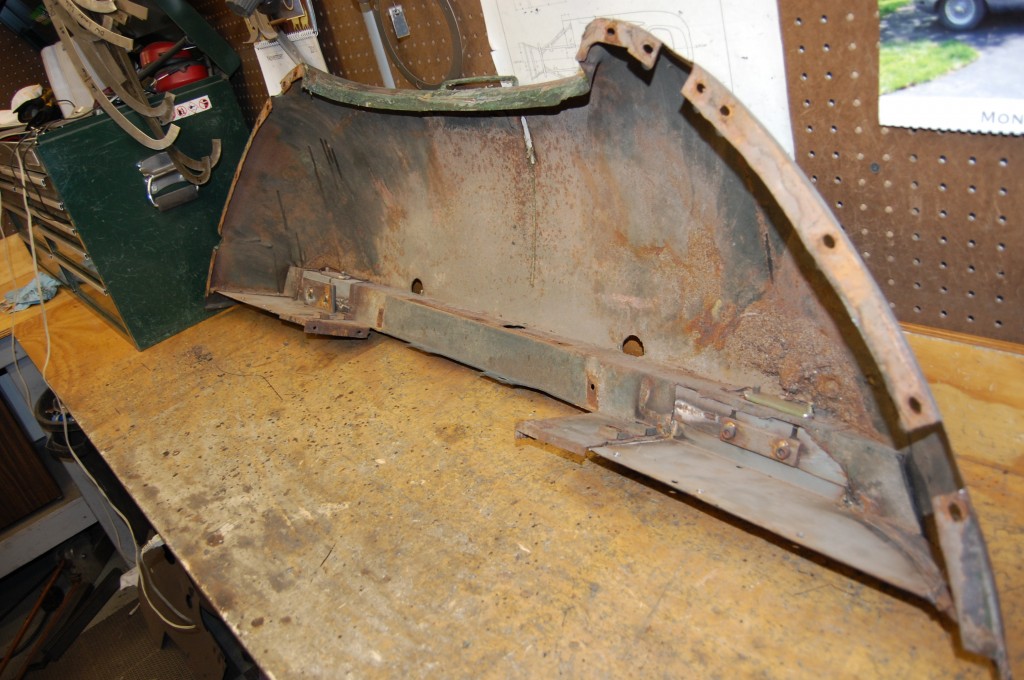
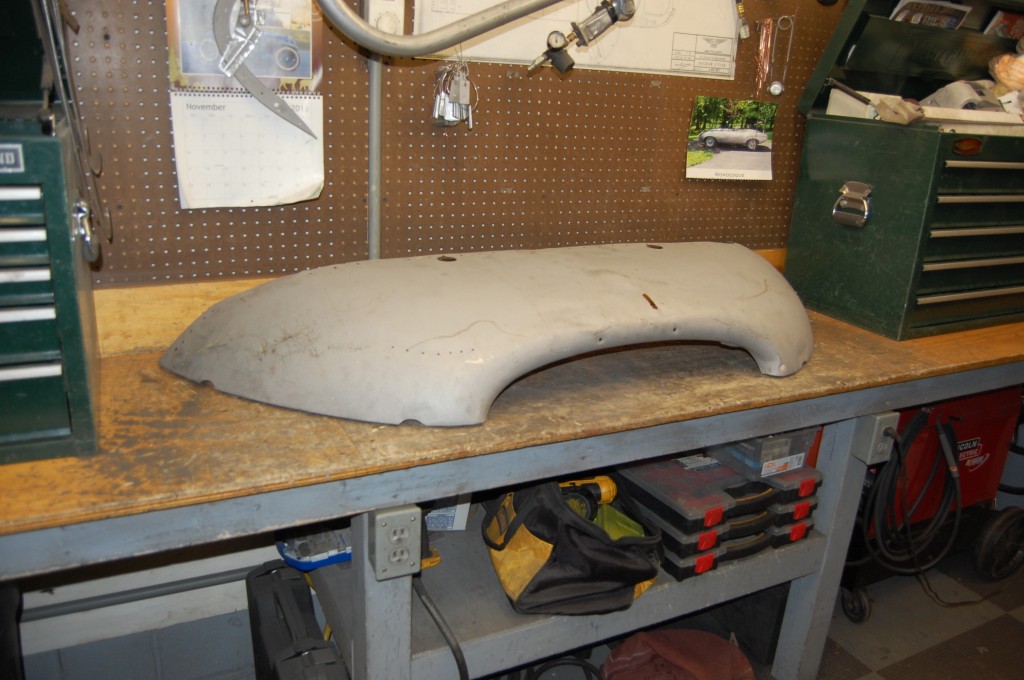
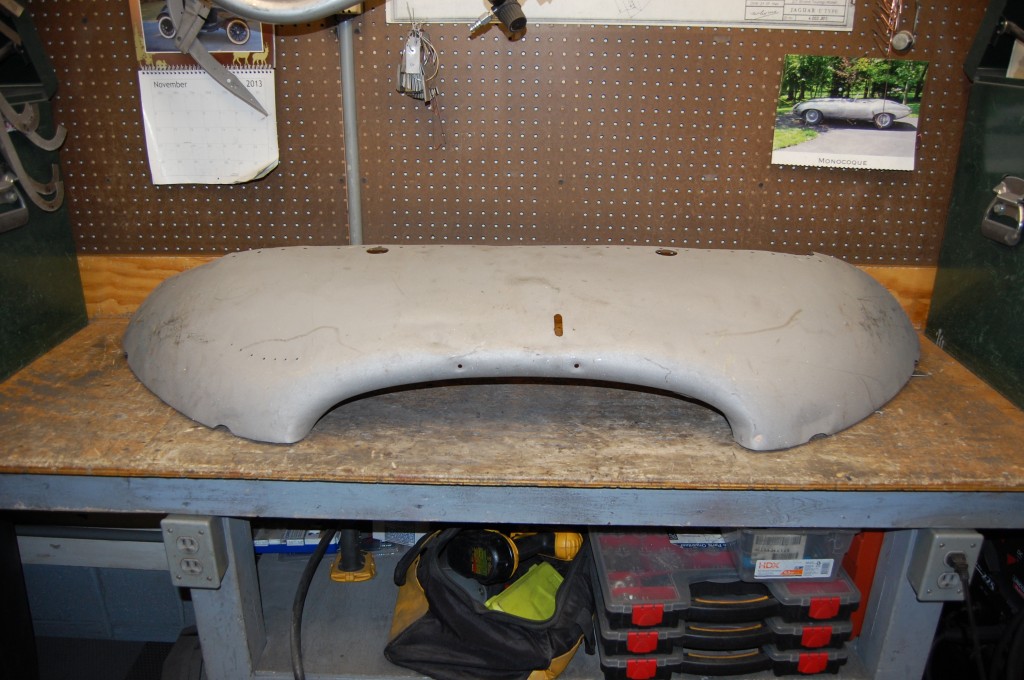
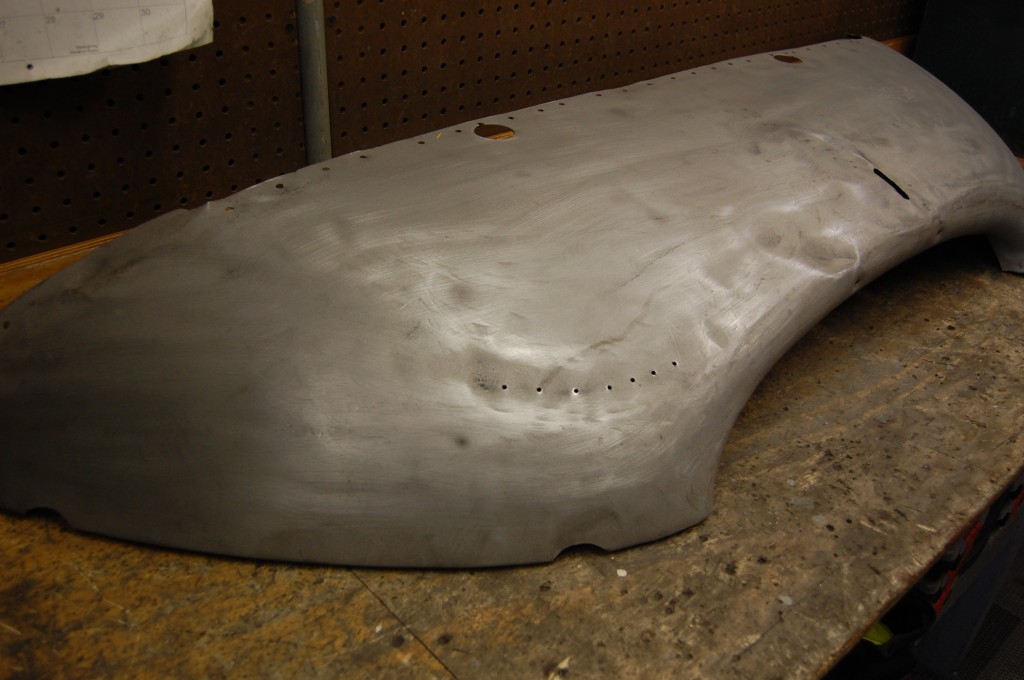
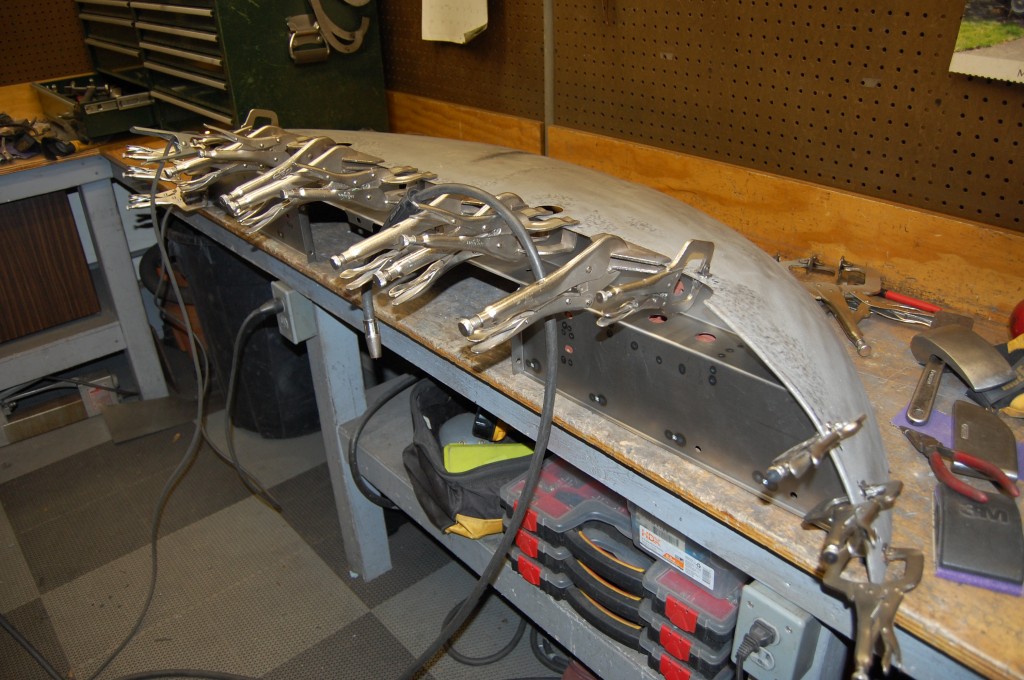
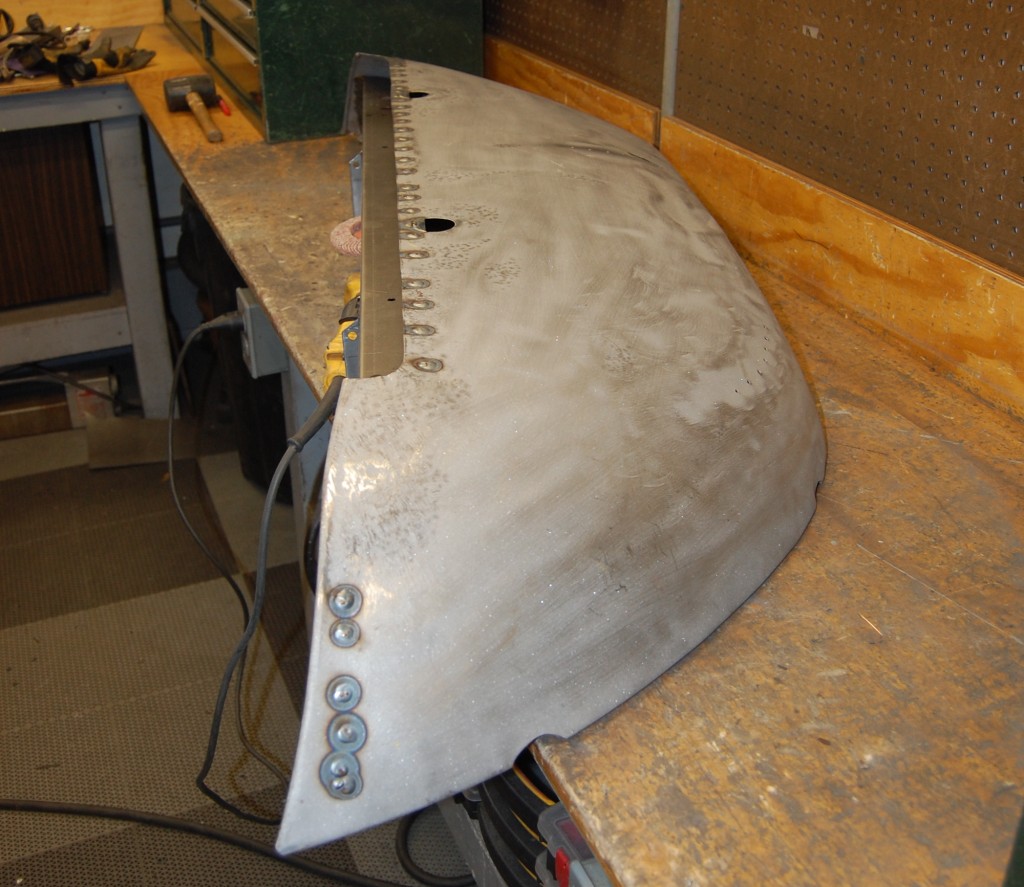
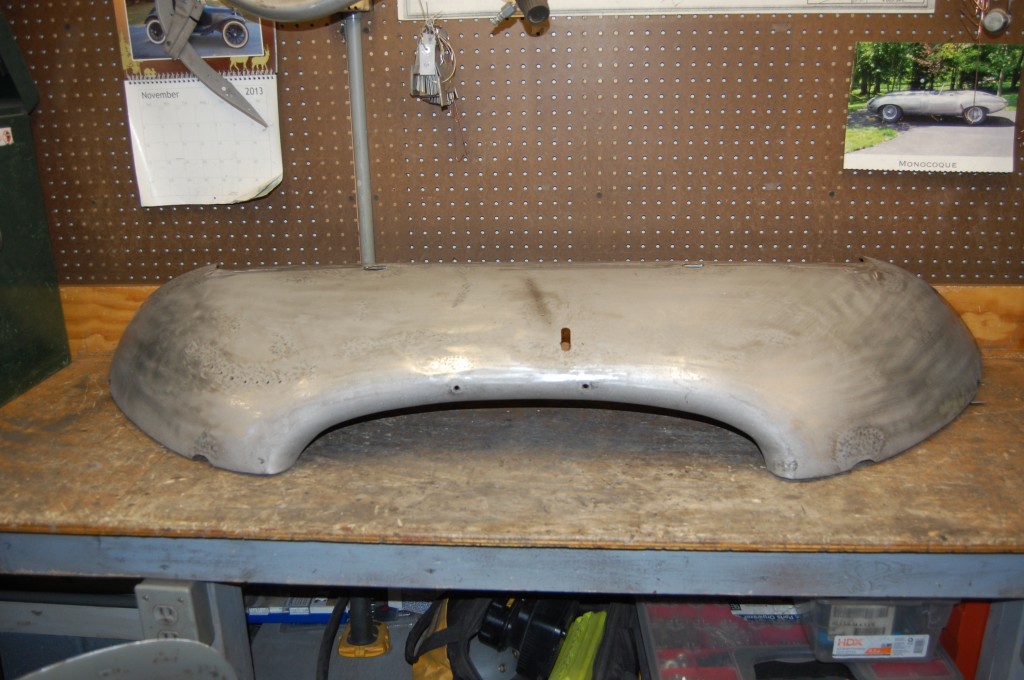
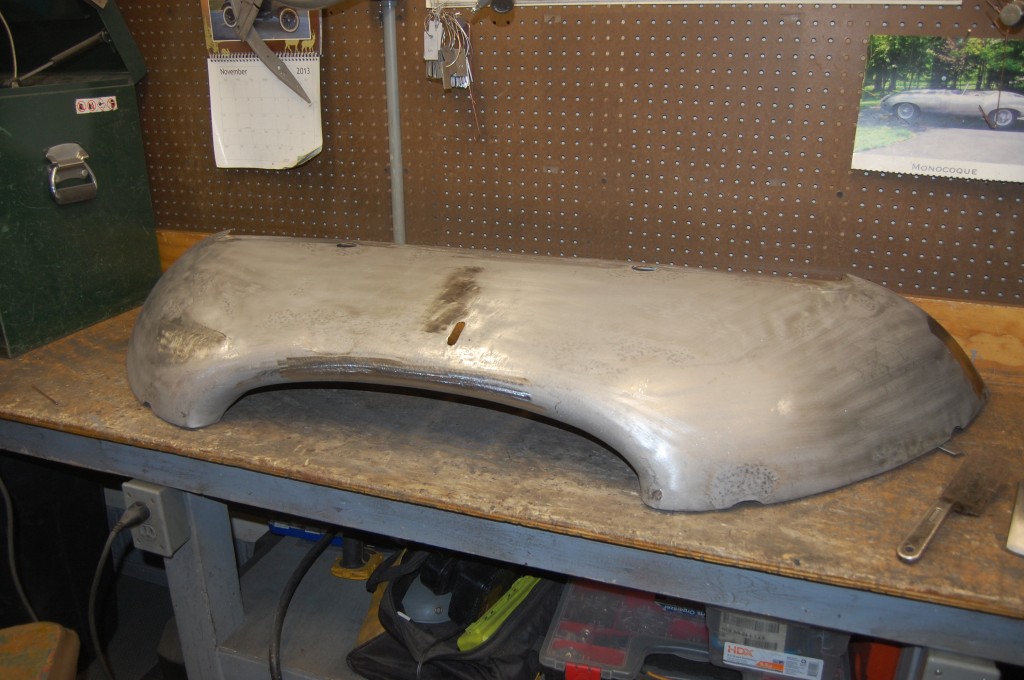
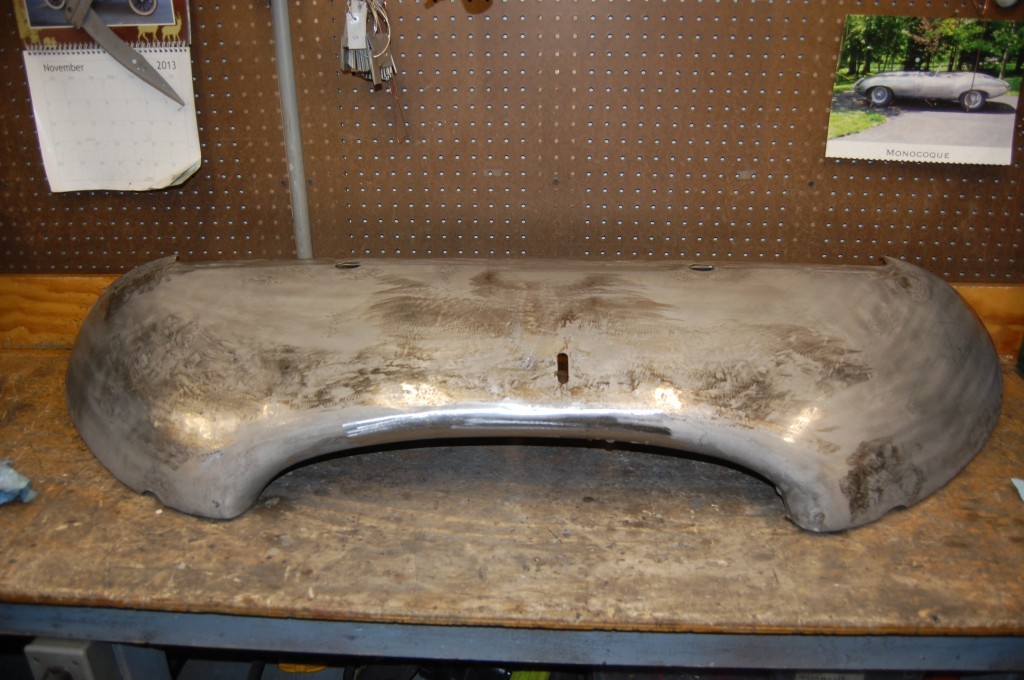
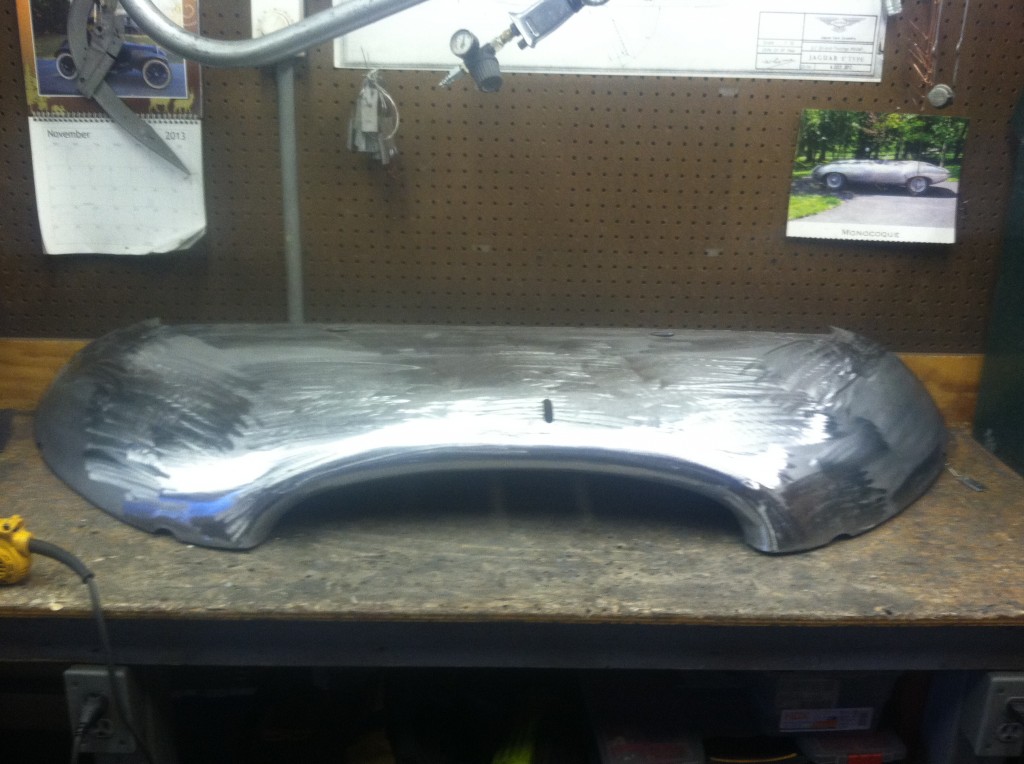
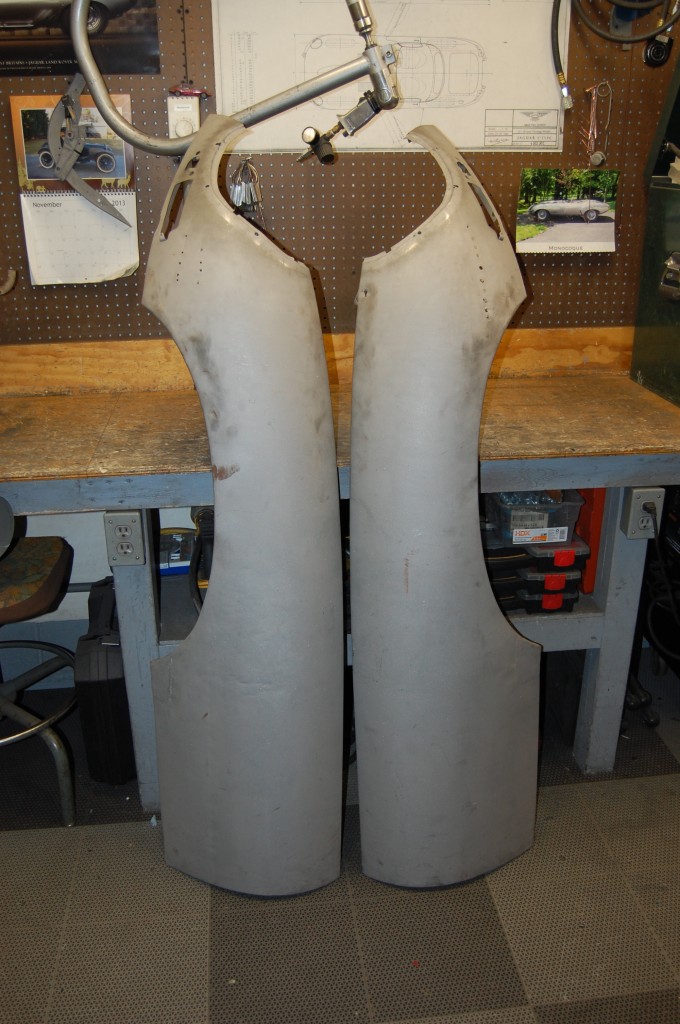
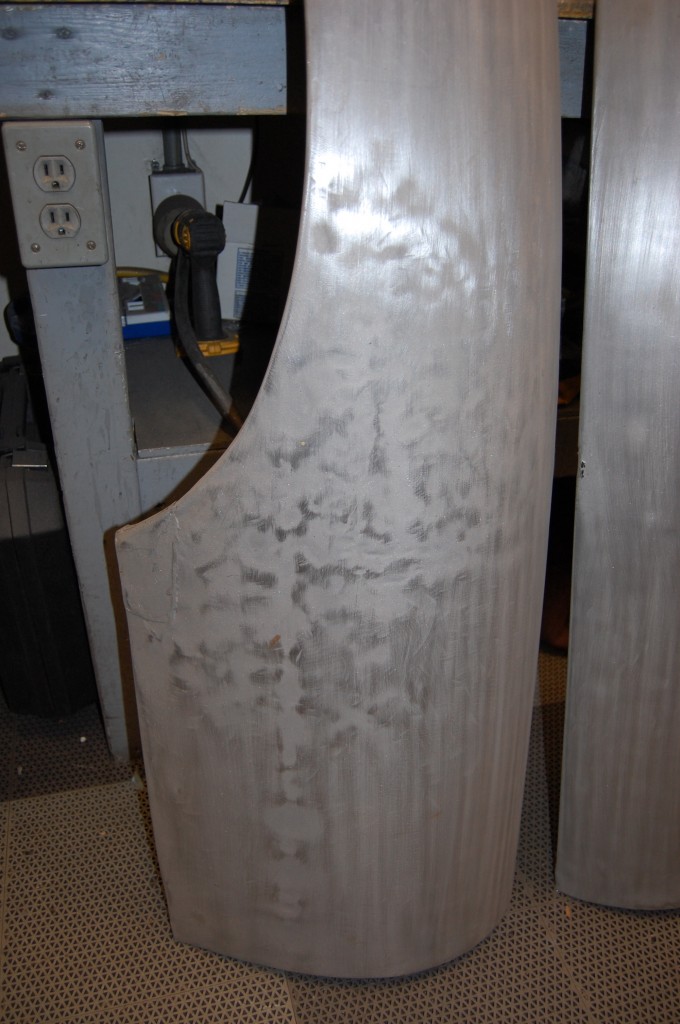
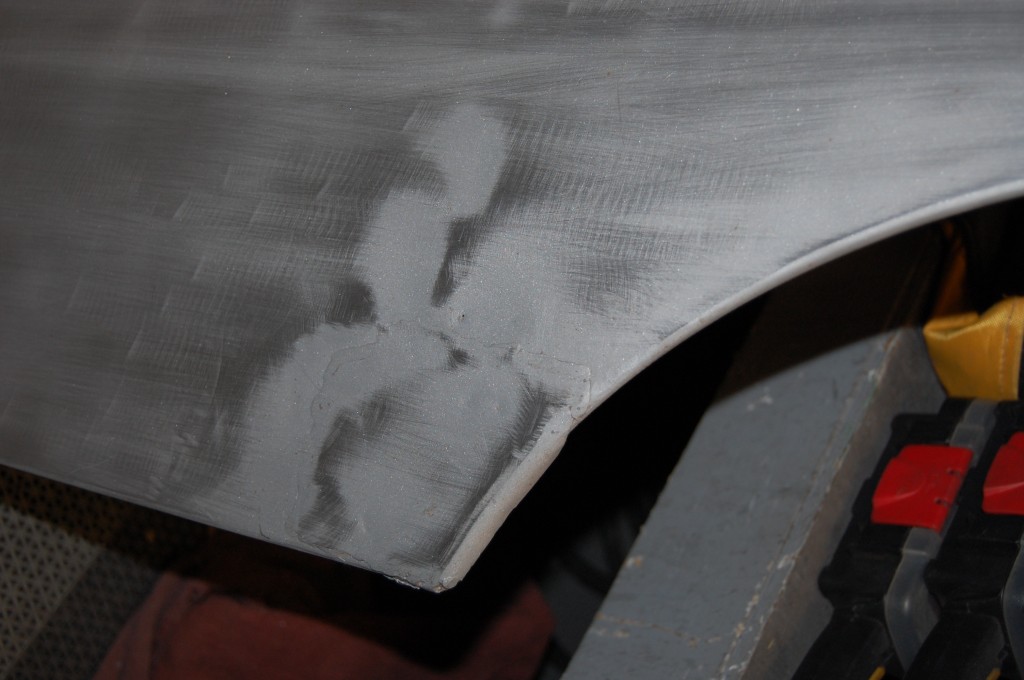
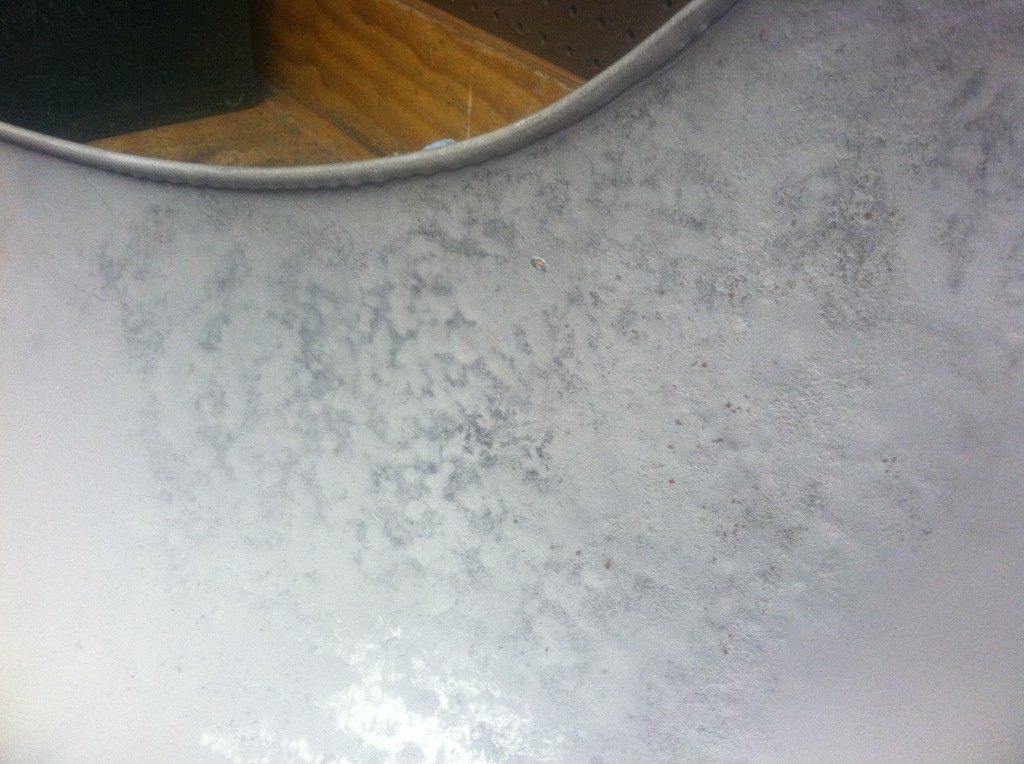
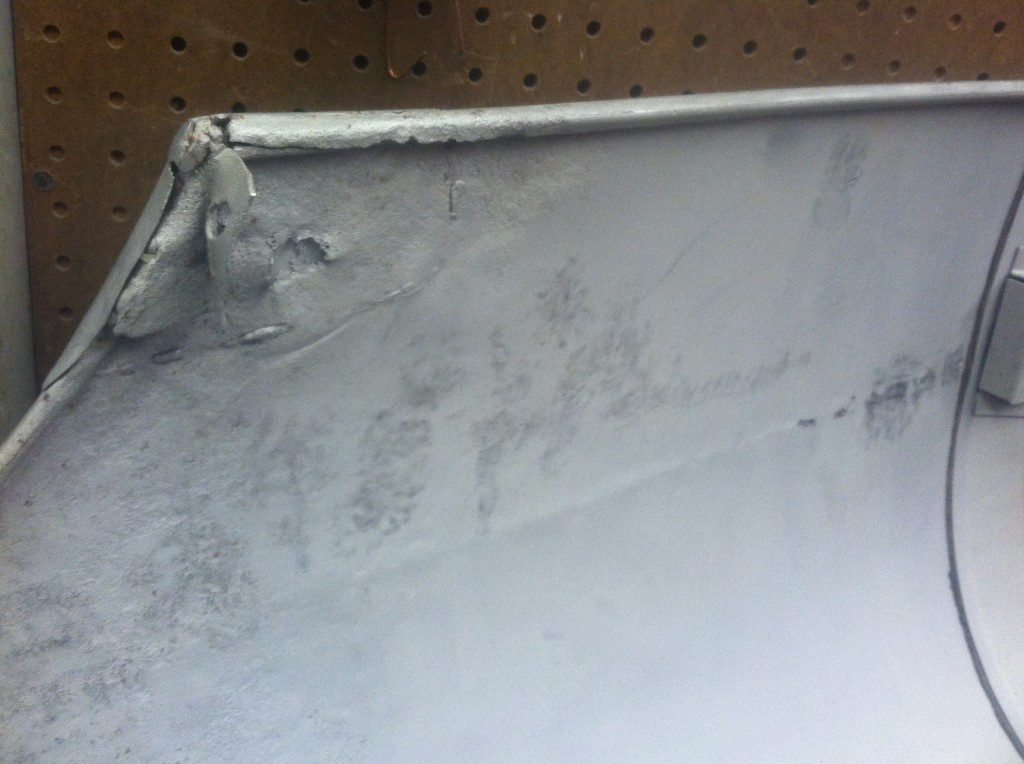
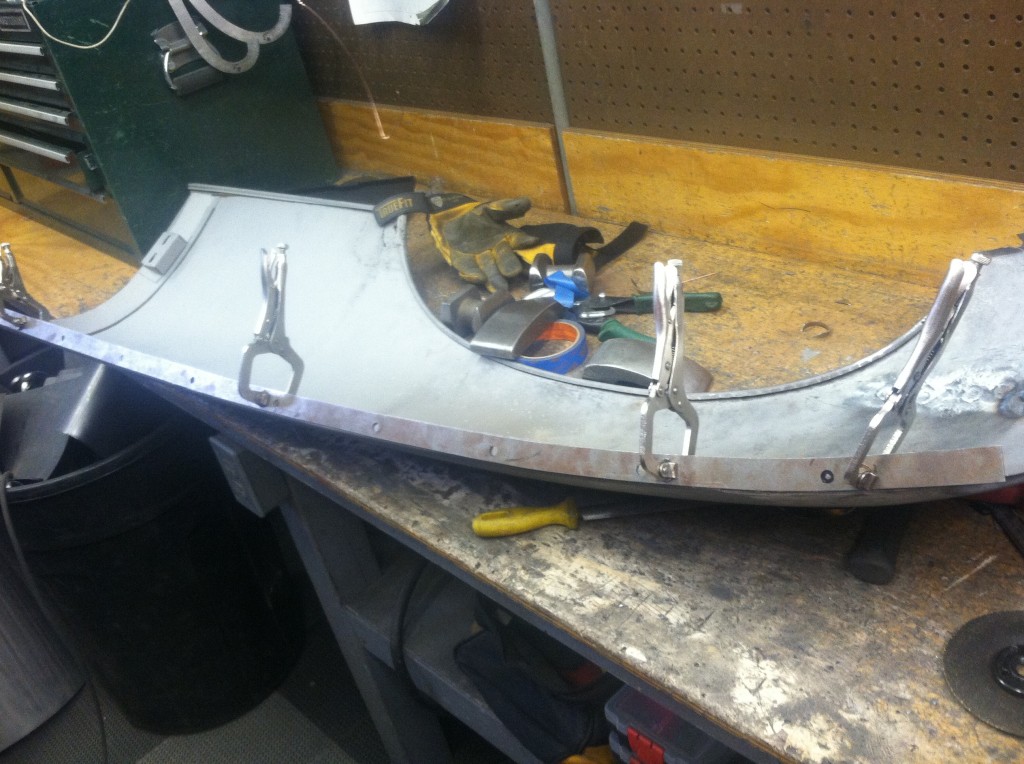
These are photos of yet another Series 1 bonnet that was restored here this Fall.
This bonnet was a very good representation of an “average” original bonnet being restored – it had some accident damage and some rust – all in the usual places. It also had some very typical poorly executed past repairs. Follow along as we show you how all of the “typical” bonnet problems are repaired here to create a PERFECT original bonnet!
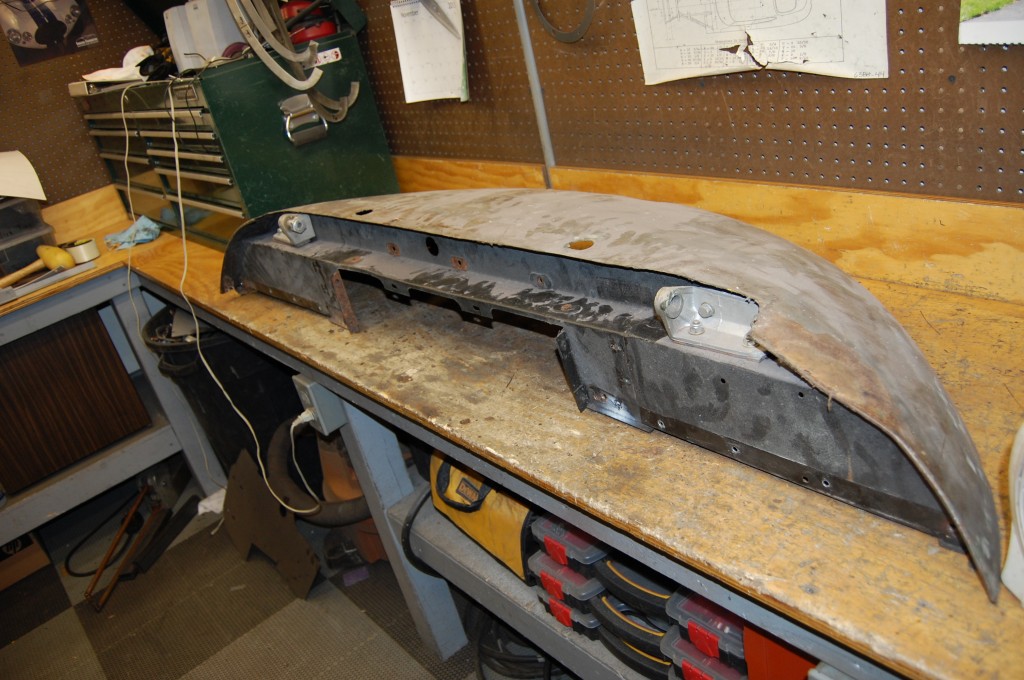
- A shot of the lower valance as received – at a quick glance, it looks pretty good…
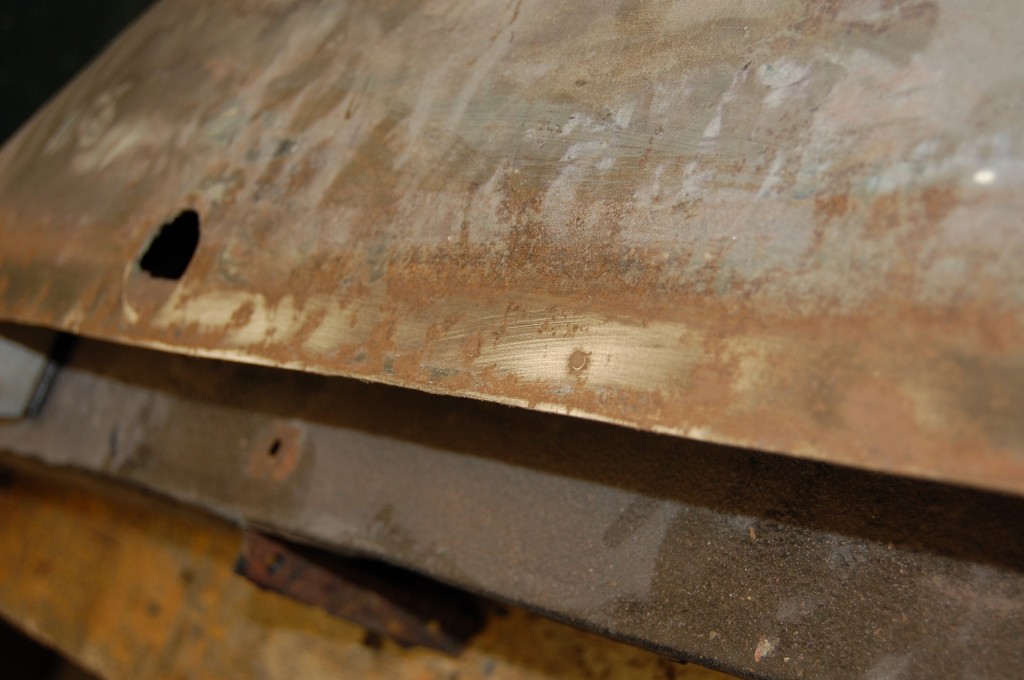
- But upon closer inspection, it’s anything but…
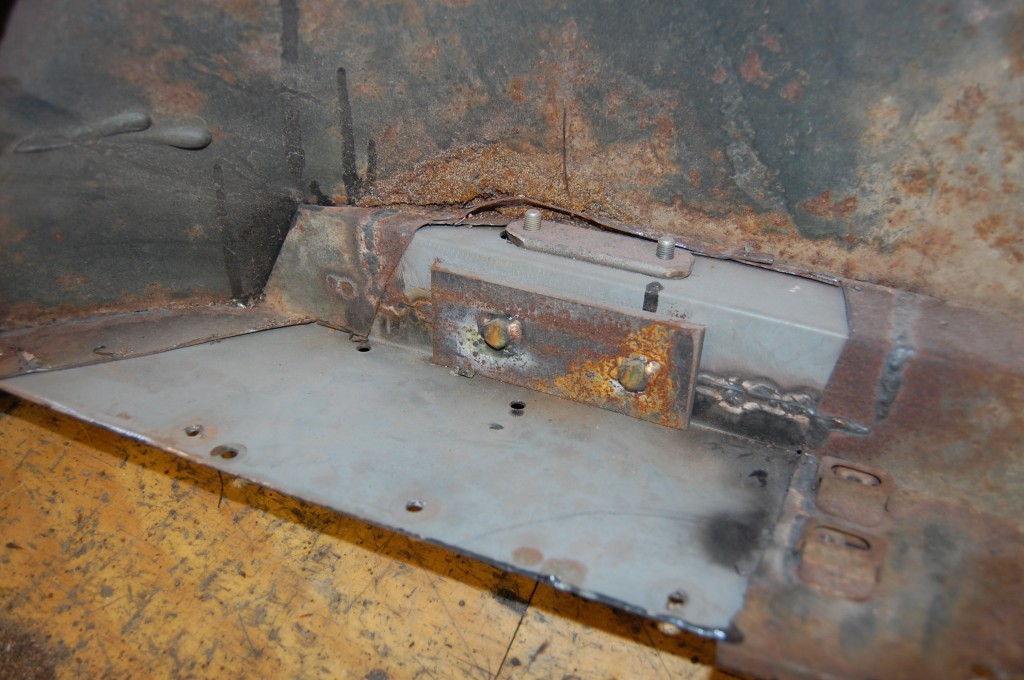
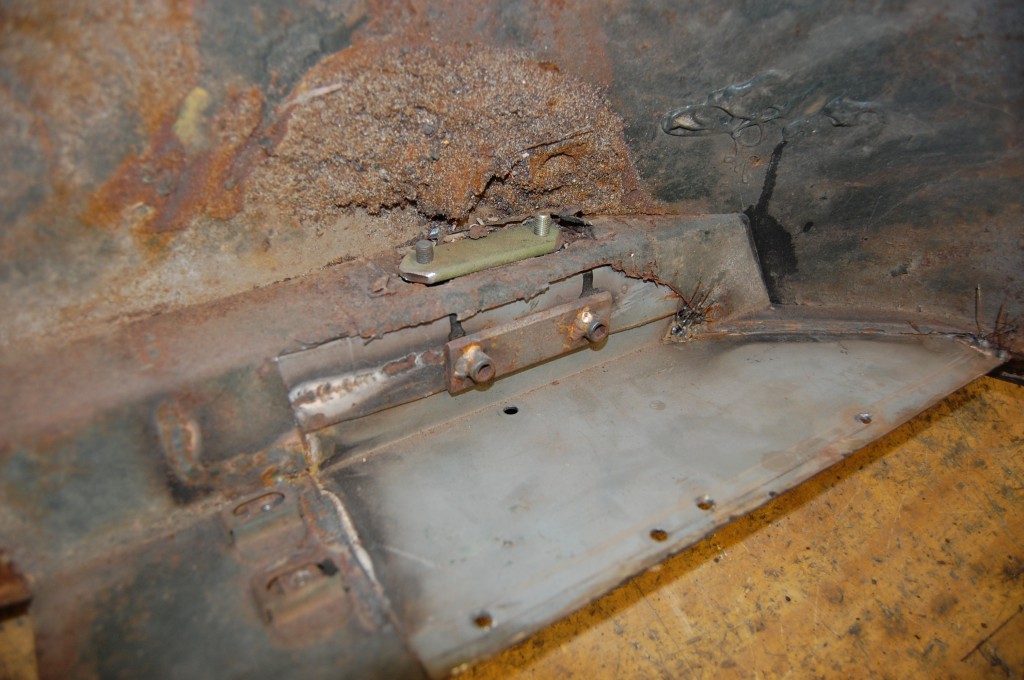
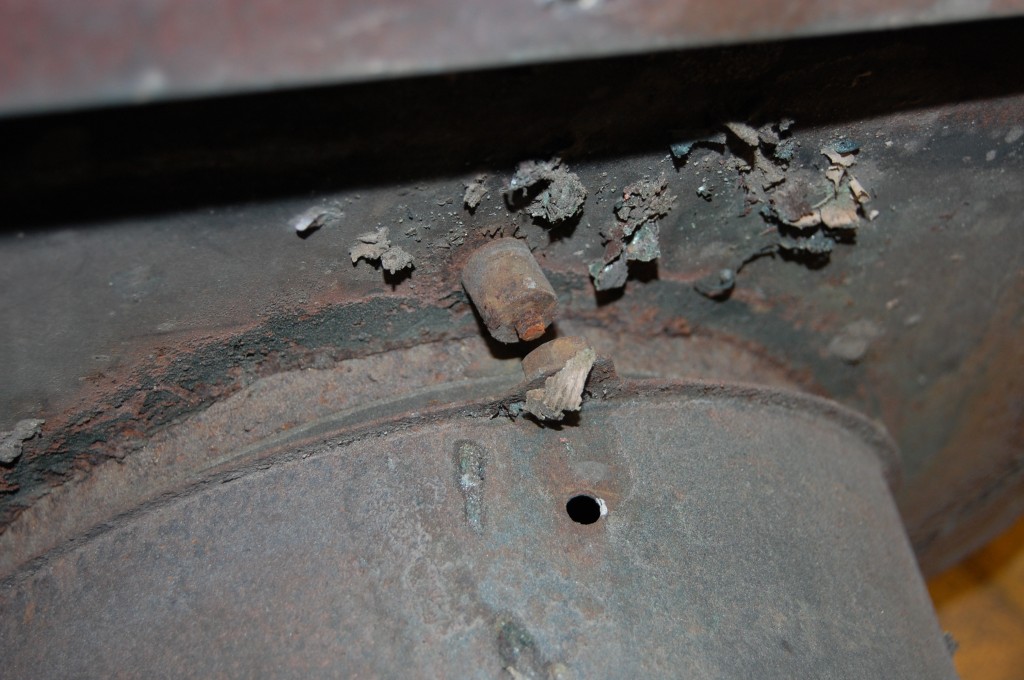
- Not exactly how we repair the hinge mounting points here!
- YIKES!
- We will remove the entire rear wall and replace it with one of our new units.
- The original spot welds are easily revealed by simple sanding with a piece of sandpaper.
- The spot welds have been drilled out with a sharp 1/4″ drill. Forget the fancy spot weld drills of EVERY KIND – FORGET THEM!! Nothing beats a good, sharp 1/4″ drill bit. And in the case of the lower valance, you can simply drill straight through both pieces, and use the holes in the outer skin as your plug-welding holes to install the new rear wall. Note that we have carefully stripped the paint and filler from the outer surface in preparation for sandblasting.
- Finally we are down to just the skin itself, which will be blasted bare inside and out.
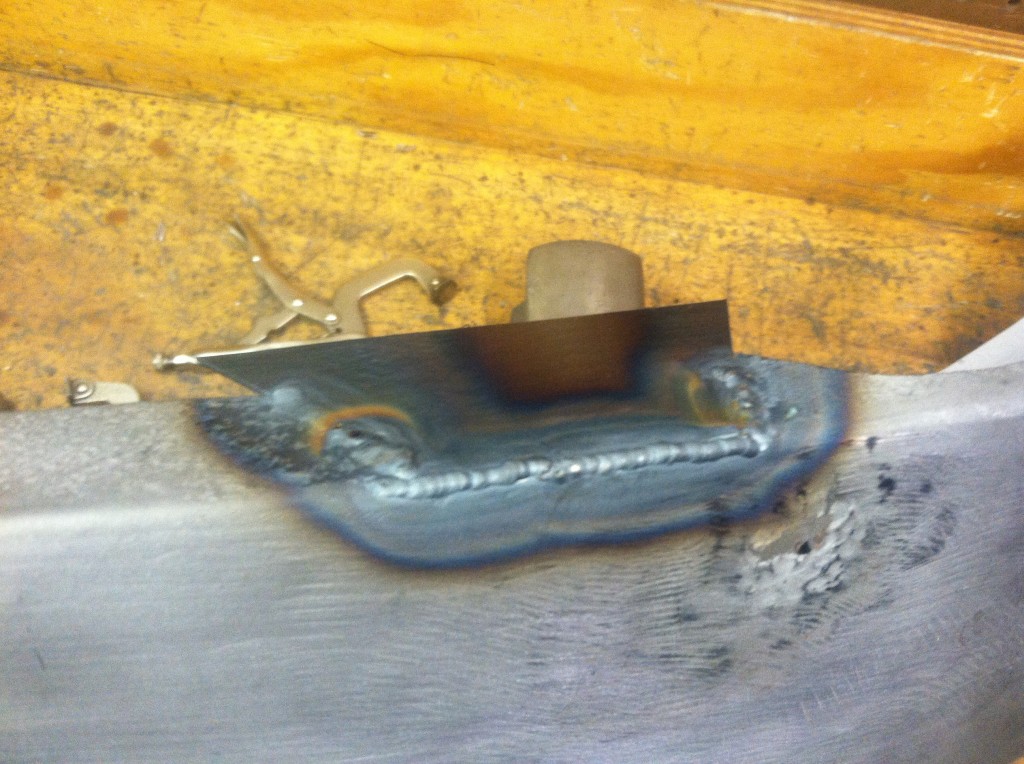
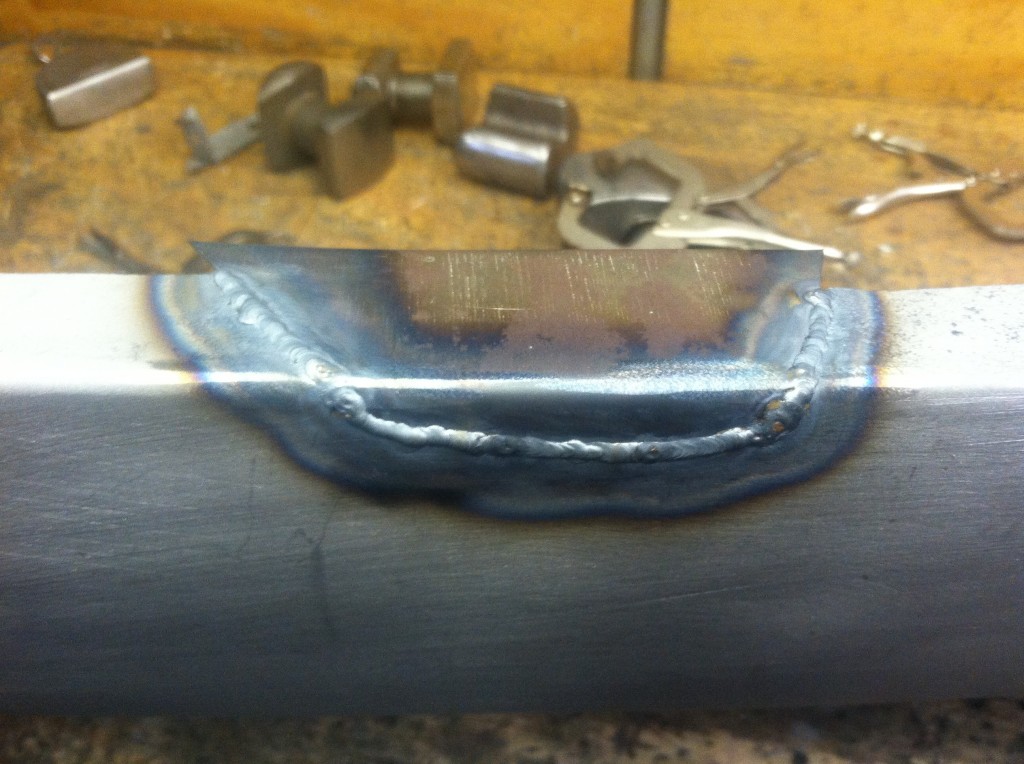
- I wanted to show you guys this… Anyone who has ever installed the headlamp scoops in a Series 1 E-Type has figured out that they just do not fit worth a damn! I get ALOT of calls about this part – more than any other… No one knows why the one bottom nut is welded to the backside while the other two are welded to the front of the flange, and I think it is simply because the factory figured out the the piece needed to be tilted upward early on, and moving the nut to the other side was easy… But they also installed a spacer piece behind the scoop about 1/2″ long – as shown here. Using a spacer like this will save you HOURS of frustration, and makes the scoop fit MUCH better!
- The area around this flange in the front wings is almost always badly corroded, and this bonnet is no exception.
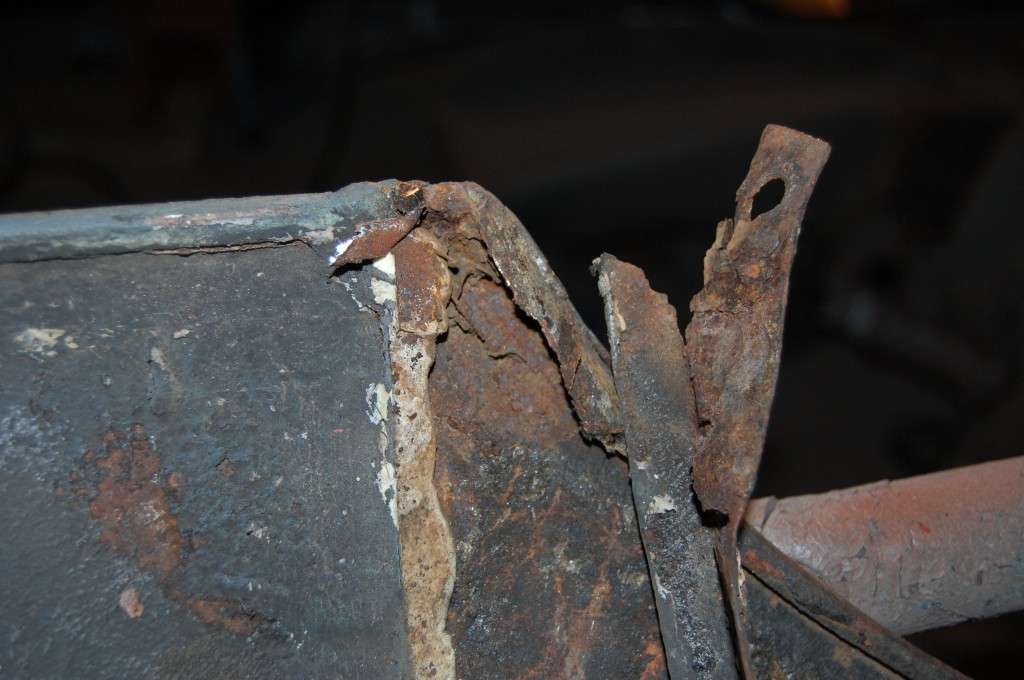
- This lower corner is badly rusted and will need a repair piece welded in.
- After a few hours working with panels like this, expect a BIG mess – that includes alot of rusted steel chunks!
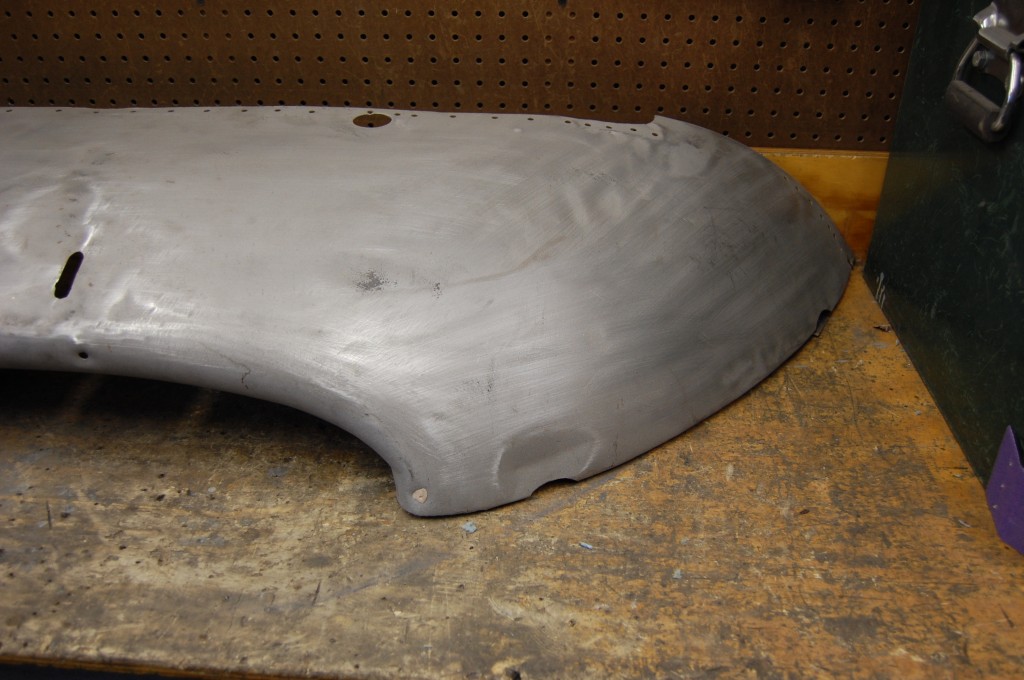
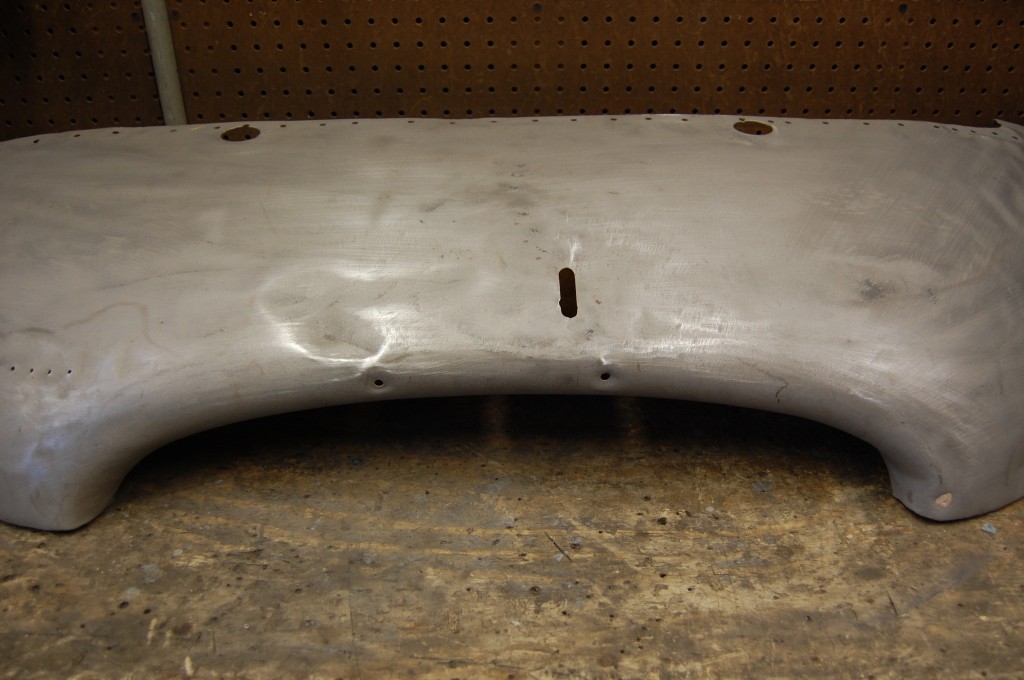
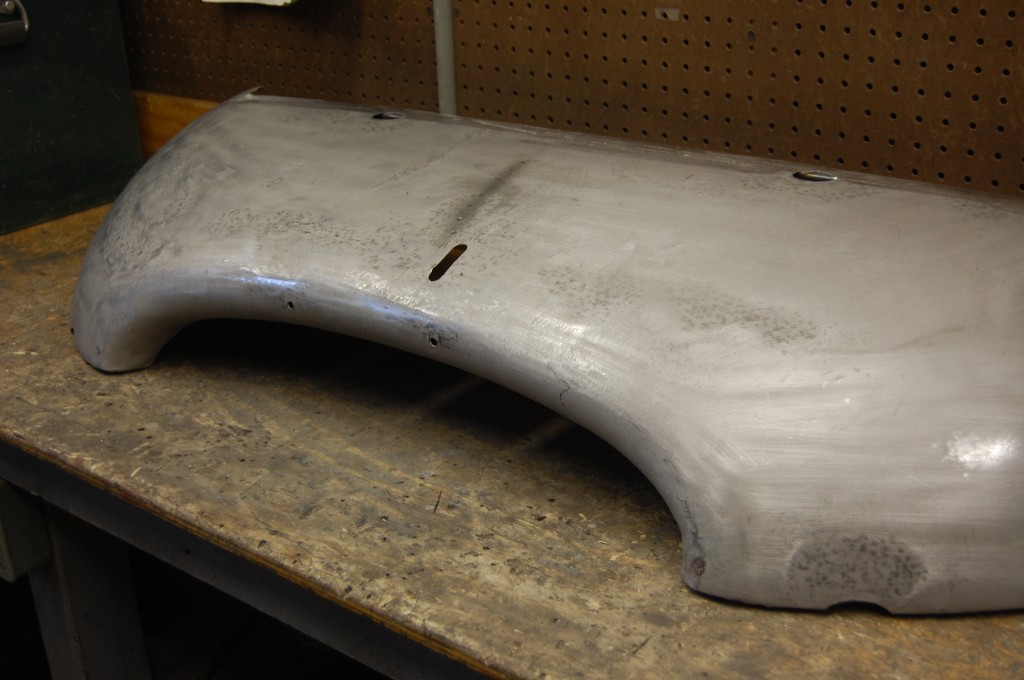
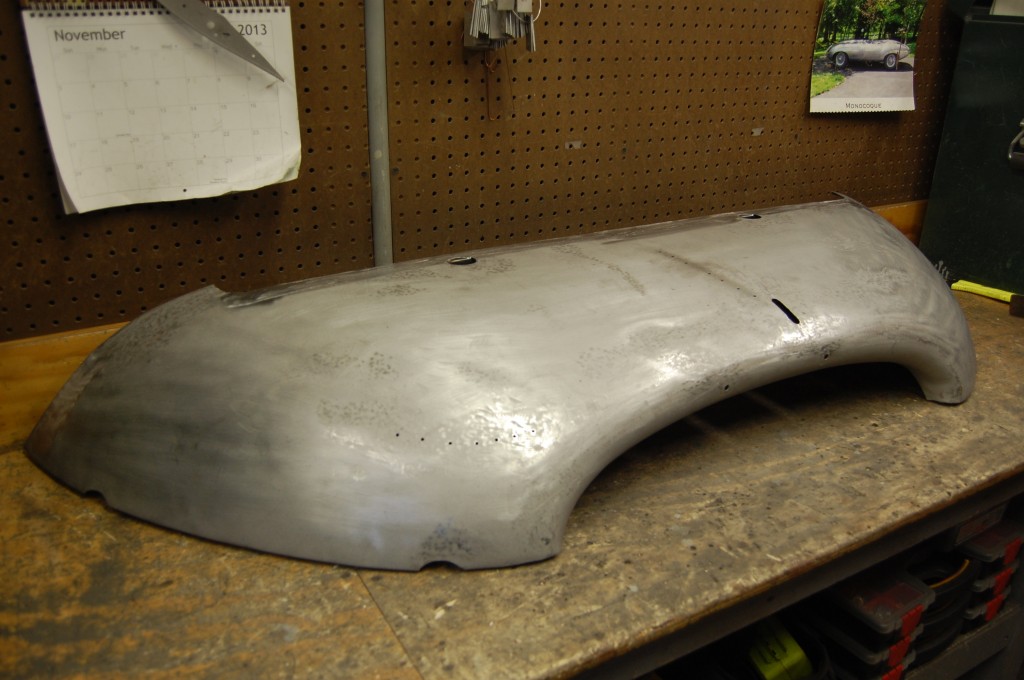
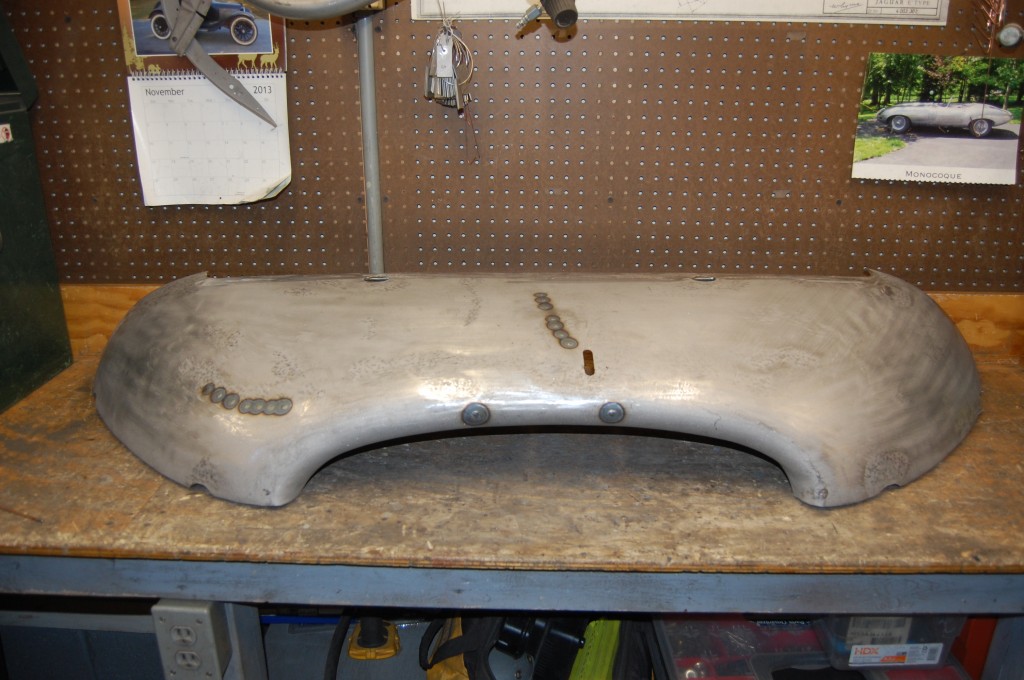
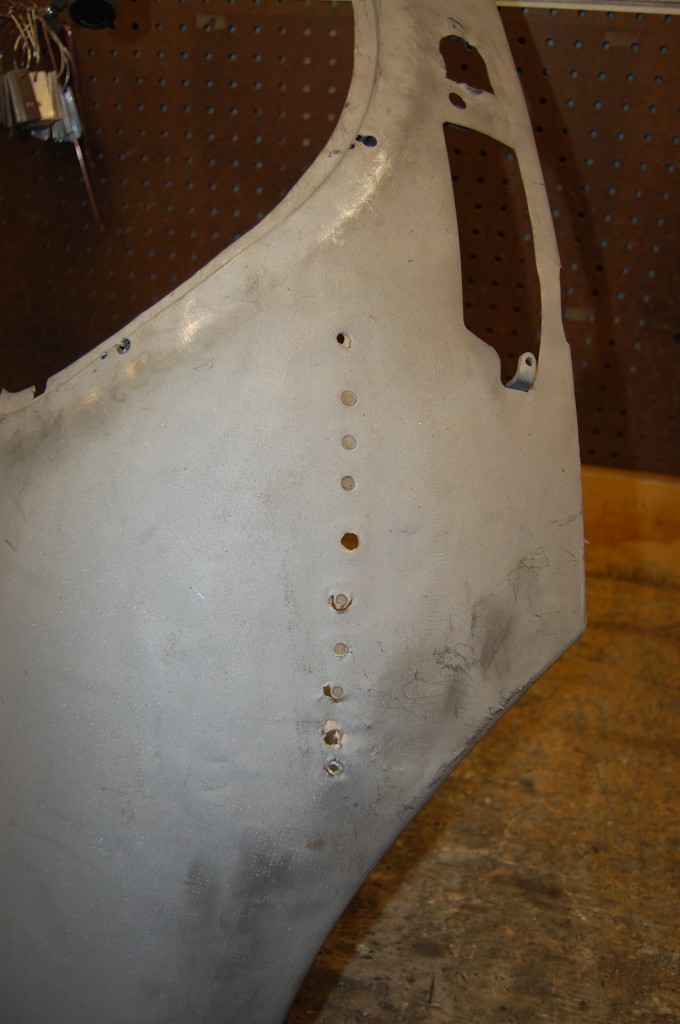
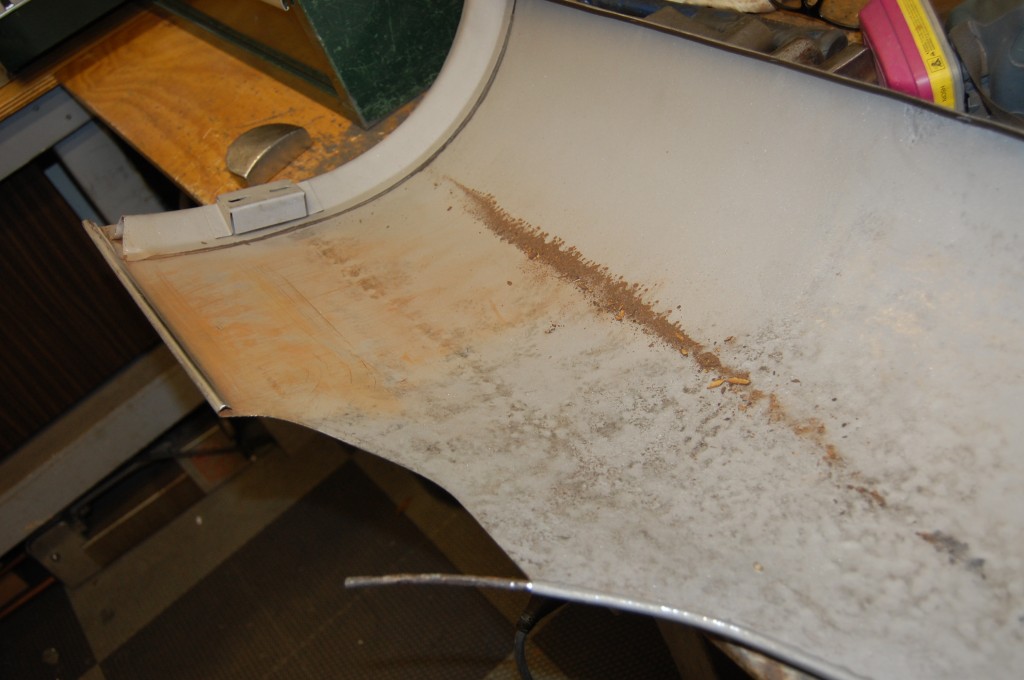
- This lower valance restoration was detailed in an earlier blog this Fall that showed three of them being restored – this is the “GH” piece. So we will run through these photos quickly. This skin is now blasted bare and shows the typical line of dent-puller holes that we see in most bonnets. Luckily, it is not accompanied by heaving grinding as is often the case.
- Blasted bare.
- Scuffed with a block to reveal the true damage.
- Another shot of the scuffed skin before repair.
- A final shot of the scuffed piece, showing a good view of the dent puller holes we will need to weld up.
- The new rear wall being fitted into place.
- A line of plug-welds have been used to weld in the new rear wall with a MIG welder. These will be ground down flush with the surface. I typically smooth the skin in the rear area in and around this seam so that the new support can be fitted, but save all other work until after it is installed. Having it installed makes the pieces sturdier and much easier to work with.
- After a couple of hours with the slapper, the piece is now reshaped and all dents removed.
- Another shot of the dolly and slapper work. This COULD be used as is, but we will go even further to absolutely minimize filler.
- The reshaping and initial smoothing is completed, but the dent puller holes still need to be filled.
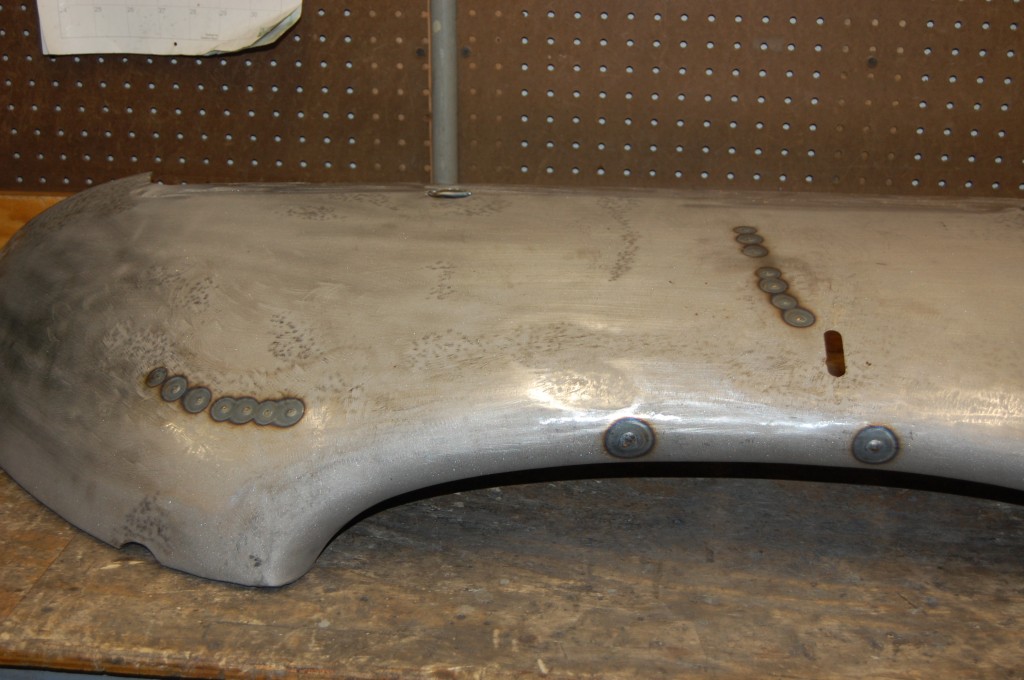
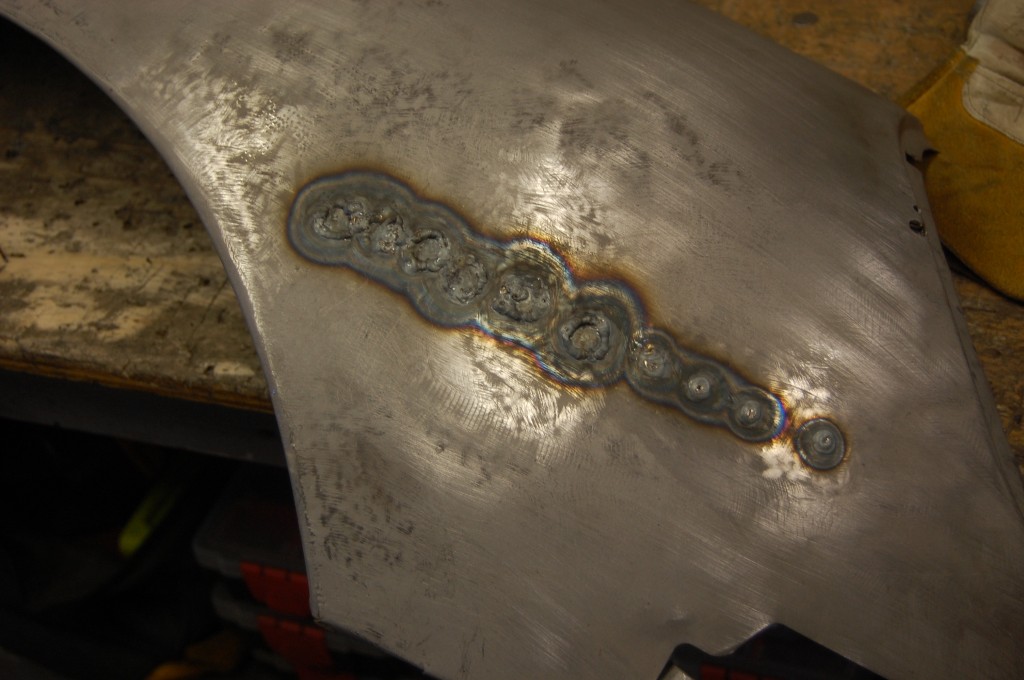
- We use the TIG welder to weld up the dent-puller holes as well as the front license plate mounting holes.
- Using the TIG welder here allows us to fill the hole with the minimal amount of heat. Tip – use a filler rod that is larger than usual for holes.
- In this shot, the welded holes have been ground down and re-dollied smooth.
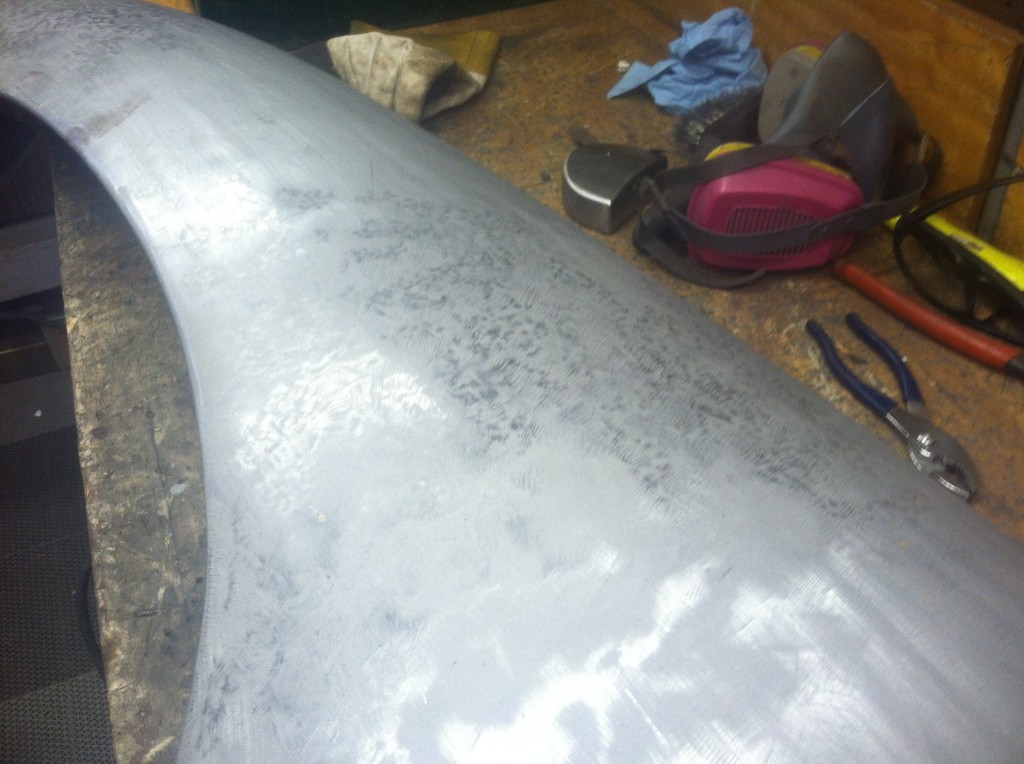
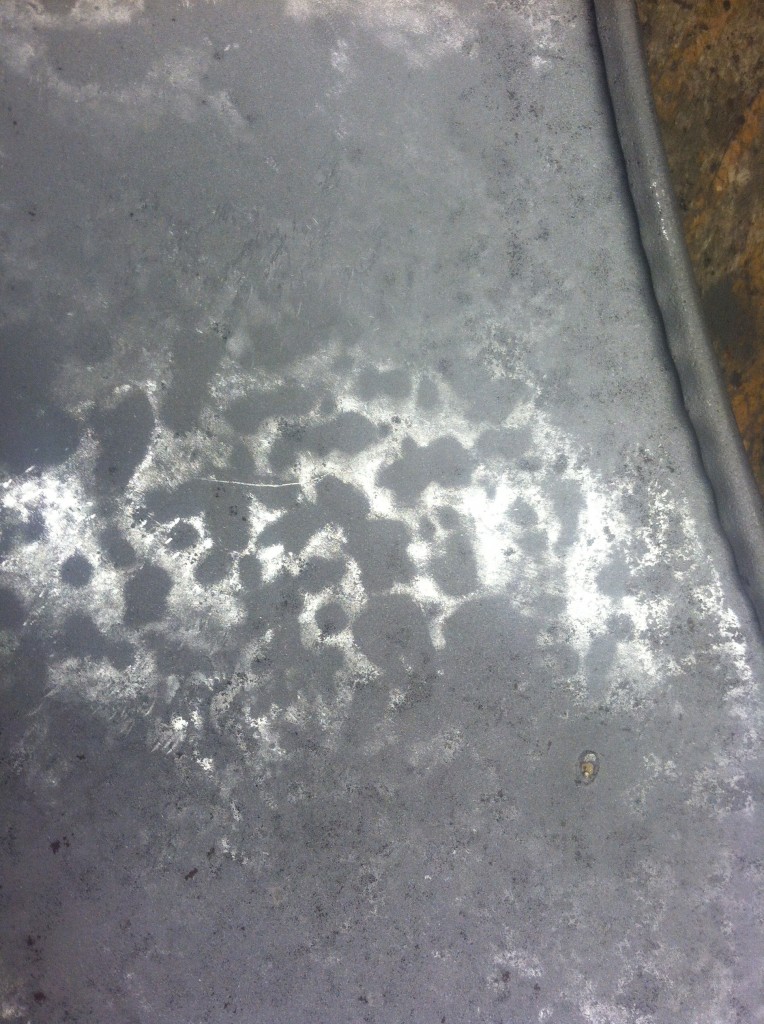
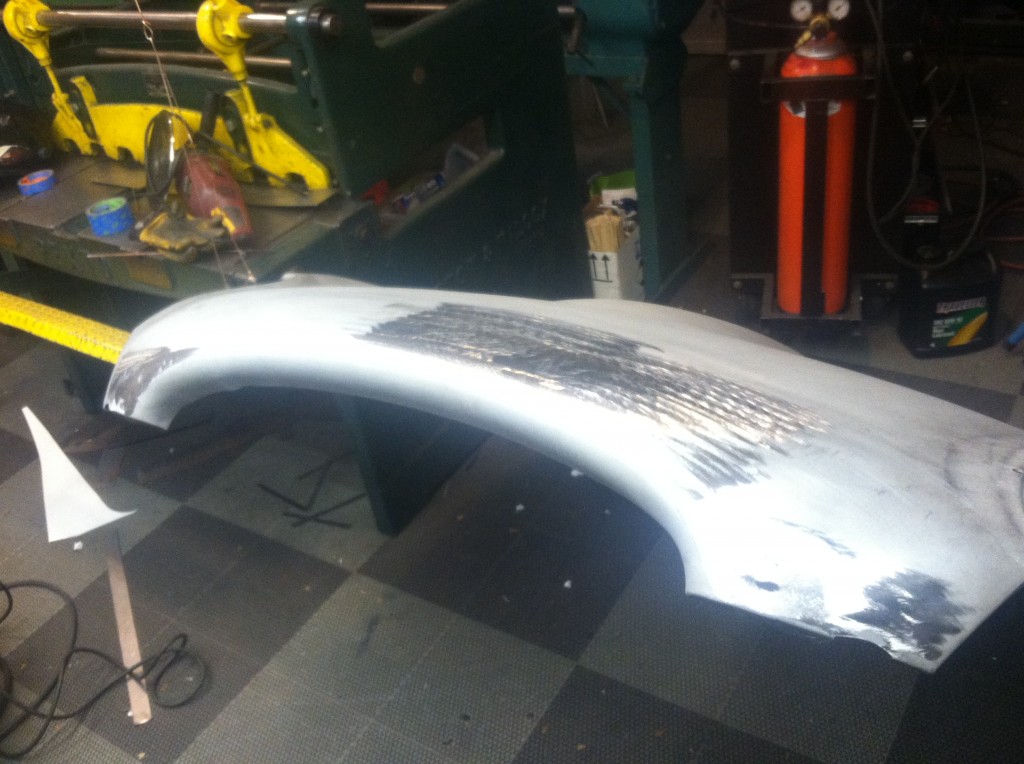
- The patches of polished metal are the tell-tale in this photo that we have smoothed the surface further with the shrinking disc.
- The final step is to scuff down the panel with a medium to fine sanding disc. Don’t REMOVE metal – just remove the polished surface left by the shrinking disc so that you will get good adhesion of your primer.
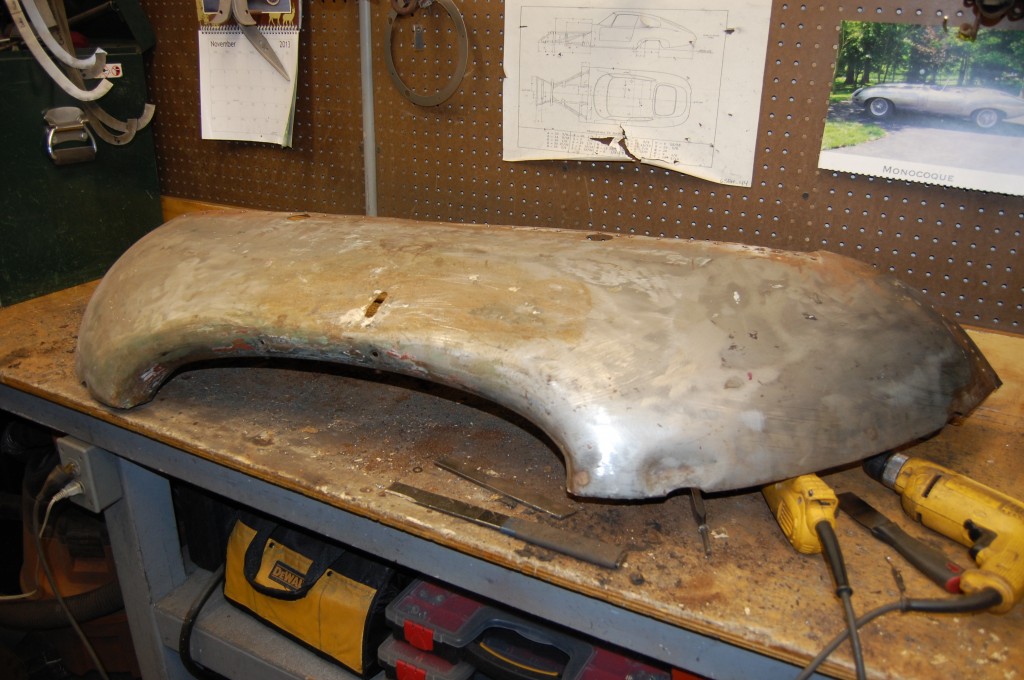
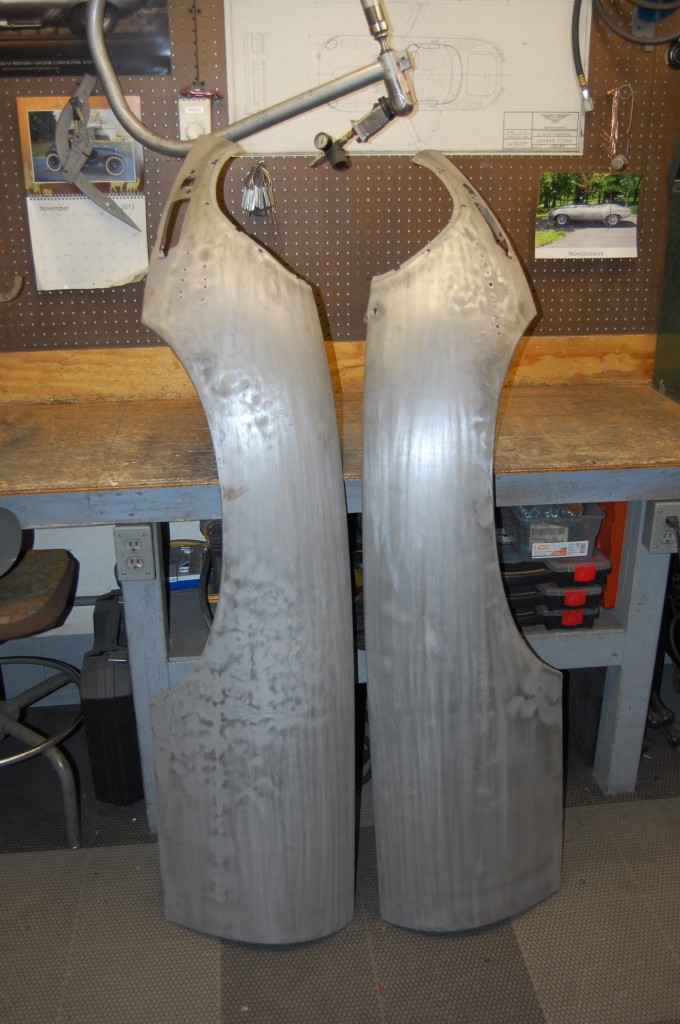
- Moving on to the wings now – as usual, there is ALOT of work to be completed here.
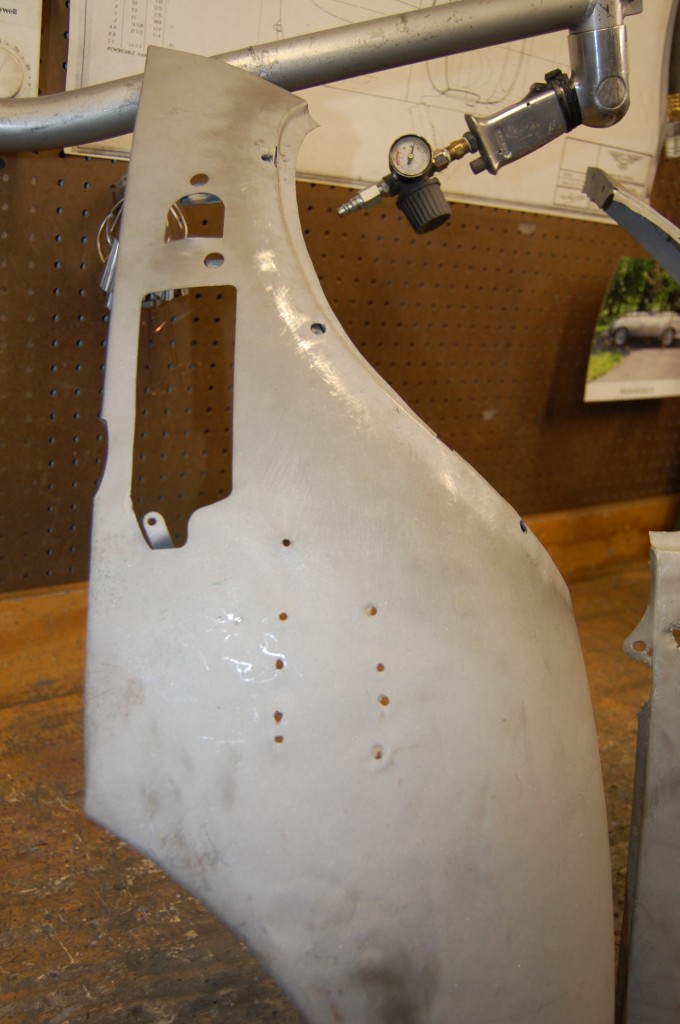
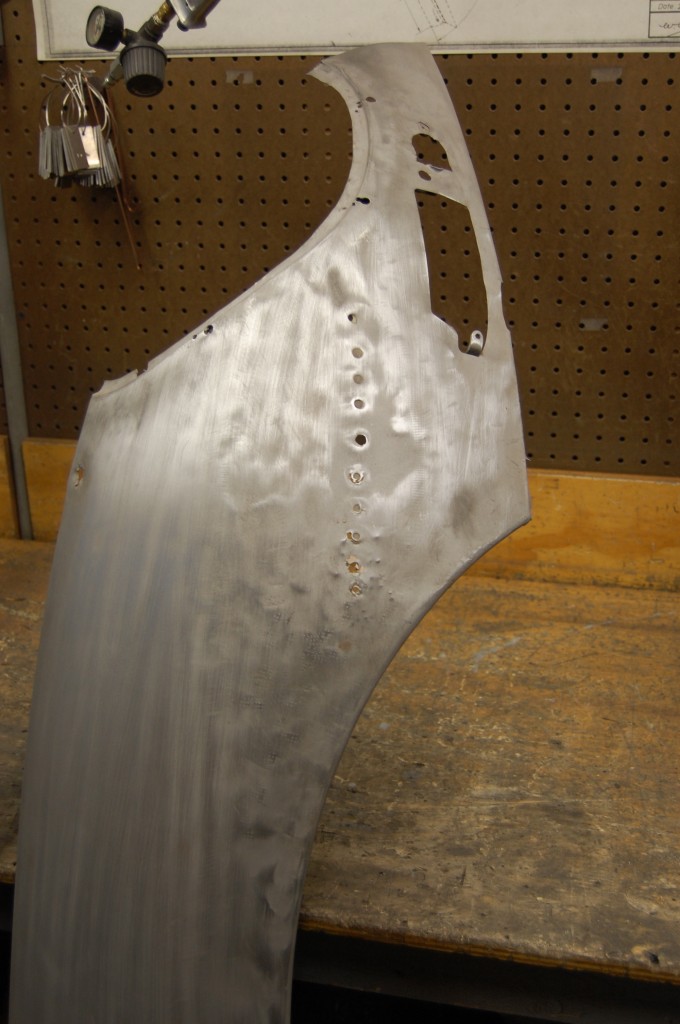
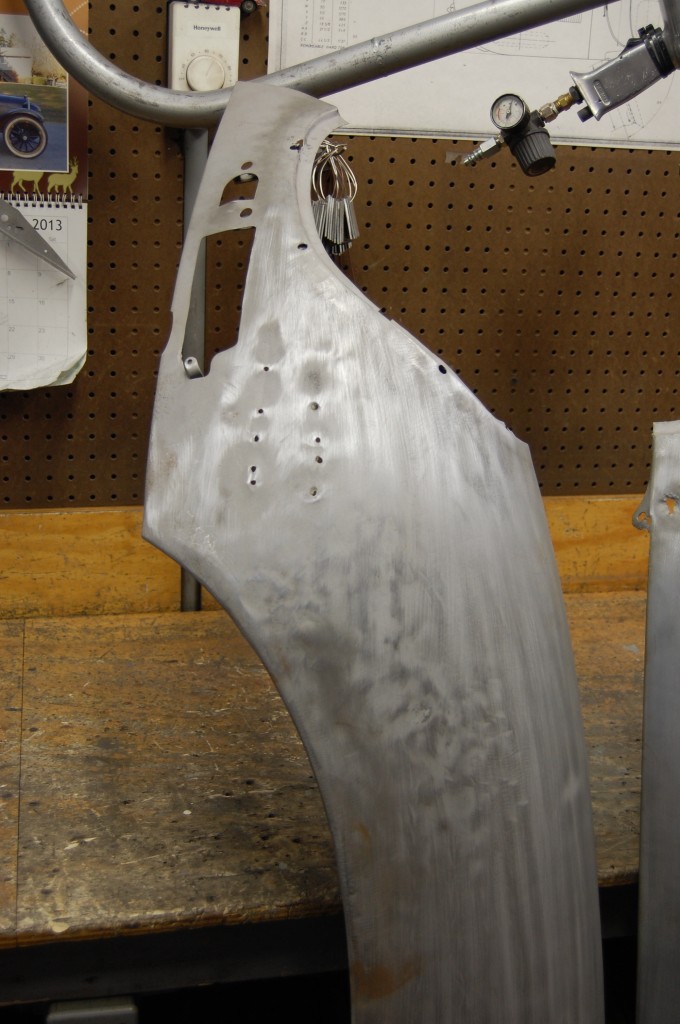
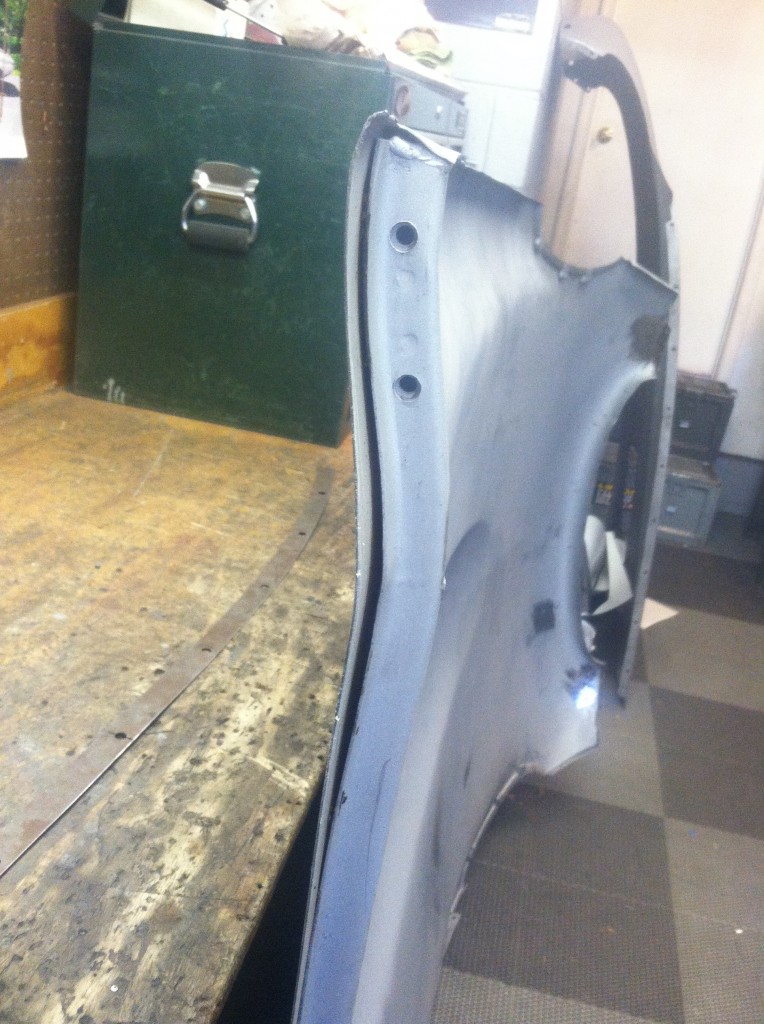
- The E-Type’s nemesis – dent-puller holes. But these are coupled with the WORST possible scenario – the are has been hit HEAVILY with a coarse sanding disc – leaving the metal around the holes PAPER THIN!
- The other wing has them as well, and they are also ground down some, but not quite as bad…
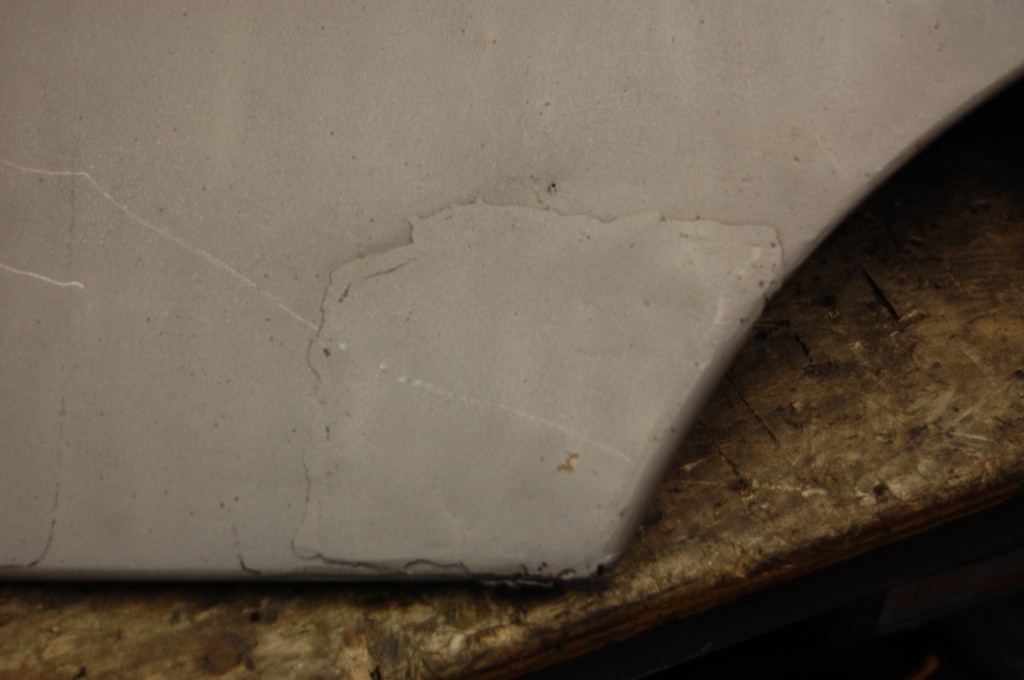
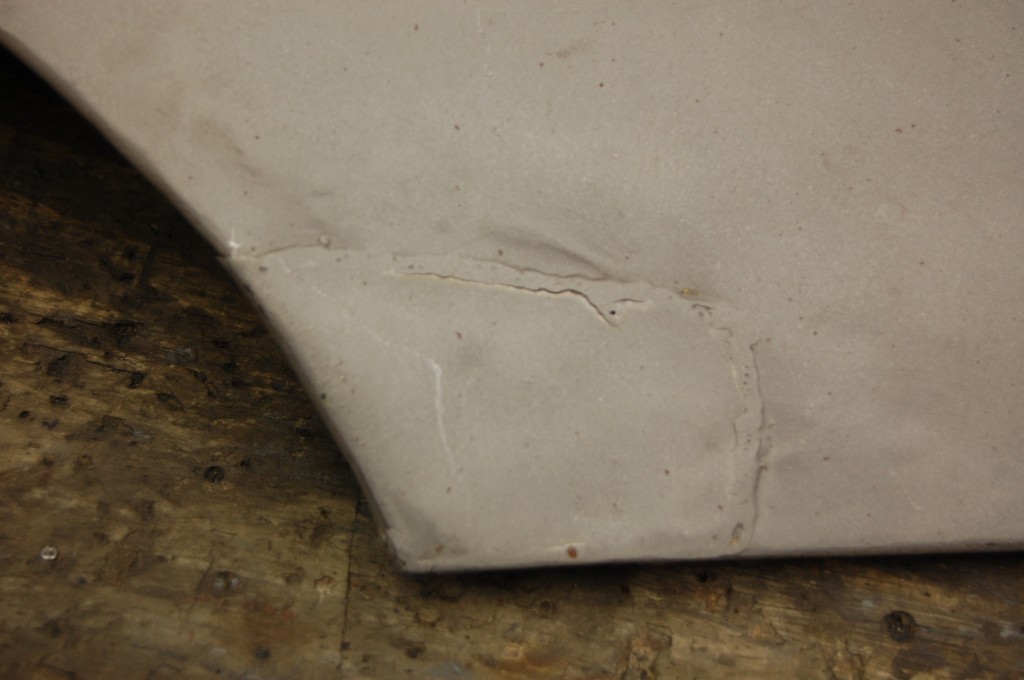
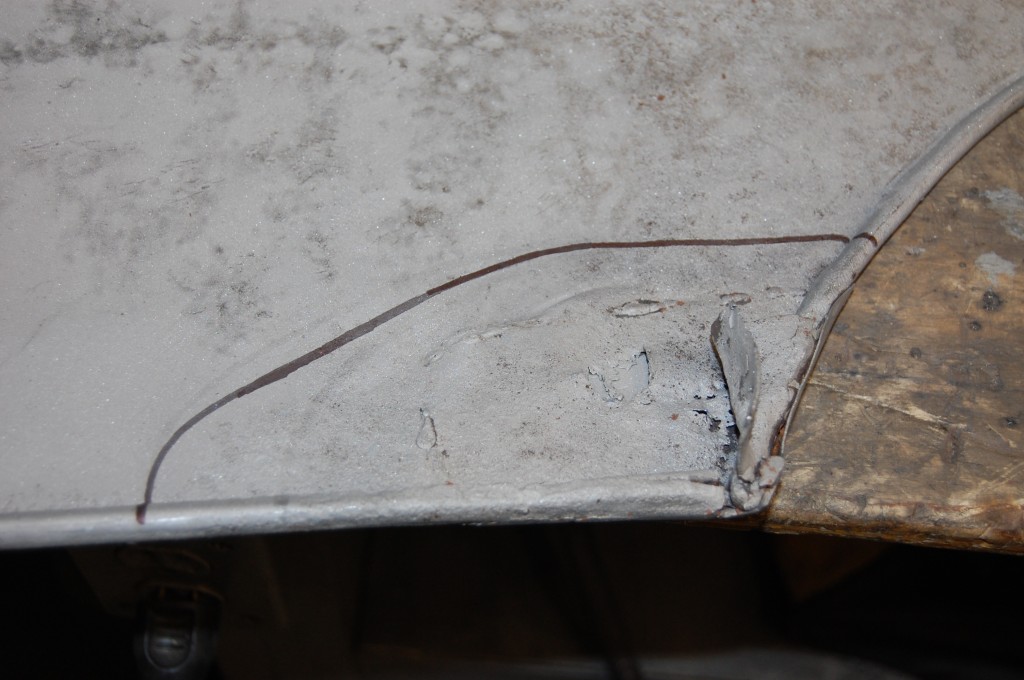
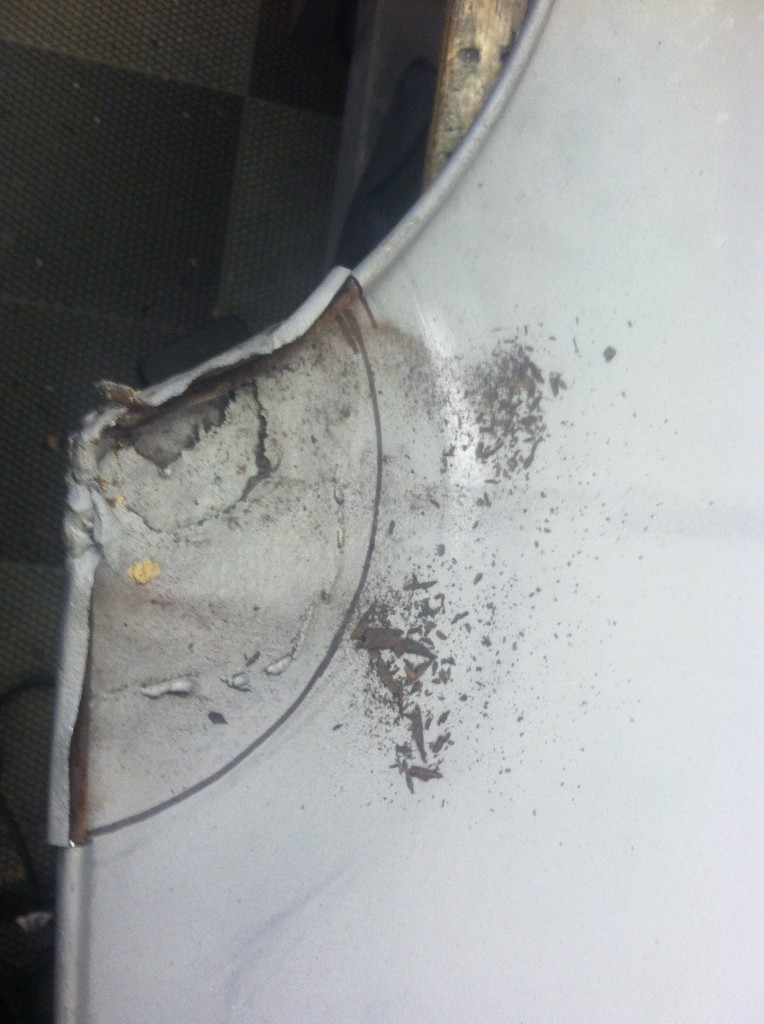
- Here is a typical amateaur patch in this lower corner. This one isn’t actually THAT bad, but it is overlapped with the original metal, leading to a rust trap – THAT is unforgivable!
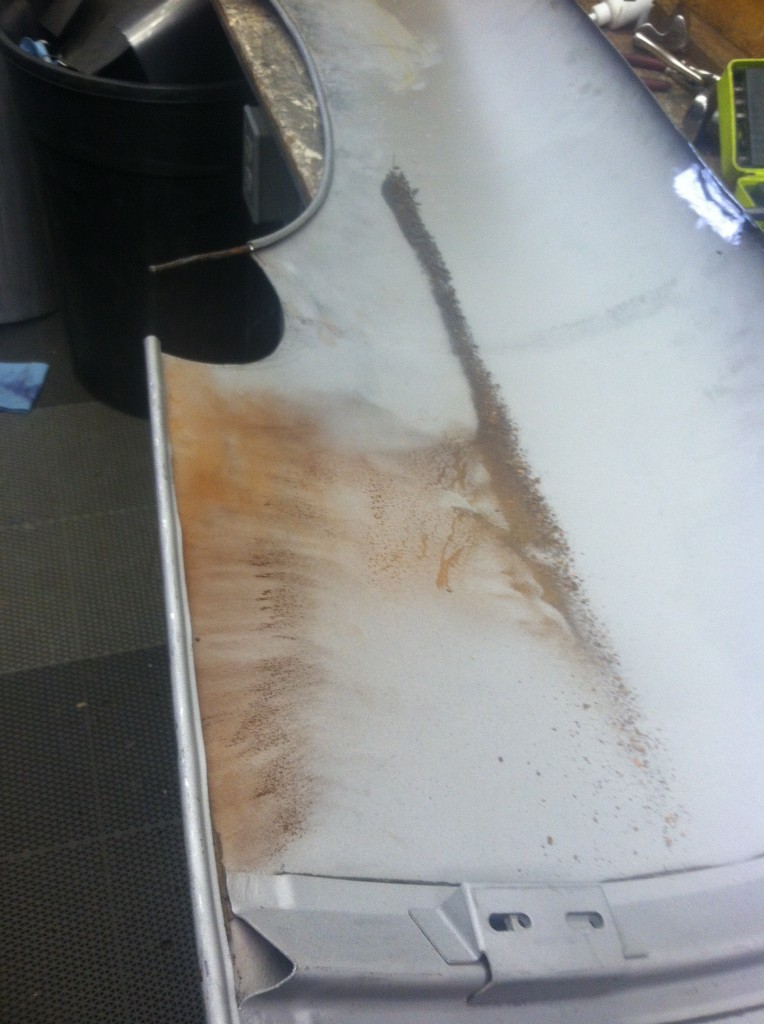
- A rust hole above the forward wing flange (also typical…) that was simply hammered down and filled with bondo. You can also see that part of the wing side flange is rusted away here as well.
- The LH wing has the same low-quality patch…
- Scuffing the blasted wing with a block starts to make things look alot worse – my hands and elbows are already starting to ache just looking at this – there is going to be ALOT of dolly and slapper work here!
- And the other wing is just as bad… This is also typical – just roughly hammered out and then filled with copious amounts of Bondo.
- YIKES! That LH wing has a very rough hammer job across nearly the whole thing!
- The scuffing actually tells the story here – this was a long crease down the side of the wing, and all of that other damage is a past “repair” that attempted to remove the crease the wrong way. Oh what I could have done to this wing before these guys got their hands on it – AAAAAAAGGGGGHHHHHHH!!!!!!!!!
- Looks like this area was hammered in since the patch welded in was actually above the surface.
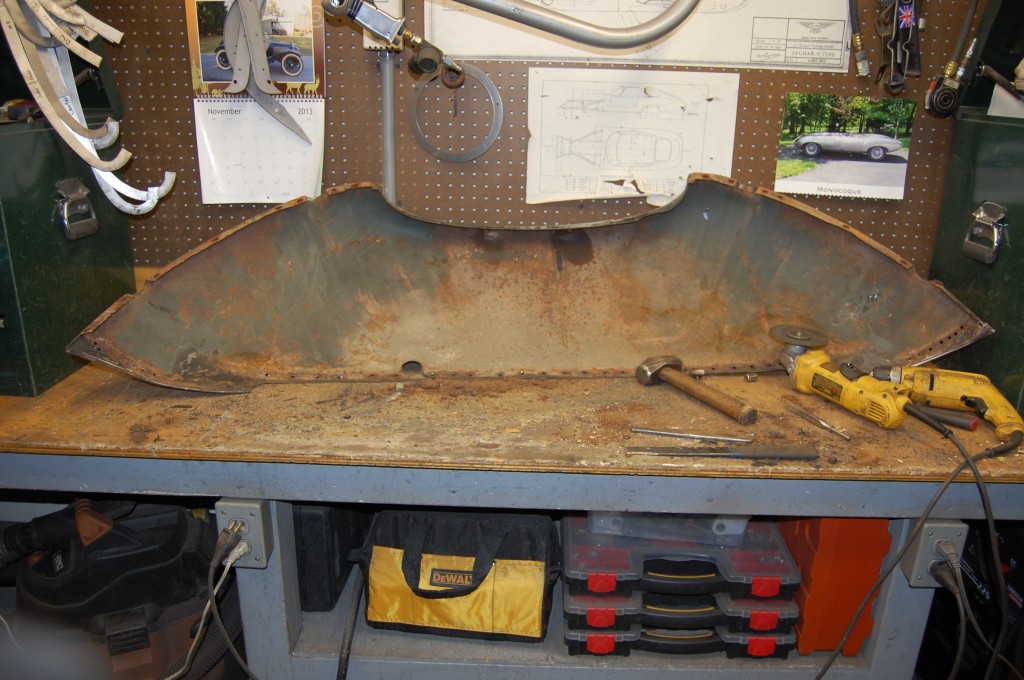
- This shows the back side of the wing after the dolly and slapper work has started. Because a coarse sanding disc was used on the surface after the rough hammer job, we are never going to be able to get the inner surface smooth in bare metal. We will bring all of the metal to a uniform surface on the outside, but the grinder has made the metal varying thicknesses, and this is going to yield a rough surface in the inside – although it will not be more variable than the thicknes of the metal itself… Luckily, the worst areas are within the wheel-well itself, where the area can be filled and sanded quickly, as the undercoating will cover the surface imperfactions entirely.
- Yes – I said undercoating. You MUST use undercoating above the paint, or “gravel guard” below the paint – inside the wheel area of the bonnet. If you don’t, you are going to be sorry later when rocks that are thrown off the wheels hit the skin of the bonnet and dent it from the inside out, or at the very least, sandblast the paint off the underside of the bonnet and start rust up again. If you like a really nice underside, use the gravel guard uder the paint. this photo shows the inside of the very poorly done wing patch in the LH wing.
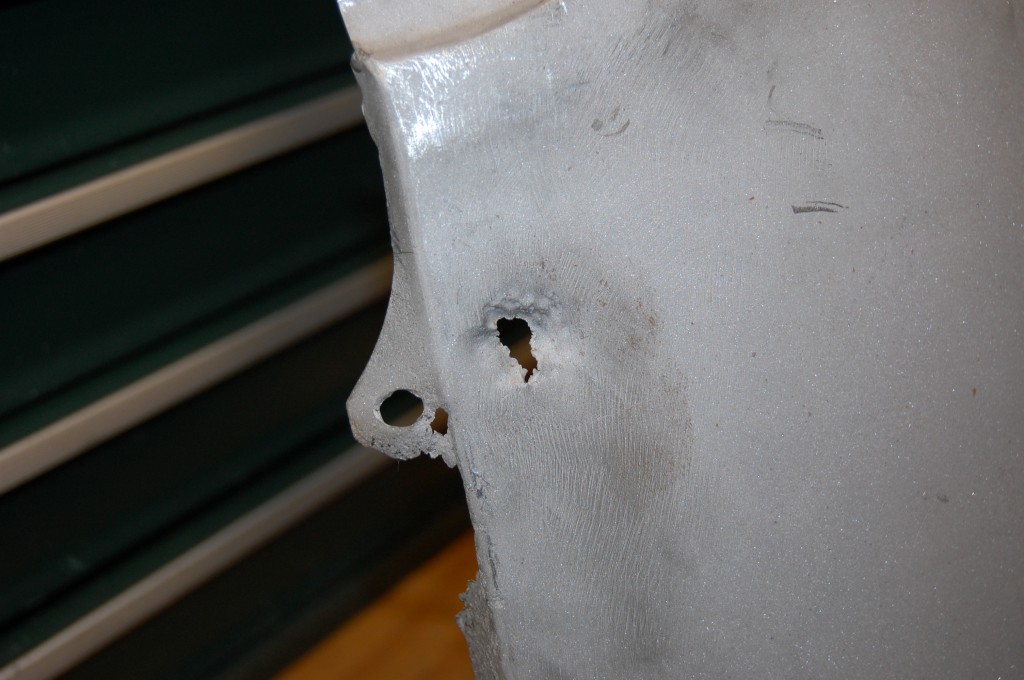
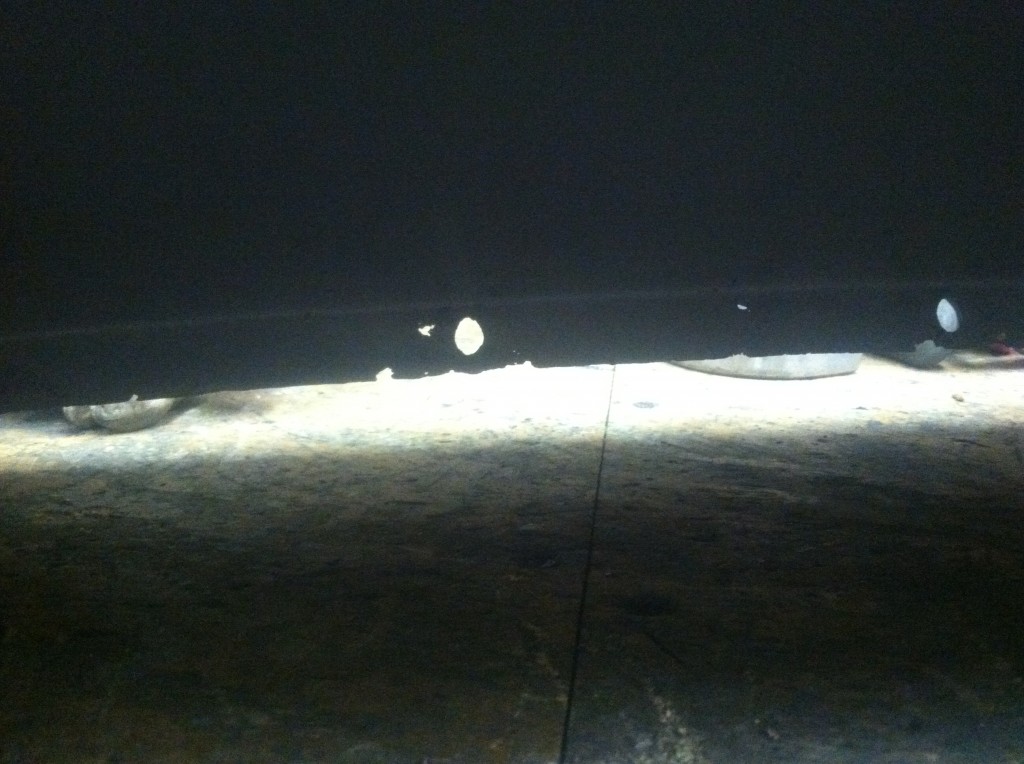
- This photo was taken without a flash to show the perforation in the wing side seam flange on one wing. Although it’s borderline, I’ve decided that on this one, patching the problem areas is a better choice for this wing thatn full replacement of the flange.
- We are working our way back with the hammer and dolly work – it’s a SLOW process!
- Another shot of the surface left after the smoothing with the doly and slapper. Again – we would not have this problem if the surface of the skin had not been heavily ground after the rough hammer work… But as you can see, the difference in depth of the metal is very shallow indeed – it just shows up very clearly after sandblasting and then hammering…
- There is no set way that you have to shape the patches in this corner – do whatever makes sense and gets you into good thick metal, but avoid sharp corners – DON’T make a square patch – the confluence of the two weld lines in a sharp corner will cause much more distortion than a smoother cut like this.
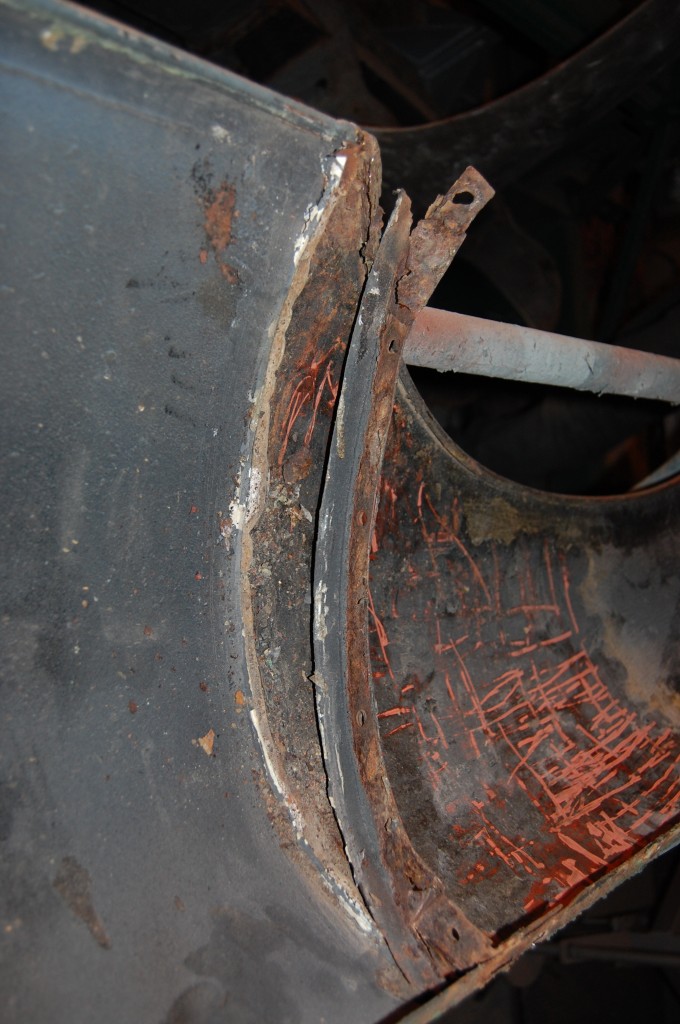
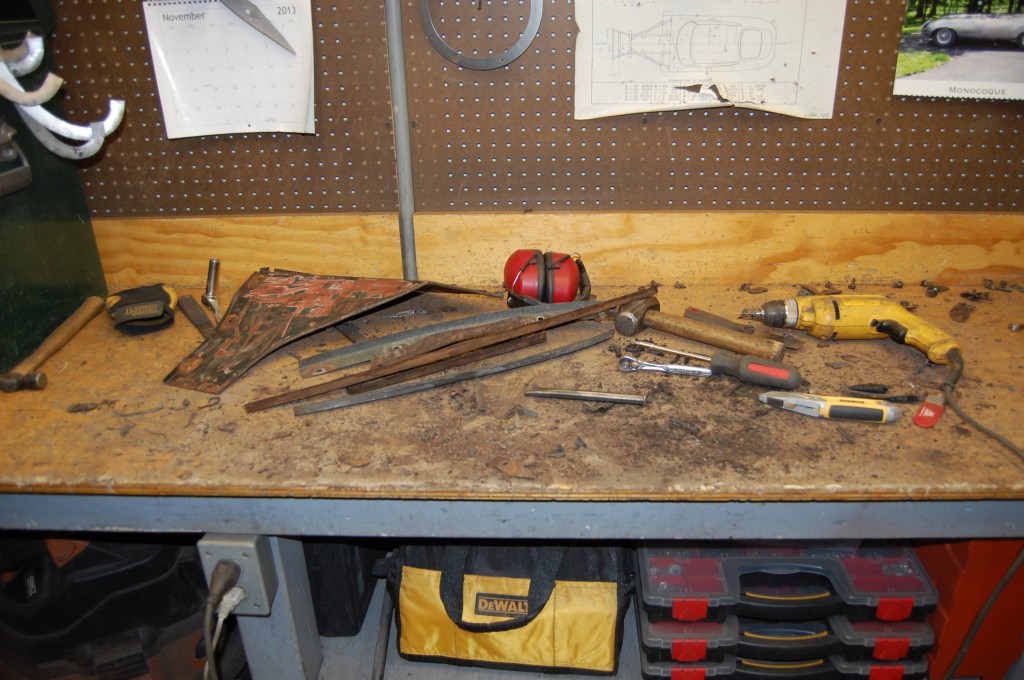
- Here, the piece has been cut out, and the remaining metal is being prepped for the new patch. We have removed the steel rod in the bottom of the wing, and also eventually removed that curved piece as well. What we are doing in this photo is scraping and hammering out rust from the lower edge where the rusted rod used to be – see all of the rust that has come out laying in the center of the wing? After we get ALL of this out, and sand this area well, we liberally coat the inside of this channel with red oxide before installing a new, zinc-coated rod.
- This row of heavily ground dent-puller holes DID turn out to be a real nightmare… The metal around the holes was too thin to fill the holes with the TIG past the first three holes. After that, we had to punch out larger holes, and then weld in small circles of new metal with the TIG. What a mess – we were on the ragged edge of disaster the whole time, but careful welding of this thin area turned out OK in the end – PHEW!!!
- Next, we welded small patches into various areas along one wing side seam.
- Here is another one that came up around onto the surface itself. These were ground down smooth and trimmed…
- …and then the curve of the entire flange was re-arched to match our contouyr gauges, as the welding itself acts as a shrinker along the flange, and you will find that it is curved MUCH tighter after the repairs, and needs to be stretched back to the proper curve.
- Here is the shape that made the most sense for the RH side lower corner patch in the wing.
- And again we removed the lower steel rod, and worked to get ALL of the rust and corrosion out of that groove, and then coated with red oxide.
- For all of its other issues, this bonnet had a very nice center section, and required very little metalwork in and around the nose – a welcome relief!
- As usual, the adhesive had come unglued between the center section skin and the rear main support member, and we carefully scraped this out and welded this seam up tight with plug welds.
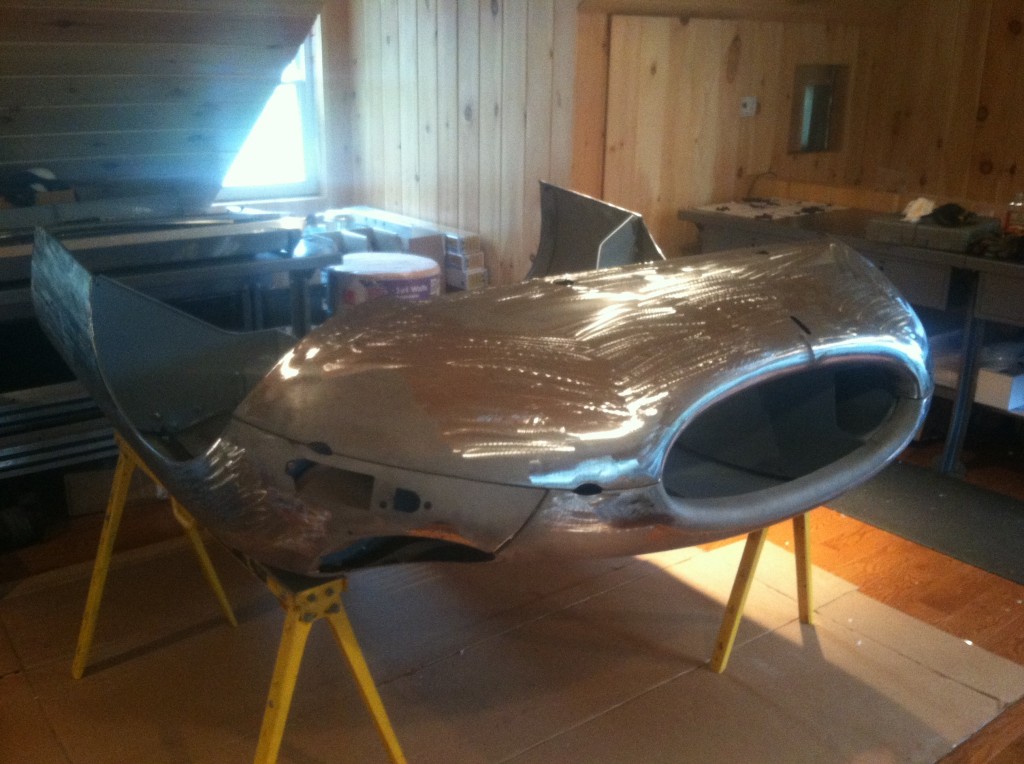
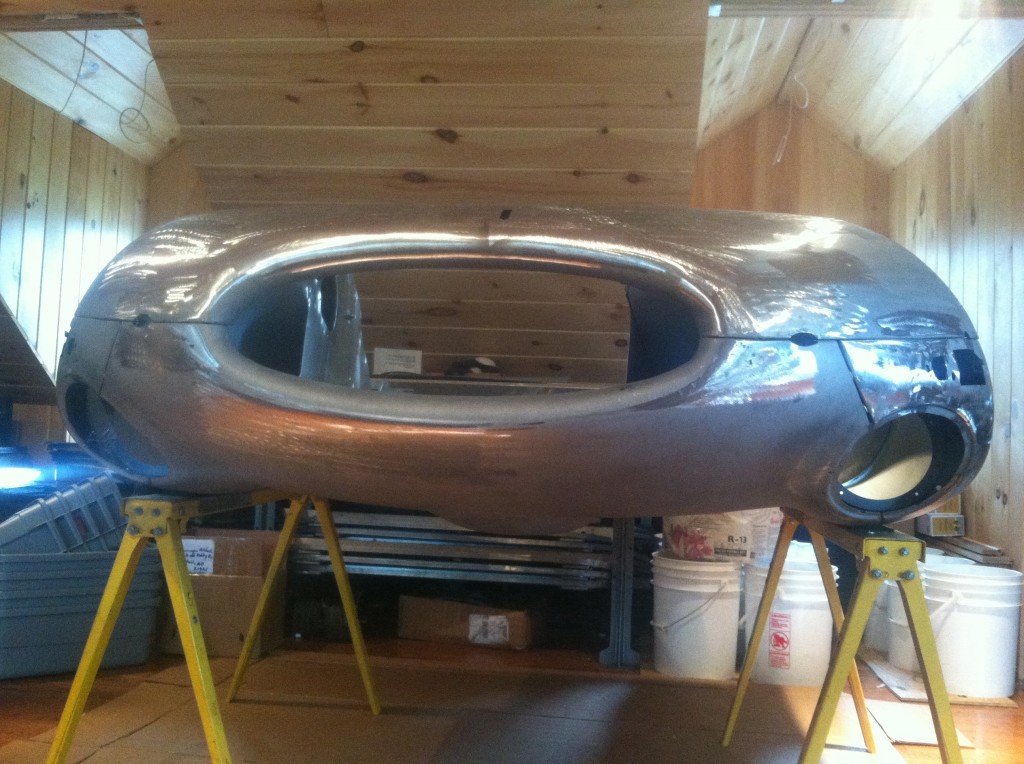
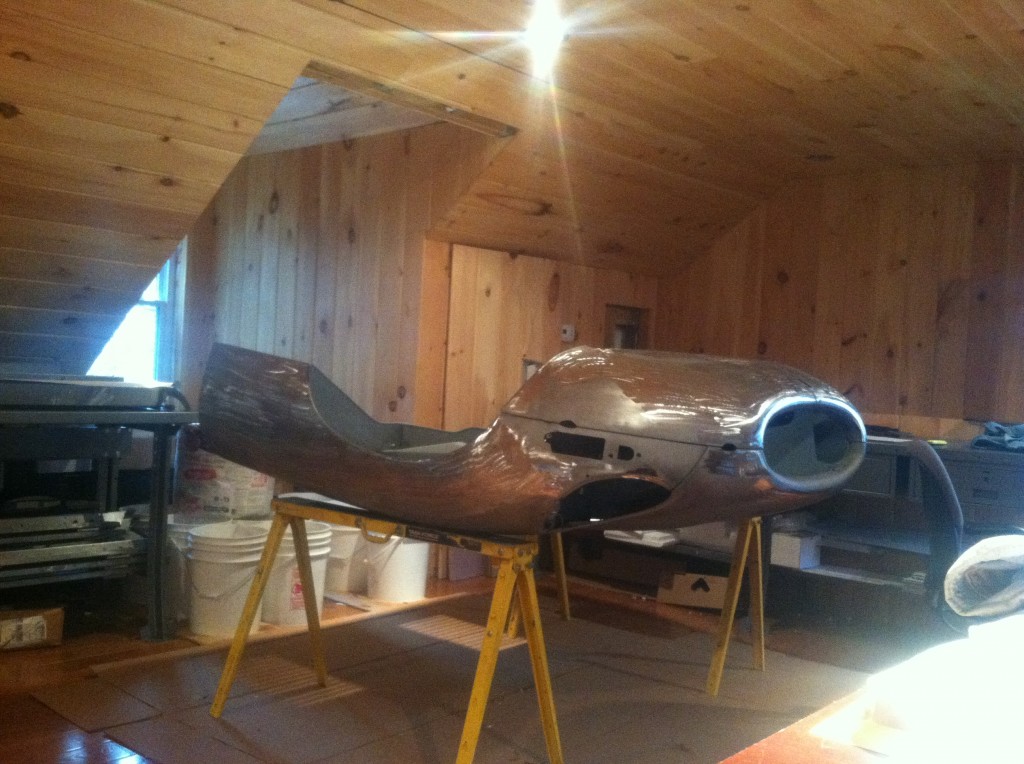
- Fast forward a bit – sorry, looks like I went a day or so with no photos again. These are all of the bonnet pieces with the metalwork completed, and test fitted together for gluing in the upstairs of the new building/office.
- The nose of this bonnet is EXCELLENT now that the lower valance is shaped properly.
- This shot was taken from my desk during the days while the adhesive was drying on the flanges – not a bad view, huh!?! I guess you could say this is a photo of my “cube”… I love this job!

