As I mentioned earlier, we restored several bonnets this Fall in our effort to “clear the decks” and prepare to be locked in for the Winter restoring body shells.
This bonnet was completed in November. The owner was a long-time E-Type enthusiast and dealer, and this bonnet was being built for a very solid ’67 roadster project. As a seasoned veteran of E-Types, he was willing to take the restored pieces as a package, and re-assembled and glued the bonnet himself – and we were QUITE happy to oblige him!
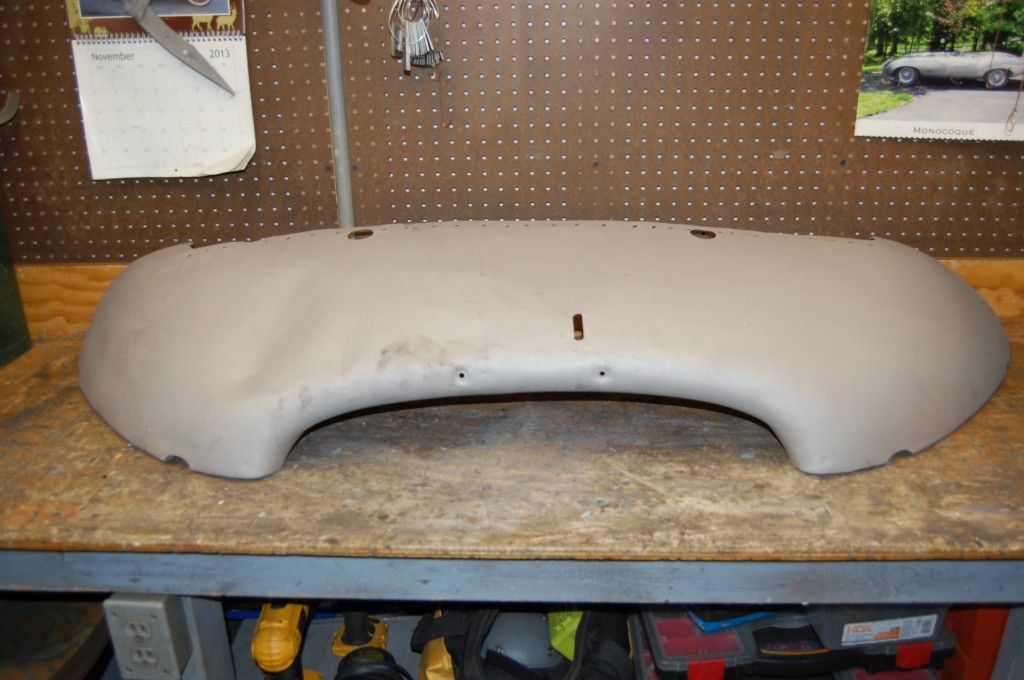
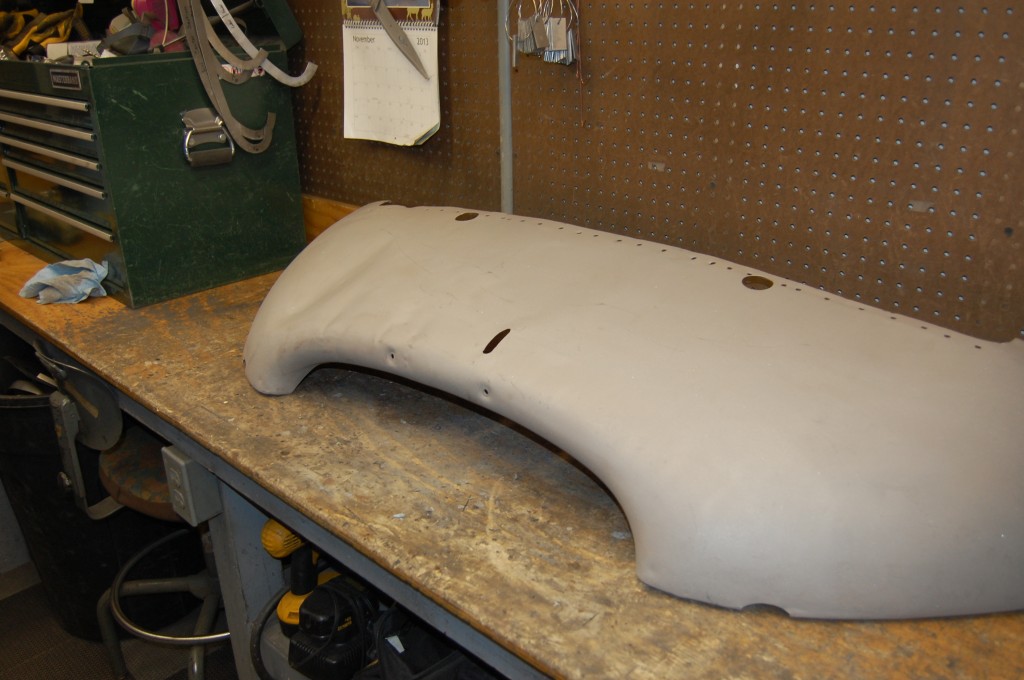
The bonnet was a very decent donor – the inner valances were excellent – true “blast and prime” pieces. The nose itself had minor damage, and they also needed the headlamp openings converted to Series 1 specs.
Take a look at these metalwork photos – there are also probably several metalworking tips and tricks in here – and all of our blogs! Happy New Year! – Chuck
- The lower valance was solid, but the rear support was rusted in the hinge mounting plates just enough to warrant replacement. We will also reshape the skin’s typical parking block and curb damage…
- We covered the restoration of the lower valance in the blog already earlier this Fall – it is one of the three lower valances shown in one blog – code name “DC”. So we’ll run through the lower valance photos quickly…
- Sandblasted and scuffed with a block to reveal the damage.
- Another shot of the scuffed piece.
- Hours of hand work with a dolly and slapper have been completed…
- Properly shaped now…
- Smoothing the surface with the shrinking disc…
- Reshaped, shrunken, smoothed, and scuffed down ready for primer.
- Another shot of the completed lower valance.
- Good as new!
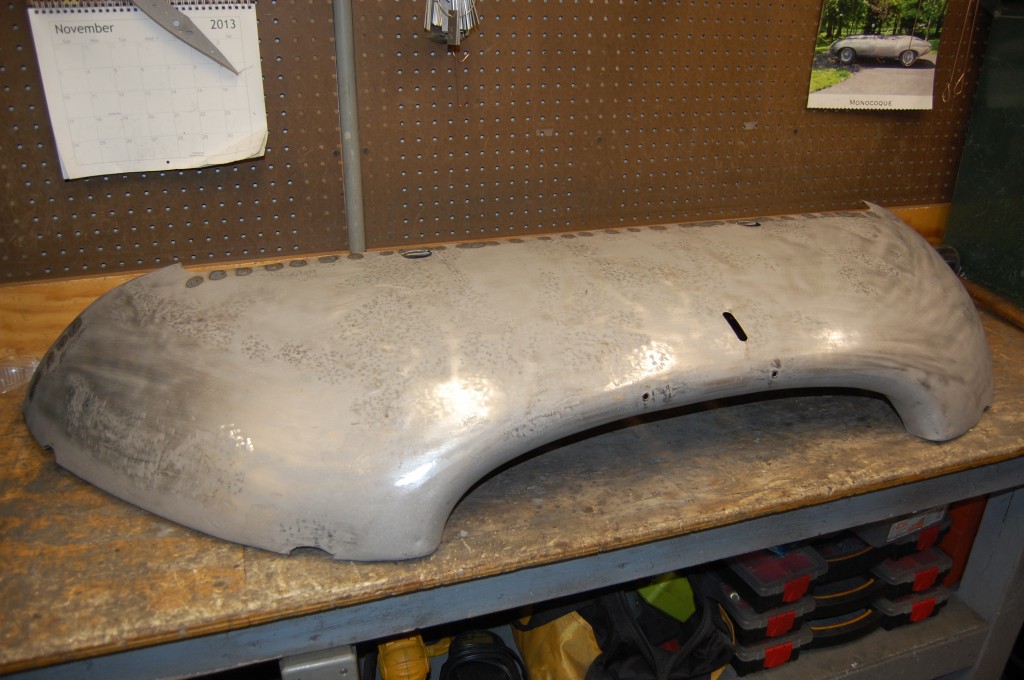
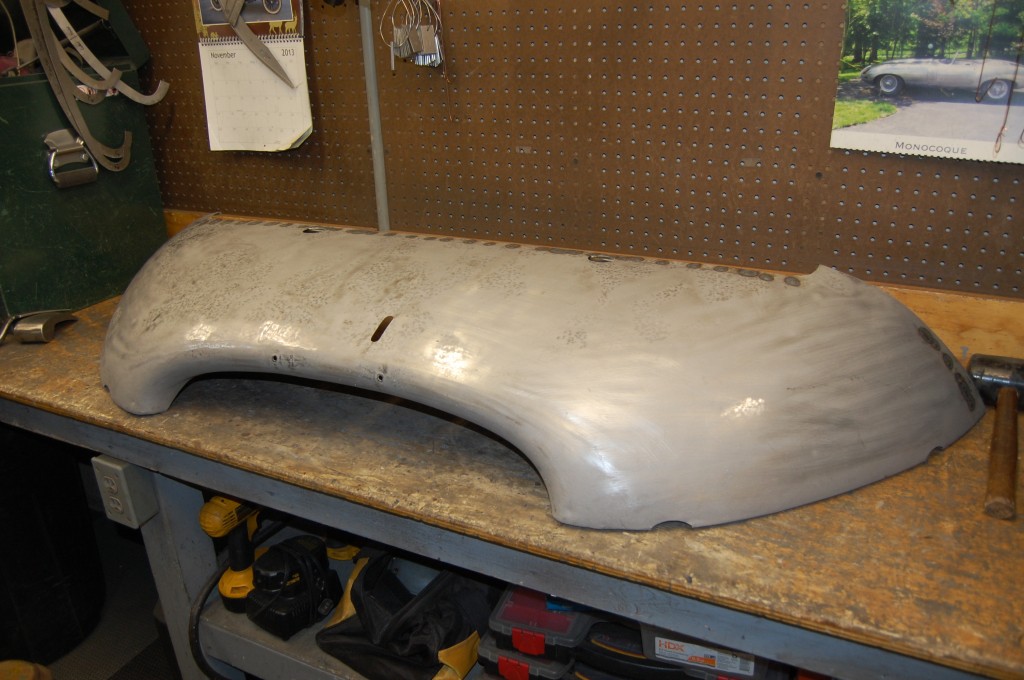
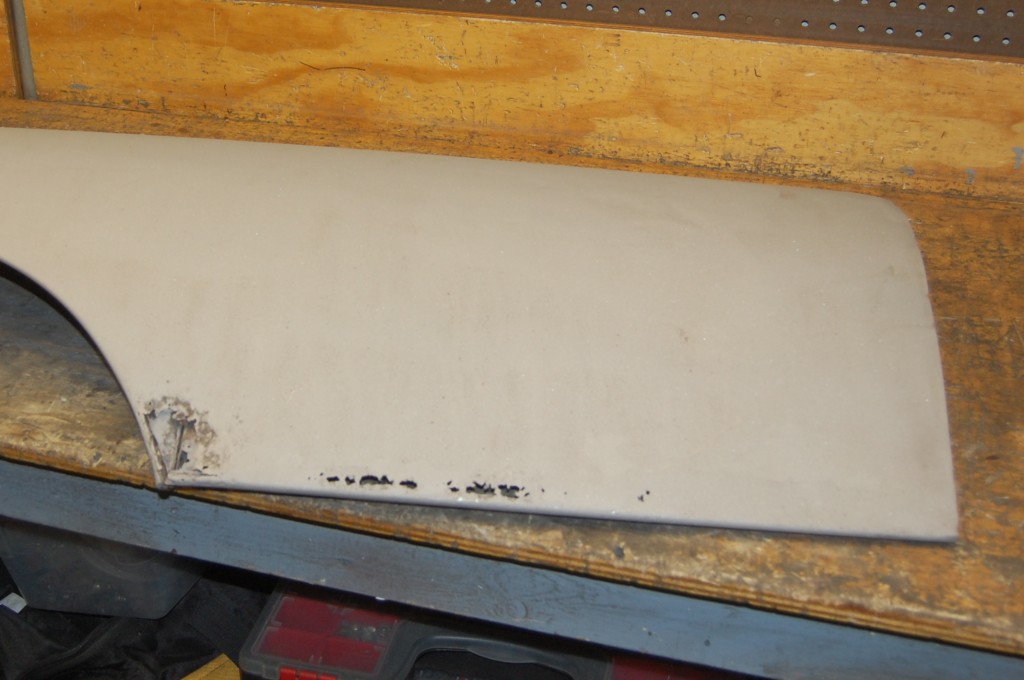
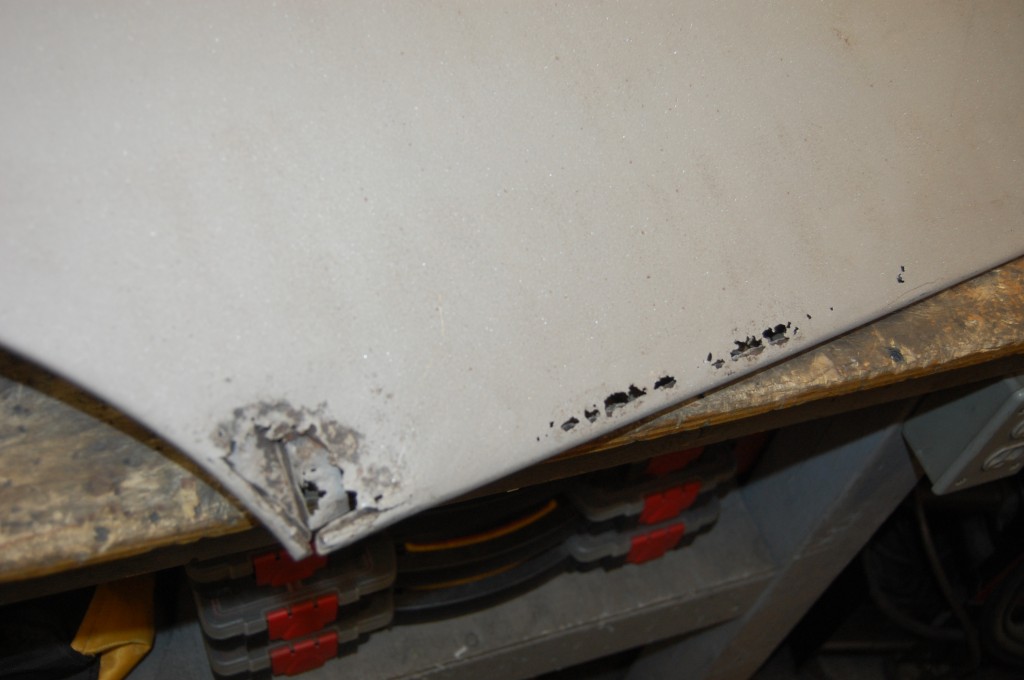
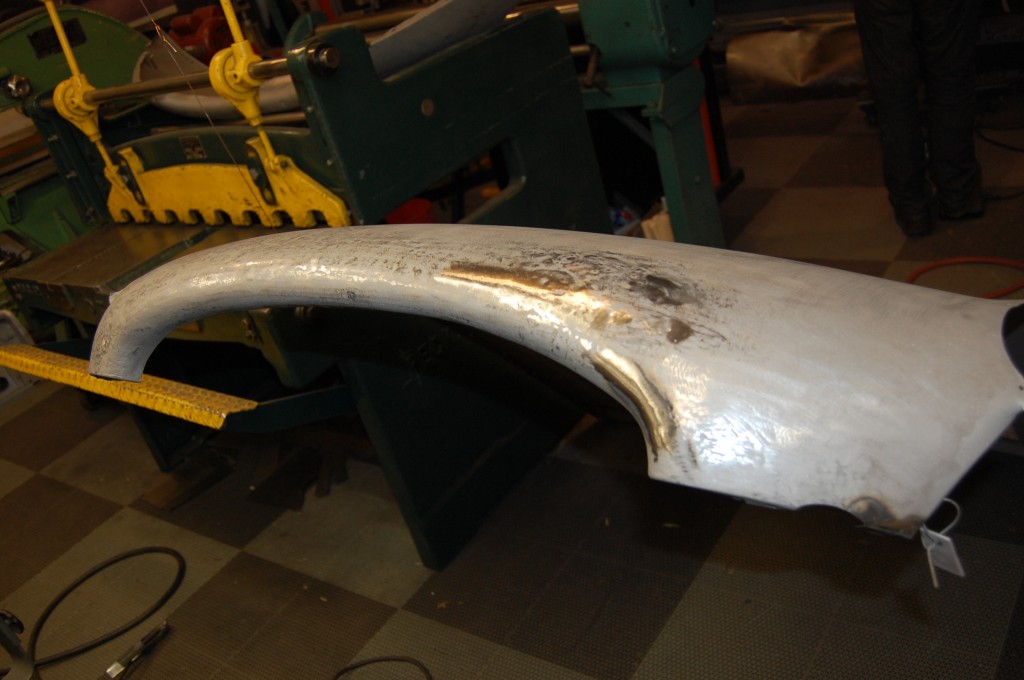
- The RH wing has some typical rust that will need attention.
- We will cut this out and replace with new steel – but no more than we have to.
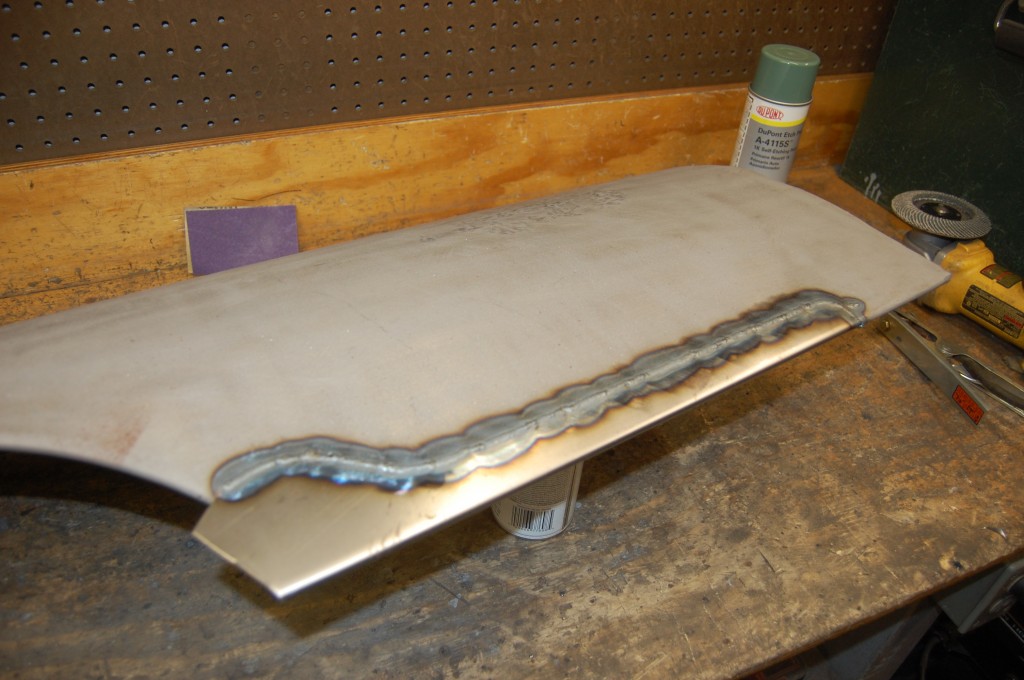
- Here is the patch going in – it has been TIG welded along the seam, and we will put a new steel rid into the beaded edge along the bottom and up into the wheel arch.
- Sorry – things got busy and the camera was neglected… Some of these photos were taken with my phone along the way. This is the completed patch shown above – pretty SWEET, huh!?!
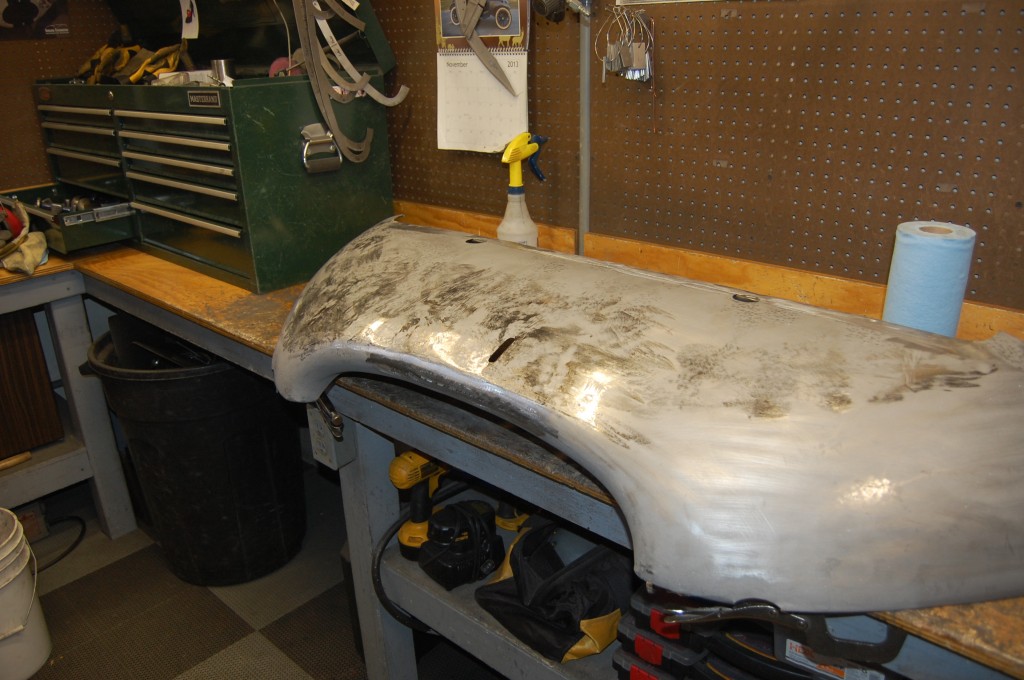
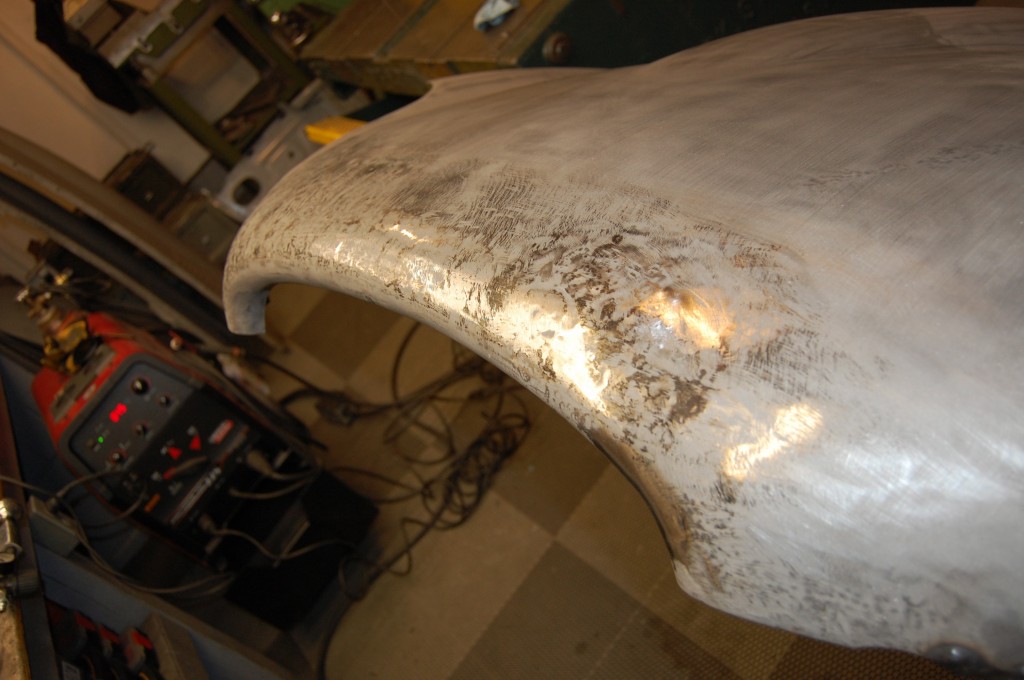
- Next we turned our attention to the center section. It has been stripped, carefully blasted without damage or warpage, and scuffed with a block to show the various dents and past “repairs”…
- Another shot of the scuffed panel. Overall it is a very nice piece. Note the Series 1.5 headlamp openings that do not have the stepped edge.
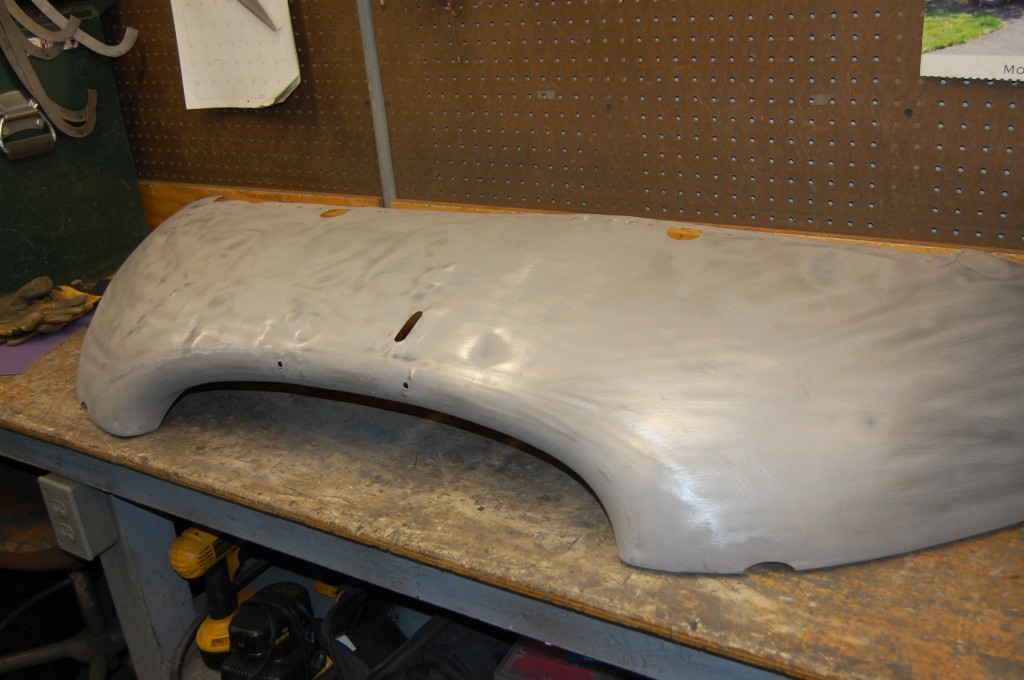
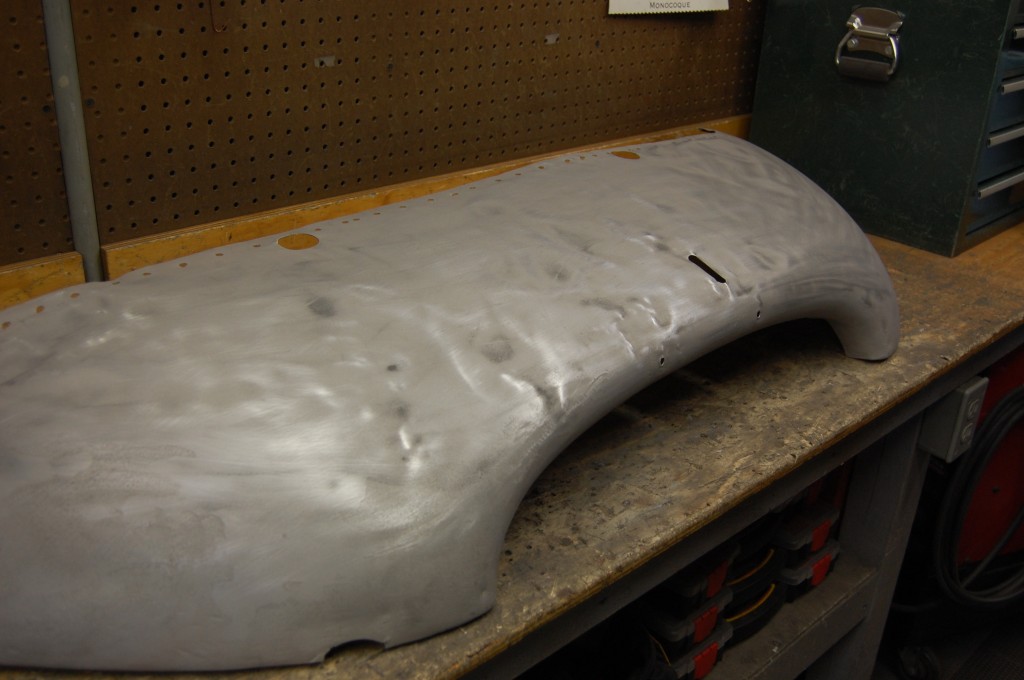
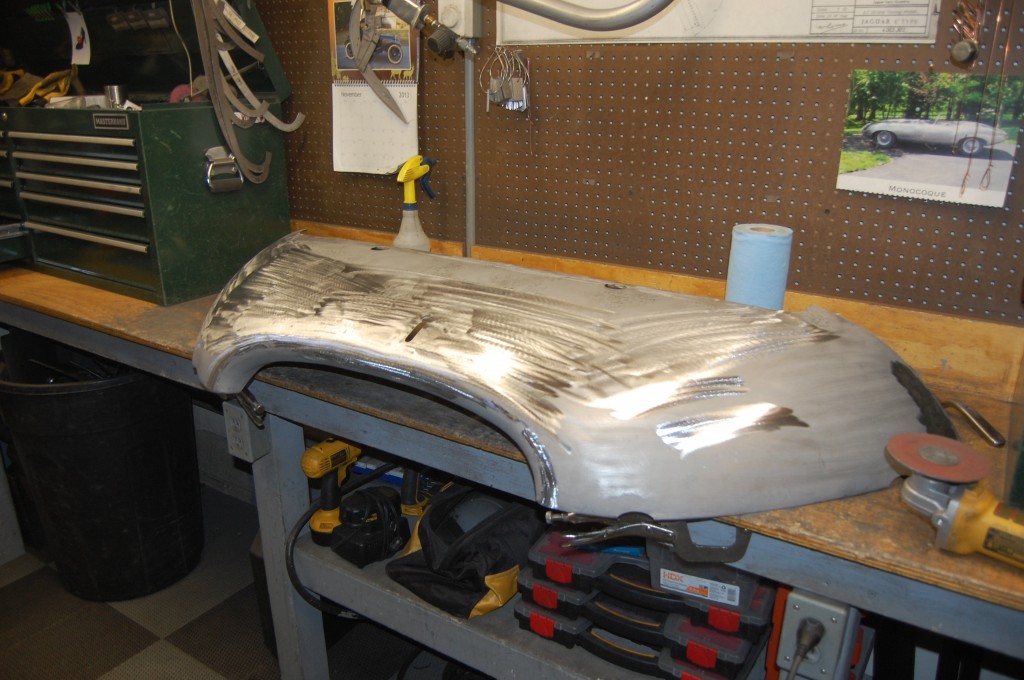
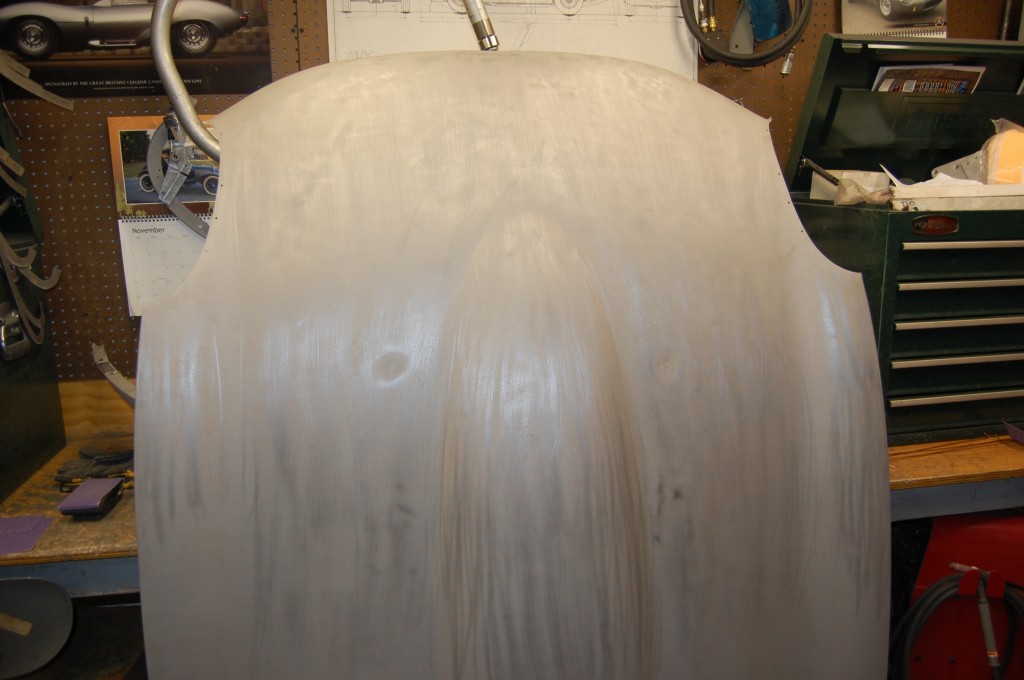
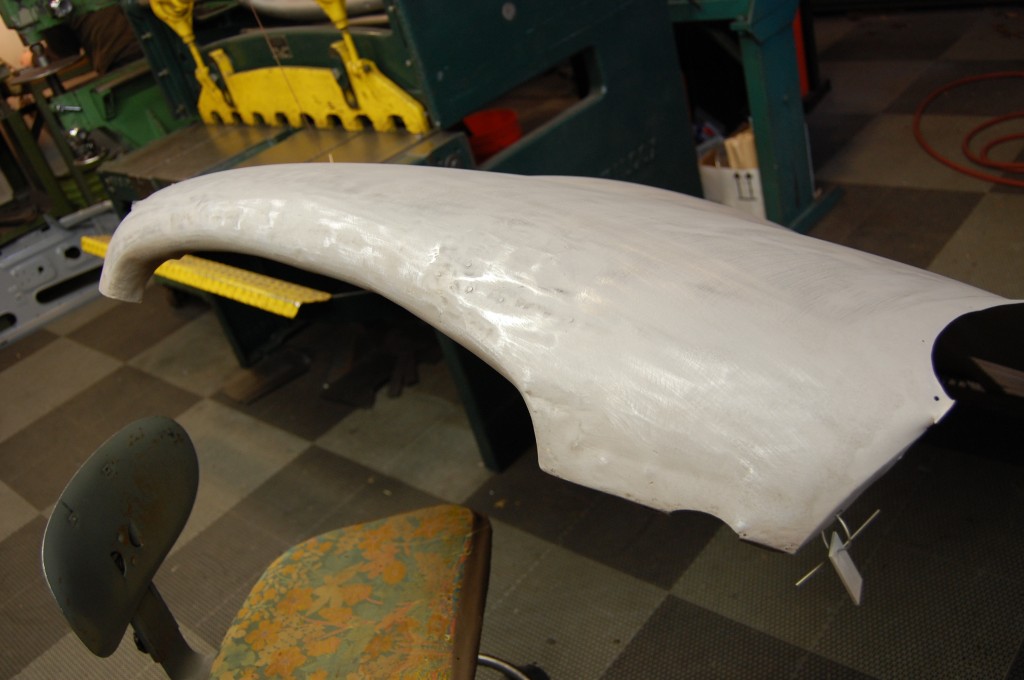
- Scuffing shows a nose with several dents and shabbily welded up dent puller holes, that is also arched too shallow, and needs our help!
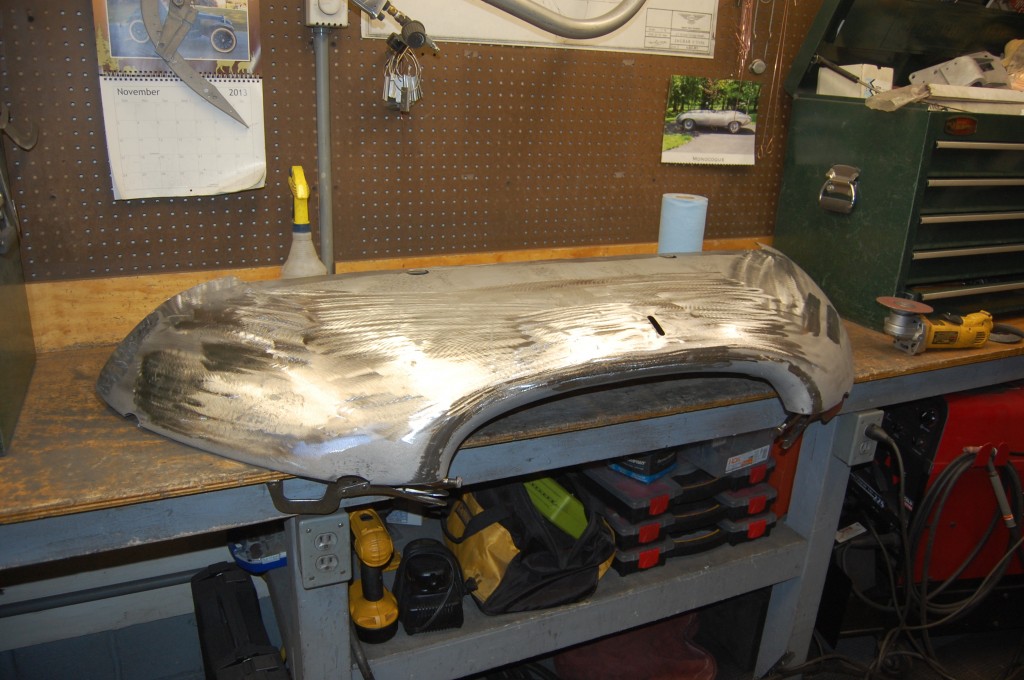
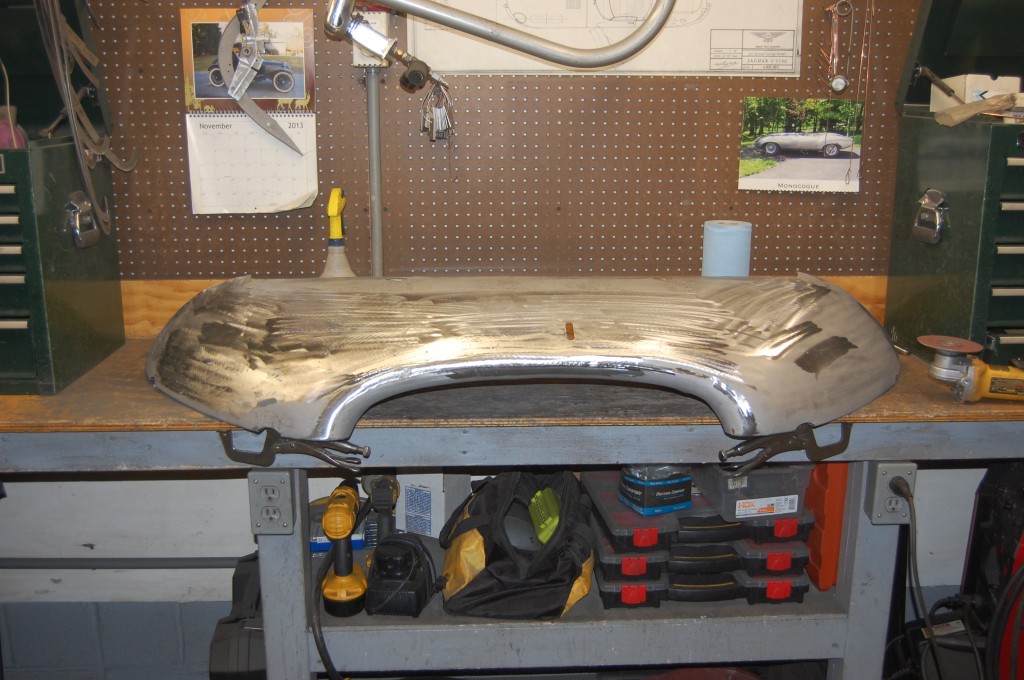
- A few hours of hand work with the slapper and some careful TIG welding here and there and we’re almost back to factory shape.
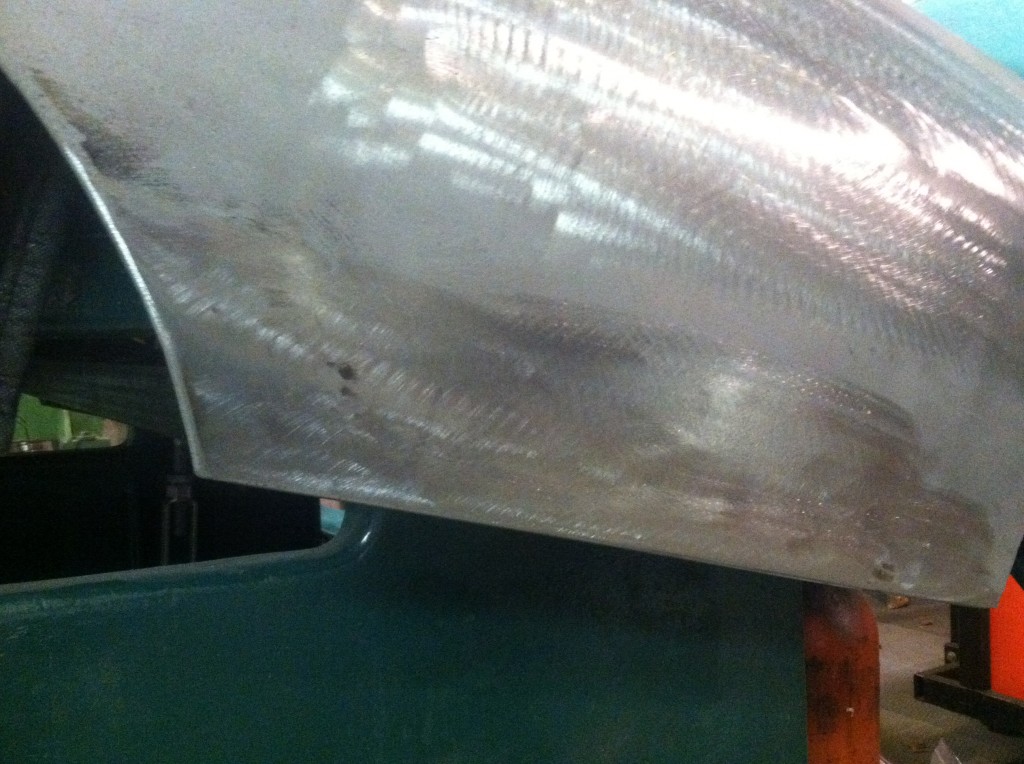
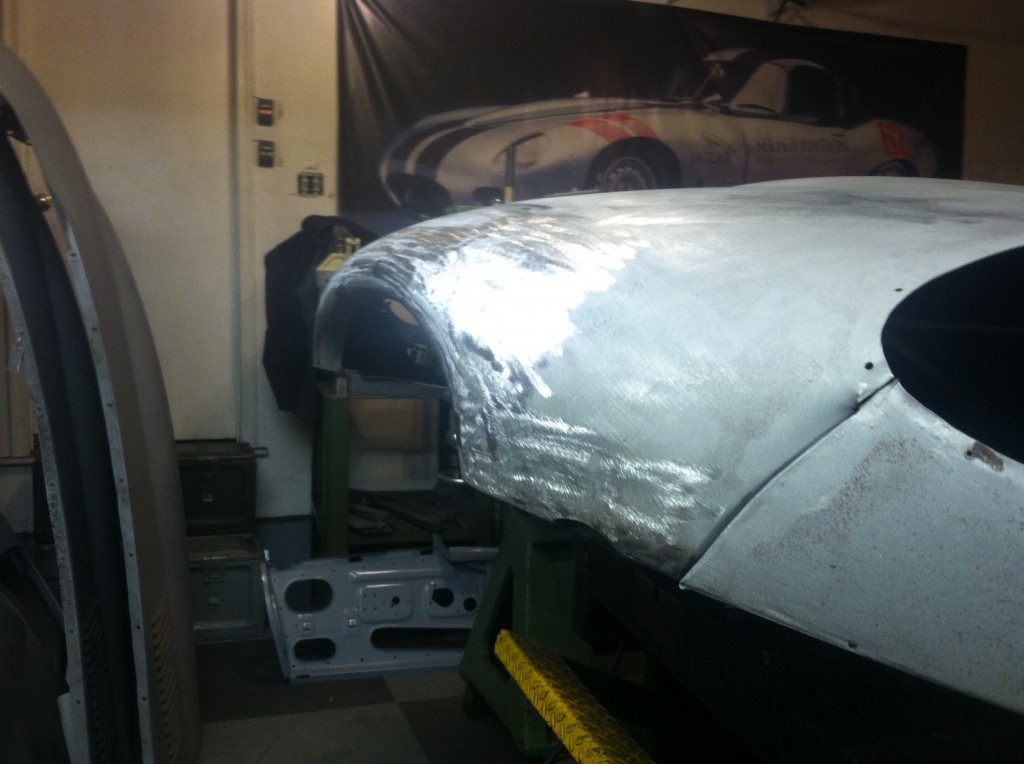
- This shot was taken after the work with the shrinking disc, but before the final scuffing – hence the polished look of the surface. This type of work on a freshly blasted panel always reveals the aggressive sanding disc and grinder marks of past “body men”…
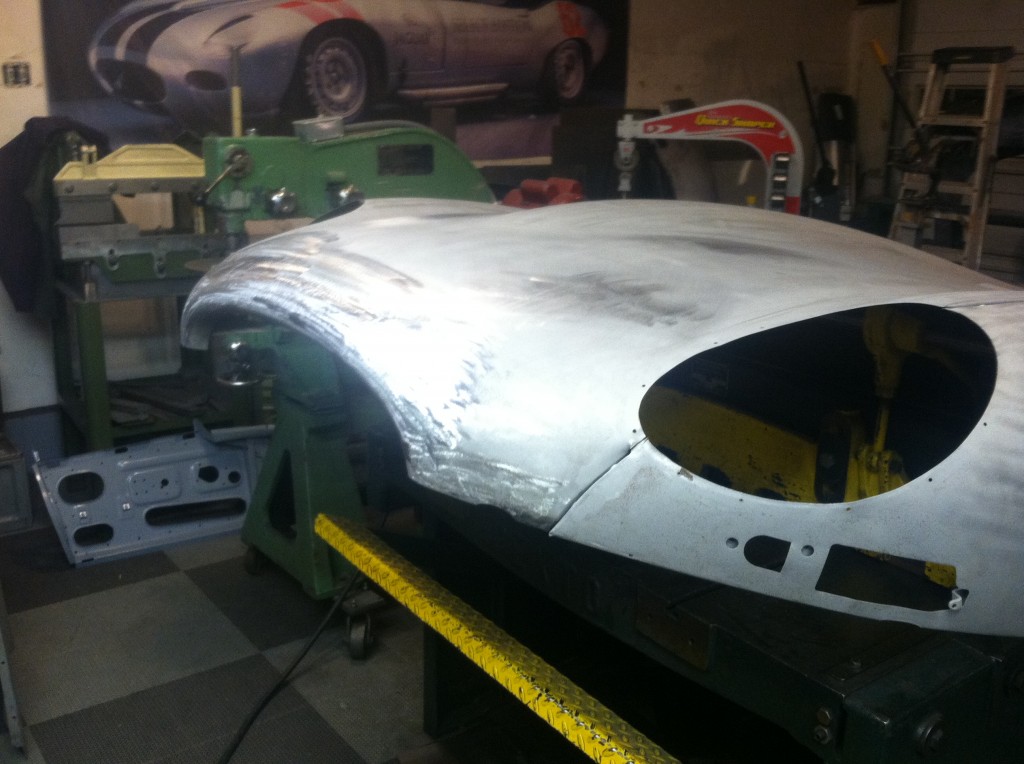
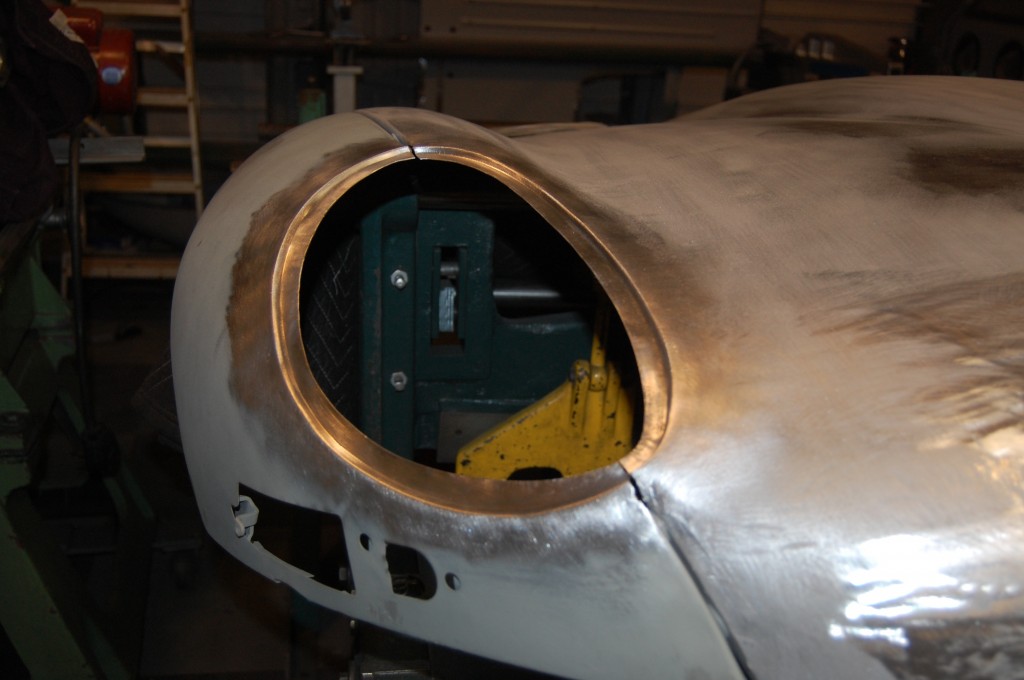
- The center section is now completed and scuffed, and the wings have been bolted on to begin the conversion of the headlamp openings to the Series 1 stepped flanges.
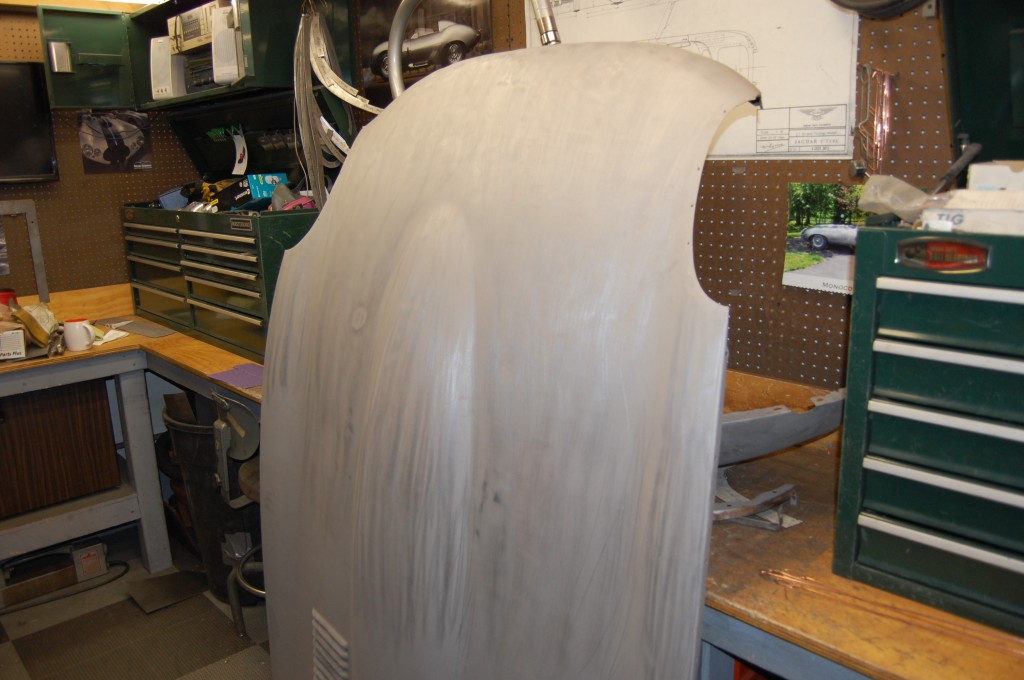
- Another shot of the restored nose – this one came out really nice because the past bodgers hadn’t worked things over too severely. Note that the leading edge of the nose looks to be arched VERY high from this angle – this is how the nose SHOULD look!
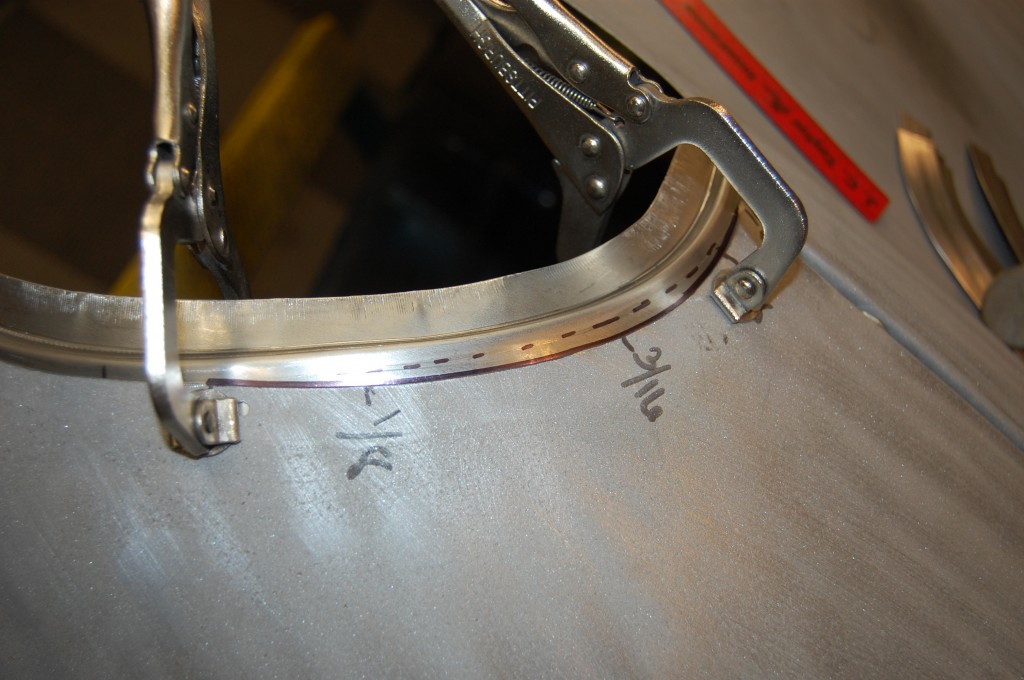
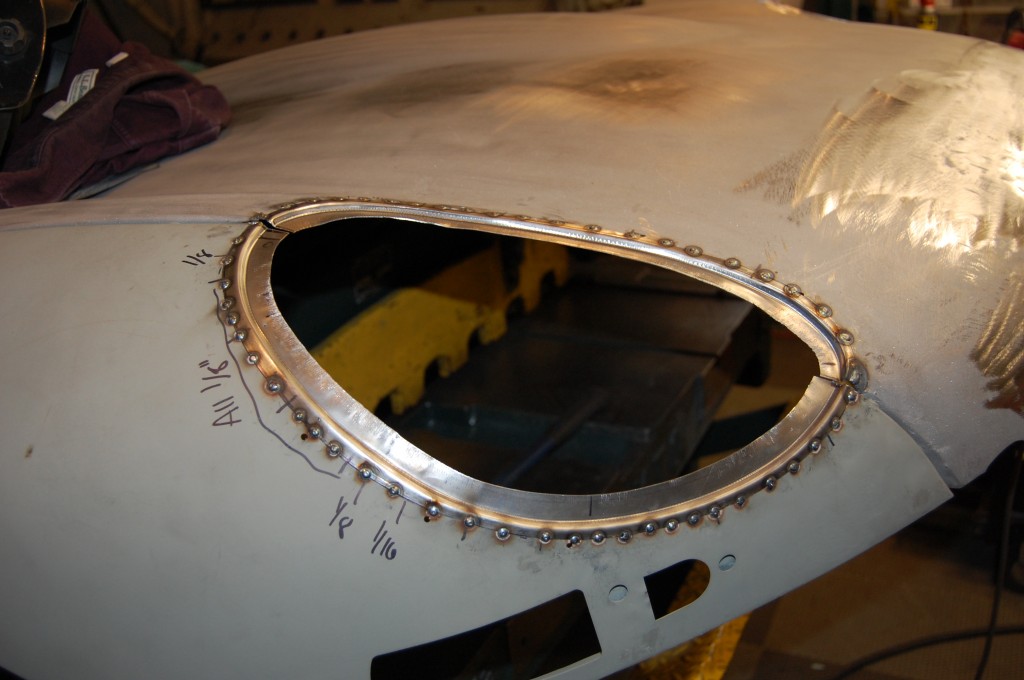
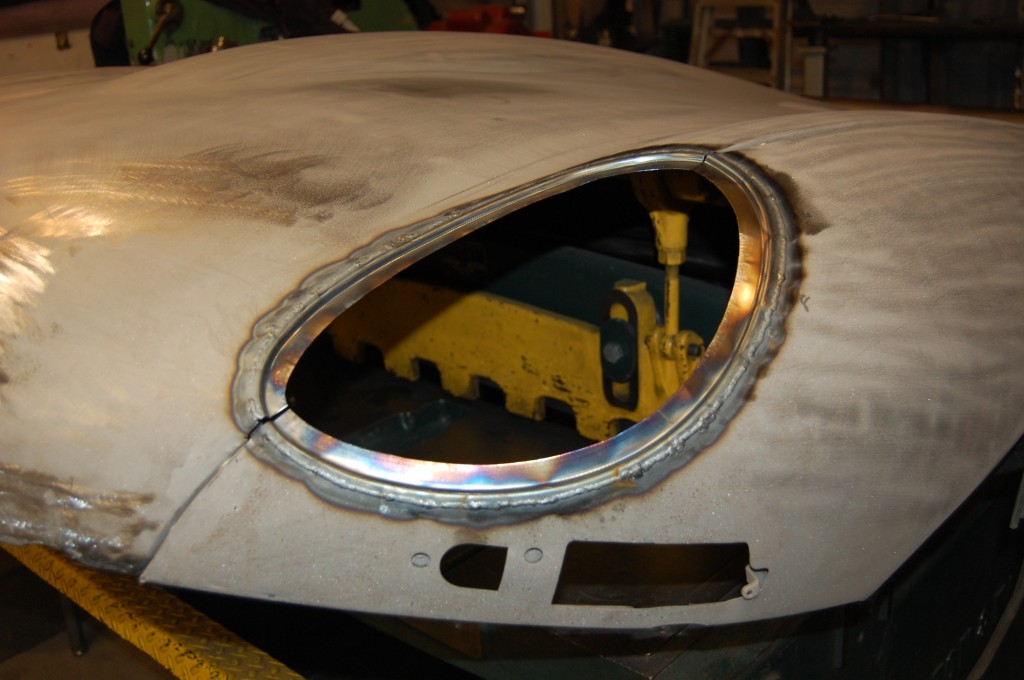
- We TIG weld in our conversion flanges with a butt-weld, but you can also fit them under the existing panels as shown here and tack them in with a MIG – that is what most of our customers do. Note that we always cut the headlamp hole back 1/4″ to place our weld 1/4″ back from the flange – we have a pattern for this. On your car, you would have the edge of the headlamp hole almost right up against the stepped edge. Also note in this photo that the hole was cut very sloppily at the factory, and while we have cut metal back along most of this hole, we actually need to ADD some in this location!
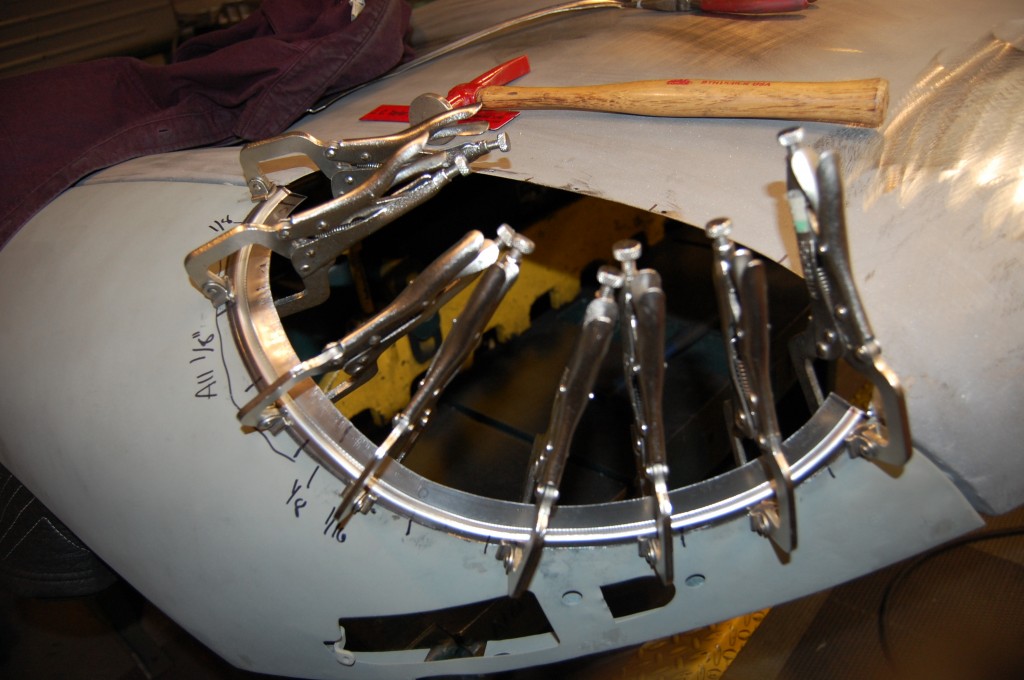
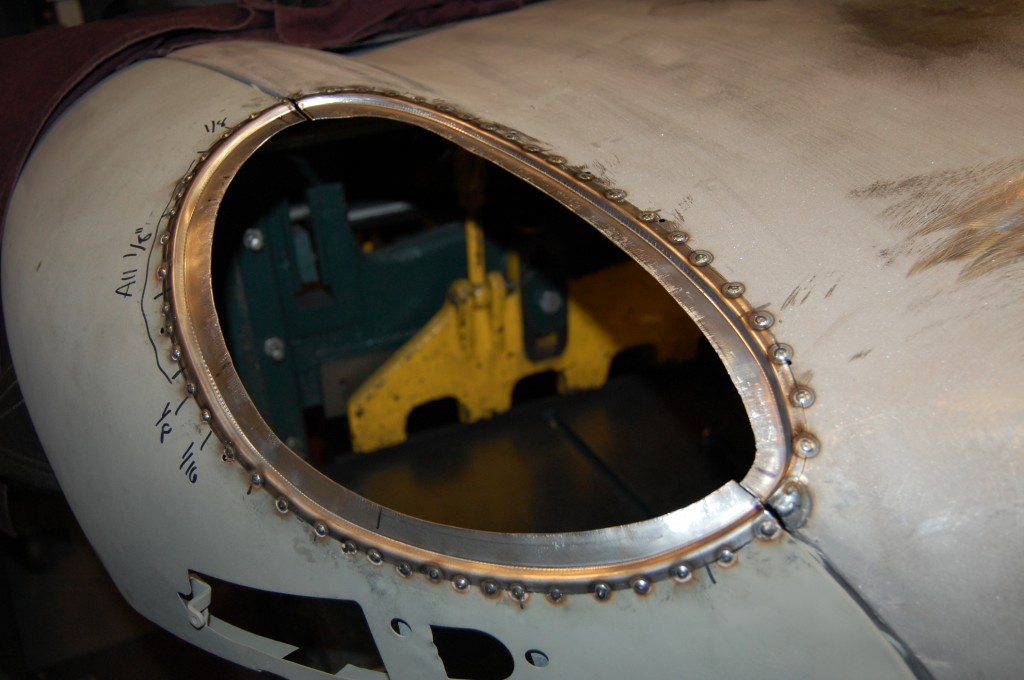
- The wing flange is fitted, trimmed down to 1/4″ wide, and tacked into place. Here, we are fitting the center section flange with the same 1/4″-back method. Note in this photo that the conversion flanges are substantially longer than they need to be, and should be trimmed once they are fitted.
- Over to the other side – where we also found a sloppy headlamp hole that needed extra metal added.
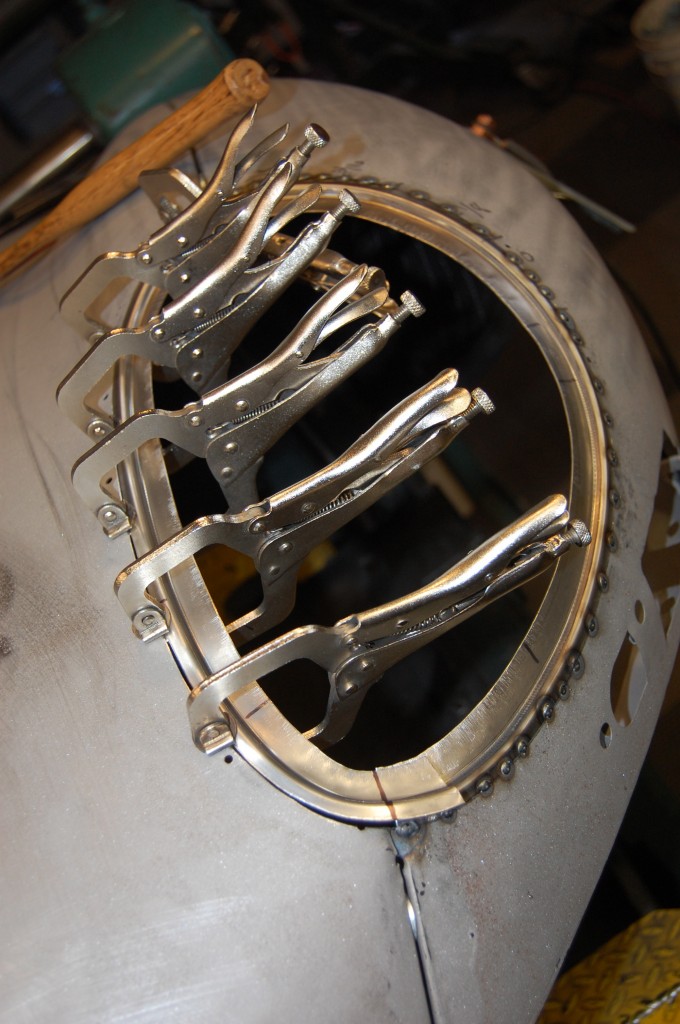
- Both RH conversion flanges have now been fitted, trimmed back to 1/4″ wide, and tacked into place with the MIG.
- Another shot of the flanges tacked in with the MIG. The MIG welder is much hotter, and leaves a weld bead that is essentially hardened steel. I recommend grinding these beads down flush before welding up the entire seam with the TIG – which is lower heat and yields a softer weld that can be planished and worked.
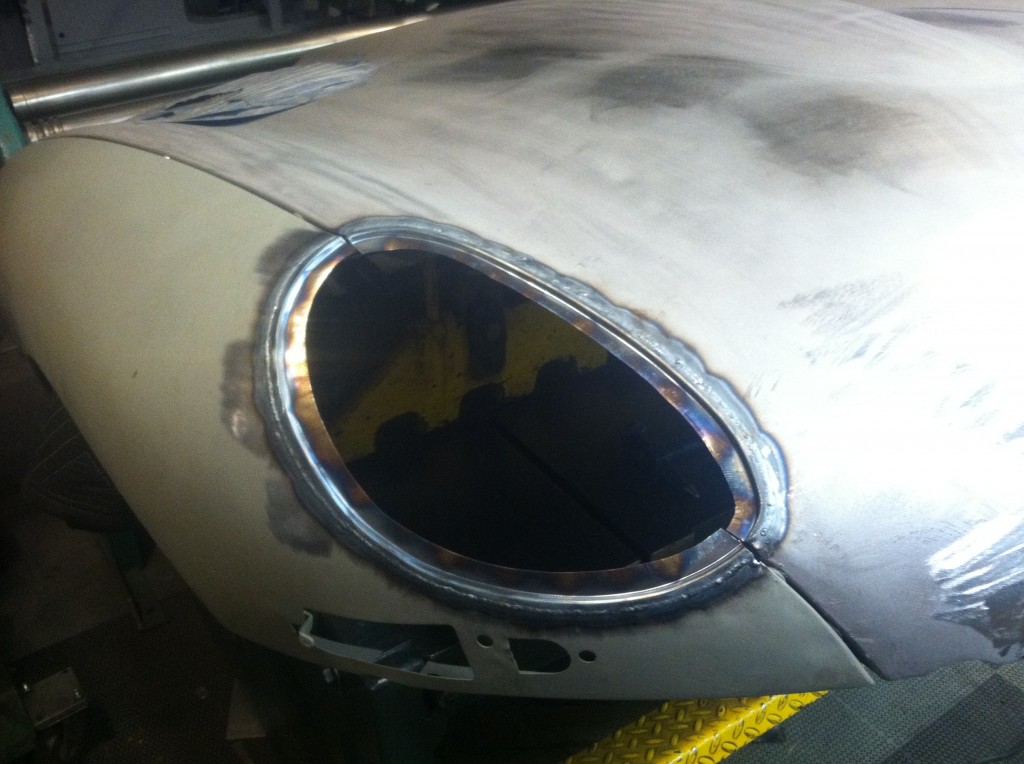
- Here, the seams have been welded up with the TIG, as have the leftover 1/8″ rivet holes from the Series 1.5 headlamp opening trim.
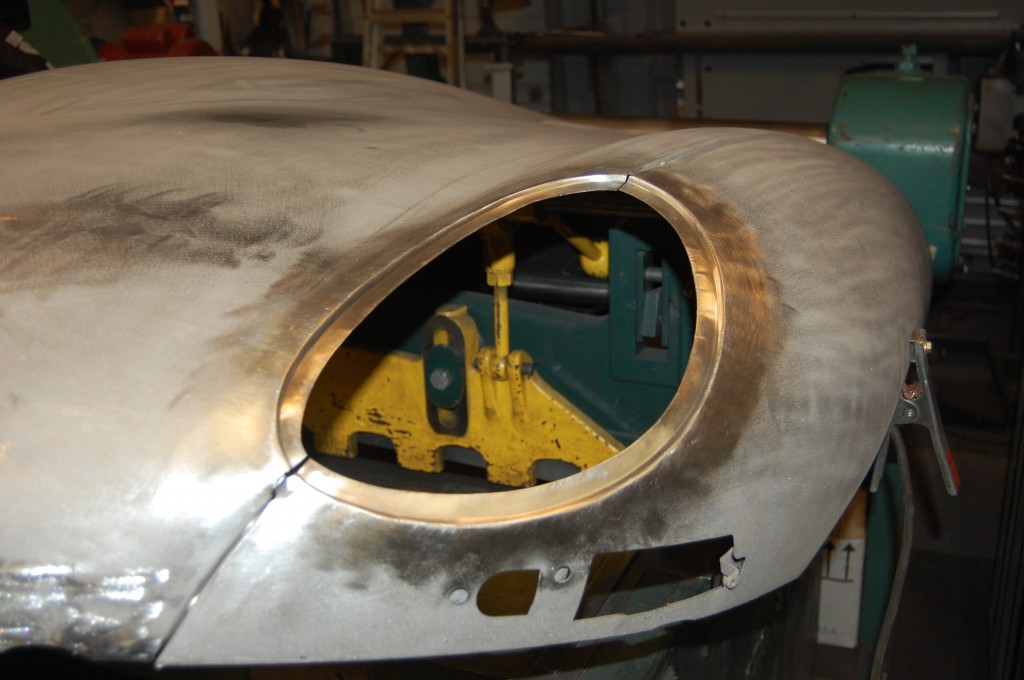
- The welds have been ground down and sanded smooth, leaving a bonnet with the EXACT dimensions of a Series 1 E-Type.
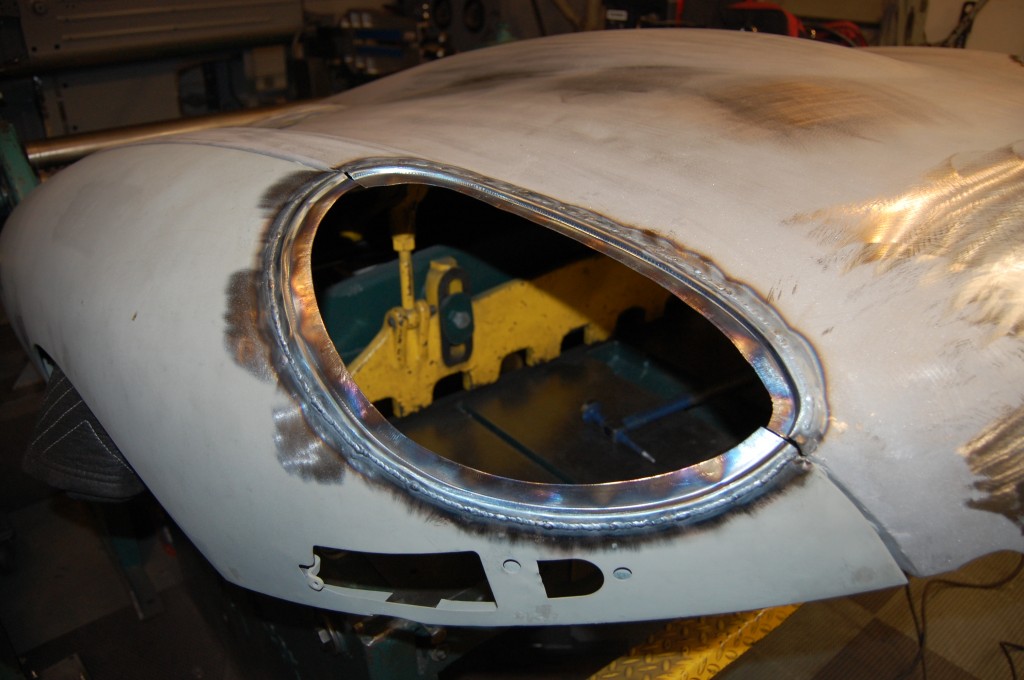
- The LH side TIG welded…
- …and sanded down smooth. Our method yields panels that need VERY little filler, but they do need just a smudge that will be mostly sanded off. Welding them in with the MIG in the over-lapped fashion will leave a .040 step in the surface that will ned to be filled, and will require just a bit more filler, but it is a very acceptable amount and you should not be worried about doing the conversion that way instead. What you DO NOT want to do is attempt to recreate our butt-welded methood with a MIG welder – that will produce heat and warpage of EPIC proportions – DON’T DO IT!!!
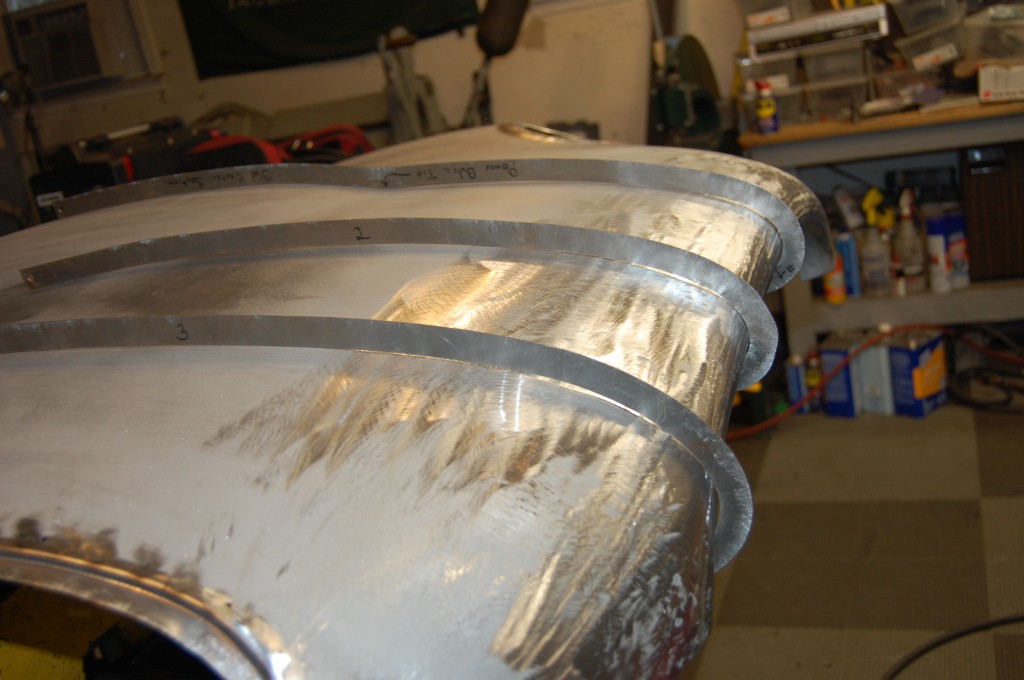
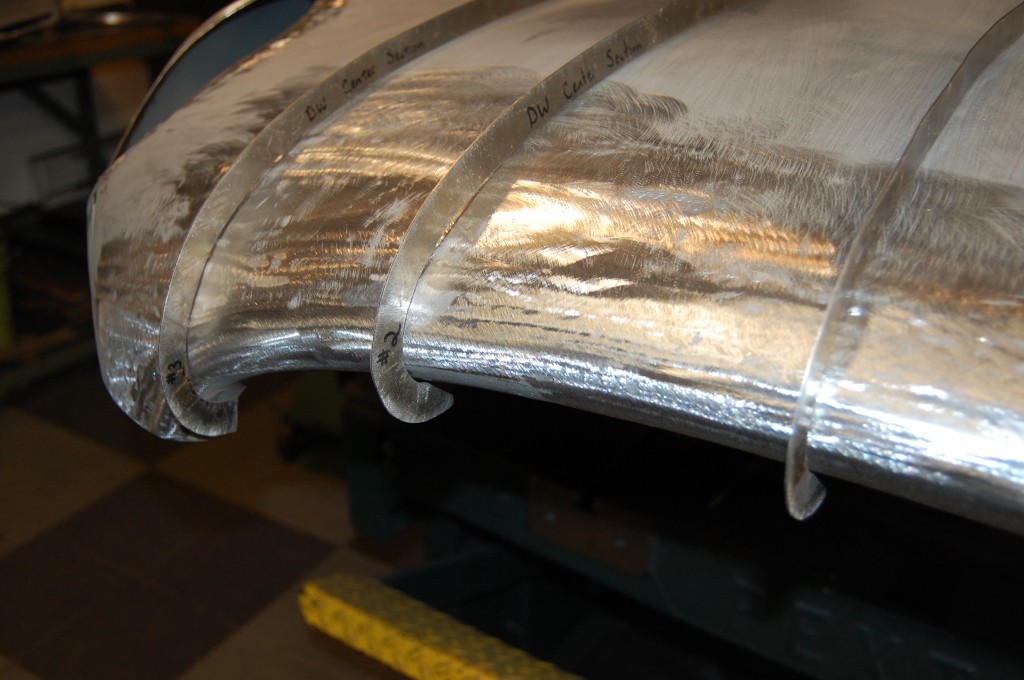
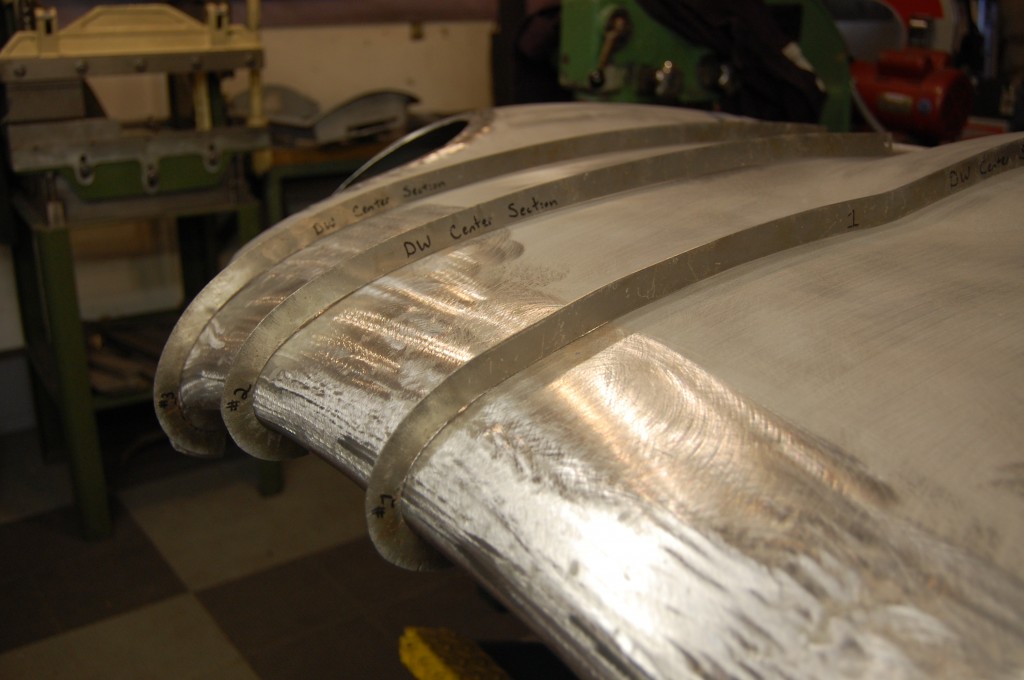
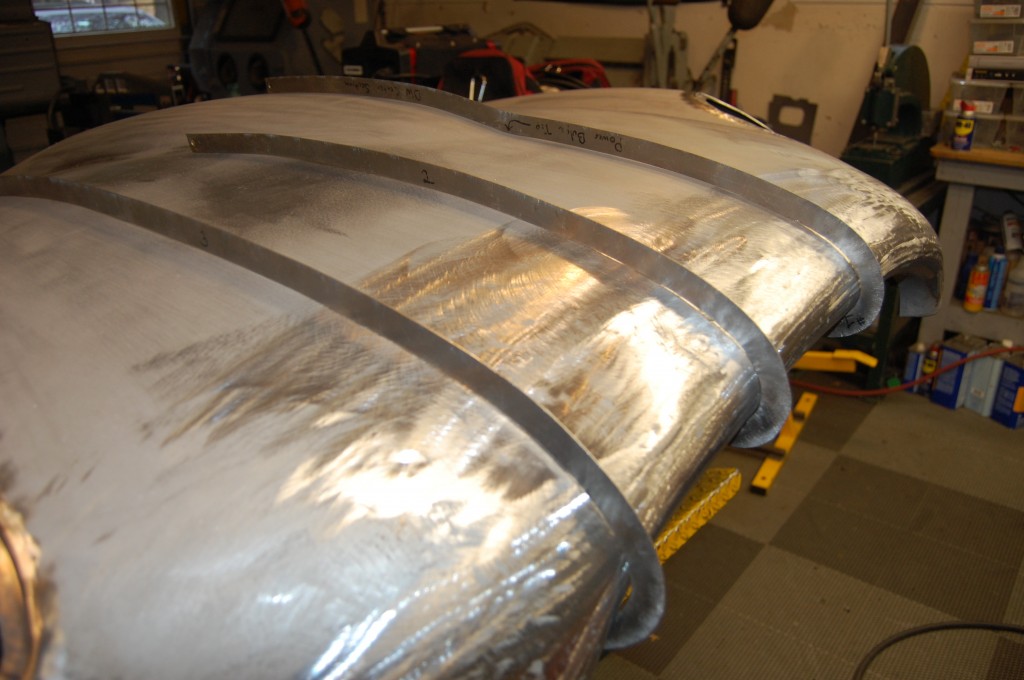
- We use these contour gauges during the work on the nose to make sure that we have the shape EXACTLY the same as a factory original – and I’d say we’ve REALLY pulled that off this time!
- Another shot of the gauges showing a perfect nose.
- And another shot… This surface is not perfect – the area we have worked is going to need a VERY light coat of filler – and most of it will be sanded back off with a block. I would imaging we are talking about 1/32″ up to 1/16″ in a couple spots at most. Not a concern, since most “Pebble Beach” cars have about 1/16″ – or more – of filler and high build primer covering the whole car. How do you think they get that laser-straight paint!?!
- One final shot of the contour gauges on the nose – I was proud of this one!
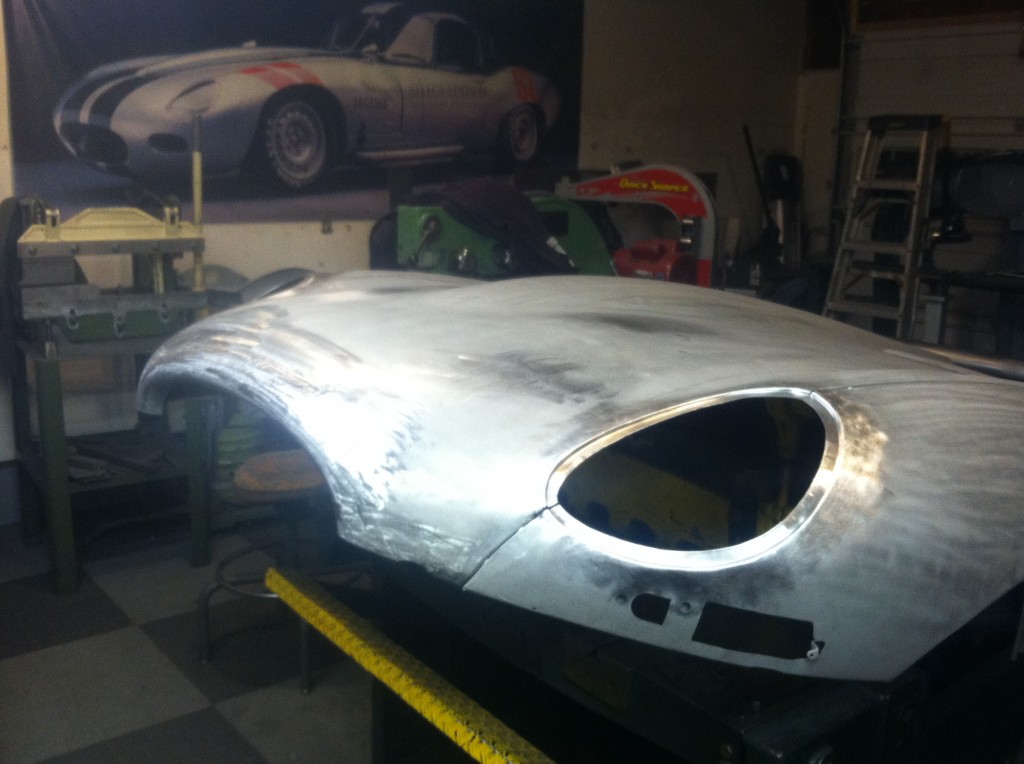
- All Done! We’ve reshped the nose to perfect factory specs, and also converted the headlamp openings to Series 1. After this shot, we primed the panels, and the customer assembled the bonnet and fit the bonnet to the shell themselves.

