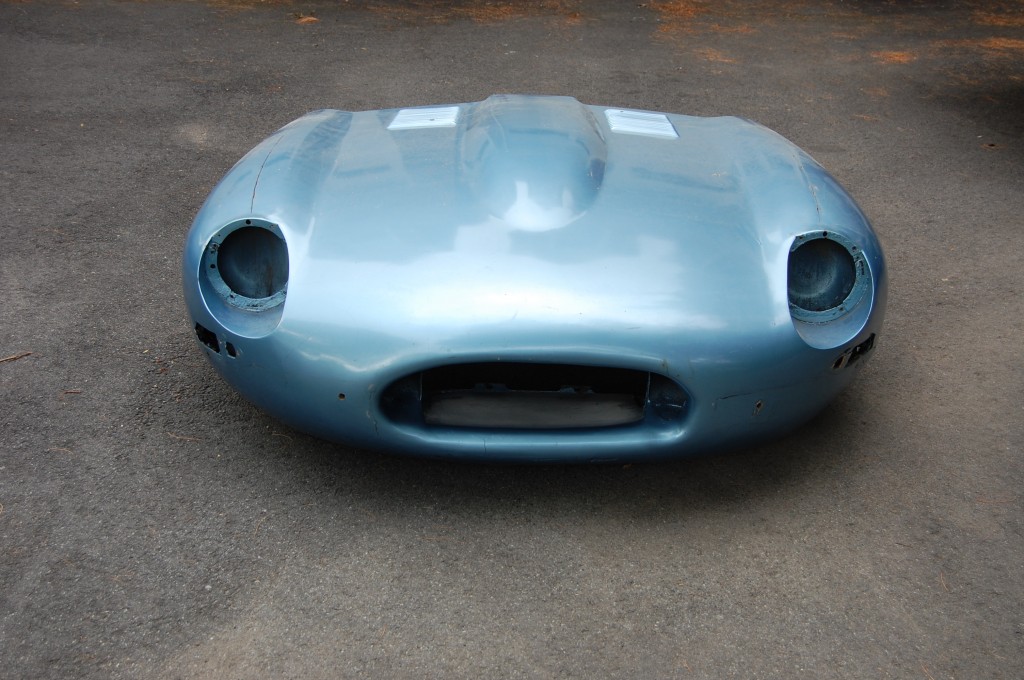
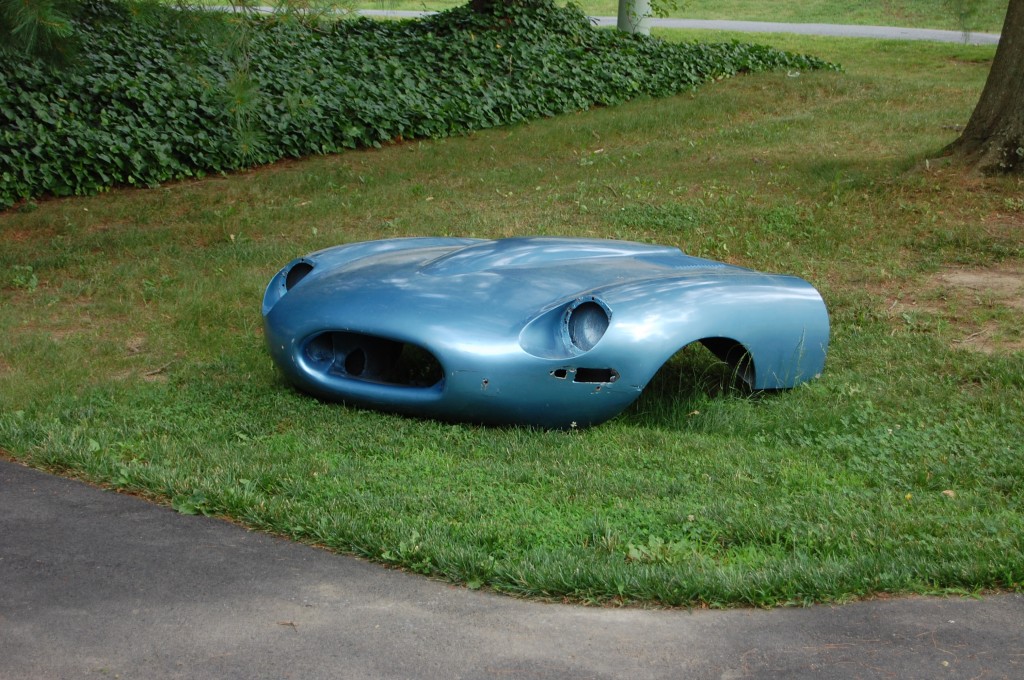
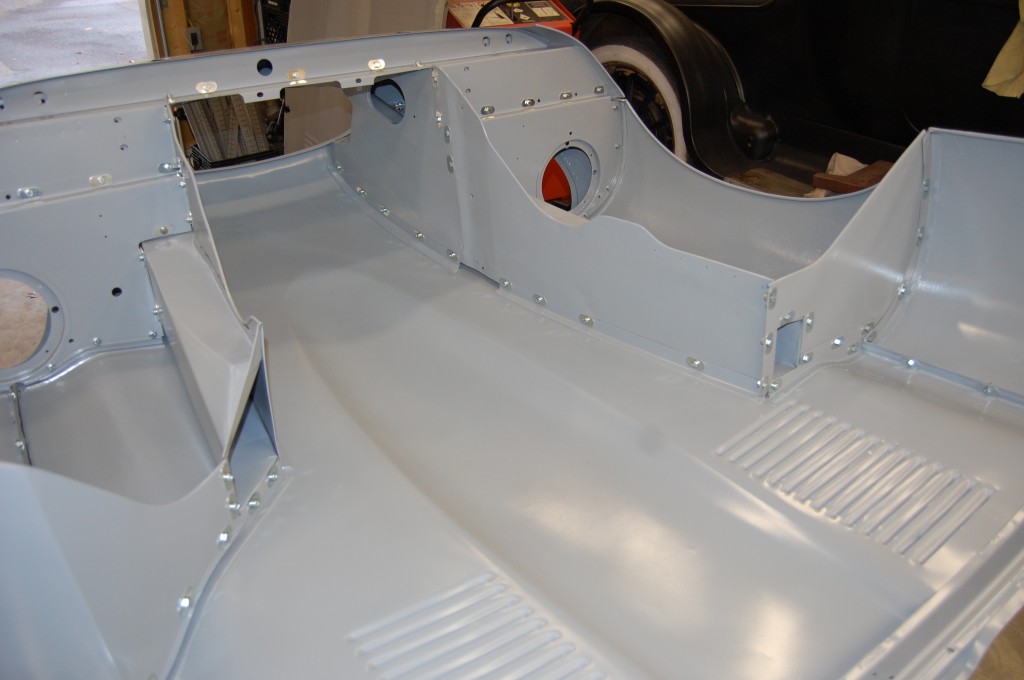
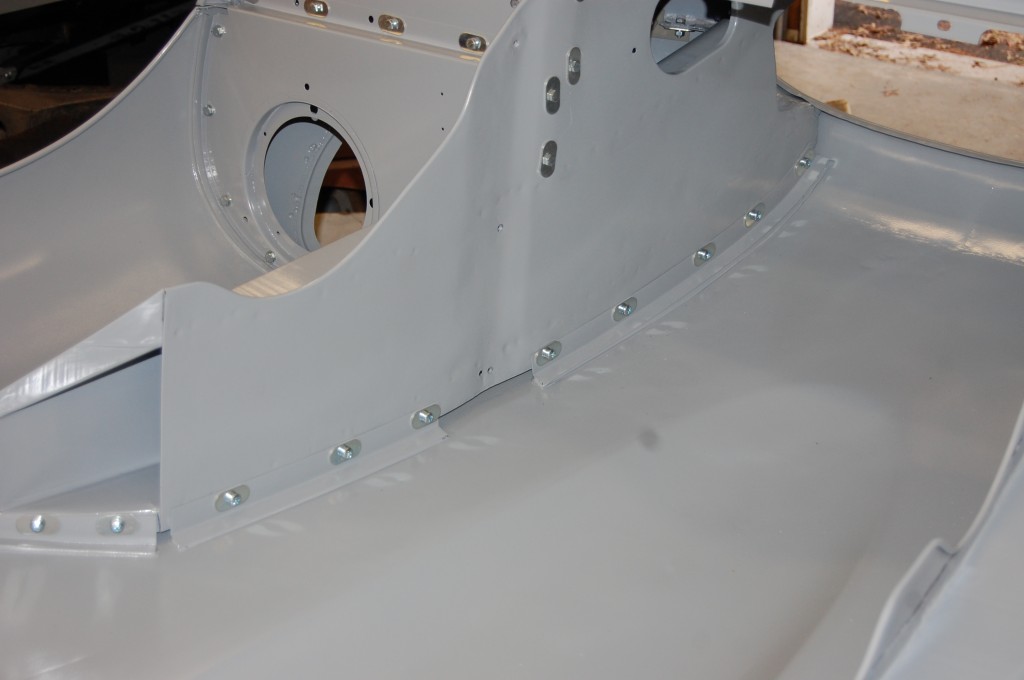
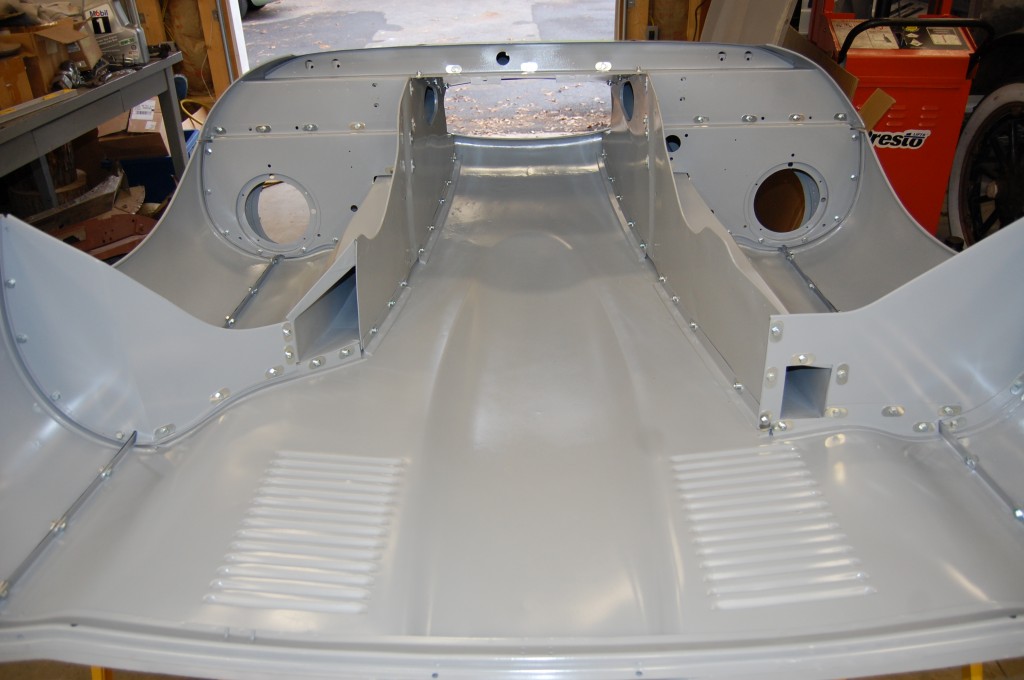
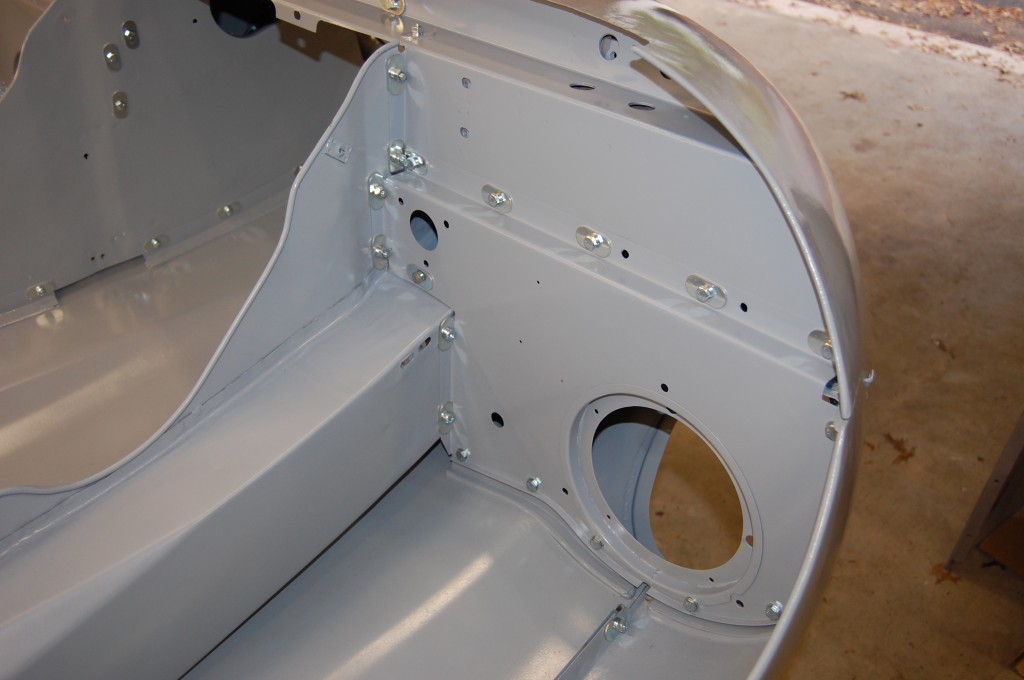
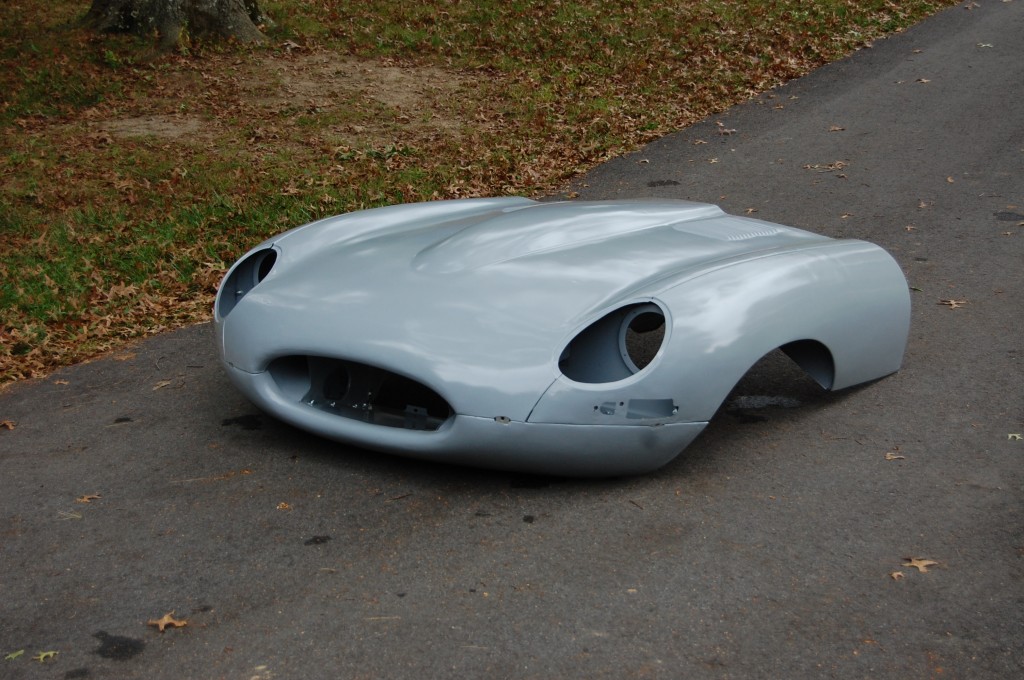
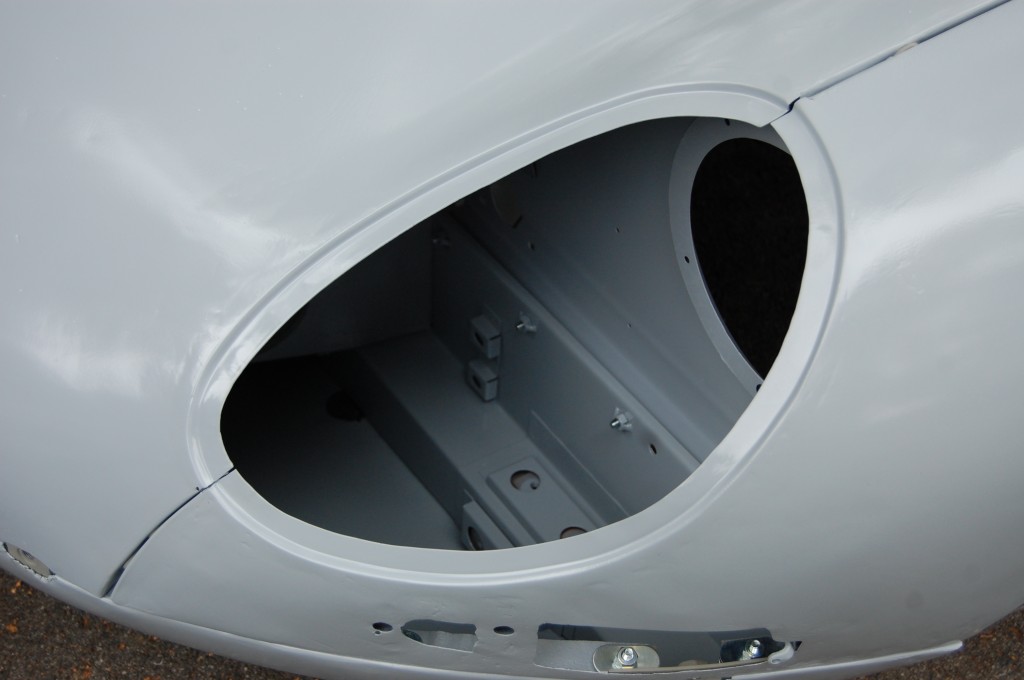
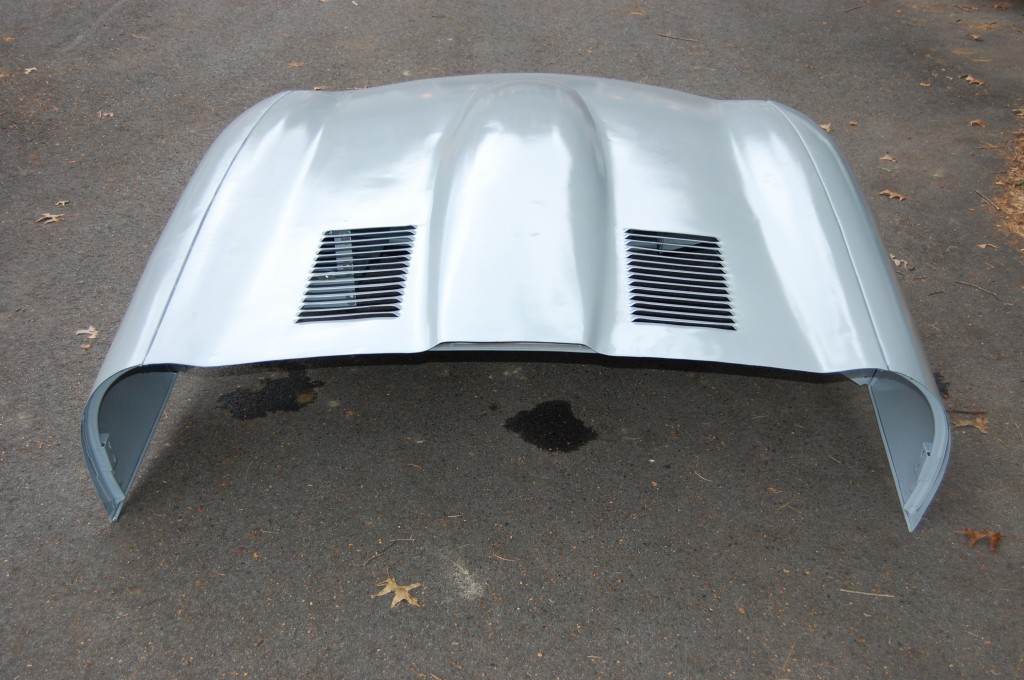
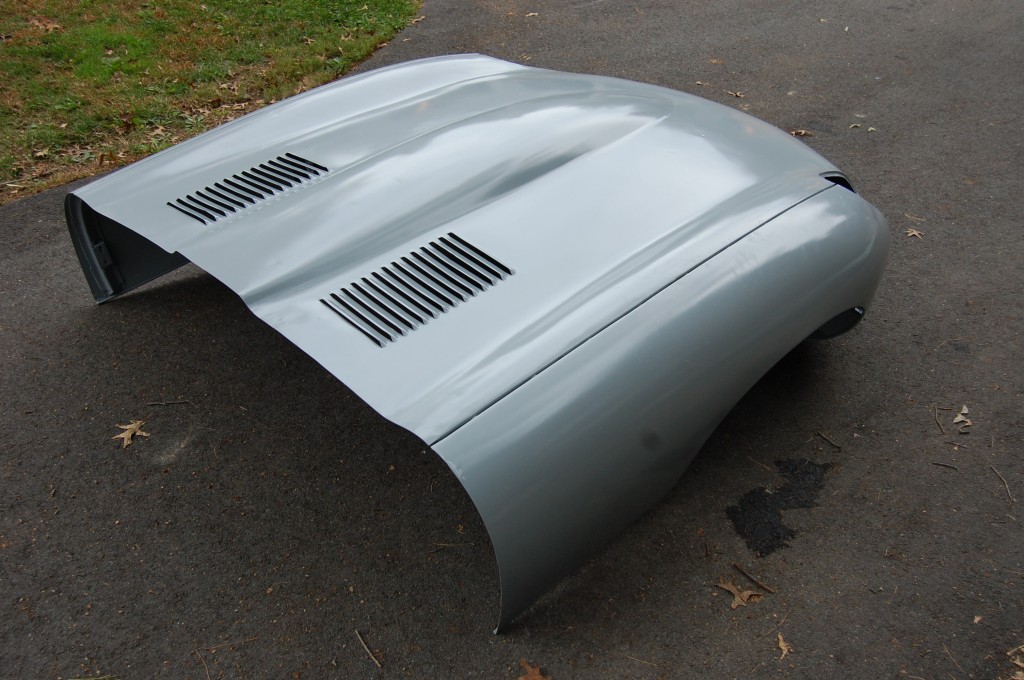
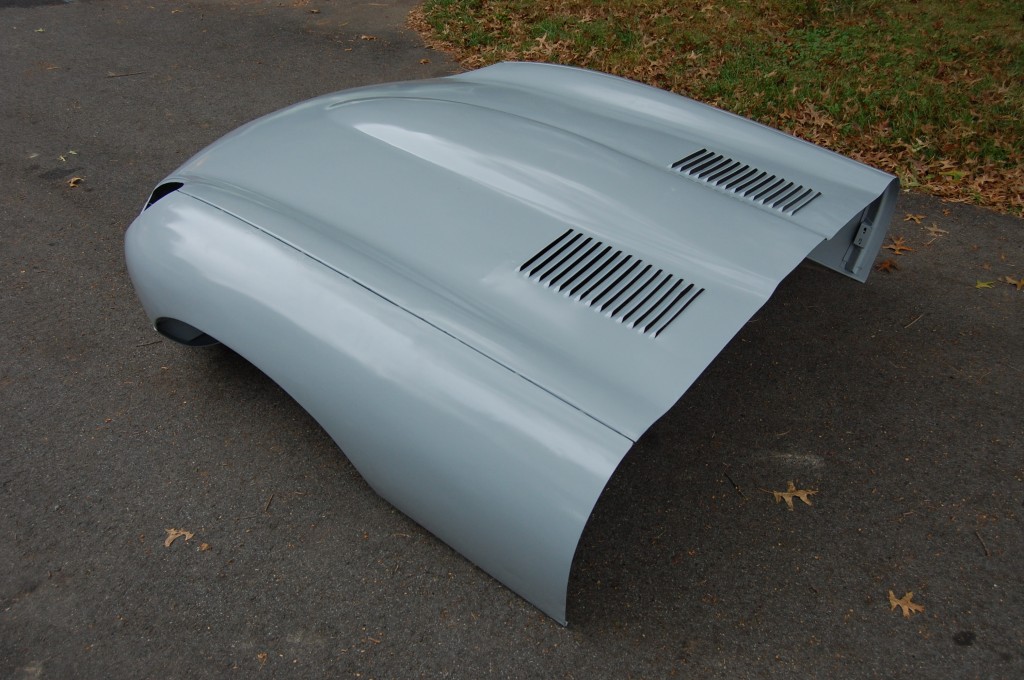
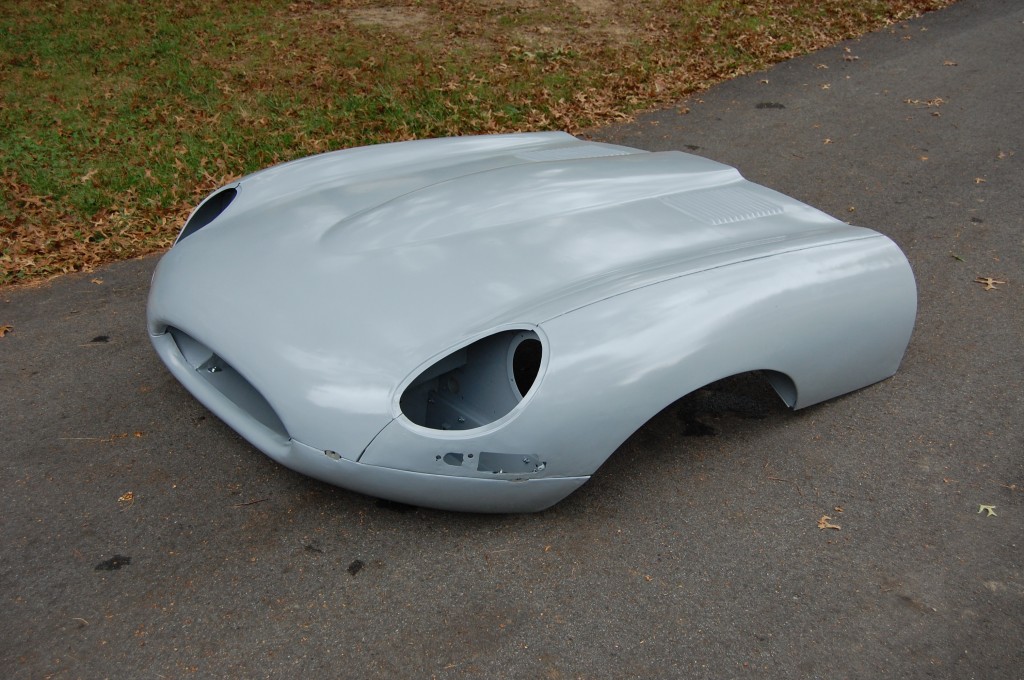
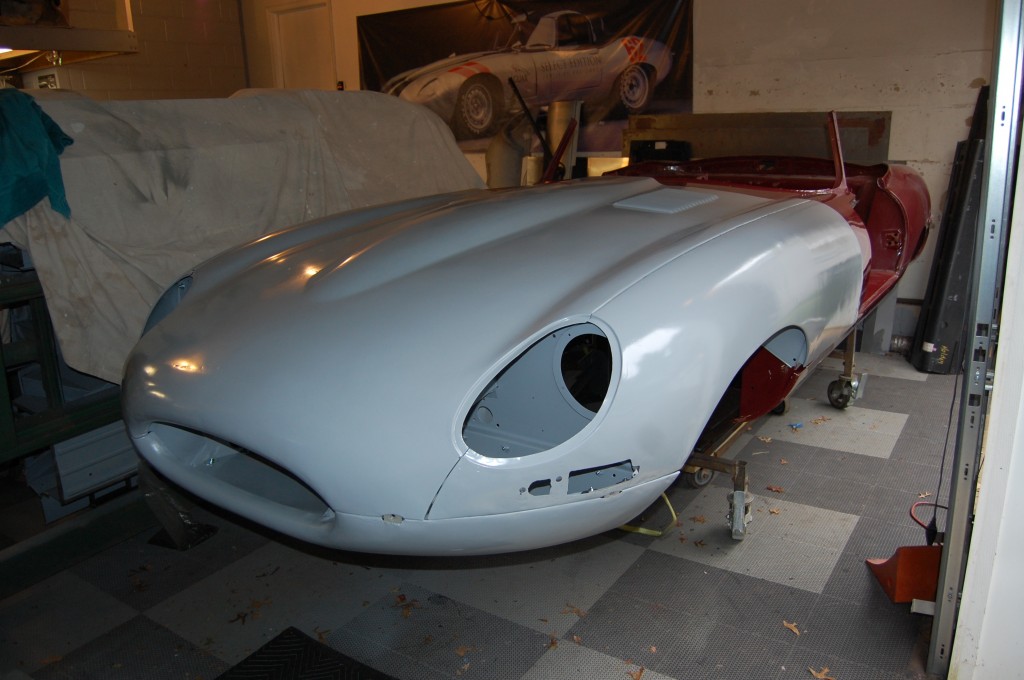
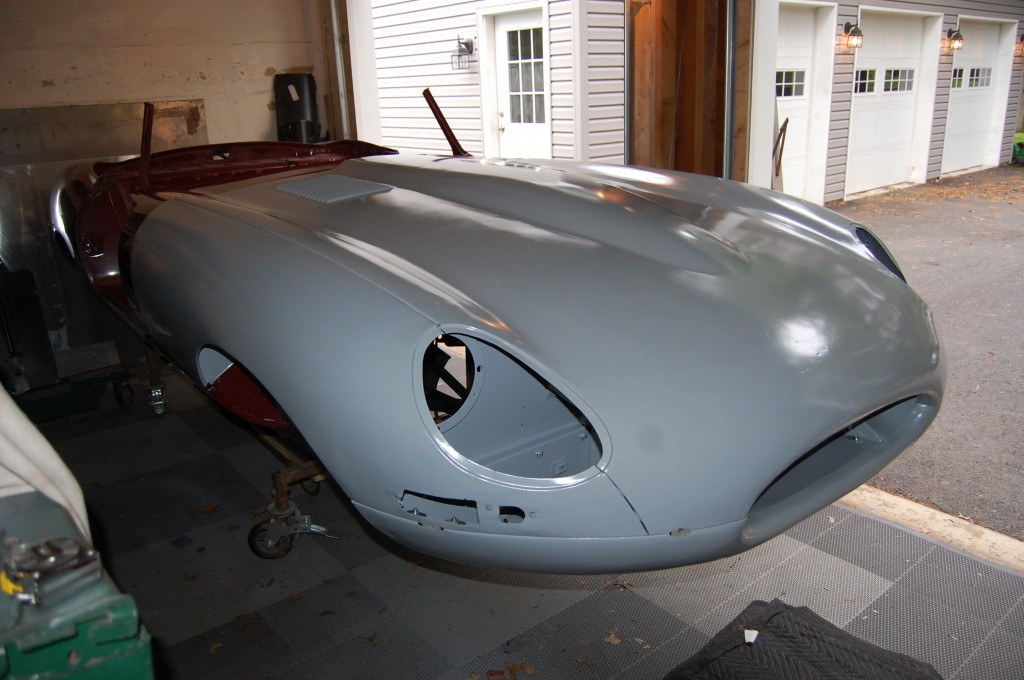
Things ALWAYS end up going right down to the wire once you set a date, and this one was no exception… The extent of the damage and the repairs we had to make on this bonnet made the test asembly phase very long and involved, but we finally got everything in the bonnet to “play nice”, and for all the trouble it was going together, it actually came out great!
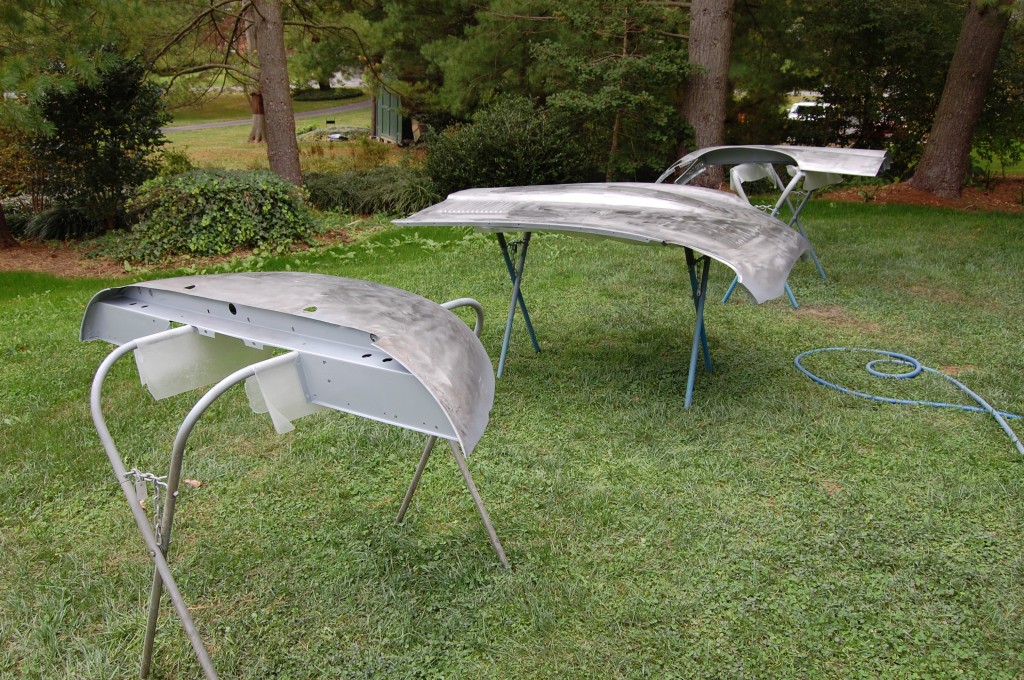
This was out first bonnet to be primed with epoxy instead of etch. It’s a better coating overall, and I’m pretty sure that we will continue to do them all in epoxy, but it is MUCH more time consuming – mixing and spraying paint is NOT my thing…
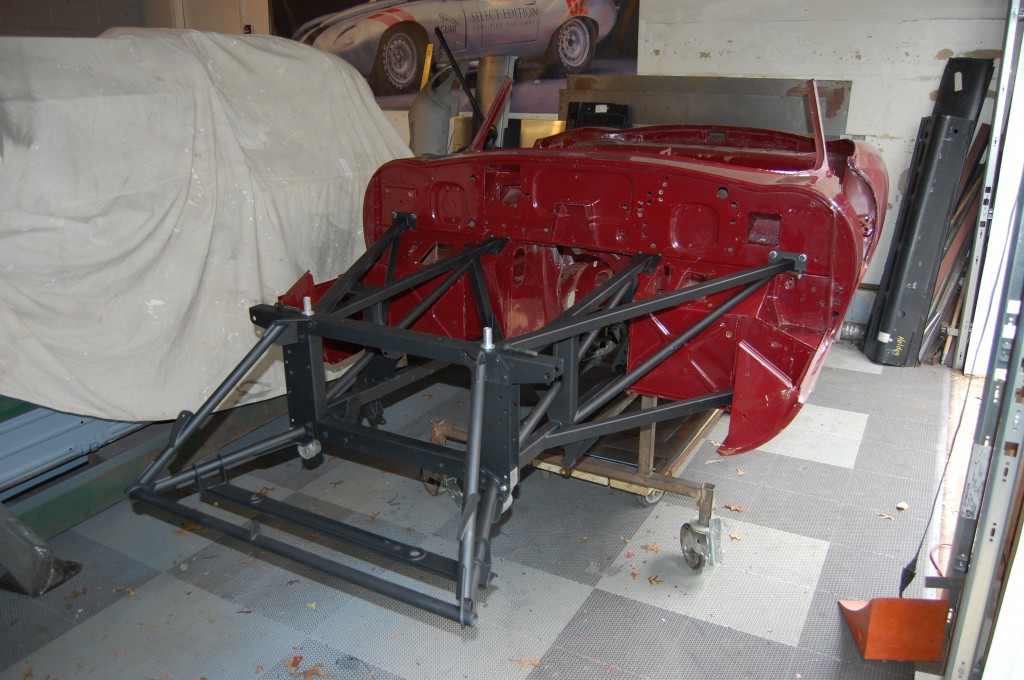
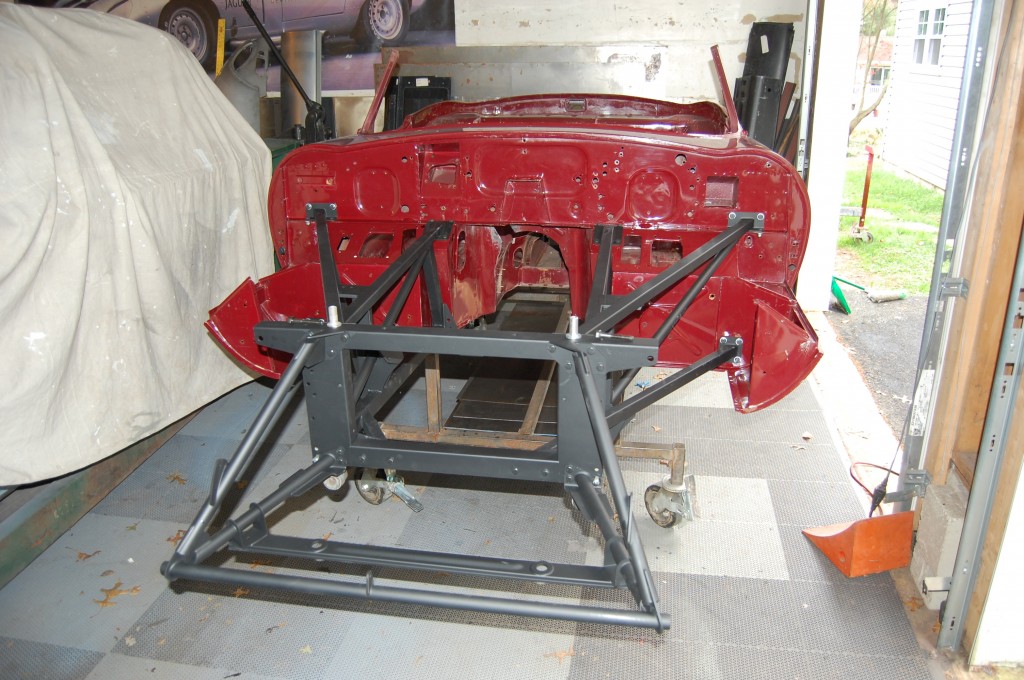
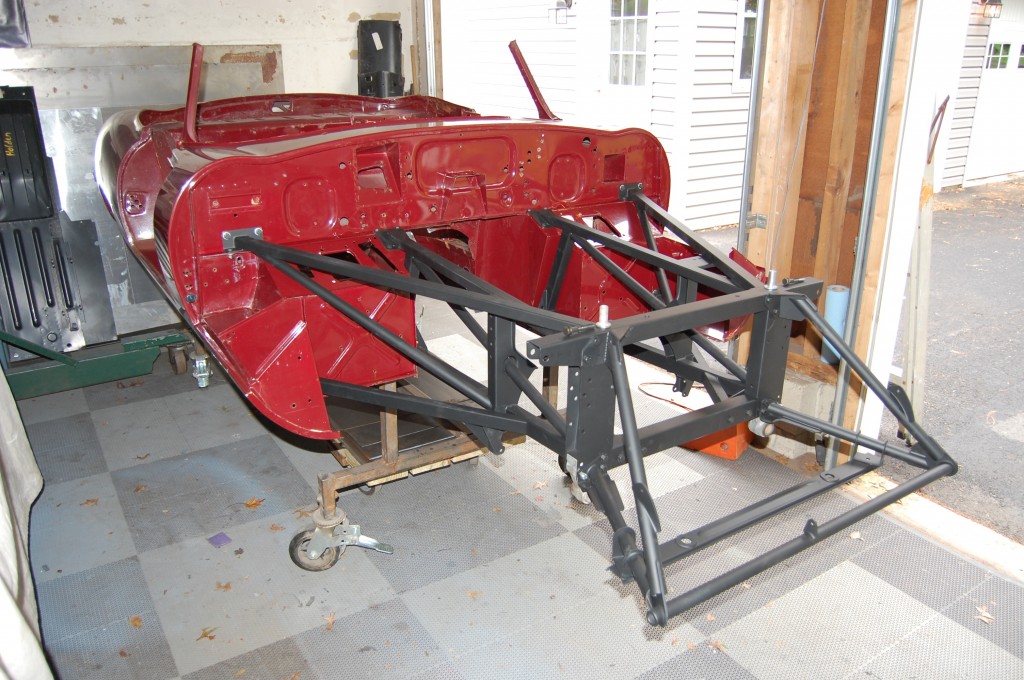
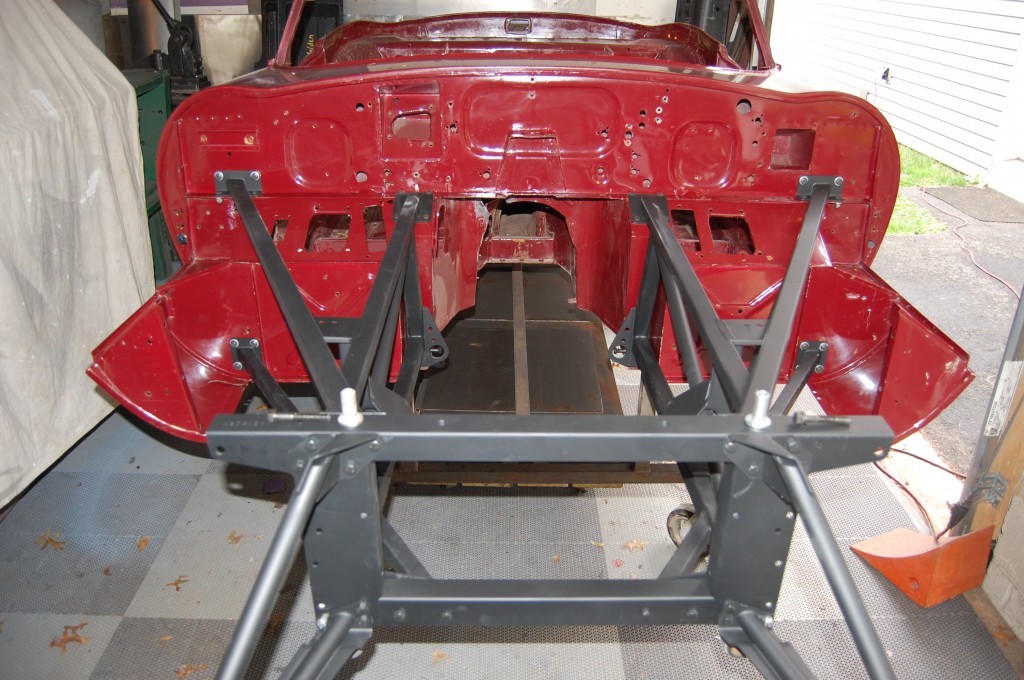
The customer opted for a new set of frame rails from E-Type Fabs, and you just CAN NOT beat these – I LOVE them! This gave us a nice straight set of mounting points for the bonnet – but that’s where the fun part ended… This bonnet fought us all the way down to the end – but as usual, we won.
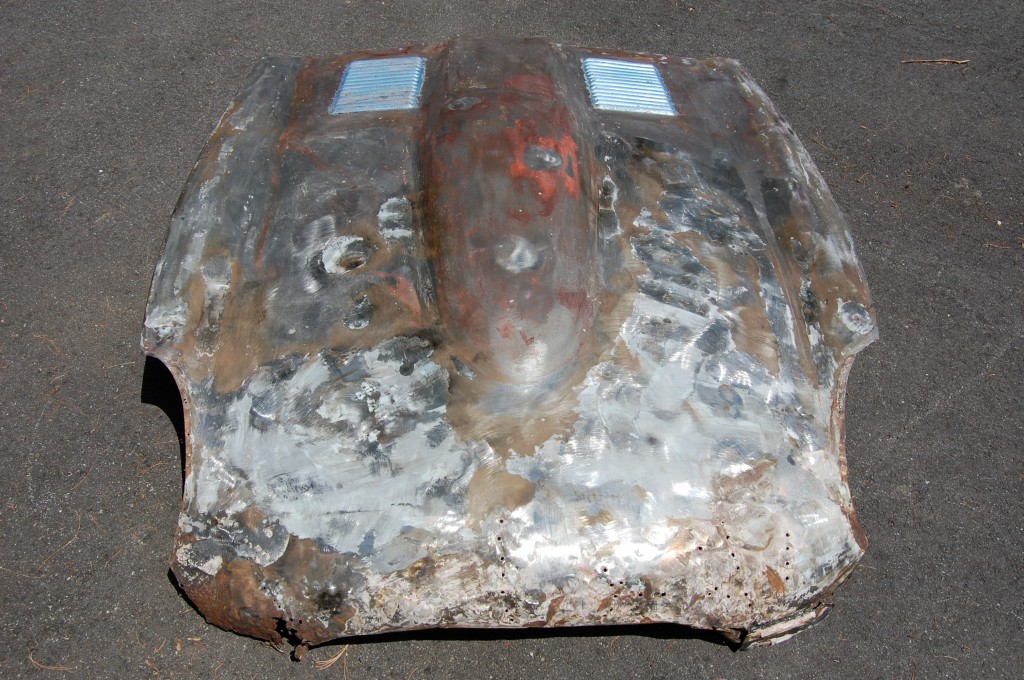
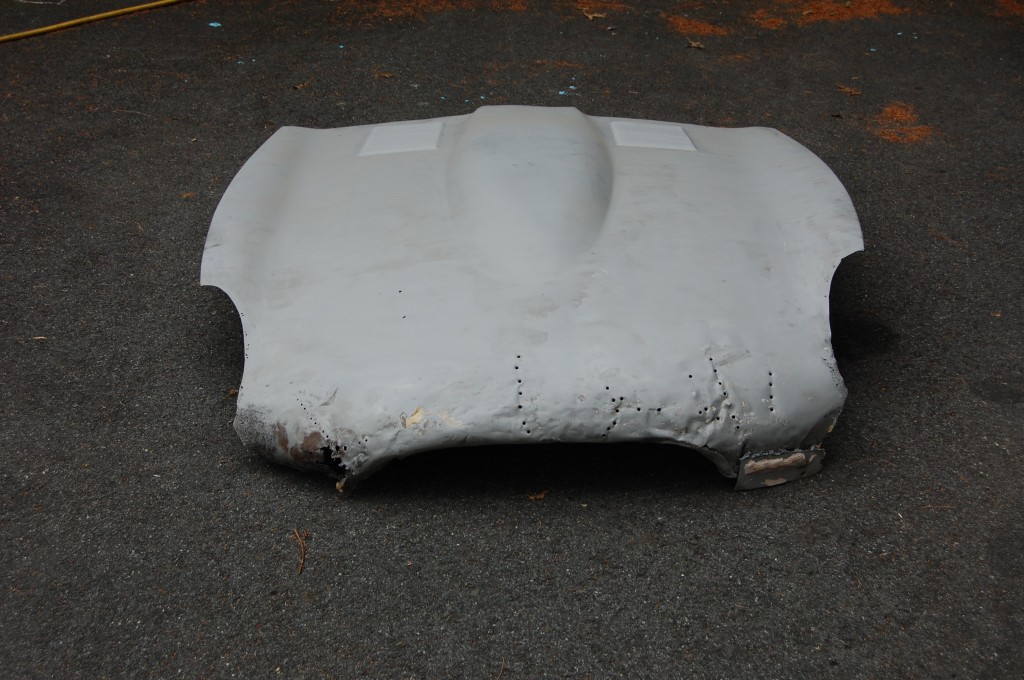
- Flashback – our starting point…
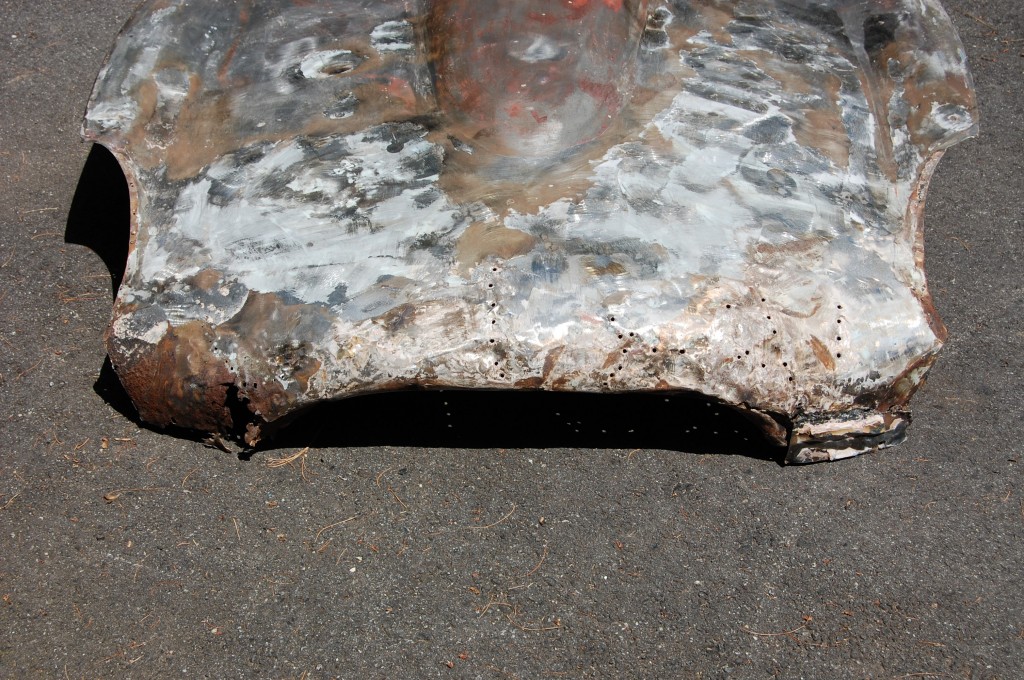
- There is more bondo here than steel – the lower valance was bondo and newspaper in the center – NO steel!
- This is what was left after stripping…
- Oh the horror…
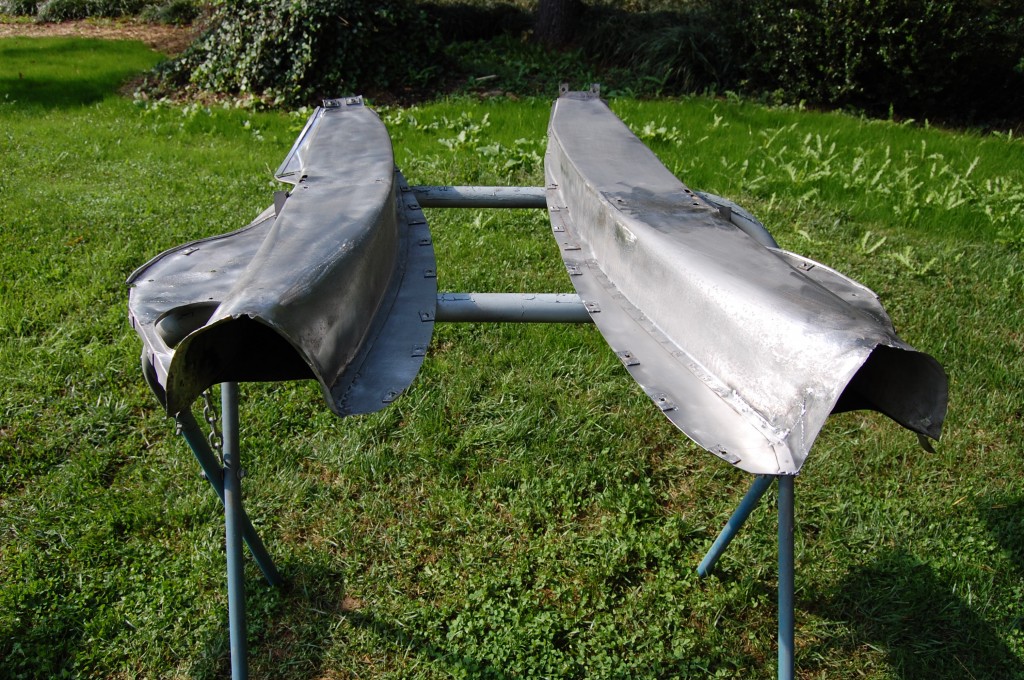
- Here’s a shot of the piece after blasting. We were unable to save the nose of this piece, and ended up fabricating a whole new nose piece and seamlessly grafting it in – see earlier blogs…
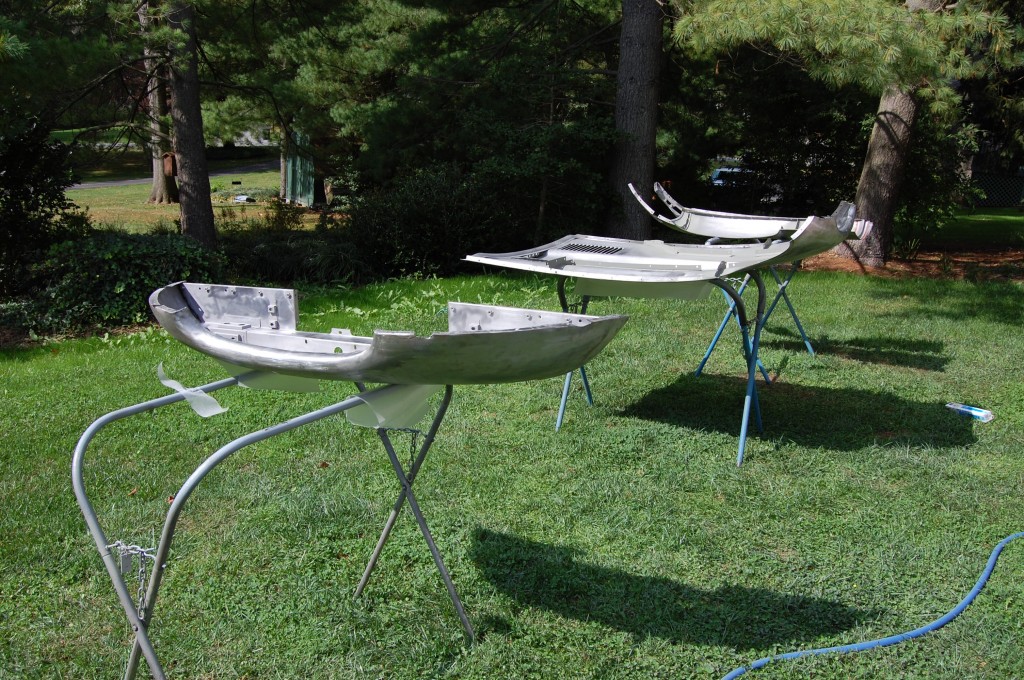
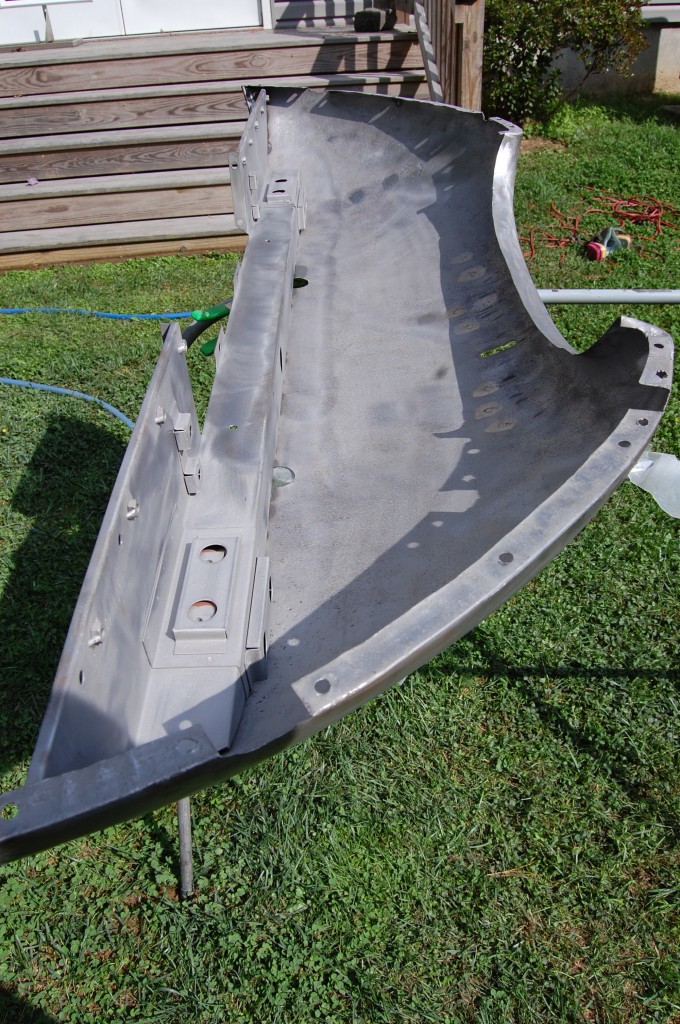
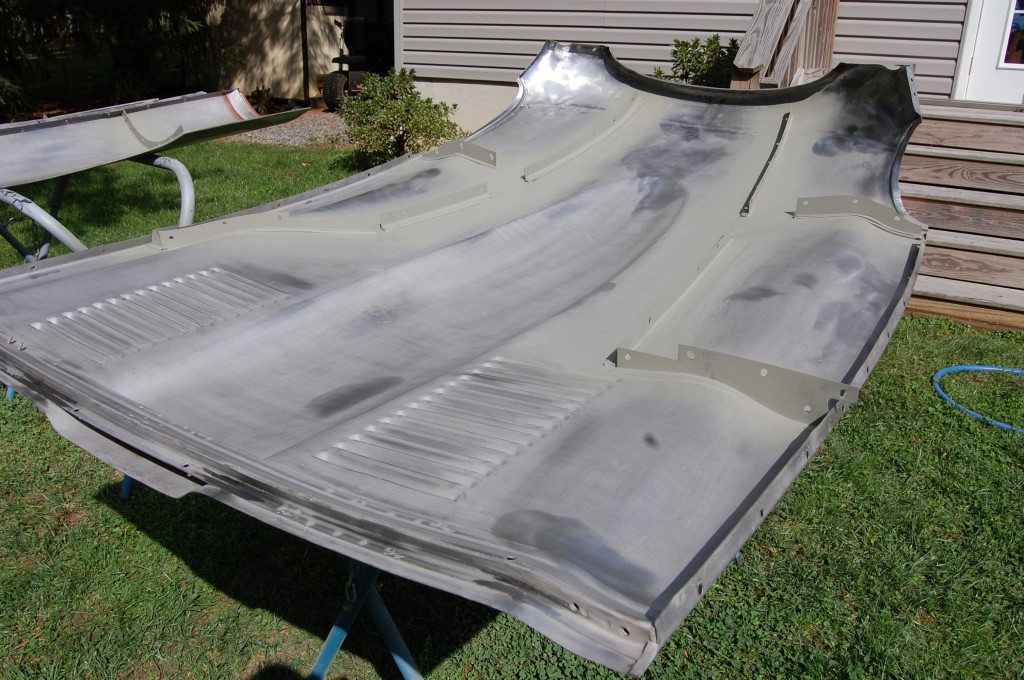
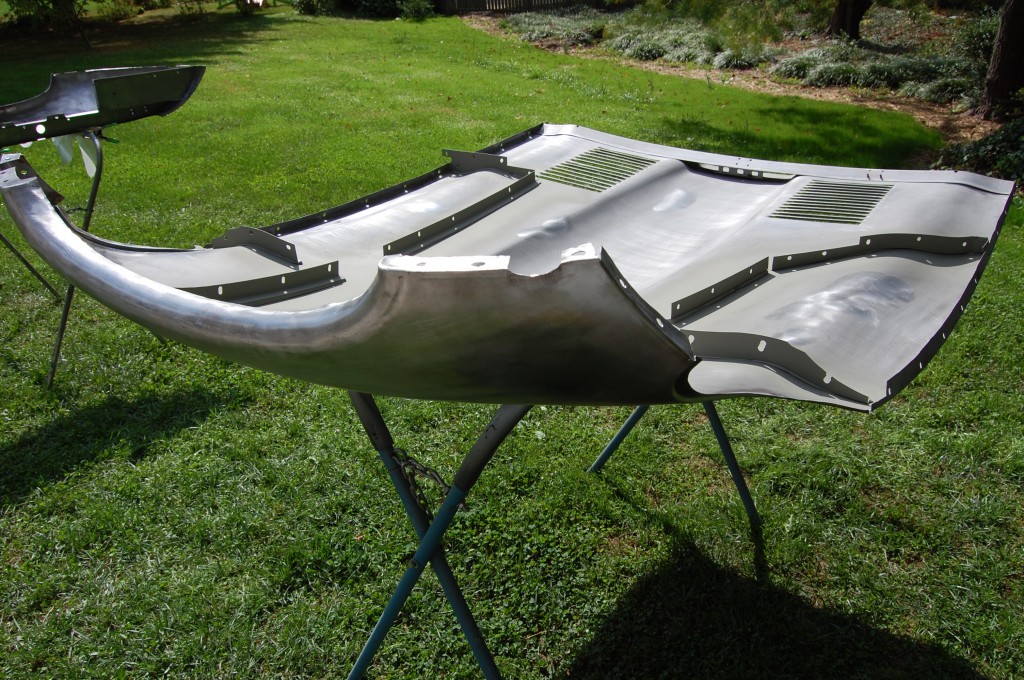
- One of our “priming days” in September. These lower valances received more hours of reapir than ahy set we have done to date…
- I’m not even sure how – they just made the clock speed up it seemed while we fought them back into shape…
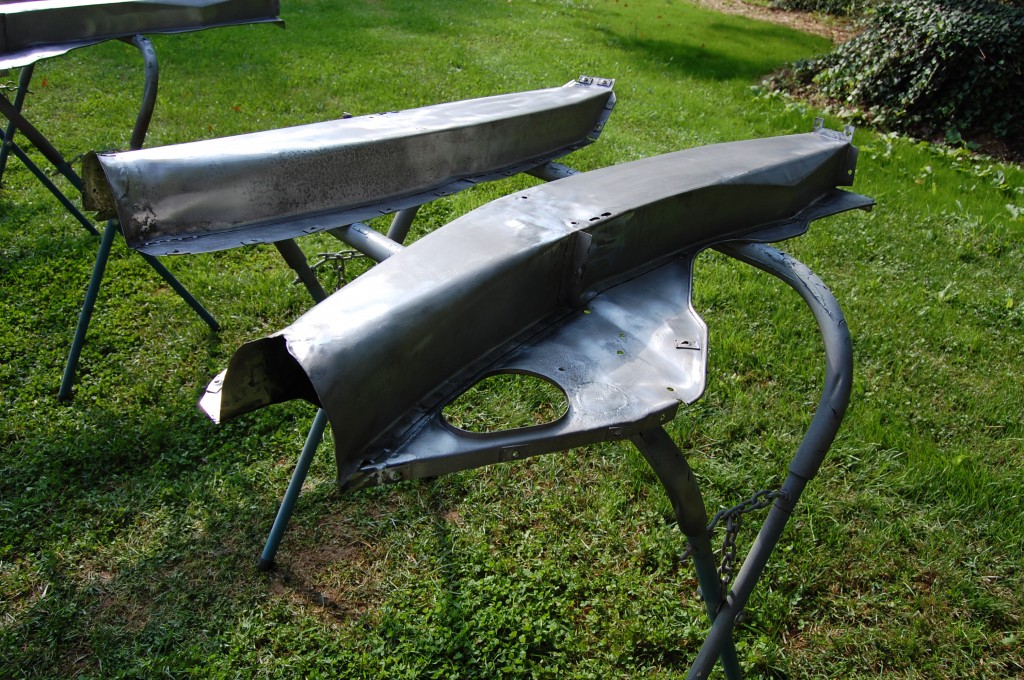
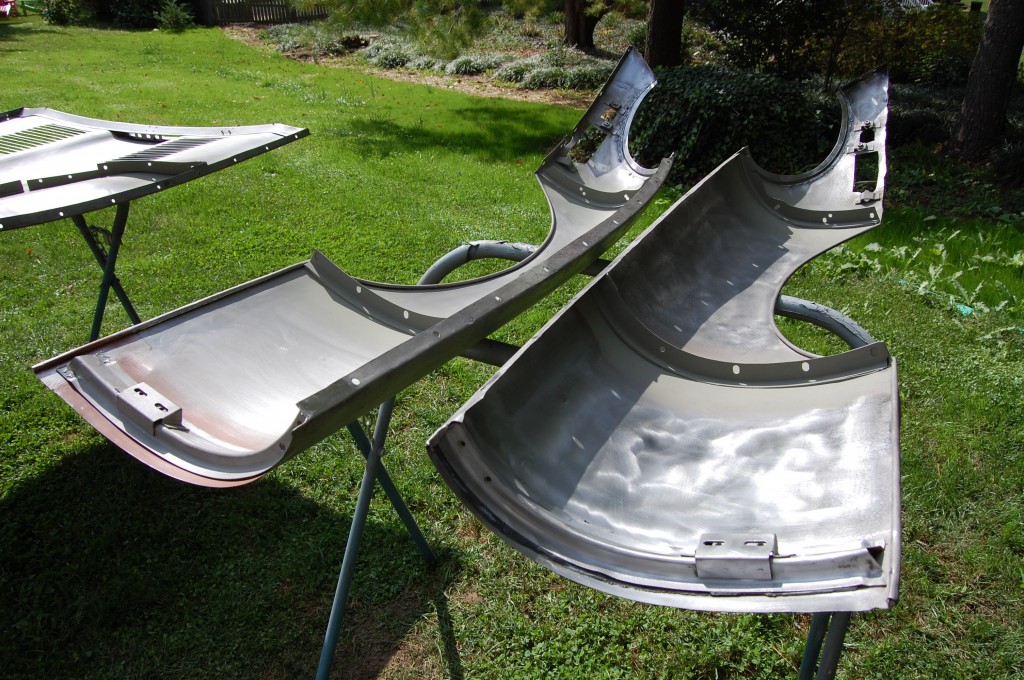
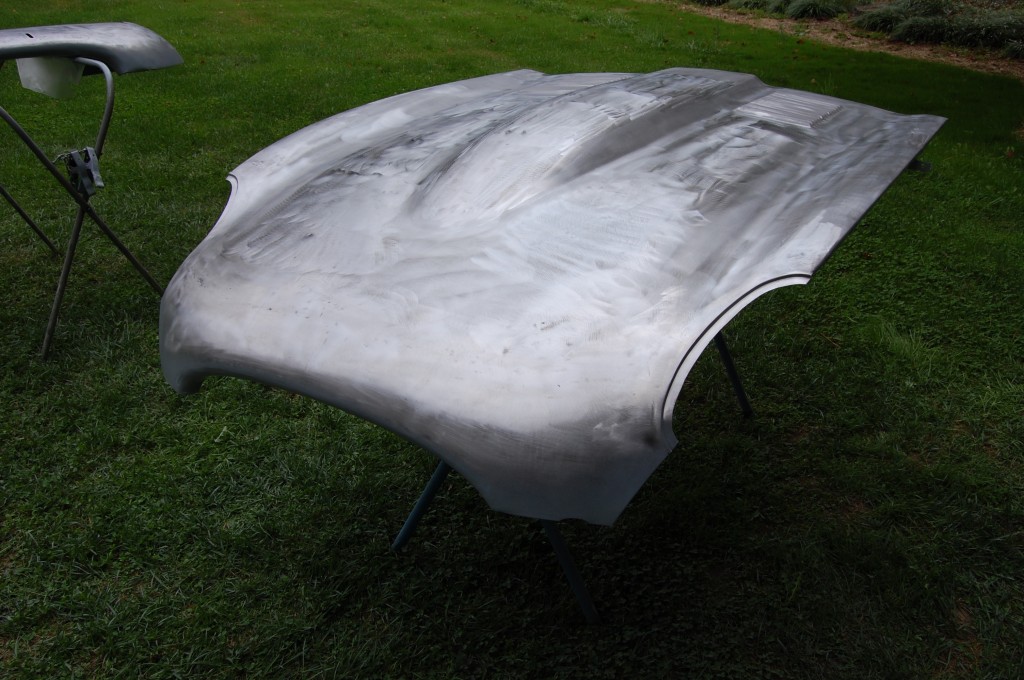
- Next, we primed the 4 main outer pieces.
- The lower valance was from another customer’s extra parts pile – we simply added a charge to this customer, and added a credit to the other – and they were the same, I don’t need to make any money on that transaction, I was just happy to have a good skin to work with! Then we added one of our new support members.
- The center section has been etch-primed where the flanges were glued, then glued during test assembly, then the glue was cleaned up and re-primed.
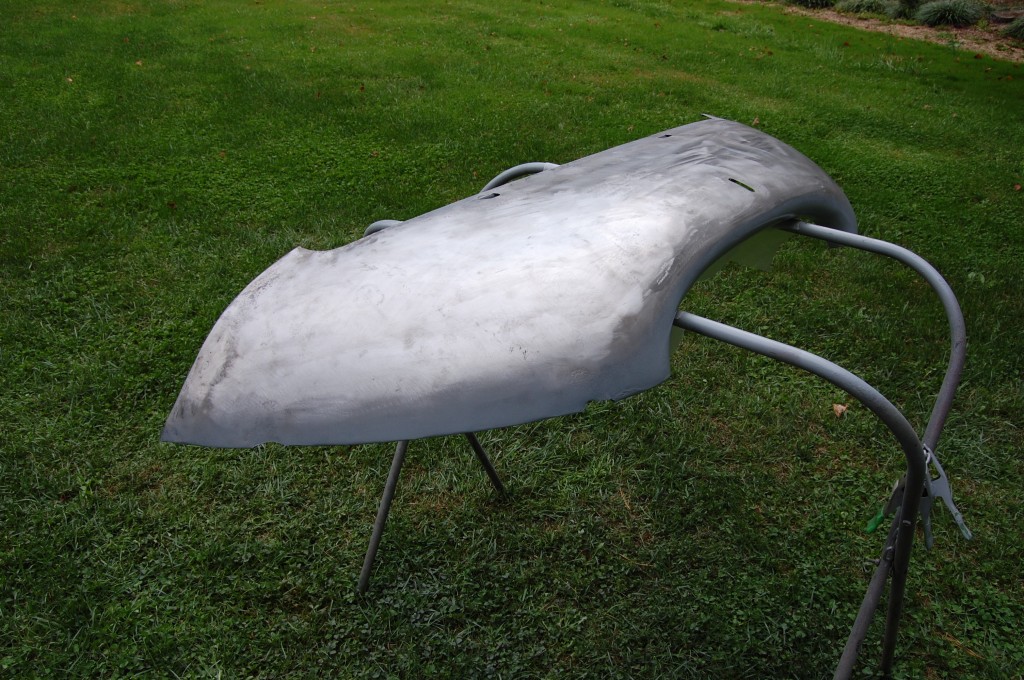
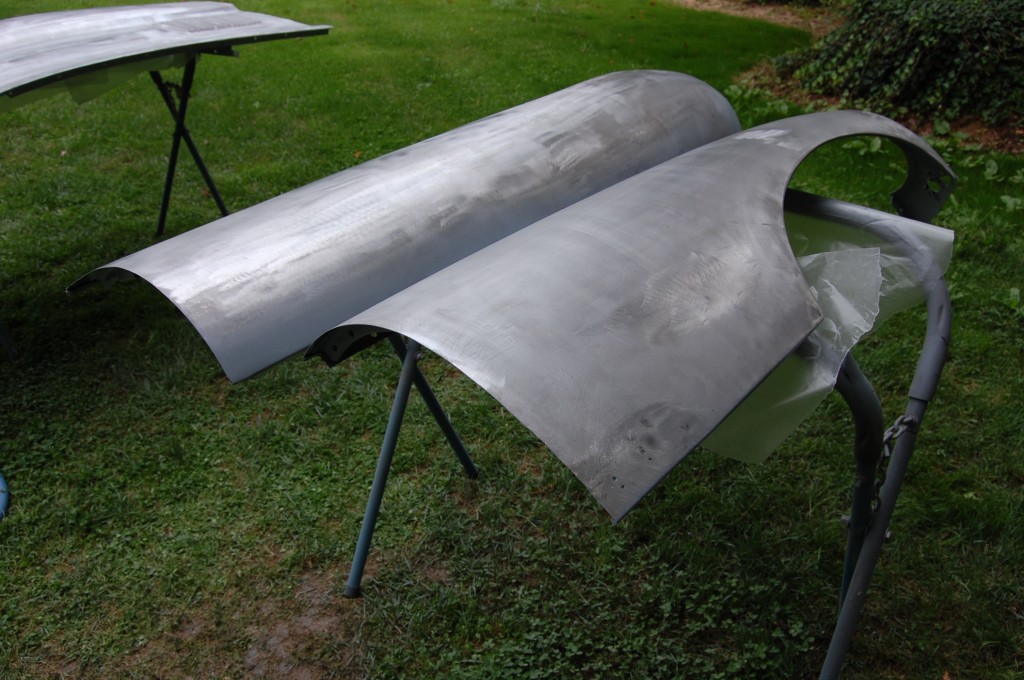
- The wings received alot of repair as well…
- This piece now has our new nose grafted in.
- One 2 coats of epoxy was applied to the interior, the panels were flipped over and primed on the exterior surfaces.
- We go over everything by hand before priming – making sure ALL surface rust is removed…
- She’s looking better!
- From junk to jewels!
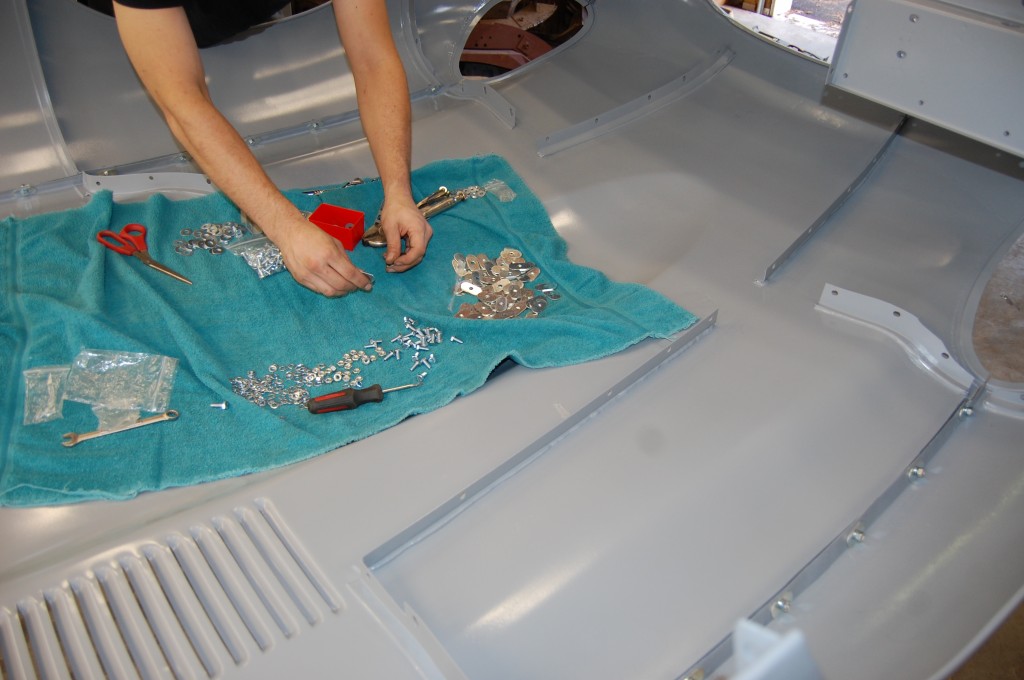
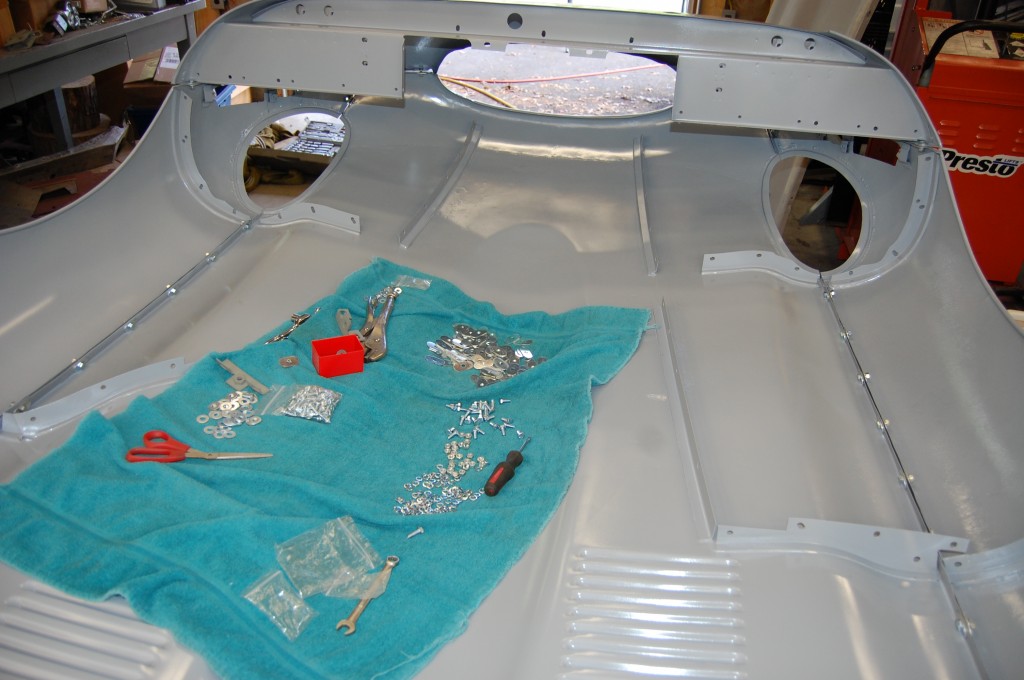
- Fast forward a few days, and everything is dry and being re-assembled by Brent.
- This is not a show car that will be judged, so all new bonnet hardware is bing used. On a show car, we would blast and prime the original bolts with the GKN or Rubery-Owen heads…
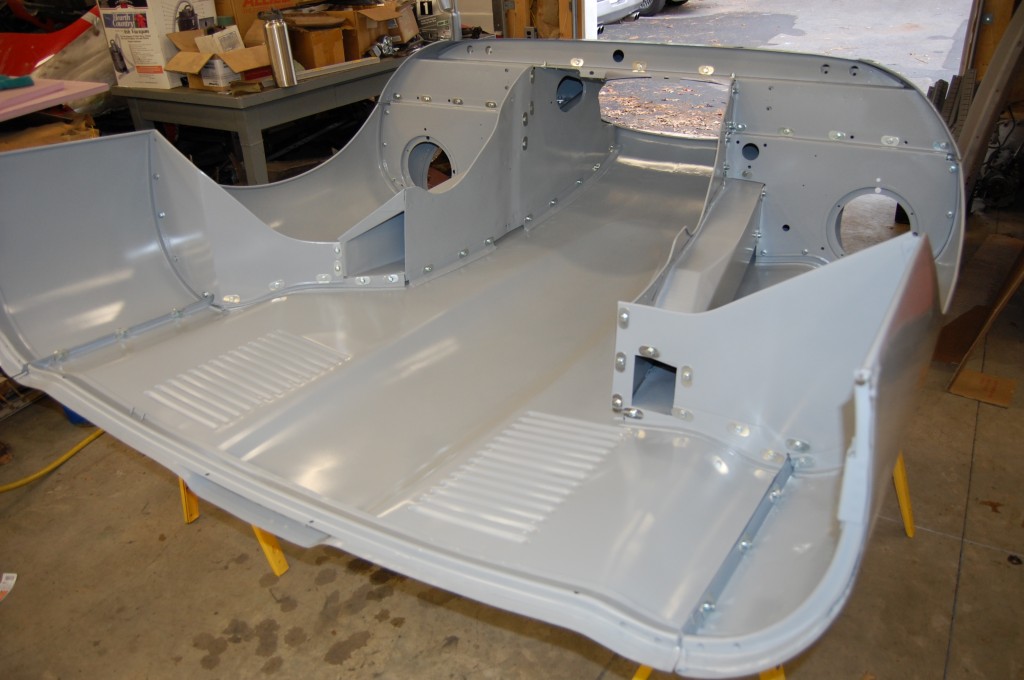
- Finally! She’s done!
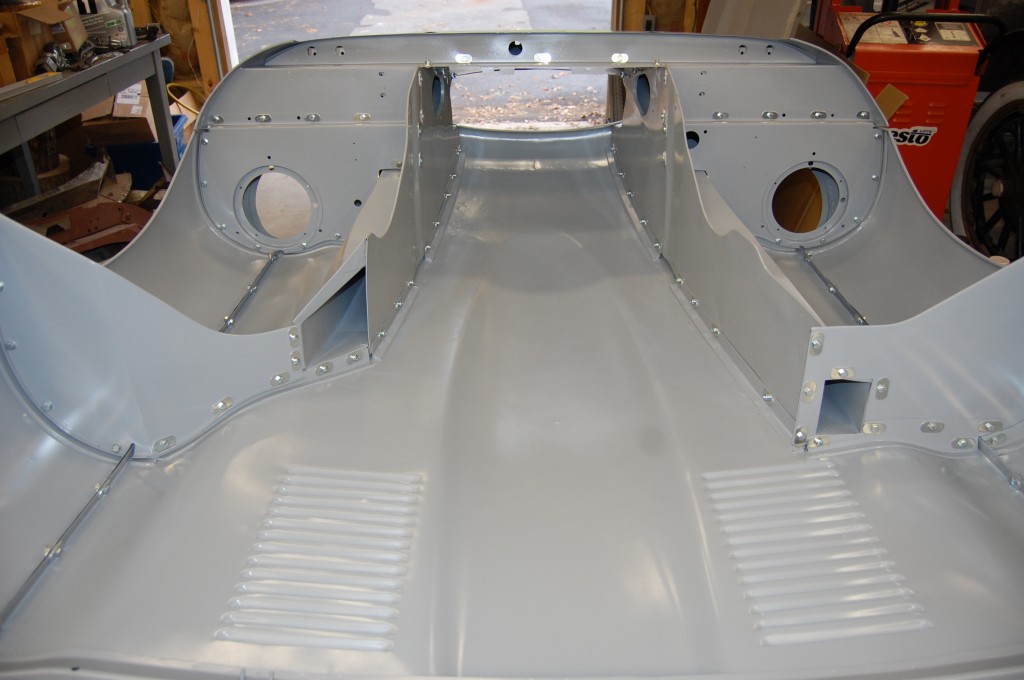
- The epoxy dries to a glossy state that does show the metalwork more than the duller etch, but even so, we get the metal as close as it can be done – inside AND out!
- Everything fits as it should and came together nicely in the end.
- Another shot. You can just barely make out the weld where the new nose piece is joined in. This could be smoothed out with a light coating of filler, but is deeply hidden when the car is assembled and will probably be left alone by this customer.
- Another shot of a correctly assembled original E-Type bonnet.
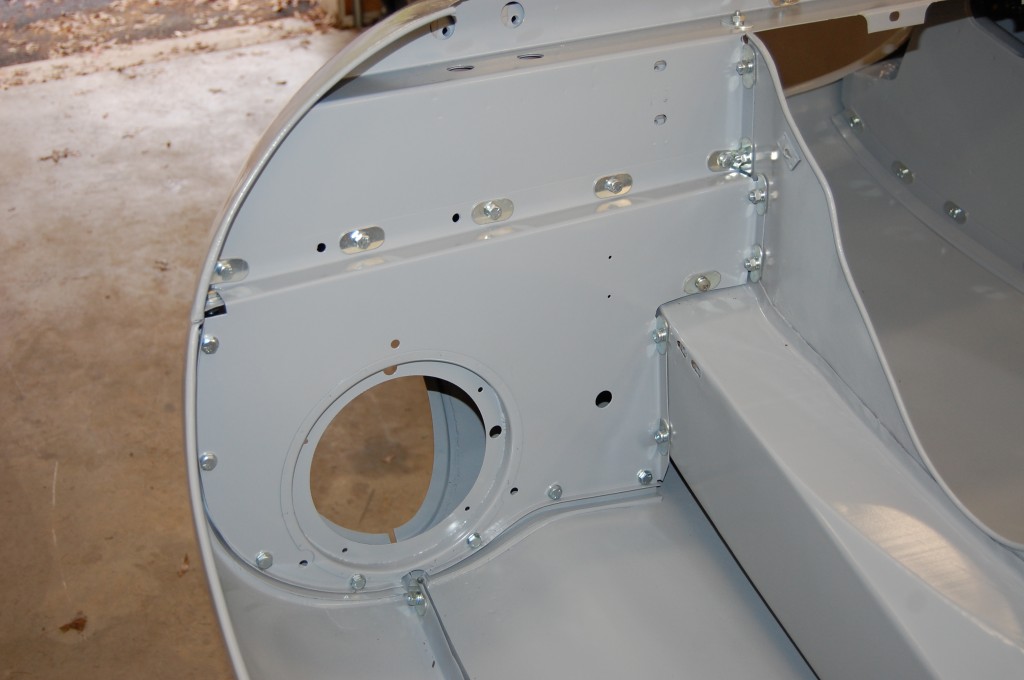
- Every internal panel and flange of this bonnet was replaced with new pieces from Monocoque Metalworks, including this diaphragm.
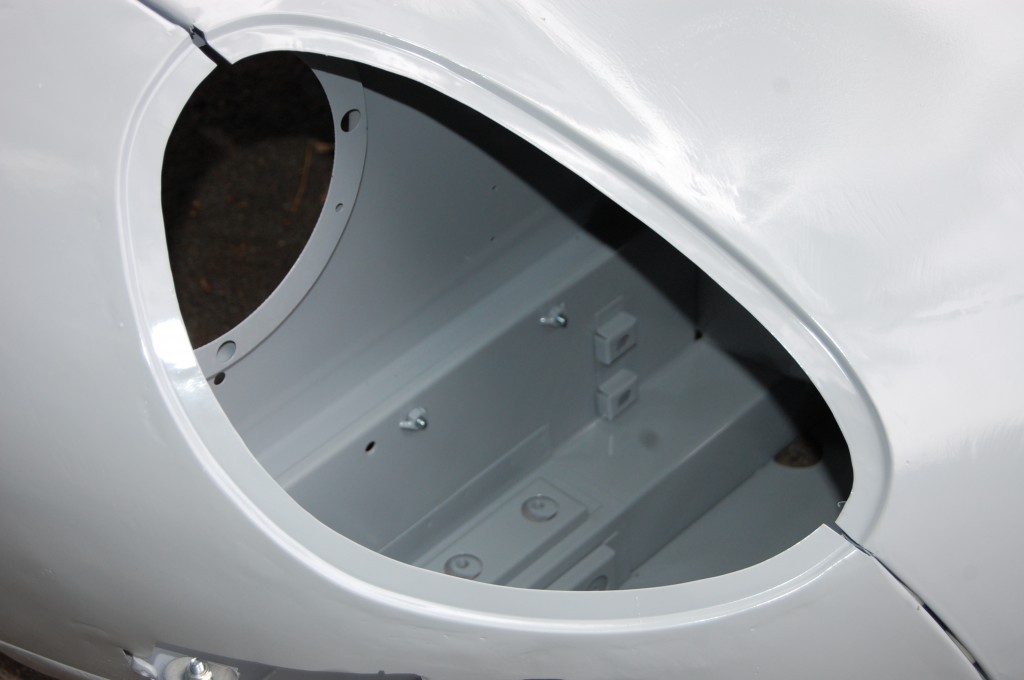
- Another new headlamp diaphragm on the other side.
- Now THAT’S more like it! AND – SHE’S A SERIES 1 NOW TOO!
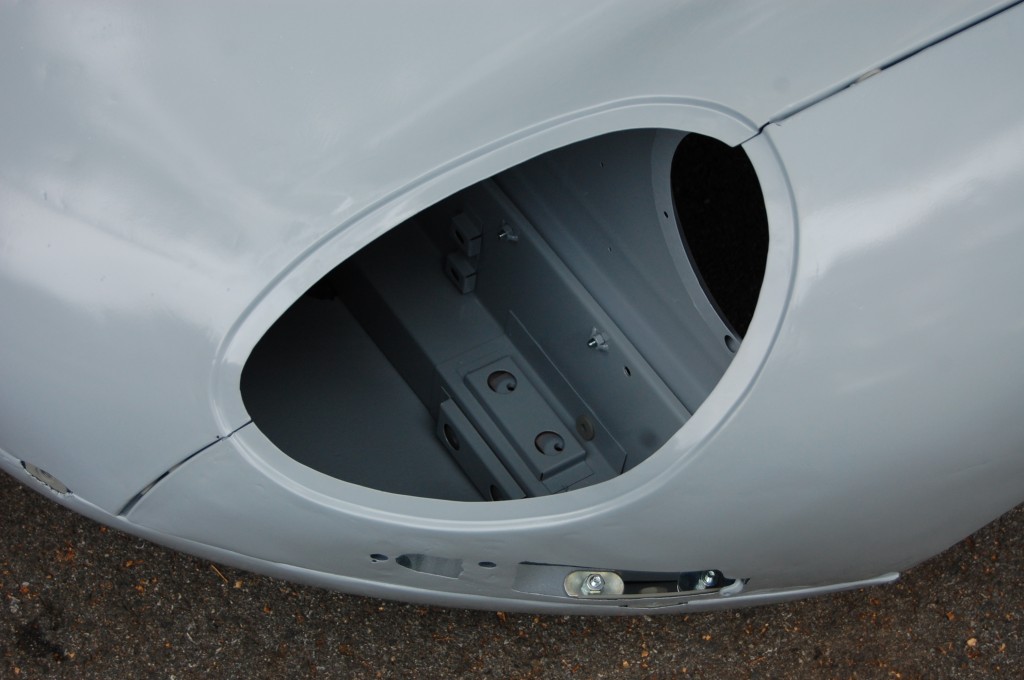
- These headlamp conversion flanges were seamlessly welded in here a few weeks ago.
- We butt-weld the conversion flanges in with a TIG, then planish and dress the weld. You do not have to be this precise when welding these in at home or your local shop – most customers overlap them with the original metal – on the underside – and then just use a little more filler to smooth things out, and that’s fine.
- If you look VERY closely, you’ll see that a smidge of filler is needed even the way we do it – so a little more welding them in not quite this precisely won’t hurt – jusy stay under 1/8″ at the deepest areas and you’ll be fine.
- Here is a shot of the rear of this restored bonnet.
- Another shot…
- And another shot…
- That’s steel and primer – and glossy primer at that – so the metal is REAL close, and the filler should be minimal, and only used for smoothing – NOT shaping…
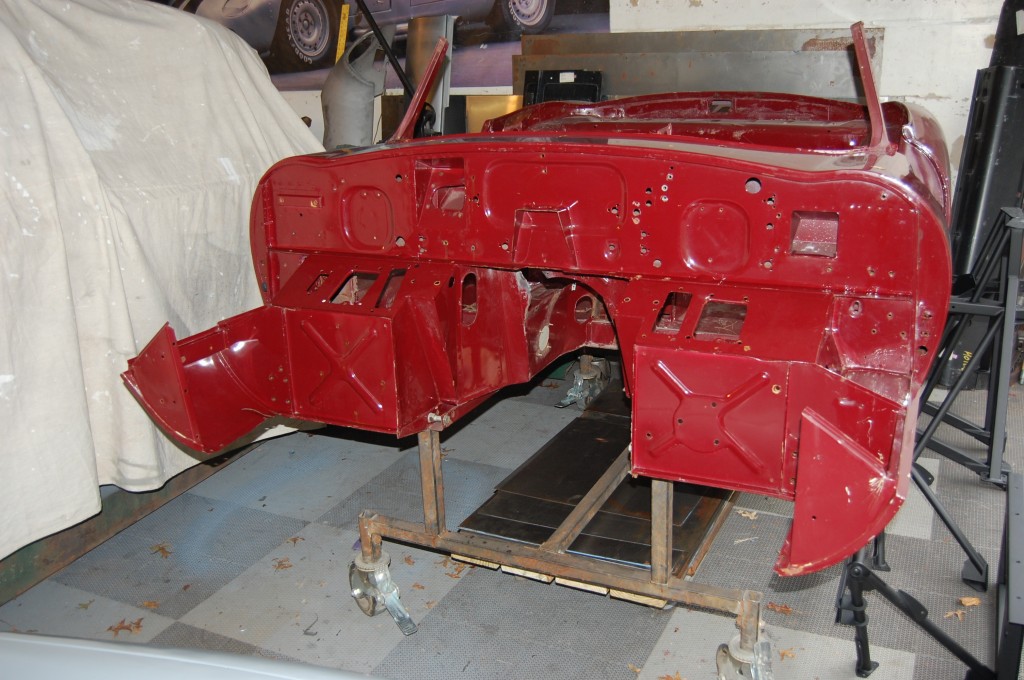
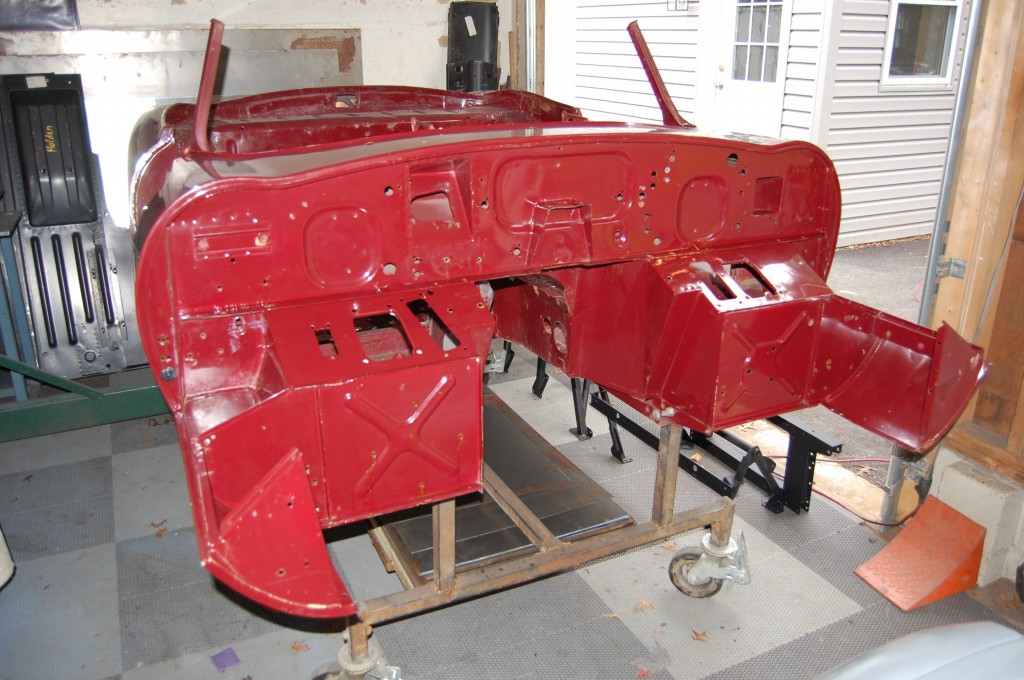
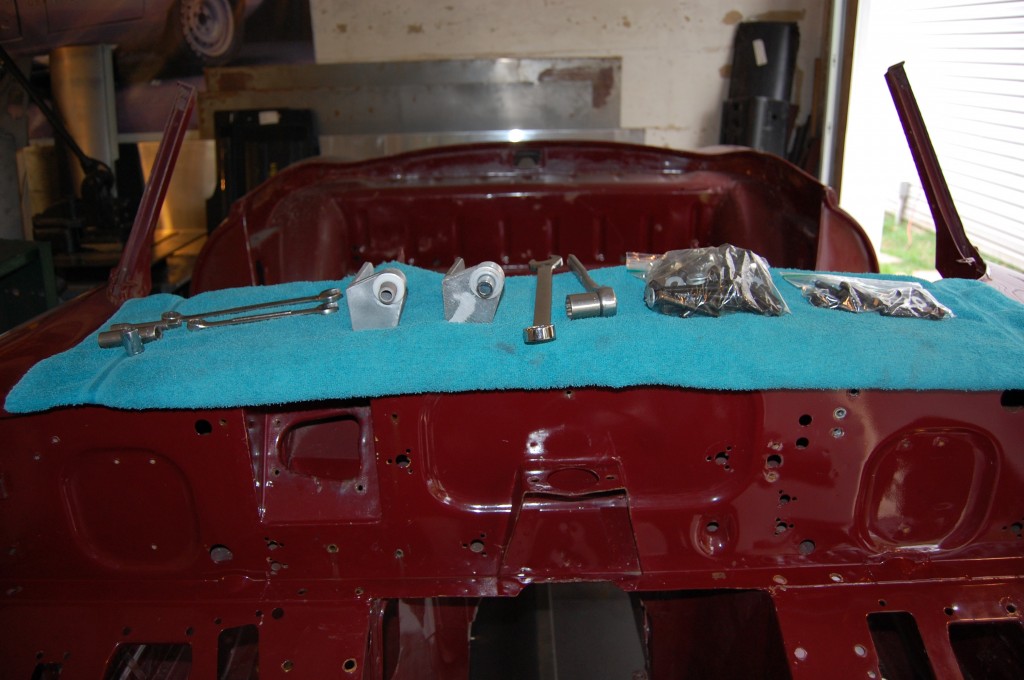
- This is the firewall of the donor shell that we purchased for this project last Winter. It is restored in maroon paint and the work is excellent.
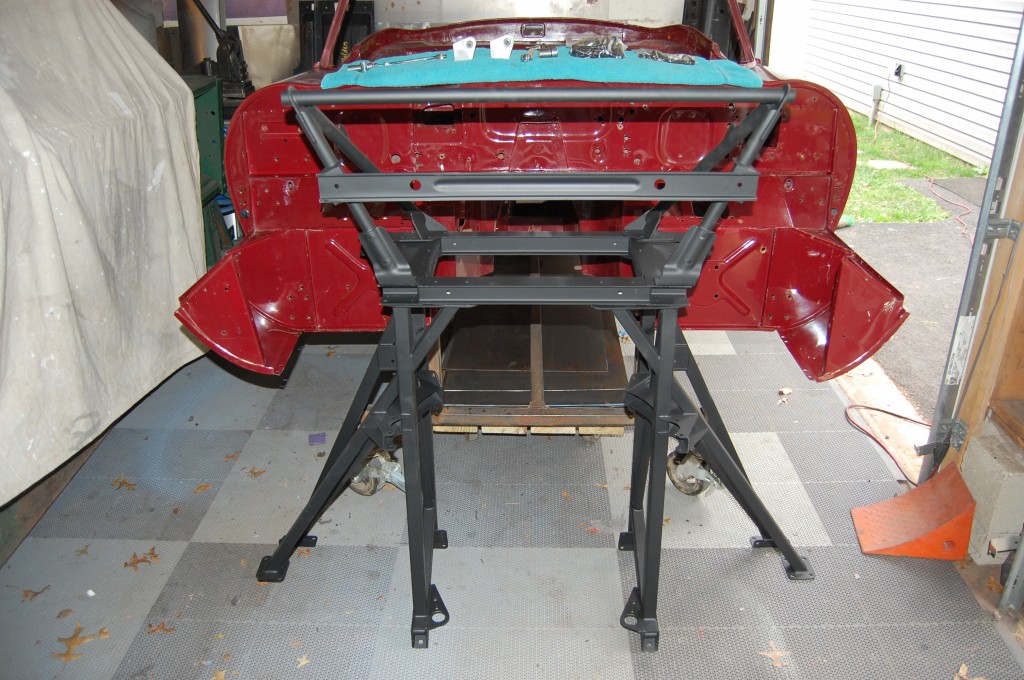
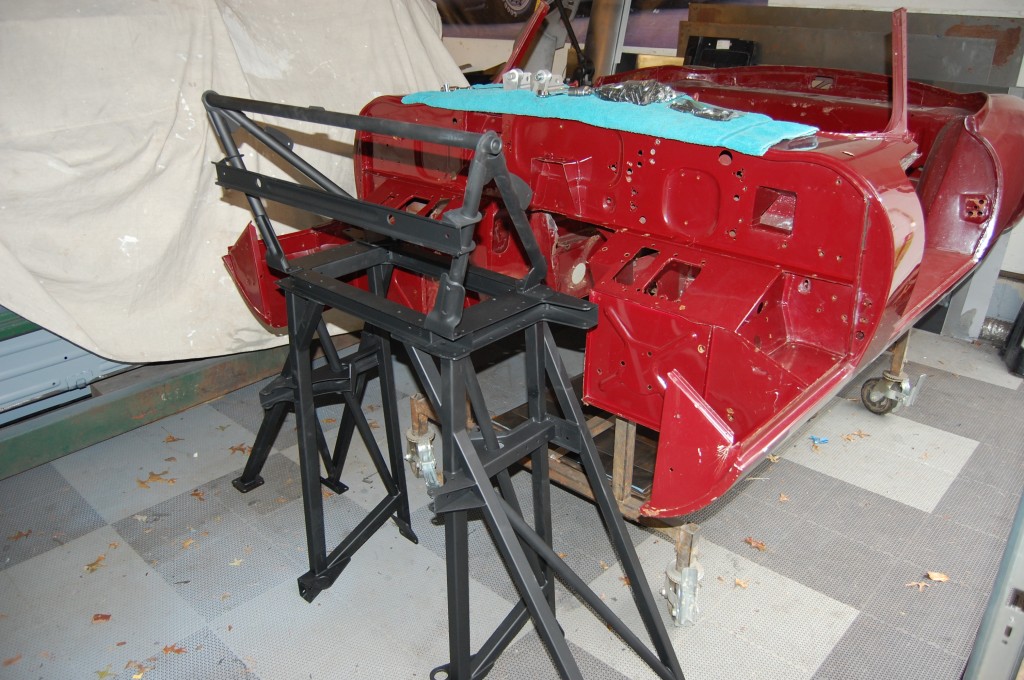
- It’s time to mount the new frame rails now – but first we chased ALL of the holes in the firewall with the proper taps…
- New Frame Rails from E-Type Fabs – a real treat and excellent upgrade for ANY E-Type!
- The precision of the brazing, and accuracy and originality is simply unmatched. these ACTUALLY DO fit better than the real thing!
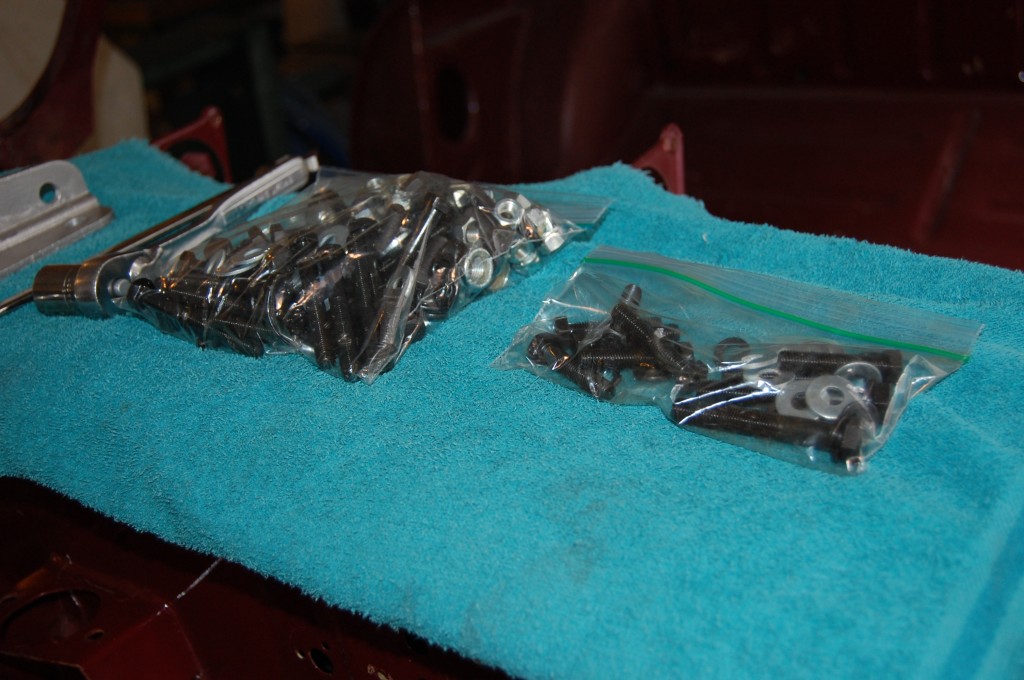
- We will be installing these with a set of our Grade 8 bolts – available in our online store!
- There is a Frame Rail and Bonnet Hinge bolt kit here. These bolts are the correct threads and lengths, and stronger than anything else you can get – including stainless steel (which you DON’T want, for many reasons…). The heads on these bolts are obviously not GKN like the originals, but as we stated before, this is not a car that will be judged. Otherwise, these are THE BEST frame rail bolts you can get – PERIOD!
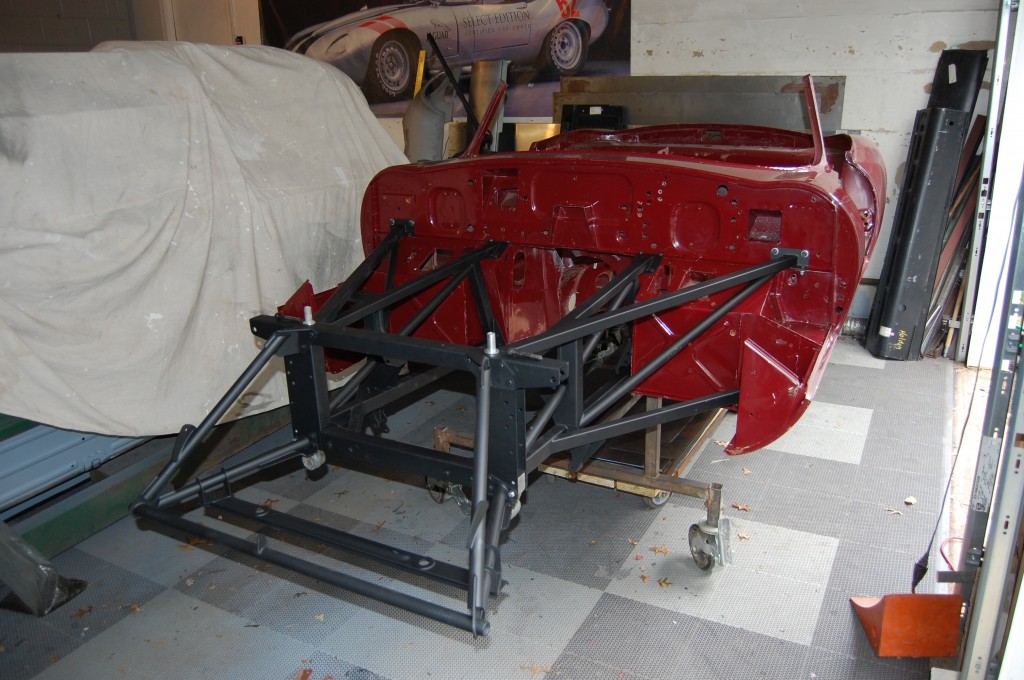
- All bolted up – but EVERYTHING is in and loose before ANYTHING is tightened!
- THEN tighten it all up – starting at the firewall, and working your way forward.
- Take your time, and don’t fight anything into place TOO hard – you shouldn’t have to…
- Note that we have included the lower control arm’s forward fulcrum shaft blocks inside of the picture frame – you MUST do that, or else you run the risk of getting a false location on the bonnet carrier bracket, and you are going to have trouble in the bonnet fitting stage.
- NOW we’re ready to mount the bonnet!
- OK – it’s ON there, but that’s it – there is alot of adjusting and fitting to be done.
- Looks pretty good, huh!?!
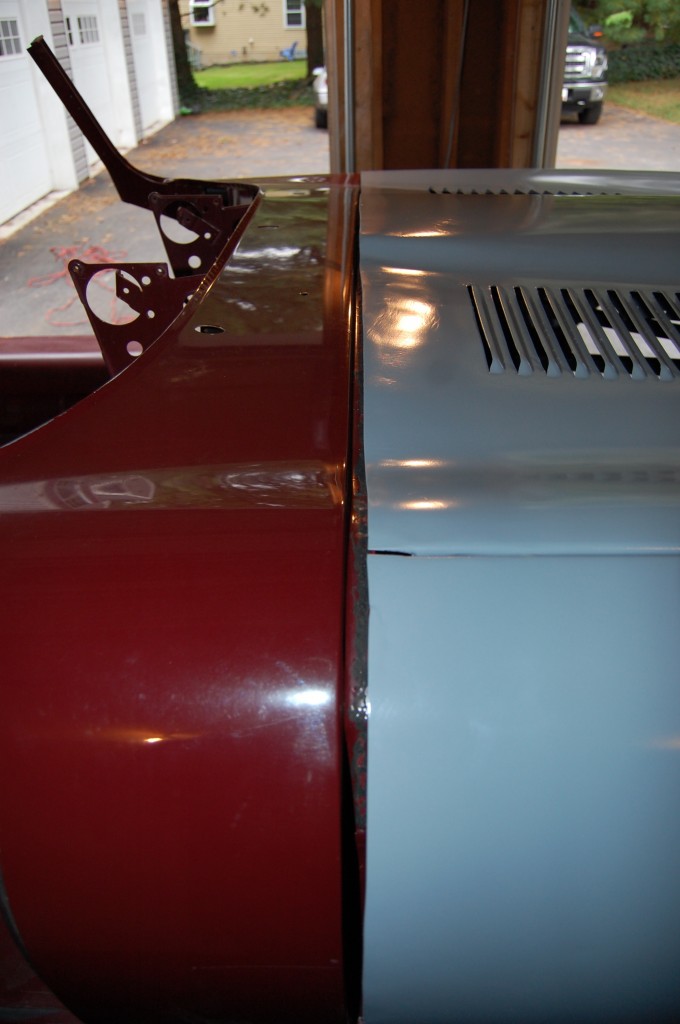
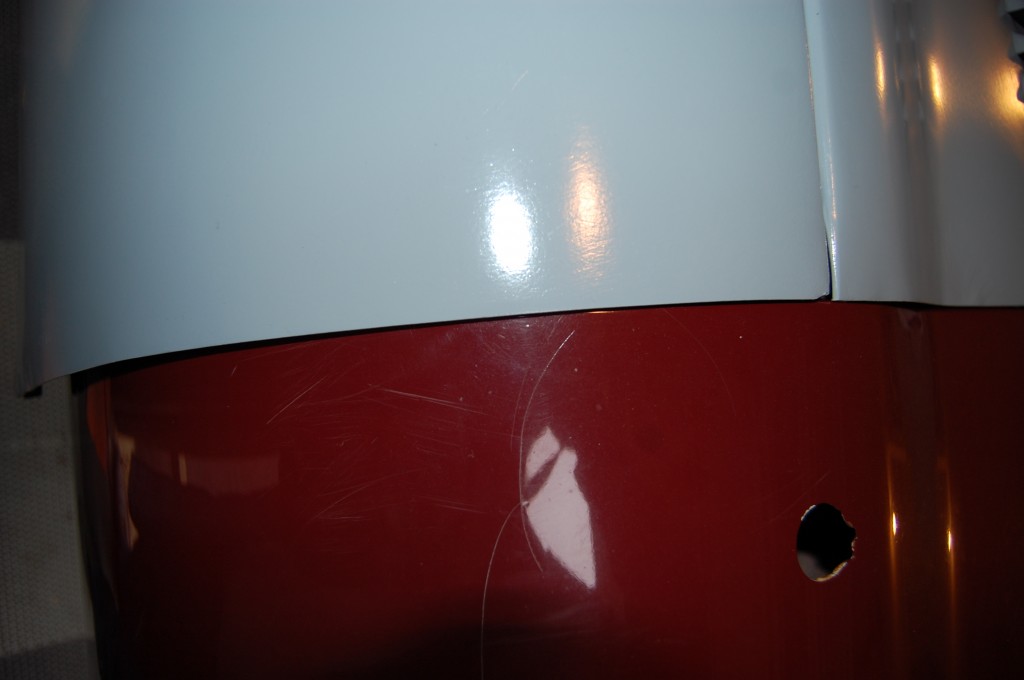
- After MANY hours of alignment and adjusting, we finally have the bonnet right where we ant it – dead straight, dead center, etc. However, the final slap in the face on this project is that due to past wrecks of the original car this bonnet came from, the rear edge has been cut on a SEVERE angle – 3/4″ difference from side to side!
- We have her pulled back as far as we dare – there are still shims that could be removed, but the front corner of the lower edge of this wing is already behind the rocker , and we’re 5/8″ away from the firewall on the other side…
- See… Now, we COULD have just puylled shims out of this side and pulld things in, but that would have made the bonnet crooked – right now is it dead center – there is a line drawn down the center of the power bulge, and laying a straight edge on that splits the tail of the car at dead center. I am NOT changing that, so there’s only one solution – we have to ADD metal to almost the entire rear edge of the bonnet.
- DAMN! Adding metal to this edge is NOT fun, and it has been a LONG time since I have had to do it… AAAAAGGGGGHHHHHH!!!!!!!! I don’t need this right now!

