Sometimes, it’s just unavoidable…
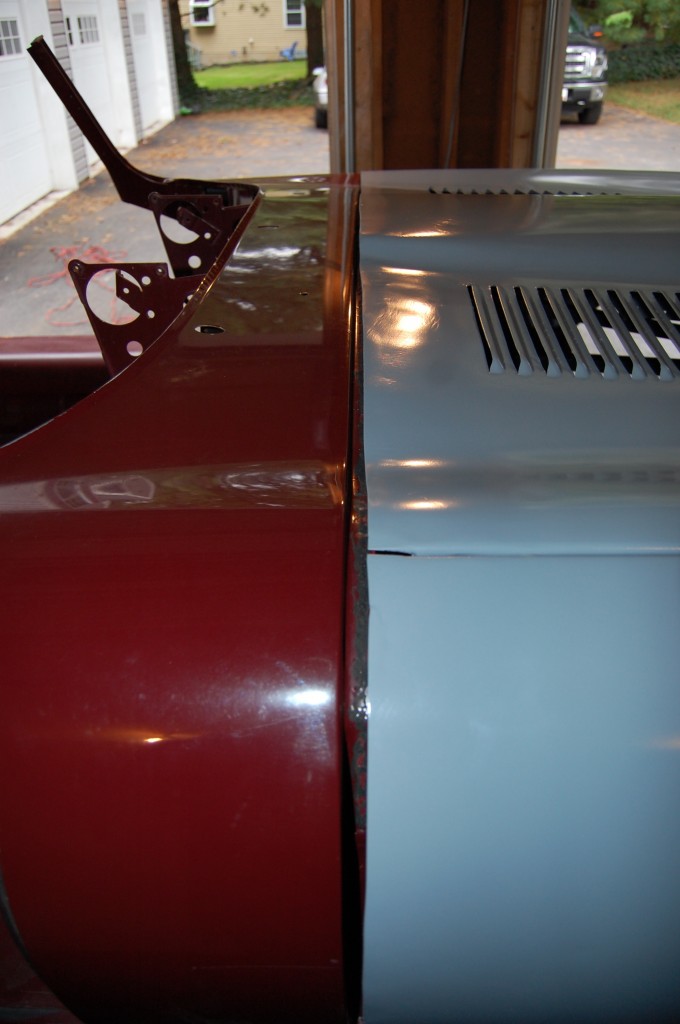
When we last spoke about this project, the bonnet was on and perfectly aligned, but 5/8″ too short on one side – even though on that side, the lower edge of the wing was ALREADY behind the sill a bit..
In this case, we had two choices:
A) Pull shims out of one side and line up the existing rear edge up with the cowl – but this would have mounted the bonnet on a severe angle, so NO!
B) Add metal to the rear edge. YES – this is what we HAVE to do here…
Take a look at how it’s done – properly. Because Lord knows I have seen some REALLY ugly attempts at this in the past!
- Here’s where we left off – 5/8″ gap on the RH side, and we can’t come back any further without cocking the bonnet off-center…
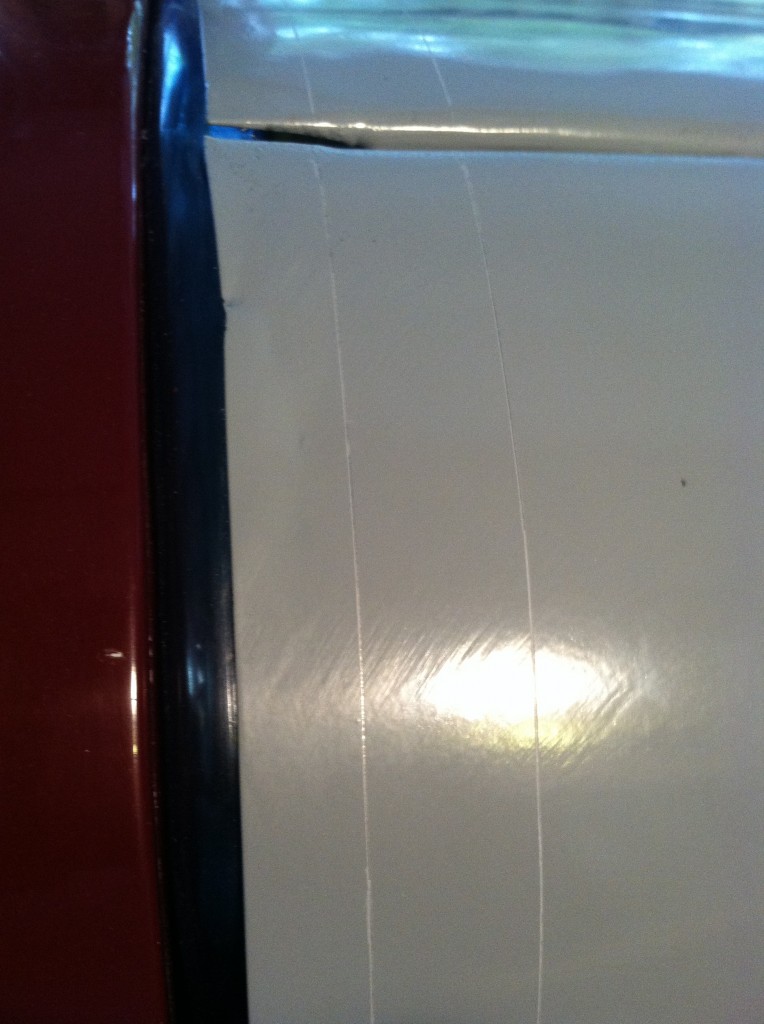
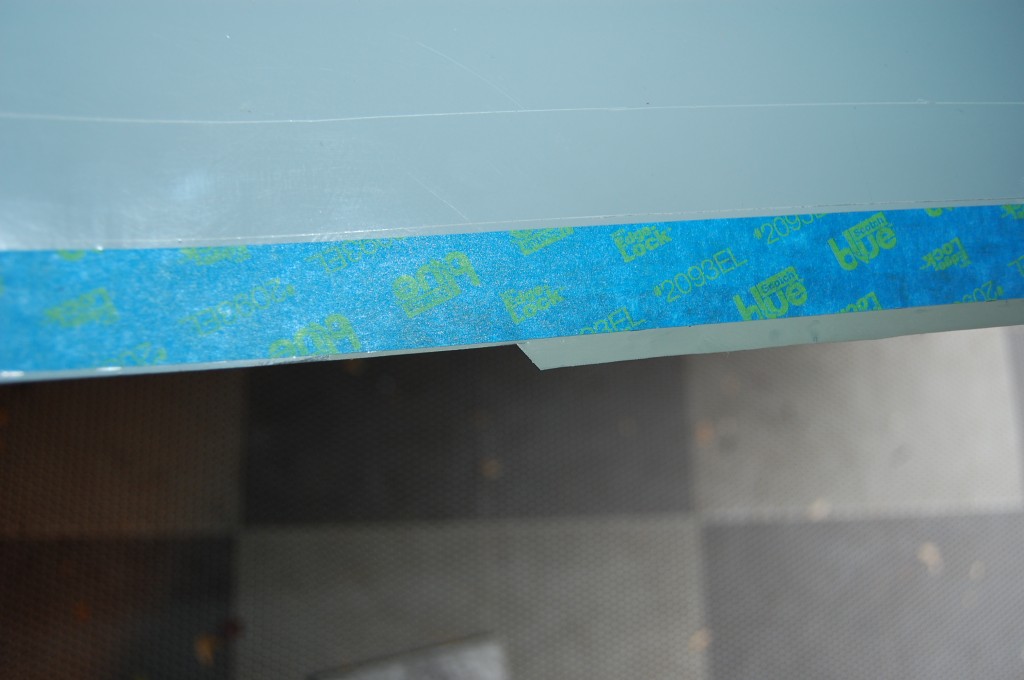
- Here’s a closer shot – we are a LONG way off…
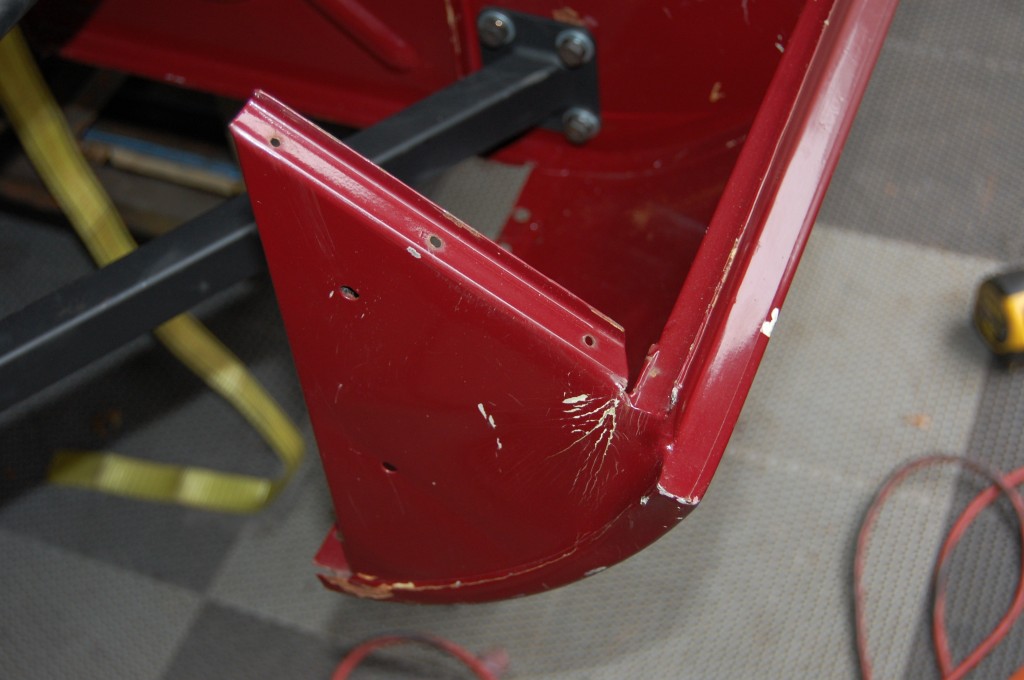
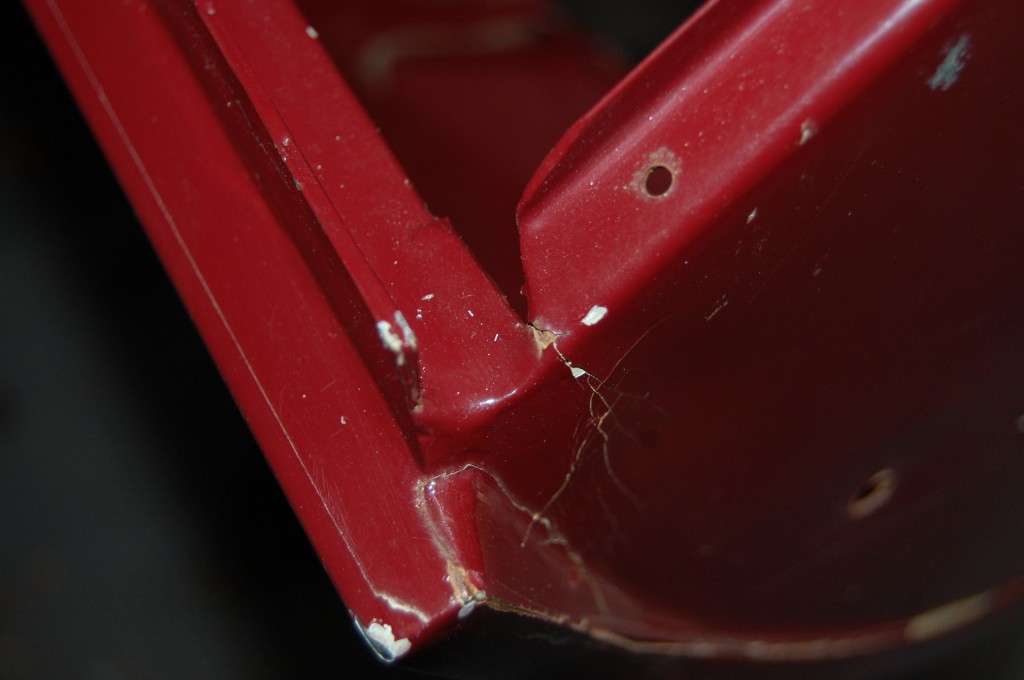
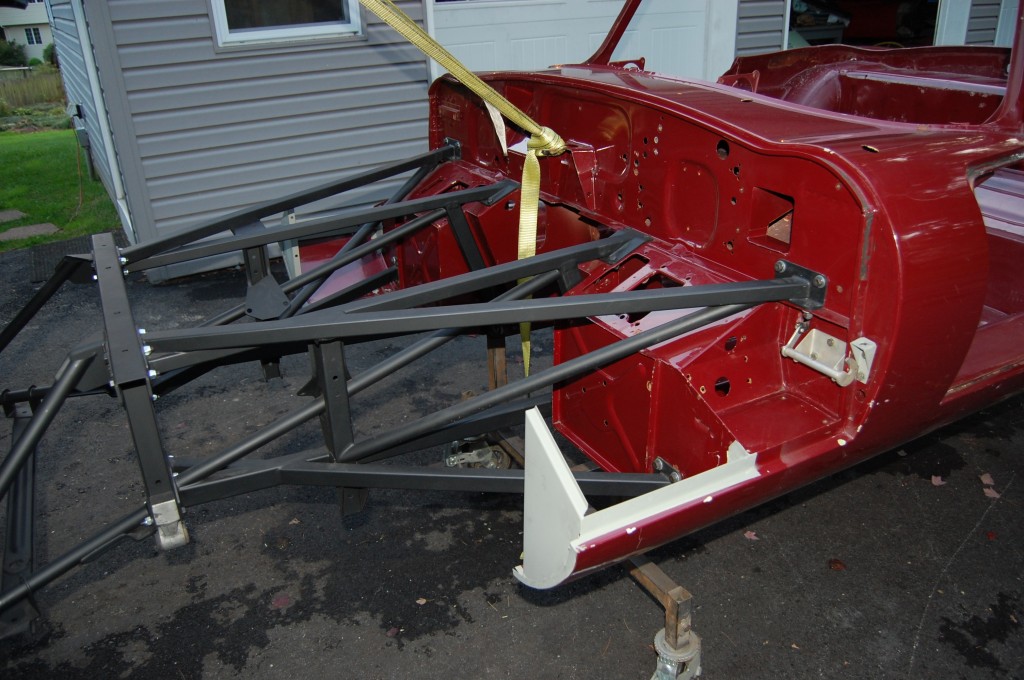
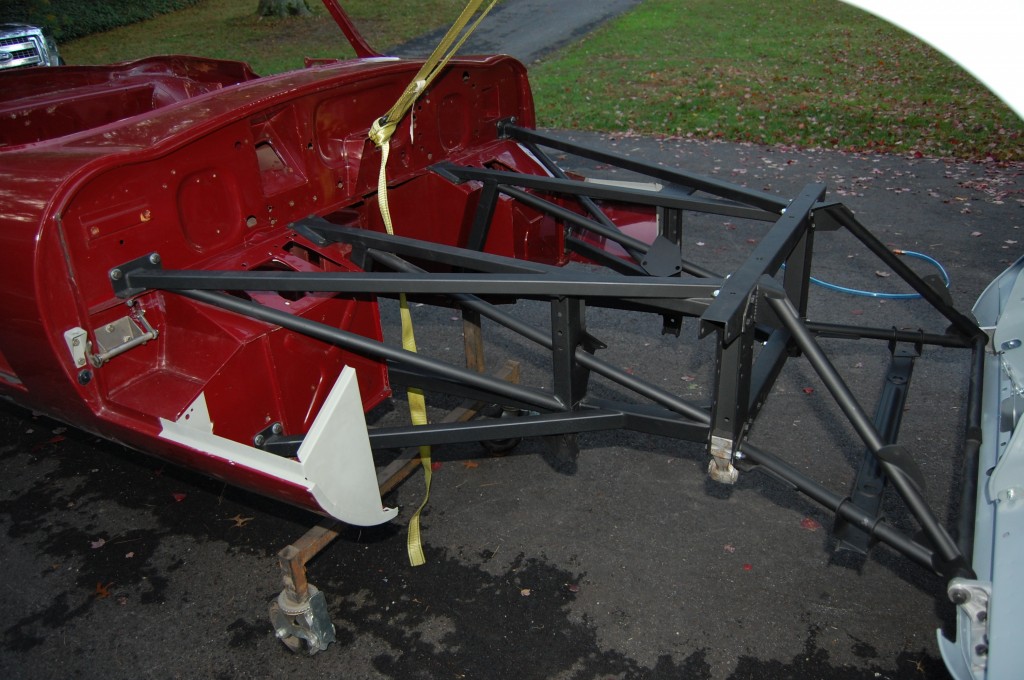
- In addition, while I have been singing the praises of the “mystery restorer” of this shell, they welded in the forward sill closing panels incorrectly – they are mounted too low and too far inward. Inaddition, they have the LH upper sill bracket where the battery mounts on the RH side and vice-versa – so that will ALSO have to be carefully removed and replaced.
- Same story on the RH side – these panels are beautifully installed and painted, but they are just in the wrong place, period…
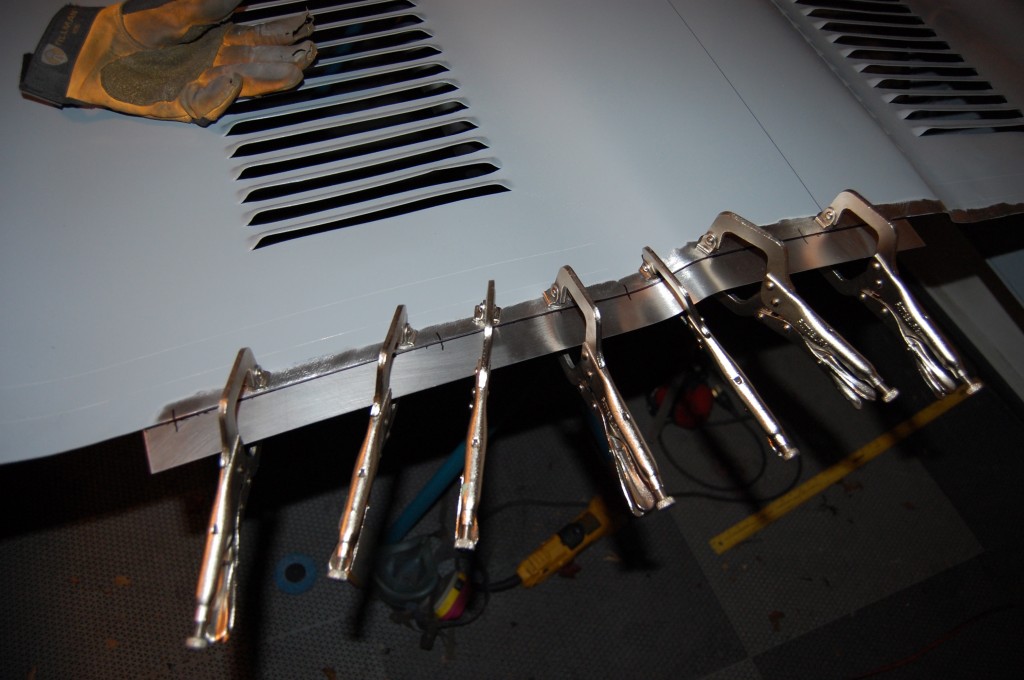
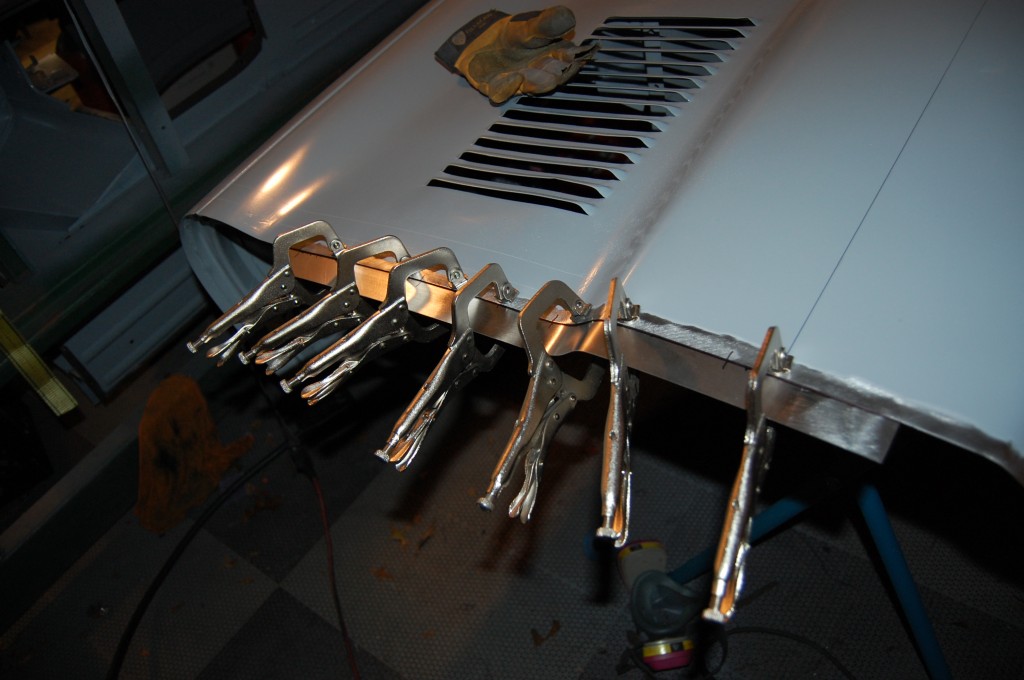
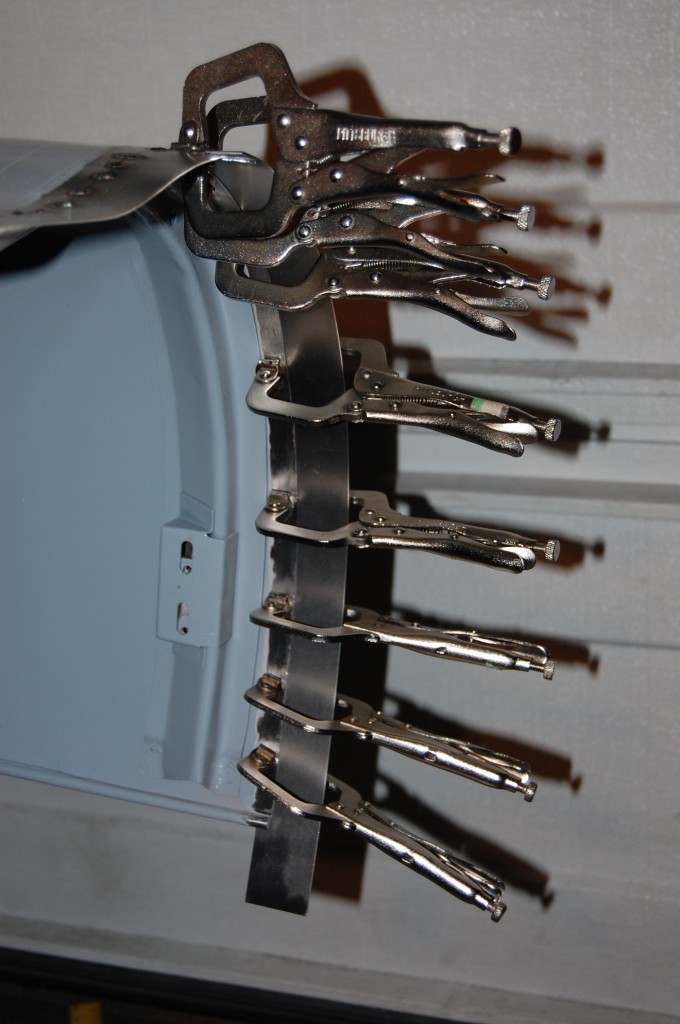
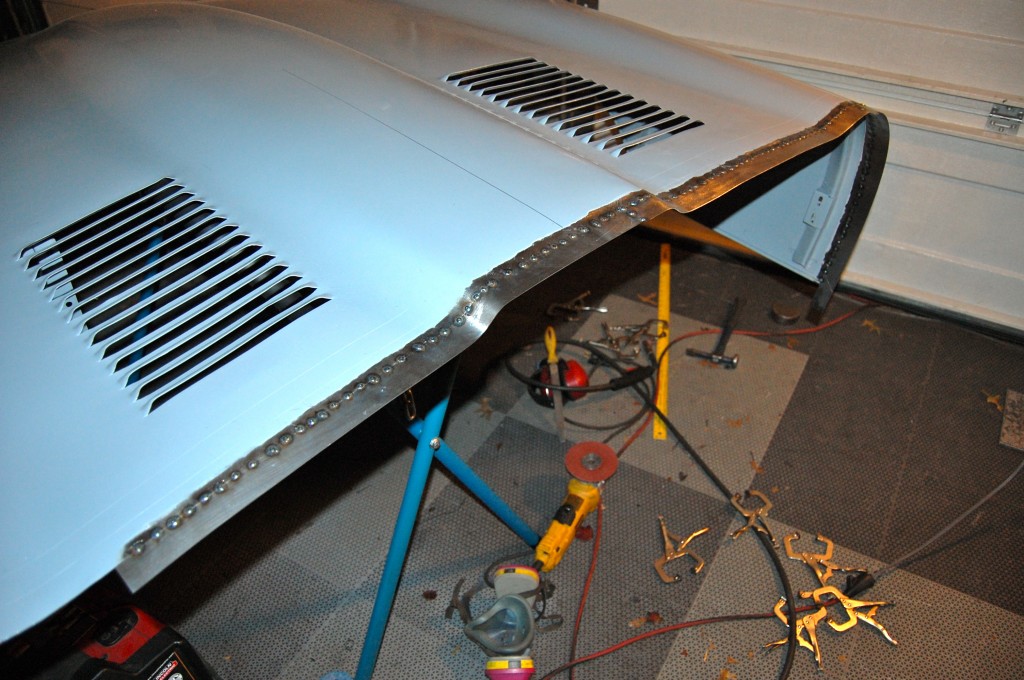
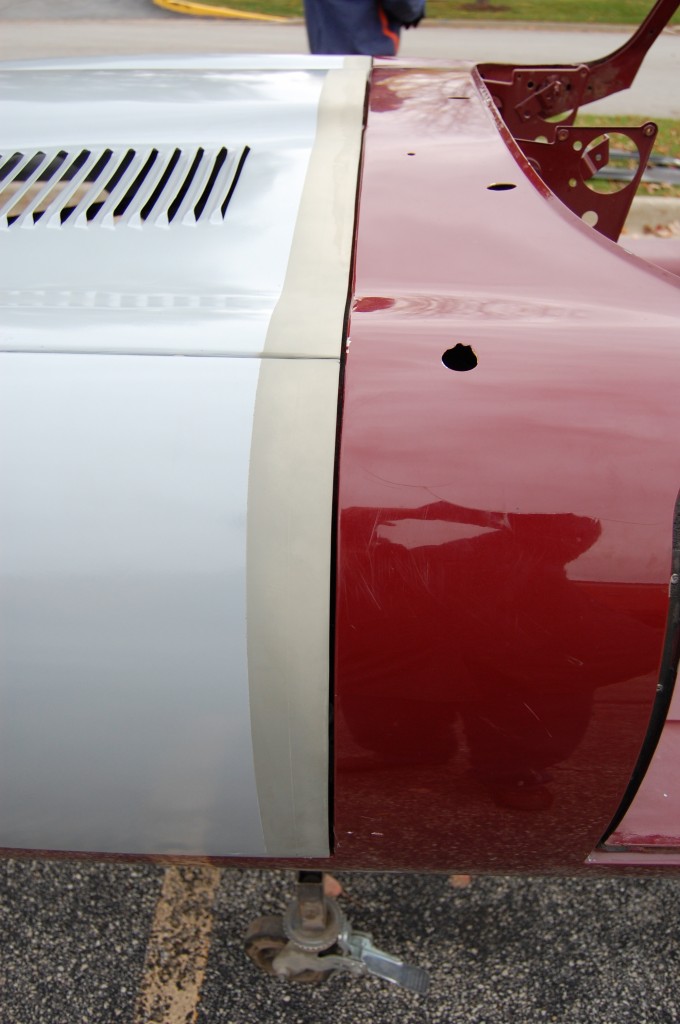
- We started out by slicing up some 1.5″ wide strips of 19-gauge, and fitting them to the existing rear edge of the bonnet – which is not cut very straight, by the way…
- Another shot – you can never have too many vice grips!
- We had to go across nearly the entire center section, and the entire RH wing.
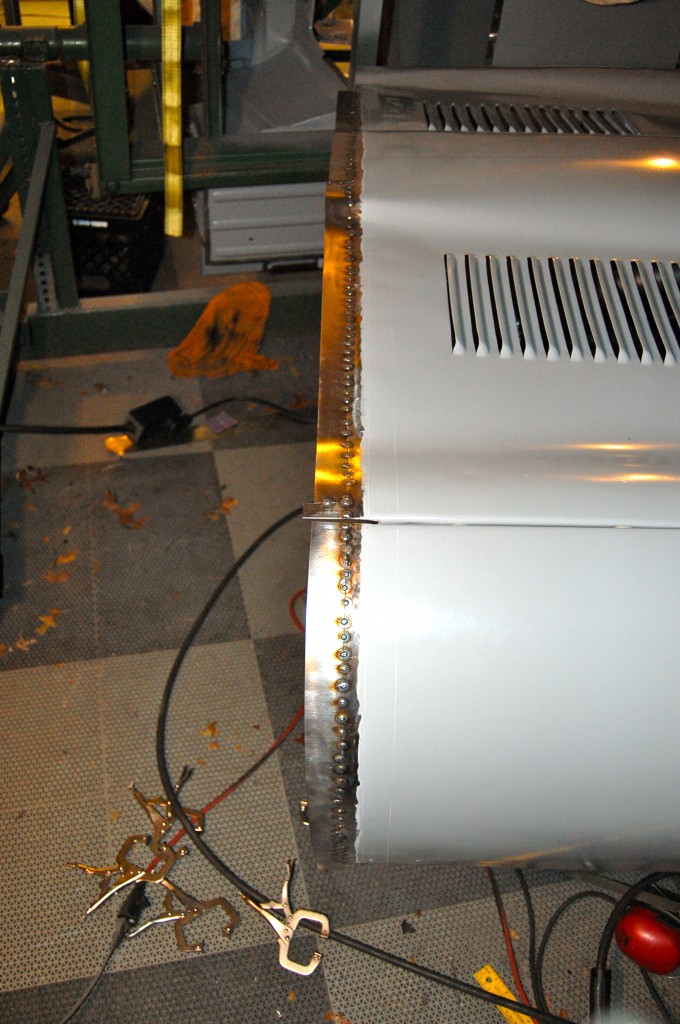
- Next, the pieces are trimmed and tacked into place with the MIG.
- Another shot showing the additional steel tacked into place. Note the line drawn down the center section’s power bulge. If your bonnet comes back from someone who “fit” the bonnet without a line like this drawn on it, it’s very doubtful that it is actually in the center of the car – or straight – or both… You MUST Check and re-check from every dimension you can imagine!
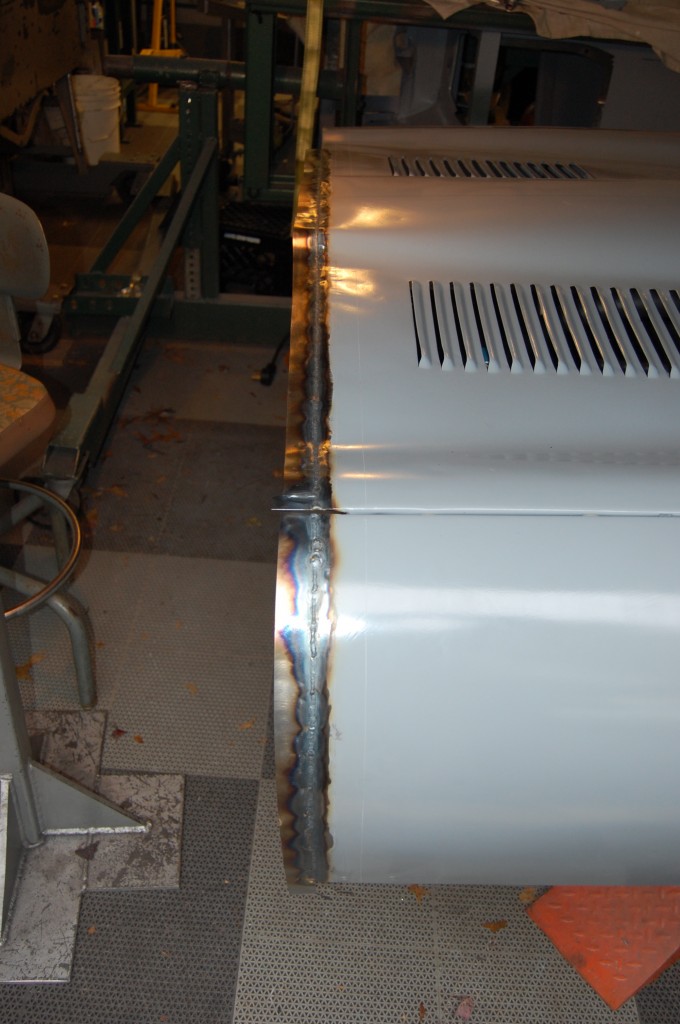
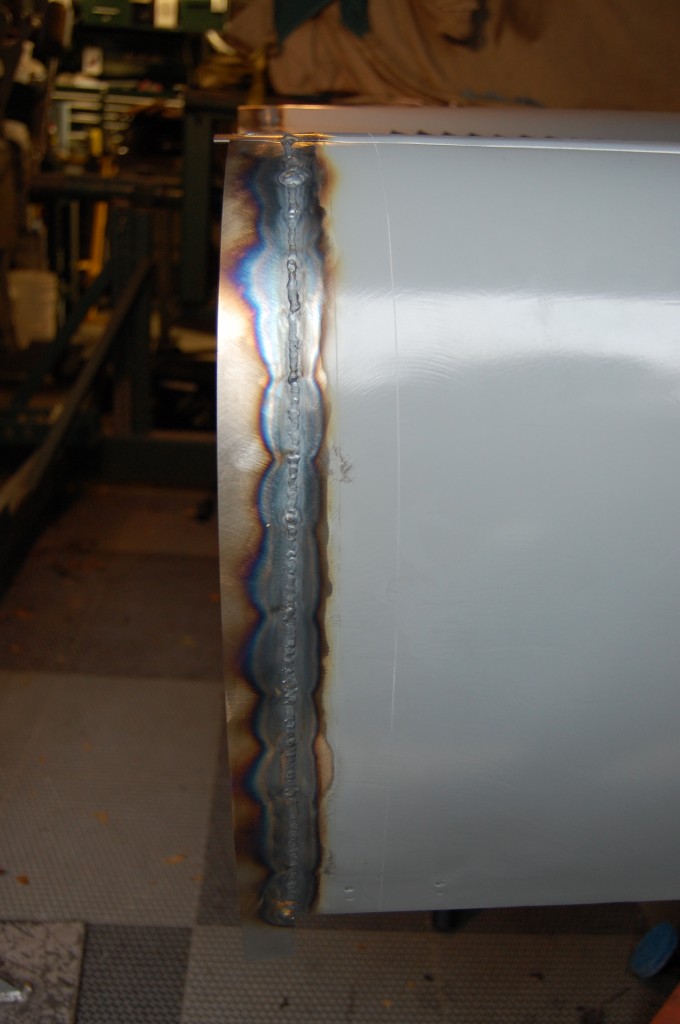
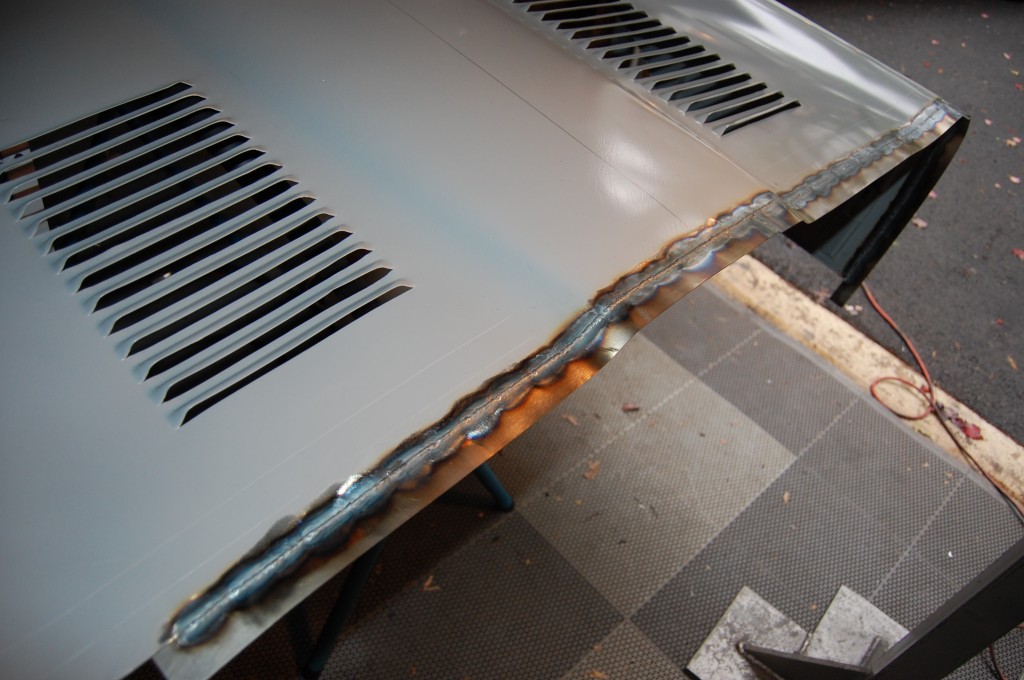
- The next step was a LONG TIG weld. Thankfully, while this was slow, it went off without a hitch.
- Another close-up of the extra metal TIG welded to the back of the RH wing.
- One more shot of the TIG weld – even this way, we got heat and warpage – a MIG would have twisted this beyond straigtening. Keep in mind that the rear main support is RIGHT THERE, and you can’t get a hamer and dolly in that area!
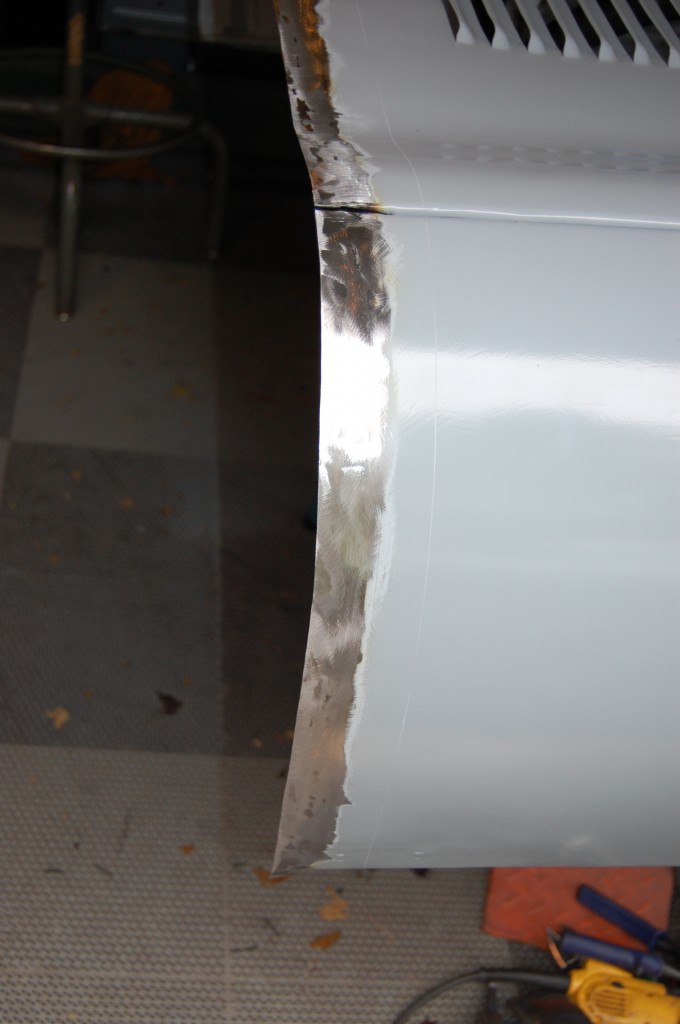
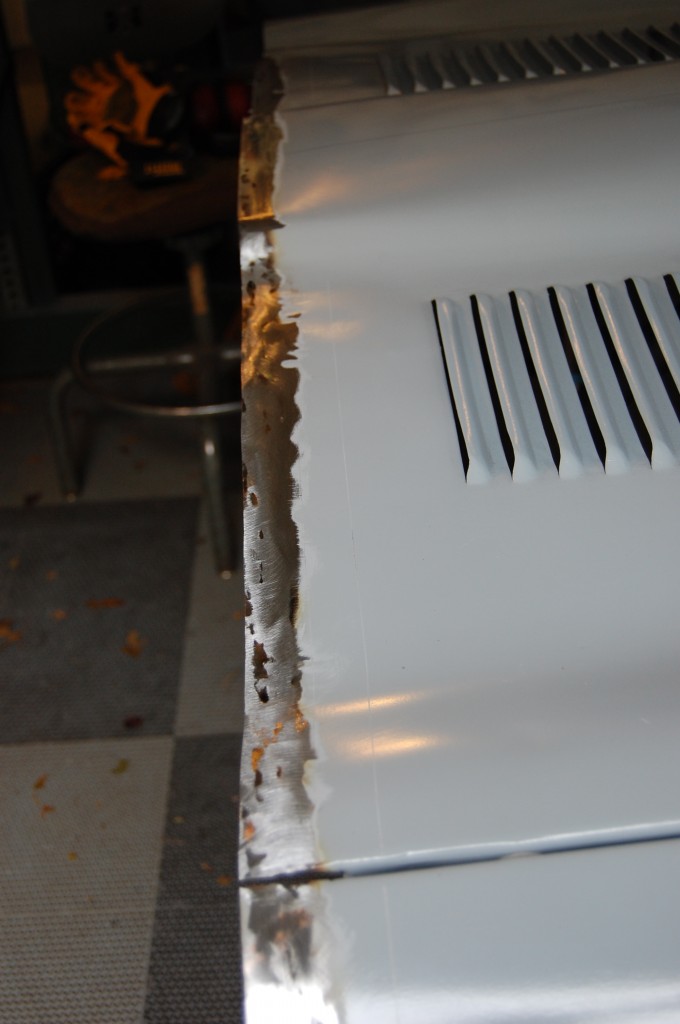
- This shot is now after over 2 hours of grinding, hammer and dolly work, and finish sadning – inside and out! We want this extra metal to be invisible – INSIDE AND OUT!
- Another shot – you can see a few low spots here, and I continued to slap and sand until the surface was nearly perfect.
- Another shot of the finished repair – this is alot trickier than it looks in these photos!
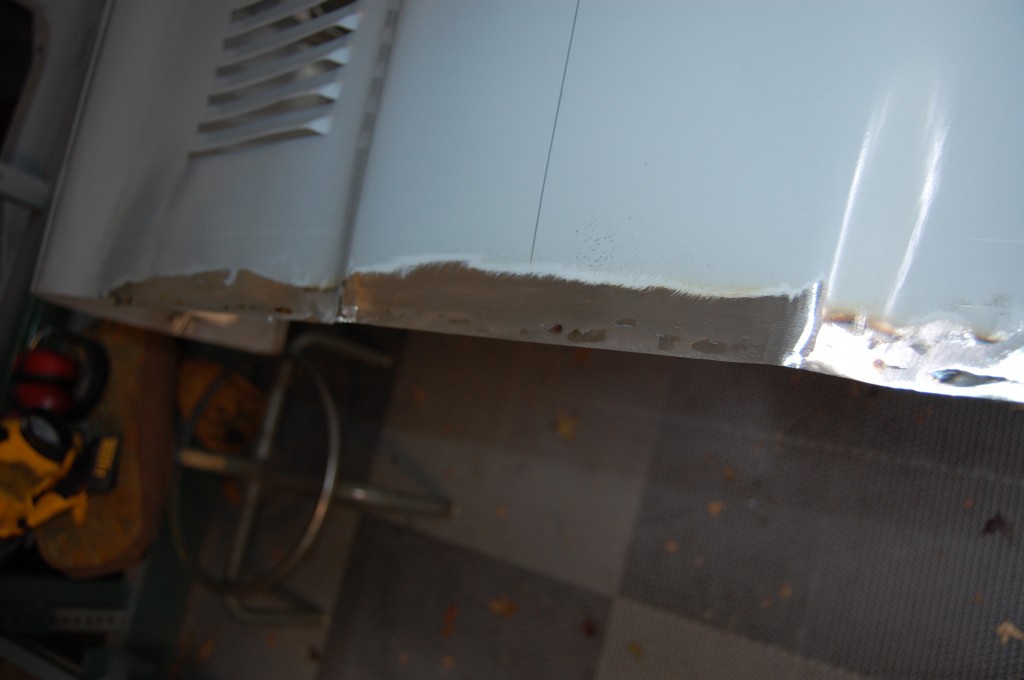
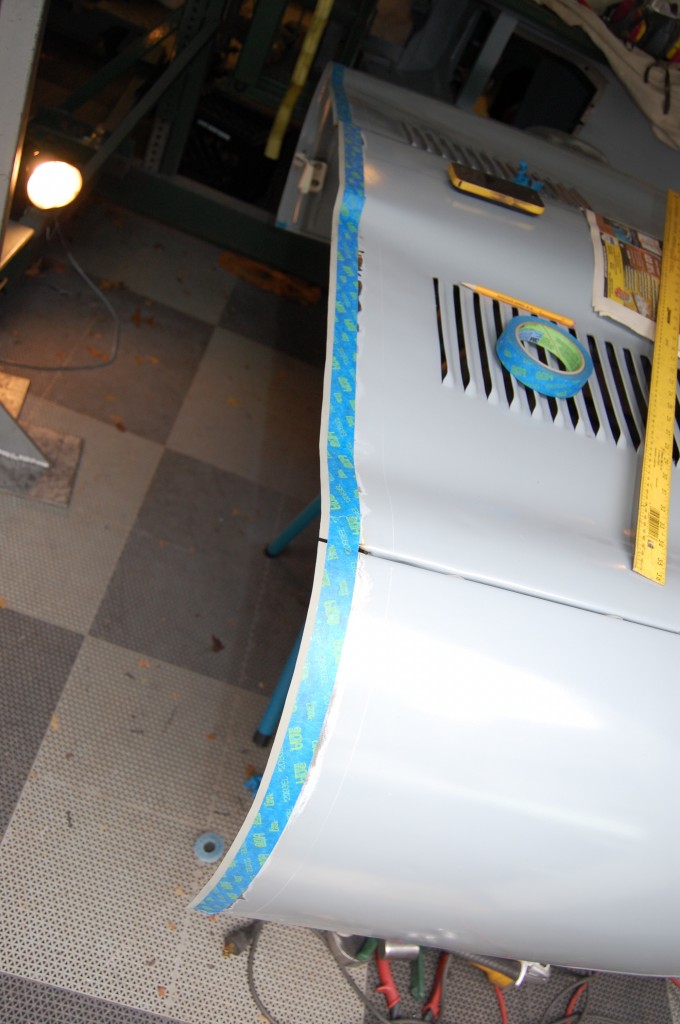
- Next, we mark a new line where we want to cut the rear edge. We were sure to add more than enough metal and then re-trim. rying to add just the right amount would have NEVER worked – add more and then trim where it should be…
- This shot shows the transition from where we DID have enough metal, the where we DIDN’T – just in front of the driver on the LH side.
- The bonnet was re-trimmed and sanded for a smooth edge, and then it was time to re-mount it. Notice that the forward sill closing panels and battary and air-cleaner brackets have been replaced. That work took about 4 hours…
- Here are the new MM panels installed in the RH side.
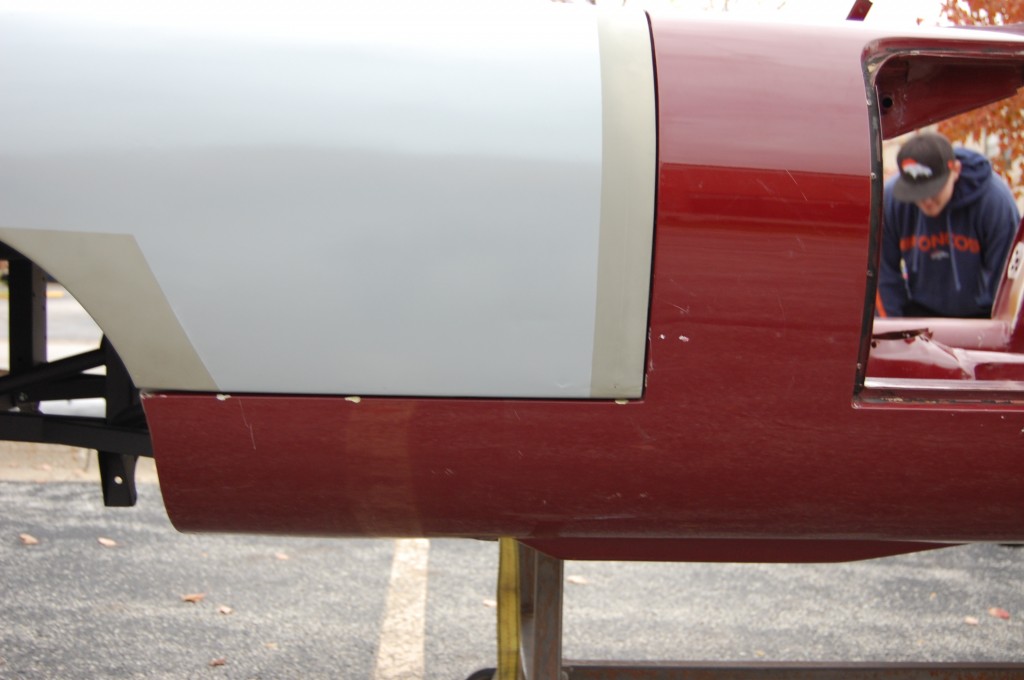
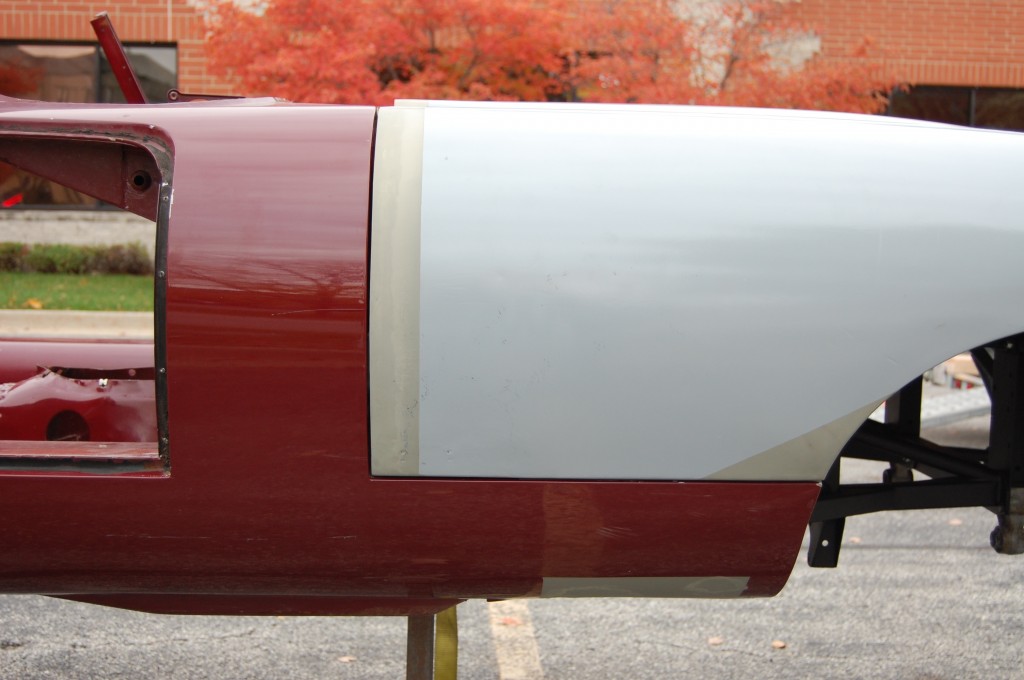
- Once the bonnet was re-attached to the car, it fit like a GLOVE!!! adding the needed steel to the rear edge and re-trimming it took 7 hours from start to finish. I know – the pictures make it look like 45 minutes!
- Here is a shot of the completed LH side – the rear edge and lower edge fit as they should with the proper gap, and nice and straight and even along their entire length. We have also welded an additional bead of weld to the edge of the wheel arch and re-ground that to match the end of the sill perfectly. We ALWAYS have to do this to make things just right – sometimes it’s just a tiny little bit, but in order to get this level of precision, you have to. You DO NOT want to do any of that with filler – it will pop right off of there in no time! Speaking of which, I have knocked a few chips off the beautiful paint during the sill repairs – sorry about that… But this will all be sanded back down and block sanded over anyway, so it’s not an issue – it’s just not as pretty in the photo…
- Here is the other side. Time was running out, and so the final adjustments to the bonnet were jjst sprayed with etch for the trip back to Colorado. The owner will be doing the bdoywork themselves, so they will simply wipe the etch back off with thinner, and spray these areas with epoxy as they move forward with the bodywork. Another bonnet fitted to a shell PERFECTLY! I’ve told people before – I don’t get “stuck” – I can fit any bonnet to any E-type – perfectly. Except for the new reproduction bonnets – they are horrible crap that don’t fit an original E-Type shell at all – and are BANNED from our shop as a result. There is NO SUBSTITUTE for a properly restored bonnet built from original panels!

