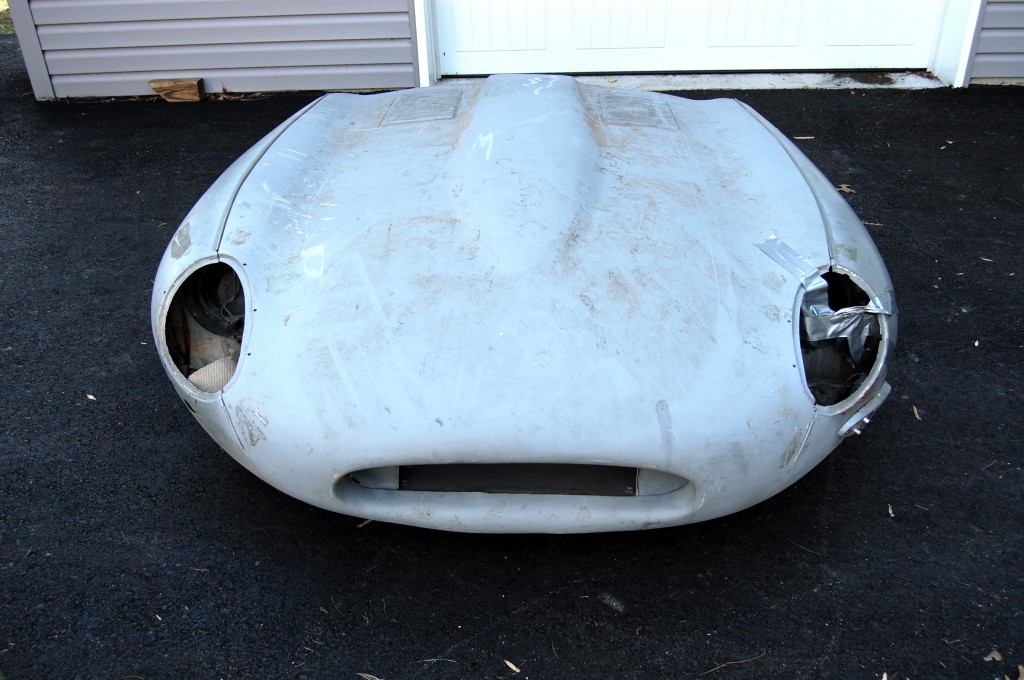
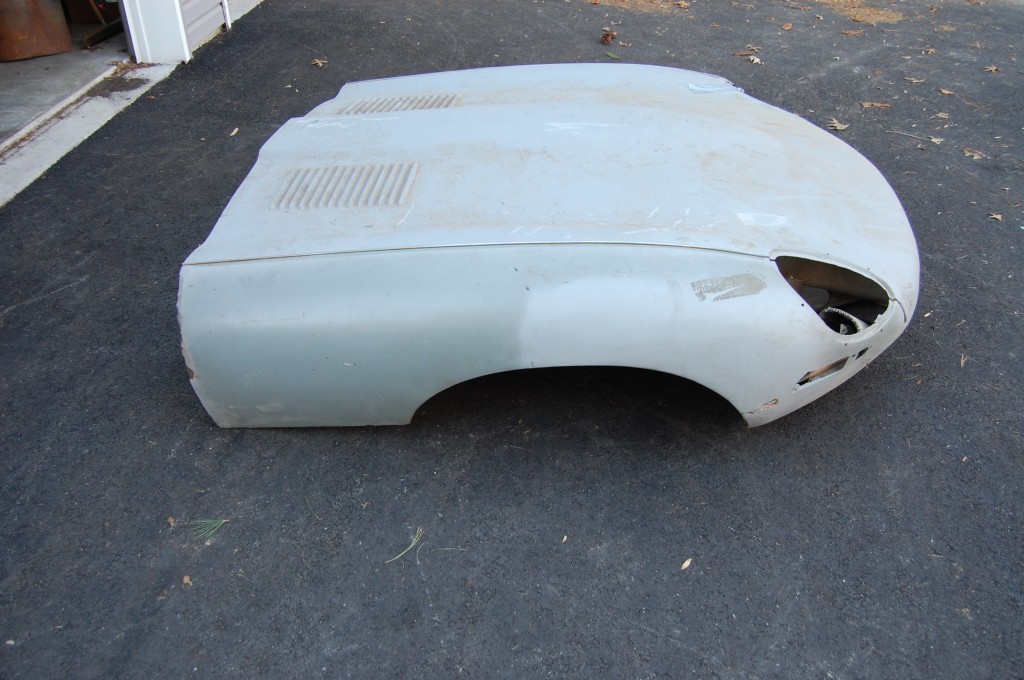
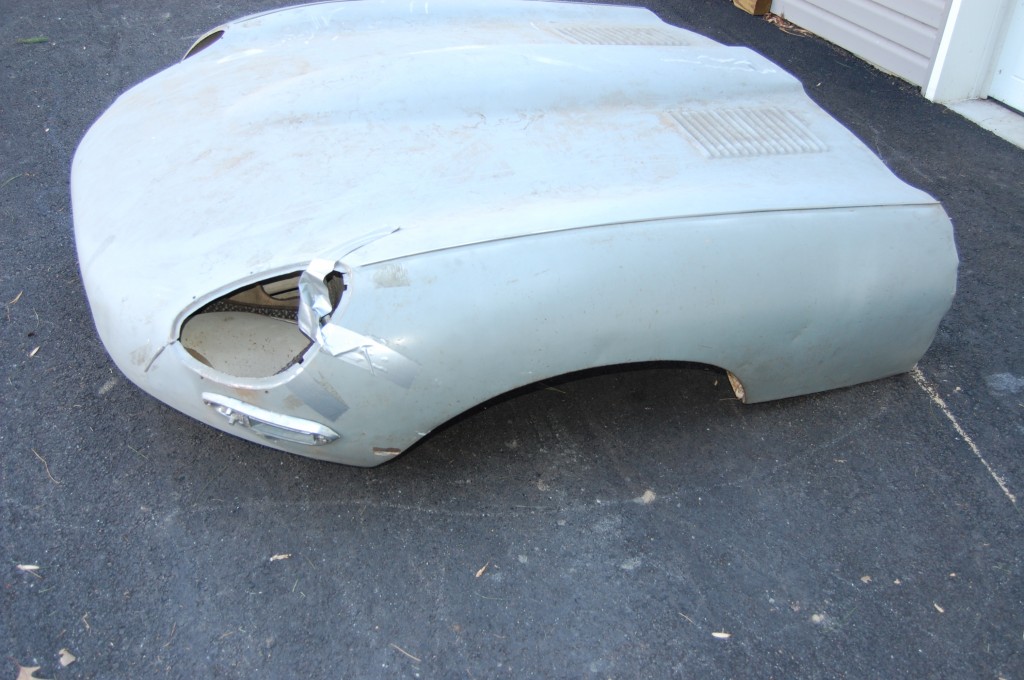
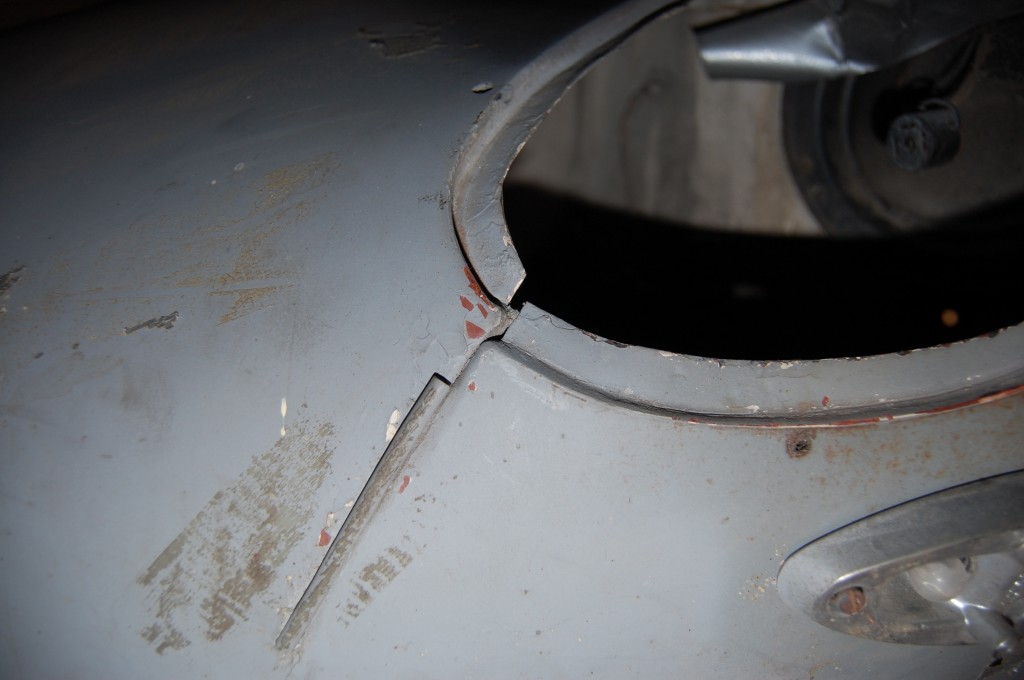
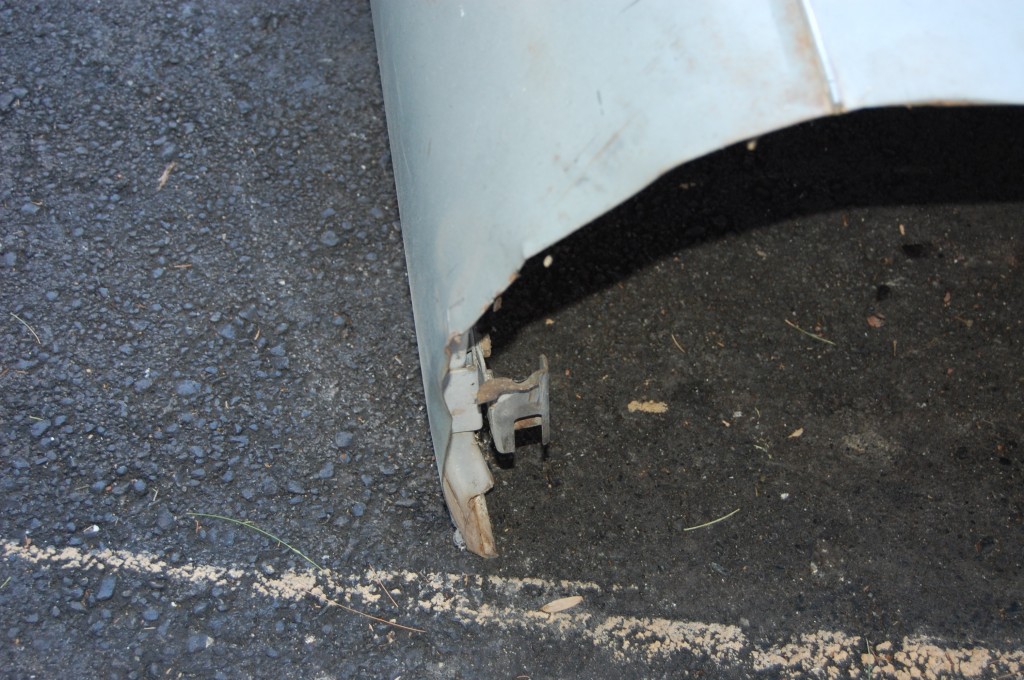
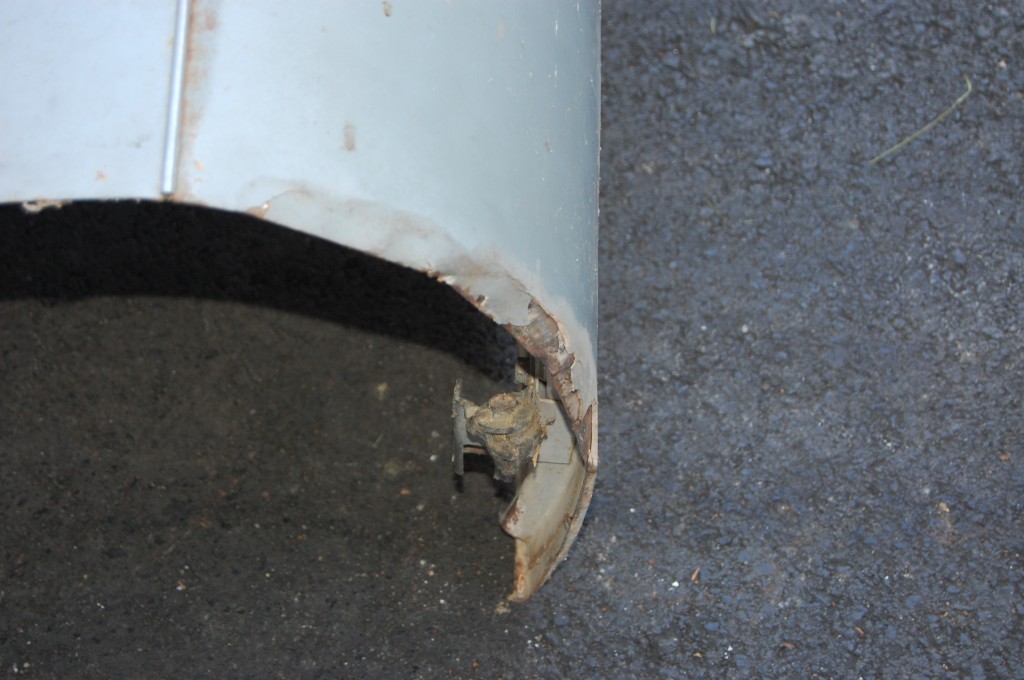
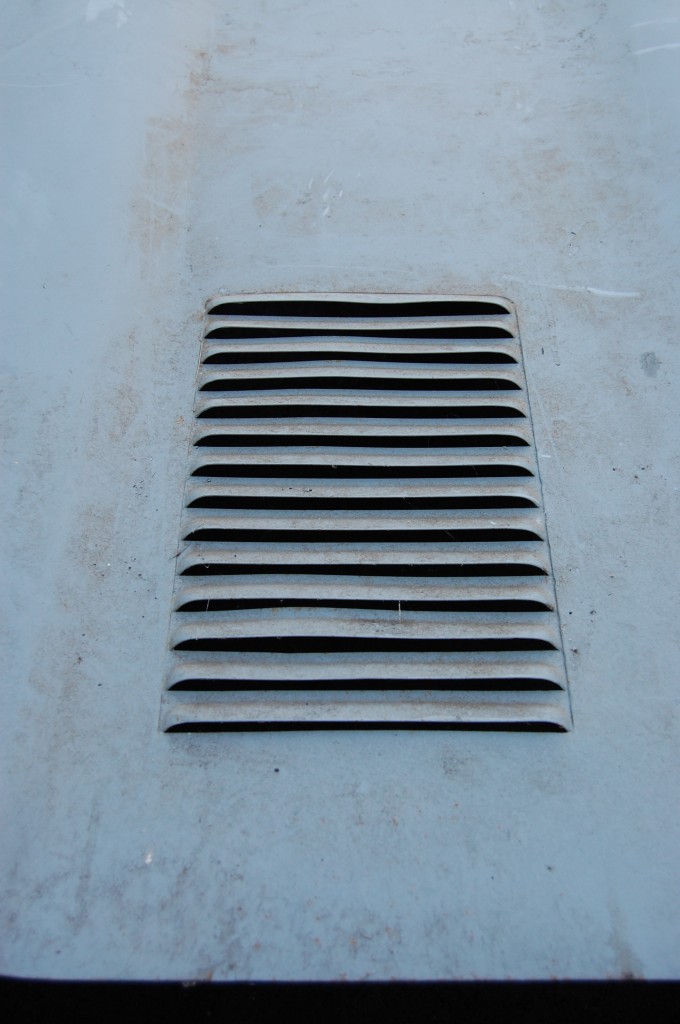
Early E-Type buffs will love these detailed photos of the original bonnet from the 43rd LHD Fixed-head Coupe!
Another stroke of luck on this project was the fact that in addition to the original matching-number engine and gearbox, the car also still carried it’s original welded-louver and welded-flange bonnet.
BUT… As opposed to the overall GOOD condition of the body shell of this early E-Type, the original bonnet is in extremely BAD condition…
We have really got our work cut out for us in getting this one back into shape. And we can’t just go swapping out parts or replacing the whole thing – this car is too special for that. This original bonnet MUST be brought back – and brought back right! To be honest, this mess TOTALLY freaked me out when it came back from the blaster, and it has been sitting aside waiting for me to work up the nerve for – well, I guess I don’t really even want to admit how long!
BUT… There have been several REALLY bad bonnets restored here in the meantime, and like most scary things around here, after sitting on it for a while, it doesn’t look as scary now and I’ll be taking the plunge soon!
In the meantime, take a look… Come to think of it, it actually IS October now – the perfect month to reveal this horror!
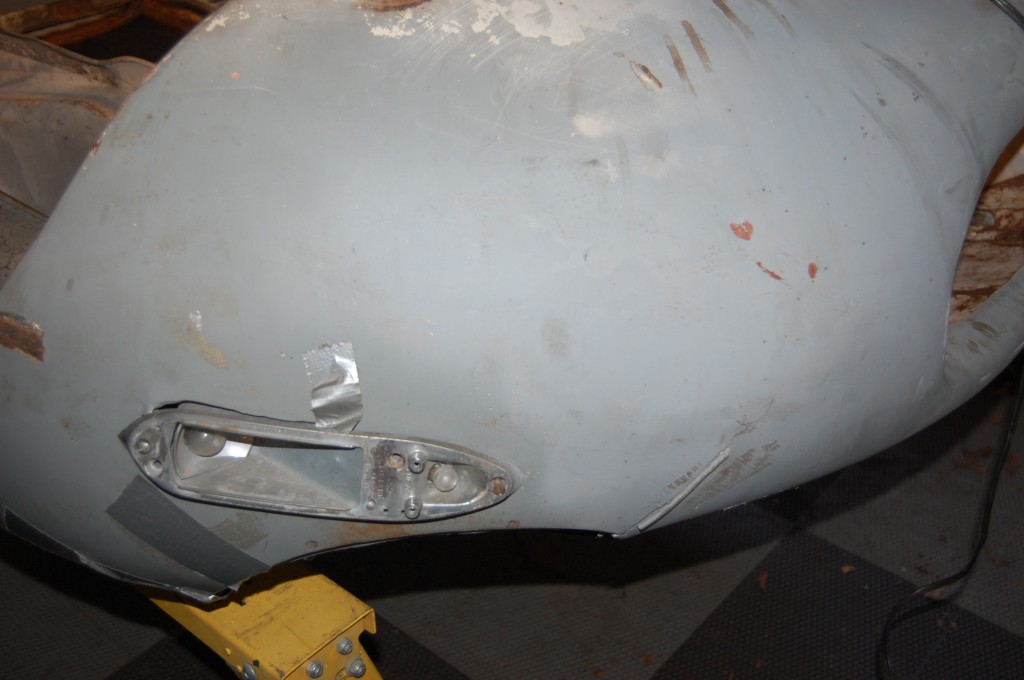
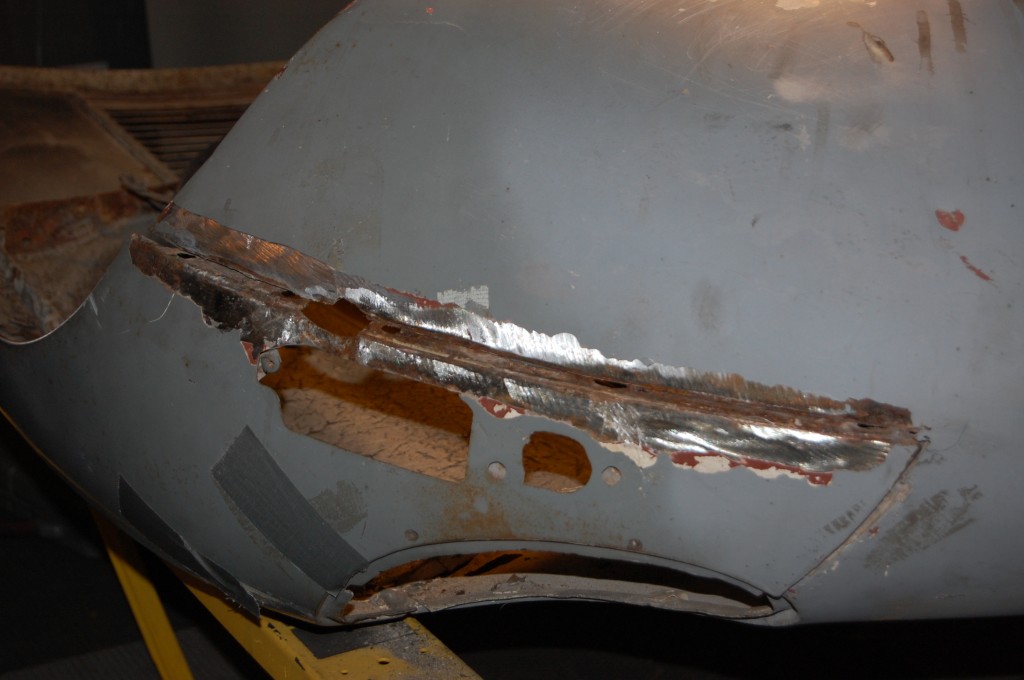
- Here she is! You can tell right away that we have some SERIOUS issues here… The mouth is, well, a bit OFF?…
- It will be interesting to see what lurks beneath…
- The fact that the underpanel seams are filled in is NOT a good sign.
- Note that the covered headlamp flanges are a bit deeper and noticeably crisper – there is no doubt that this is an original early bonnet.
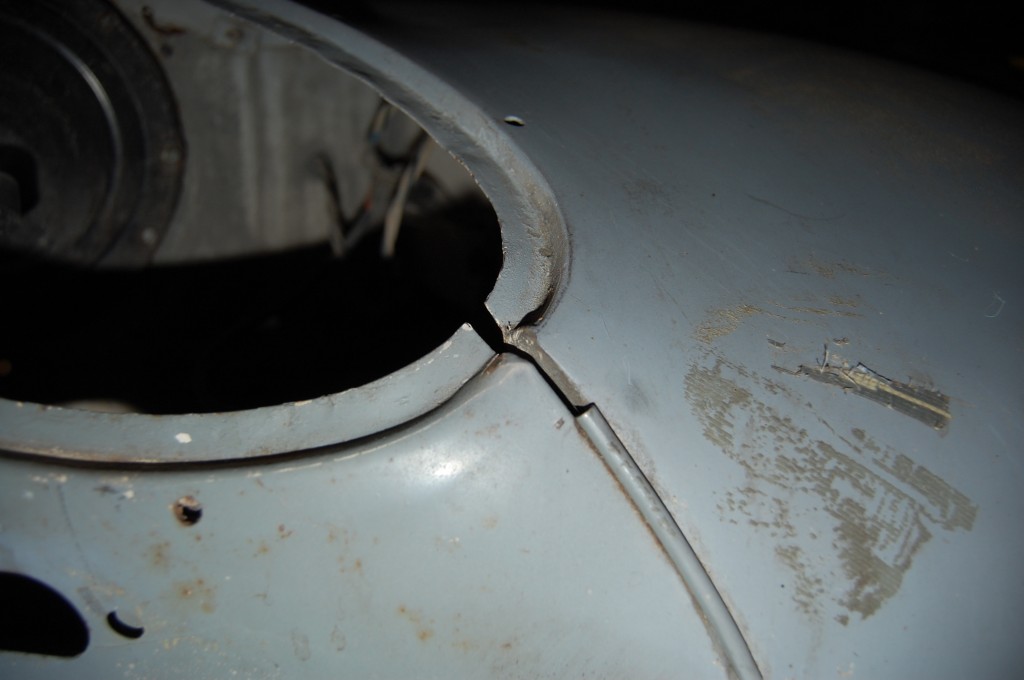
- Here is a shot of the headlamp opening on the LH side. Strange that these panels do not line up well – more on that further down in the photos…
- Some typical, but excessive buckling of the rear wing edges due to poor storage and moving of the bonnet while off the car. This will easily be smoothed out with the correct dolly and a slapper.
- The same, but even a little worse, on the RH side.
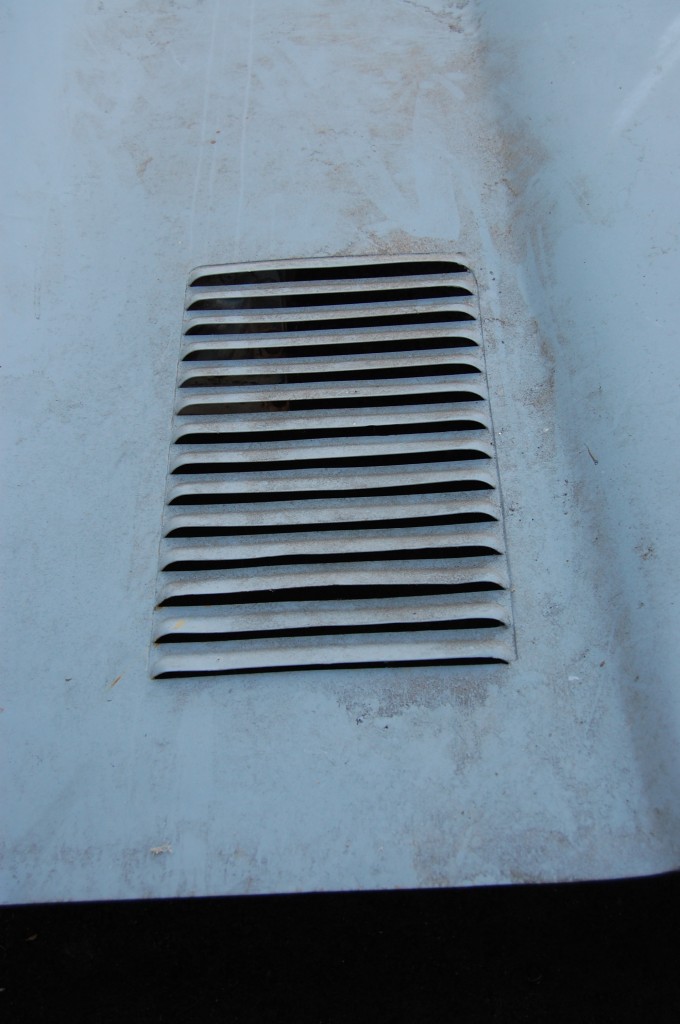
- The RH louver panel – these are original examples of the early, welded-in style. A few of them are tweaked – also not a problem.
- Here is a shot of the LH side.
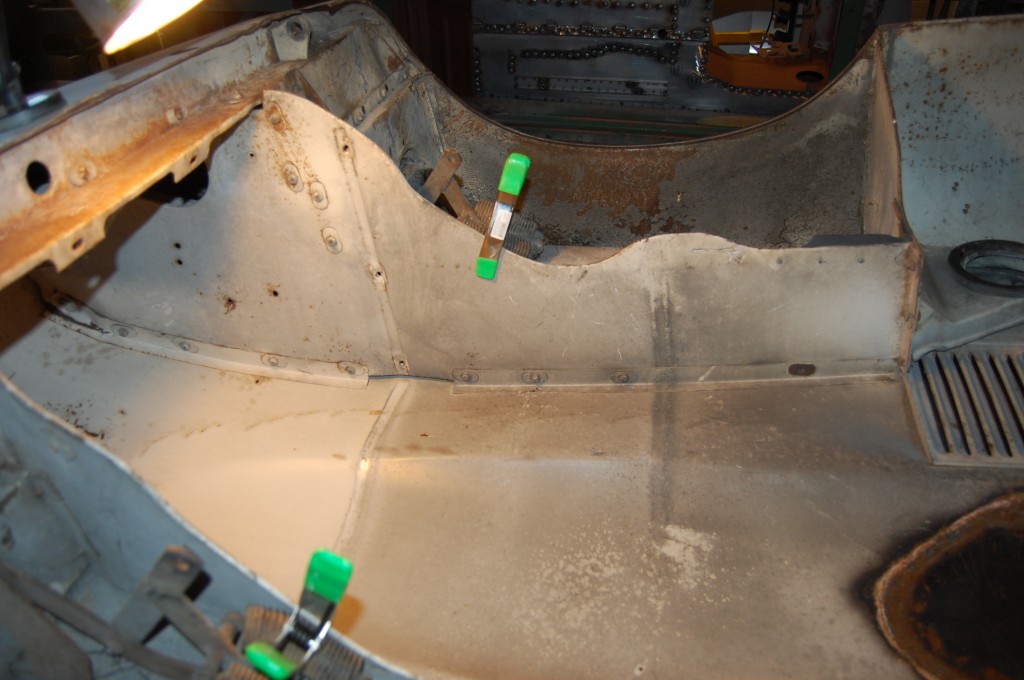
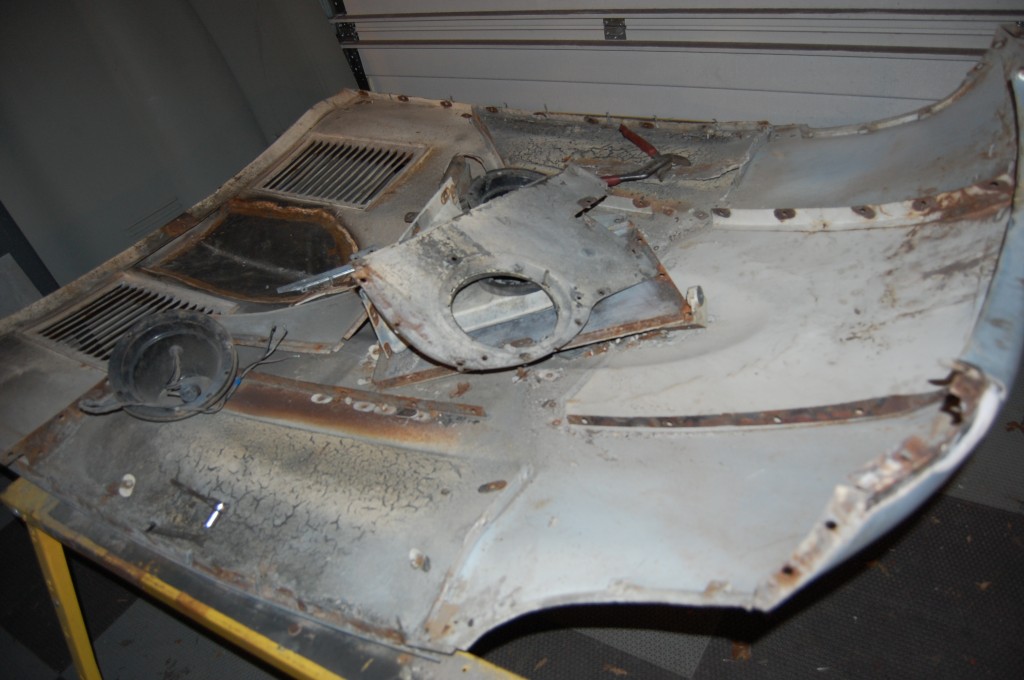
- This is the underside of the bonnet – still in its original Old English White lacquer, but showing some VERY bas treatment in the past. Apparently, someone has beaten the flat area around the entire bulge down with a strangely shaped tool – for no apparent good reason! Do you see that? It shows as rusty marks all the way around about 2-3 inches outside of the power bulge.
- Here is another shot. We can also begin to see evidence of a crash in the RH side of the nose – left in this photo where the bonnet is upside-down.
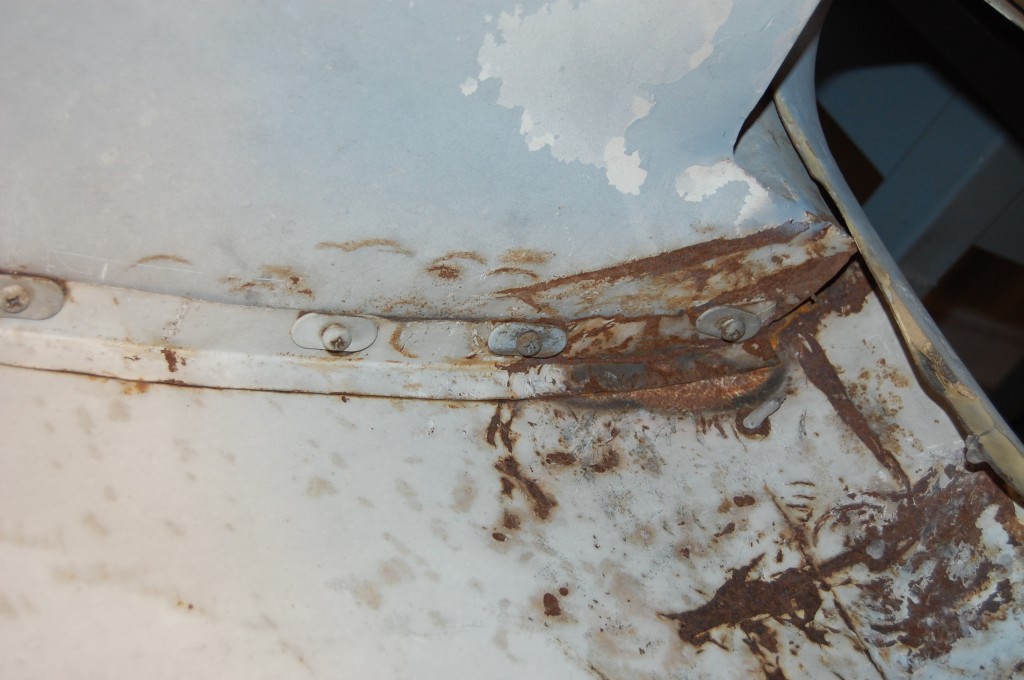
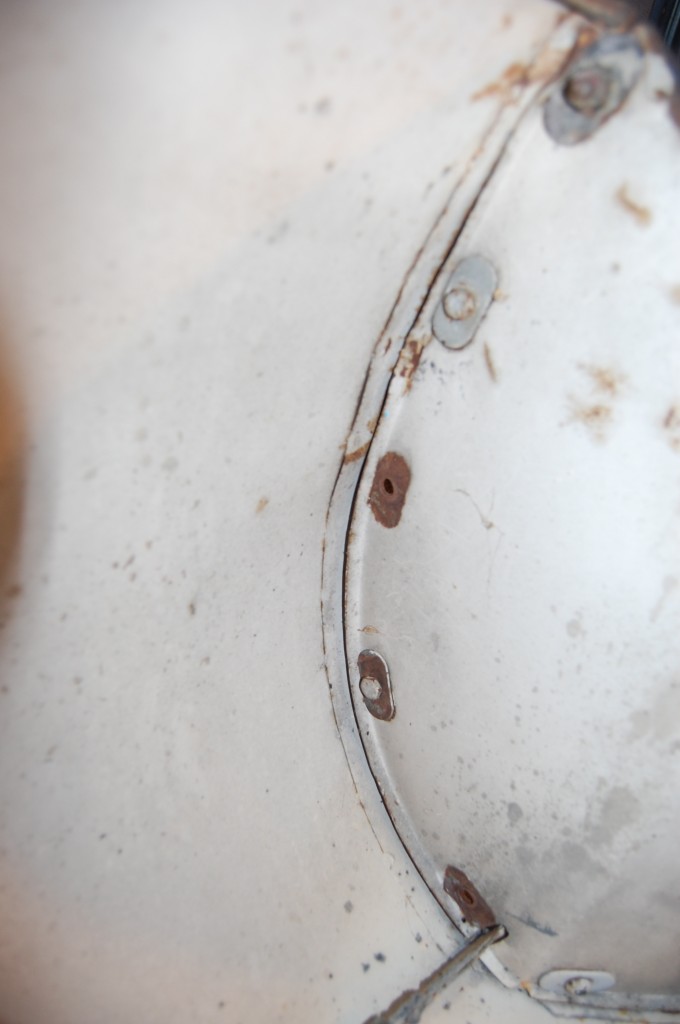
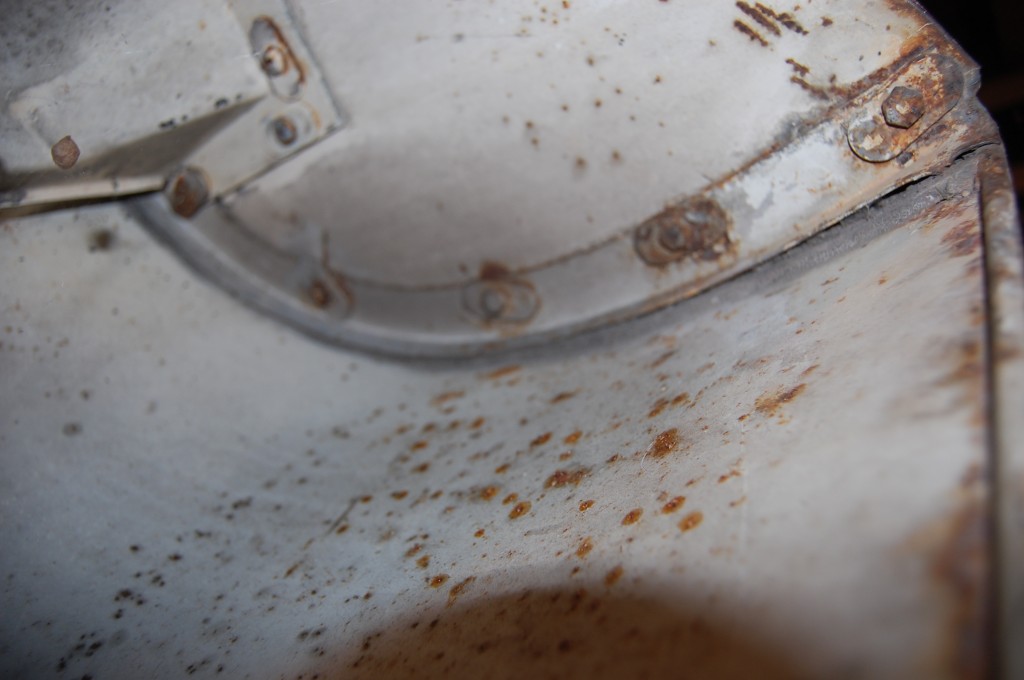
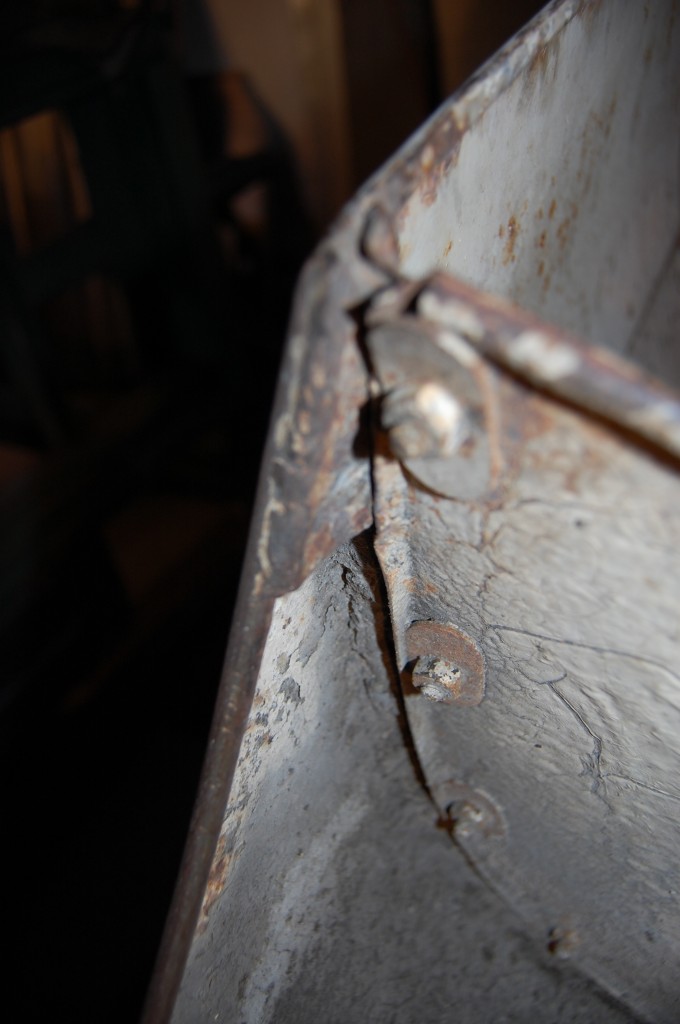
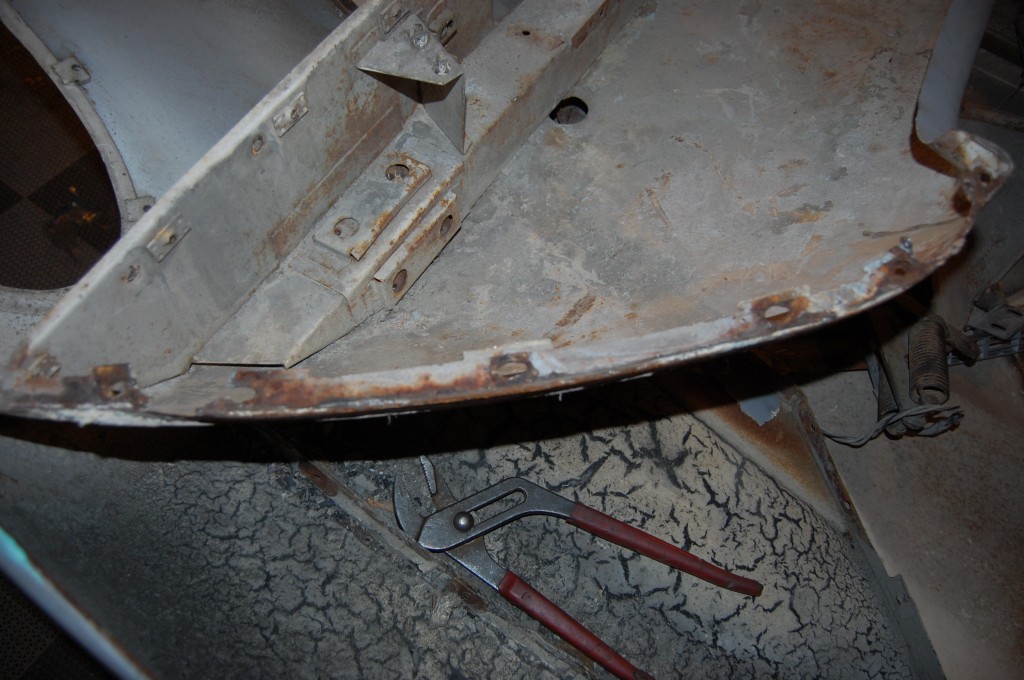
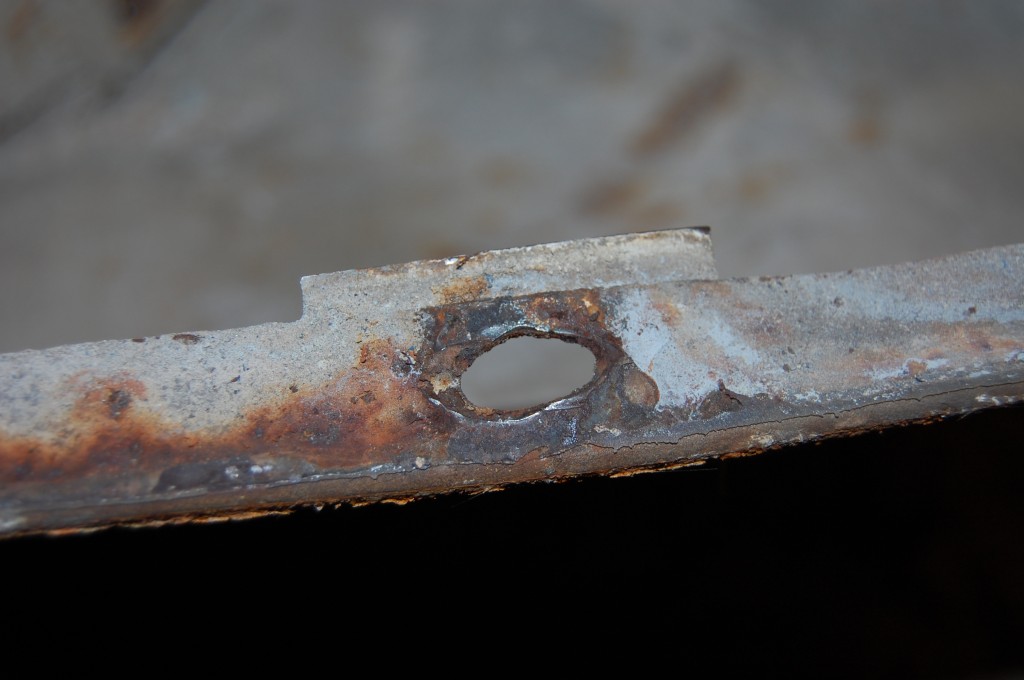
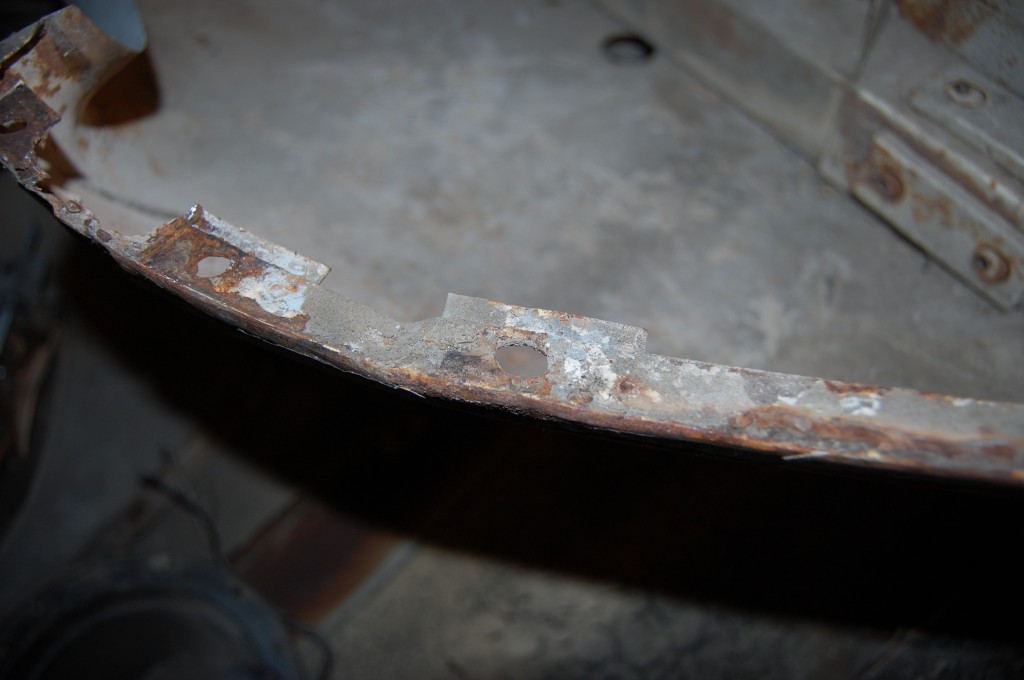
- This is the rear corner of the RH inner valance. This shot clearly shows the welded flanges of these early bonnets as opposed to the later bonded flanges of most E-Type bonnets. Most people do not realize that the welded-louver bonnets also have these spot-welded flanges. Many “properly restored” early E-Types have replacement bonnets with the louvers simply cut out and the old louver panels welded in, but retaining the bonded flanges – amateur hour… The next level up, but still just as incorrect, is that they will peel the bonded flanges off the skin, and then spot-weld them back on – also incorrect, since the original early flanges are wider, and have other nuances like this small tab spot-welded between these two flanges. When we restore an early bonnet like this – EVERYTHING is 100% correct. ALSO – note that the folded over vertical edge at the rear of the valance is folded OUTWARD, not inward like all other E-Types – this is also an early feature.
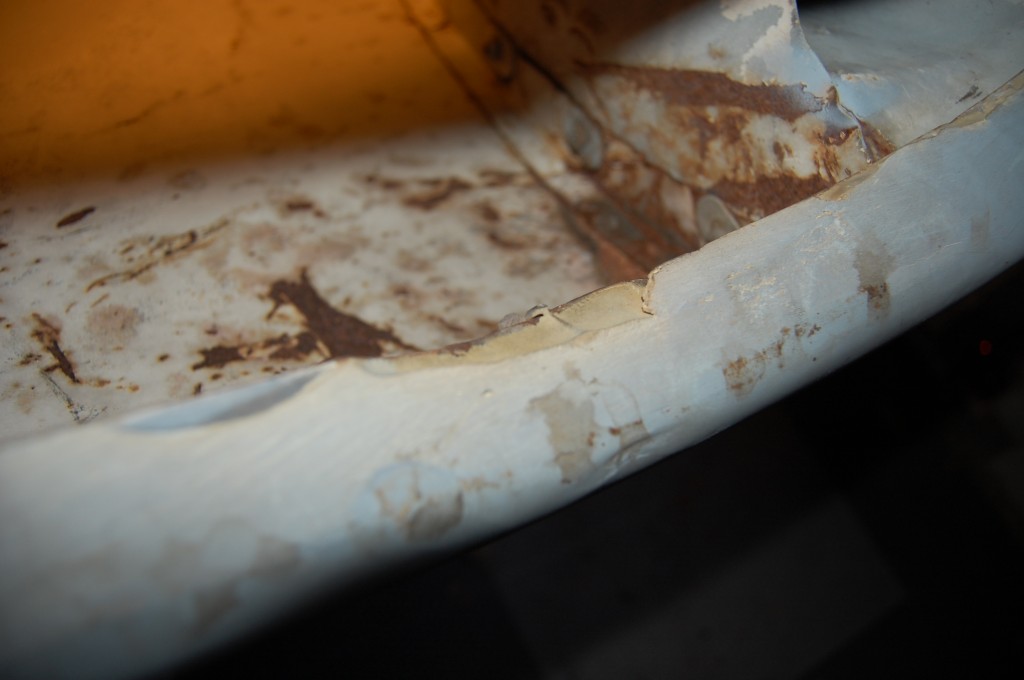
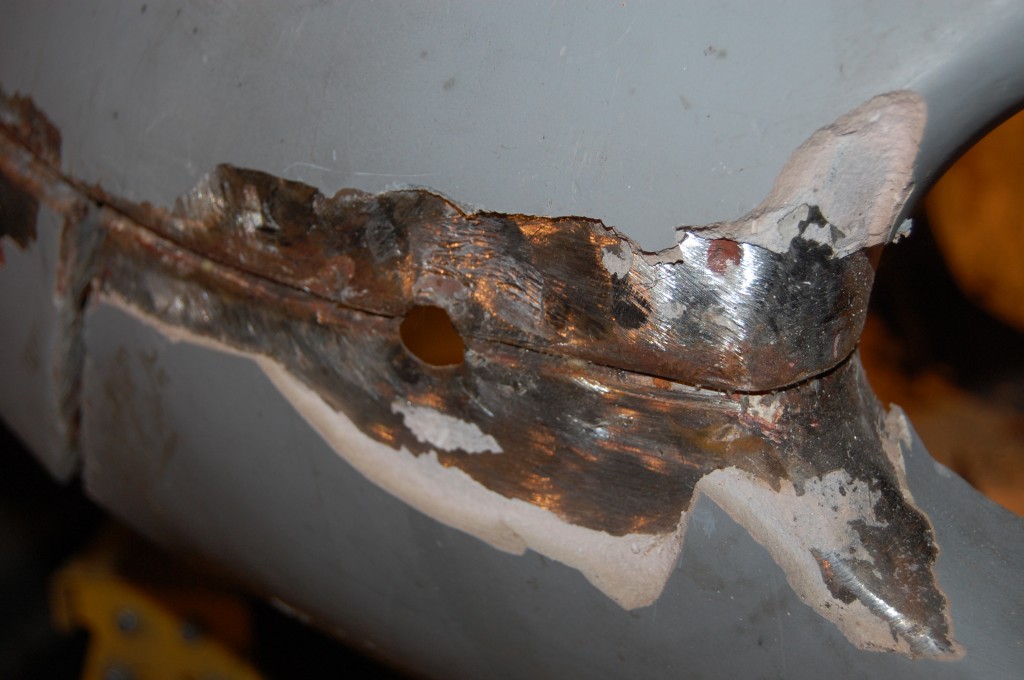
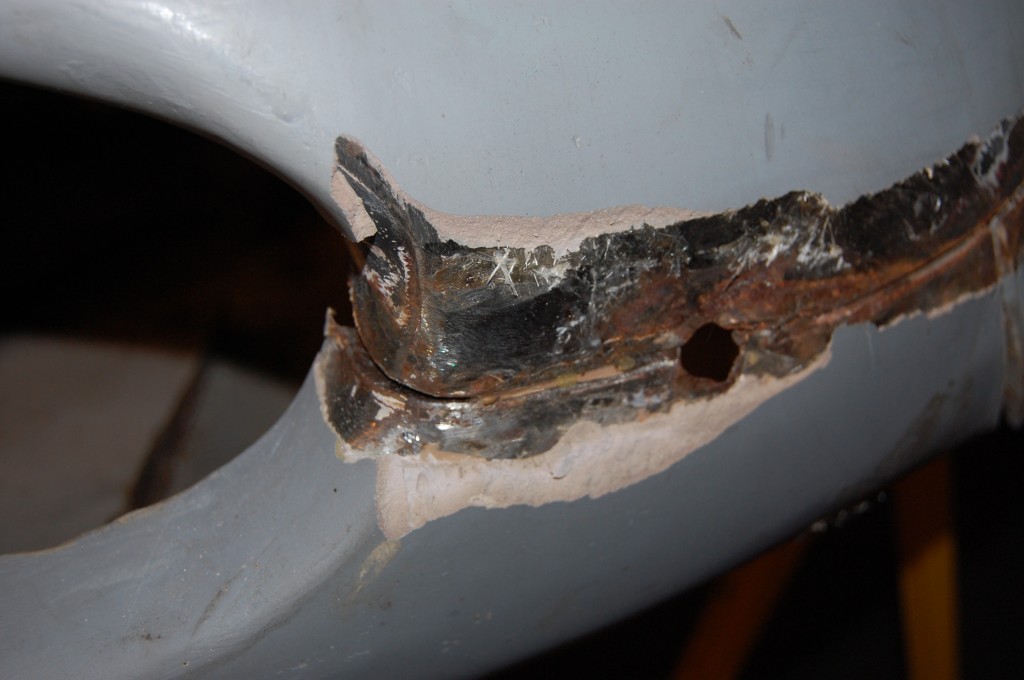
- This is a close-up shot of the accident damage that has been somewhat smoothed out in the upper RH corner of the mouth. Also note that the filler in the mouth showing on the edge is starting to look awefully thick!
- Here is a shot of that same area, taken through the mouth hole itself – where you can also begin to see the layer of filler in the nose.
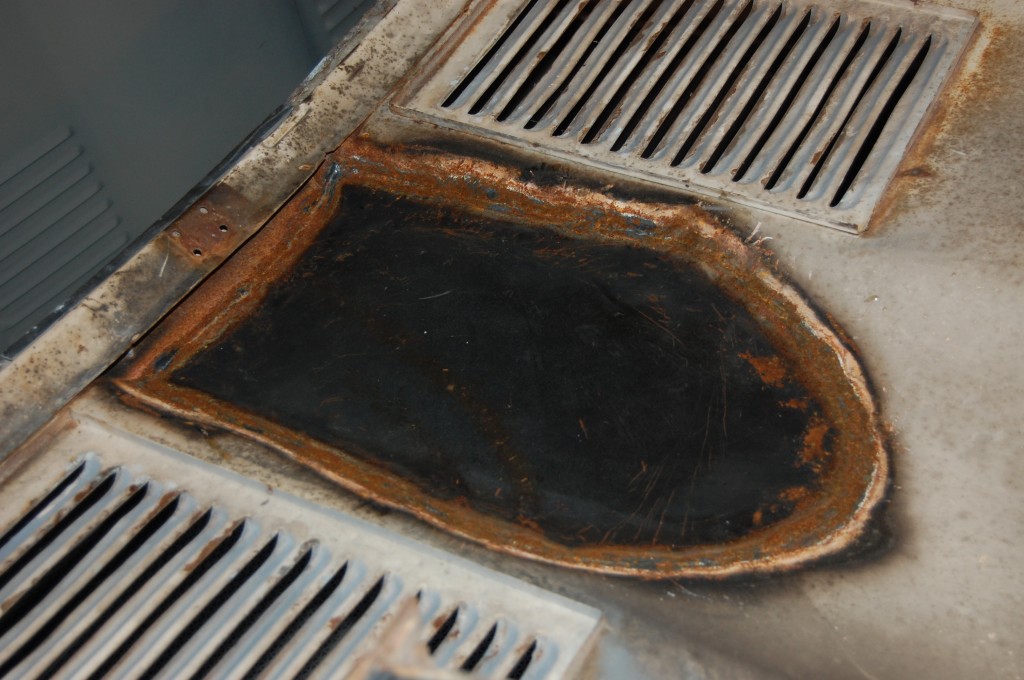
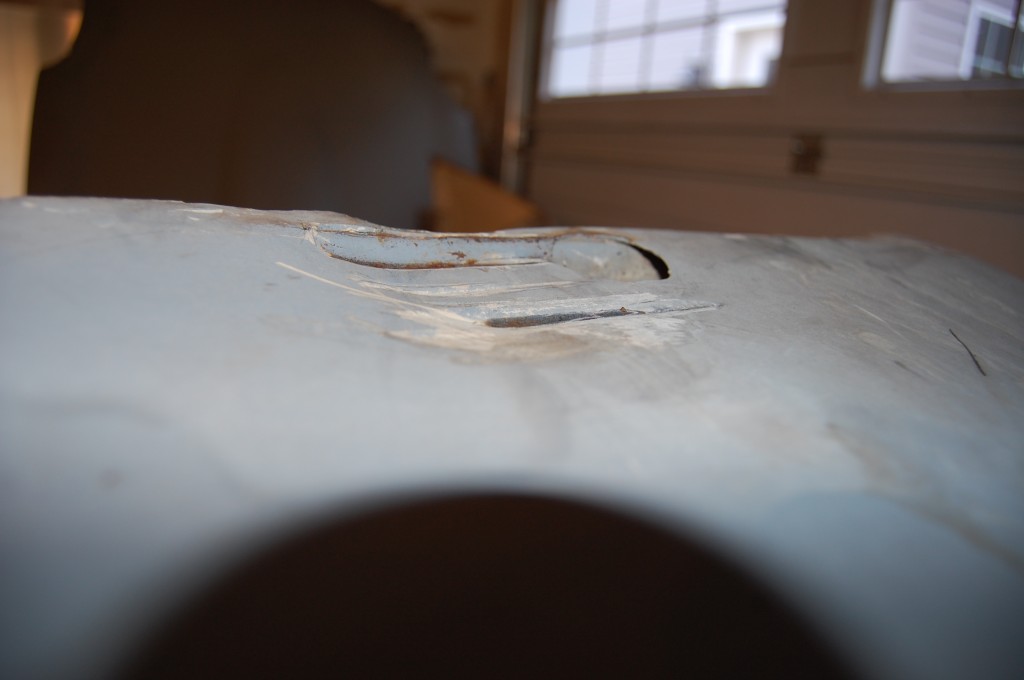
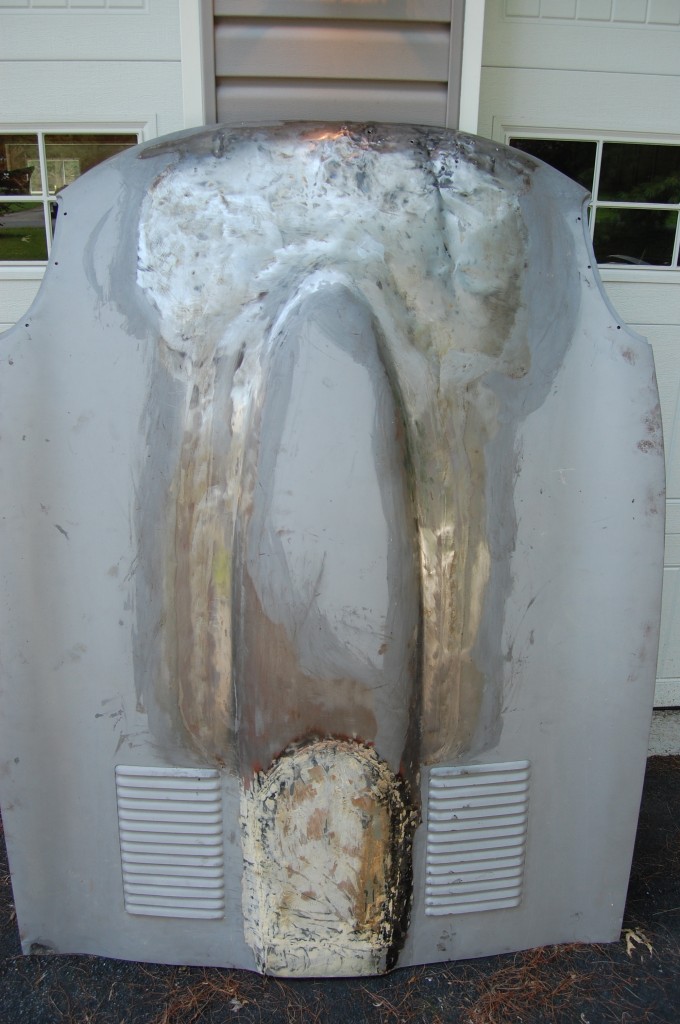
- This is another shot of the underside, and again, we can see the “whacking” all around the power bulge. There must be alot of filler in this center section, because it’s smooth on the top side! But the real nightmare of this bonnet is lurking in the RH side of the photo – the “black spot”…
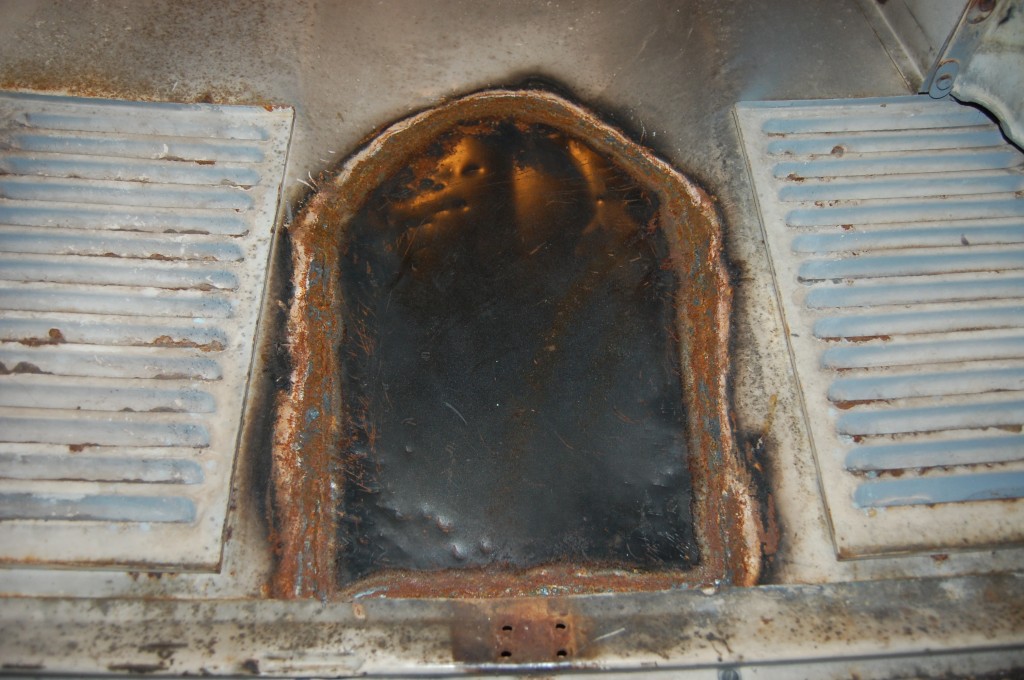
- AAAAAAAAAAAAAAAAAAAAAAAAAAAAAGGGGGGGGGGHHHHHHHHHHH!!!!!!!!
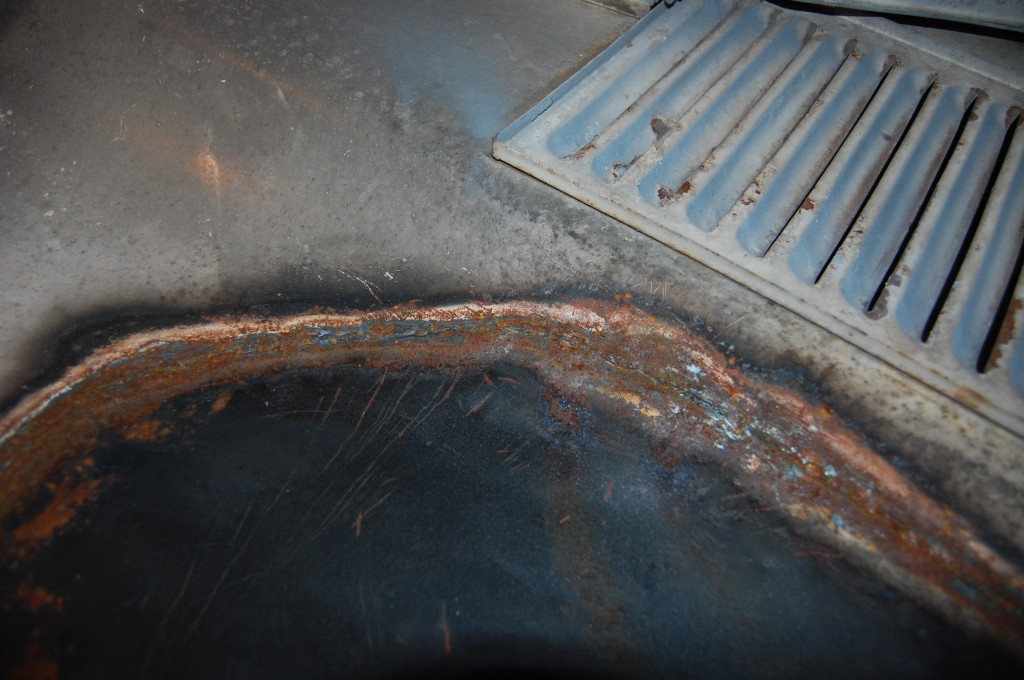
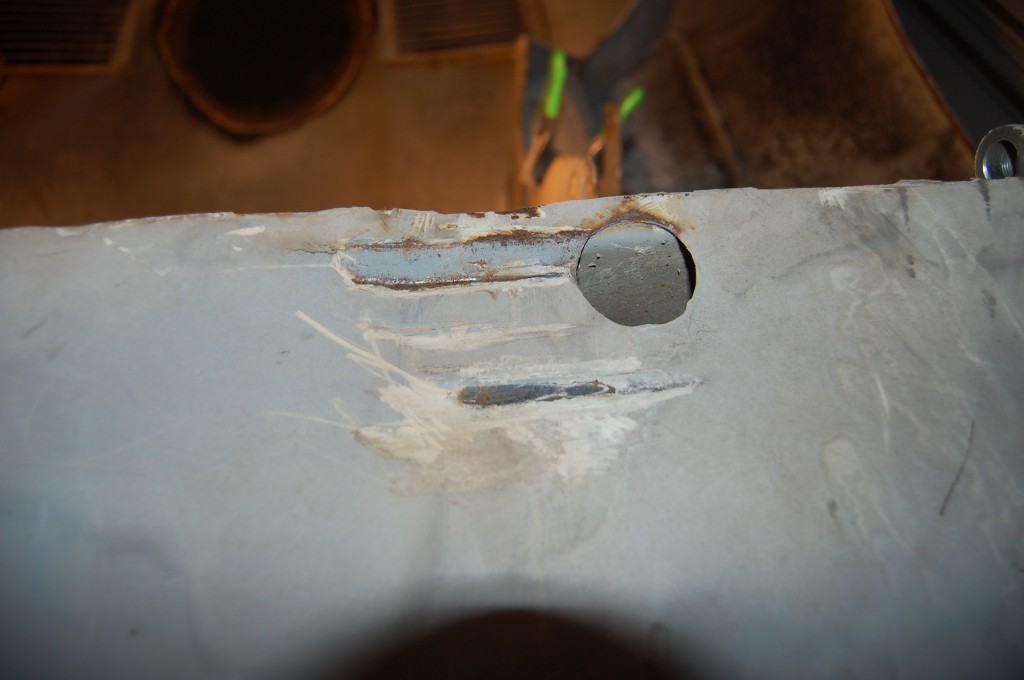
- AAAAAAAGGGGGGHHHHHH!!! – Yeah – another one – it’s THAT bad! This is the original bonnet of the 43RD E-Type! I think that you MIGHT actually have to spend eternity in hell for this… First, someone obviously cut a hole in the bonnet as part of some type of scoop for the Ford V-8. Next, someone did TRY to weld up the bonnet to recover it, but this is just not goimg to work, people! I do have a littel something in mind to repair this seamlessly – BUT – are the later bonnets the same shape in this area? Do I have ANYTHING to use as a guide? I might have to make some phone calls…
- See what I mean? I KNOW I can do better than this – but can I make it as perfect as it needs to be? You have to remember, on most E-Types, people never give the underside of the bonnet more than a passing glance, but on this one, EVERYONE will be looking at the welded louvers, so we have to make this FLAWLESS!
- Let’s move on… Here is a shot of the original inside-lock catches – nothing weird here – these are just like all other E-Types. Note that this rear wing support is also spot-welded directly to the skin along its entire length – unlike later wings that are only spot-welded on the ends, and bonded in the middle.
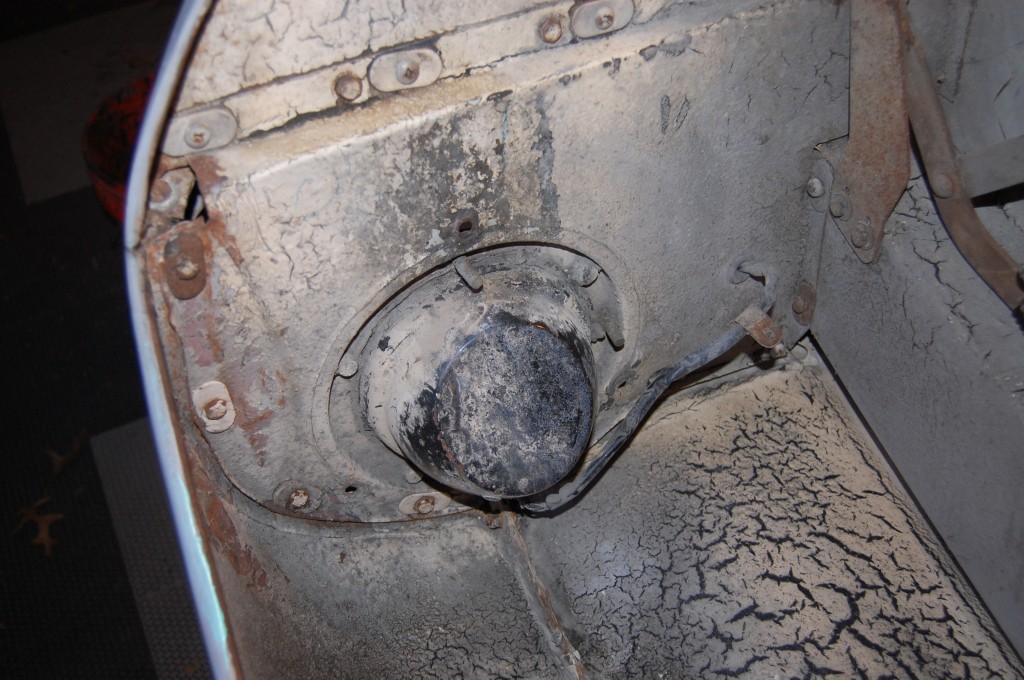
- Headlamp Diaphragms are the same as later E-Types. Plus, another shot of the welded flanges in the forward section of the wings.
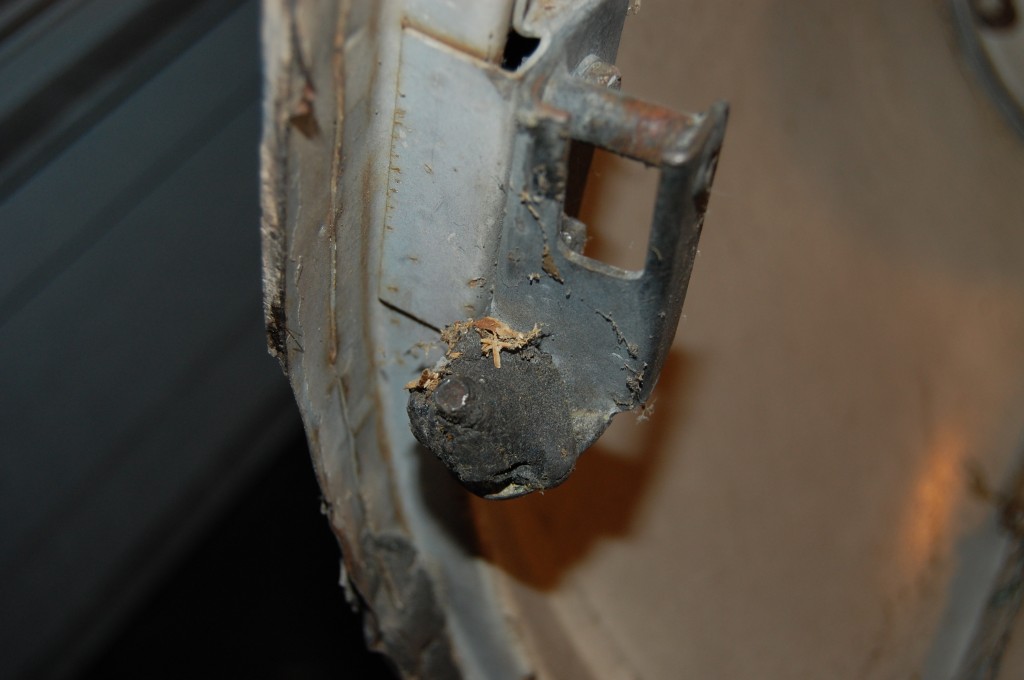
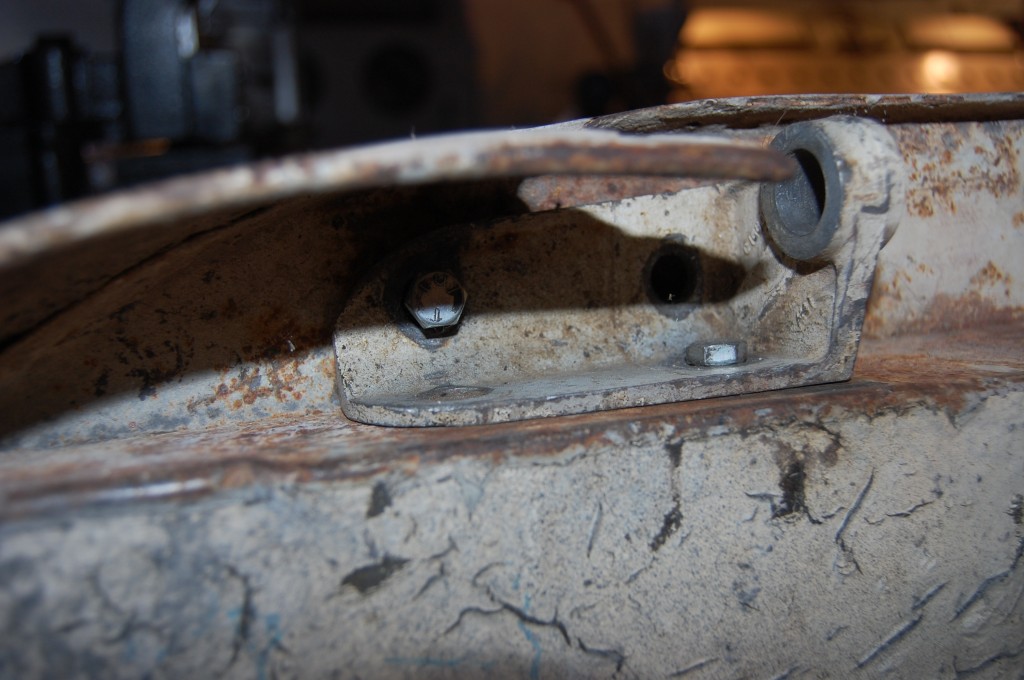
- This is an original early bonnet hinge – with tapered outer ends and a thinner web piece that connects the actual pivot point.
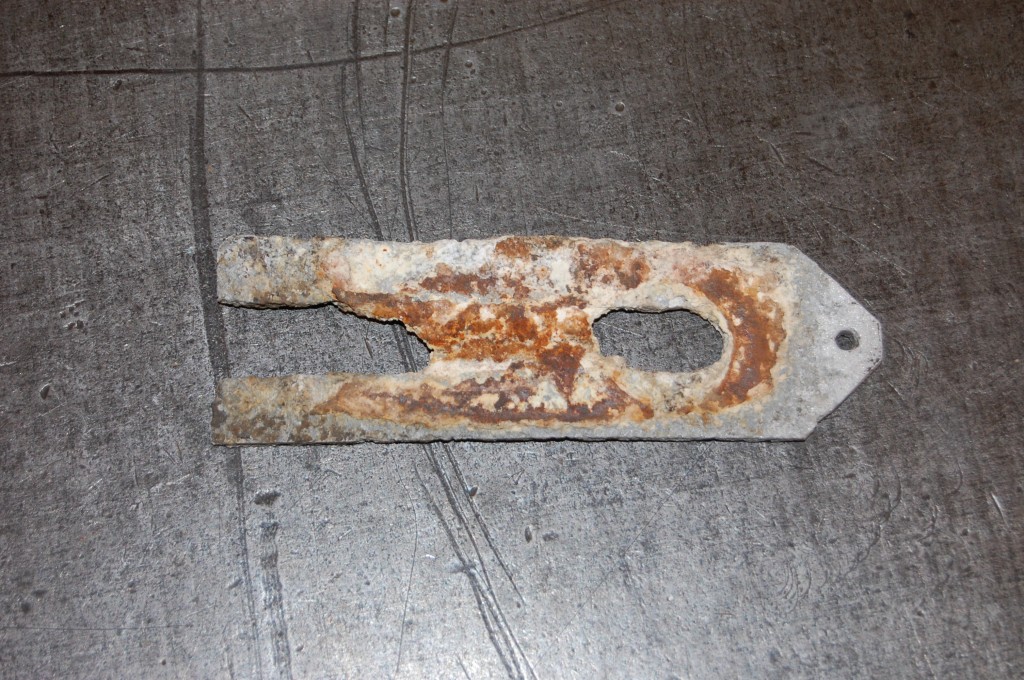
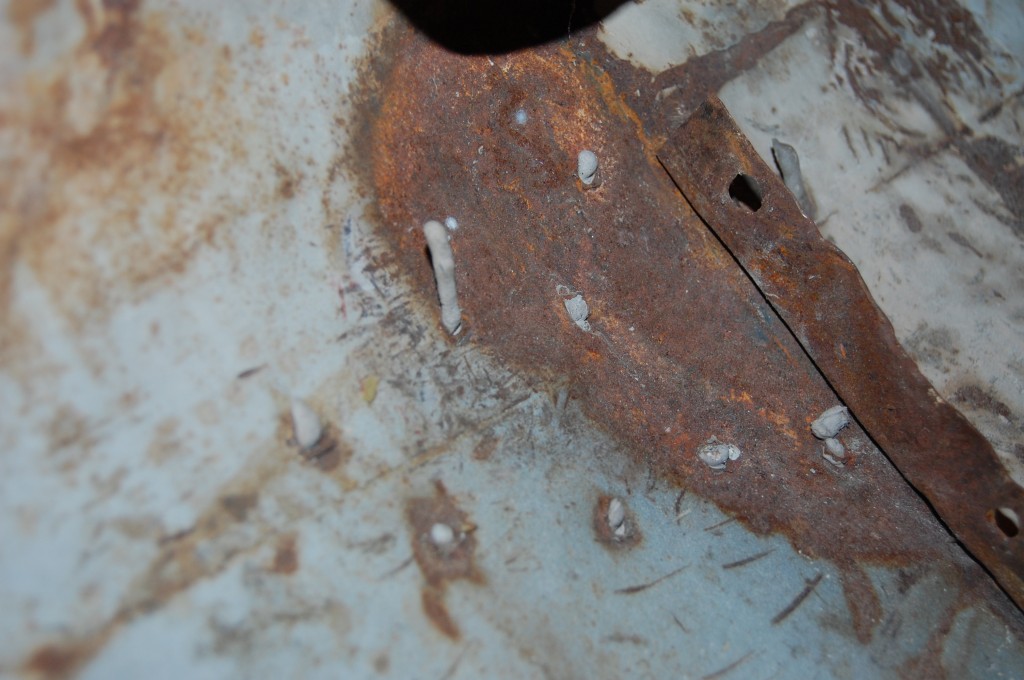
- 53 years of corrosion on this original aluminum bonnet shim!
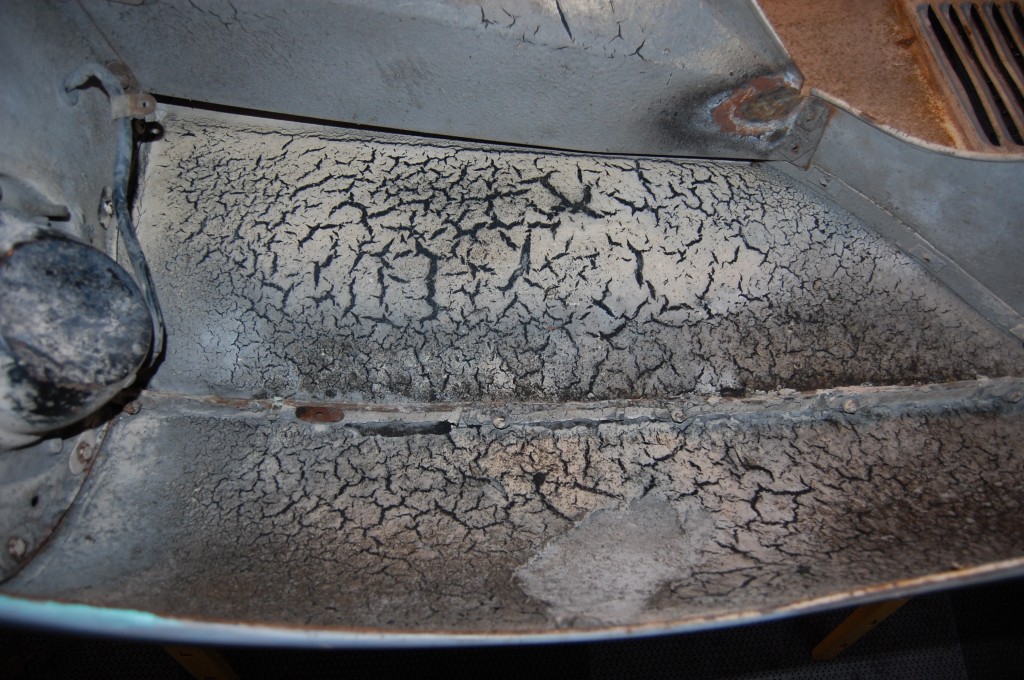
- The RH wheel arch. I believe that there is an additional layer of undercoating here – or it could be dealer installed – not sure… Also, someone has already attempted to repair the typical “tear” in the rear of the RH inner valance.
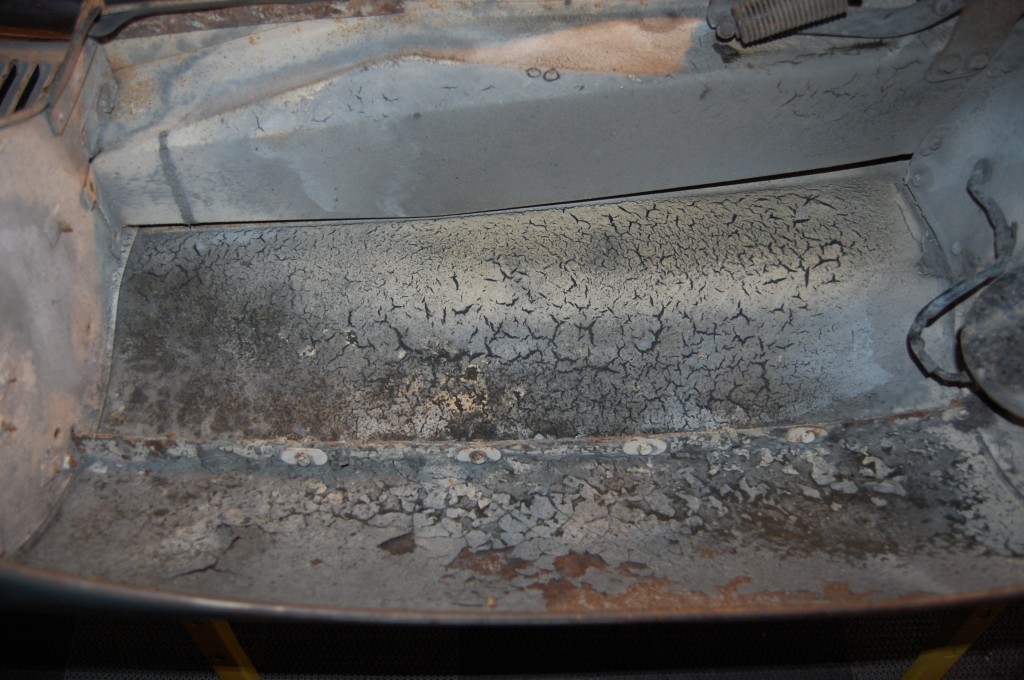
- Everything looks OK over here on the LH side.
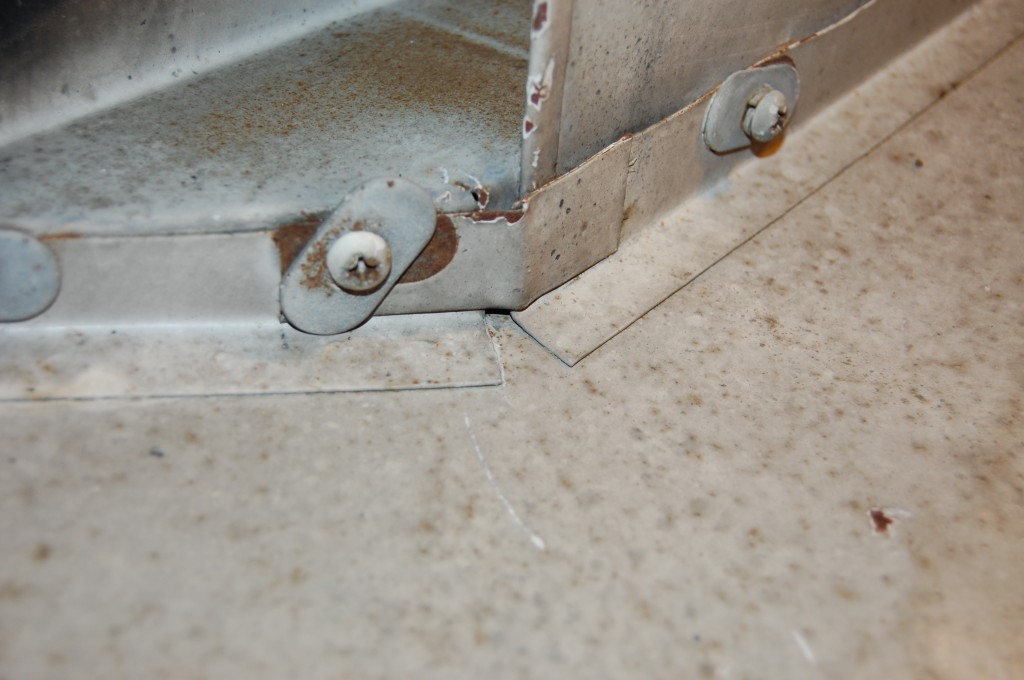
- This is interesting – on every other E-Type bonnet I have seen – from the factory – these bolts on the RH side mudshield have small round washers under them on this side to give better clearance with the turned up edge on the mudshield. This early bonnet appears to have had the standard oval washers since new… What is wrong with me? – I am SUCH an E-Type nerd!
- This is the LH side – all E-Types have the mudshields one way on one side and the other way on the other… with small washers on the mudhsield side and ovals on the flange side – as shown here. This early bonnet has oval washers on both sides – of both the RH and LH side.
- A-HA! THIS little bracket in the corner of the wheel arch of the LH wing is a DEAD GIVEAWAY that this is NOT the original LH wing from this bonnet! Remember that the covered headlamp flanges did not line up correctly on the LH side? Well, this is why. The early bonnets were stamped in a completely different set of presses than the later bonnets with pressed louvers – and while the pieces are CLOSE – and will “work” together, they are not the same.
- Looks like a small incident with a parking block in the past…
- Another shot of that – we will smooth this right out.
- No visible seam between the 4 main outer bonnet panels is ALWAYS trouble…
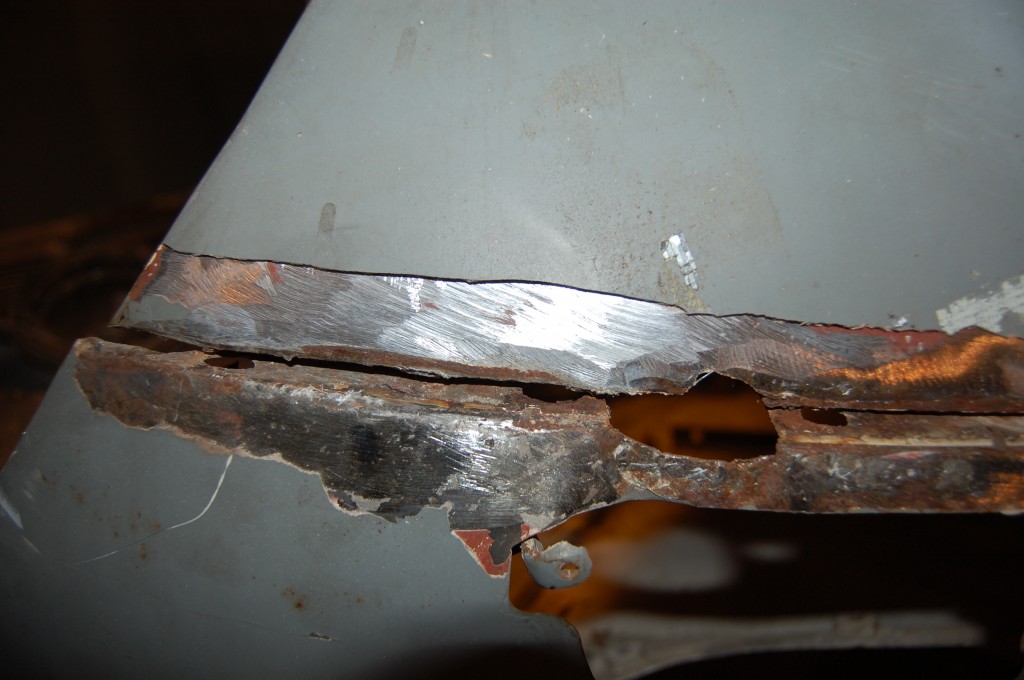
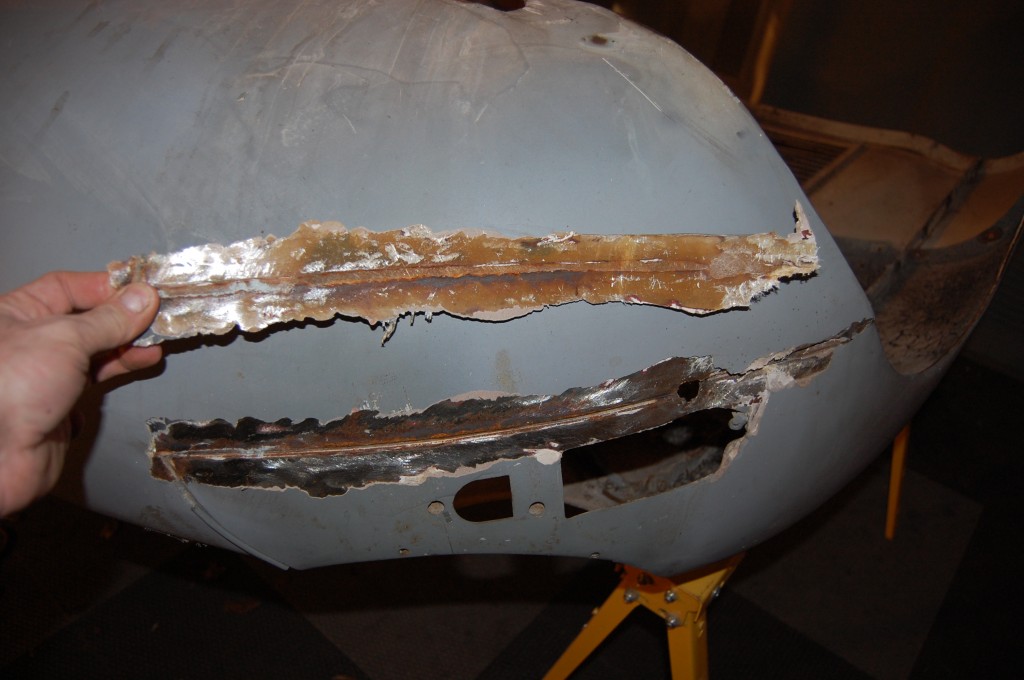
- …and this one is no different. This was a piece of fiberglass cloth over the seam that we were able to peel off with our hands – revealing some VERY aggressive grinding in the past.
- Here is a close up – OUCH! Hopefully this isn’t too thin.
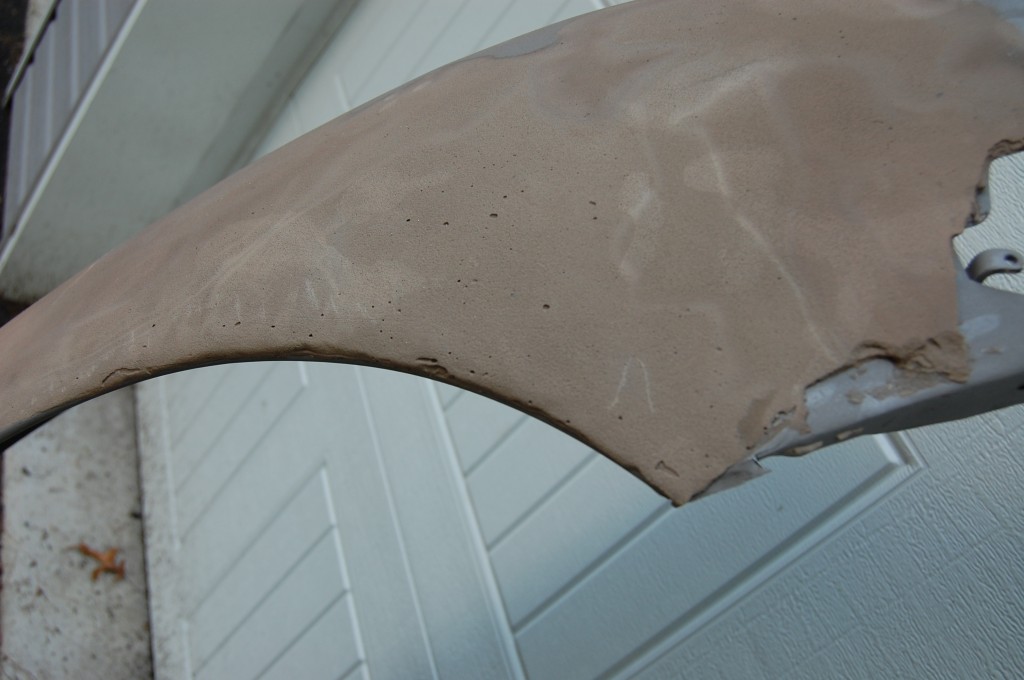
- As we get closer to the mouth itself, the filler just gets thicker and thicker…
- Same story on the other side…
- More filler – but notice the circular bumper bolt hole rather than the usual crescent shaped holes – just another slight nuance of the early bonnets.
- And here is another. This is the ONLY original 1961 lower valance I have ever seen. It’s the real thing, and I’ve satisfied myself that the small tabs spot-welded on at each bolt hole are also original.
- Here is a close-up of another 1961 bonnet feature.
- They are present on every single bolt hole. I guess they realized well after the fact that the lip on the lower valance was just too thin and needed to be wider – which it was later on. This must have been their stop-gap measure…
- She’s apart now. As we get further into the restoration of this bonnet, we may have to remove some or even all of the welded flanges. Rust usually exists between them and the skin, and the early bonnets are VERY prone to rust-through all along the locations of these flanges.
- Here is a shot of that damaged area once the inner valances were removed. Not too bad, really.
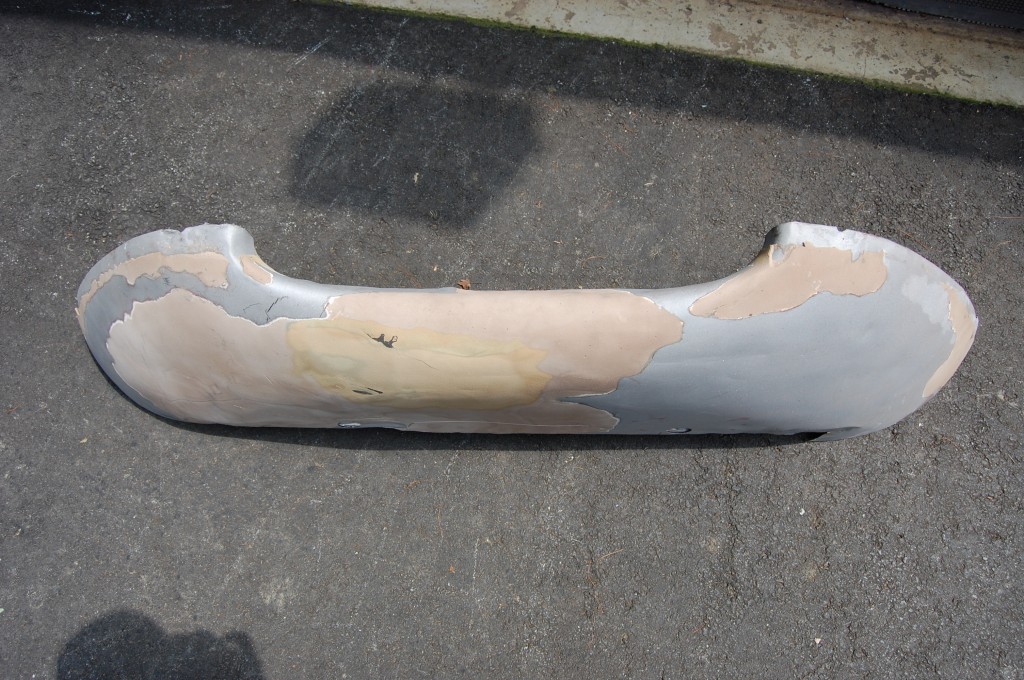
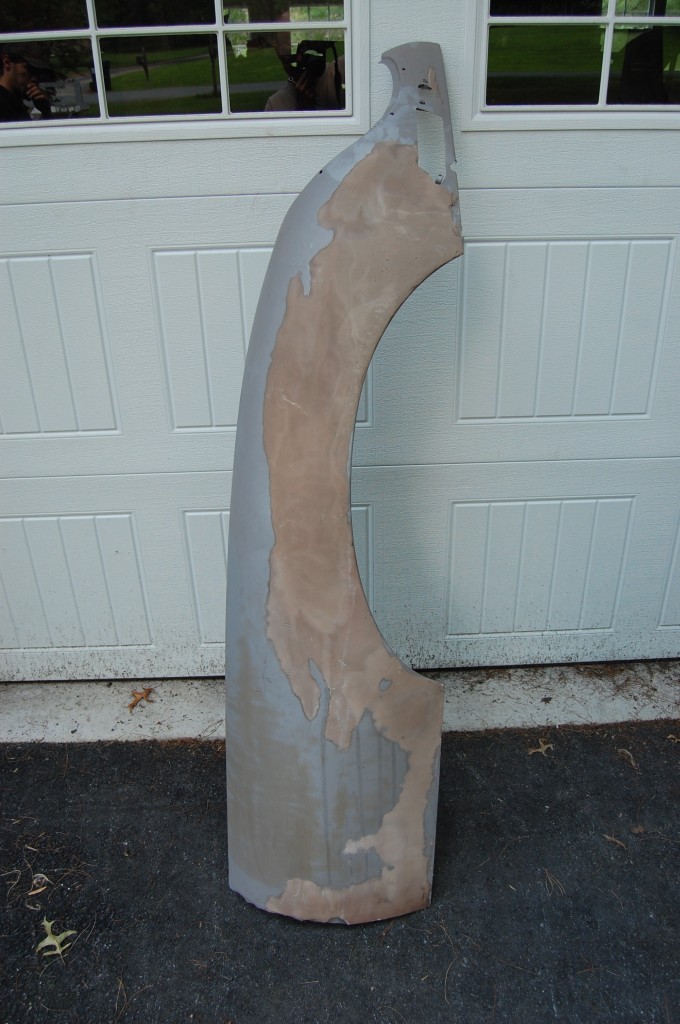
- Back from the blaster and there is TONS of filler! Now we know why we could barely lift this one!
- There was so much filler in this wing that it actually had some type of “meteorological effect” on the panel after it was blasted. This photo was taken the next morning after blasting – the filler seemed to be sucking water right out of the air and then channeling it into the steel somehow. It was VERY weird! We actually have never had a blasted panel with this much filler in it before or since, so I’m not sure WHAT happened here…
- Tons…
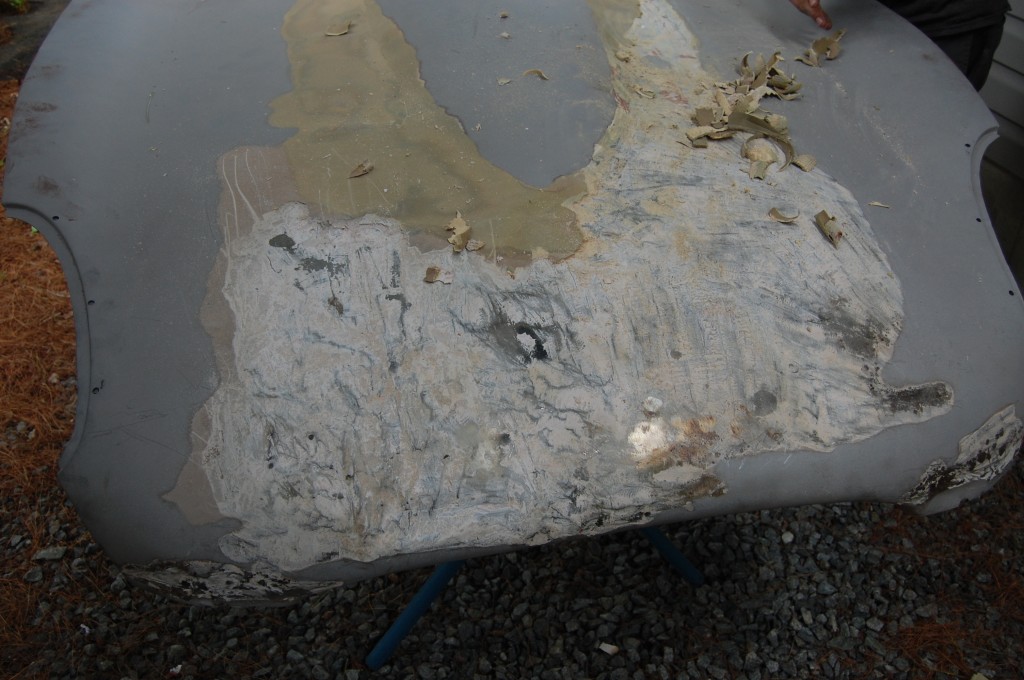
- The center section was no exception – and we carefully removd it all by hand after the blasting revealed where it was. Note the filler used to cover that crazy abuse all around the power bulge.
- All of the filler is out – except for the “scoop patch” which is coming out completely. This panel is going back to the blaster next for a dust off before the repairs start.

