A beautifully restored Series 2 roadster shell is converted to Series 1 specs to be used for the restoration of a Series 1.5 roadster in Colorado!
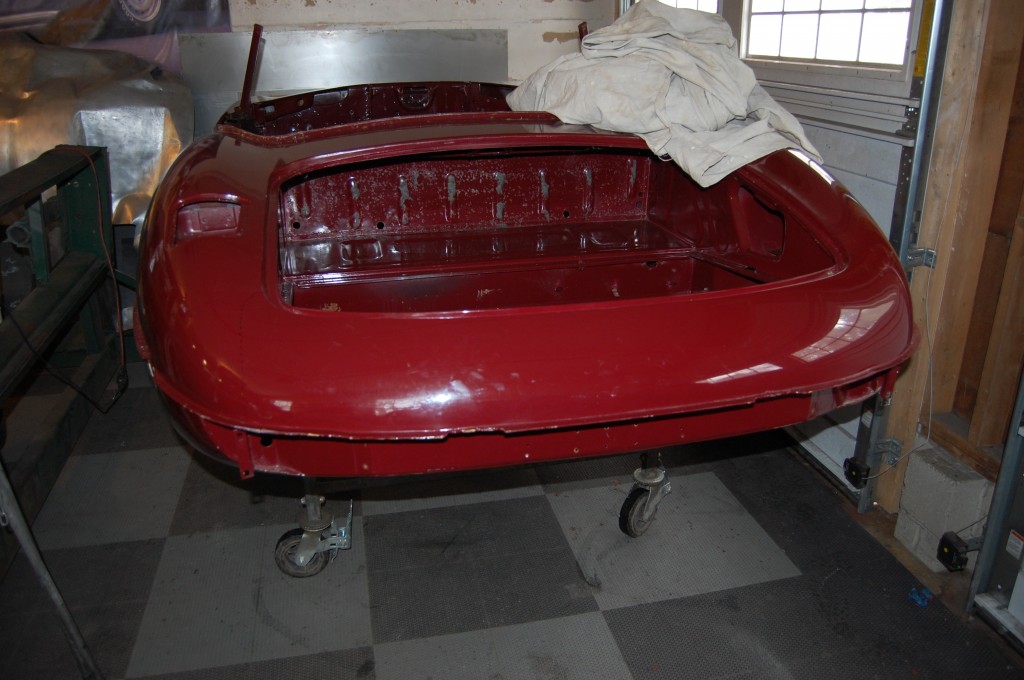
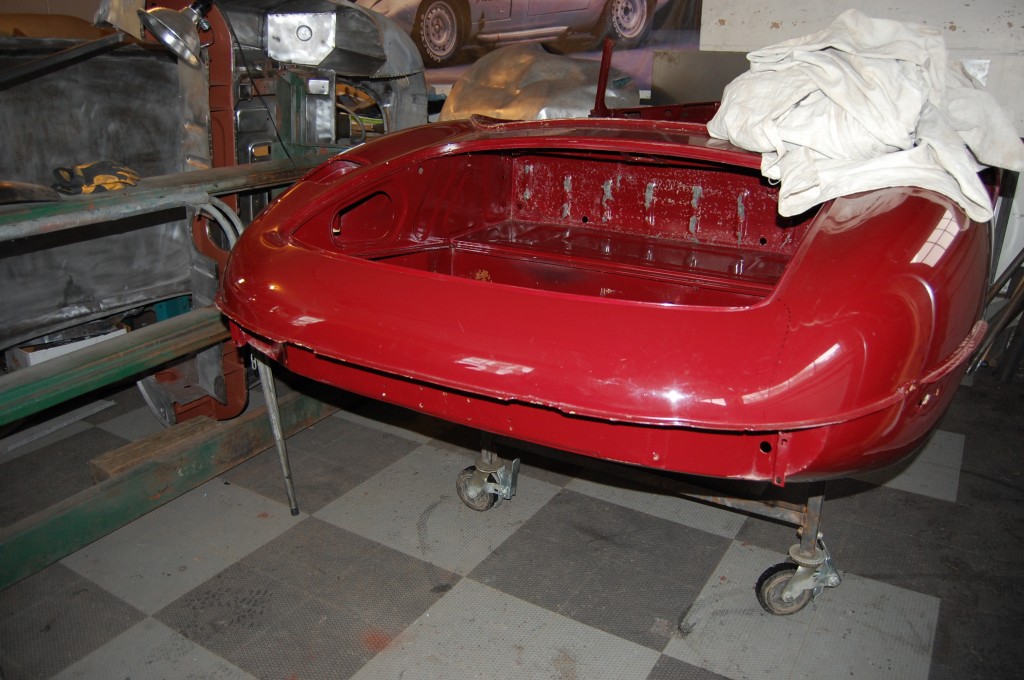
- Here is our starting point – a very well restored Series 2 roadster body.
- We purchased this body shell last Winter, and sold it to one of our waiting list customers to use on his Series 1.5. This was a perrect shell for him – he has a later Series 1.5, so he already has the Series 1 dash and firewall panels, plus the later door shut face panels – which this shell all has. All we have to do is convert the tail to Series 1 specs, and this will be a flawless Series 1.5 shell!
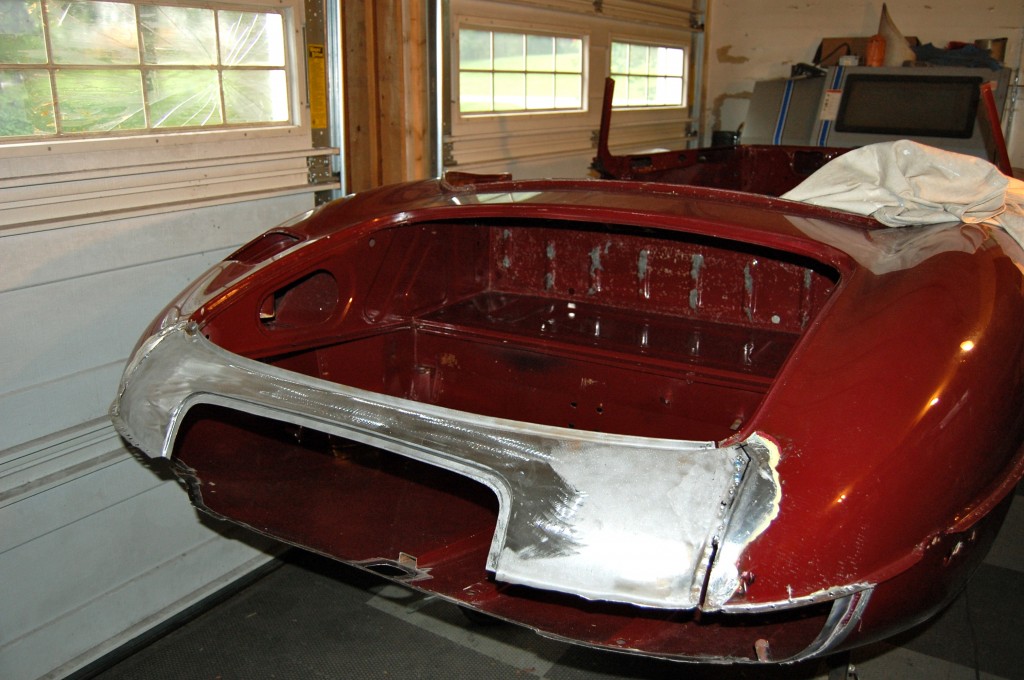
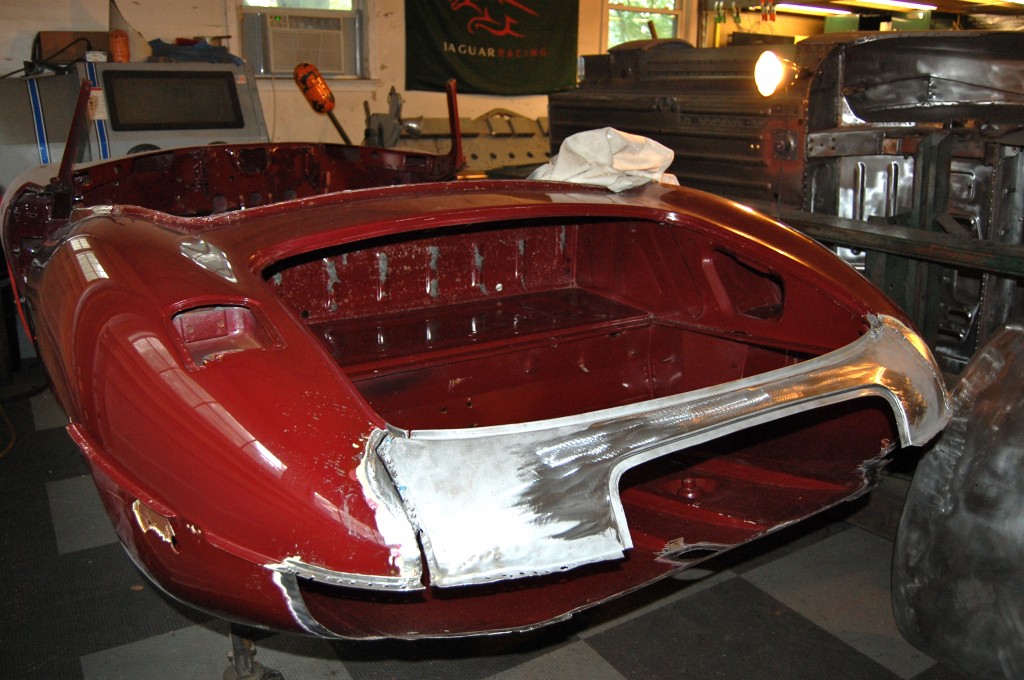
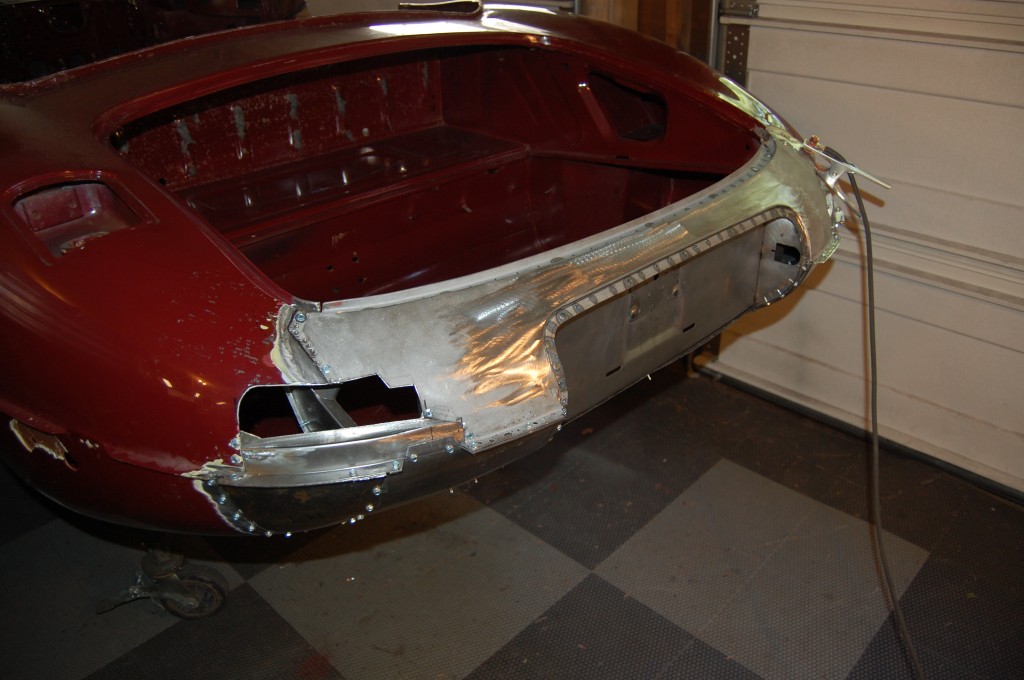
- After carefully cutting out all panels that make this a Series 2 in the rear, we are left with a shell that is neither a Series 1 nor a Series 2. Then we simply build the tail back up as a Series 1!
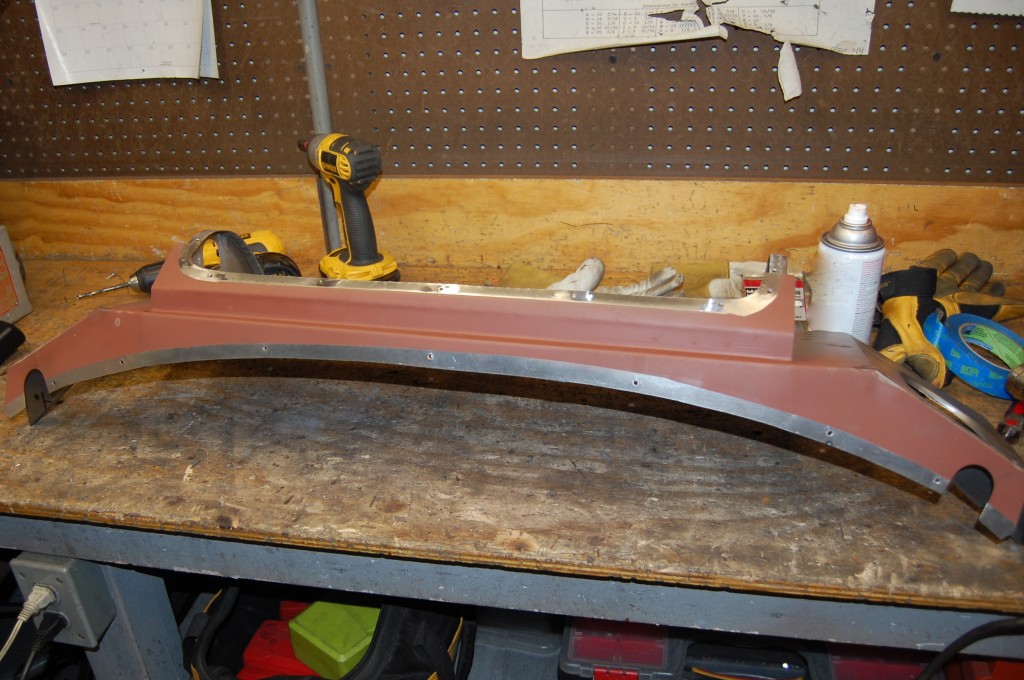
- My classic move here is to carefully remove the original rear lower tonneau panel, blast it bare and remove and dents, etc. then convert it to Series 1 using our precise templates. We COULD make this panel from scratch, but it is very time consuming, and would not fit as well as this original, which already fits the shell and the boot lid (although in this case we are using the customers existing Serries 1.5 boot lid). This panel is available from the usual suppliers as well, but it is HORRIBLE – probably one of their WORST panels. The last one I had was too arched and did not fit the boot lid at all, and worse than that, was not even CLOSE to symetrical!
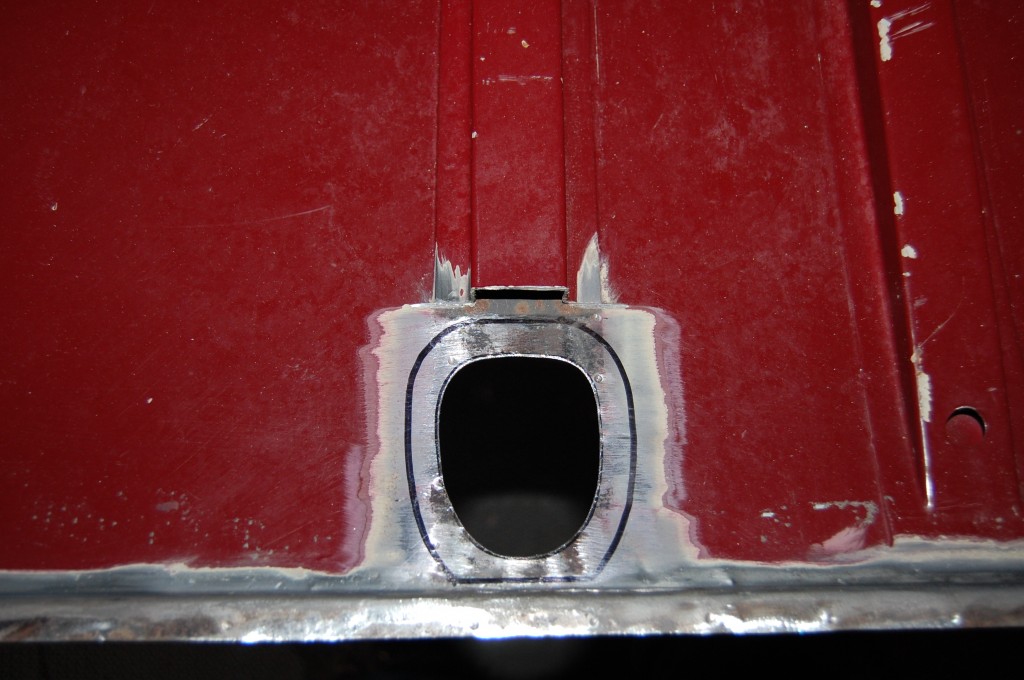
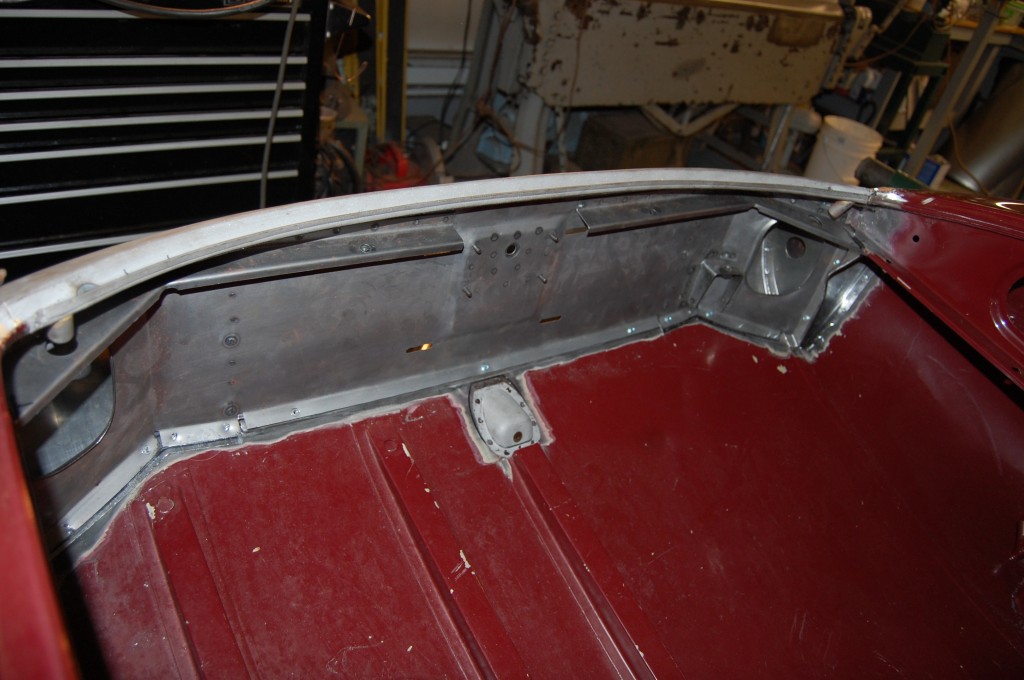
- Often we are doing this work as part of a restoration as well, so we simply replace the boot floor with a Series panel. In this case, the boot floor was already new, so we converted it over to Series 1 by trimming the rear section of the center rib, and cut the hole to weld in a Series 1 reverse lamp pod.
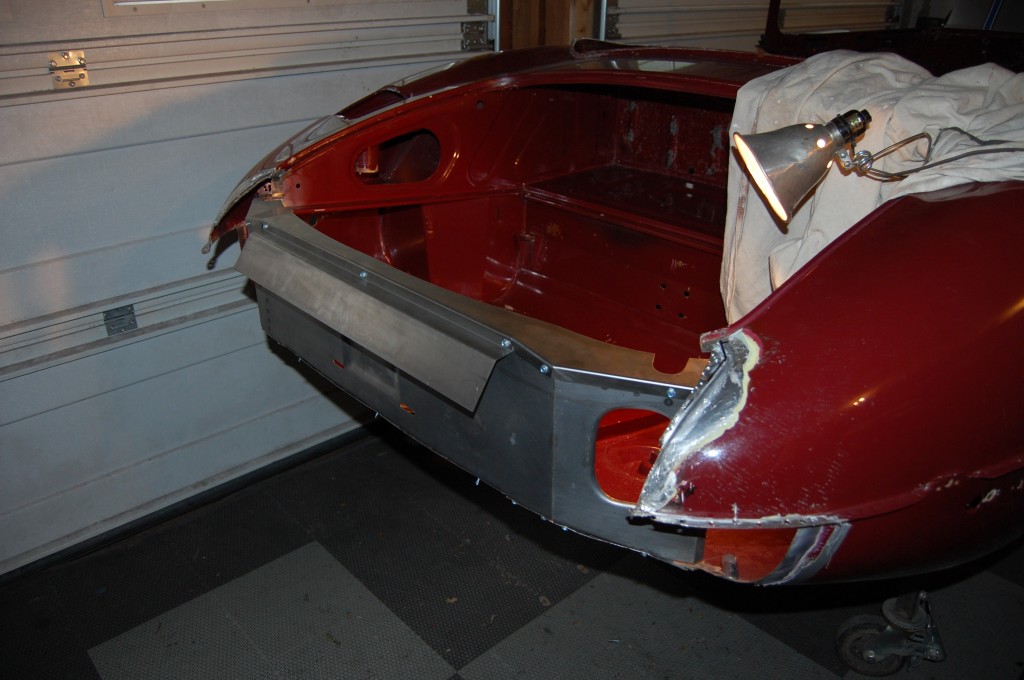
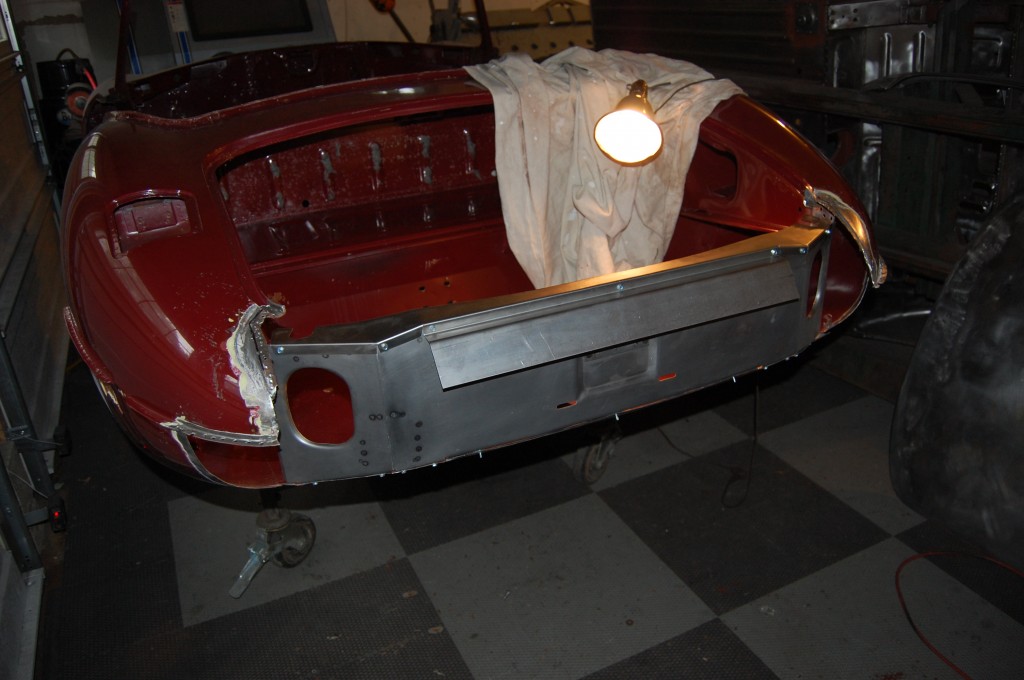
- Next, it is time to fit the large license panel and lower tonneau finisher. In this shot, the license panel is a piece from another manufacturer, but it is OK. We DO make this piece as well – we make EVERY SINGLE panel back here!.
- Another shot fitting the license panel. This is meticulous work – taking your time in the fitting stage pays great dividends later!
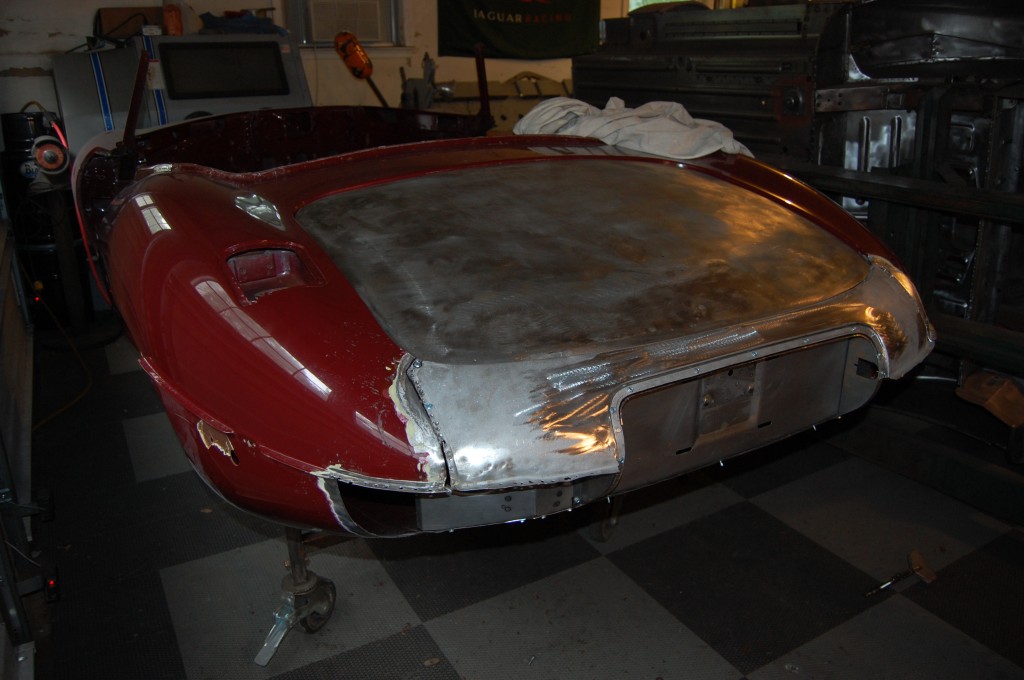
- Next, we fit the original (but modified) rear lower tonneau panel back into place and mate it with the new license panel, etc.
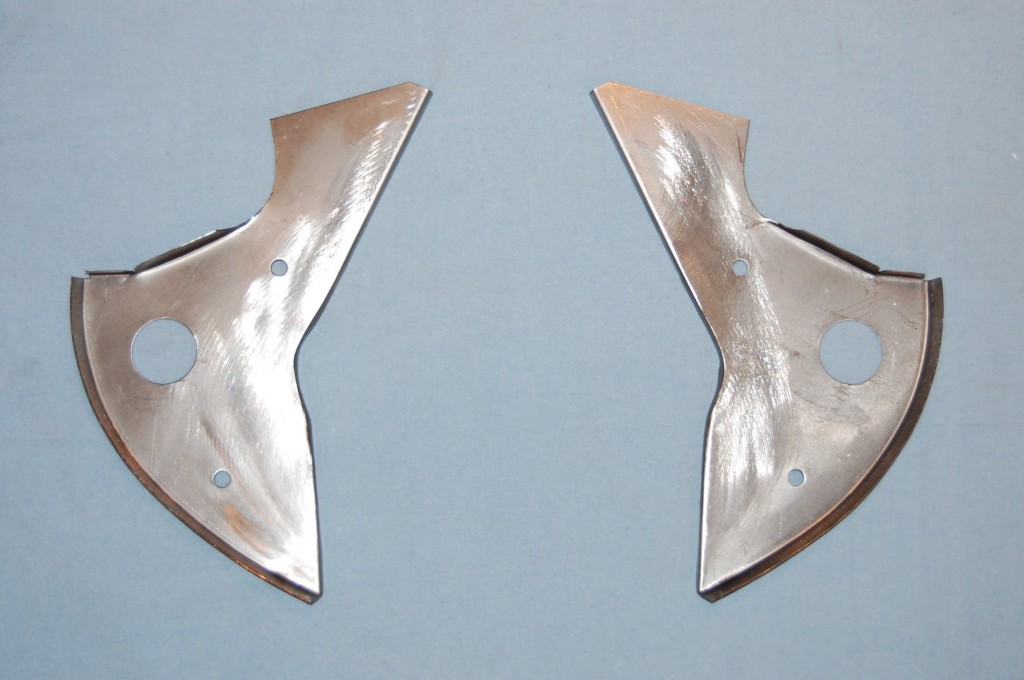
- Next, we fit the license lamp side panels into place – we call these the “D-Panels”…
- After everything is fitted to the shell and each other, it is removed and the enclosed areas are coated with red oxide.
- We then assemble the pieces together on the bench and weld together as much as we can.
- You can ONLY weld the pieces together on the bench AFTER you have fitted everything into place on the shell!
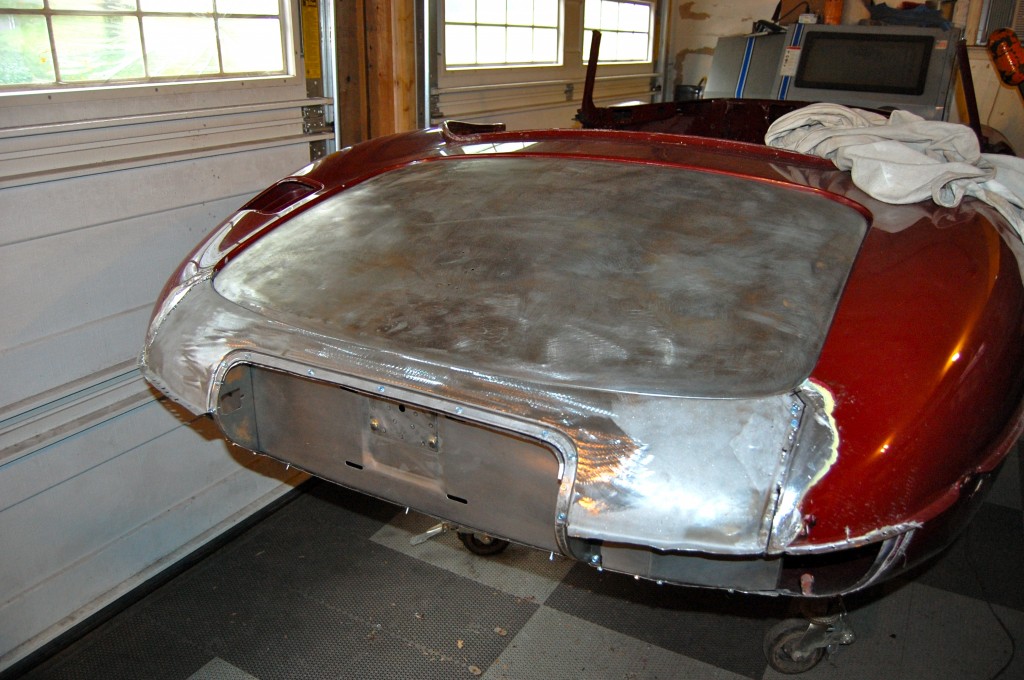
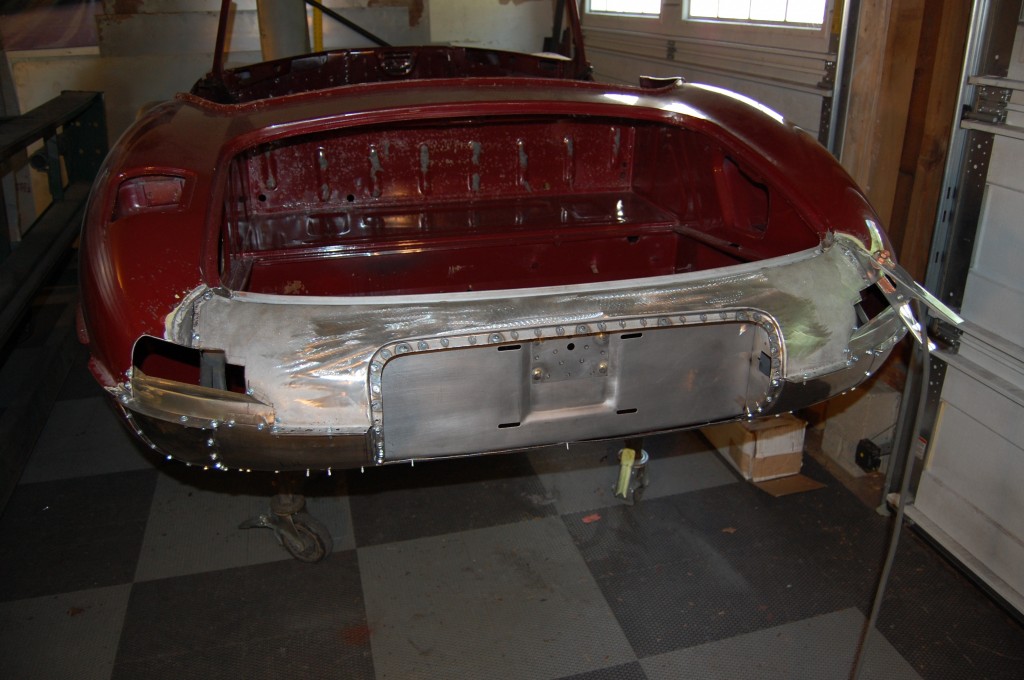
- Now the whole assembly is married back up to the shell for the final welding – which is just about to start in this photo.
- This customer is going to stick with this maroon – which is a correct color for Series 1.5 and 2 cars. They will sand down and block sand, then re-spray the entire outer surface of the shell, but all of the inside will stay as-is – saving LOTS of time!
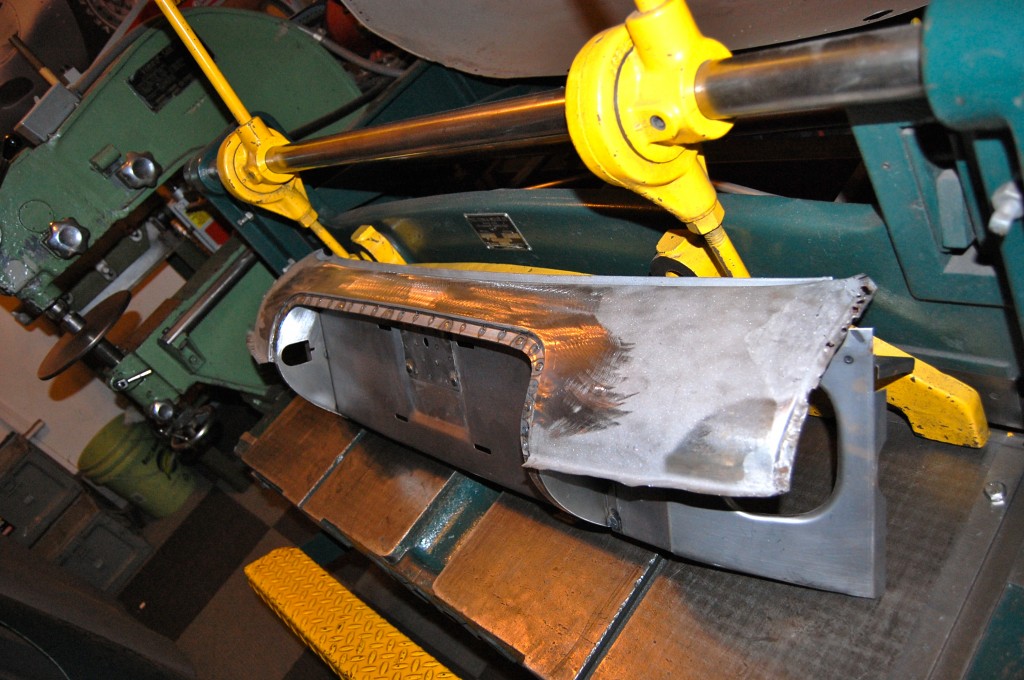
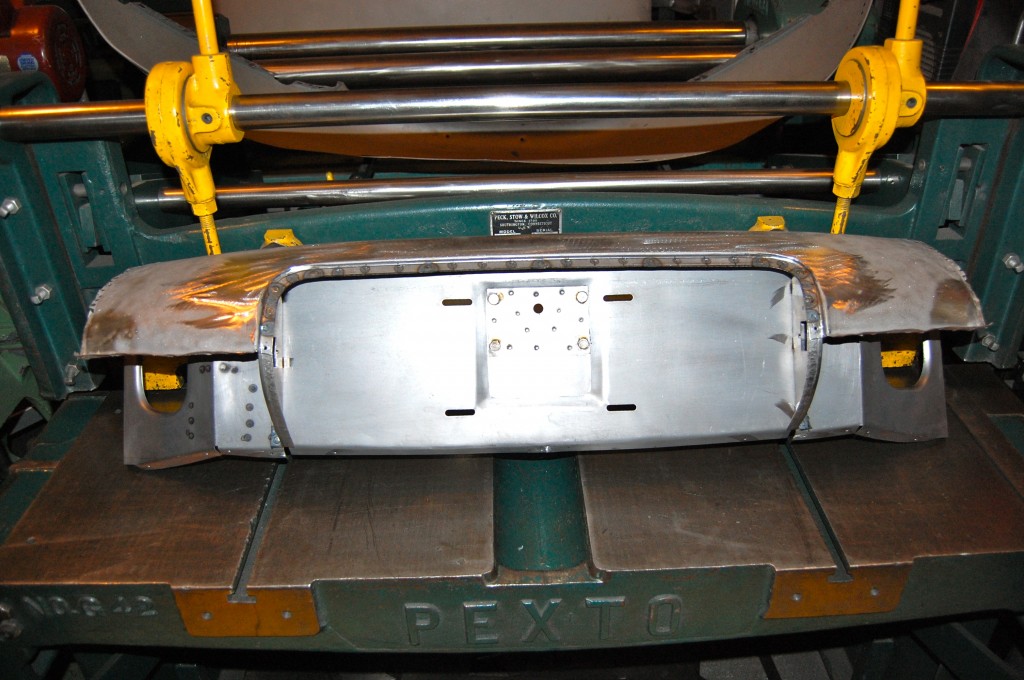
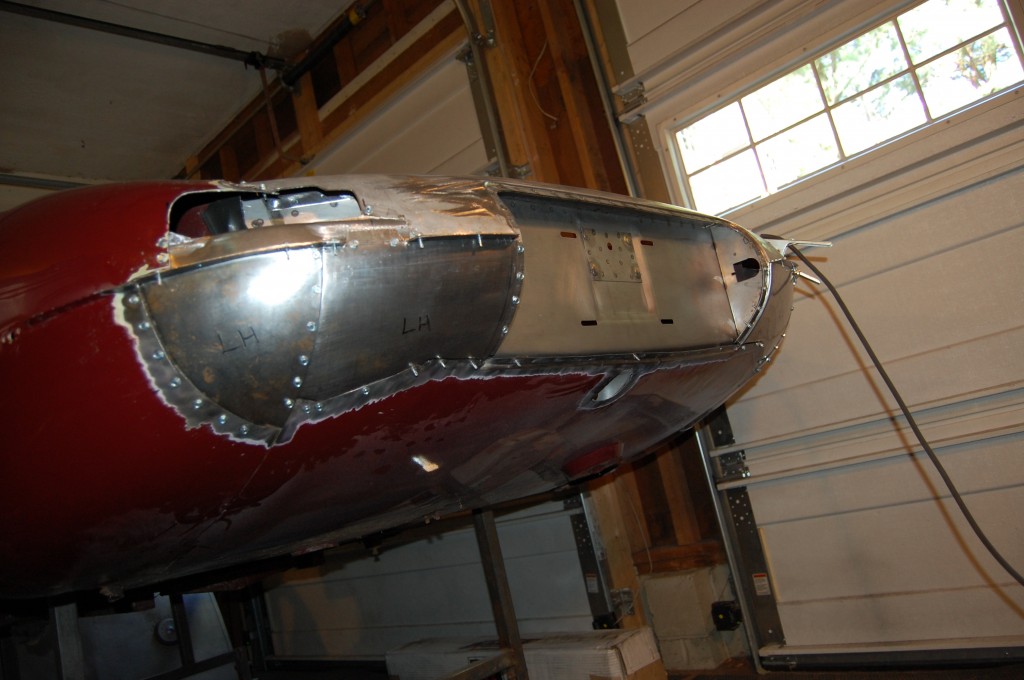
- These lower panels were made here on the English Wheel. The inner panel is the “boot floor filler” – which used to be sold seperately from the boot floor, and was TERRIBLE as well, but is now included in the boot floor from the usual supplier and is correct in that case. If you are doing the conversion, though, and just need the filler, I would call us – we have it down perfect. The outer triangular panel is a Monocoque Metalworks exclusive – this is the piece you need to convert a Series 2 rear lower valance to Series 1. In many cases, there is rust behind the wheel, and so we just replace the whole thing with Series 1 units. But these were already new, so we fit the filler into place. Each of these screws is going through a 1/4″ hole making an 1/8″ hole in the panel below. The screws will be removed, and we will use the MIG to plug-weld each of these holes. This is basically a duplication of the factory seams that were spot-welded and then leaded over. All of the seams of this conversion are in the factory location – except of course the outer seam of our conversion triangle.
- These photos were taken this Summer – hence the rusty fingerprints on those English wheel panels in the photo above – don’t worry, that all gets scuffed off before priming – we are fanatics about that! This has since been welded up and ground down, and you’ll see the finished, primed results in a subsequent blog!
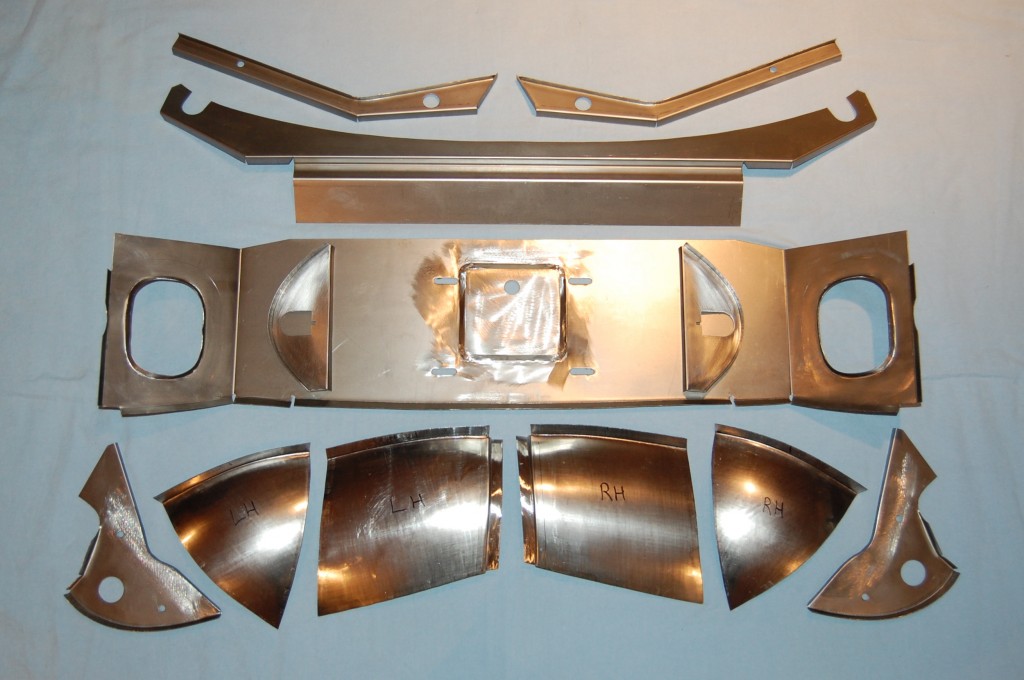
- Here is a shot of ALL of the panels used in the conversion above – we manufacture them all here and can provide one or a complete kit for your conversion! This shot shows a complete set of panels to convert a Series 2 OTS (roadster) to Series 1 specs.
- The car above utilized another manufacturer’s license panel – this is our piece – thicker, and slightly more correct dimensionally.
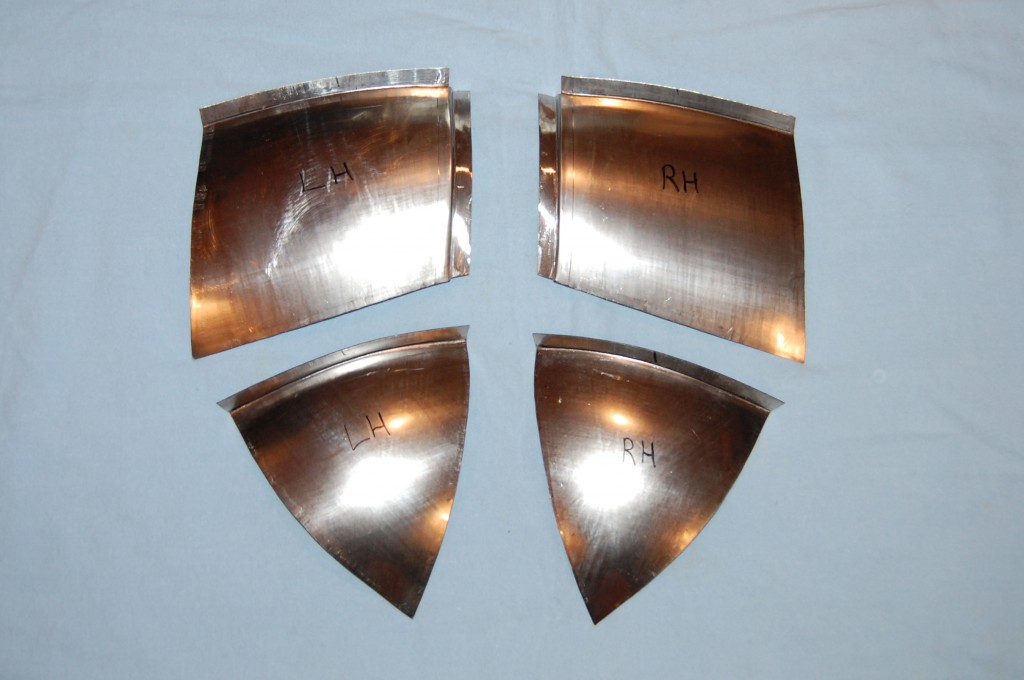
- This is a photo of the panels used to fill in the lower half of the tail below the seam hidden by the bumpers. The upper panels are boot floor filler panels for the OTS, and the lower panels are the rear lower valance extension pieces used to turn a Series 2 rear lower valance into Series 1. Only use these lower triangular panels when the remainder of the rear lower valance panels are rust free. If you currently have rust behind the wheels, replace the entire panel with a Series 1 panel. BUT – if you are NOT converting the tail and just reading through this blog, but DO have rust behind your rear wheels, we make a nice repair piece for the rear lower valance that covers the area just behind the rear wheel without having to replace the entire panel.
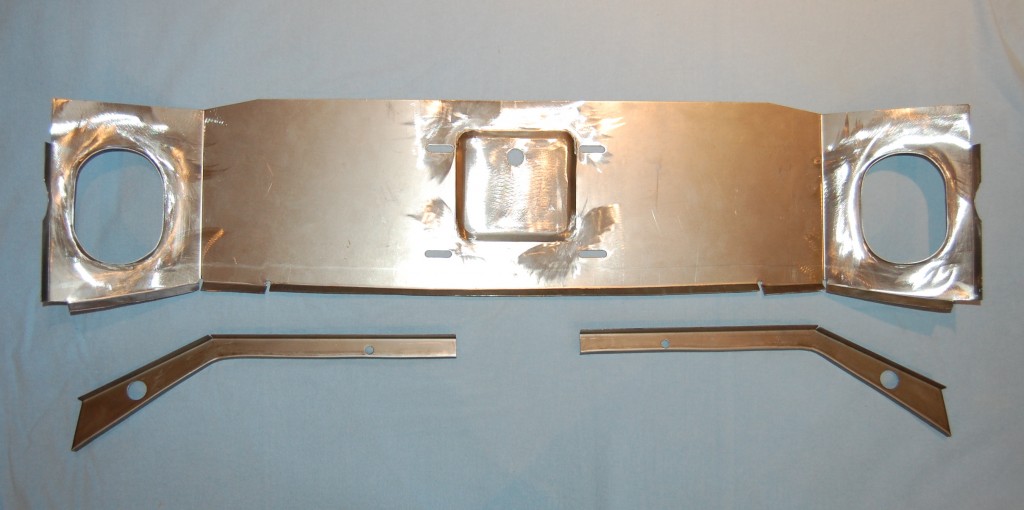
- These are the filler pieces that fit under the tail lamp opening for all Series 1 and 1.5 E-Types.
- These are the outer stiffeners for all Series 1 and 1.5 E-Types. These are rarely seen in the photos, as they are buried deep behind and below the tail lamps, but trust me, they’re in there! And you don’t want to leave these out – they are important to stiffen the rounded shape of the lower tail.
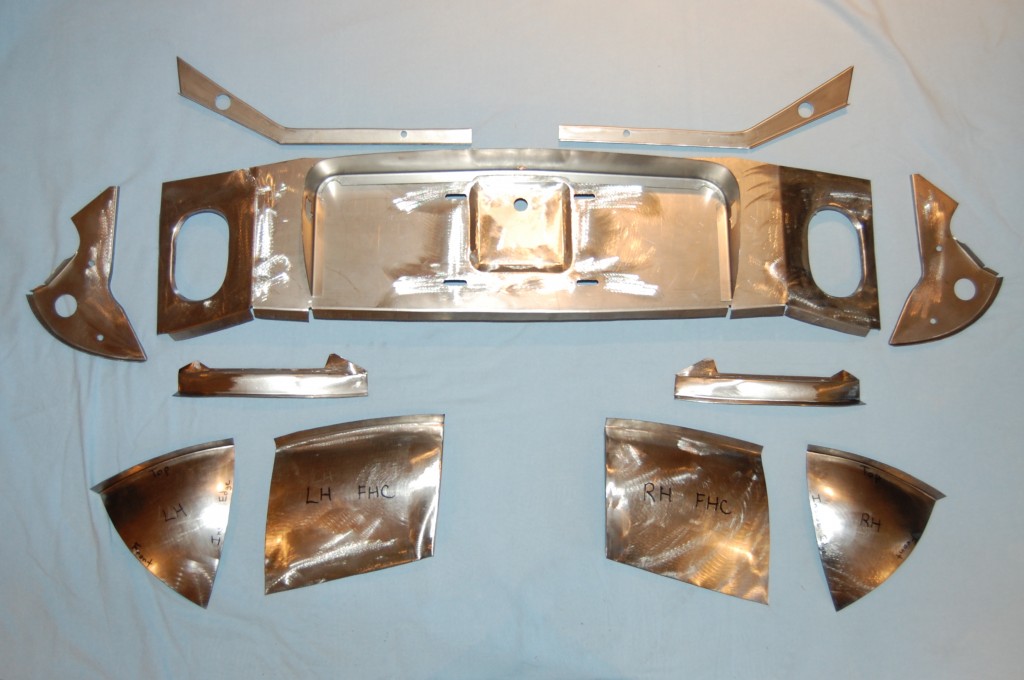
- These are all of the pieces needed to convert a Series 2 COUPE to a Series 1 tail. Most pieces are the same, the differences being the license lamp surround piece and also the boot floor filler panels in the bottom center of the photo that are the same size and shape, but have a different edge on the inside where they meet the license lamp panel.
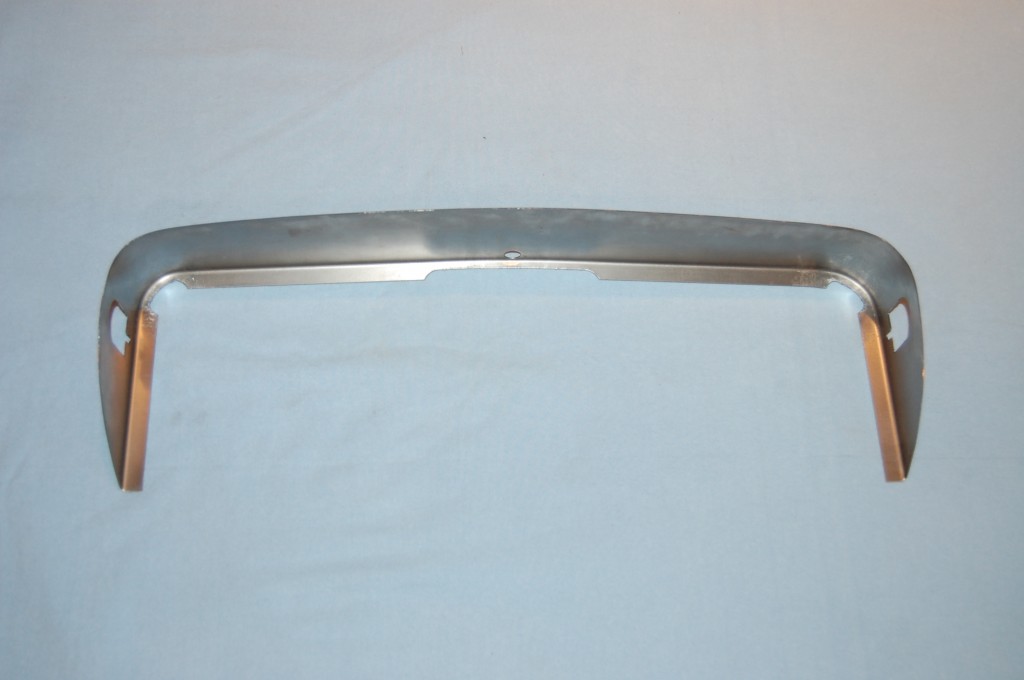
- This is the license lamp surround piece for the Fixed-Head coupe – it is a one-piece design that wraps around the license area, whereas the open cars use a 3-piece design with a wide top panel and the two D-shaped side panels.
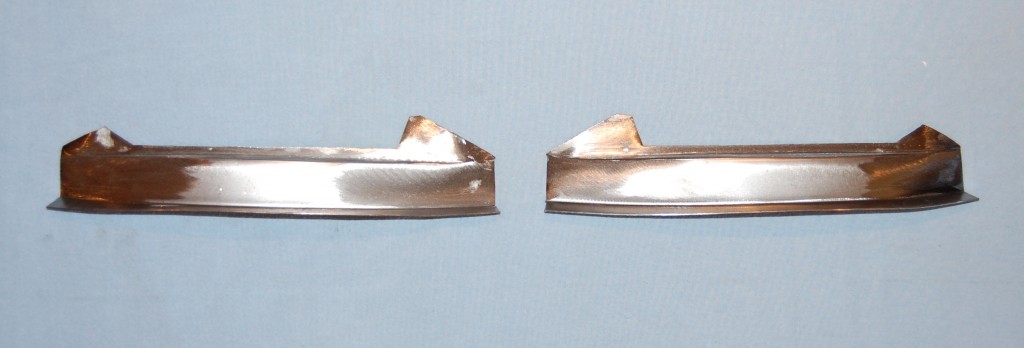
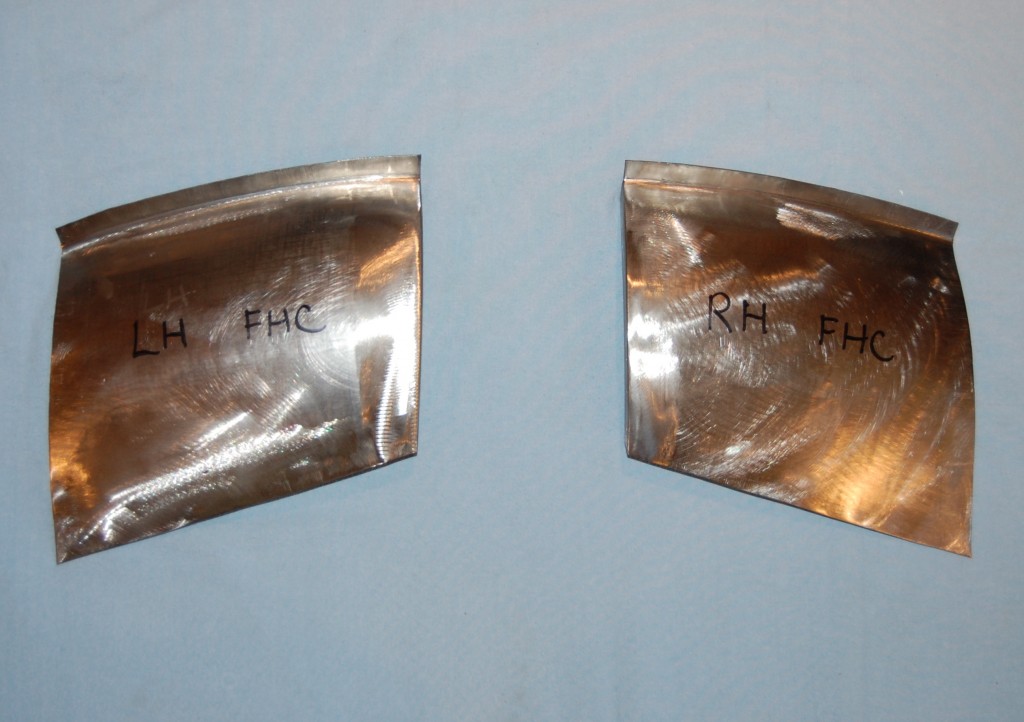
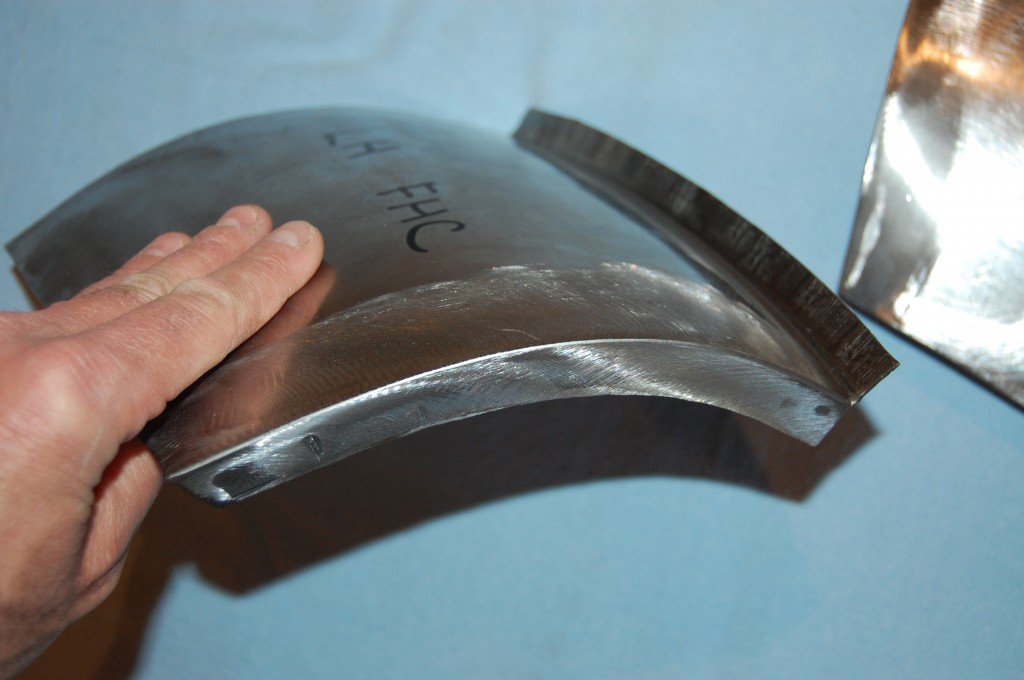
- These are the boot filler panels for the Fixed-Head Coupe and 2+2 cars. Note that the inner edge is different than the open cars – it simply folds over onto the license lamp panel rather than the stepped edge that holds the chrome edge trim on the open cars.
- Another shot of the edge on the boot floor filler panel for the Coupes and 2+2 E-Types.

