Well, I find myself once again having to apologize for not blogging much lately… On top of things being busy at the shop, my personal life has been very busy too, it’s Spring so you are starting the yardwork, etc… Sorry guys – I’ll spend some time this evening trying to catch up!
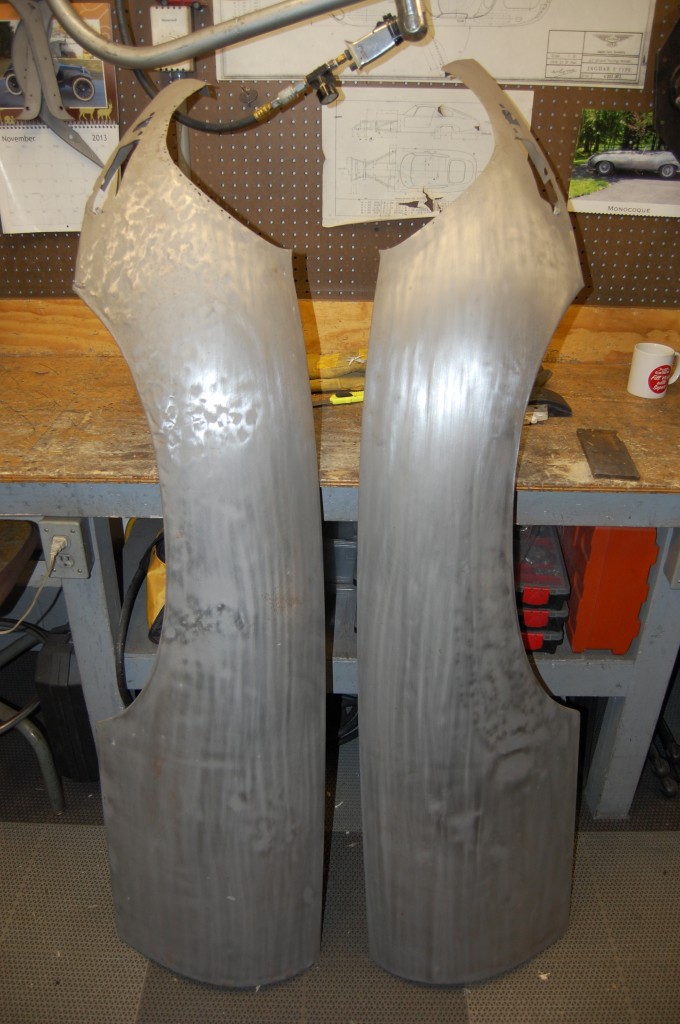
Here are some shots of what I worked on TODAY – a very messy 1968 Series 1.5 front wing. This bonnet came in as a Series 1.5, and is actually going back home as a Series 1.5 – a RARE event around here!
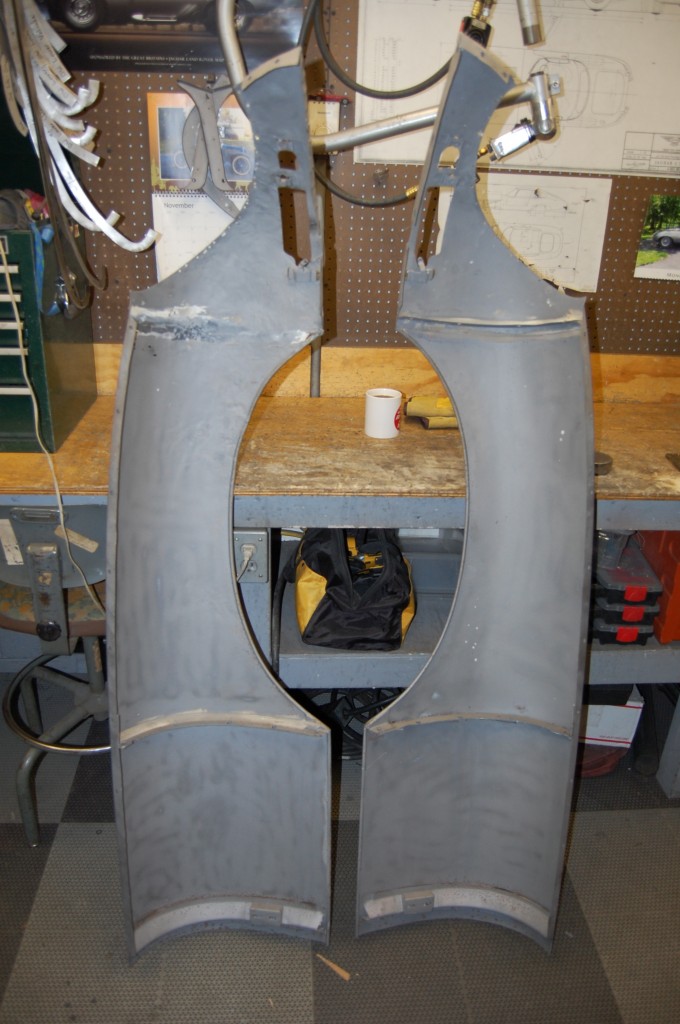
- Here is a shot of the inside. Virtually rust-free, but they have suffered a bad accident on the LH side.
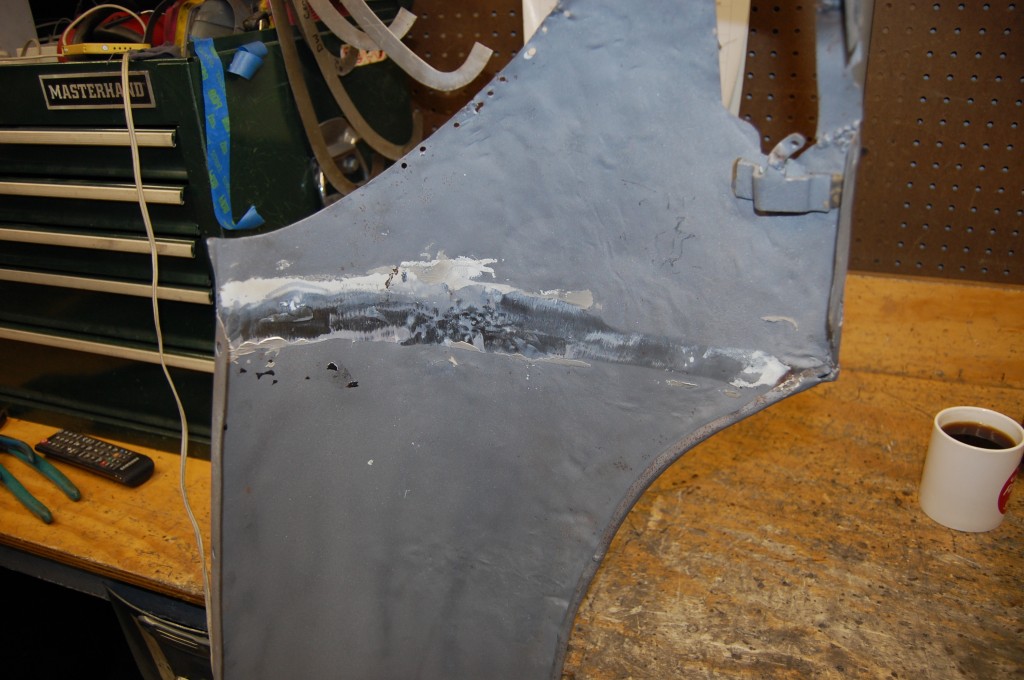
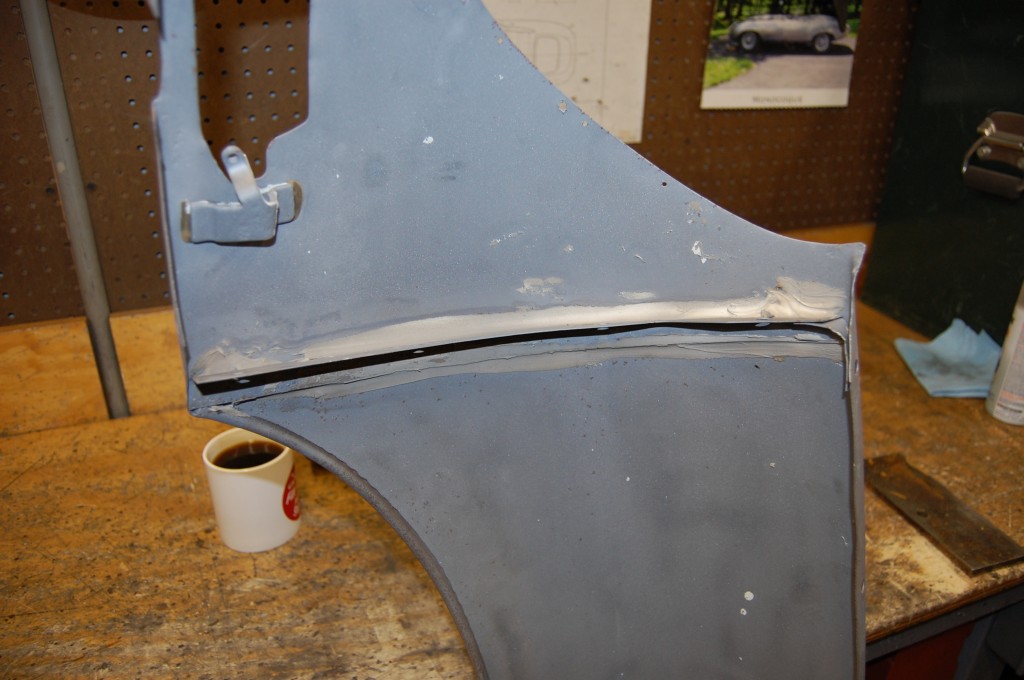
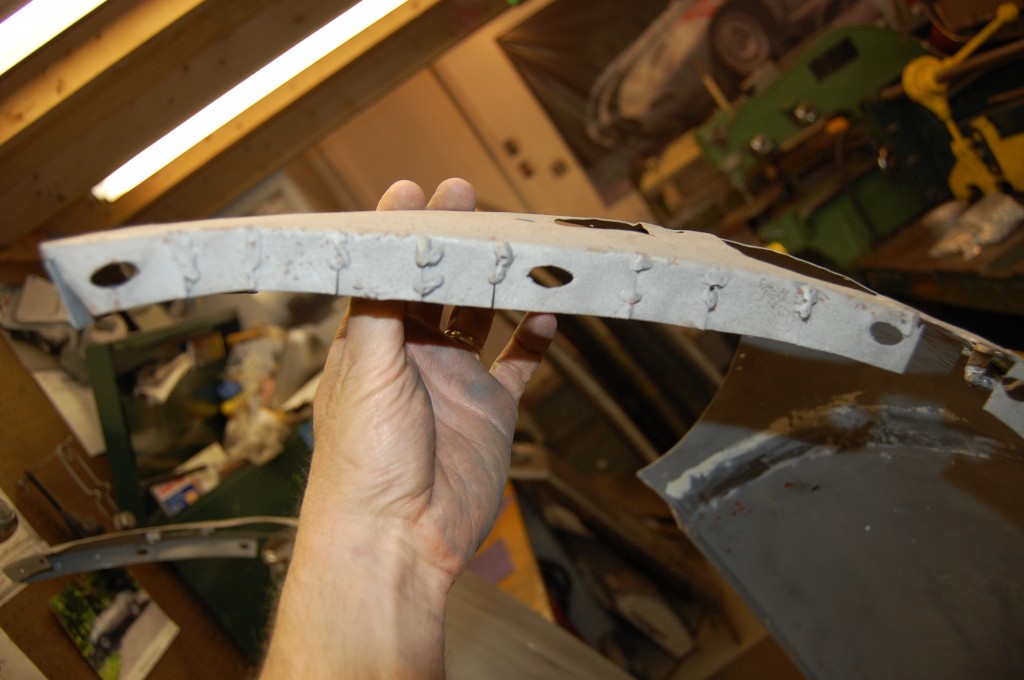
- This shot shows a missing flange that had been glued in with adhesive caulk a few years ago… This bonnet came in to the shop already disassembled and blasted. Here, we pull all the flanges off and scrape off the adhesive BEFORE blasting.
- …like this…
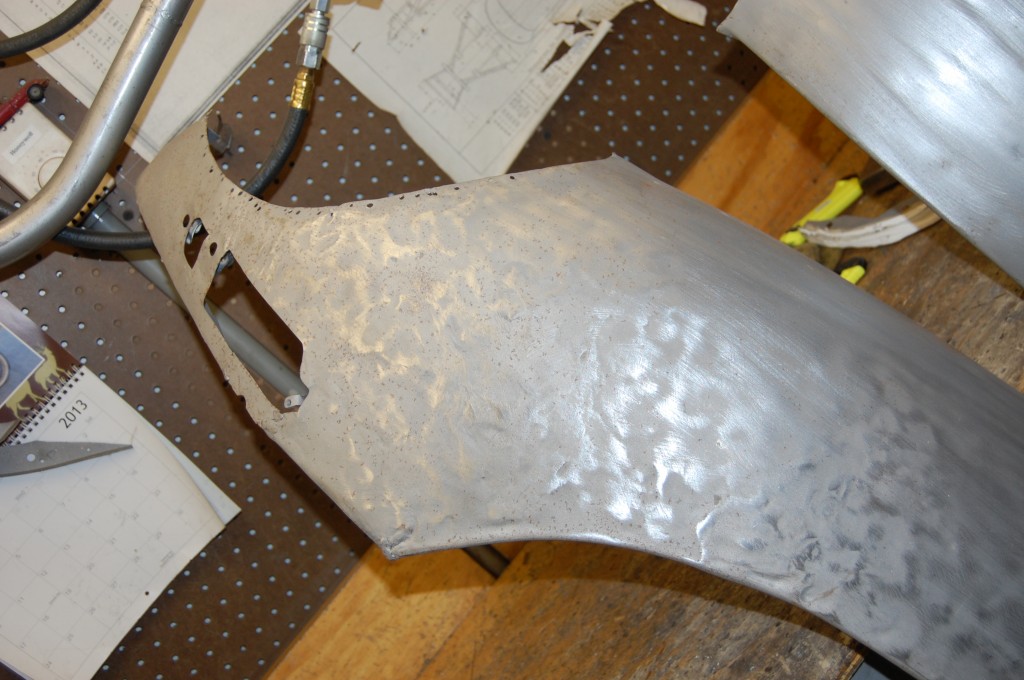
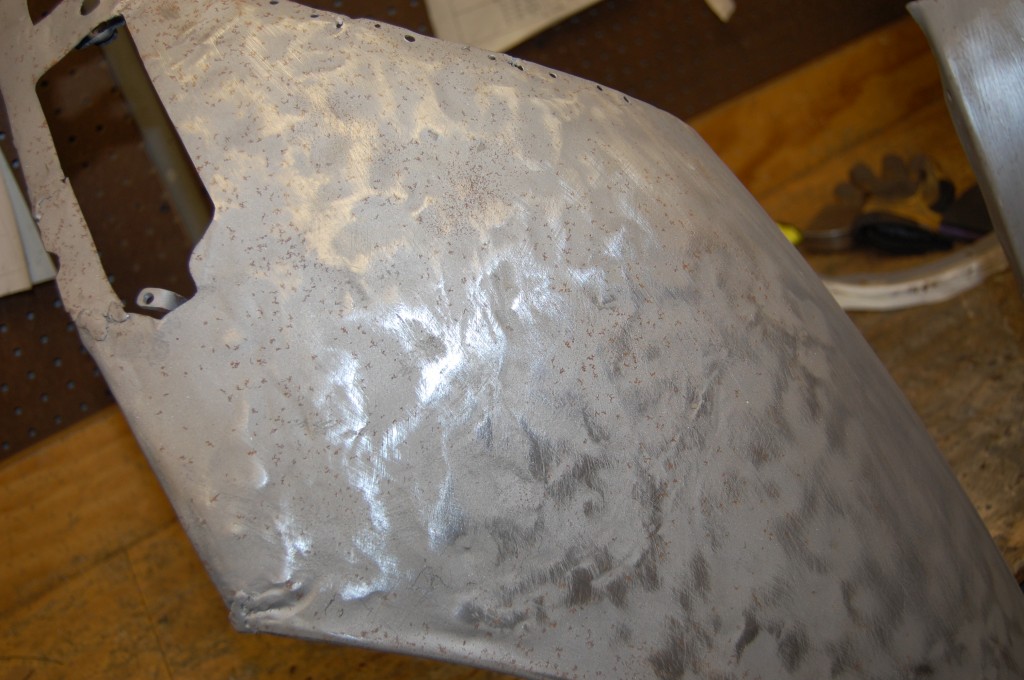
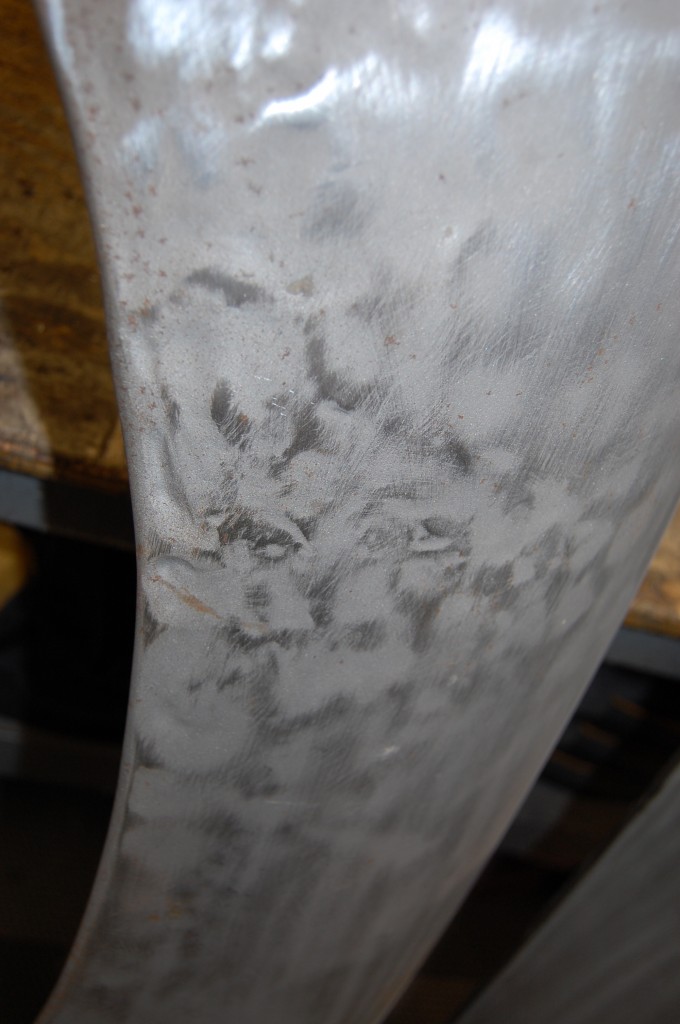
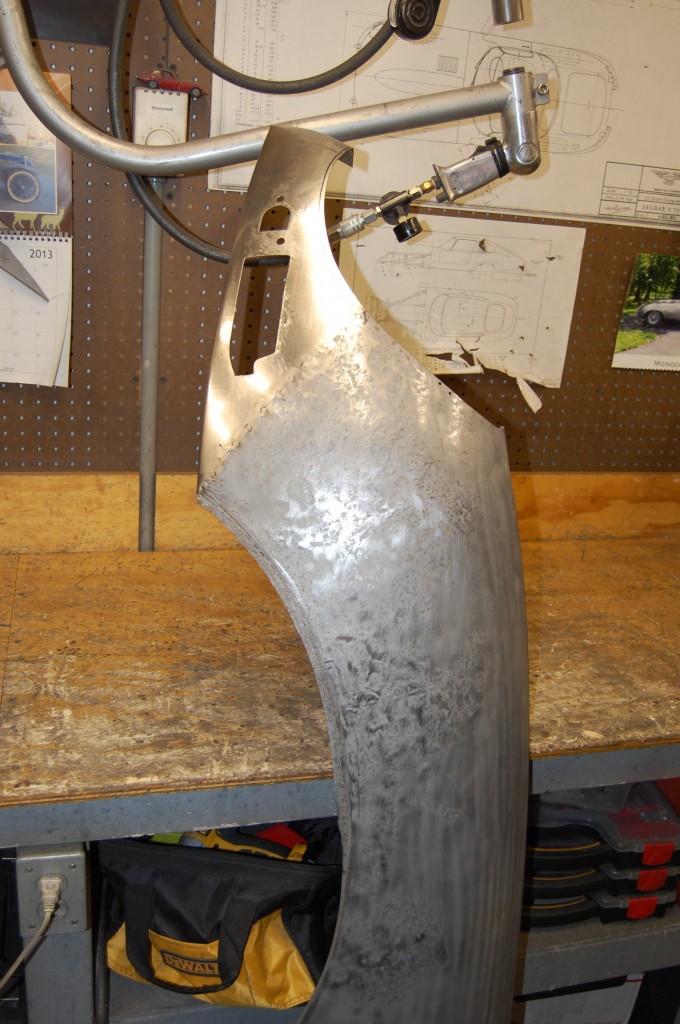
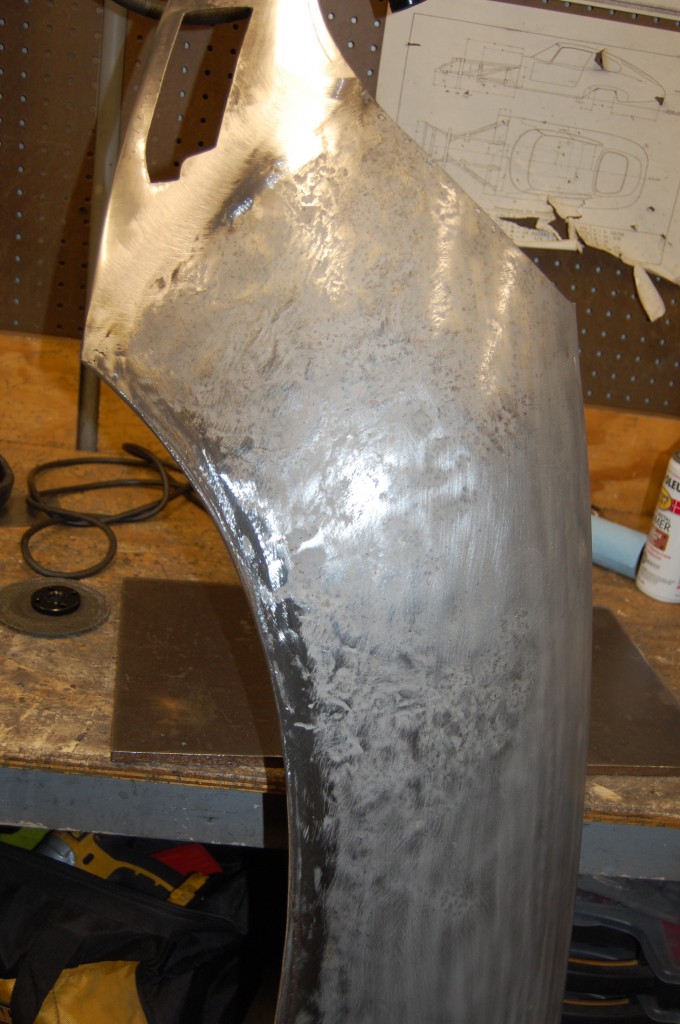
- This area was heavily hammered in the past – and VERY bumpy! Although I must admit, the shape itself was basically correct.
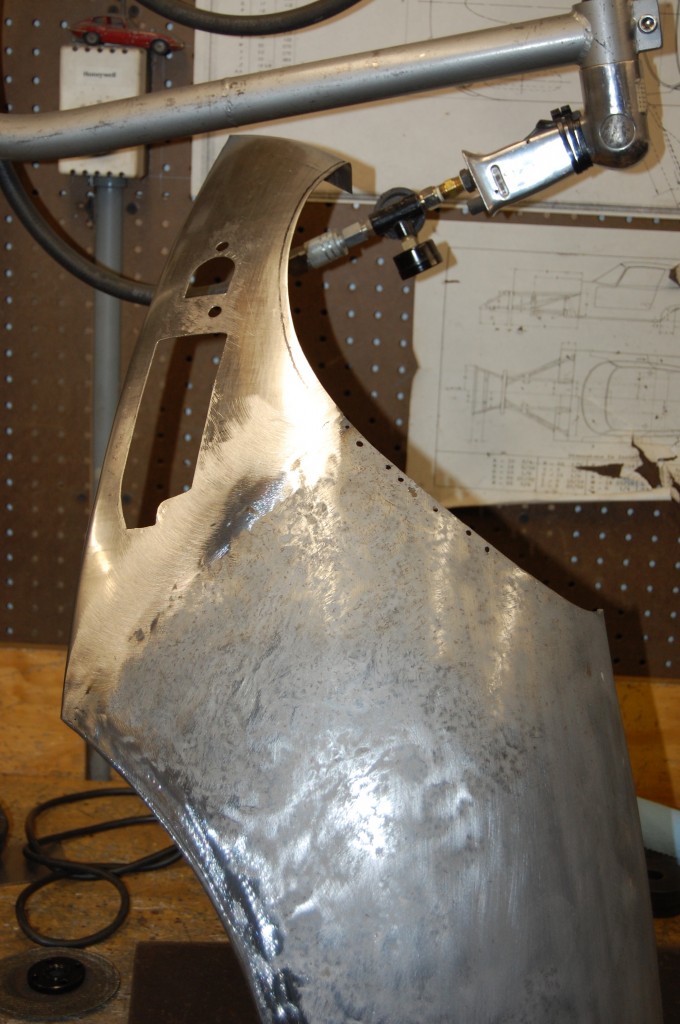
- Here is the outer skin scuffed down with a block to show the true surface of the wings.
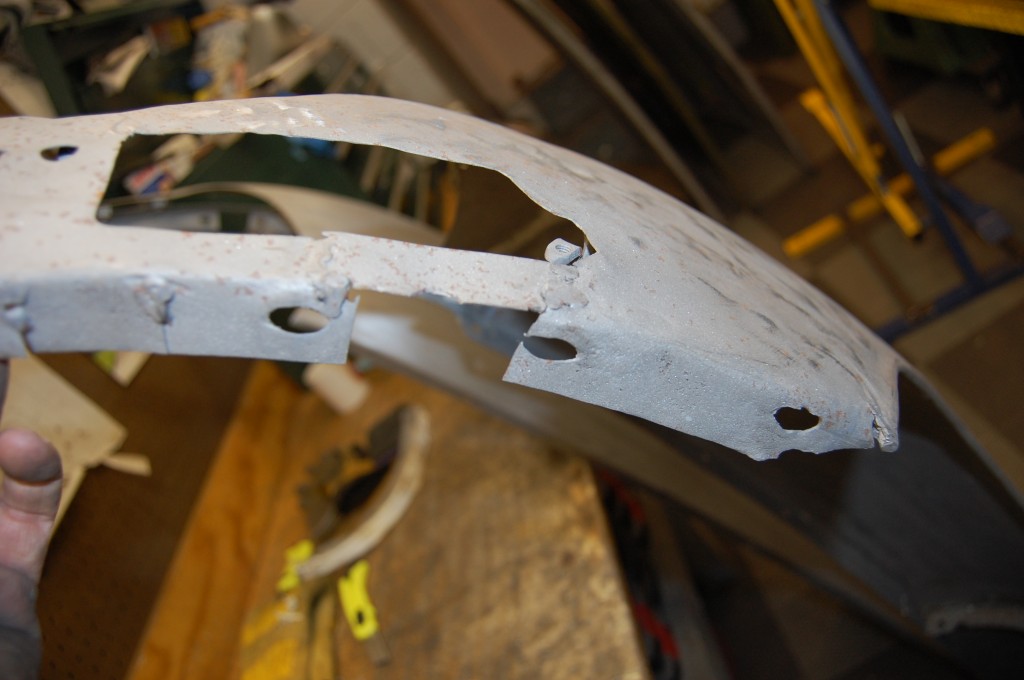
- This is the front extension of the LH wing – now THIS is a problem…
- Another little patch under the trun lamp – what a mess. I’m sure this is all dimensionally out of whack…
- So I know the front needs to be replaced because of the cut-up flange, but just exactly HOW MUCH should we replace? Hmmm…
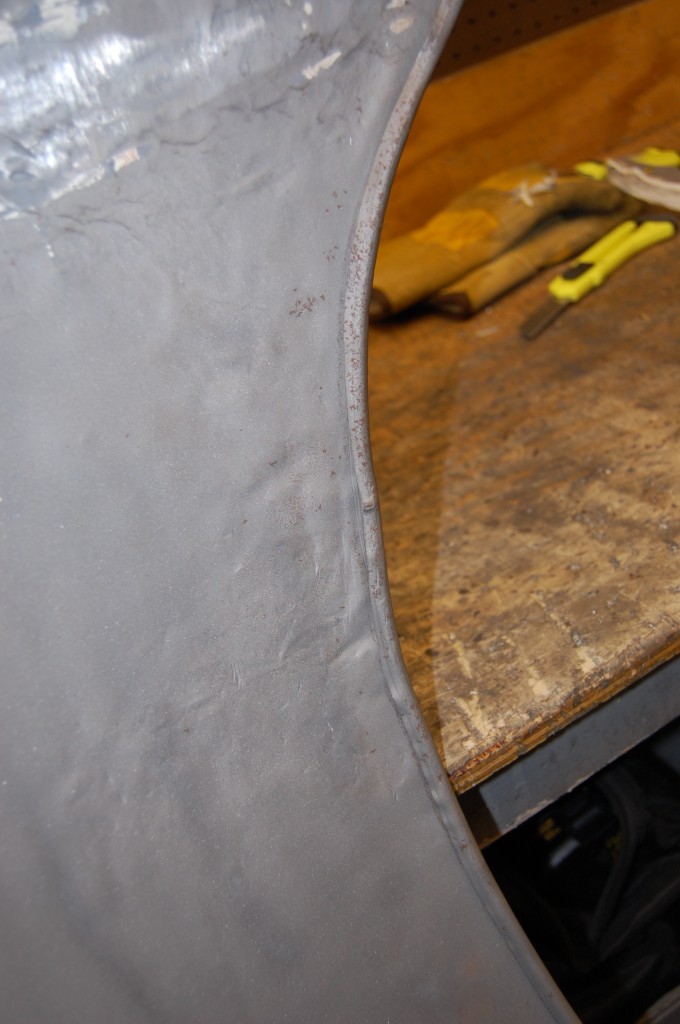
- This is the area of the wheel arch – the wired edge was all mangled up too.
- See – it’s no longer a smooth curve.
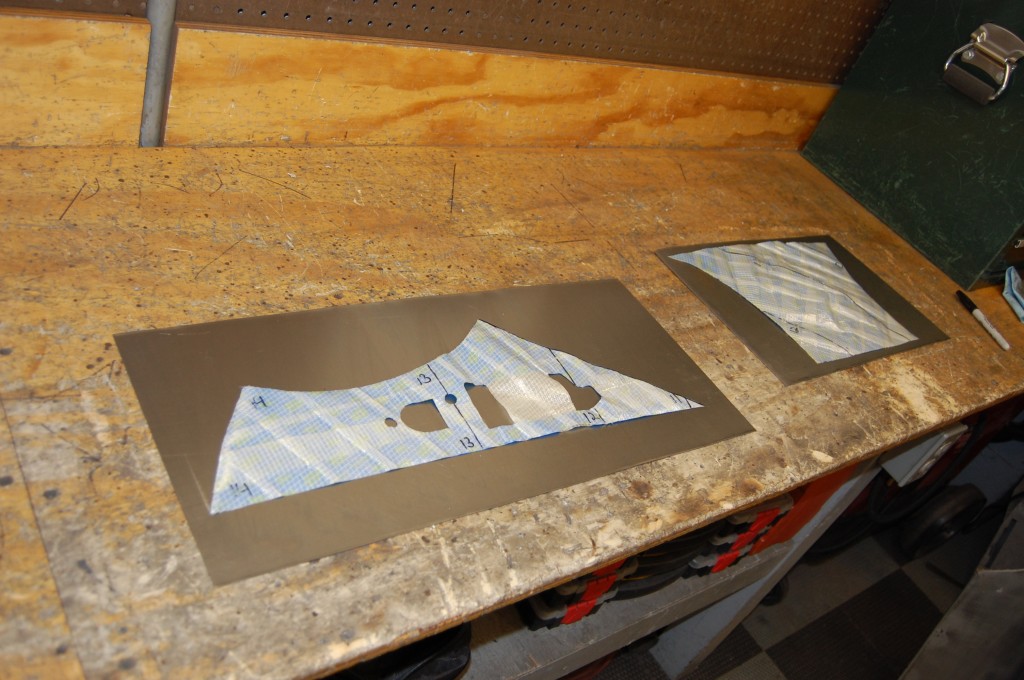
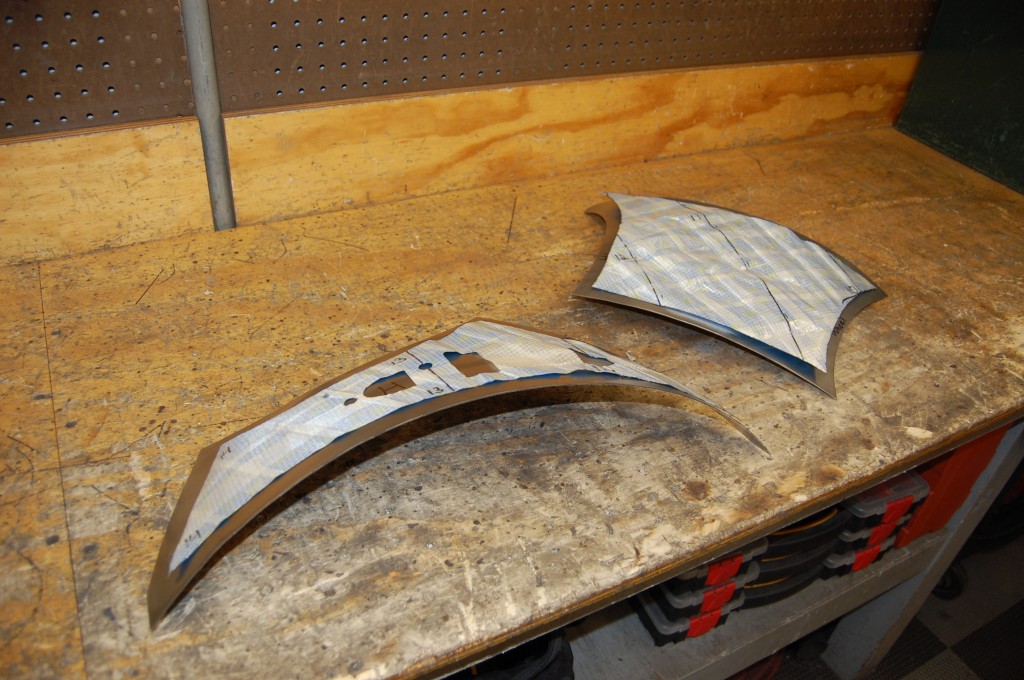
- I decided to make a new front extension, and also the area behind that as well.
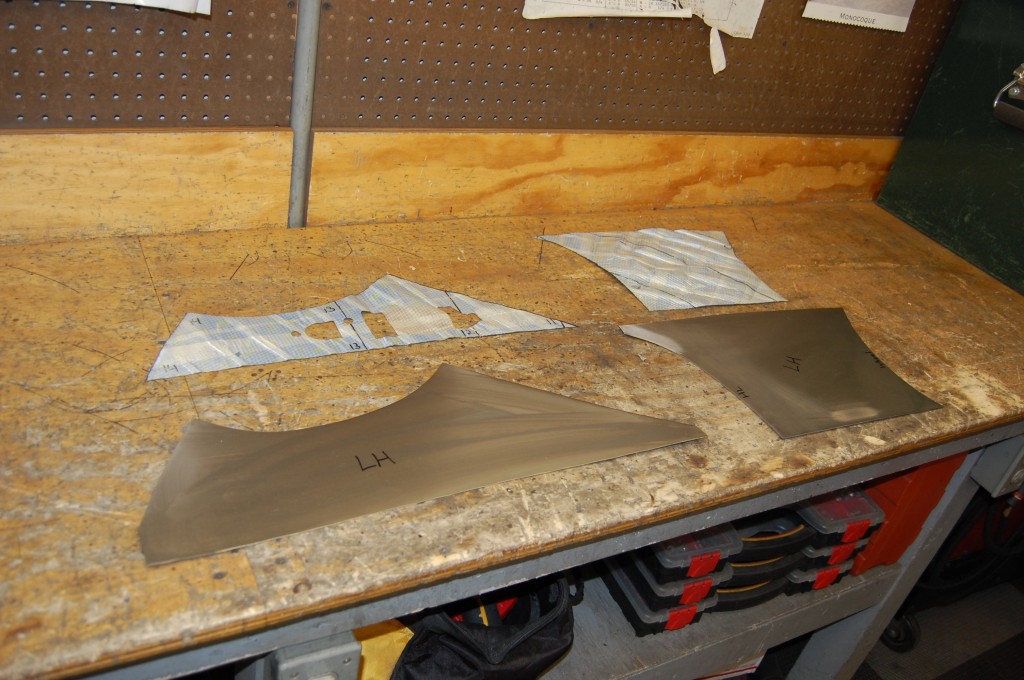
- Here are the pieces cut out.
- Next, we roll them in the roller to get a head start on the English Wheel work.
- Things got busy and the camera was put down. As you can see, I eventually decided against the second patch, and just used a dolly and slapper to smooth the whole area. Then I grafted in the new front extension piece. Here it is tacked in with the MIG welder.
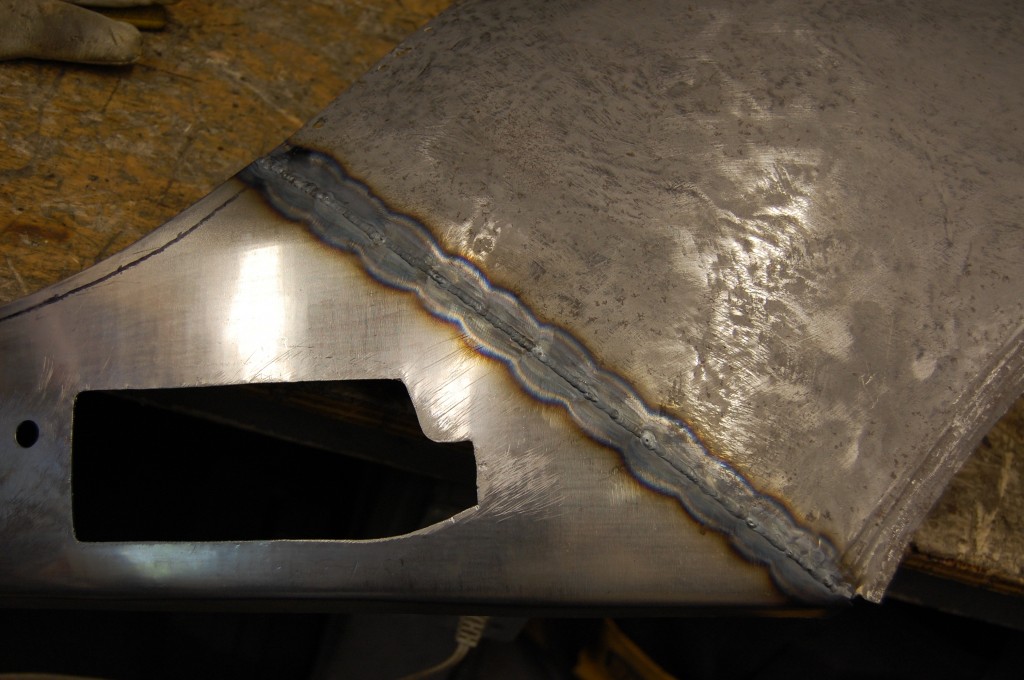
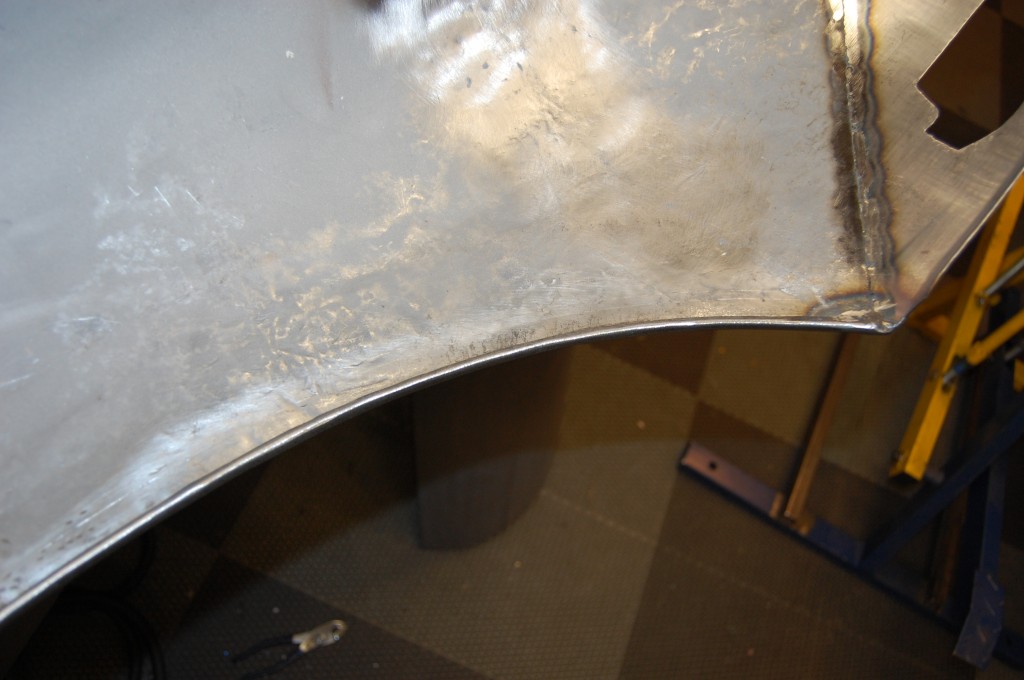
- Next, we carefully TIG weld the seam.
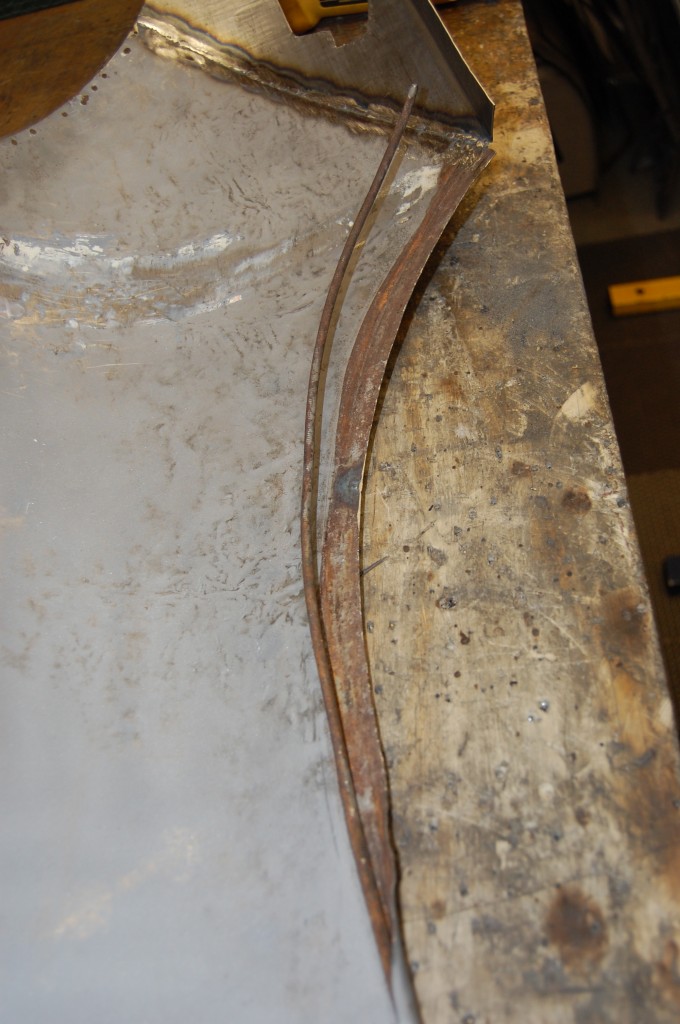
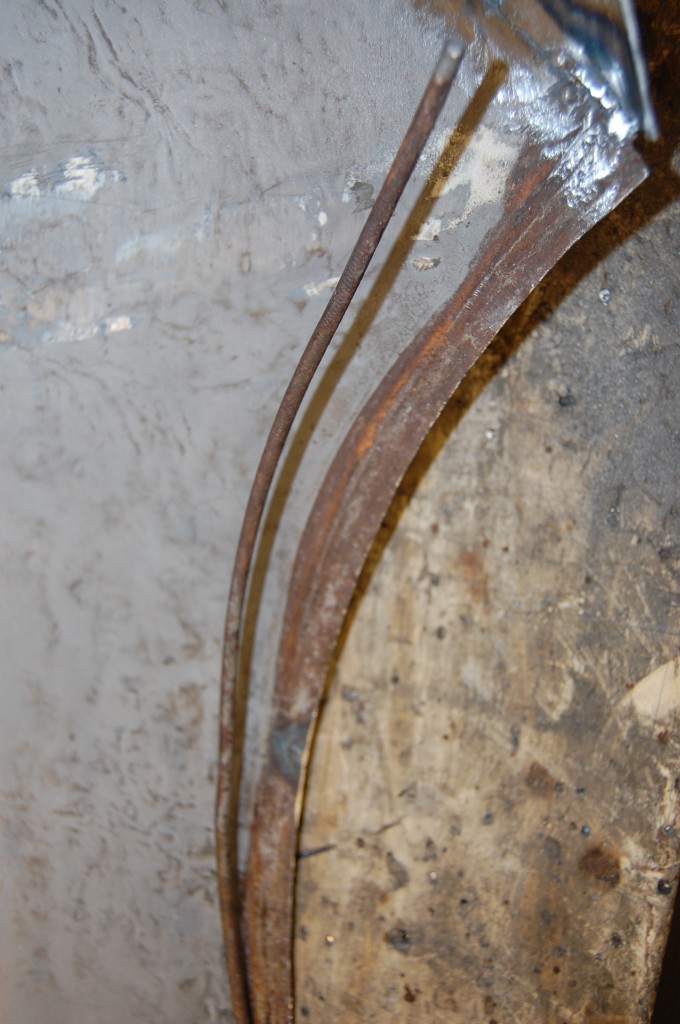
- Next, I addressed the problems with the wheel arch wired edge. I carefully unrolled the original skin and was able to smooth it out enough to re-use it without having to do a patch here as well.
- This close-up helps illustrate what everything on an E-Type looks like internally – RUSTY! I often try and dribble red oxide into these if I suspect they are going to cause problems down the road. But if you paint the car properly, these beaded edges will be sealed up well enough to keep the internal rust from growing.
- Since this was all opened up, I took the opportunity to sand the rust off… Check out the bench surface – compare that to the first blog posts three years ago – what a difference! The amount of E-Type panels that have been restored here to “antique” this bench is really unbelieveable. I think that when we move into the new shop, I am going to pull the top off the old bench, laquer it, and make a coffee table out of it for posterity (Yeah – like I have time for that…)
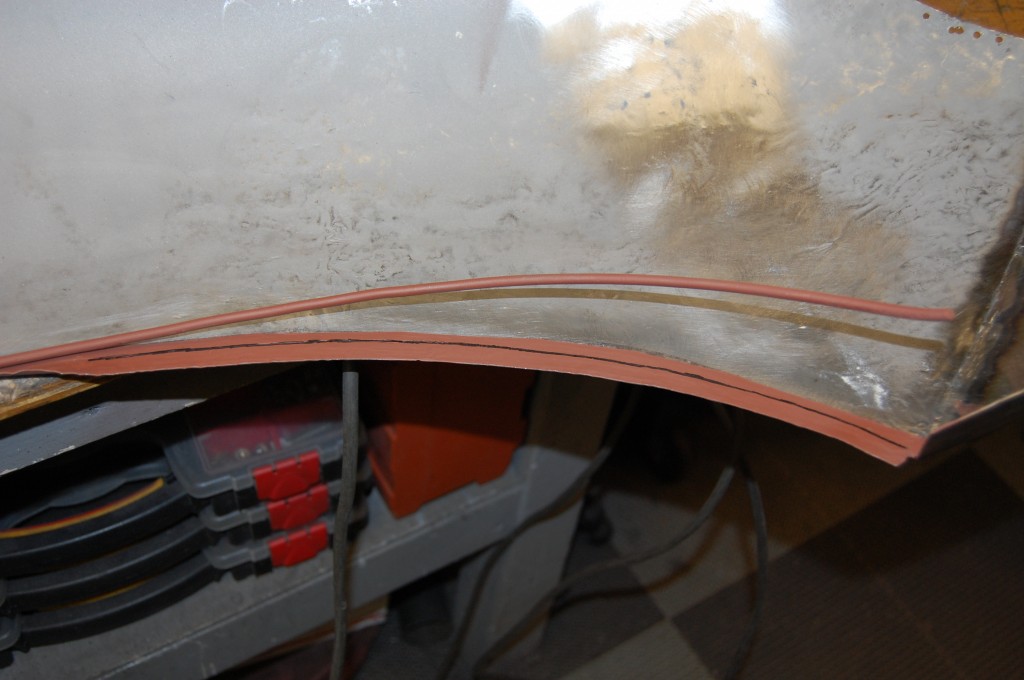
- …and get some red oxide in there!
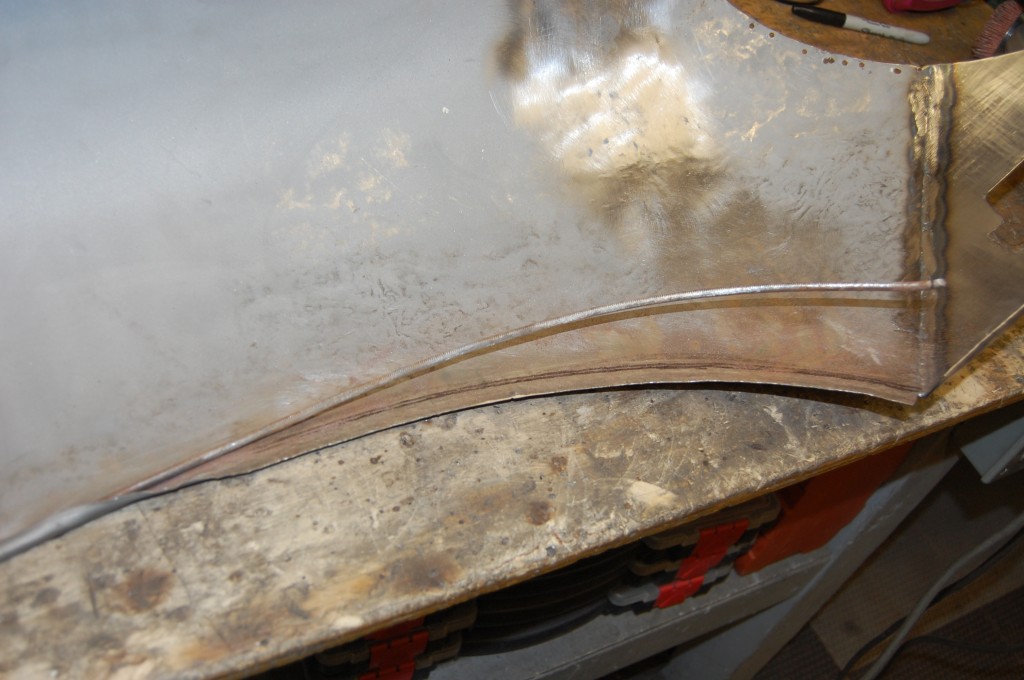
- Here, the repairs are completed, and the seam has been hammered and dressed so that it is invisible. I’ve also hammered the wired edge and smoothed it.
- So the front and the wired edge are repaired, but we still need to shrink and scuff the hammered area tomorrow AM – but it’s pretty smooth now – this is actually already excellent as it sits!
- Here is a shot of the inside of the wired edge – MUCH better!

