Step 1 for our part of this project was to locate a suitable donor for the internal shell to be built from. At first, we were going to use a 1962 Coupe shell that we picked up in Michigan in 2012. This shell had an excellent roof, but had its rear wings and a portion of the tail cut off, with the usual rust in the floors, etc. This was the plan for about a year, until we ended up with a better shell for this purpose…
Another customer we are working with brought in their shell for restoration, but we ended up finding them a better shell to start with, Their car was a “restored” 1965 FHC purchased on eBay a few years ago. DON’T DO THAT – you’re about to see why… In the end, this 1965 shell ended up being a better choice for this project.
Recently, we dissected this shell and sent it over to John to be blasted. I doubt you’ve ever seen an E-Type dissected quite this far!
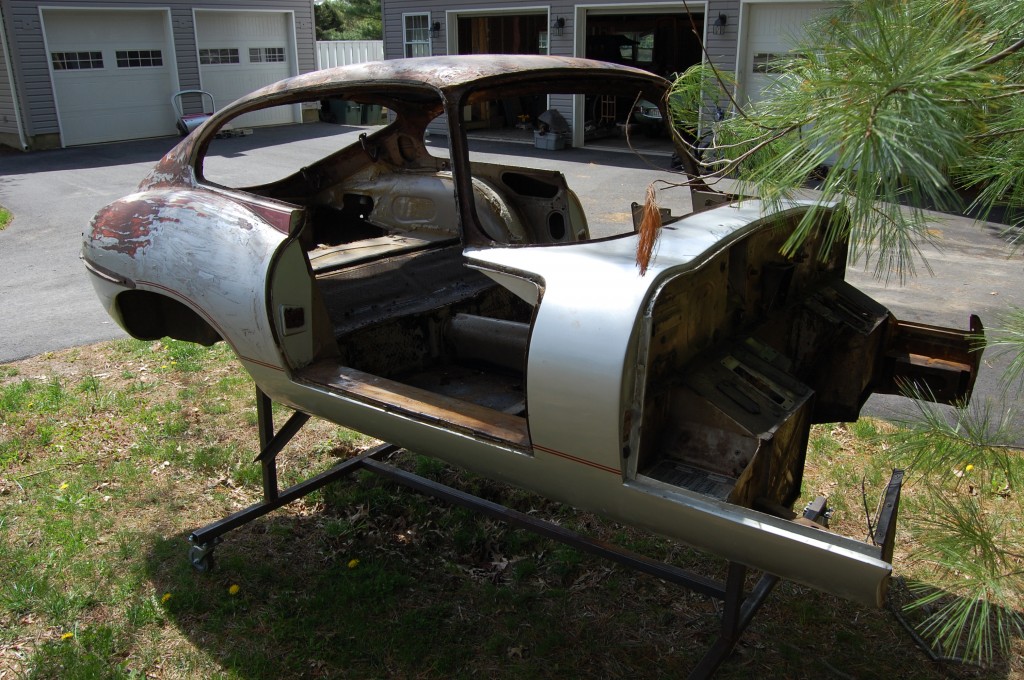
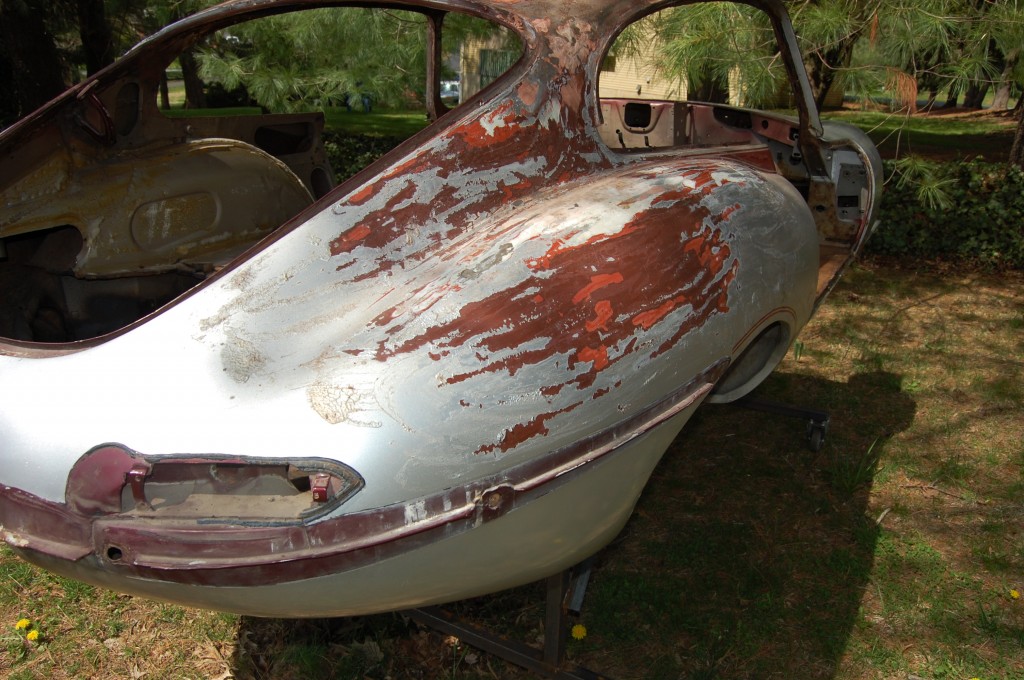
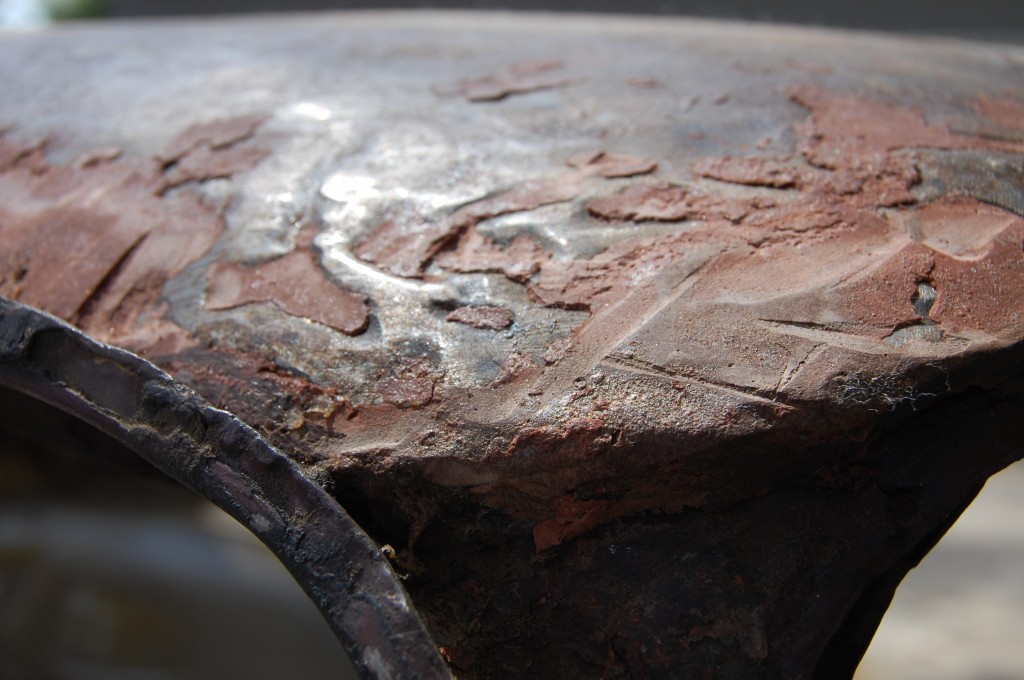
- Our donor shell – a 1965 Fixed-head Coupe. The owner decided that the paint needed to be freshened up, and that they would strip the car down bare before doing so. That’s when the nightmare started… This car was rolled and then skidded down the road on it’s roof! Someone spent ALOT of time “rebuilding” the car – which included about 3/4″ of filler in the roof!
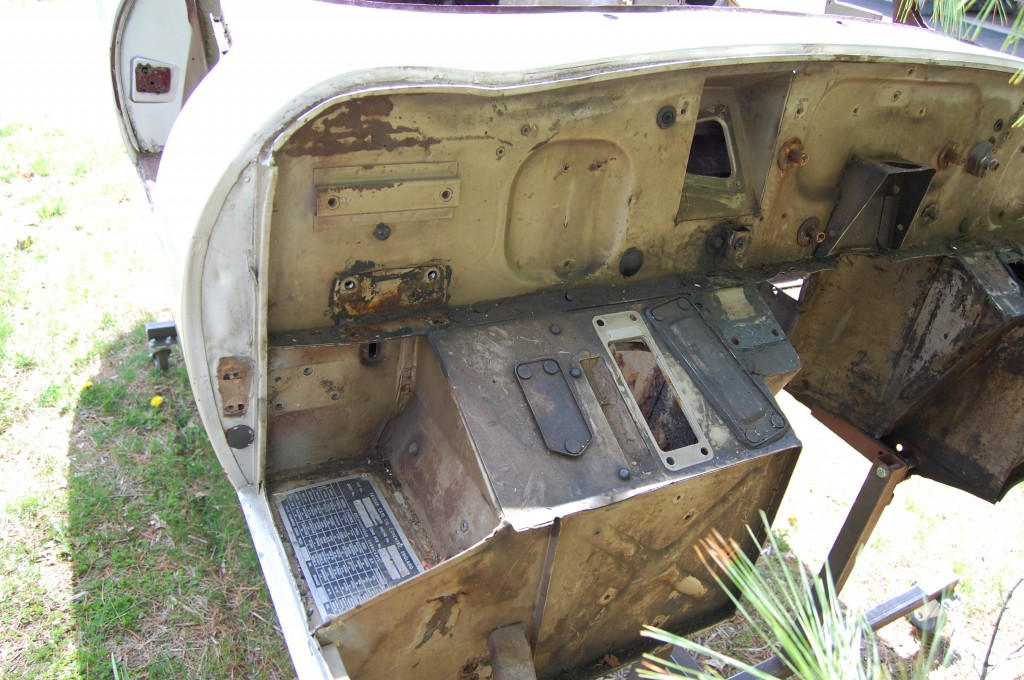
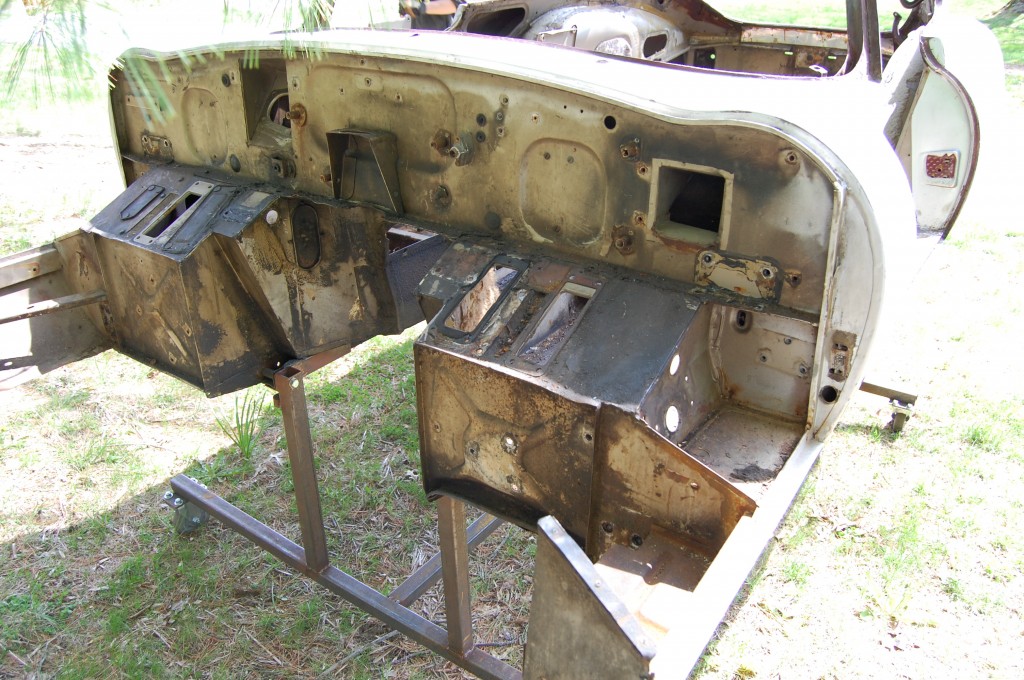
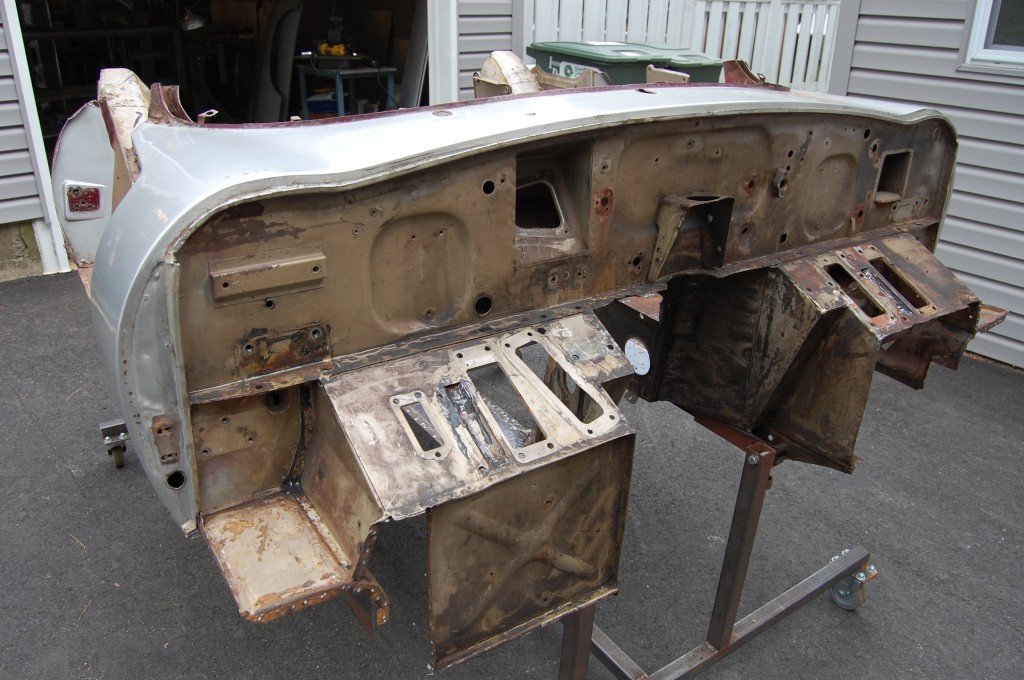
- It’s the perfect donor for us, since we don’t need the roof anyway – AND, the 1965 firewall is perfect since it has the 3.8 pedal bo arrangement, but NOT the holes in the firewall for the 3.8 bellows. Instead, we will use the crossover 1965 pedal box.
- See – the car DOES have the 4.2 servo-style X-panel. The firewall and entire front bulkhead are excellent.
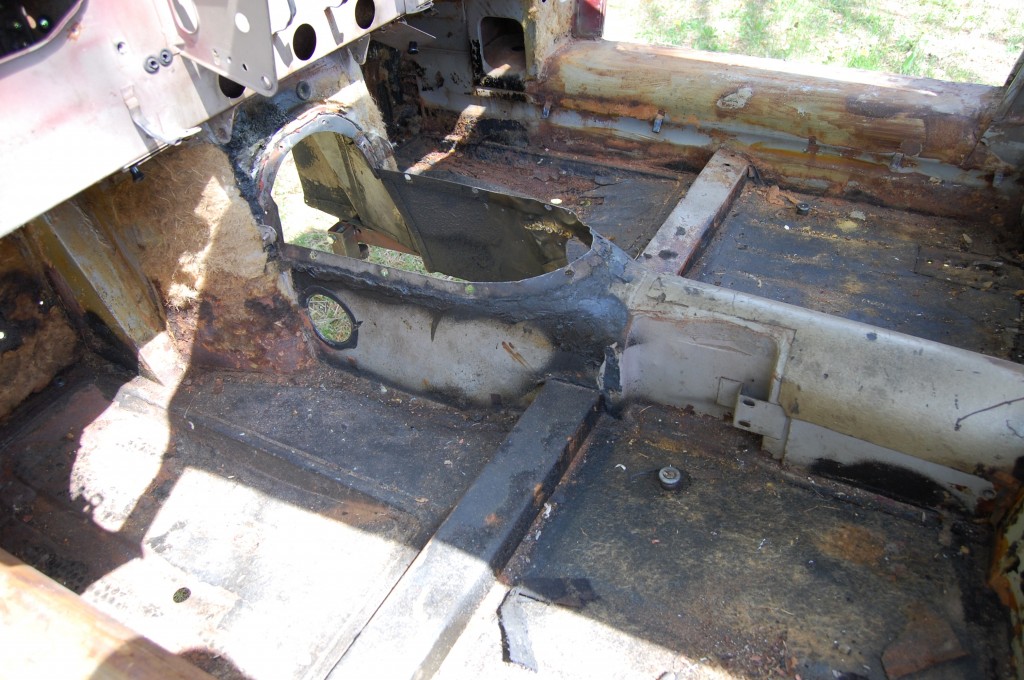
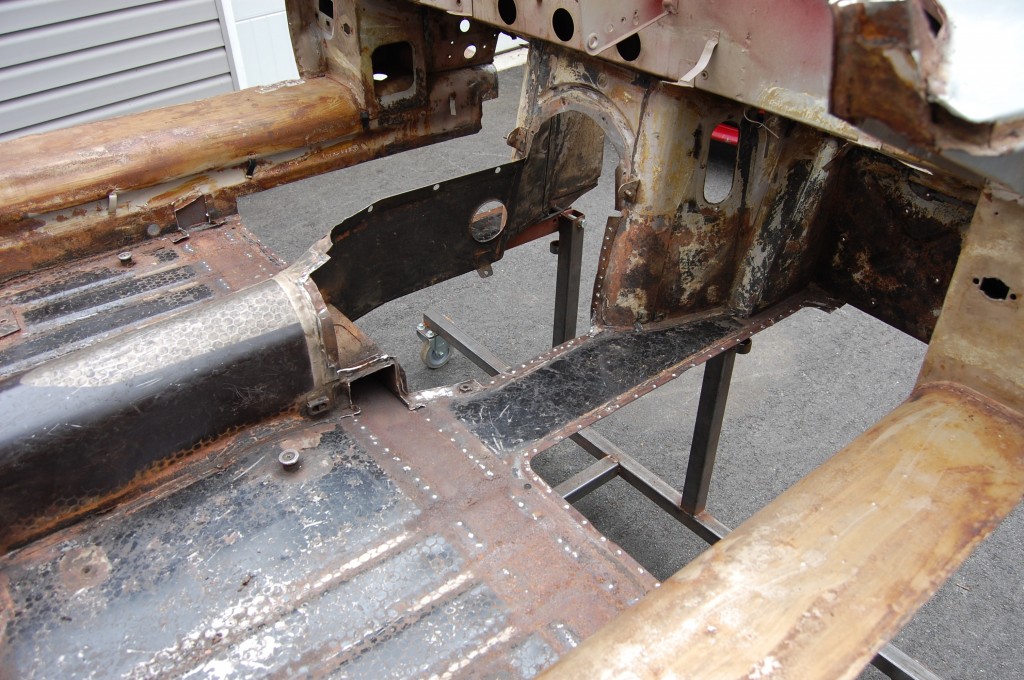
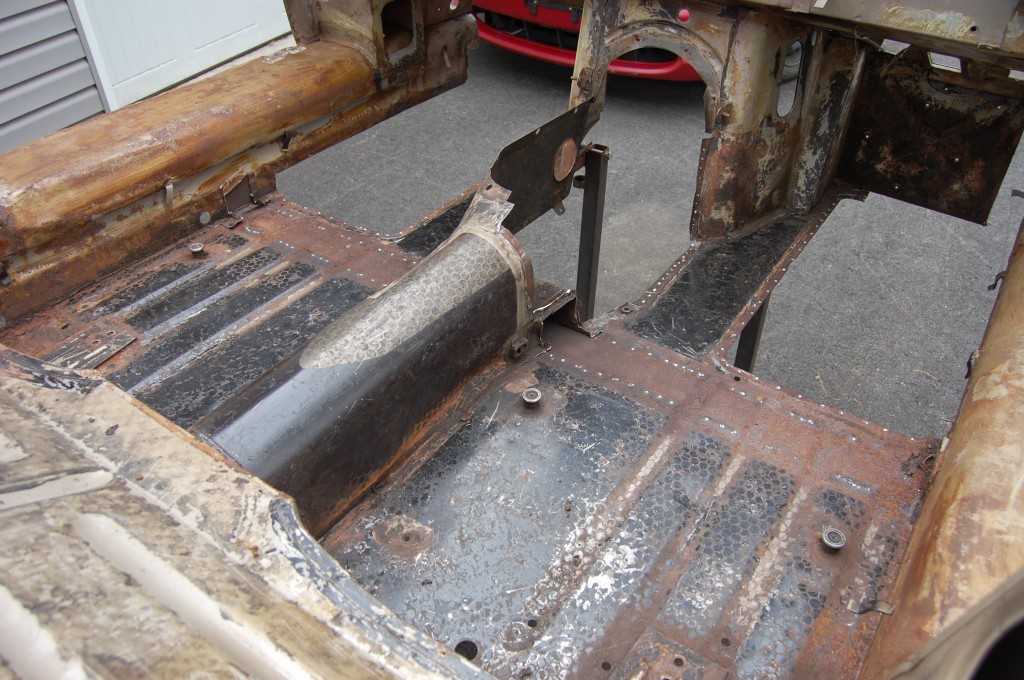
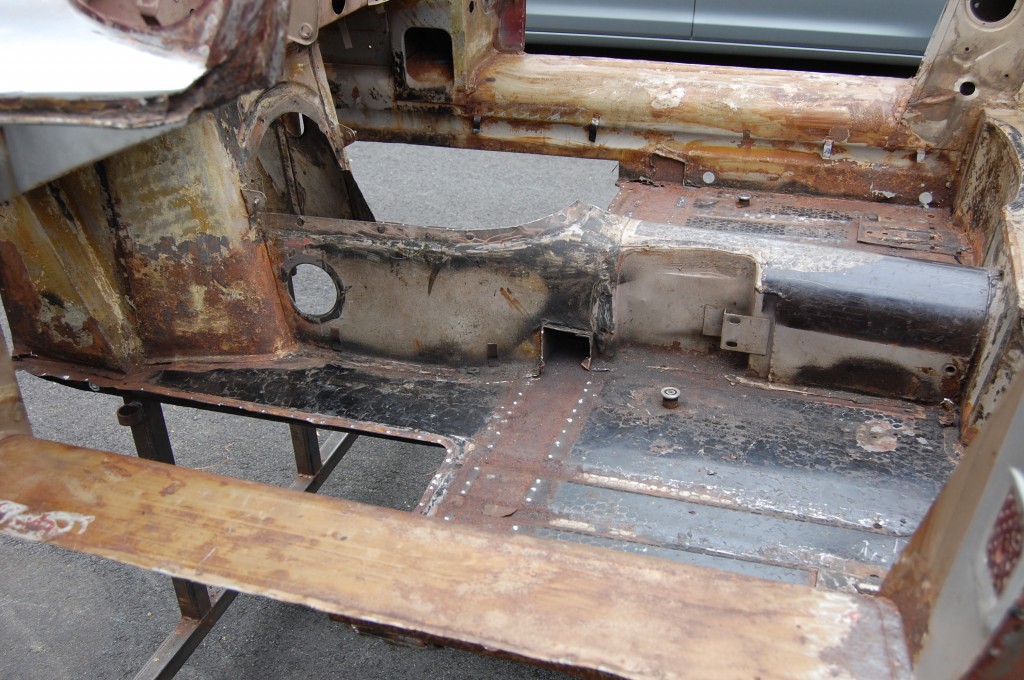
- The floors and tunnel are also quite good.
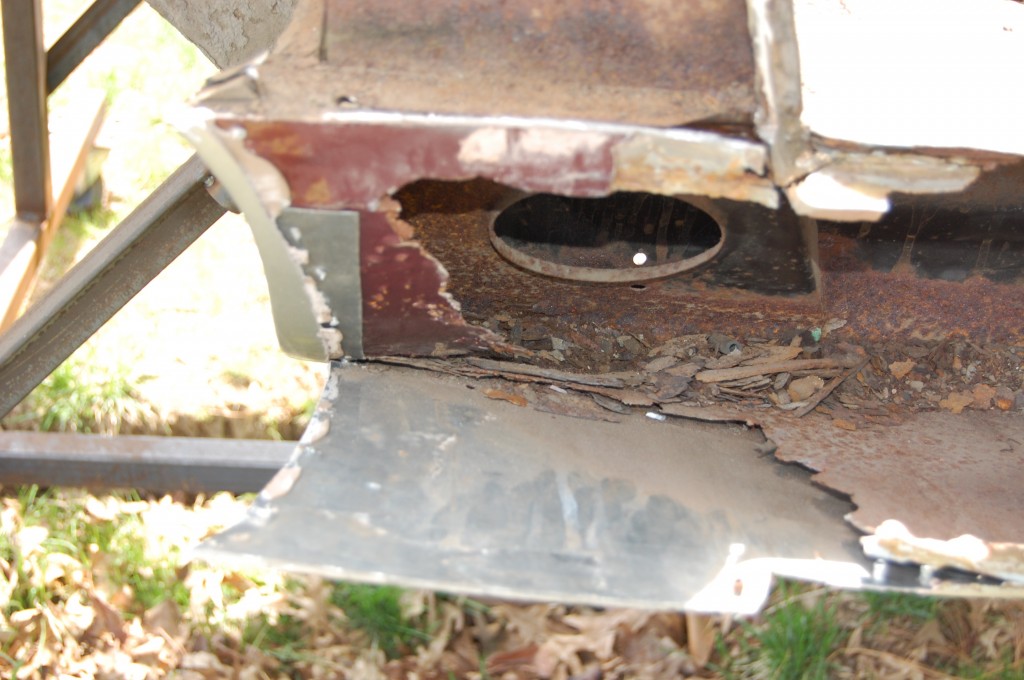
- This area in the LH rear is mangled up from the big wreck, but this all comes out for this project anyway…
- The rear wings also had MASSIVE amounts of filler – another reason this was the perfect donor for an E-Type destined to be reskinned with wider aluminum rear wings.
- What a repair job this was – they actually cut the roof completely off to do it…
- See…
- MASSIVE filler in the roof – I ended up taking the whole 9 yards to the recycler – even the stiffening panels around the edges were trashed…
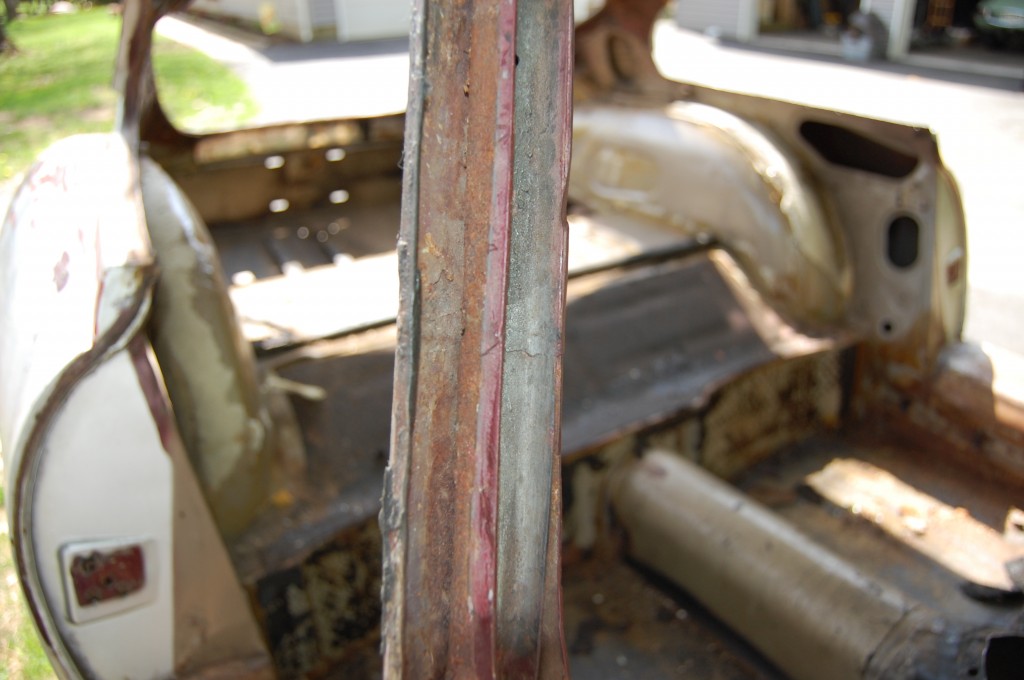
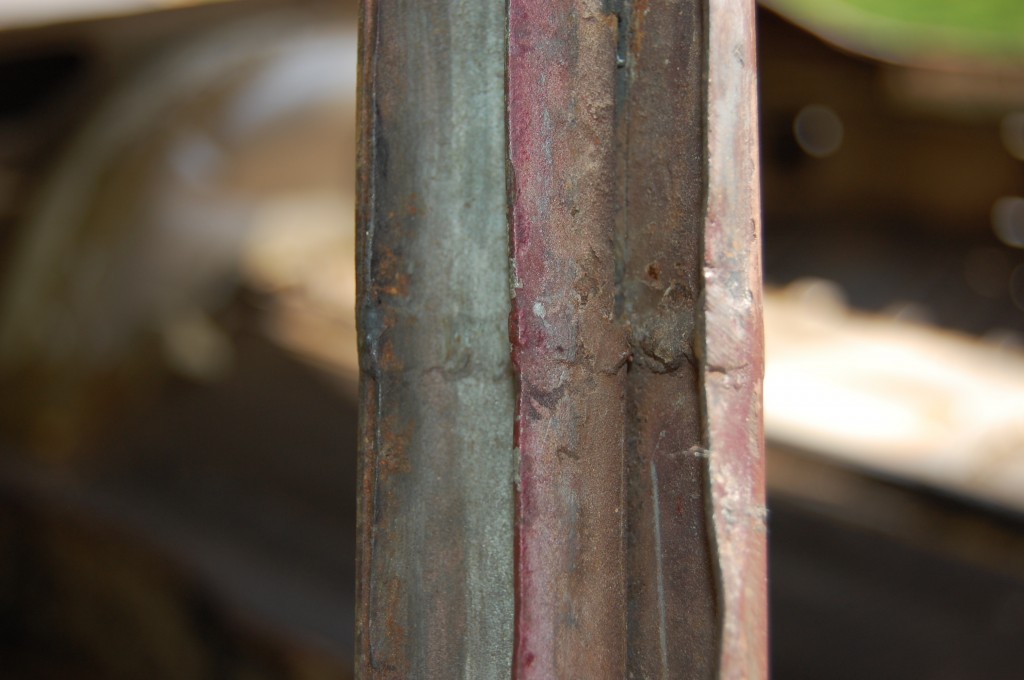
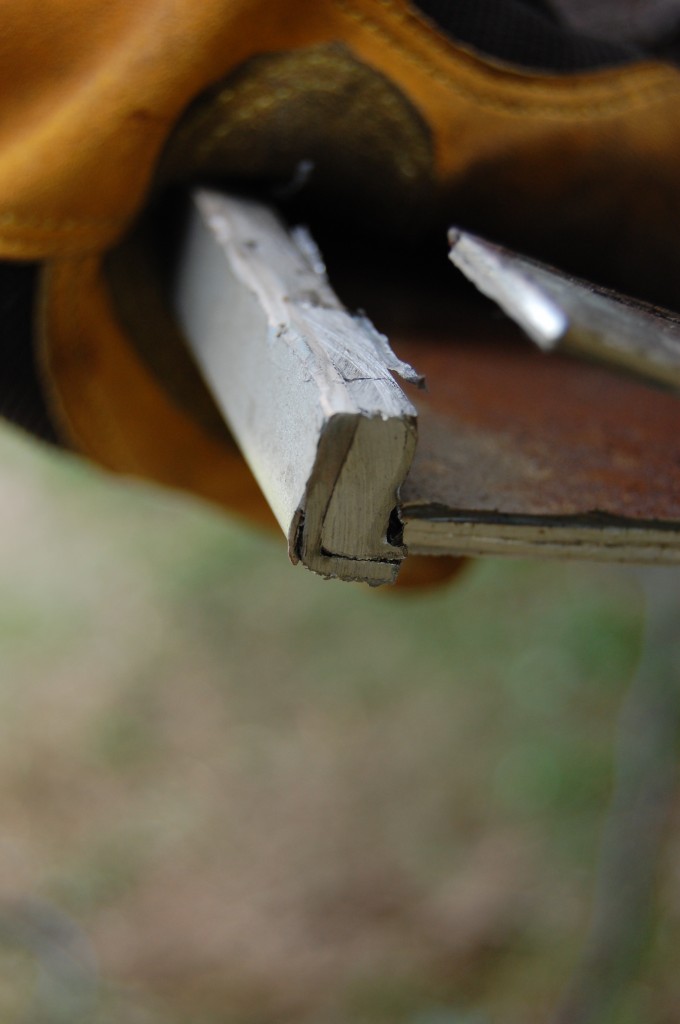
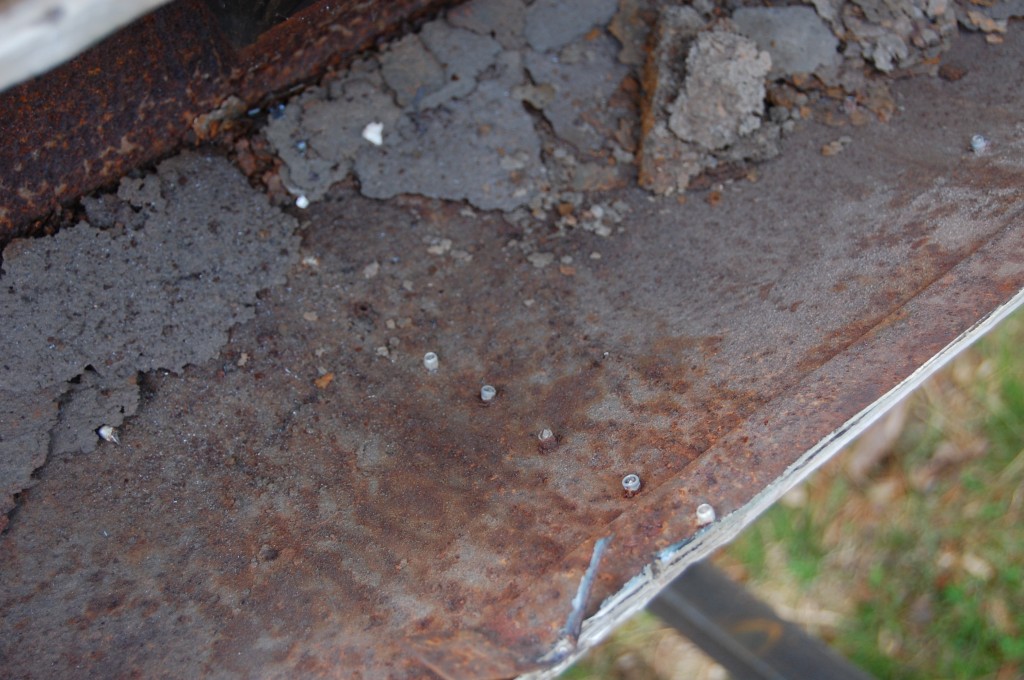
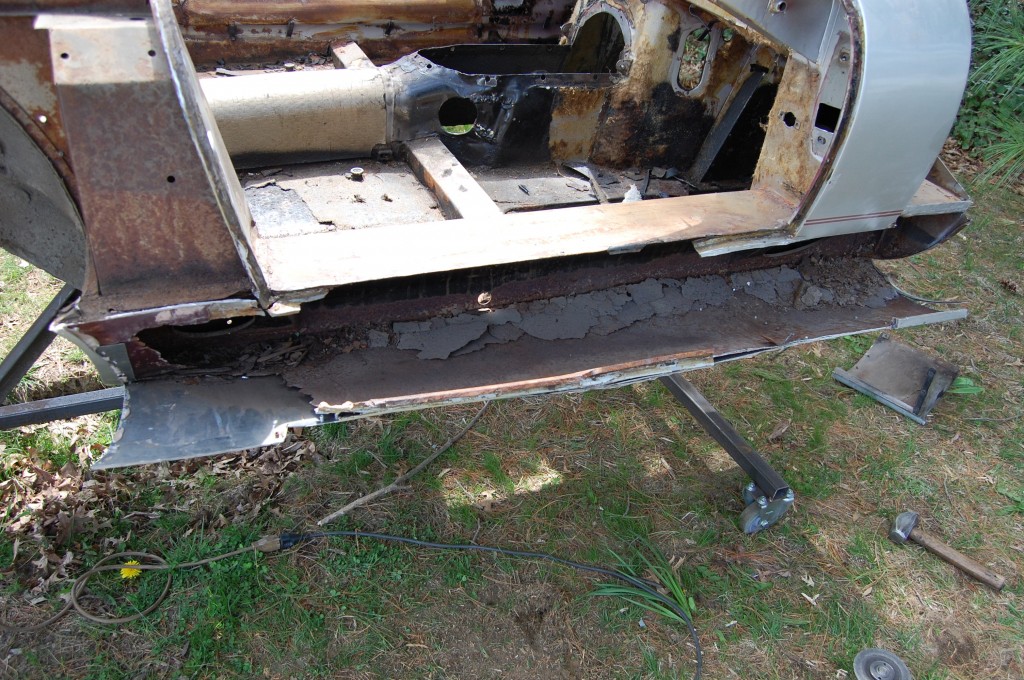
- Dissection begins and there are even more nightmares – this is galvanized sheet steel pop-riveted right over the original, VERY rusty sills. Sadly, this is NOT the first time I have seen this…
- A “sill-lead-sill sandwich” in the front stickout portion of the RH sill.
- What a mess… See the pop rivets”
- Another shot – this one woyld have been expensive to completely rebuild back to stock configuration.
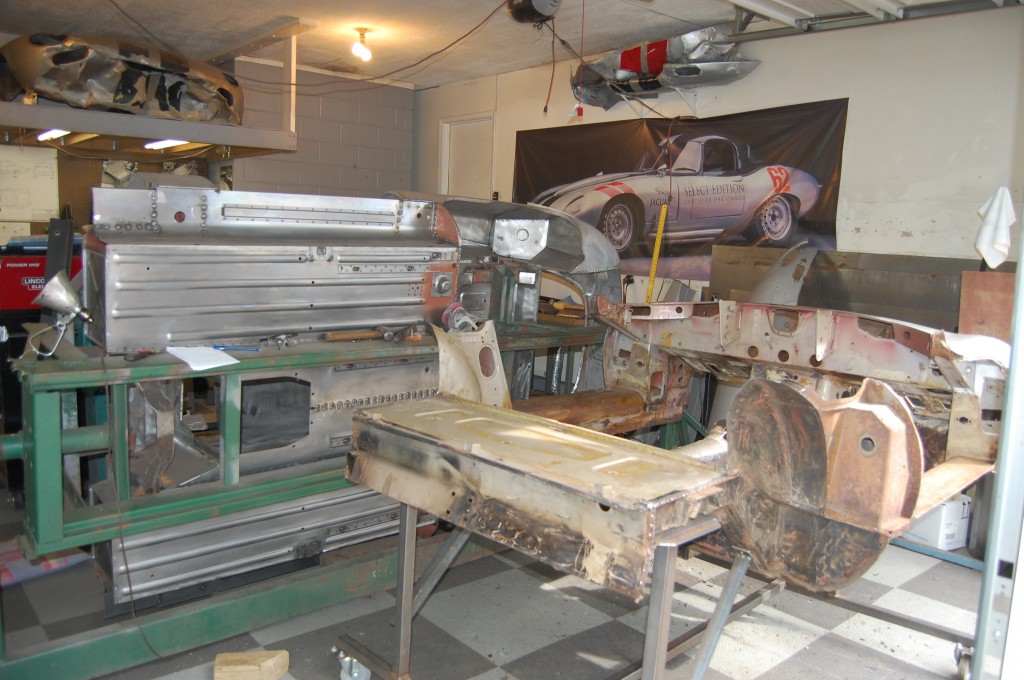
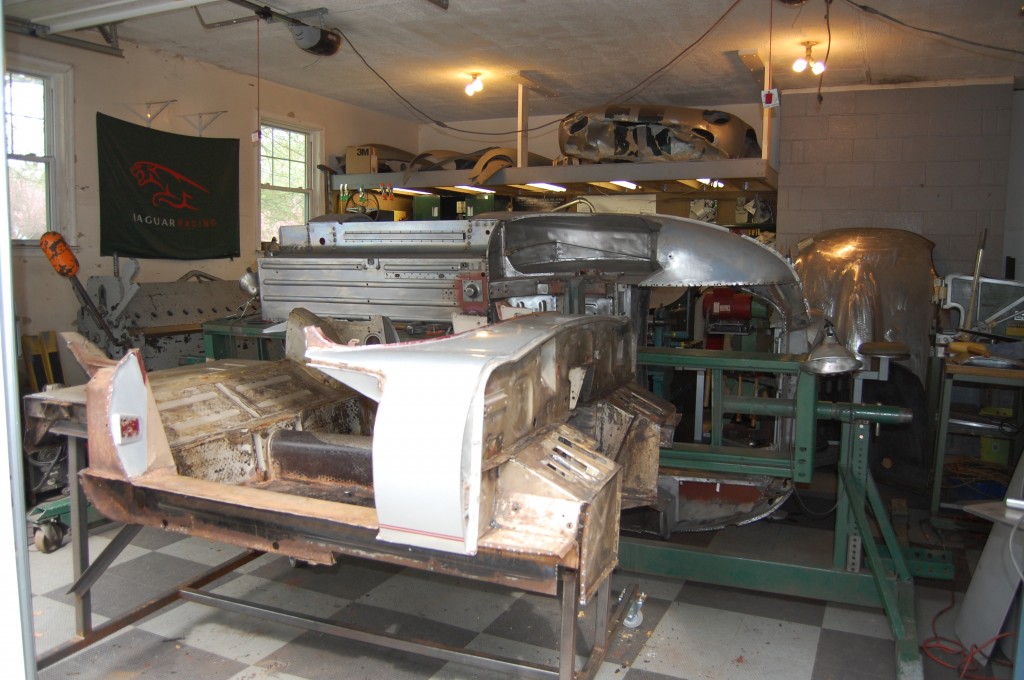
- A few days later and we have REALLY cut it down now! The car behind it is the 43rd LHD E-Type built – stay tuned for LOTS of blog entries on this SUPER early E-Type!
- Another shot of multiple E-Types being restored – shells, bonnets, doors are EVERYWHERE!
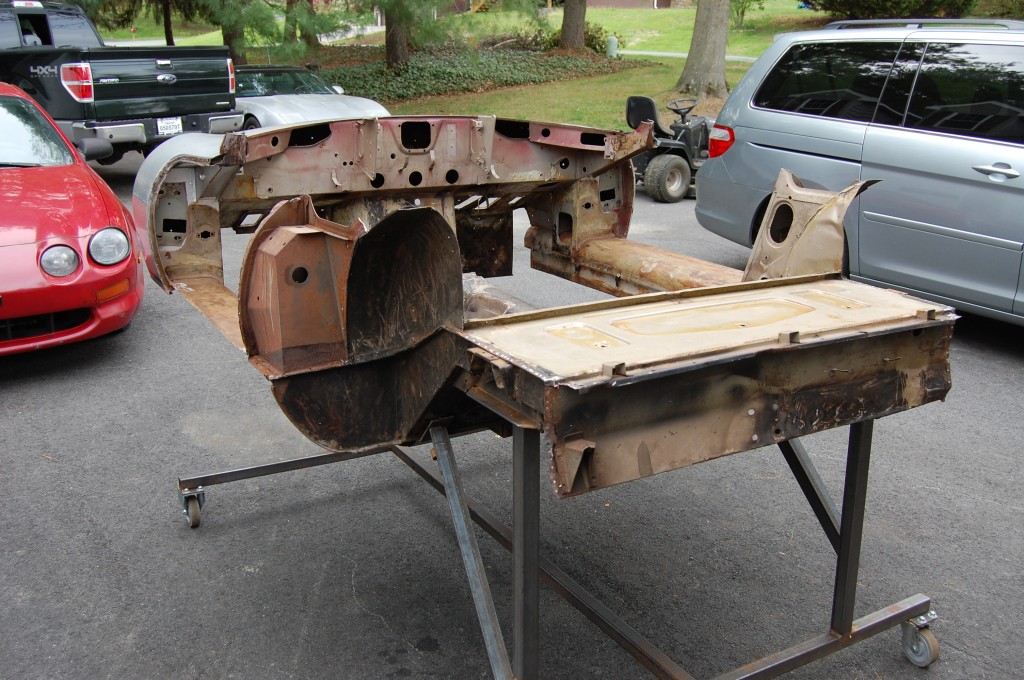
- Just disregard the cars in the background – my, Brent’s, and Janie’s daily drivers – plus the ride mower we are about to use to drag this down to the sandblast booth about 1/2-mile away from the main shop… There’s not much left now, but what’s there is all excellent original metal that we will now build up from.
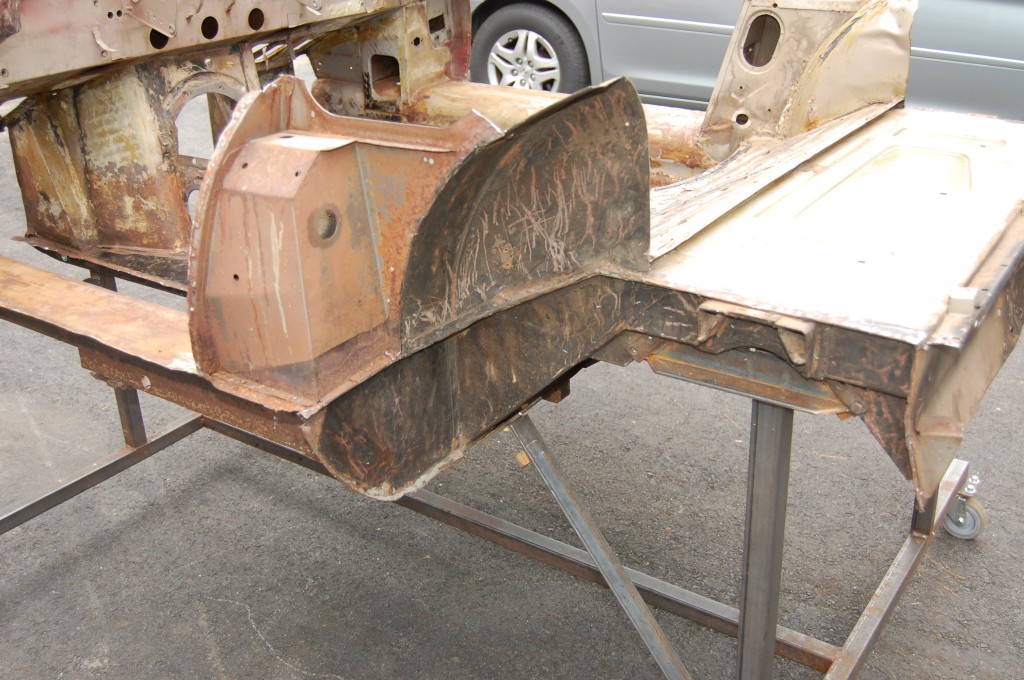
- The RH trans side panel was butchered for access to the gearbox in the past – we will replace it with a perfect reproduction.
- We have taken out the LH X-panel and the bulkhead closing panels, but everything else up here is perfect and just needs a good blasting.
- The flanges of the crossmember were rusty, so we have removed the outer sections and will replace them. Rust where they meet the inner sill will require a patch there as well, but that will allow us just enough space to slip a subframe tube into here. We have also removed the slightly rusty, but VERY dented footwells, and the rusty lower section of the inner sill. Typically, I would probably replace the inner sills on this shell as well, but in this case we are trying to salvage the factory seams for a virgin look on the interior of the finished project – as this car will have no interior carpeting, etc. Our patches will be virtually seamless, and reinforced by more subframe tubes in the sills.
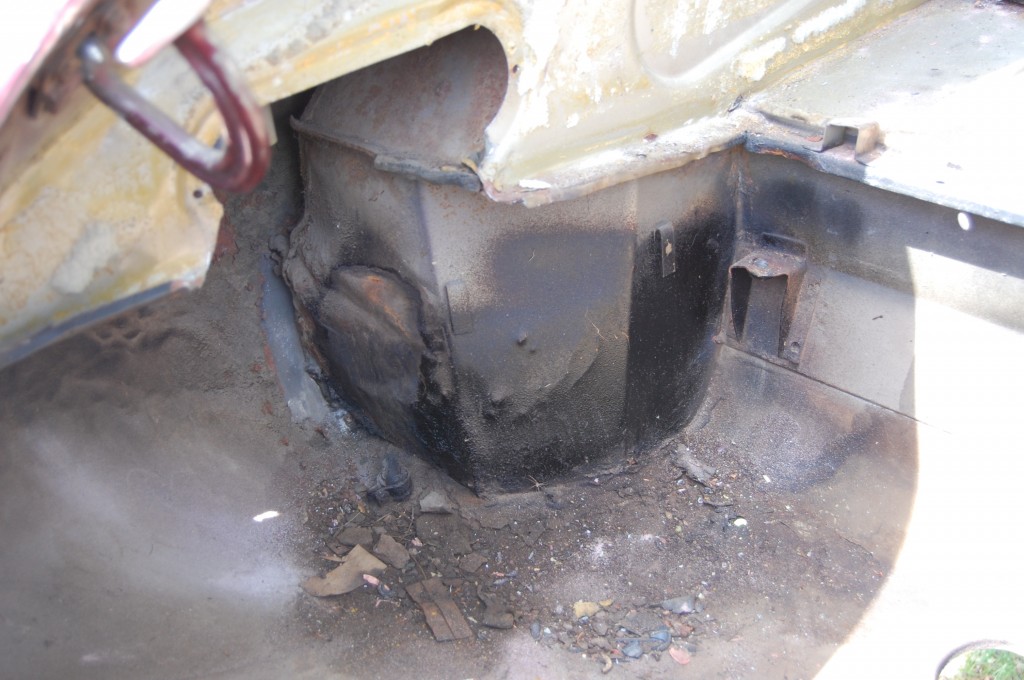
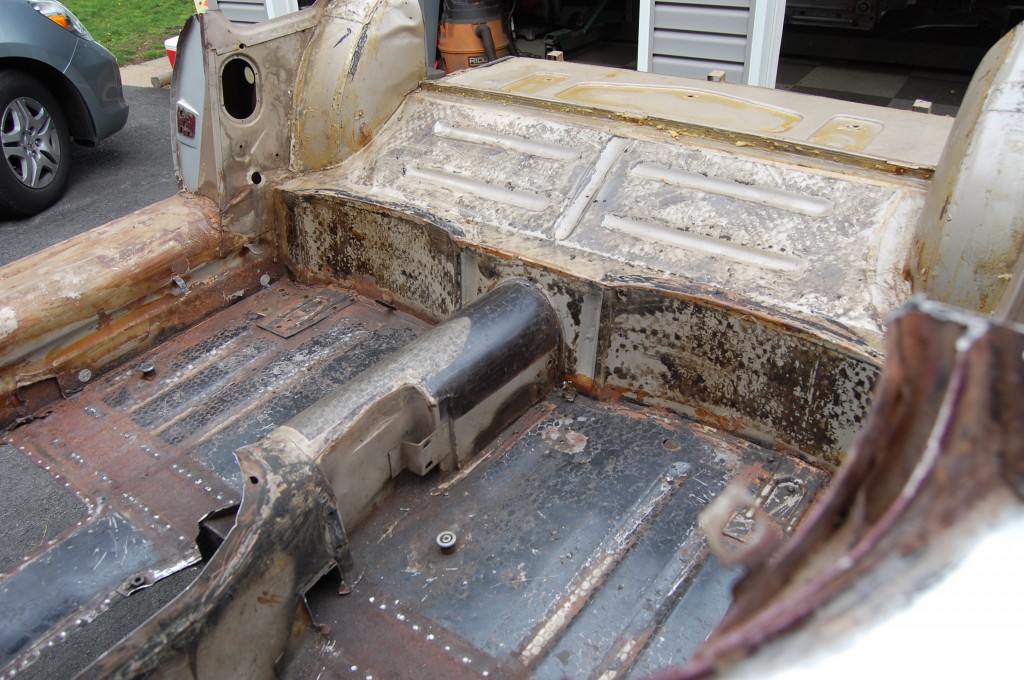
- In the rear, we have left a portion of the coupe’s inner rear wheel arches. This area was all custom on the real EC1001, and some poetic license will be used back here in the replica. From here back, the internal shell will be built up of OTS panels – like the real thing.
- All in all, a great starting point I think.
- The rear lower bulkhead is excellent, but has a little rust just behind the radius cups underneath. I’m hoping to repair it without having to remove the seat dishes, but if I do have to take them out, I will stick subframe tubes inside the rear bulkhead as well. Stay tuned, this might be an ugly duckling now, but soon she’ll be a Swan! – or at least a good-looking inner skeleton of one!

