Here is a good “start-to-finish” look at an E-Type wing being reshaped and smoothed. This is typical of many of the bonnet panels that come in here – wrecked in the past, and then poorly hammered out and filled in the past. So we’re not just repairing the accident damage, but all of the secondary damage done by a past “body man”…
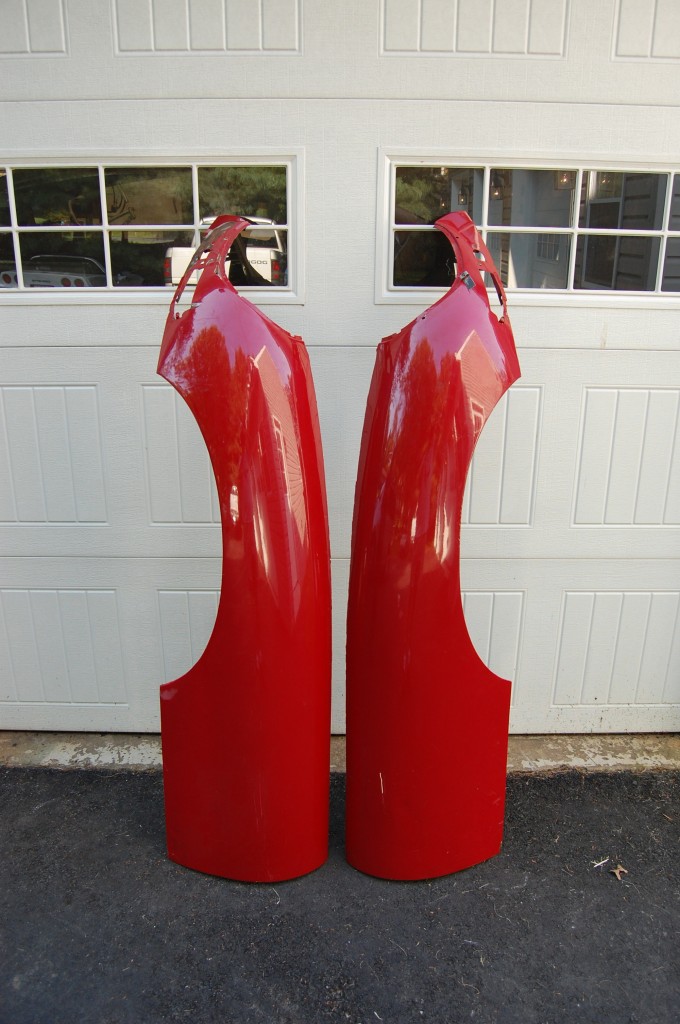
- We were treated to the same fun with the wings – lots of paint and filler over poor metalwork…
- Of course, starting out, things didn’t look that bad…
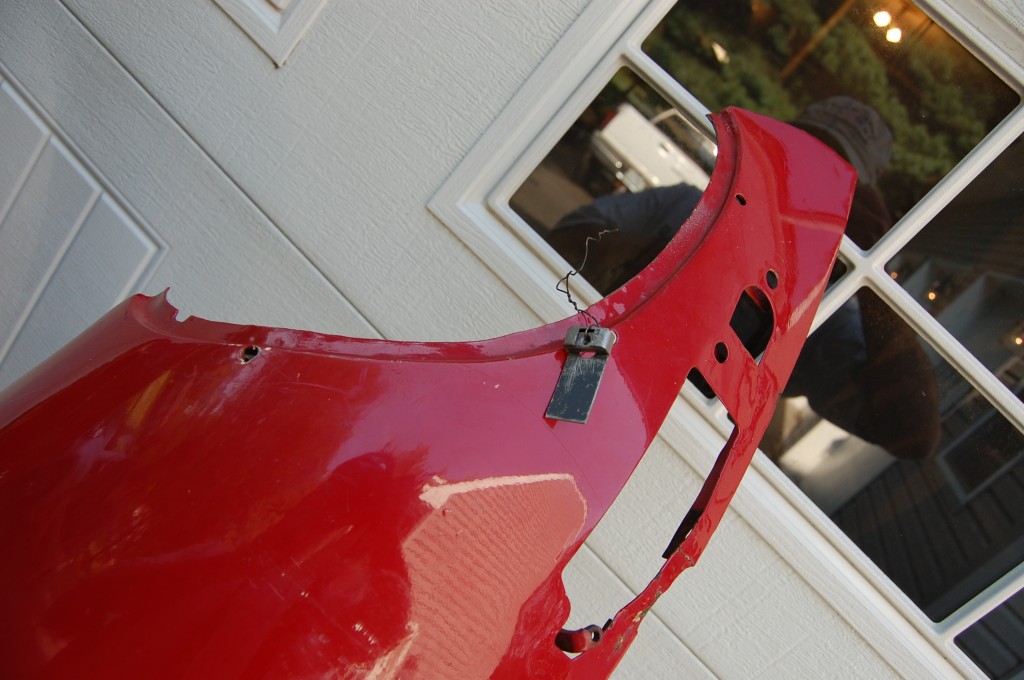
- Here, you can see that the filler is pretty excessive…
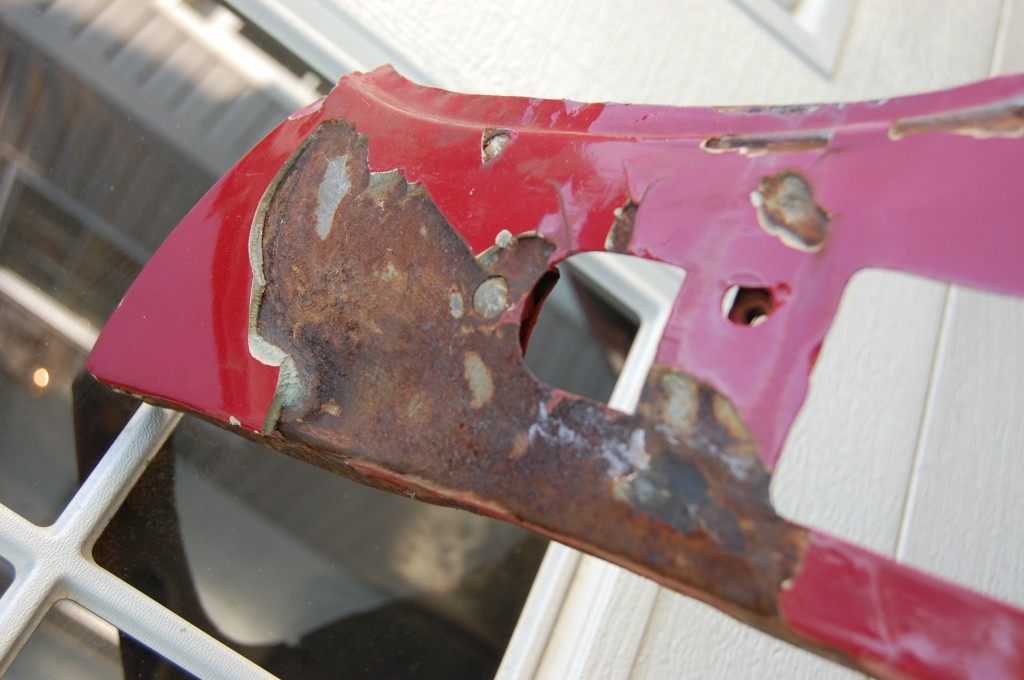
- Once they were stripped and blasted, though, I could see that I had my work cut out…
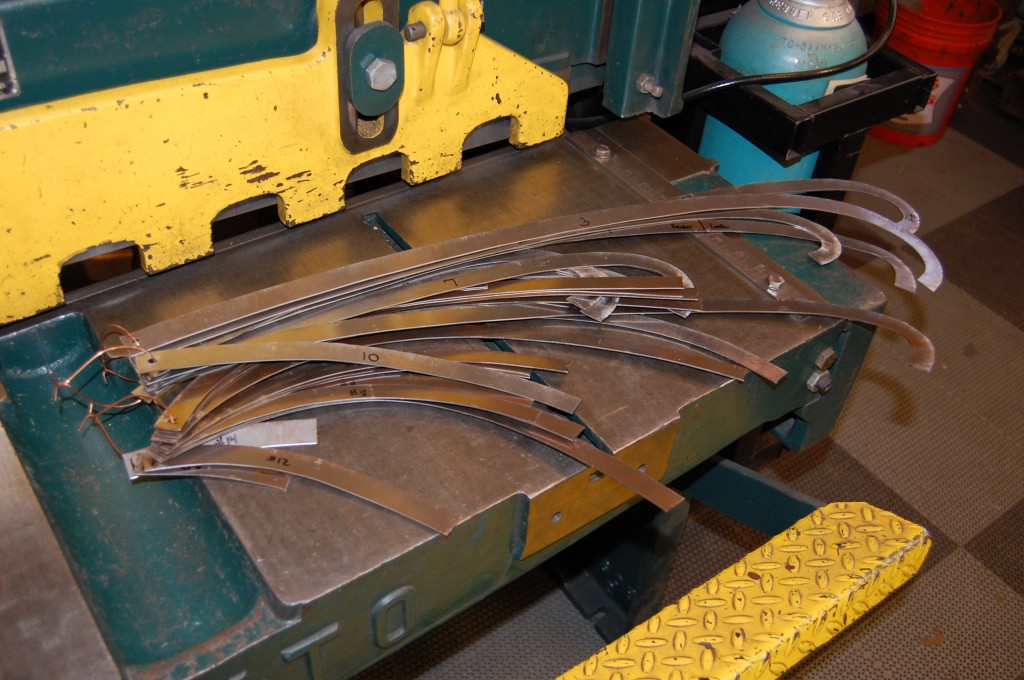
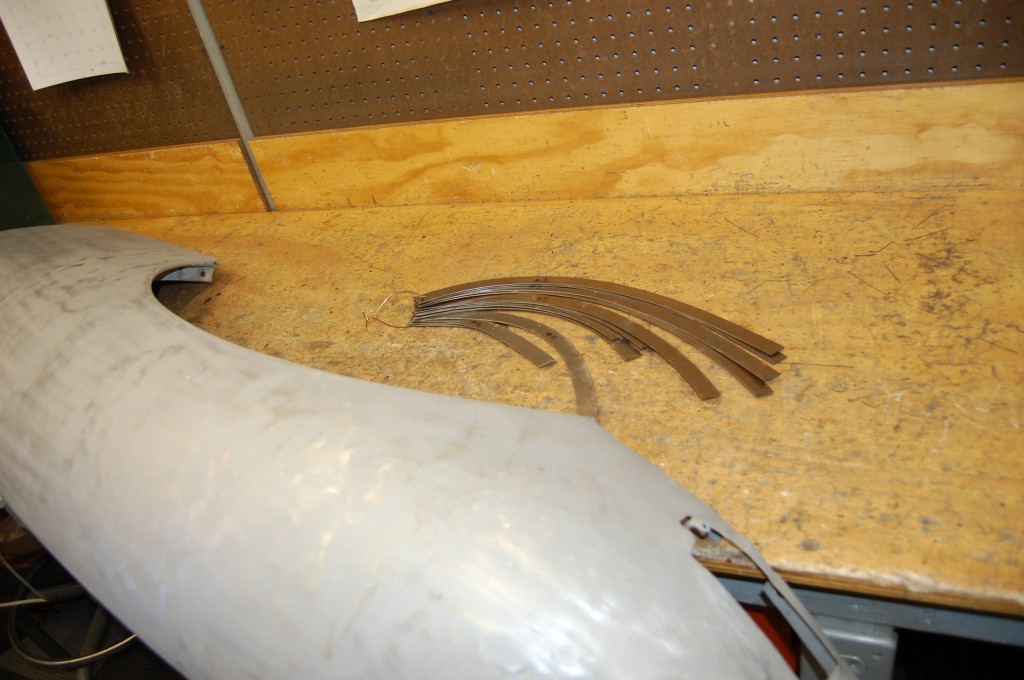
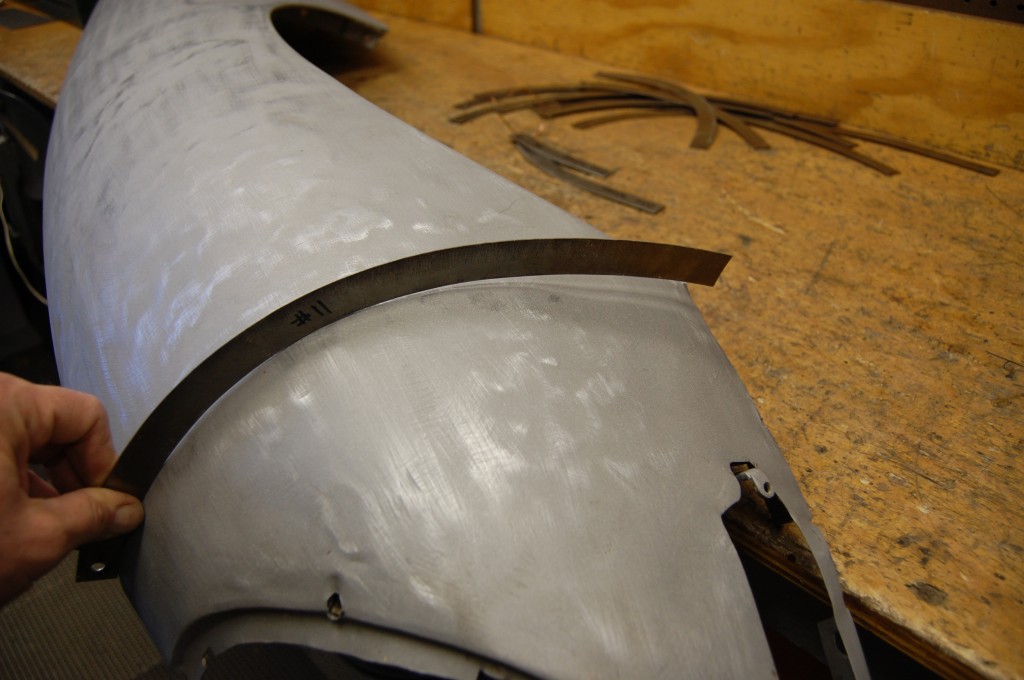
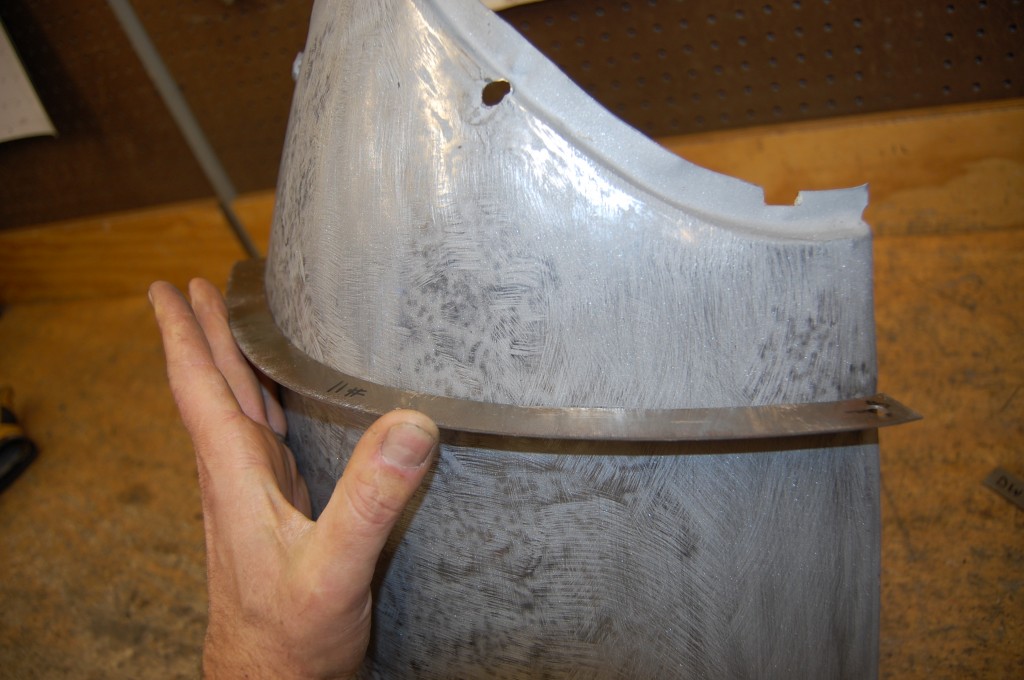
- So out came the contour gauges. These are from the nicest, straightest, most original Series 1 bonnet that has ever gone through the shop. It was here for 2 years while the owner worked on other parts of the car, and it was my “MASTER” bonnet. Eventually, she headed home, but before I could let that happen, we dropped everything and spent two LONG days patterning the whole bonnet.
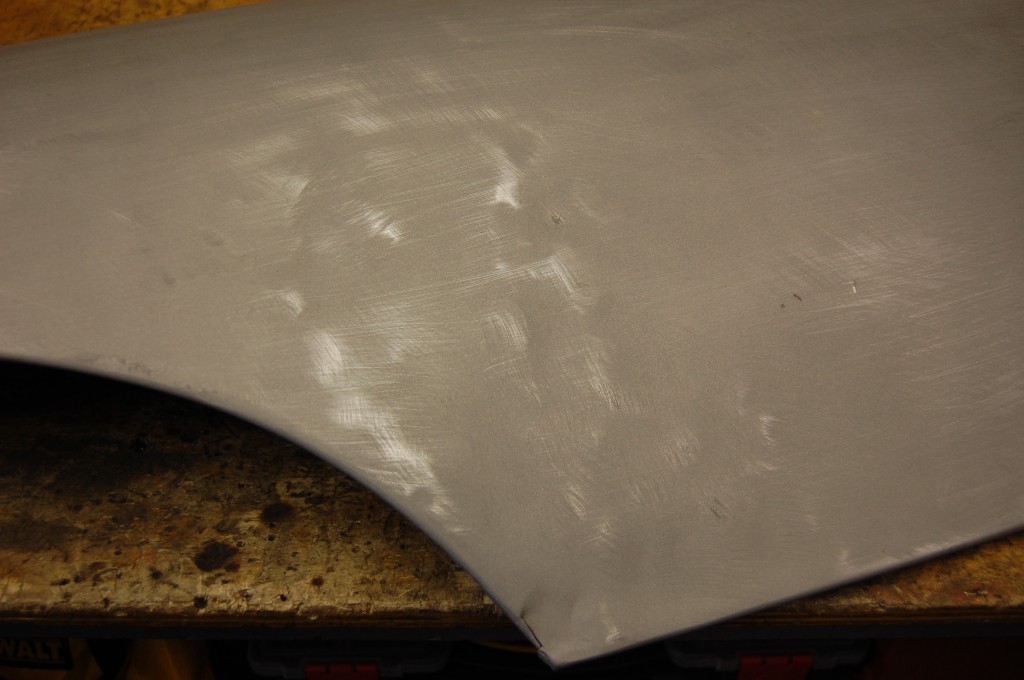
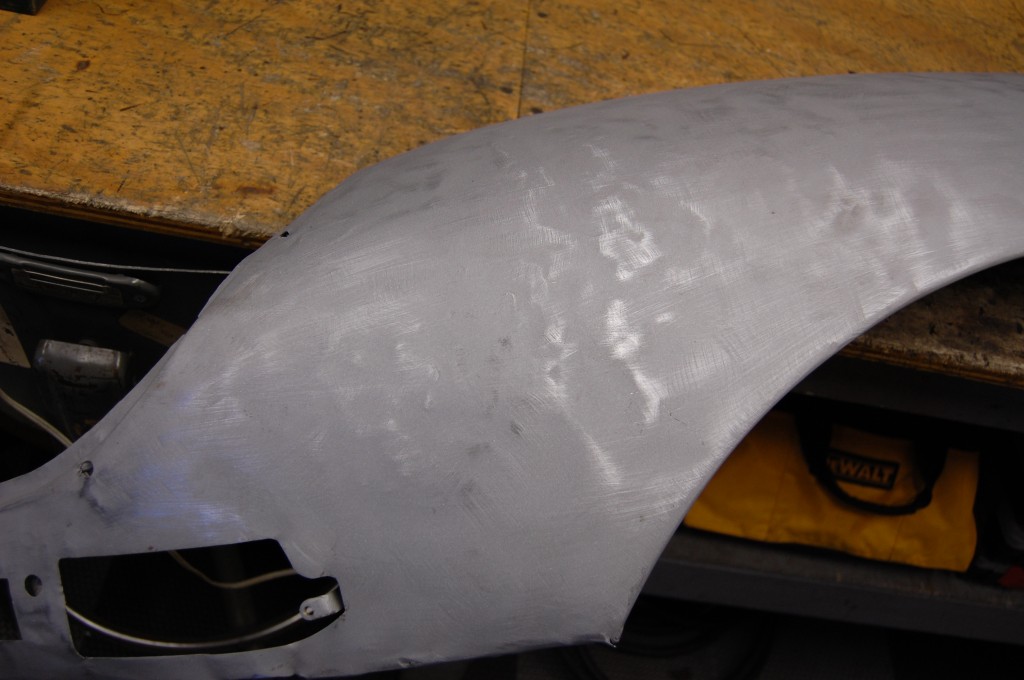
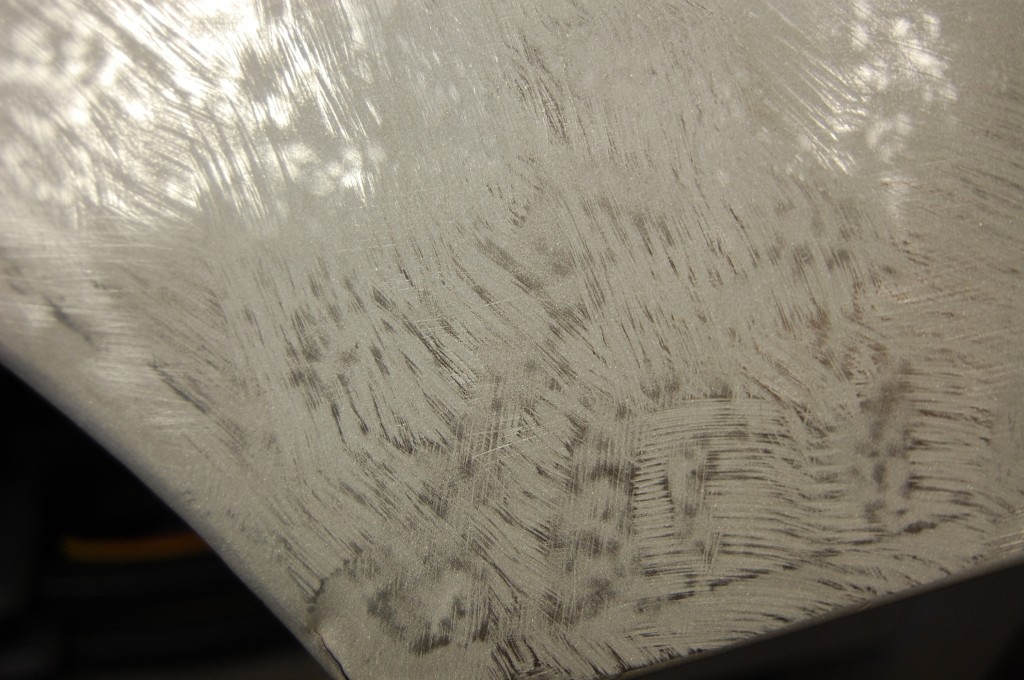
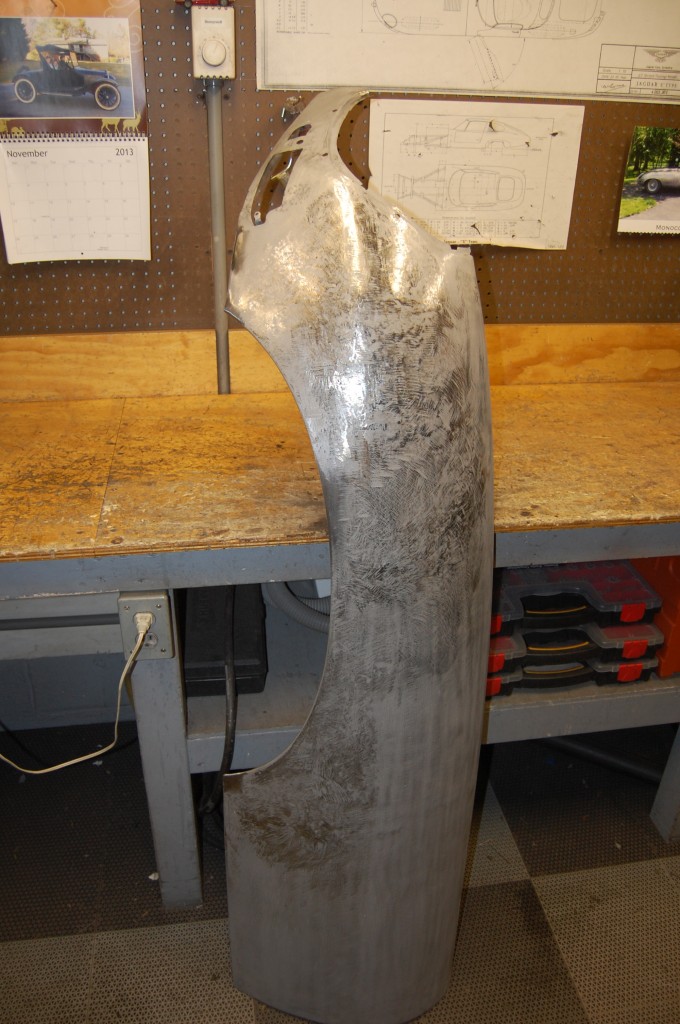
- Oh boy – the initial scuffing is already making my hands and arms hurt – there is going to be alot of slapping on these…
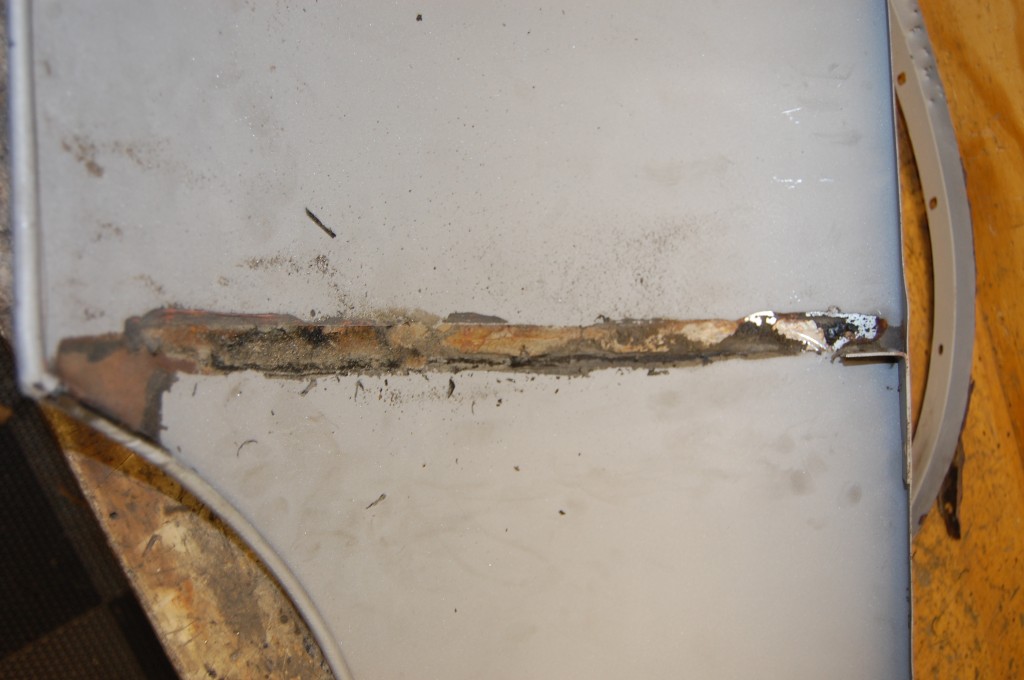
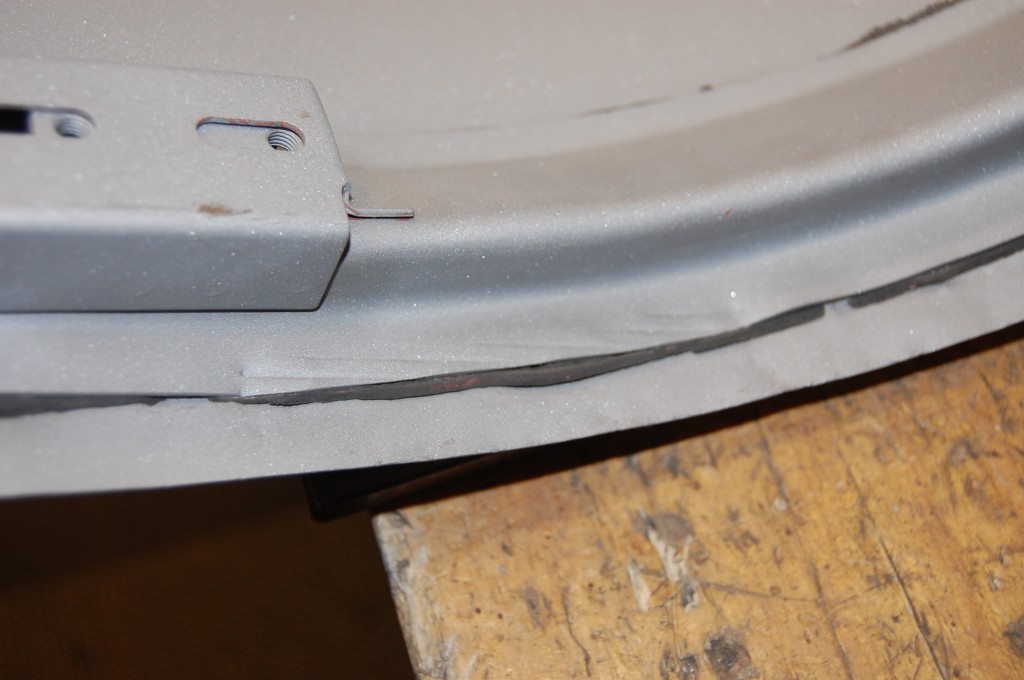
- This is directly over the center support flange, so we’ll have to take that out to smooth this area.
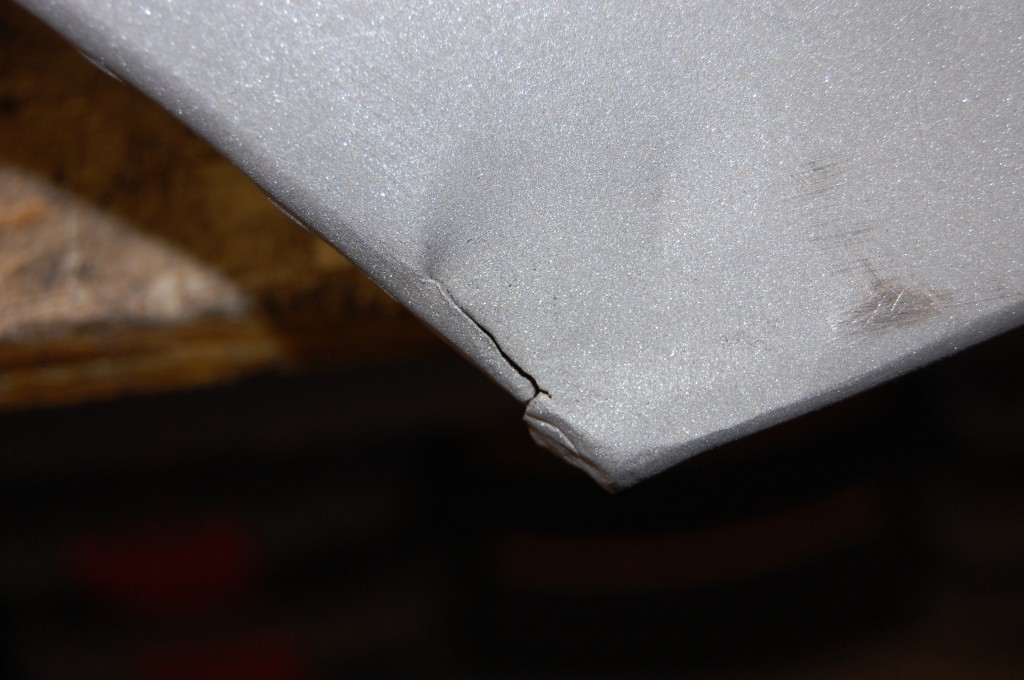
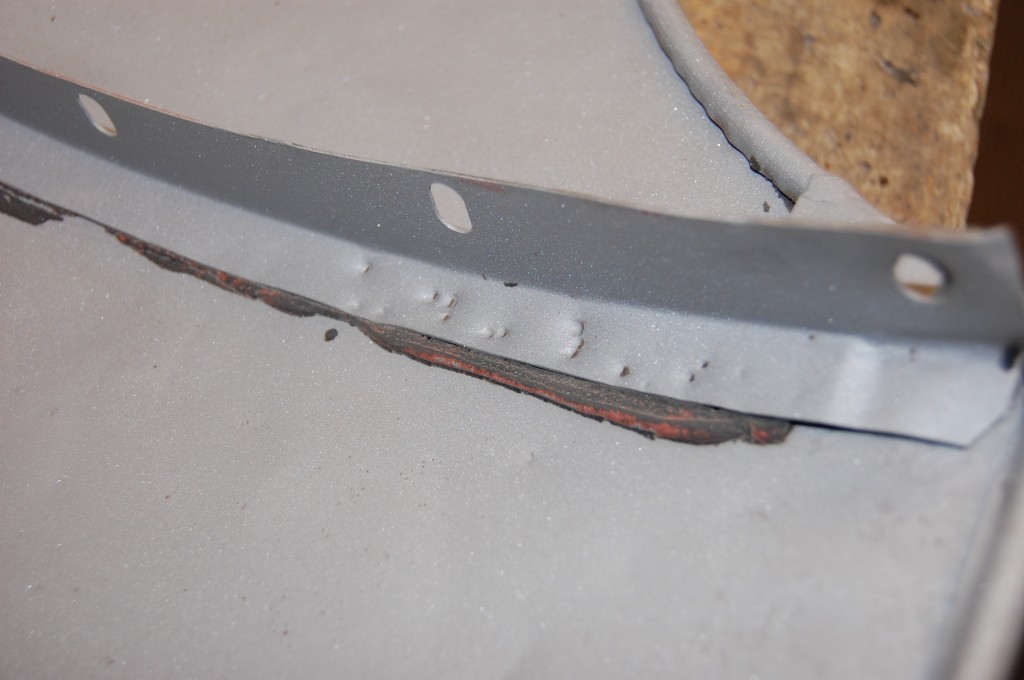
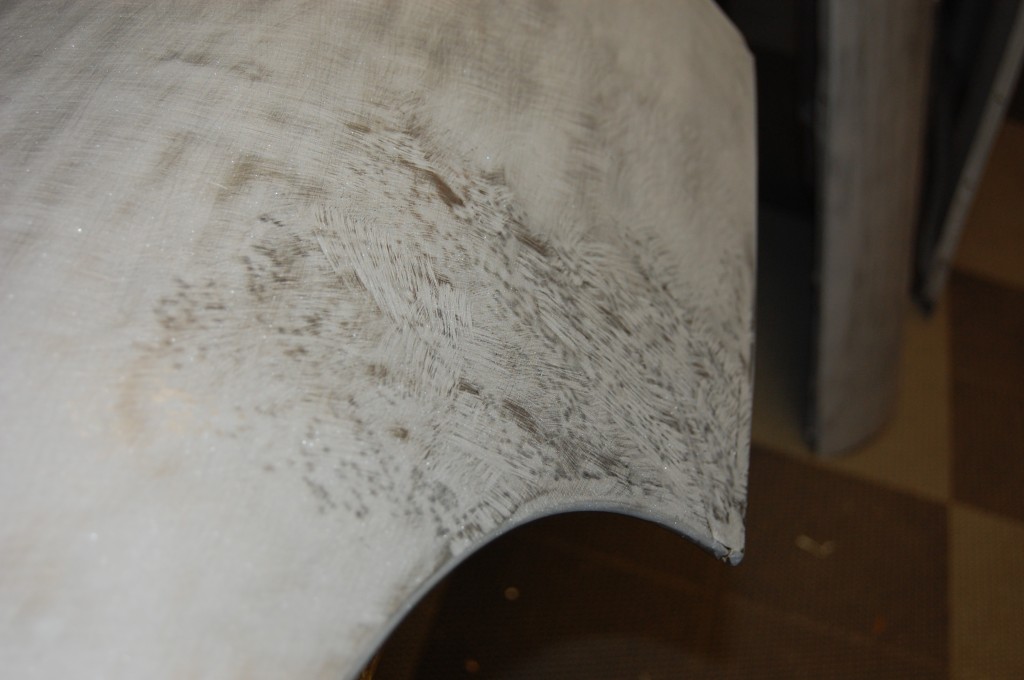
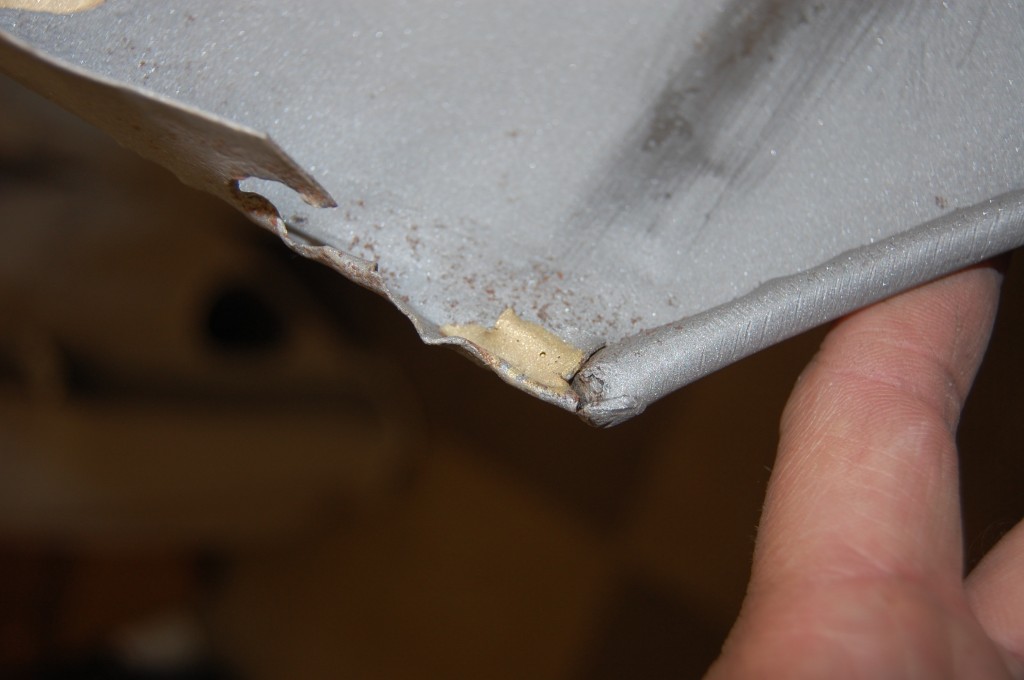
- Close up of the lower corner shows a crack, but no rust. This bonnet was weird like this – EVERY SIINGLE corner of every single panel had cracks and tears like this…
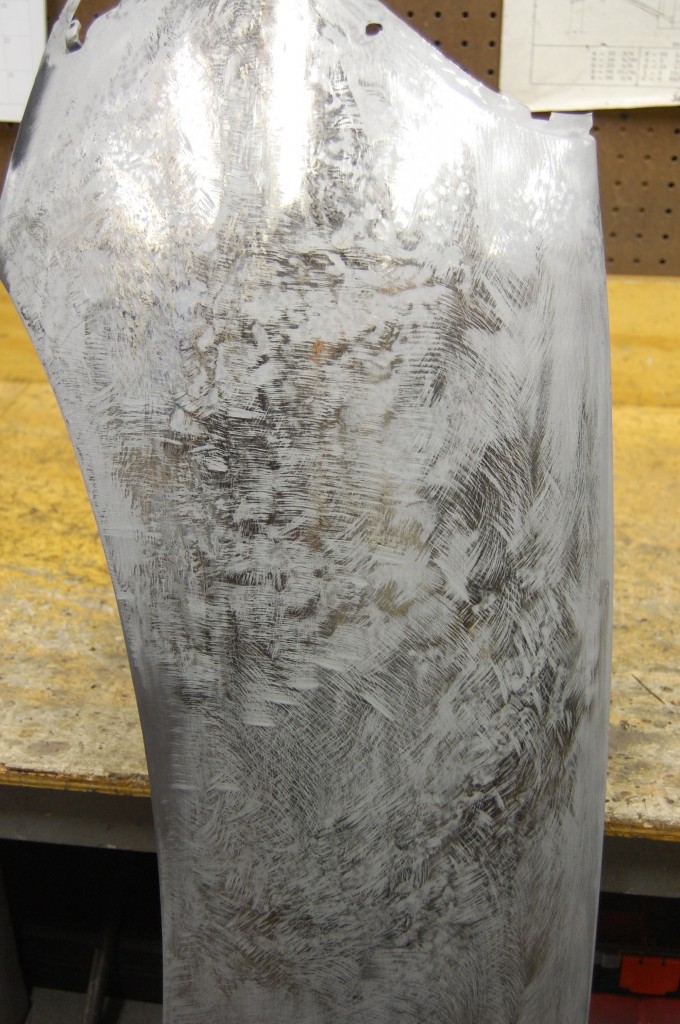
- This is where the real mess is on this panel – and the past “repairs” are not doing us any favors. Poor hammering smoothed out before filler with a DA sander has left us with metal of “unknown and varying” thickness…
- The wings were pattered with an FSP, plus 14 contour gauges at regular intervals along the surface.
- Everything looks good up to this point – the shape is right, but the surface is a mess. In this case, we didn’t even need to make a change here – once we smoothed the surface, it essentially stretched things out and layed the skin right back where it should be.
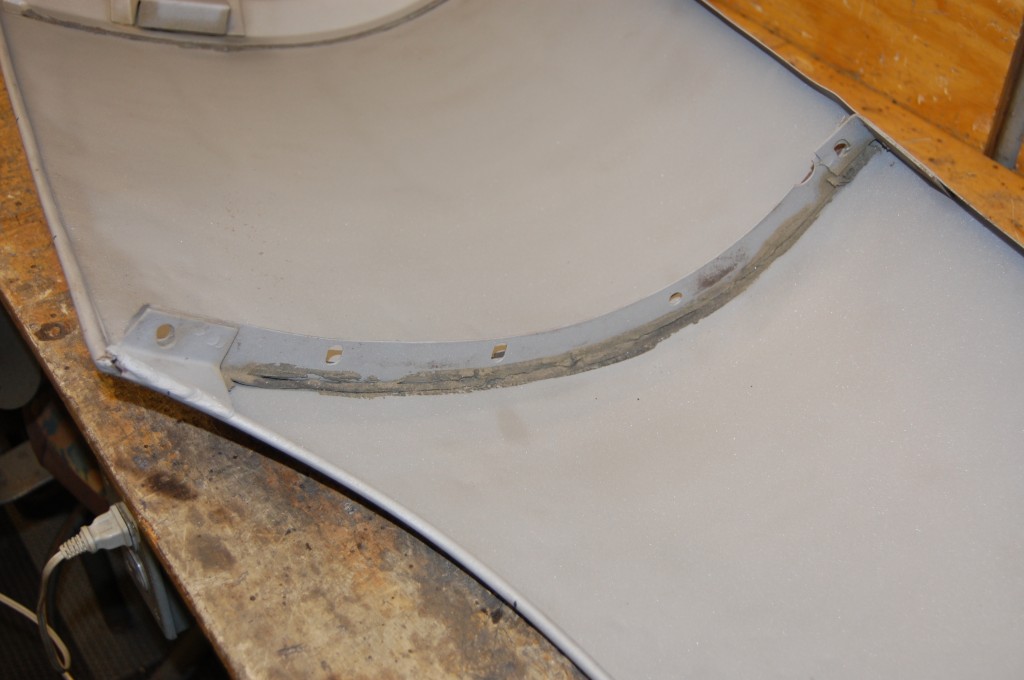
- This needs to come out for smoothing – not rust – which is unusual…
- Someone tried to work the outer metal surface around this – that never works. There are no shortcuts…
- So we’ll pull out the glange, sand off this rust and residue, and do the job right.
- NOW we’re ready to work the panel.
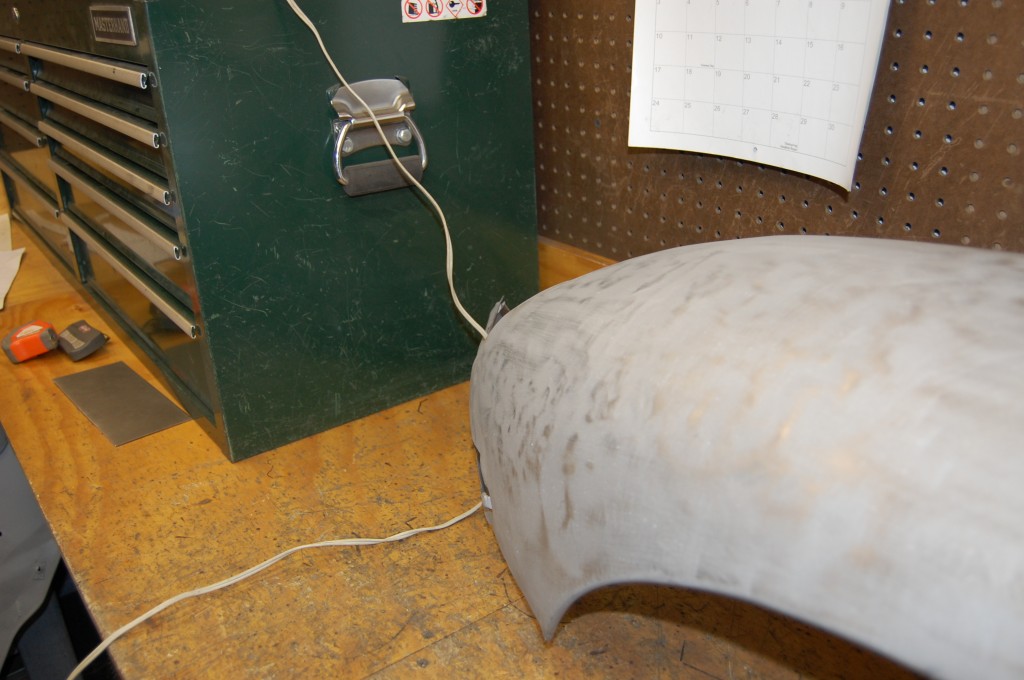
- From this angle, you can clearly see that the whole forward section of this wing is “wrapped too tight”…
- Smoothing out a mess like this is very meticulous and time-consuming – you just have to work your way from one end of a problem area to the other… Here, we’ve started above the wheel arch, and are working our way forward – you can see the panel smoothing out already. LOOK at all of this grinder marks! Animals…
- And without any other work, the shape has fallen right back into place…
- This is only hand work, and the panel is damn near smooth now, but we’ll do more wioth the shrinking step.
- The slapper work on this lower corner is also completed.
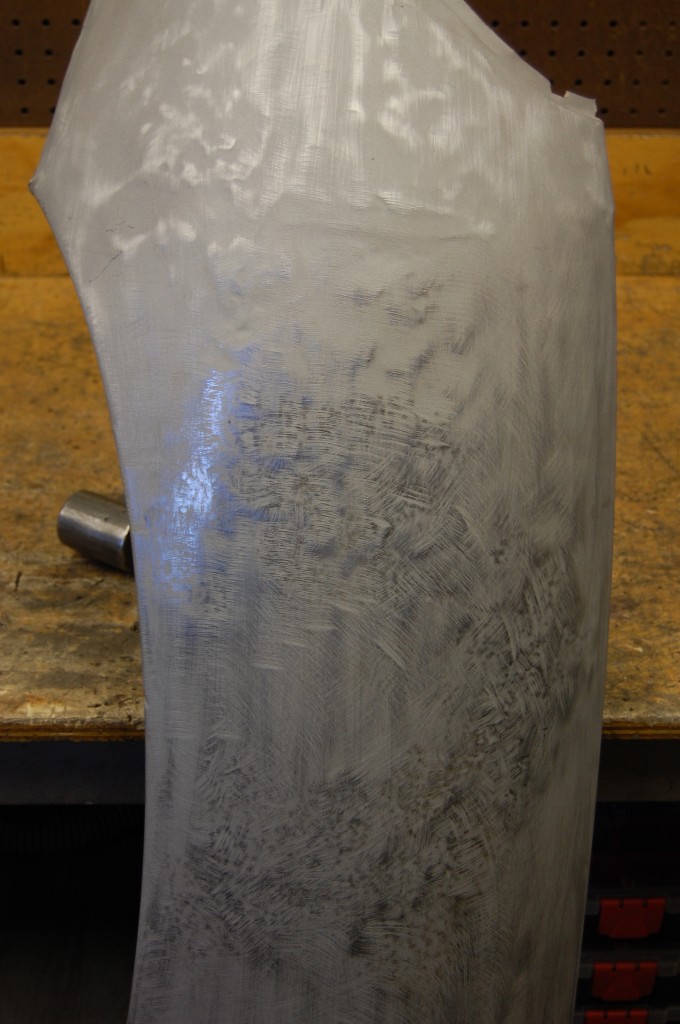
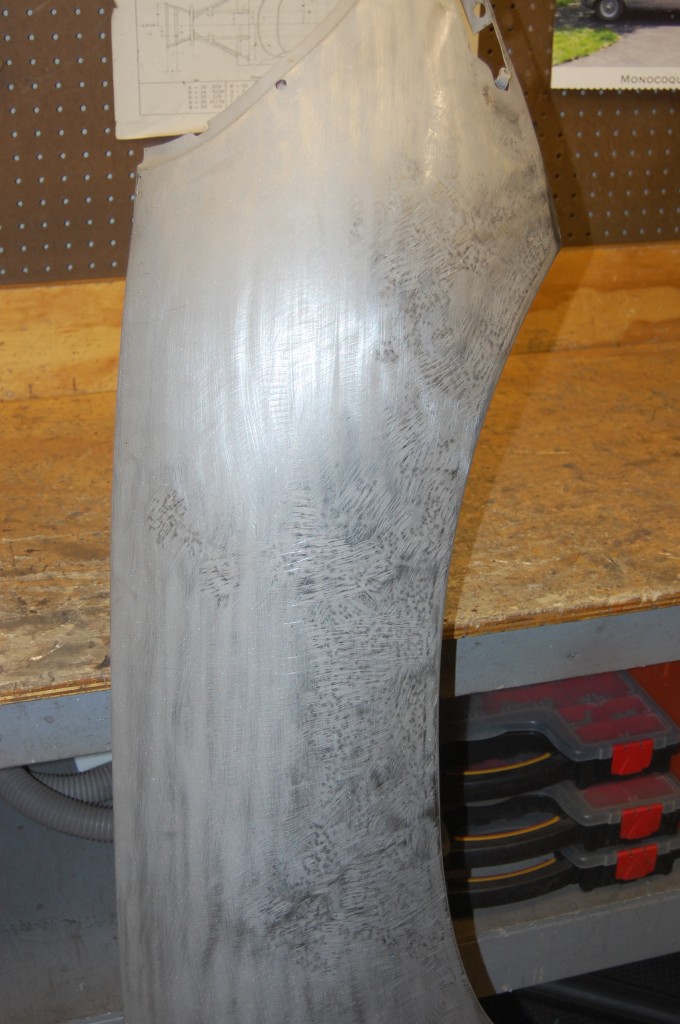
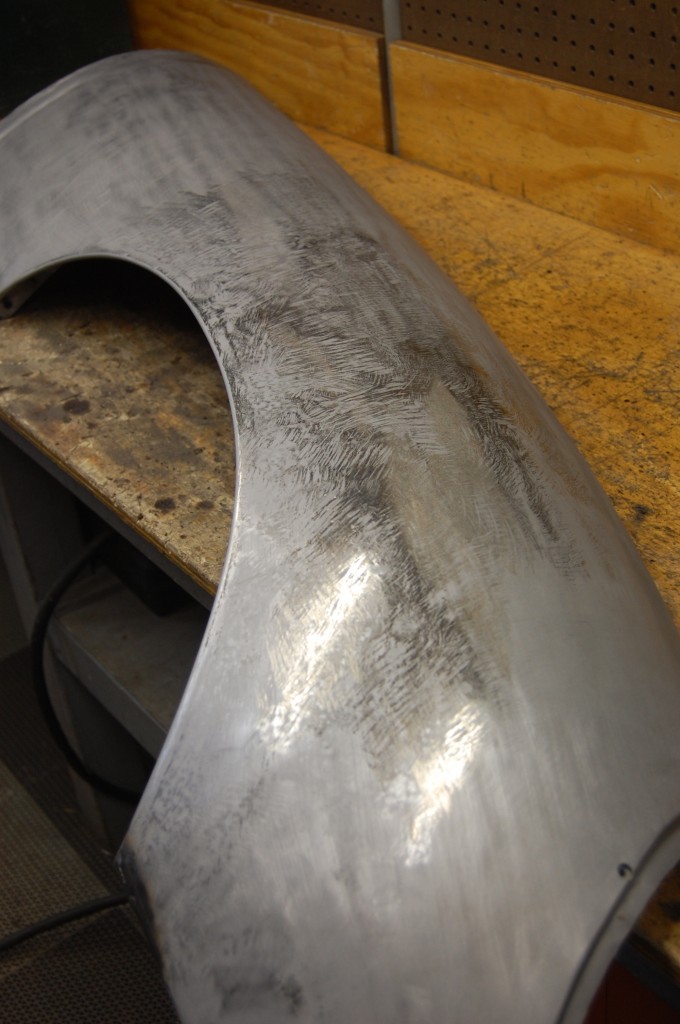
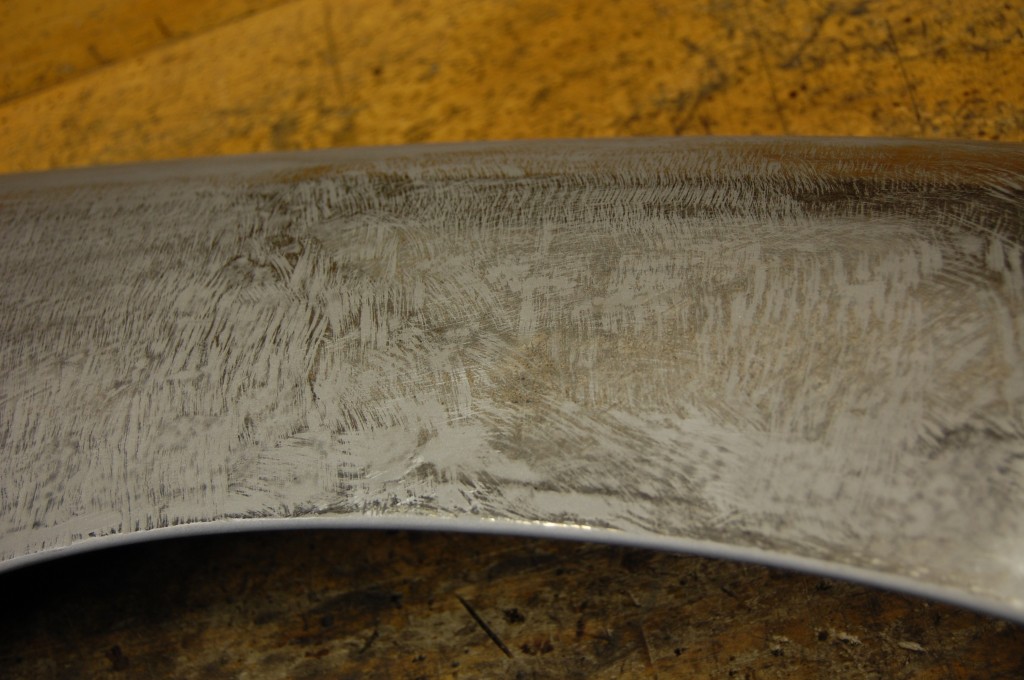
- Here’s another shot. These bonnet panels were TORTURED with a DA and about a 36-grit disc. We’ve hit this panel with nothing but our hands and gentle sandblasting – so ALL of what you see here as far as gouges go is from some idiot in the past…
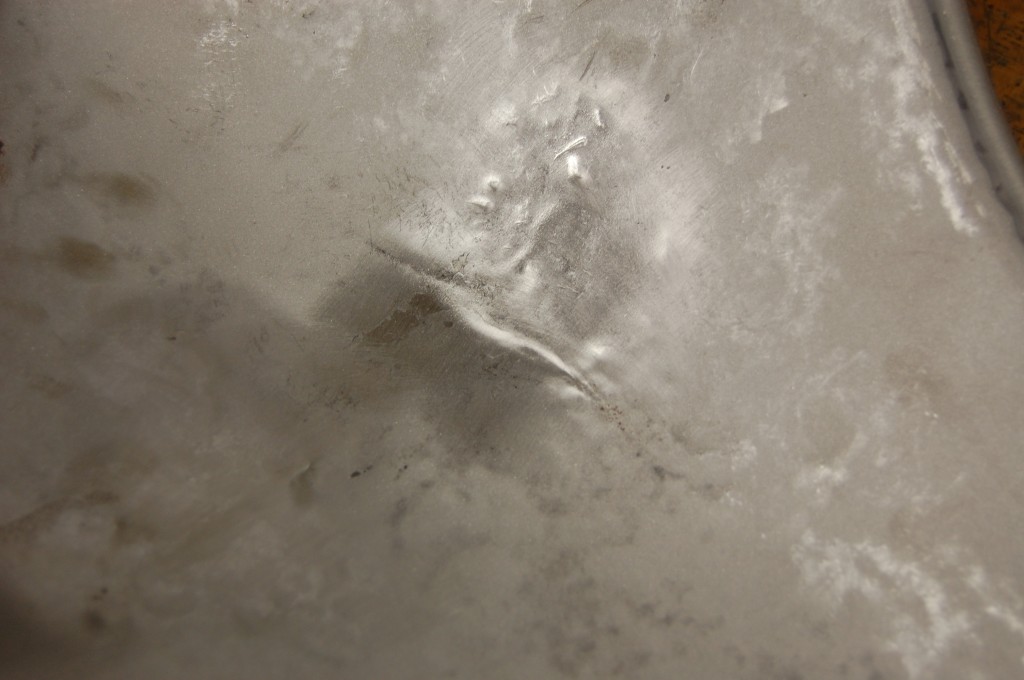
- Now, THIS is where the past work is now limiting what we can do now… This is the backside of this wing right behind the headlight. See that wrinkle? That is where the metal is thin from heavy sanding with a DA after poor metalwork. They’ve used to DA to do some shaping… Well, since the metal is thin there, and we are stretching a bit as we smooth it out with the dolly and slapper, it is finding this aera as a weak spot, and folding in on itself… This means that we are just about done – trying to get the super smooth surface we like to do as a final step with the shrinking disc requires us to put heat into the panel, and that is just going to make things MUCH worse instead of better. This thin area is going to become an INSTANT hot-spot during the shrinking, and it is going to shrink up further even though the shrinking needs to happen elsewhere. We’ll go over this area lightly, but we can’t do the usual “full monty” in this area. Bummer…
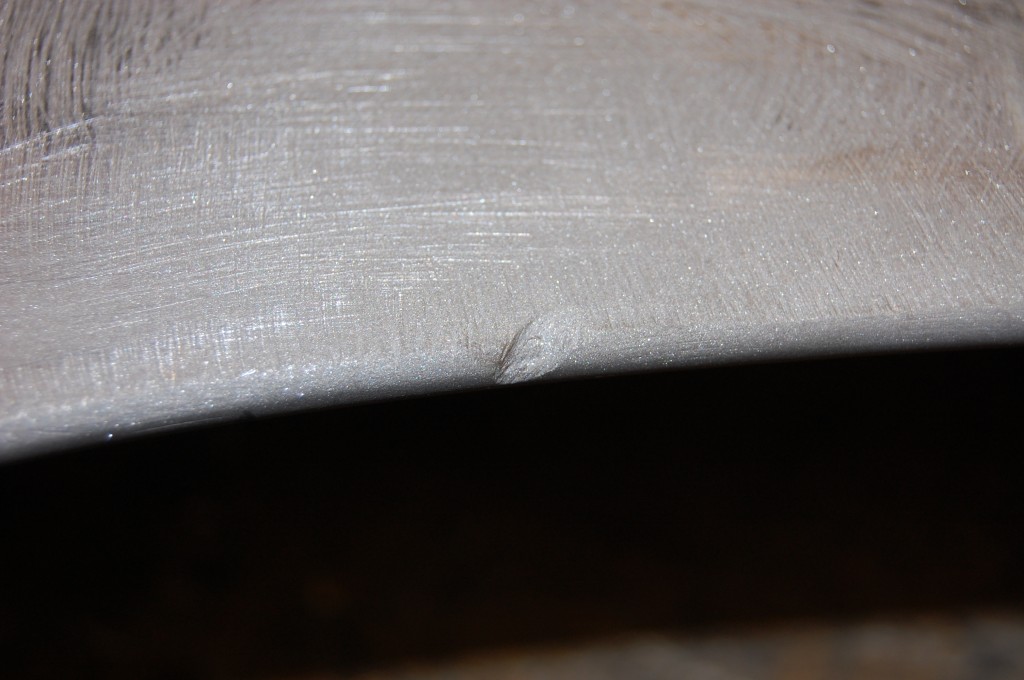
- A little gift along the wheel opening edge from the animals who worked on this before…
- You don’t want to rely on a little chunk of filler there, so we put the metal back.
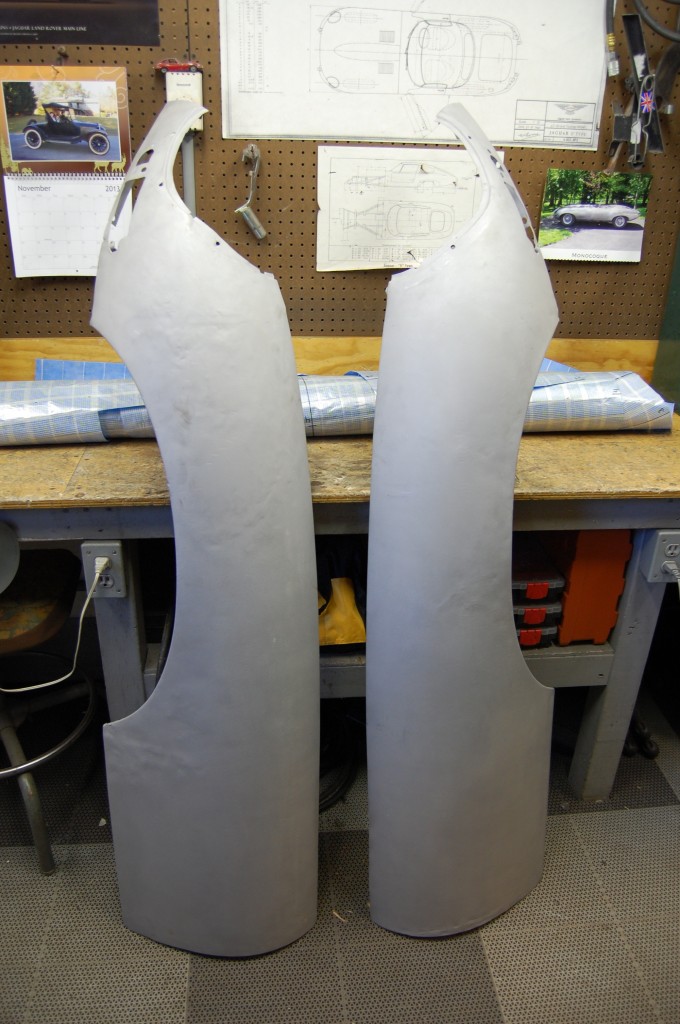
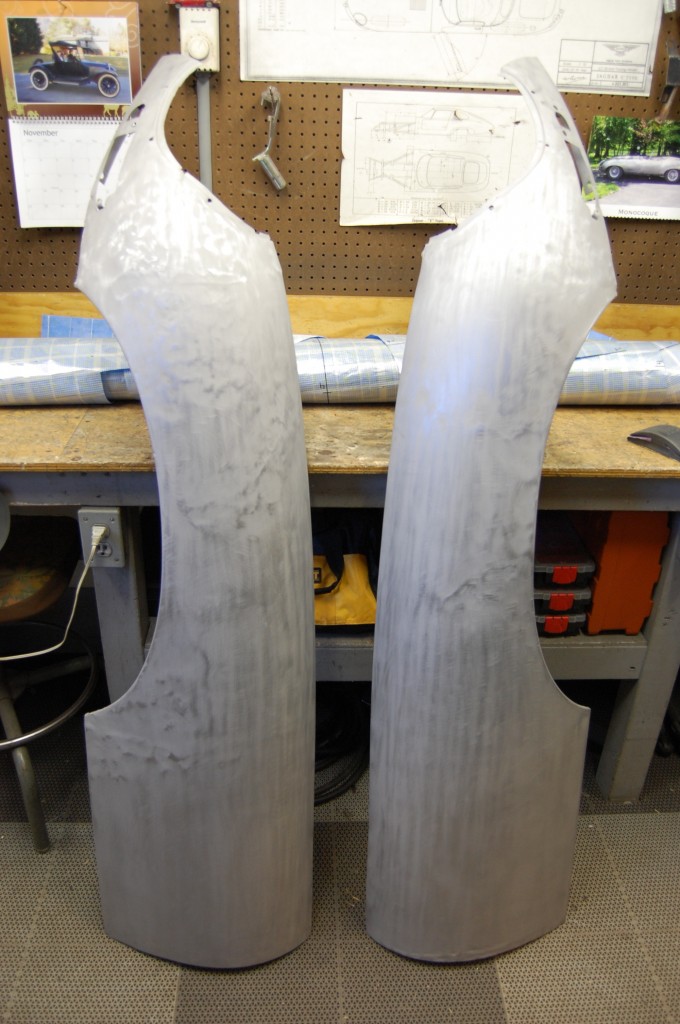
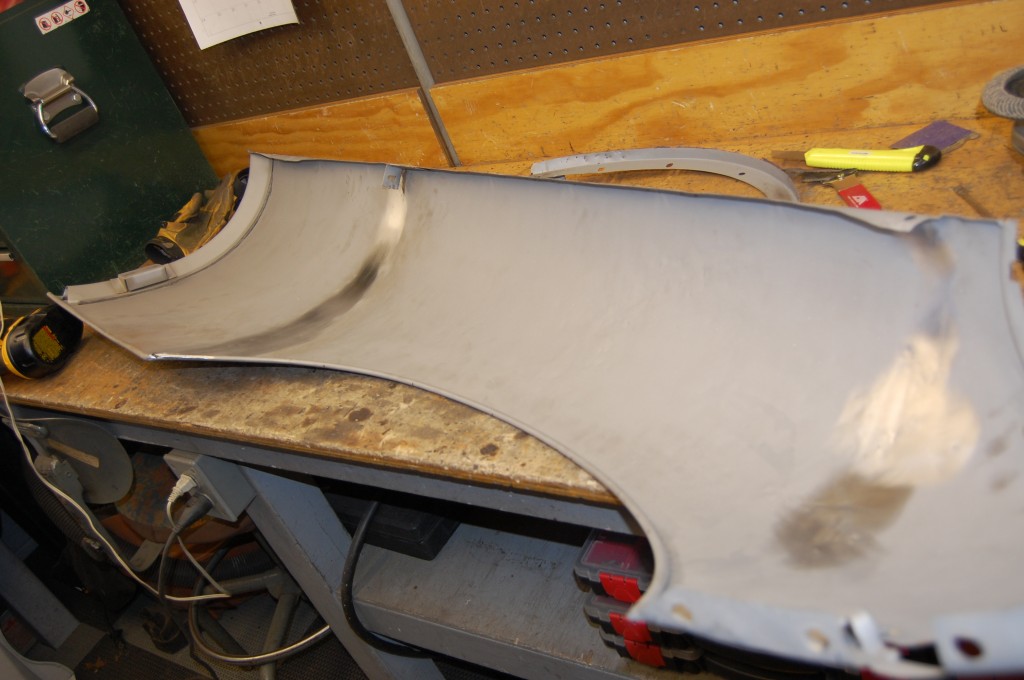
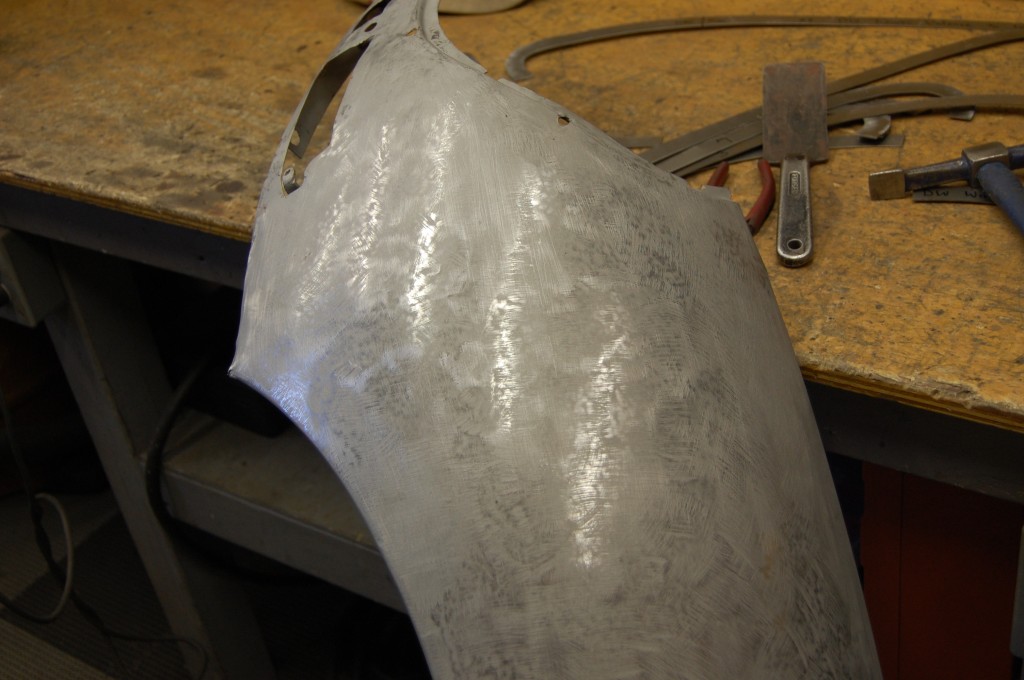
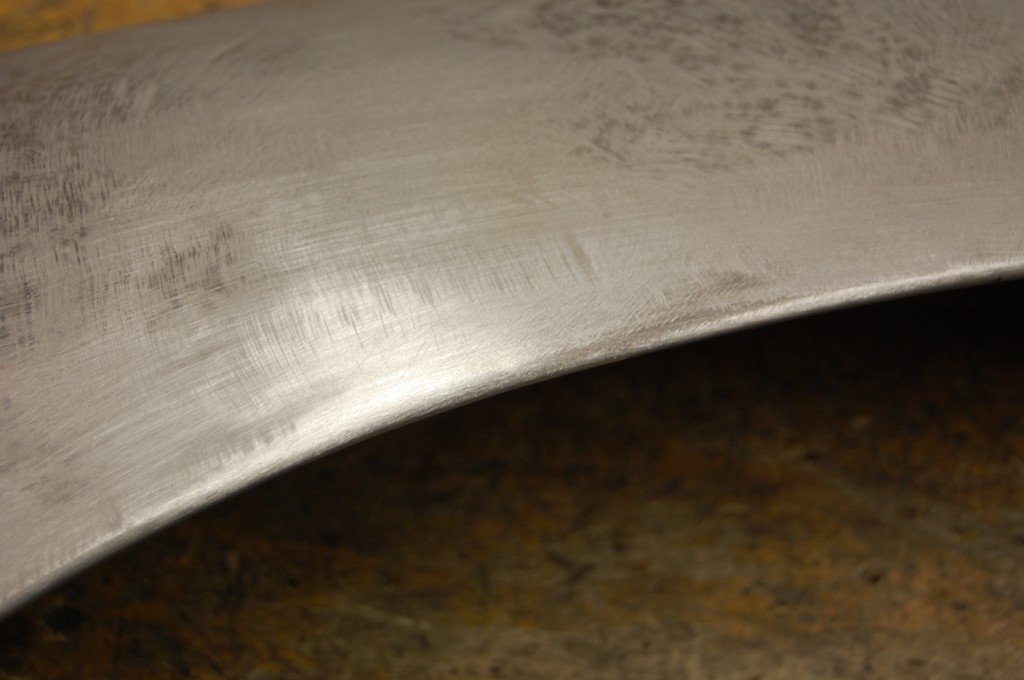
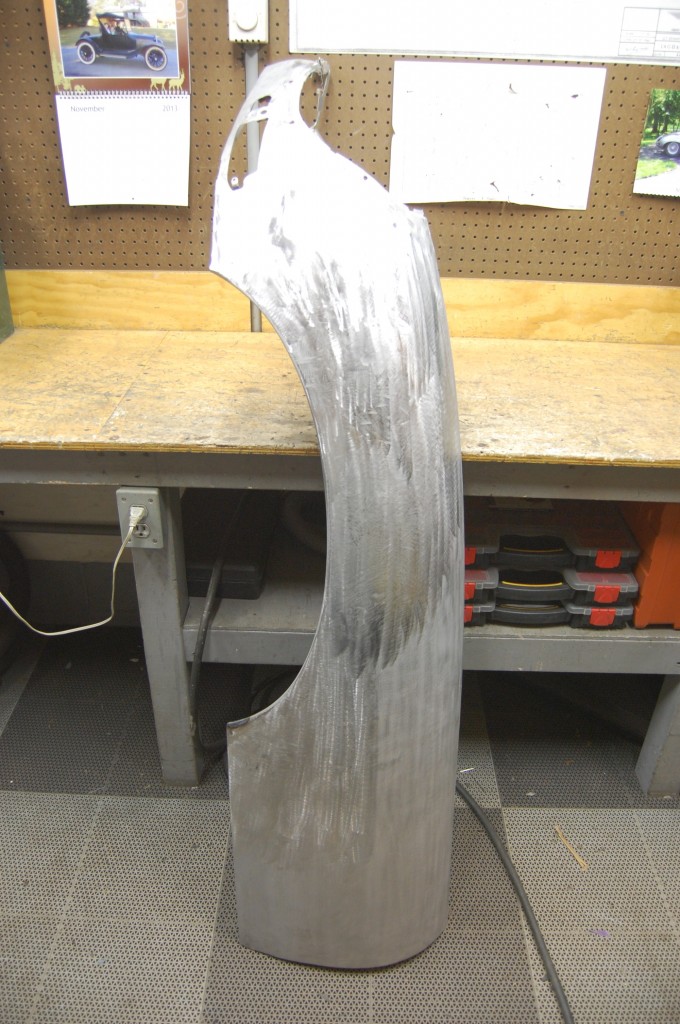
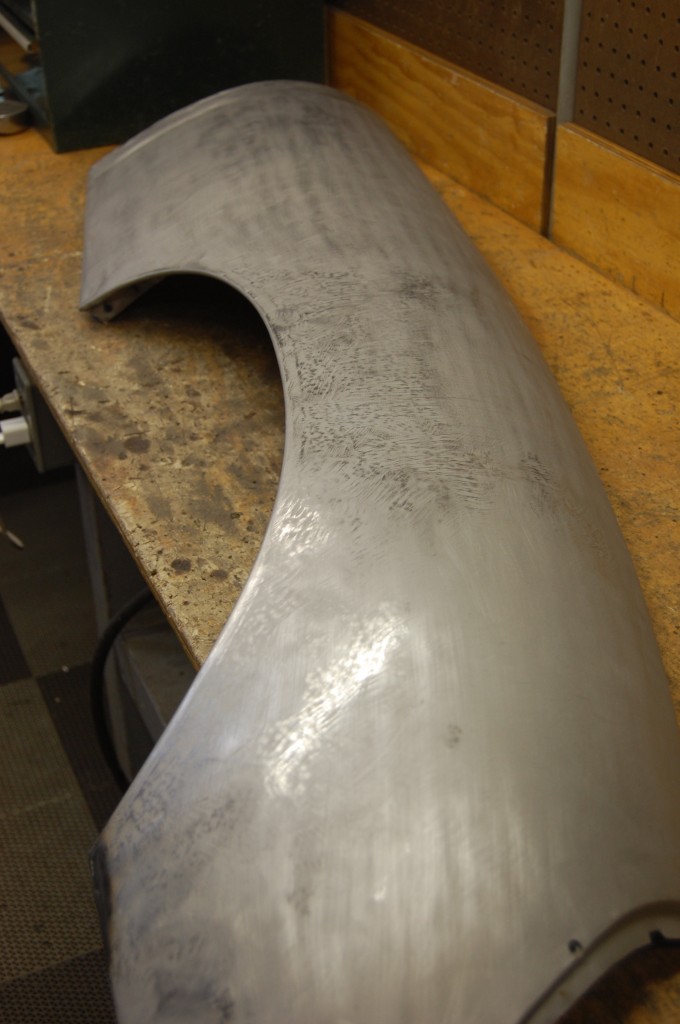
- The completed wing after all of the hand work, and doing what work we can with the shrinking disc.
- Here is our “ghost image” – showing the carnage and abuse this panel has been through in the past. When we are working with virgin panels that have been hit, but NOT abused after that, there is almost no image like this at all…
- Next, we scuff down the polished surface left by the shrinking disc, and we’re done! The sanding disc we use here is dead flat, so you can see from the sanded surface that the panel is as well!
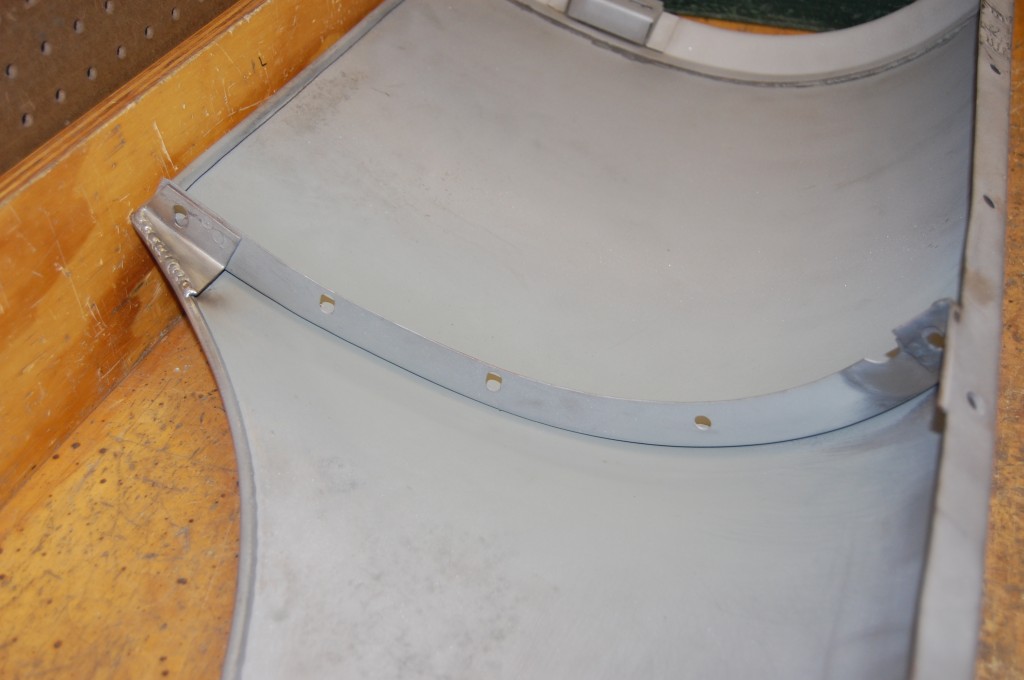
- Finally, the center flange is welded back in with a new angle brace down in the corner. We make and sell all of the bonnet flanges and braces for ALL Series of E-Type bonnets – from the first welded-flange bonnets, to the last Series 3’s – if you need ANYTHING for ANY E-Type bonnet – we have it!
- More gifts from past bodgers – now on THIS one, I worked around the rear barce instead of pulling it out. That would require drilling out of the spot0-welds and re-welding, and then you have those marks to fill, so sometimes you just choose the lesser of two different choices.
- Like I said – EVERY corner had its little issues…
- Here is a shot of the other wing being restored in the same way.
- As before, the hand work should be as good as you can get it BEFORE you get out the shrinking disc. This is where most people go wrong with the shrinking disc – they aren’t capable or patient enough to get the panel to the point where it’s ready for the shrinking disc. Instead, they just whip it out and start having at a panel with big bumps – I’ll quote Ducth Comstock – “The shrinking disc is not a substitute for proper hammer and dolly work.”
- Same panel, after the shrinking disc. I used to wory that if I mention my methods too much, people will just do it themselves and I’ll be out of a job… But I don’t really worry about that anymore – as I now know it takes YEARS of using these tools EVERY DAY to get to this level – and I’m still learning and getting better all the time! Practice makes perfect!
- This panel is dead smooth now, and feels perfect to your hand. Imagine how much better it would be if we had gotten to it before the last guy!

