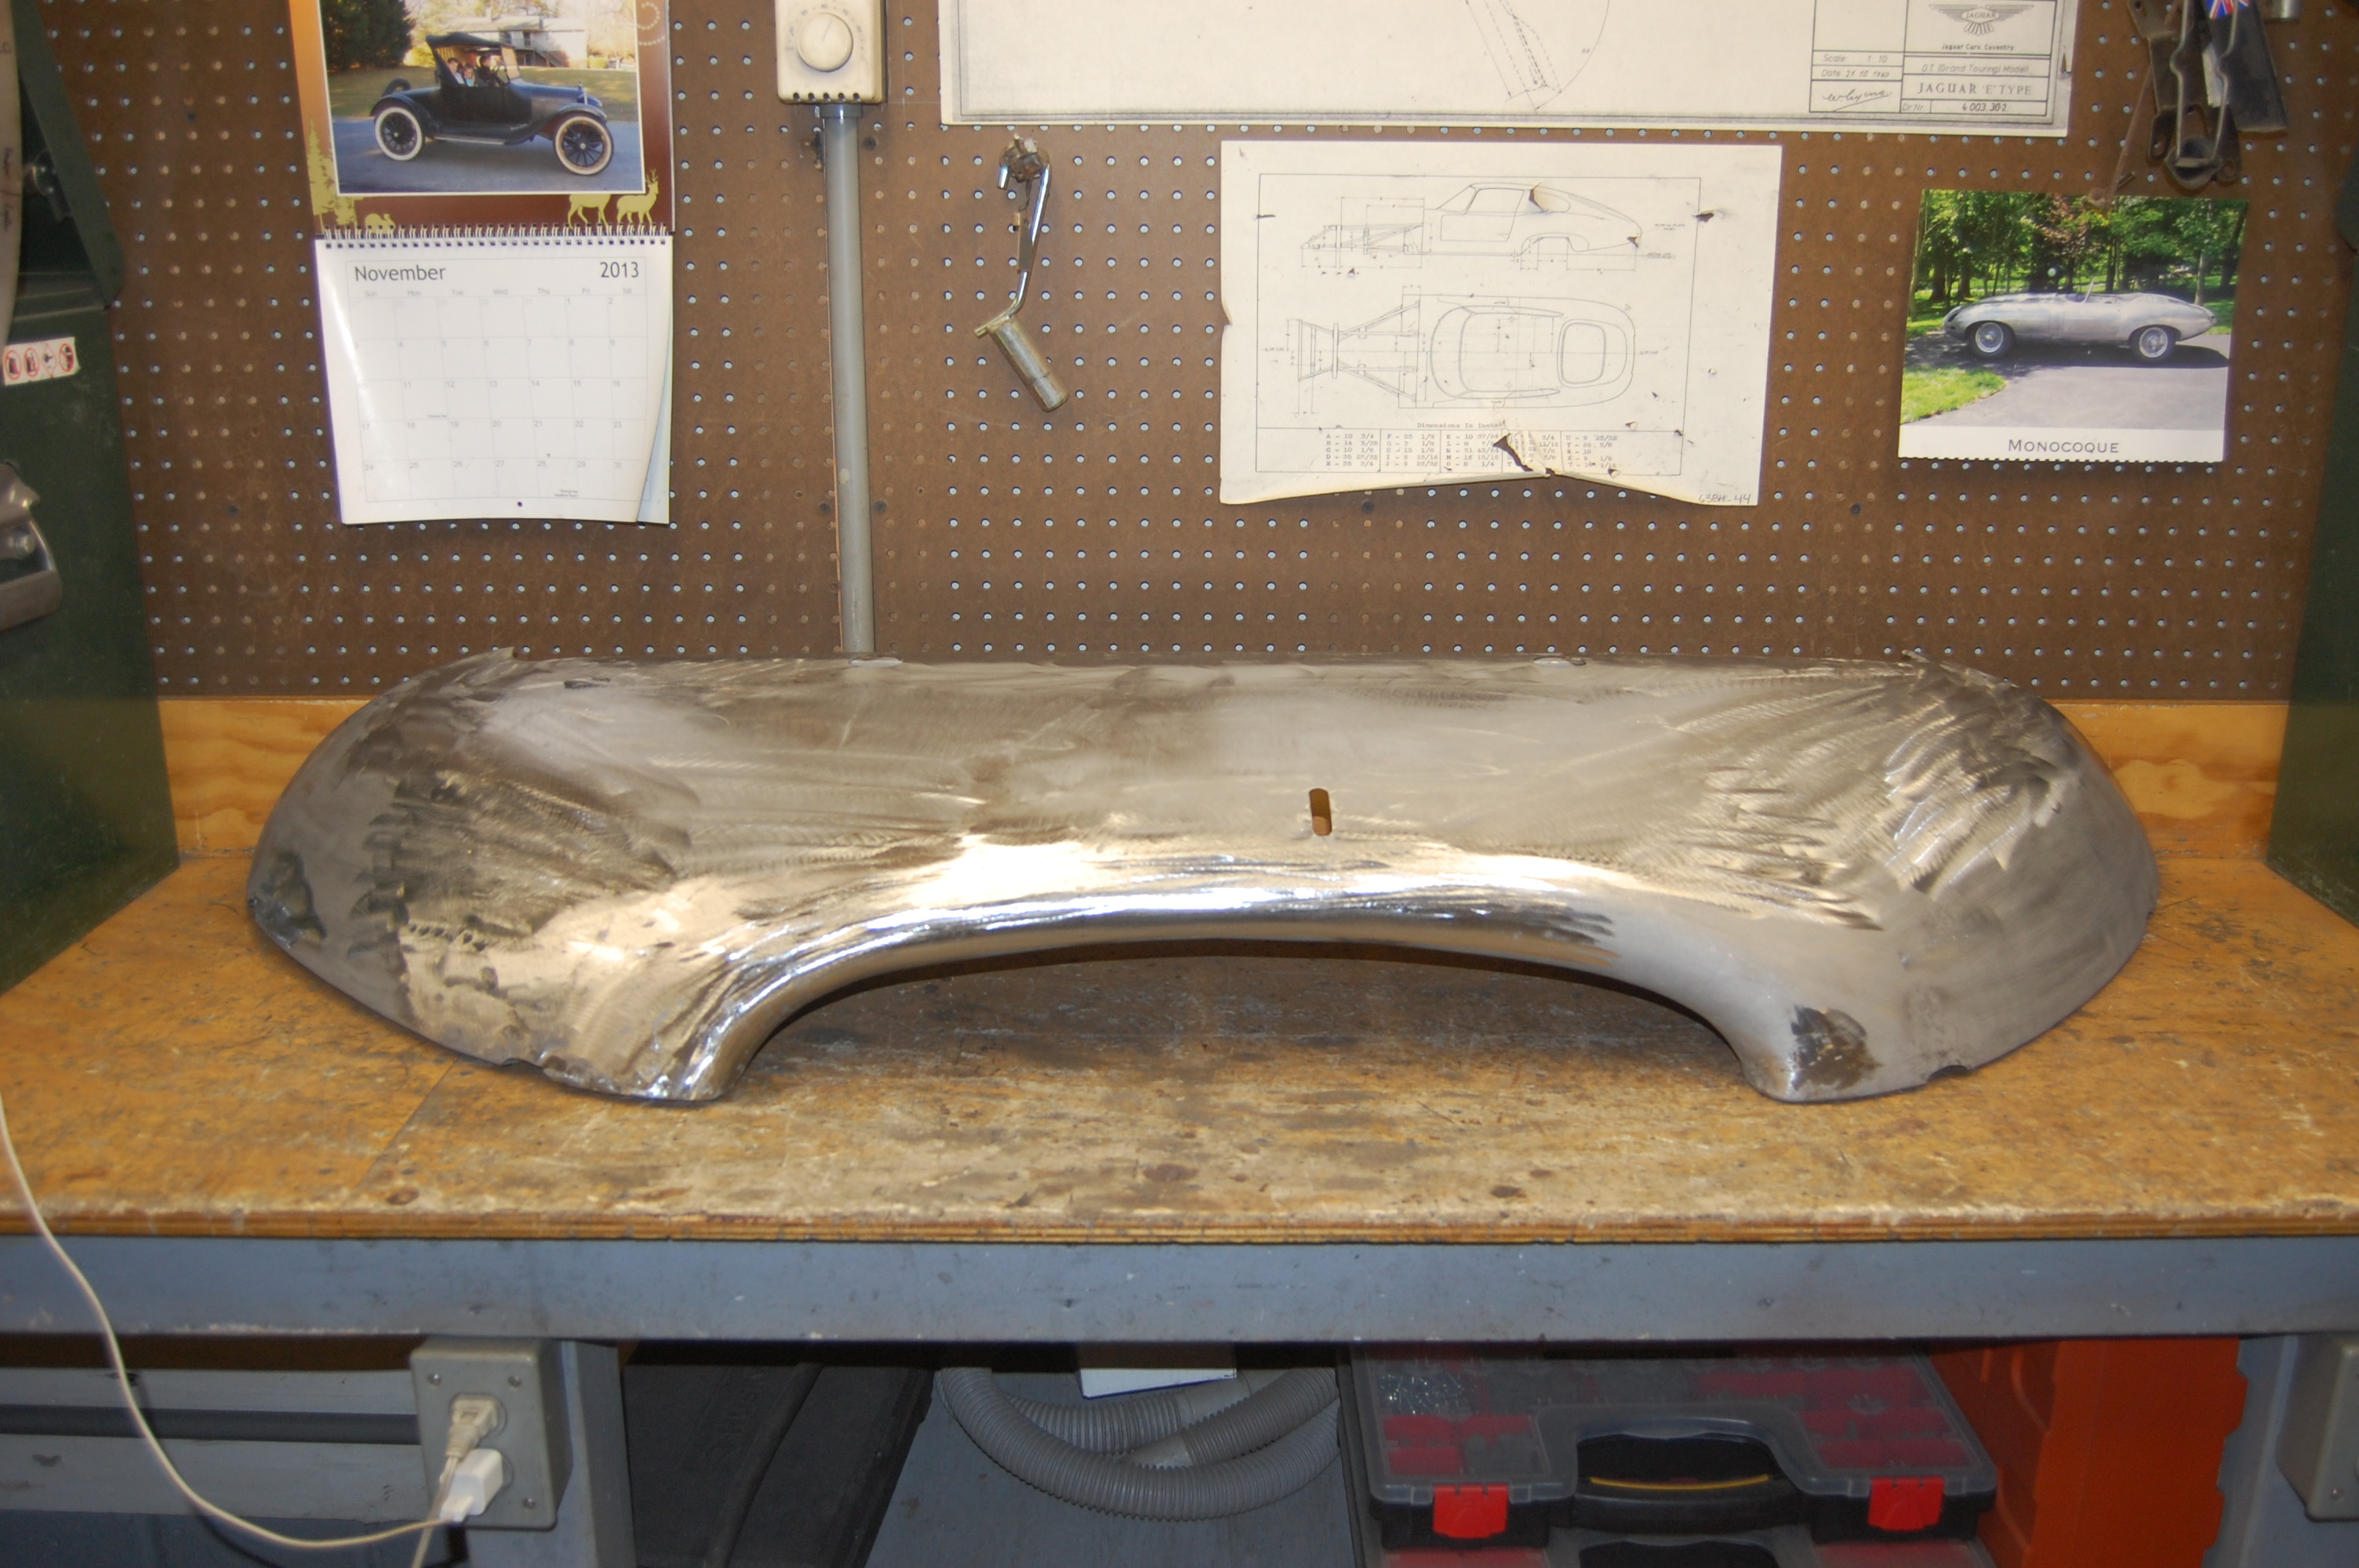
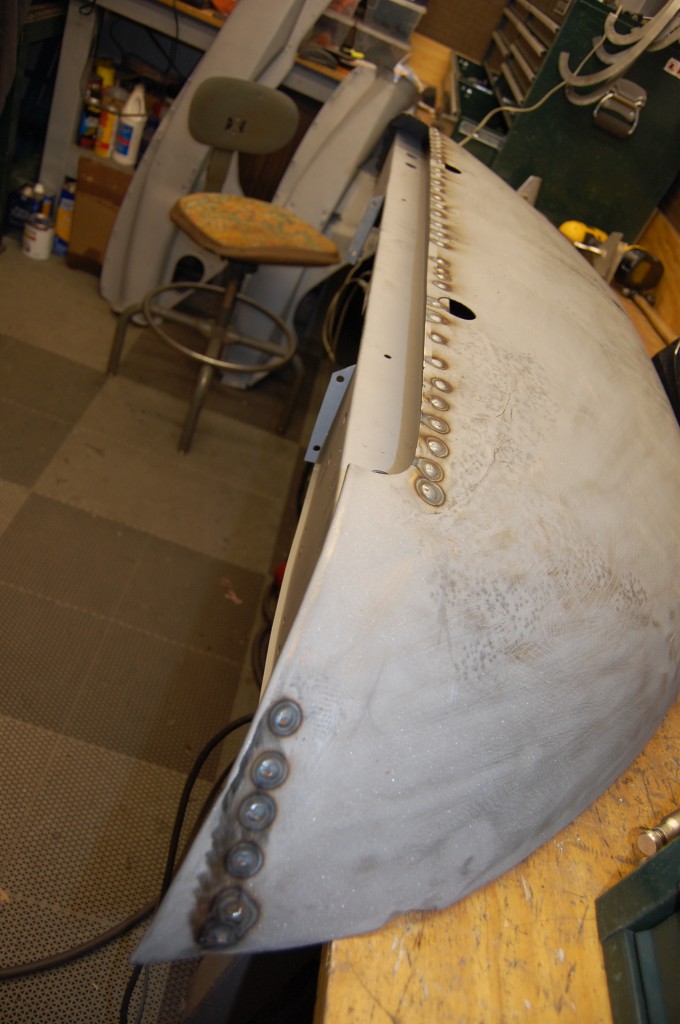
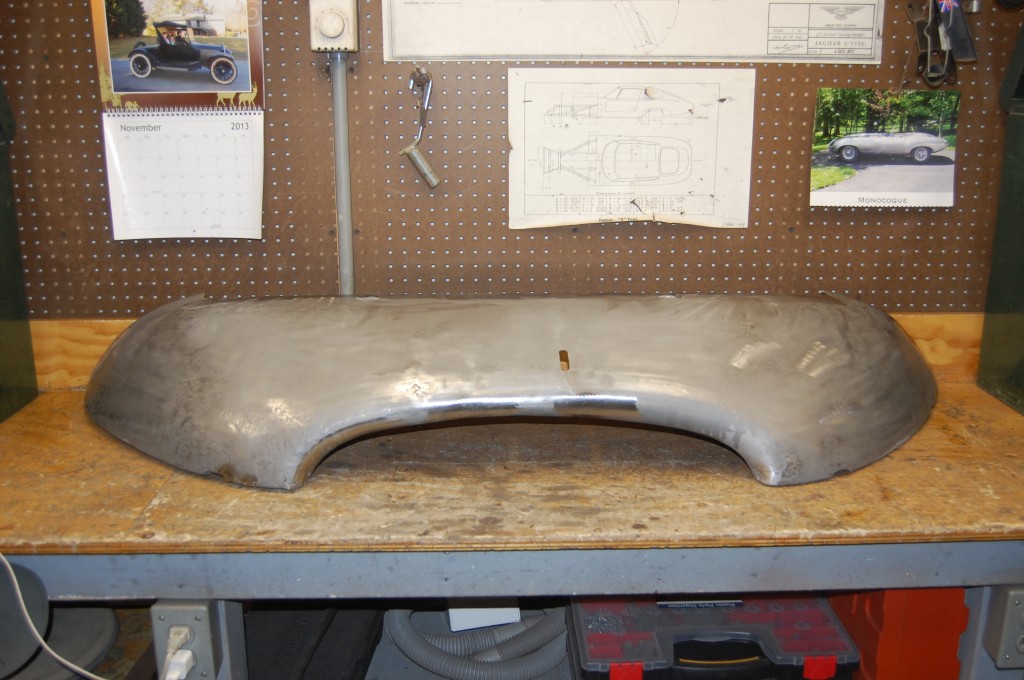
On this bonnet, the next task was to get the lower valance back into shape. Like the center section, it LOOKED semi-OK in it’s shape, but the contour gauges once again told a different story…
-
- Blasted and scuffed down, there are little bumps and bruises all over the place – but overall, this is going to be restorable – no doubt.
-
- This is typical for an original lower valance – lots of parking block damage, just roughly hammered out.

-

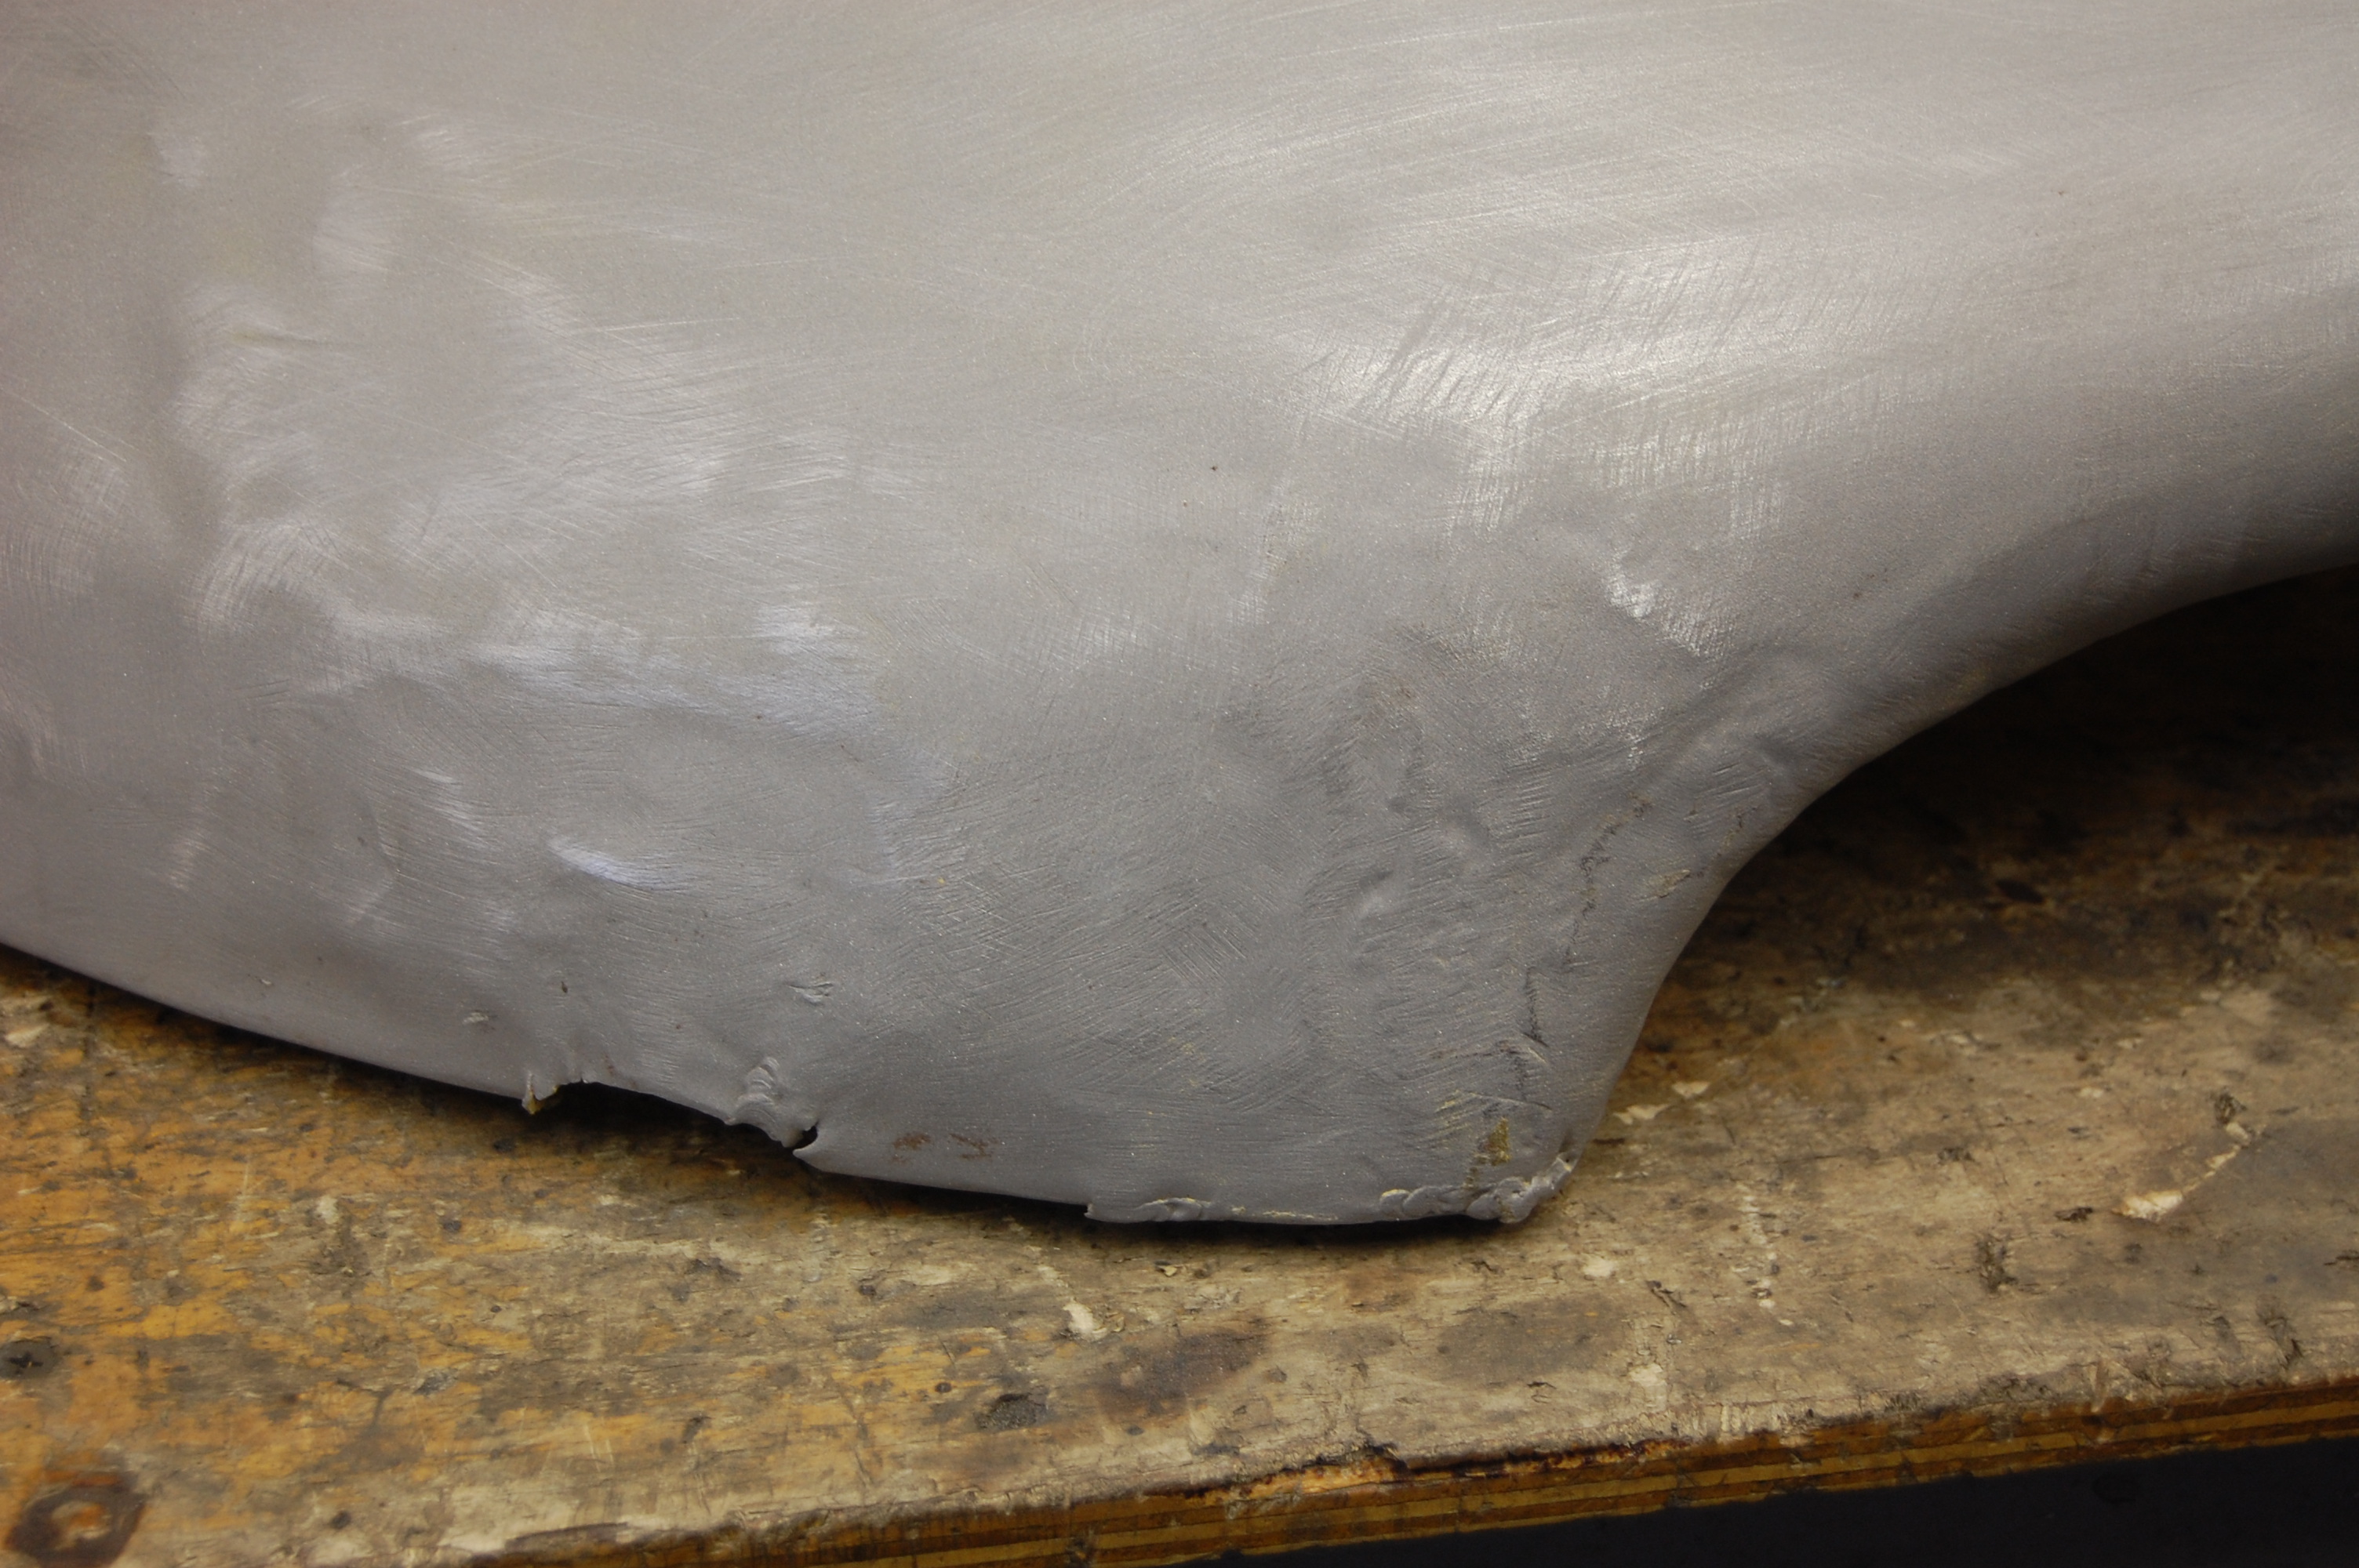
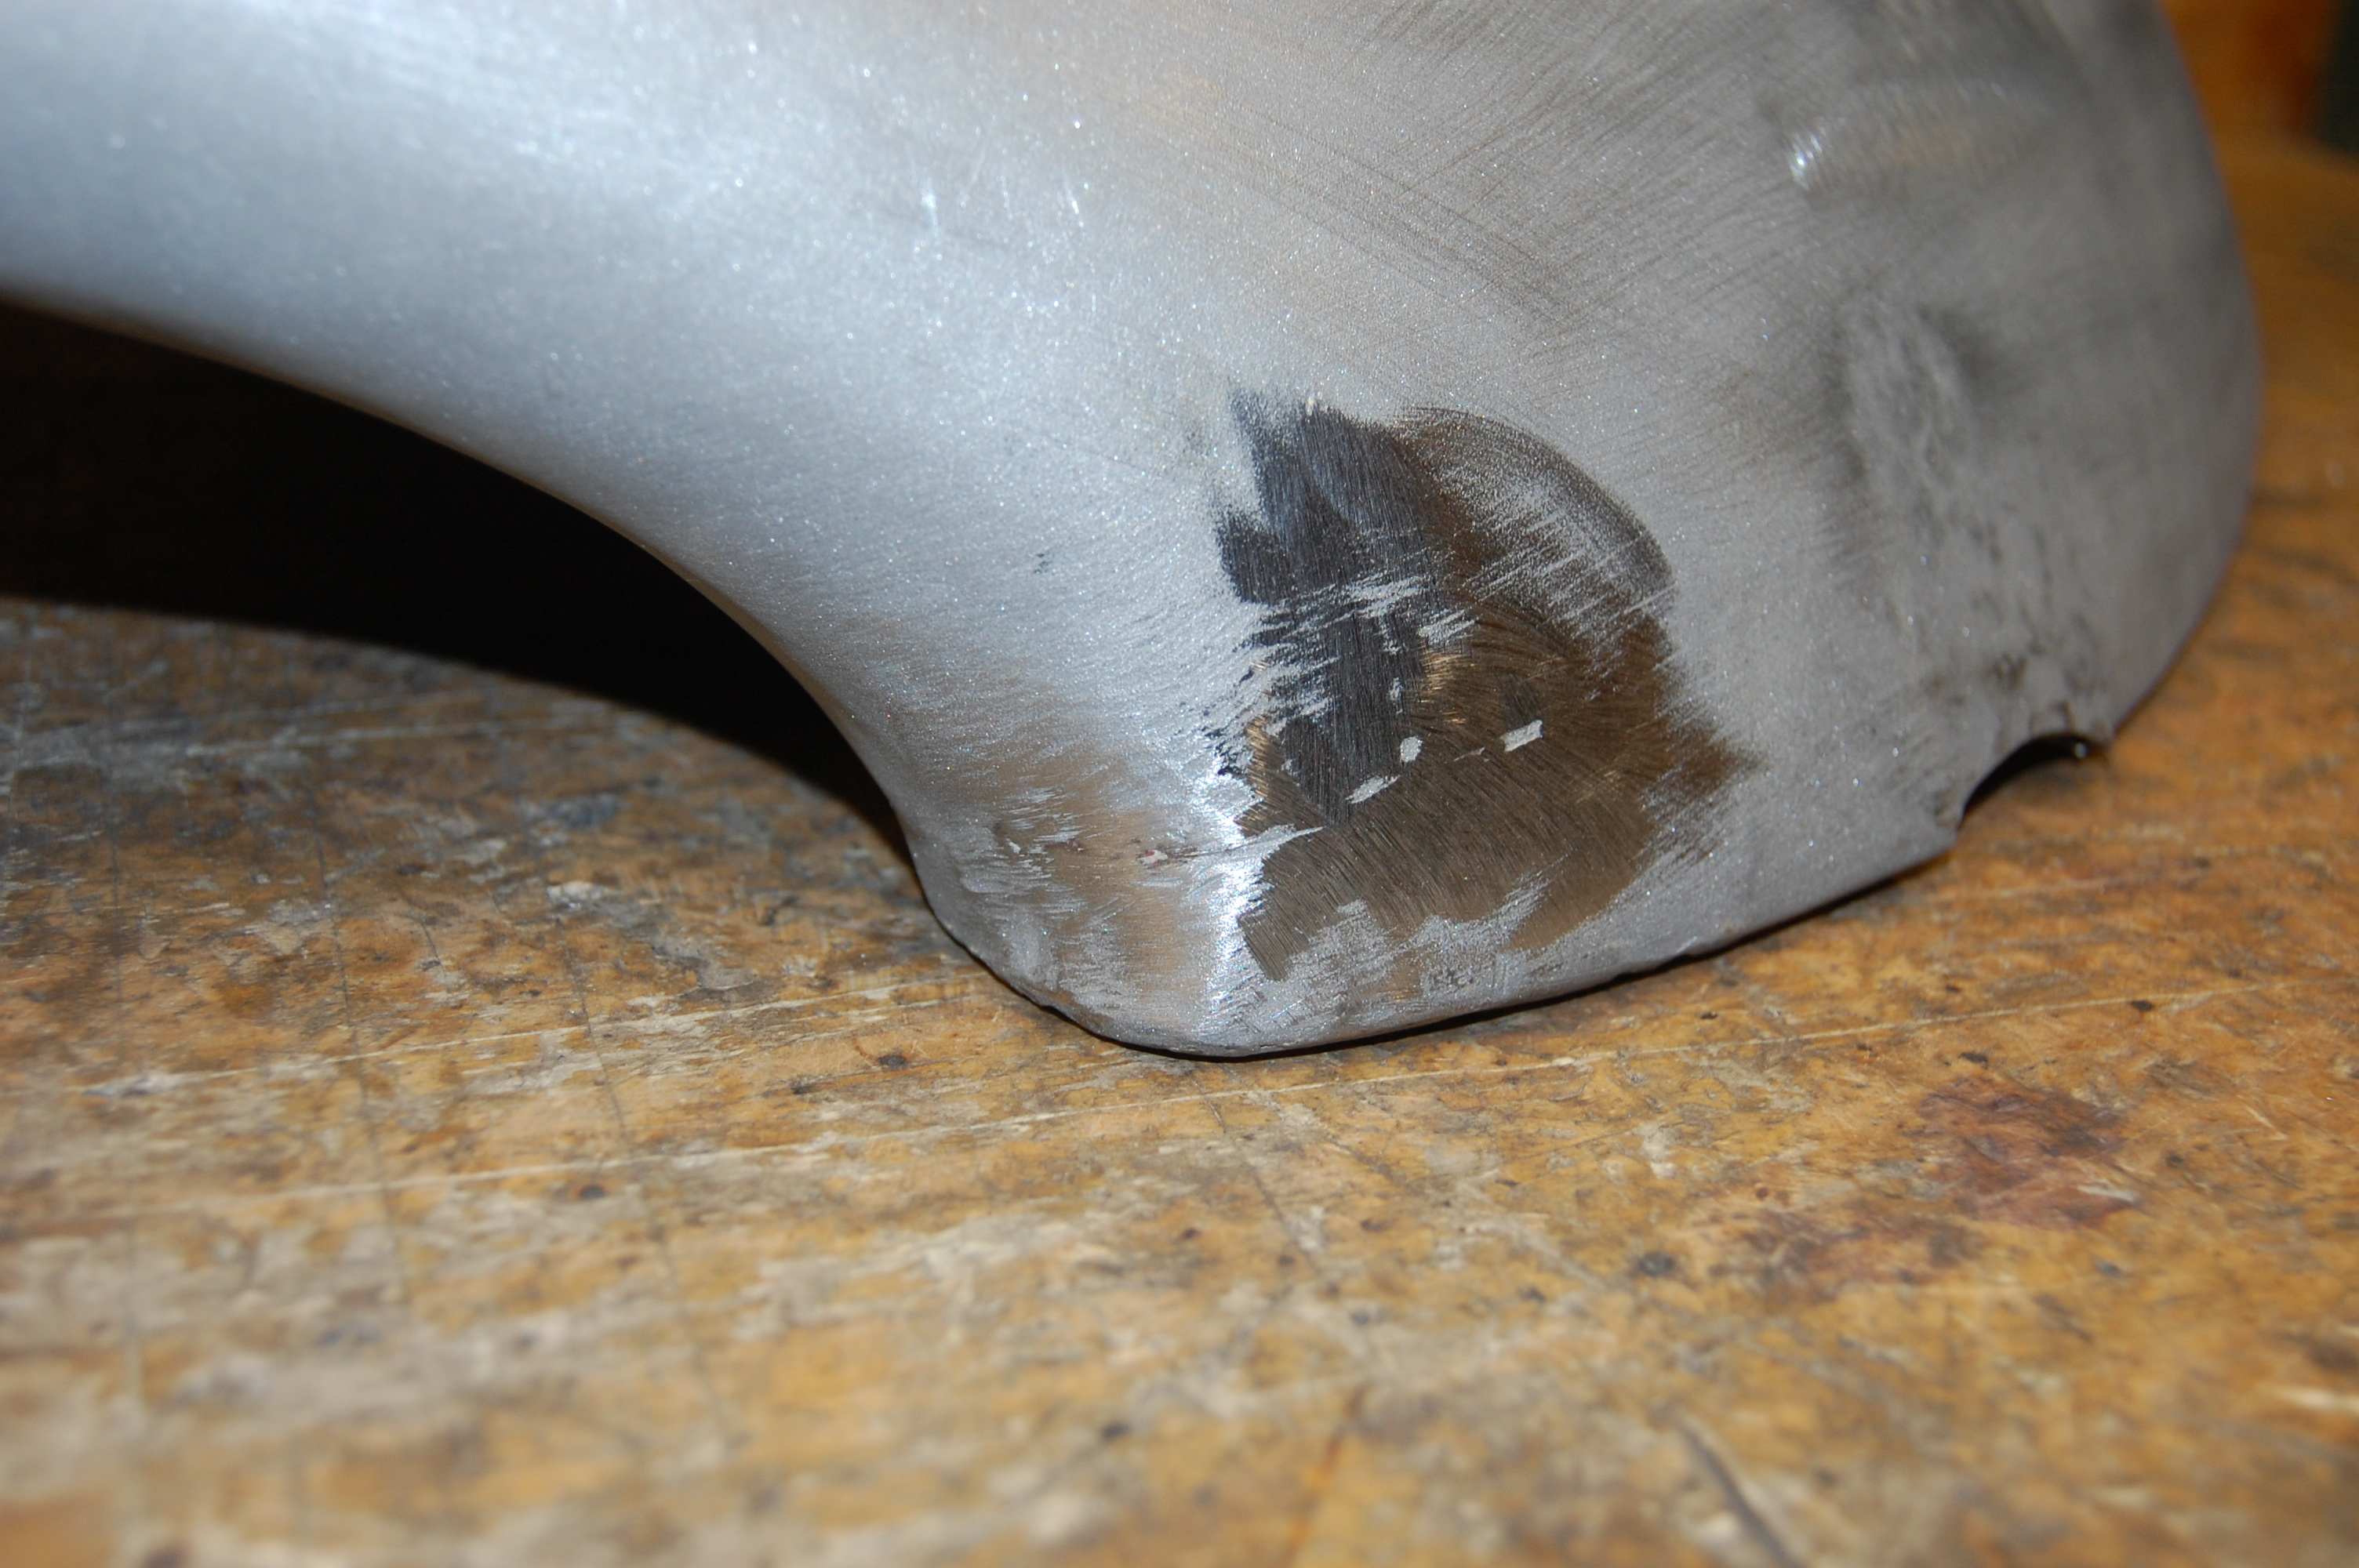
- This corner has seen alot of abuse in the past – although it’s not nearly the worst we’ve seen – I think the person who did this was on the right track, and just willing to use more filler to finish things off than you should…
-

- Bashed up over here too…
-

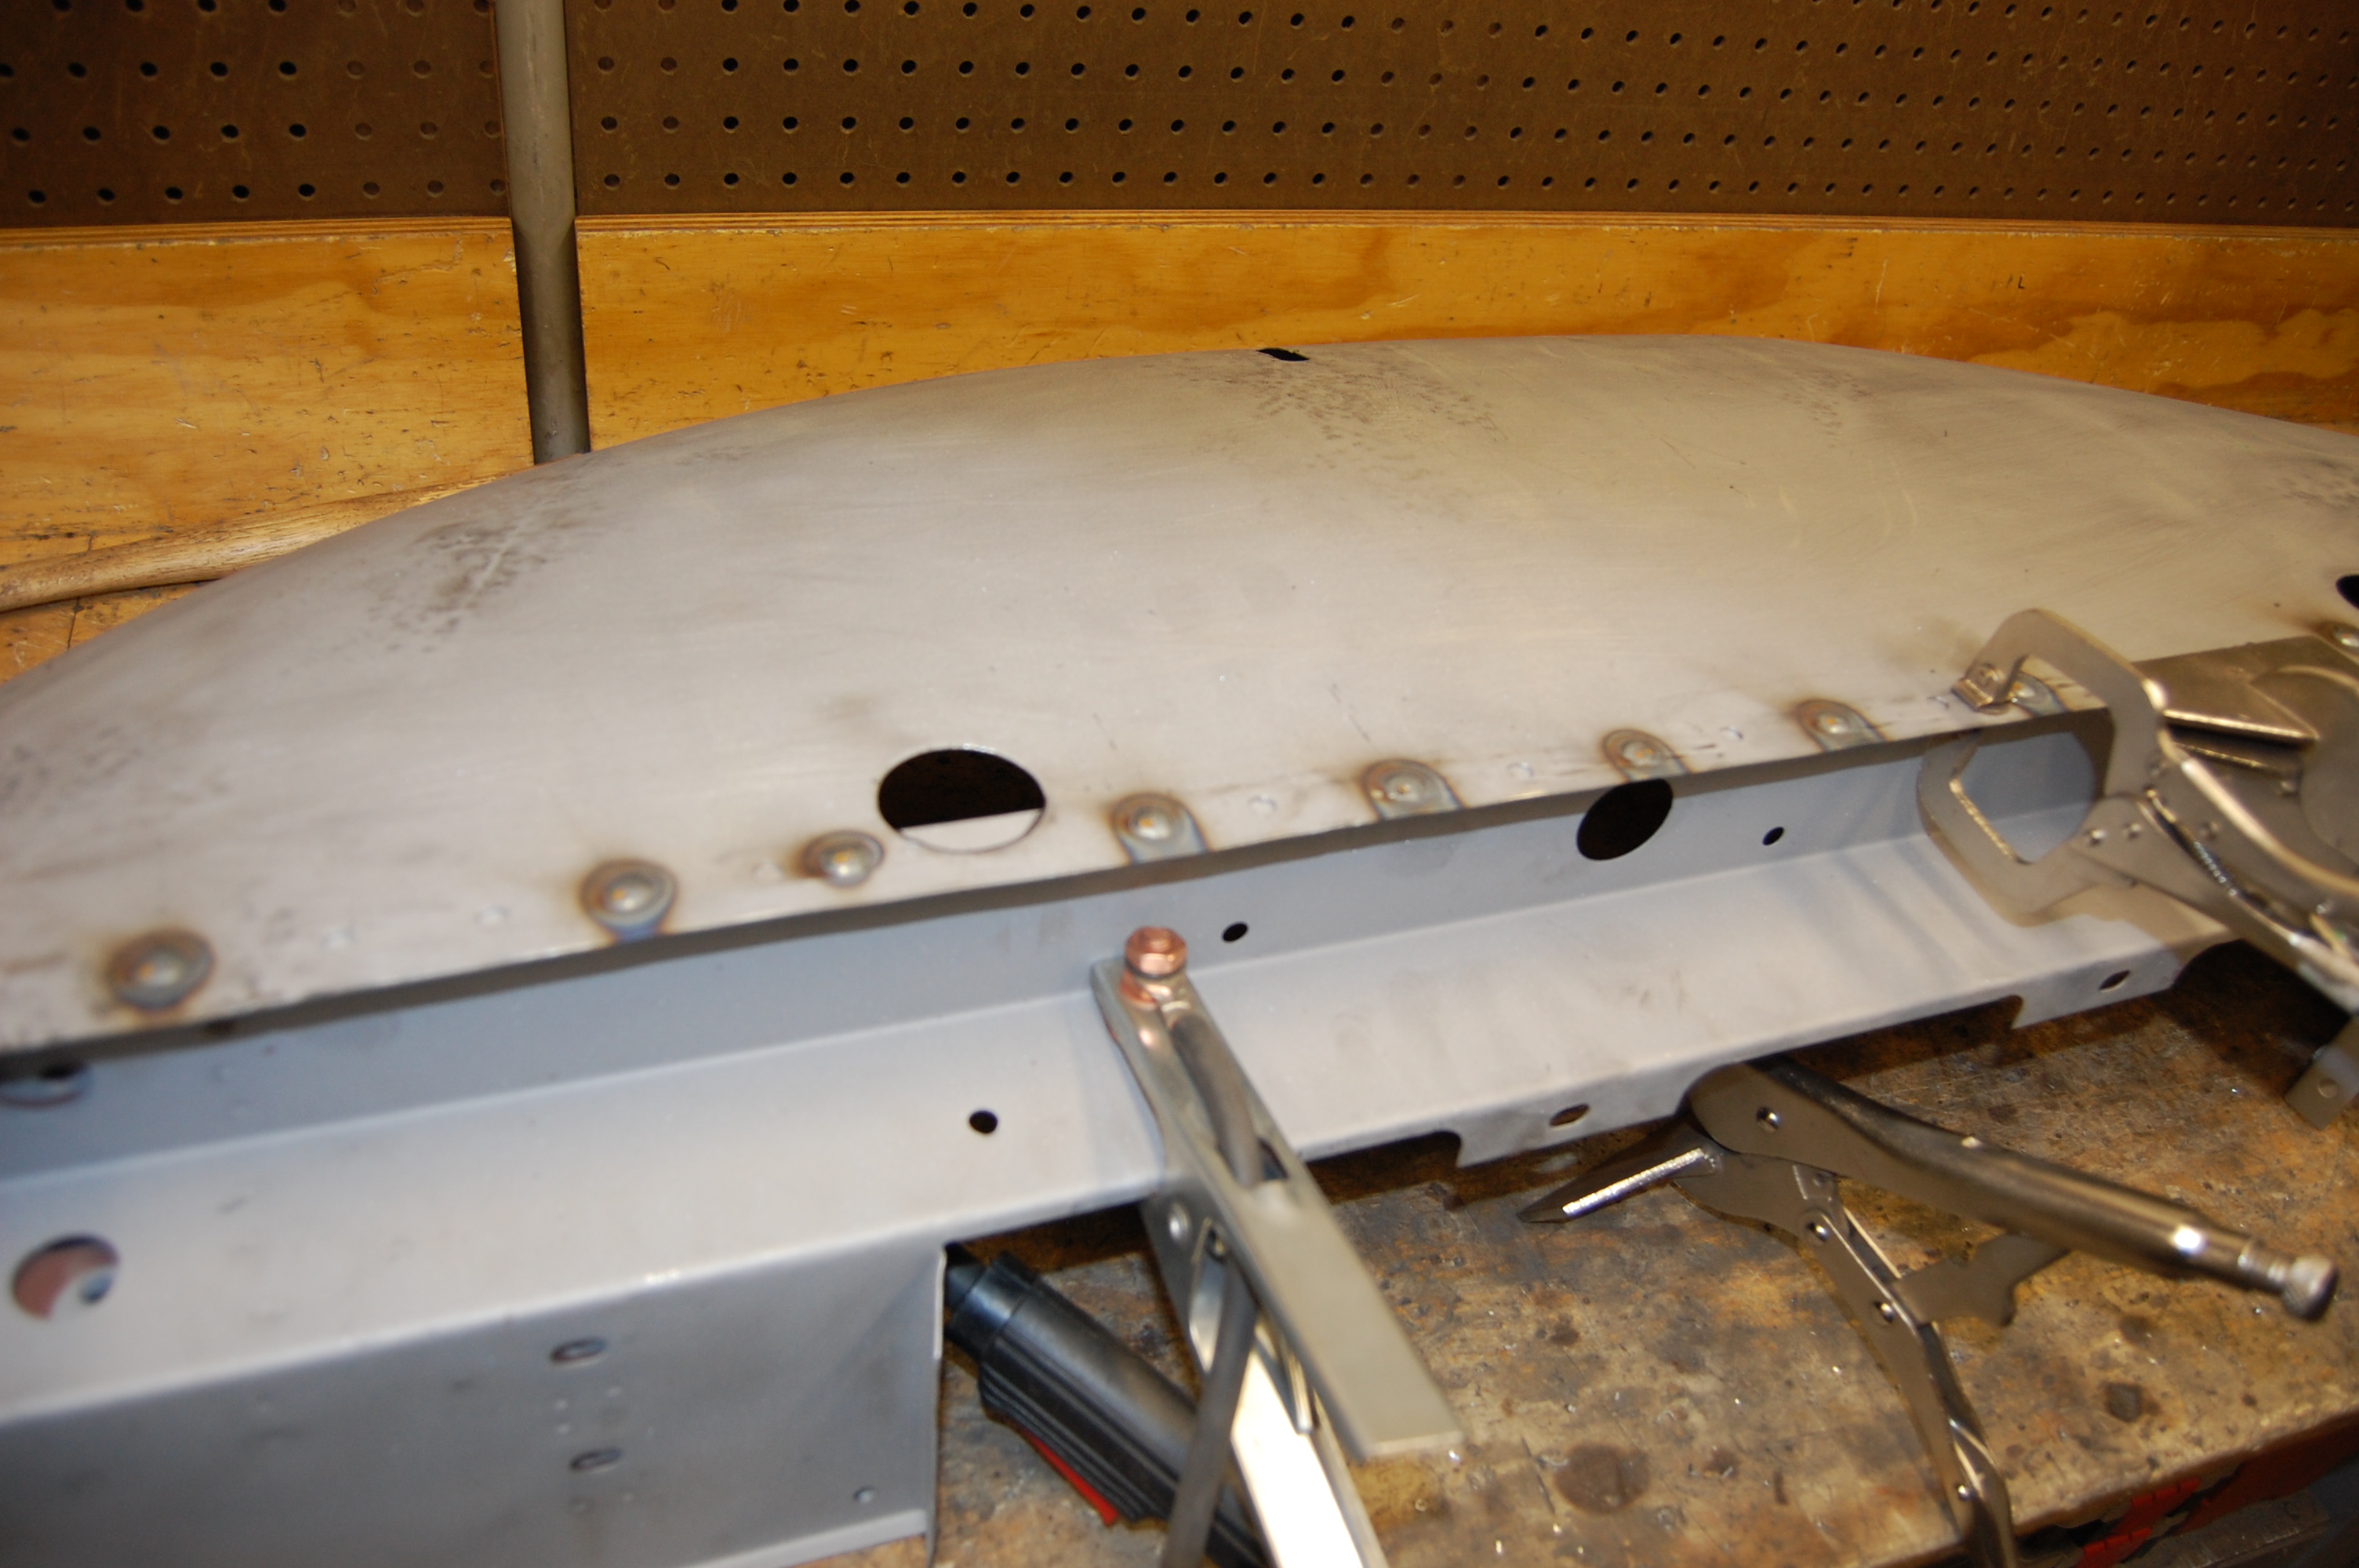
- After smoothing everything that’s near the main support member (because you can’t access it once the support is in), we start to fit the new main support. This is one of our panels that we sold this customer in the Spring. He changed his mind and brought the whooe bonnet here, but the support had surface rust on it by that point, so we blasted it back down to white metal.

-
- This was weird – there were no holes on this side from the dissection the customer did at home, so we had to drill new ones for the plug welding. These are 1/8″ pilot holes…

-

- We weld the plug-weld holes up one here, one there – always checking alignment and taking it slow.
-
- All welded up! We will dress these knobs down until they need almost no filler.

-

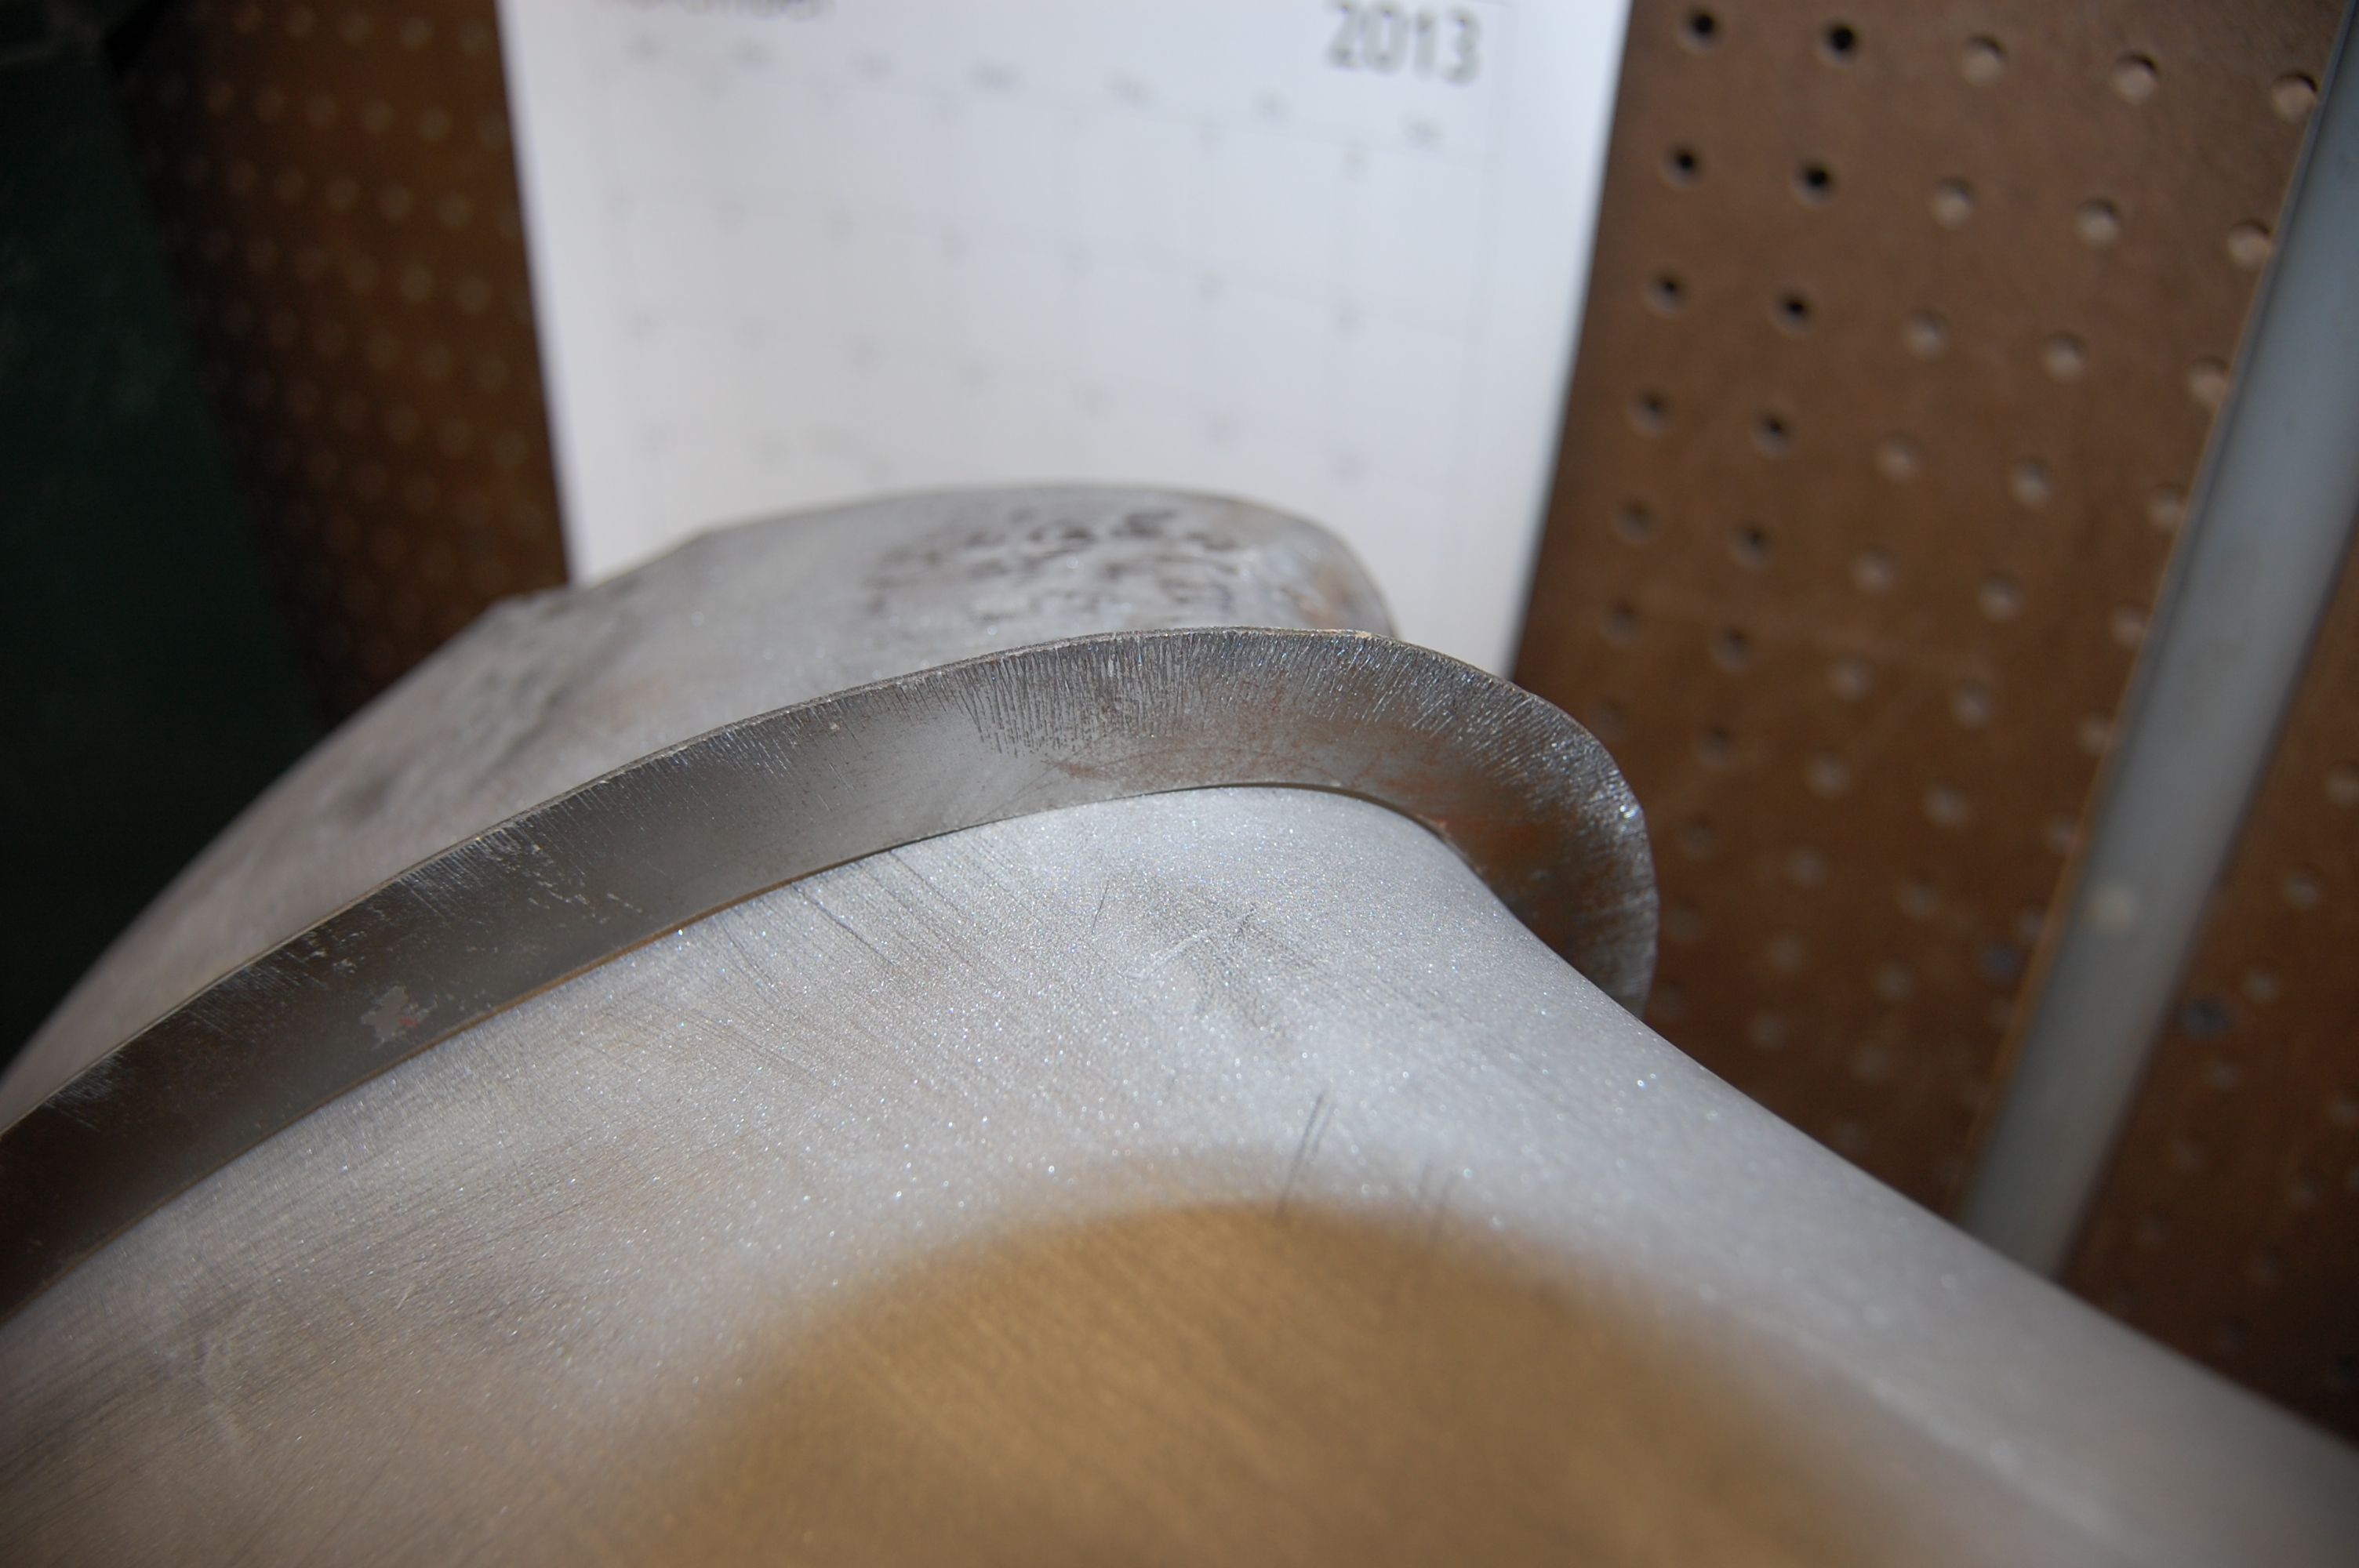
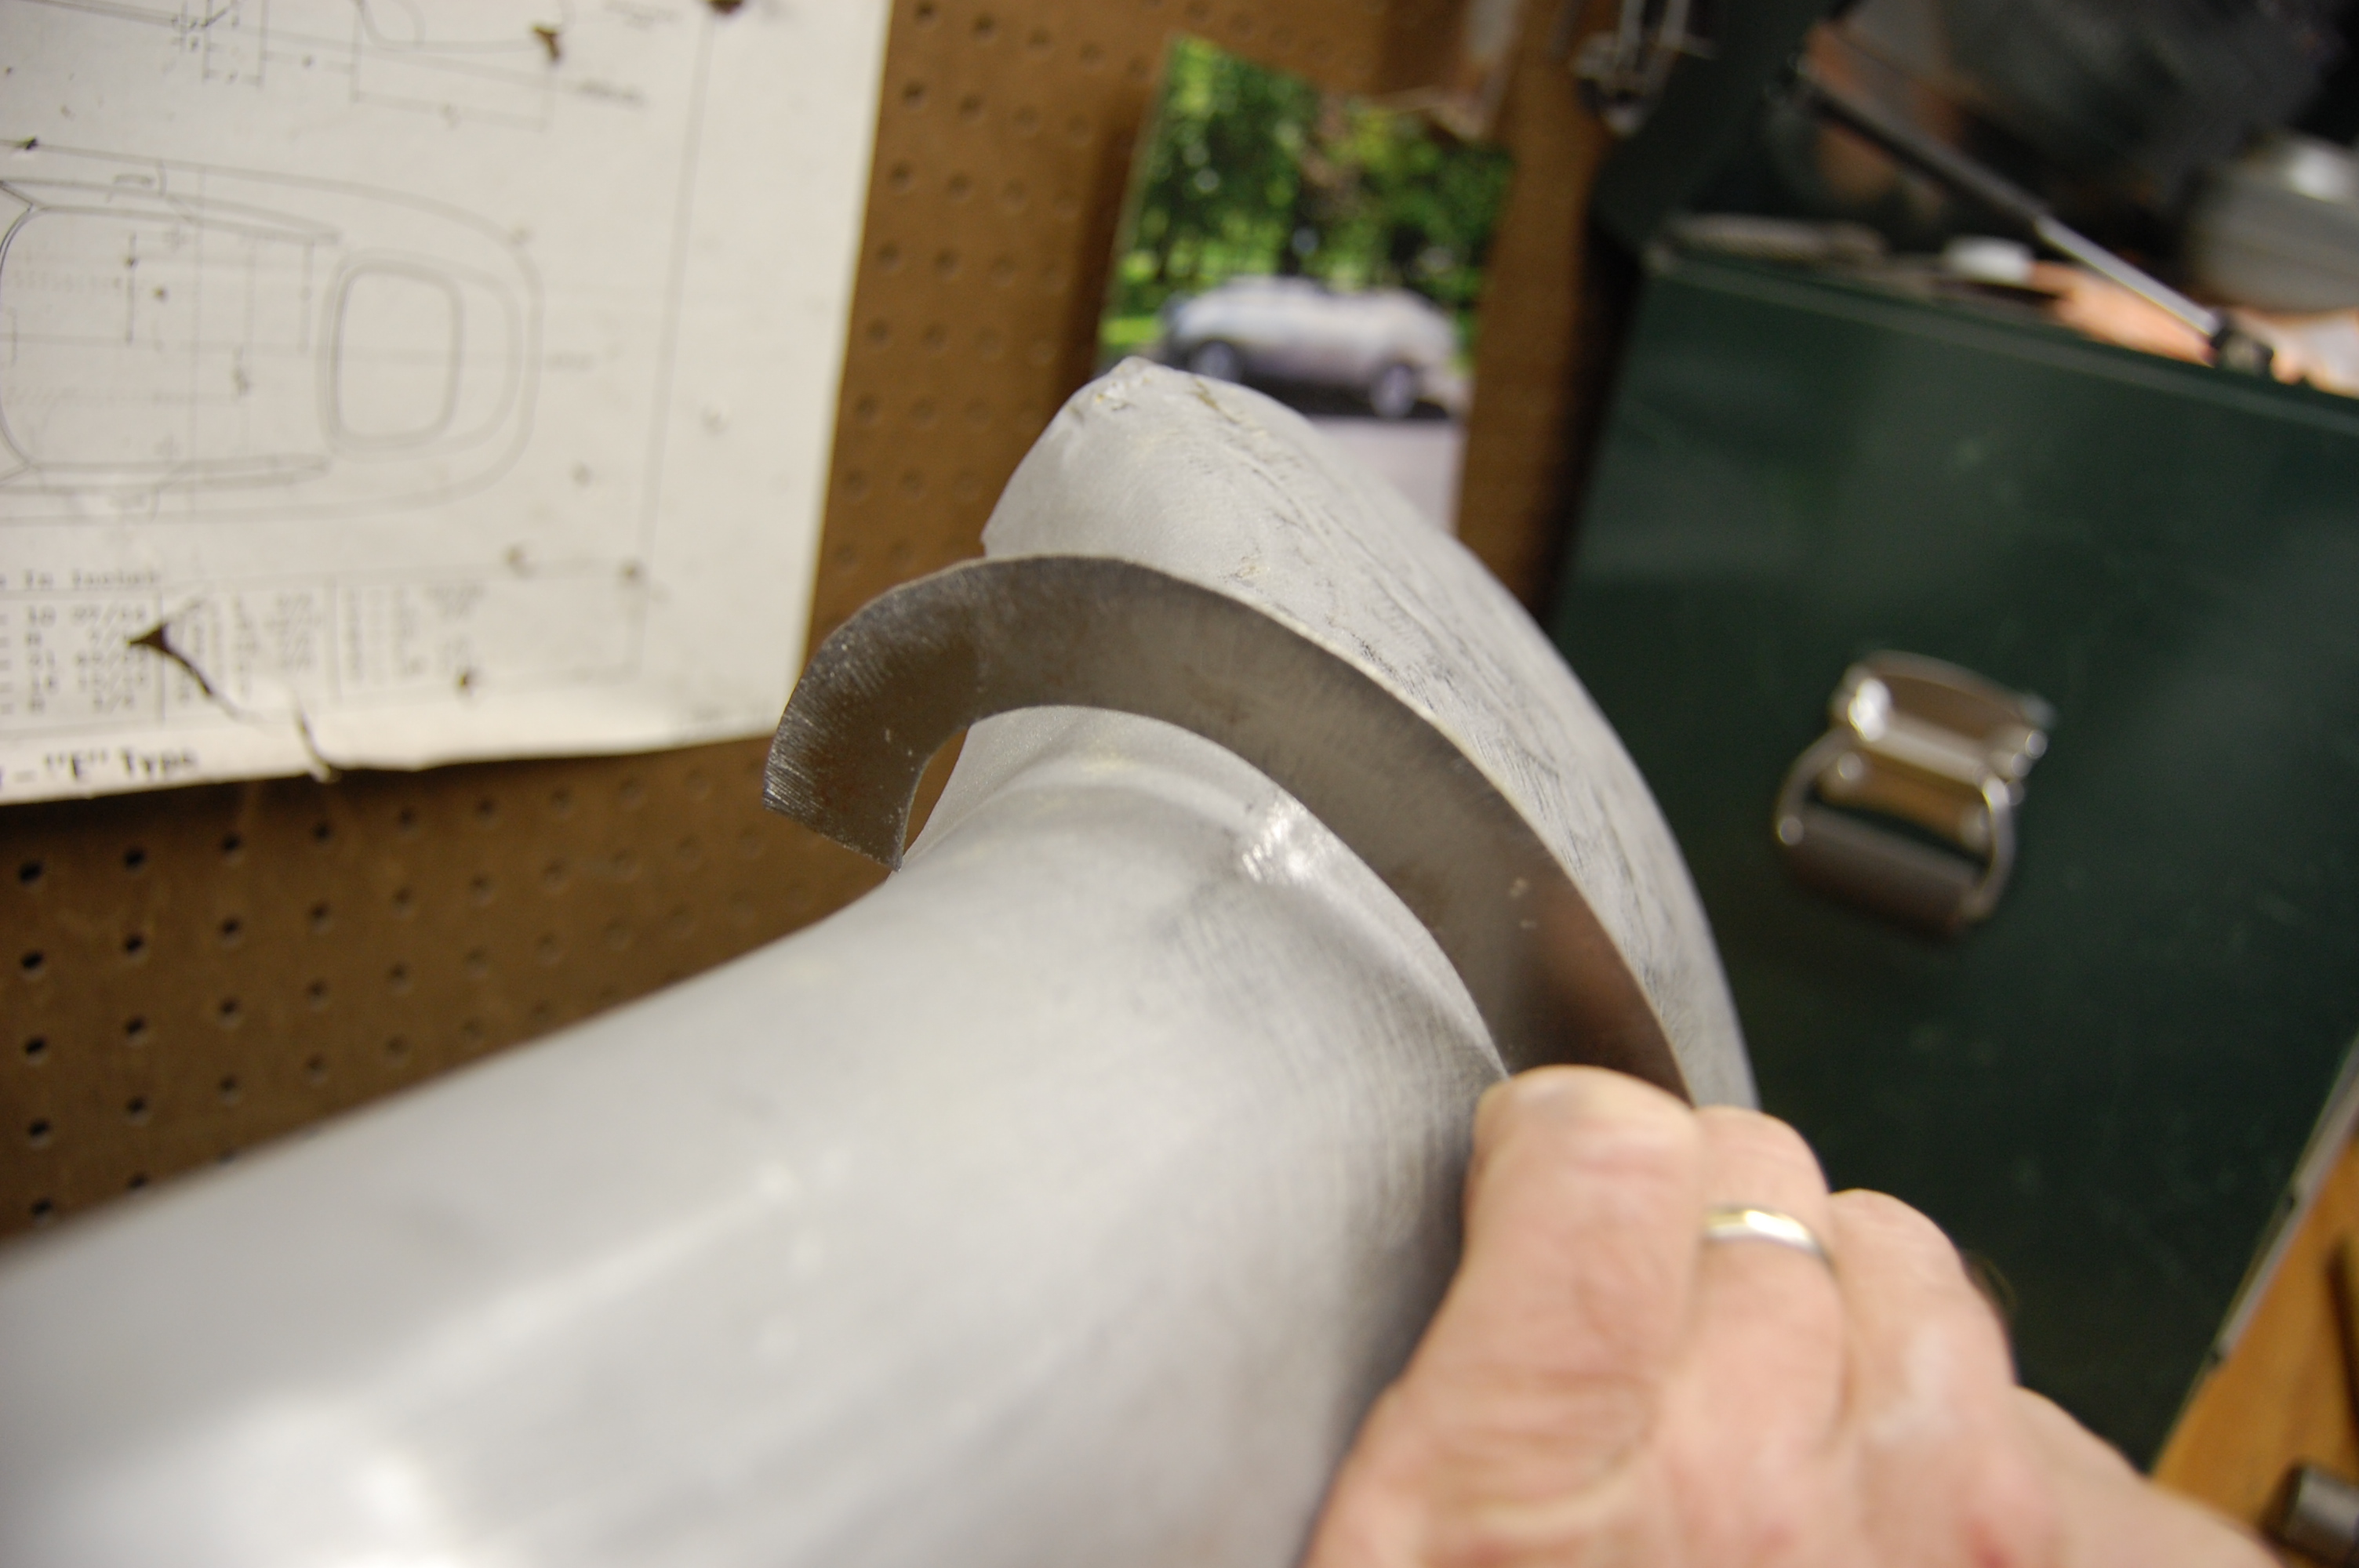
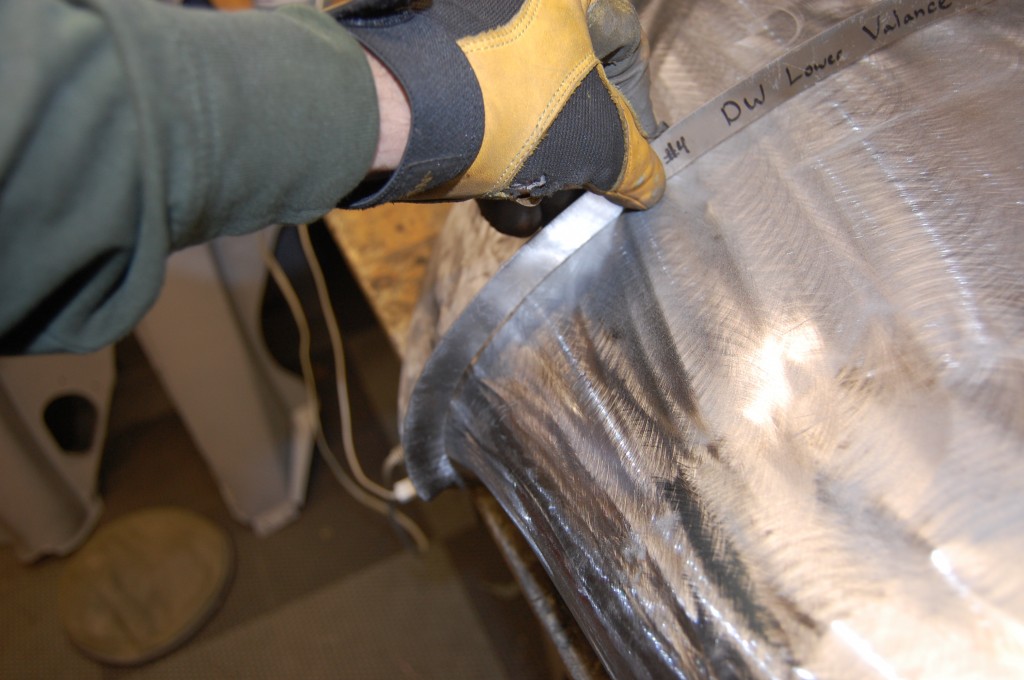
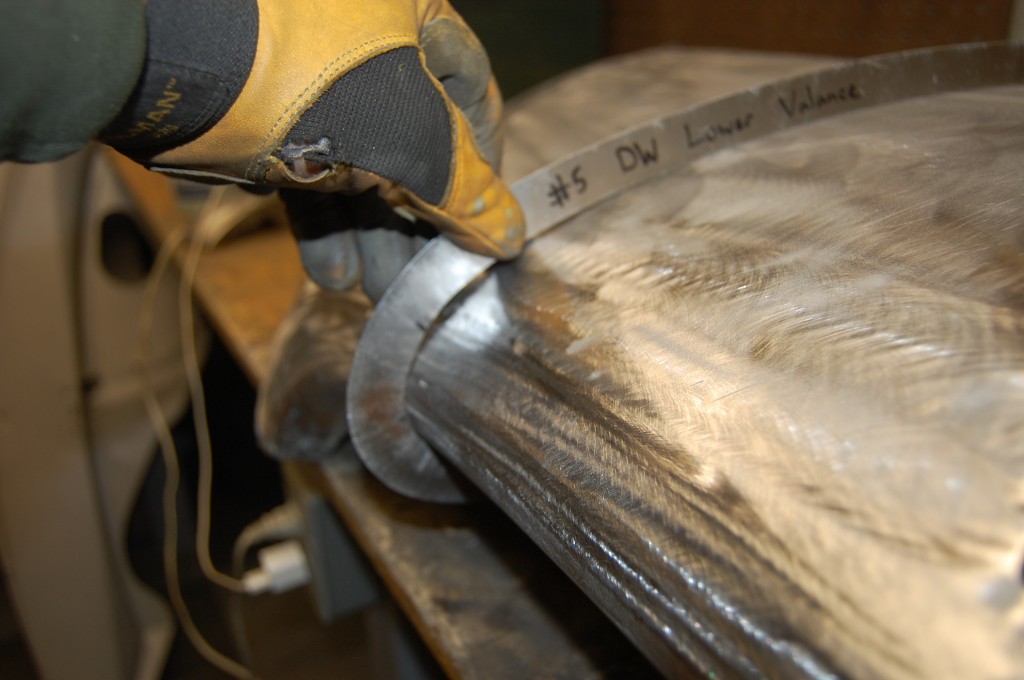
- Now it’s time to reshape the mouth using the contour gauges. This gauge is fine on the RH side…
-

- …but the same gauge on the LH side is a little off.
-

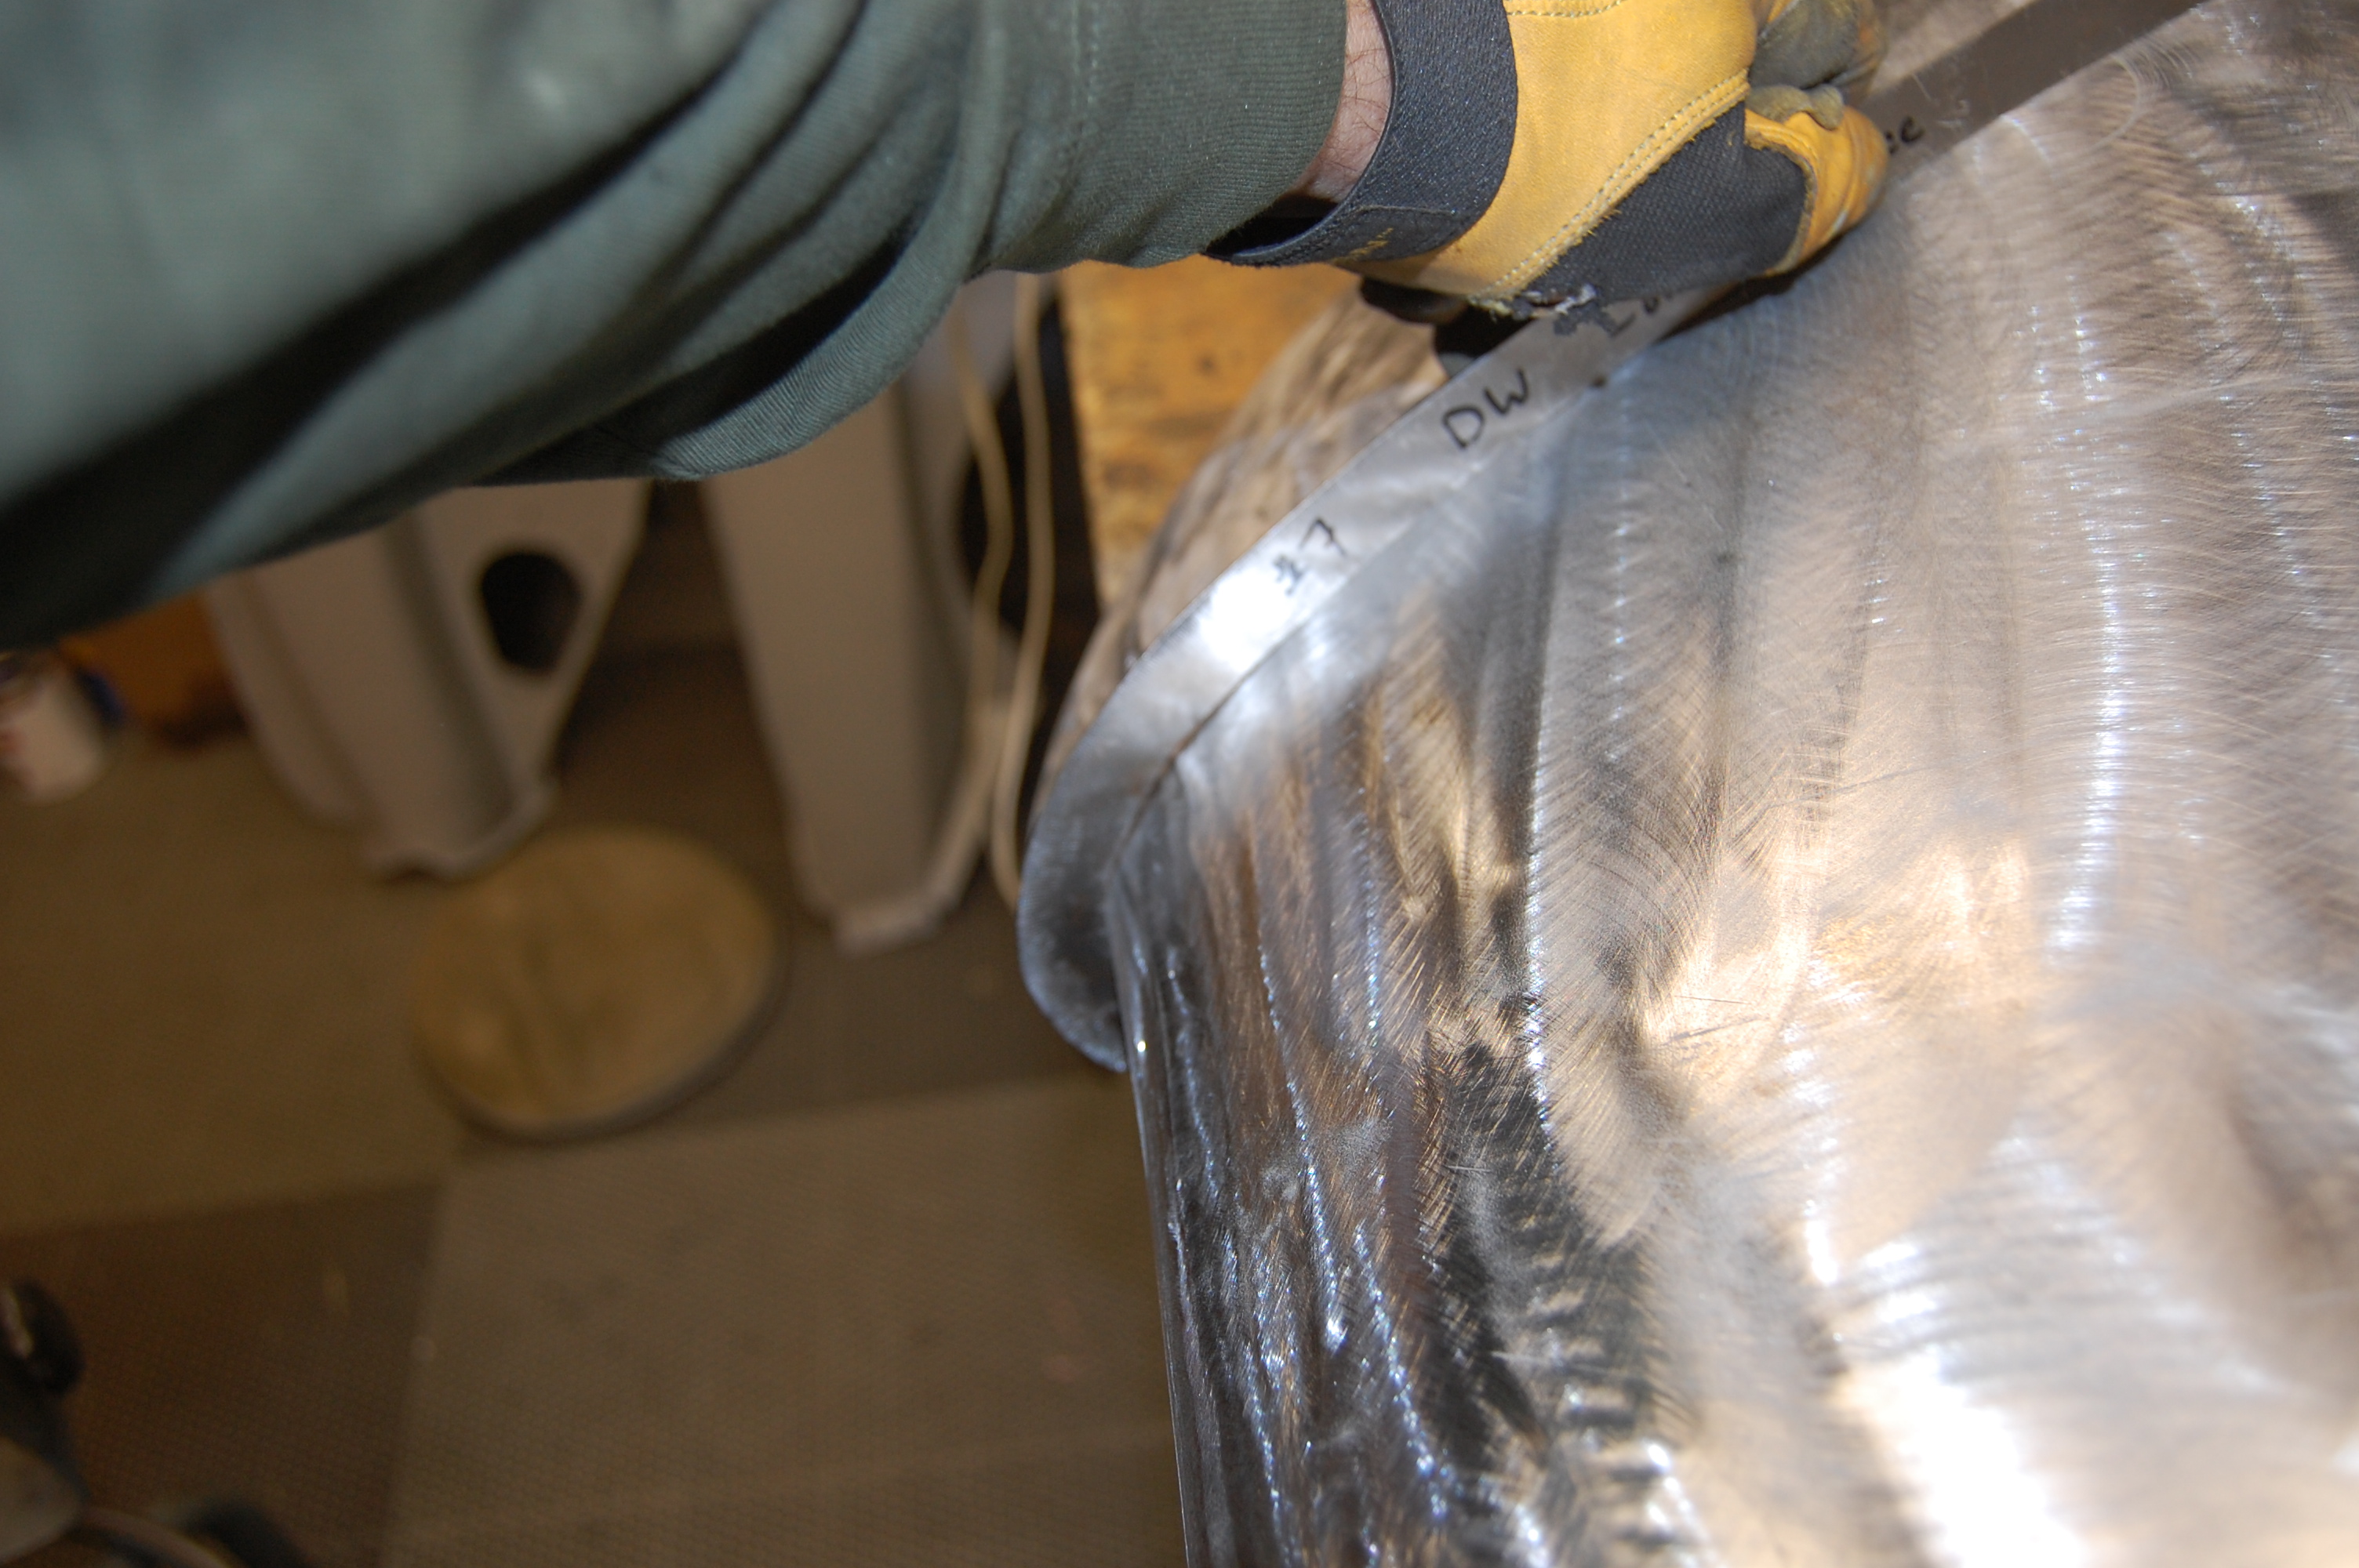
- The next gauge inward is also good on the RH side…
-

- …but again, out of whack on the left.
-

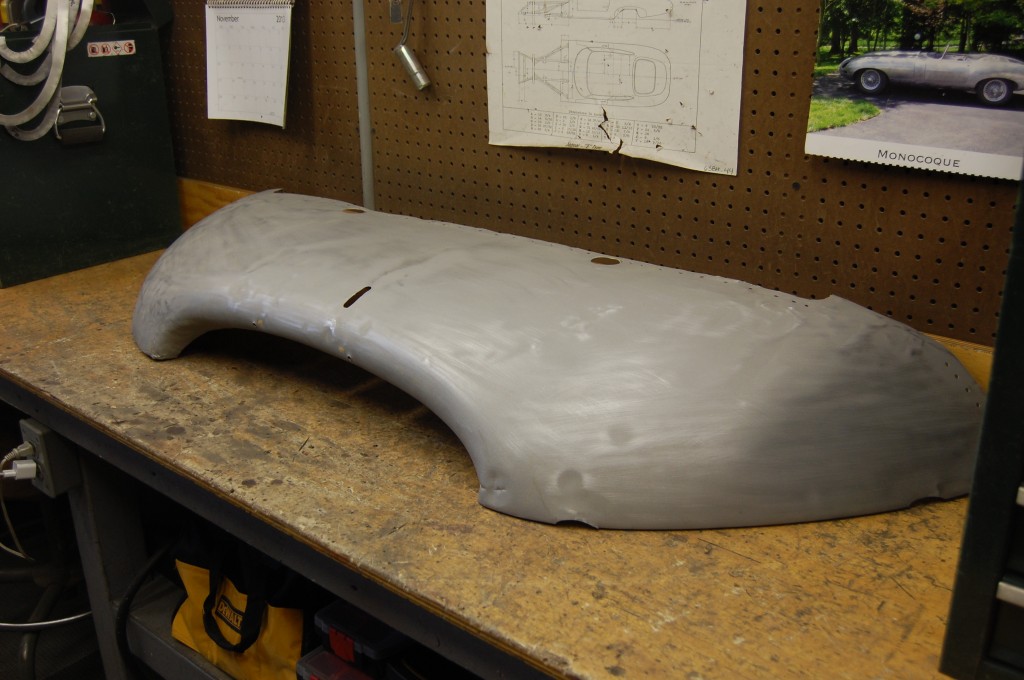
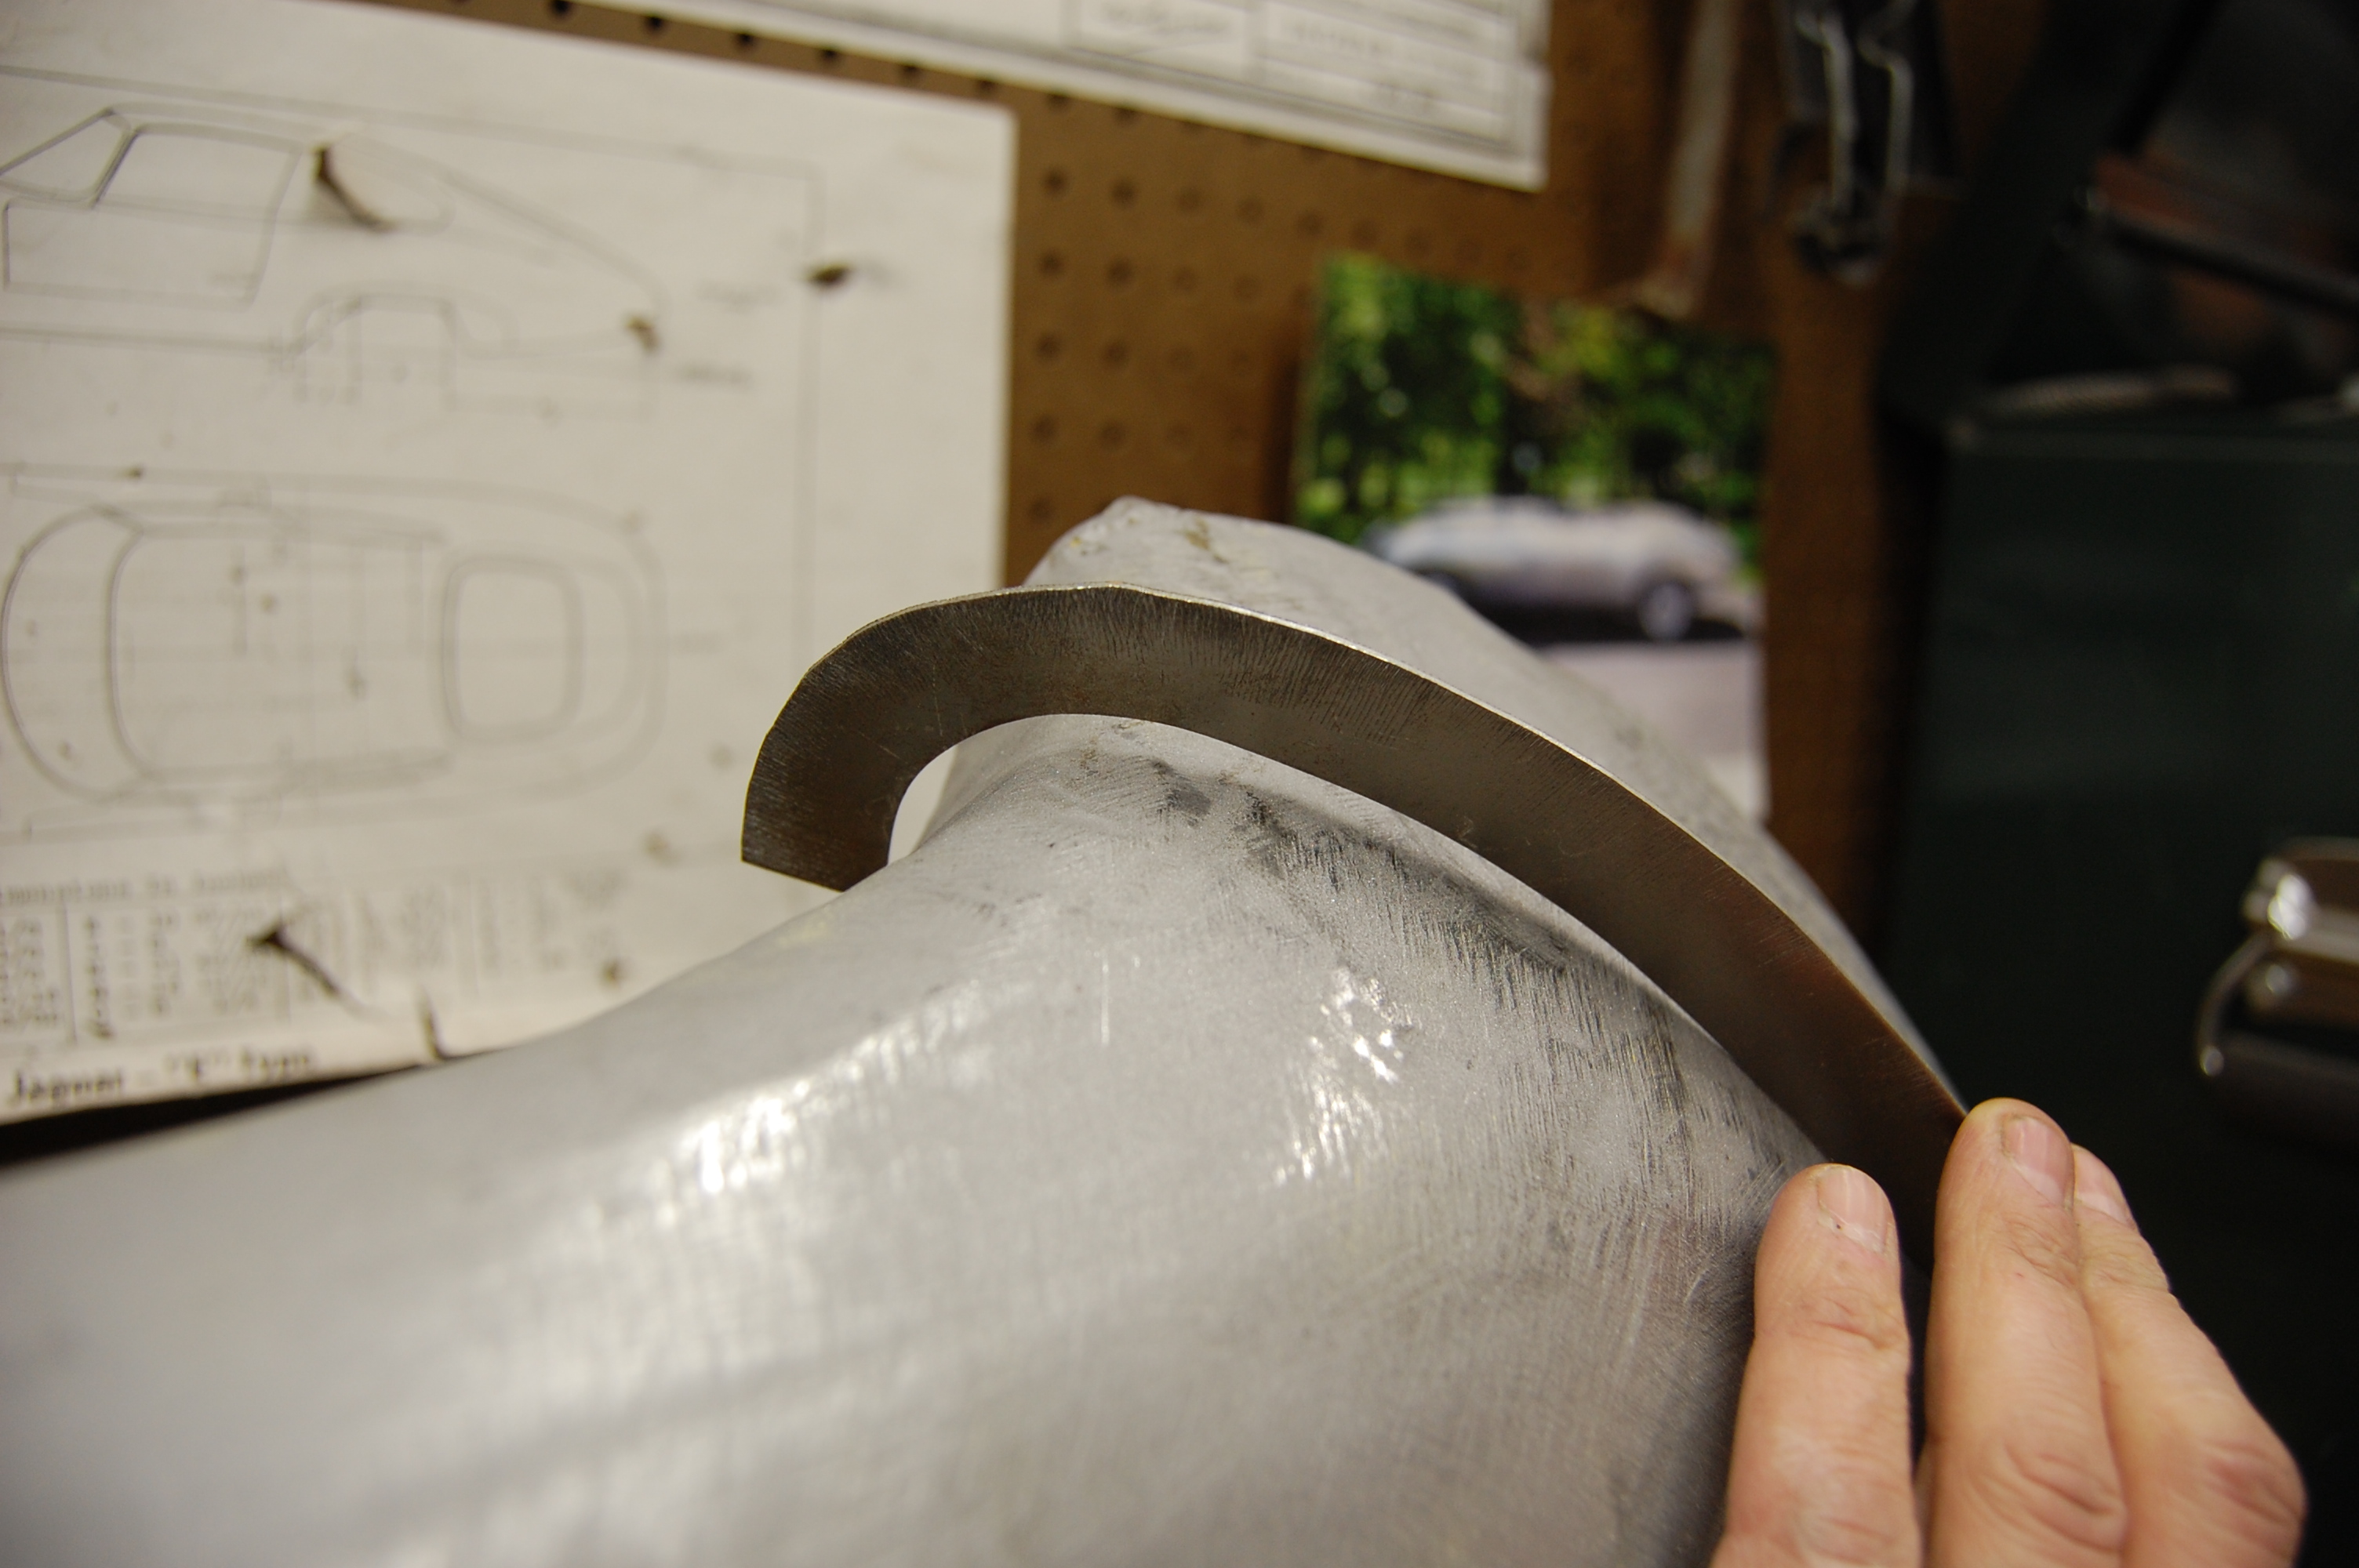
- At this point, I have reshaped the mouth to match the gauges all the way across.
-
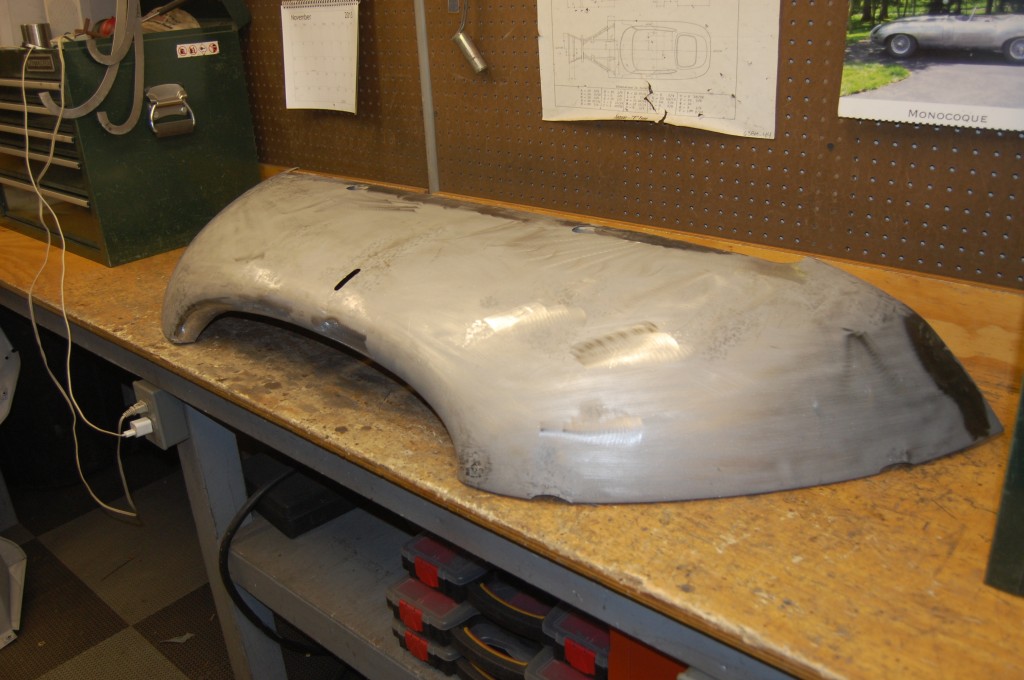
- Now, the whole panel is properly shaped, and also smoothed by hand.
-
- It’s right now – although in this picture it looks a little out whack – it’s a weird lighting effect – this thing is DEAD ON according to the contour gauges!

-

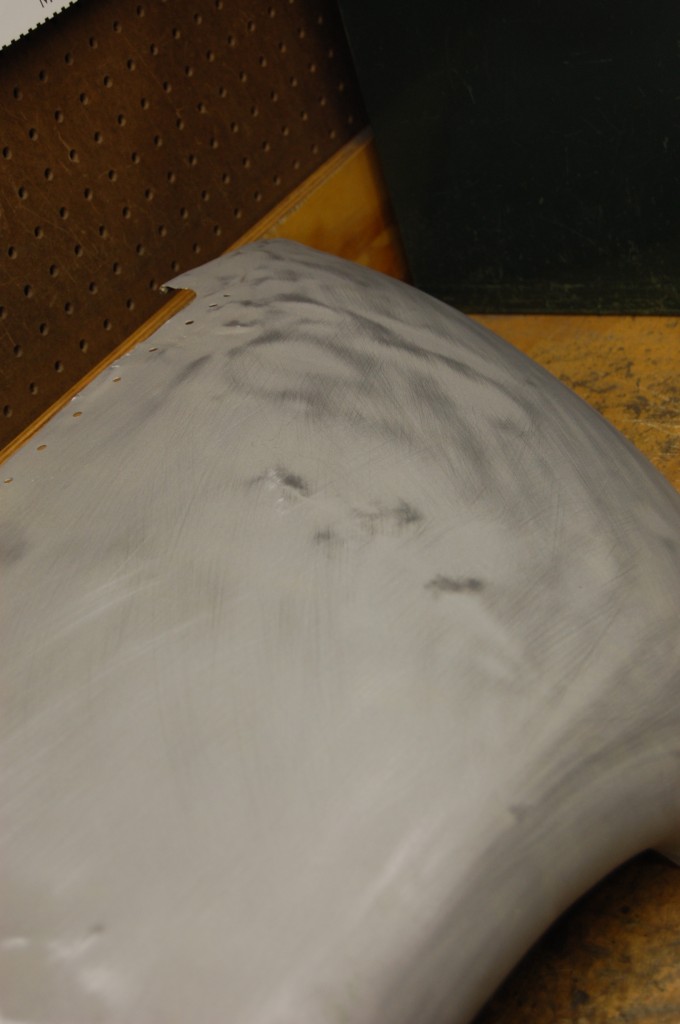
- This corner had the classic E-Type bumper crease – I hammered that out.
-

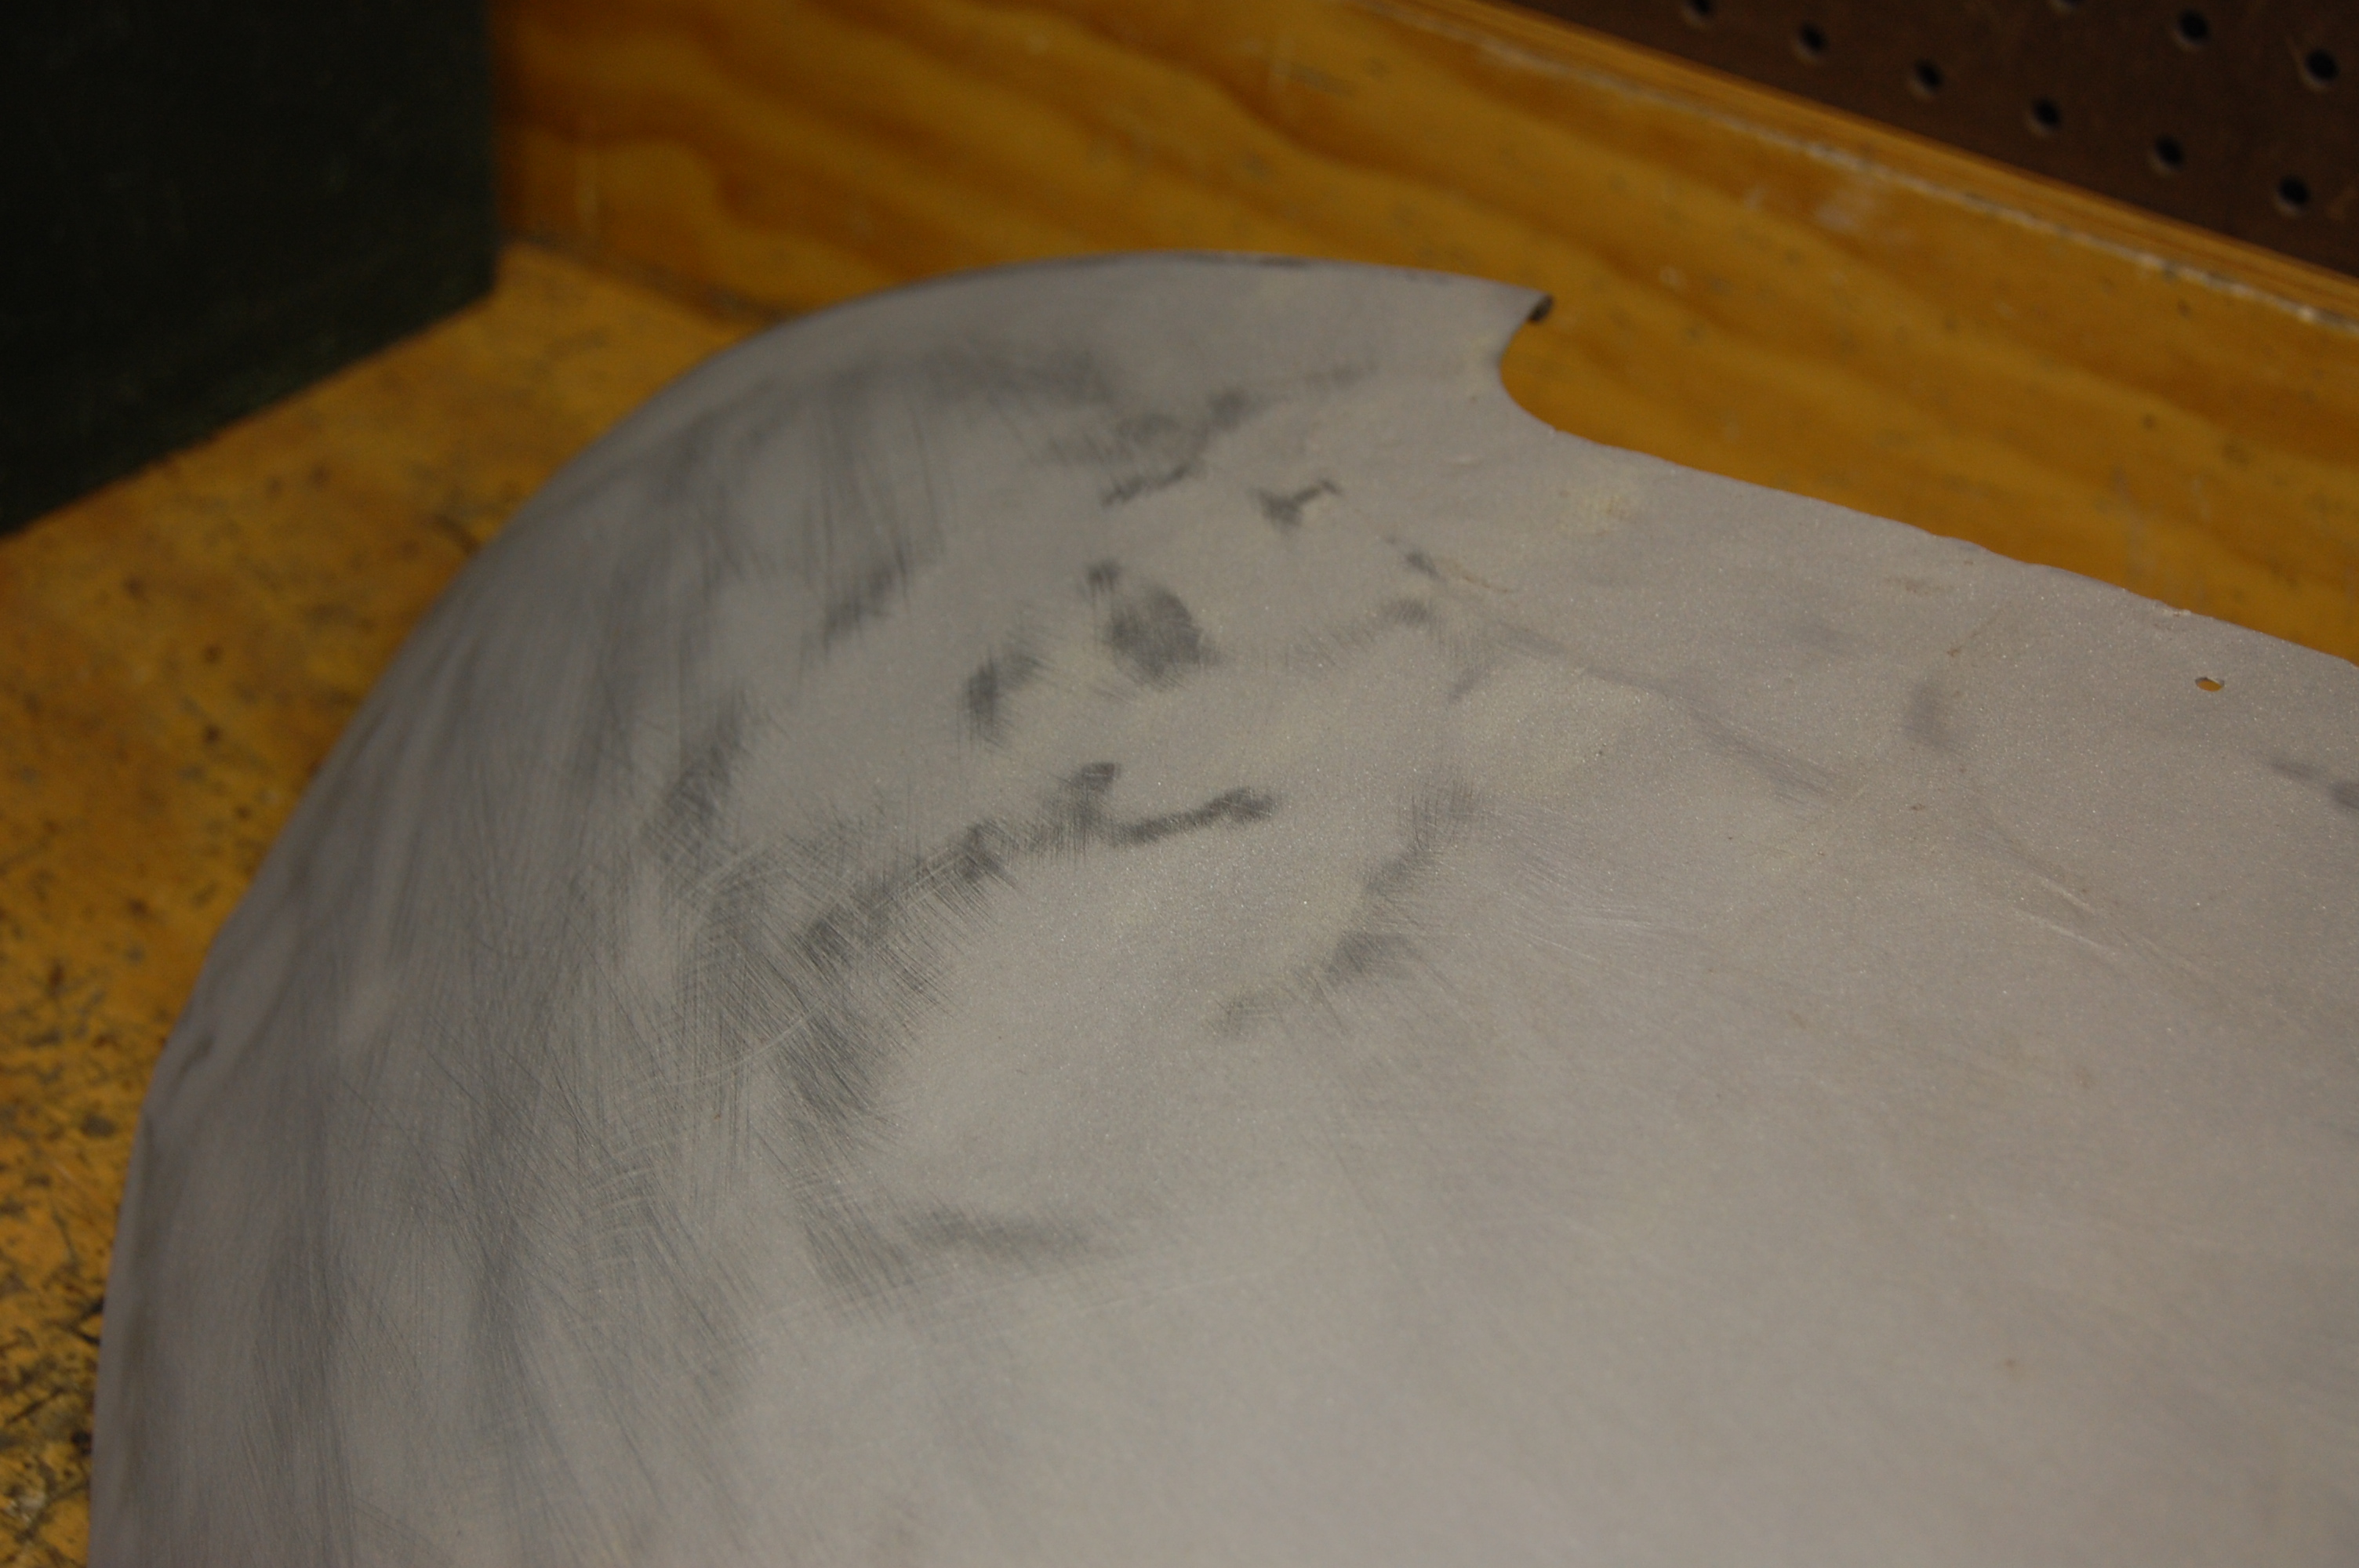
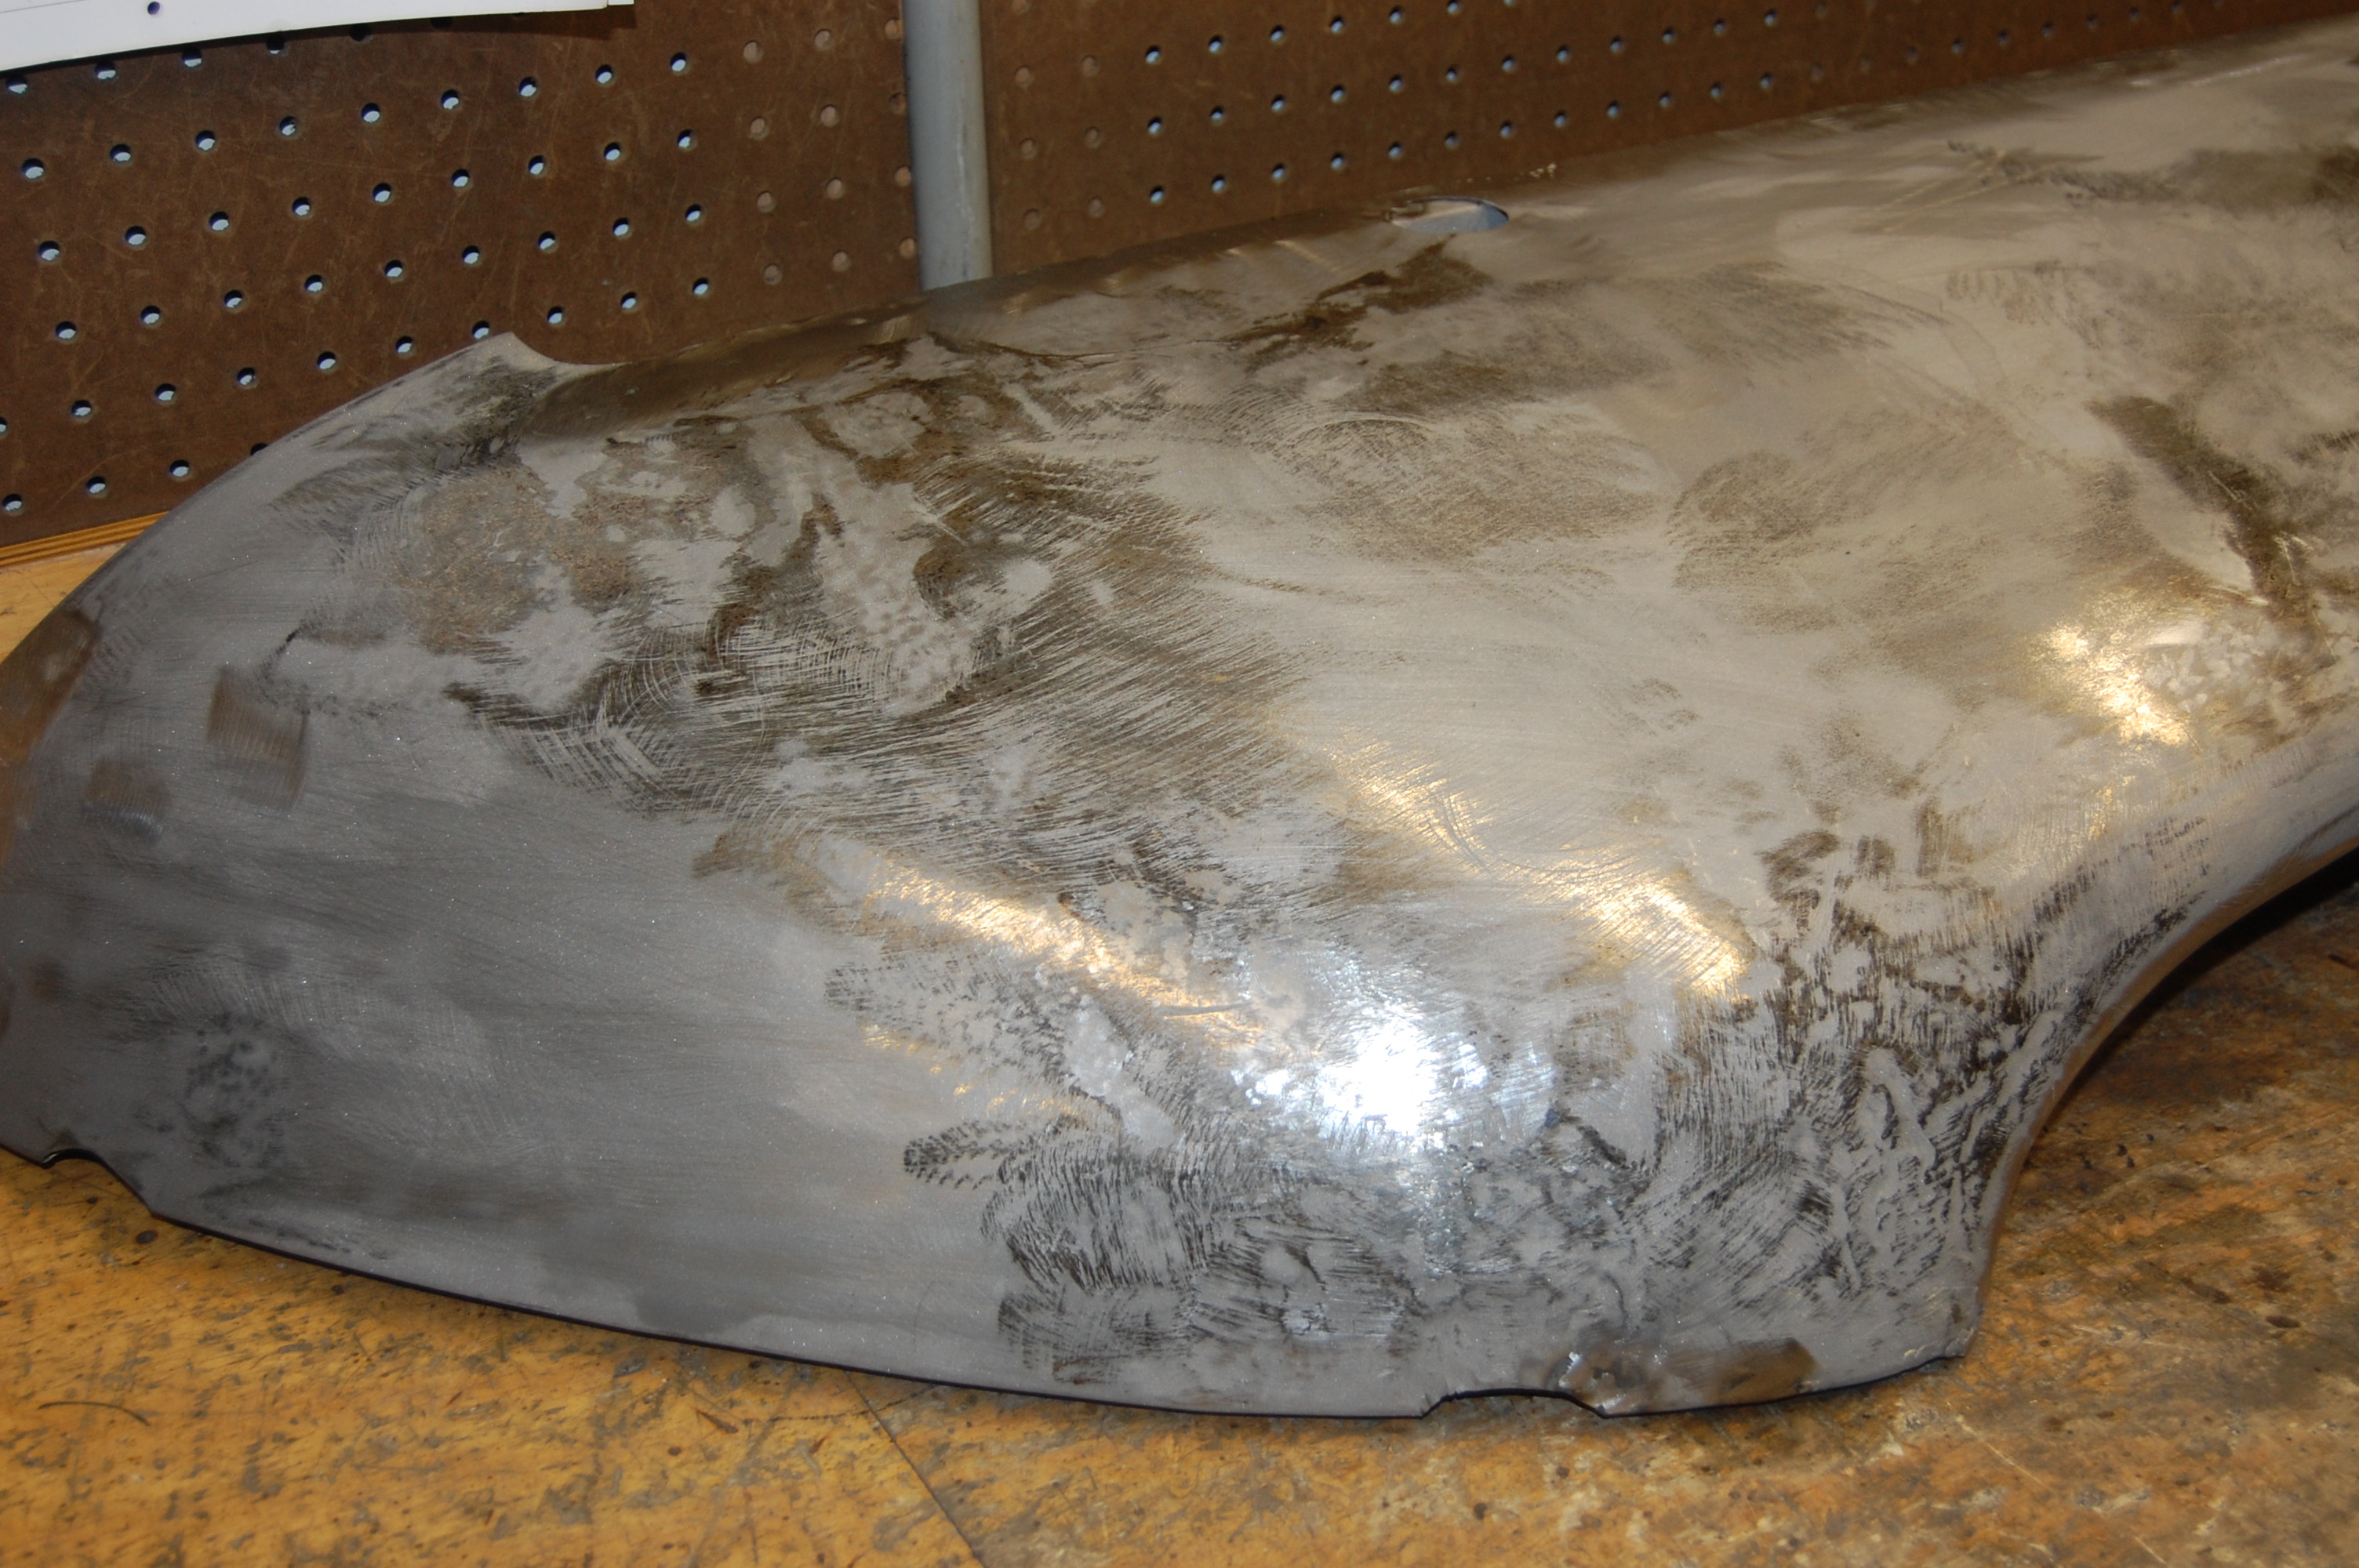
- Here are the tell-tale polish markes of the shrinking process – it’s smooth now!

-

- As always, the shrinking leaves a “ghost image” of the damage we have taken care of.
-

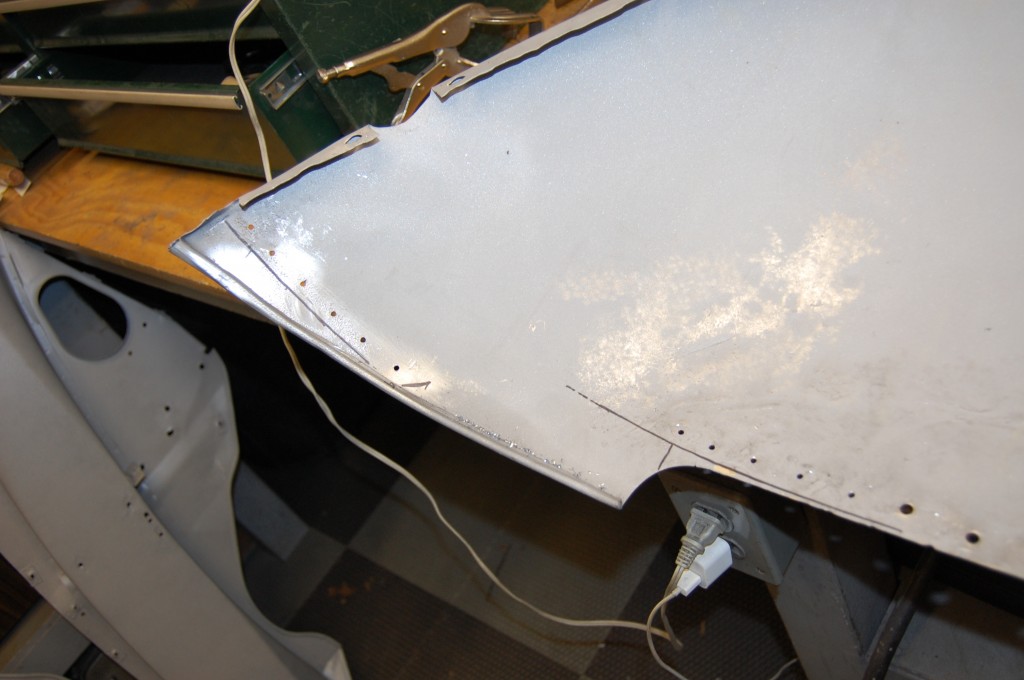
- Over here, you can see the creases and gouges from poarking blocks. These are now about .005 below the surface…
-

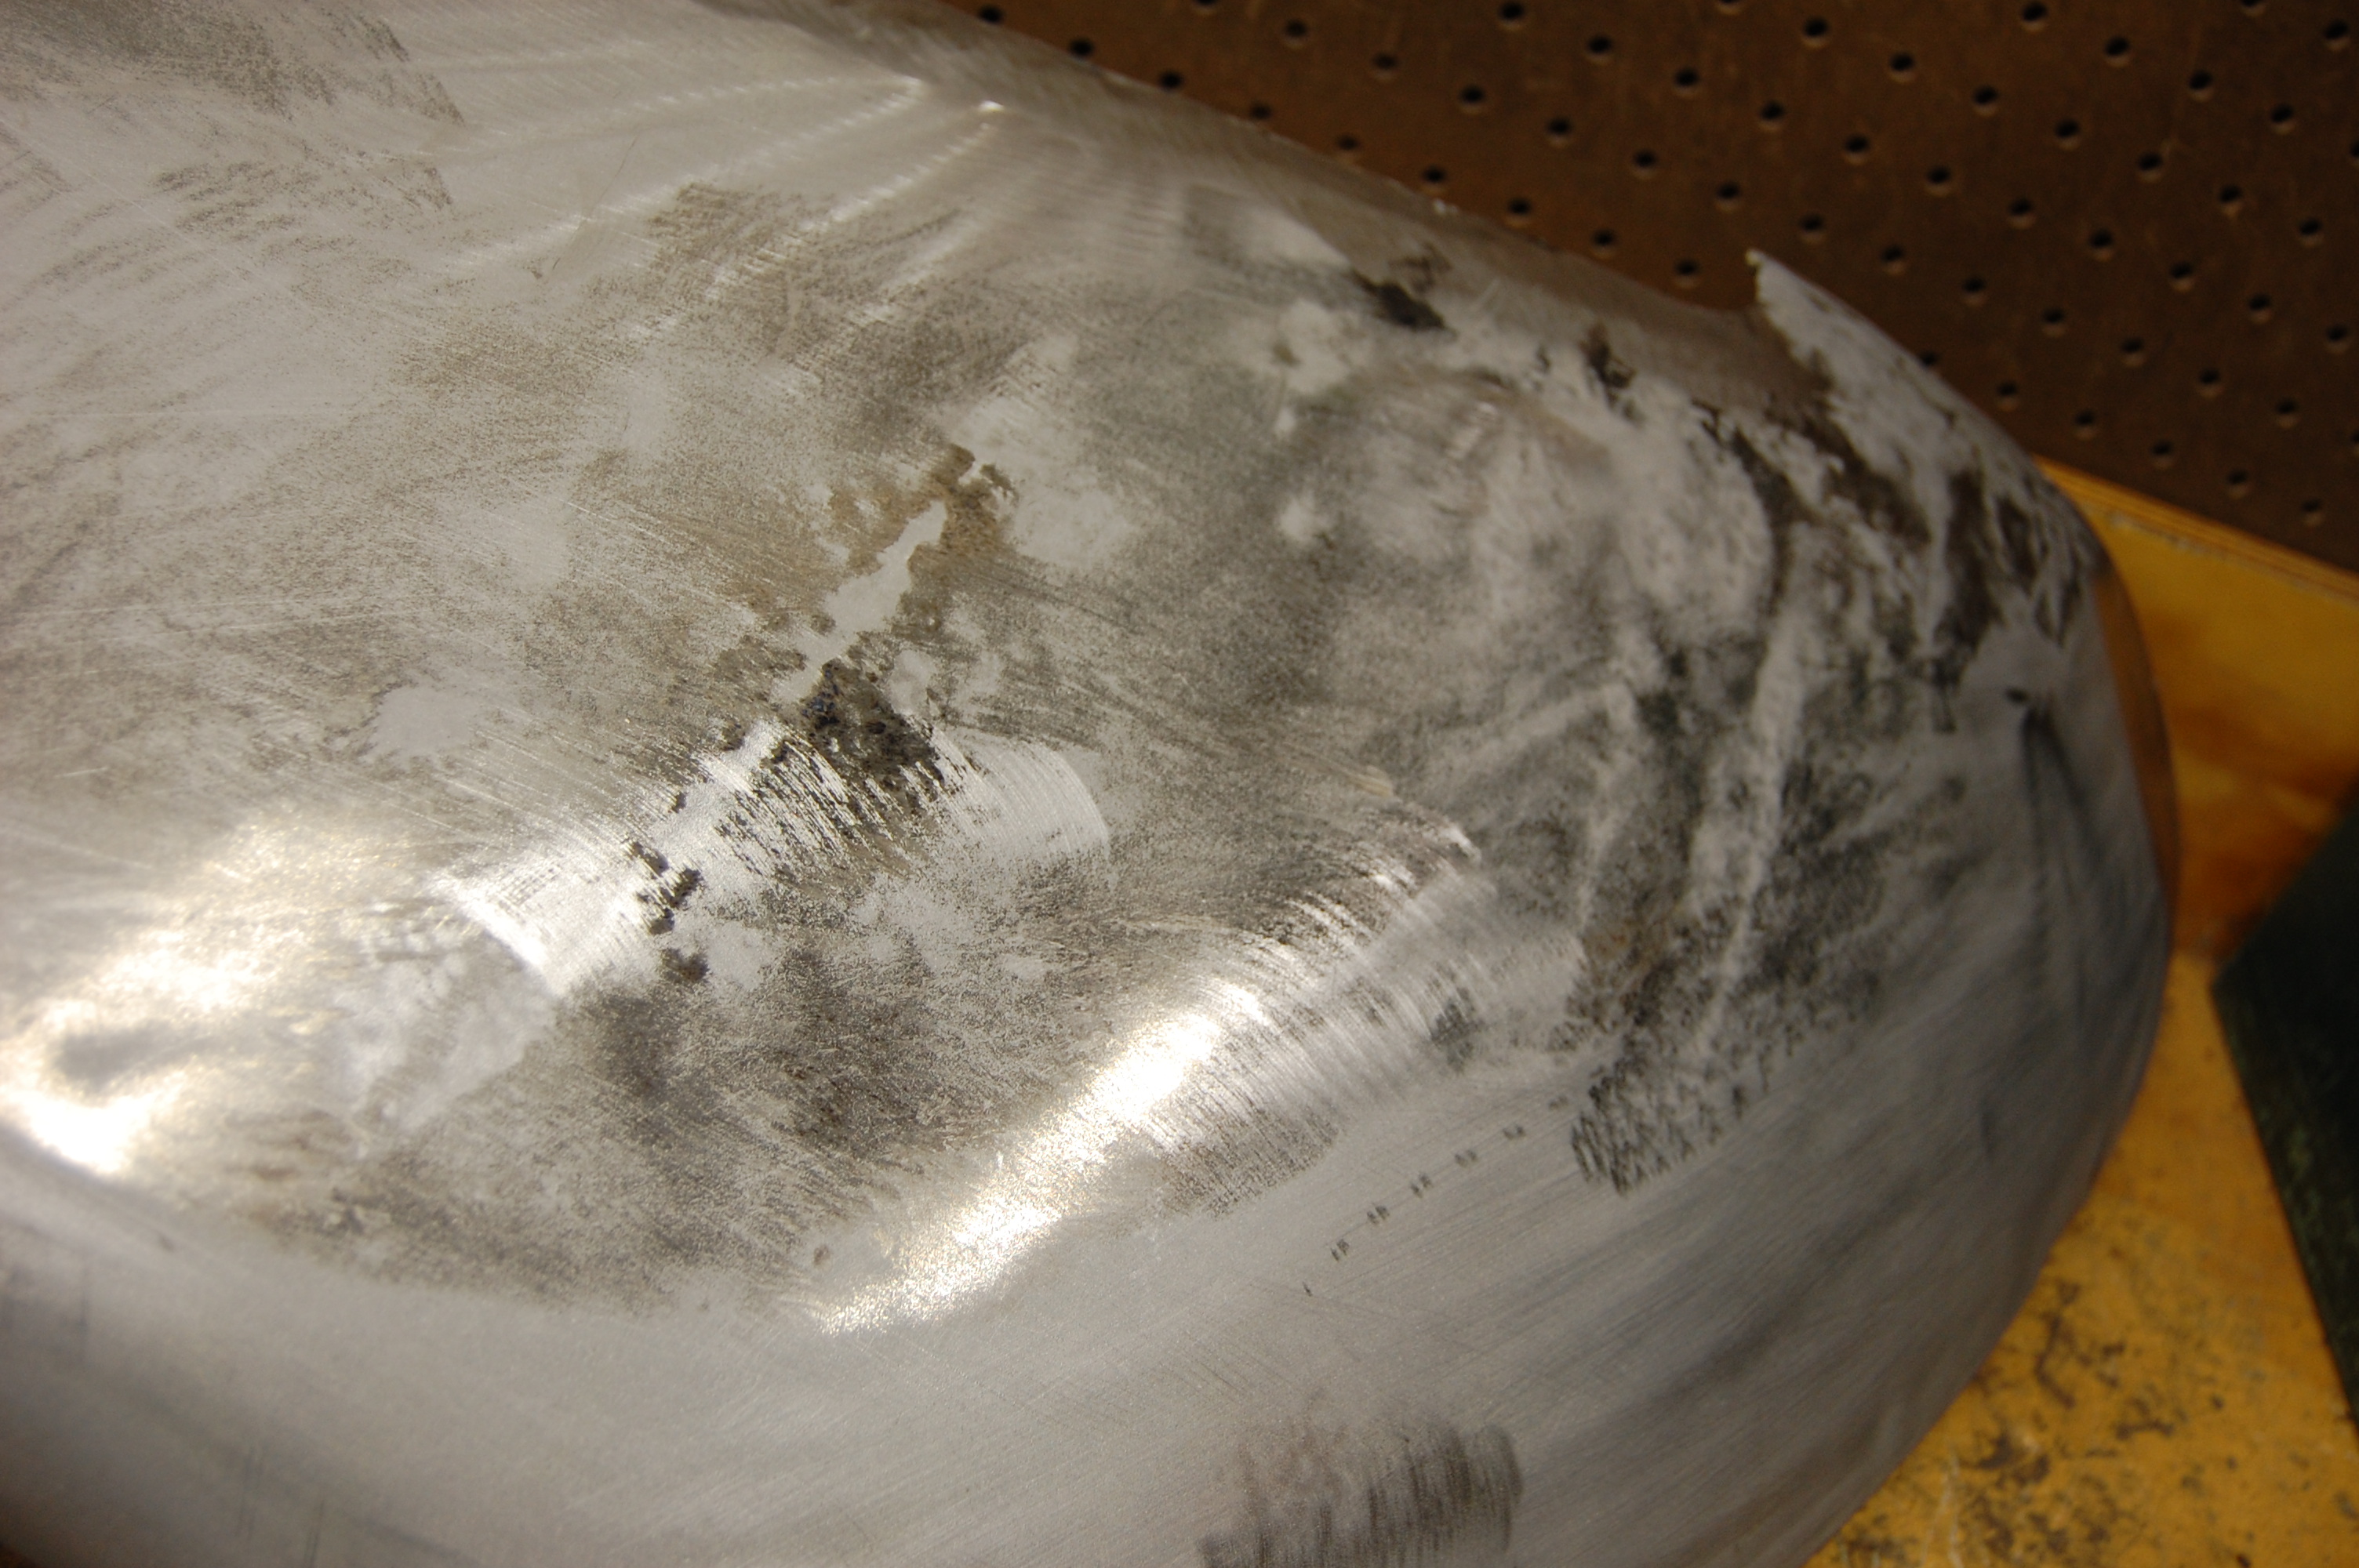
- Next, we scuff the whole polished area with a sanding disc – we’re SCUFFING here – NOT SHAPING – don’t get carried away here and start sculpting the steel like you would with filler – it’s only .040 thick! Also, anything over a light scuffing will introduce heat, and all of your smoothing work is out the window.

-
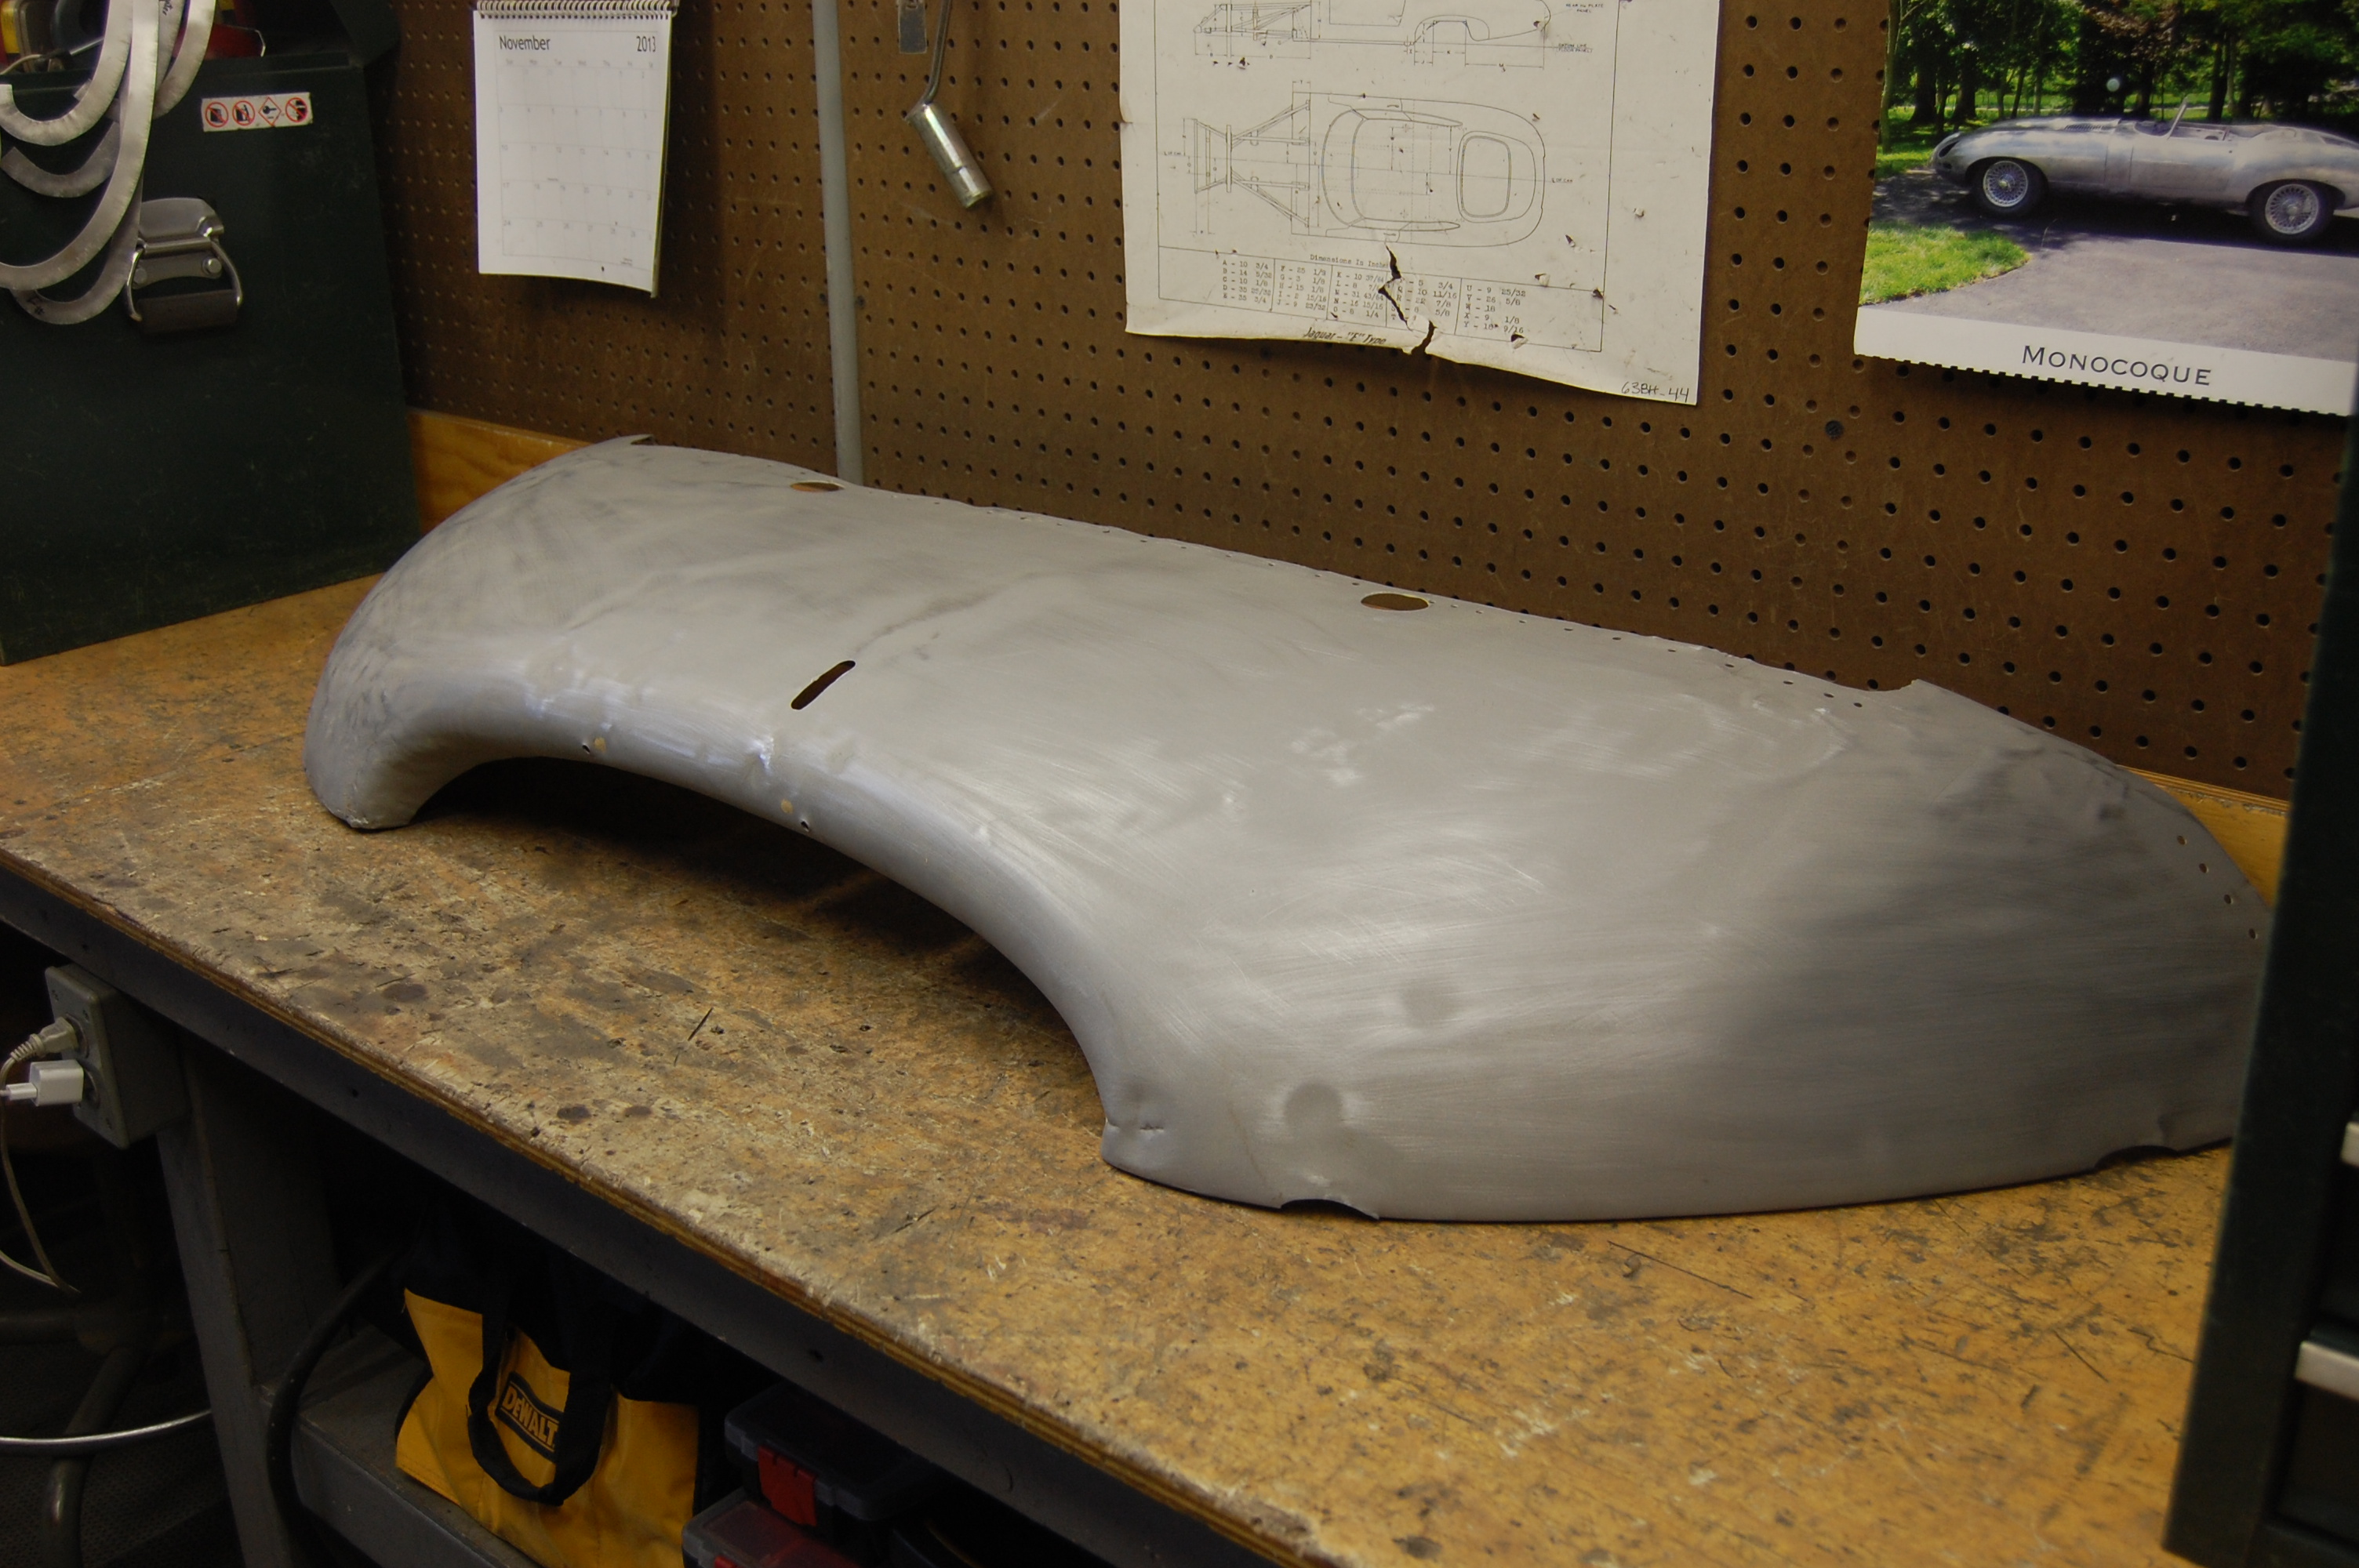
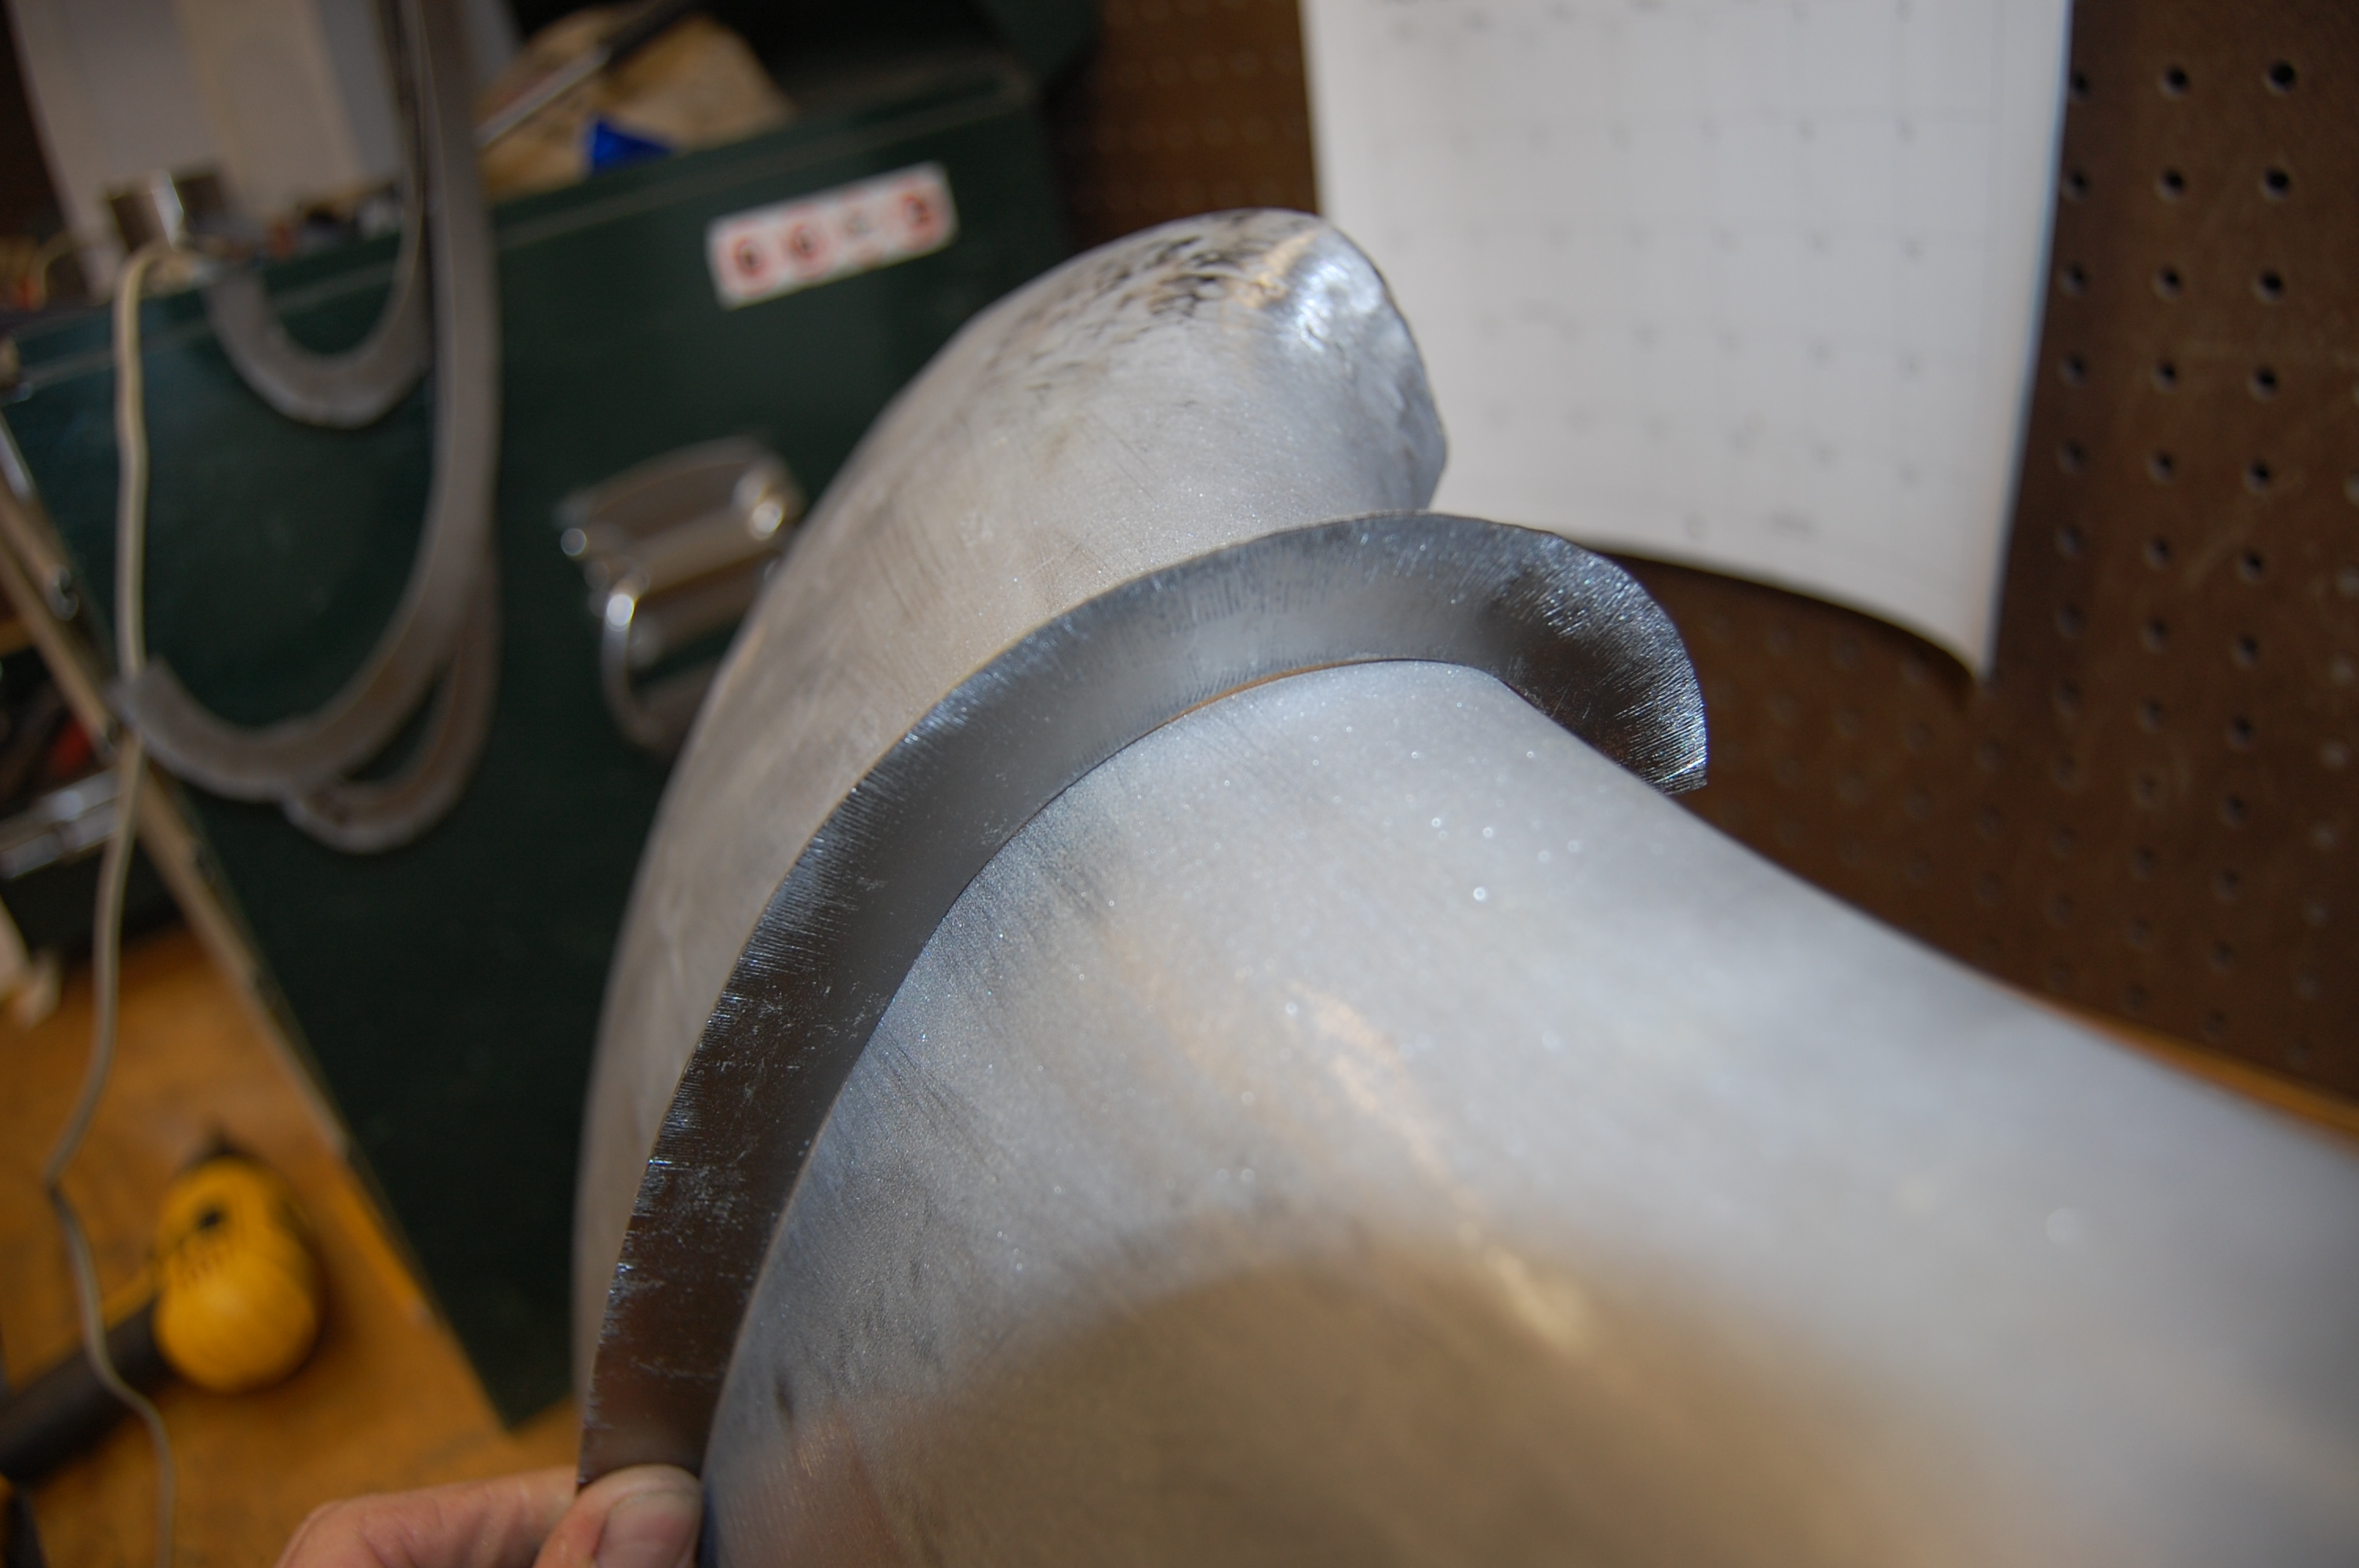
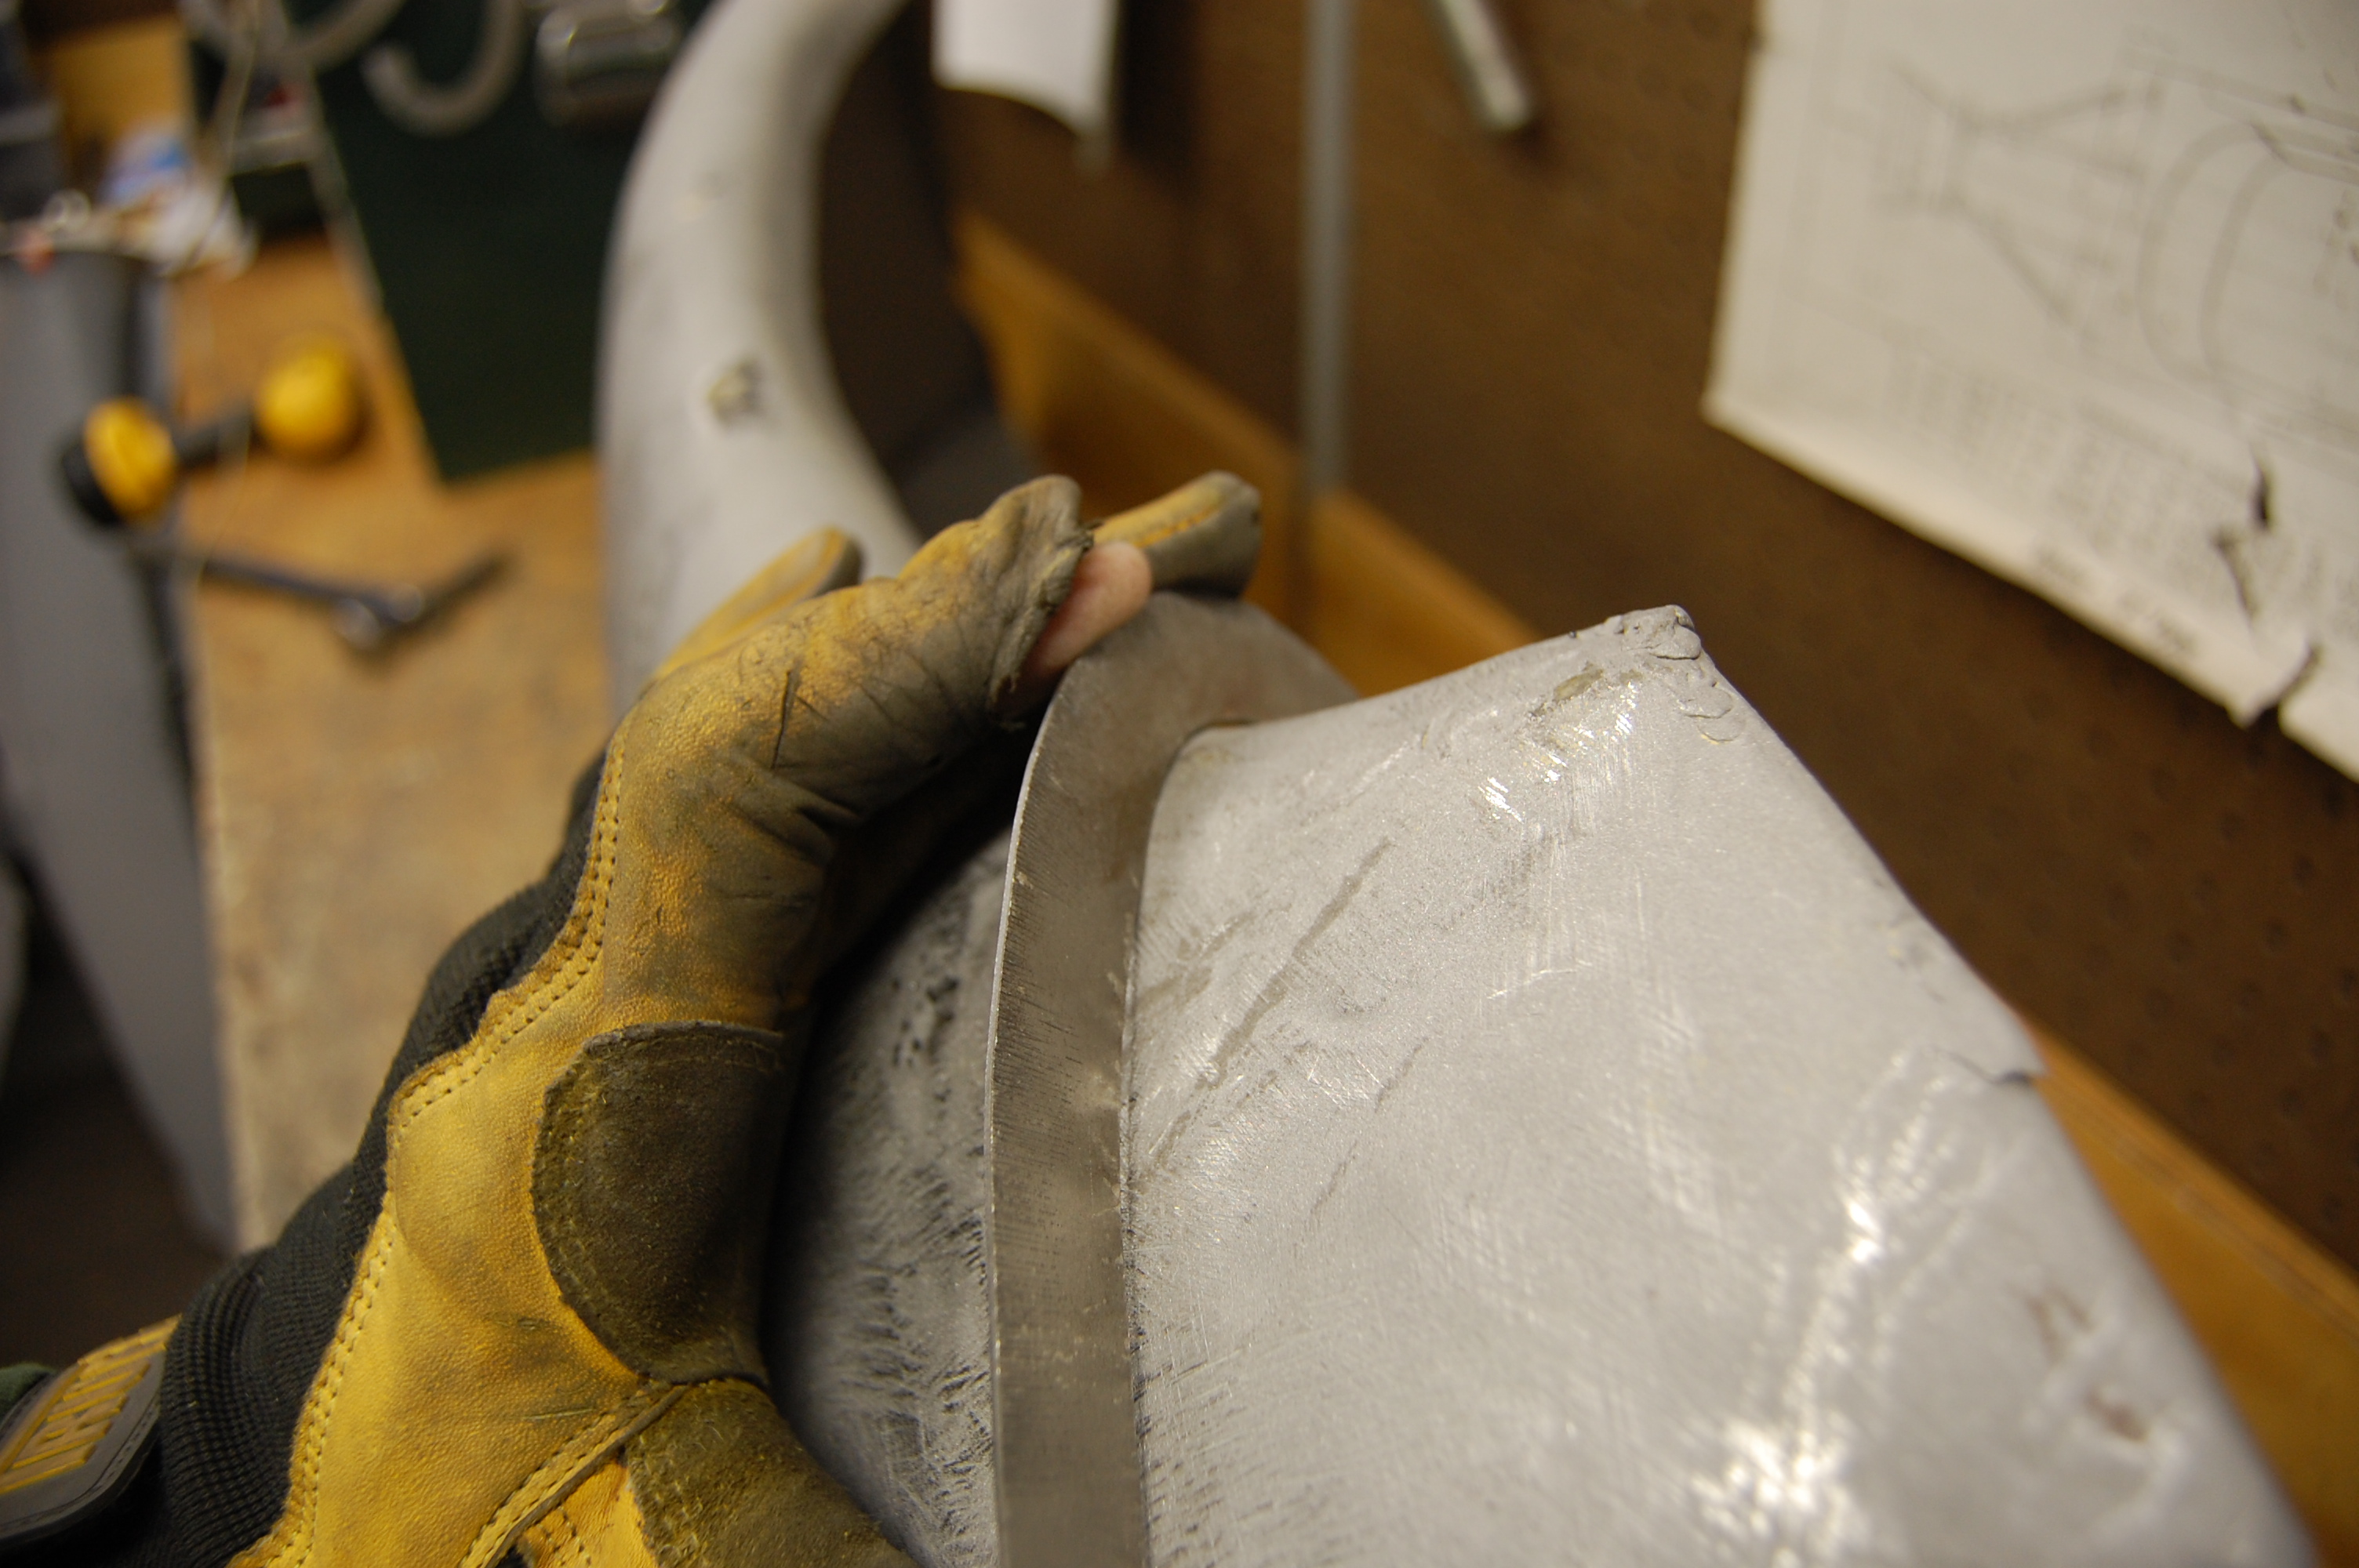
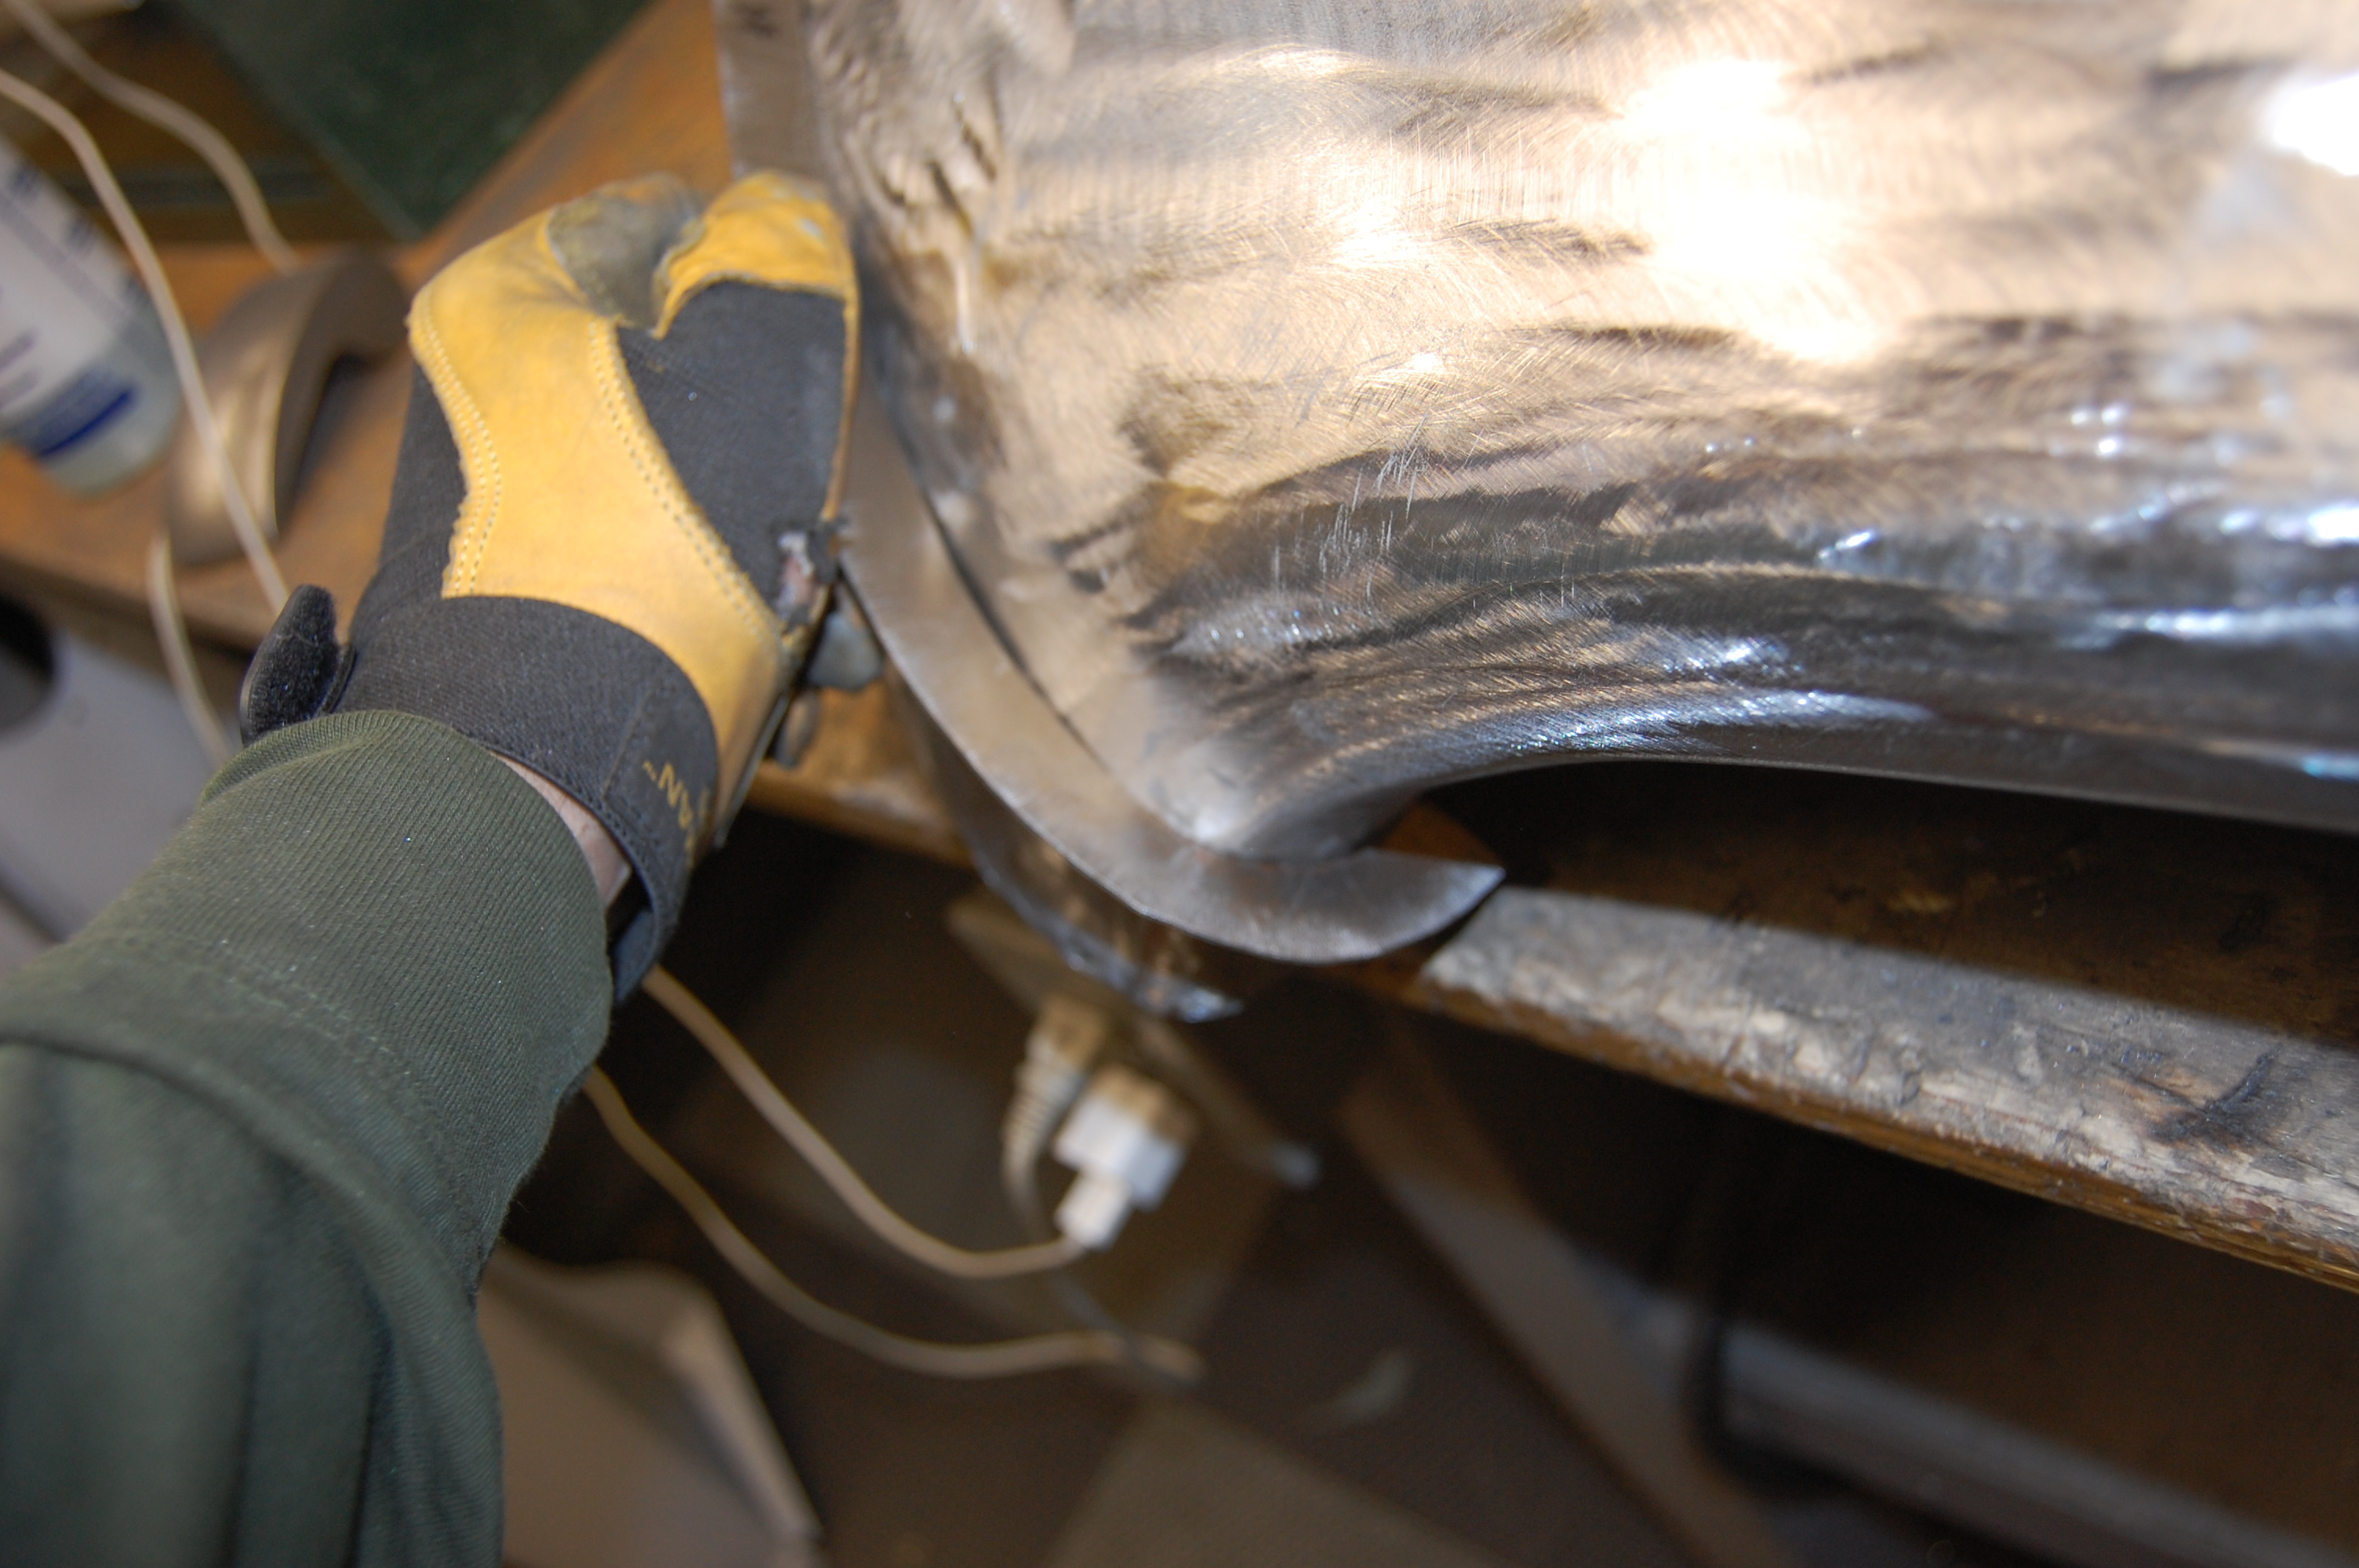
- This is the LH side that had problems – this gauge fits perfectly now…

-
- …and so does this one. You’ll see a little difference between the panel and the gauge here just below my thumb – that is within the margin of error – we see that much variance between stock bonnets. By the way – these gauges usually don’t fit the reproduction valances very well at all…

-

- Those are the gauges that are perpendicular to the rear edge. This gauge is now one of the angled gauges that goes at about a 45-degree angle to the others – you need things to be correct from ALL angles! It fits perfectly now as well…
-

- …and so does this one…
-

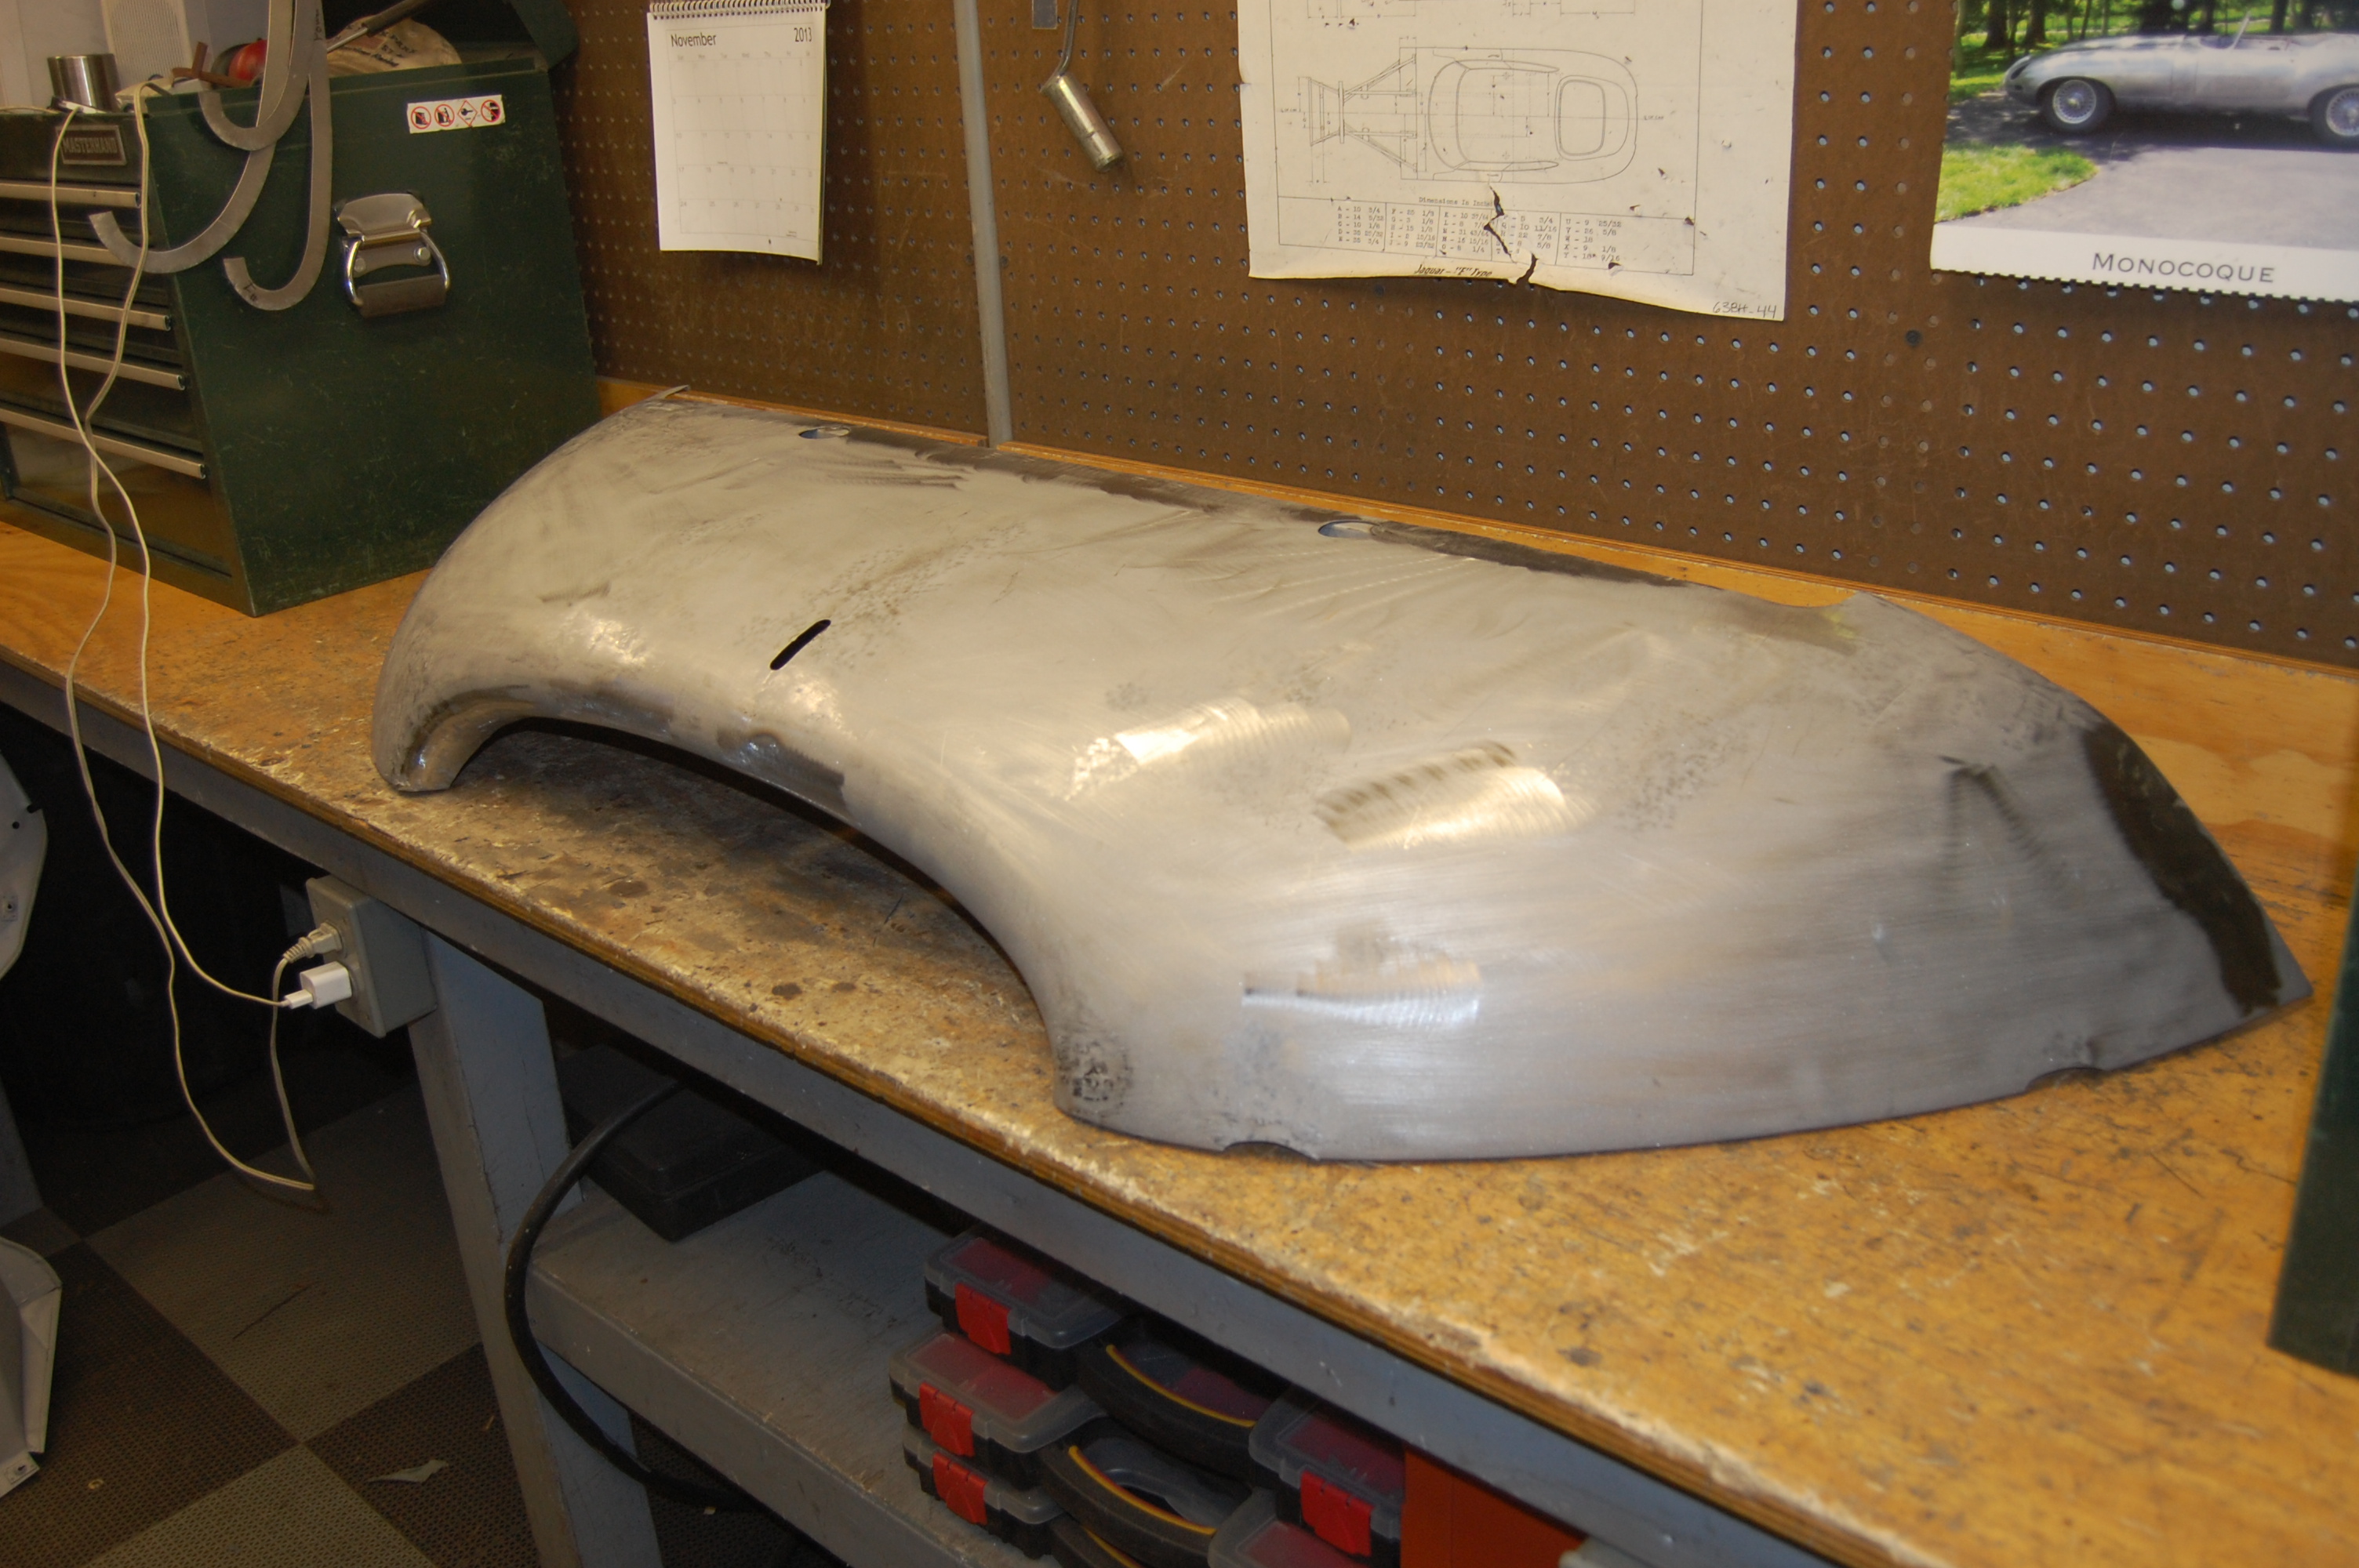
- Voila! Another battered and bruised lower valance is now as good as new!