Late this Summer, a bonnet came in from a “California car” – and it WAS absolutely rust-free – not one speck! Unfortunately, it wasn’t also damage-free, or abuse-free , or filler-free, or paint-free – because it had TONS of all of those!
-
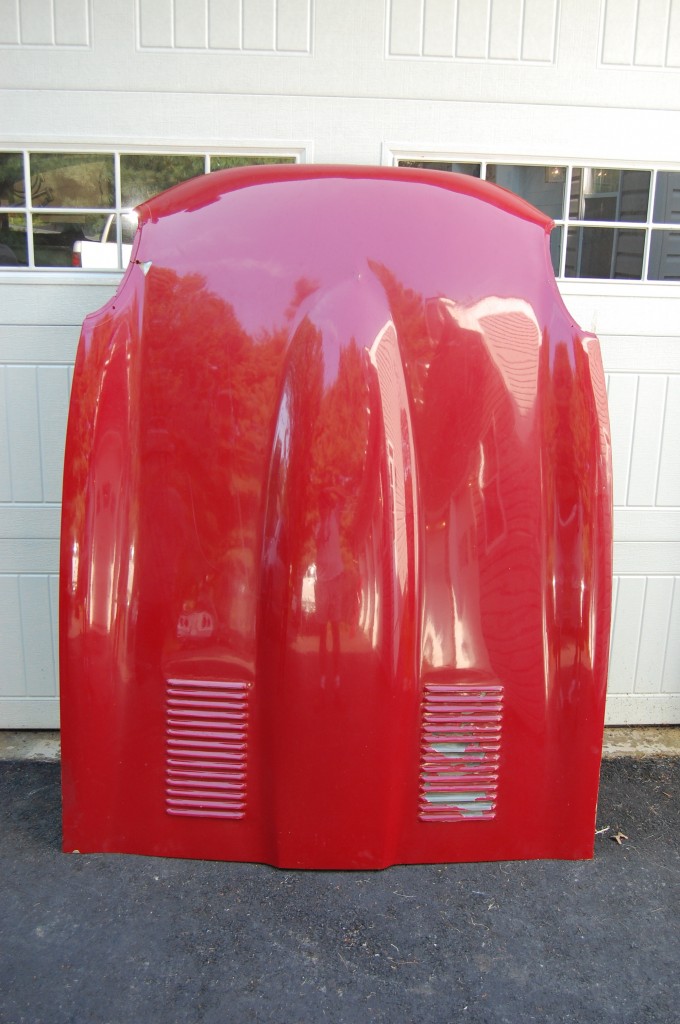
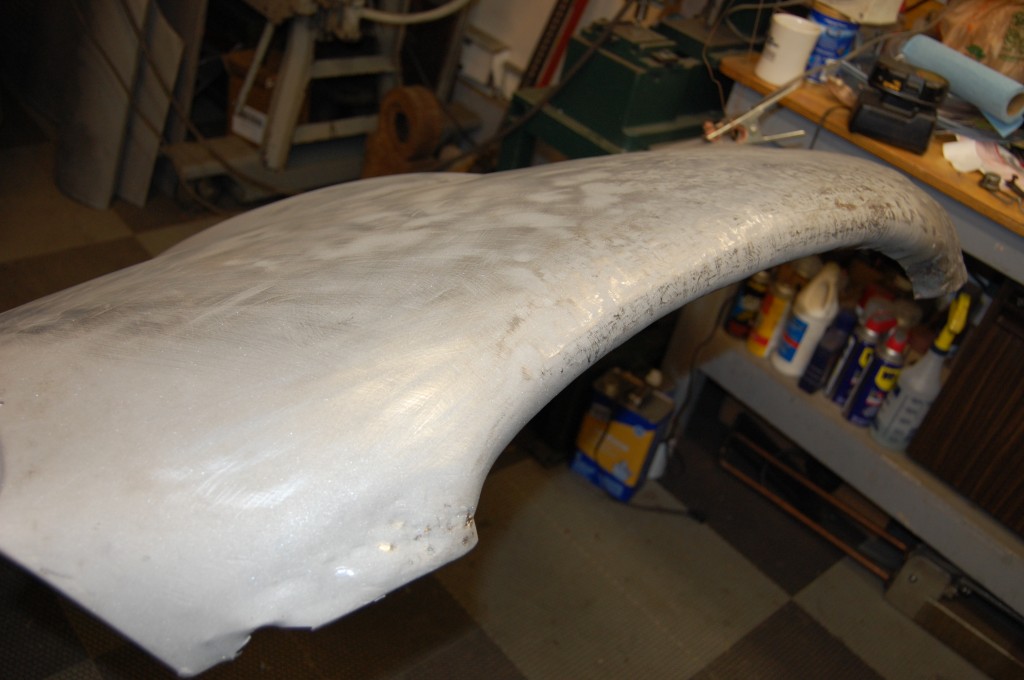
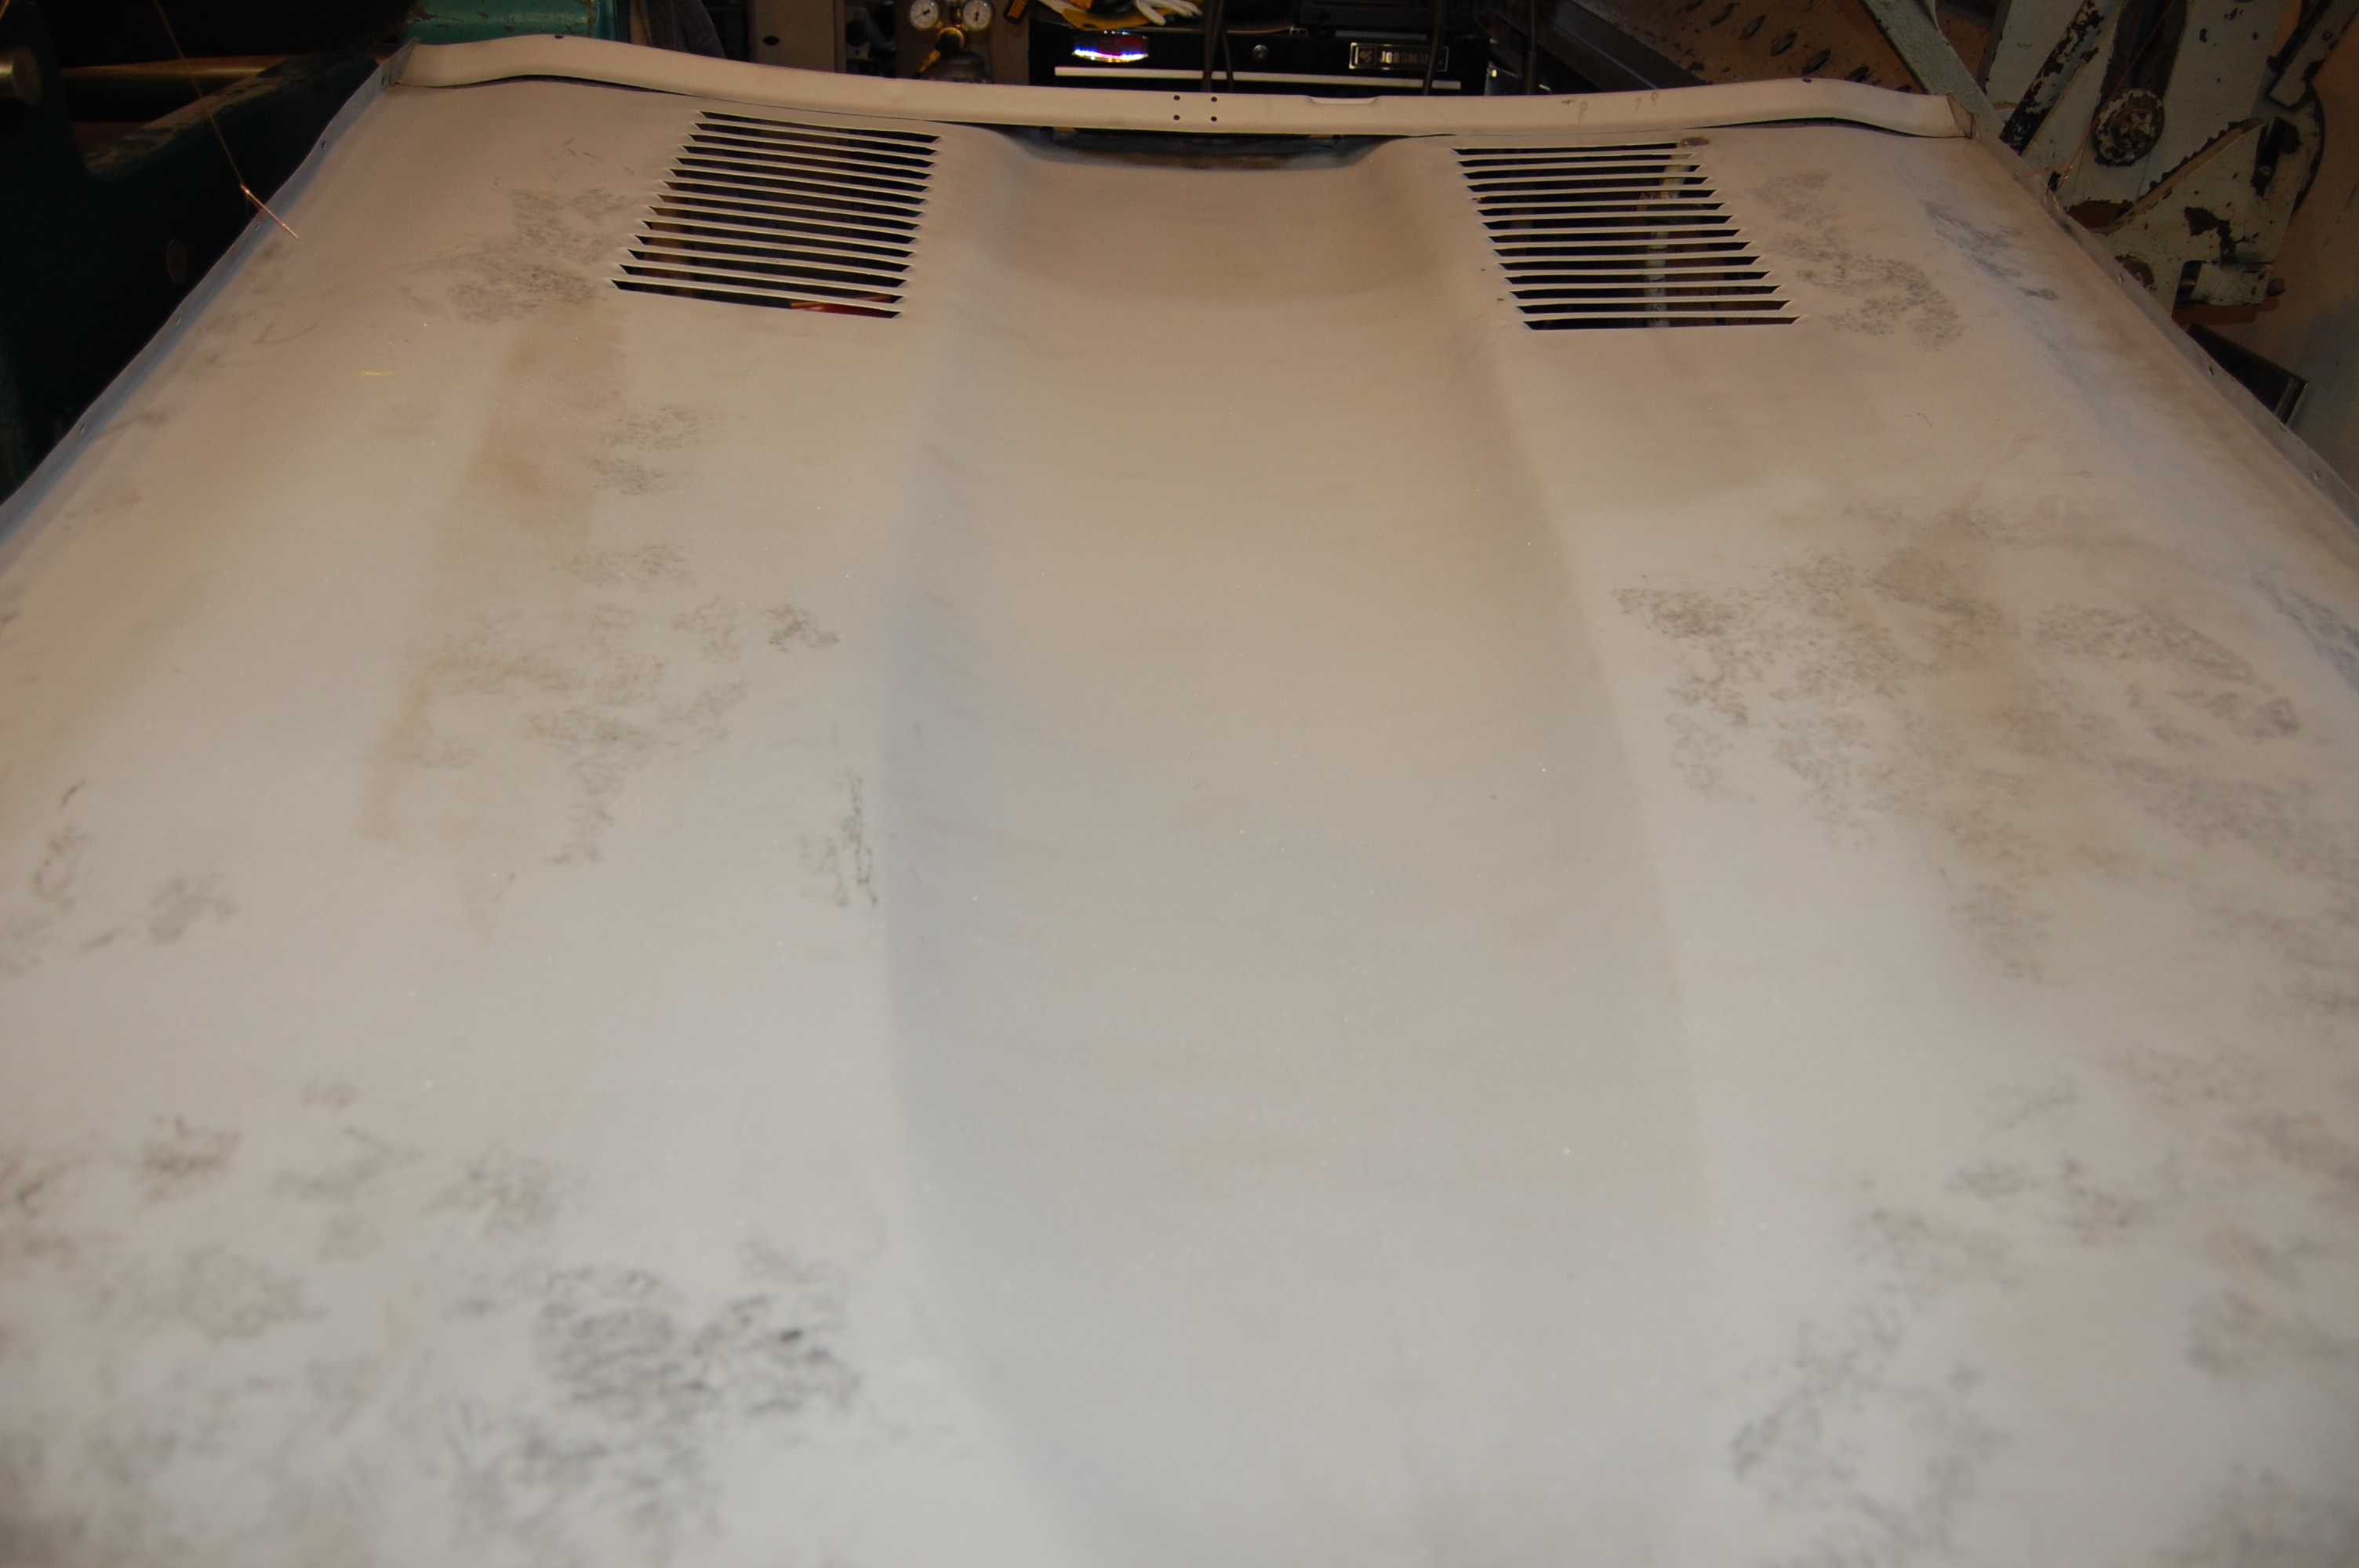
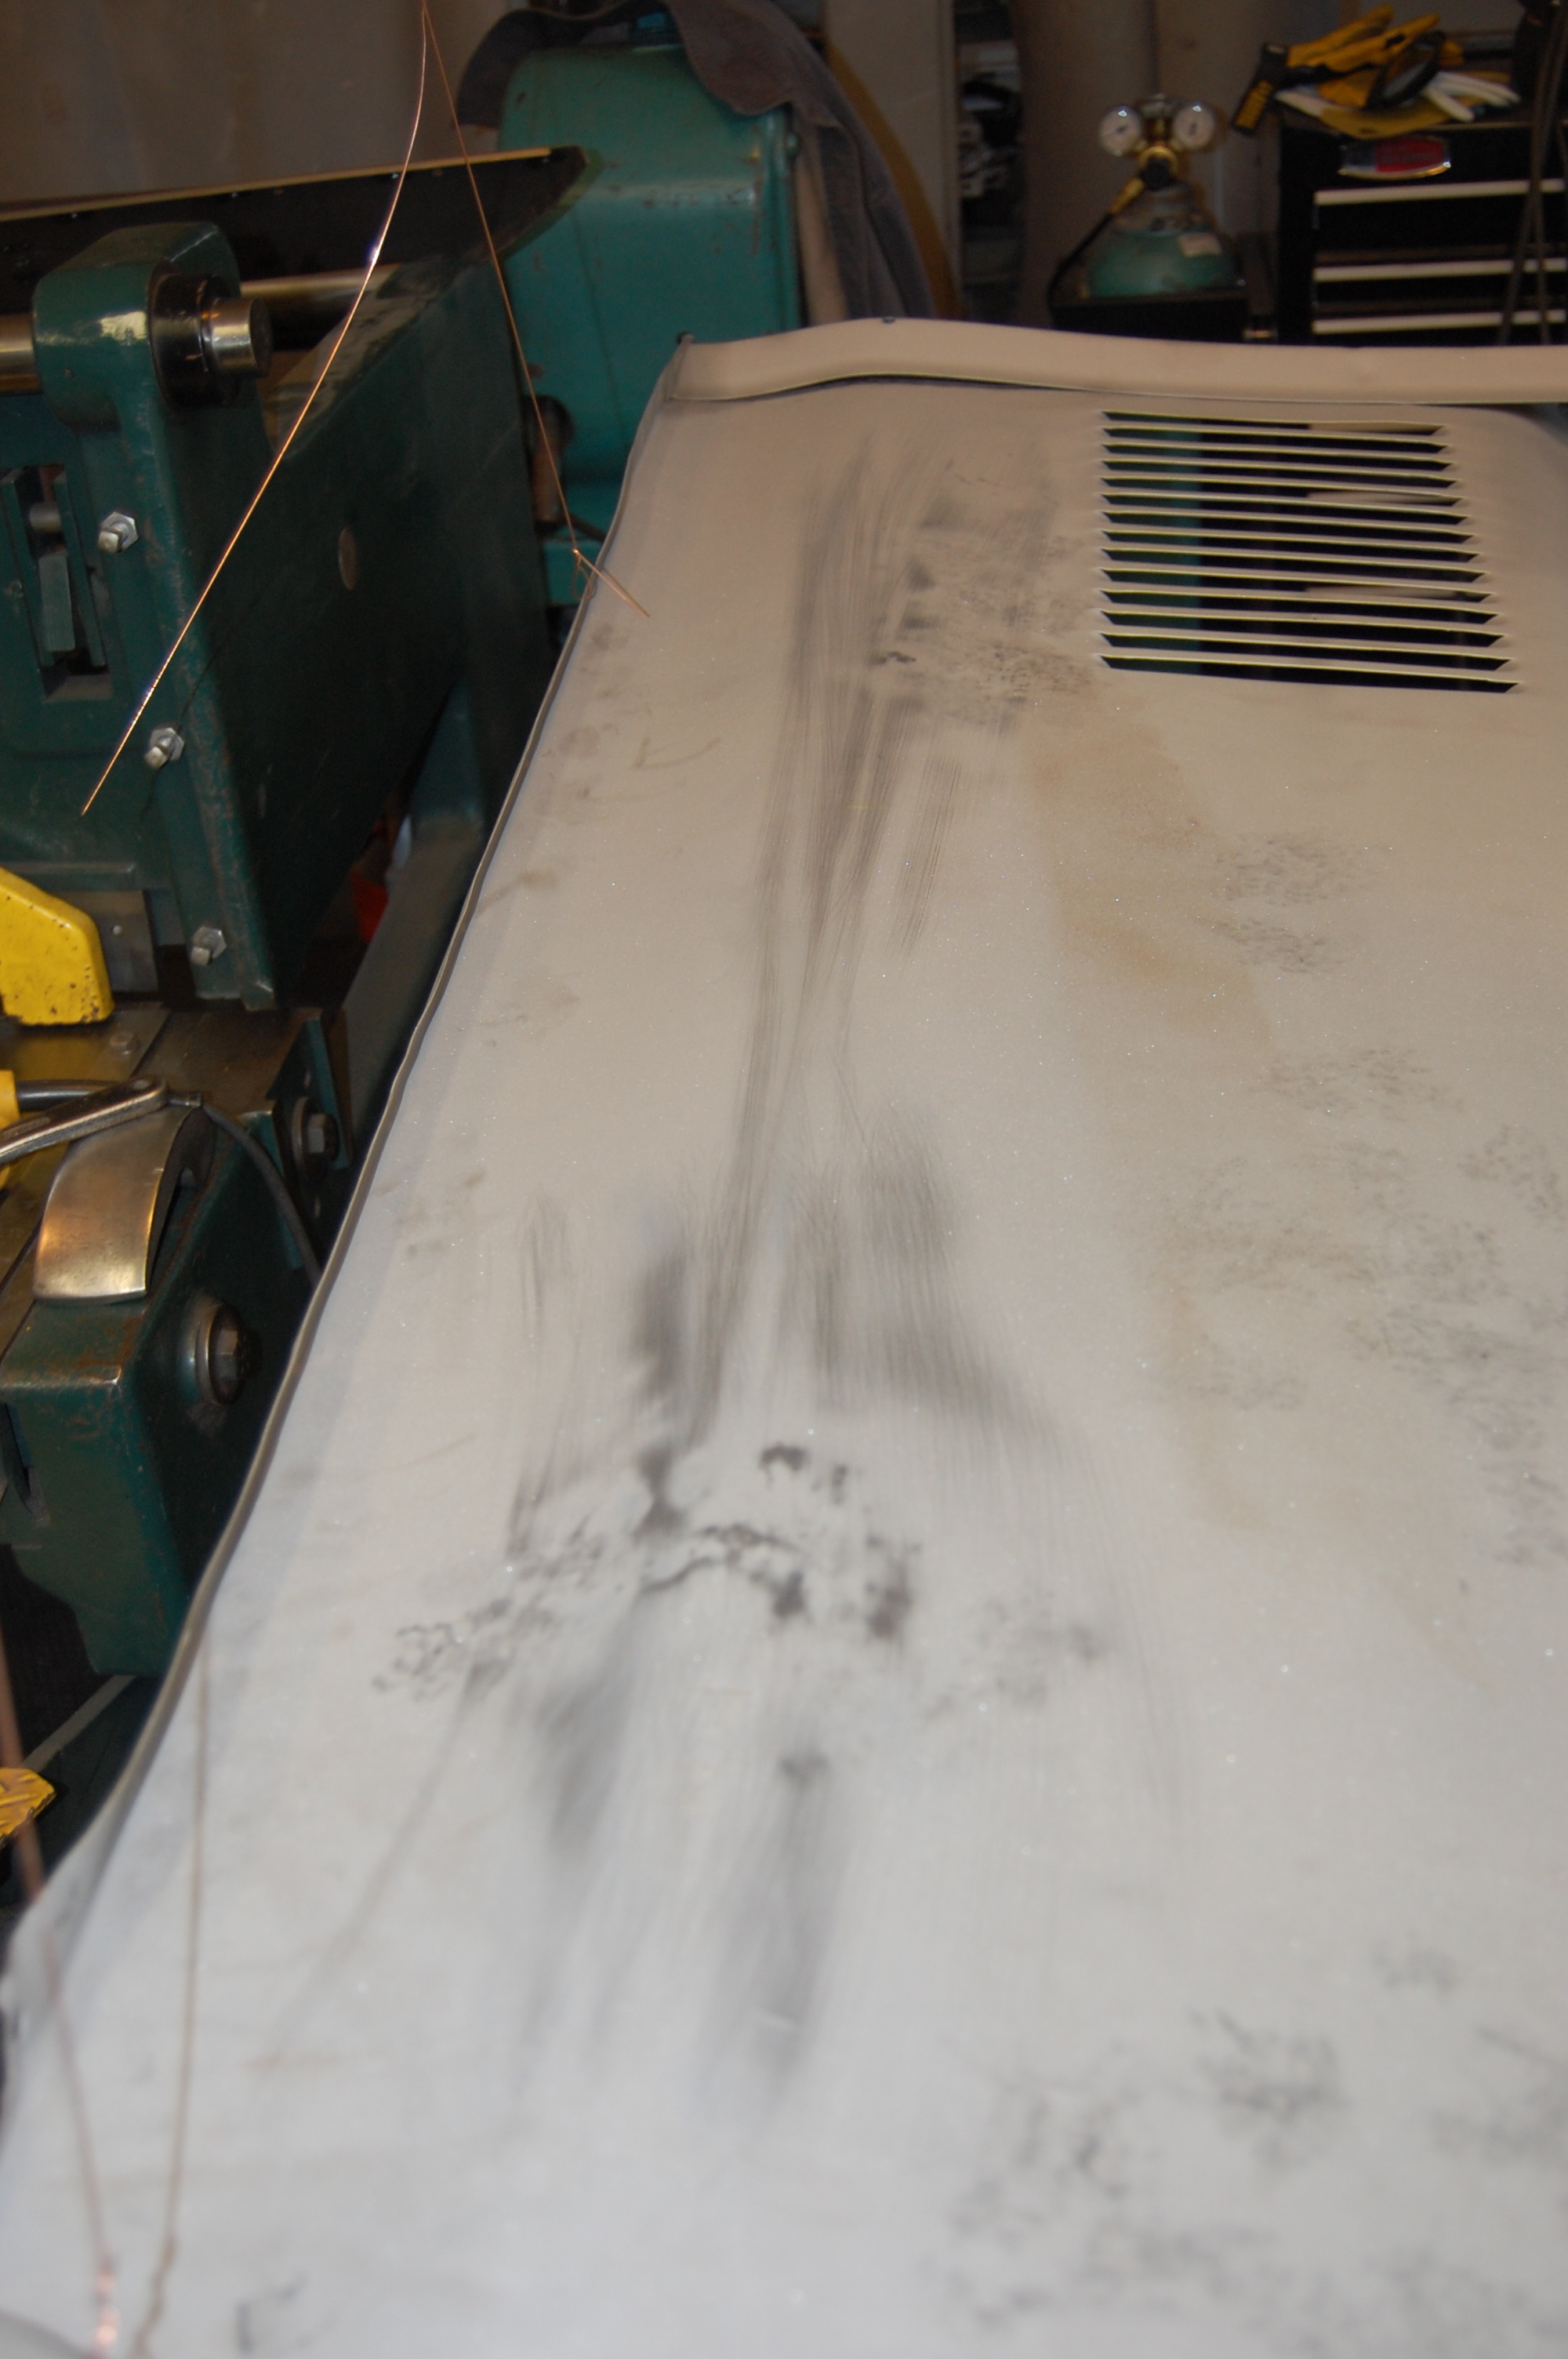
- Looks pretty good at first, but it’s HEAVY – not a good sign…

-

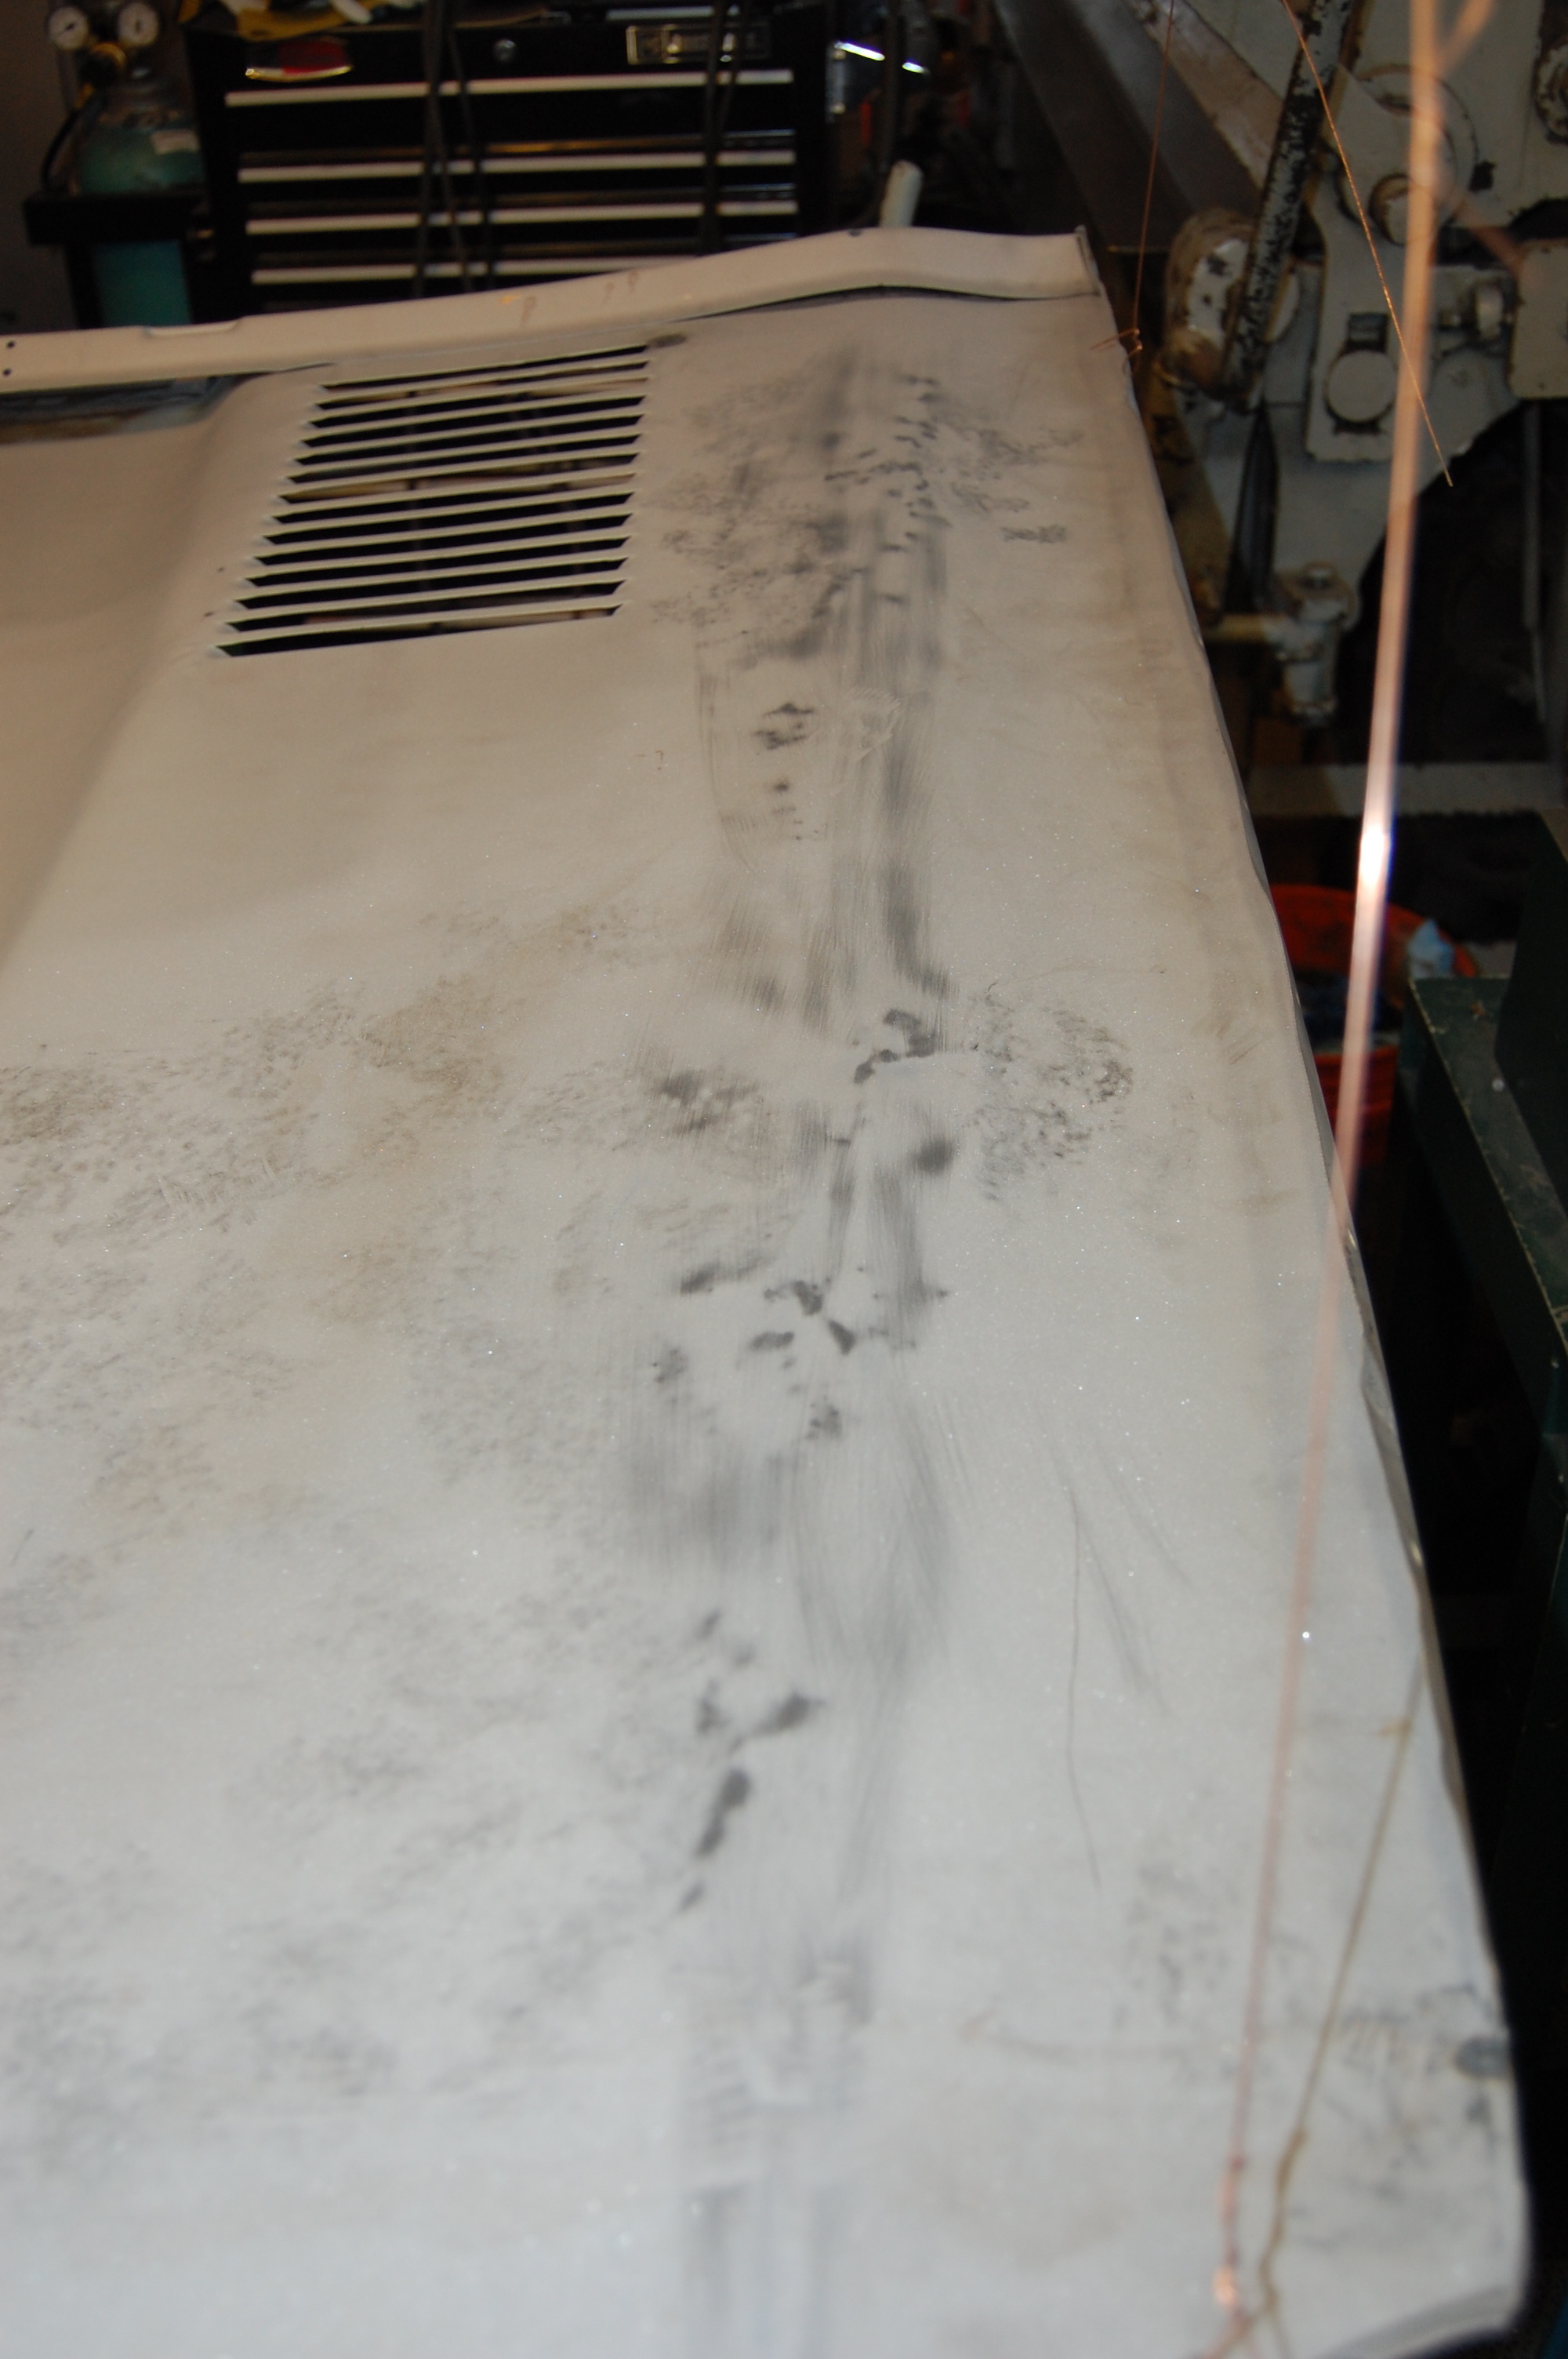
- Here is the first problem… This piece was filled and painted, but never actually assembled into a complete bonnet.
-
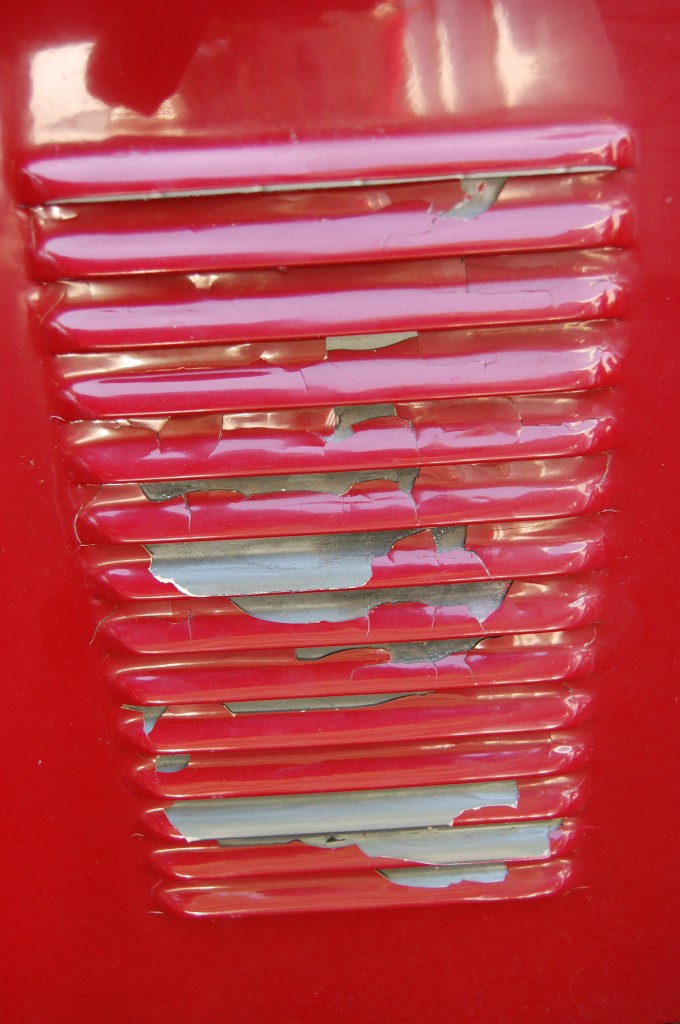
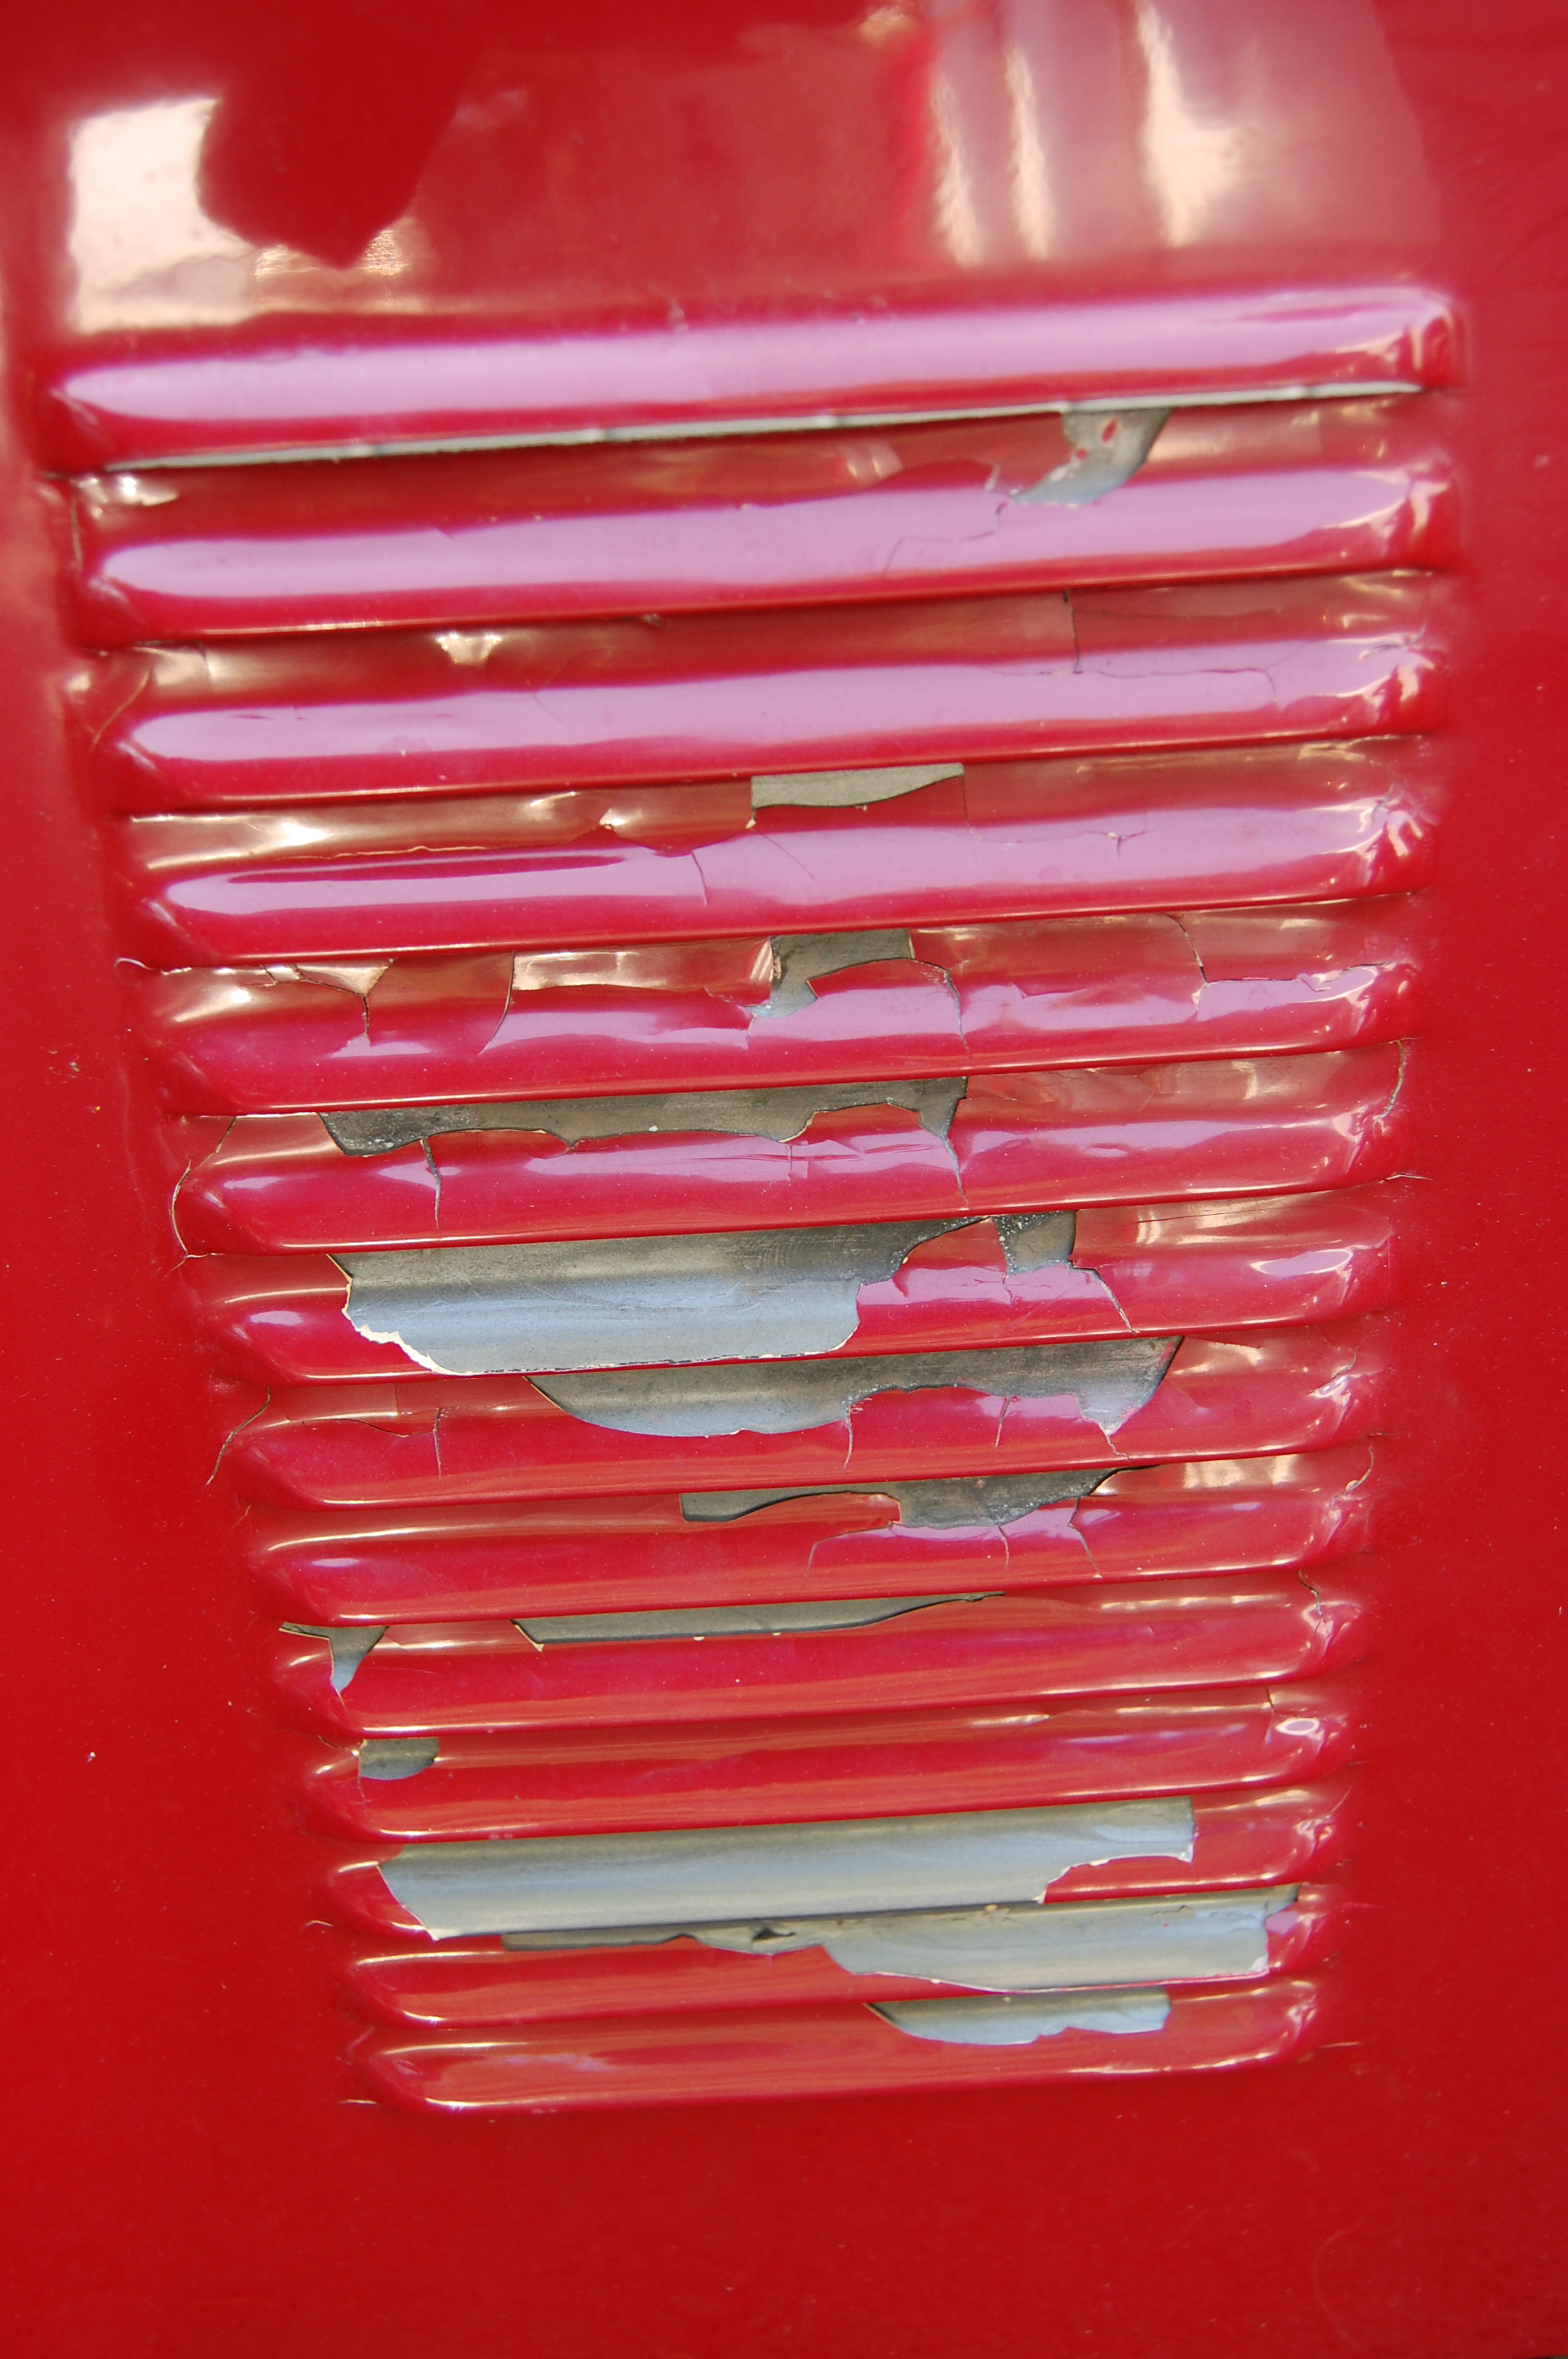
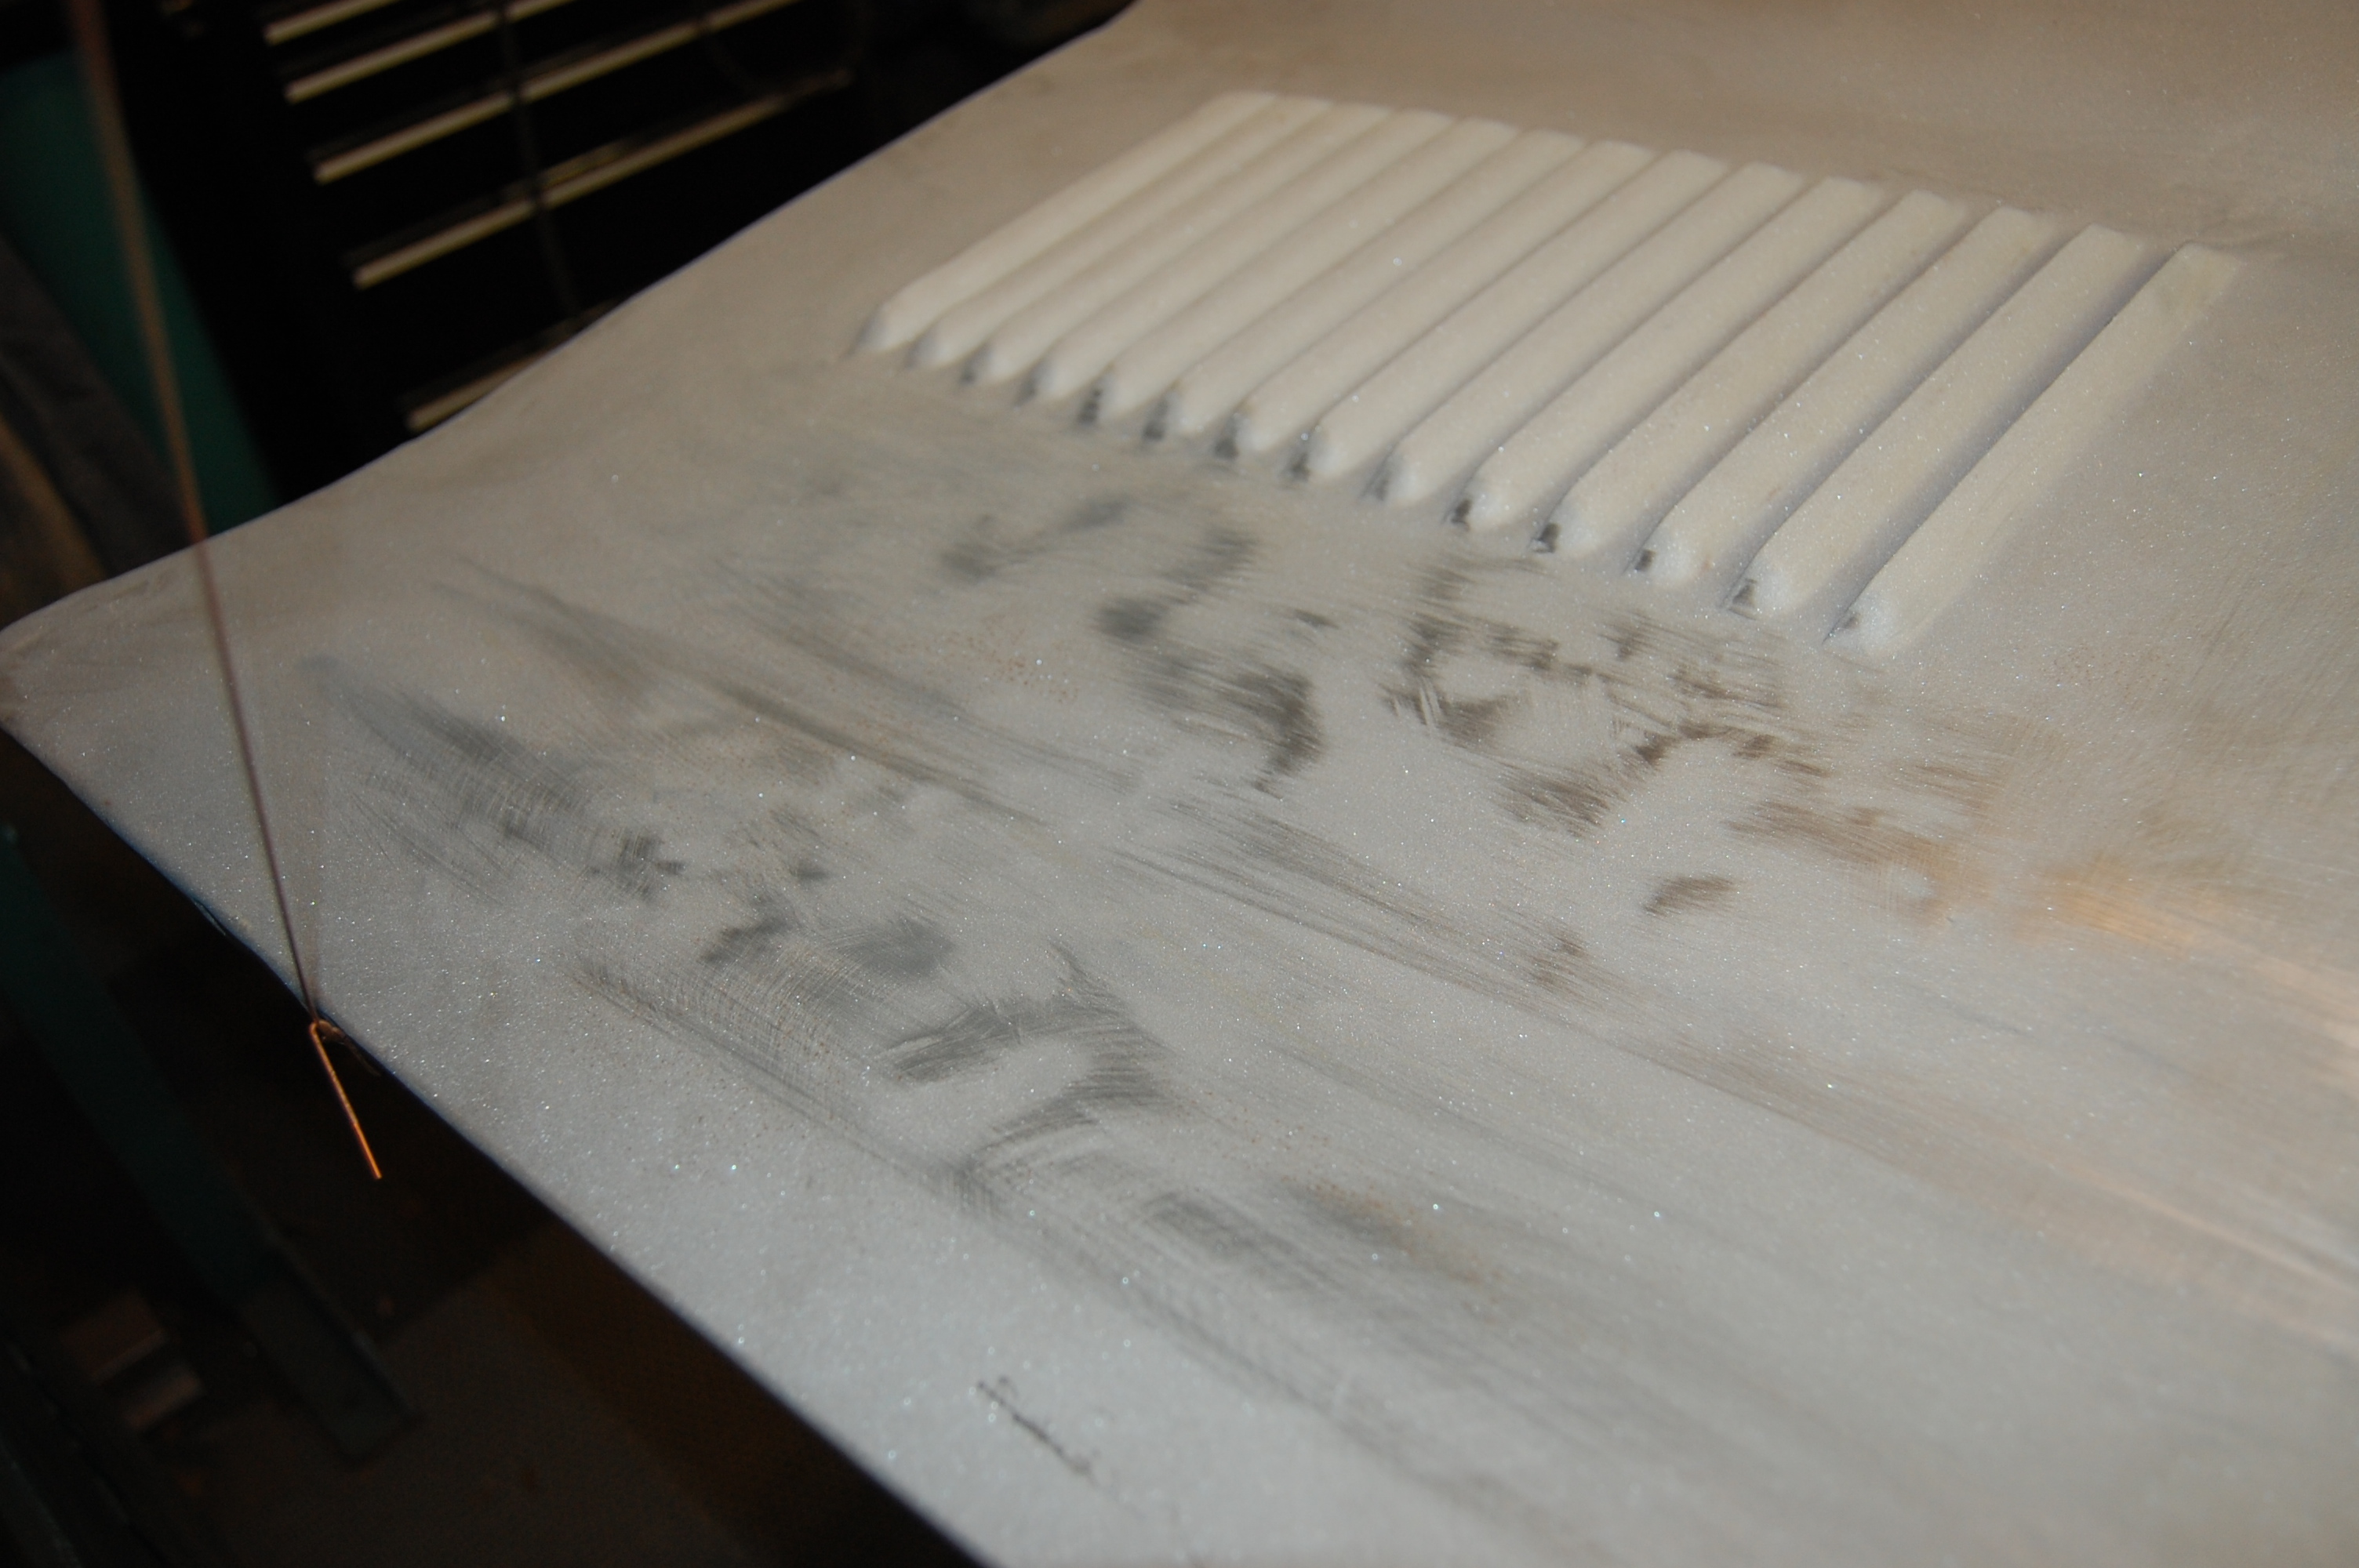
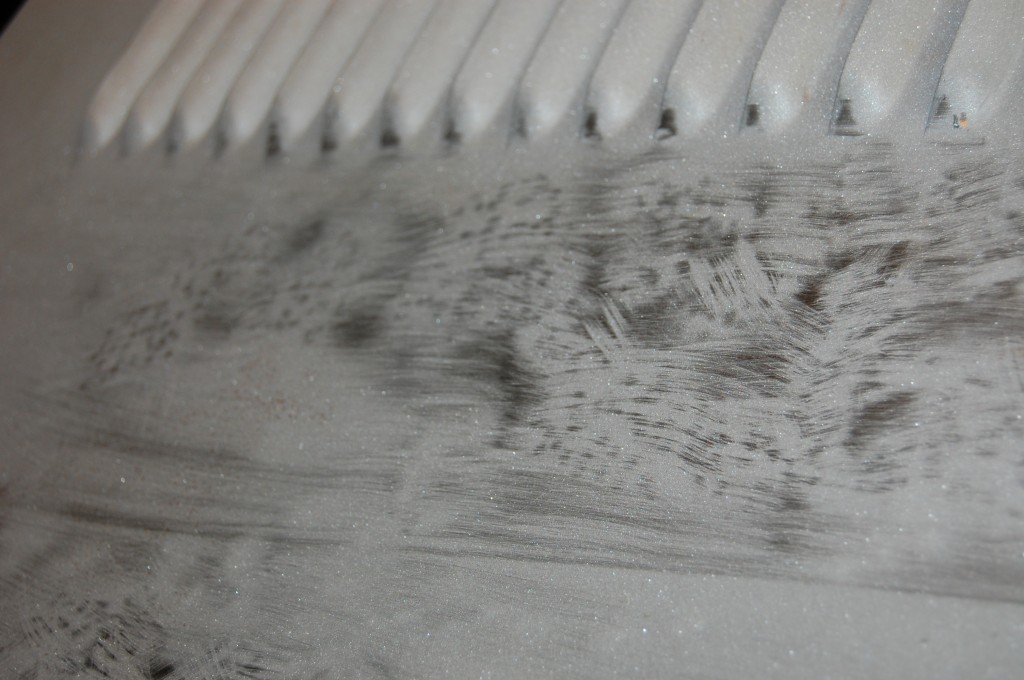
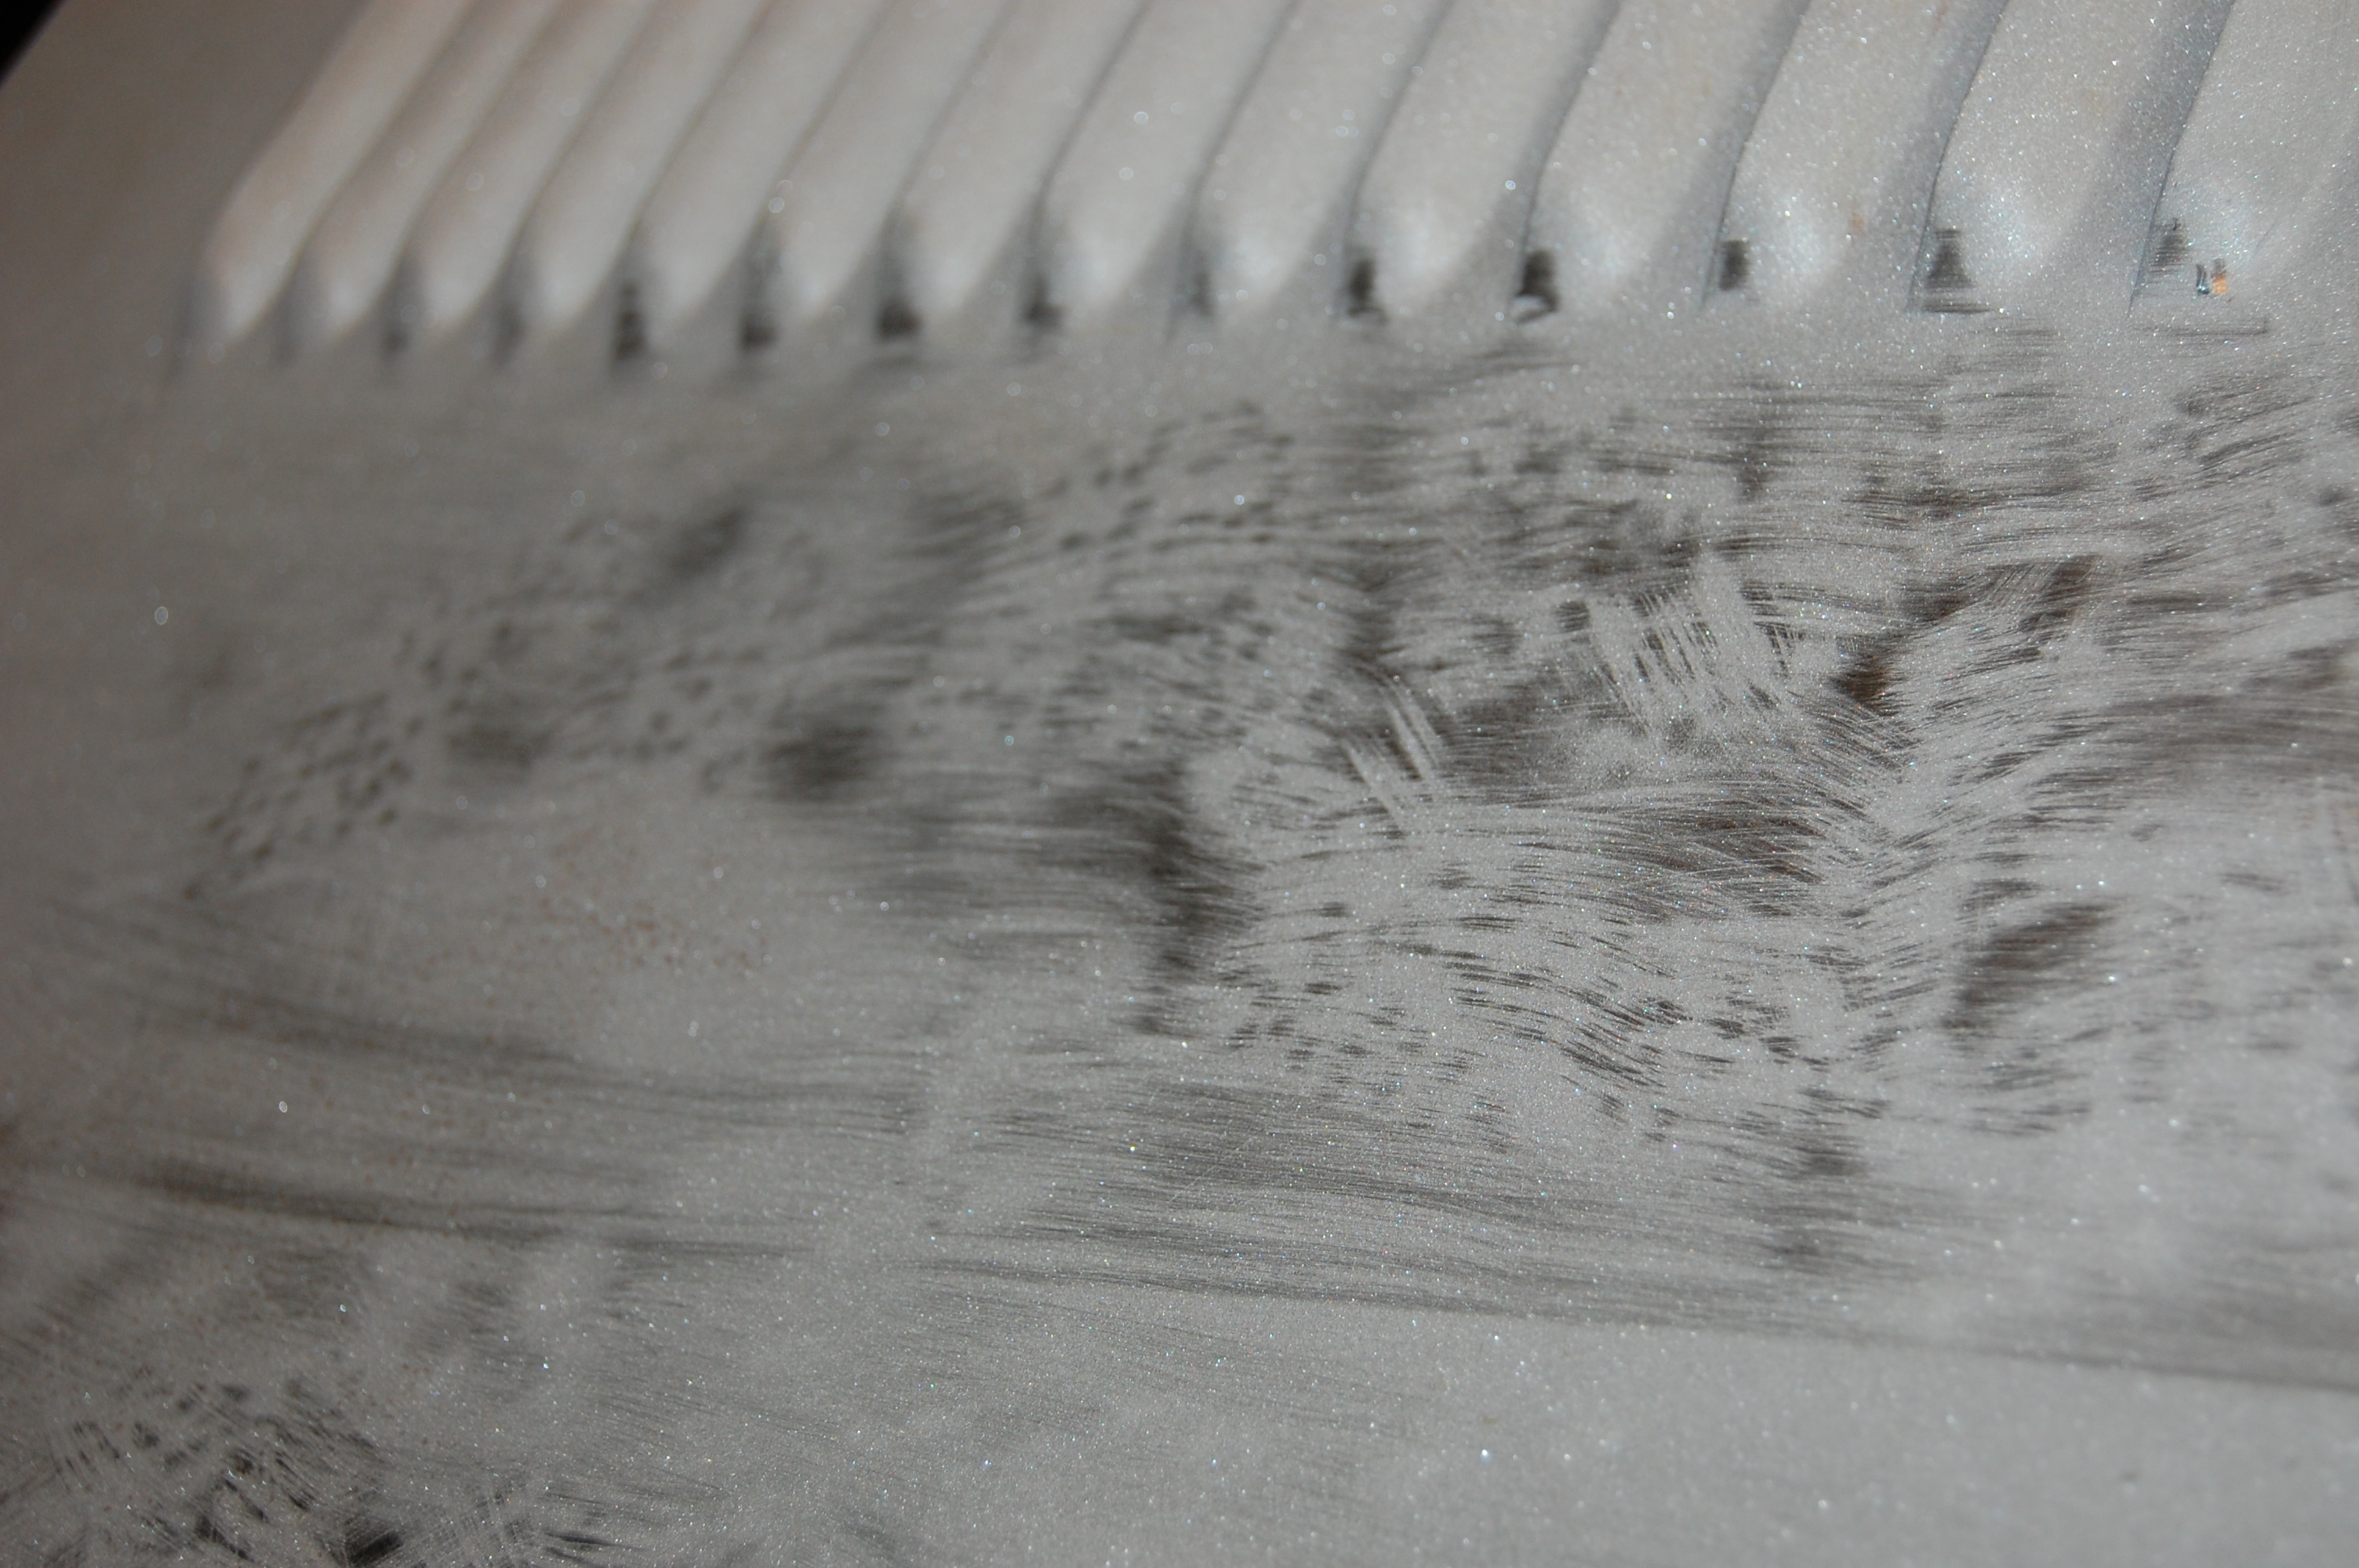
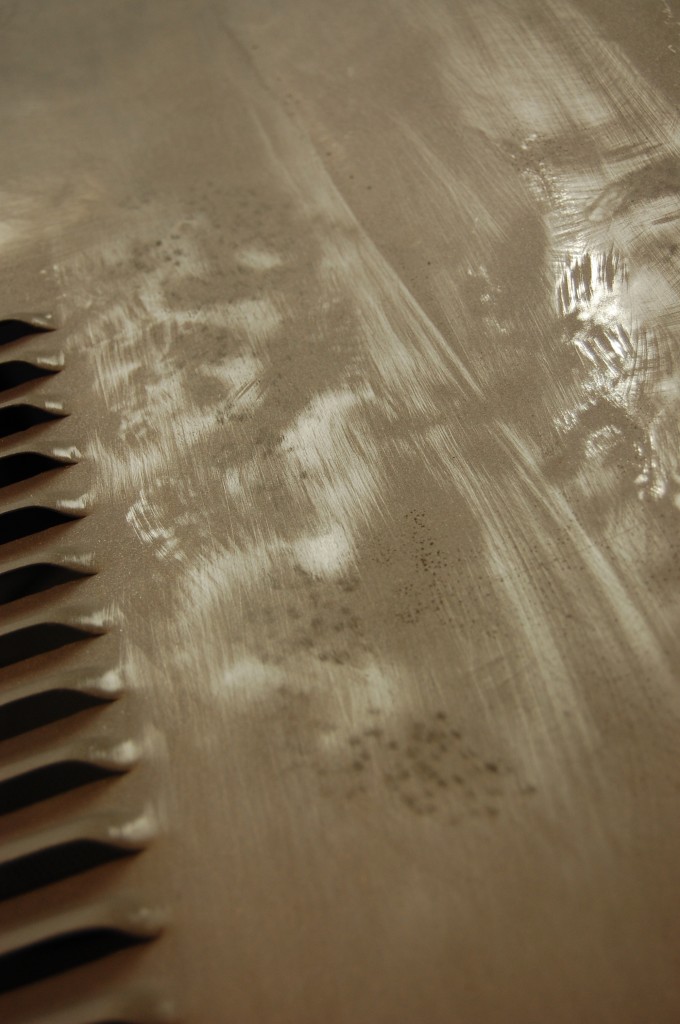
- This poor adhesion on the louvers starts to give us a clue of how THICK the paint is.
-
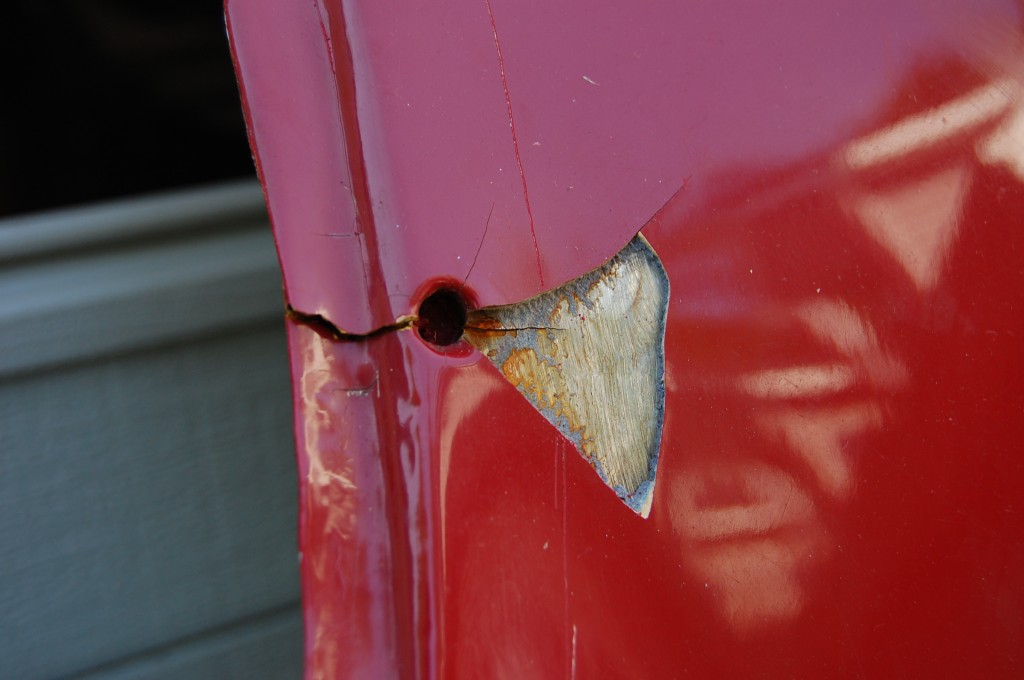
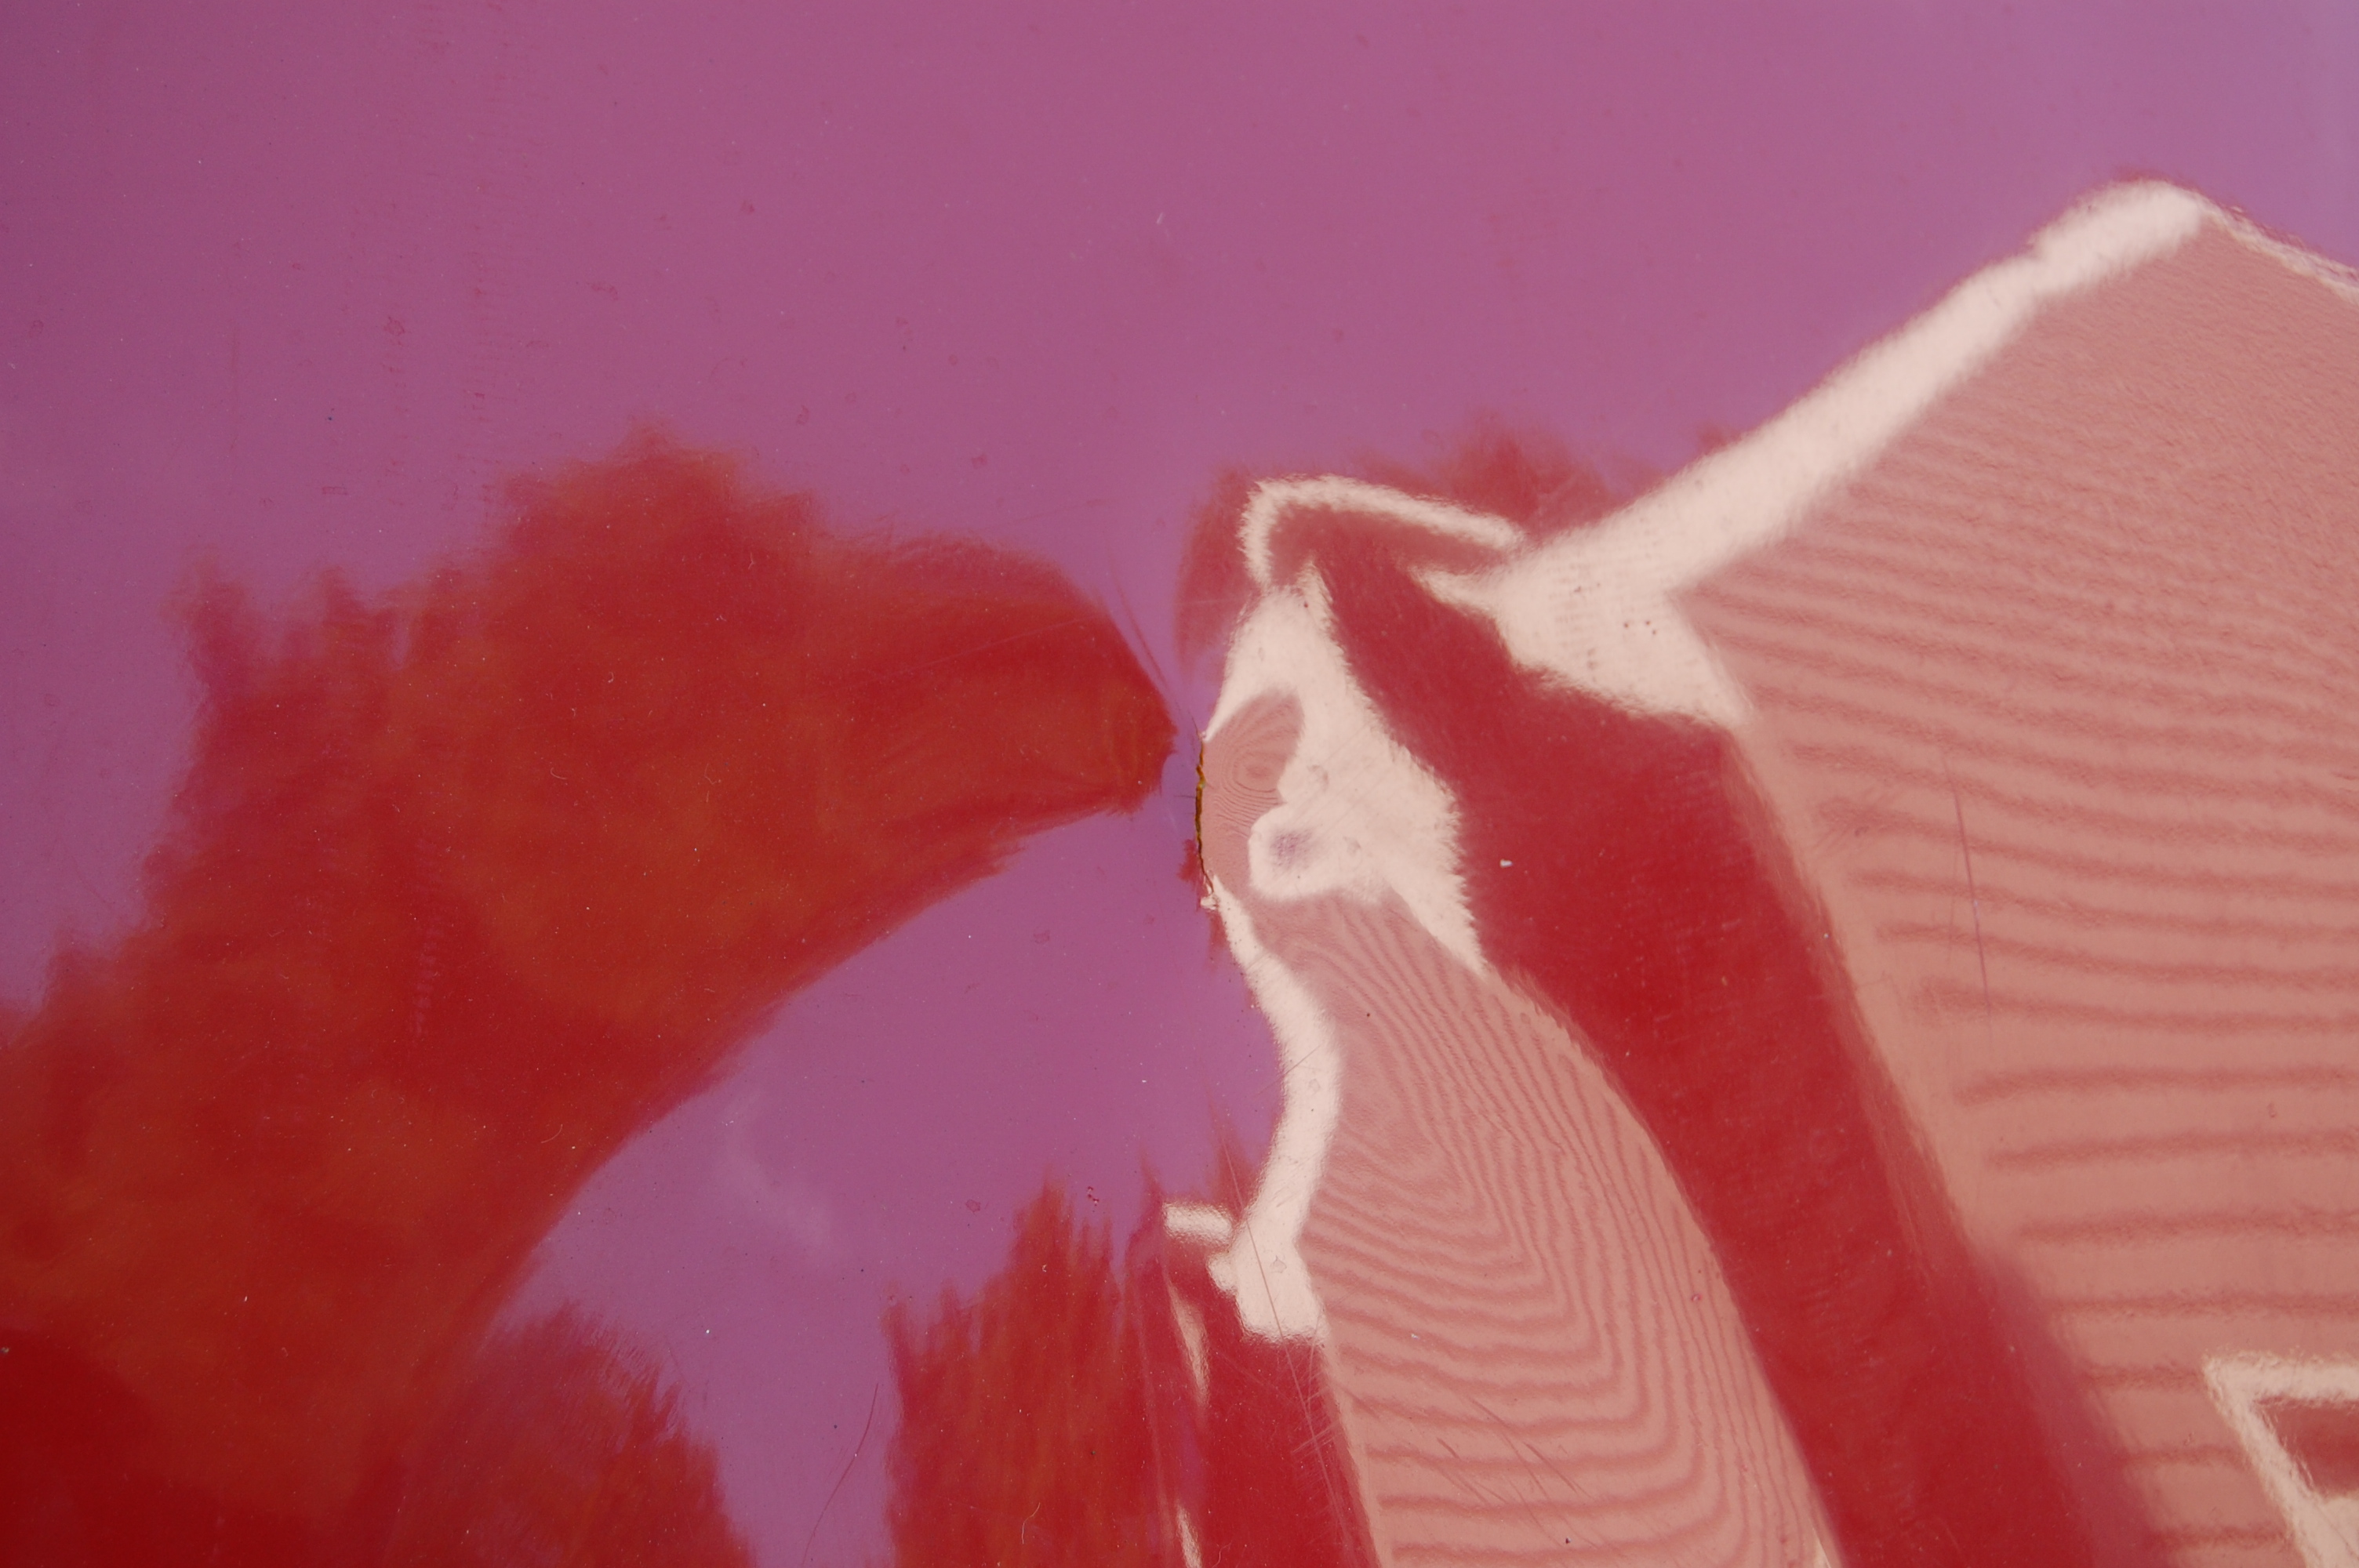
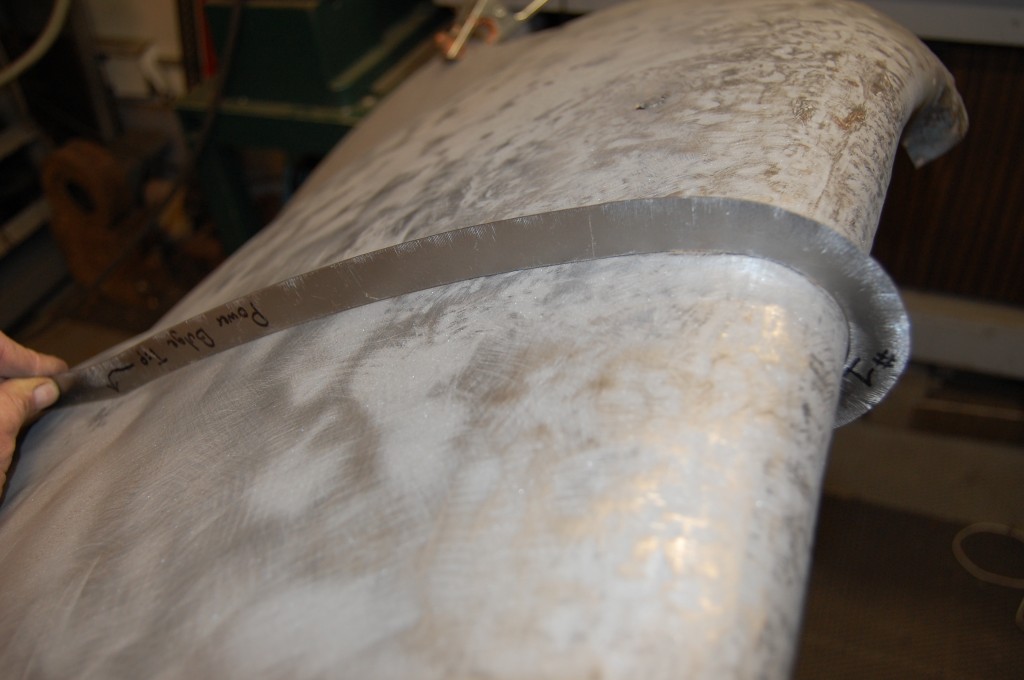
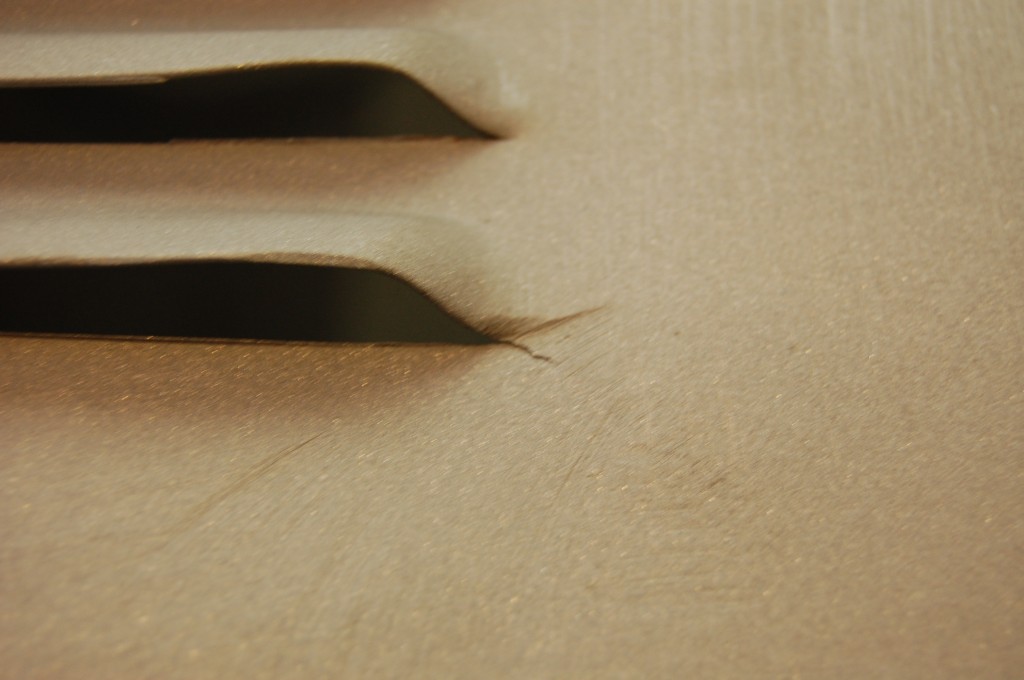
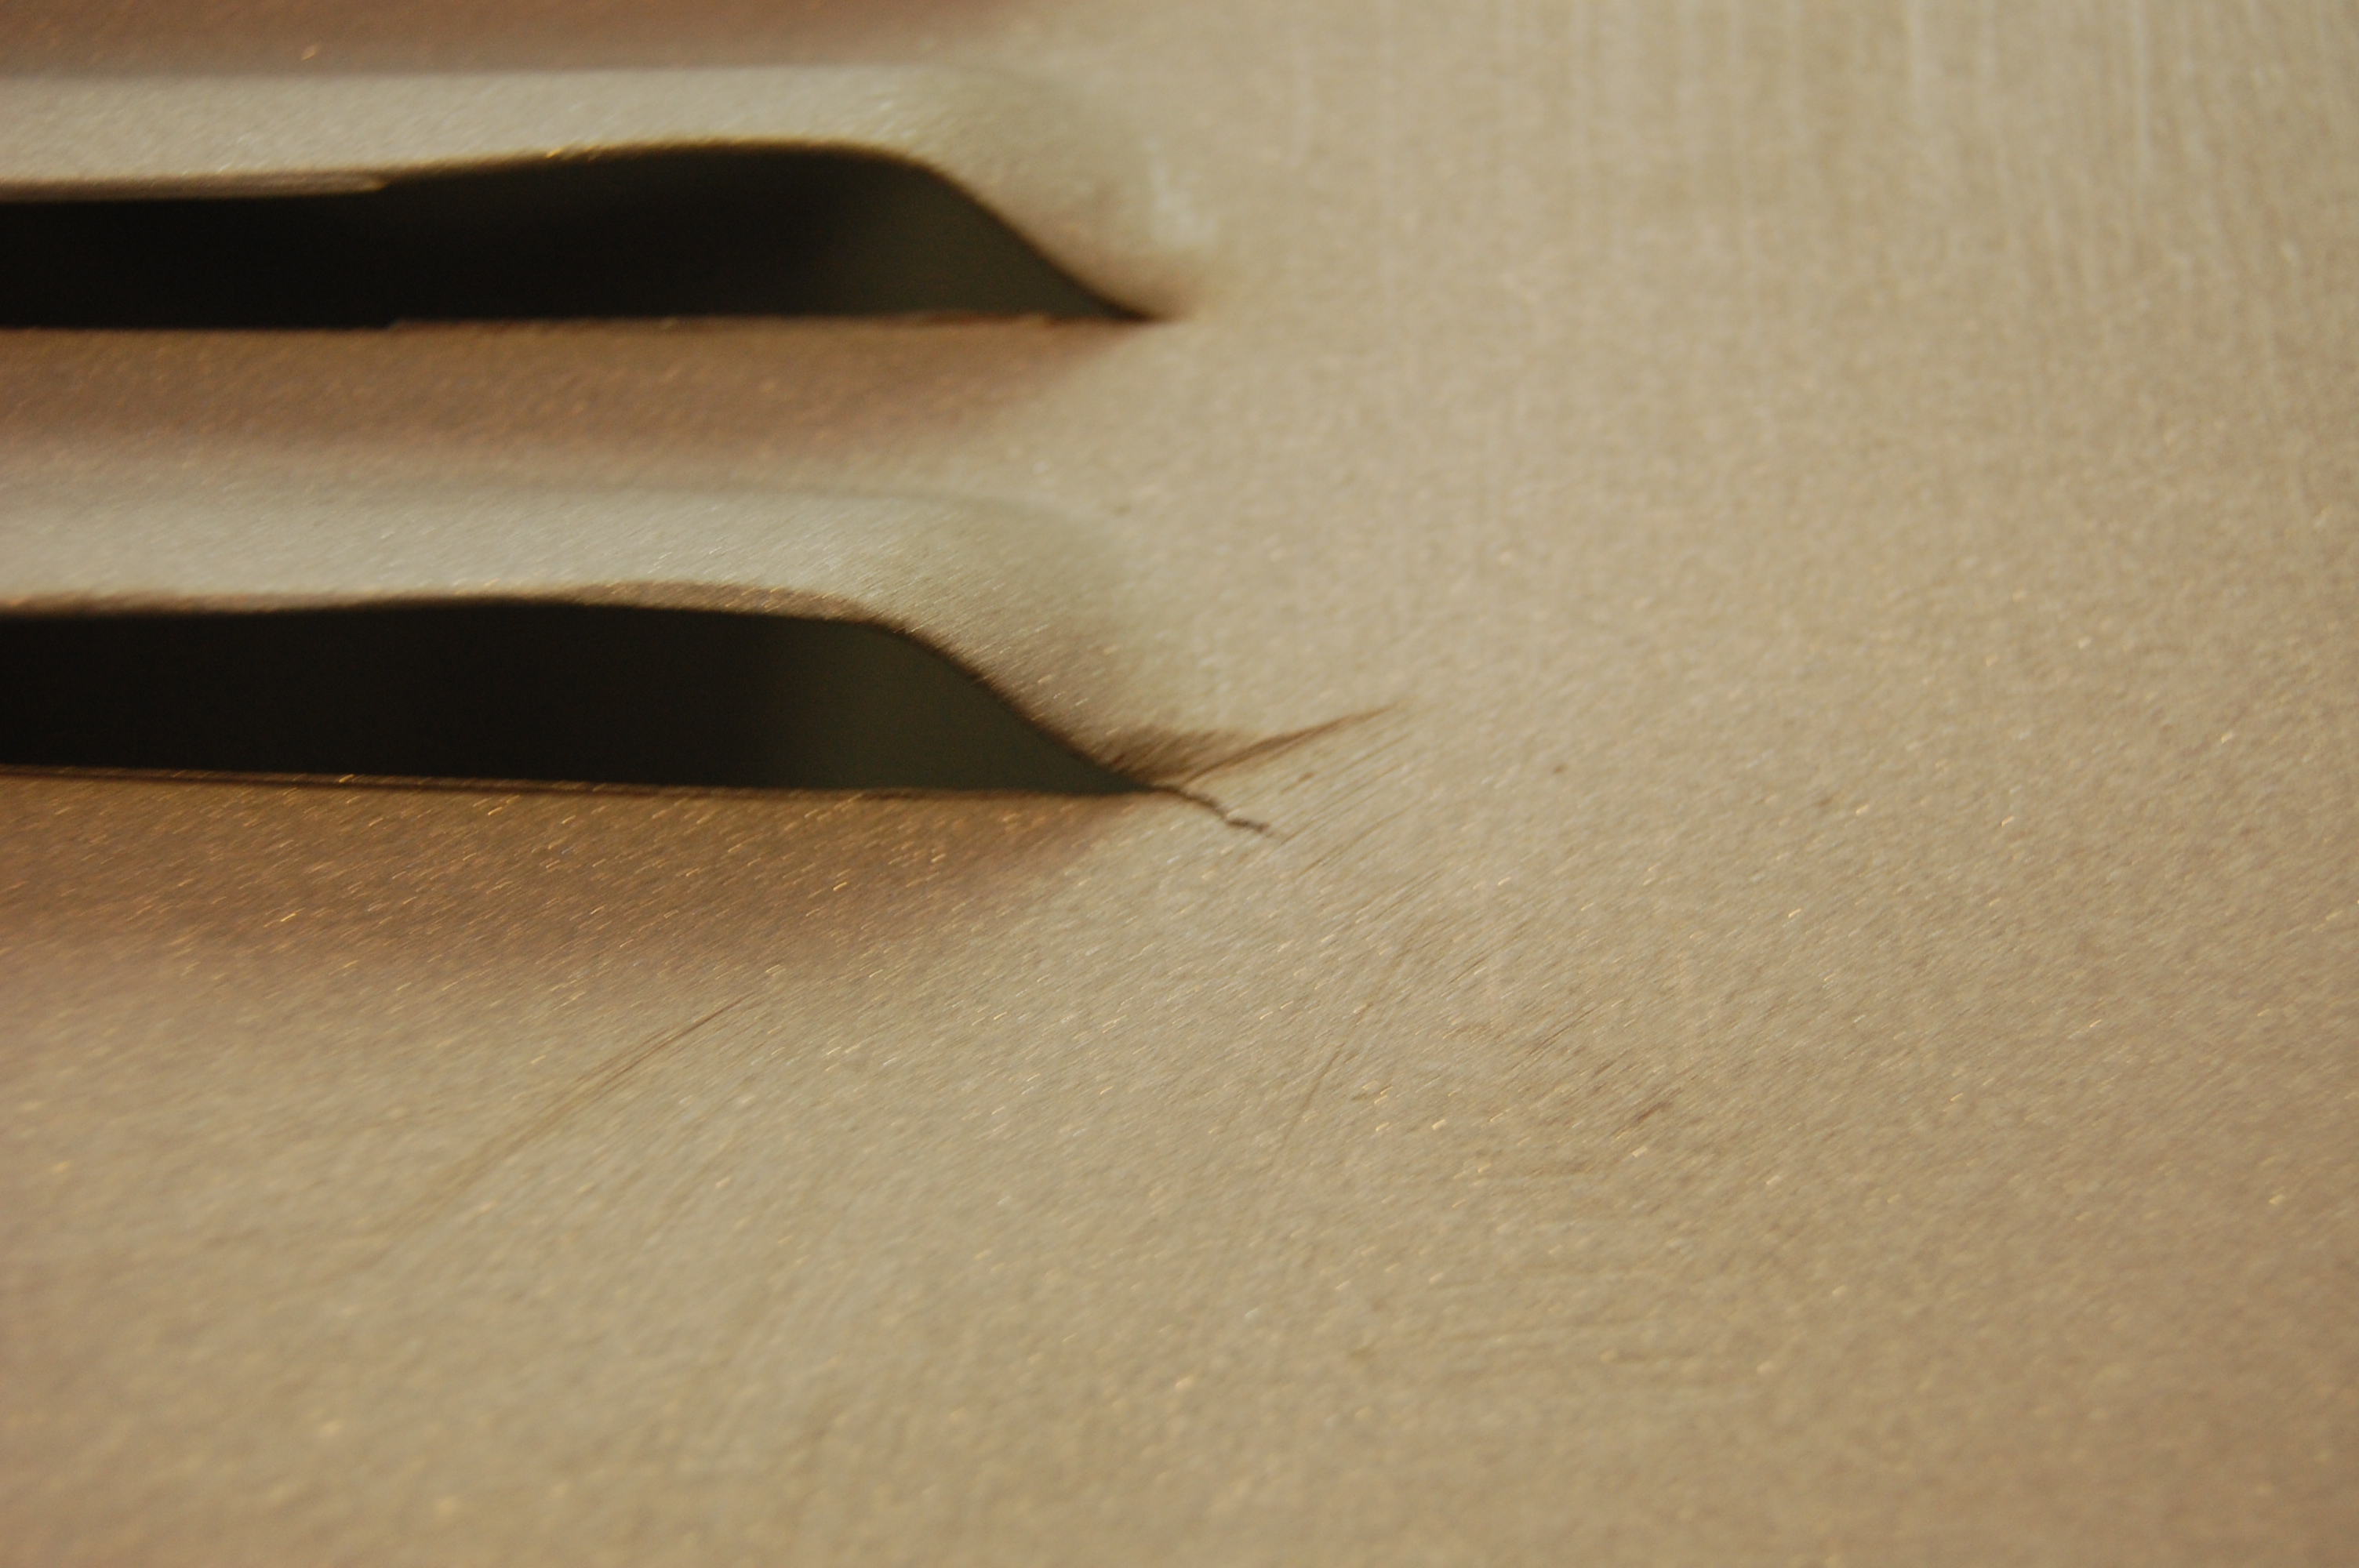
- This kink and tear was on both sides, and corresponded with the kink at the tip of the power bulge. It looks like the center section basically collapsed under it’s own weight while being moved around. Yes – there is THAT MUCH filler in it!

-
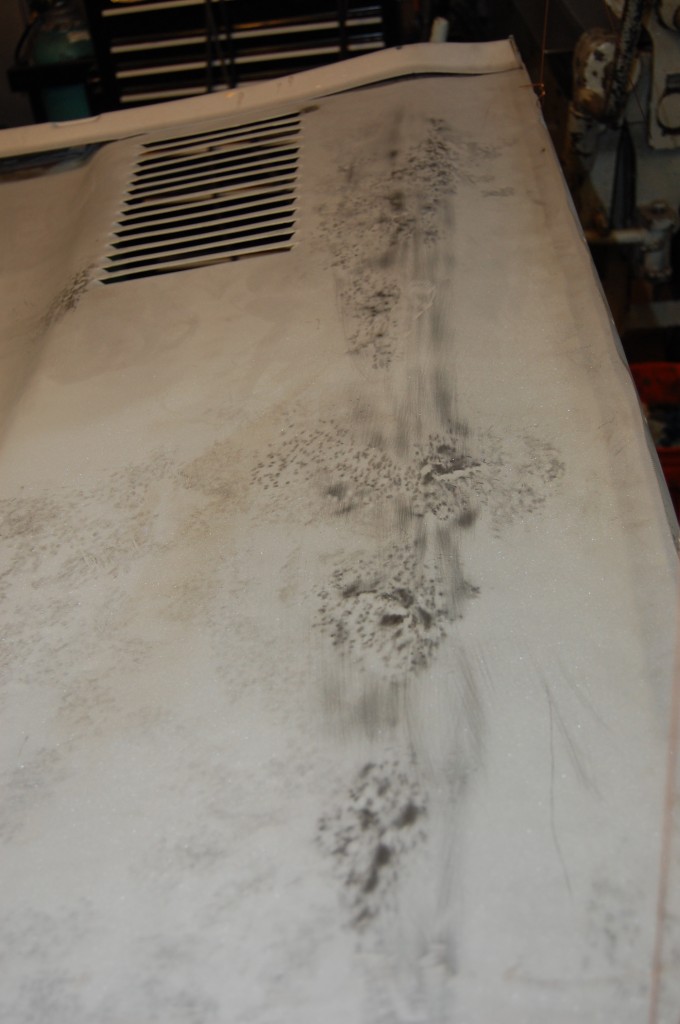
- See what I mean?…

-

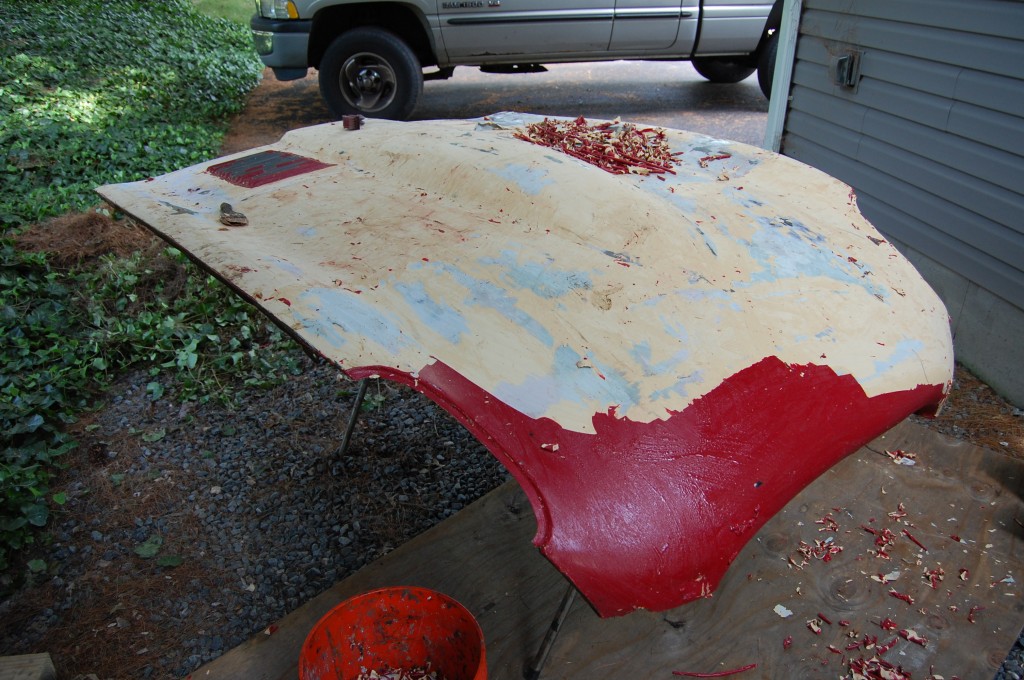
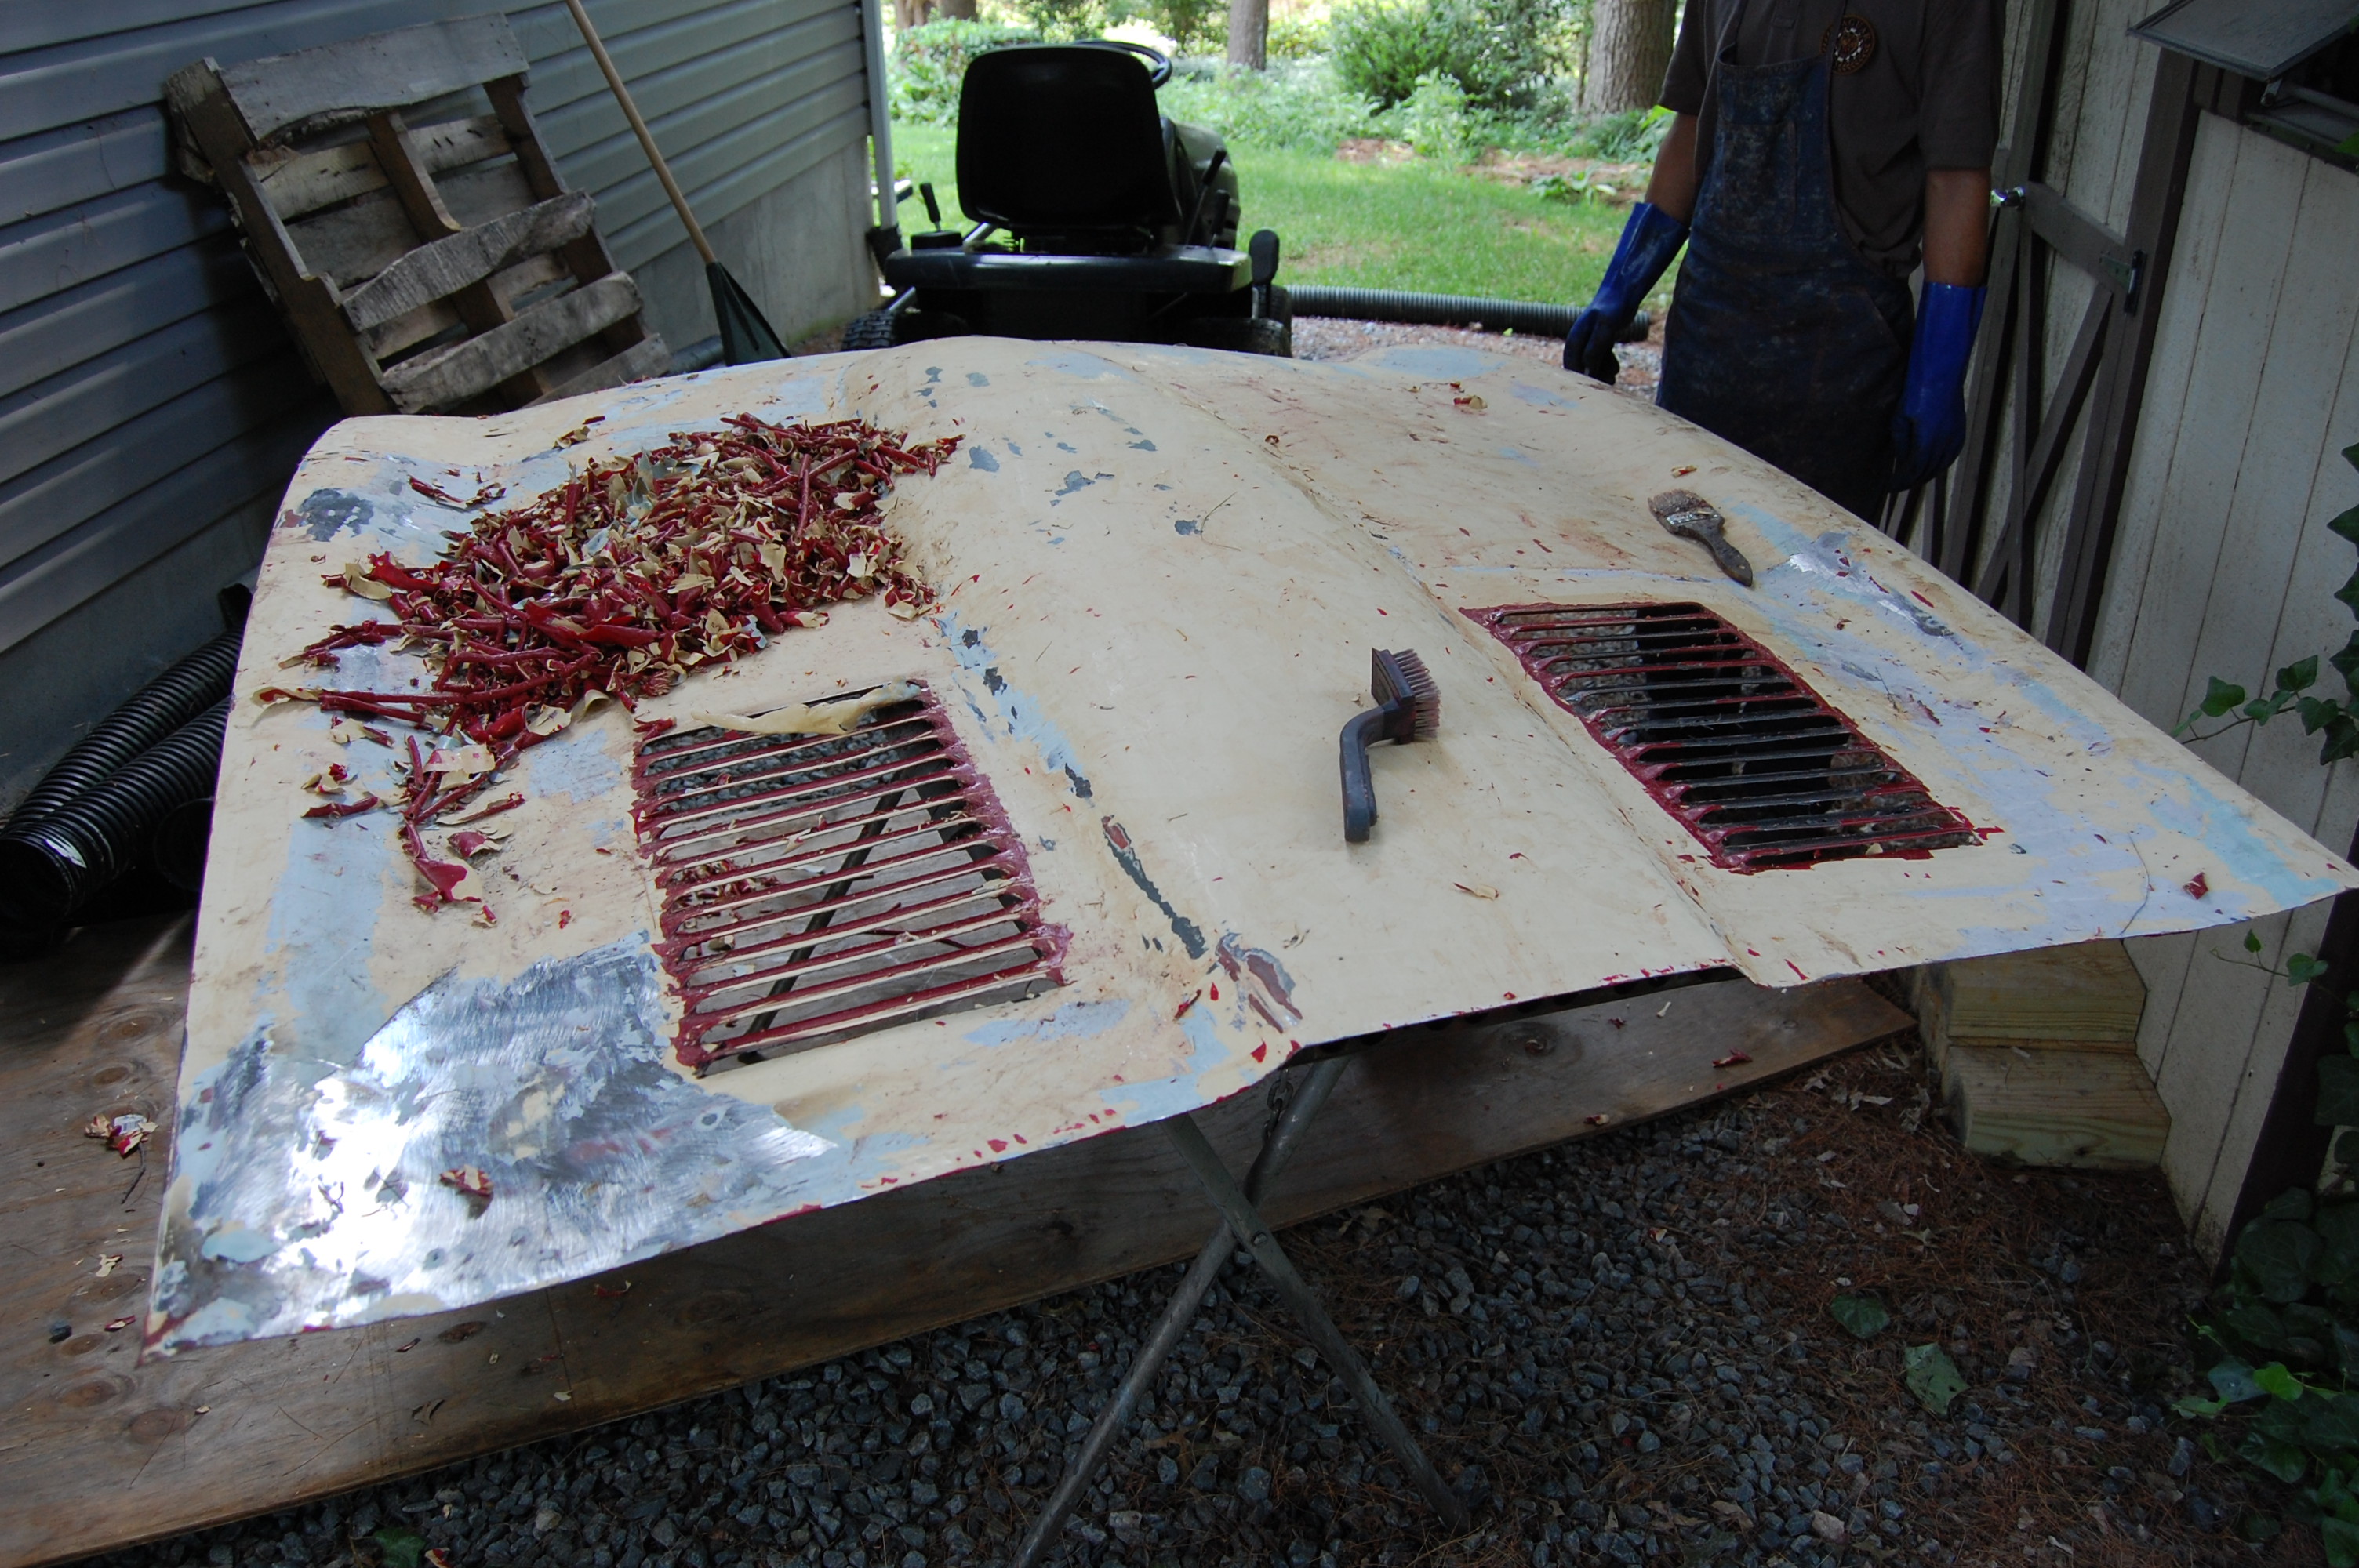
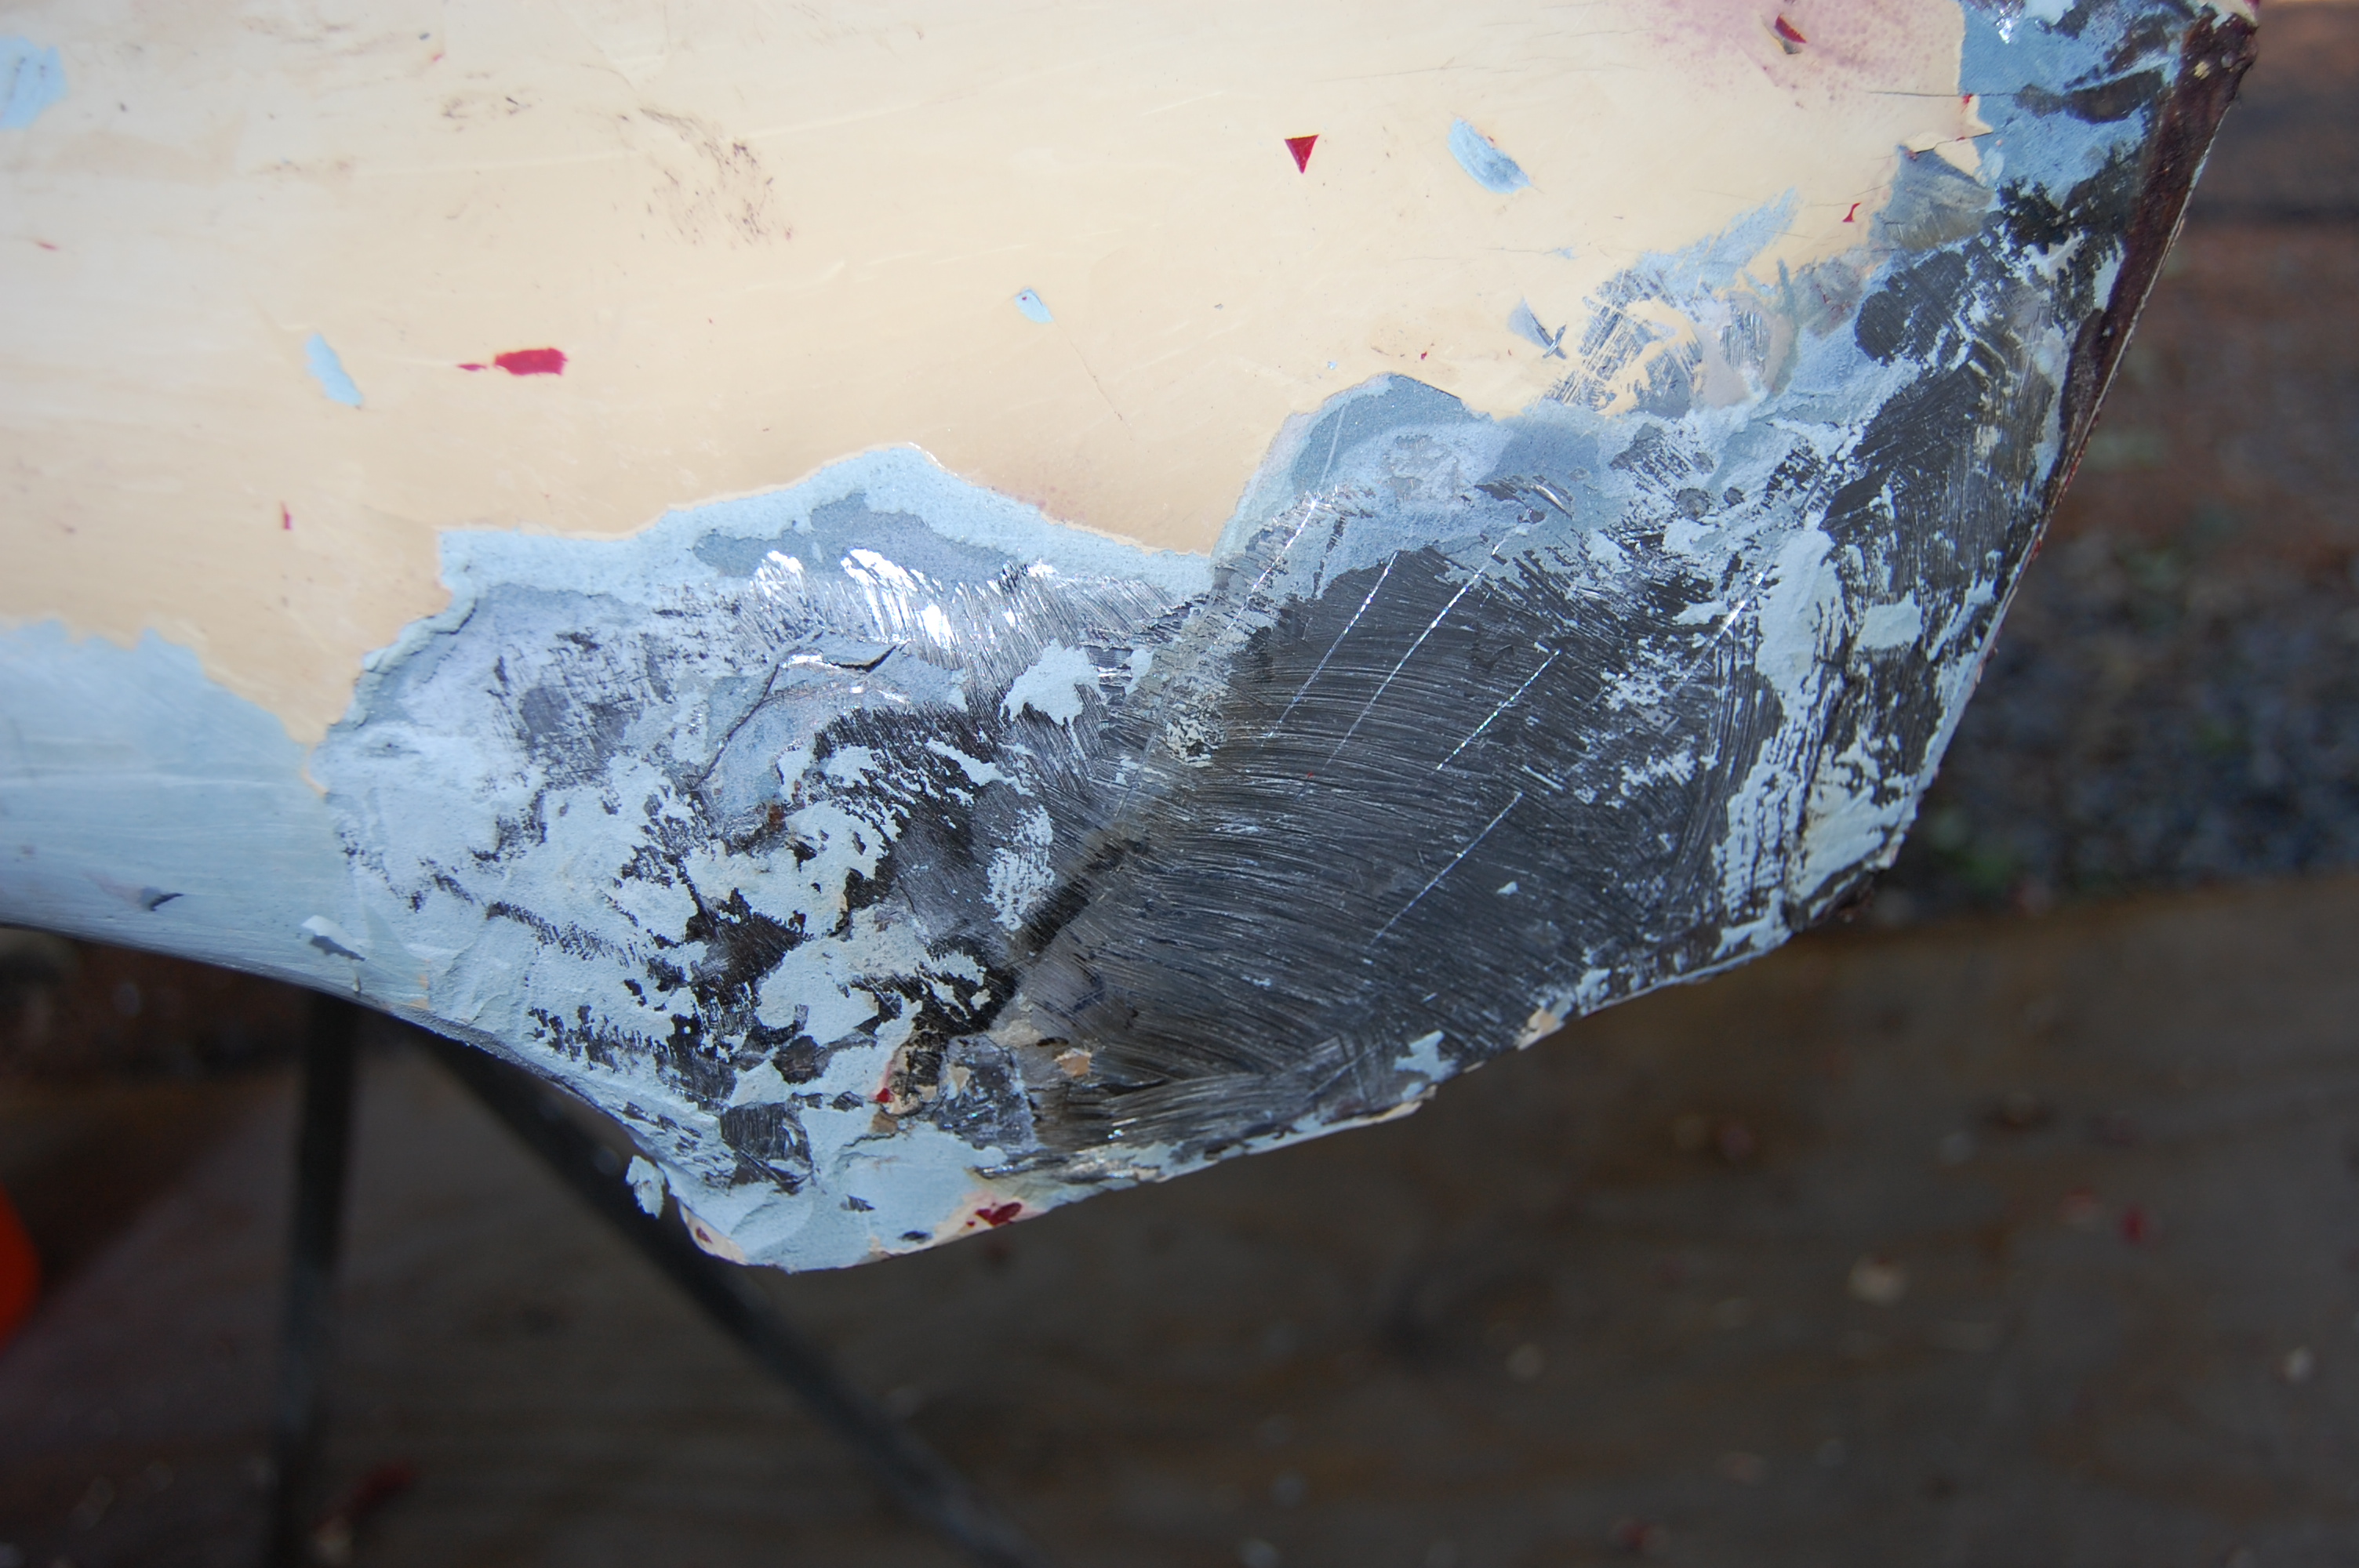
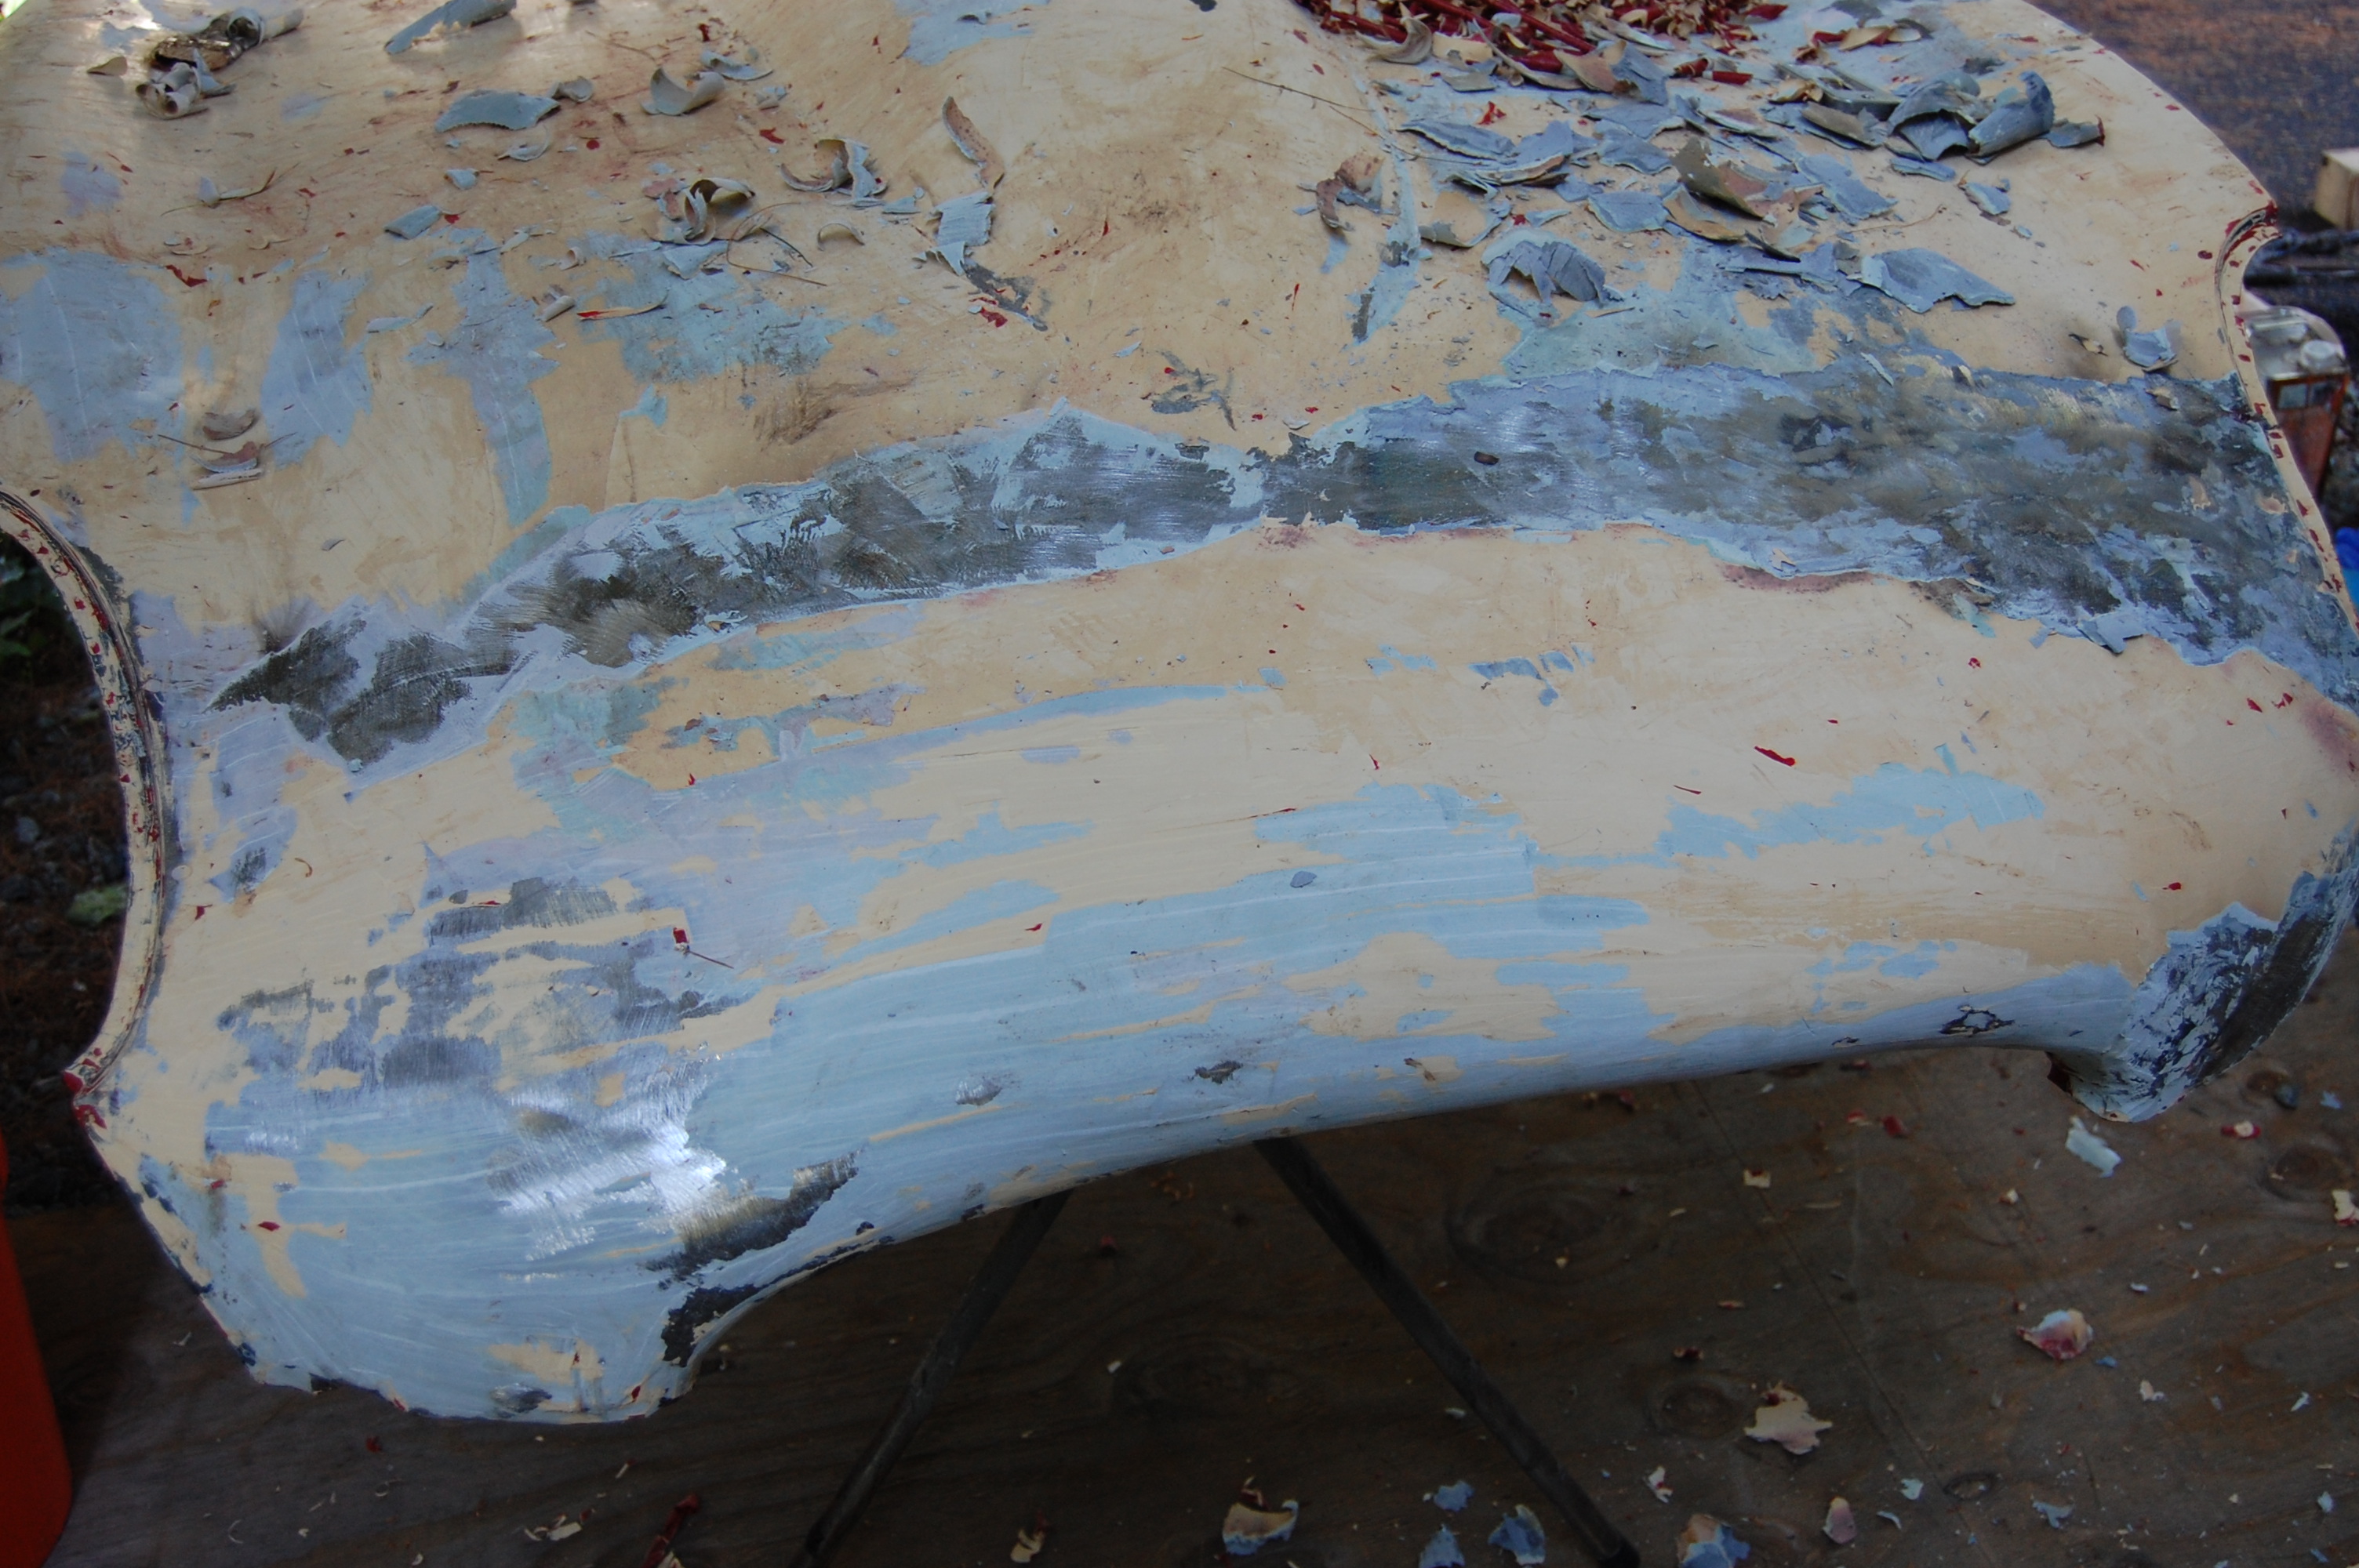
- MASSIVE amounts of filler, sandable primer, epoxy primer, and paint were removed with chemicals by hand – sandblasting will never get through this…
-
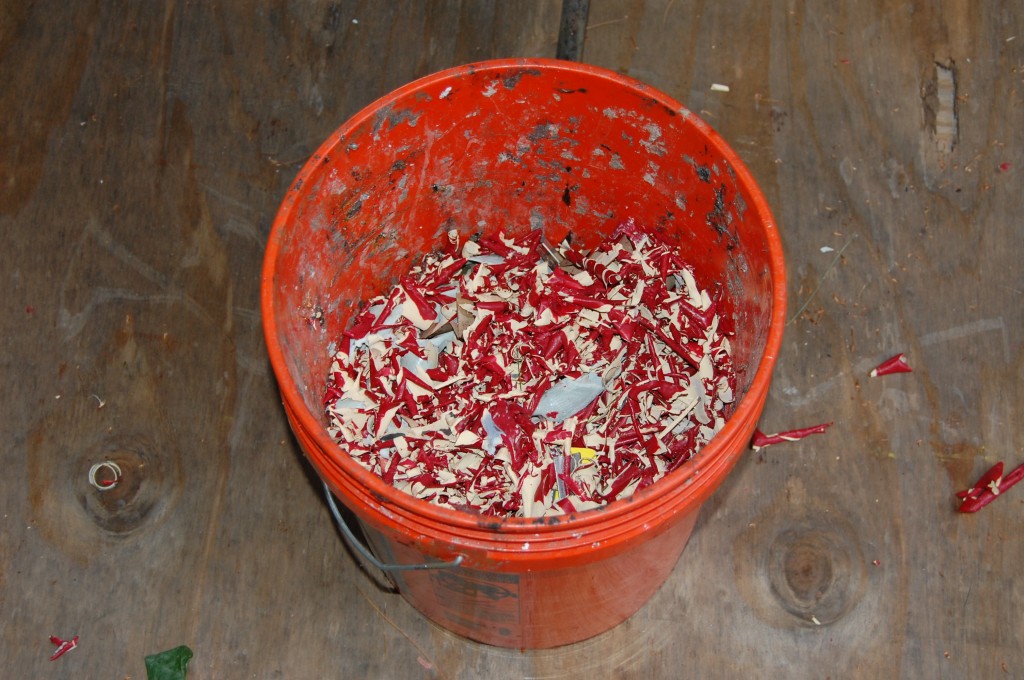
- This bucket is half full, and we’ve already filled and dumped it once already. We filled and dumpd it three times before this was over!

-

- More fun – lead…
-

- Here we’ve dug a “canal” through the filler to see how deep it is…
-

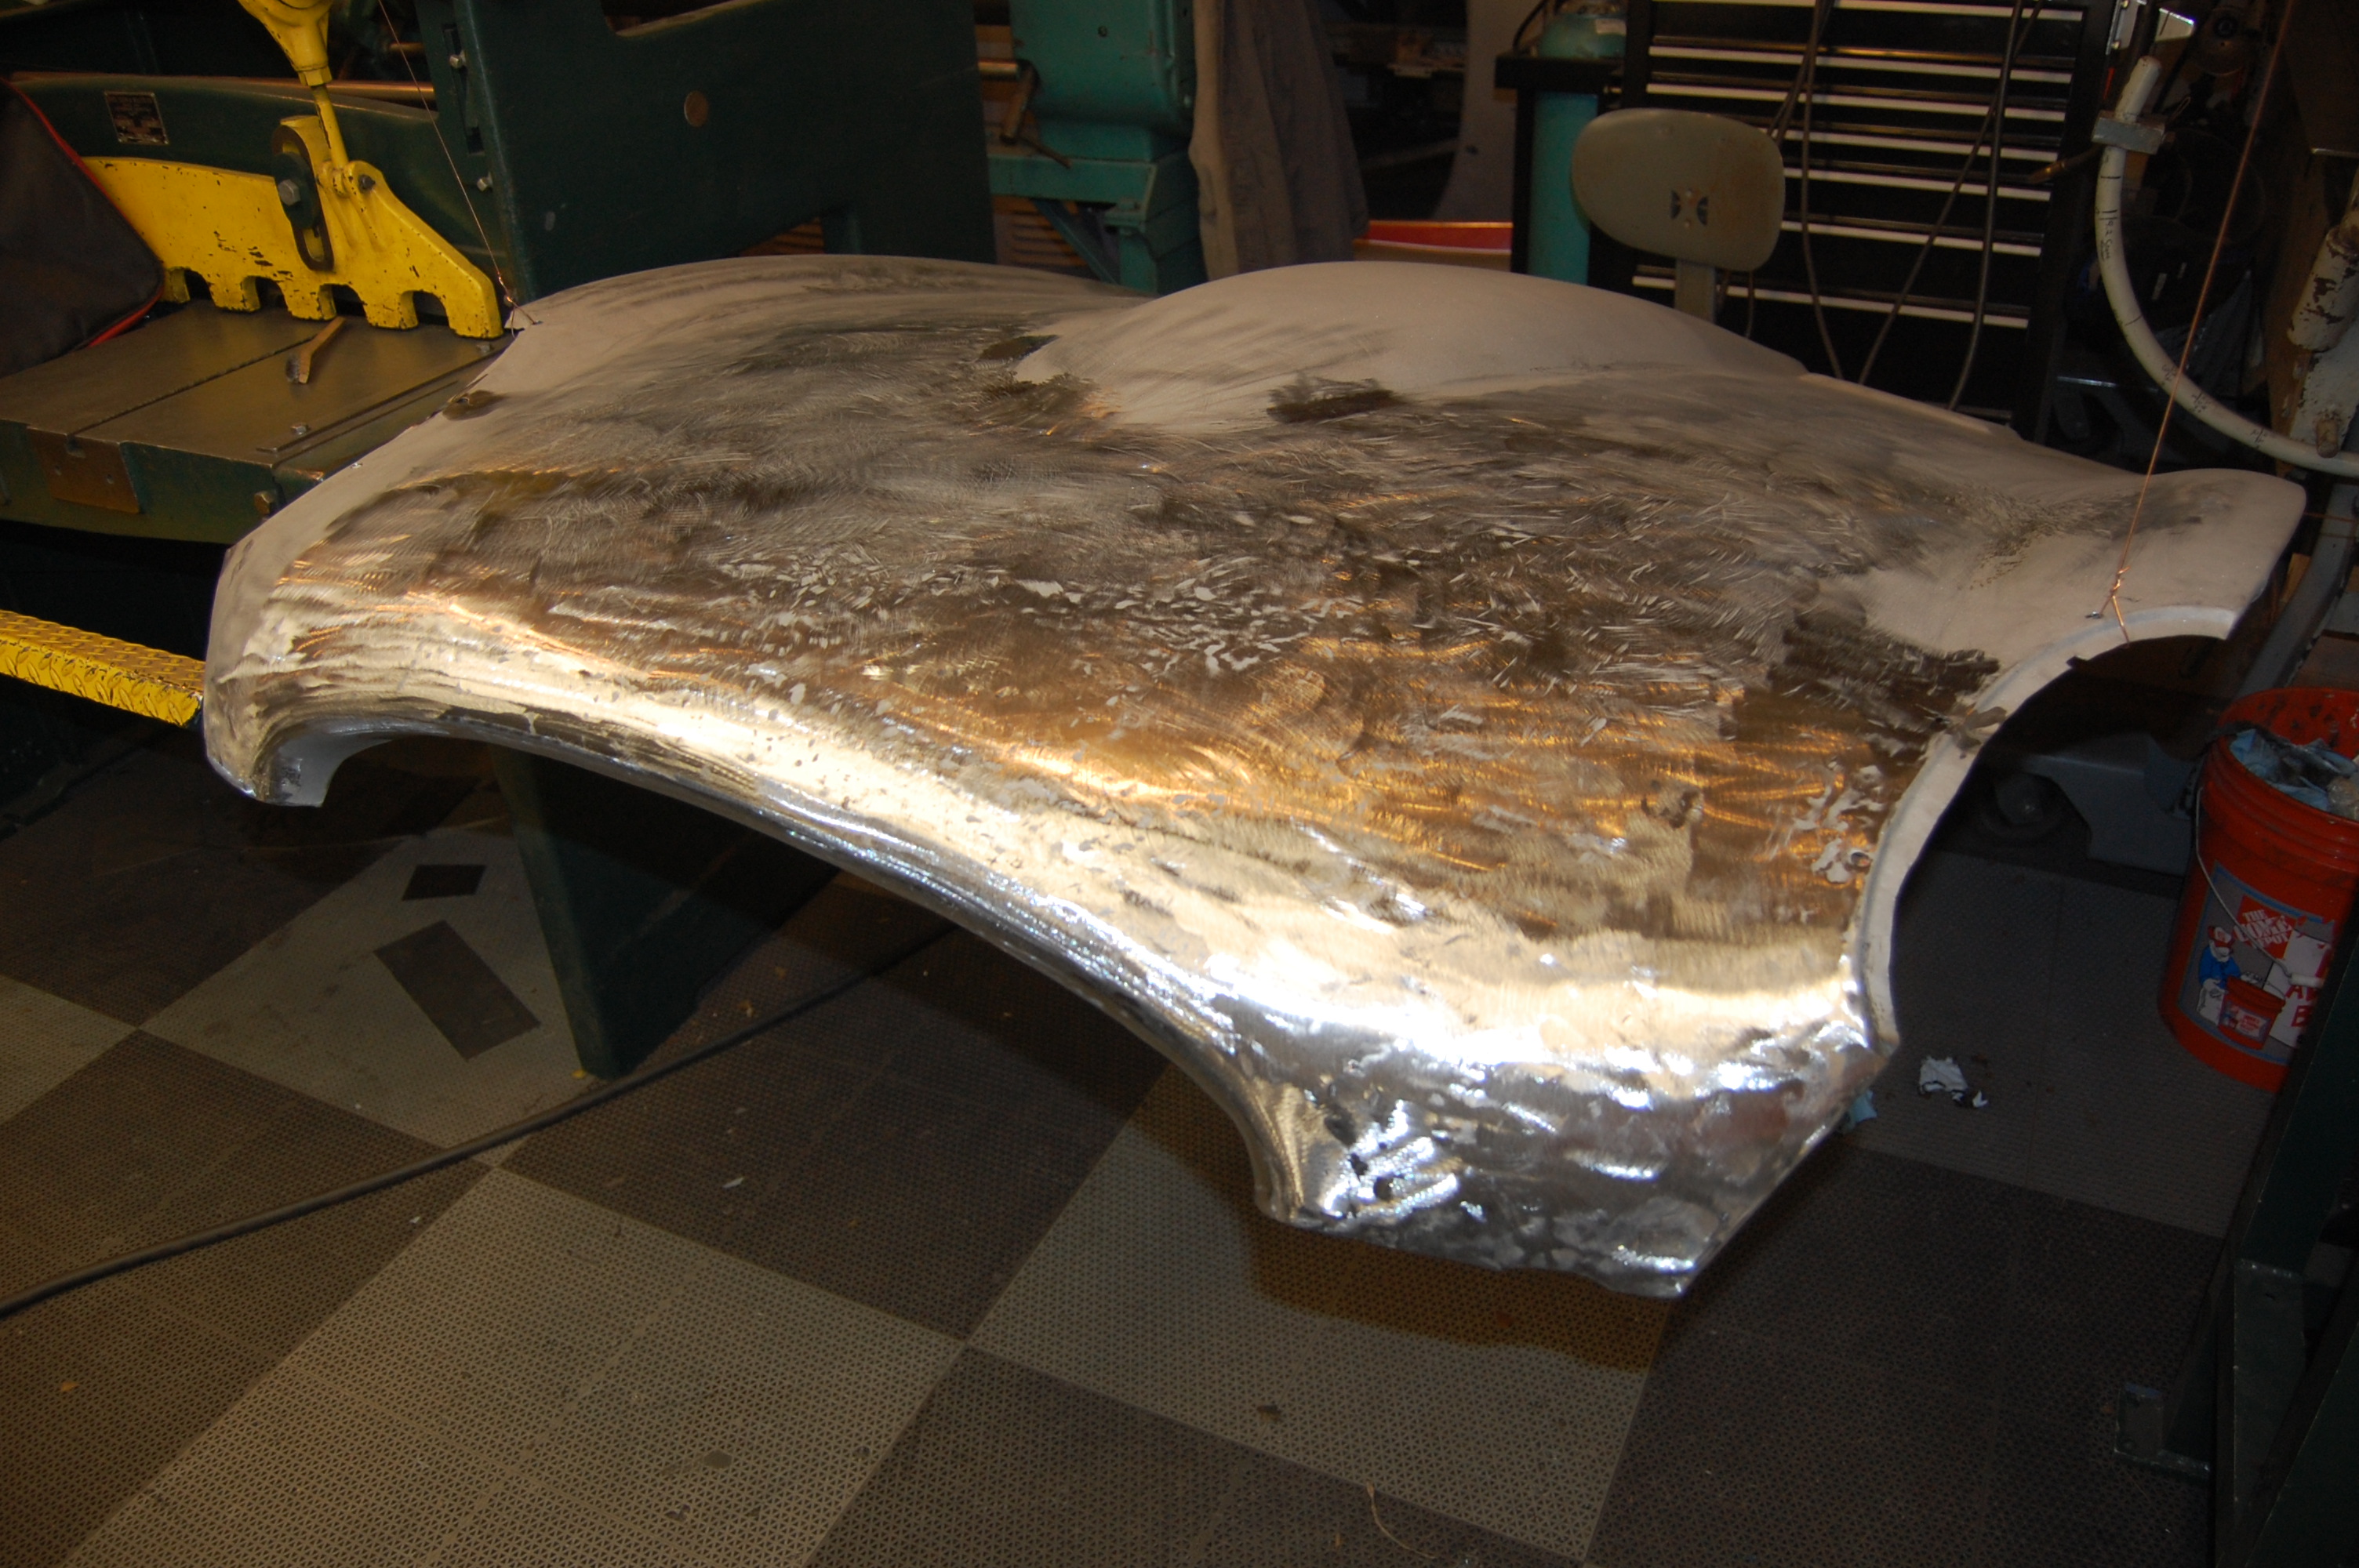
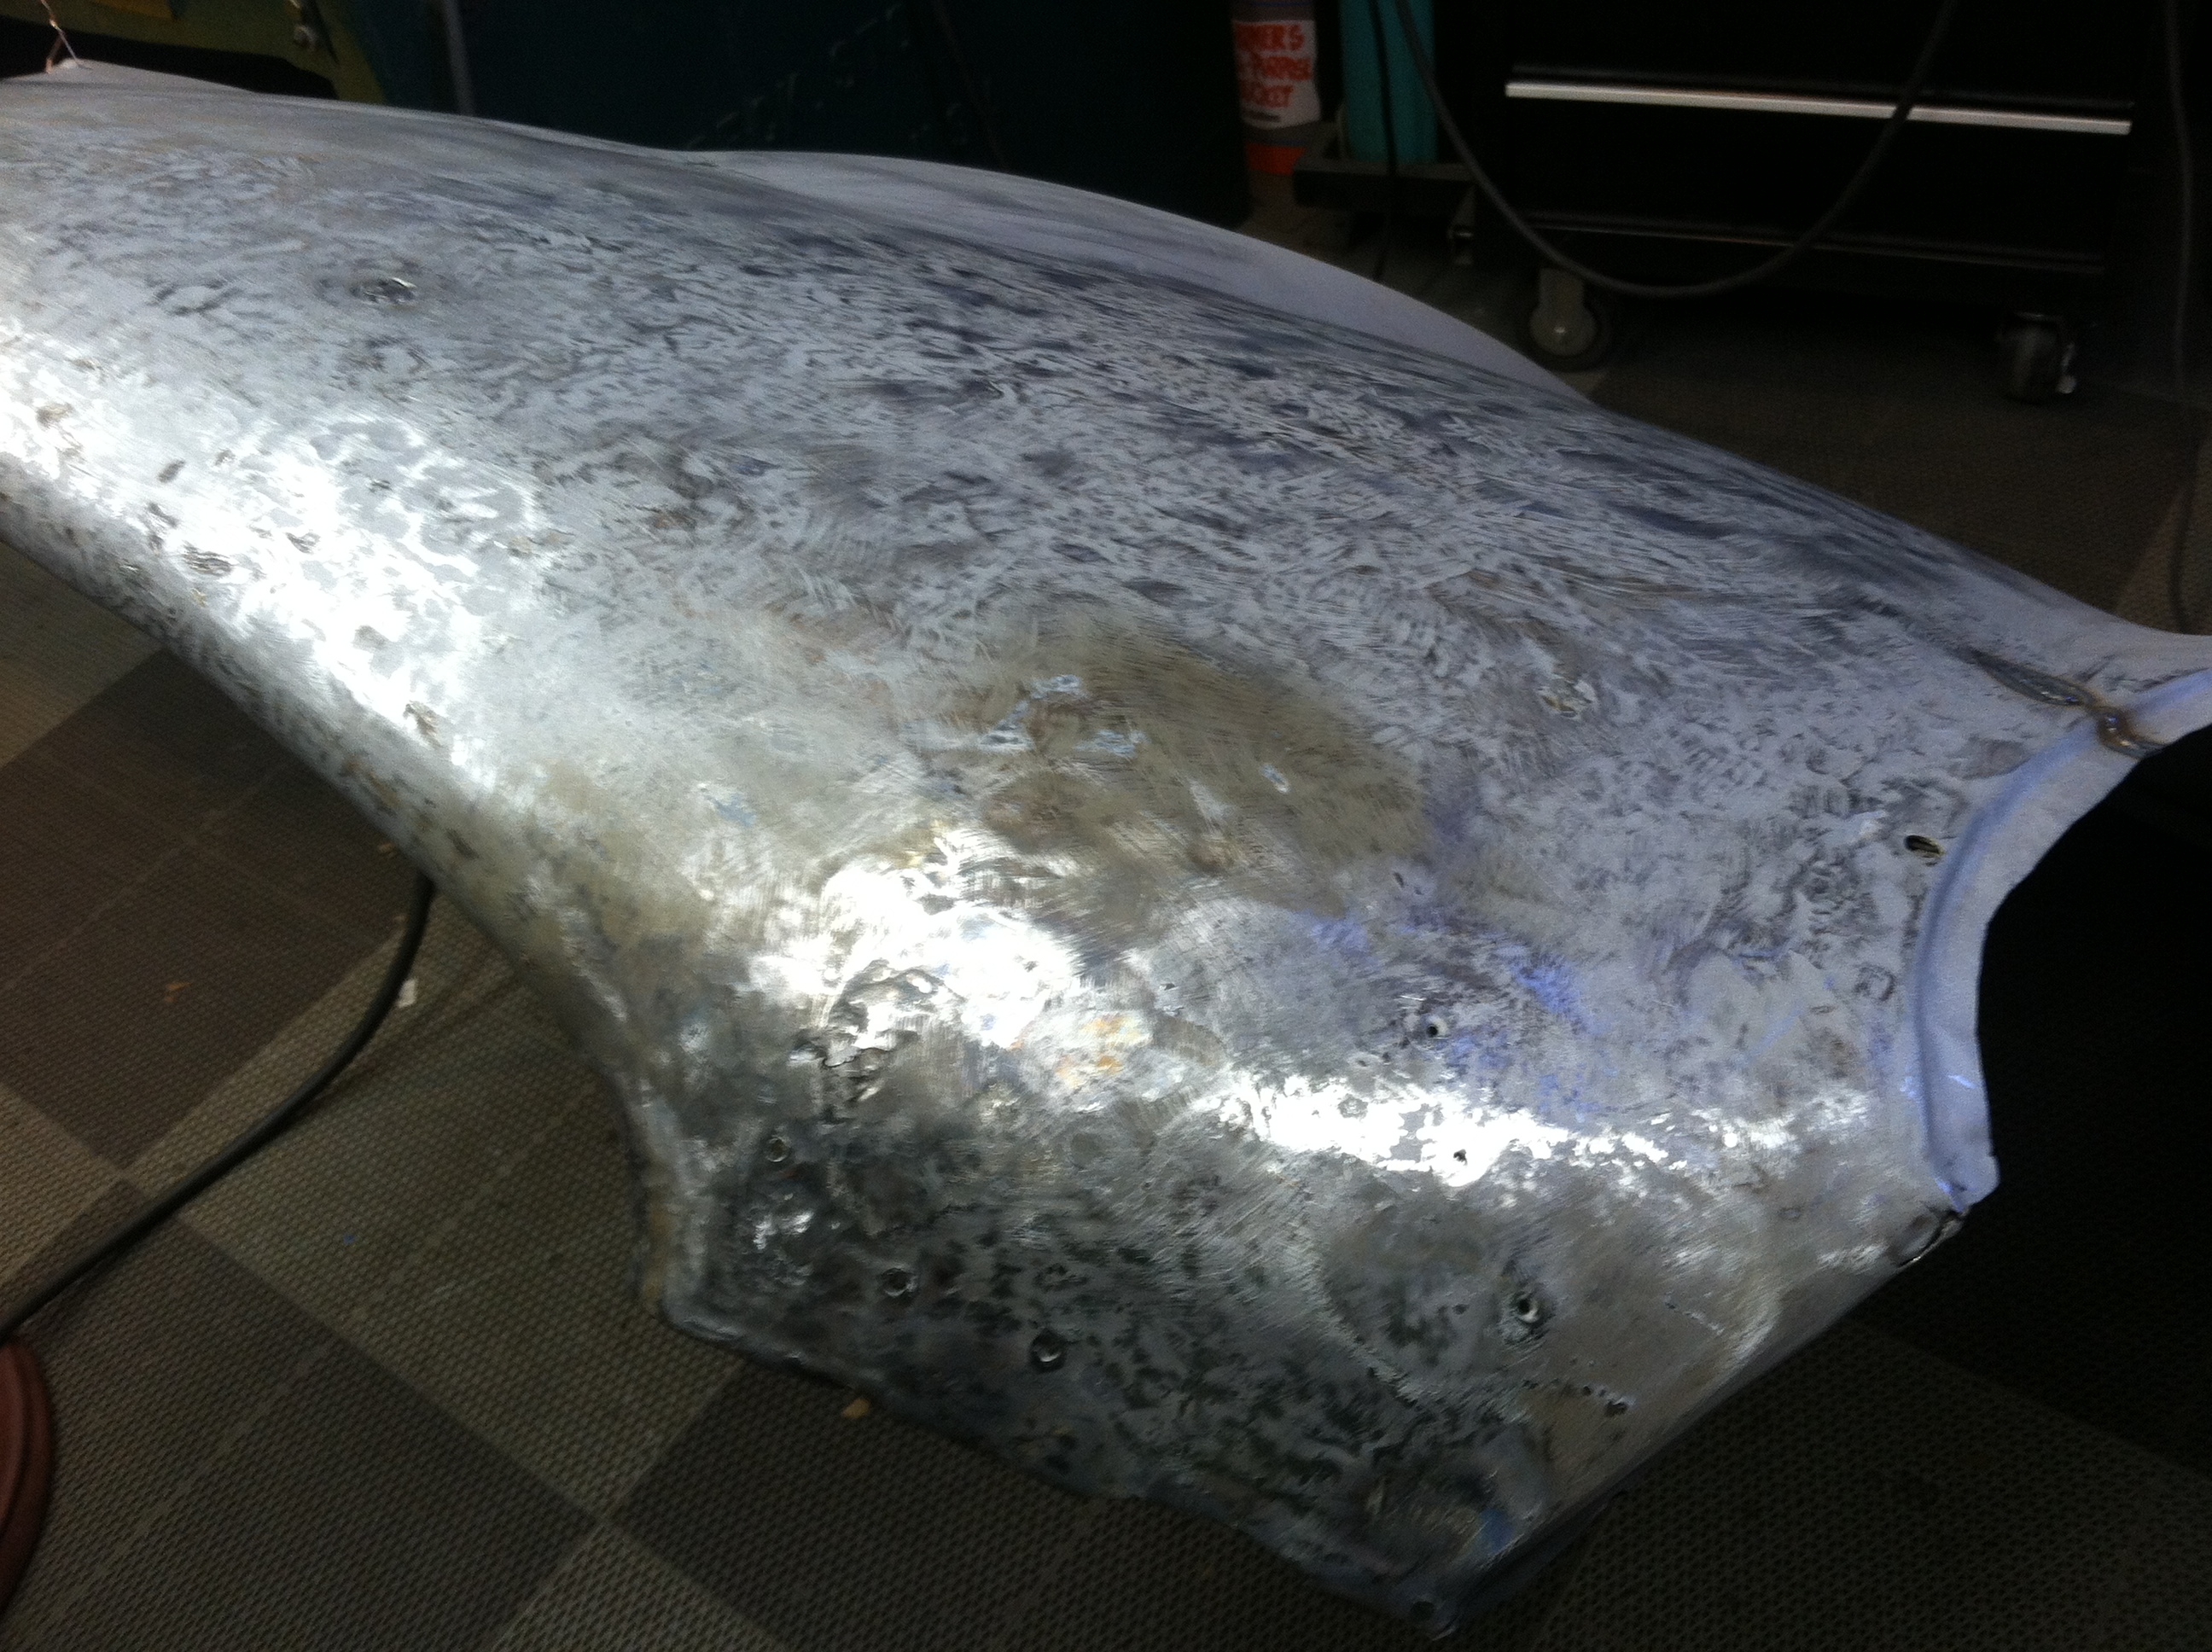
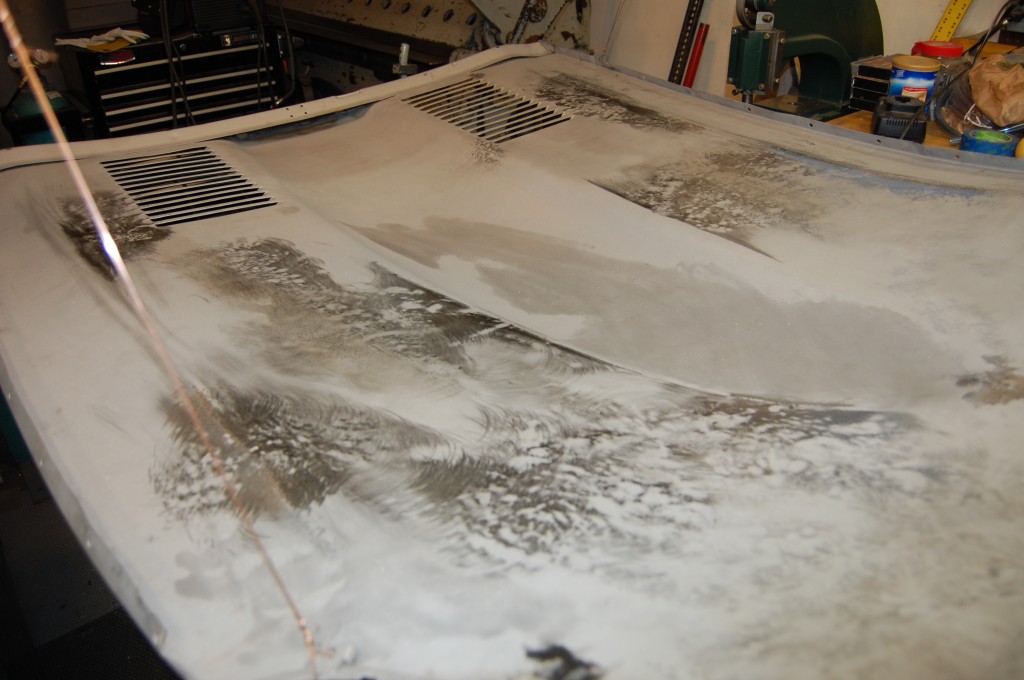
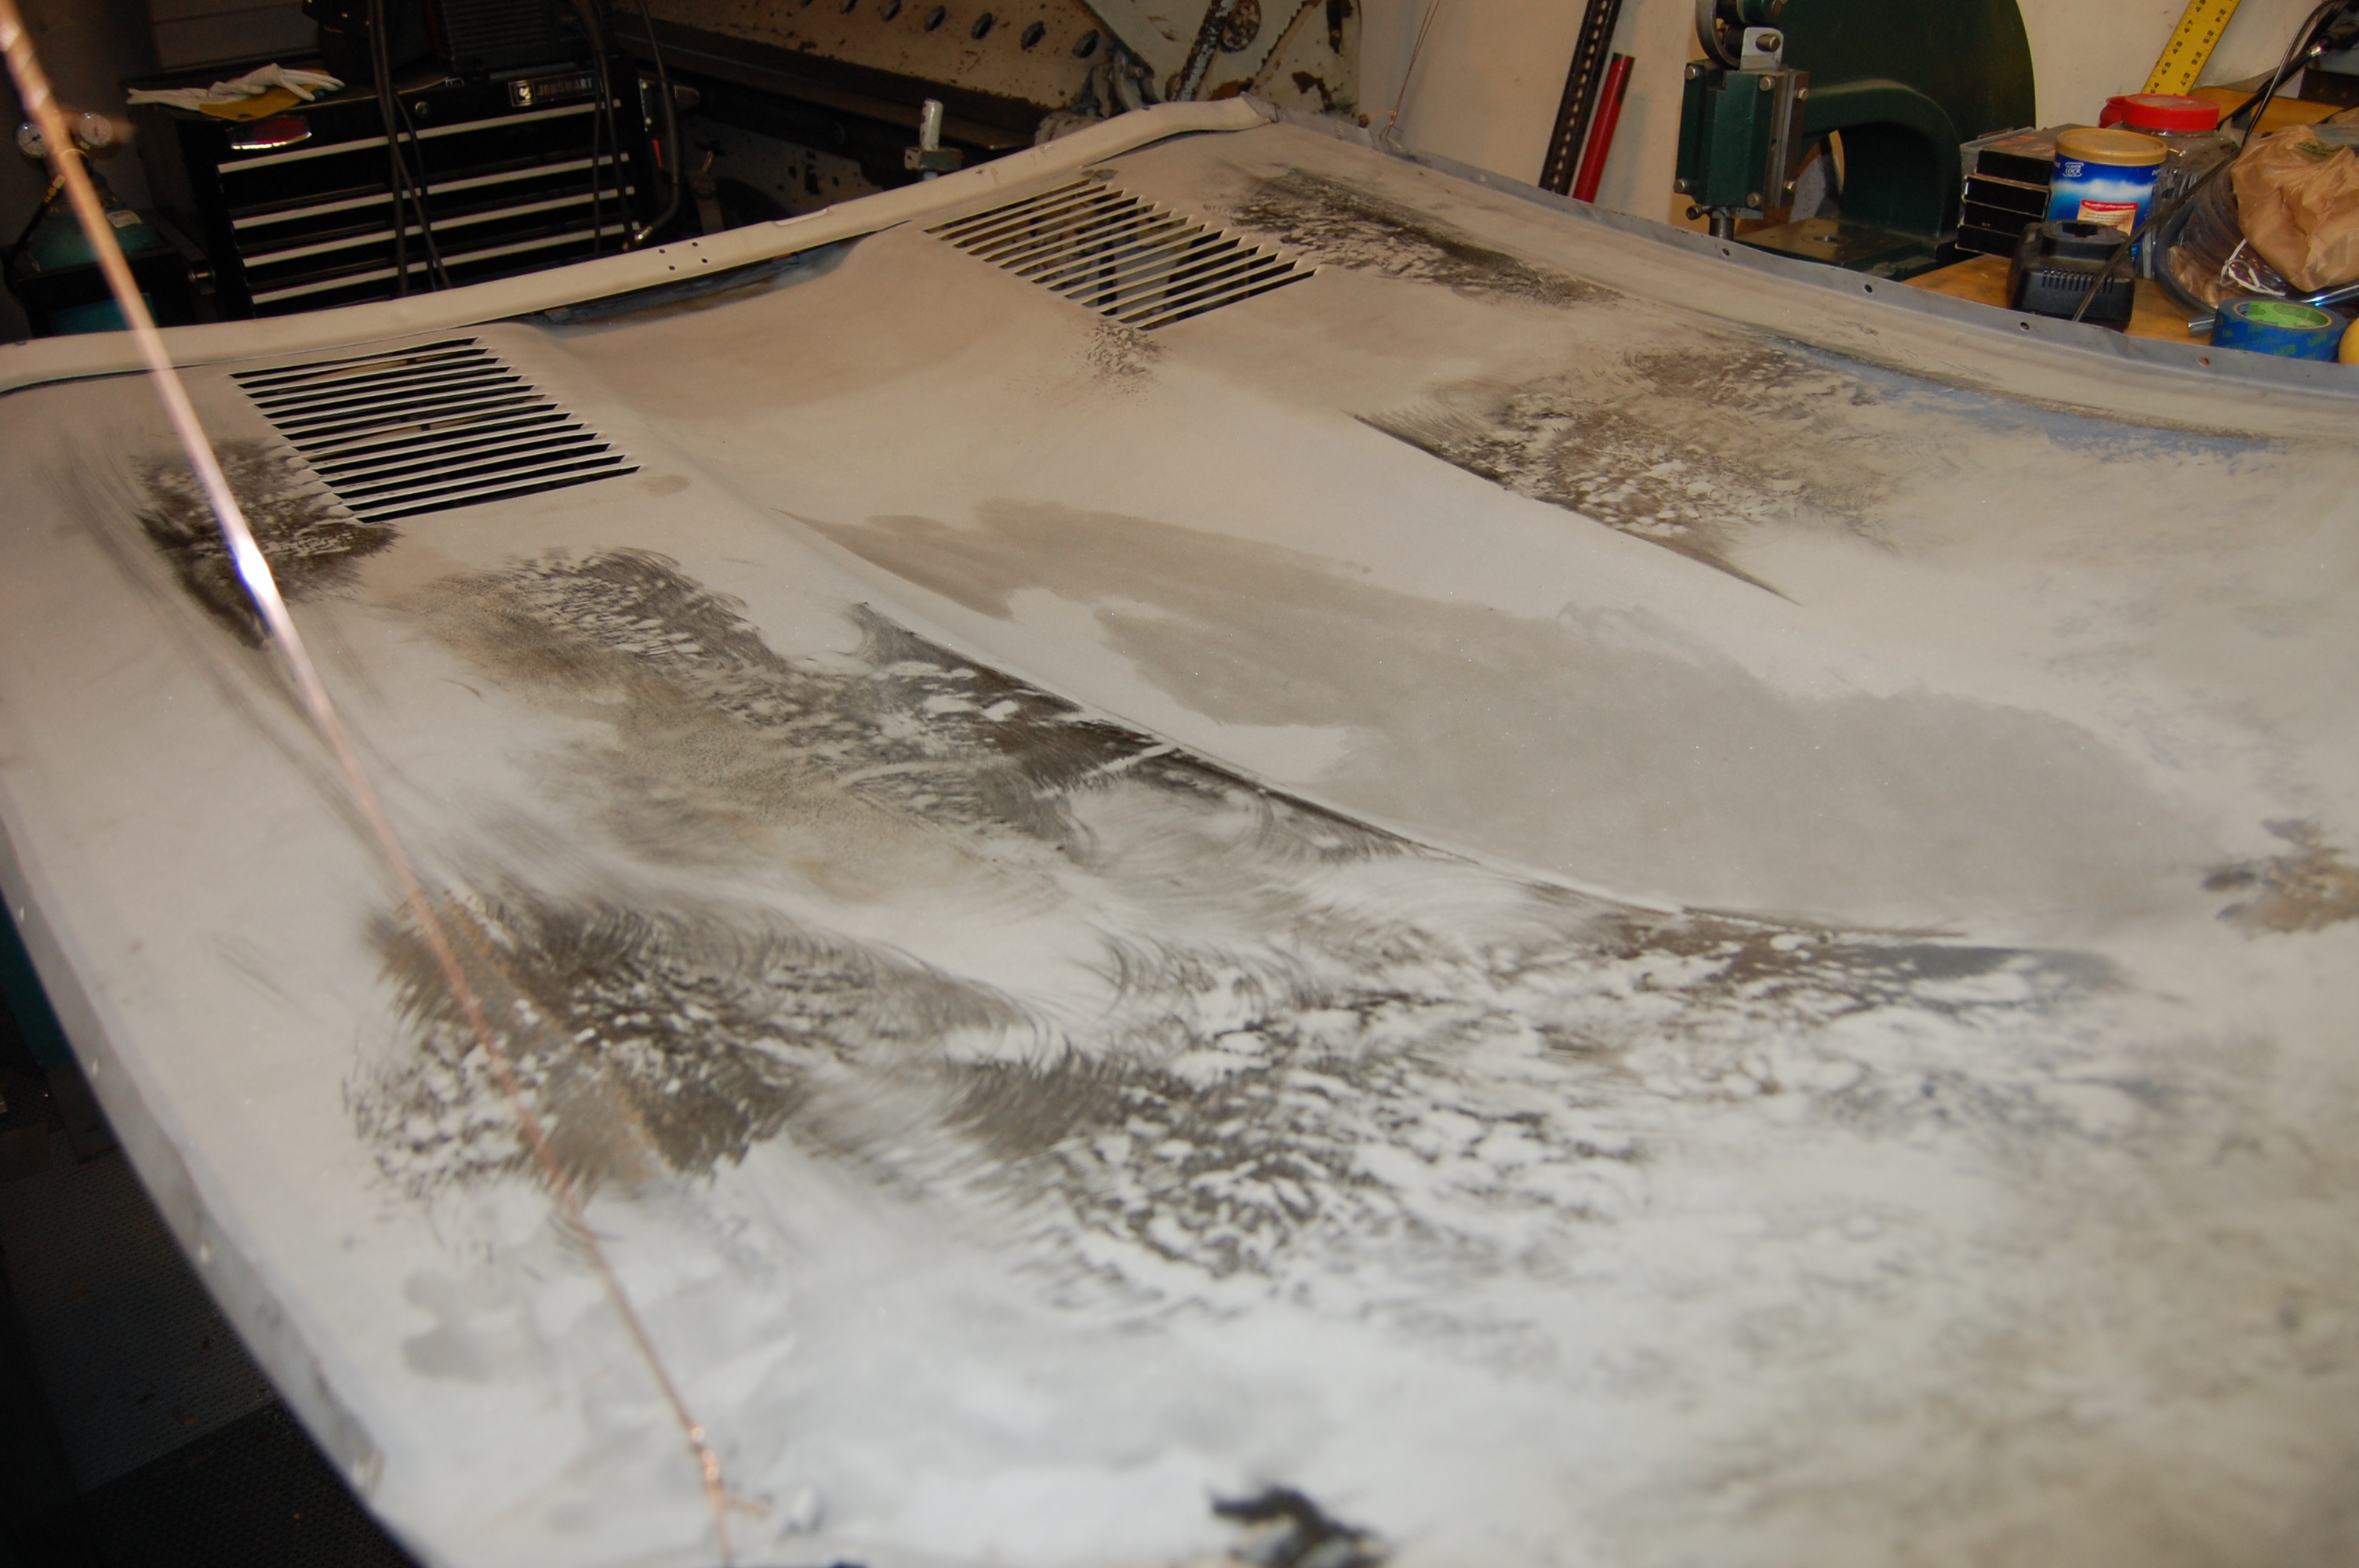
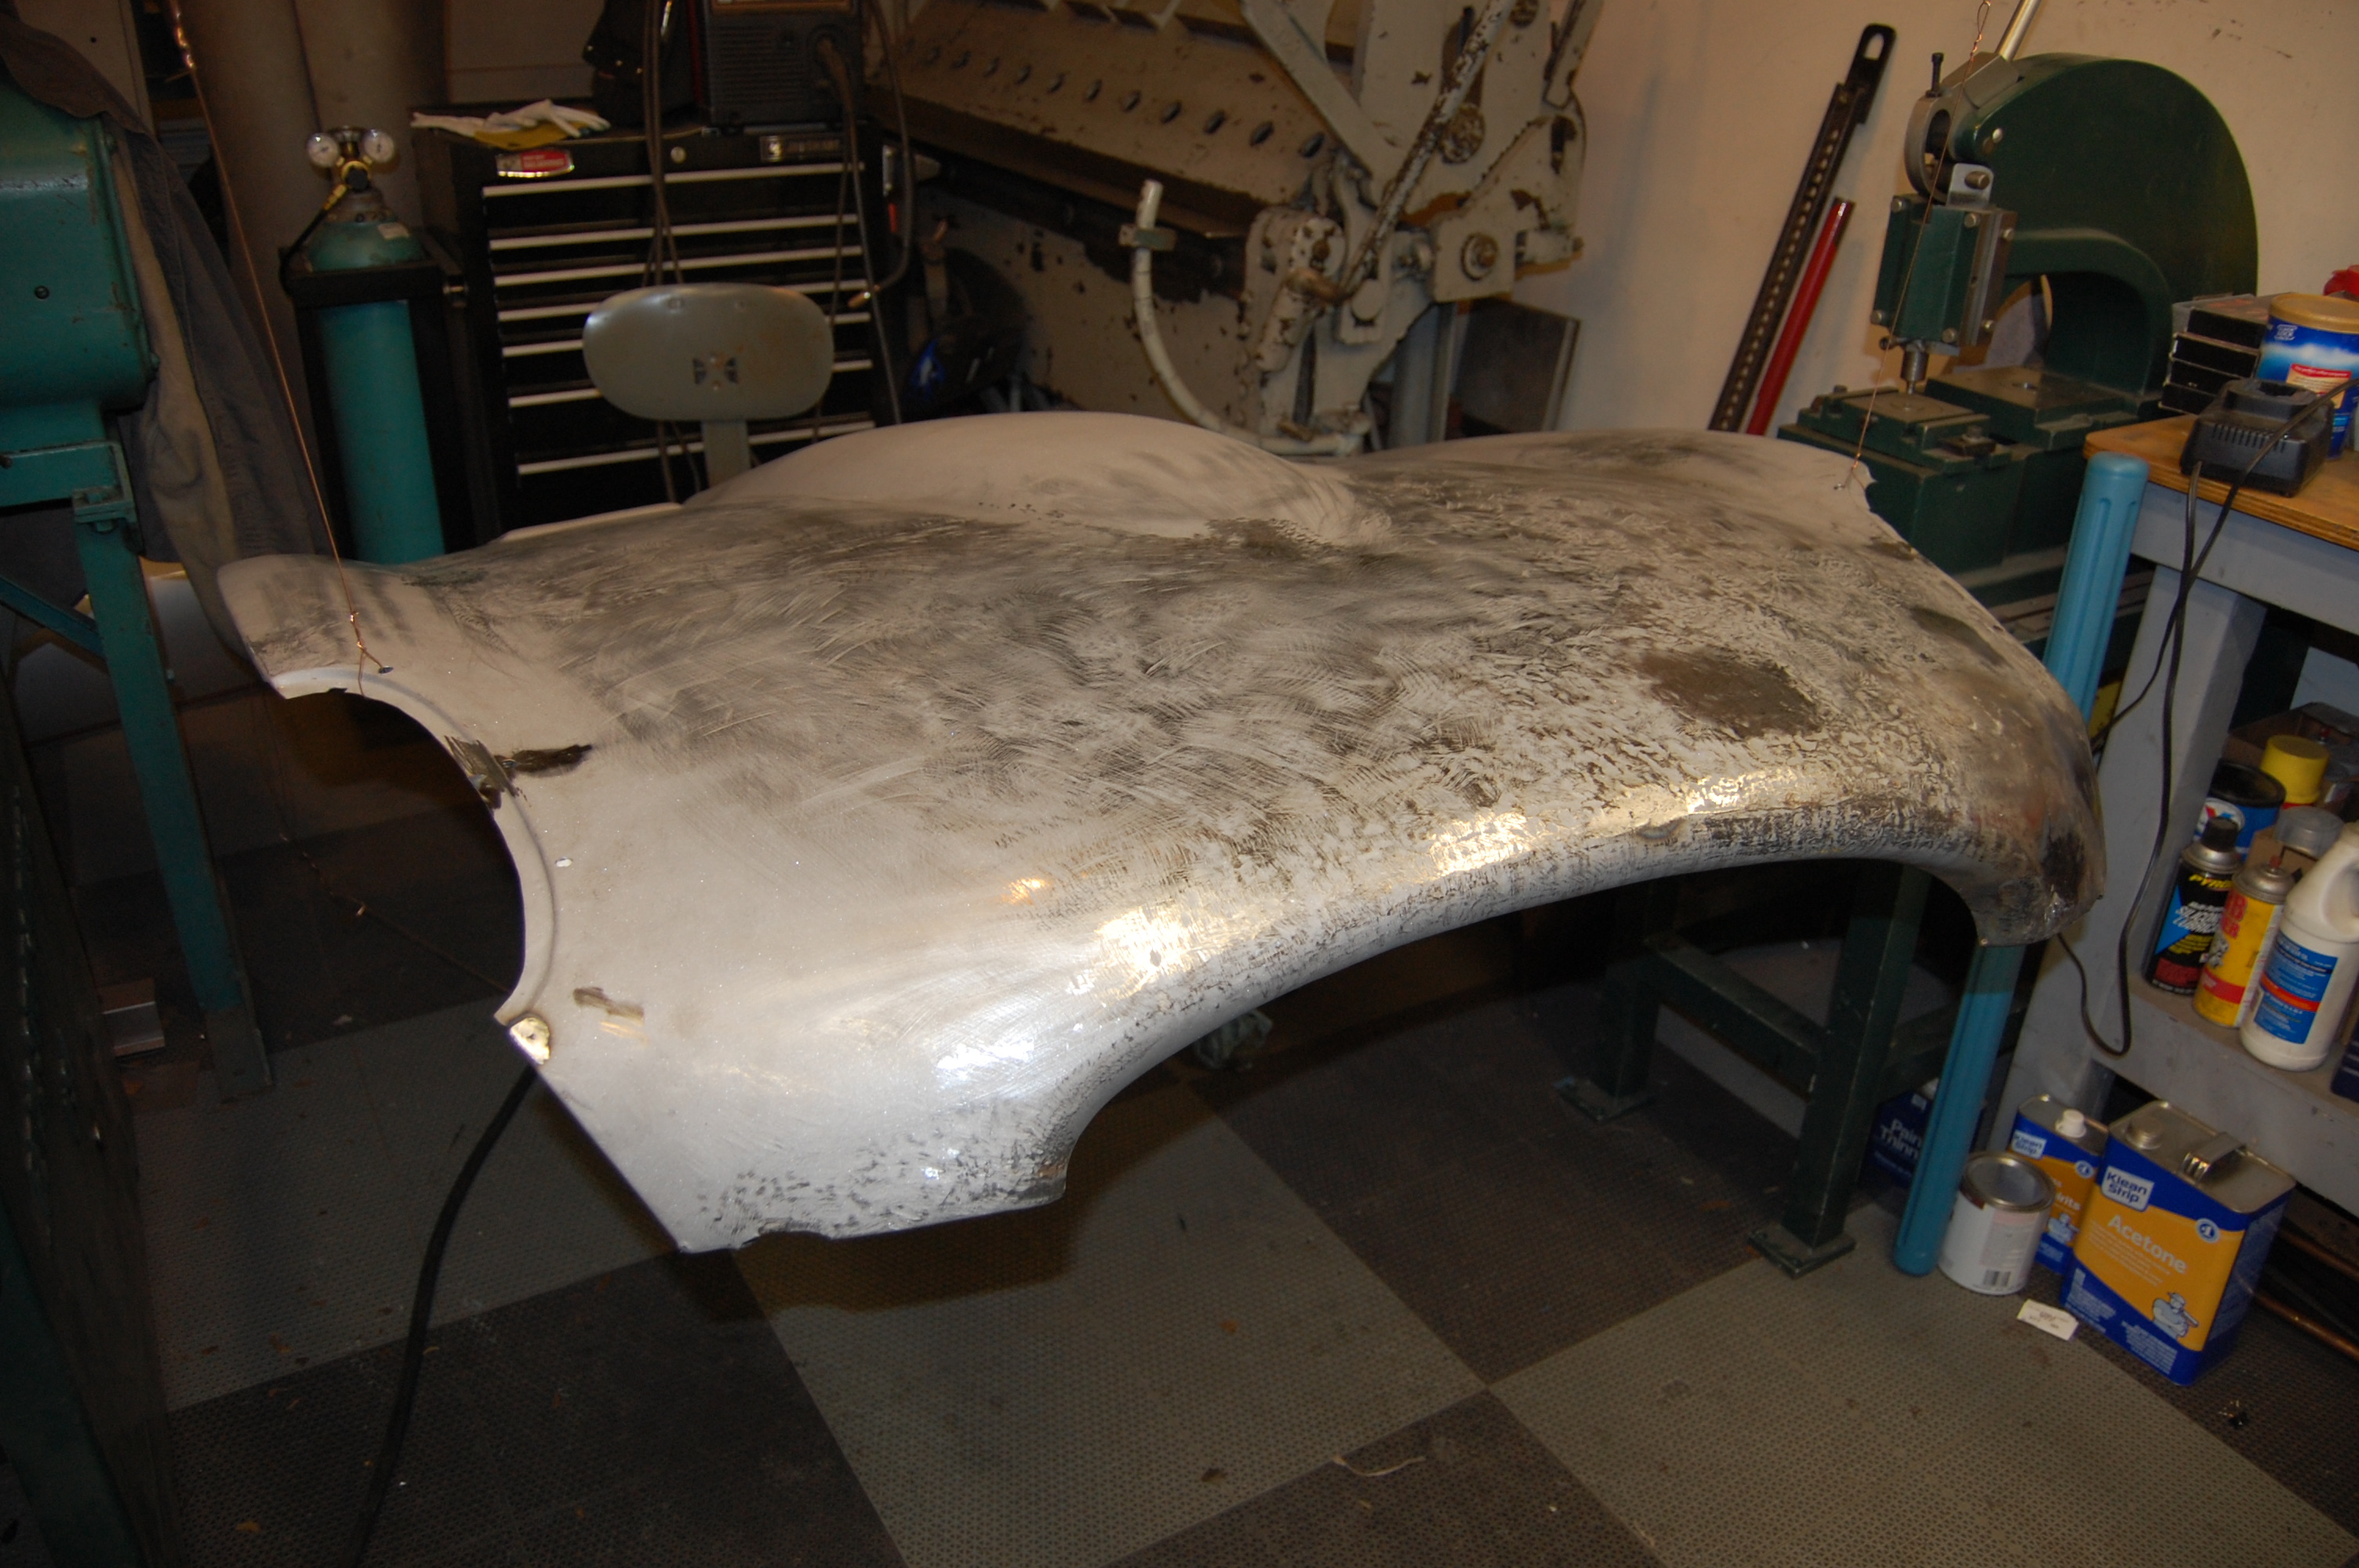
- After alot of stripping, and alot of blasting, we finally made it to this point, and the news is not good – now we see what all the filler was fot. It was 1/8″ thick EVERYWHERE, and 1/4″ thick in the whole front section… The nose is also way out of whack…

-
- LOTS of poor hammer work – doesn’t even look like a dolly was involved…
-
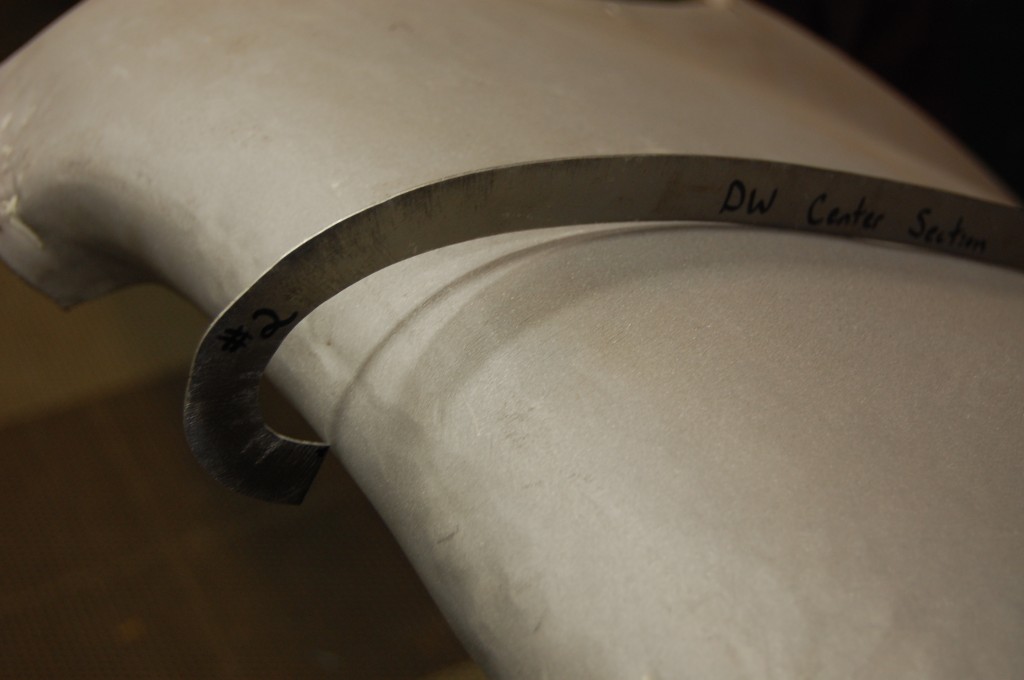
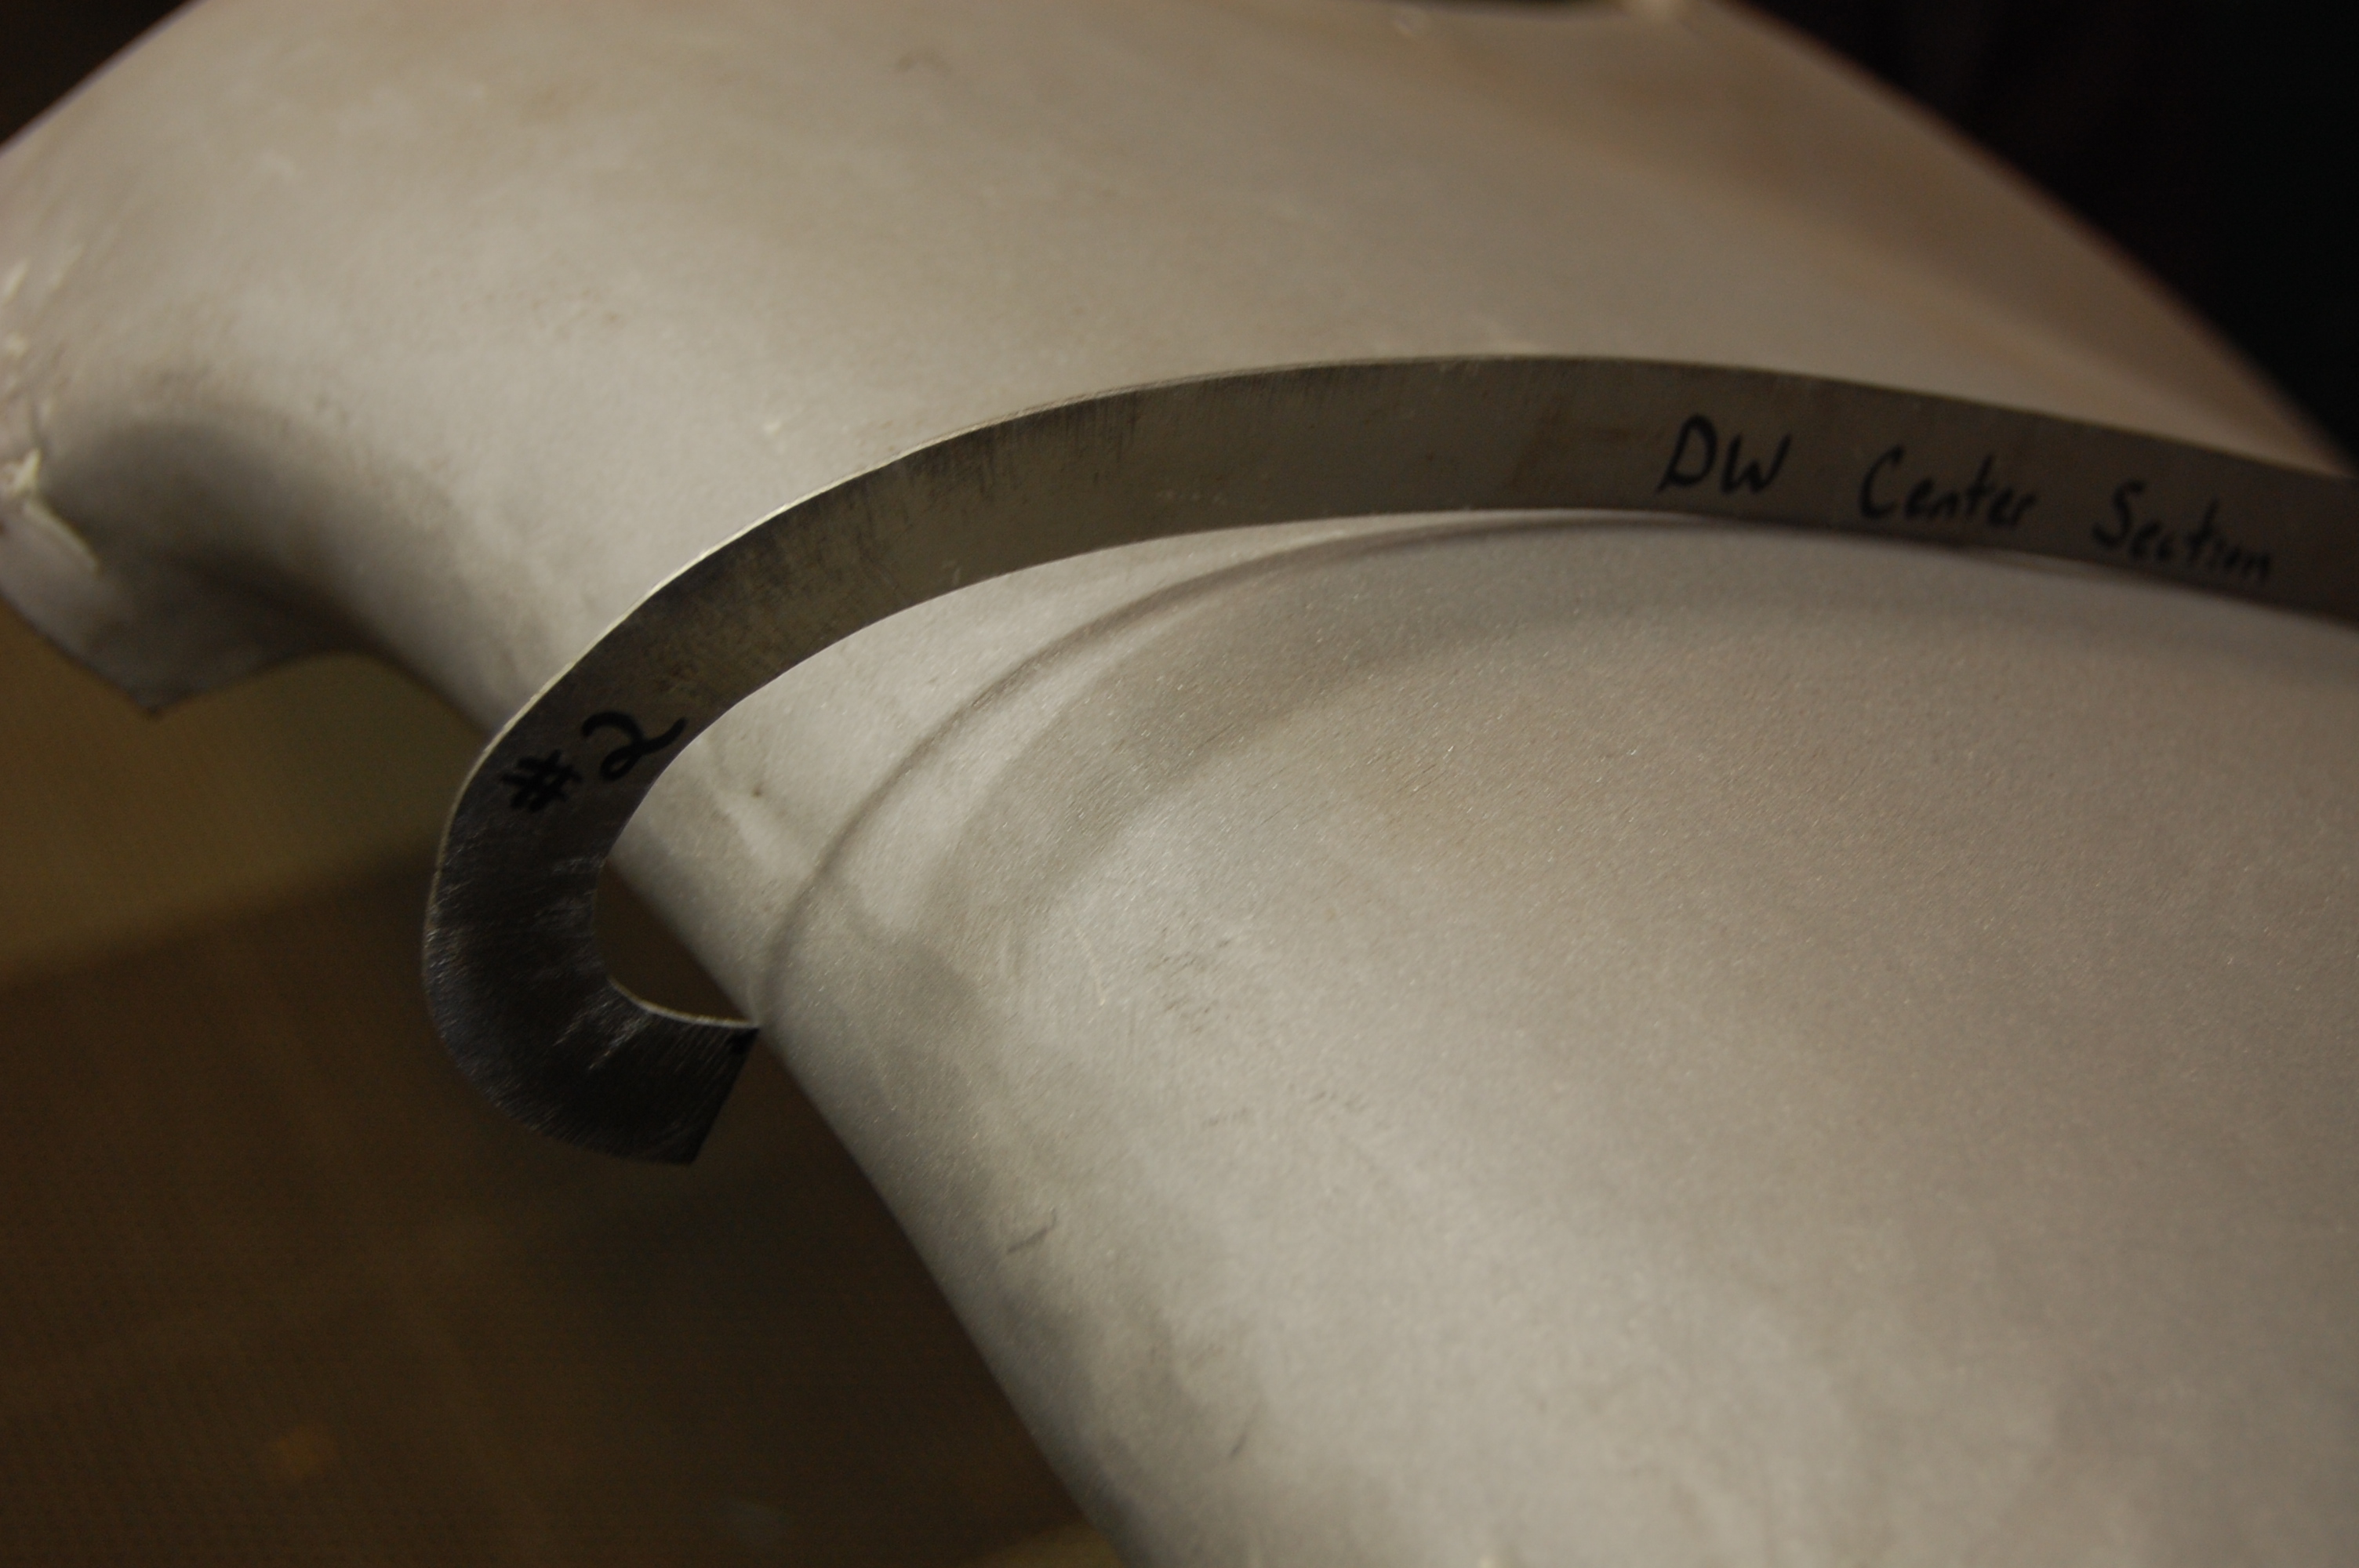
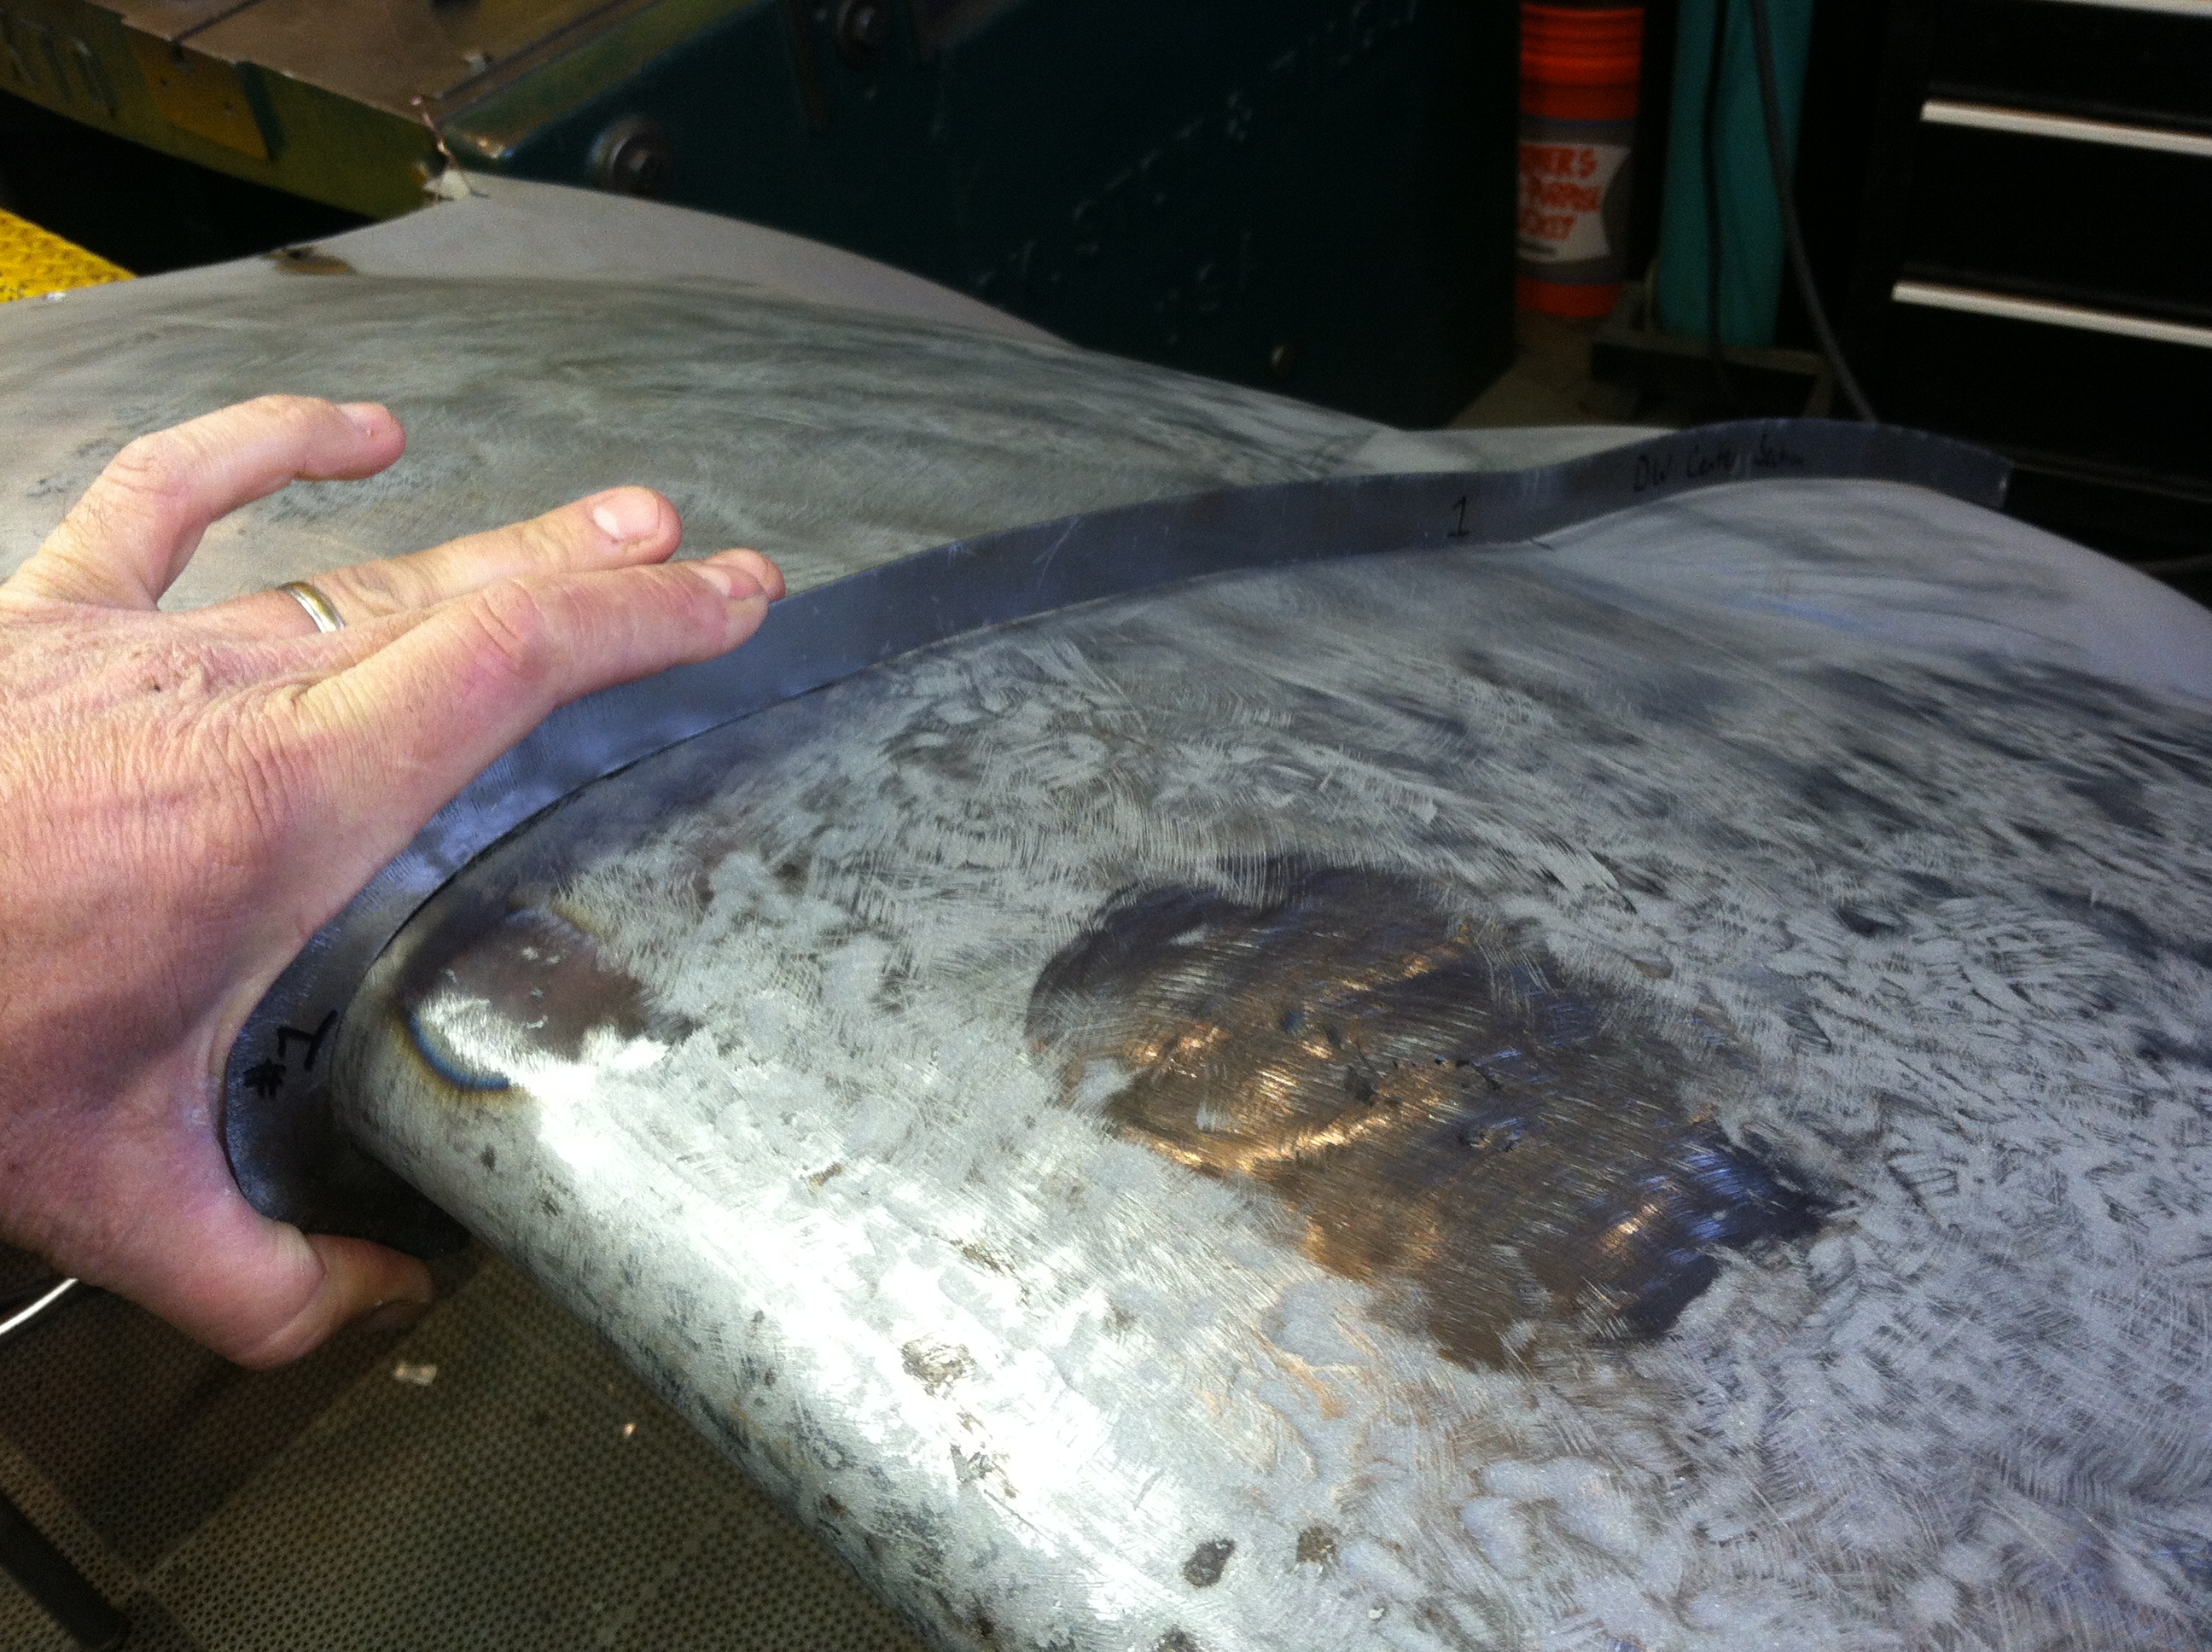
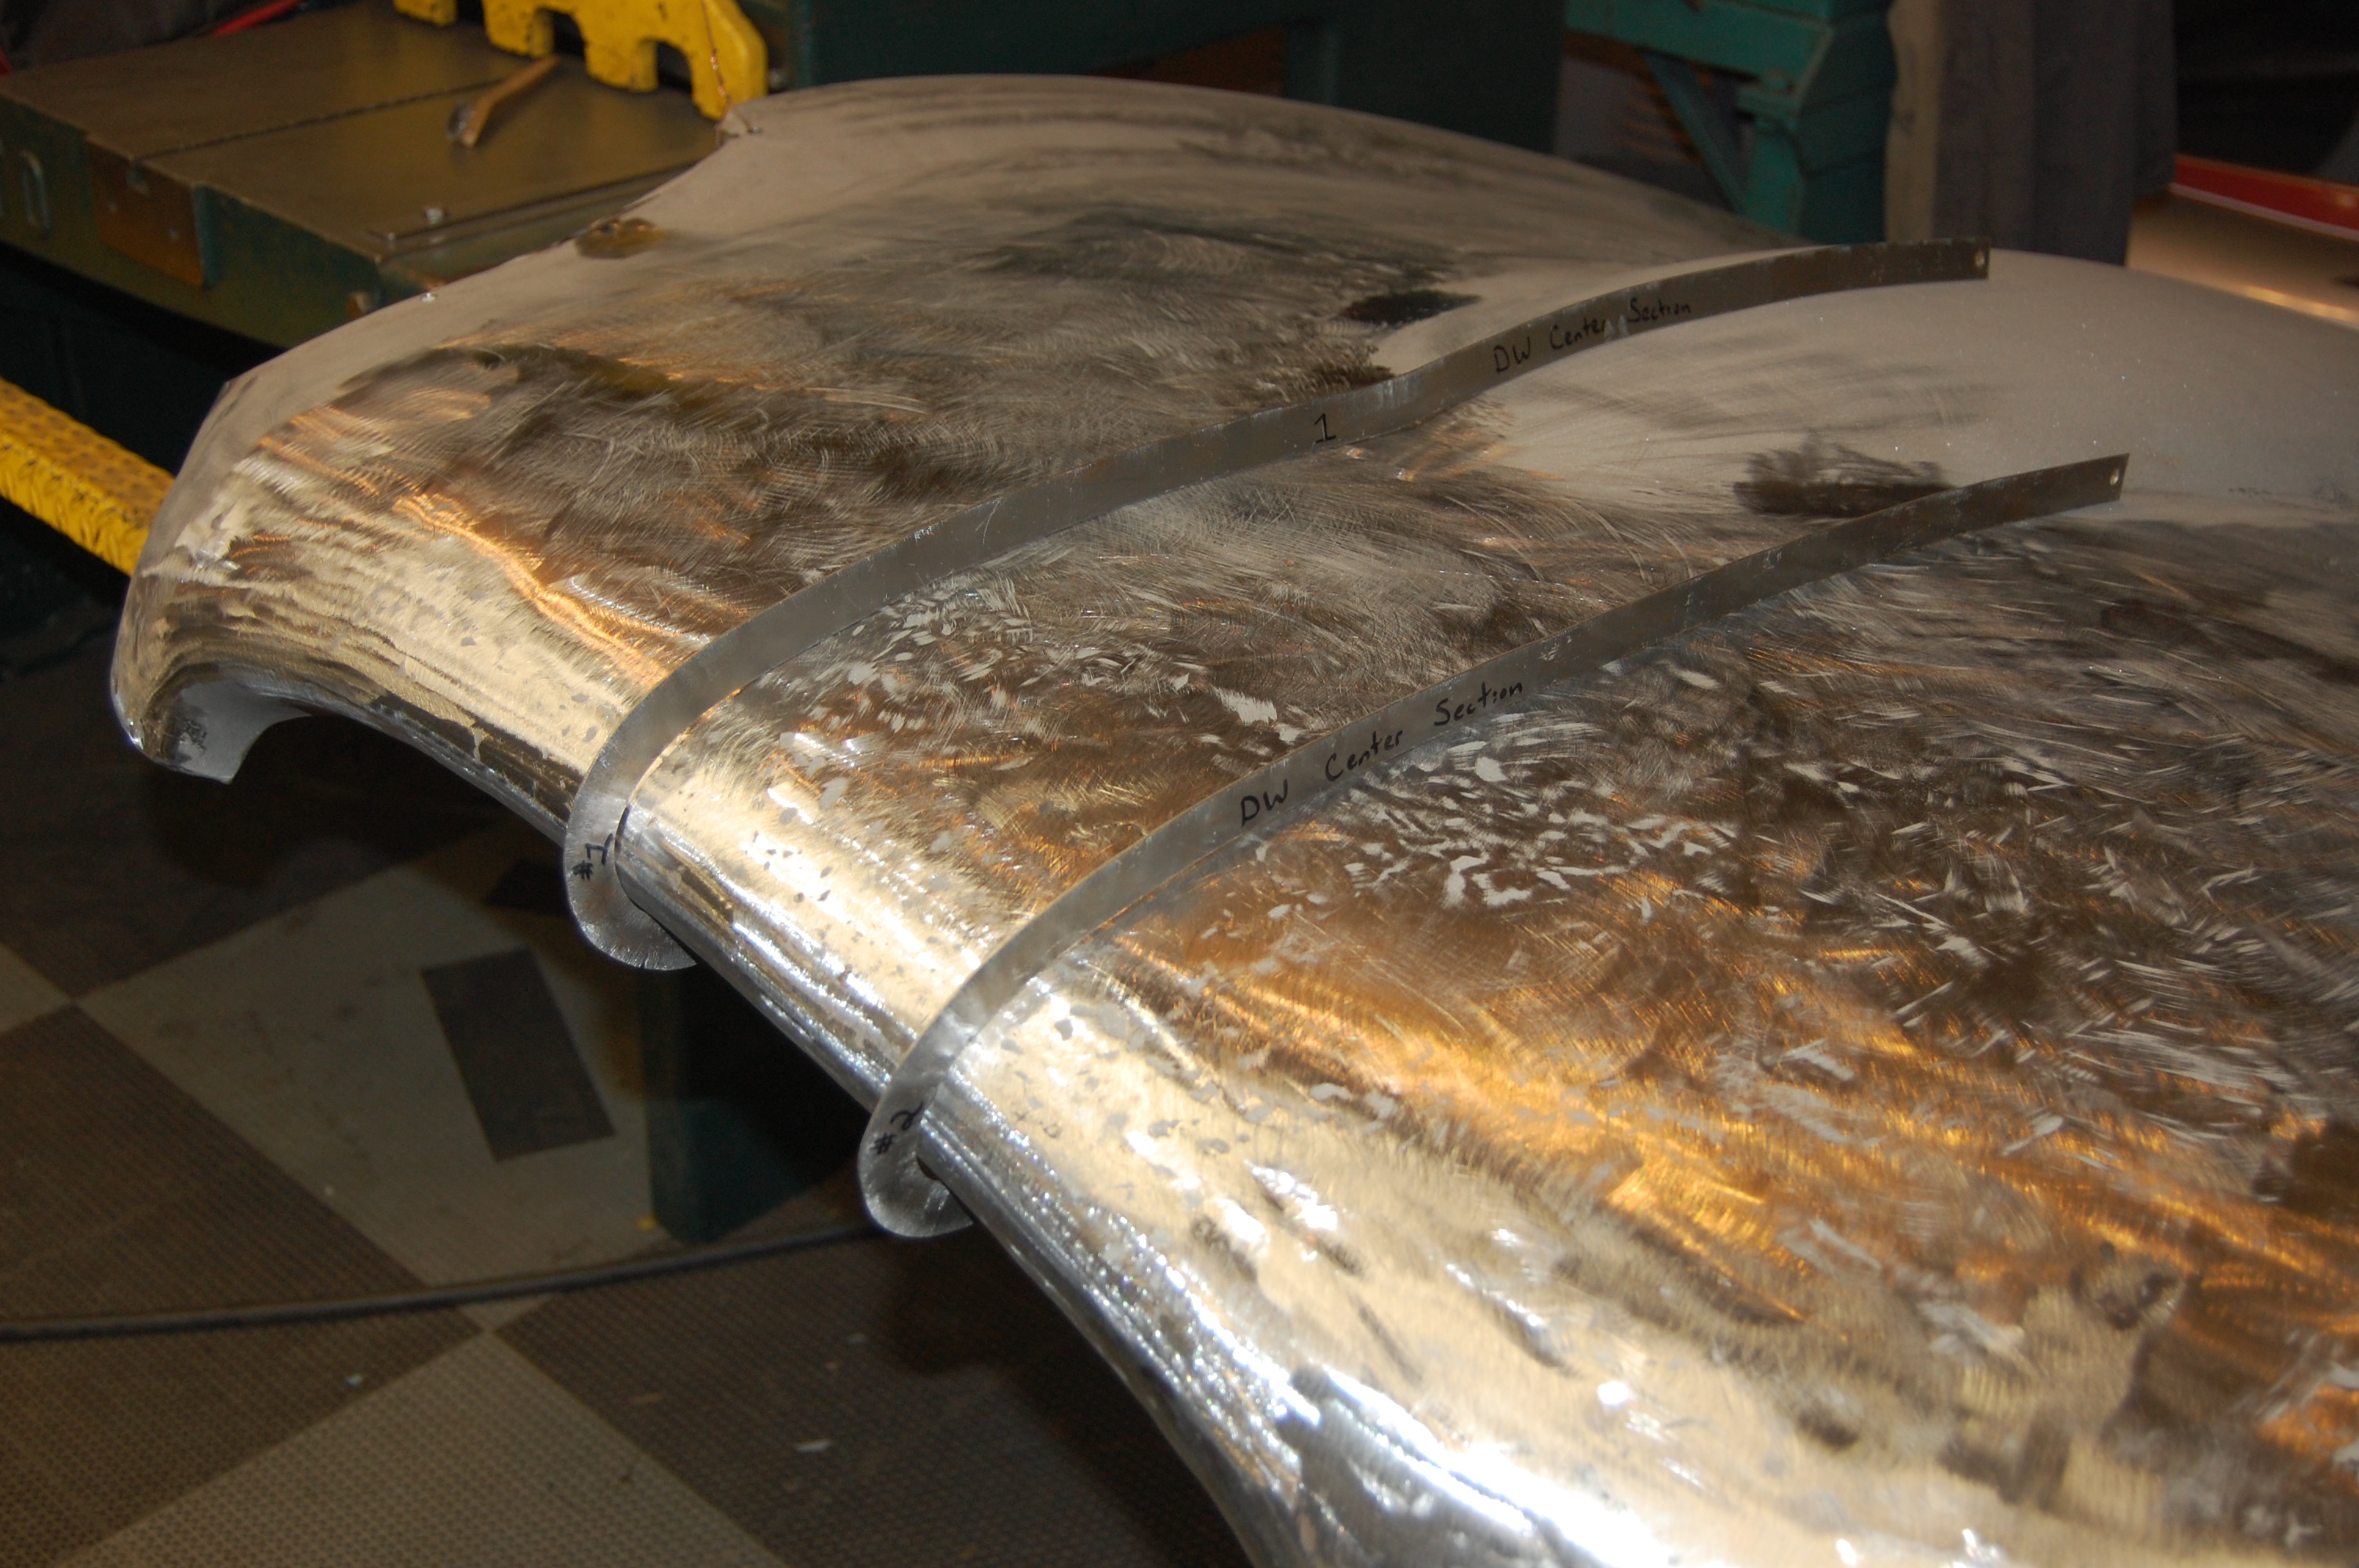
- We had to pull out the contour gauges on this one – we formed these up from a PERFECT, TOTALLY VIRGIN Series 1 bonnet late this Summer. It took days to do, but it is paying off – as it tells the story on bonnet shape very quick! At this point on the RH side, things are OK.

-

- Right down the center, we can’t even get the gauge in the right location…
-
- Here’s the reason – the nose is WAY off!

-
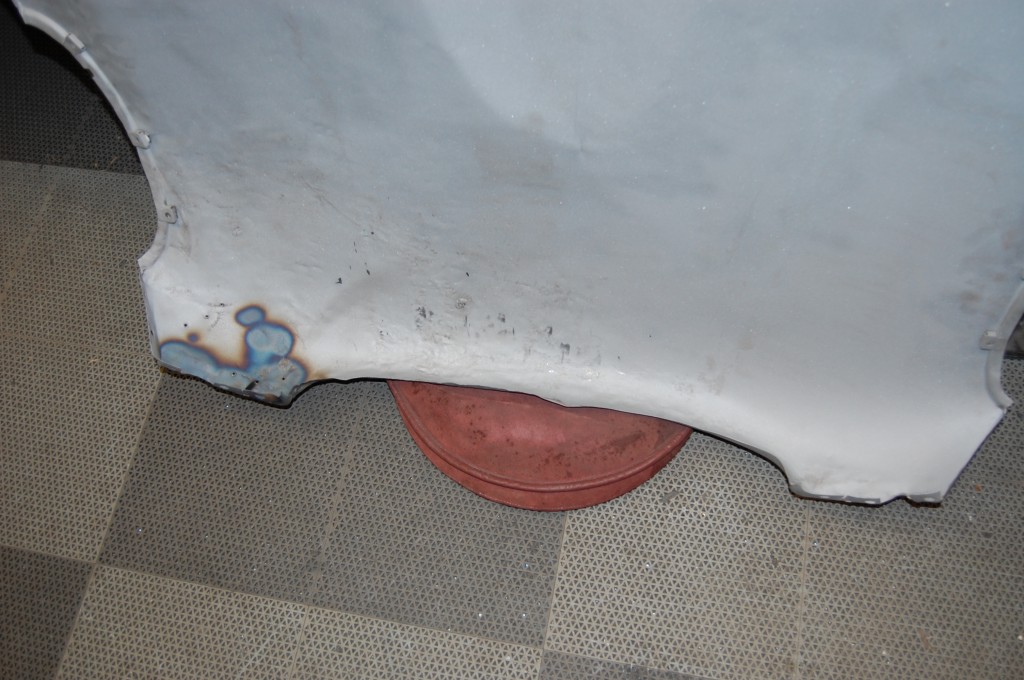
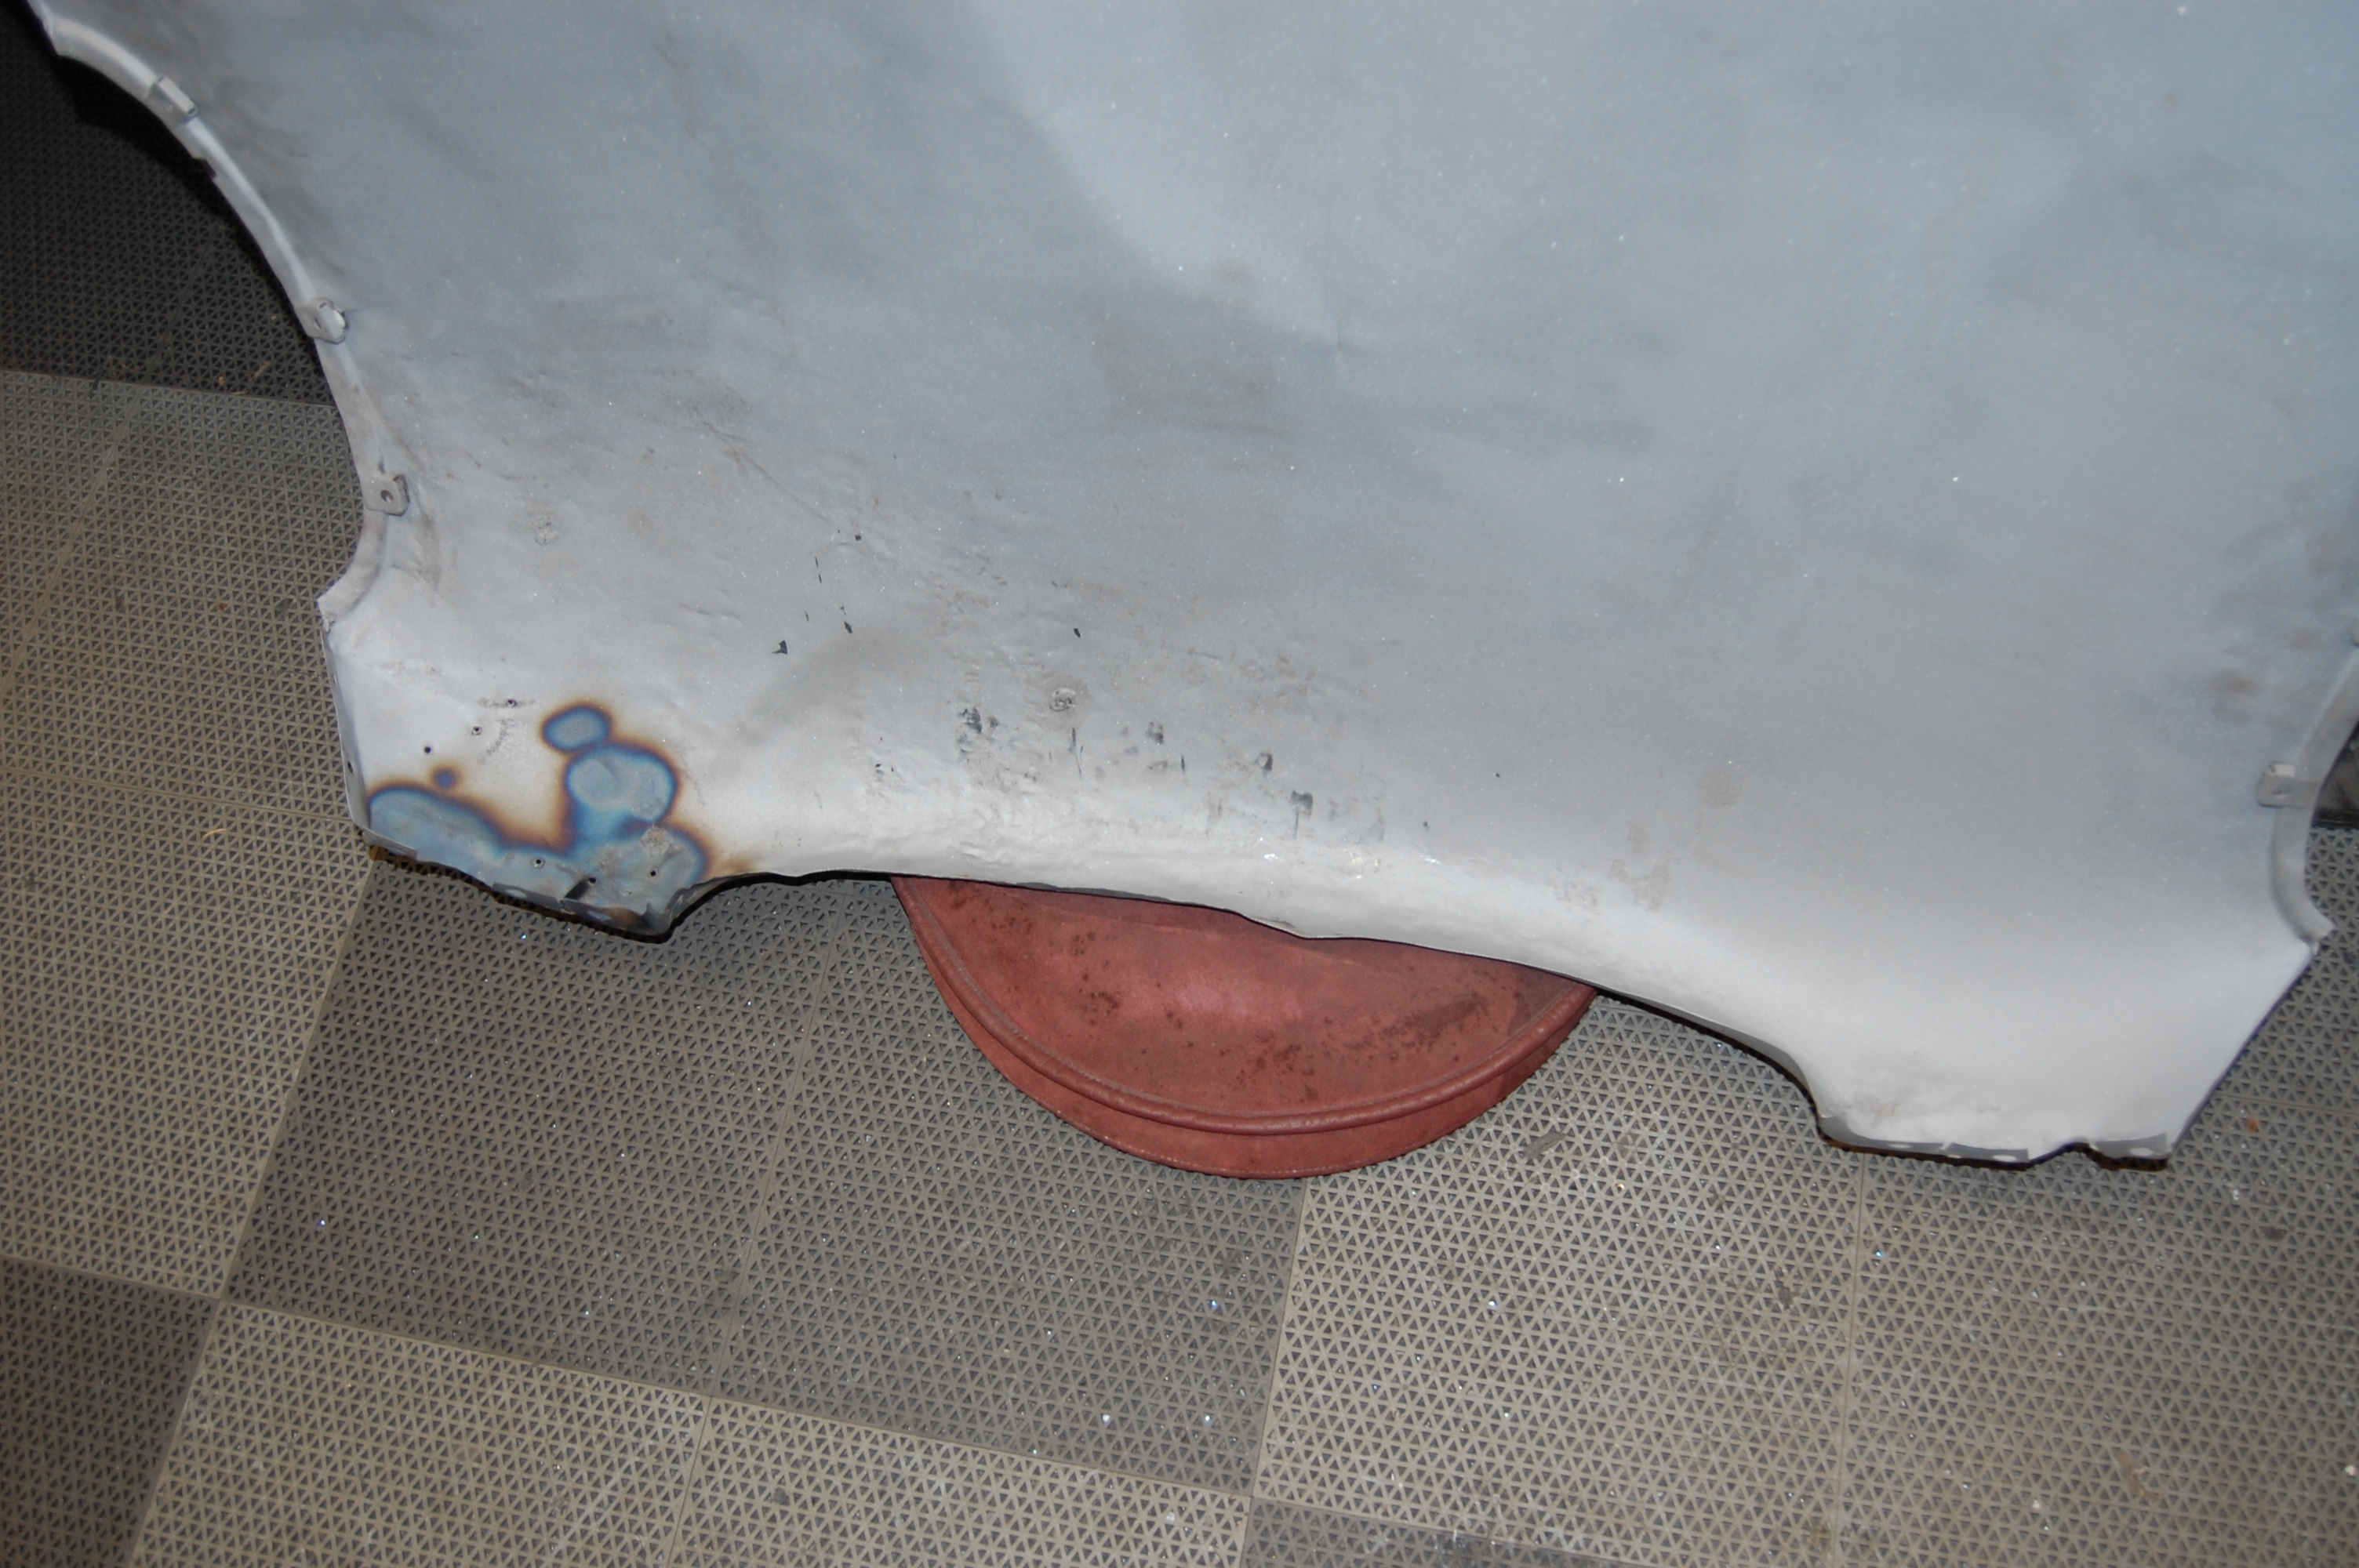
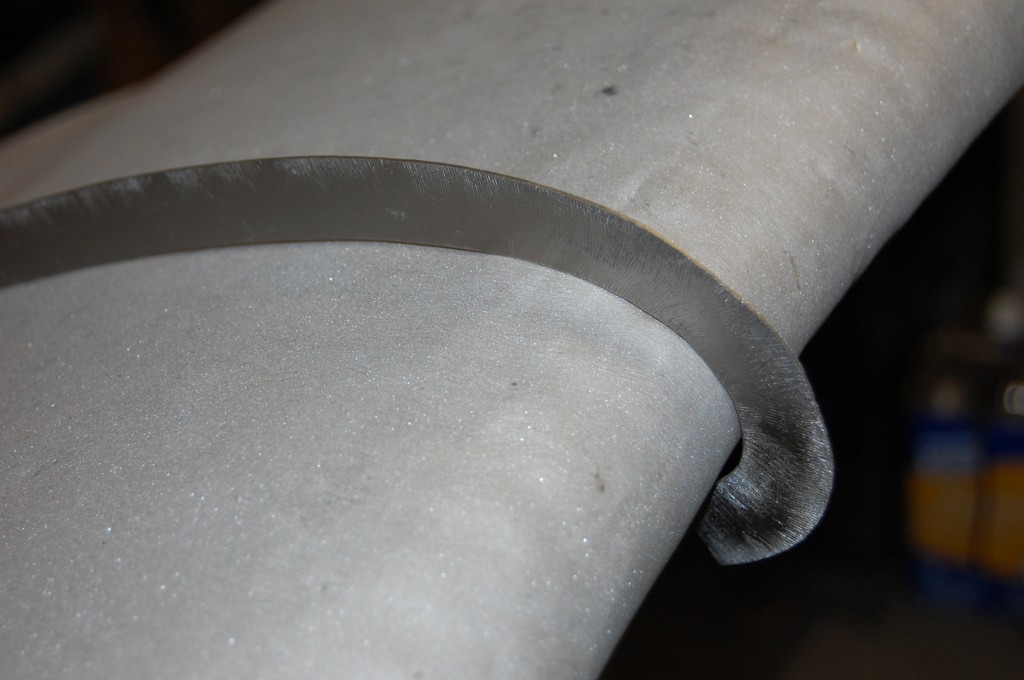
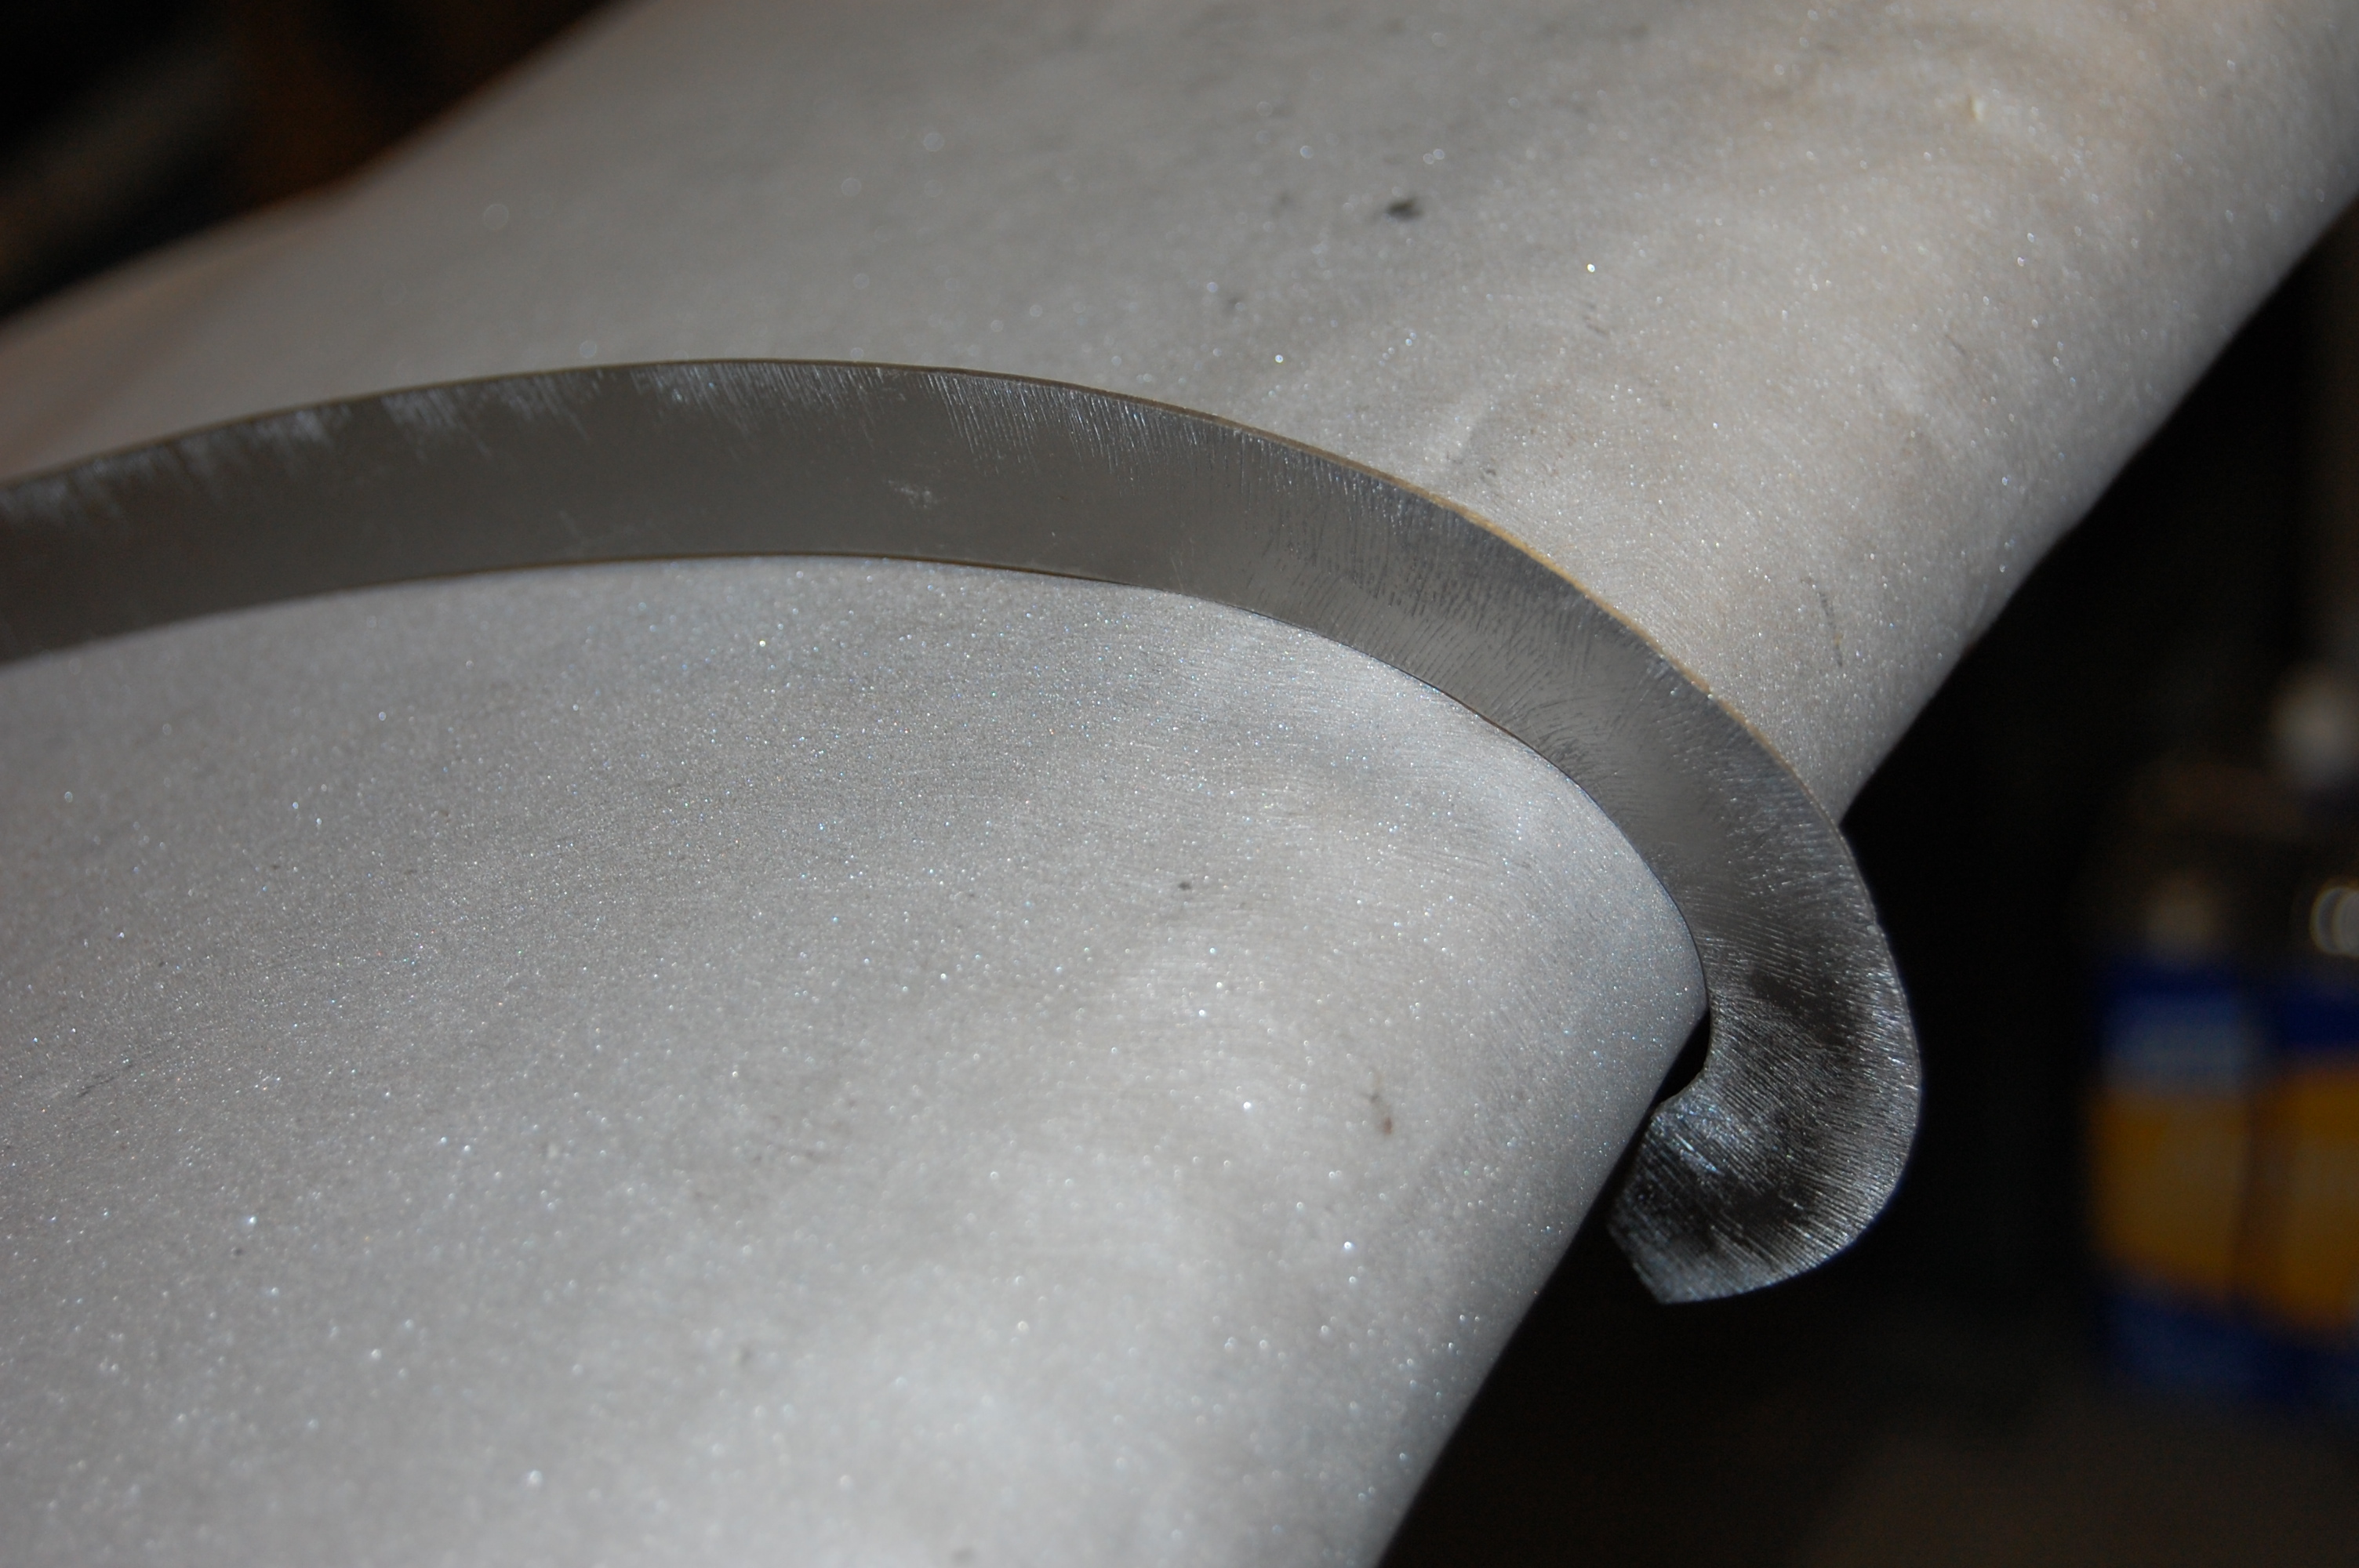
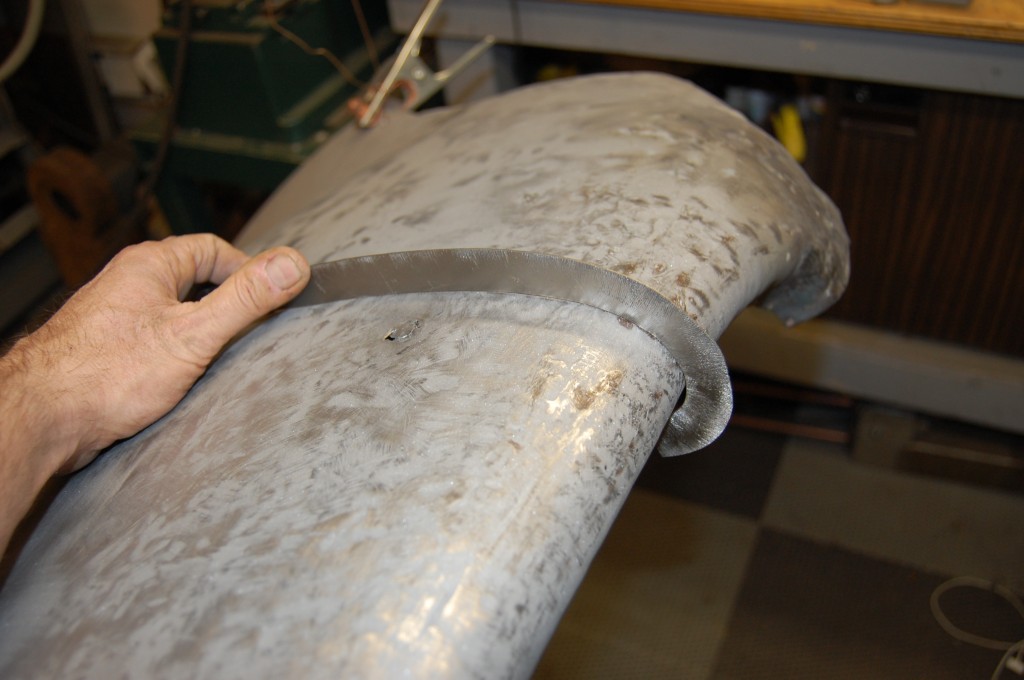
- This gauge is about 6 inches inside of the dge of the mouth – you can see that the lip is significantly folded down and under – VERY common…
-
- The oly way to get started on this was to take drastic measures – we turned it over on a shot bag and I just started whaling away on it with a teardrop hammer.
-
- We’re starting to get into the ballpark, but the surface is a mess now…
-
- Things are generally in the right area now, and we’ve started to smooth the panel by hand with a slapper and dolly – very painstaking and time-consuming work…
-
- The surface is a disaster – all masked by 1/4″ of filler…

-
- This was the side that was crashed, so it was even worse…
-
- Continuing to use our contour gauges to guide us.

-
- We’re getting closer – and smoother…

-
- …but there’s still a LONG way to go!
-
- Working our way down into this corner slowly but surely.

-

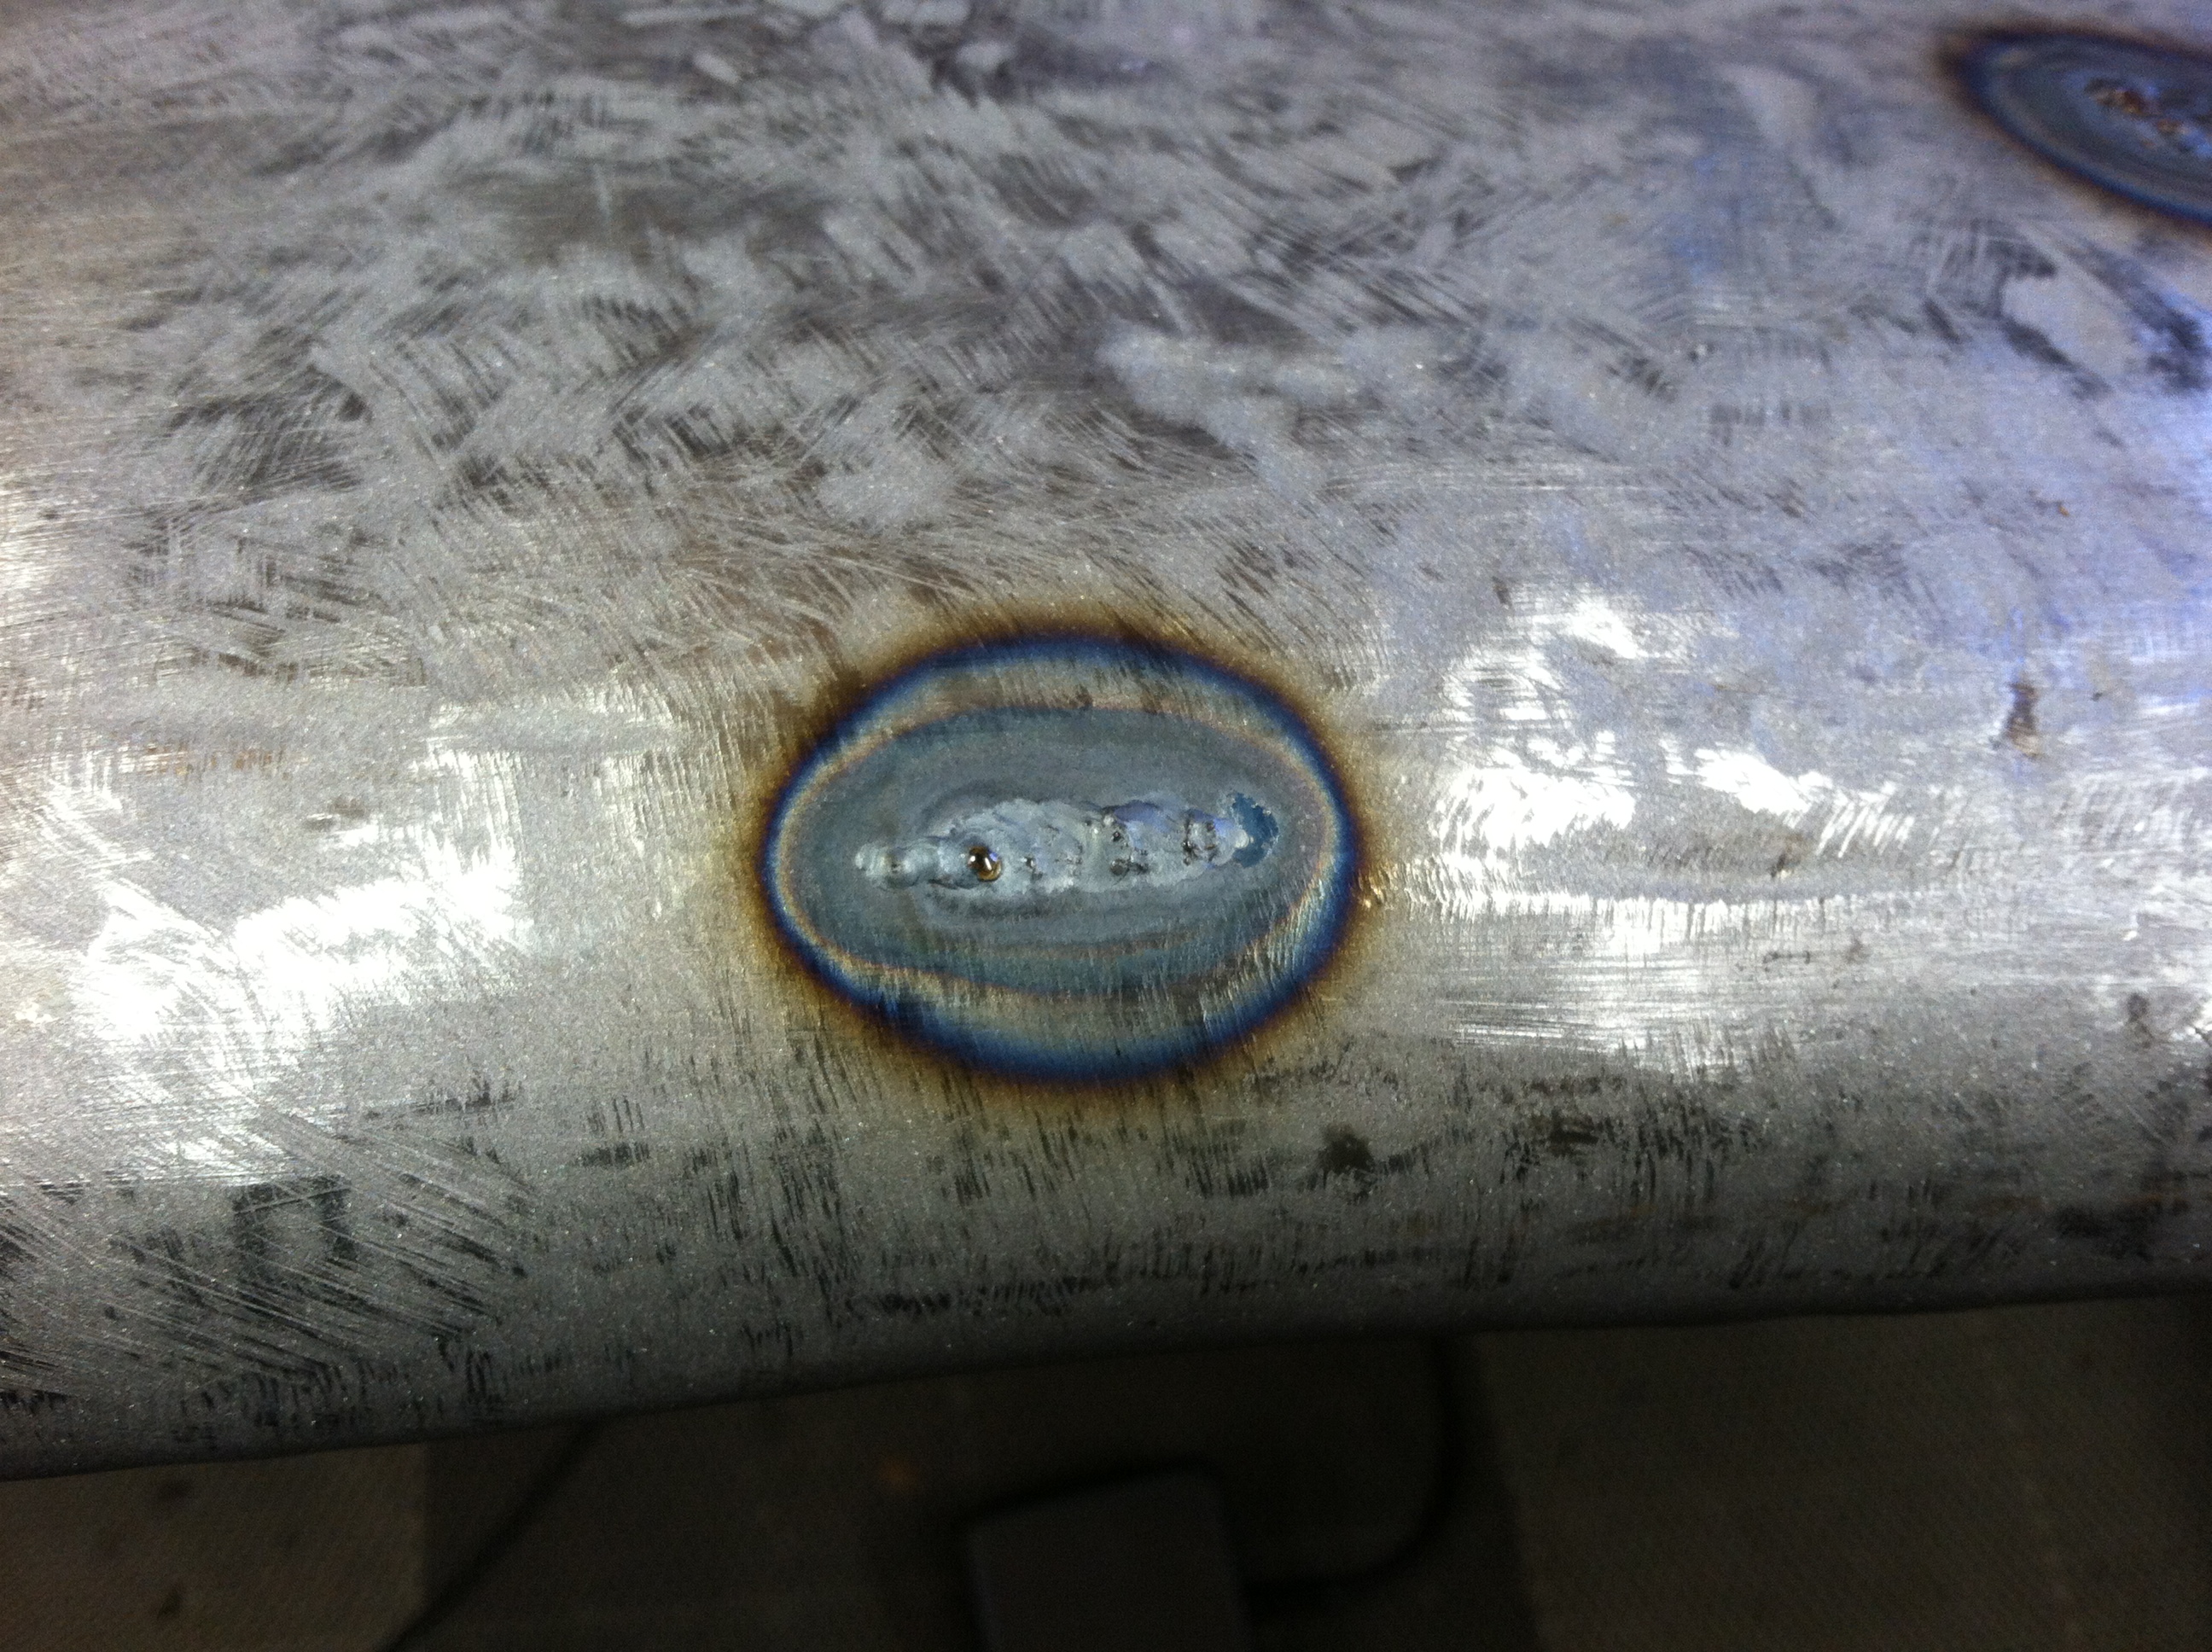
- After another hour of hand work, we’re ready to weld up these dent-puller holes.
-

- This was a stress crack right in the nose…
-
- The kink in the tip of the power bulge also had a stress crack – I’ve actually never seen that before!
-

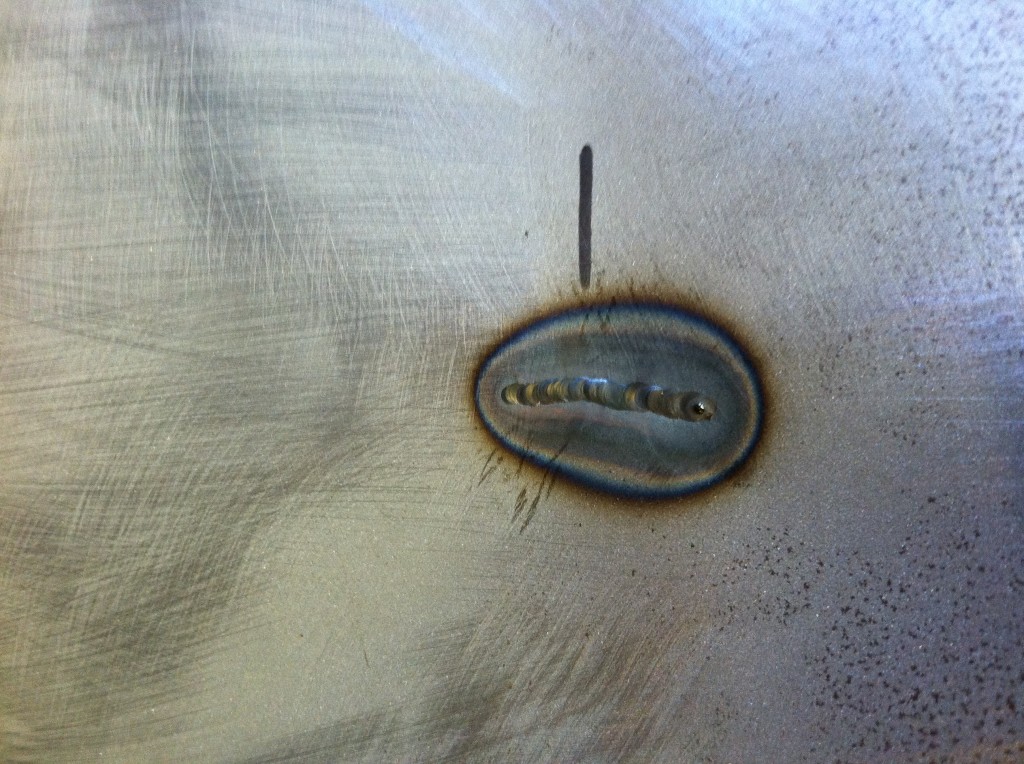
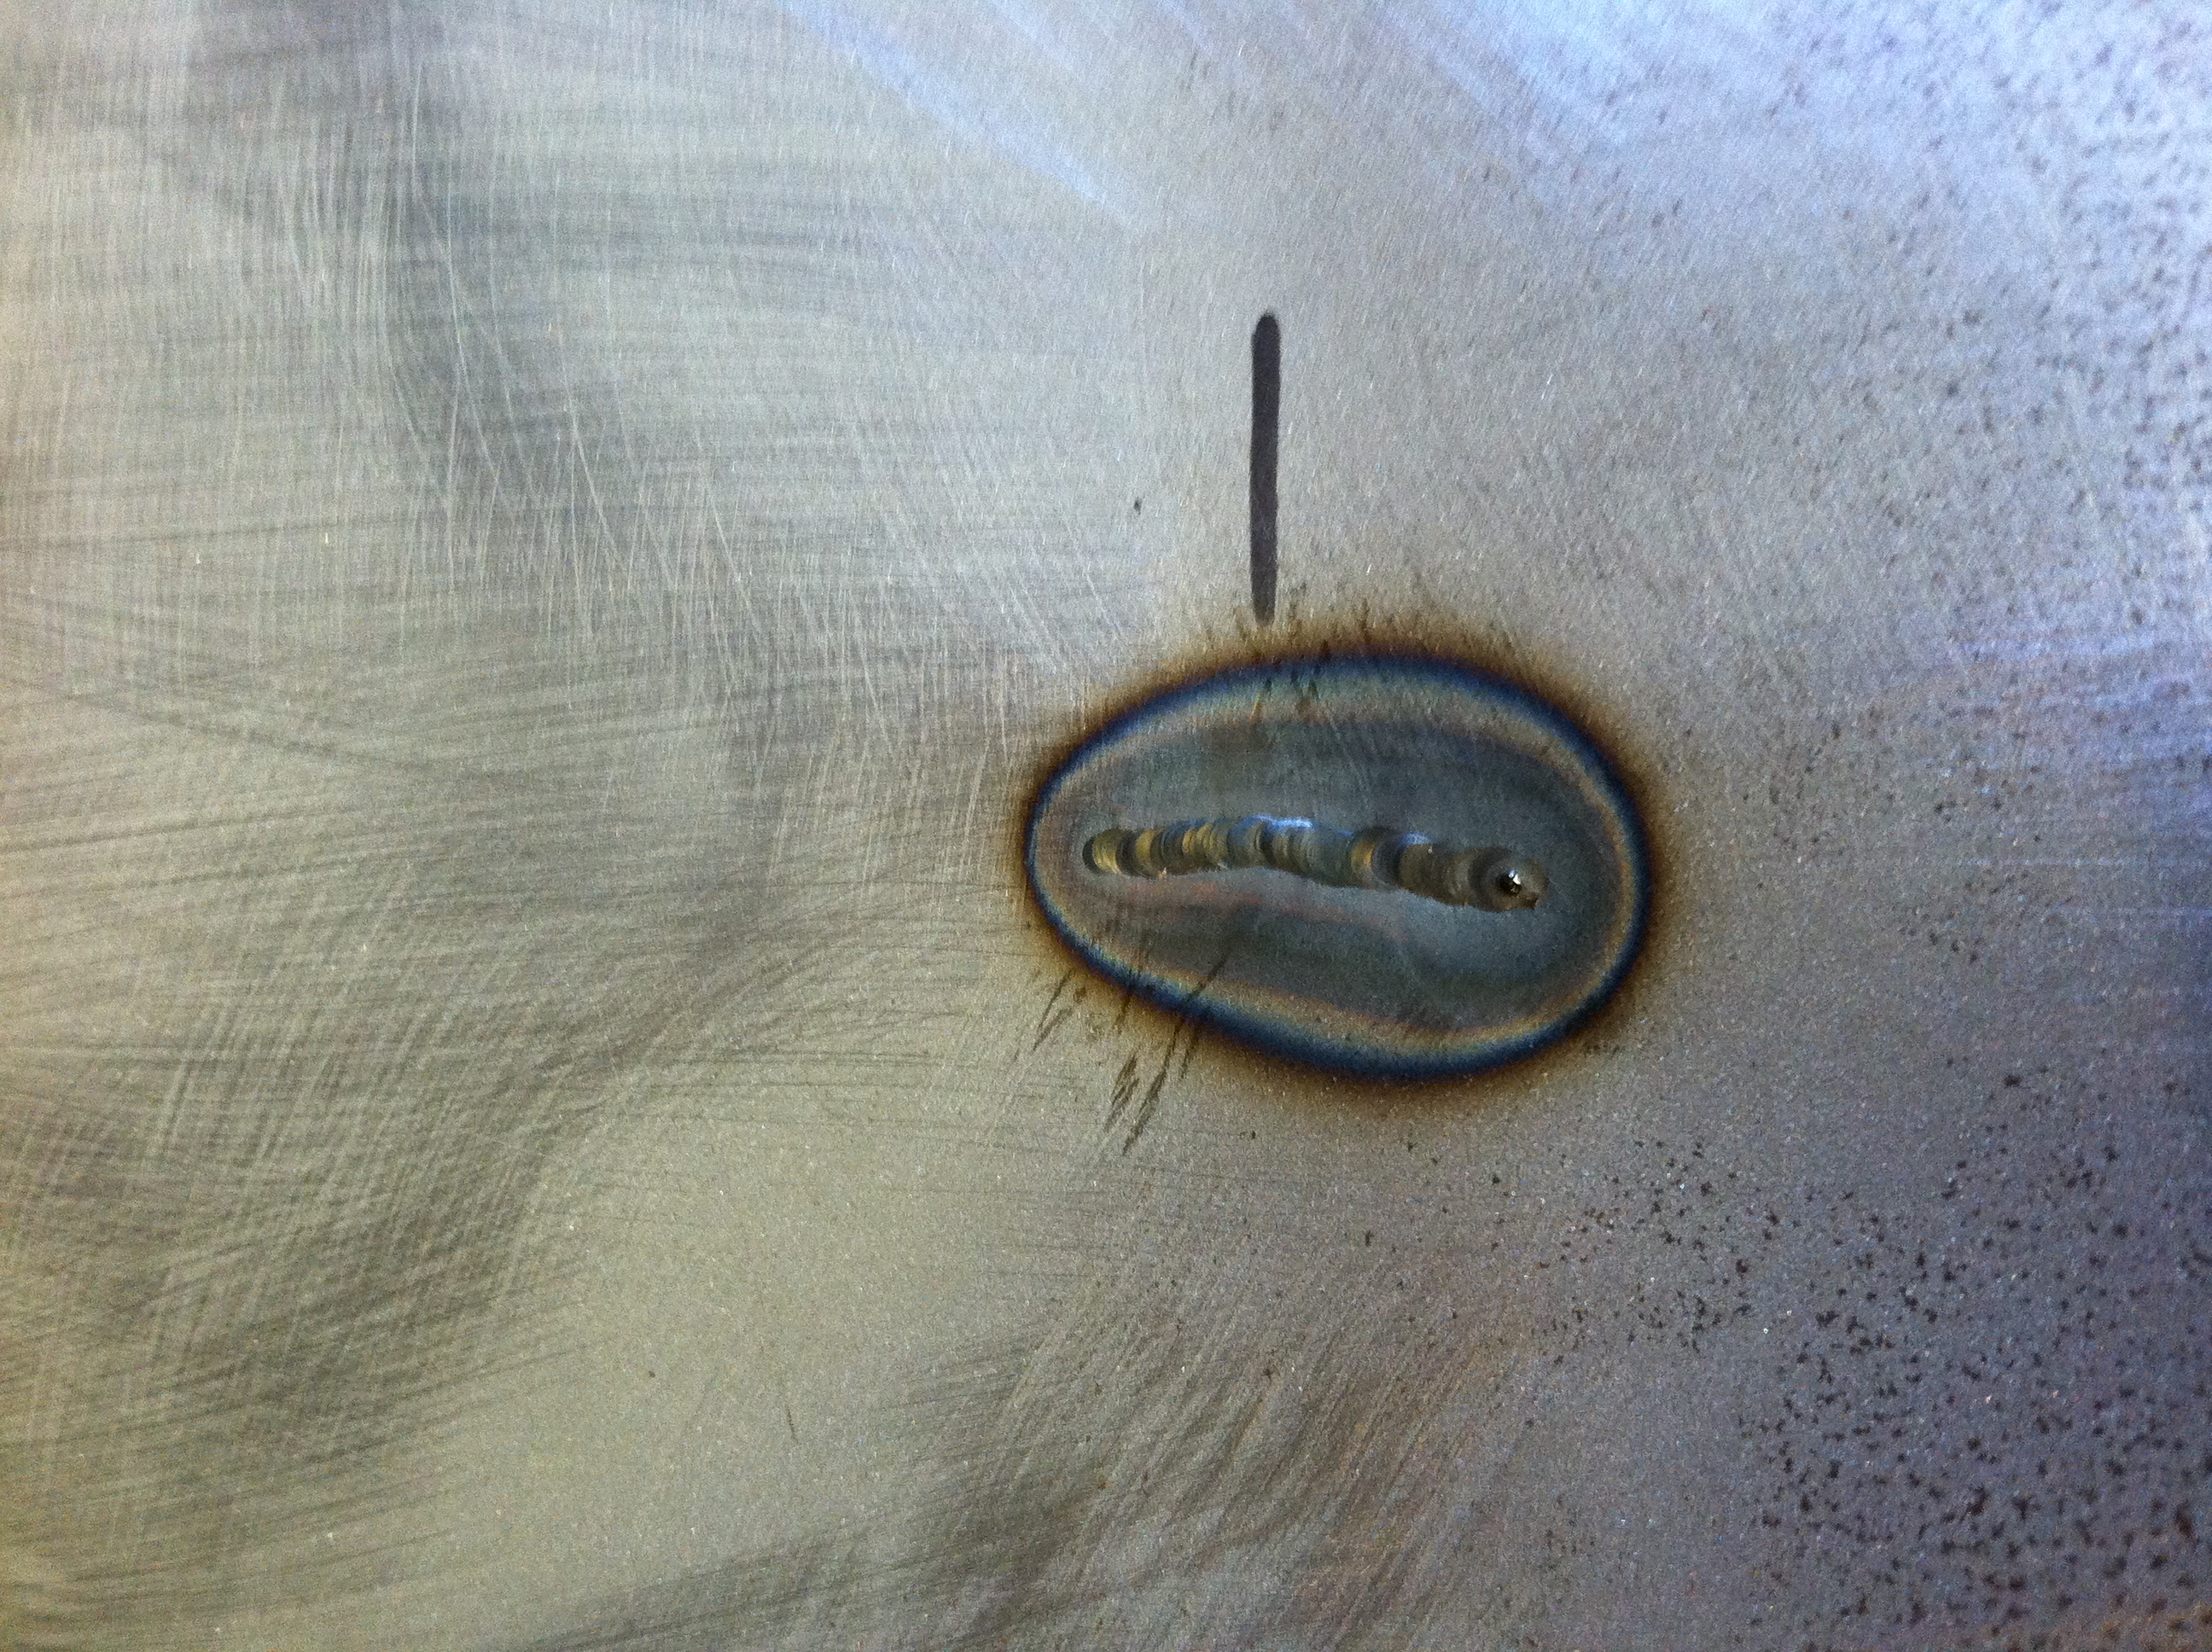
- Dent puller holes are welded up – they were fussy because this area had been leaded and there was some residual lead left – that is what the yellow residue is from.

-

- Our welds are dressed down and we’re still using the contour gauges constantly to guide us.
-

- There were small cracks and tears EVERYWHERE!

-
- The carnage from poor hammer work in the past just went on and on…

-

- The same area after the initial work to smooth it by hand.
-

- Back further – more of the same…
-
- This is VERY time consuming!
-
- Damage from an aggressive DA sander – which should NEVER be used on a bonnet anyway!
-
- Another area that needed work – no portion of this panel was spared by the bodgers!

-

- Now it’s flipped over – this one need to be worked from BOTH sides!
-

- Here, we have block sanded the valley to map out the damage.
-
- At this point, we’ve used a curved dolly and a slapper to smooth things out.

-

- Same story on the other side.
-

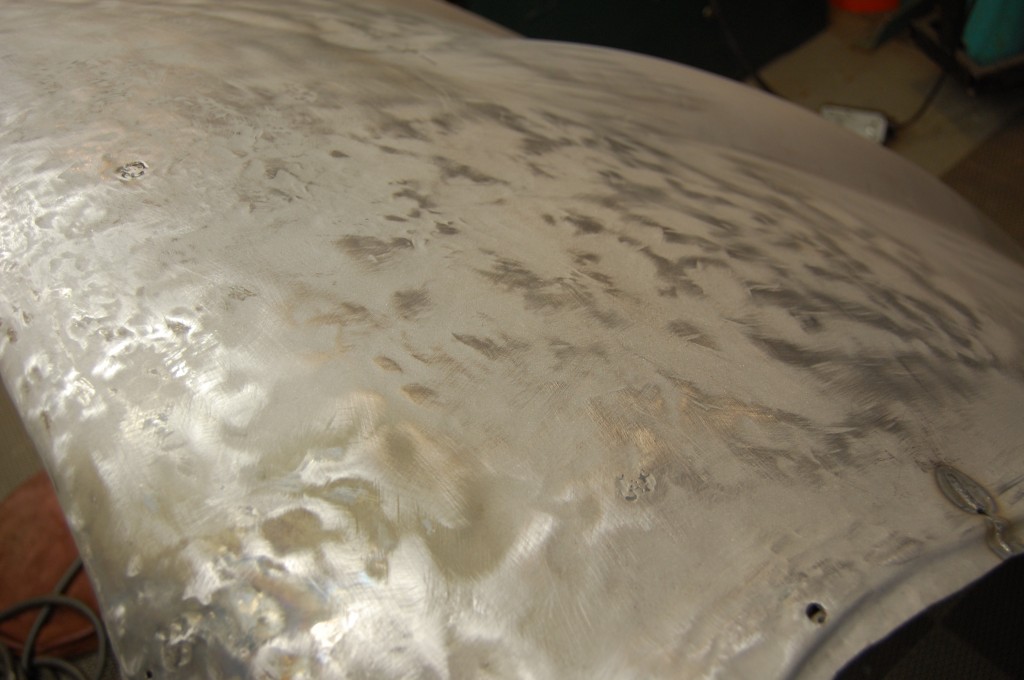
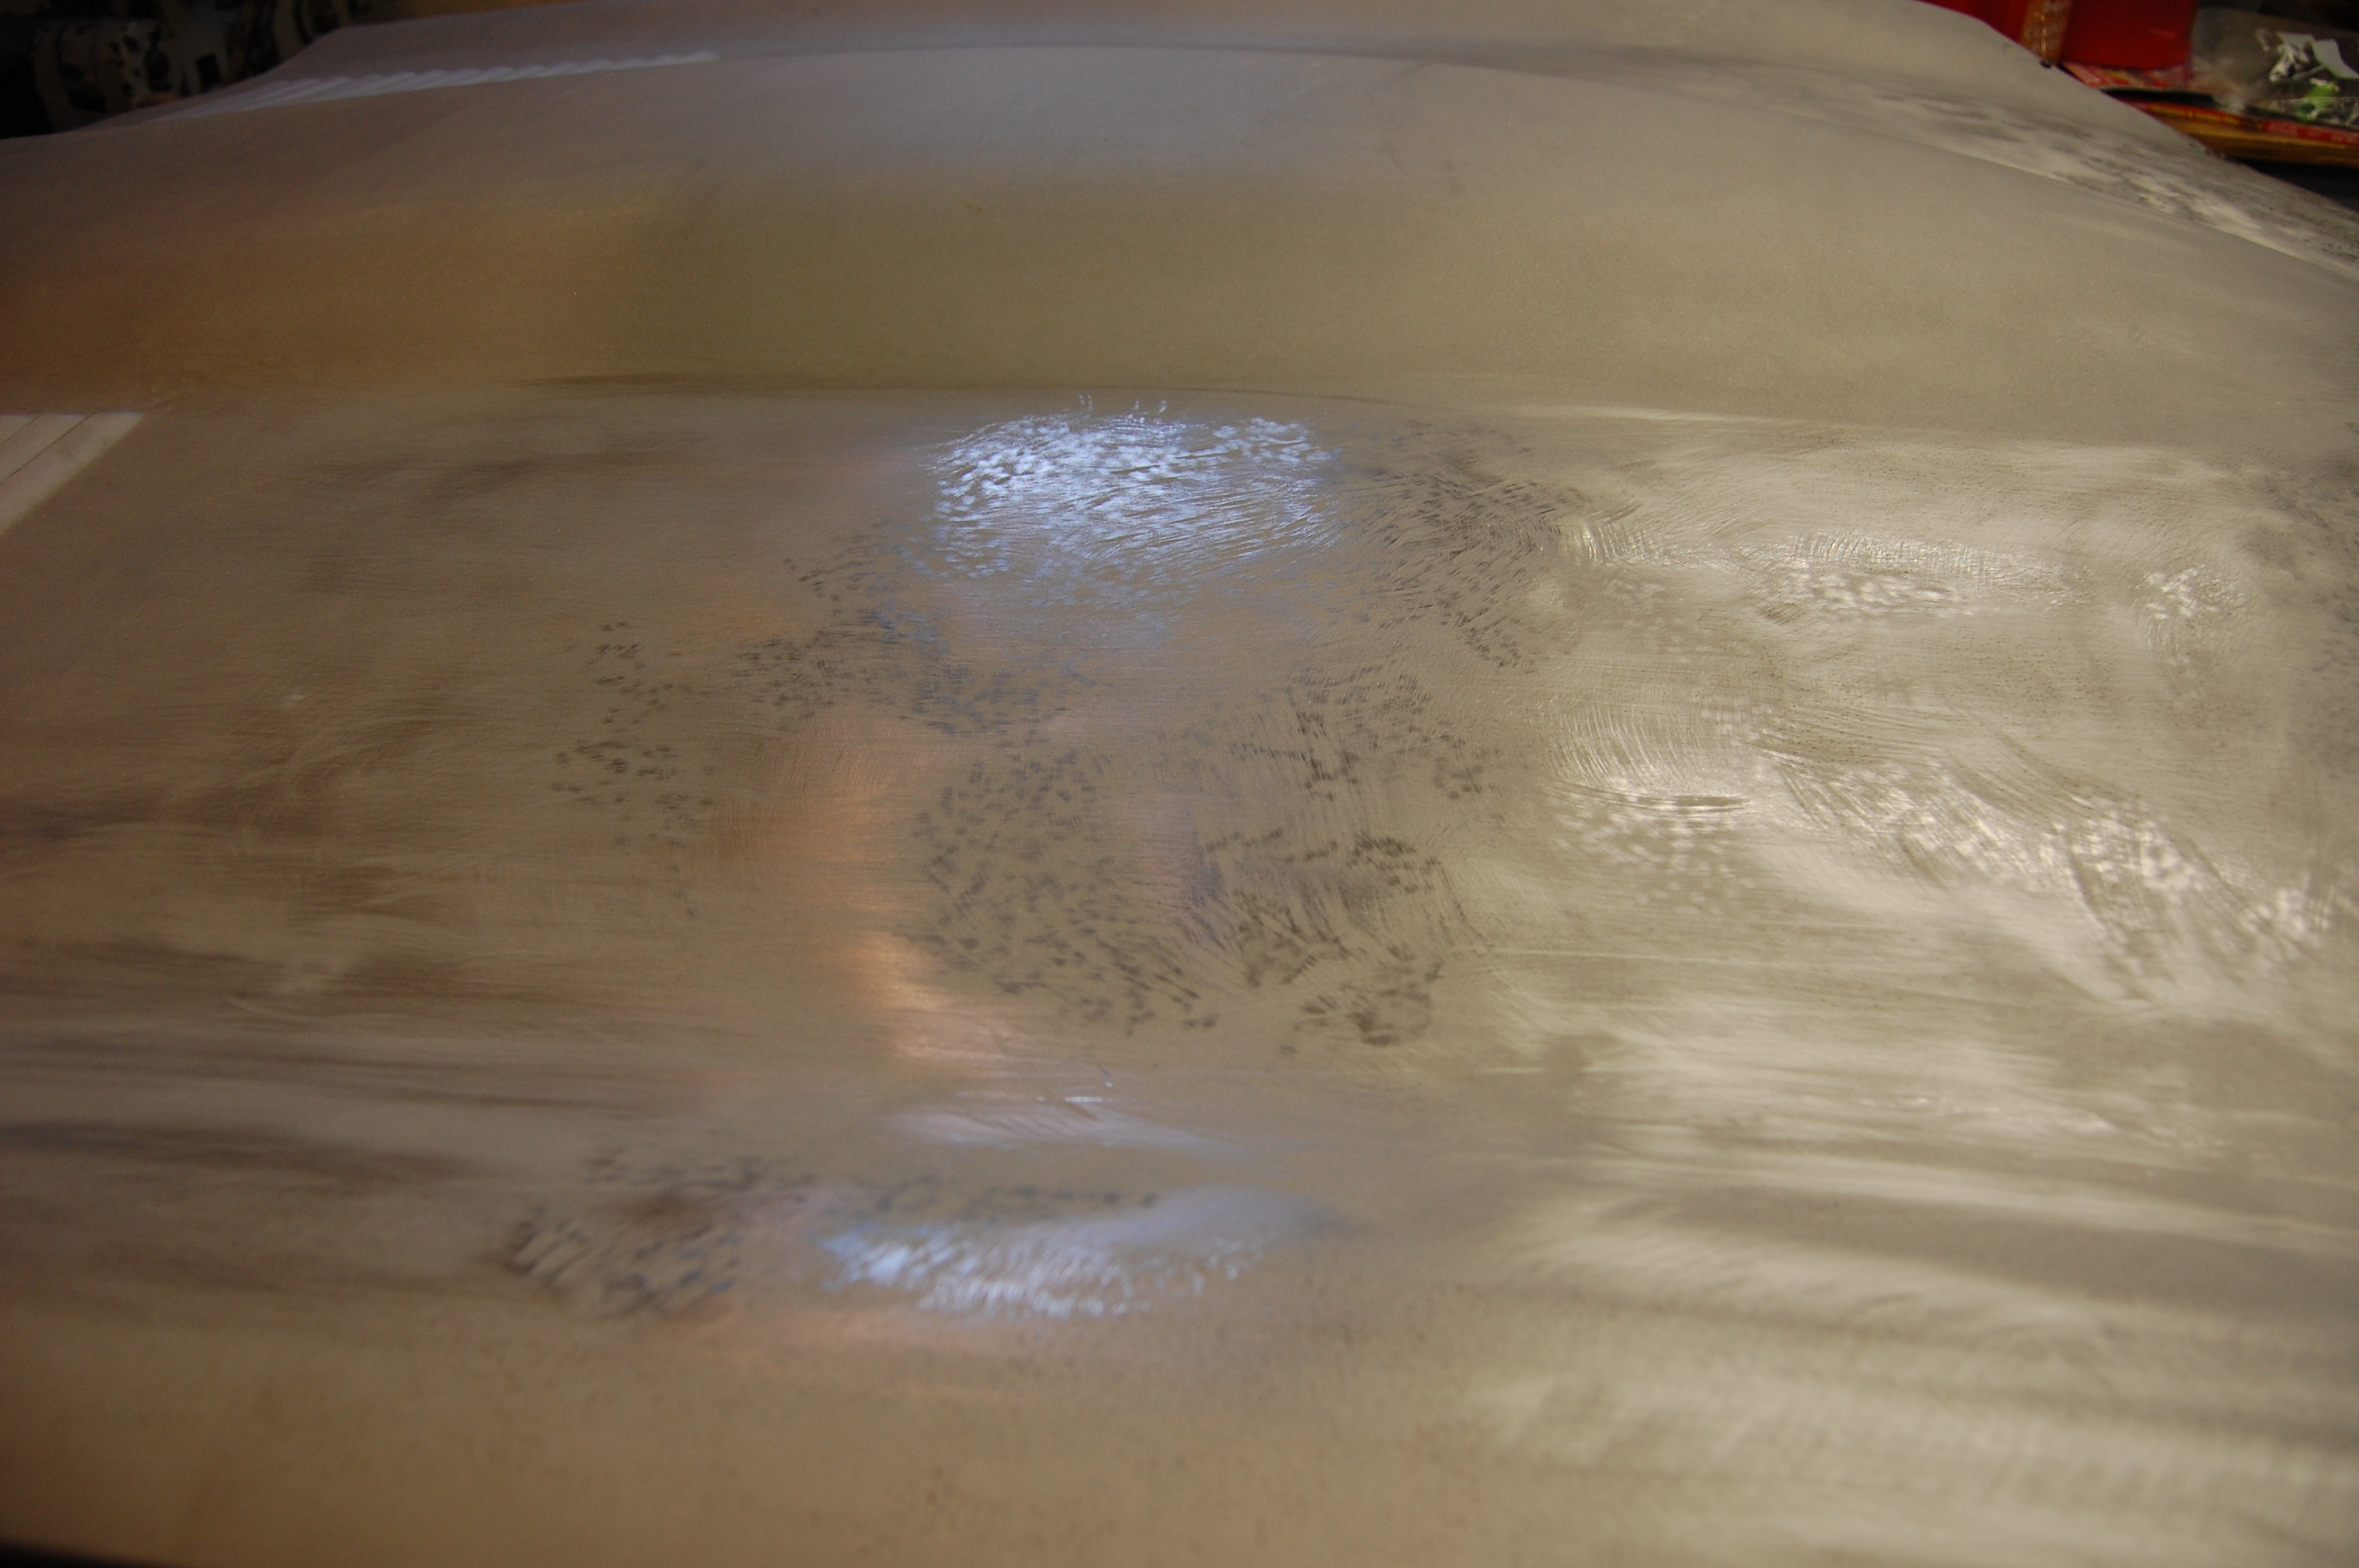
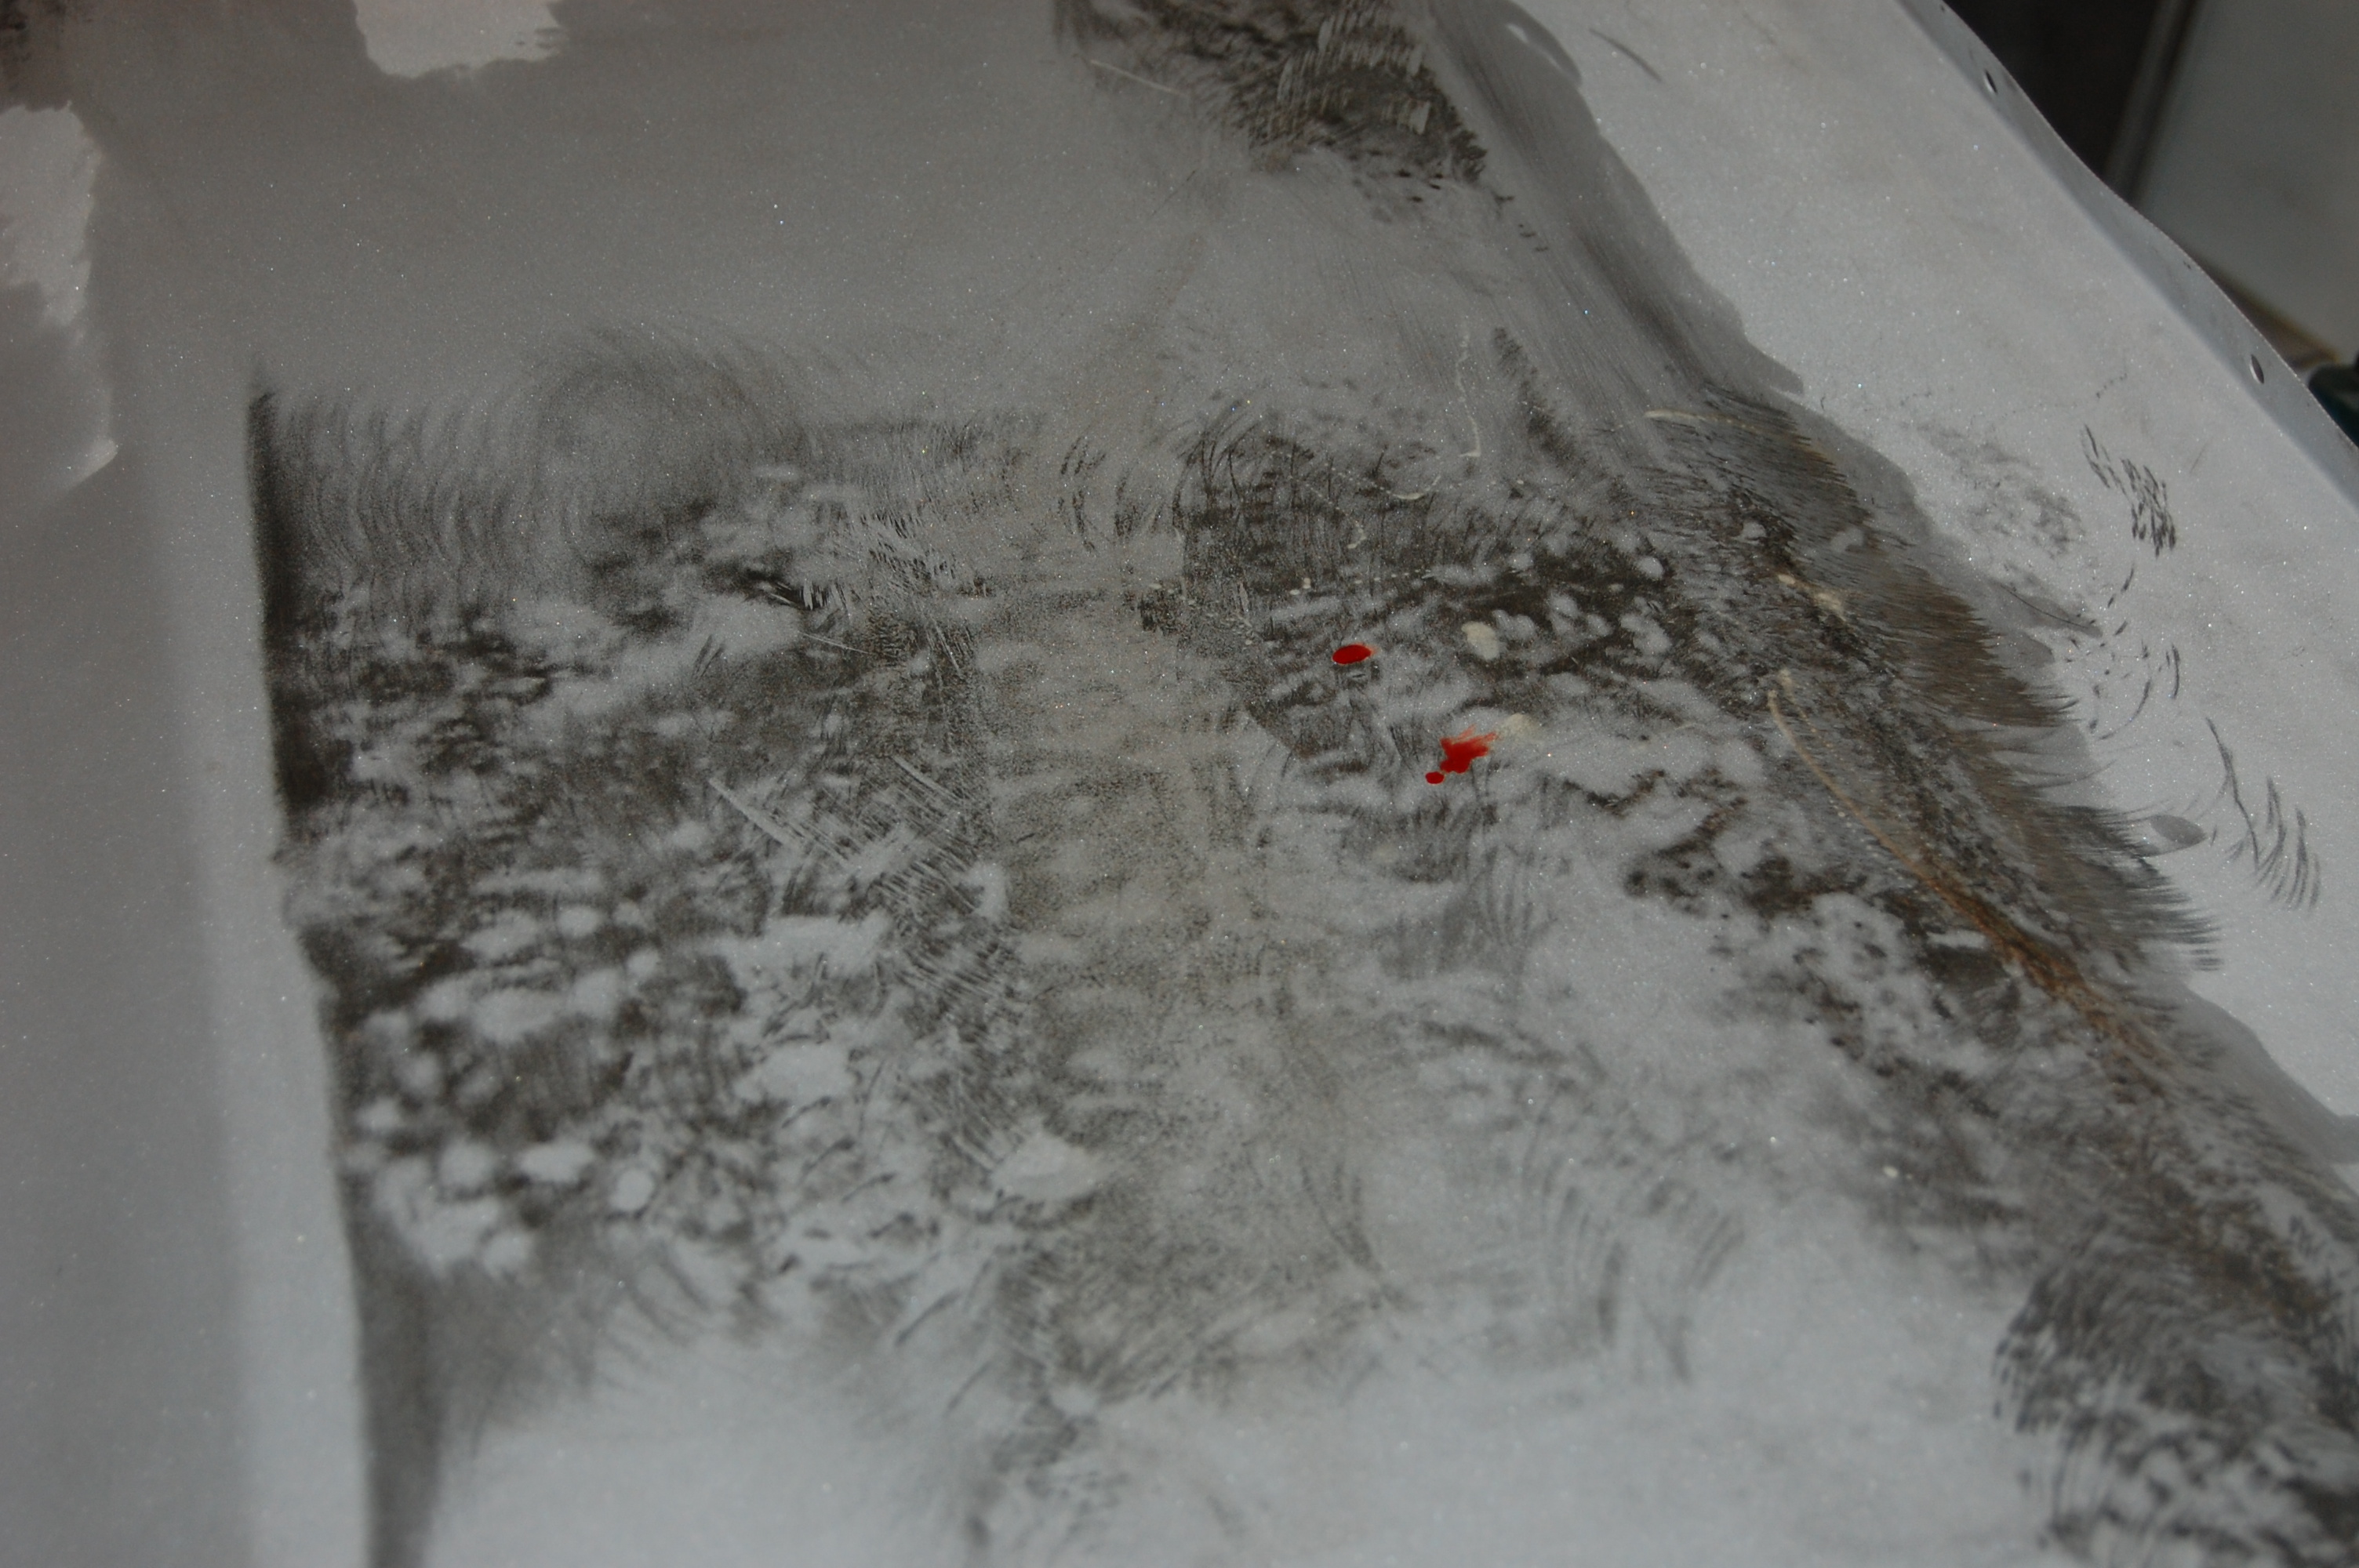
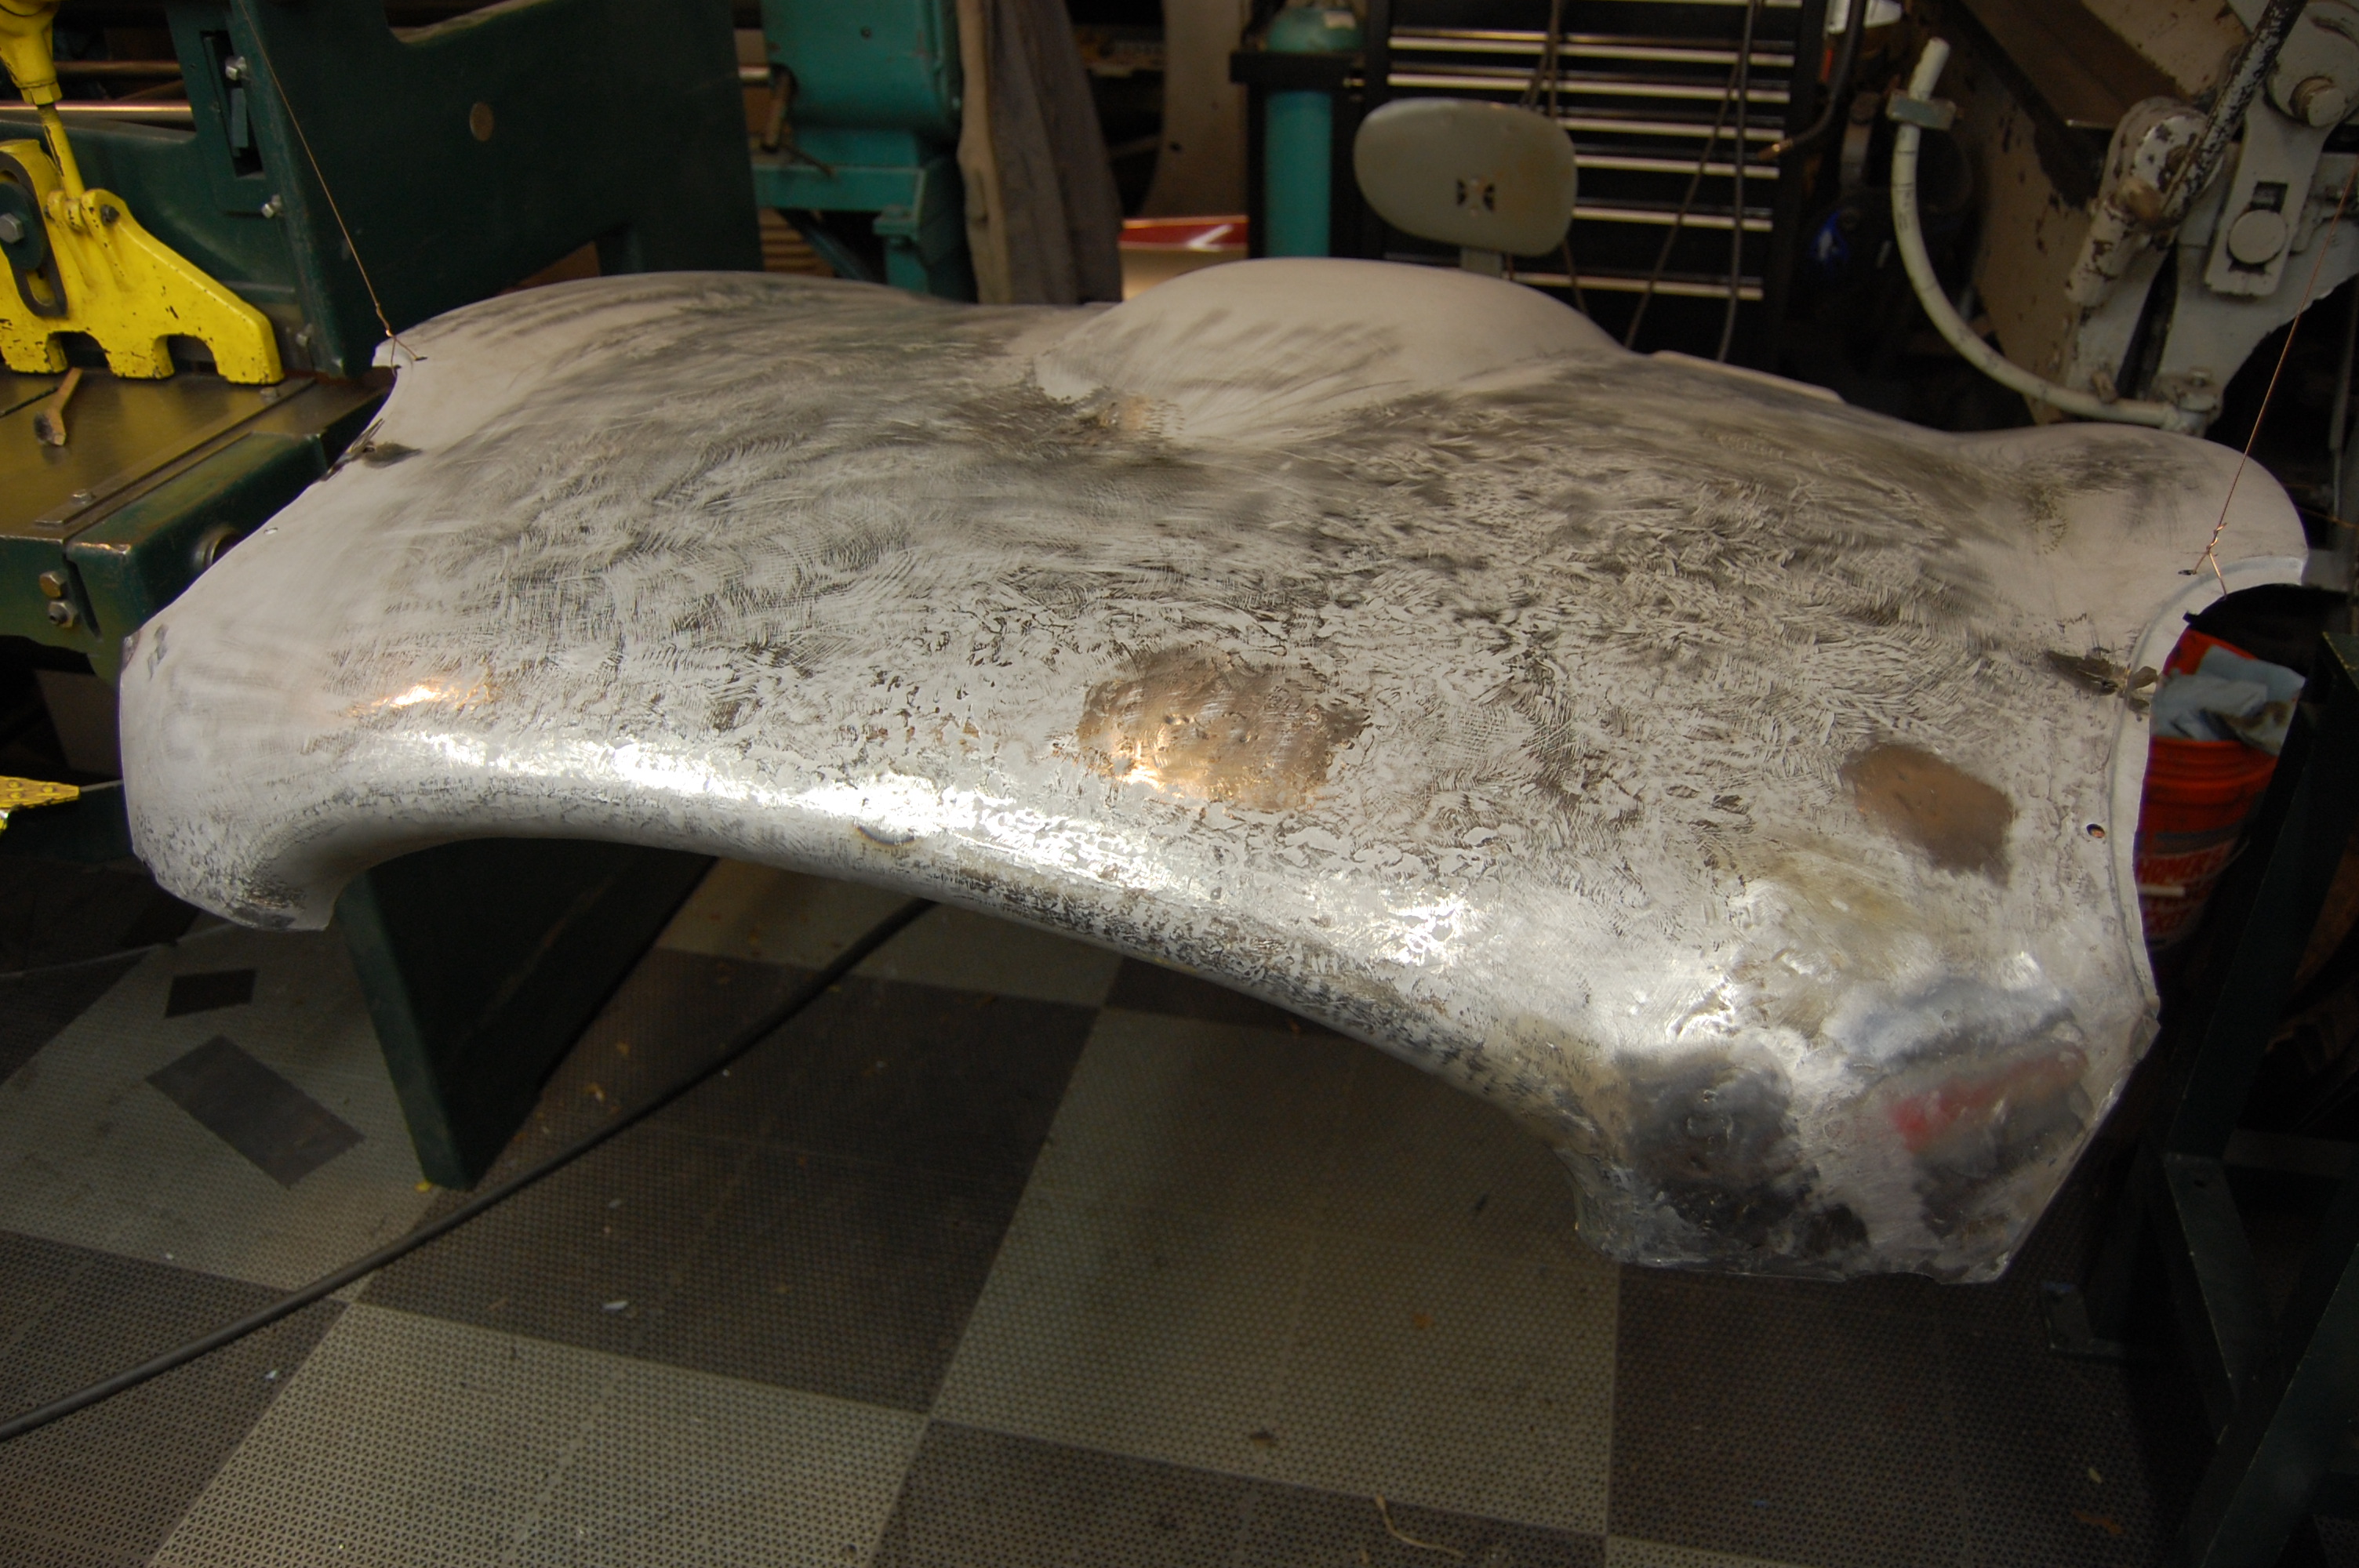
- Next came the shrinking to get things even smoother. After this step, the true surface that WAS there when we started really starts to show. This still looks like a mess, but it’s VERY close – just a couple thousandths of an inche, and you cannot feel ANY of this by hand. Yes – that’s blood – something I see pretty much every day… I wear gloves ALL the time, EXCEPT during the shrinking process, because I need the feel of my bare hands to determine what’s going on… I forget what happened here but it was no big deal – probably just took a little chunk out of a knuckle on a sharp edge or something…
-
- More shrinking on the underside – required on only the worst bonnets – or blasting warpage.
-

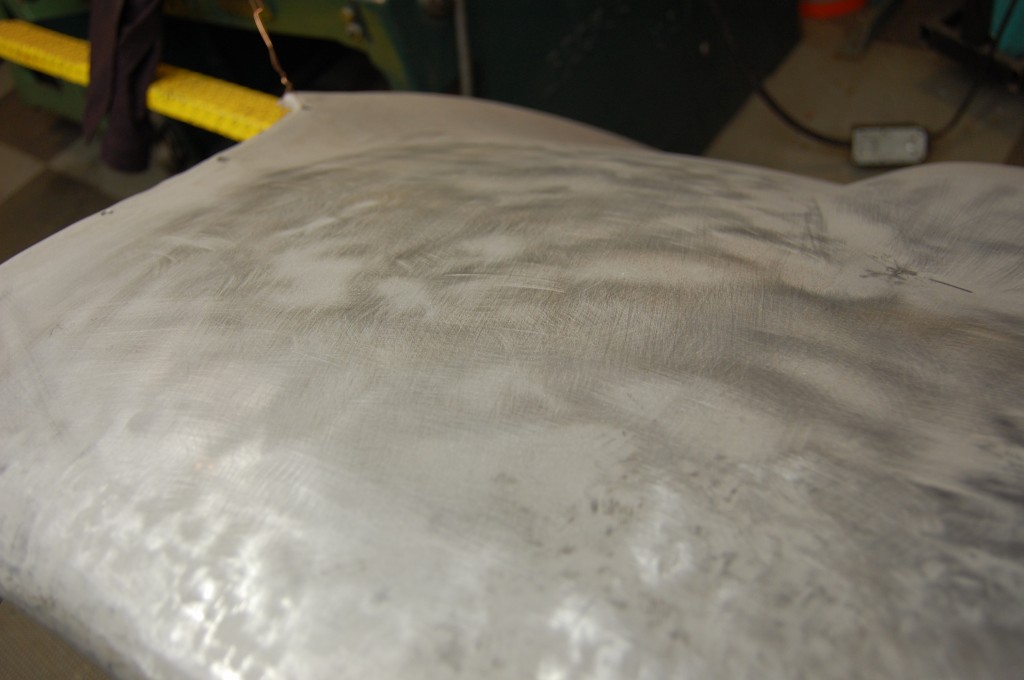
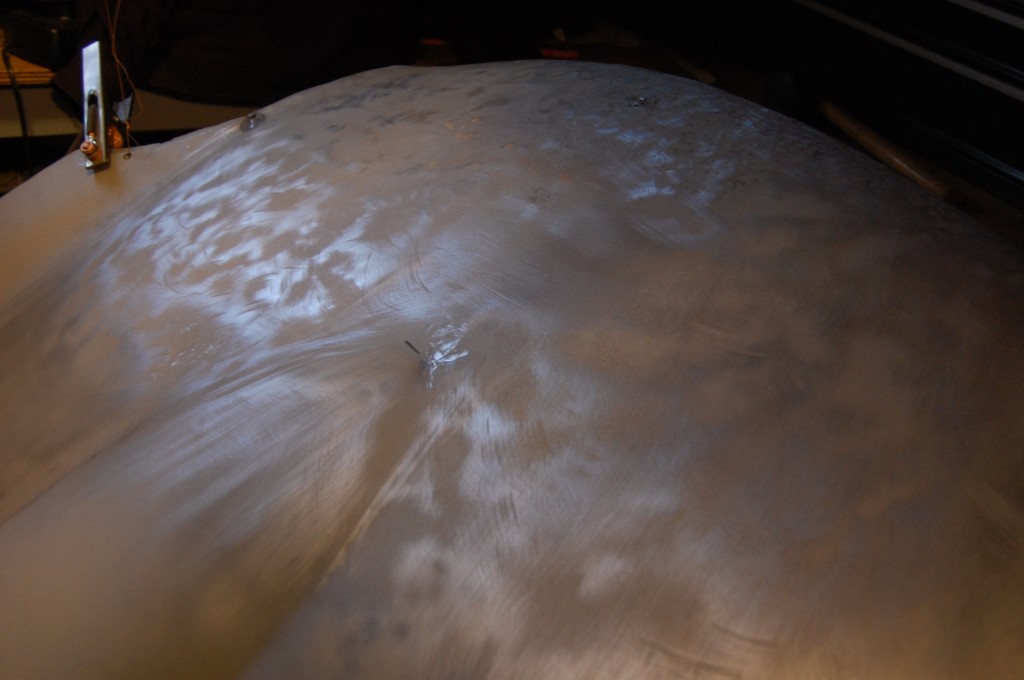
- Flipped back over, it’s time to start the shrinking on the top side.
-

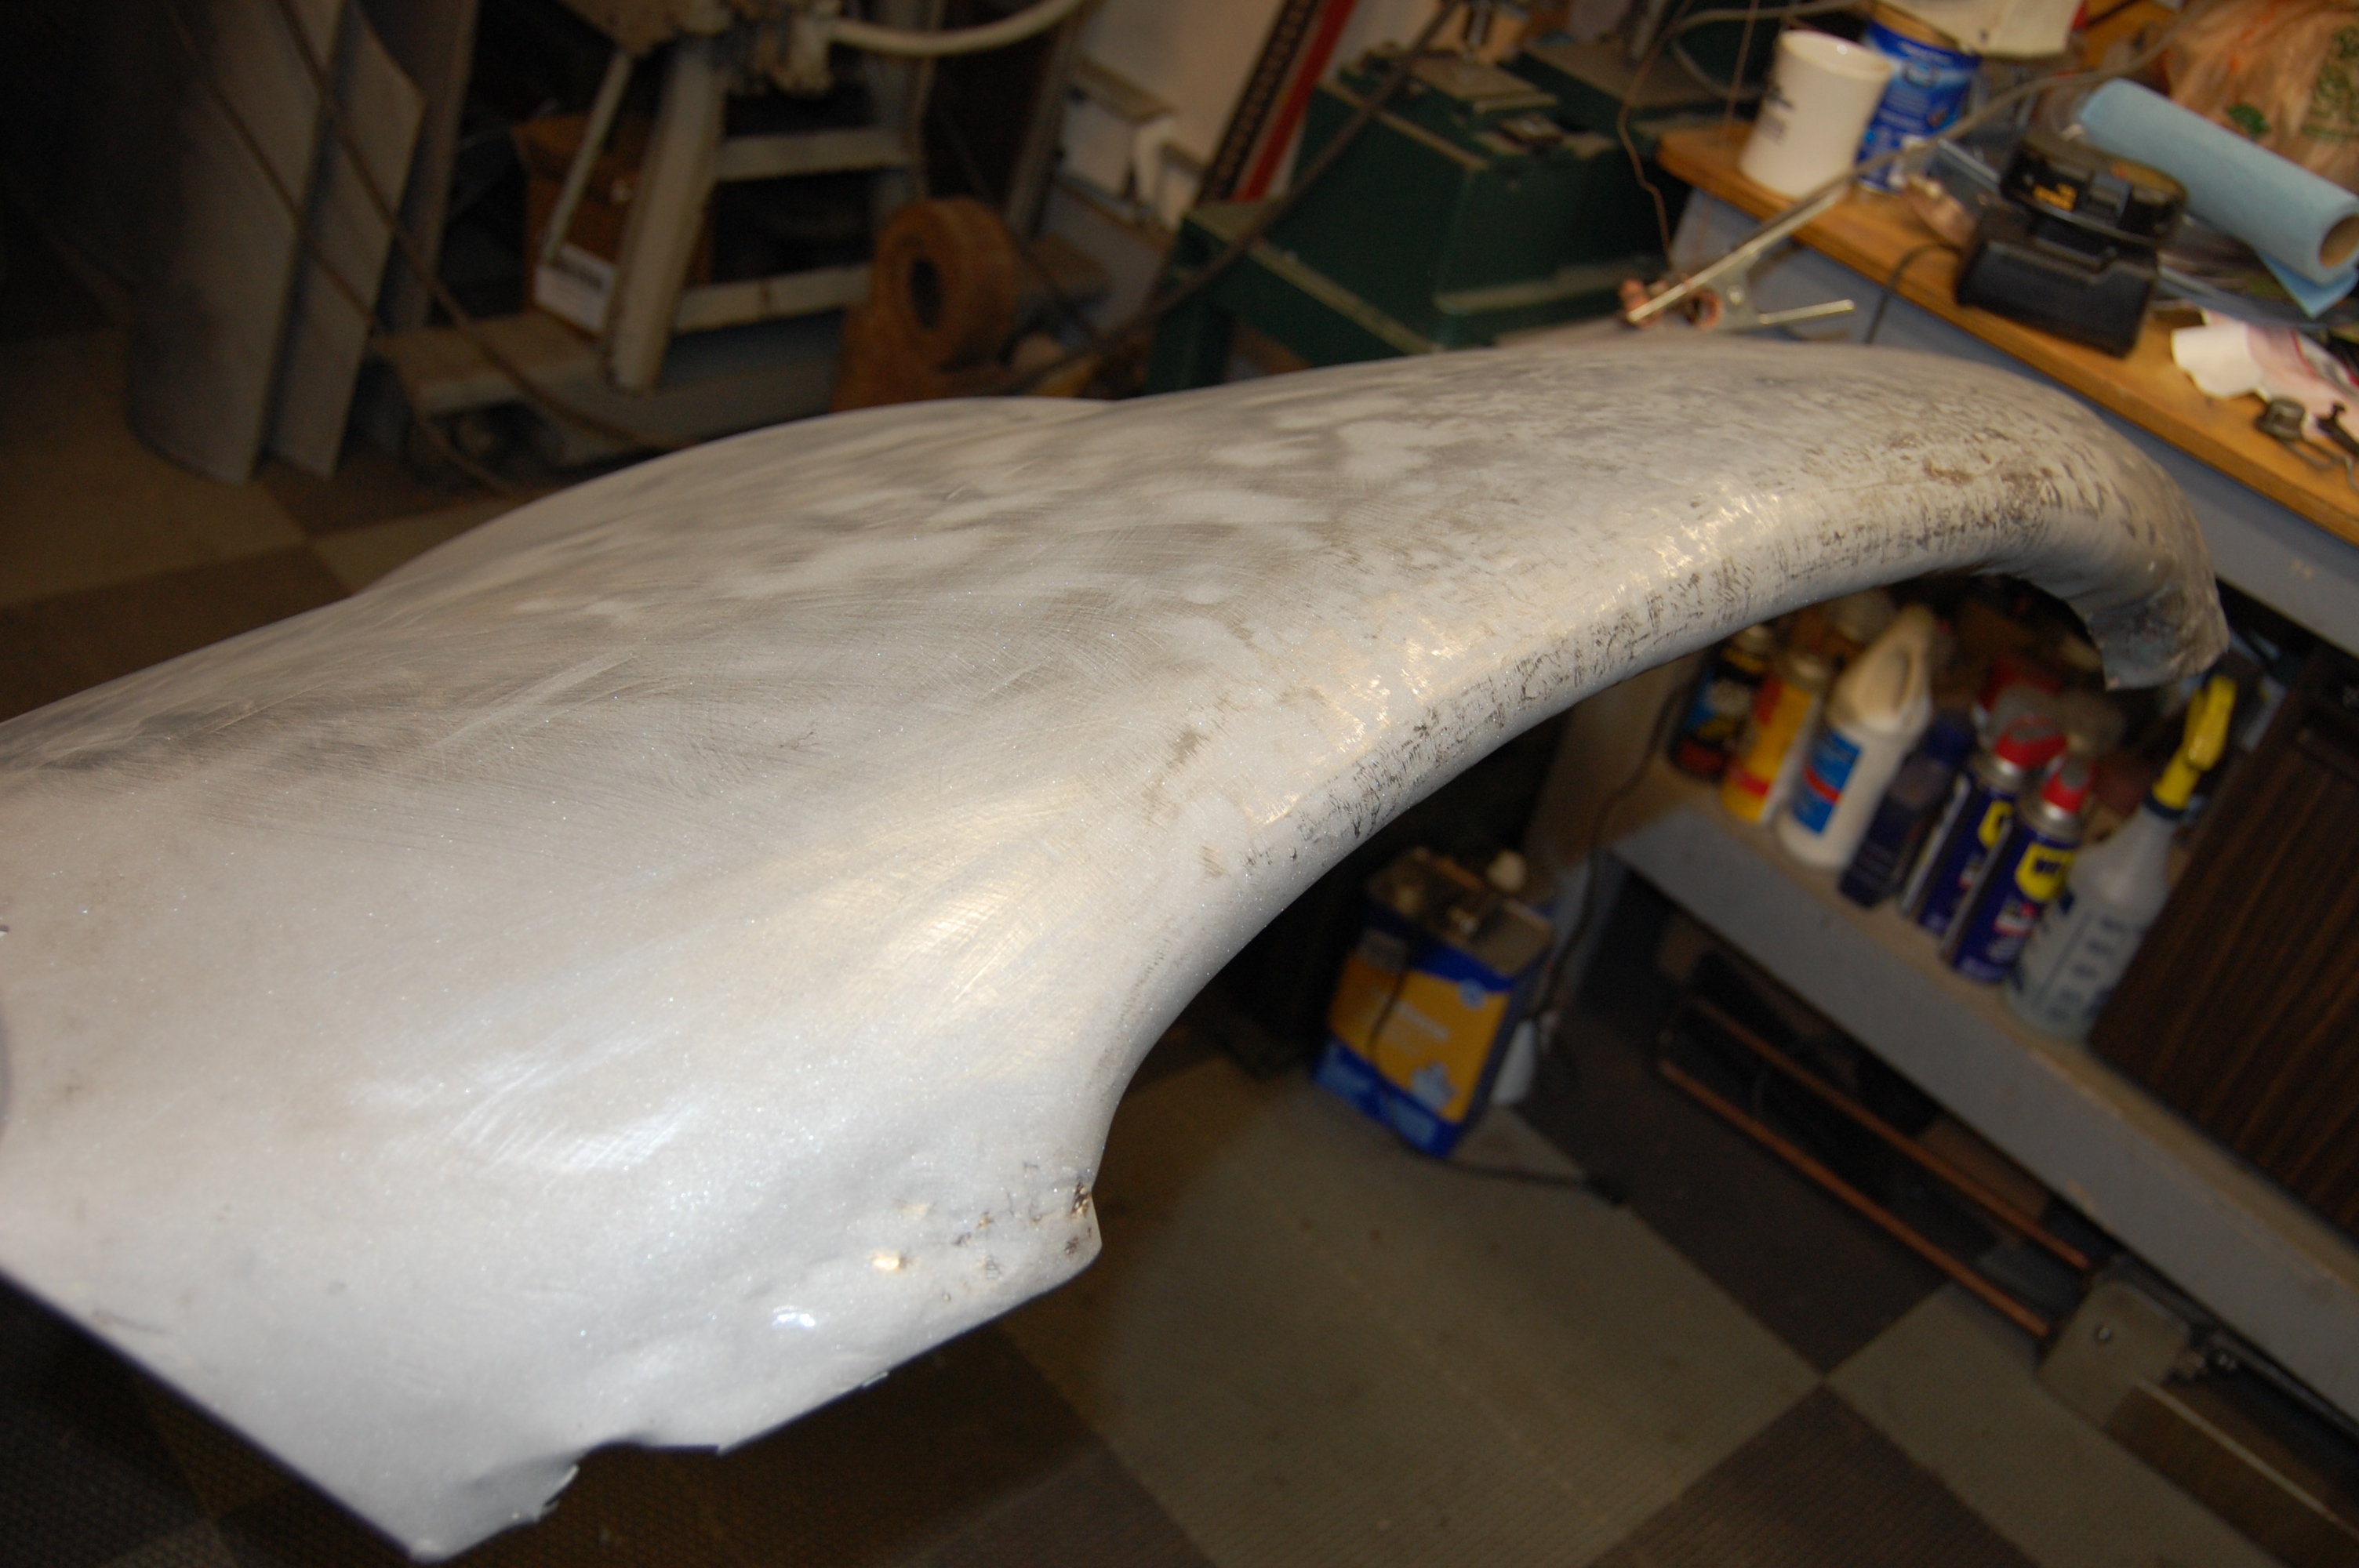
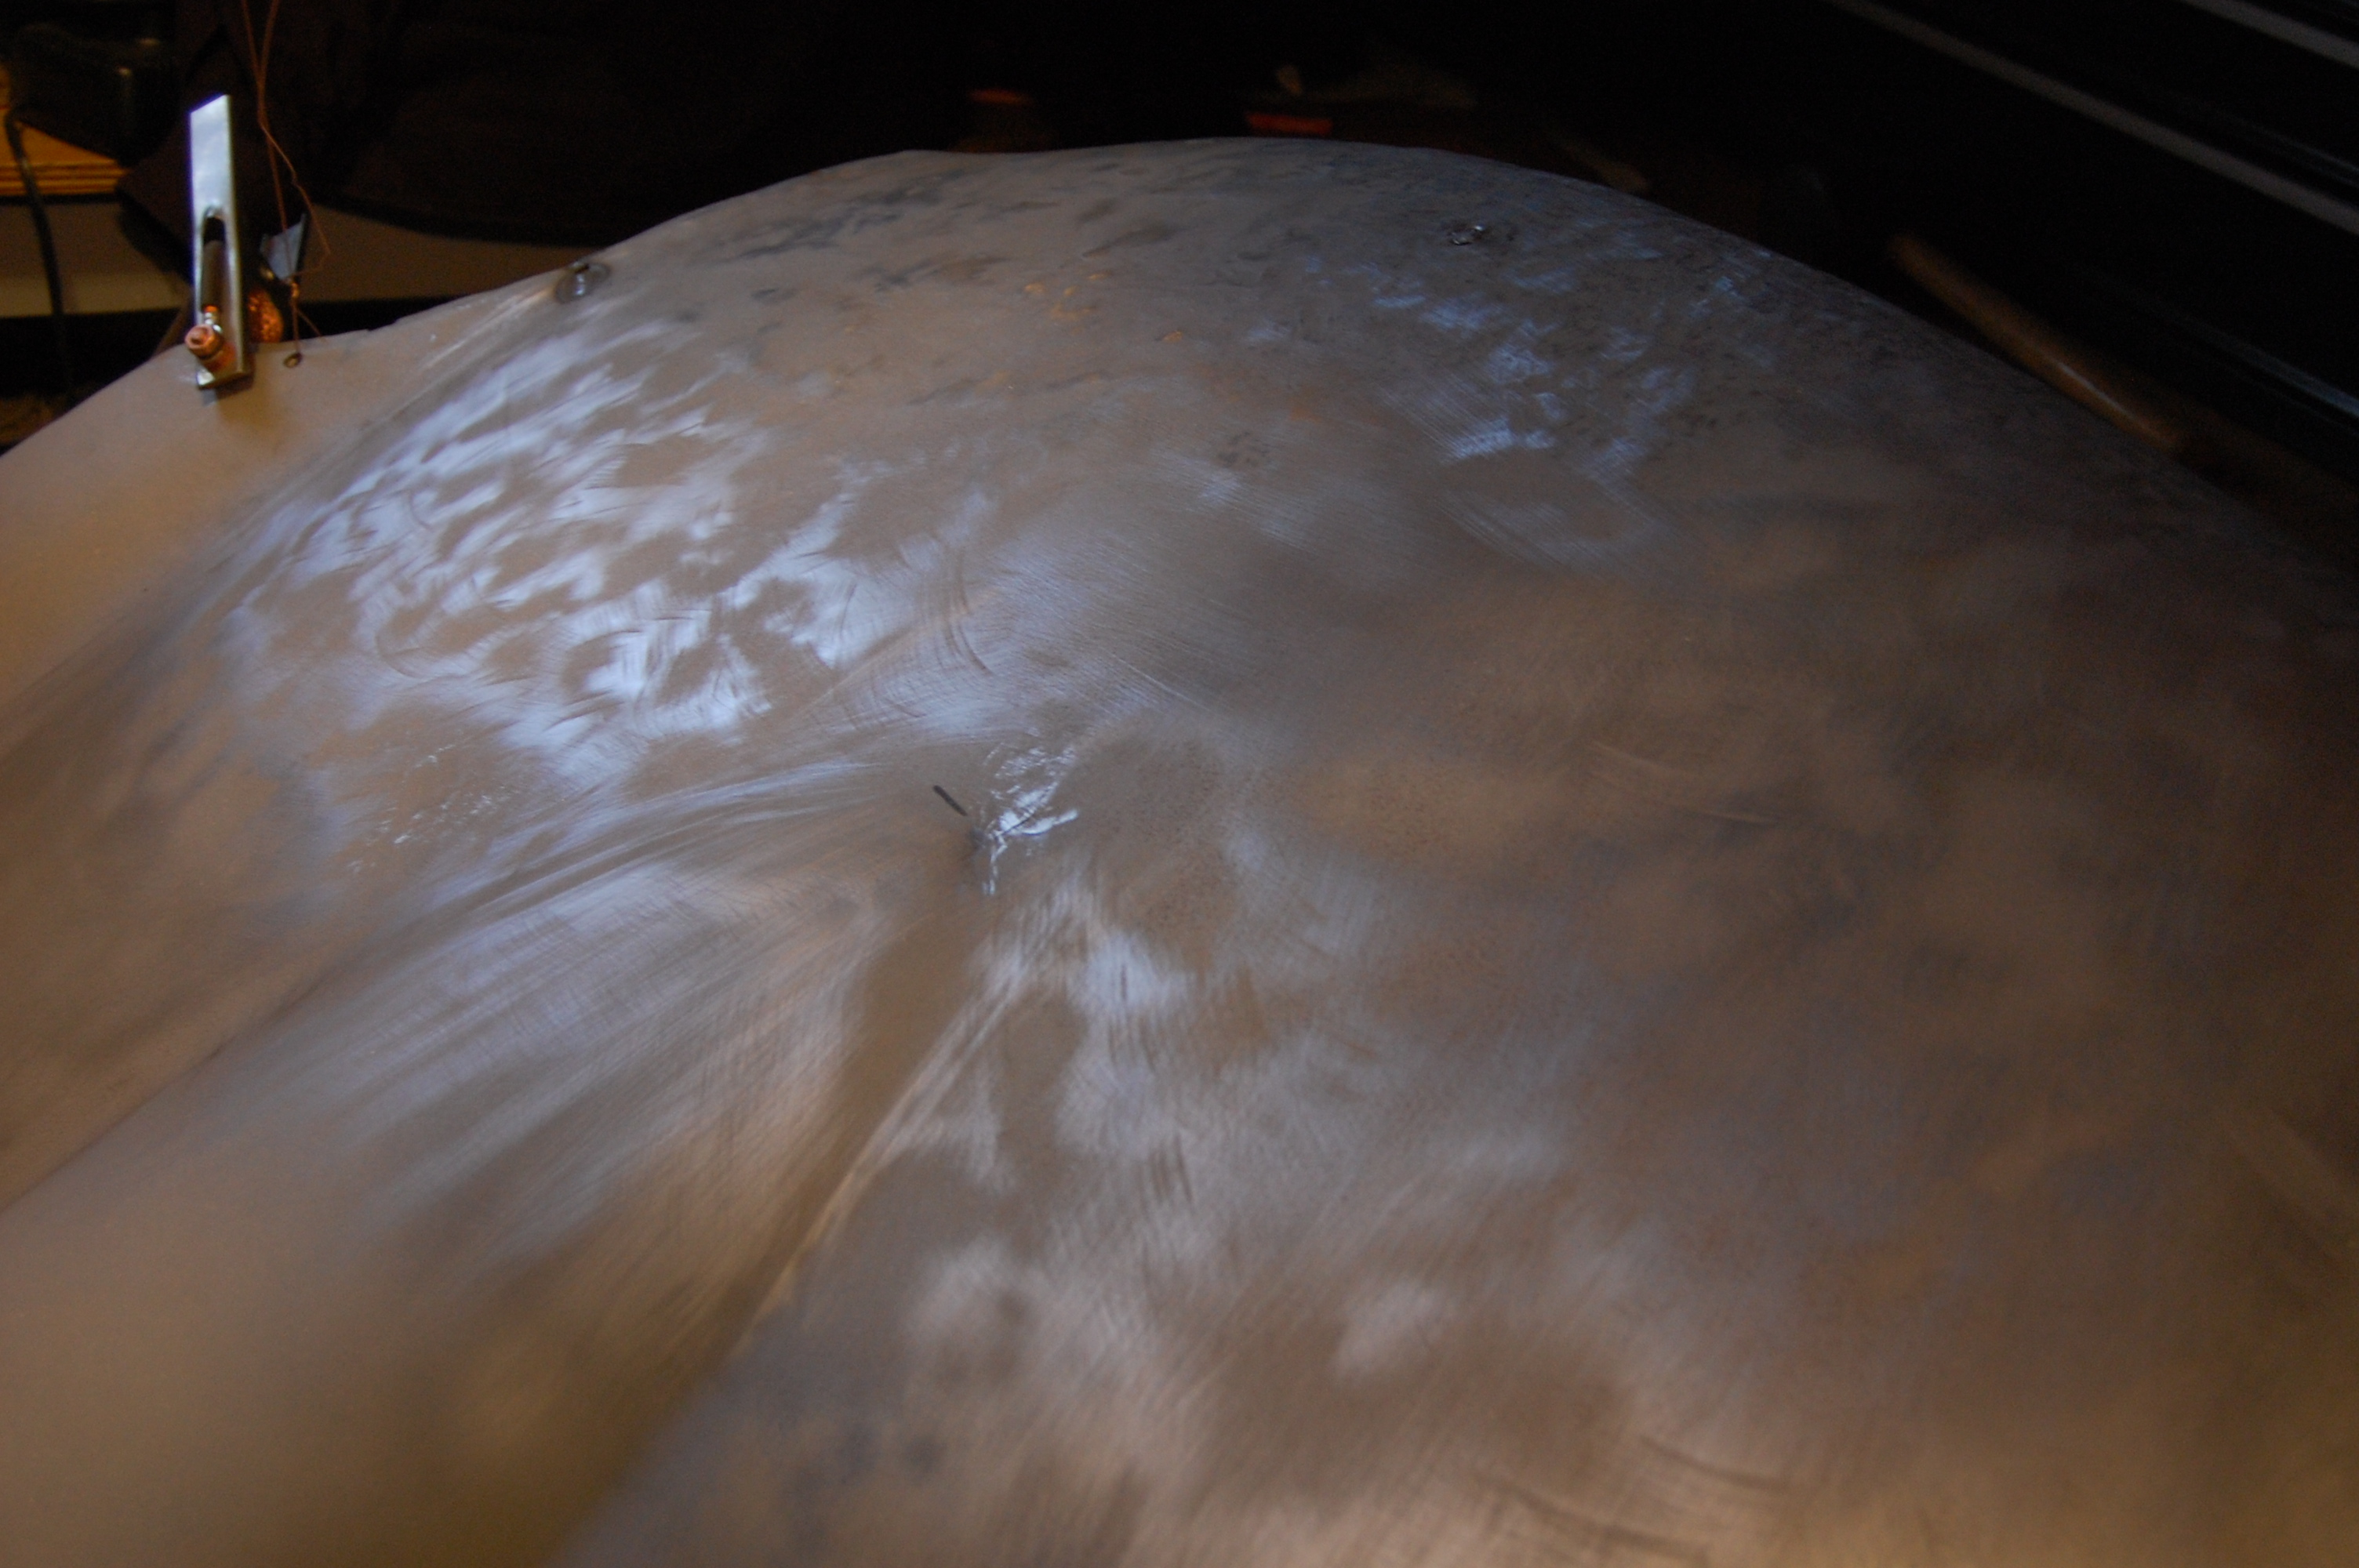
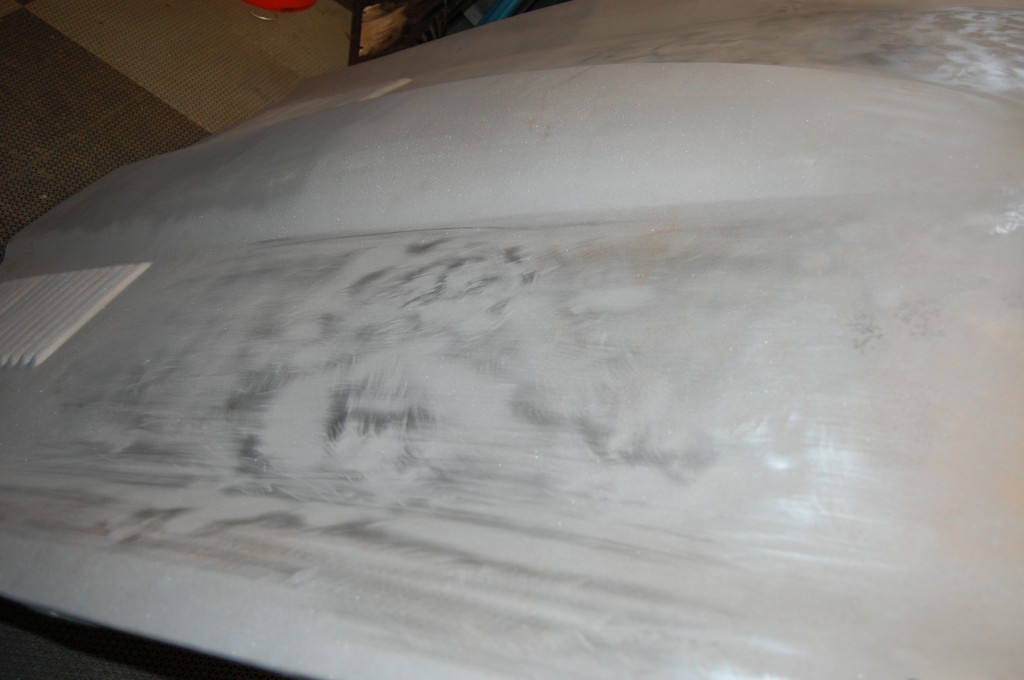
- here’s another shot before the shrinking – the shape is right now, and we just need to get the surface as smooth as we can.
-

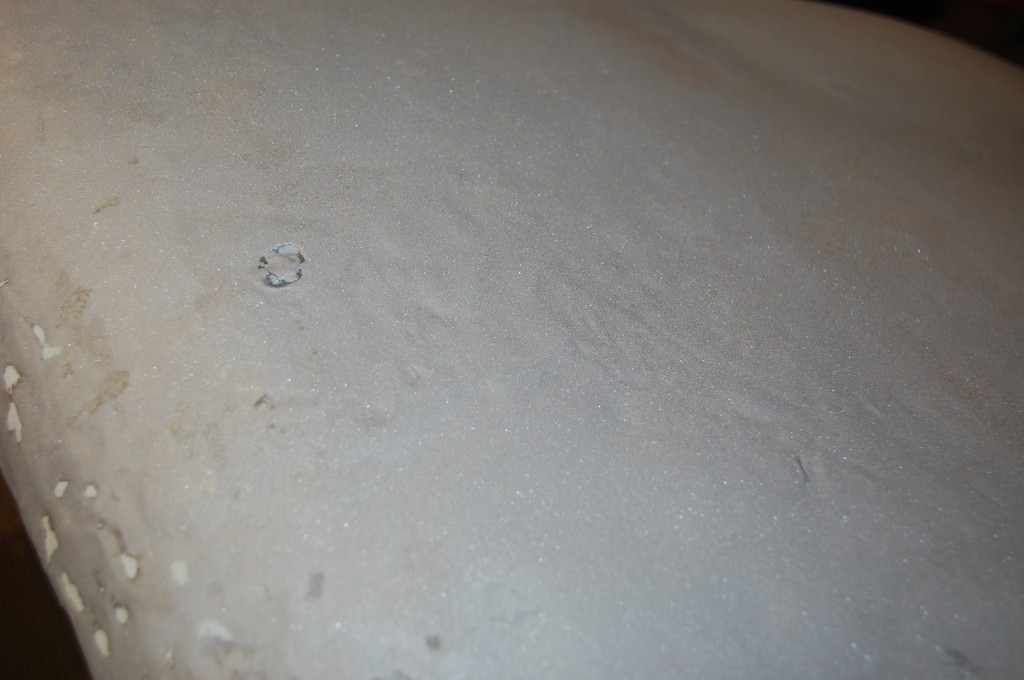
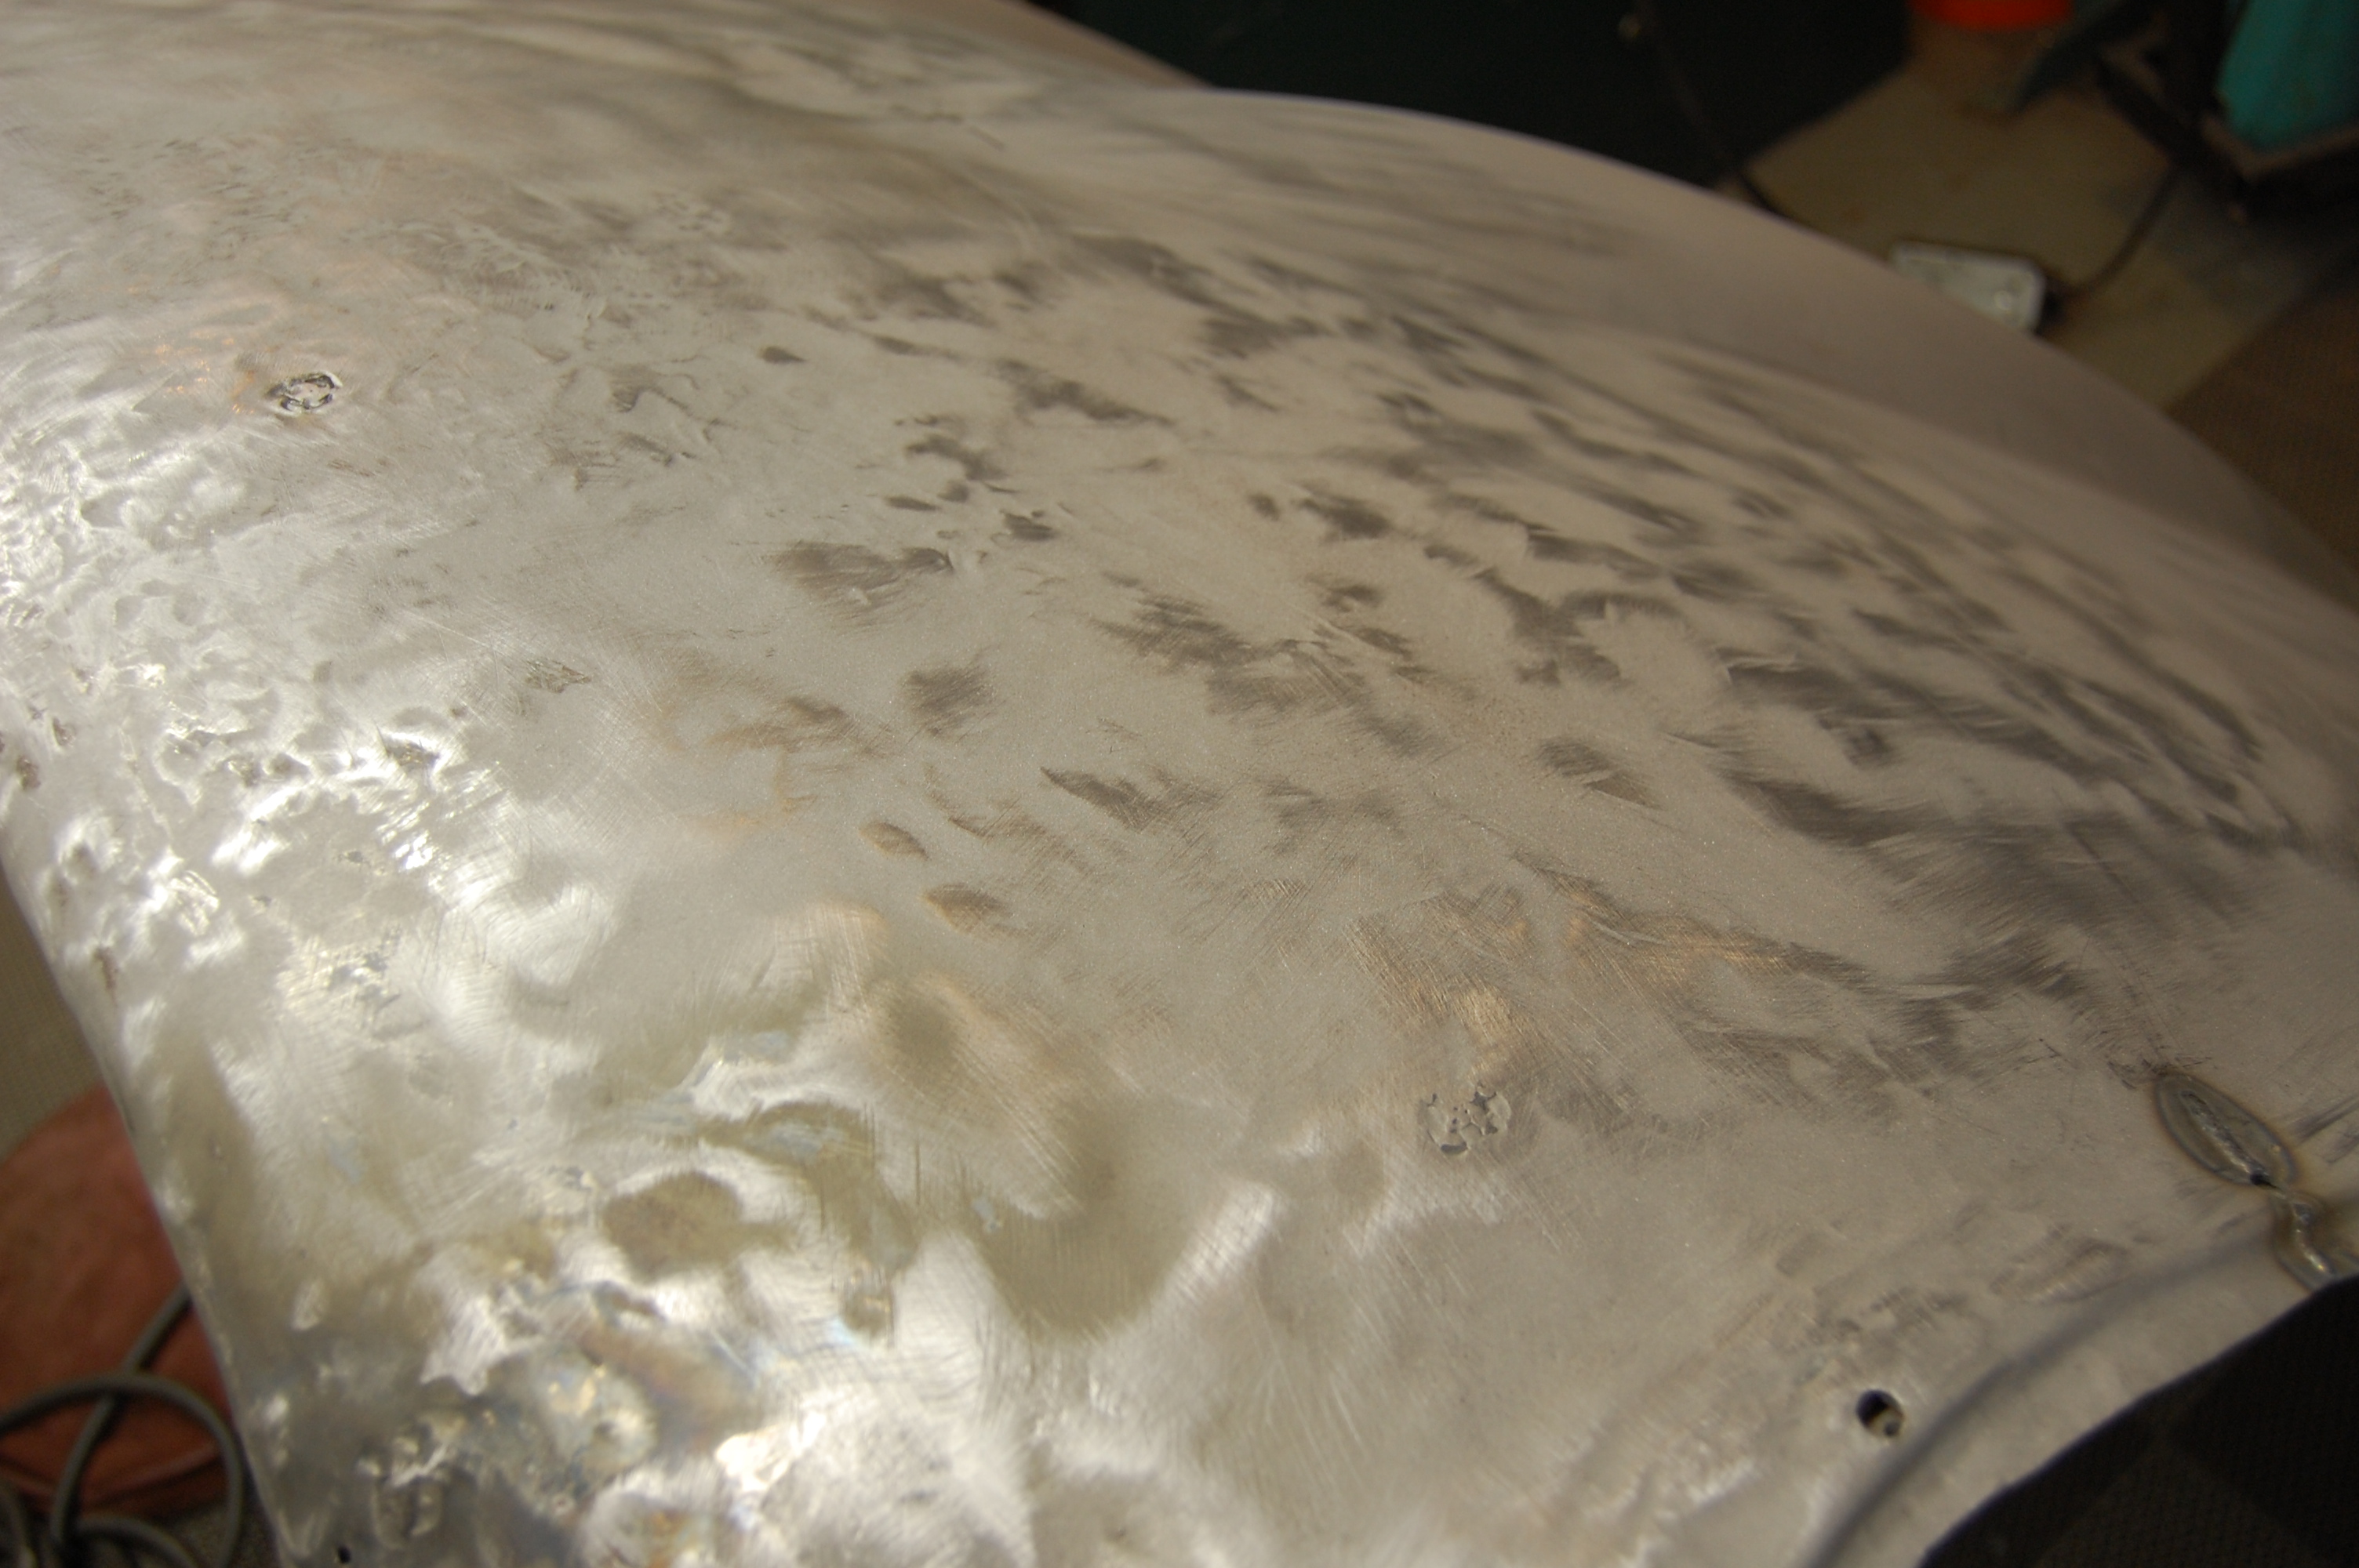
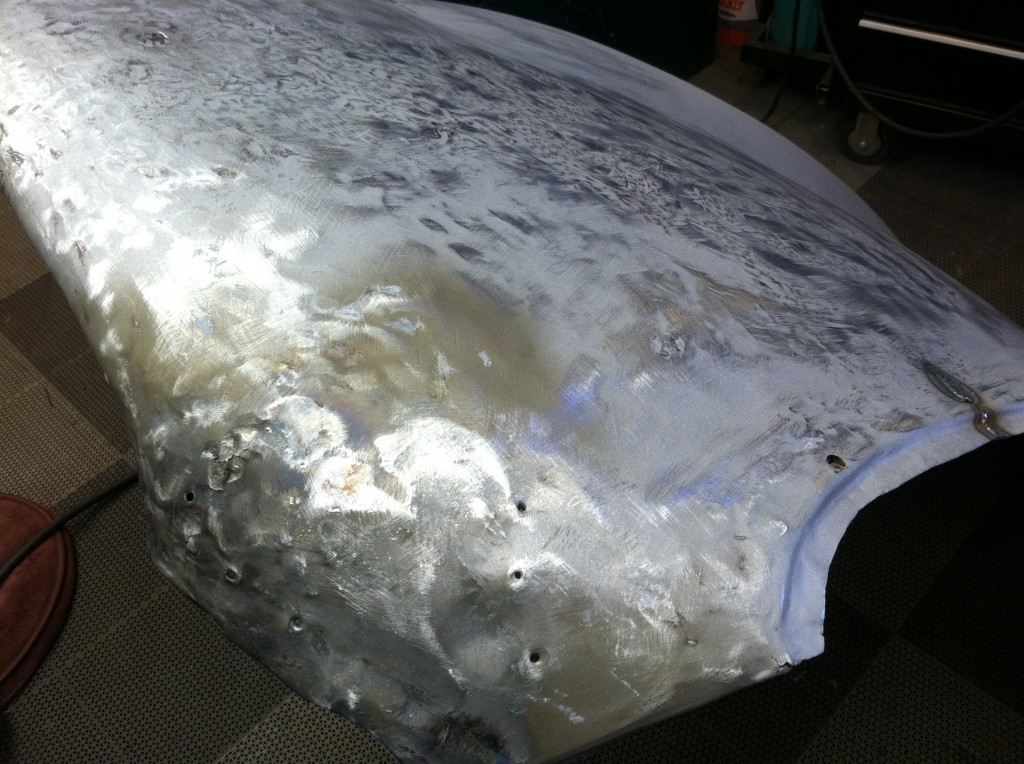
- We’ve now finished the shrinking, and scuffed down the panel to remove the polished surface that the shrinker leaves. The contour gauges now fit PERFECTLY – Mission Accomplished!
-
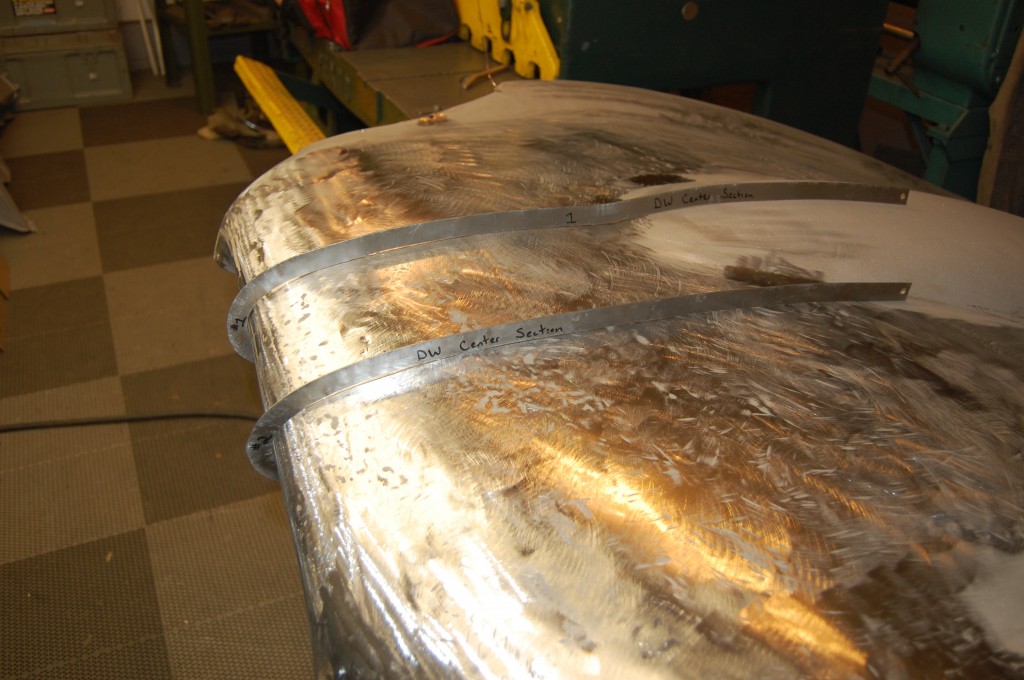
- Another shot – there are still surface imperfections that will need filling, but it should be limited to a decent coat of sandbale primer instead of a 1/4″ slathering of filler.

-

- All Done! This work took 14 hours, plus another 2.5 to re-attach the rear main support where it had come unglued in the valleys. It’s alot of time for one panel, but it’s the most important panel of the car, and so it’s time well spent!