
Earlier this month, we re-skinned an aluminum racing door for one of the top E-Type racing teams in the US. We’ve perfected the fabrication of the door skins – and door restoration in general – to the point where we were ready to try it in aluminum. This job gave us a good excuse to give that a shot!
-
- Here, we’ve curved the skin in the rollr, and are now putting the bottom edge on in our ancient but tried and true leaf brake.
-

- Next, we roll in the scallop at the top of the door, and fold over the top edge. This door looks a little out of whack in this photo because the skin “fights itself” until it is attached to the shell.
-
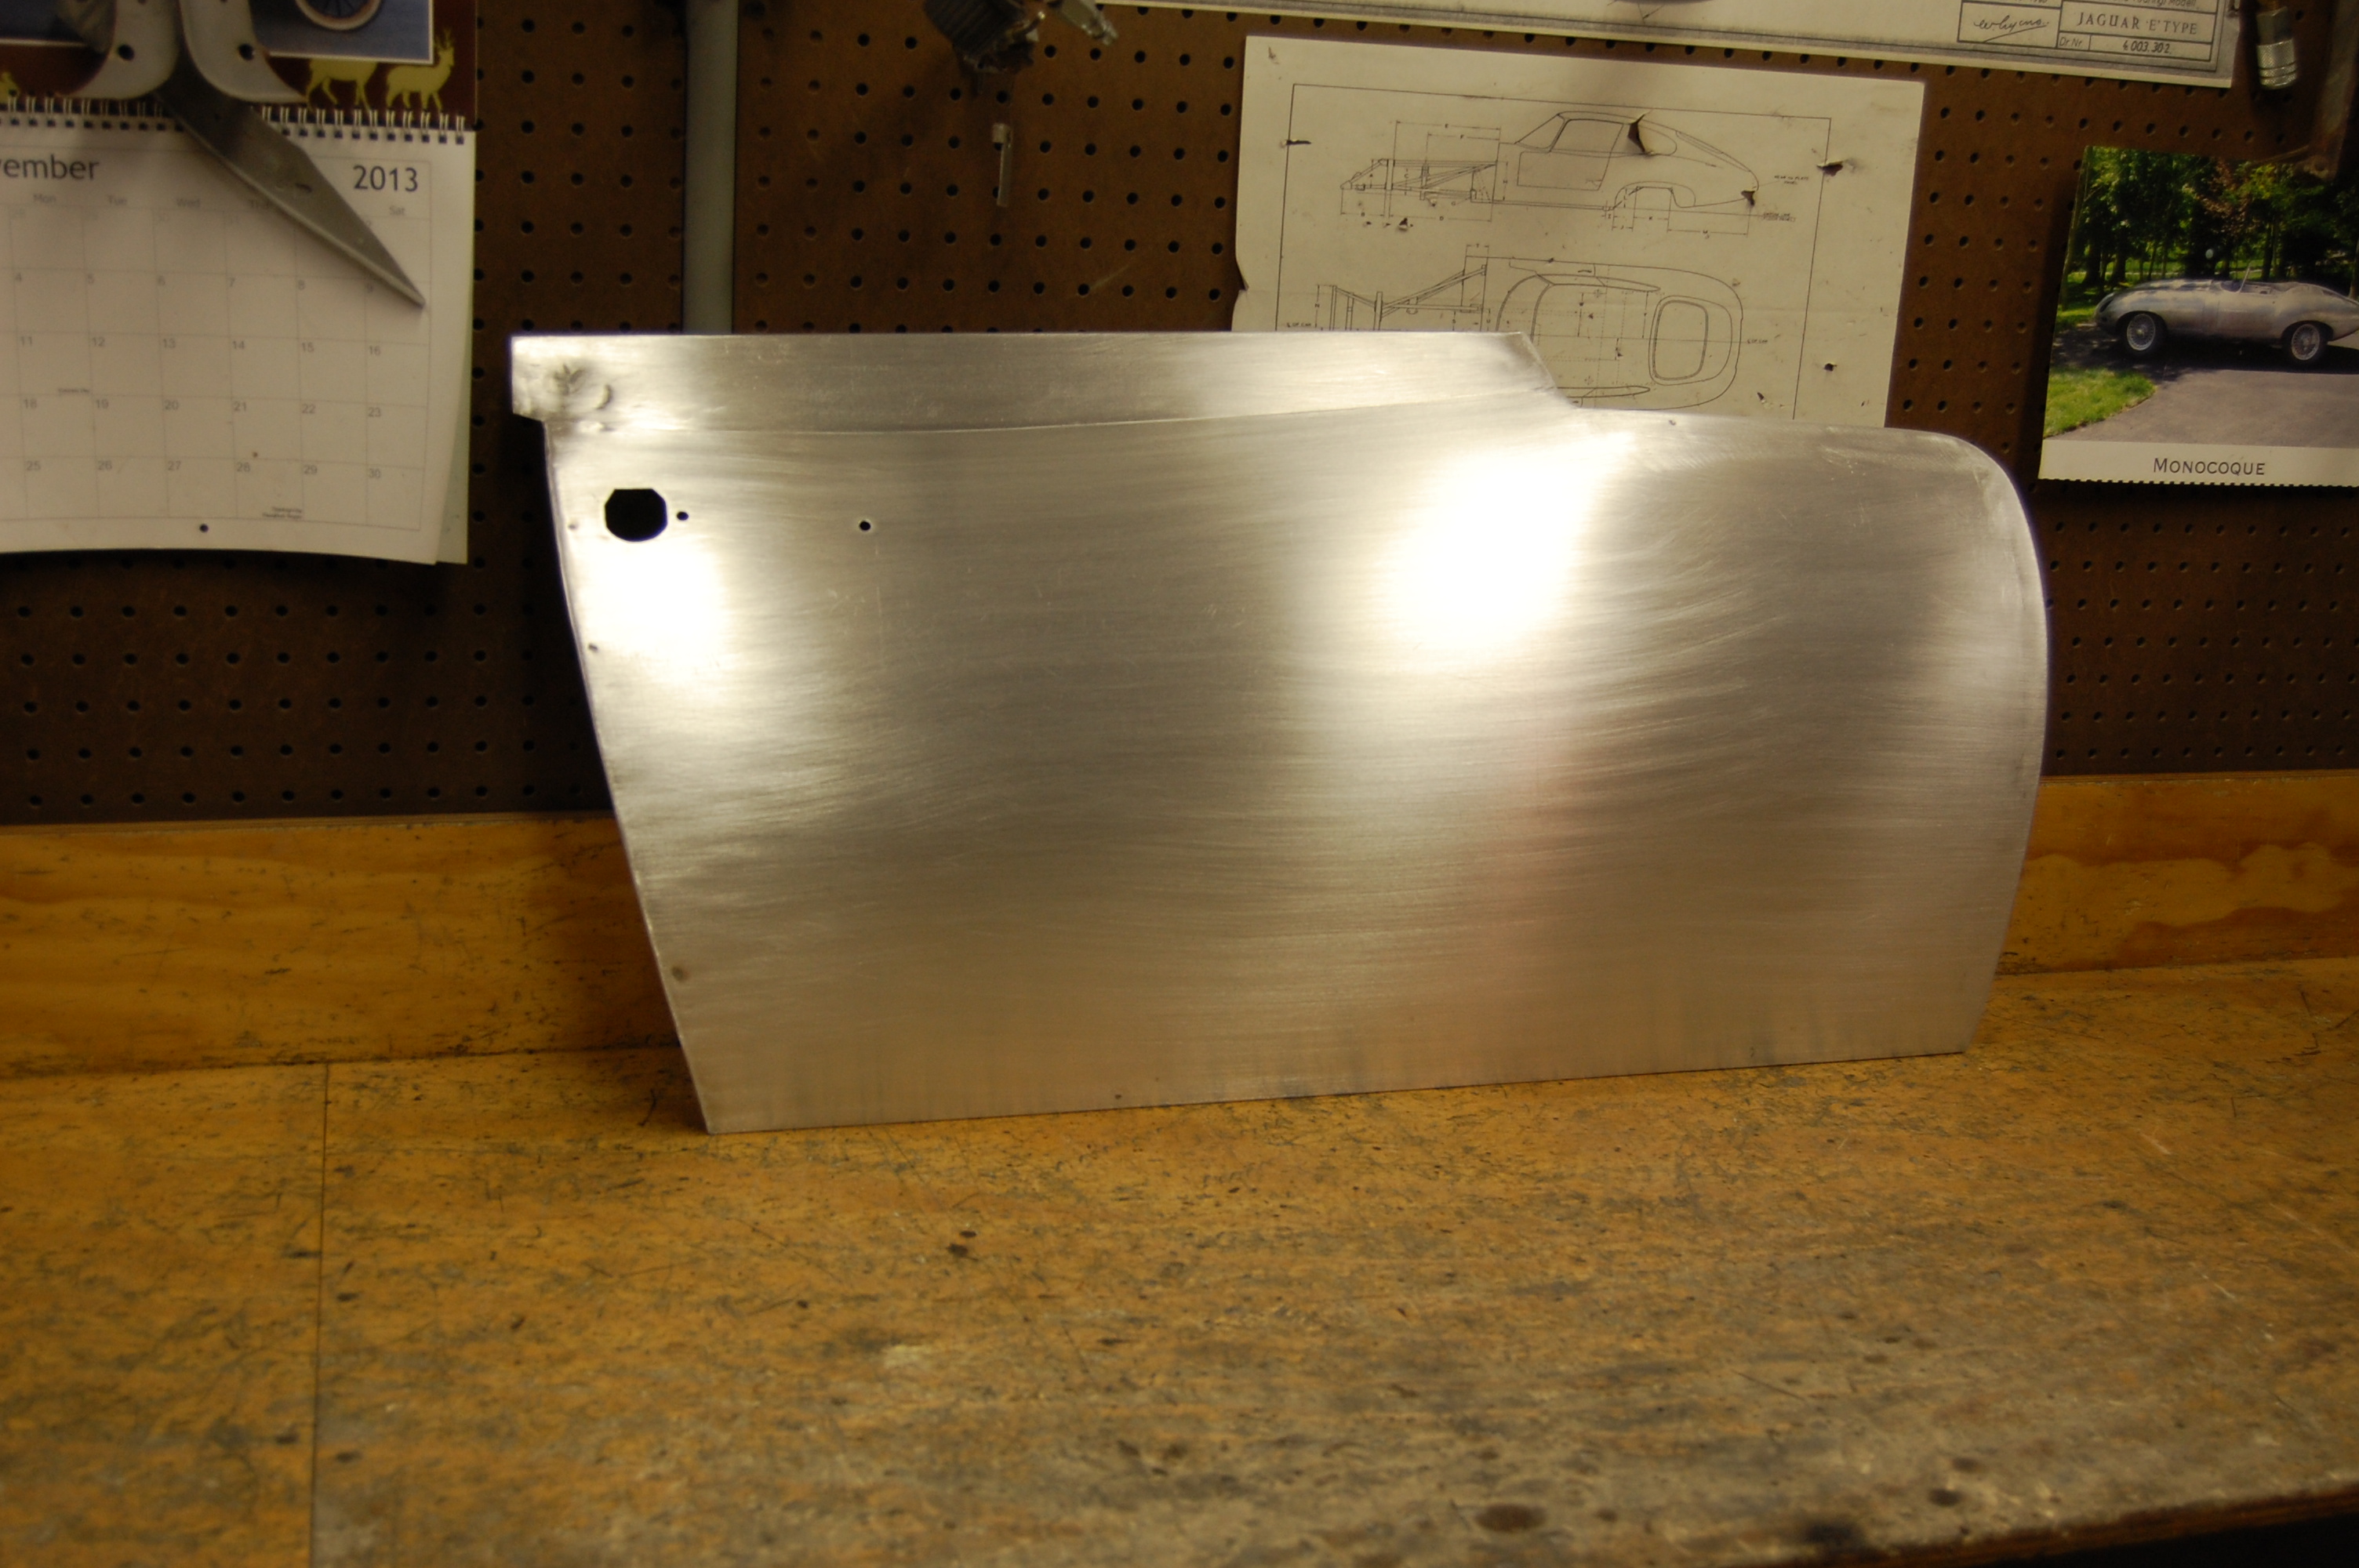
- Here is a shot of our completed aluminum skin next to an original E-Type OTS door with it’s original skin (that’s MY RH door – oh the stories it (and the people who passed through it!) can tell!

-

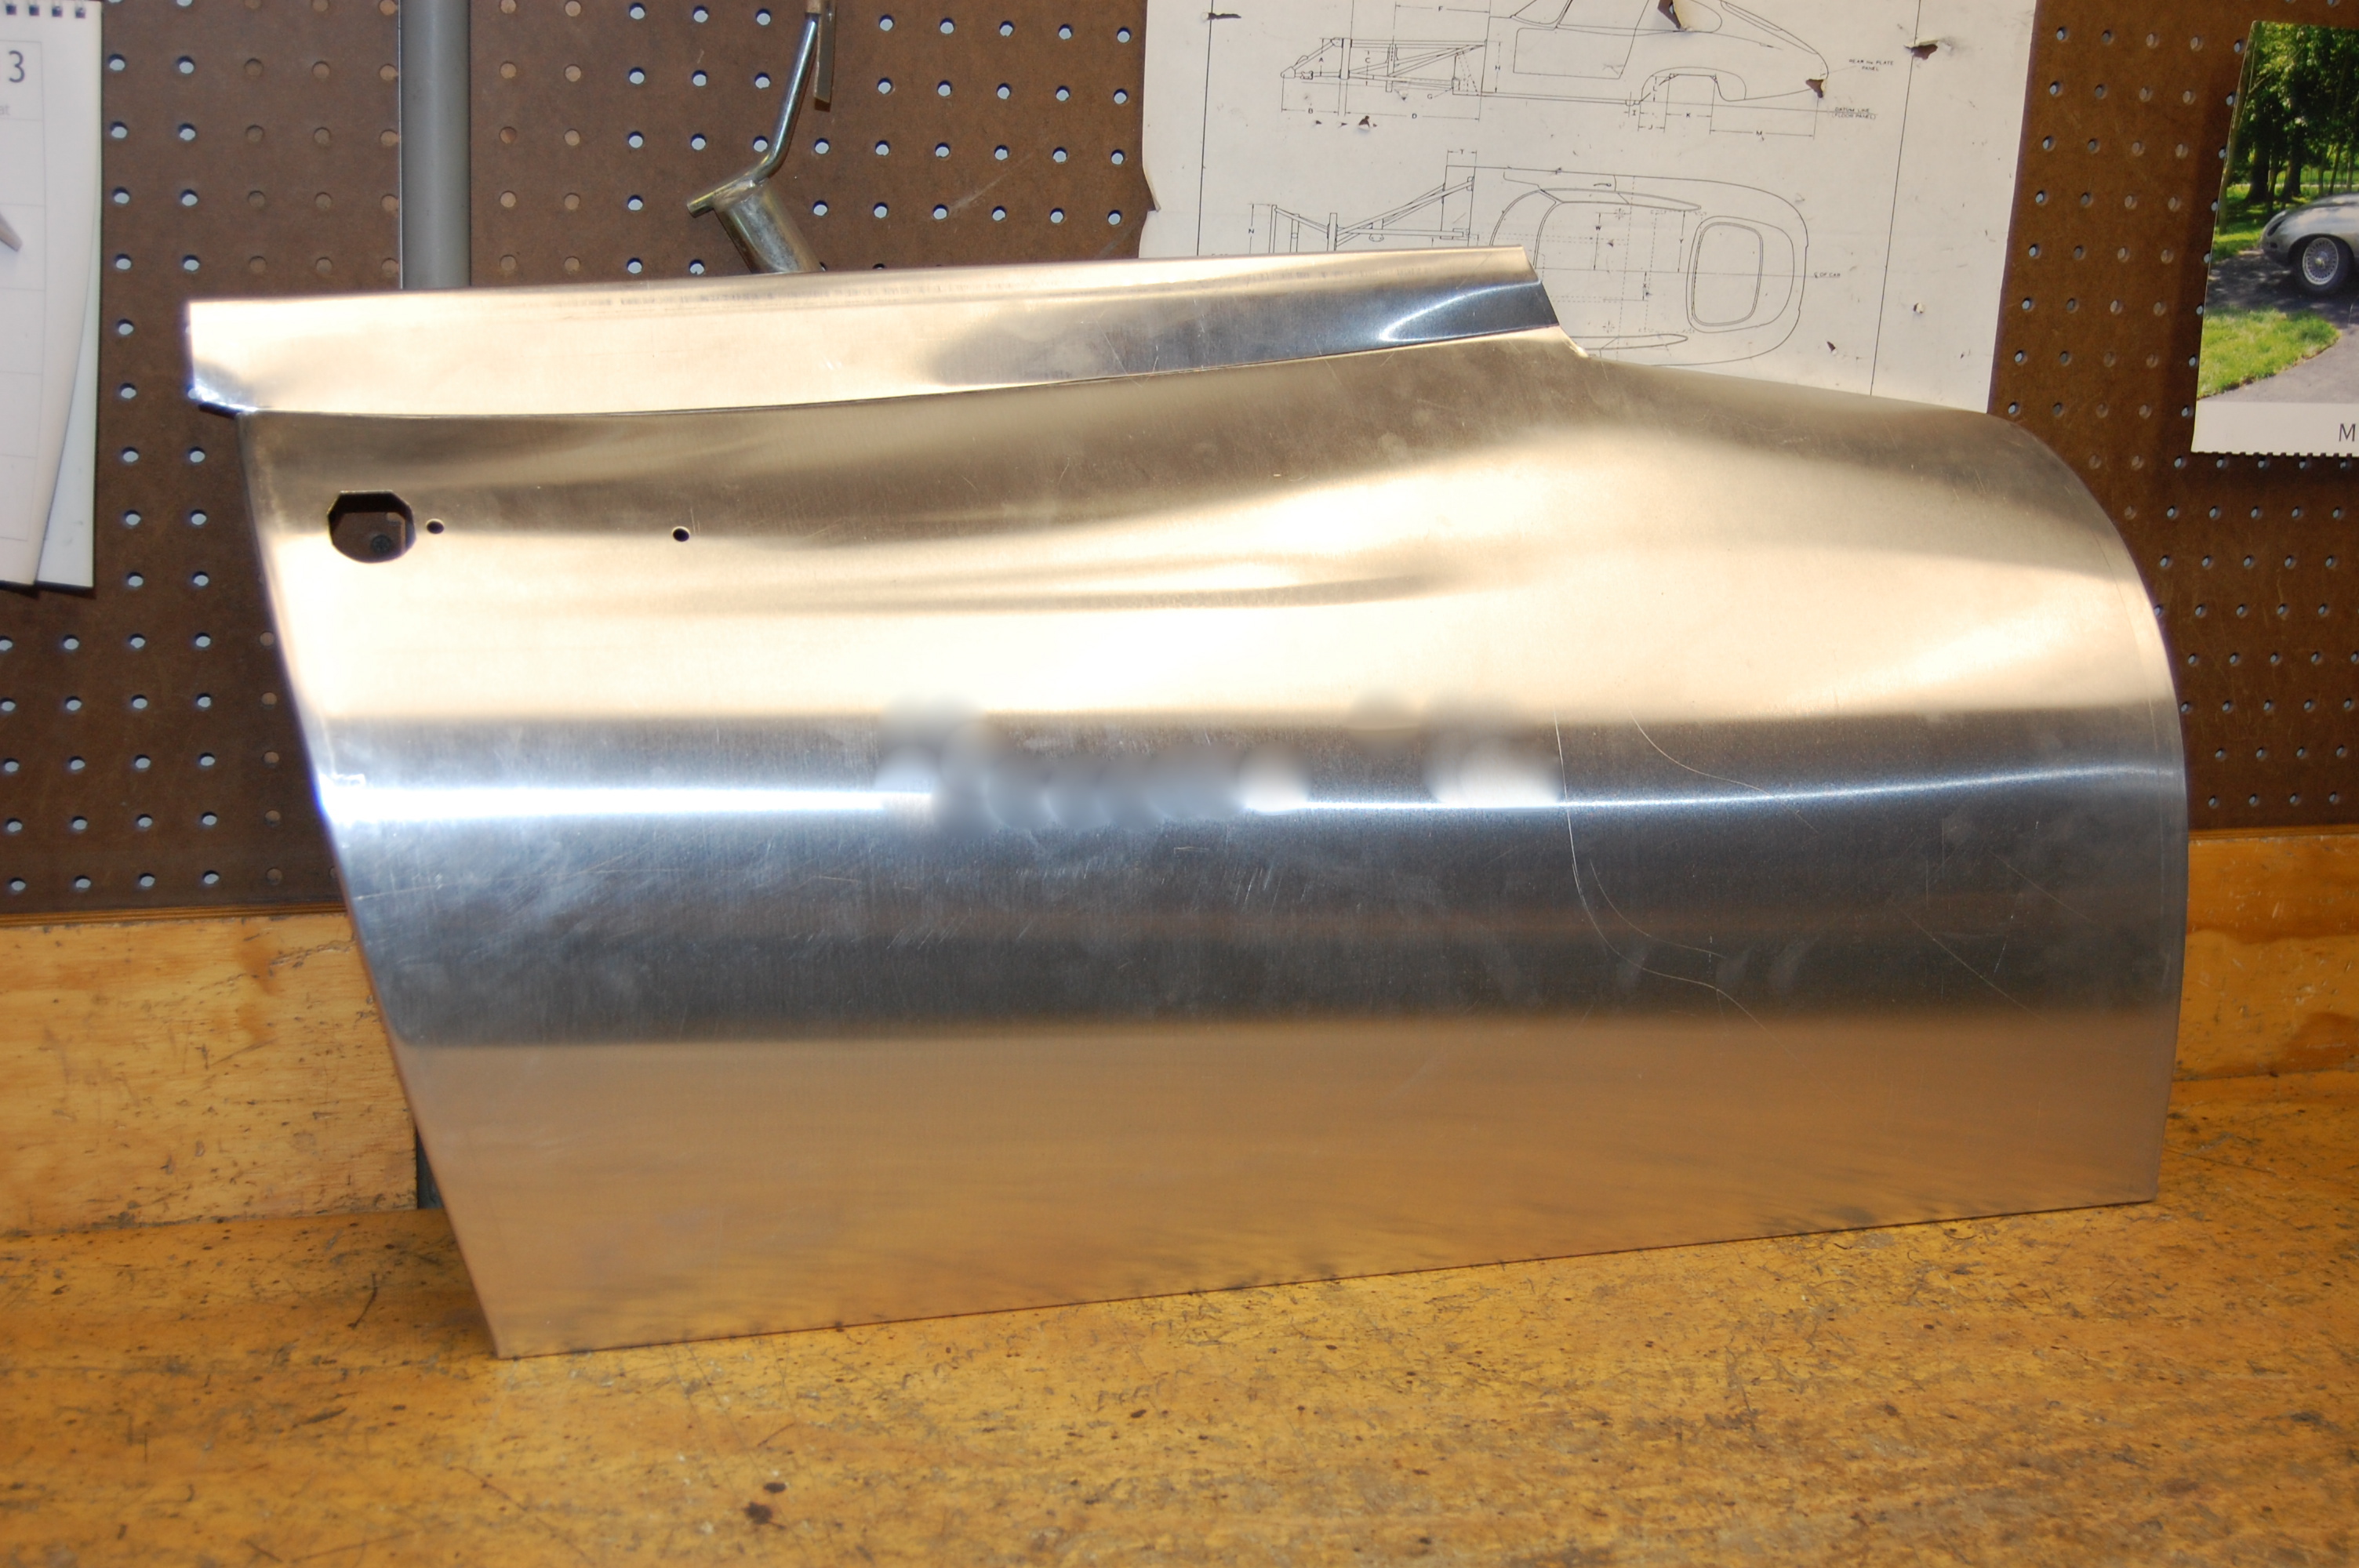
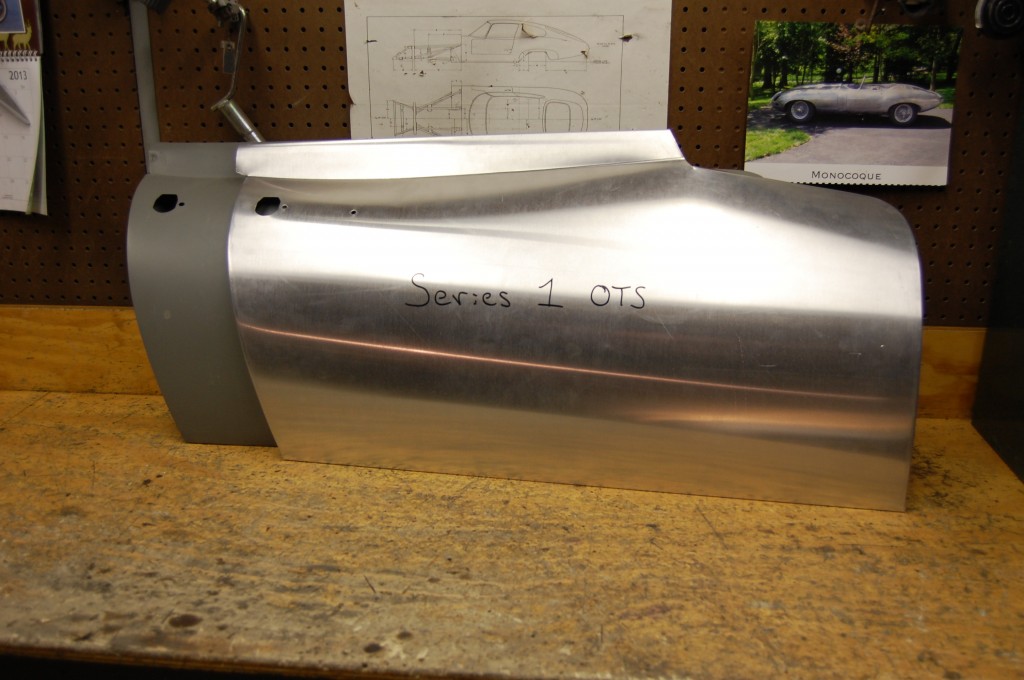
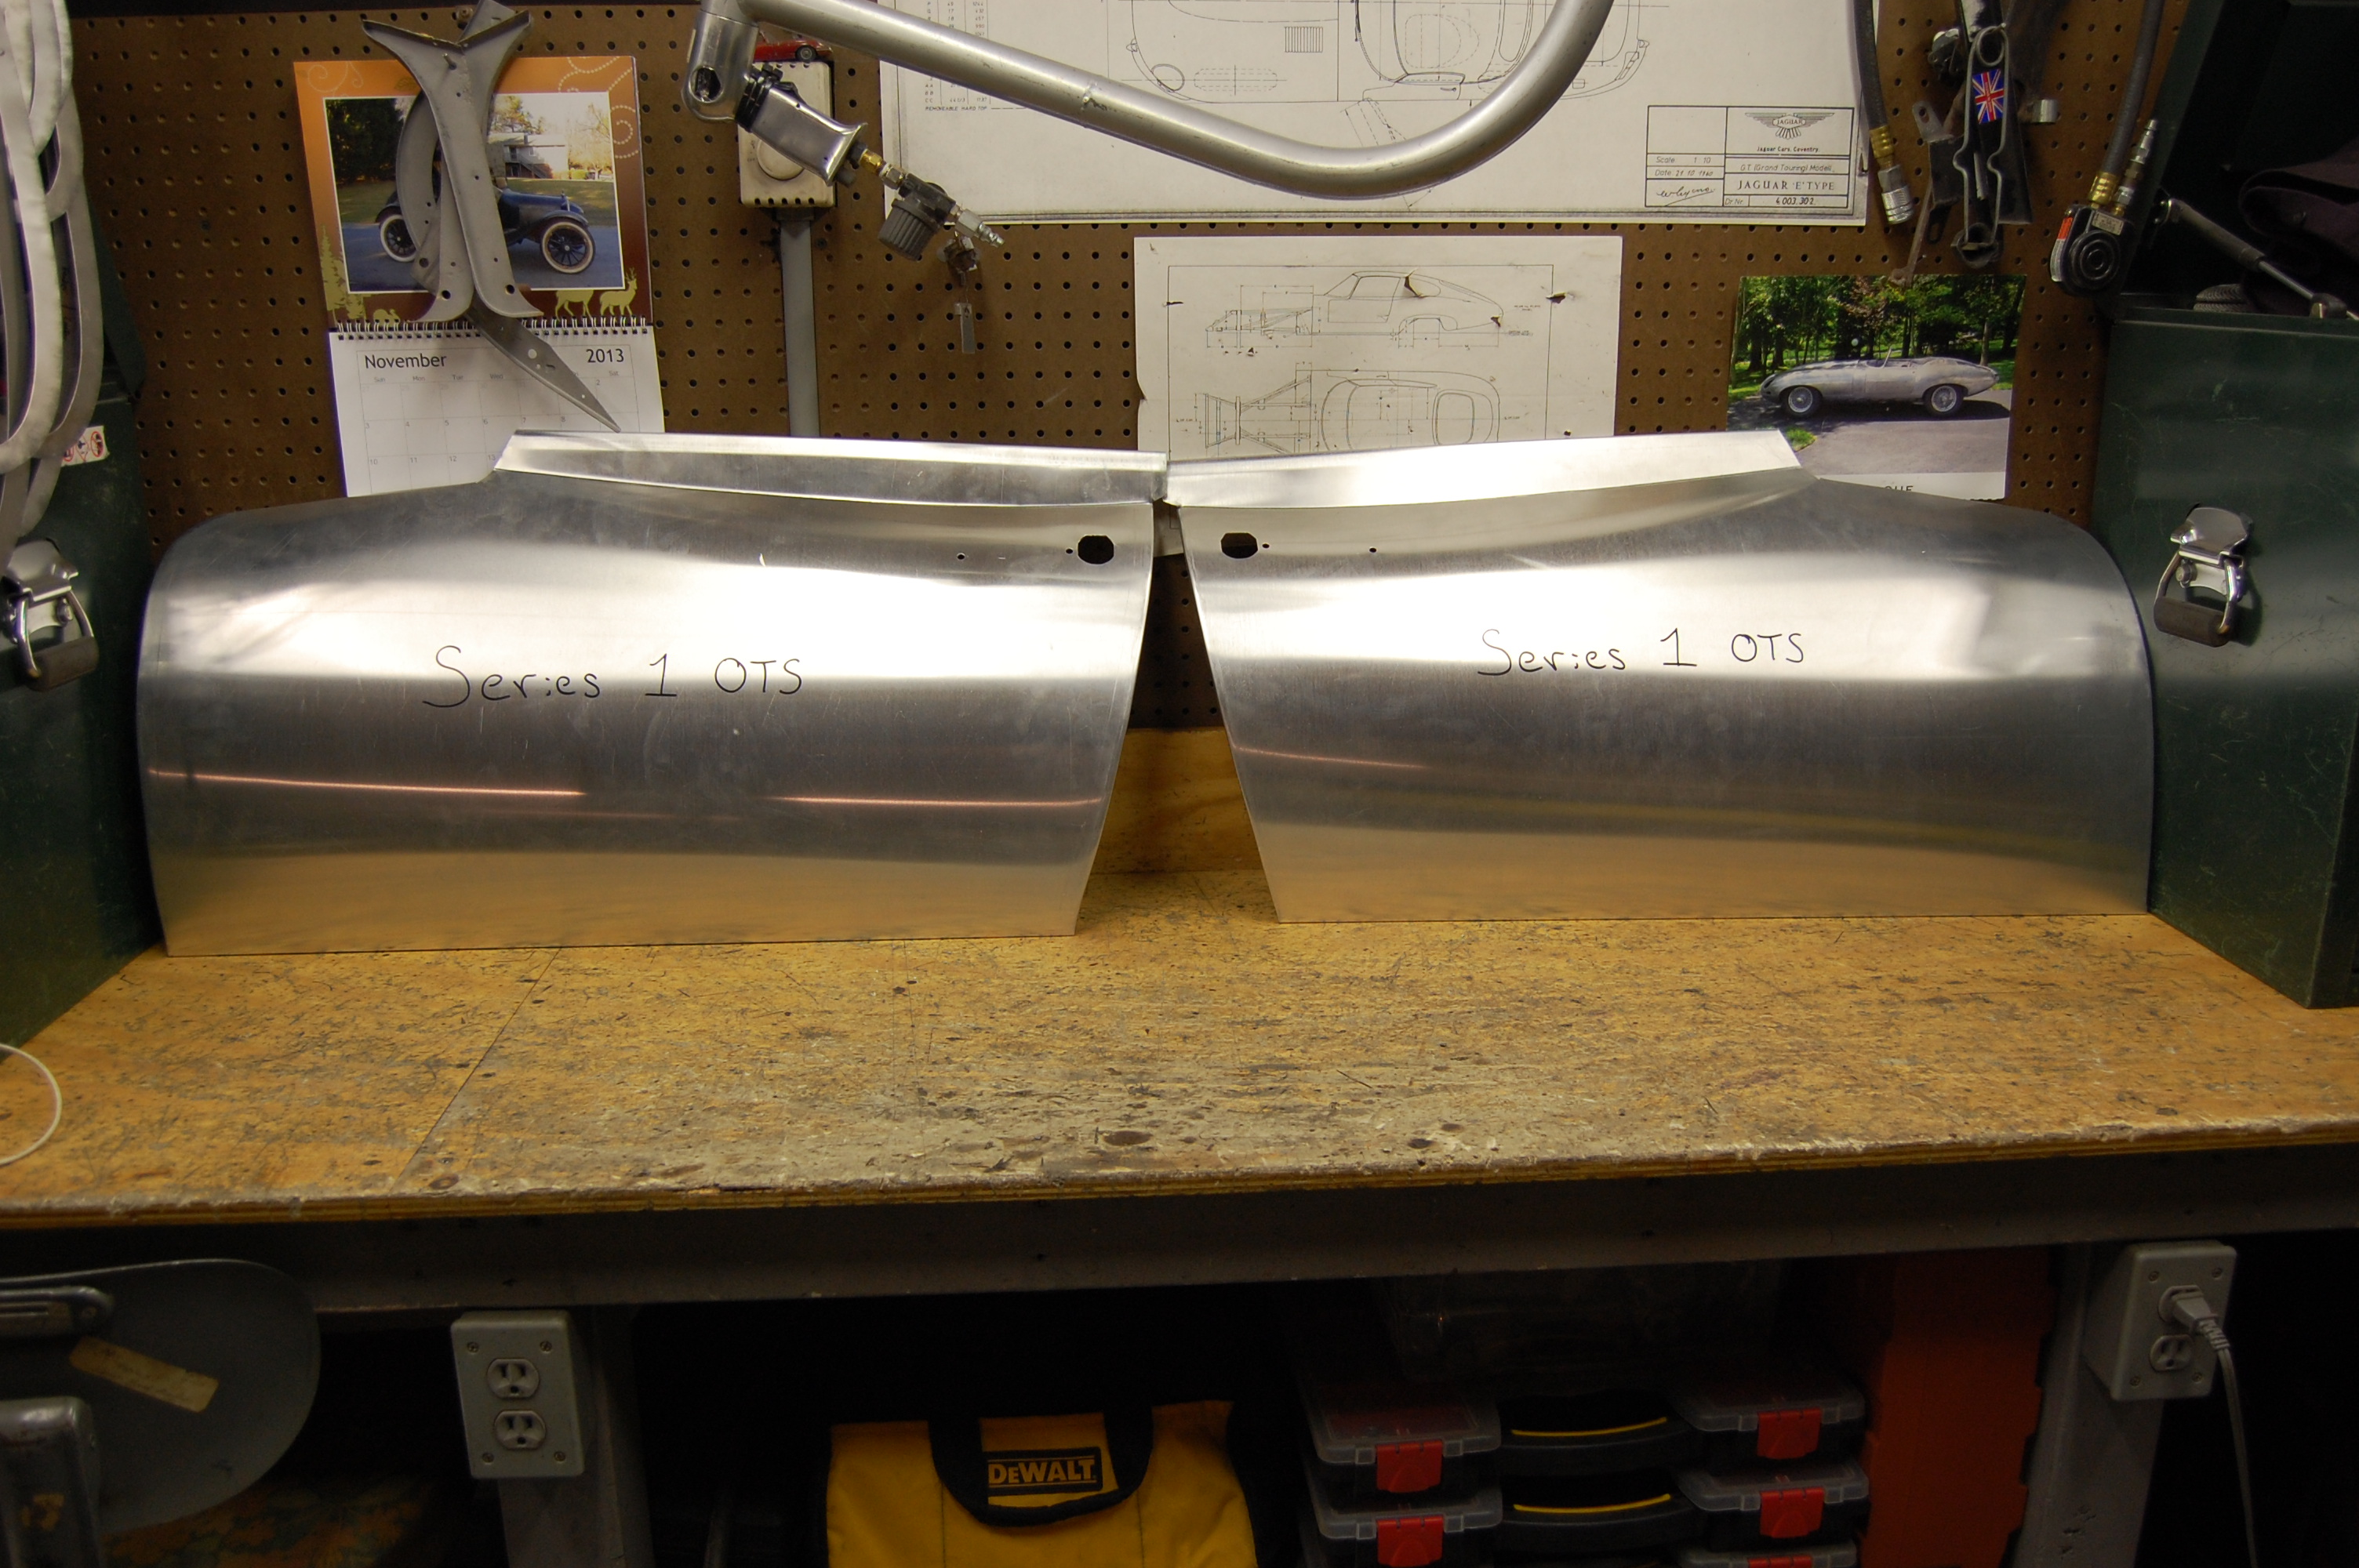
- In addition to forming up the skin for this job, we also made a pair of Series 1 OTS aluminum skins. Need them? – they’re still here – call me!
-
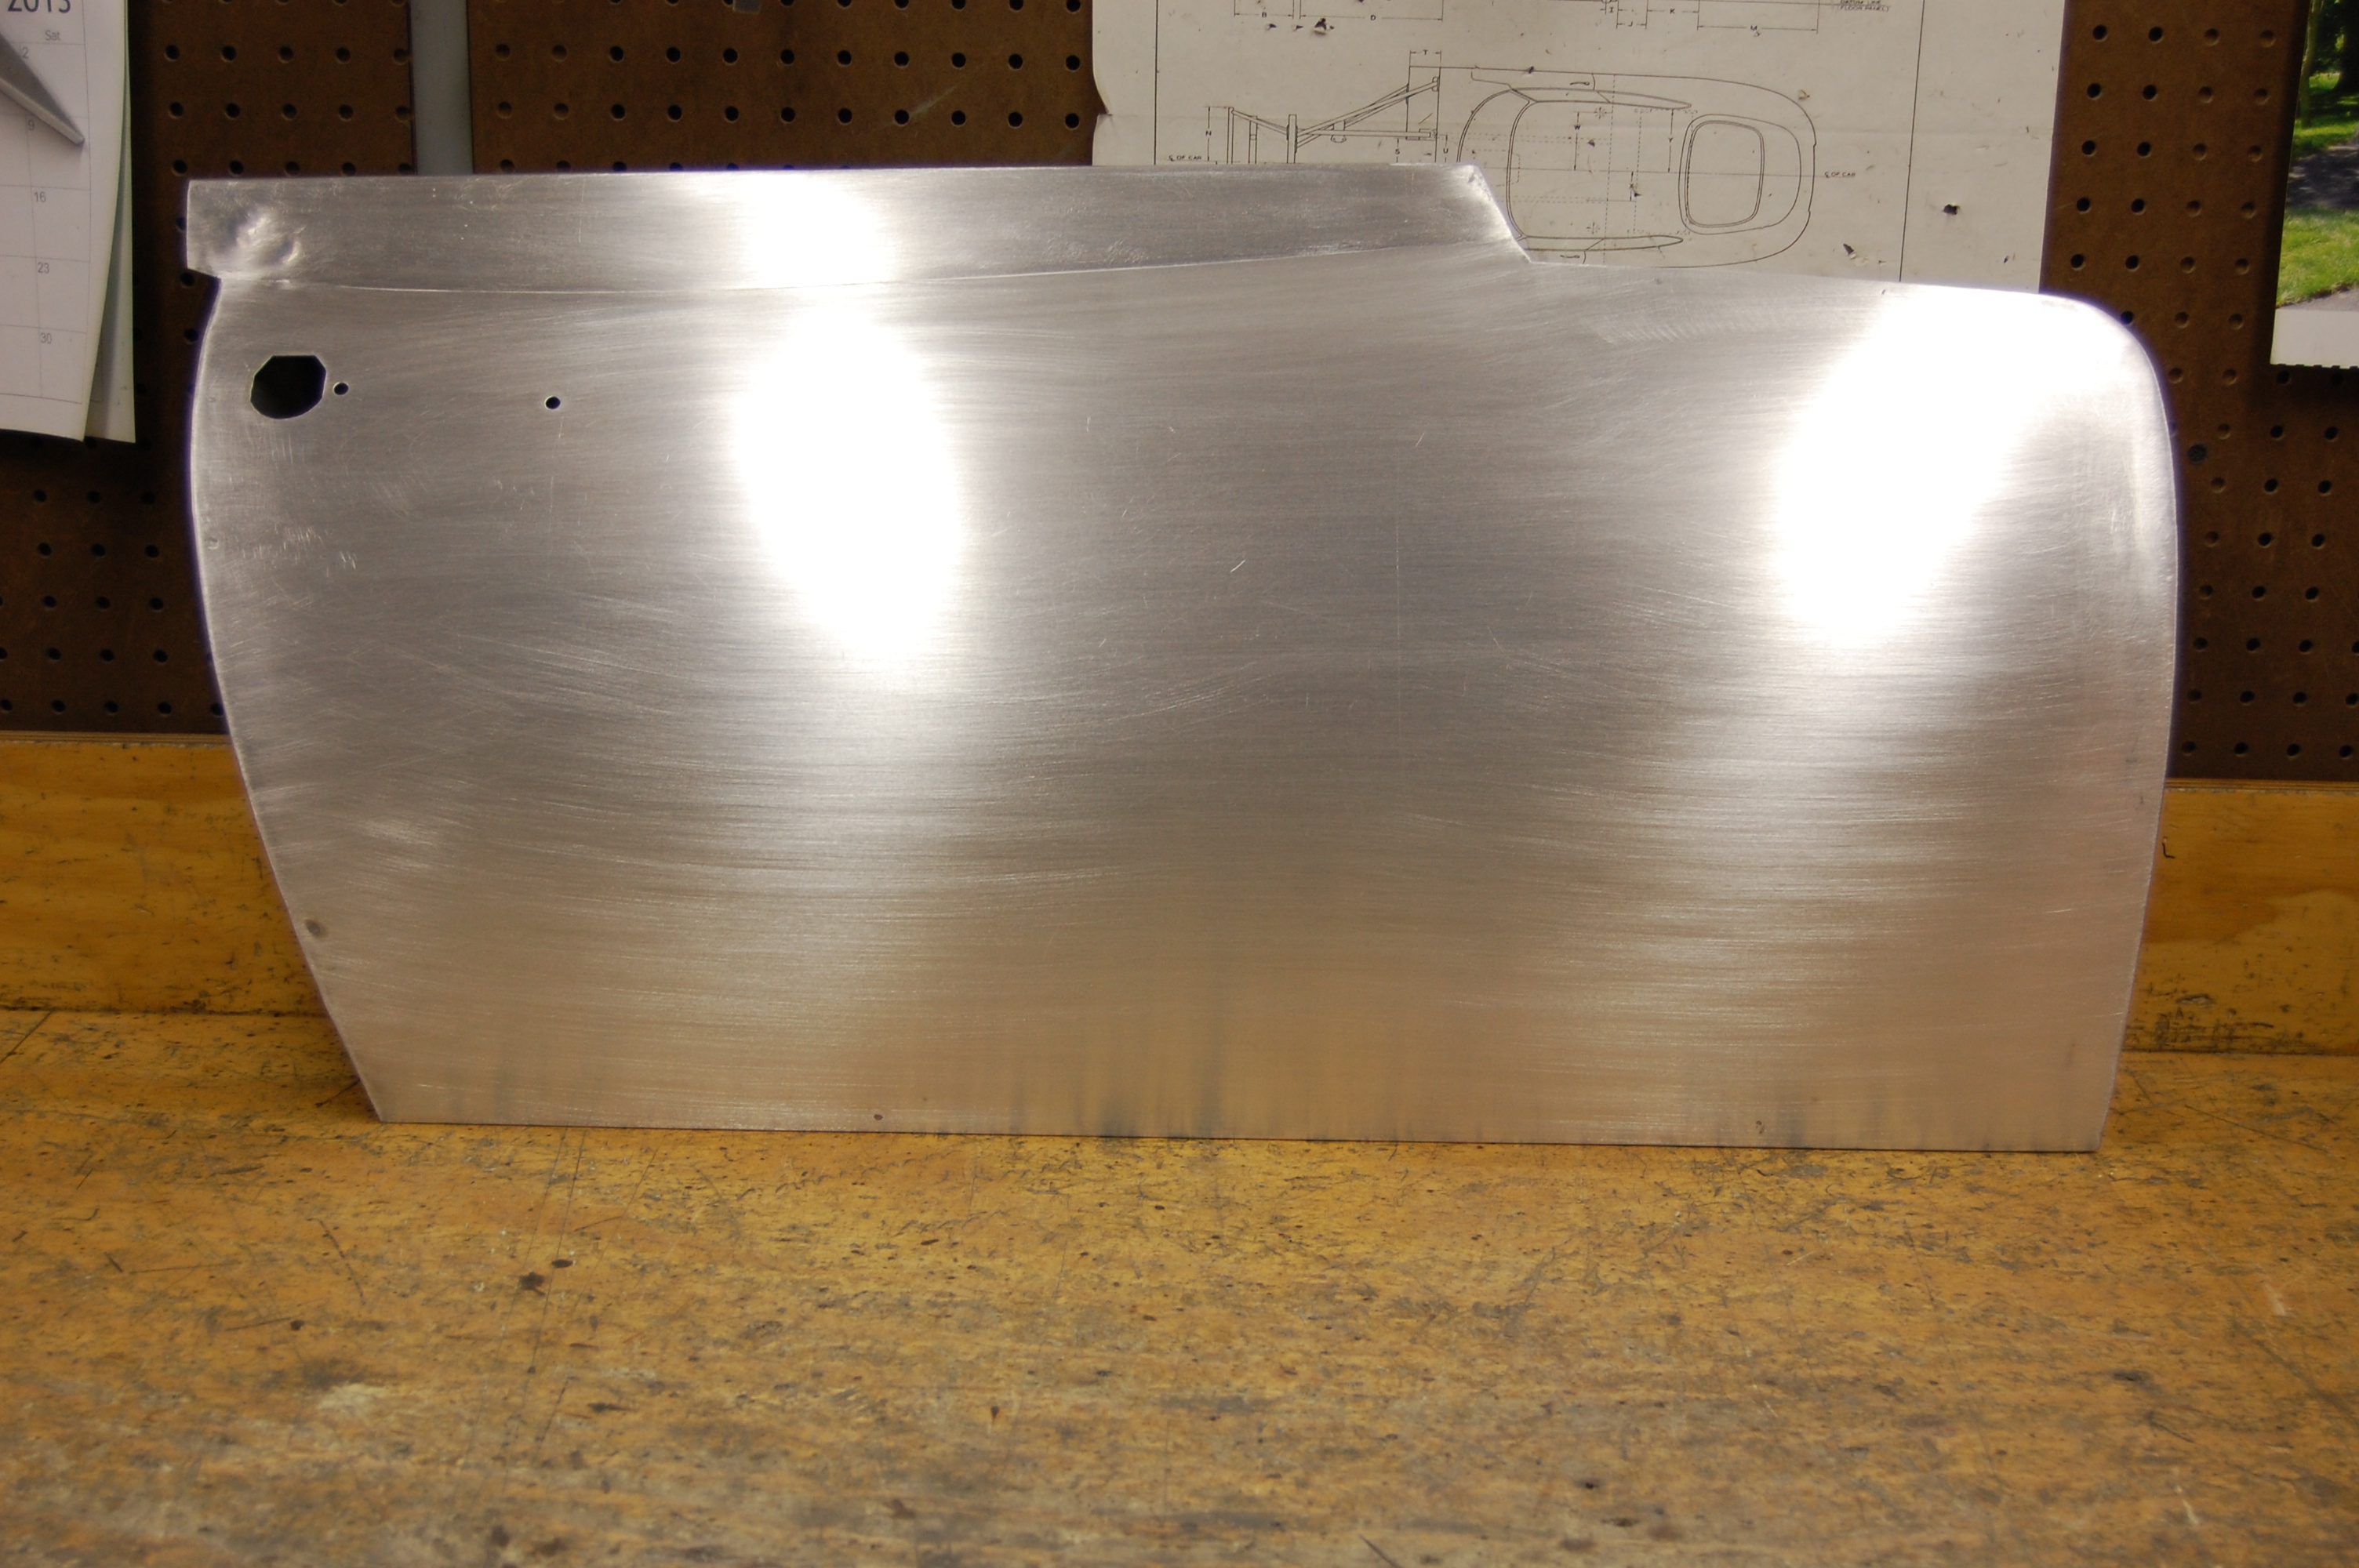
- Another shot of the Series 1 E-Type OTS aluminum door skins.

-
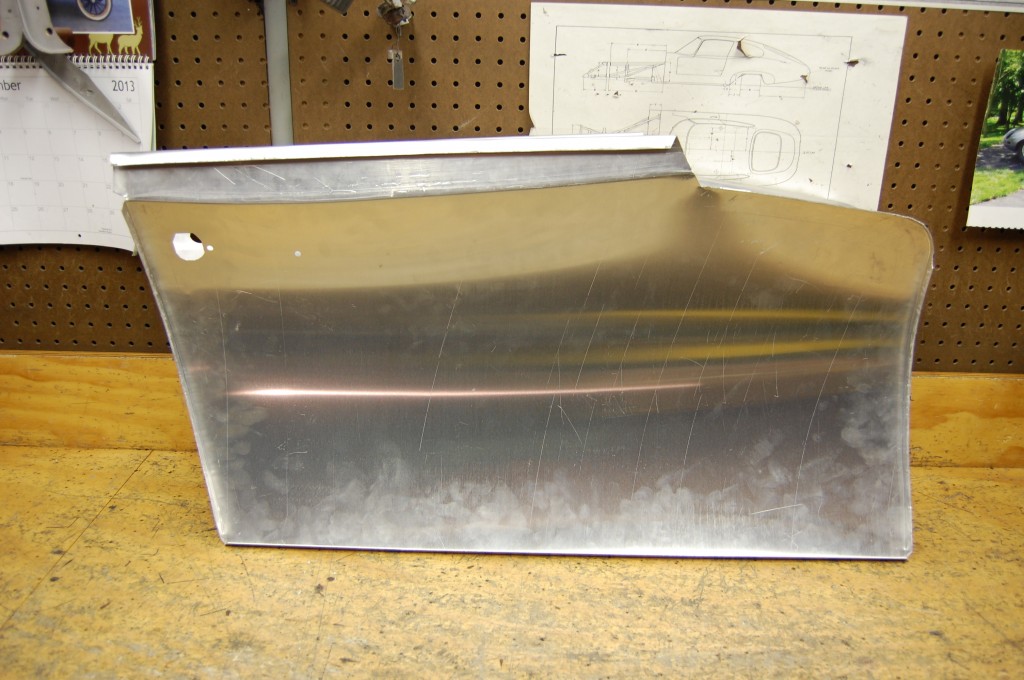
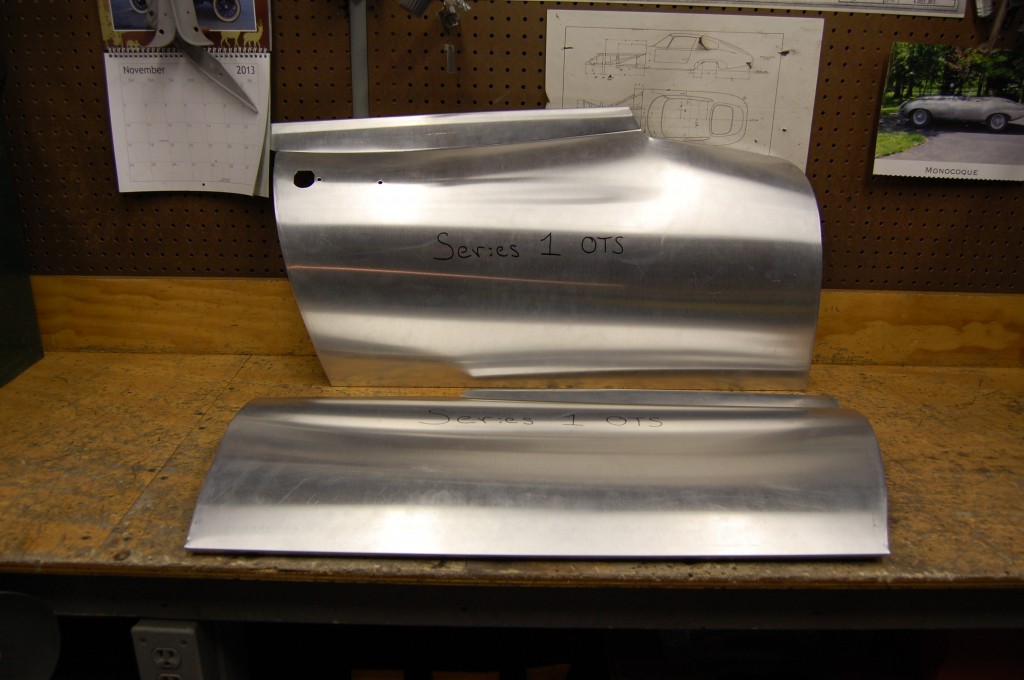
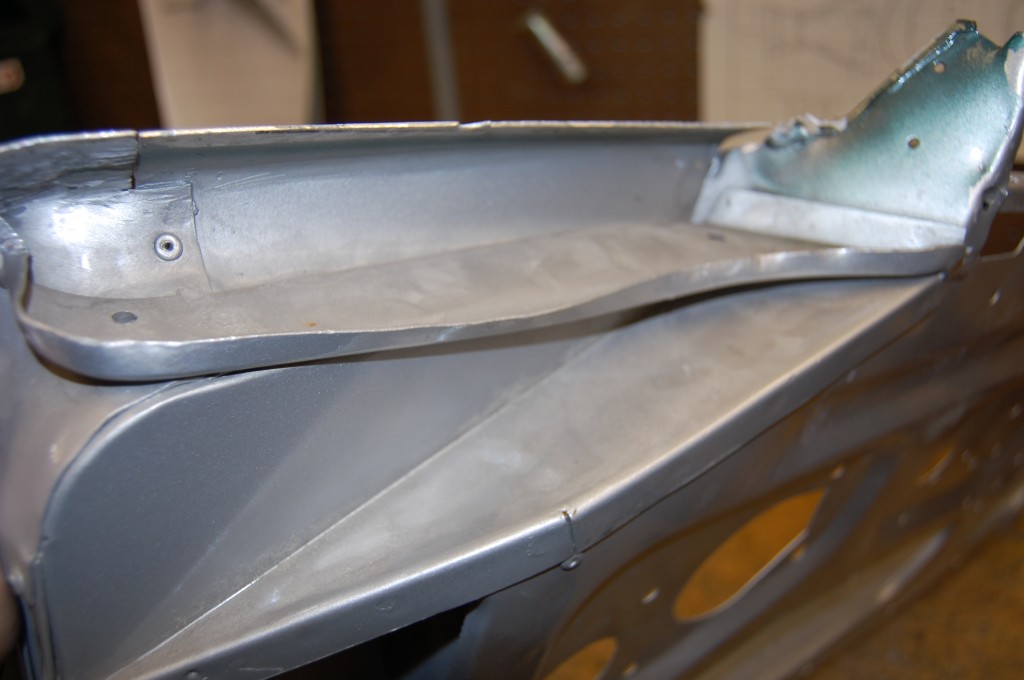
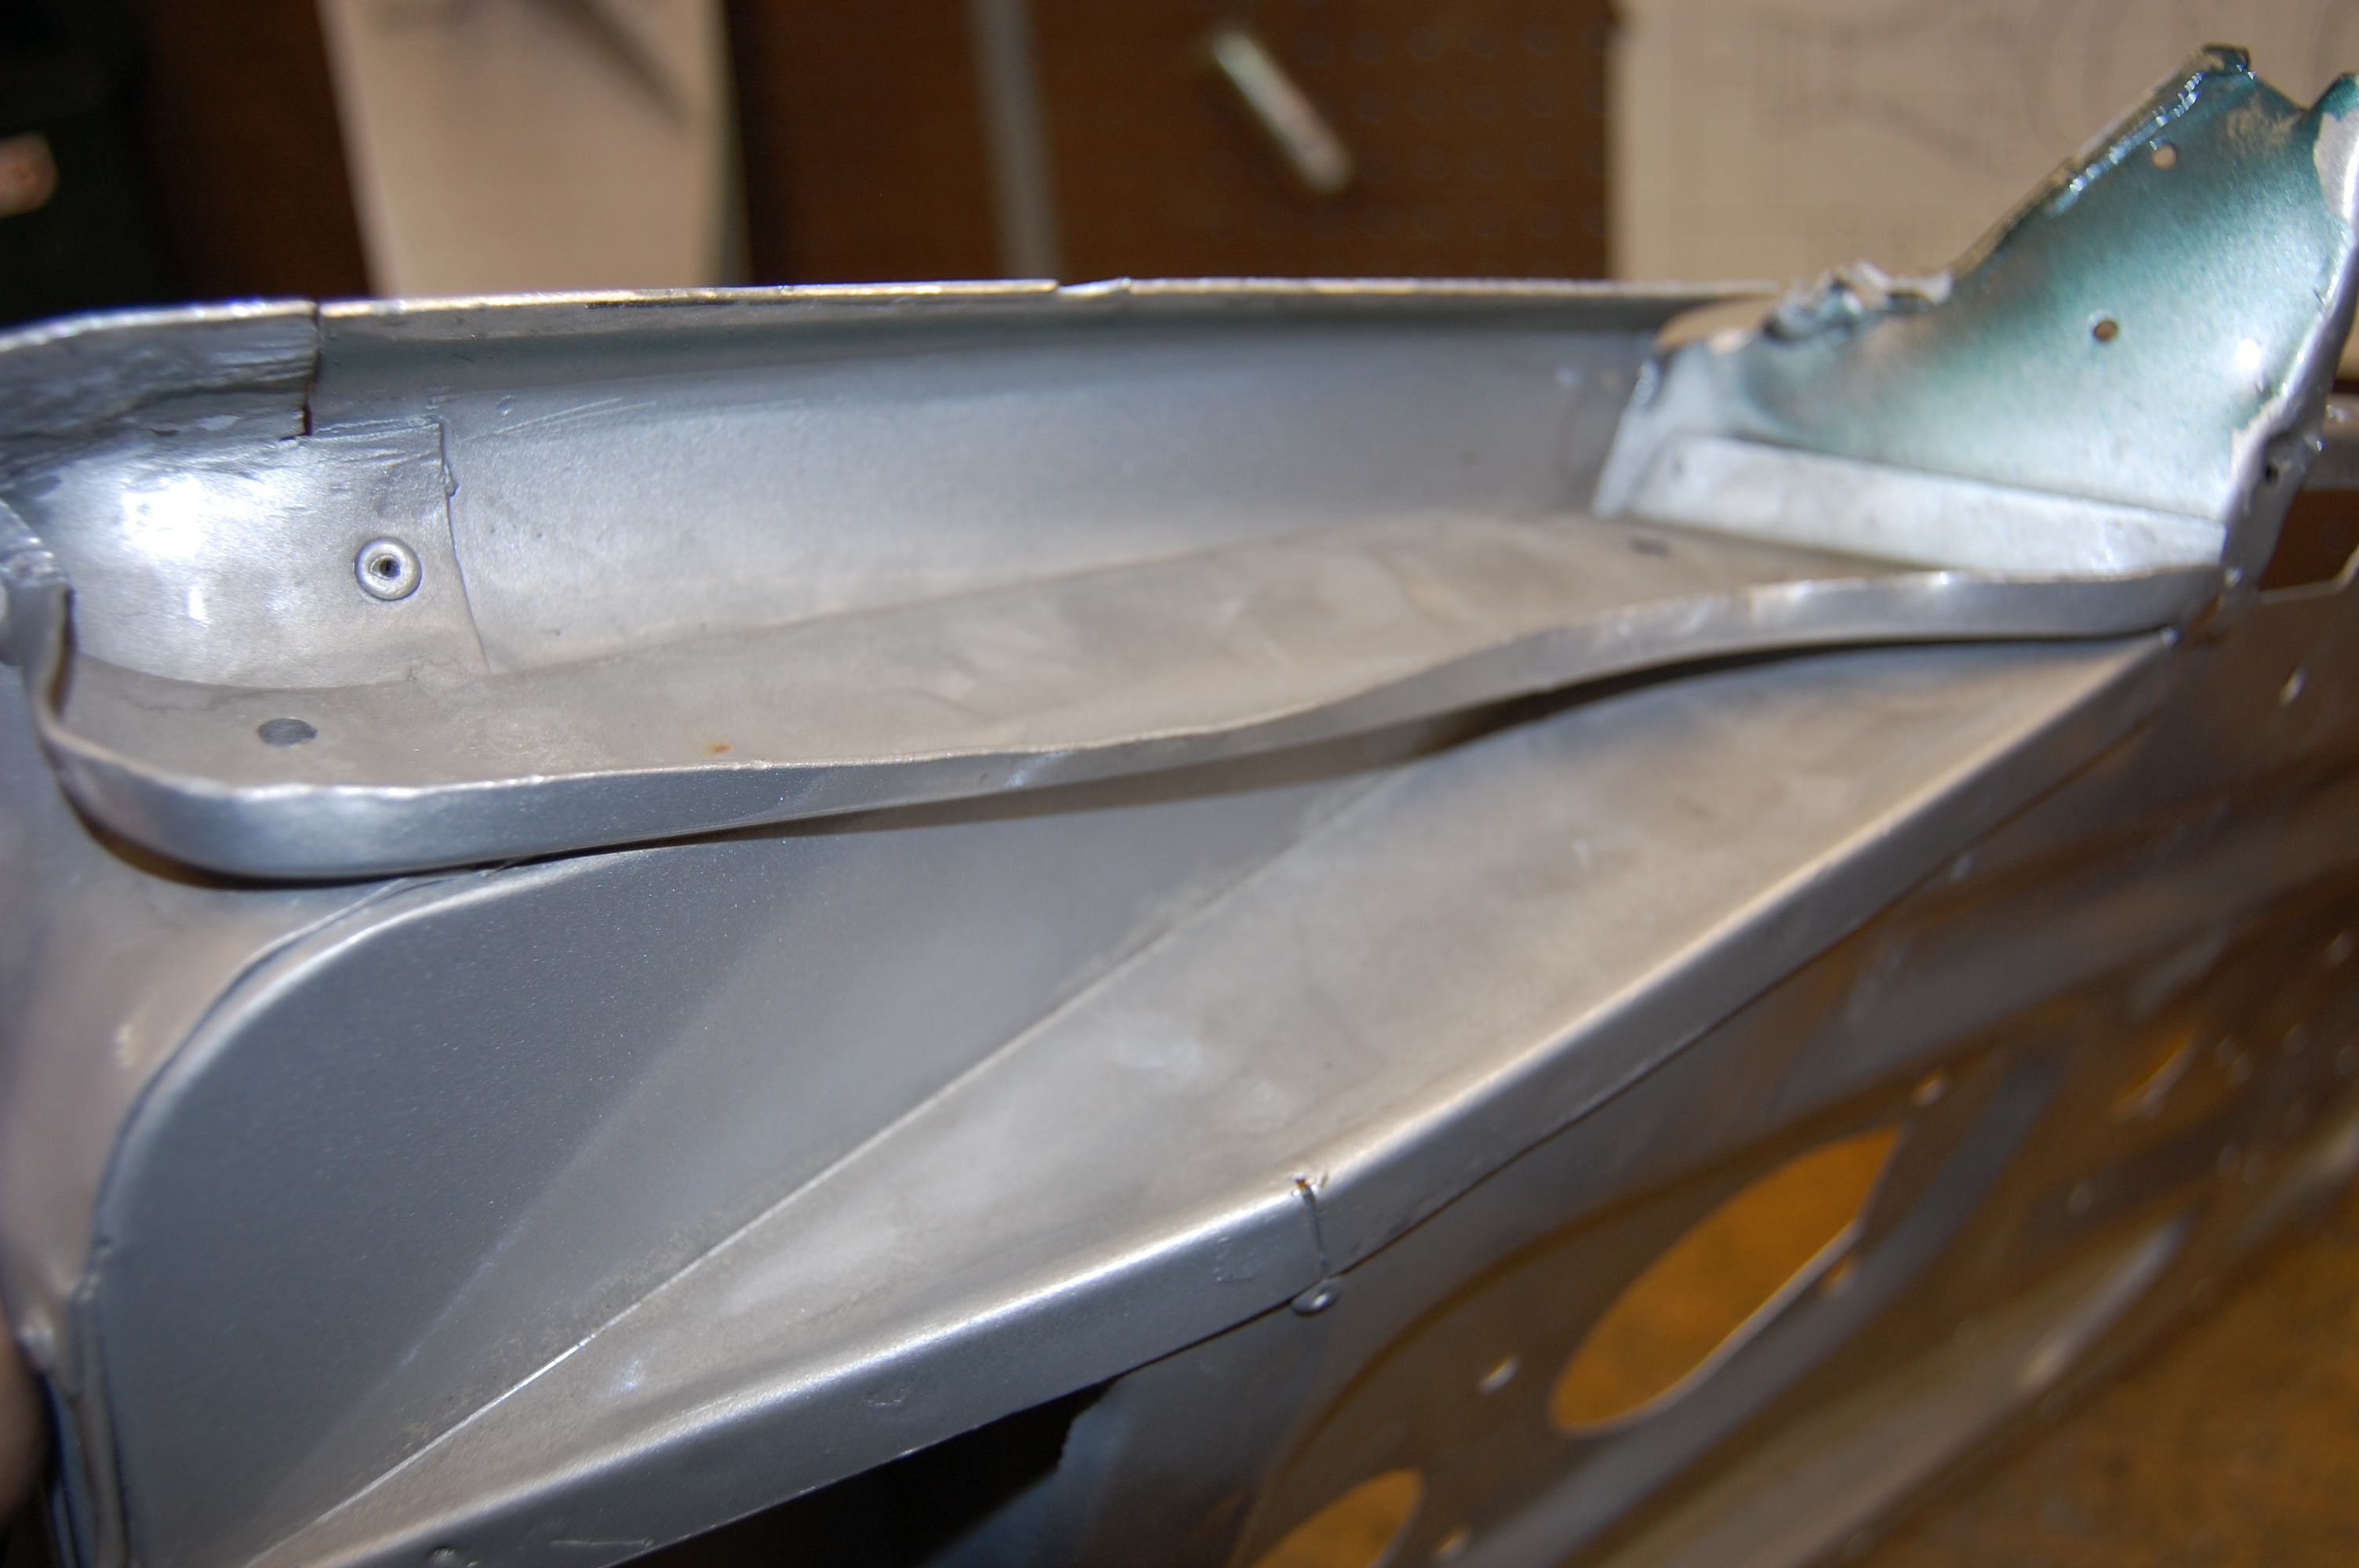
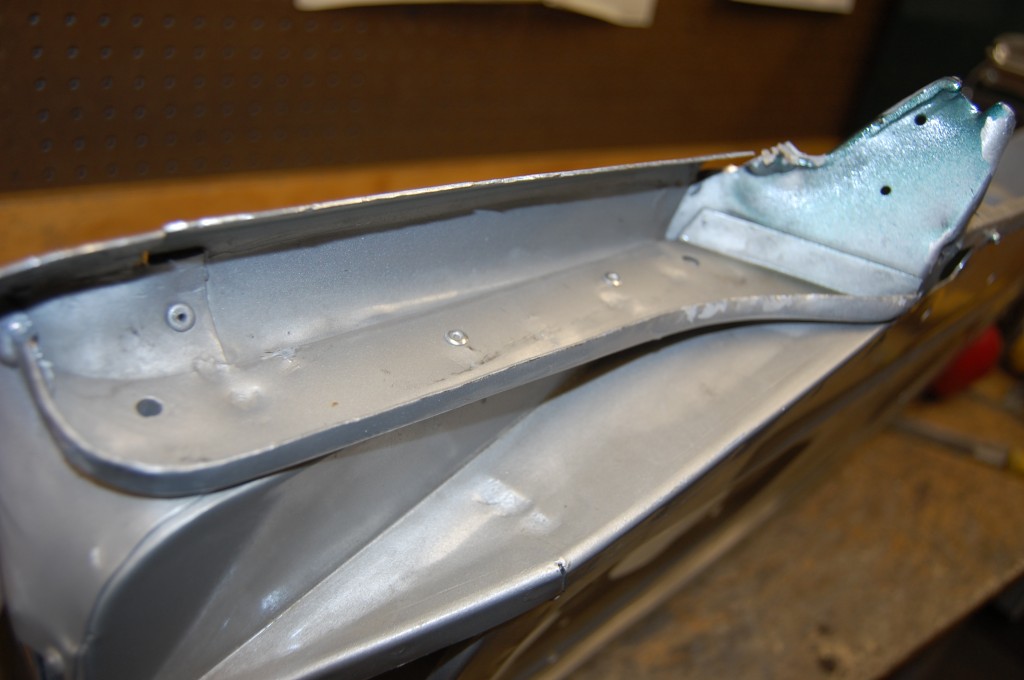
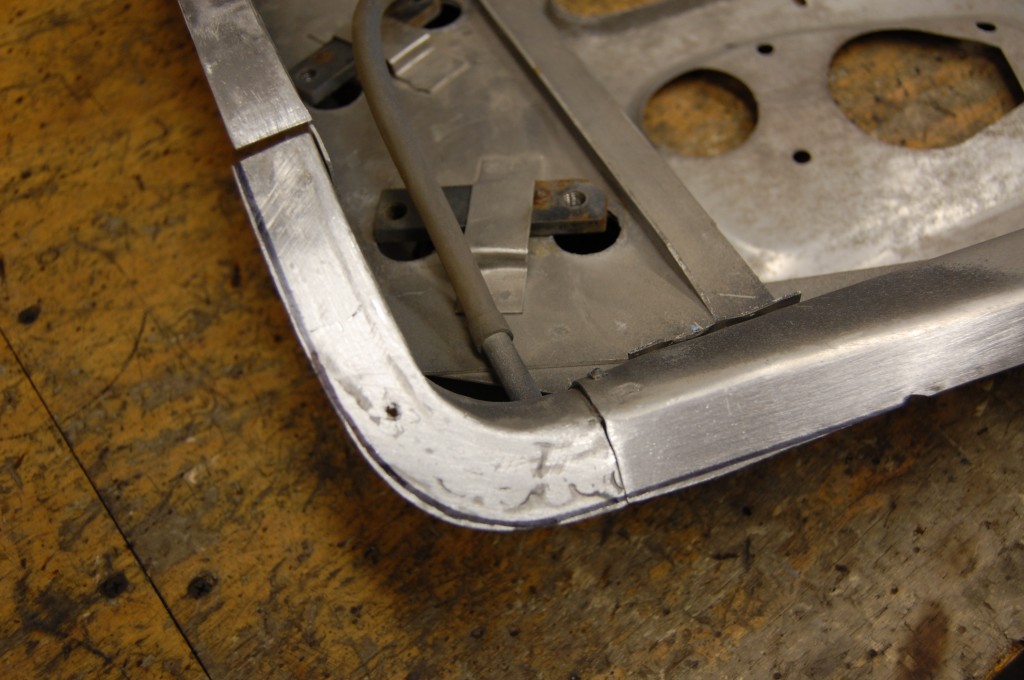
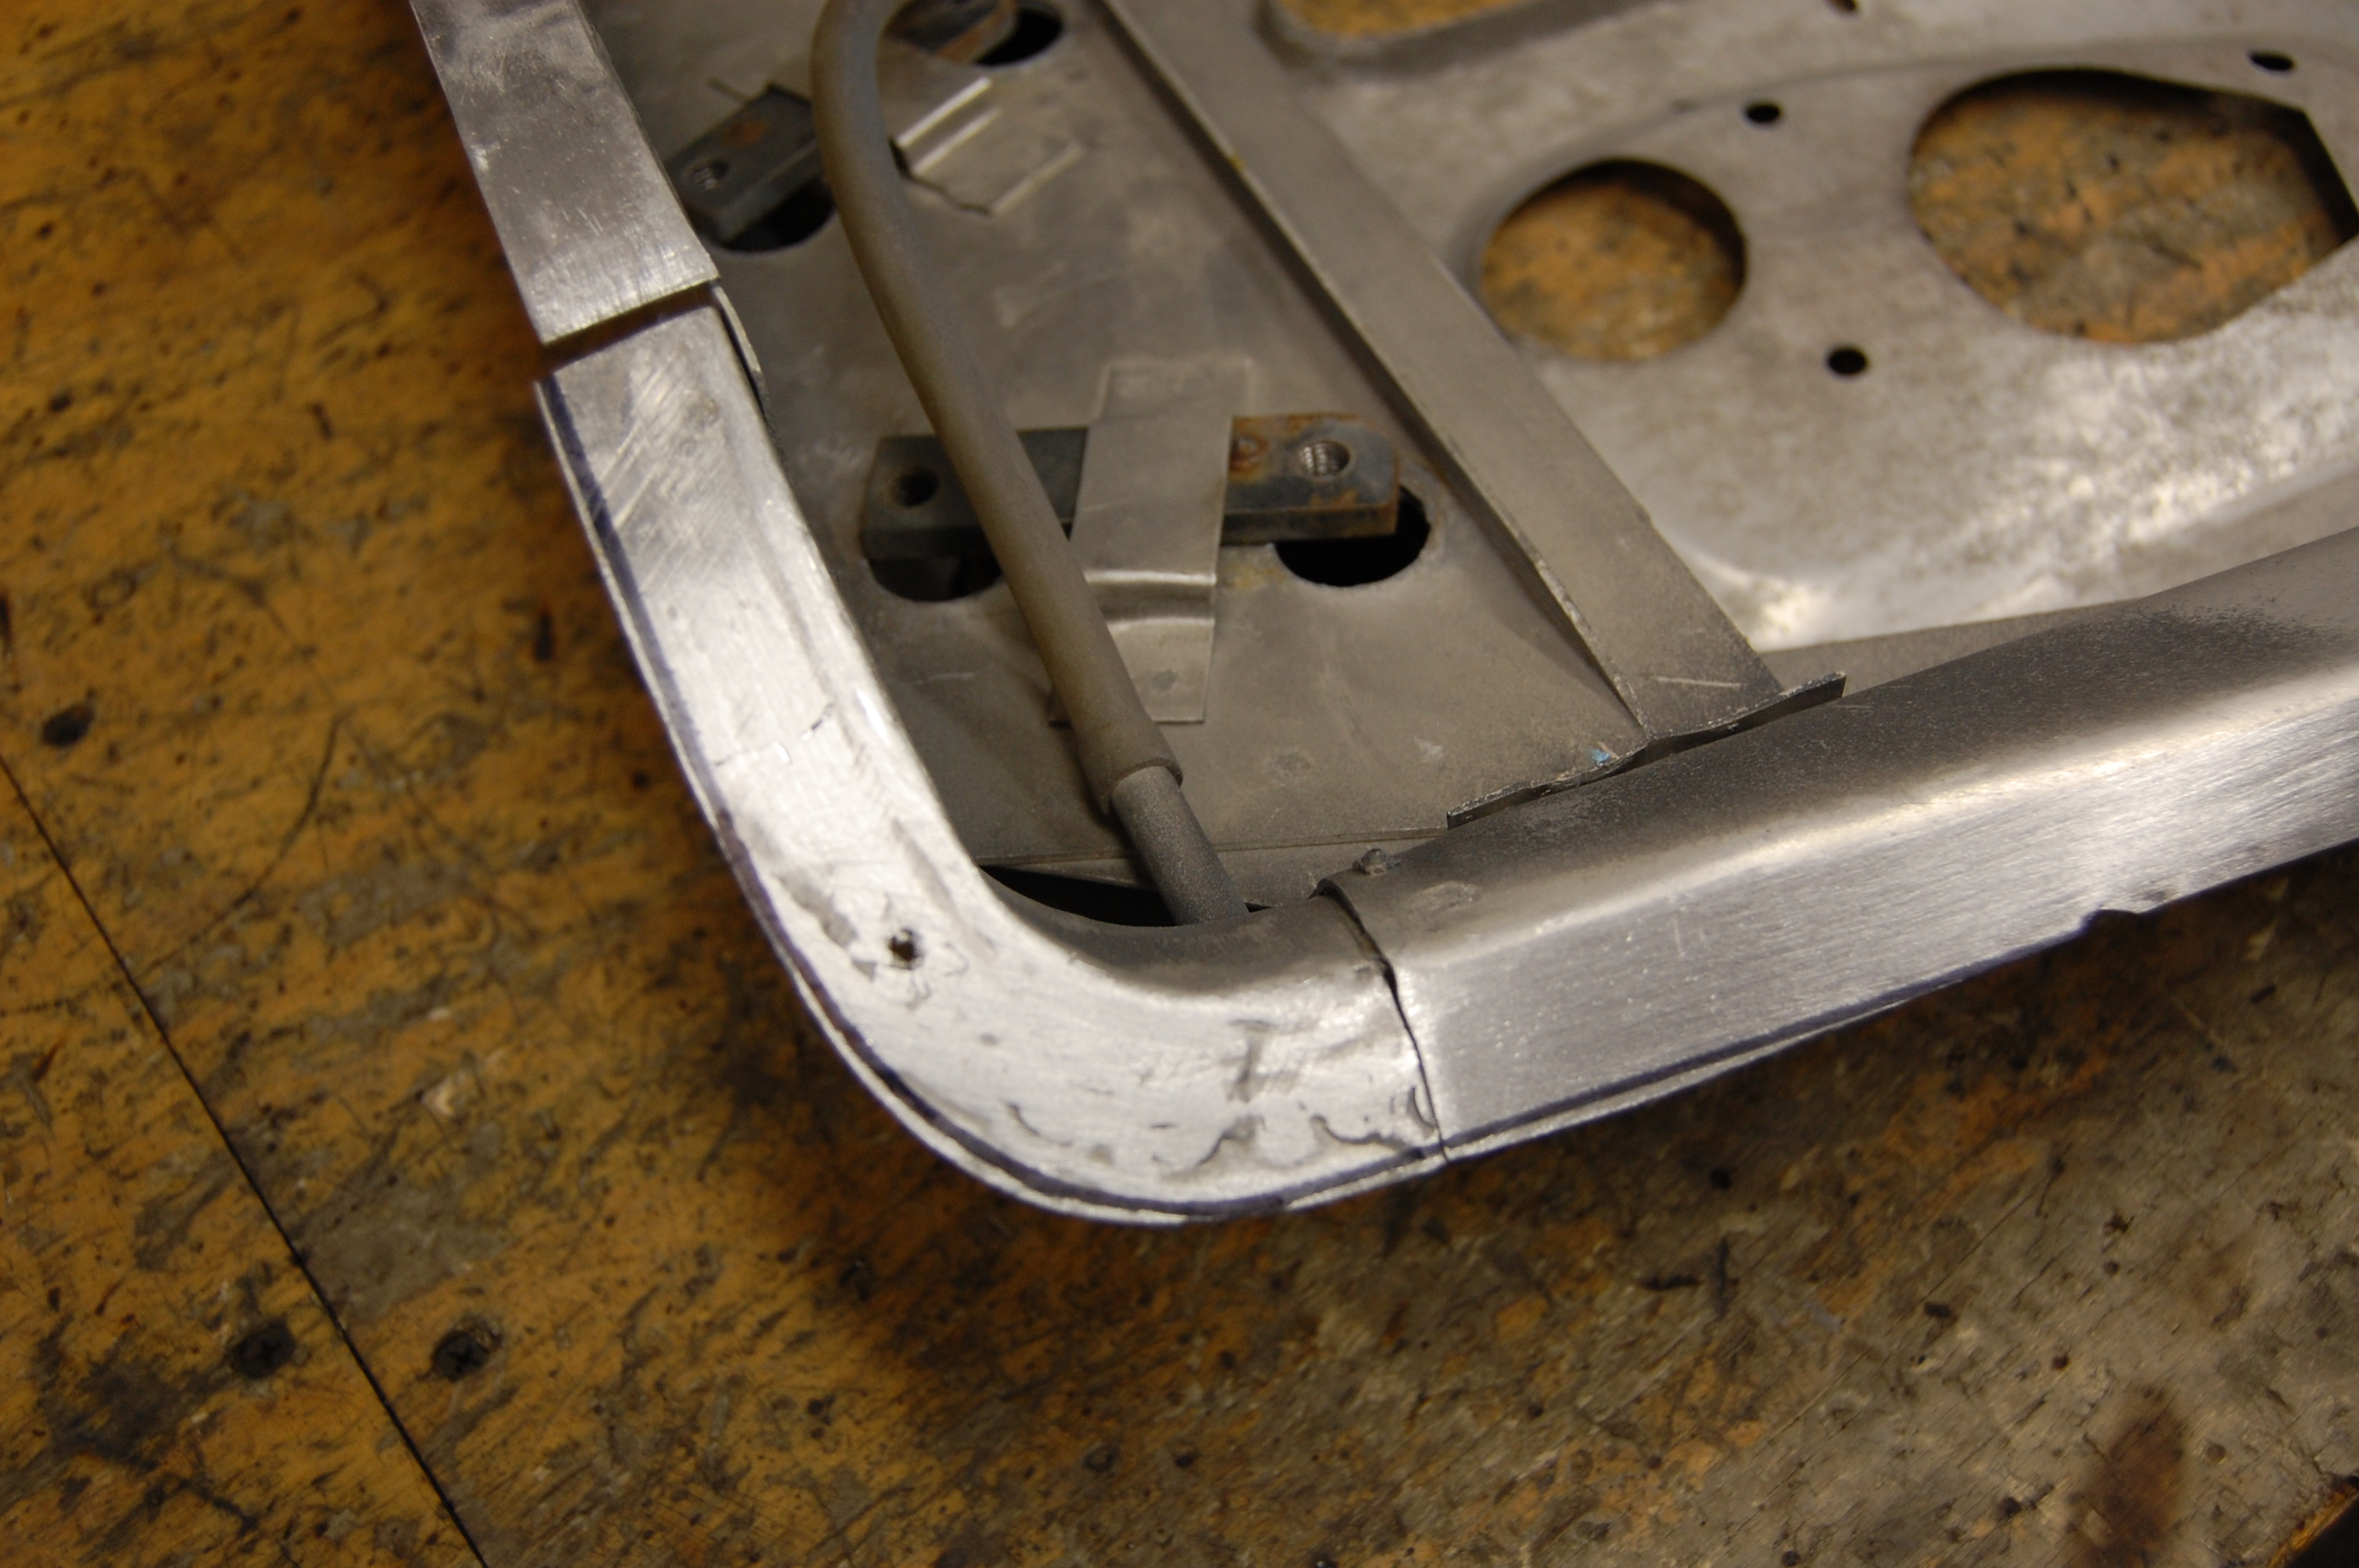
- Here is the back side…

-

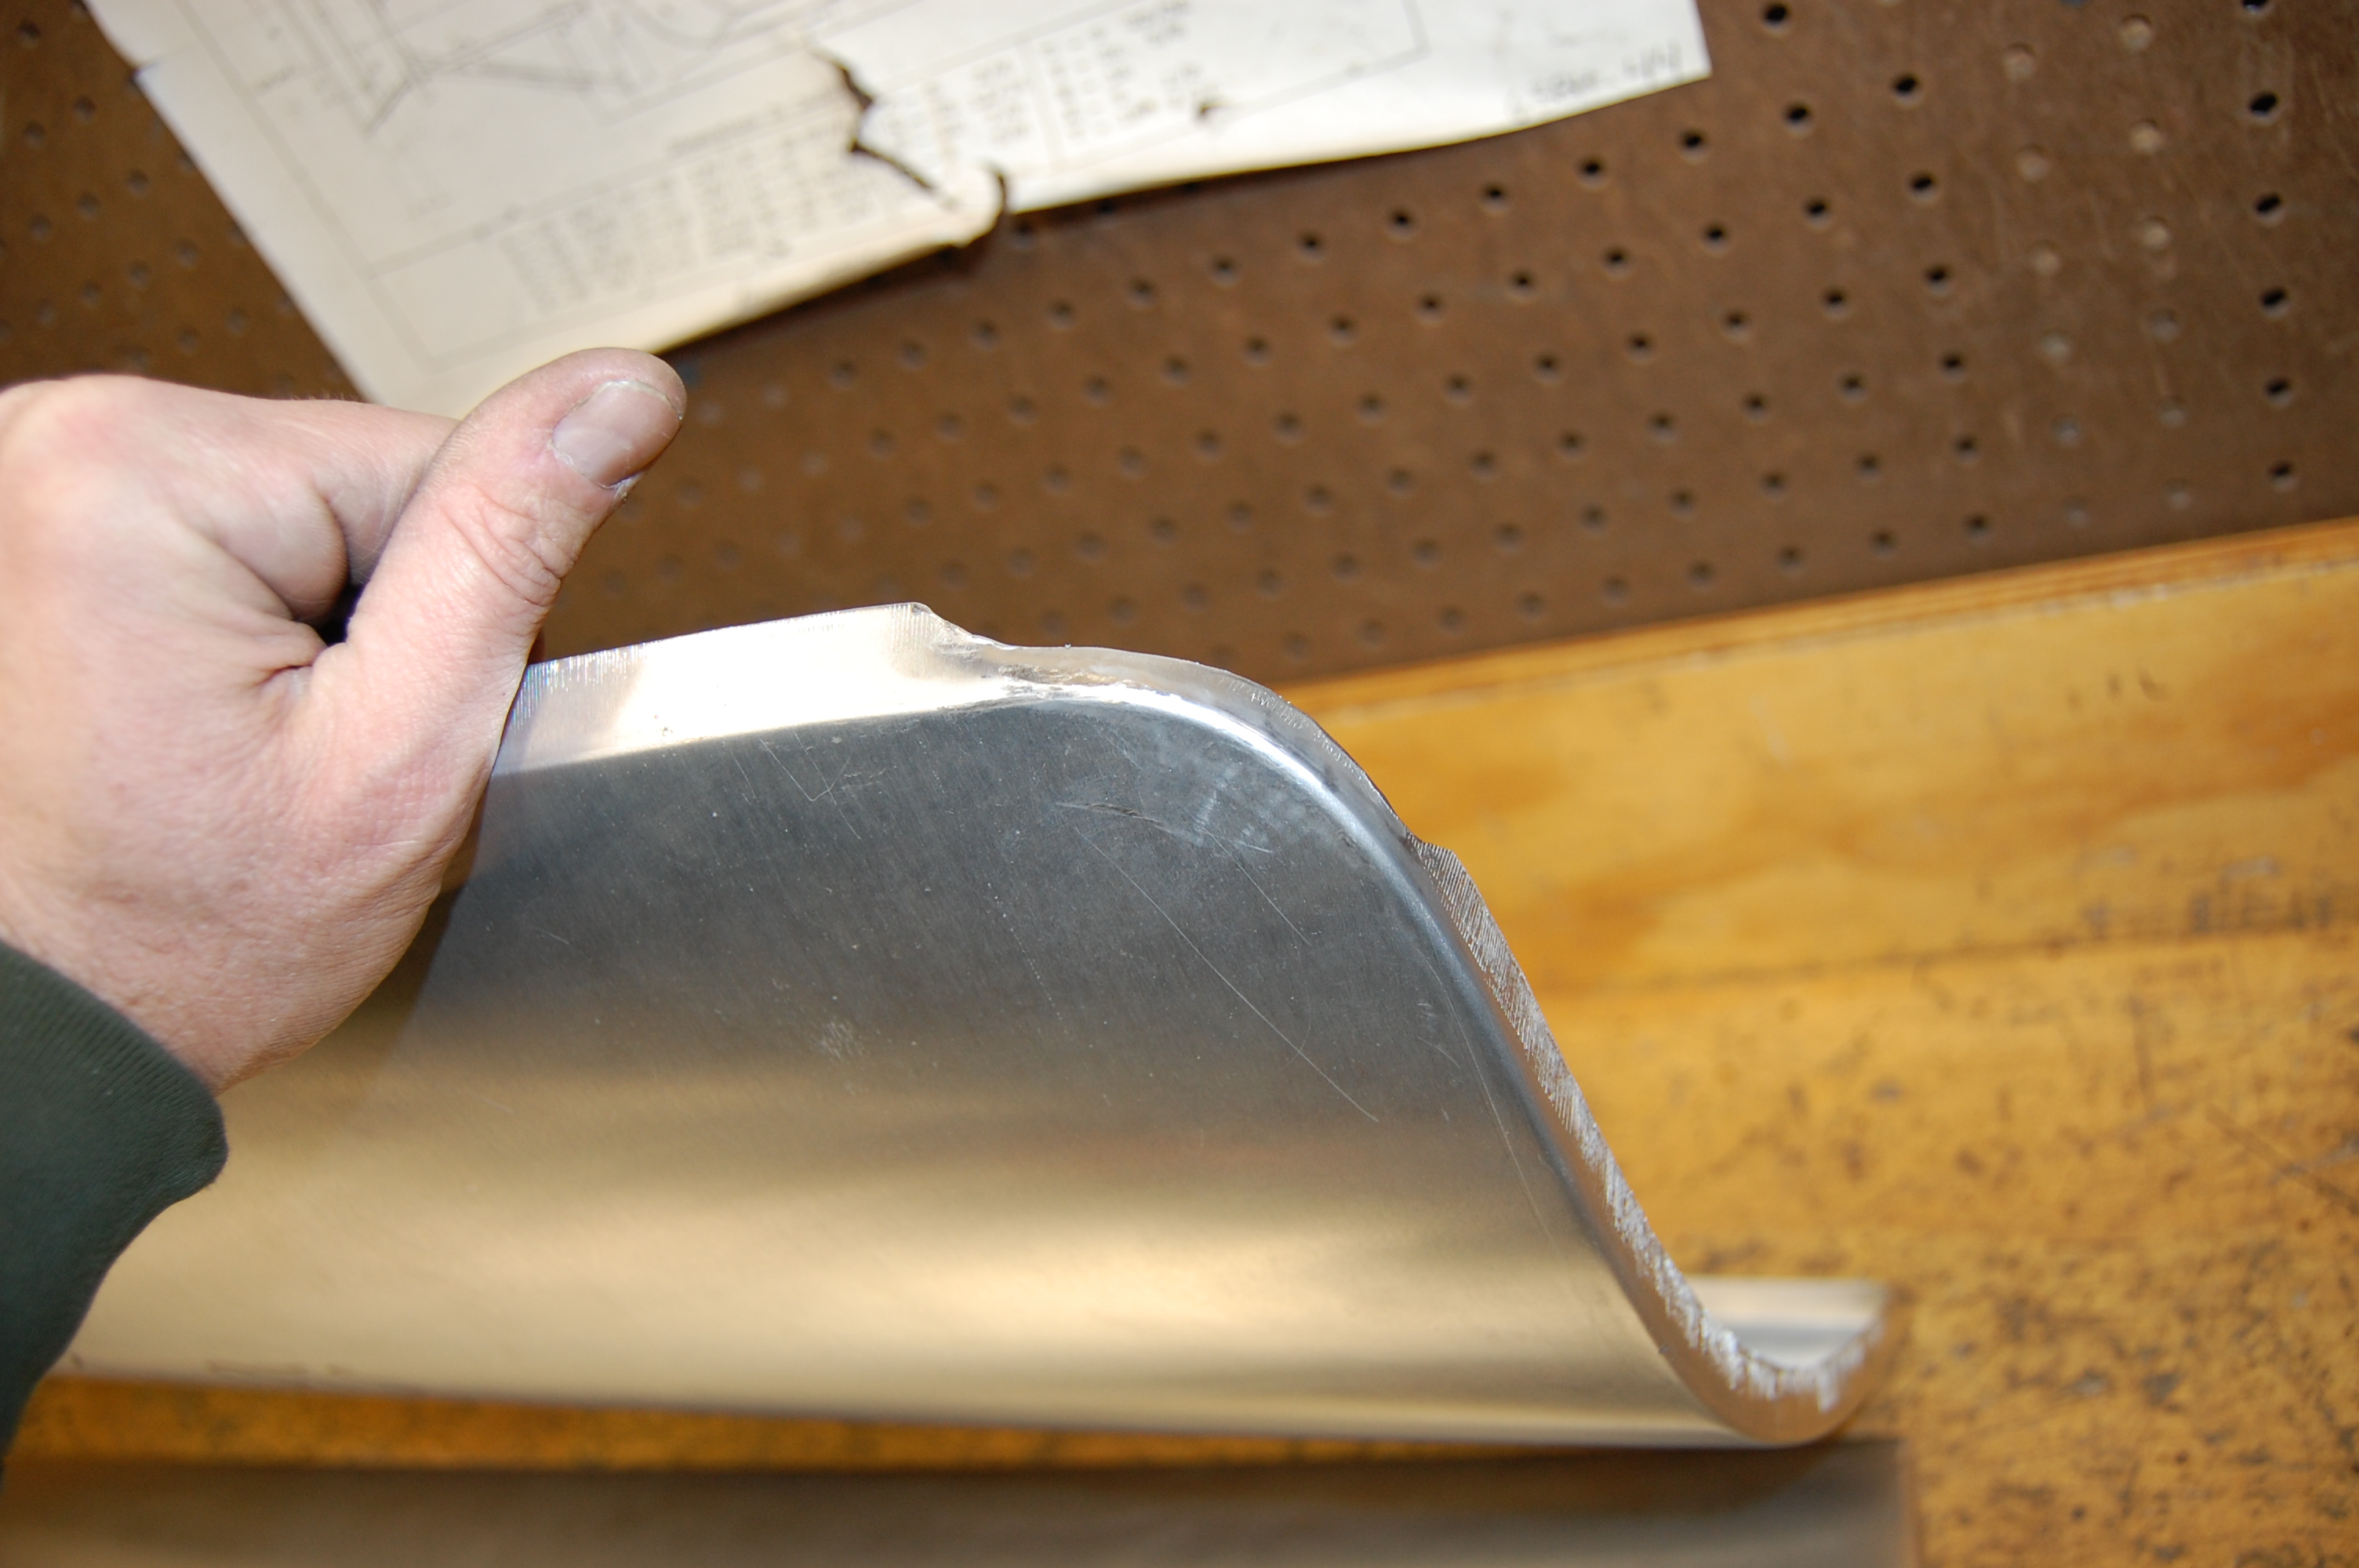
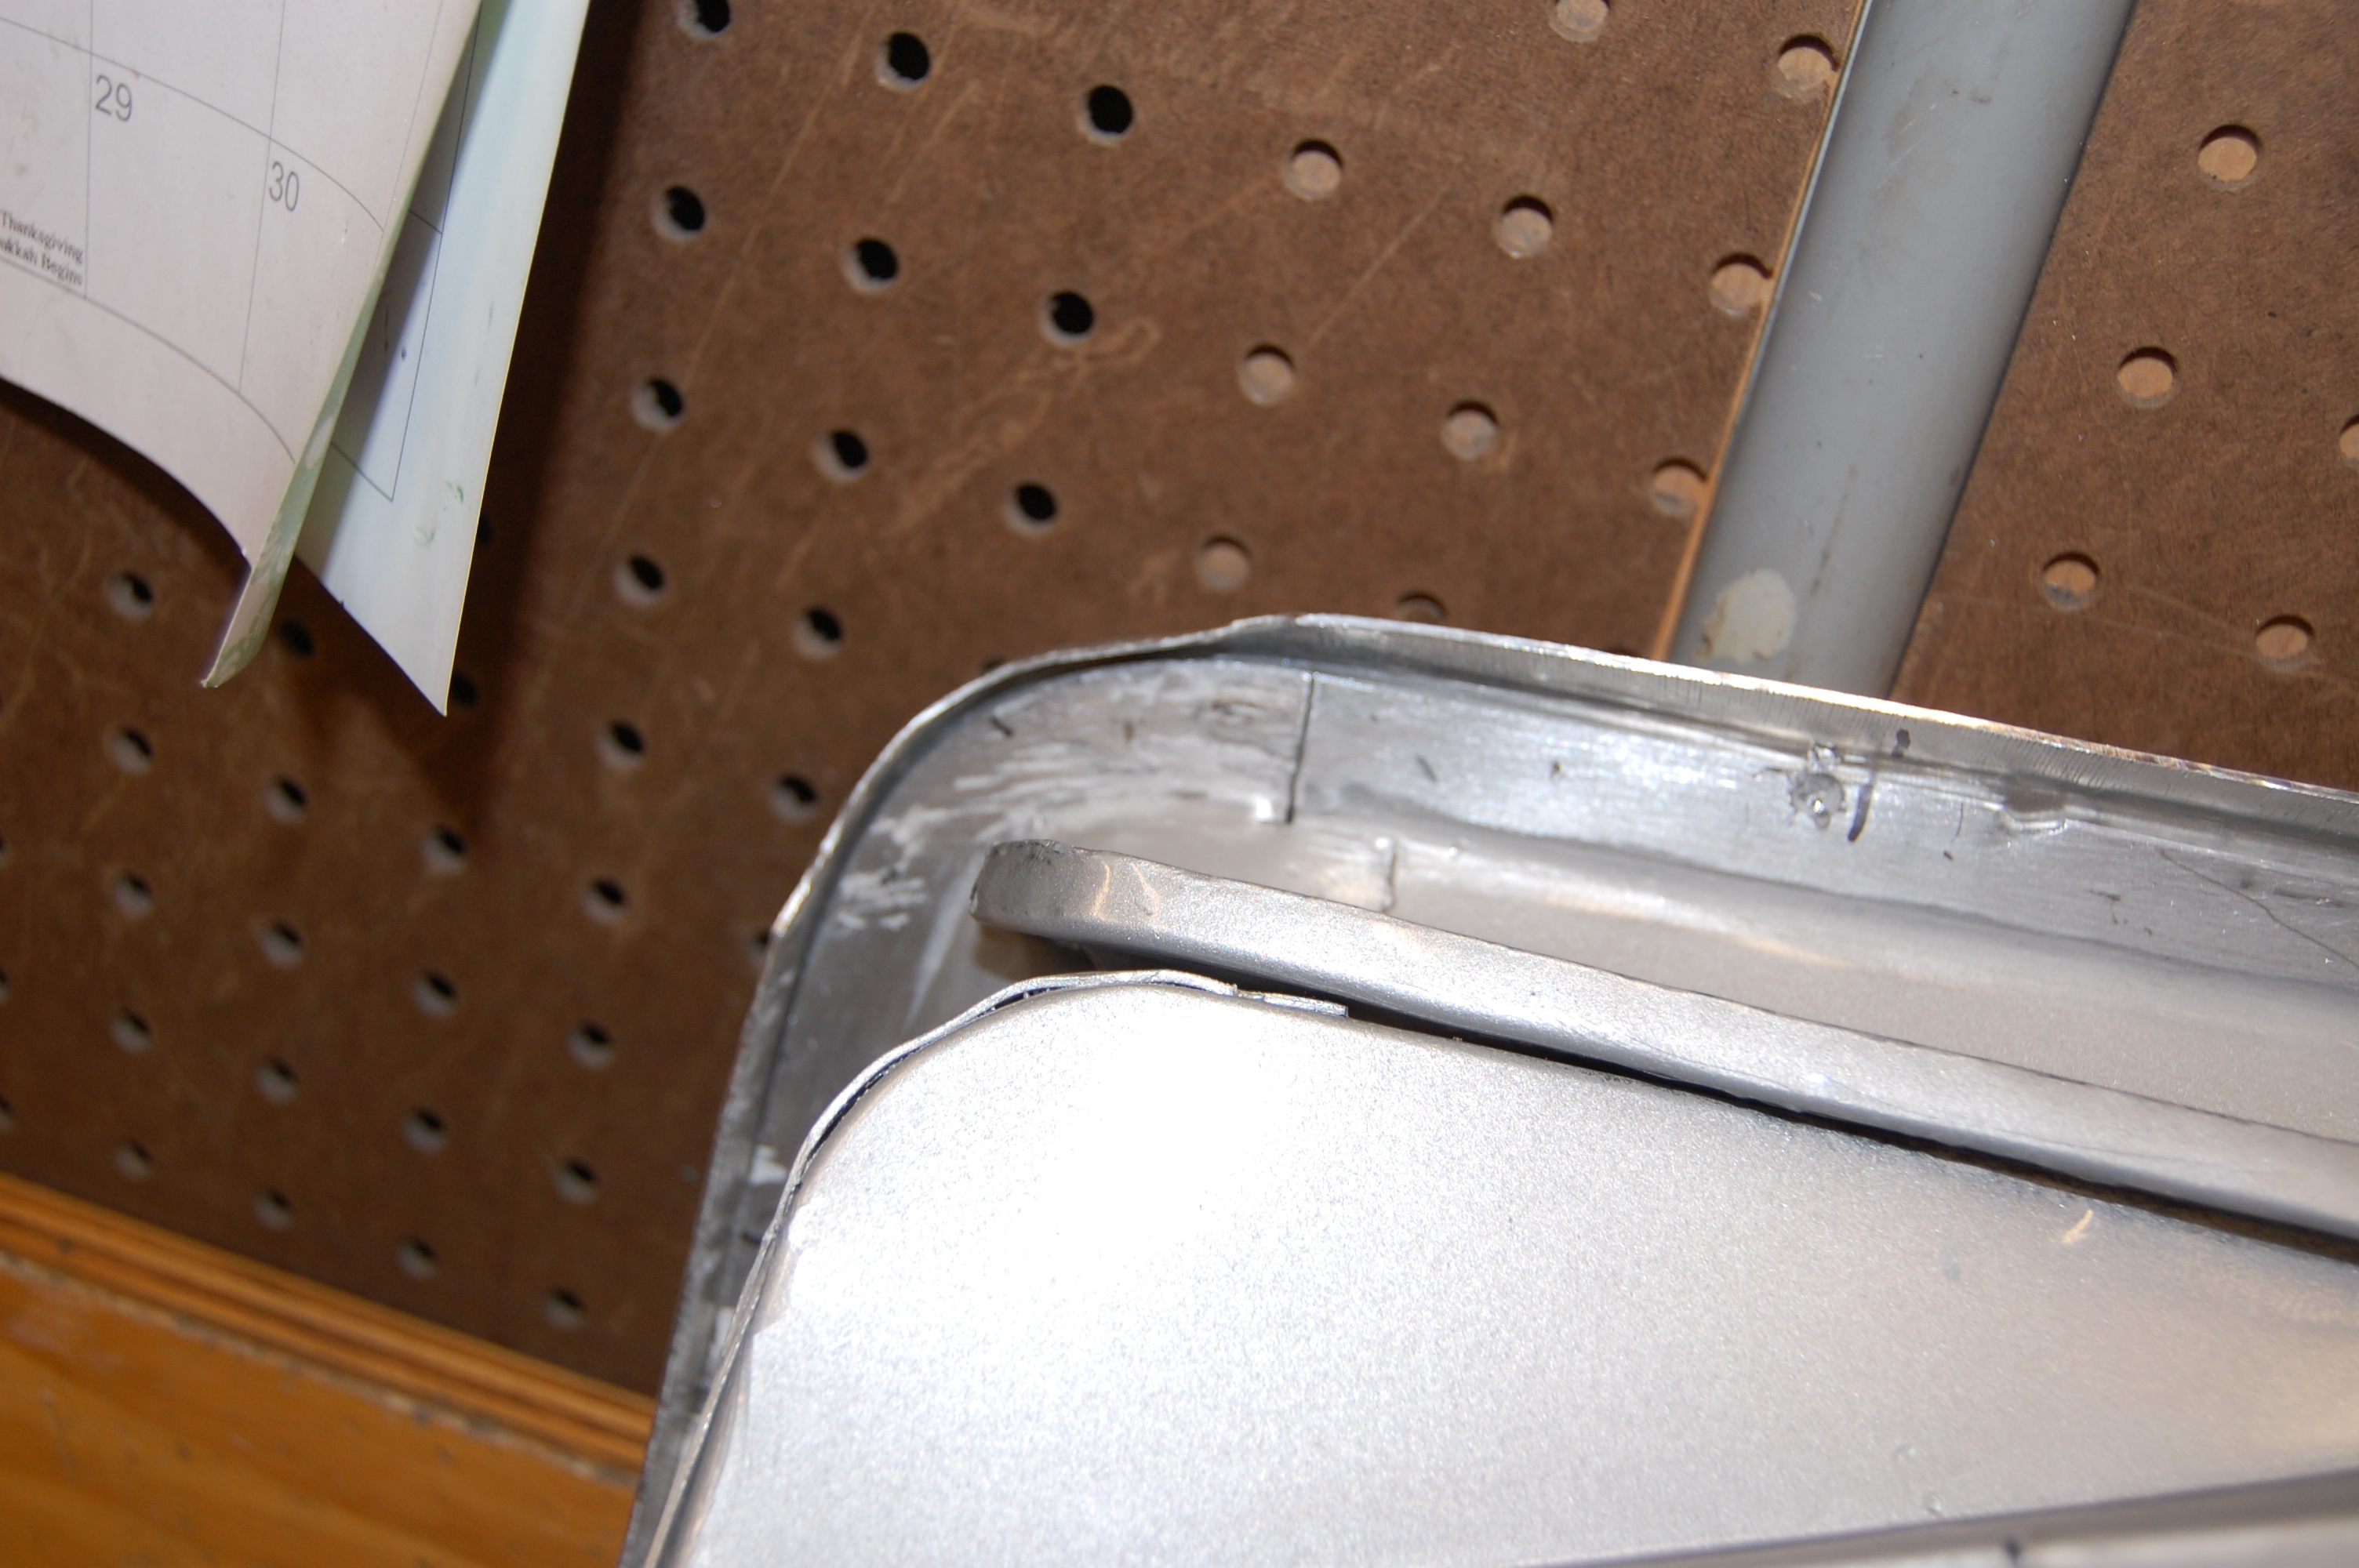
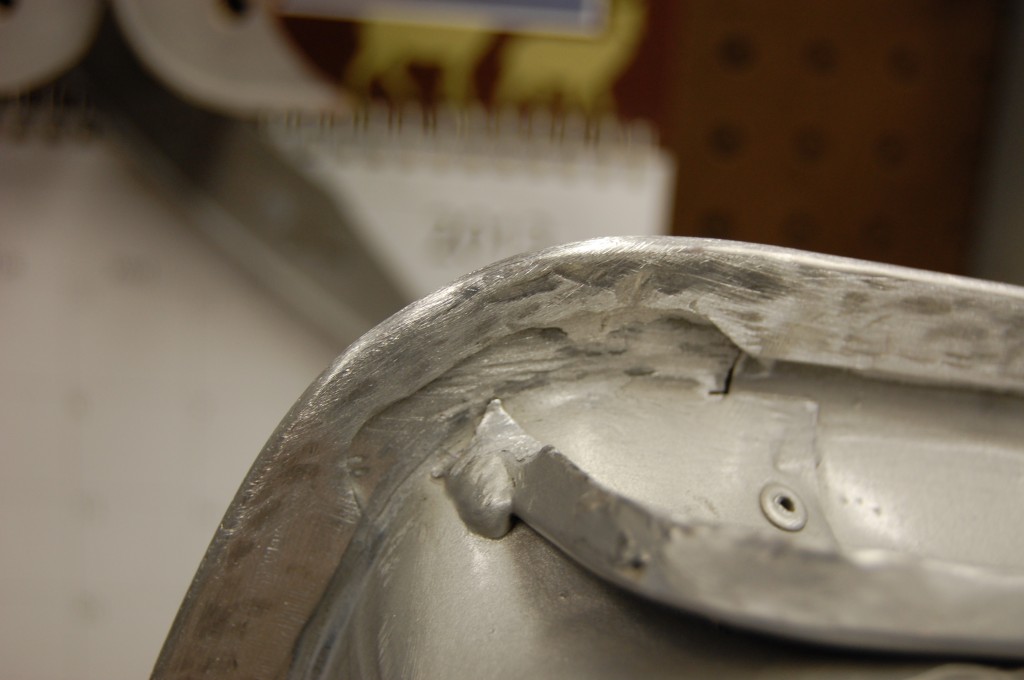
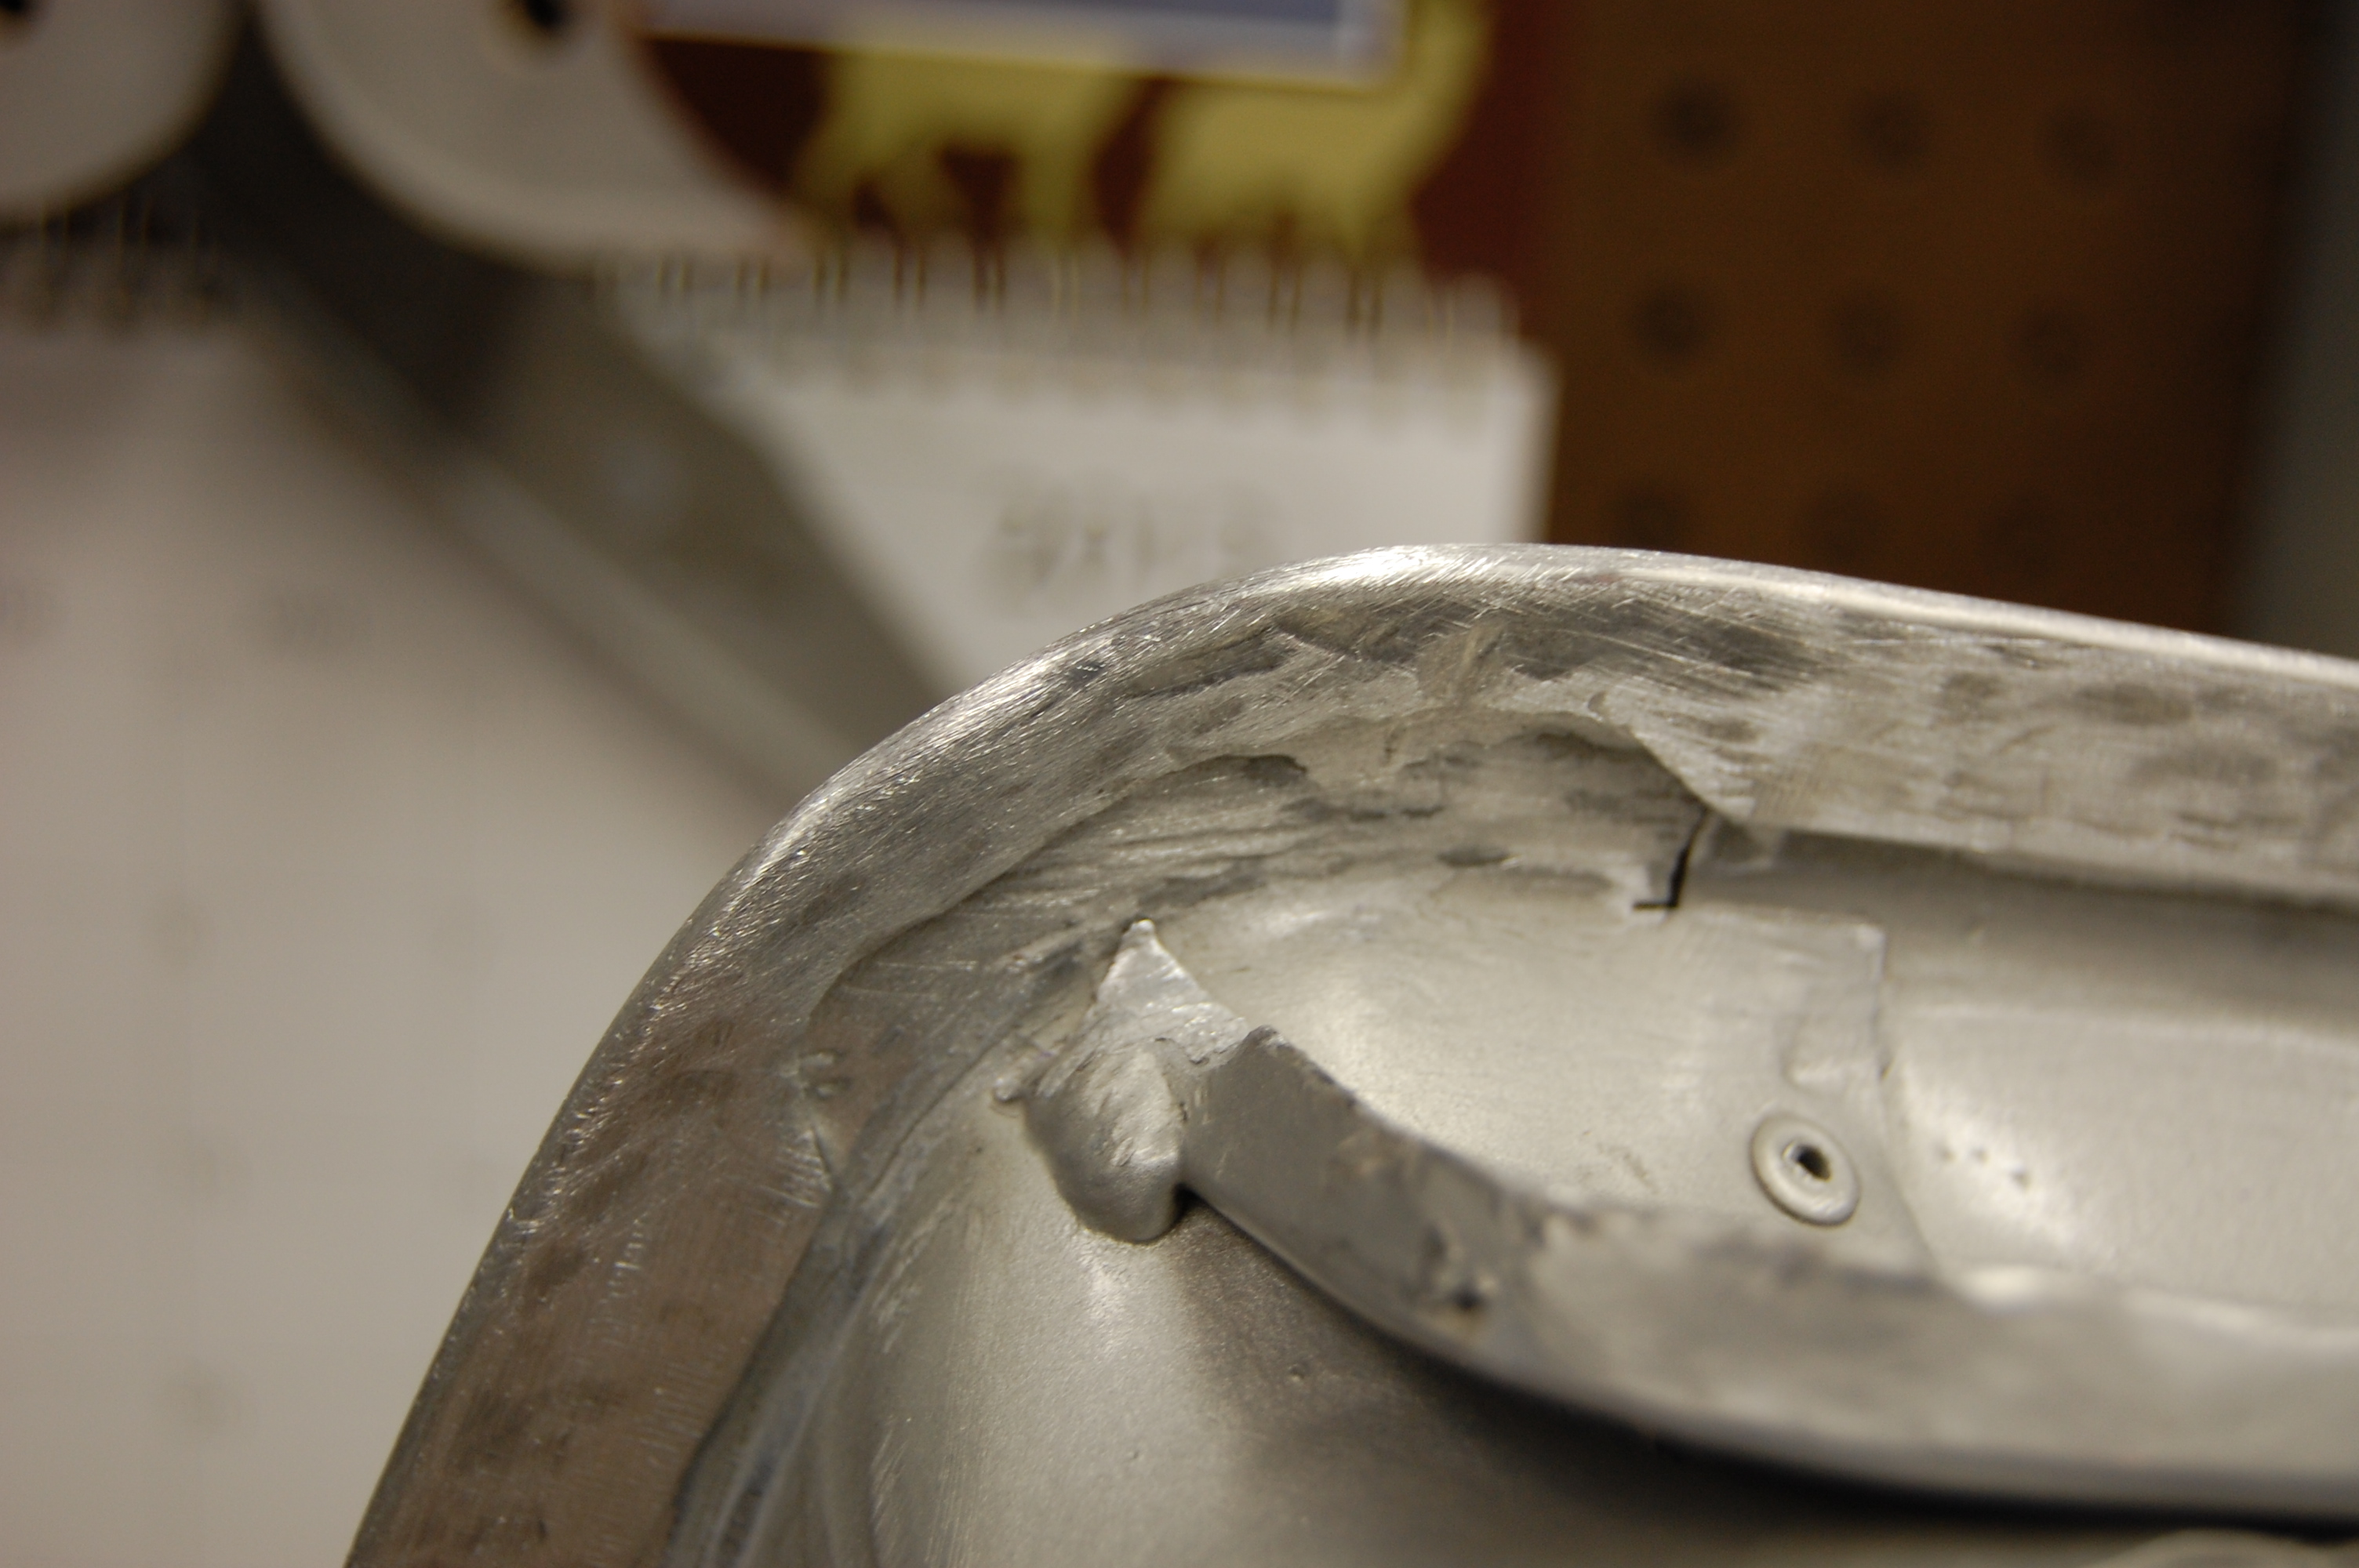
- And the details of the upper corner.
-

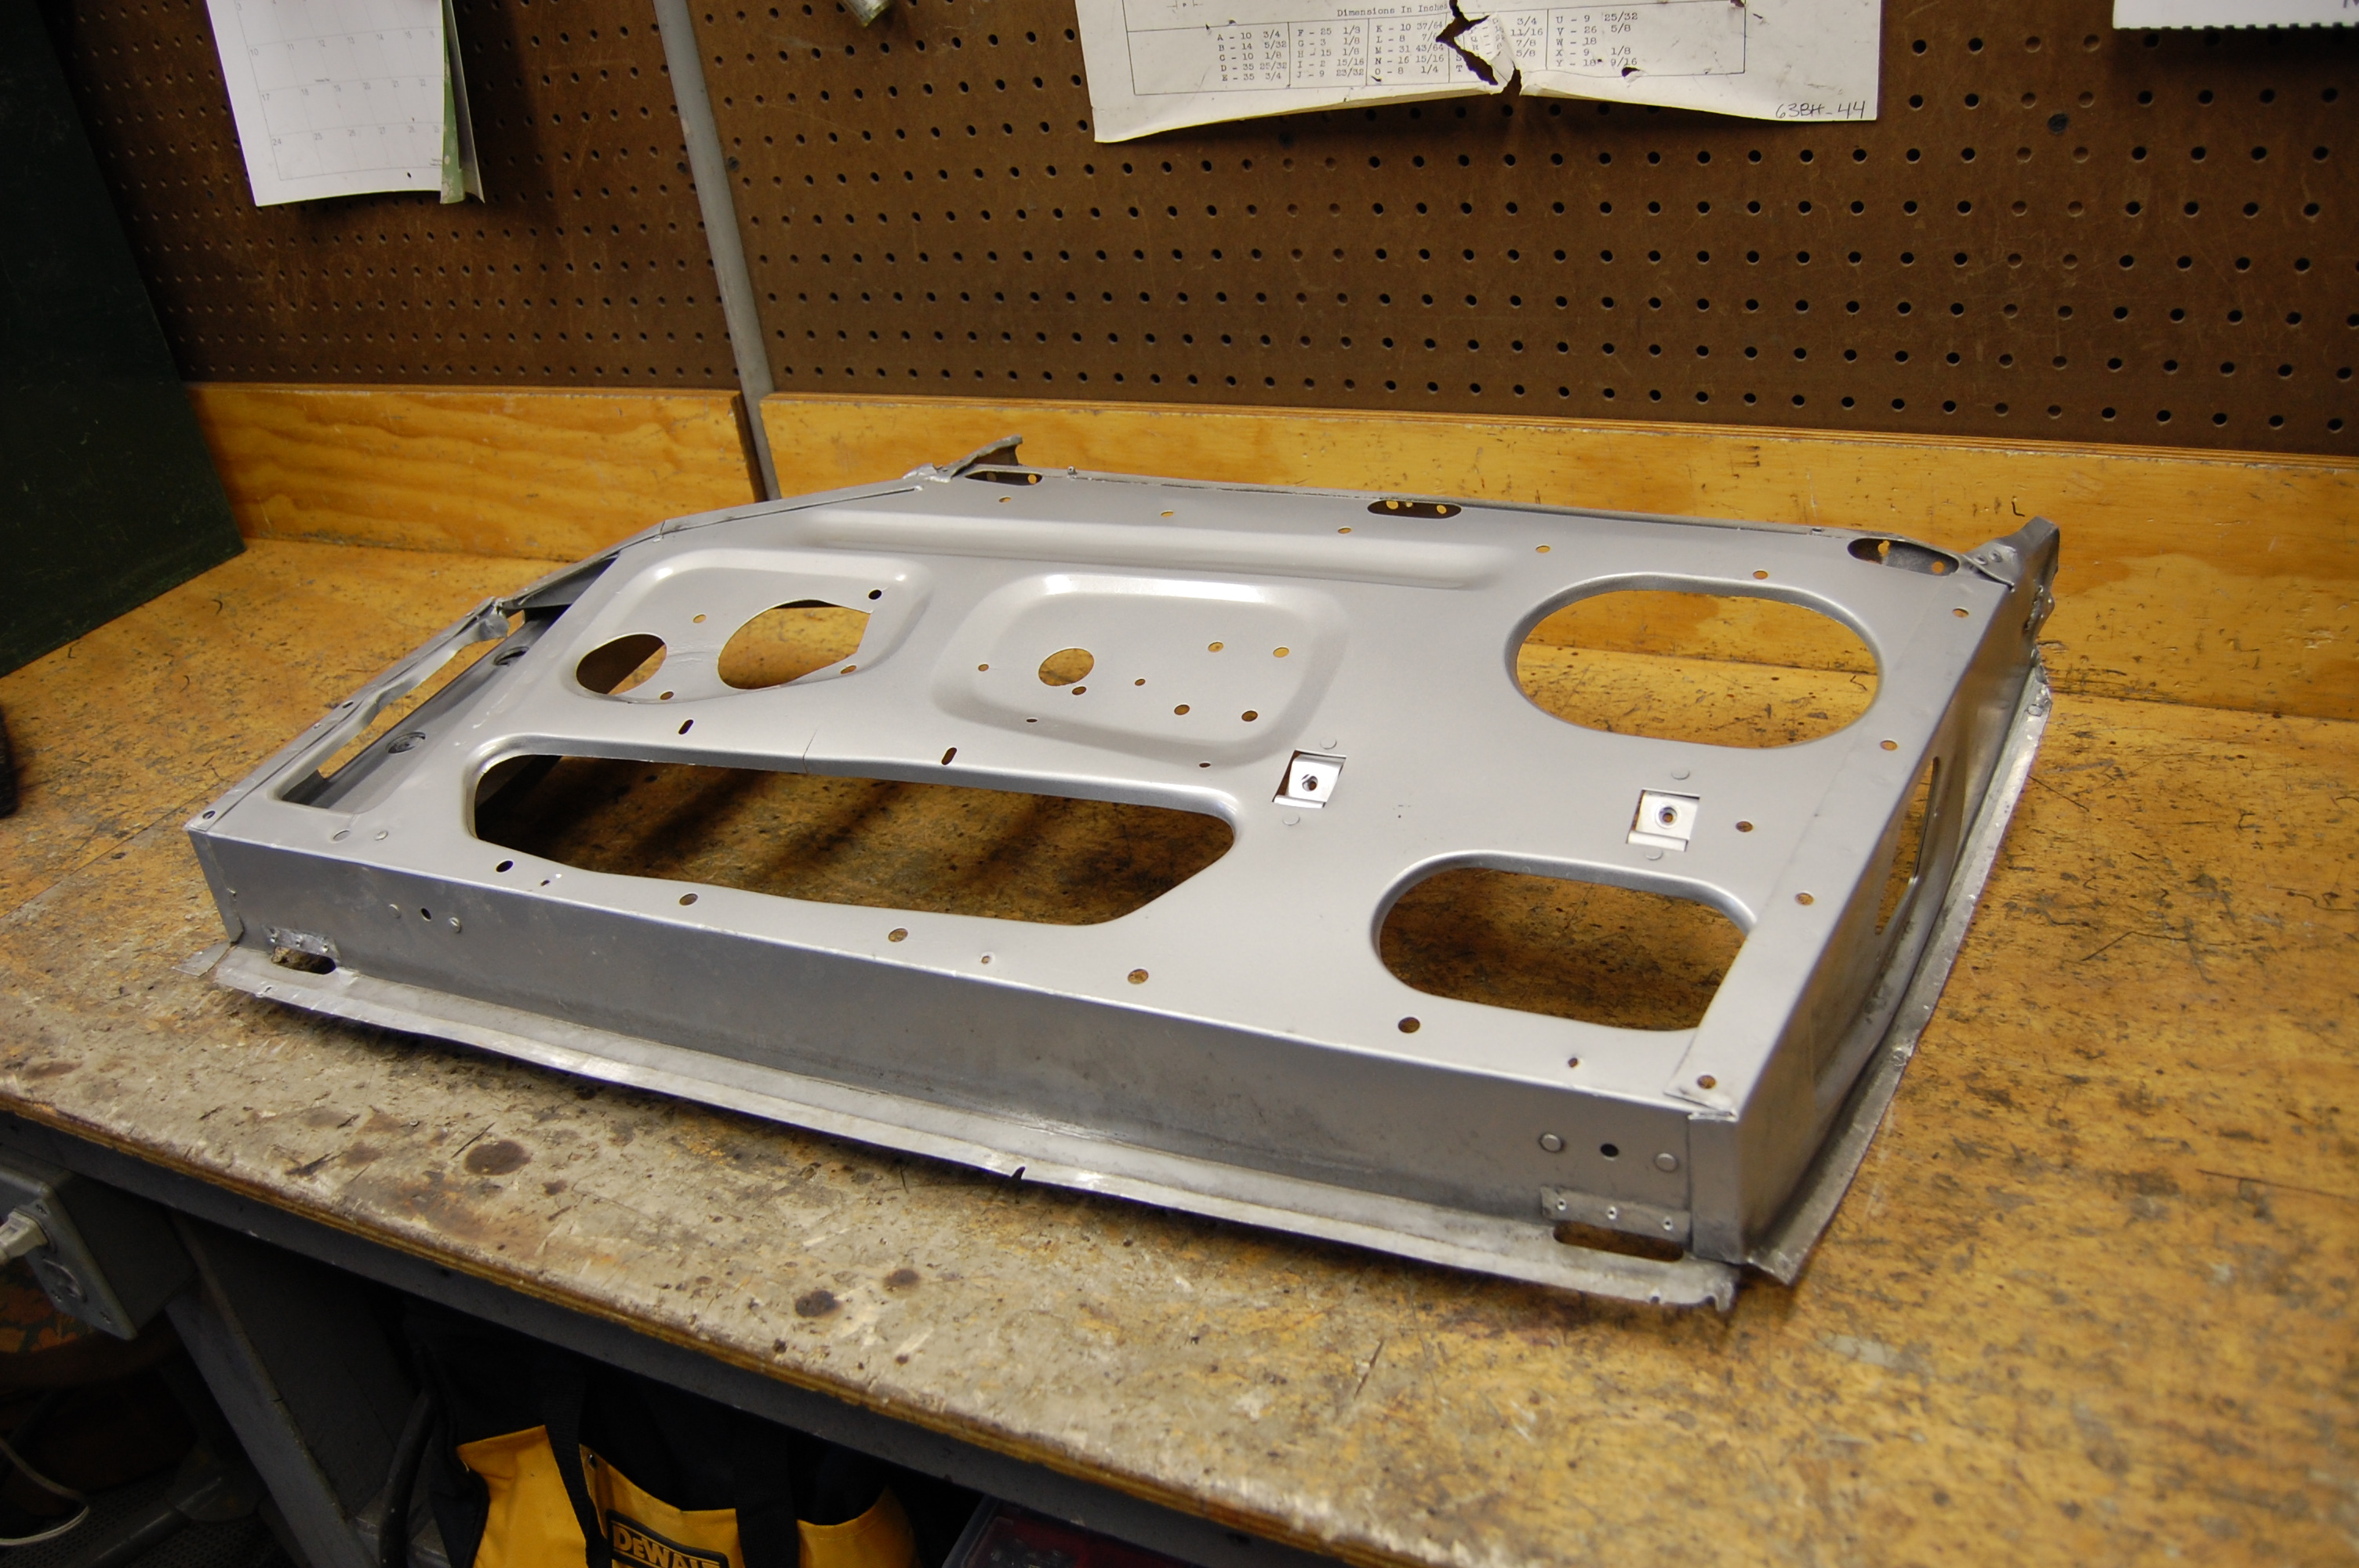
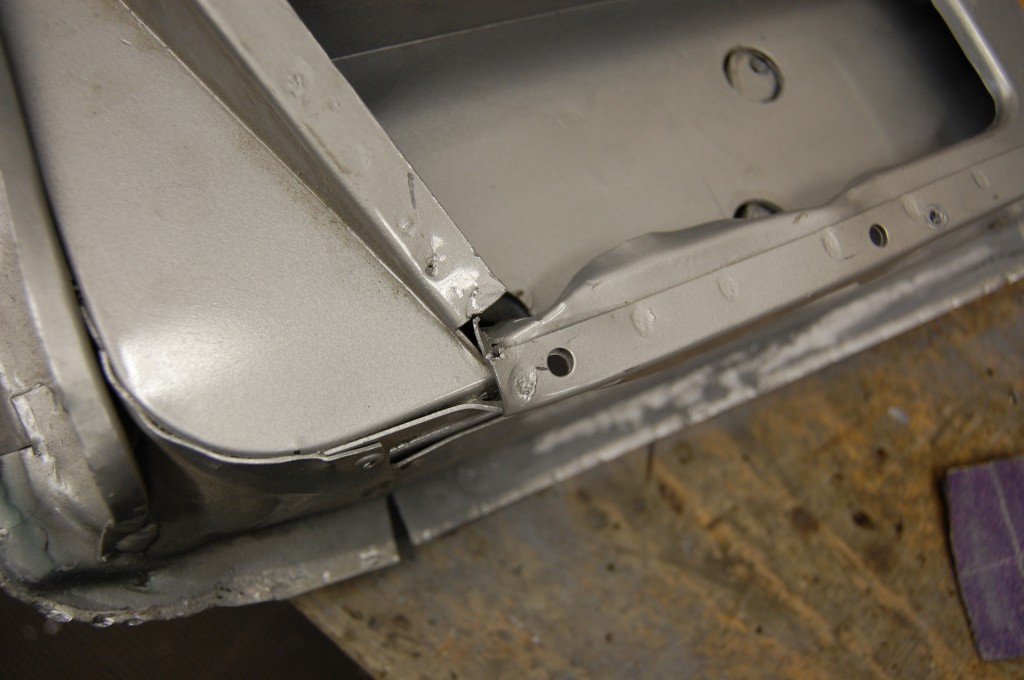
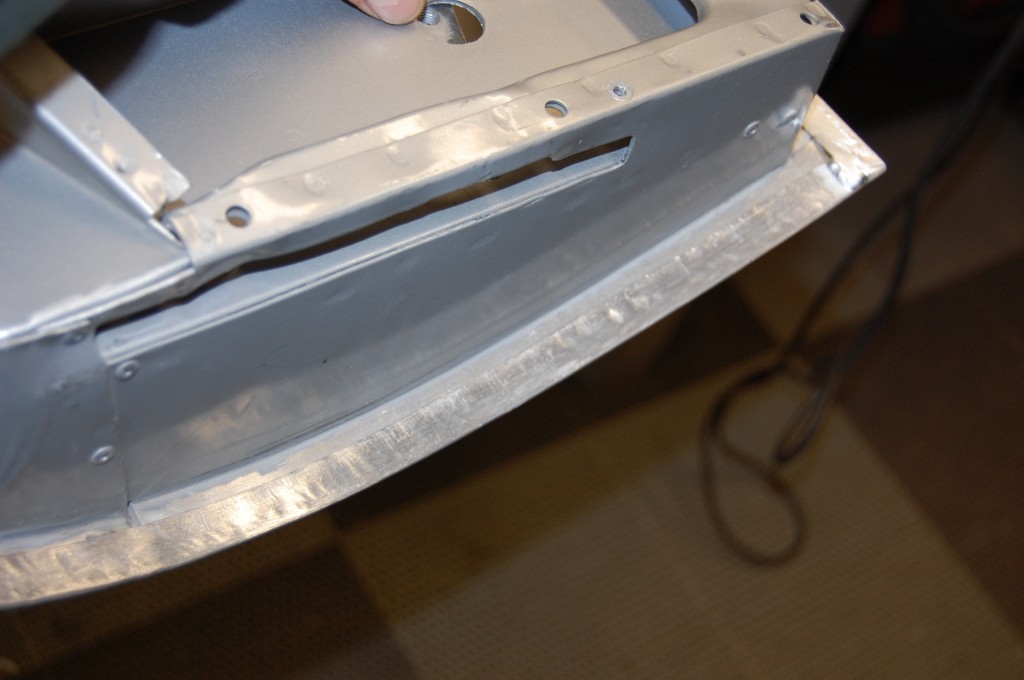
- This is the internal aluminu shell of the damaged racing door. Note that it is a Series 2 – weird…
-
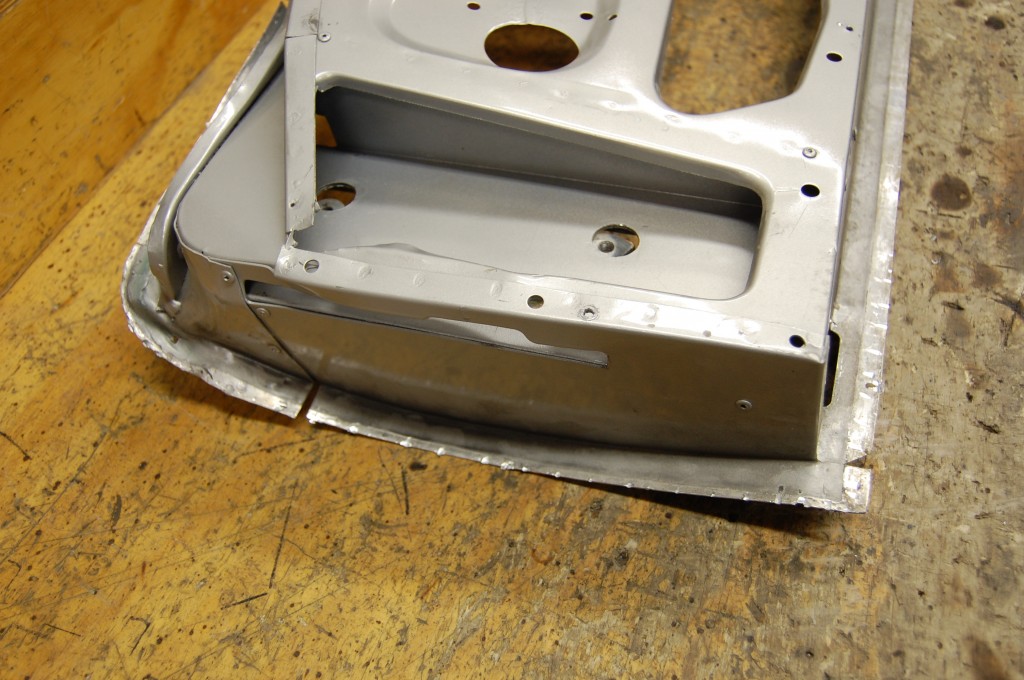
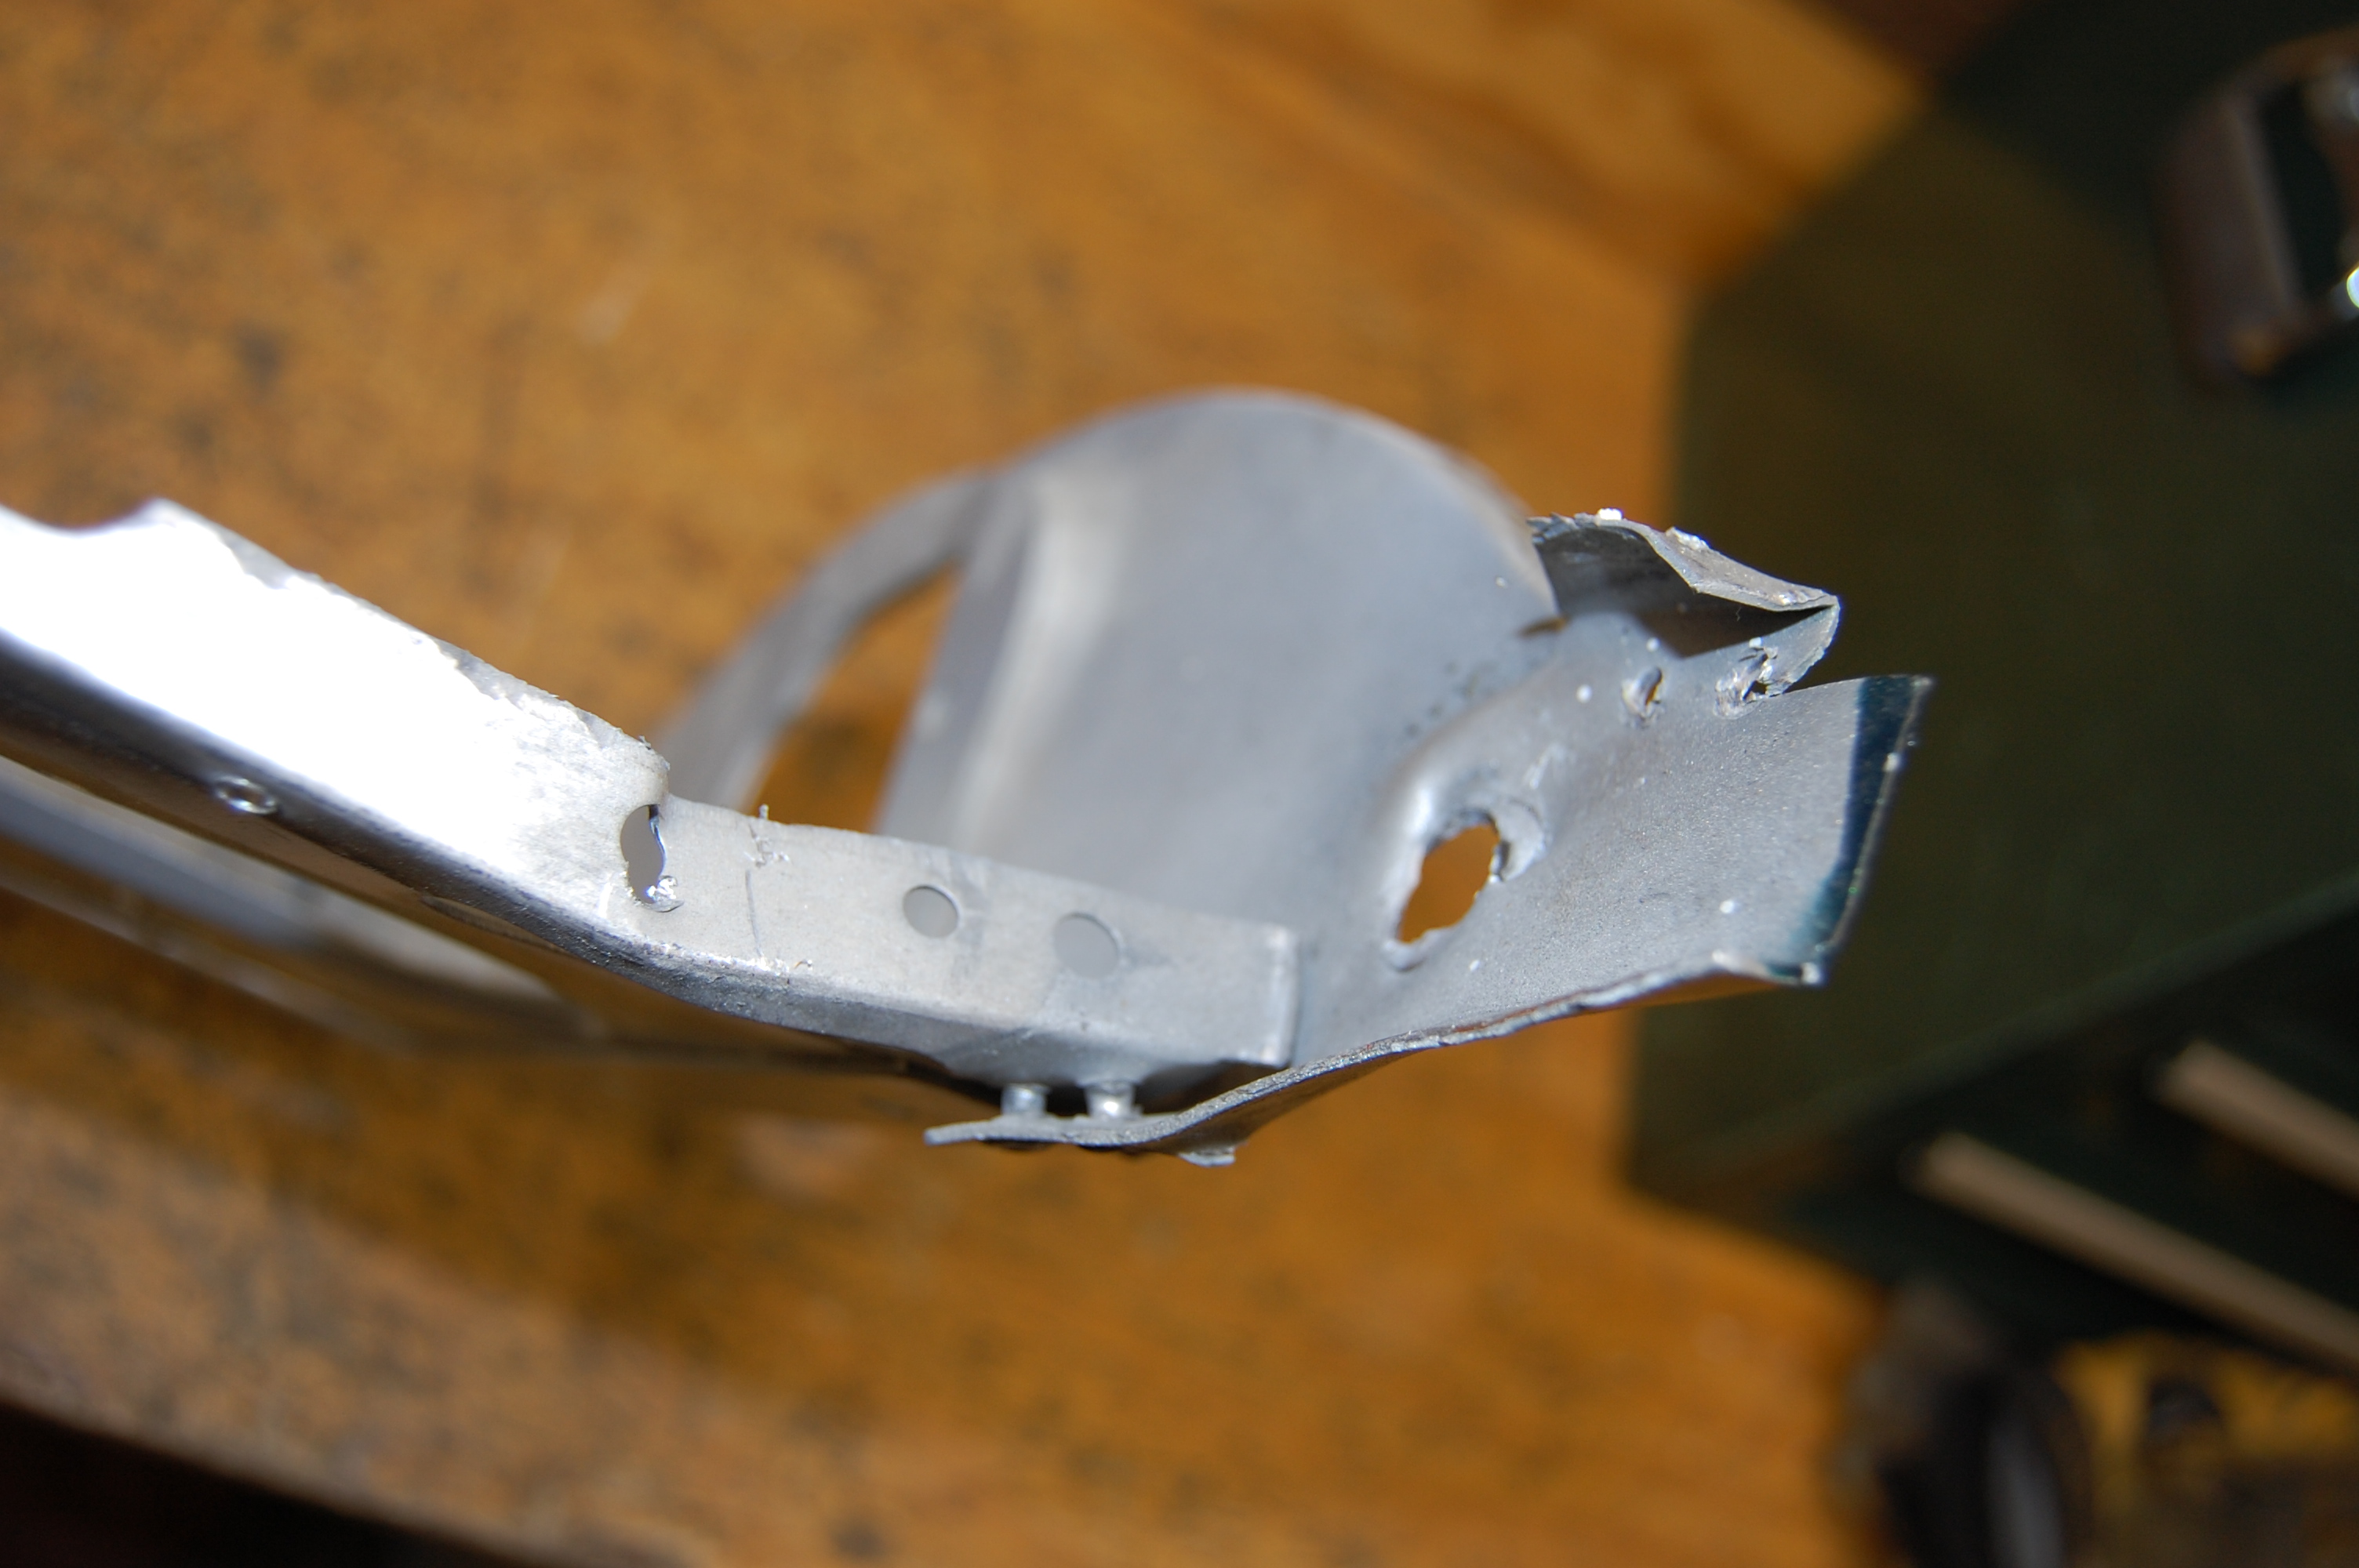
- Things are a little mashed up in the front…
-
- And in the back as well…
-
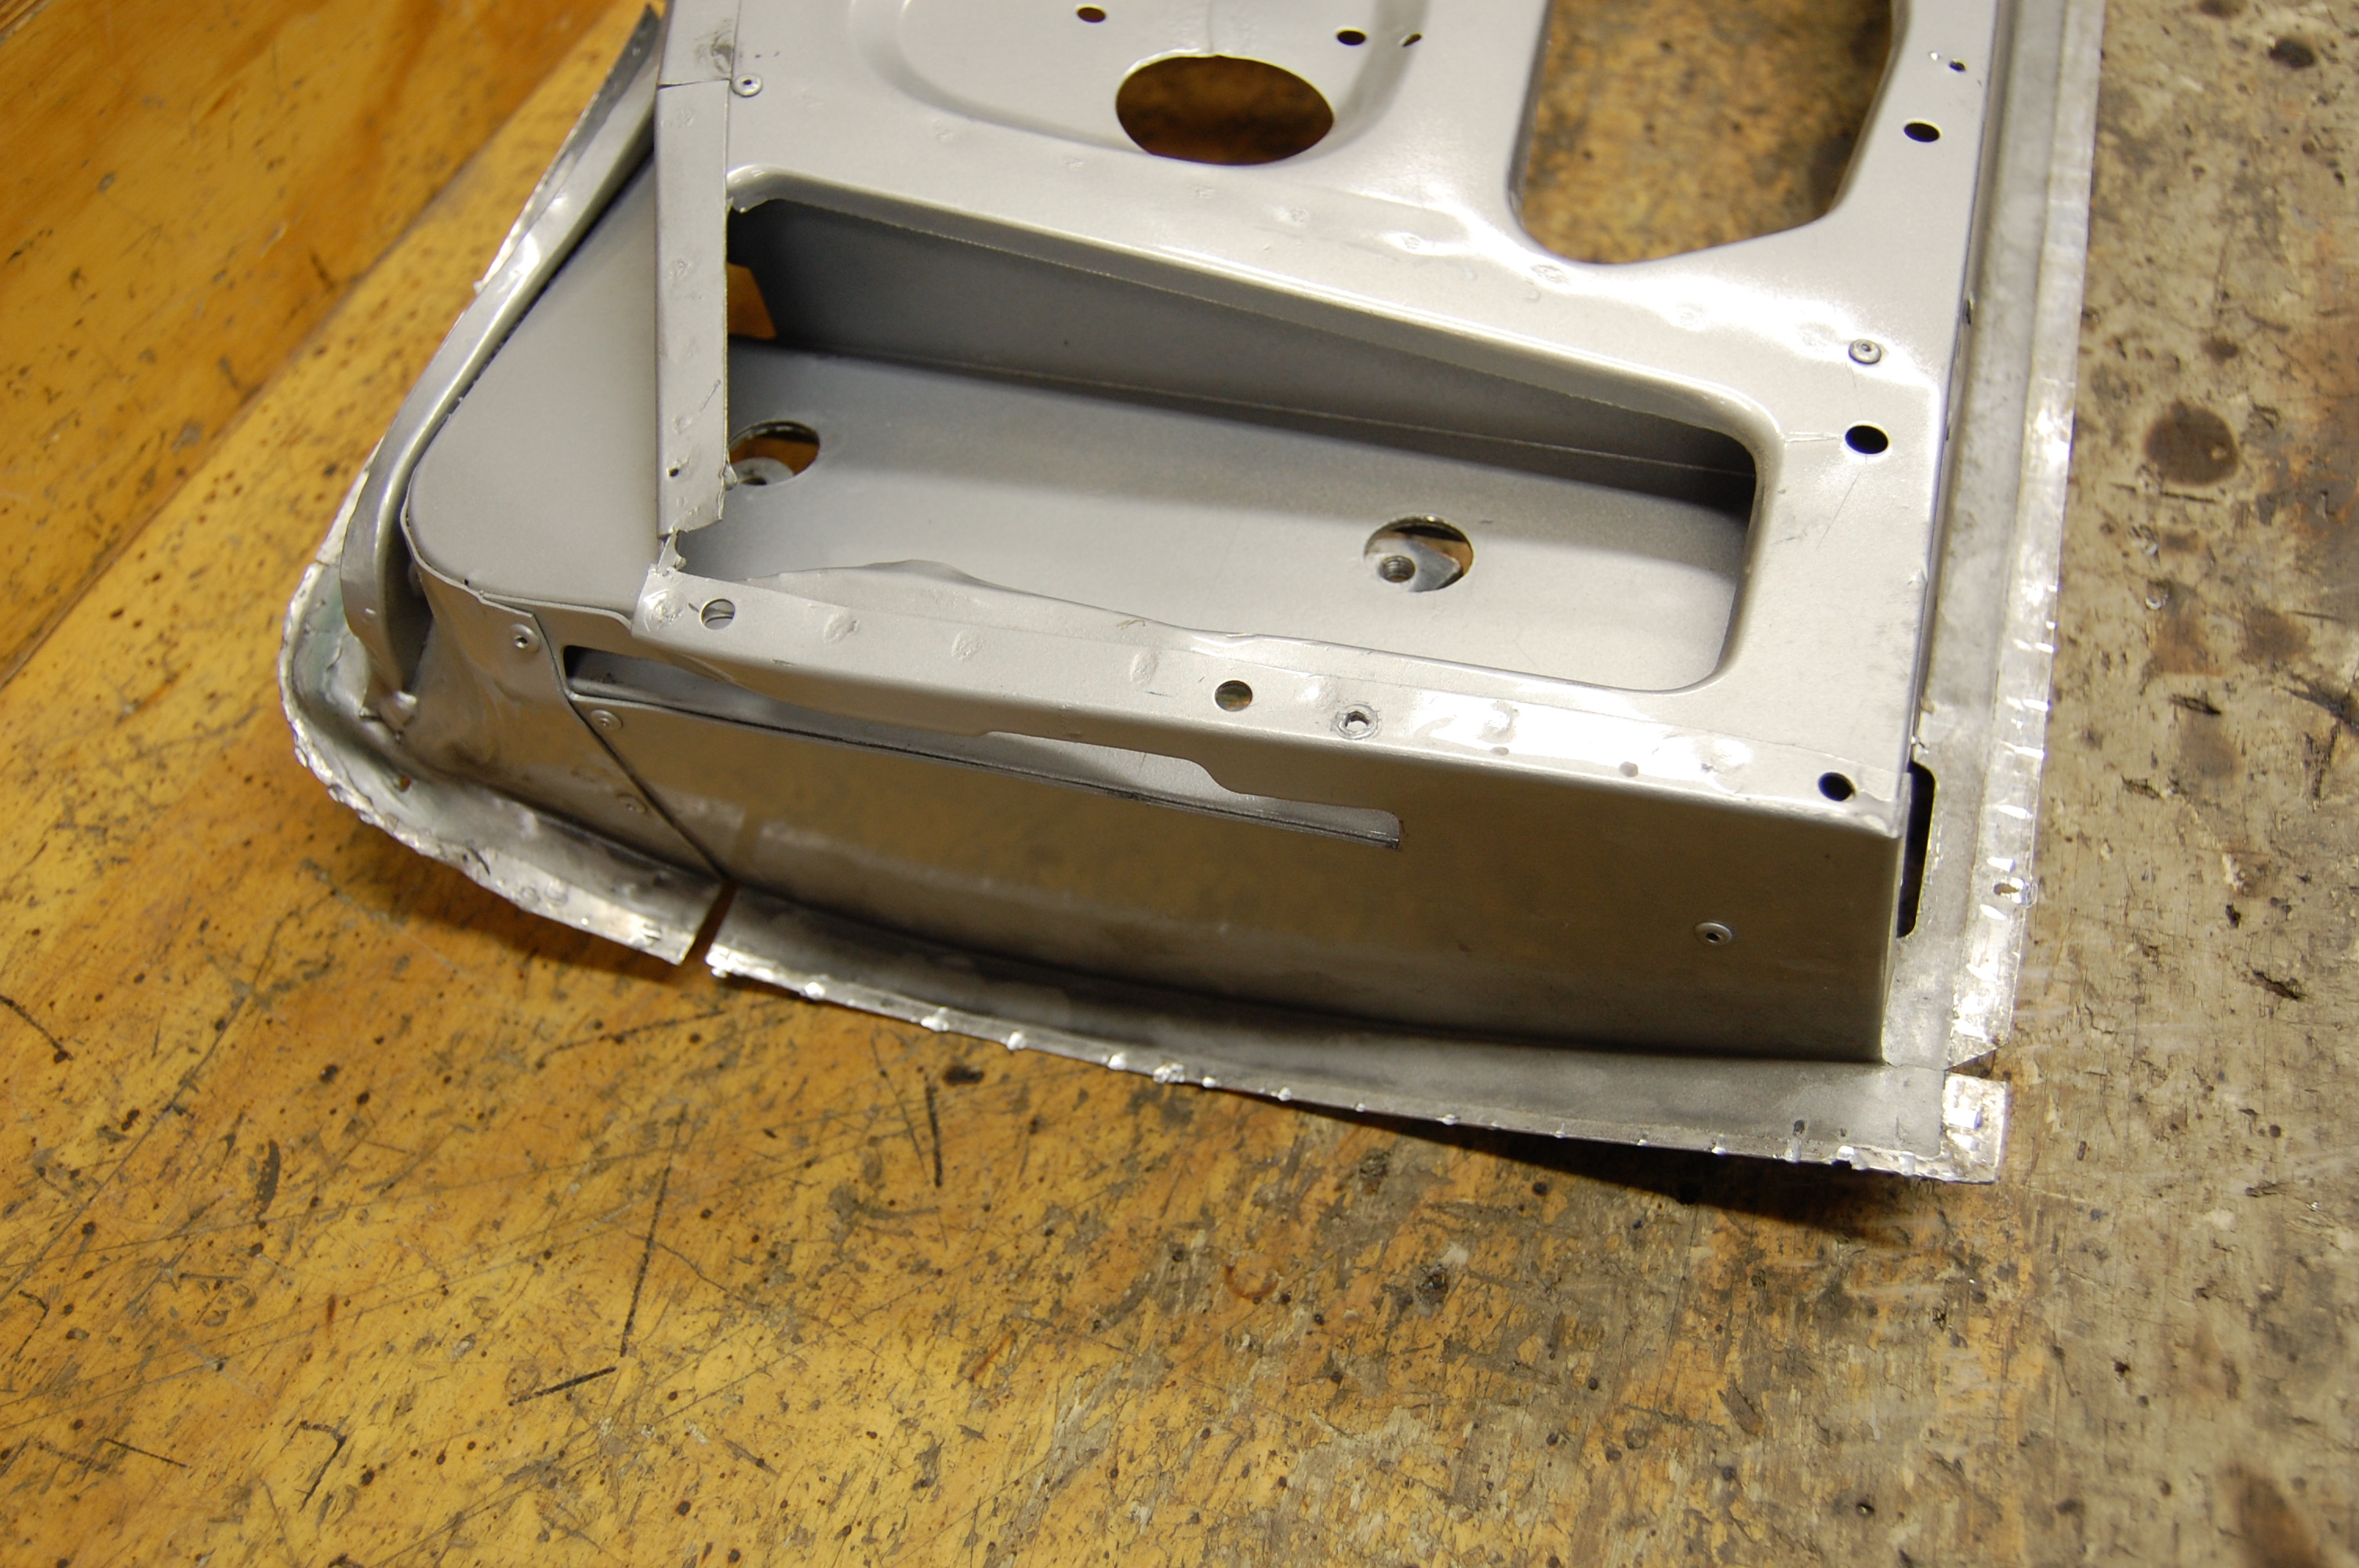
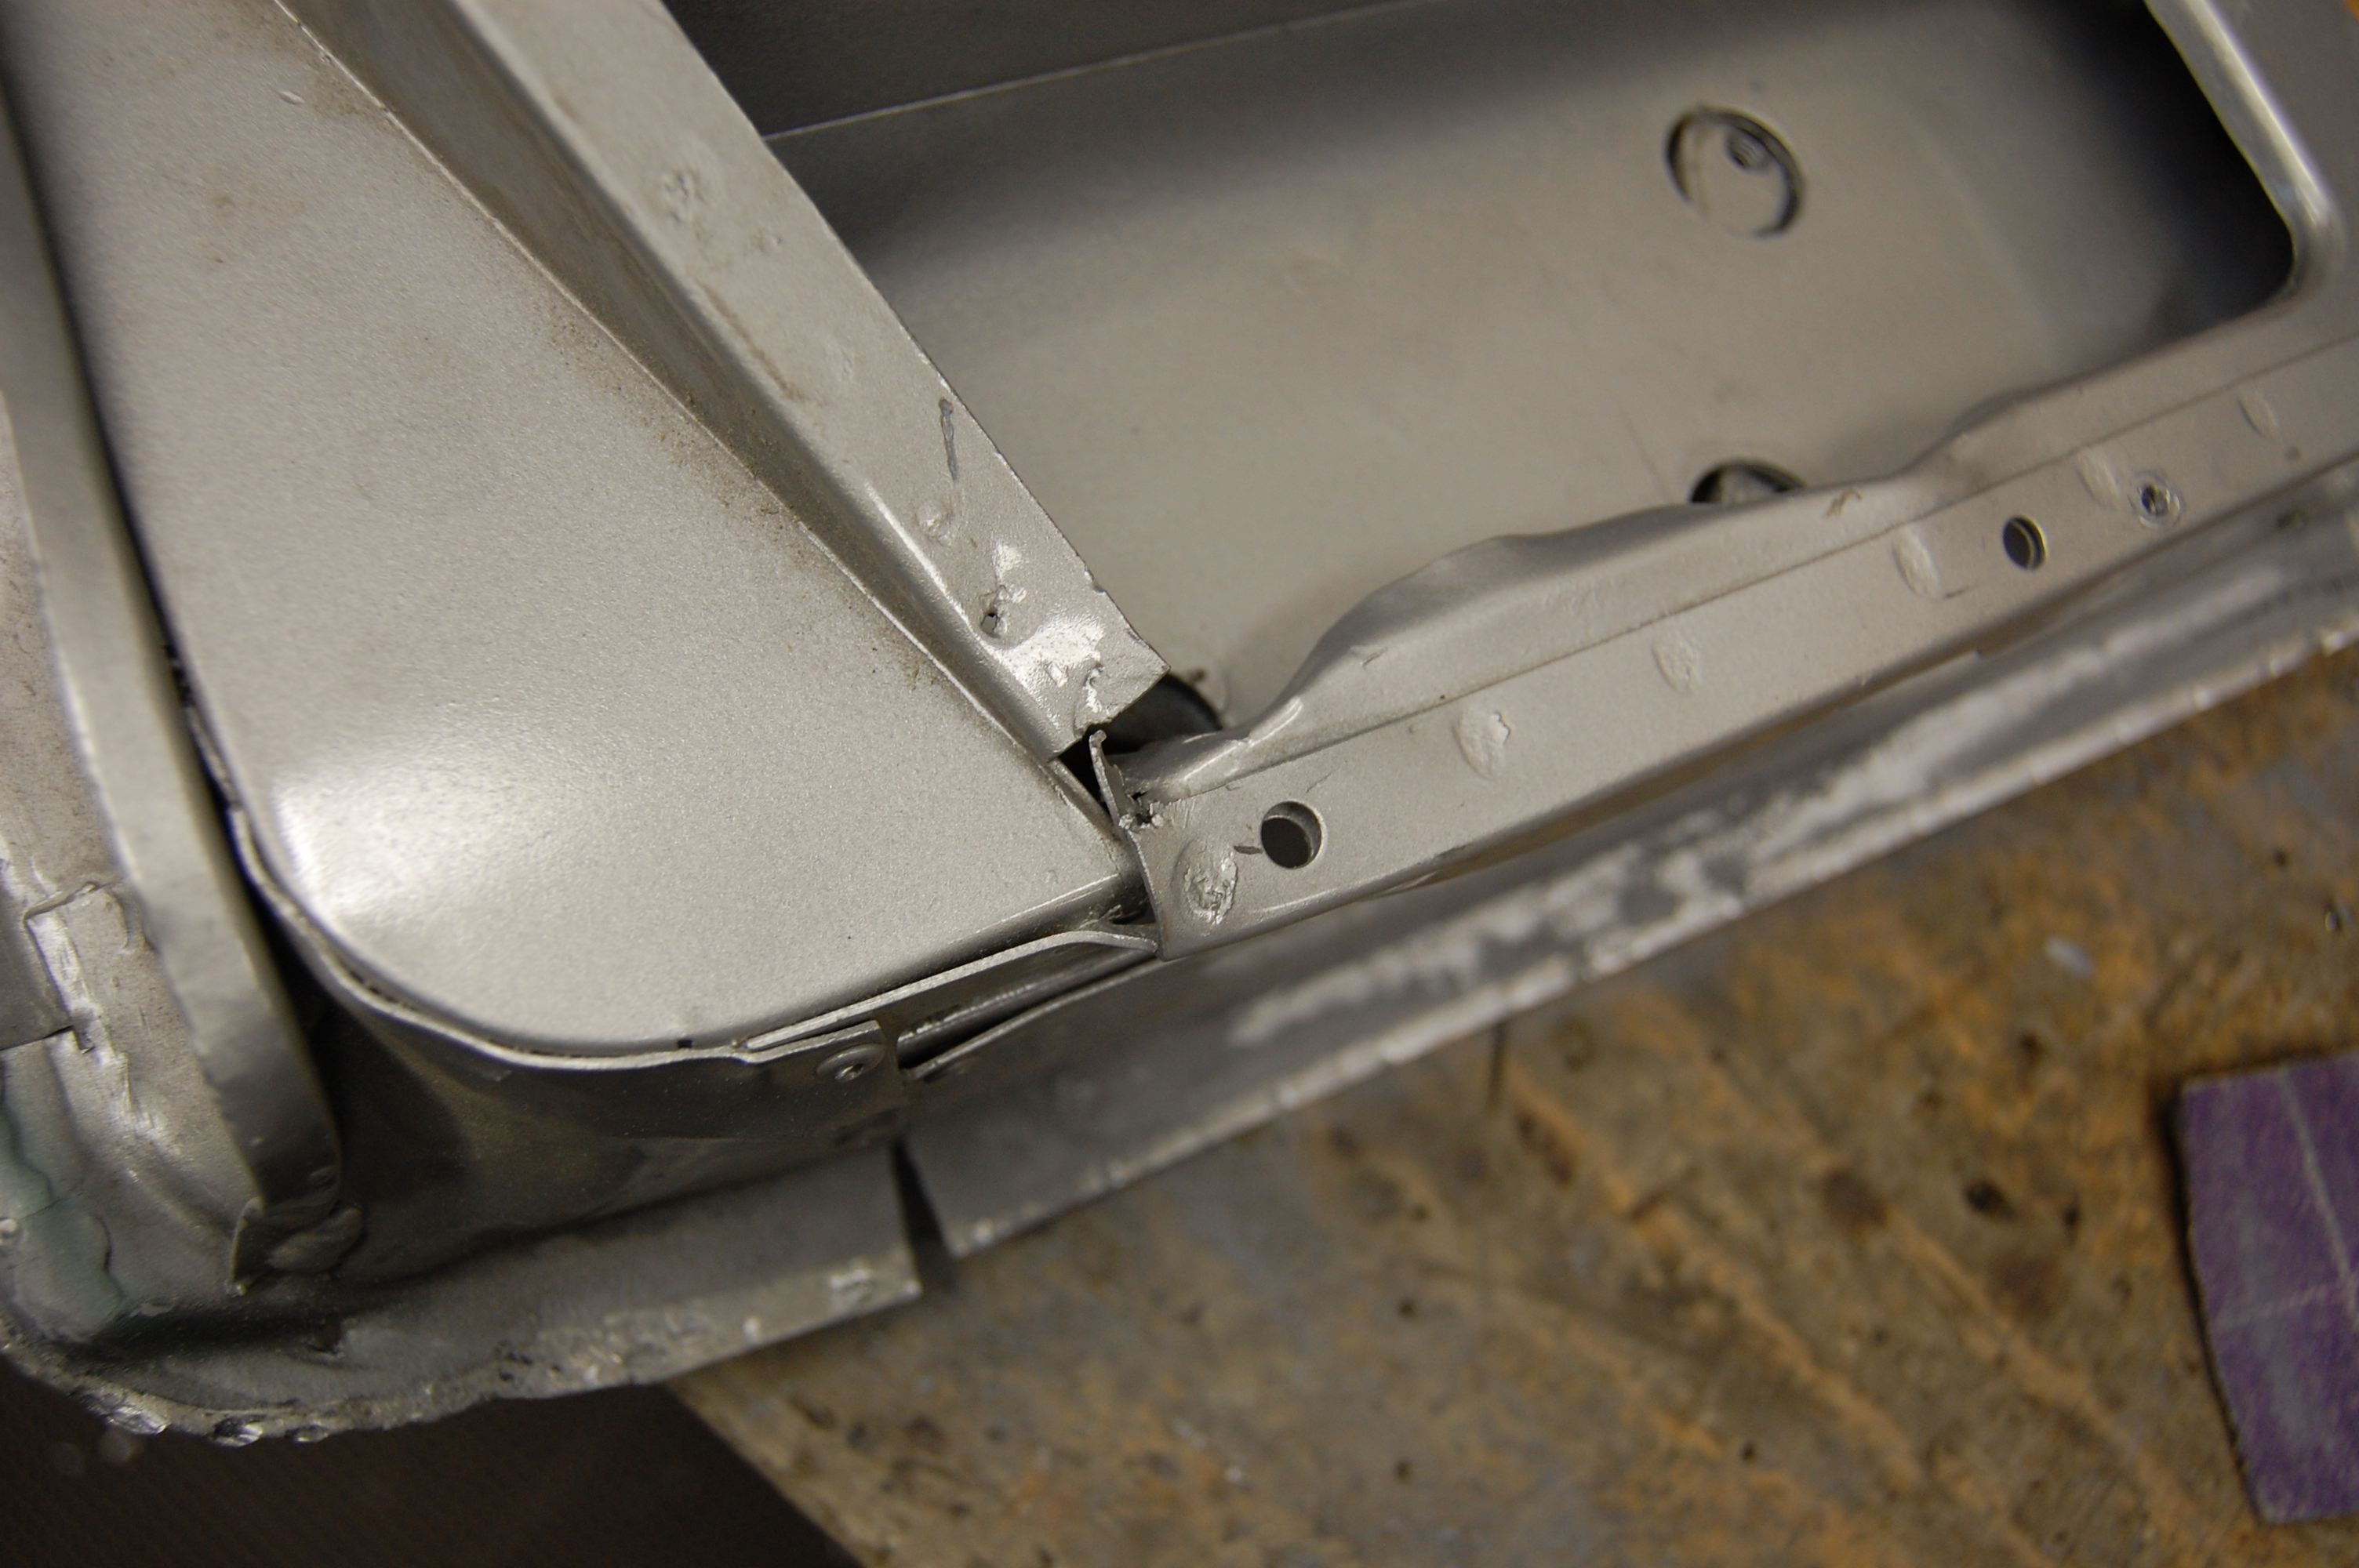
- Even the bottom edge was folded up a bit. But the aluminum was thin and soft – and vrigin, so we wre able to shift everything back into the proper shape without too much trouble.

-
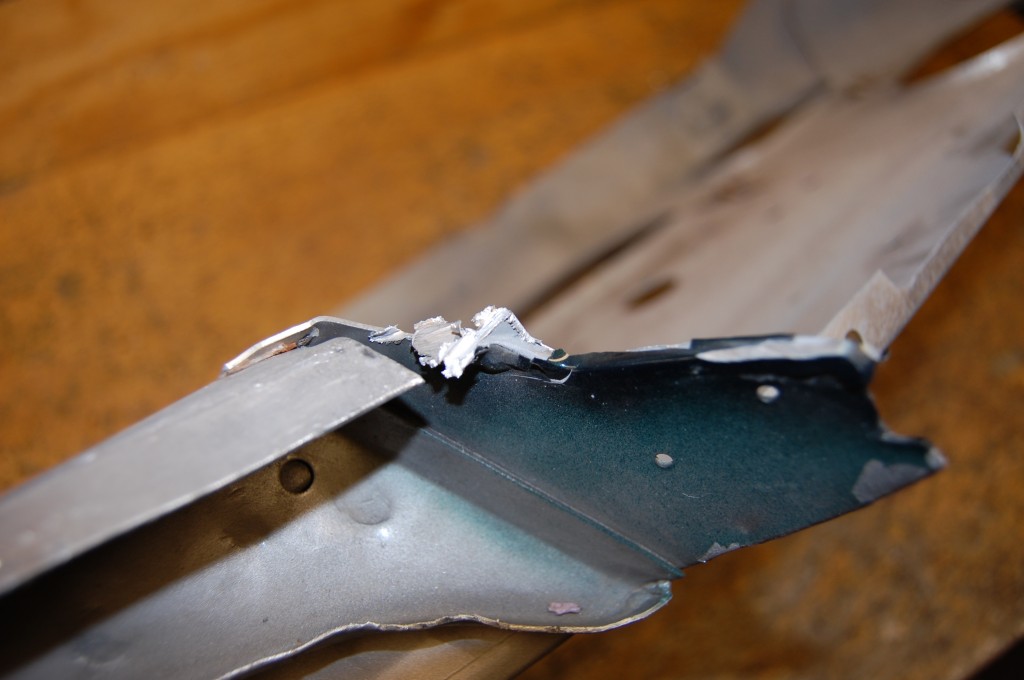
- rAcing parts aren’t always the prettiest – and this big glod of weld made this door no exception to that rule!

-

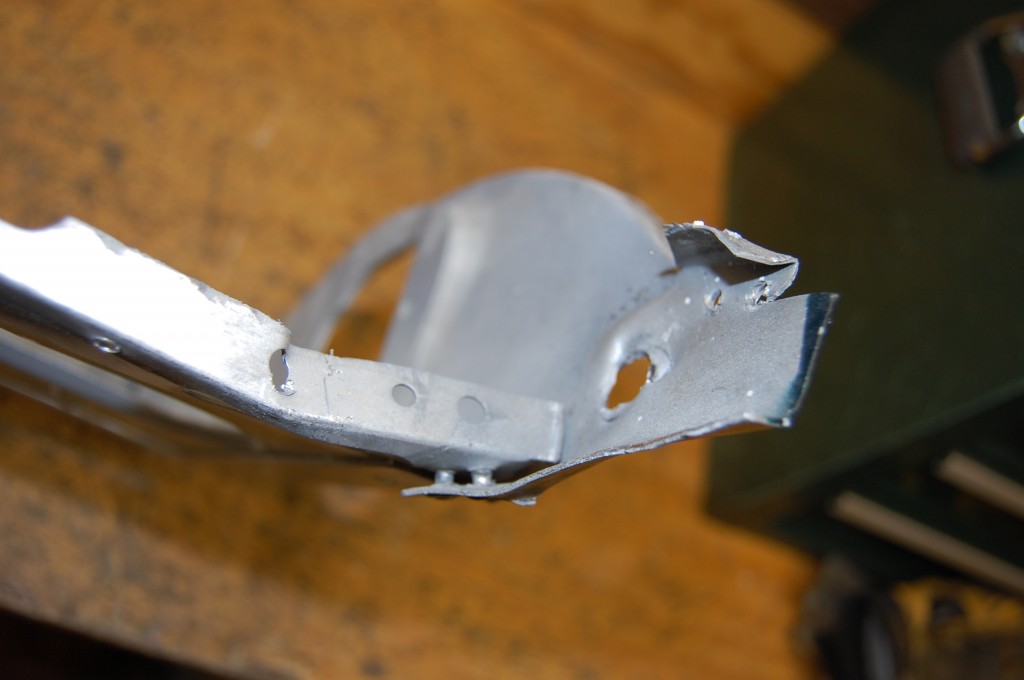
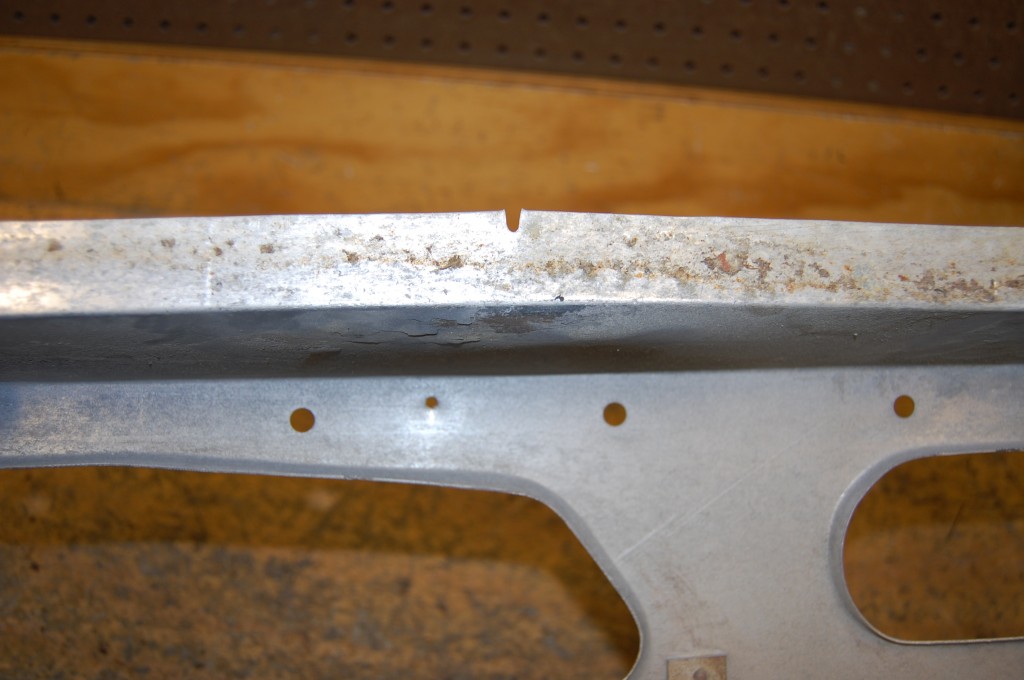
- This front upper corner has been stretched out of shape.
-
- More damage here…
-

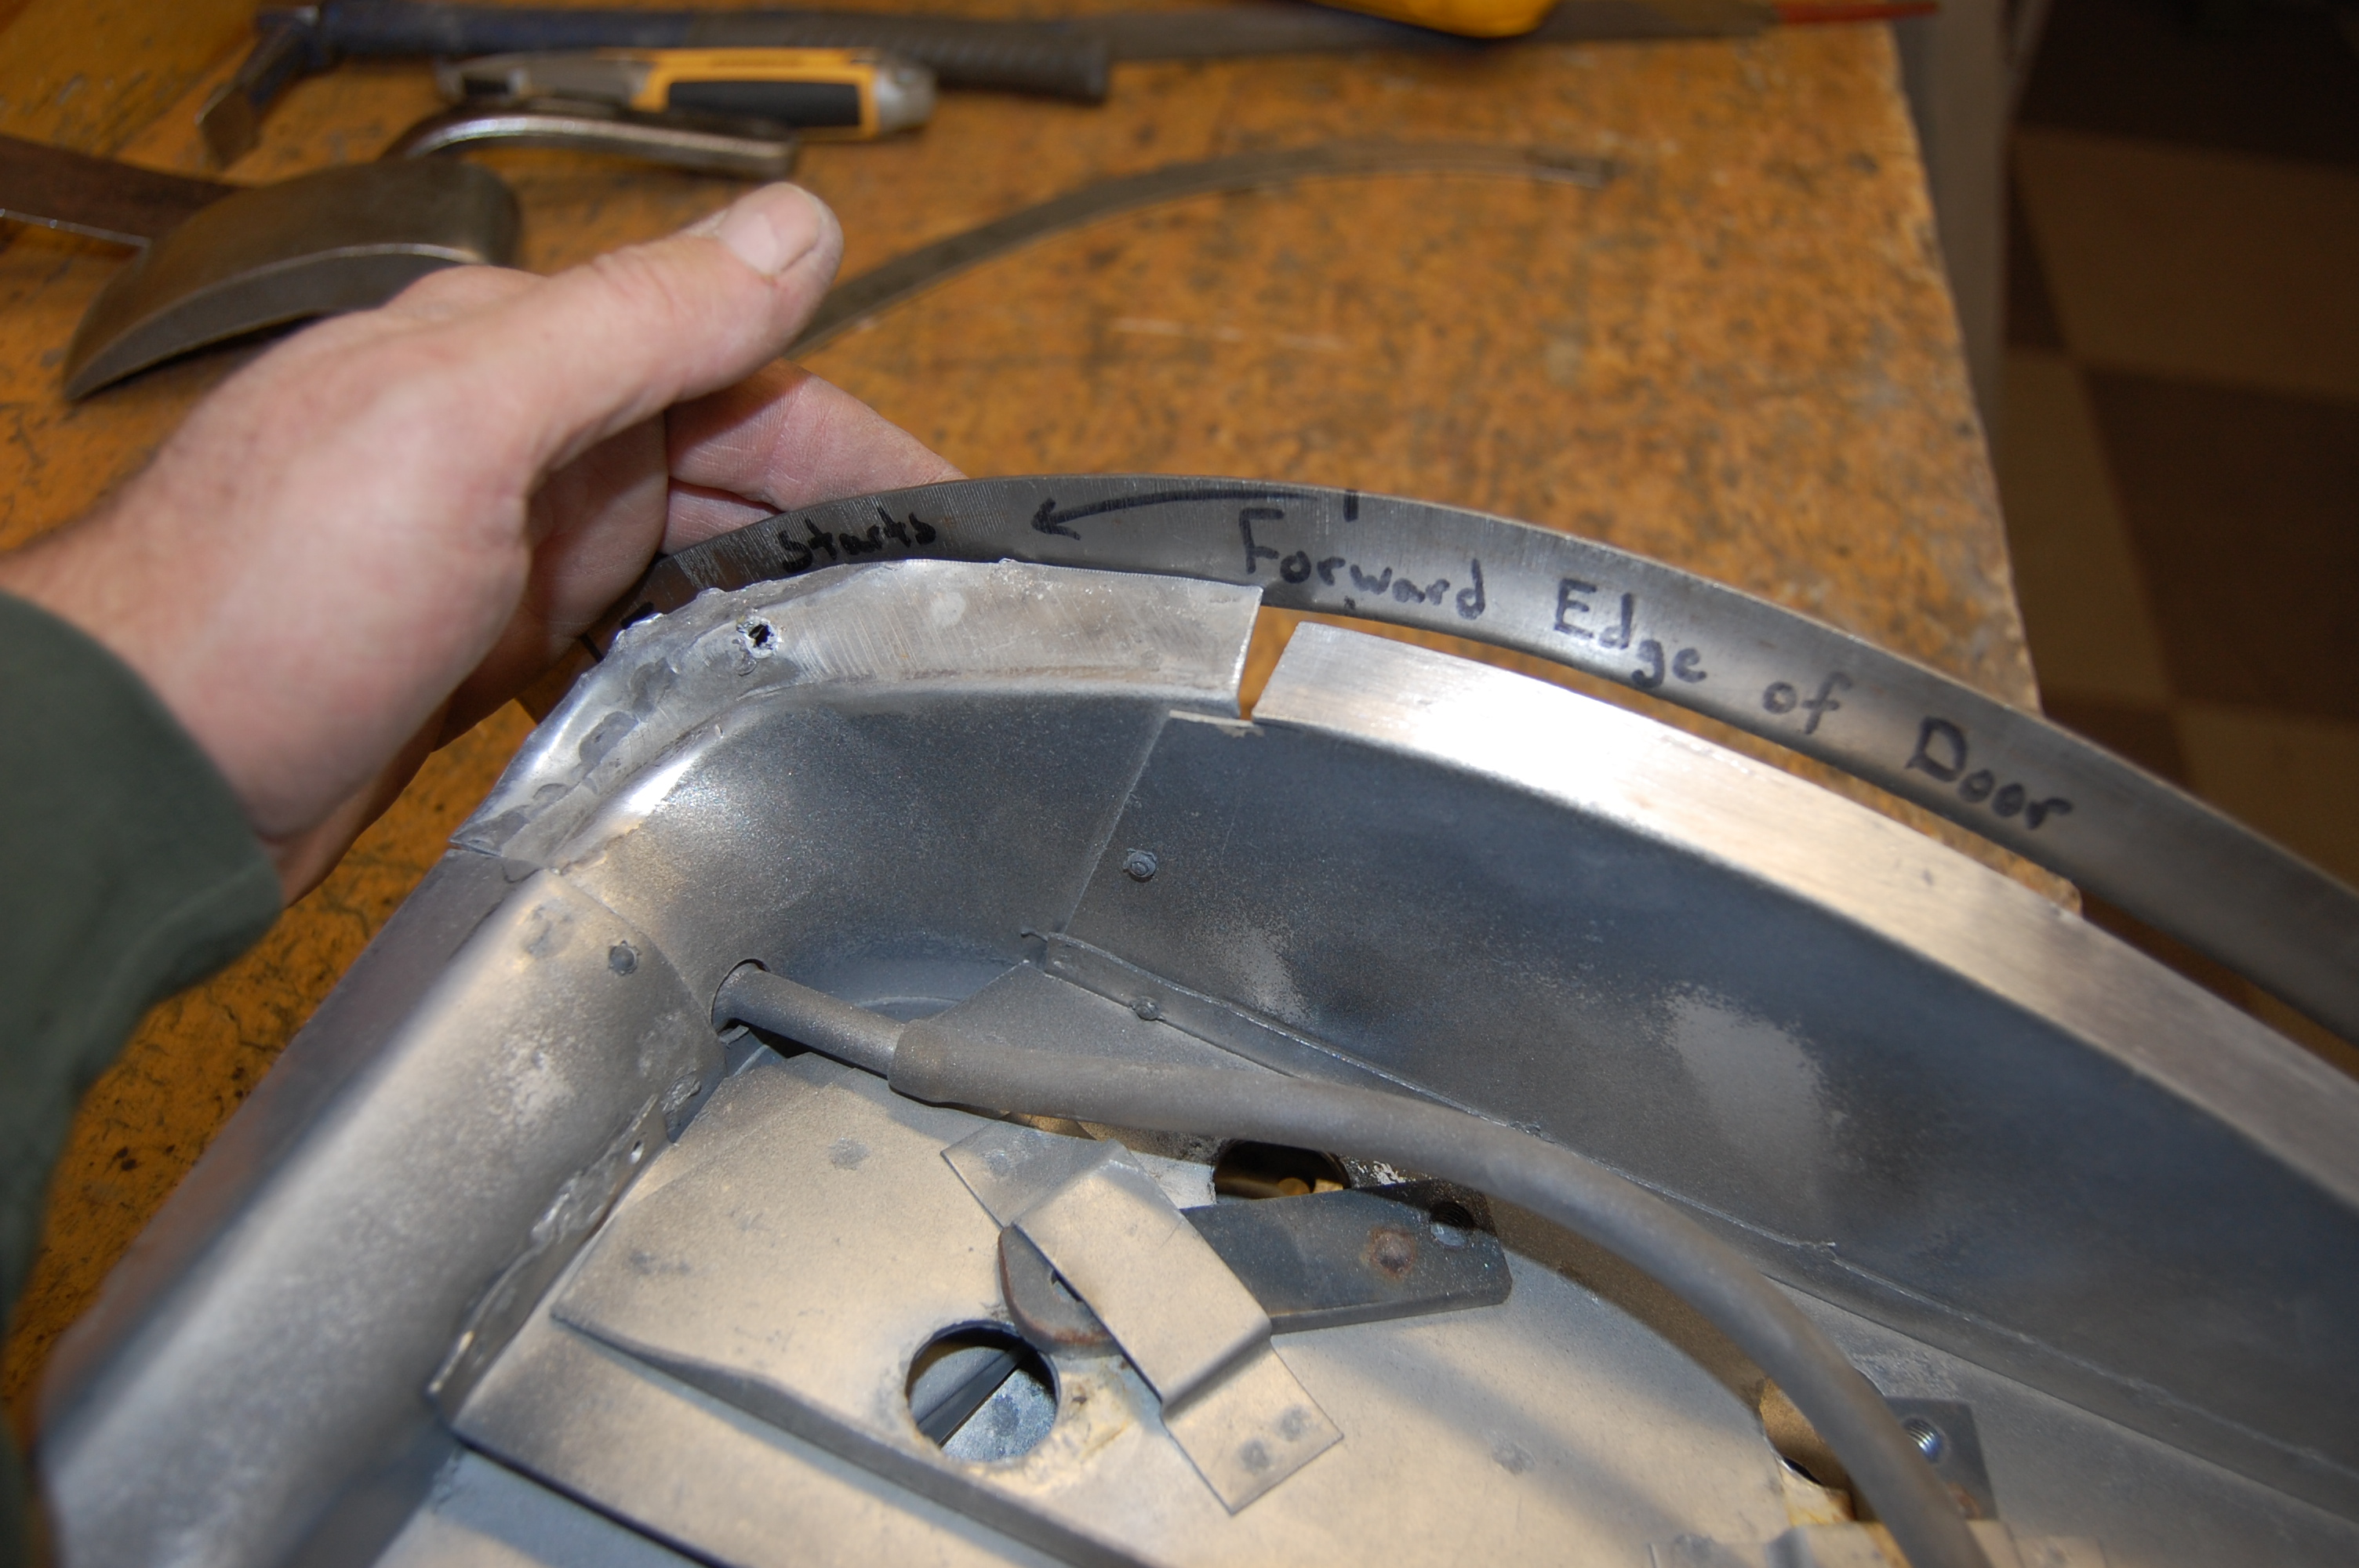
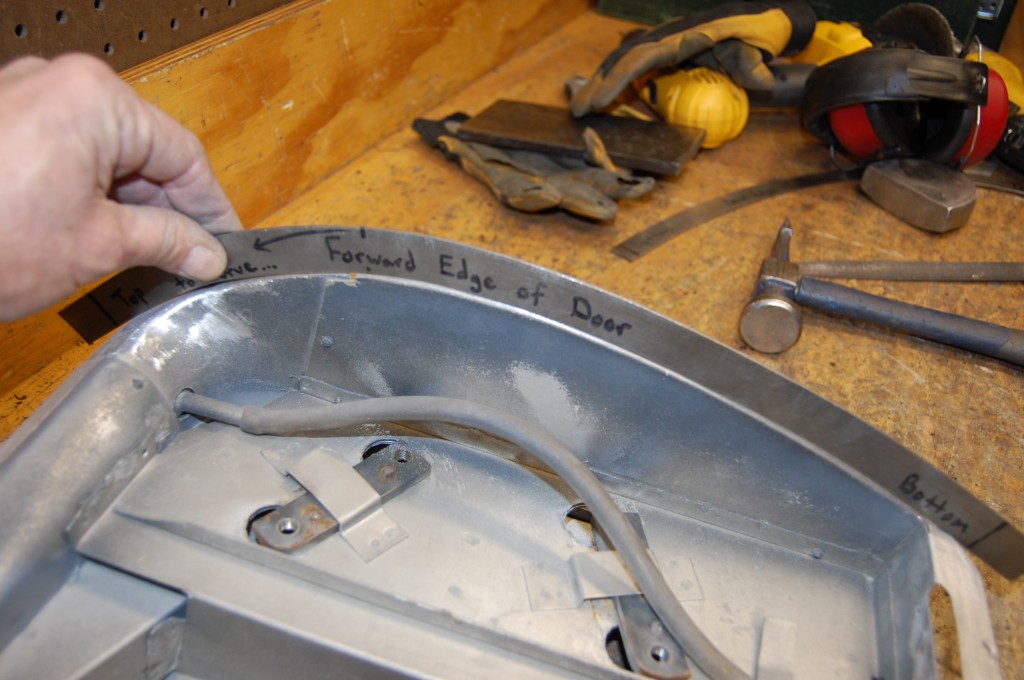
- We have accumulated contour gauges for nearly every part of the E-Type’s shape. This one clearly shows that the shell is out of whack…
-
- A little hammer and dolly work, and we’re back on target to attach the skin.

-

- MUCH better!
-
- Even the drip tray was twisted up!
-
- Nothing a little patience can’t fix!

-

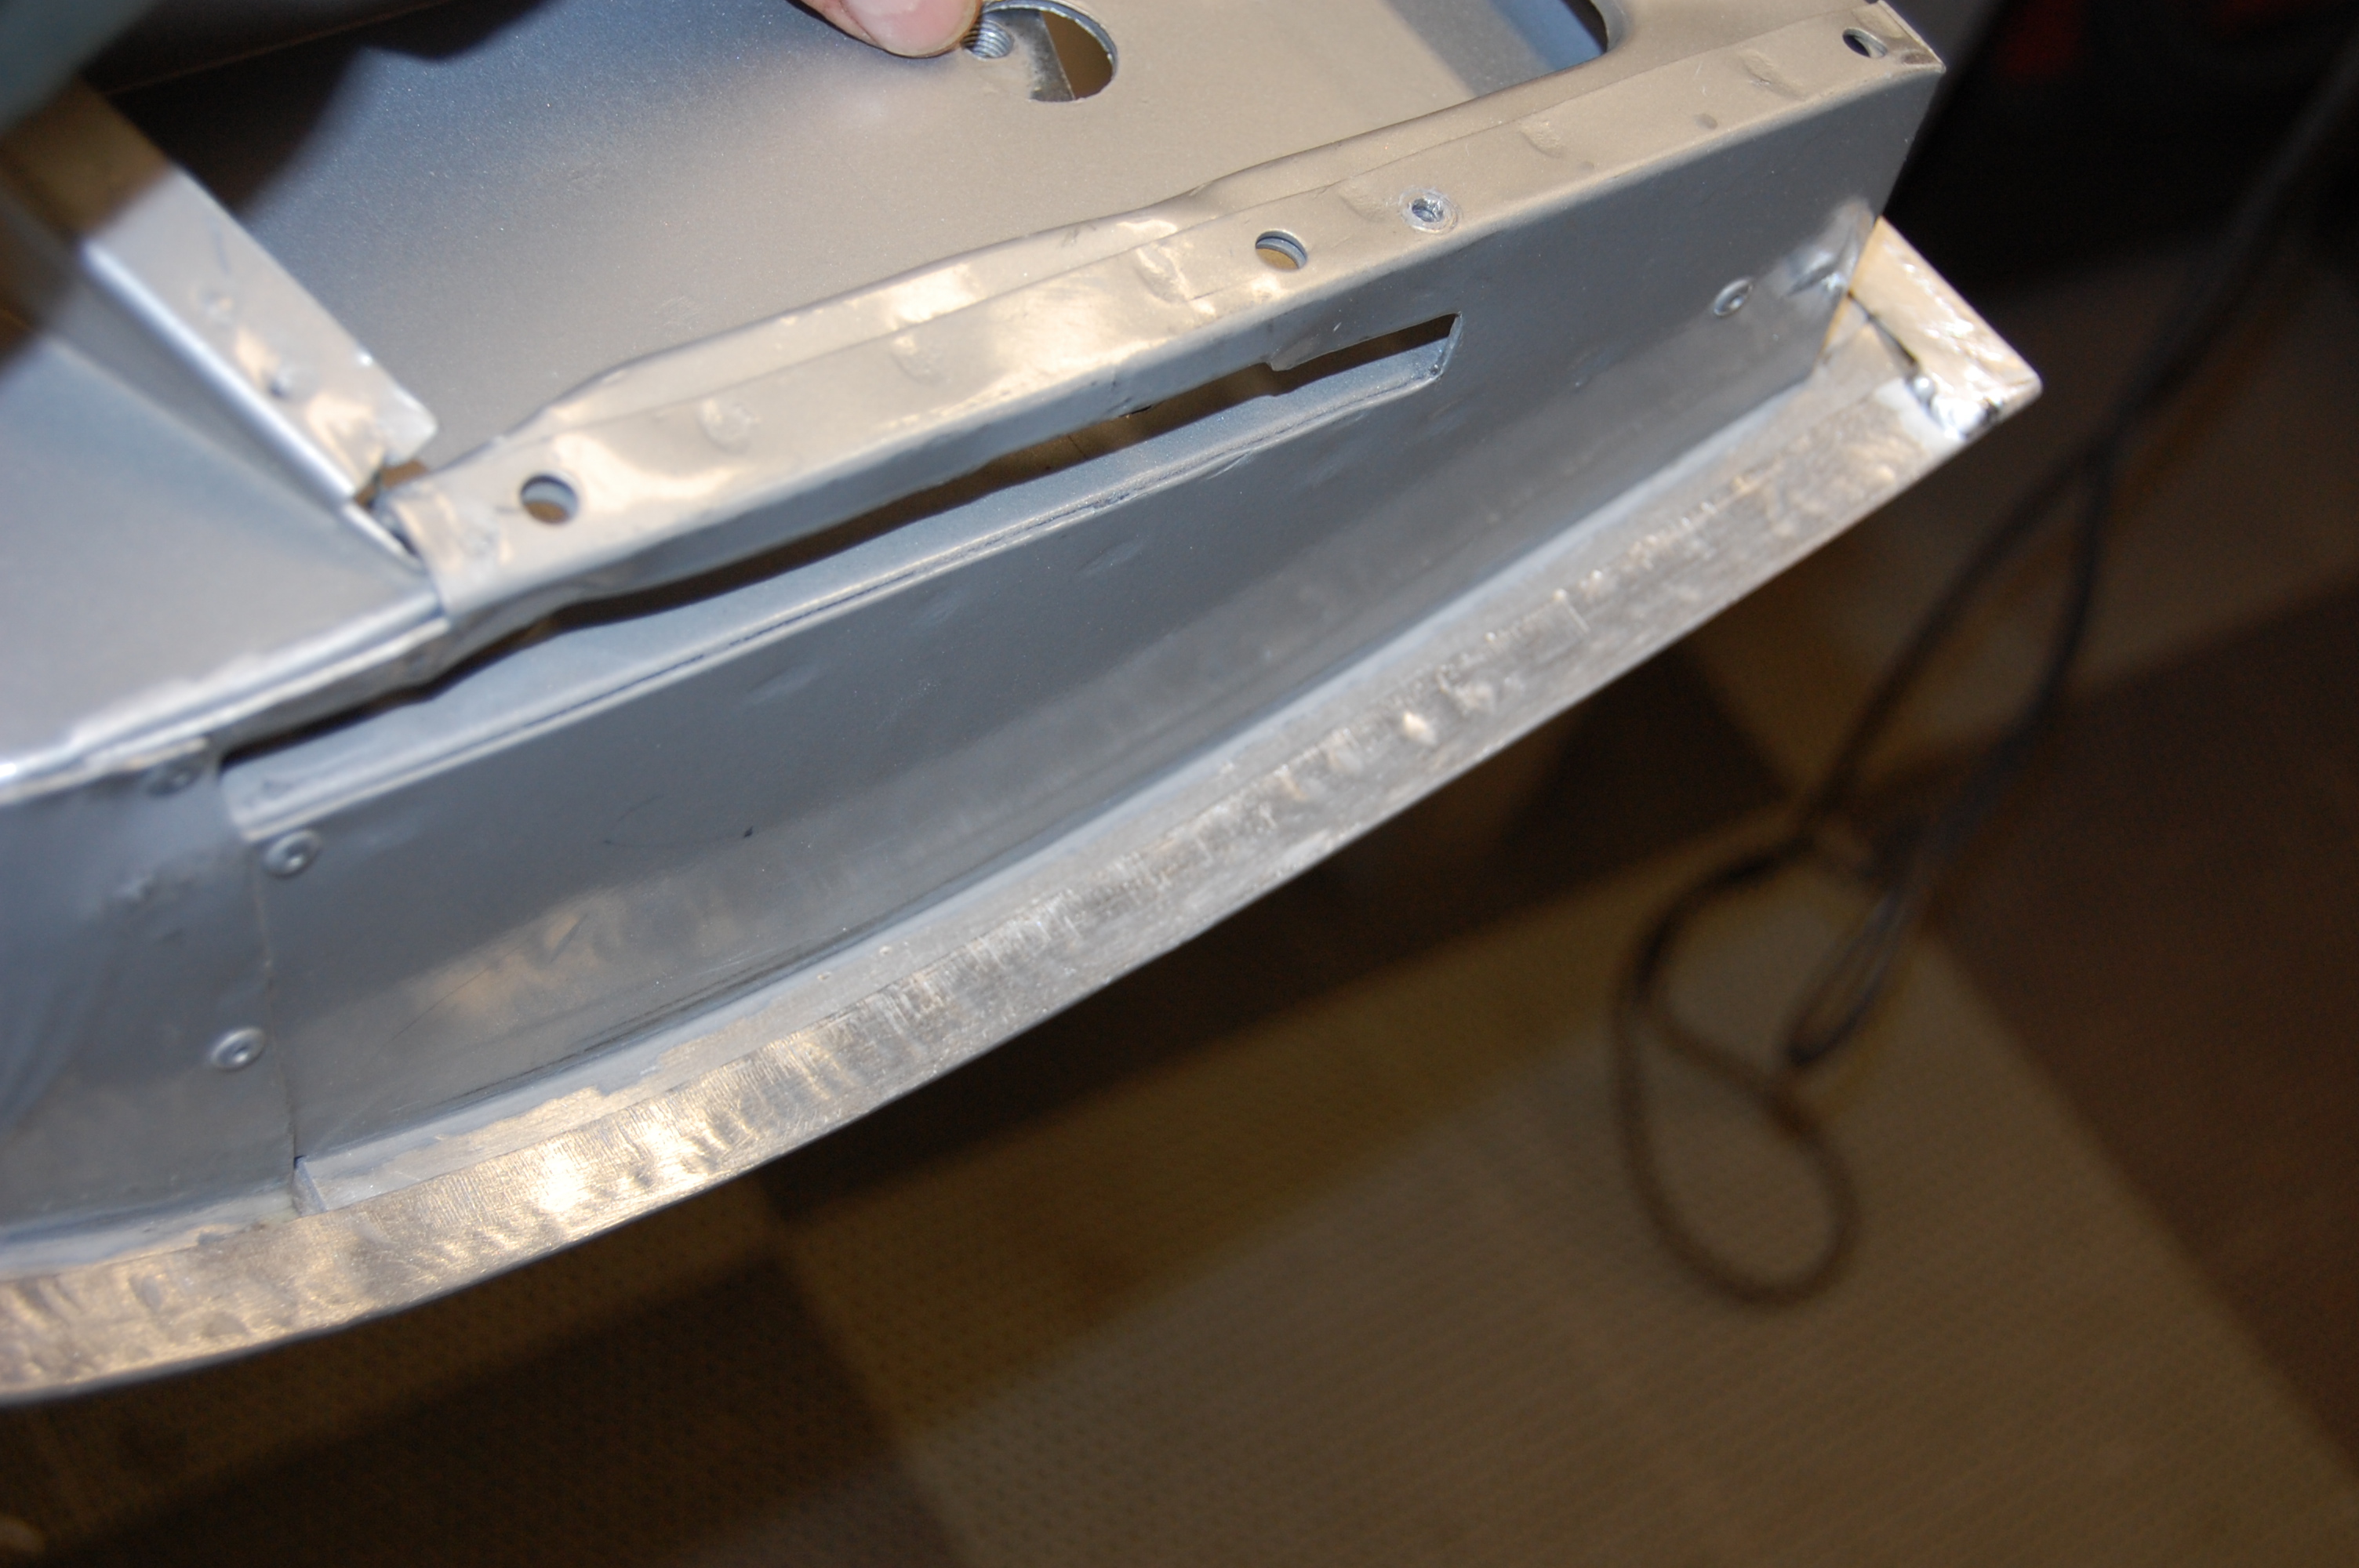
- The shell is restored and we are now ready to attach the new skin.
-
- The owner told us that the door did not fit very well before, and to go ahead and make it identical to a stock E-type door using our patterns. And so, we had to make a few adjustments to get the correctly shaped skins on.
-

- Here’ we have spot-welded the aluminum skin to the aluminum shell – thanks to a little trick I picked up a few years ago!
-
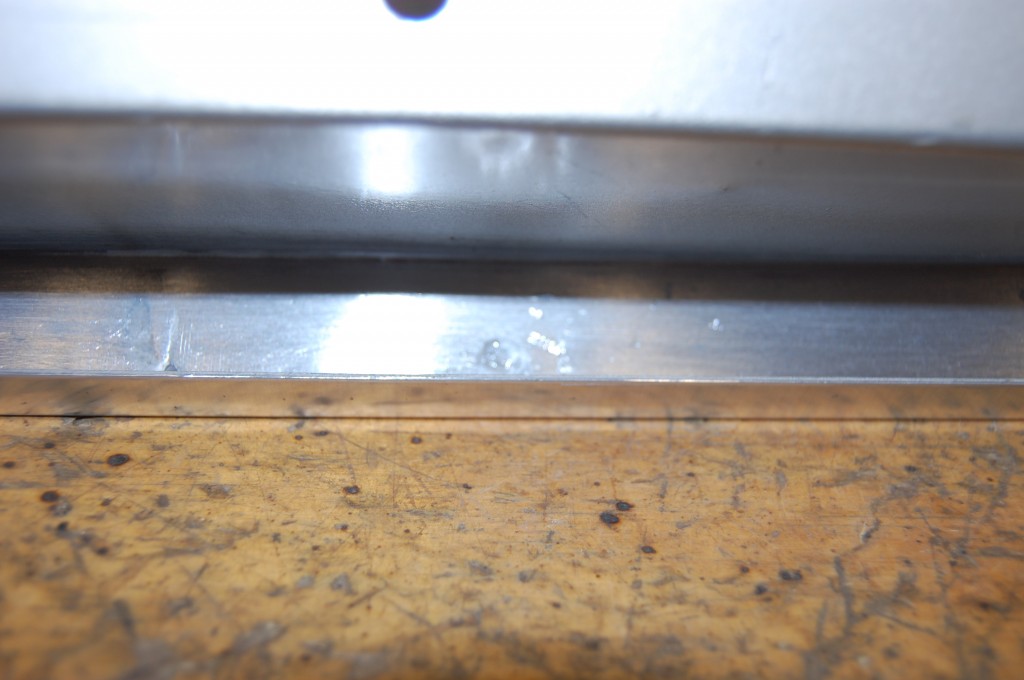
- Another aluminum spot-weld along the bottom edge.
-
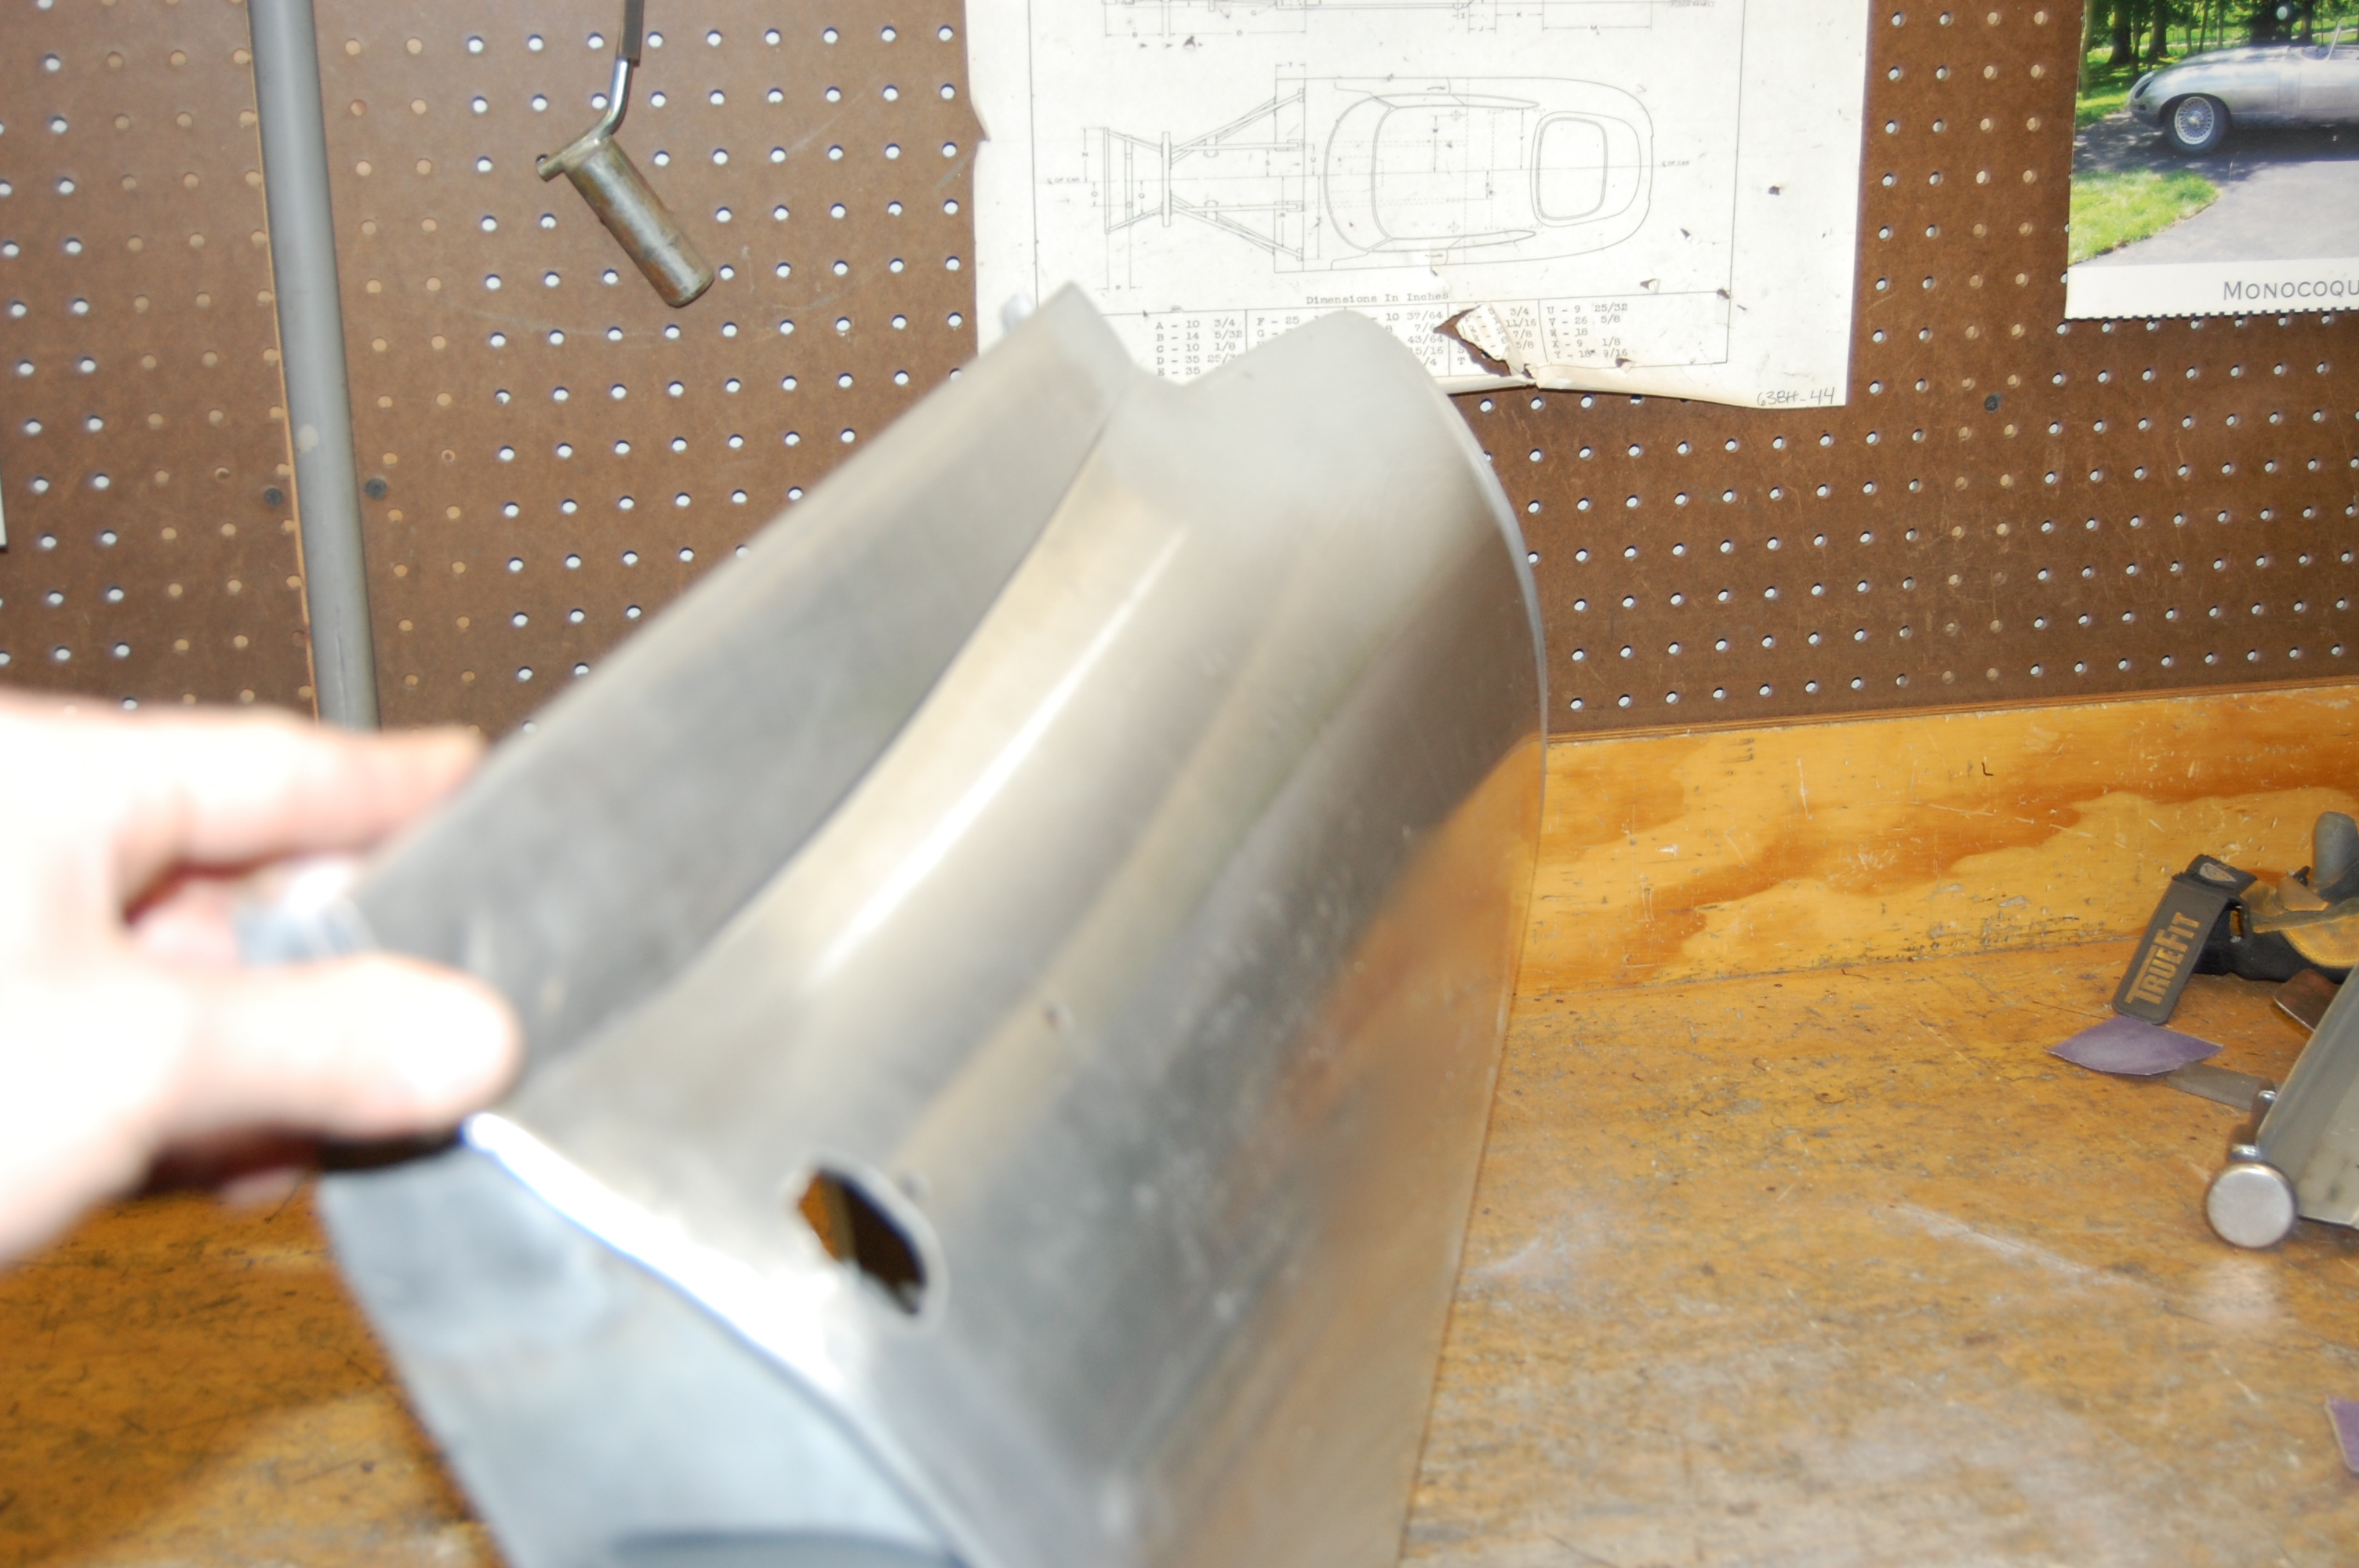
- Next, it’s time to fold the edges over.

-

- This upper edge can be tricky on the steel doors, but aluminum turned out to be a little more forgiving…
-

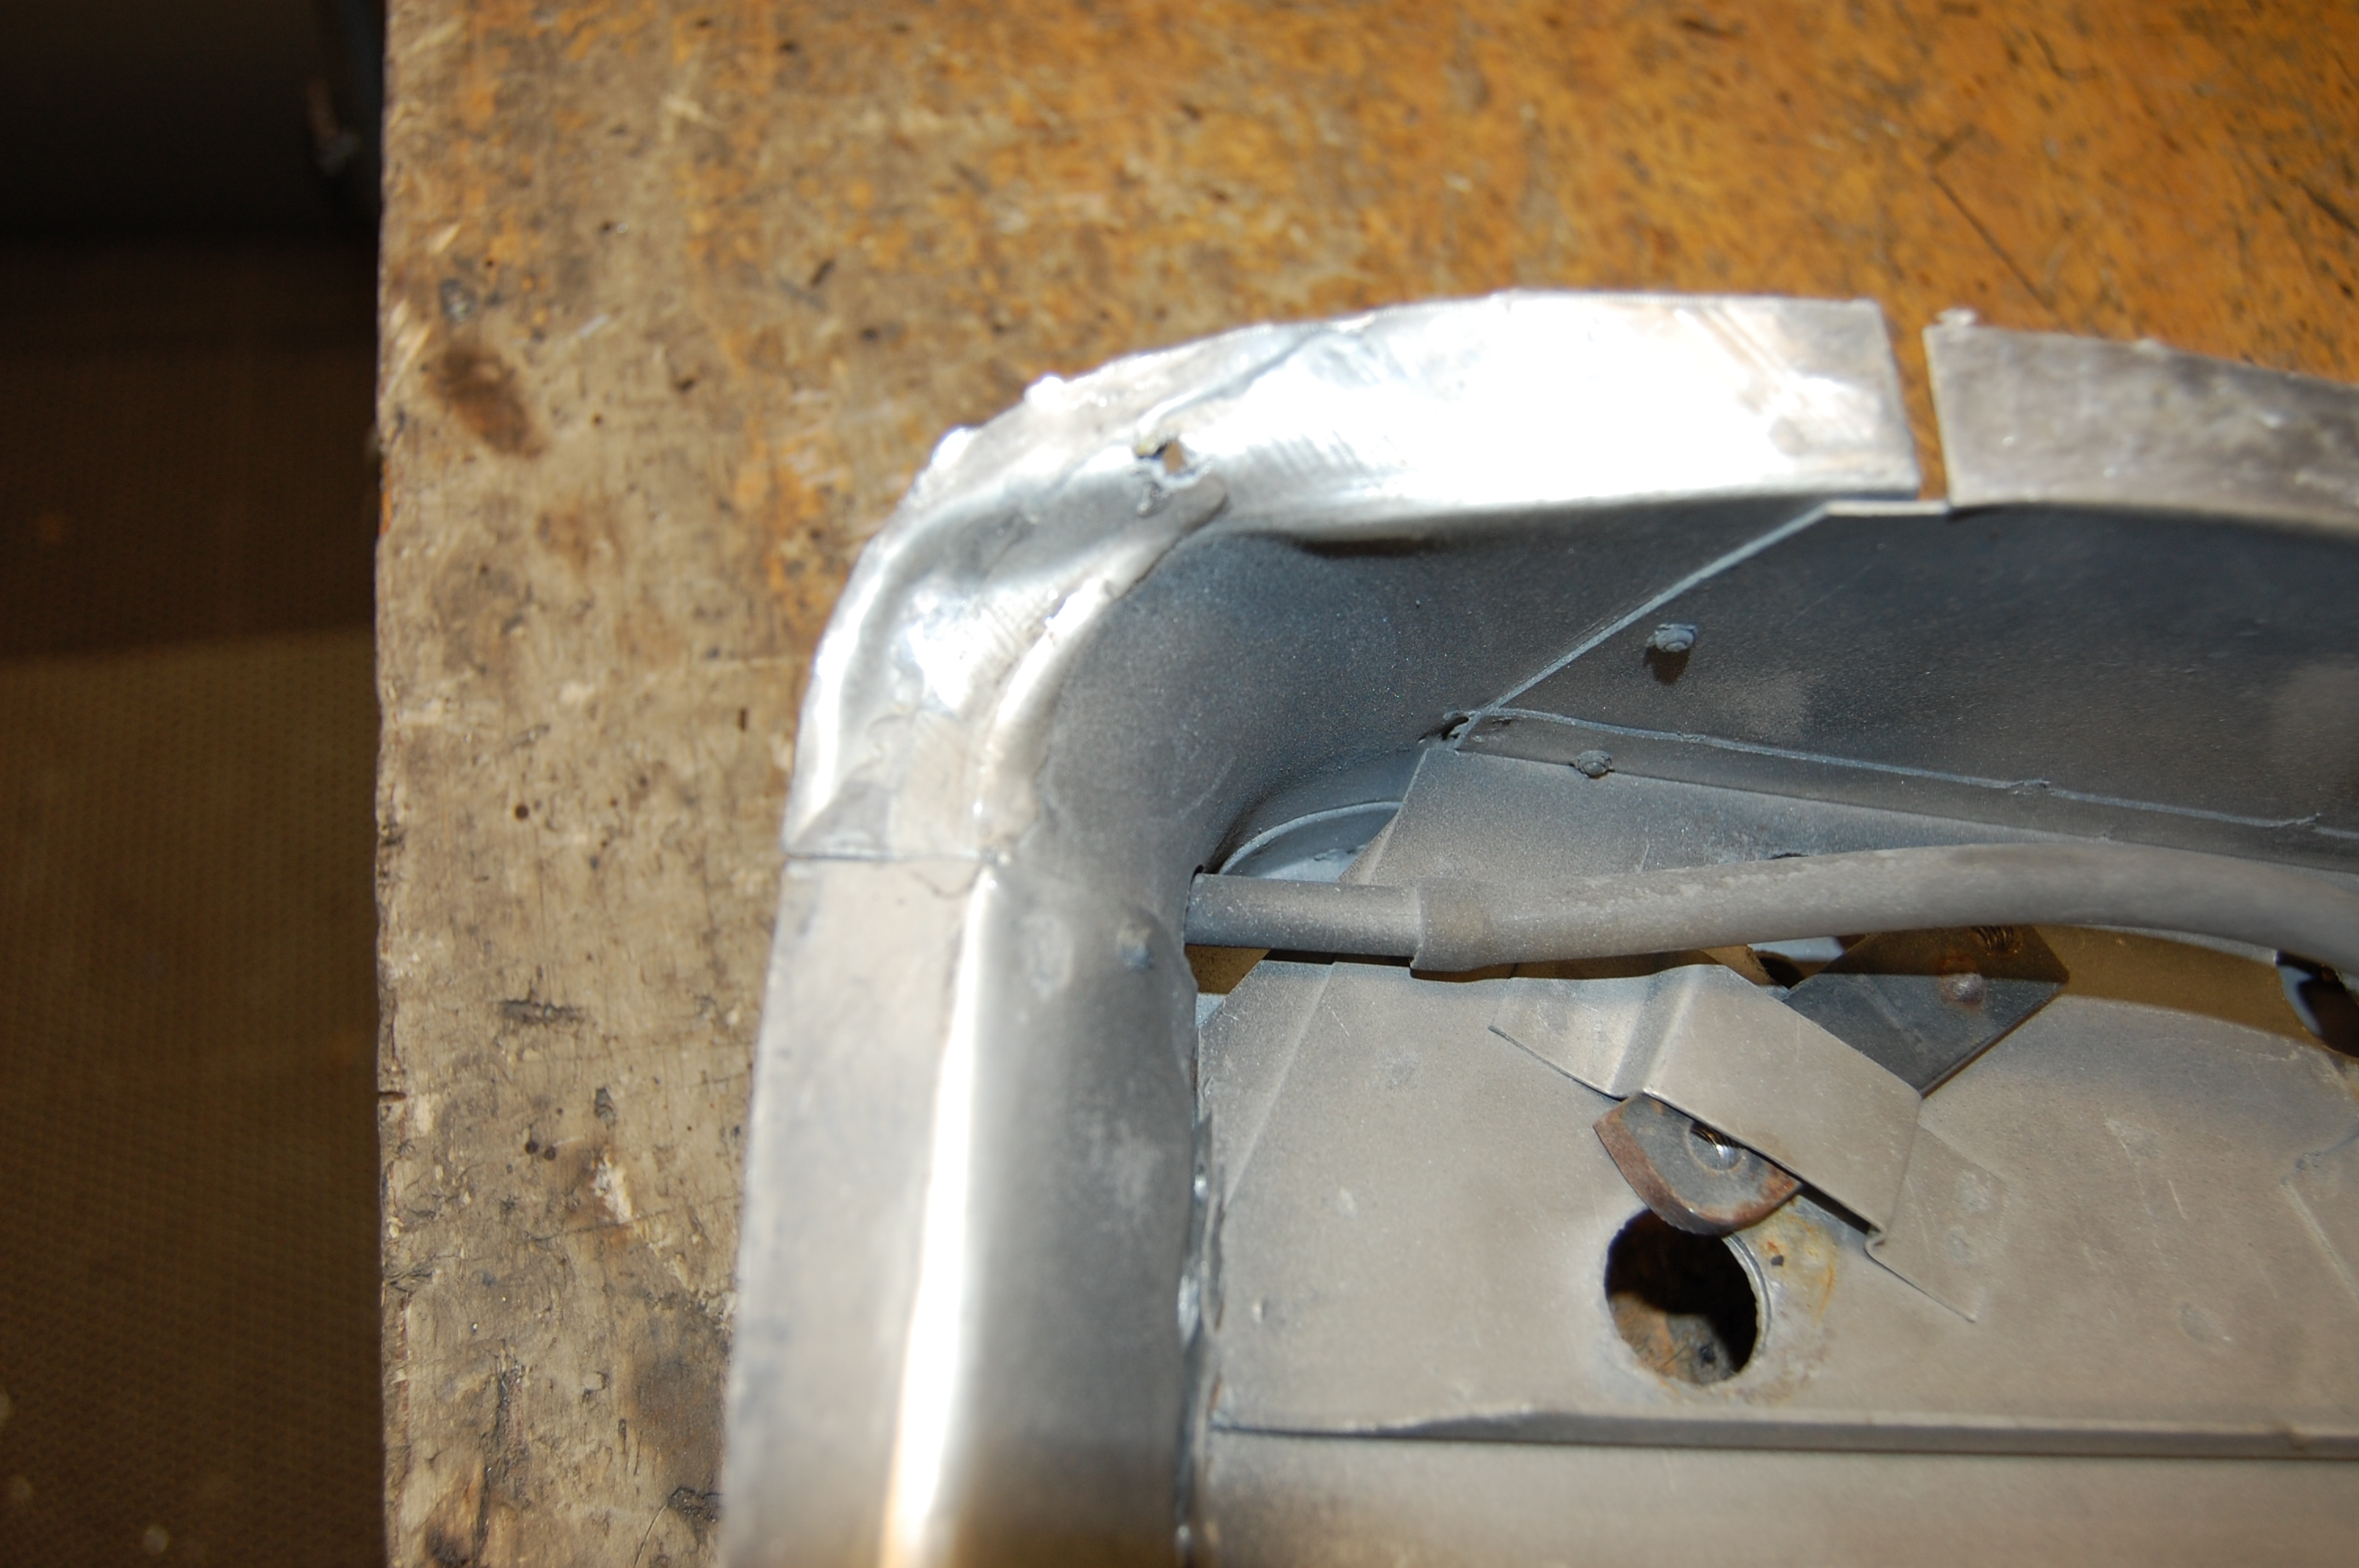
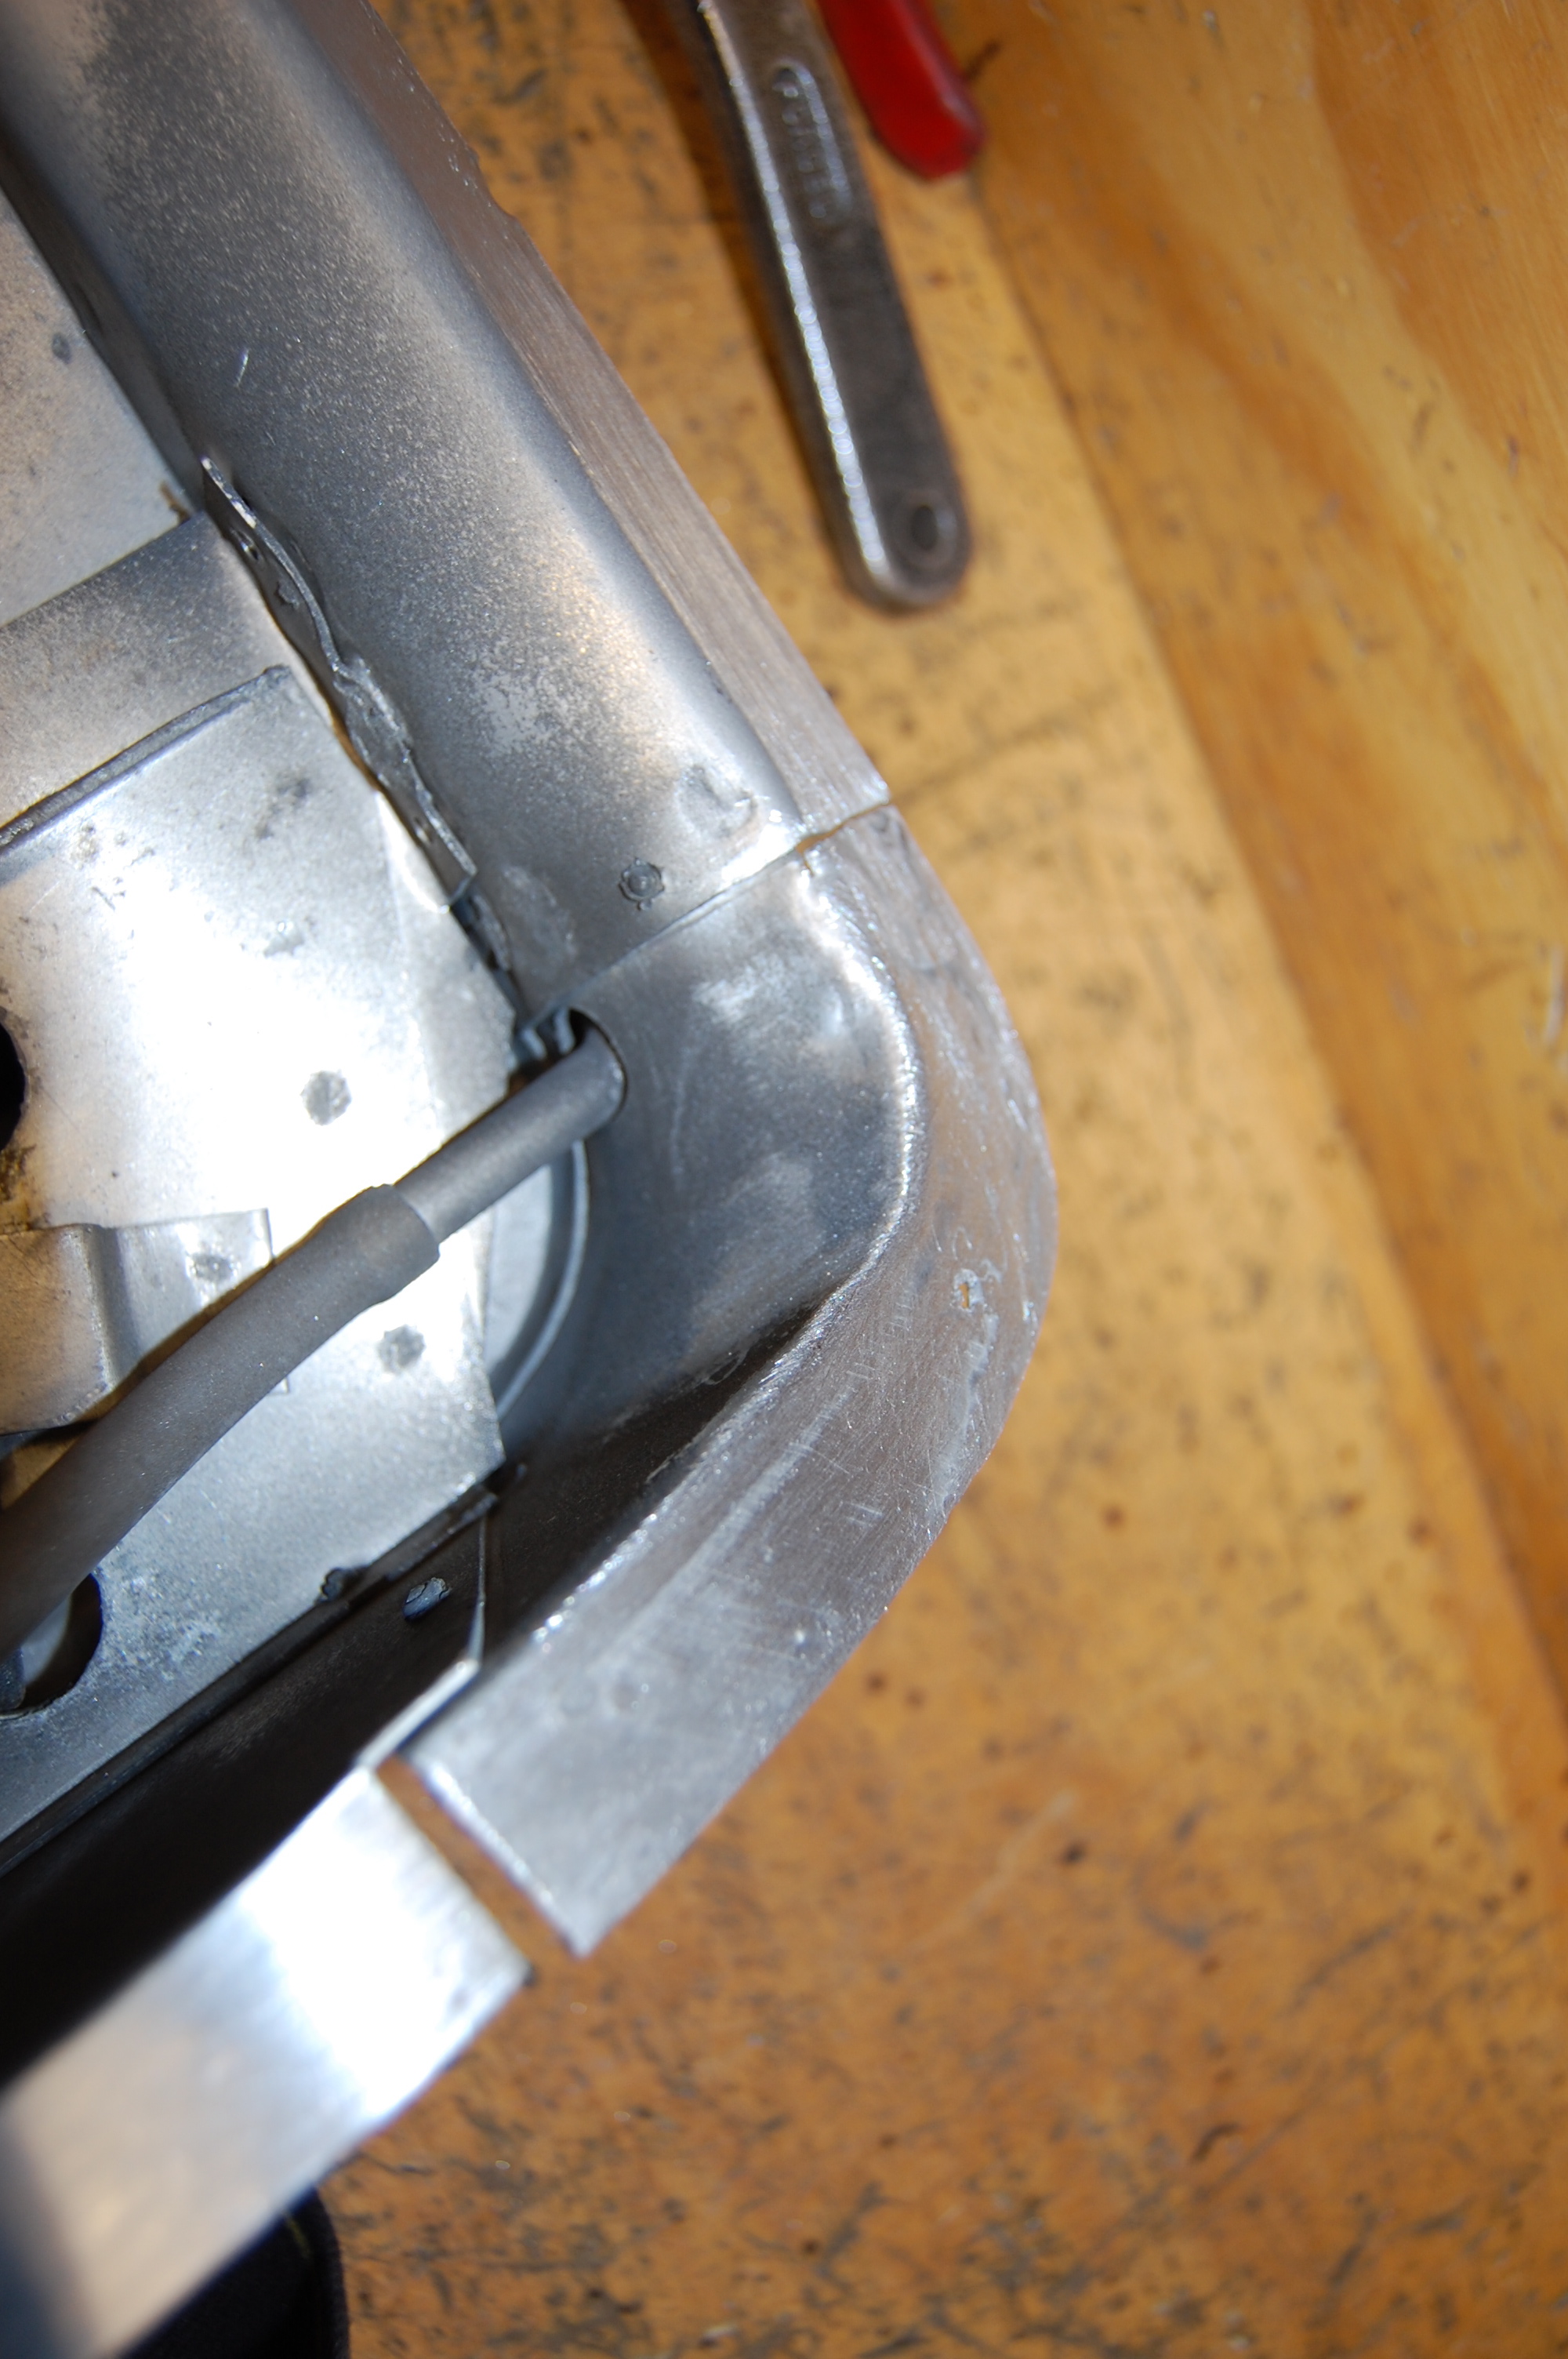
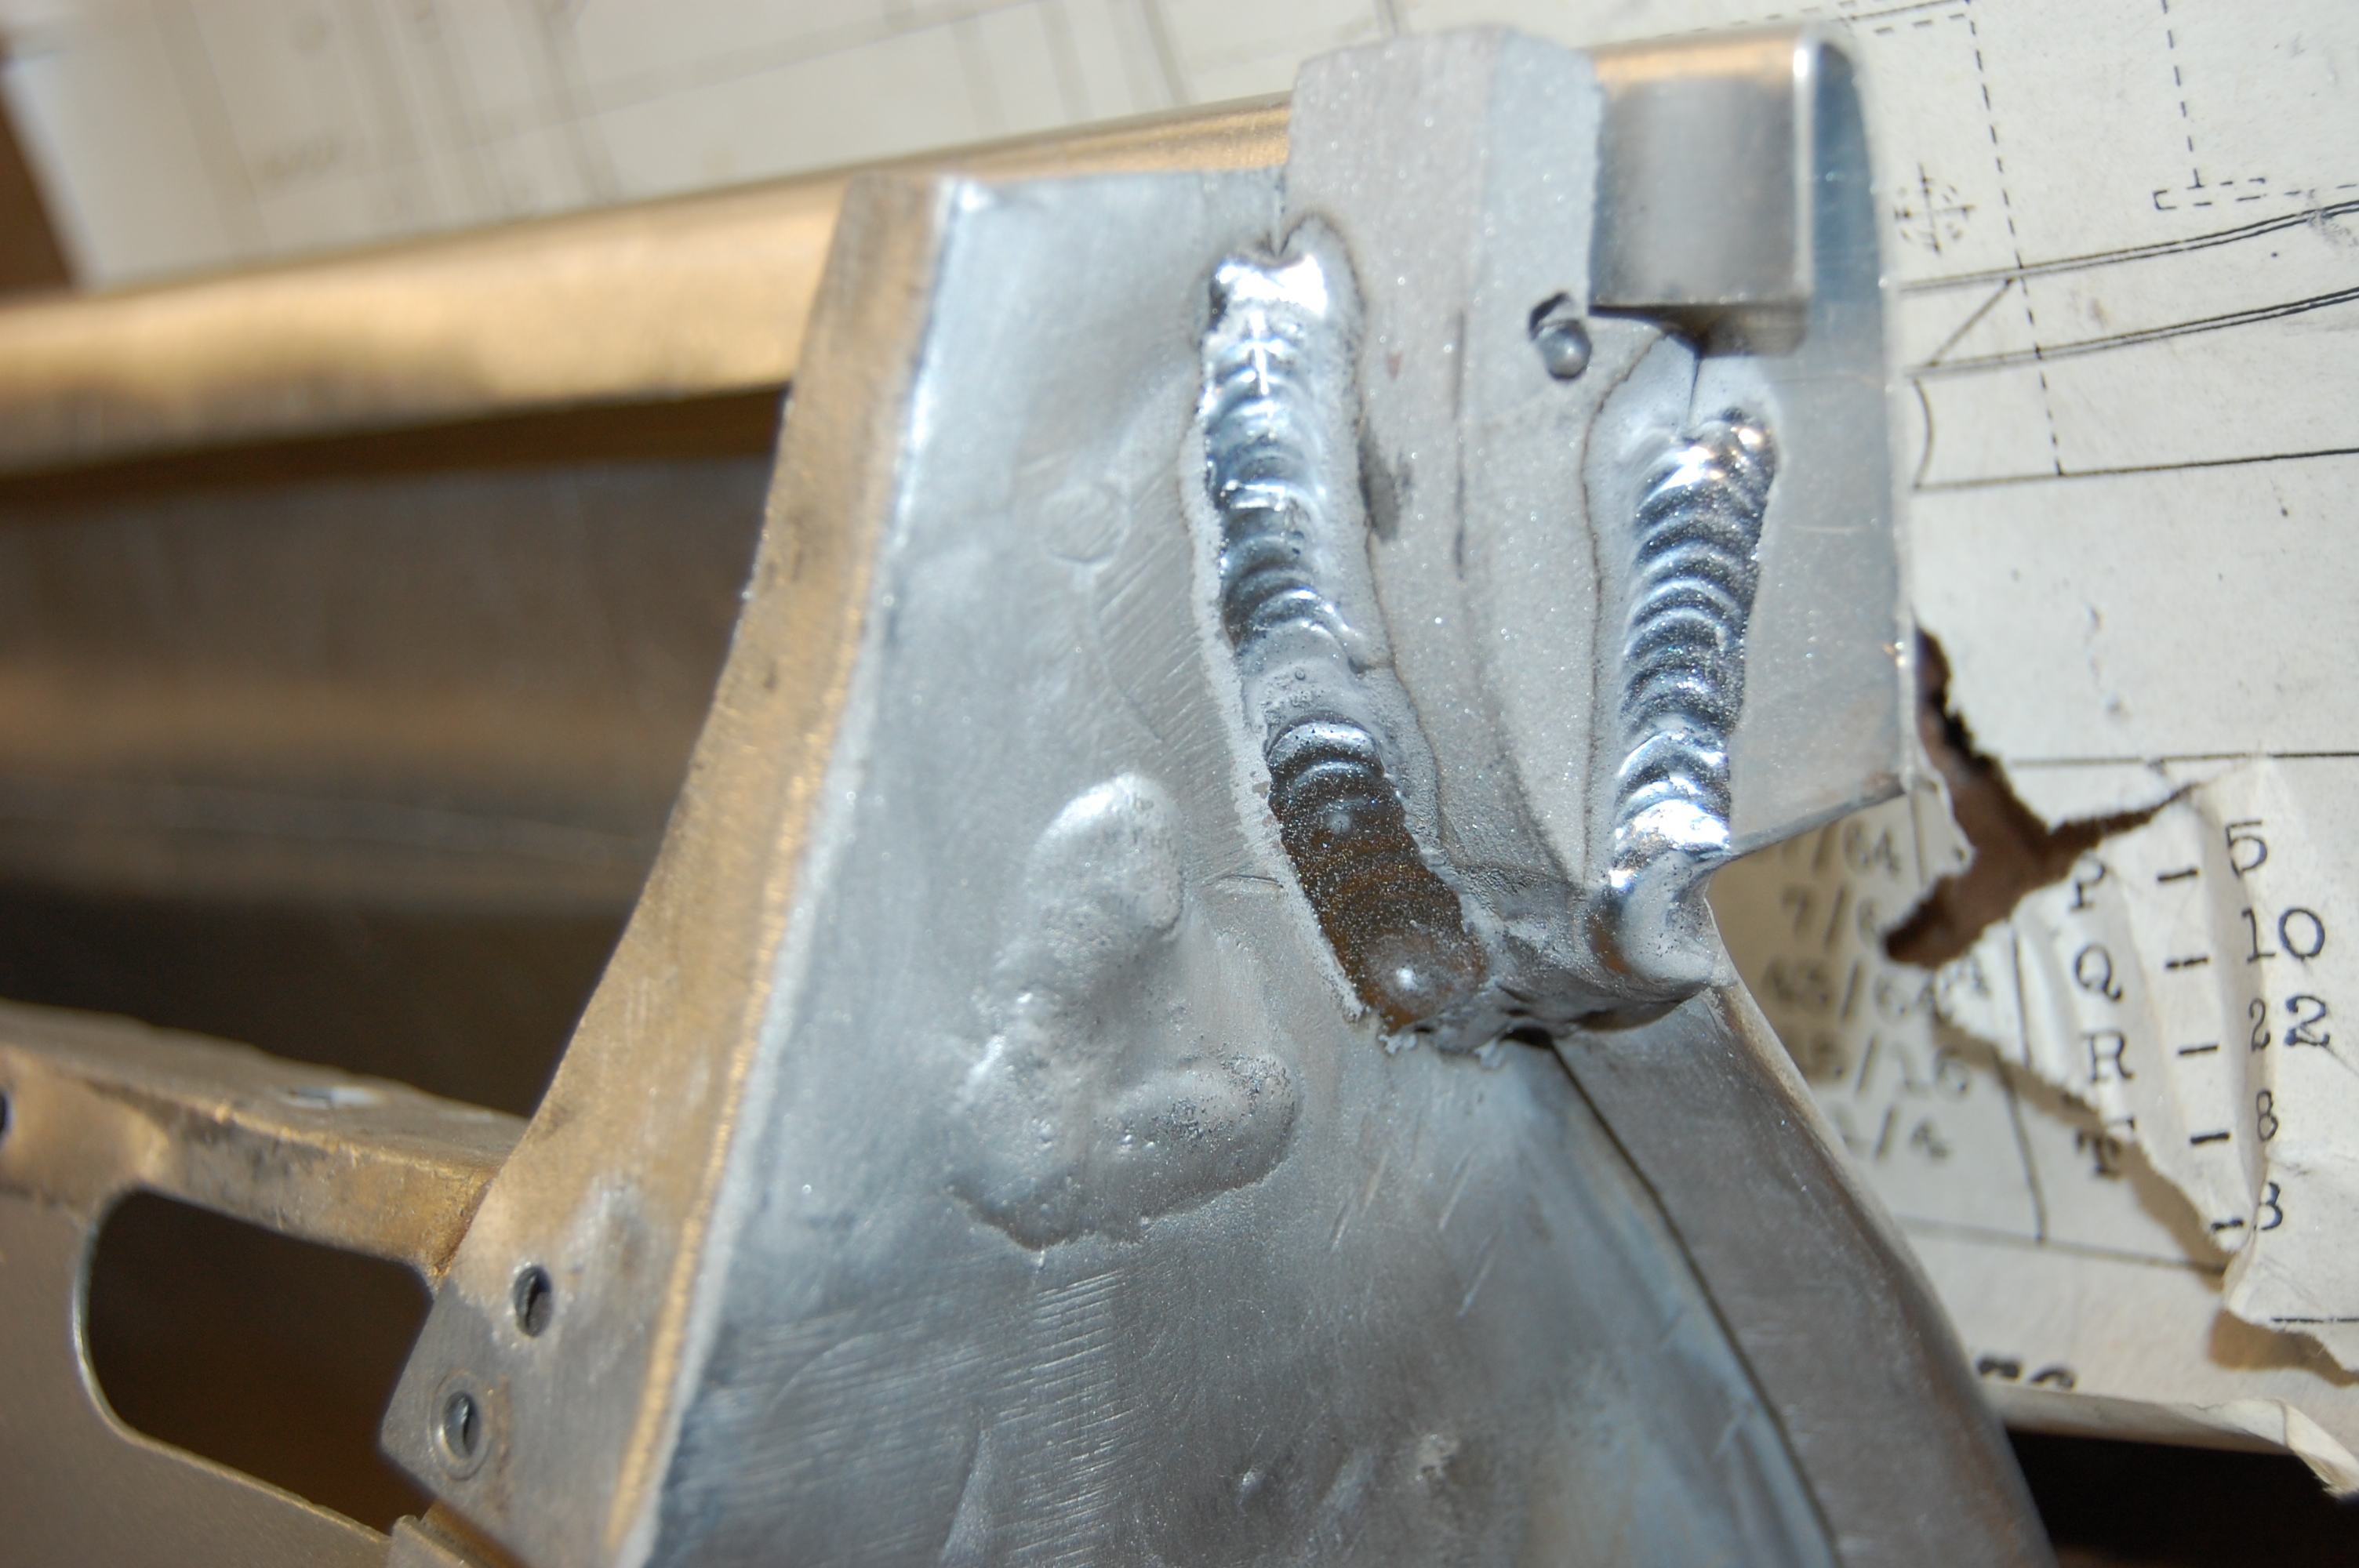
- Fast forward – all of the edges are folded, and we’ve welded up the top sections. This was my solution here – we used the stock trim attachment block to tie everything together with great success – AND strength!
-
- This turned out pretty well, and was dressed up a little further after this. The shape of this corner was dead on too!
-
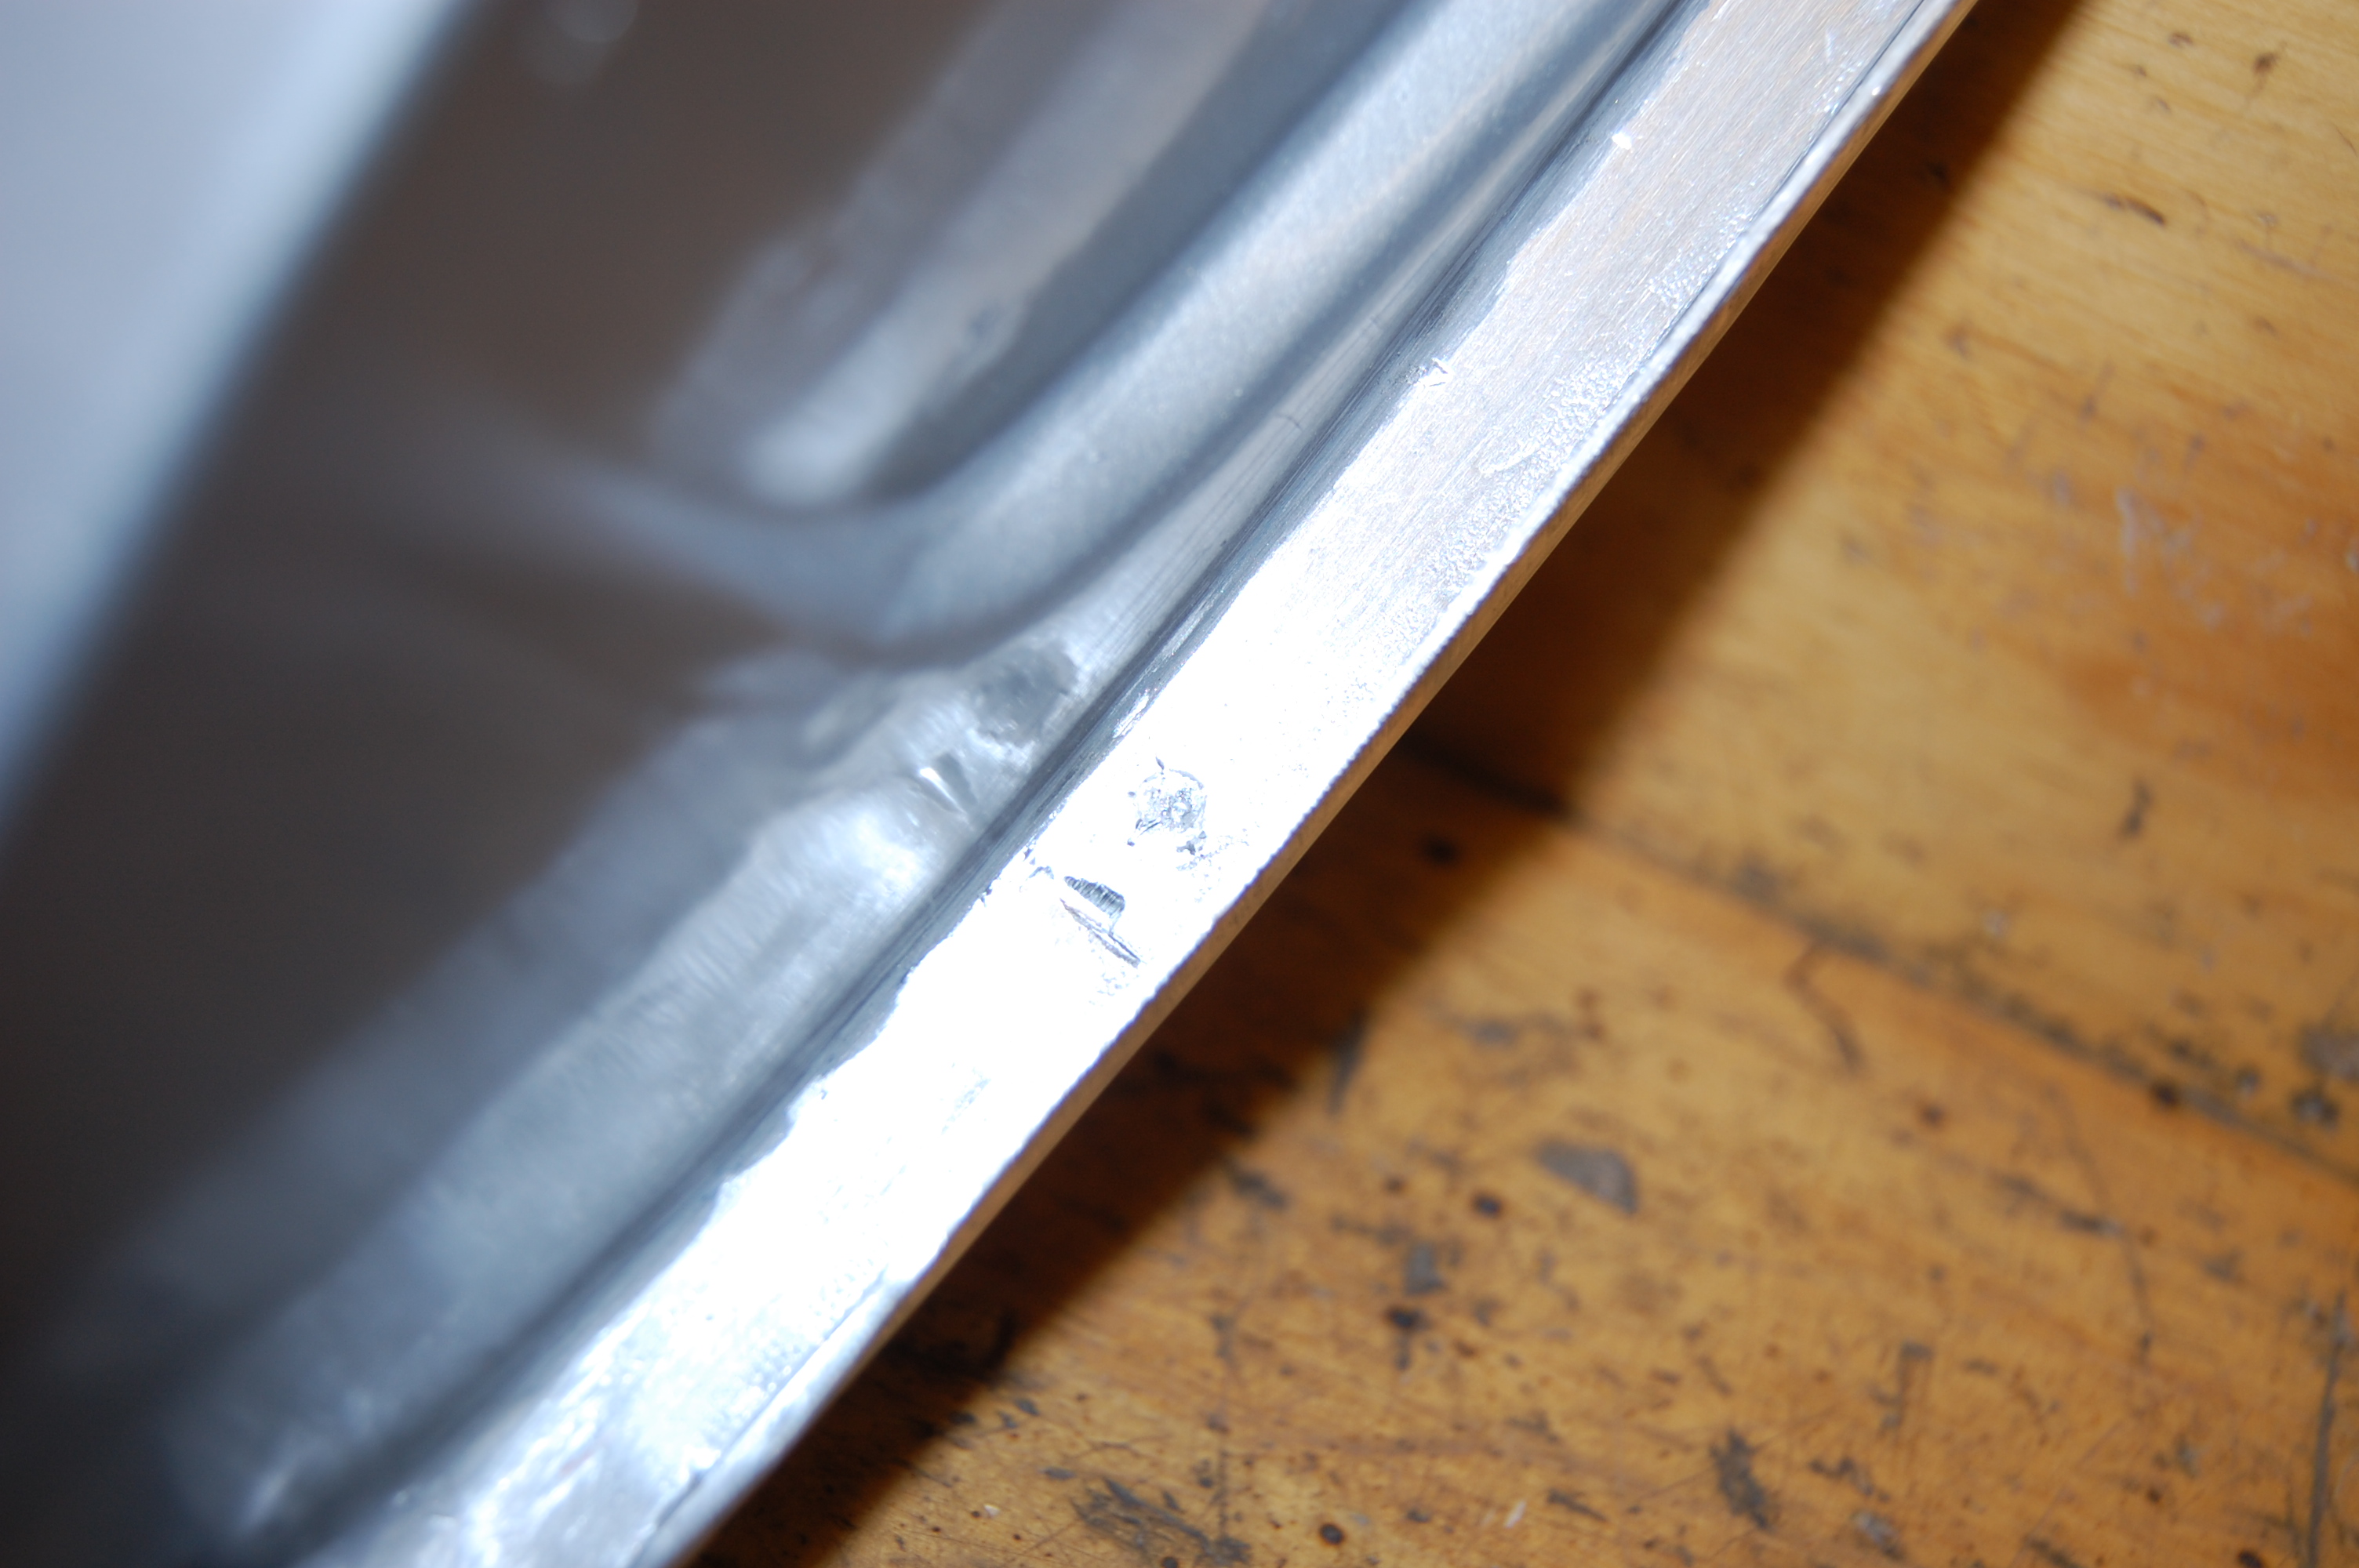
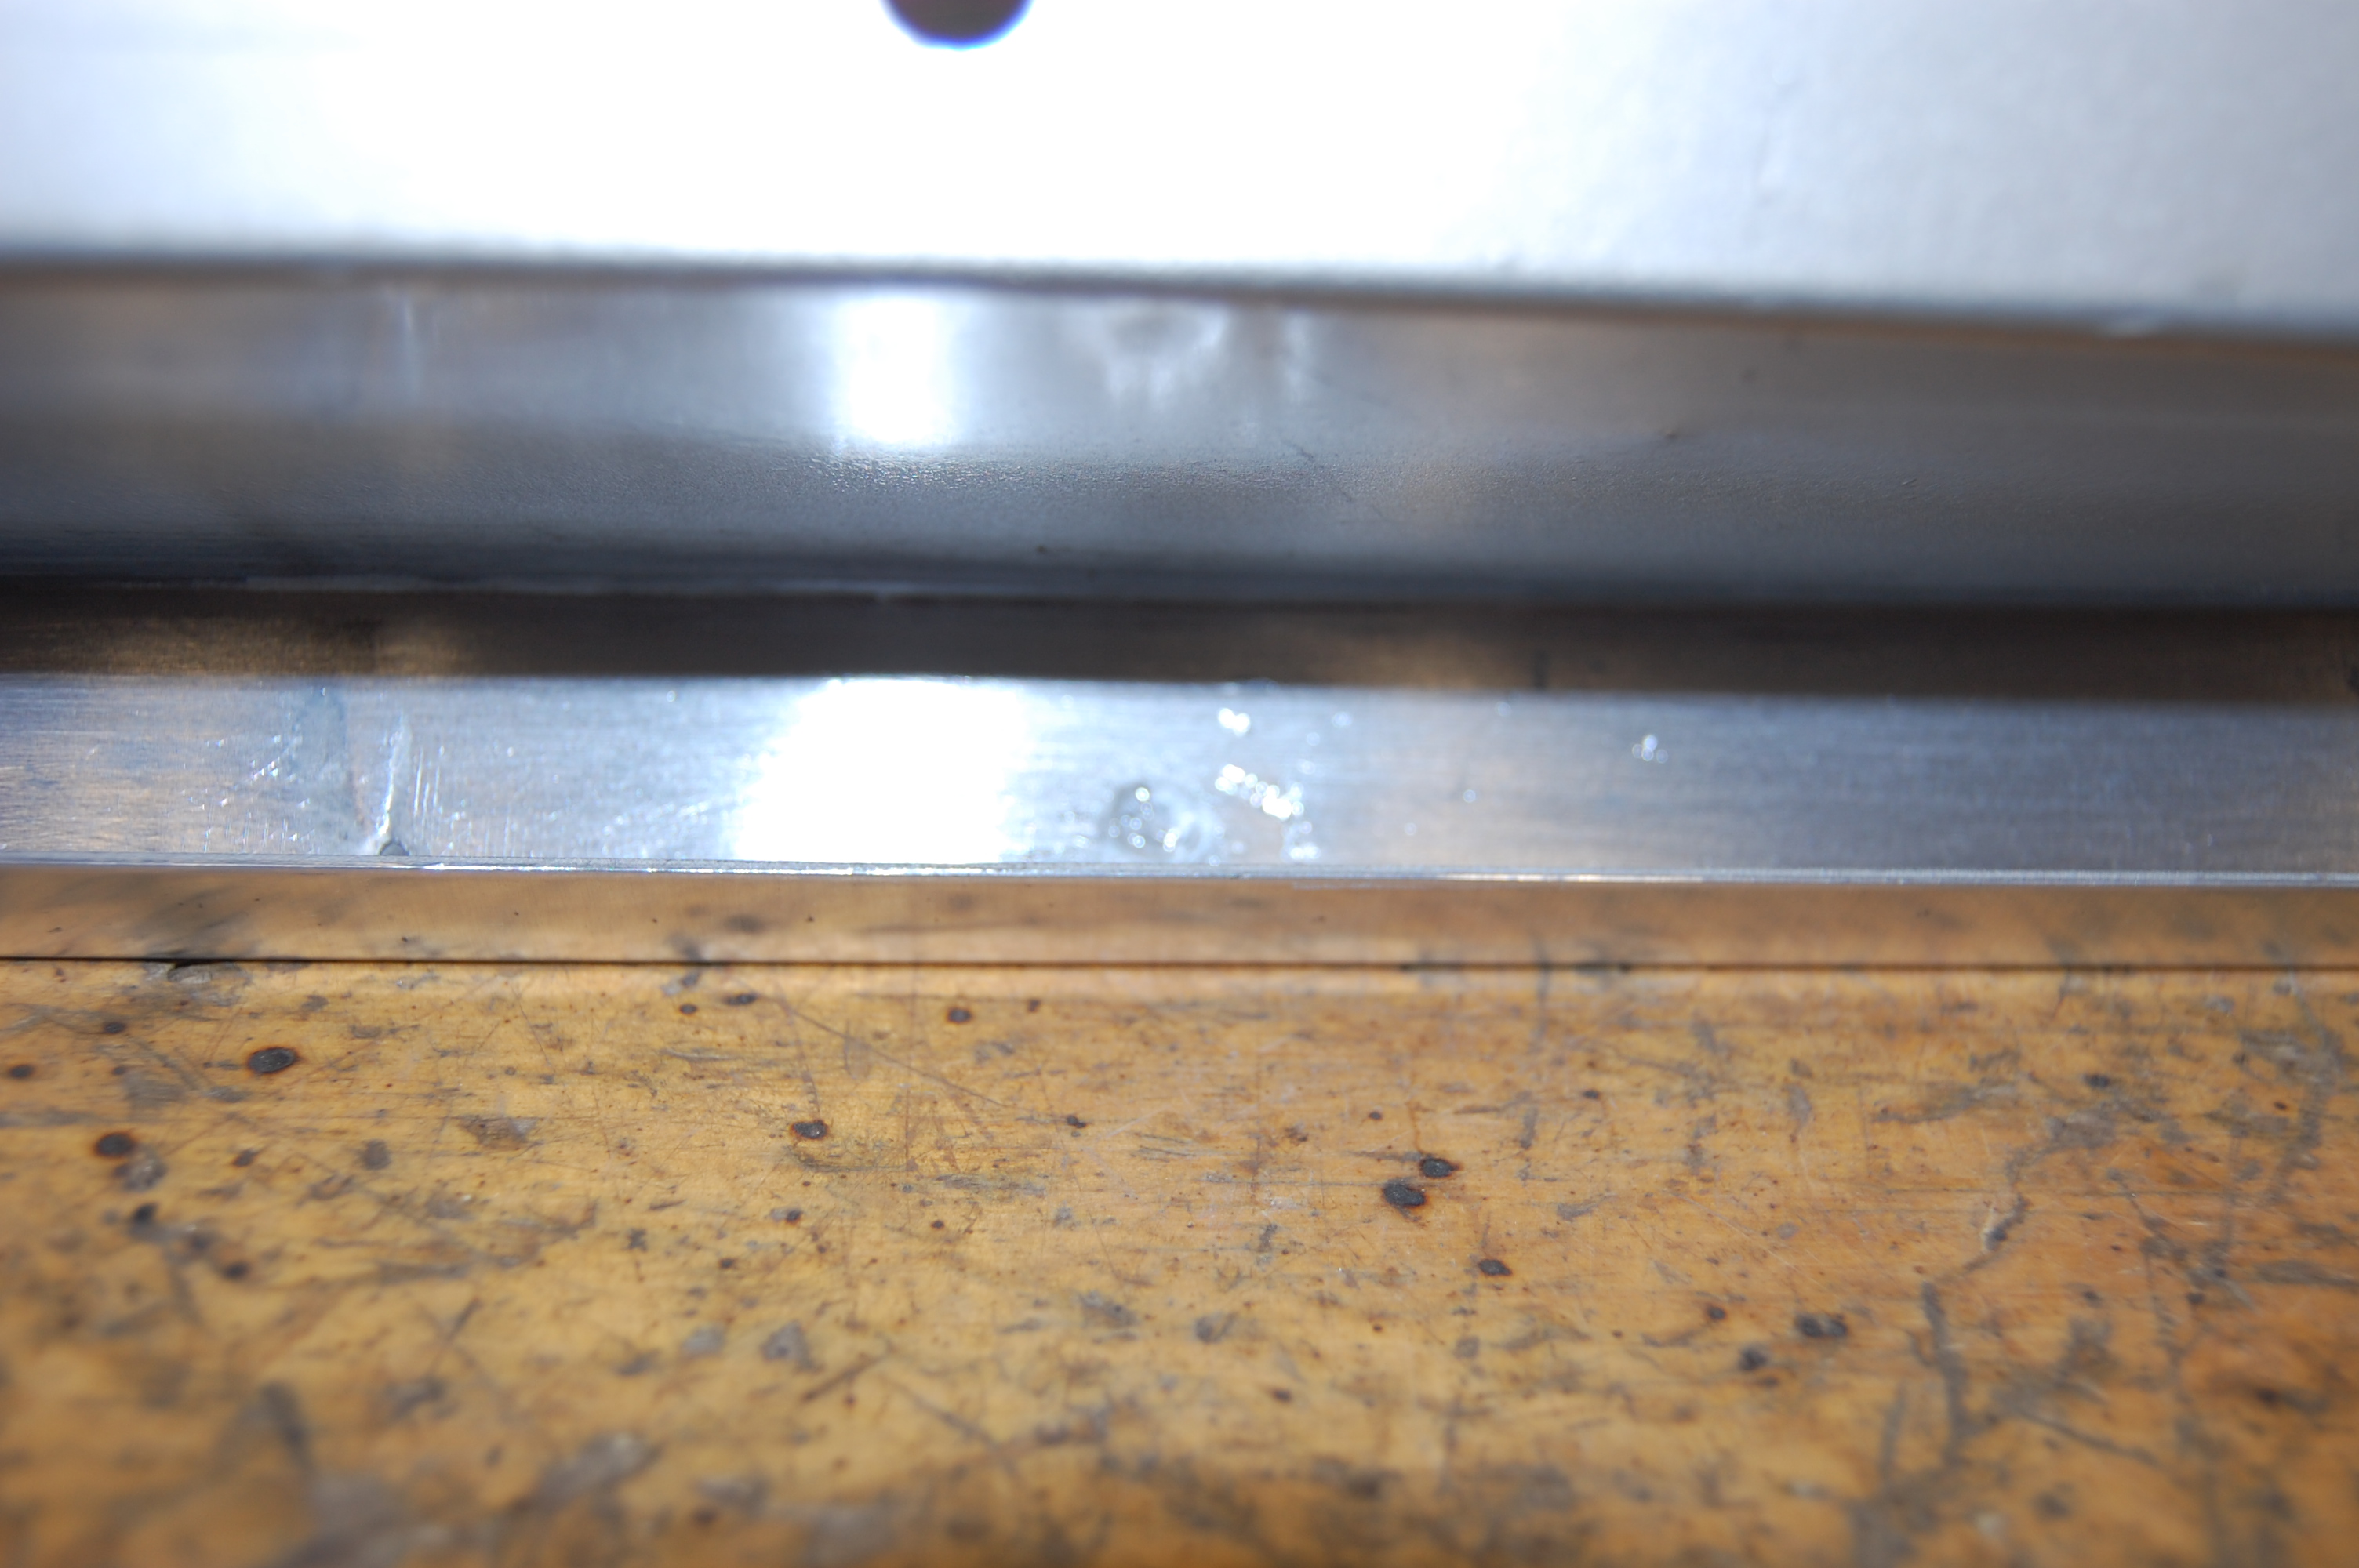
- Look at how nice this bottom edge folded over!

-
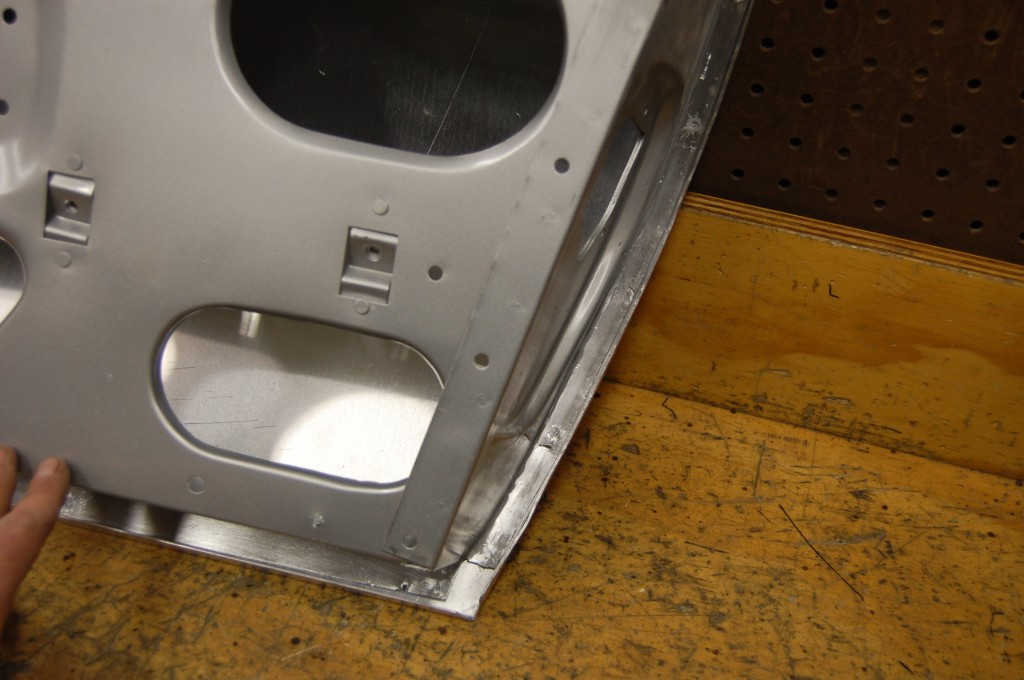
- The sides turned out nicely as well, and our soft aluminum had enough give not to crack in the process! We also tacked the lower corners together.
-

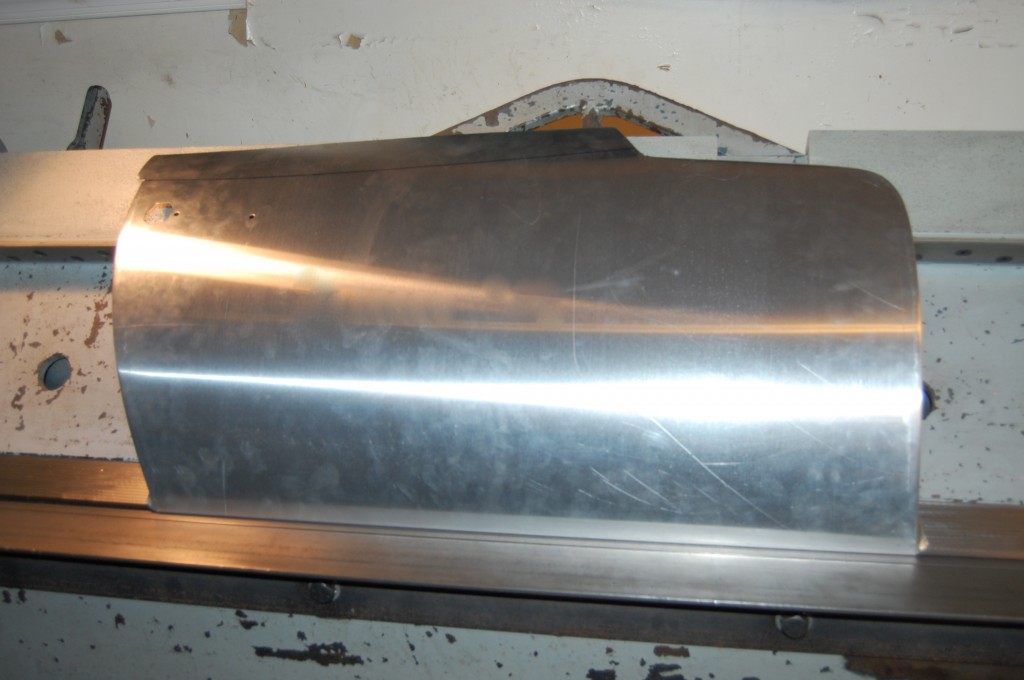
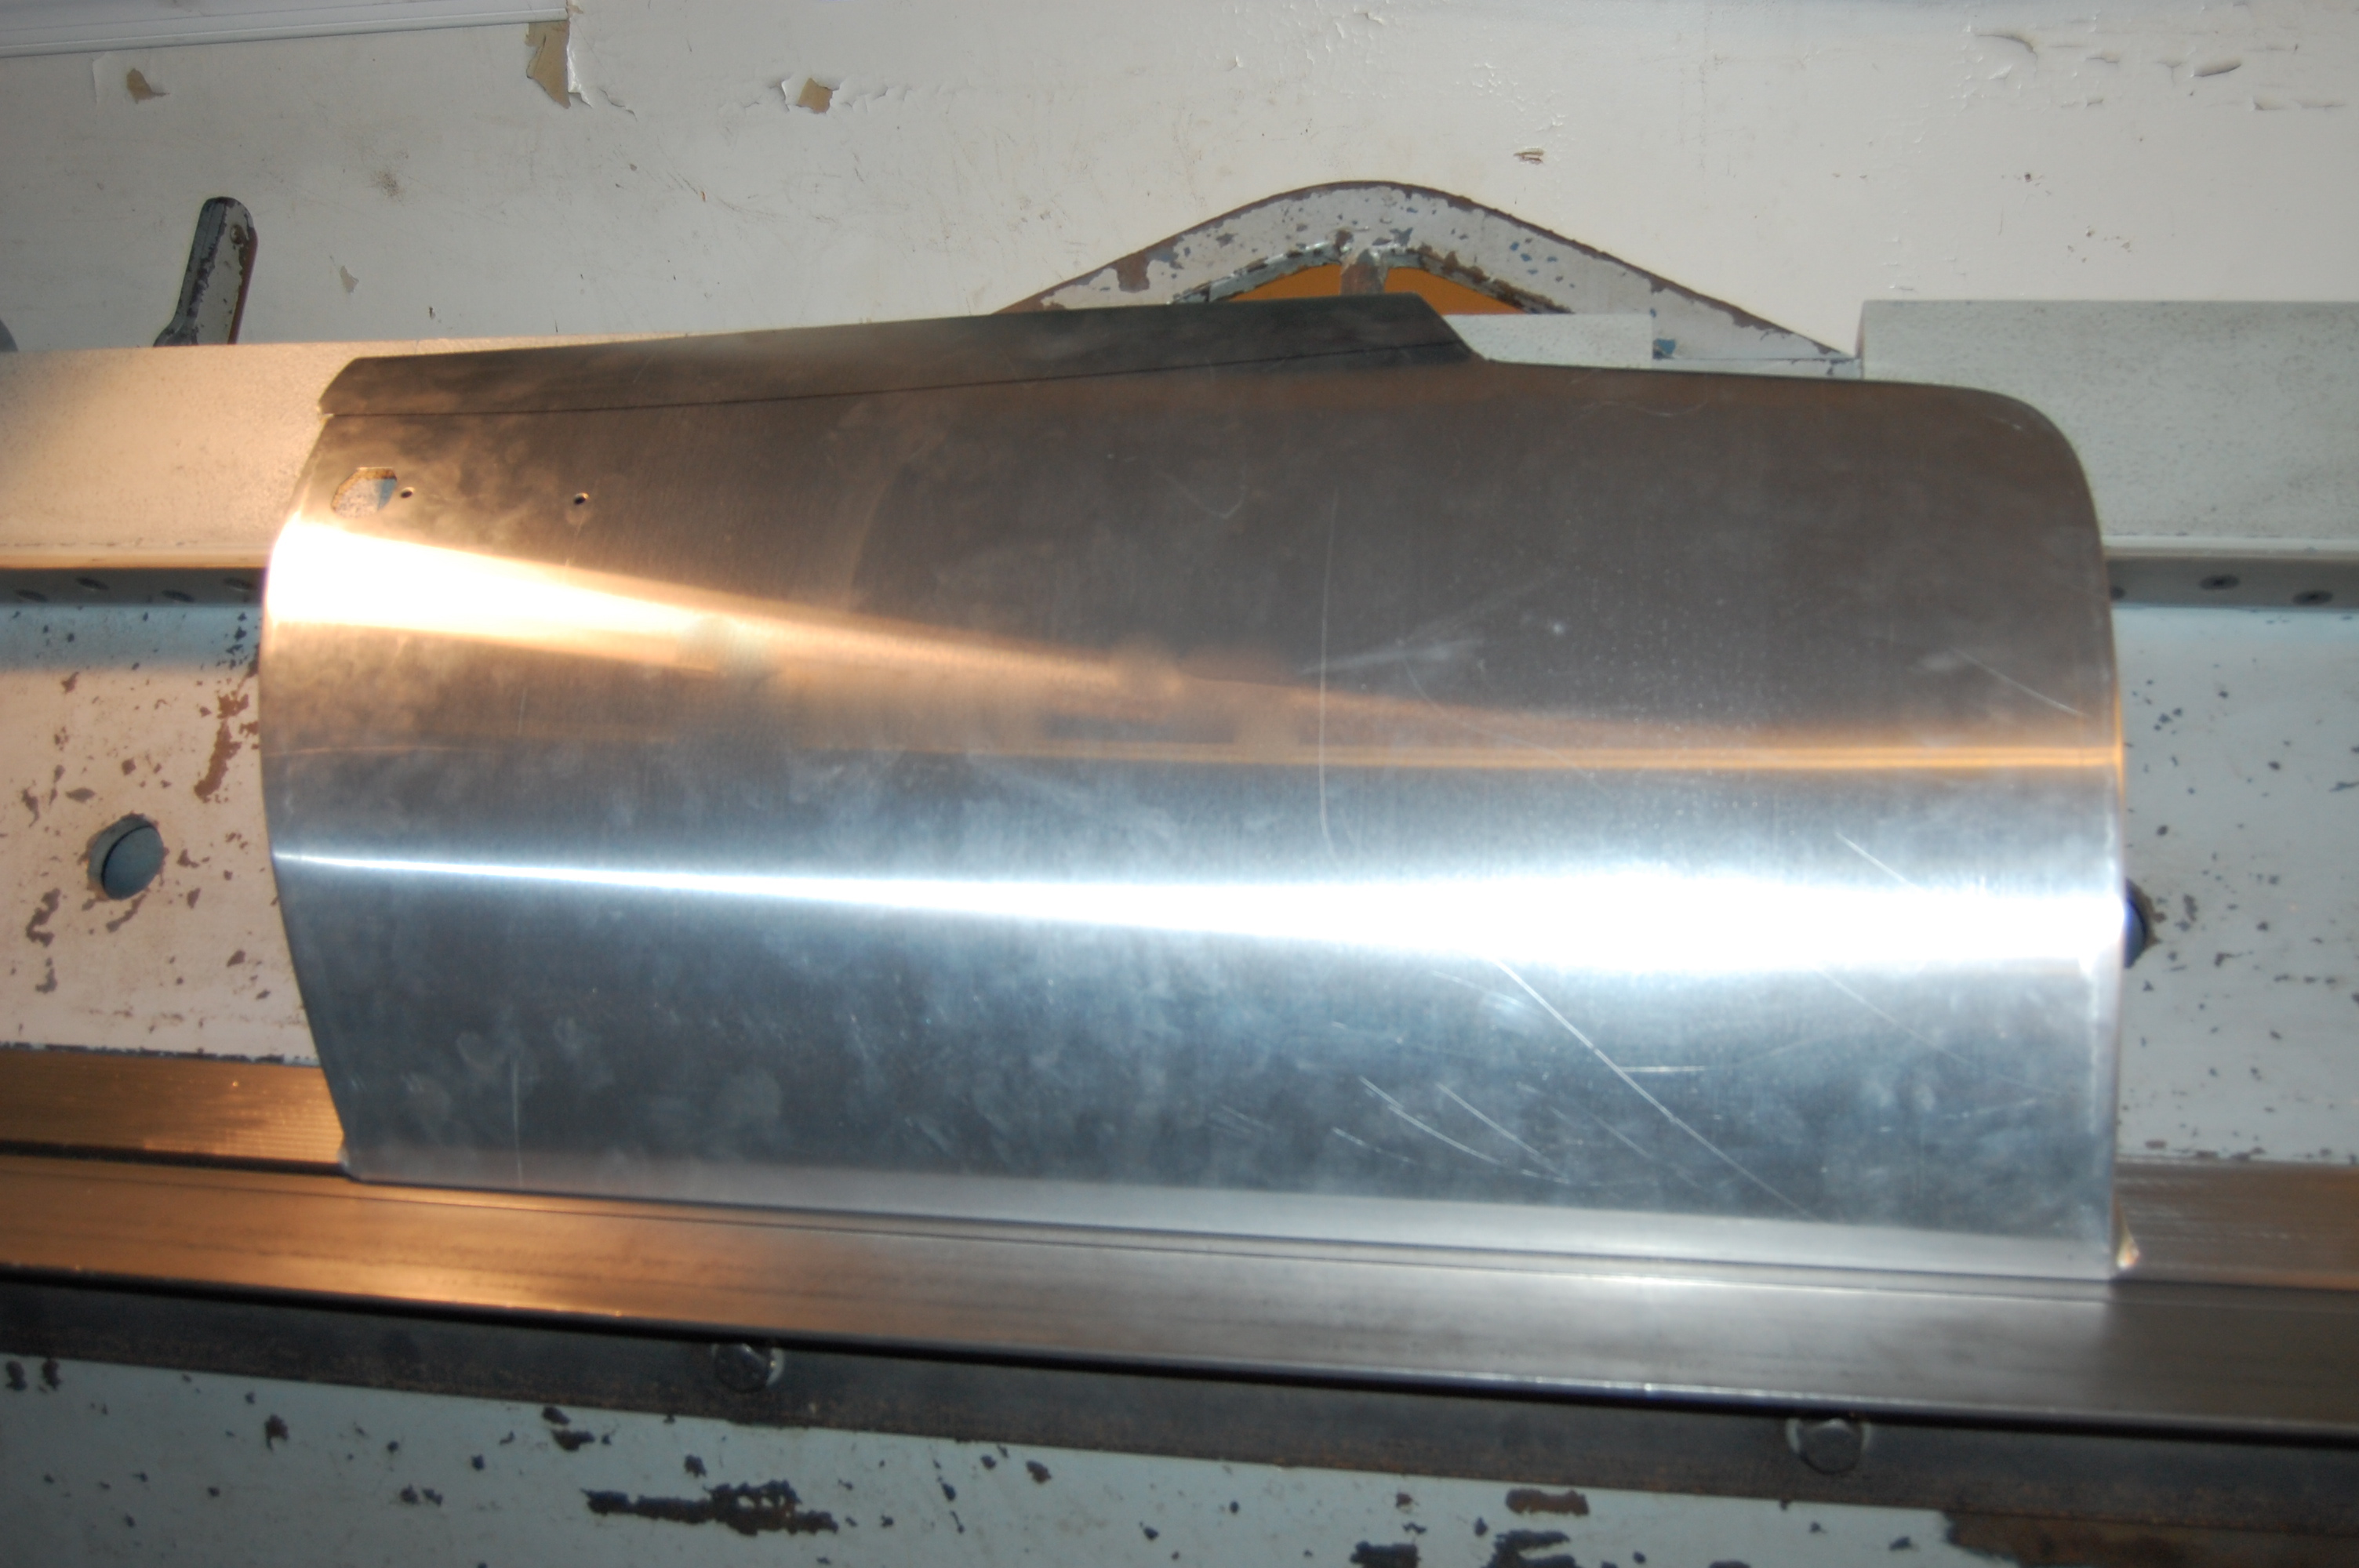
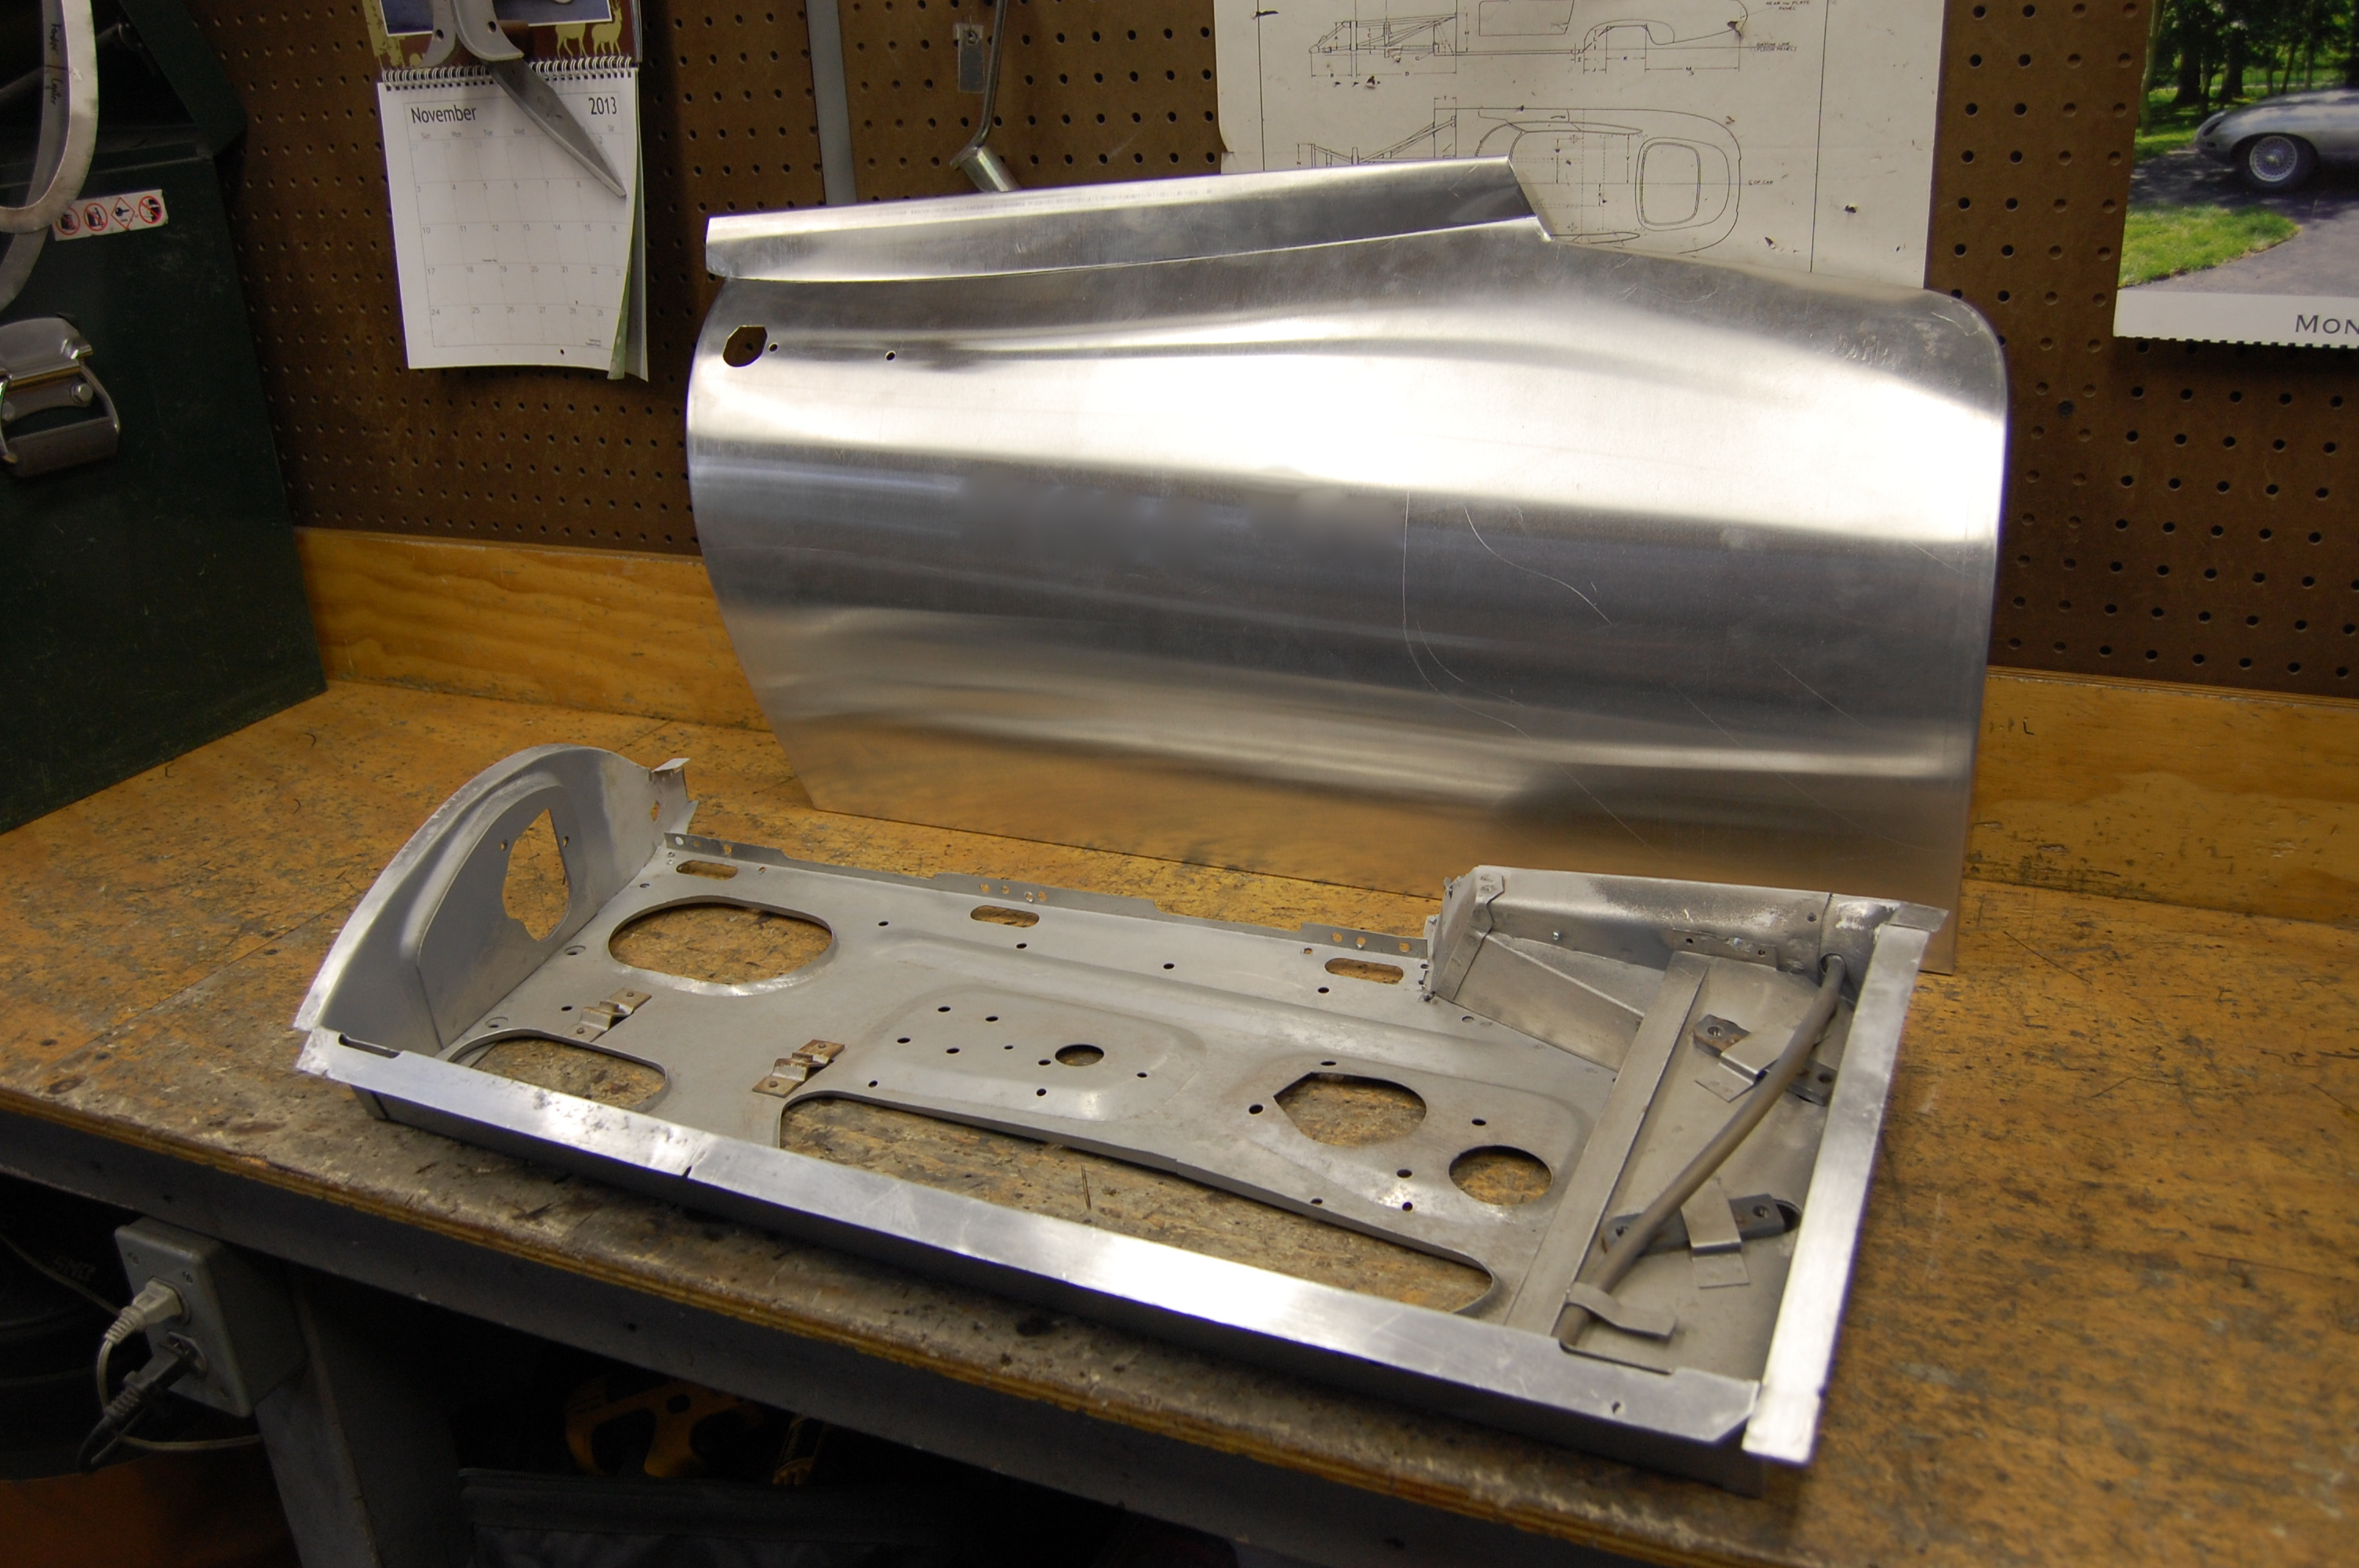
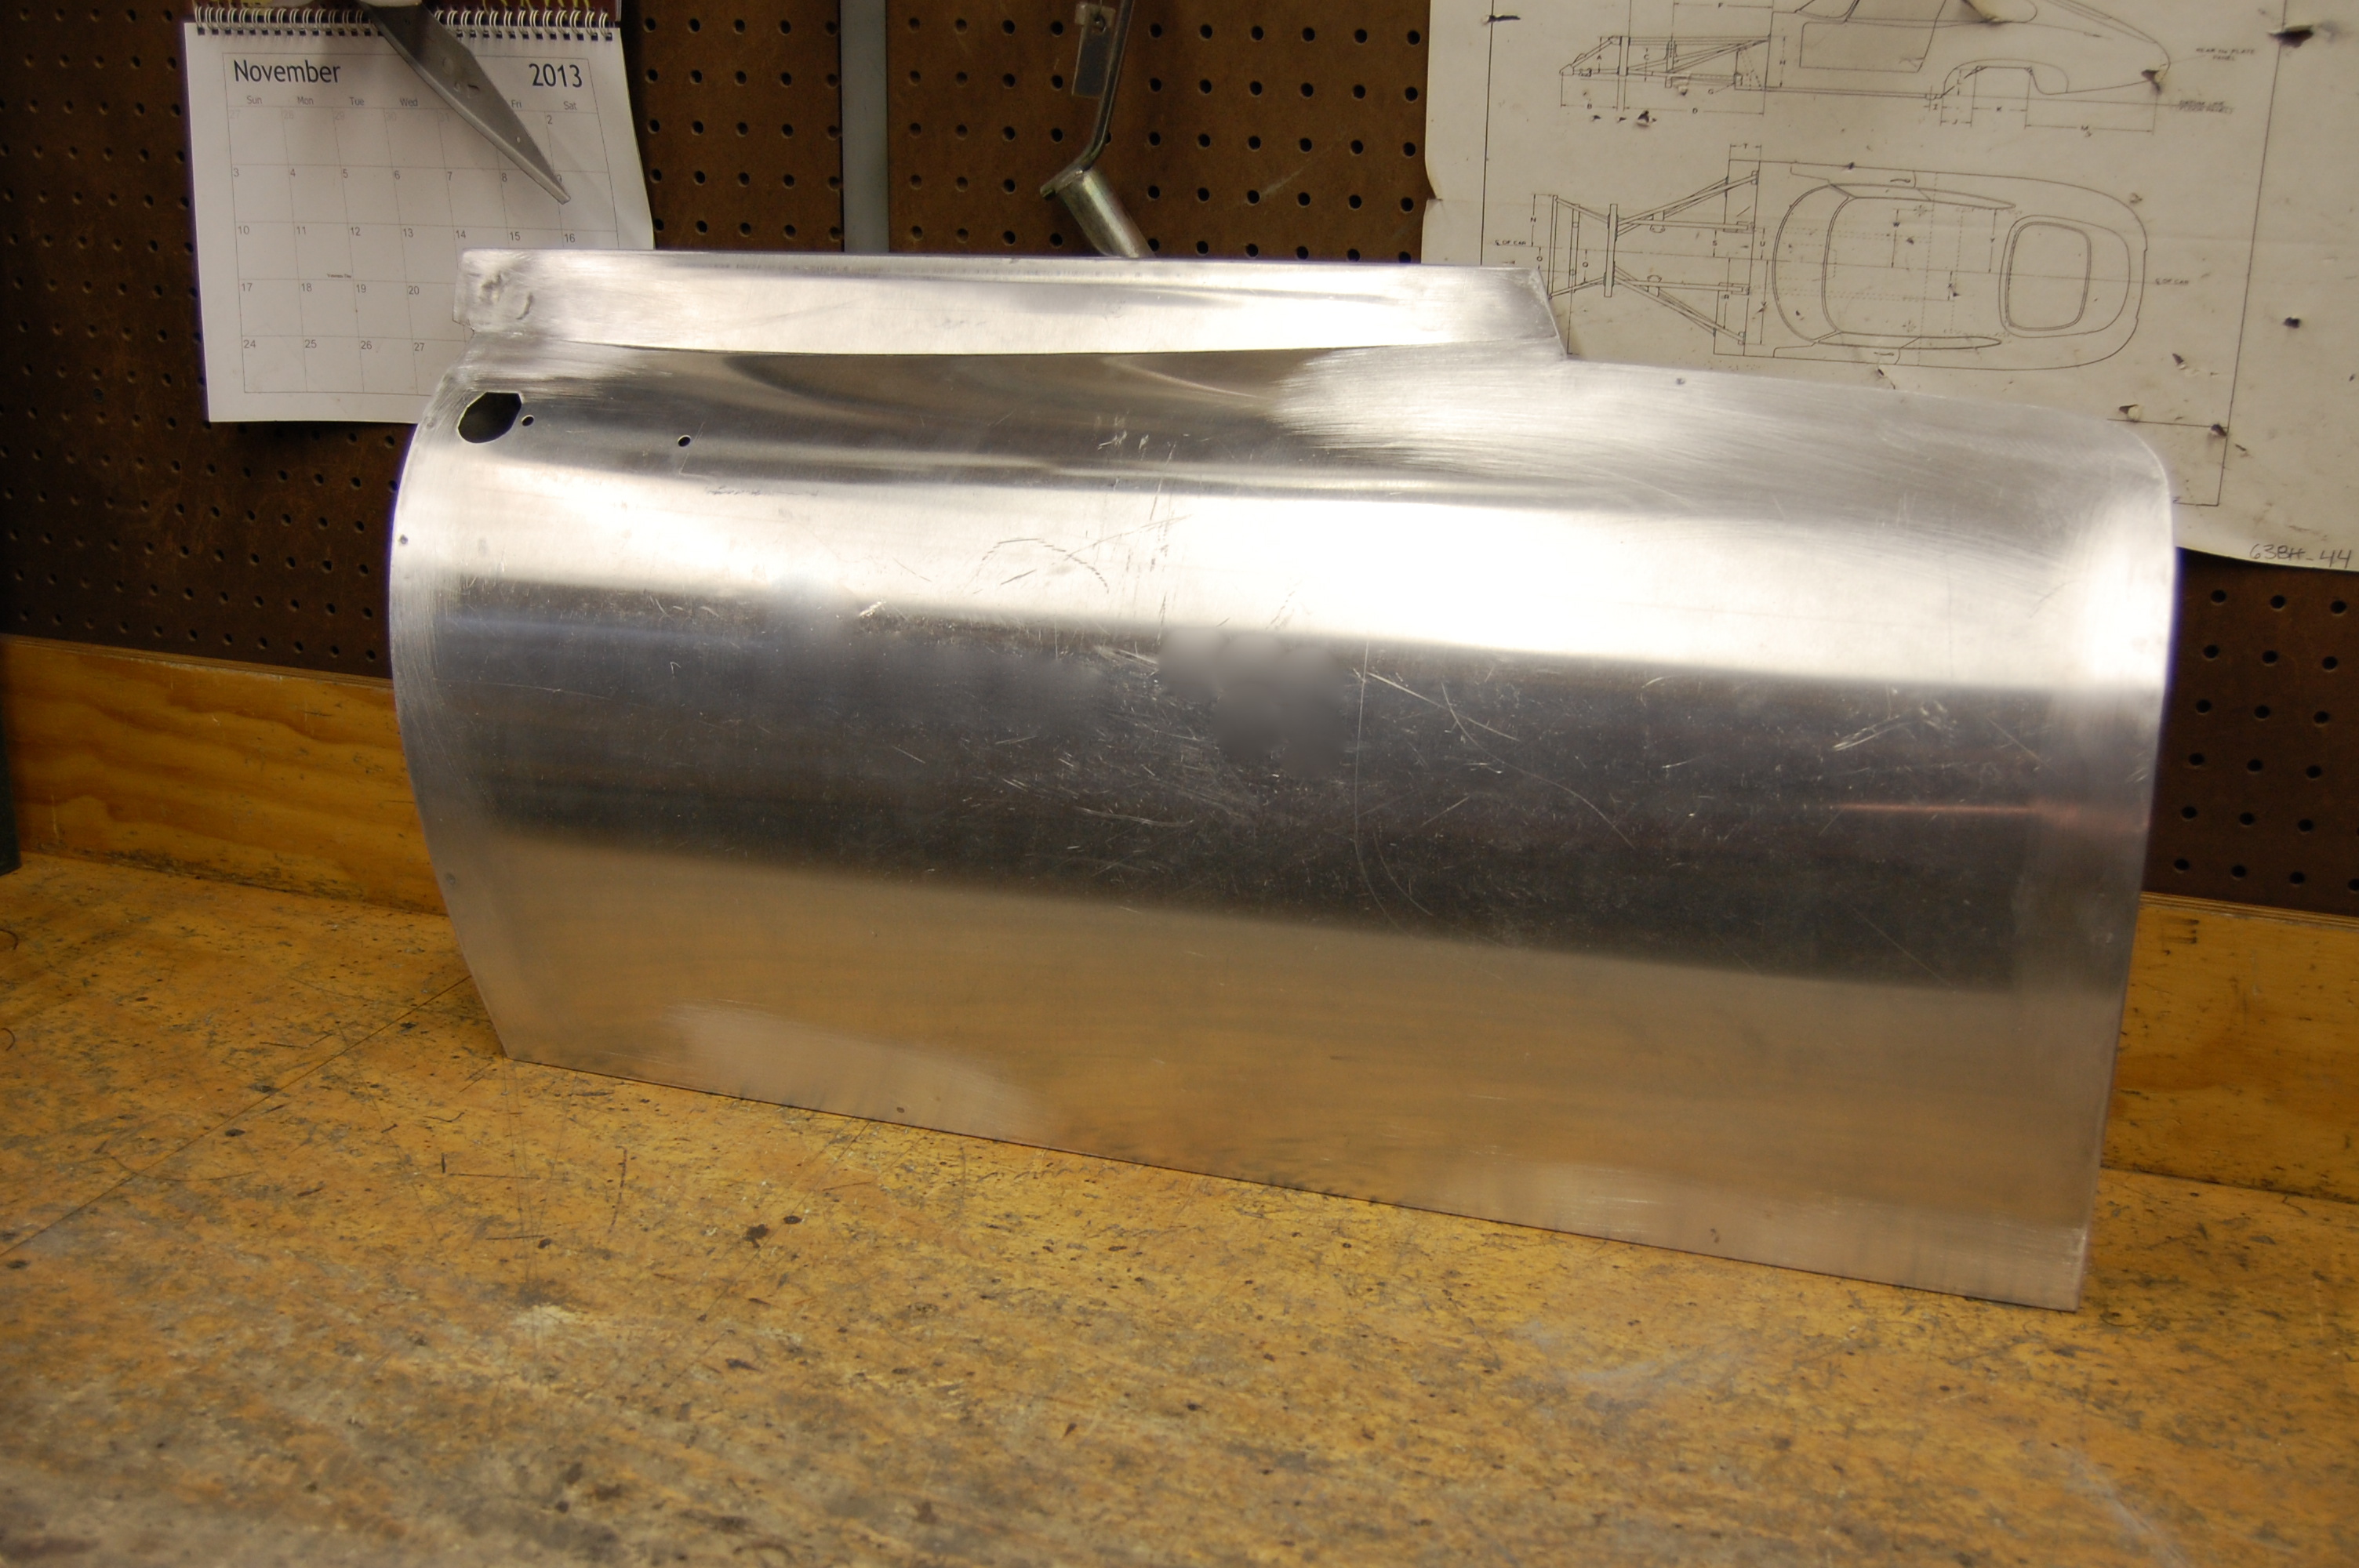
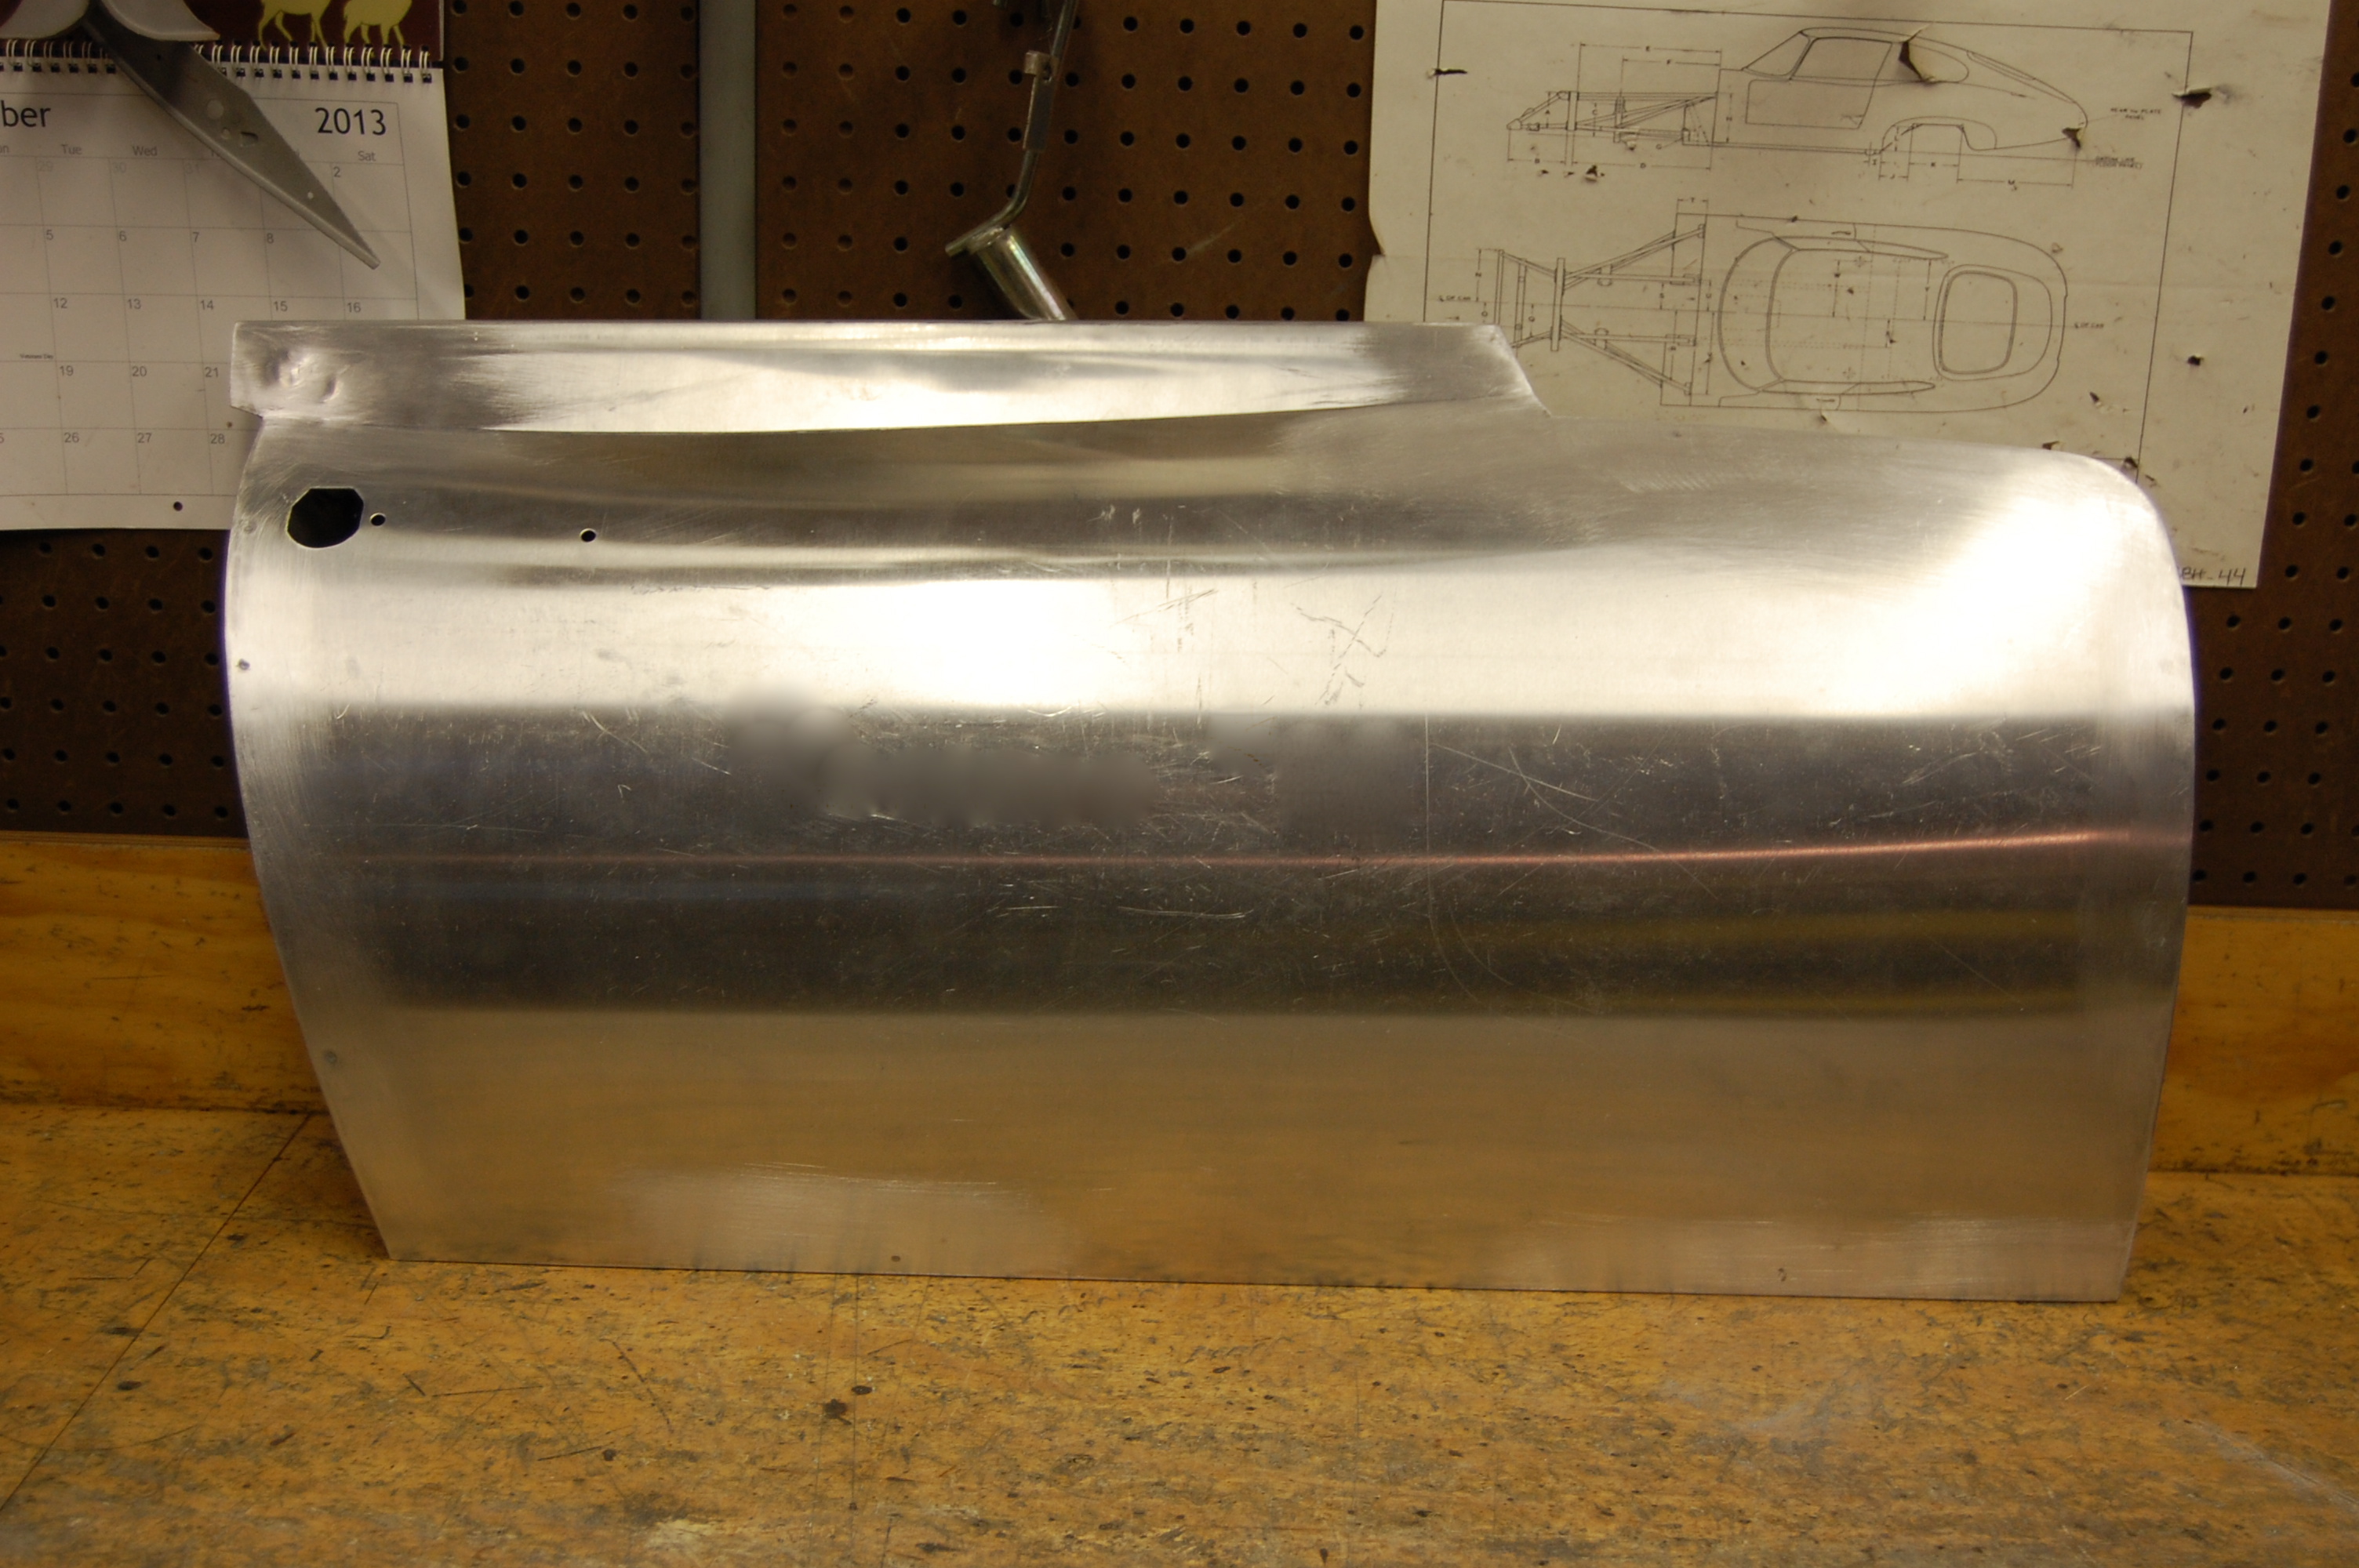
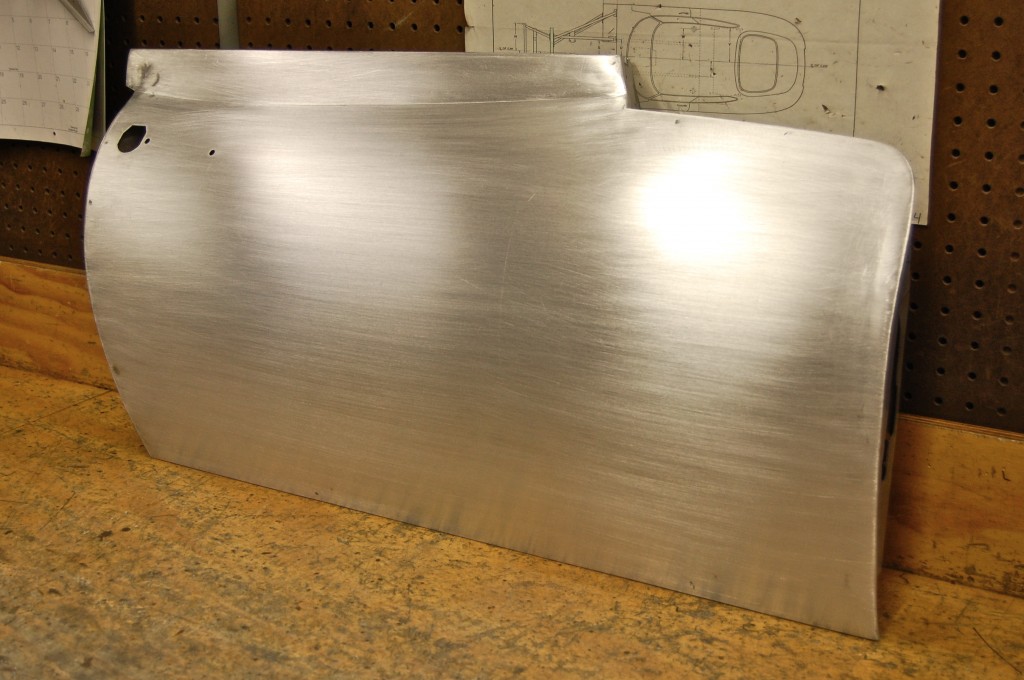
- Voila! One completed E-Type door – in ALUMINUM!
-
- This was so cool in person – and LIGHT!
-

- Every curve and angle is correct.
-

- After the final dressing and sanding, it looks like it just came out of the factory racing shop in the 60’s!
-

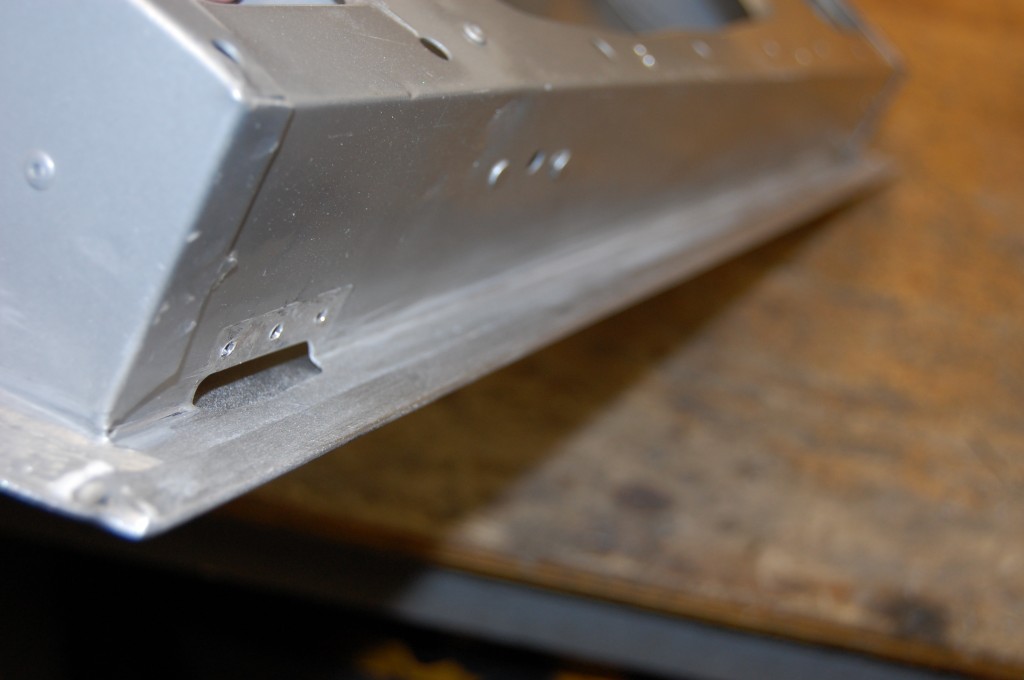
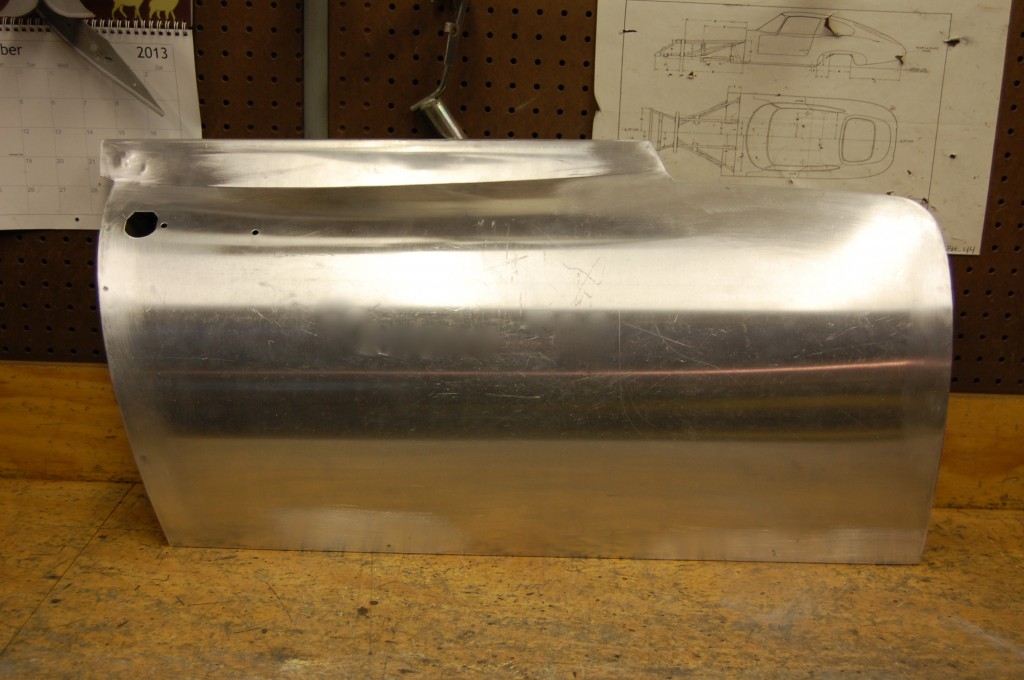
- The back edge of the top section will be trimmed to fit the body shell.
-
- Another piece I was proud of in the end! Soon, we’ll have a go at doing the whole door in aluminum – we sure do have the skins nailed down!


