After the floors and sills were in, we were starting to get right down to it. Months of work fitting things so that the rear wheel arches could be done meant that all of the work after they WERE done went REALLY fast!
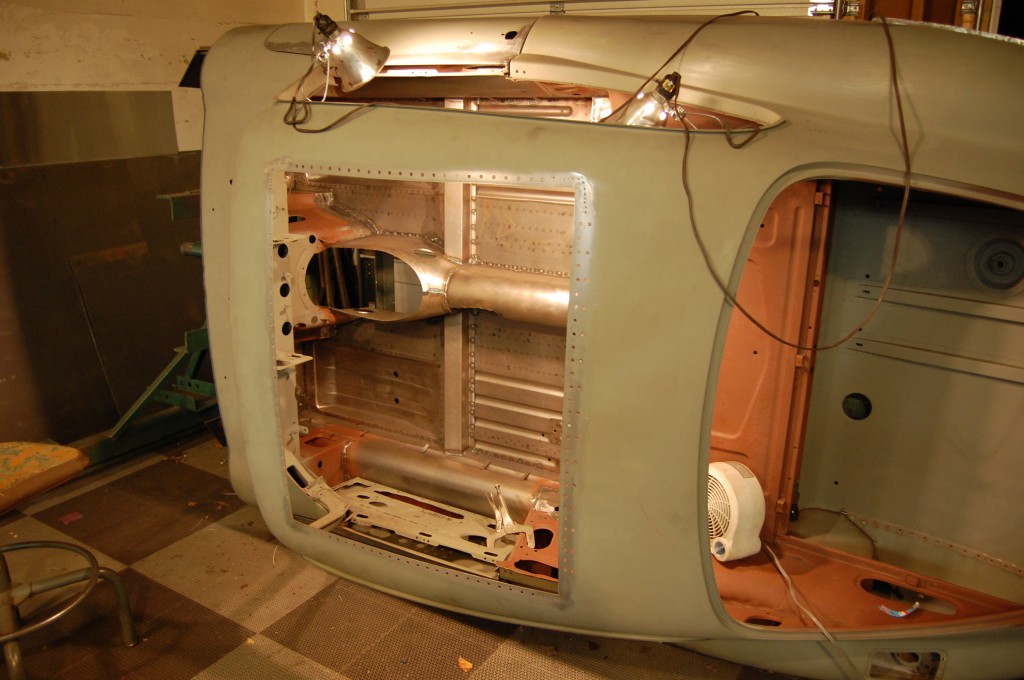
I got the doors back onto the shell and made a few adjustments around the edges, and fought the top sections of the door skins into place to match the body. One interesting thing I found out in the process of doing that is that the curved body line at the top of the doors – the “swoop” if you will, is 1/8″ deeper on one side versus the other – not just on THIS E-Type, but ALL of them! Go out on your car and look – measure the distance from the swoop line at the back of the door to the top of the door – it’s 1/8″ more on the RH side…
Then, we were pretty much done with the shell as far as rotisserie work. But before I pulled it out, there was one more task on this shell – the installation of the Webasto roof frame.
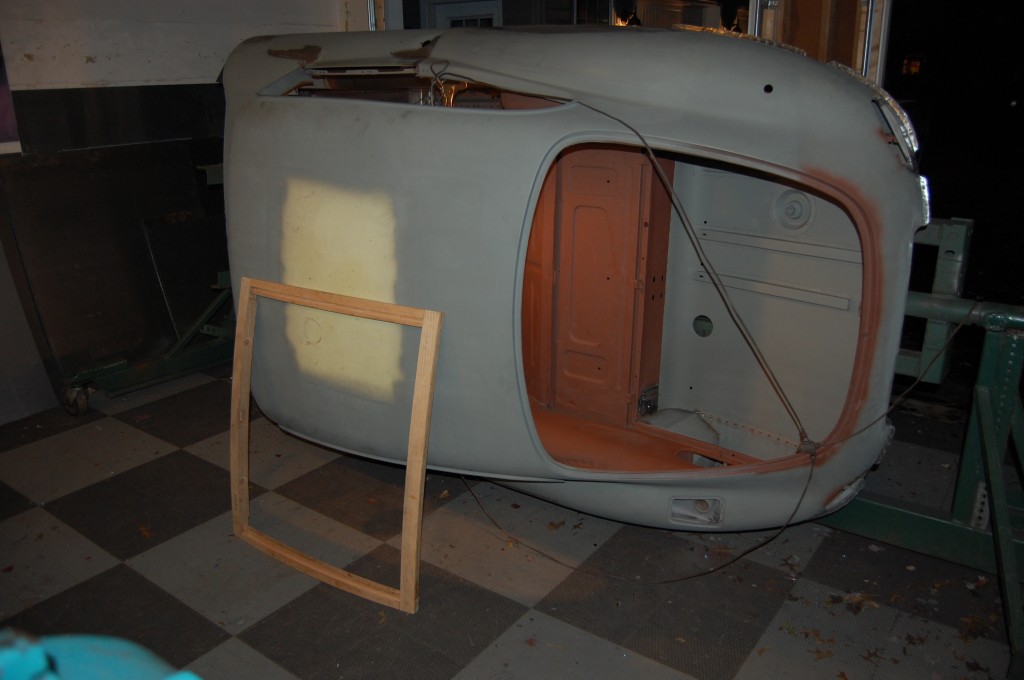
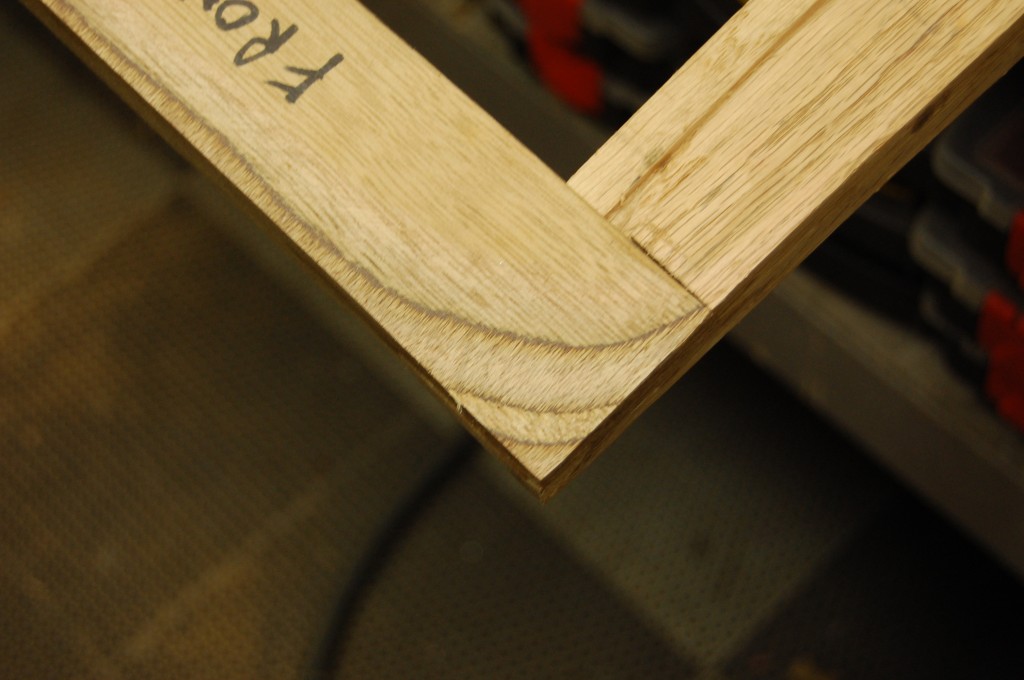
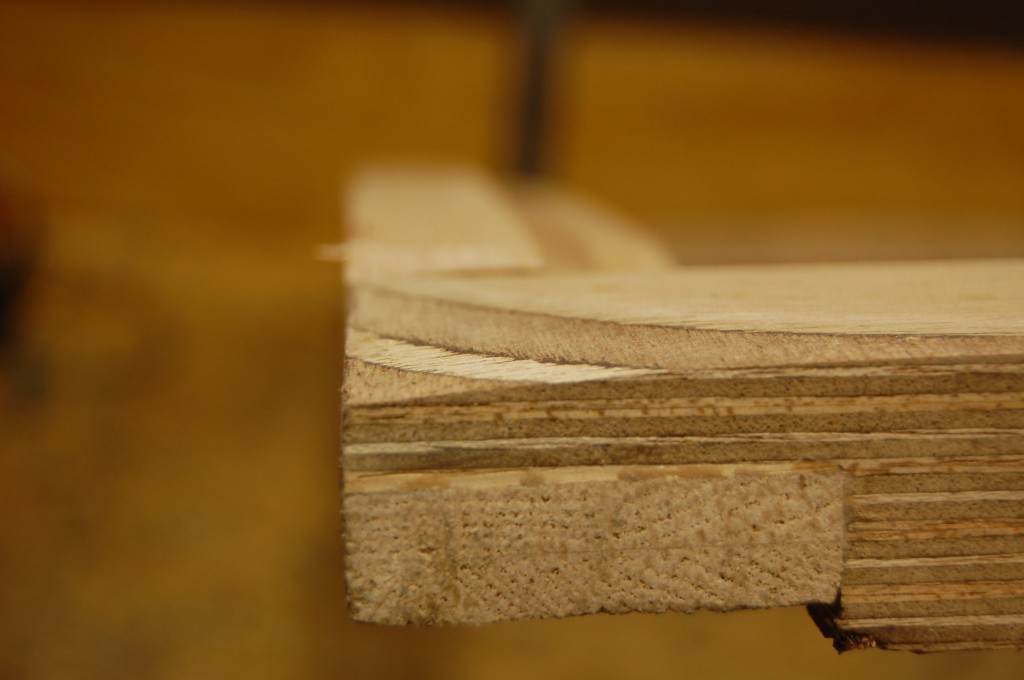
Even though the customer switched from a 2+2 to a coupe midstream, he still wanted the Webasto roof installed. So, being a woodworker, he made a NEW frame for the coupe (which fit much better in the coupe than teh factory Webasto 2+2 frame fit the 2+2…), and asked that we cut the hole, brace the corners, and install that here. Take a look!
- Regardless of what it started out as (a VERY rusty Series 2 coupe…), we now had a rock-solid, restored 1967 E-Type coupe shell. The final step before pulling the car out of the rotisserie was to install the Webasto roof frame.
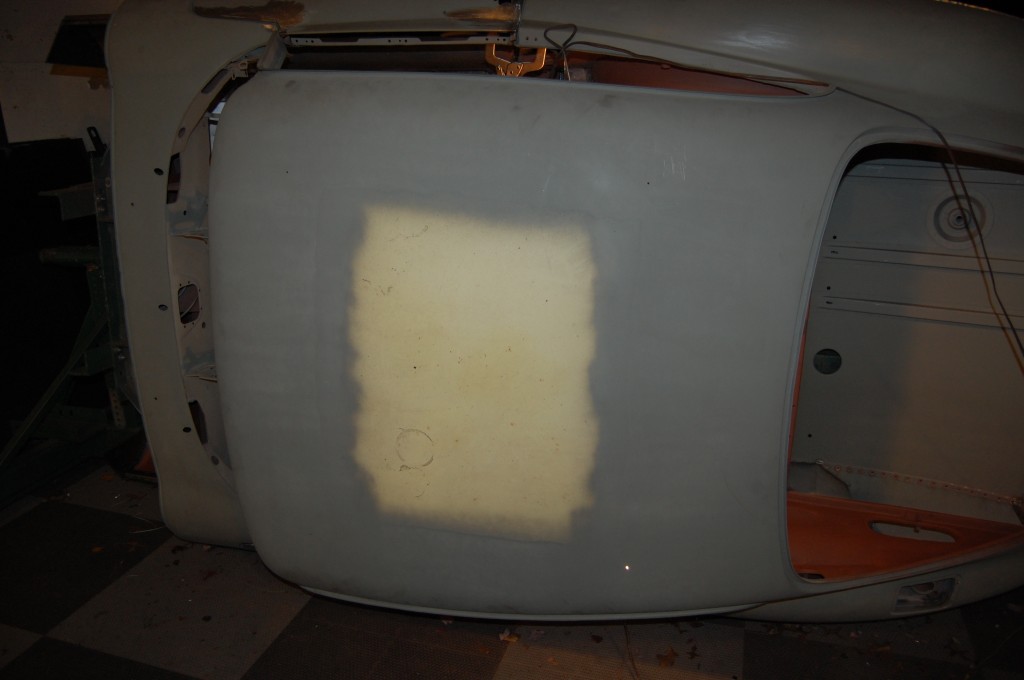
- Here is the section of roof that we never stripped in preparation for this.
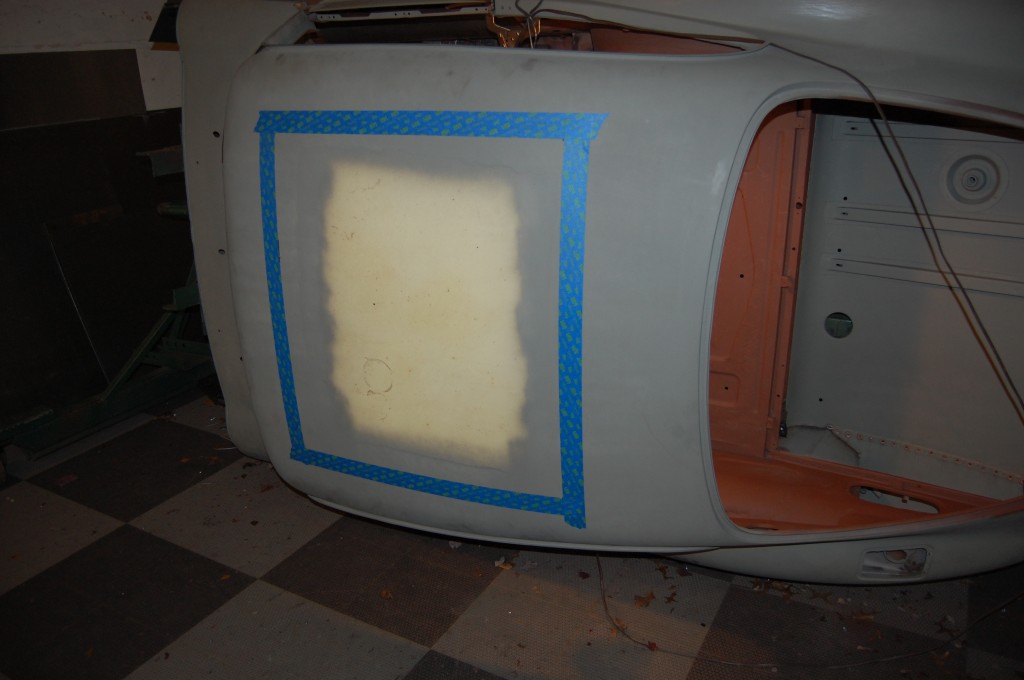
- The first step was alignment of the frame, followed but an initial “rough cut”.
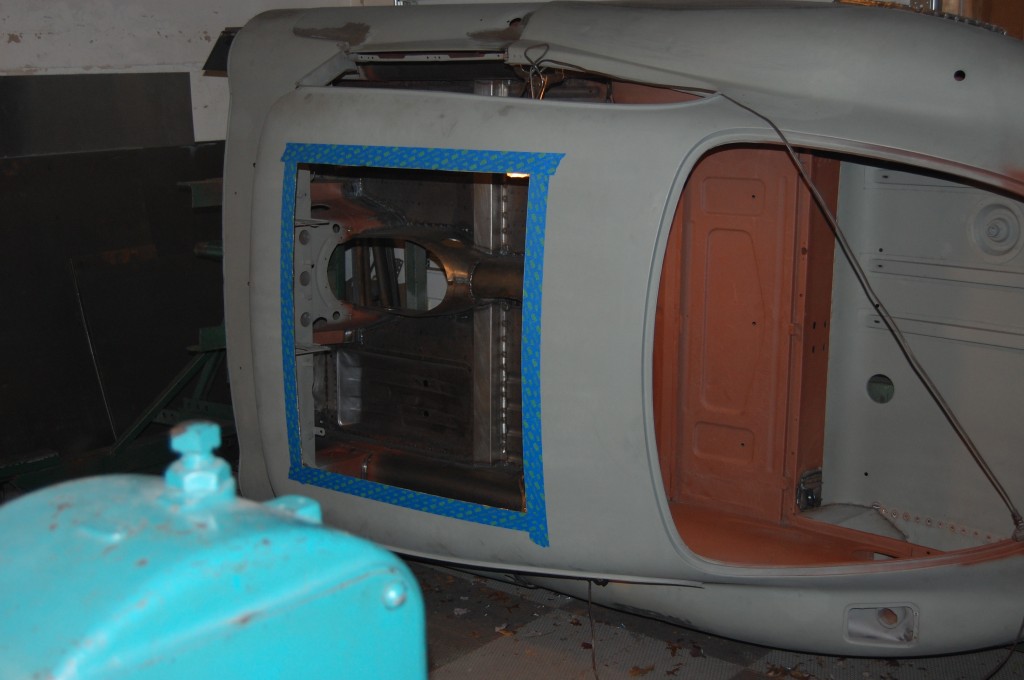
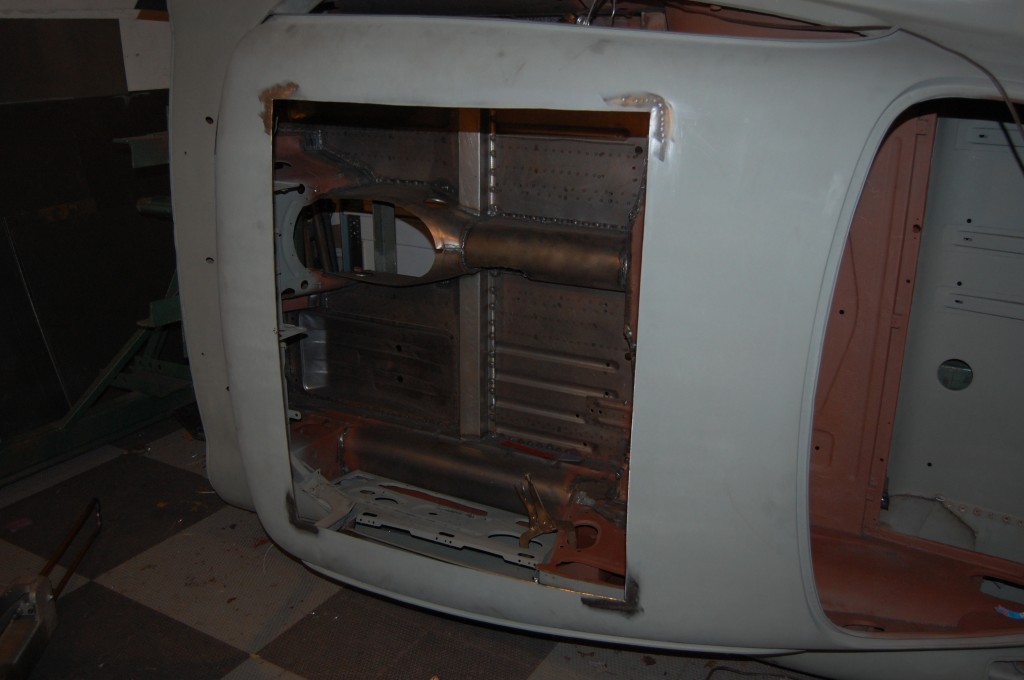
- This seemed very weird while doing it – I just spent MONTHS restoring this shell and now I’m destroying it! But the shell was well suited for this treatment – someone had stood on the roof in the past I think, and while it was popped back out, it had 4 nice kinks in it that would have been tricky to get out. Otherwise it was fine, and once this cut was made, it was perfect.
- The frame still didn’t fit QUITE right in the corners, so I filed them down for clearance, and then a little more even to make sure that the corners would never harm the skin.
- Here’s another shot showing the softened corner.
- In this shot, the cutting is complete, and PRECISELY in the center of the roof!
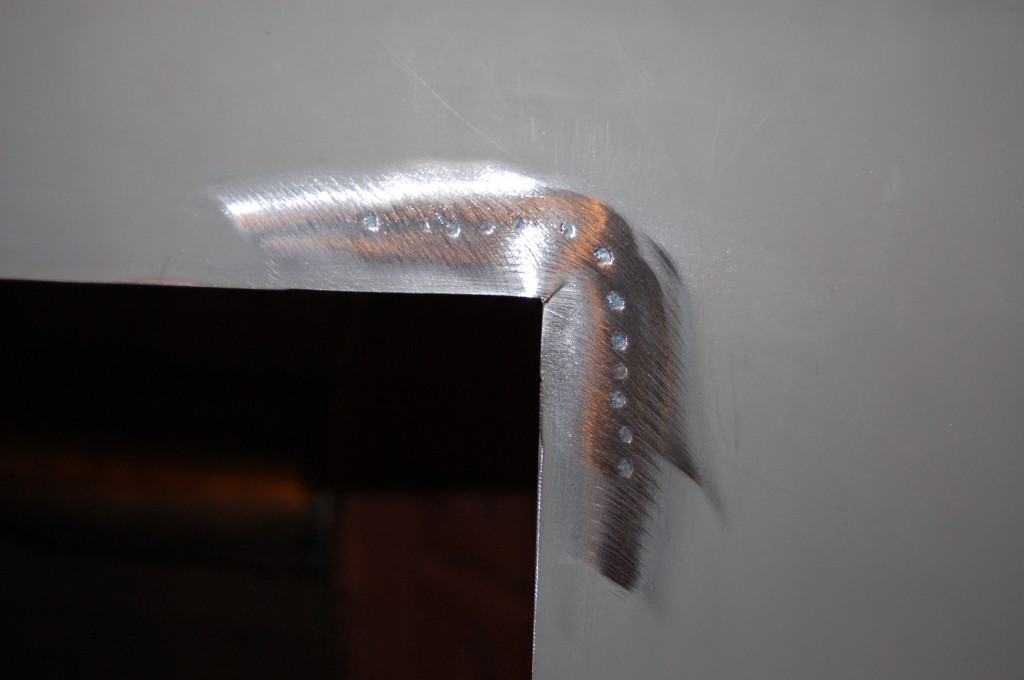
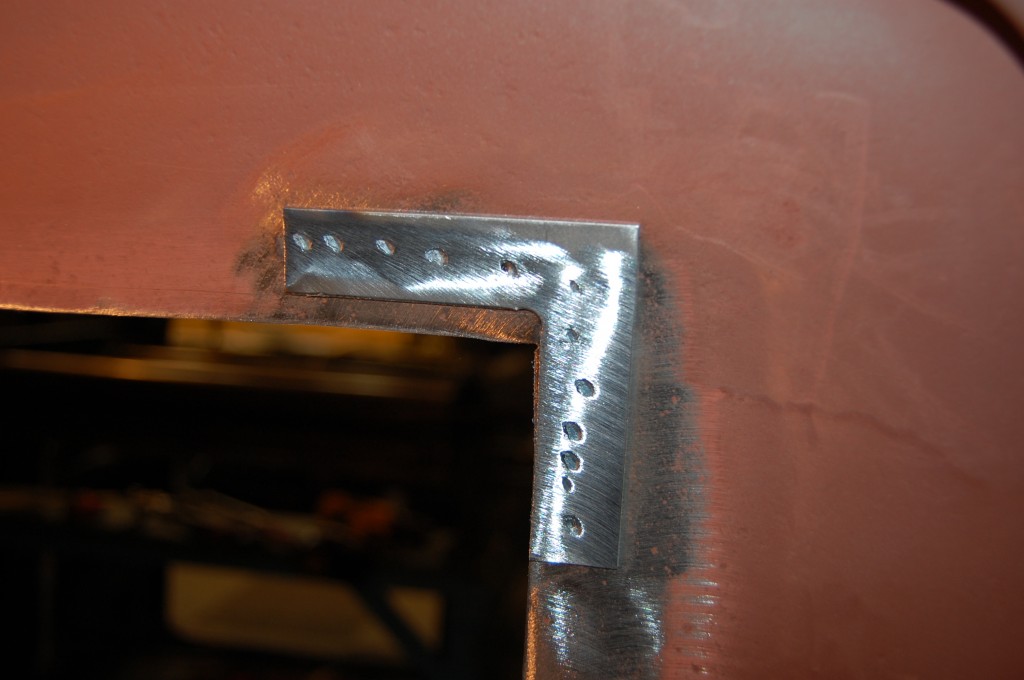
- Per the original, vintage Webasto instructions, corner braces were fabricated and installed with a spot-welder to prevent the corners from cracking in the future.
- Nothing fancy – just little pieces of 19-gauge I made up, but they will be a BIG help in that regard.
- Next, we had to pre-drill the holes at just the right size, and chamfer them, so that the screw heads ould be as flush as possible.
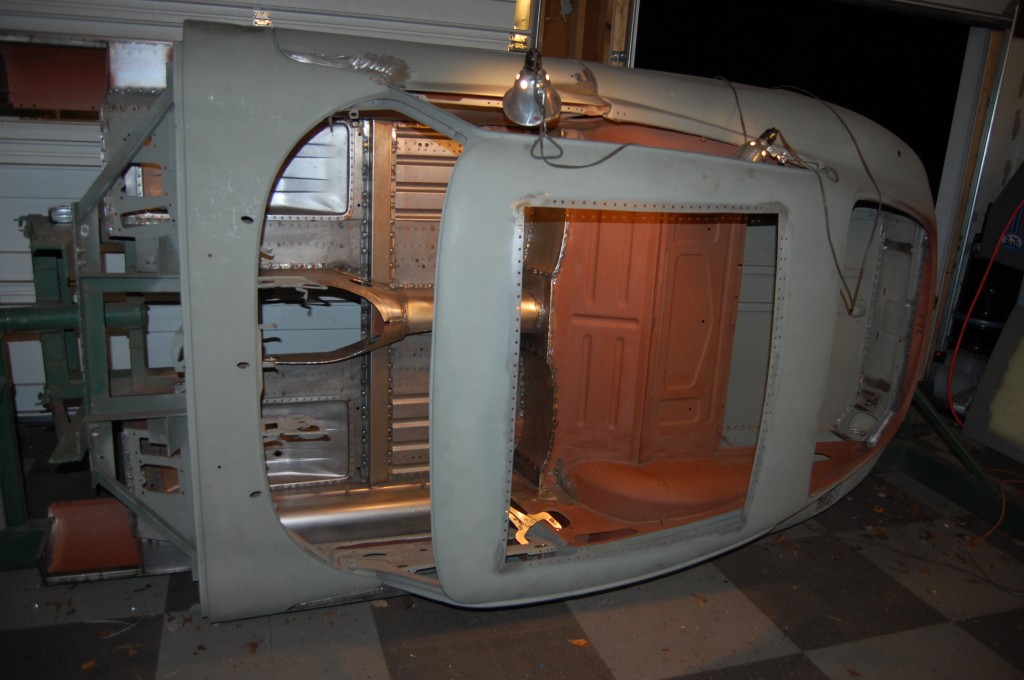
- Next we’ll screw in the frame itself. Things were getting fast and furious at this point, and so while I did get the frame in and the edges hammered over after this shot, I didn’t take any more good photos of the frame once it was installed – sorry. You can see it’s the middle of the night… Actually, I kind of like the Webasto roof idea – and on a coupe with a bad roof, it is probably a great way to “solve” that problem. Either way, whether you like it or not, you have to admit that this is a REALLY COOL shot of an E-Type!

