As if the messy rear wheel arches weren’t bad enough, I eventually had to admit that the rear chassis legs that hold the IRS in – and hold the whole rear of the shell together – were also too far gone and would need to be replaced – MAKE IT STOP!!!
If you look closely at the last blog, you’ll see I actually did this before cutting out the rear wheel arches, but now that the whole car is done, I’m just doing things one topic at a time… The rear chassis legs were the FIRST thing we did – because they are crucial.
Doing them, however, posed a real issue, because we use them to hold the shell into the rotisserie and to locate it. Well, I had to do SOMETHING, so in the end, I WELDED the shell to the rotisserie along the main floor runners – that ought to hold it still! And it did.
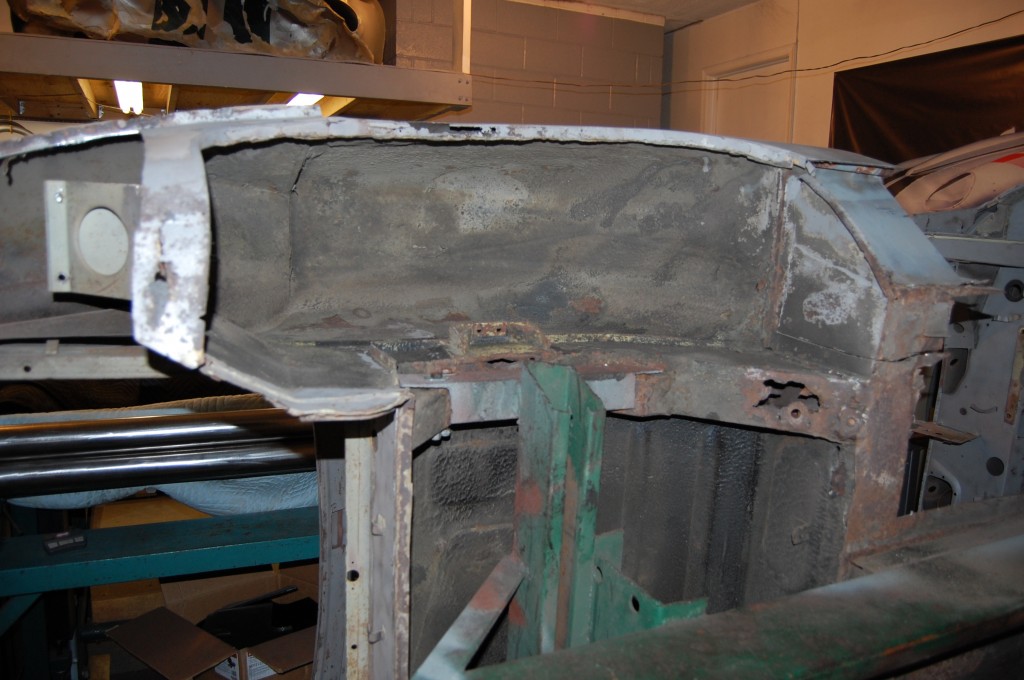
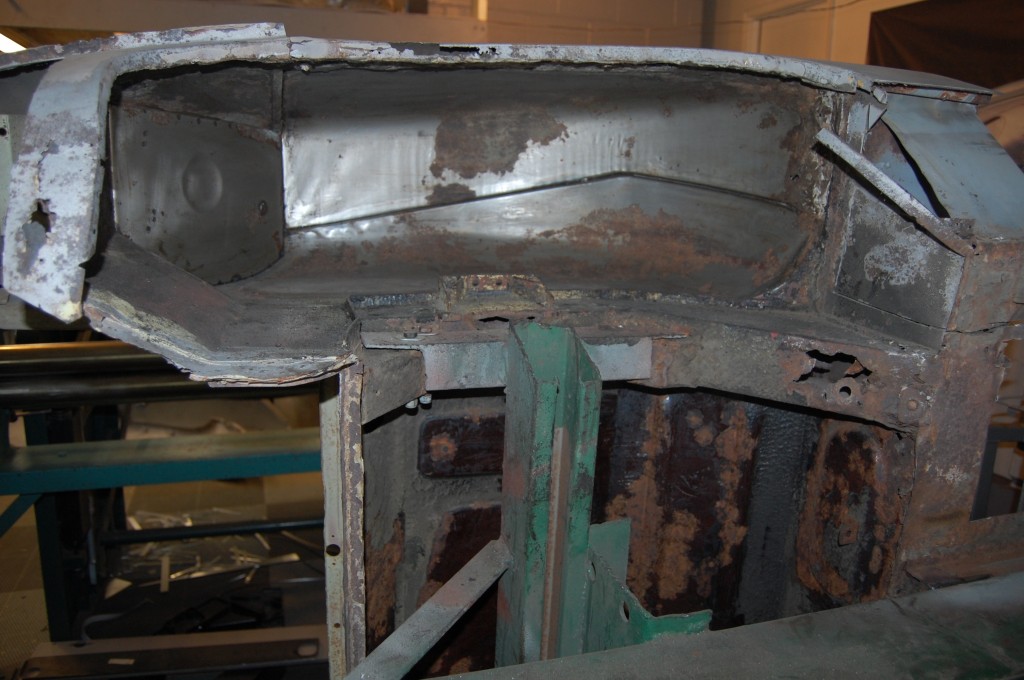
- What a mess… The poor condition of this shell actually didn’t even allow us to do as much blasting as we’d like – so much of it was going to come out, but we couldn’t remove it BEFOPRE blasting because nothing would be holding it together!
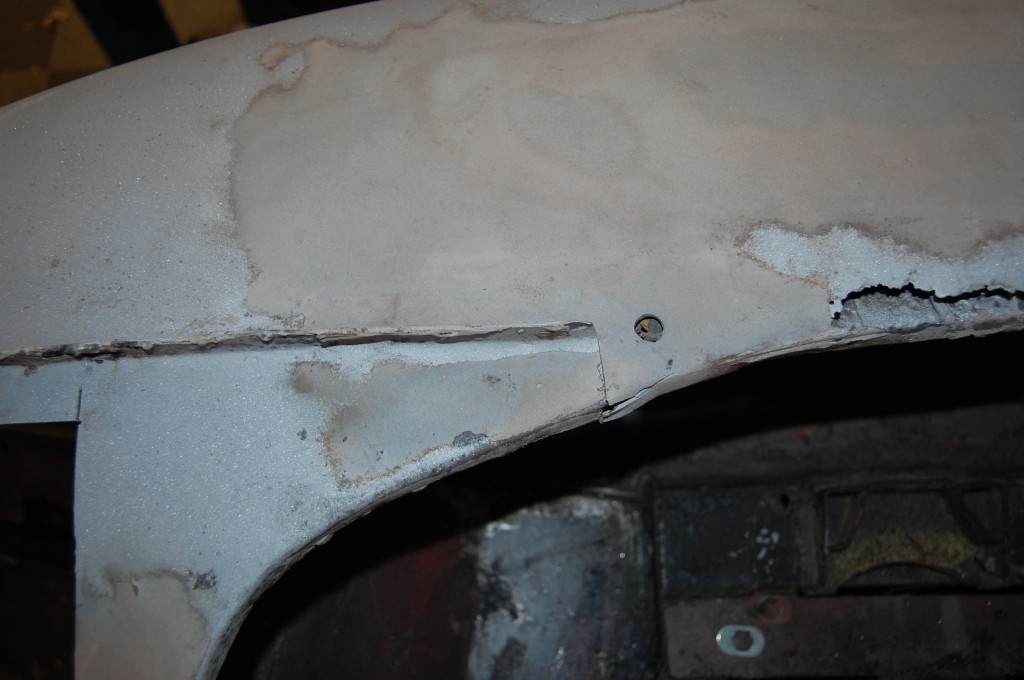
- Here is a better shot of the “rear wheel rust repair” – rusted away…
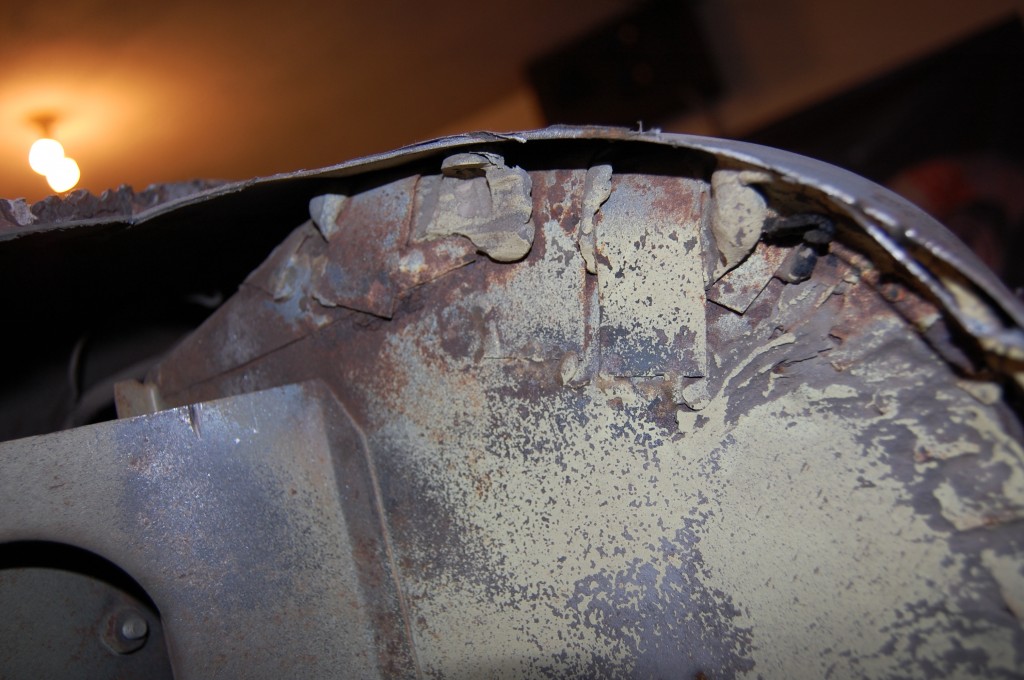
- More of those crazy “tabs” up inside the lower rear wheel arch – this is under the fuel pump mount.
- Behind the rear wheel – we make this panel and 2 of them will be going into this car!
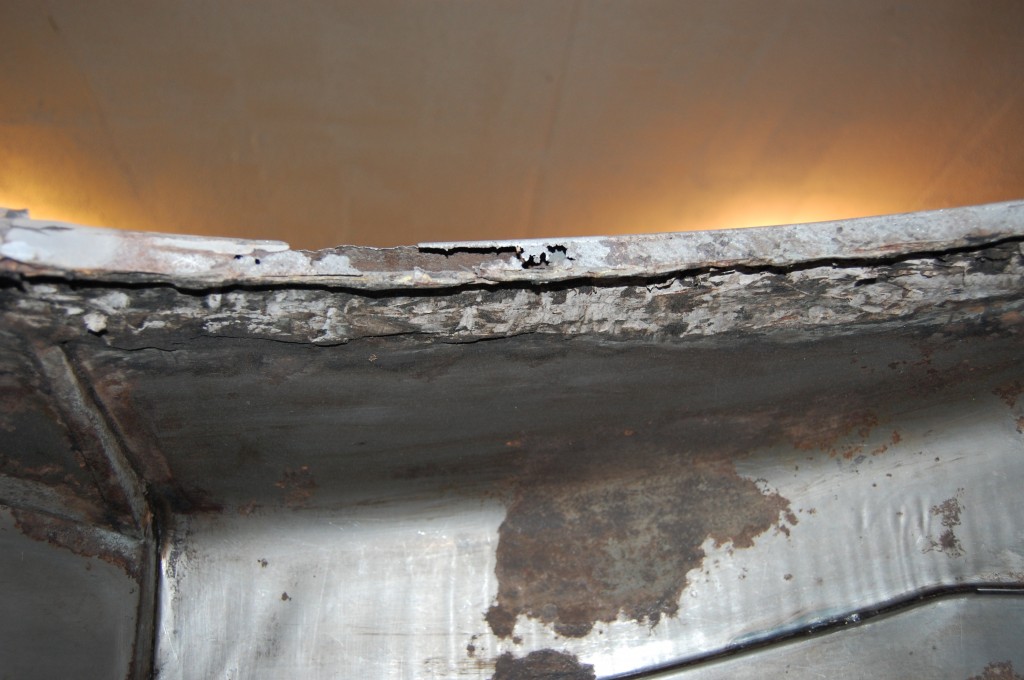
- More carnage underneath the rear lower valance. This is a common area for rust, and we do make this piece new – I think we are the only ones who do. And it doesn’t look like this…
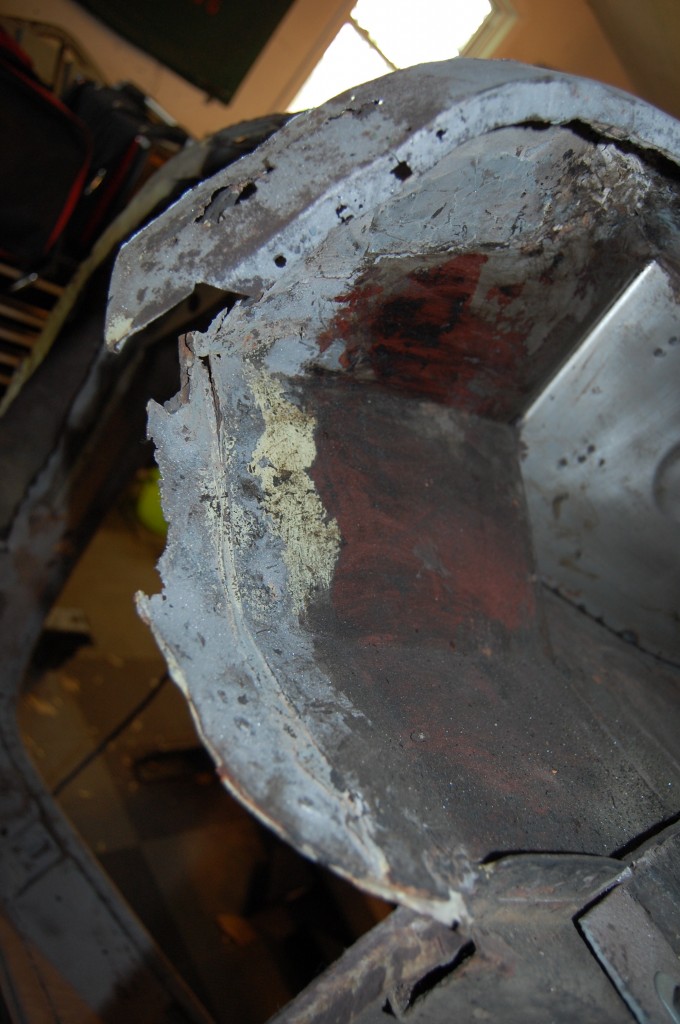
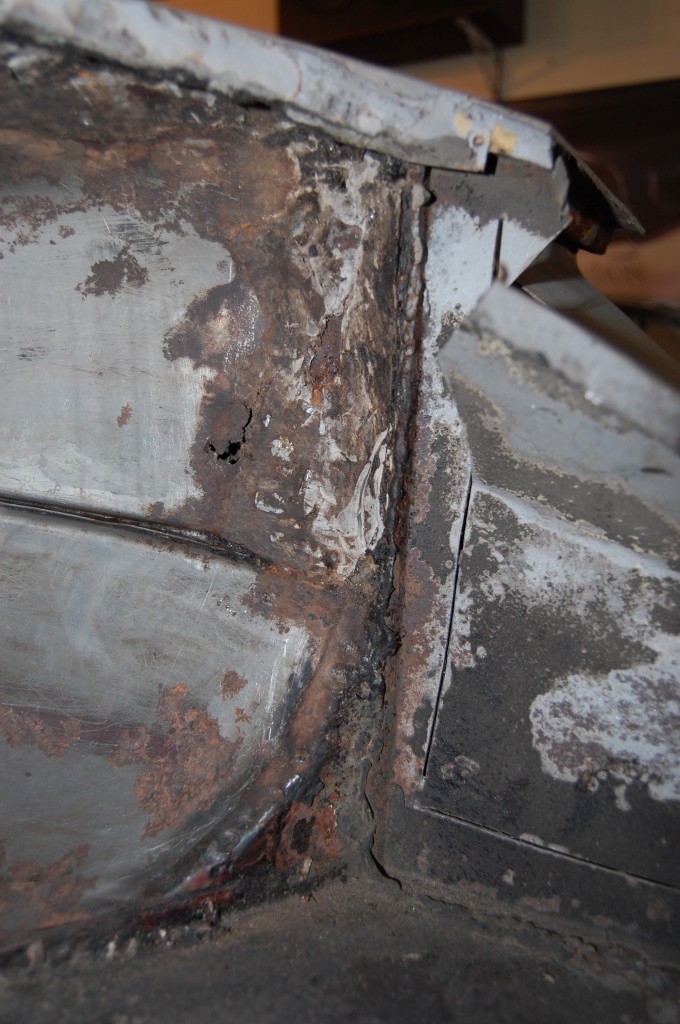
- The rear of the RH B-post area seen from inside the RH rear wheel well – yes, that’s BONDO INSIDE THE WHEEL WELL!
- A shot up inside the wheel-well showing that inner wheel arch mess we saw in the previous blog.
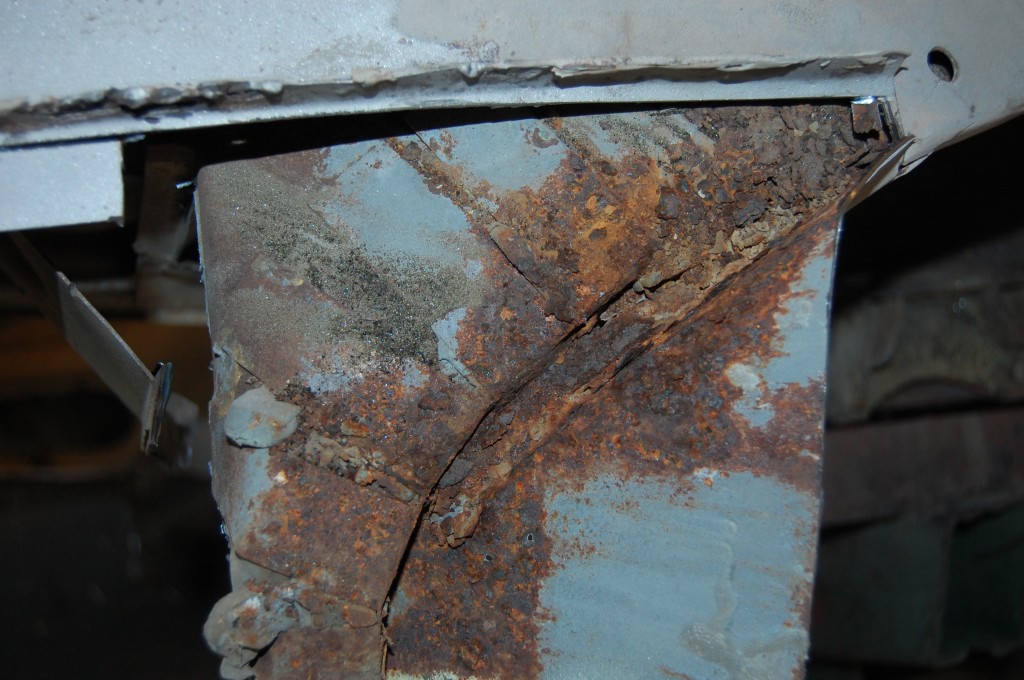
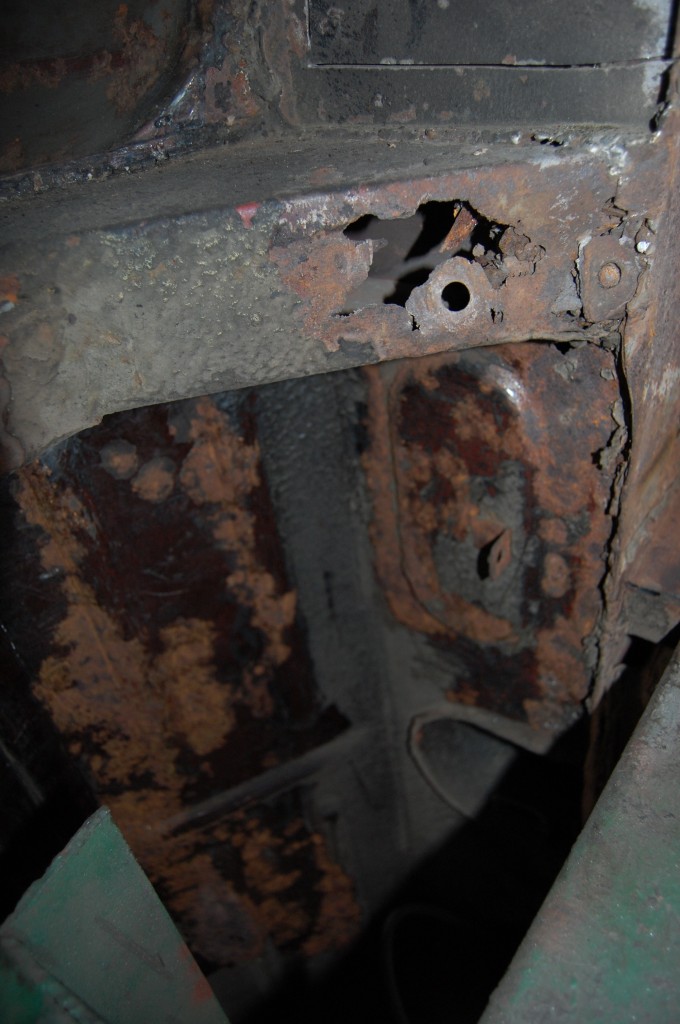
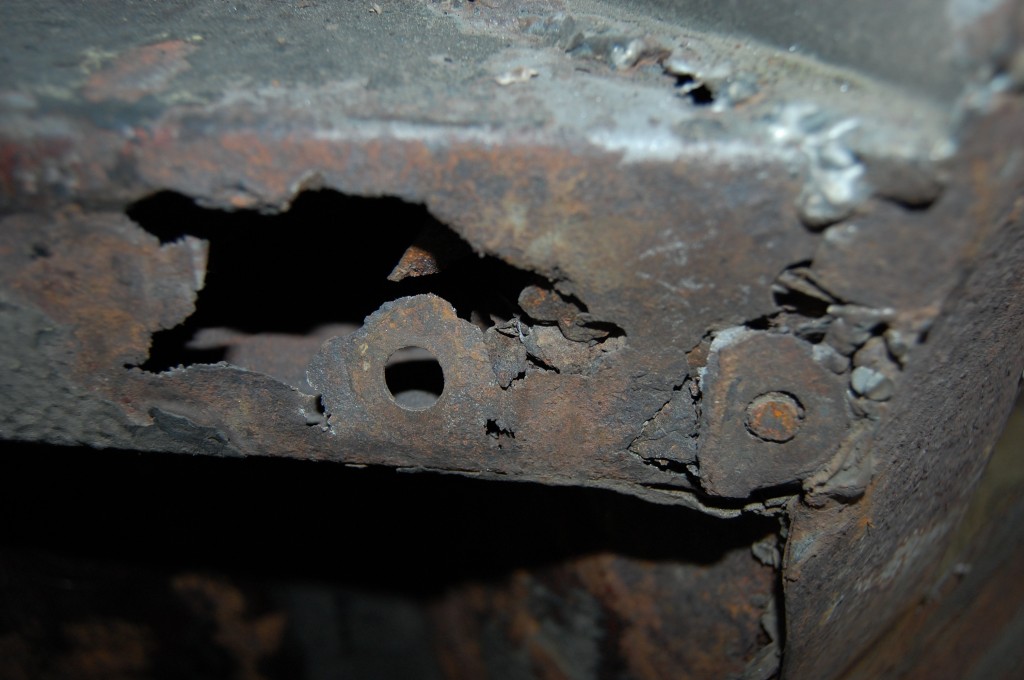
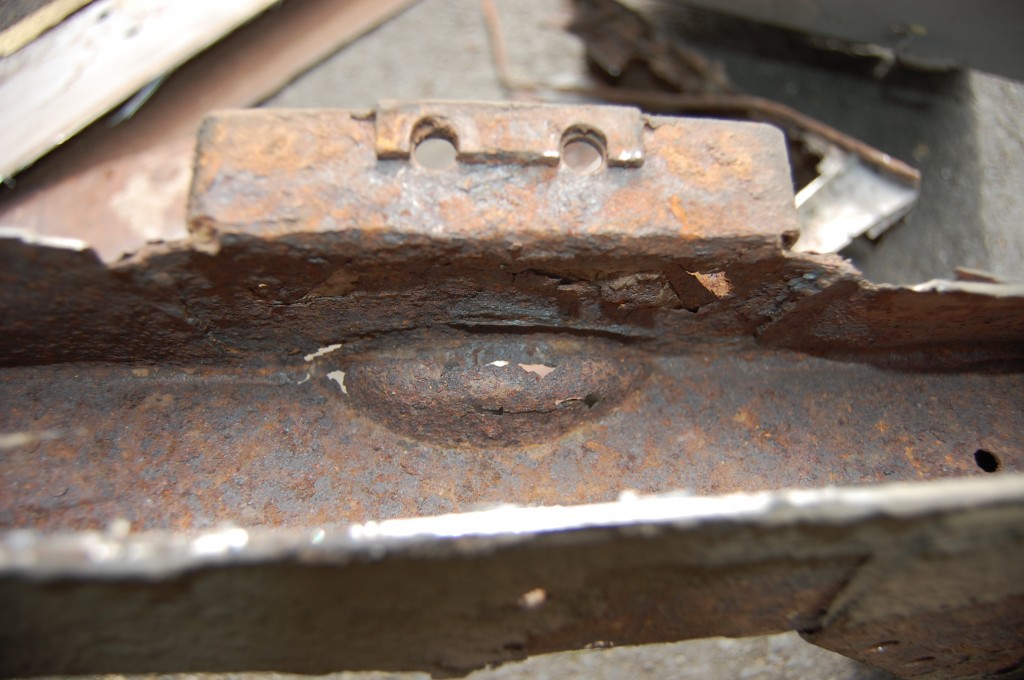
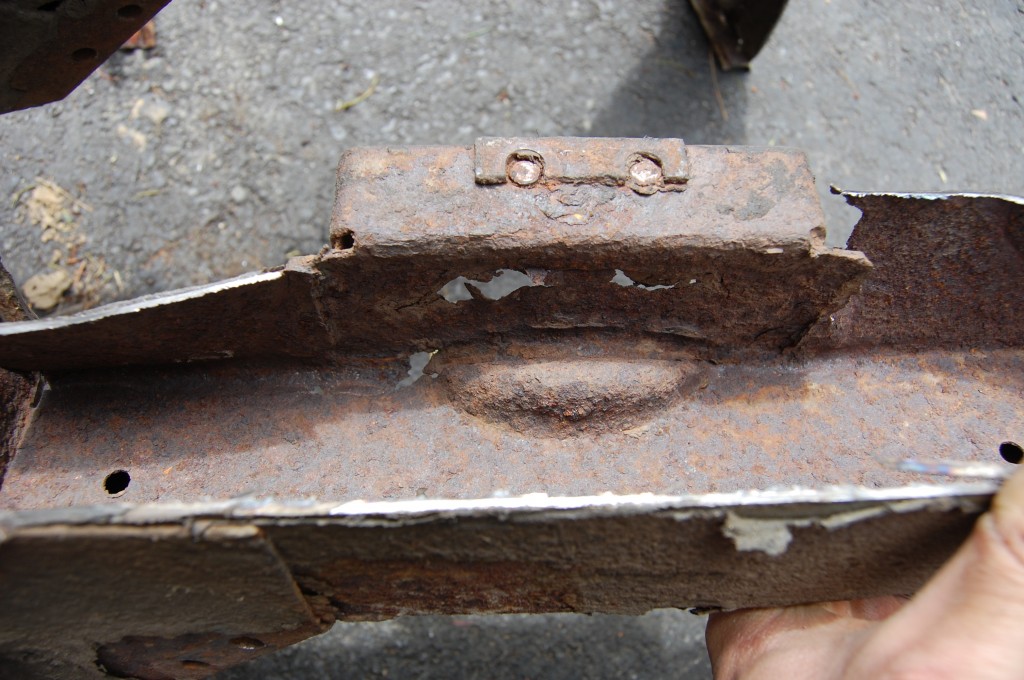
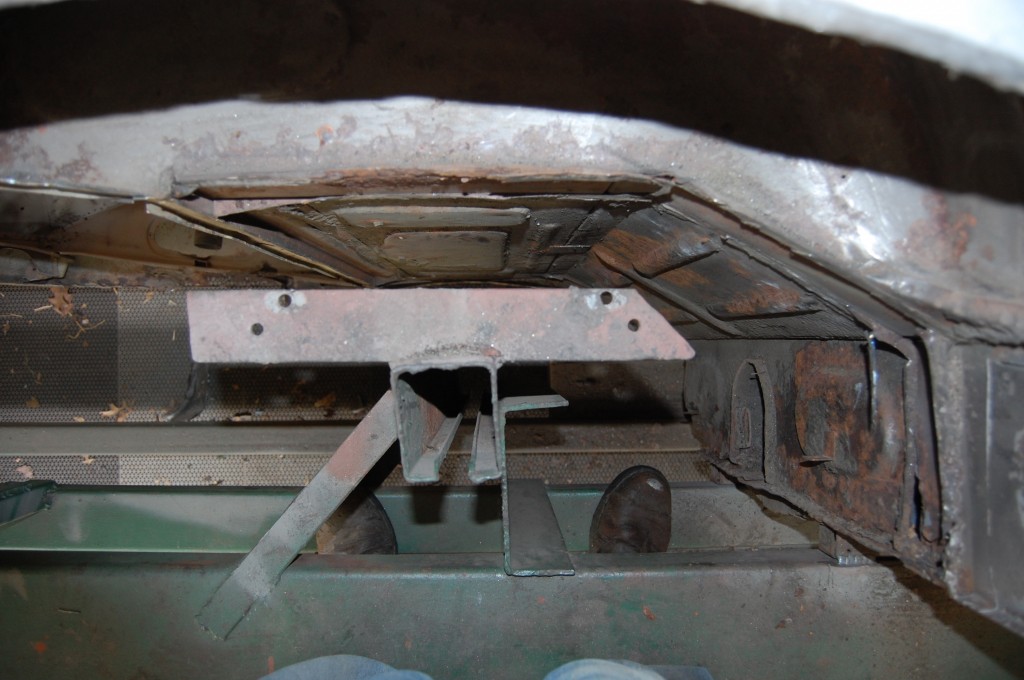
- Here we see the chassis leg and how the rotisserie bolts to it. The rusted away sway bar bracket is common, and sometimes you can get away with fixing just this lower portion of the leg – we usually need to do SOME type of repair in this area, but this looks pretty bad…
- Things are real messy up in here too – the rear panel of the cockpit that the driveshaft goes through is missing about the lower 1-inch – more in some places.
- Close up of the rotted sway bar mounting point.
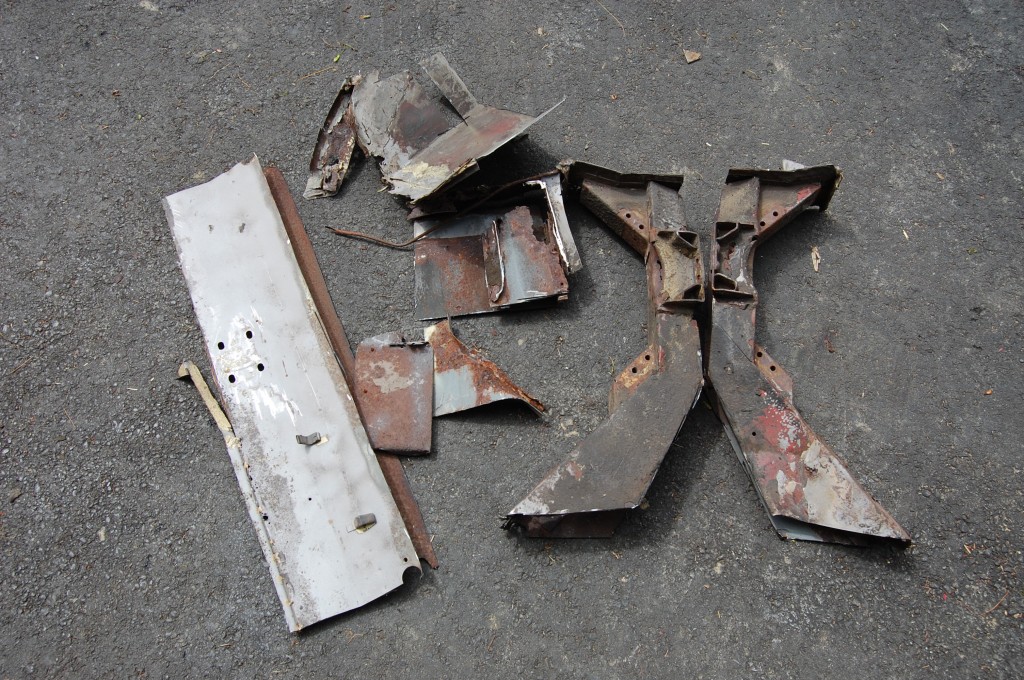
- Here is a bunch of stuff we have cut out – the chassis legs themselves, and MUCH more…
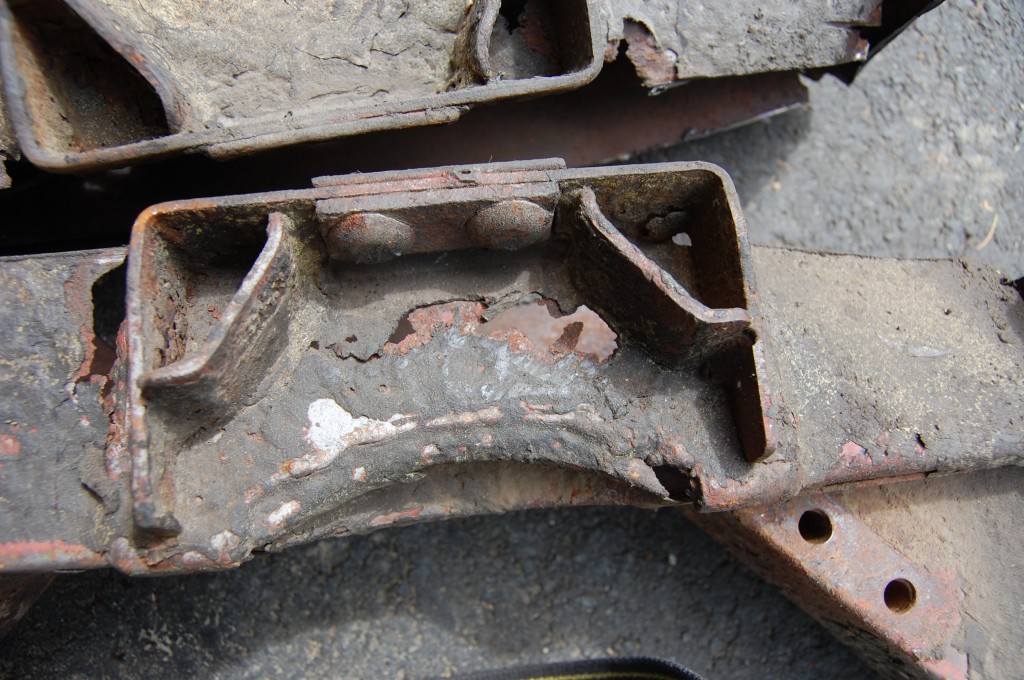
- The kiss of death…
- Just too far gone…
- The other side was just as bad. But now that these are out, what’s holding the car to the rotisserie!?!
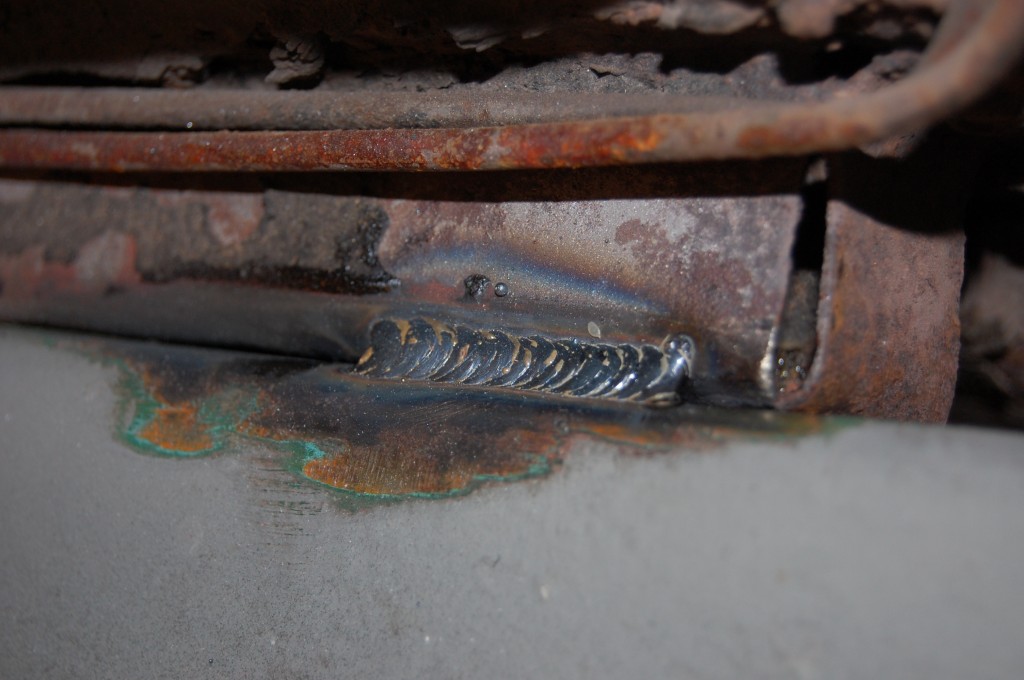
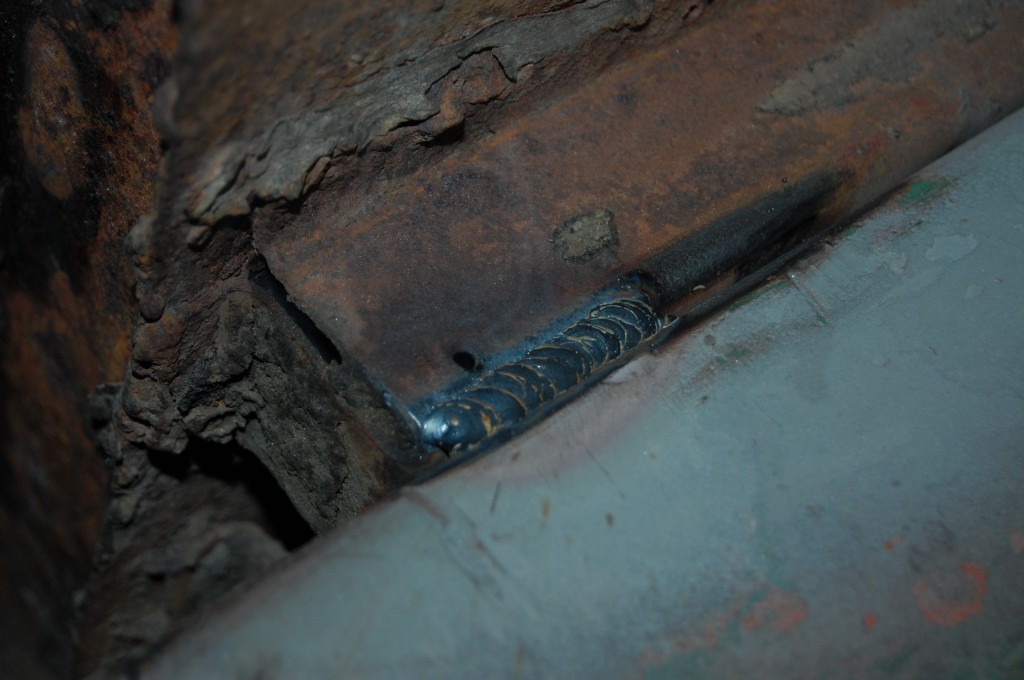
- Here’s how – I pulled out the MIG, cranked that baby up high, and ran a nice fat bead right along the main rail under the floor. That’s 16-gauge welded to 1/8th inche steel – that’s not moving…
- Here’s the other side.
- So with the floors between the main rails still in place, along with the driveshaft tunnel, and the main rails welded to the rotisserie/jig, I felt comfortable enough to go ahead and do this – remove the rear chassis legs.
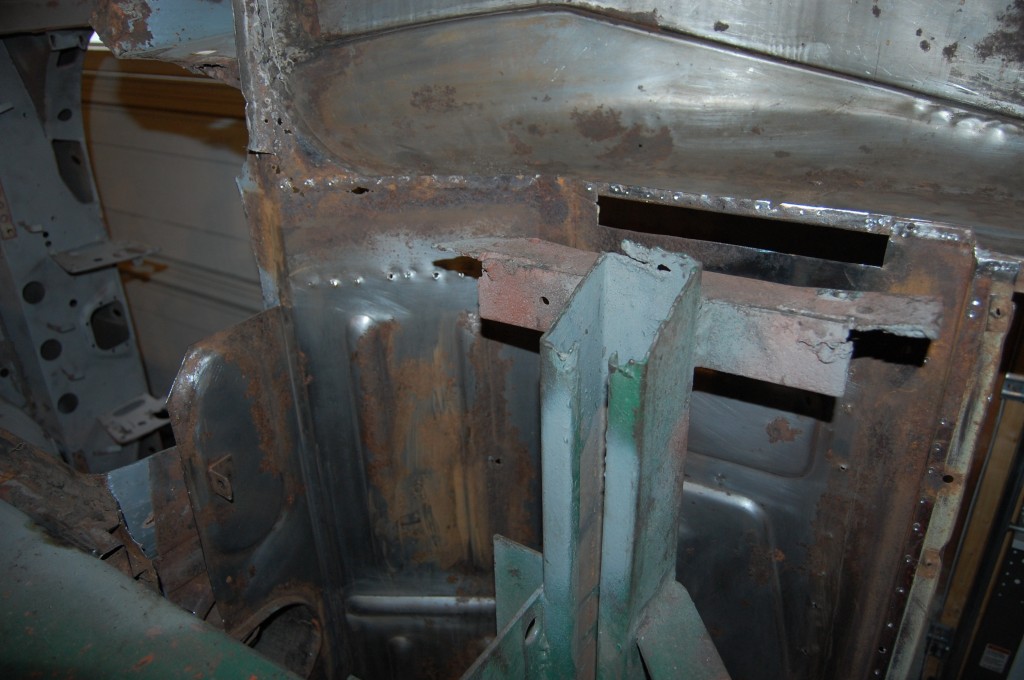
- And then of course the rust doesn’t stop there! We had to do several patches to the rear bulkhead panels above and in front of the IRS before we could even put the new chassis legs in place. Here you can see alot of carnage and some of that rust being cutr out…
- We’ve also removed the lower rusted areas of this panel – that’s actually not that uncommon.
- One last shot of the mess – more patching of the upper floor of the boot.
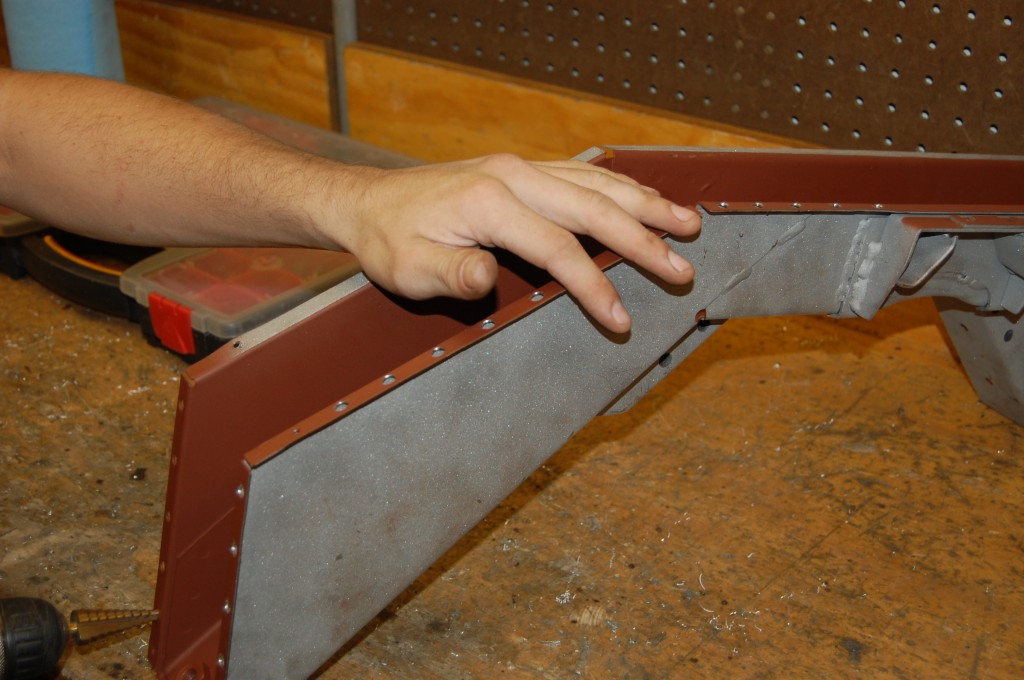
- OK – this is more like it – some NEW steel – finally! OK – I admit it – I bought these from the usual suppliers (collective gasp of the crowd…) I considered making them, but I could tell that was going to be a BIG project p[atterning and prototyping them, and I need to keep this project moving. We did strip them of the shipping primer, and coat the insed liberally with good old red oxide. Then we drilled holes for plug-welding – there is no way to reach in there now with spot-weld tongs.
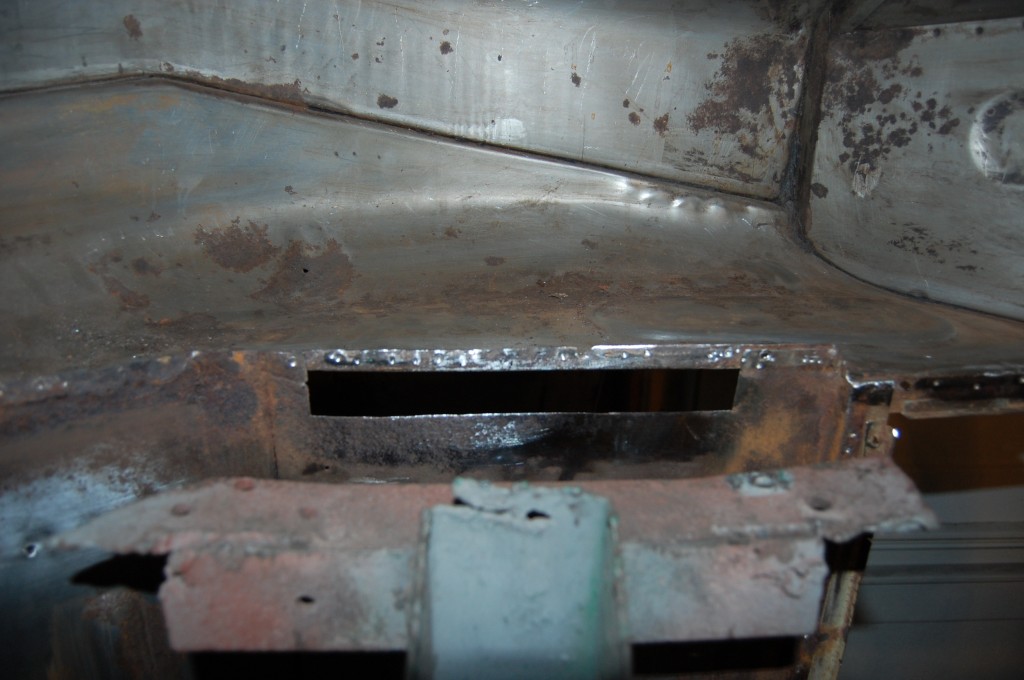
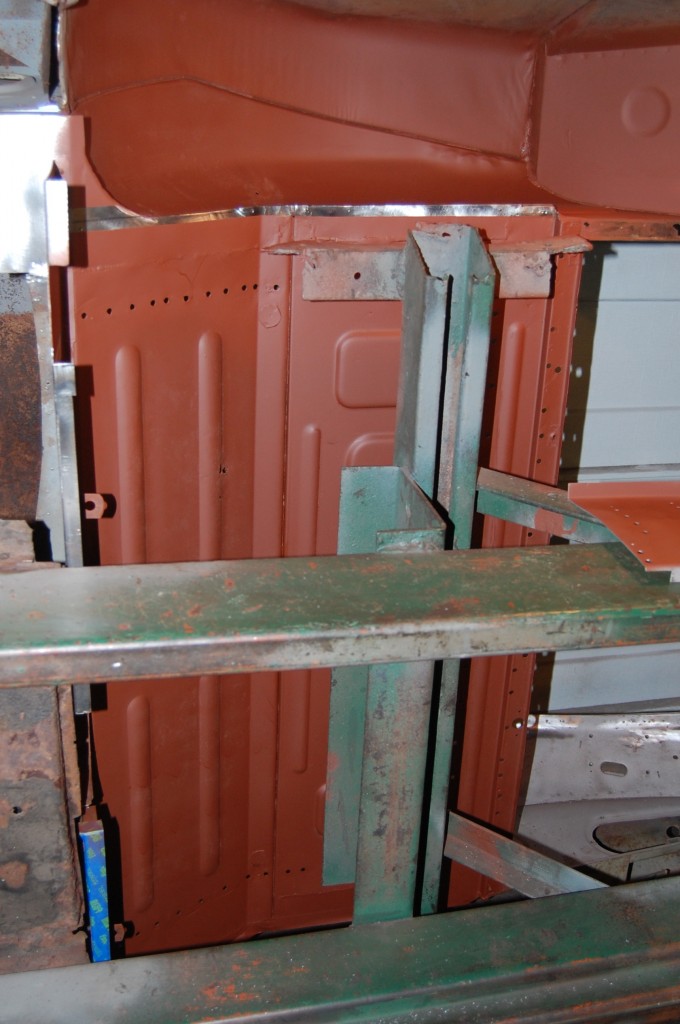
- NOW we’re getting somewhere! These panels have been patched as seamlessly as possible, Brent has spent DAYS hand sanding the areas with every type of wheel and pad that we could get out hands on, and we’ve red-oxided all of this too.
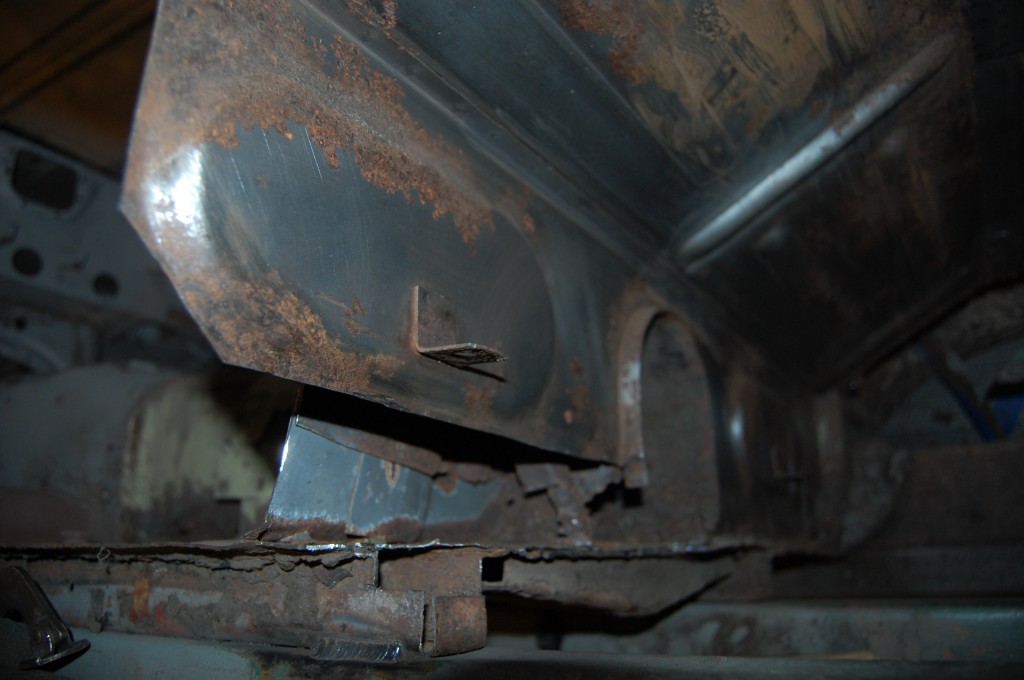
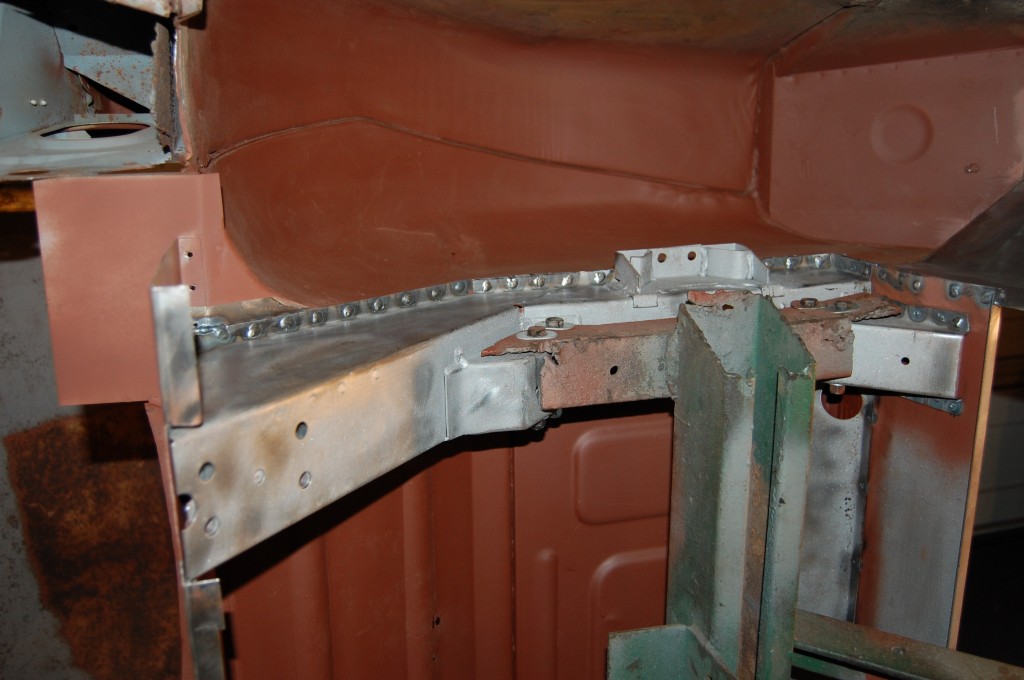
- The new chassis legs are then fitted and plug-welded into place.
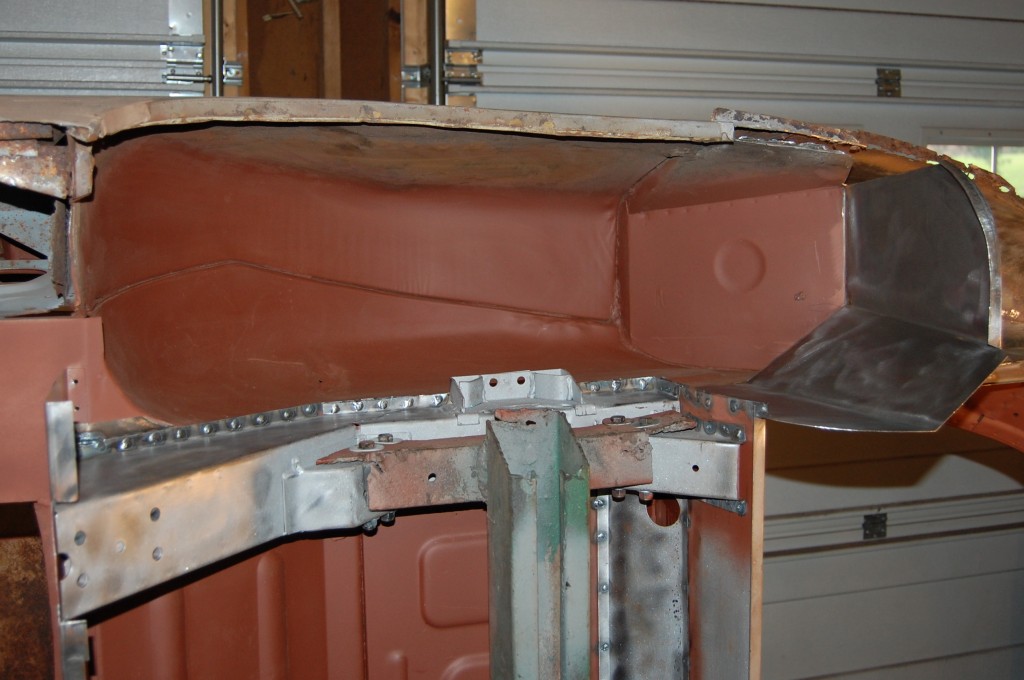
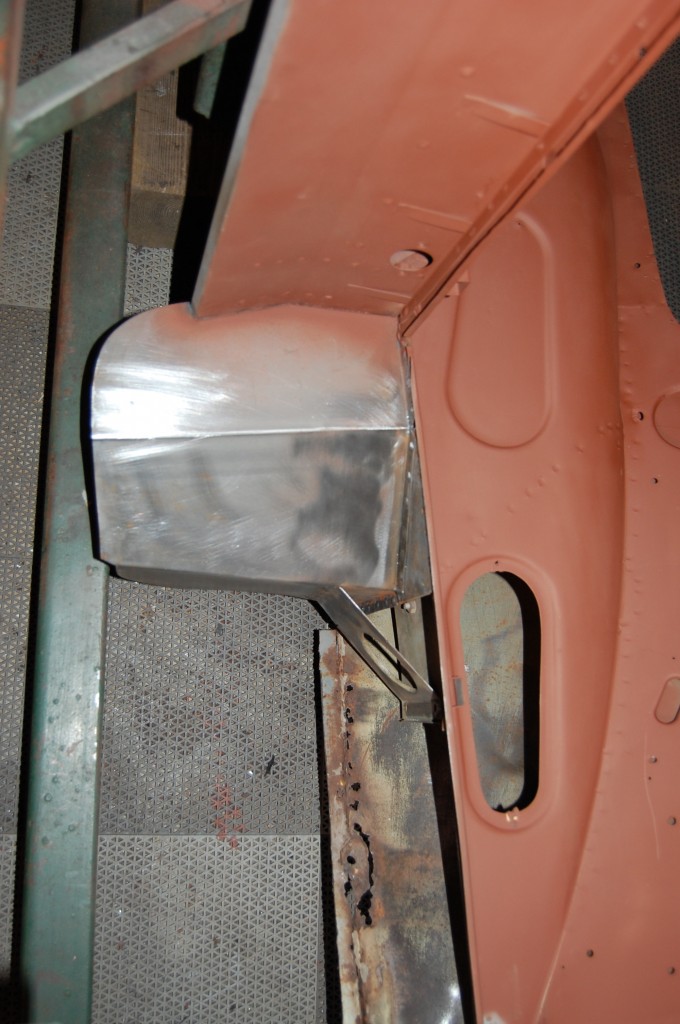
- If you look closely here, you’ll see that we also had to replace the front wall of the boot, and a reinforcement piece in front of that – PLUS the rear lower wall of the inner wheel house!
- This shot shows the boot side of that new panel at the top of the photo – this was a surface-rusted NOS piece that we had – complete with the fuel line holes, etc. Now that the new chassis legs are in and things are SOLID and mounted to the rotisserie/jig again – we can begin to move forward – starting with that rusty mess in the bottom of the photo – which we will attack in the very next blog entry!

