Well, finally the big day (days) came – I couldn’t put off these horriffic rear wheel arches any longer…
Jump back 5 or 6 blogs and take a look at the sneak peek of these while they were being dissected, then come back here and see how we took care of it! ALL panels used in these repairs were made here, and we’re happy to provide some for YOUR E-Type!
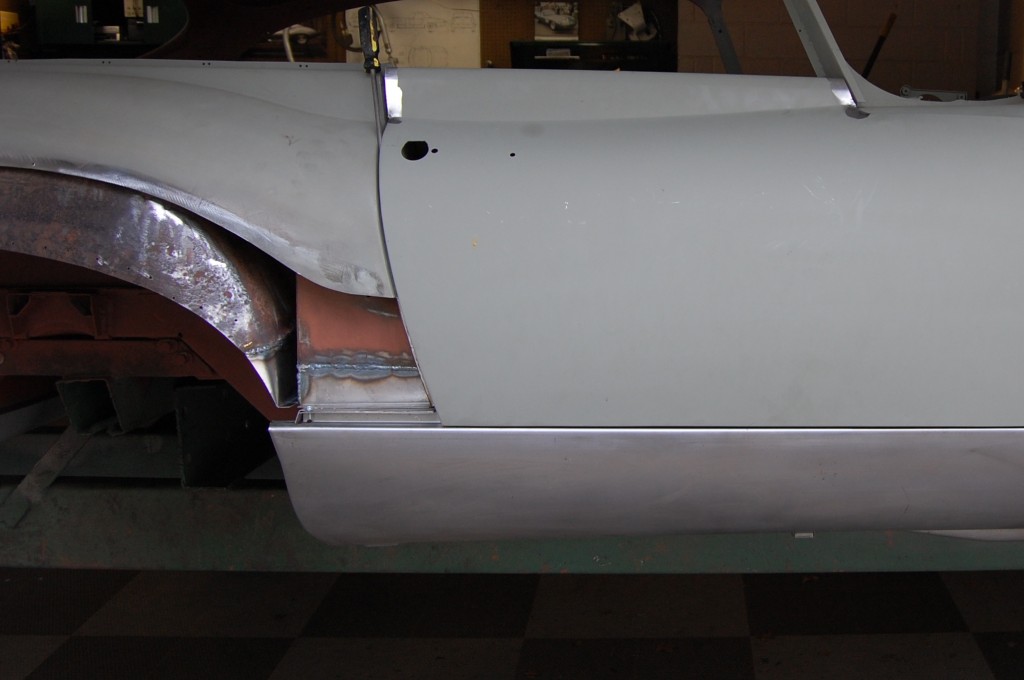
- With the floors and inner sills fitted (but NOT welded in), we then fitted the outer sills to get a good location for the bottom edge of our patch. Having the door restored and installed also helps with the forward edge.
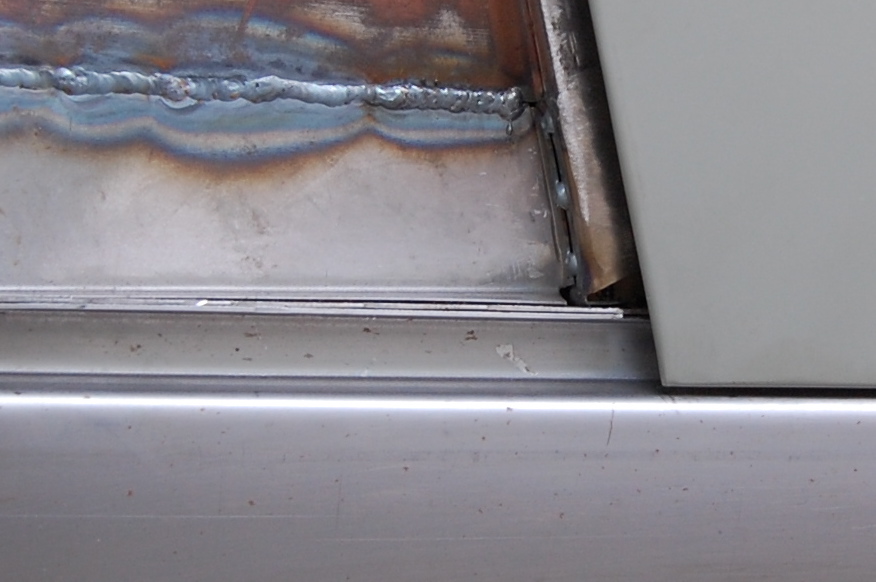
- All of the work we have been doing over the past couple of weeks was done just to get to THIS little corner and be able to locate the patch precisely against the sill and the rear edge of the door.
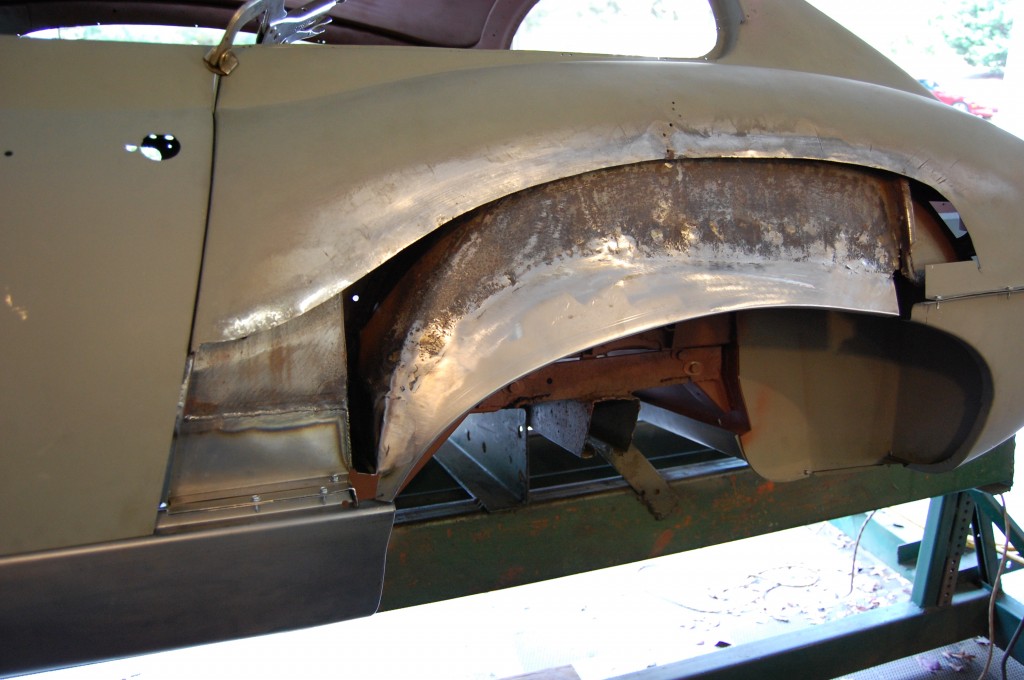
- The first order of business was to make repairs to the INNER rear wheel arch. I have done this custom and piece-meal in the past, but it was finally time to pattern the inner panel properly, and this piece that you see being fitted up is the prototype of that work.
- I started out by taking one of our OUTER repair panels off the shelf, cutting it down some, and sticking it inside of another outer. That should work, right – I mean it’s the same… Well, it wasn’t even CLOSE! But what it DID do was give me measurements along the whole arch to give me something that WAS close, and then we adjusted from there. The reason it’s not close is that this piece has so much of an inward slope as it goes up – so if you take this piece and a stock outer patch and hammer then both flat again, the arc is VERY different between the two pieces. There was a whole stack of these in the scrap bin by the end of this day…
- You have to get it right from this angle too – VERY important!
- Here, we’ve gone ahead and cut down the patch and stitched it in with the TIG. Note that our little prototype panel was about 3/4″ too short in the back – I’ll fill that in with a small piece later…
- This has been TIG-ed in, but will still need some hammer and dolly work to get things right where I want them and to planish the weld a bit.
- Now it’s where I want it and we’ve dressed down the weld.
- Another shot of the completed repair to the INNER rear wheel arch.
- Now we’ve patterned this piece and made a small batch of them. This is one panel from that batch being used for the RH inner repair, and it fits GREAT!
- After being tacked in with the MIG, it is stitched in with the TIG.
- Another shot of the RH repair panel. We sell the piece at a 3.5 height, but as I’ve repeated over and over, DON’T USE THE WHOLE THING! Cut it down to a size that makes sense for the problem at hand.
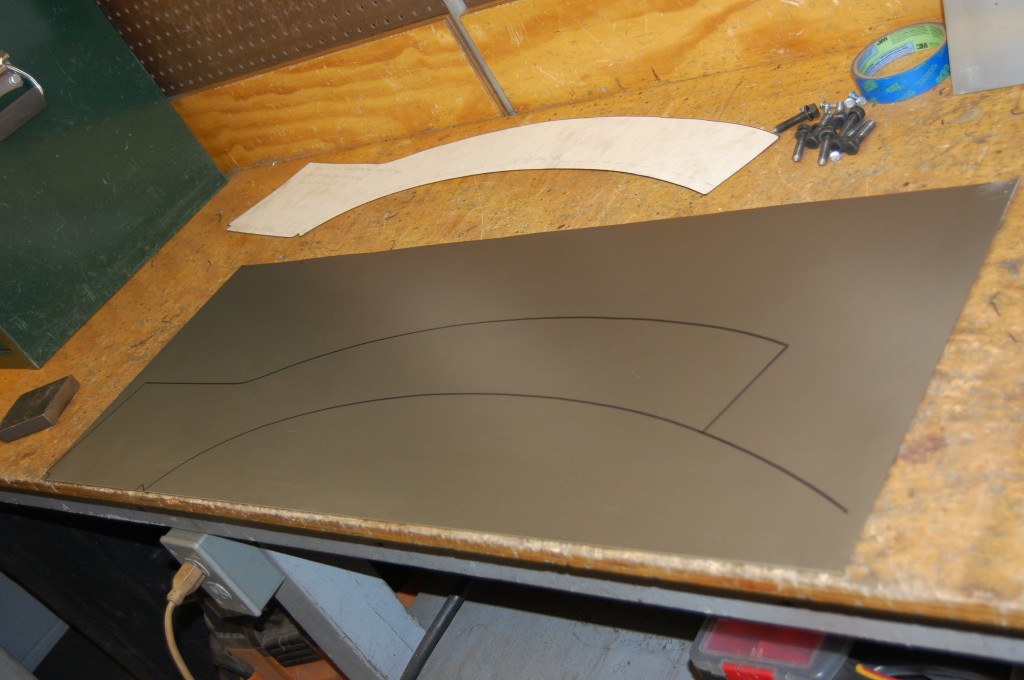
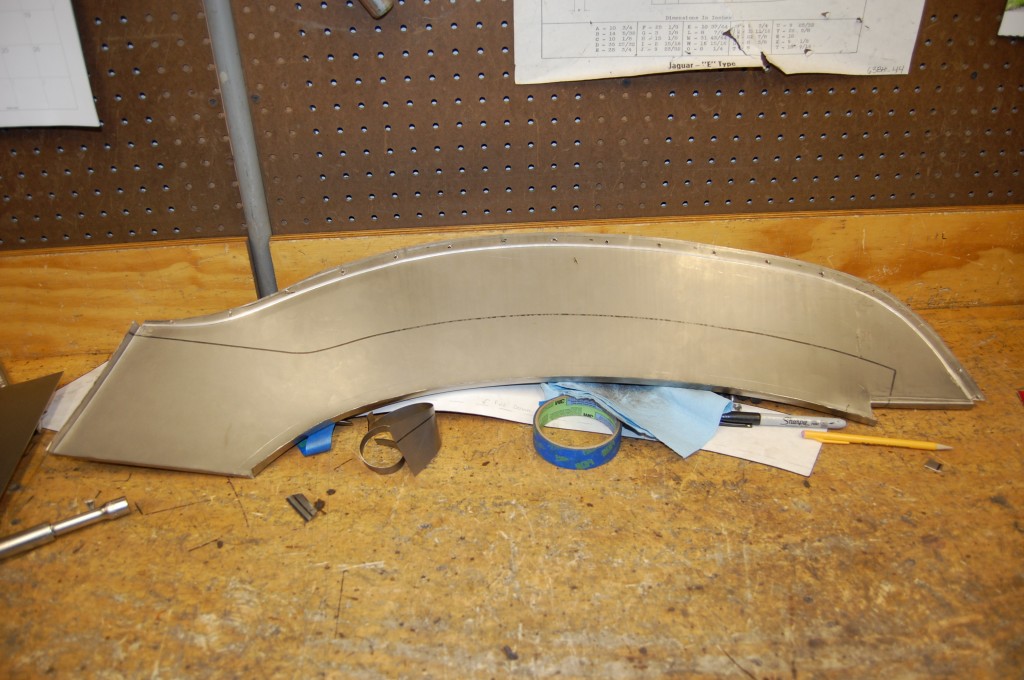
- OK – NOW it’s finally time to form these up. What we’ve done here is take the regular pattern for our typical 3-inch repair panel, drawn it out, and allowed ourselves ALOT more metal above that!
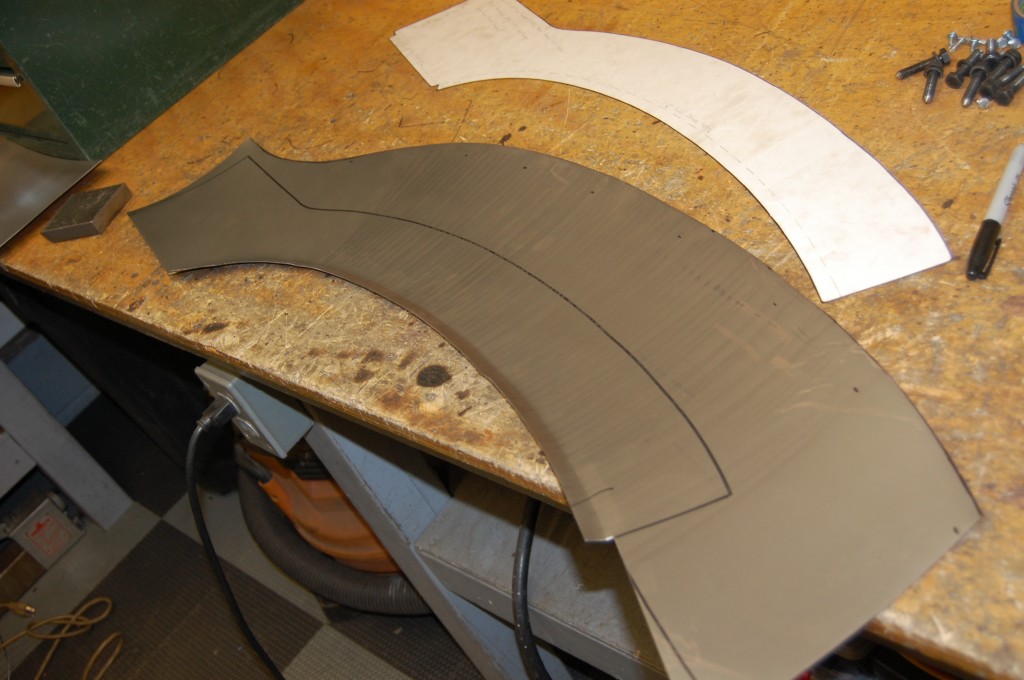
- After a few preliminary measurements, we’ve trimmed the top down some, and also cut the bottom edge at the standard location. Then we rolled the panel top to bottom in our roller that we use to make door skins, etc. (I love that thing – it’s a BEAST – which means it always gives a very precise roll – and I’ve got my eye on an even bigger one for sills! But it needs to be restored and it’s BIG!) But back to this – first we roill it top to bottom, and then we curve it from front to back slightly using the English Wheel 0 that is what all of those lines are. Then we strat to tip up the bottom edge.
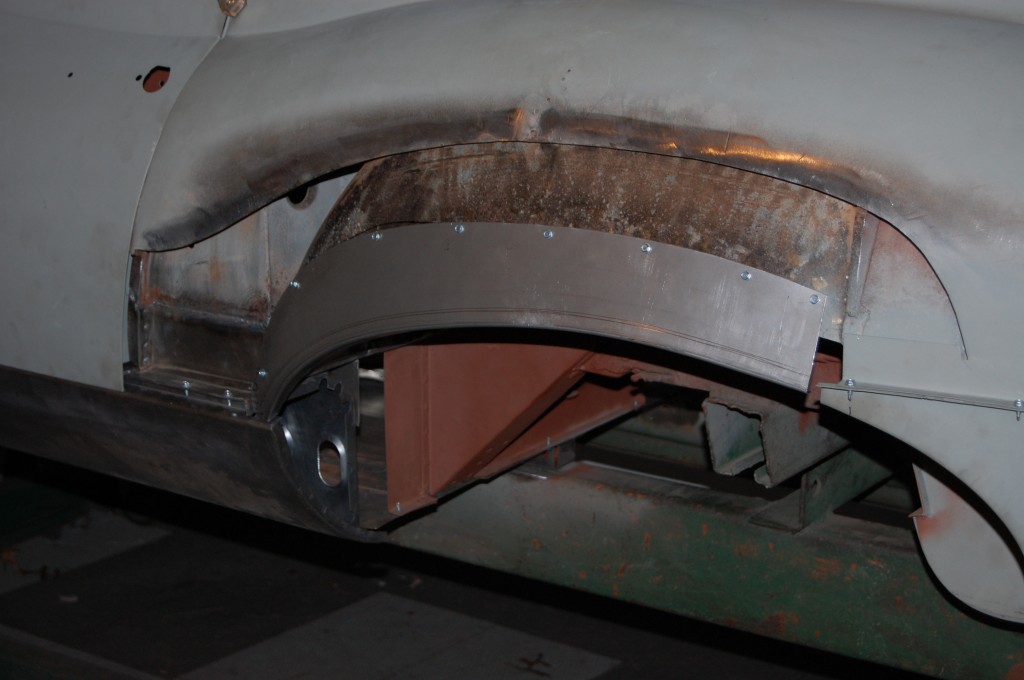
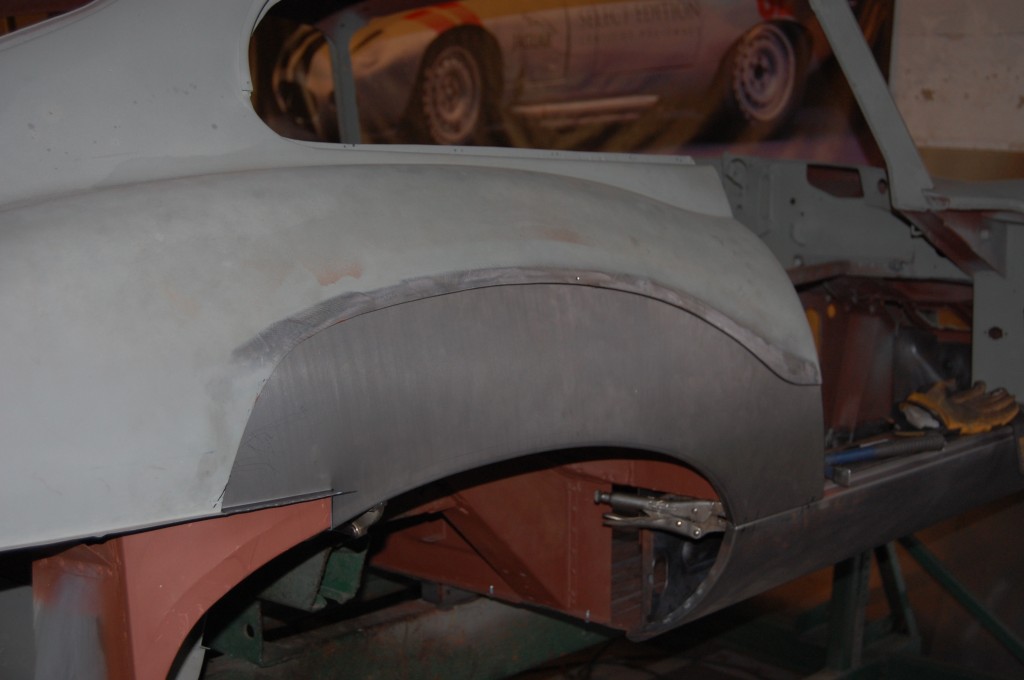
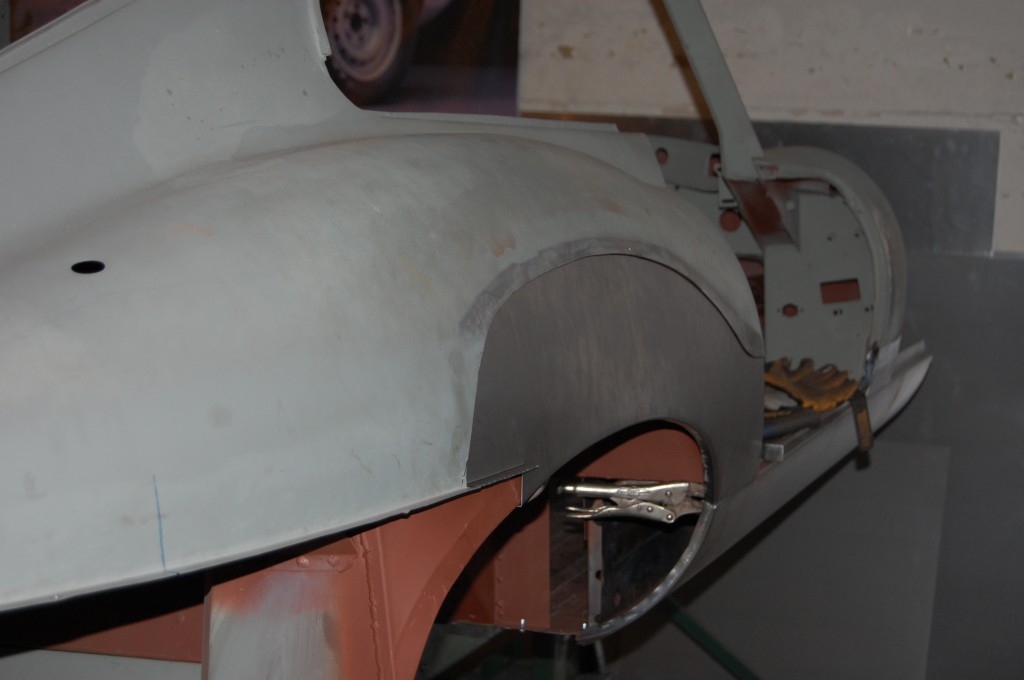
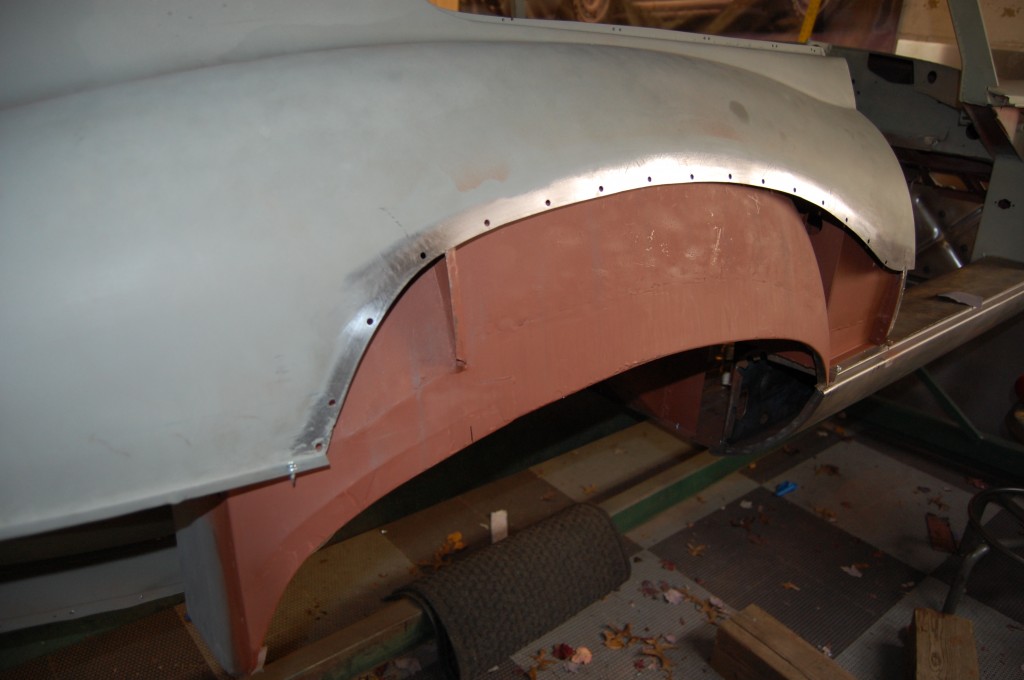
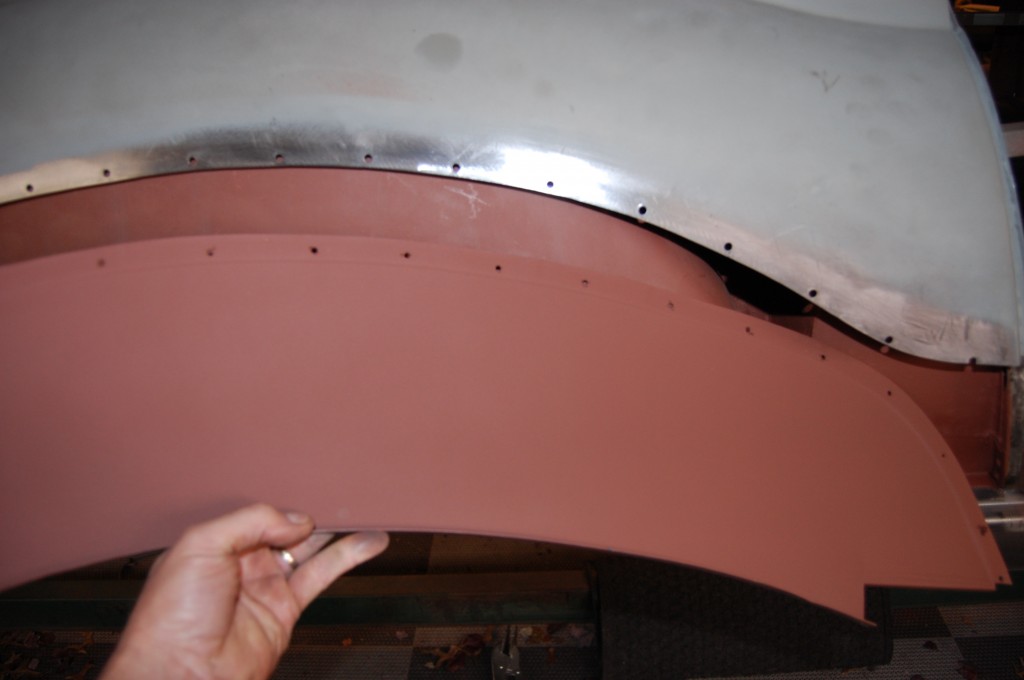
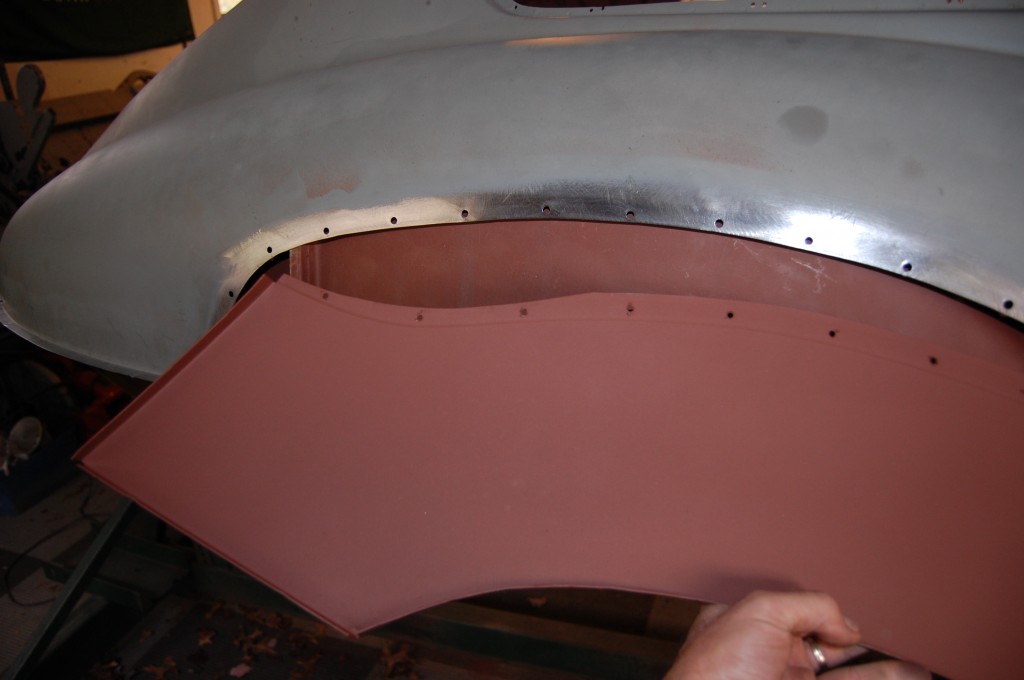
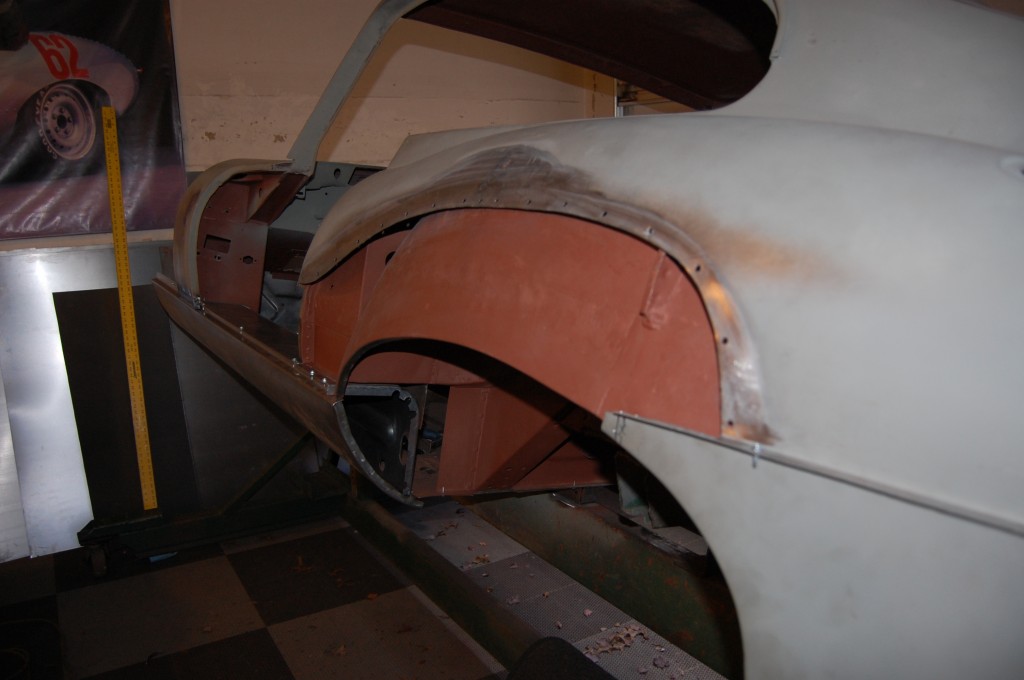
- After completing the bottom edge, we bring it over and and fit it to the wing, tucking it up behind there and marking the fit as precisely as possible. Not that I have skipped a few days forward – the whole inner assembly is completed and doused in red oxide now – including the piece I call “the boomerang” which is that red inner panel in the lower LH corner of the photo. What has happened here is that I used the outer patch to set the location of the residual inner patches…
- Here’s another angle of the same thing.
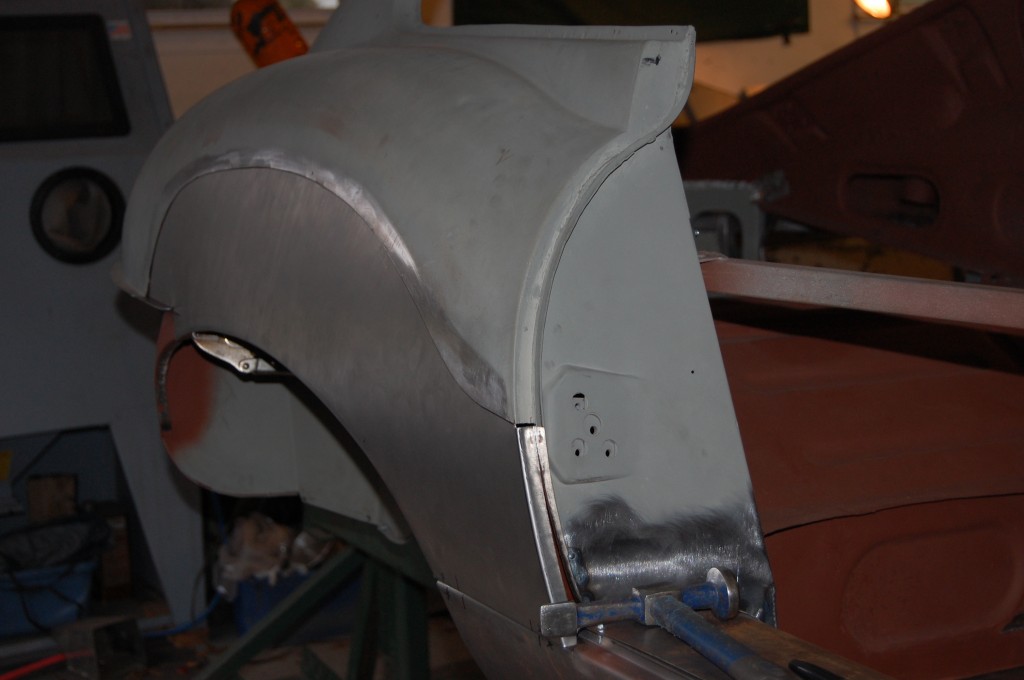
- And another angle, showing my cheap Eastwood hammer… I bought this about 10 years ago, and now have about a dozen super-high-quality body hammers, but this one is my favorite – it’s my “friend”, and I am CONSTANTLY yelling over to Brent, “Hey – where’s my blue hammer?” All body men have their favorite hammers and dollies – and it is typical for them to own 100 of them and use the same 3 or 4 all the time – and I’m no exception…
- One last shot of the RH side being fitted.
- Here is the completed RH patch from the back side – after we have stepped the upper edge with a .040 flange.
- Here’s a shot of the completed and primed inner wheelhouse.
- We have also coated our repair panel on the back side.
- Another shot of the coated pieces, ready to come together.
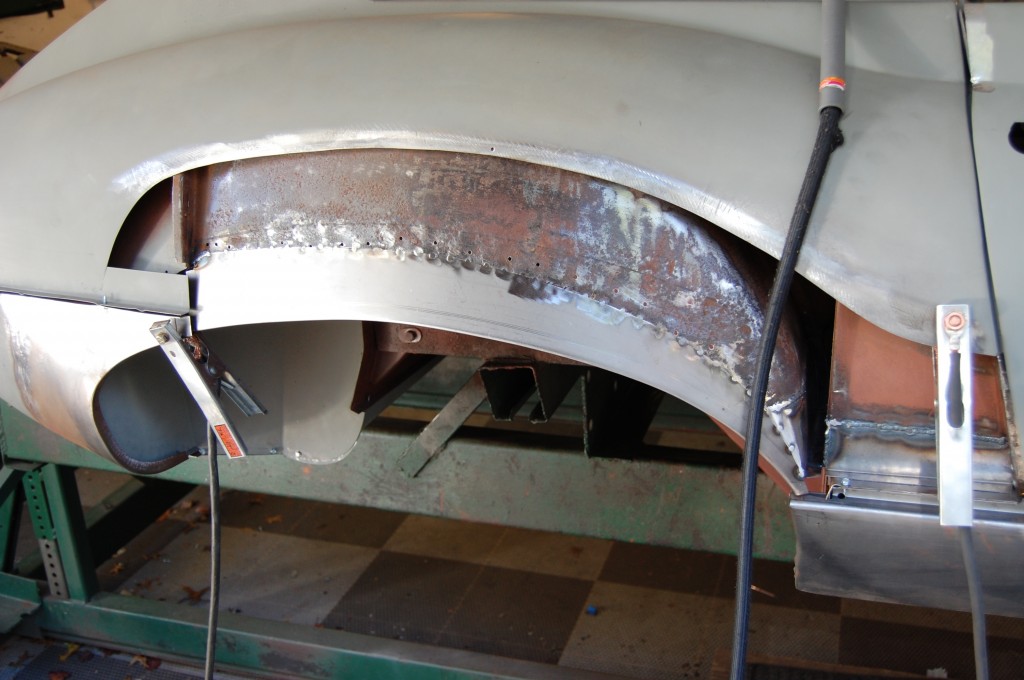
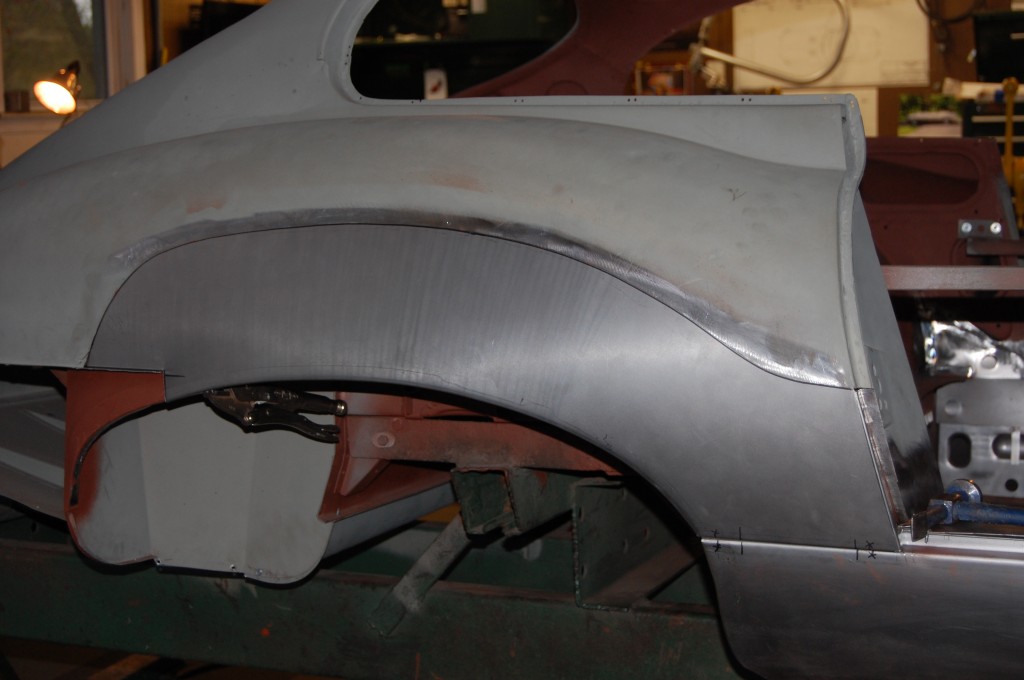
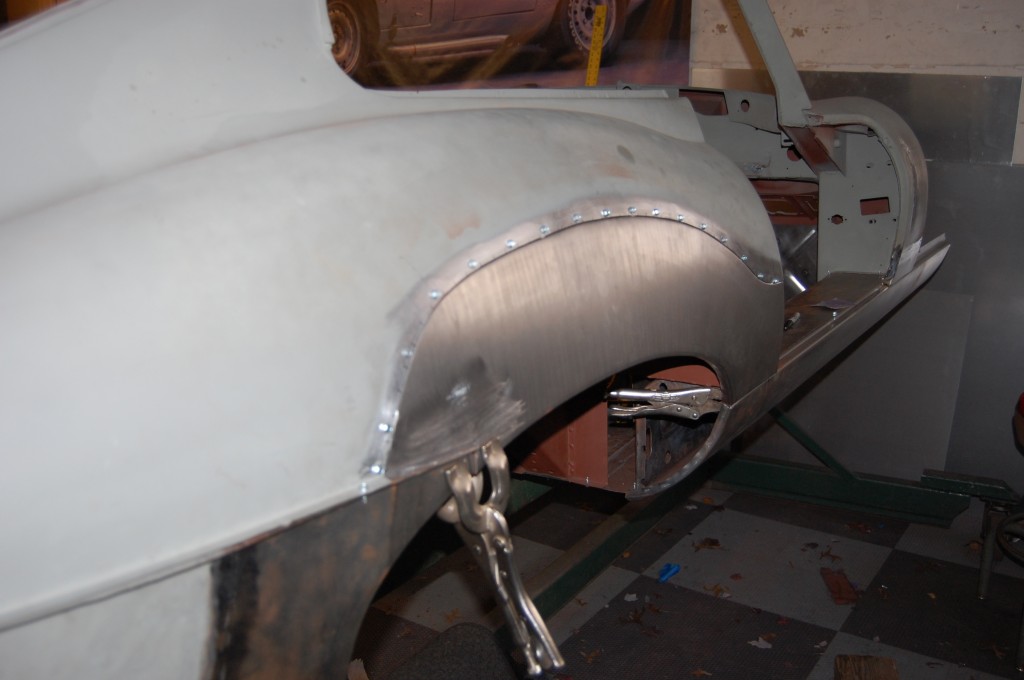
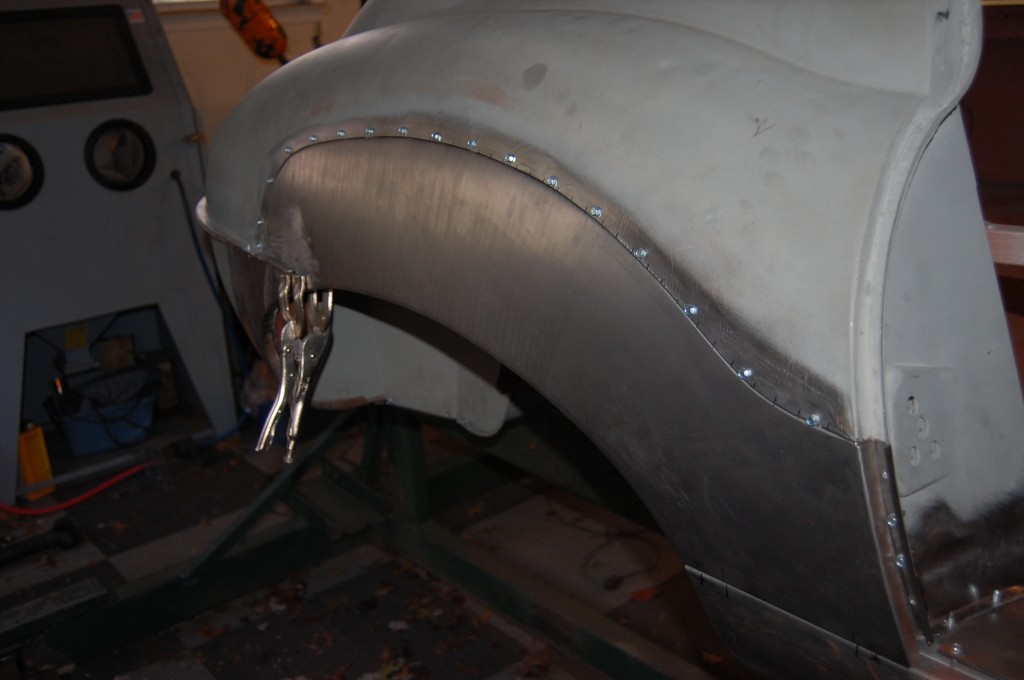
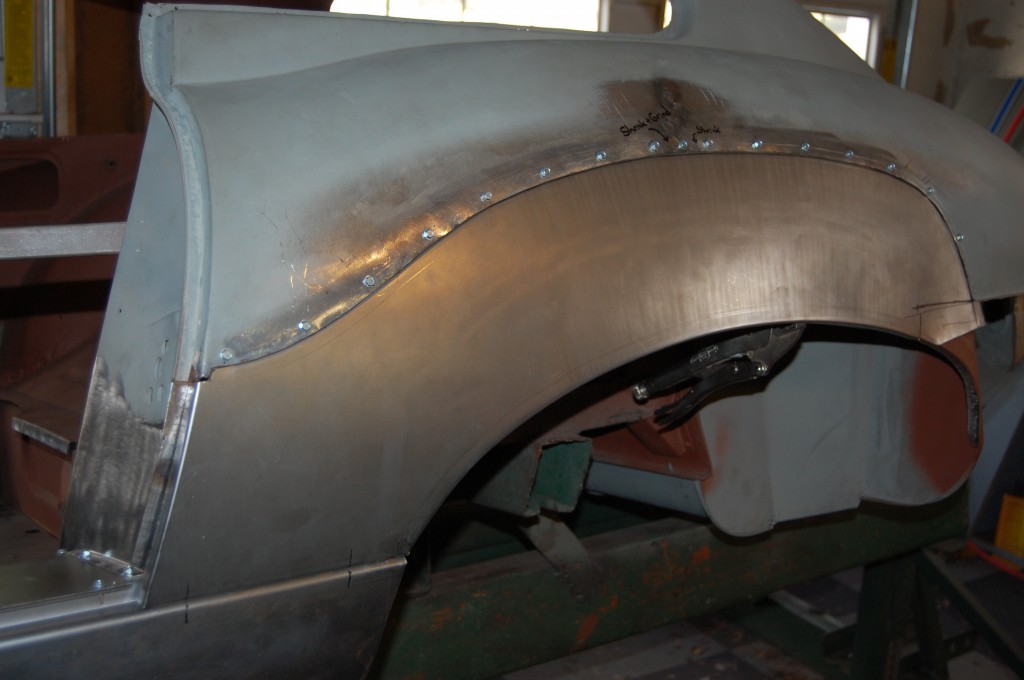
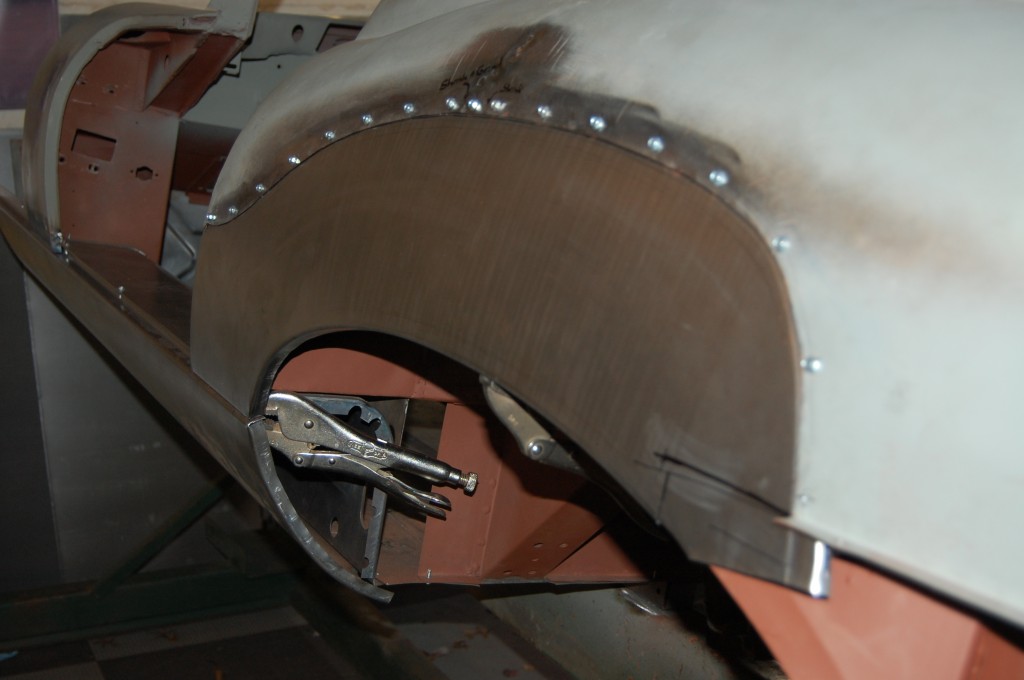
- Now we’re all clamped up and ready to weld. Note that I have used small self-drilling screws along the top seam instead of clecos – I need this to be TIGHT!
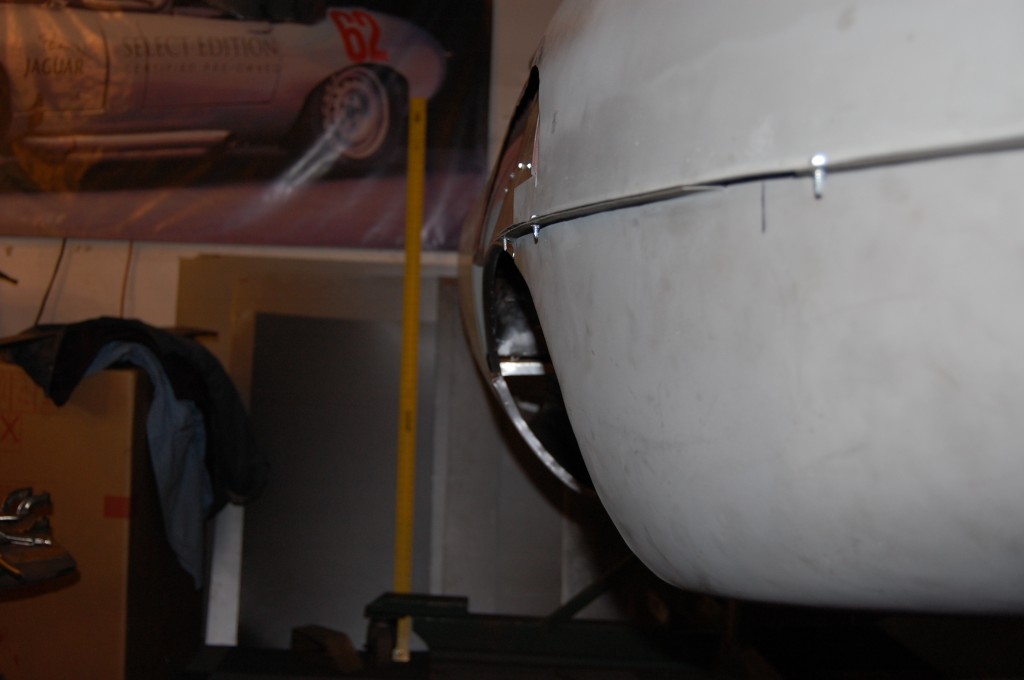
- We have also now brought the rear lower valance into play for the final fitting before welding.
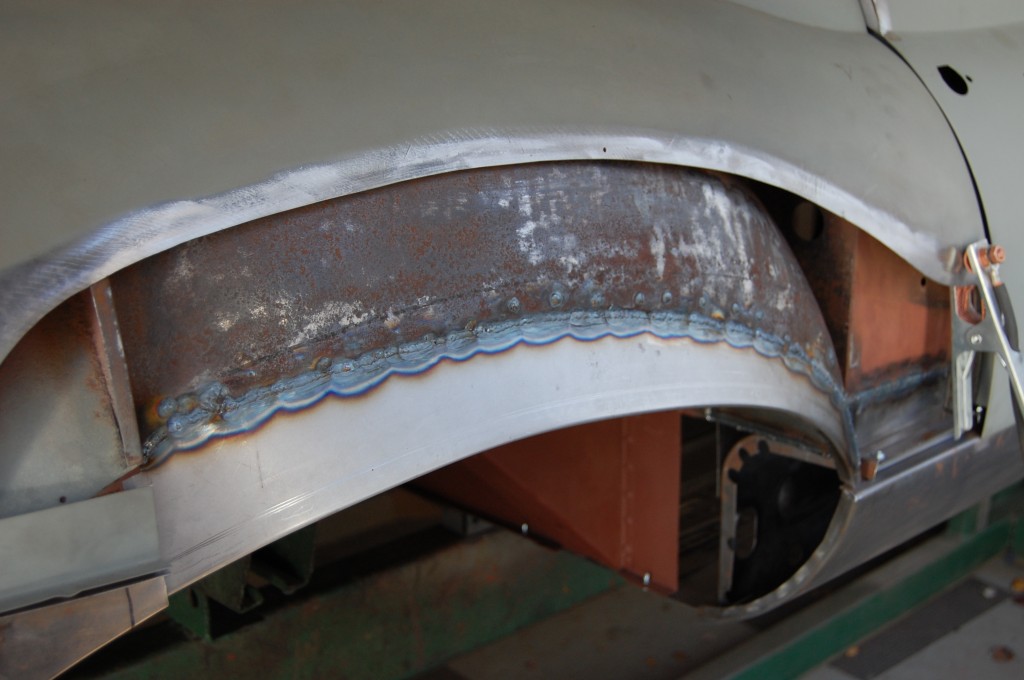
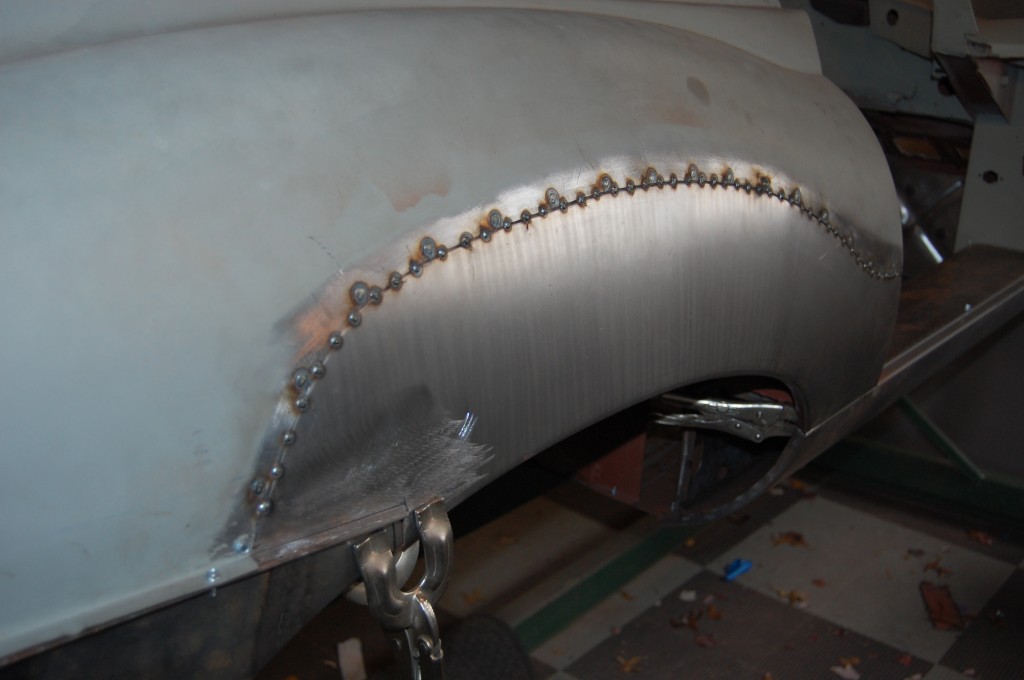
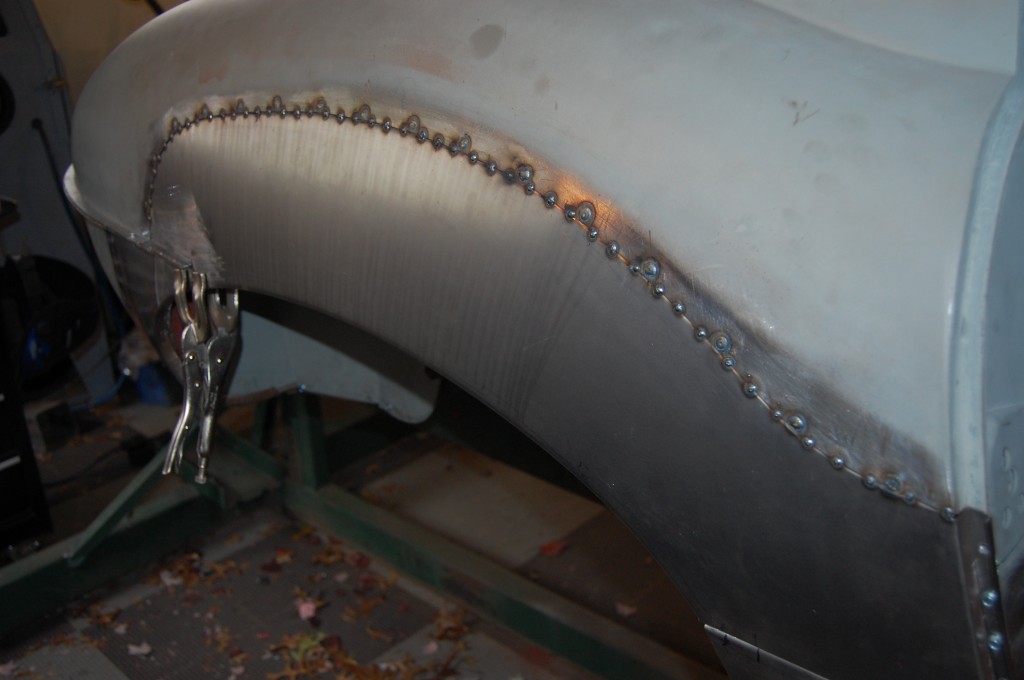
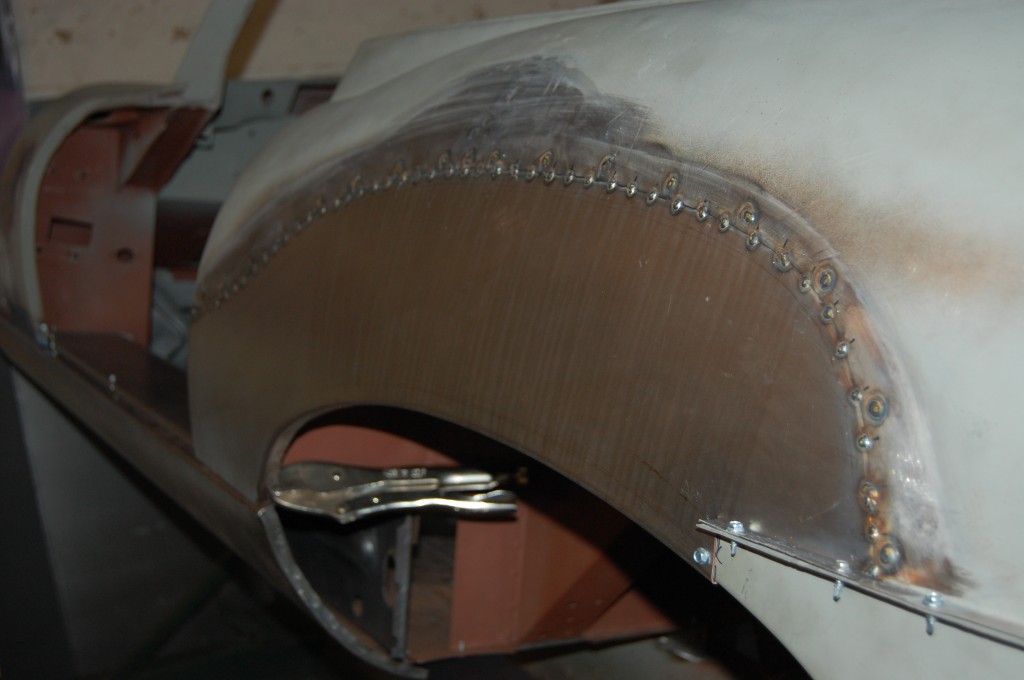
- Now… I have done this several different ways on the welding – MIG and TIG. THIS is what I have finally come up with that provide the least amount of distortion on a patch this large. There is a screw hole every 2.5″ approx. (it is actually the exact width of my iPhone – whatever that is…) Then I go in and put tacks in along the seam with the MIG about every 3/4″. Once they are all in, I remove the screws and MIG up the holes. This gave me NO shrinkage/warpage. Other tips here are to use steel at least .040 thick, and the stepped flange at the top helps with strength. There is one more BIG key to this repair, and I’m not giving that one up on here – I have to have SOME secrets!
- Another shot of the completed weld.
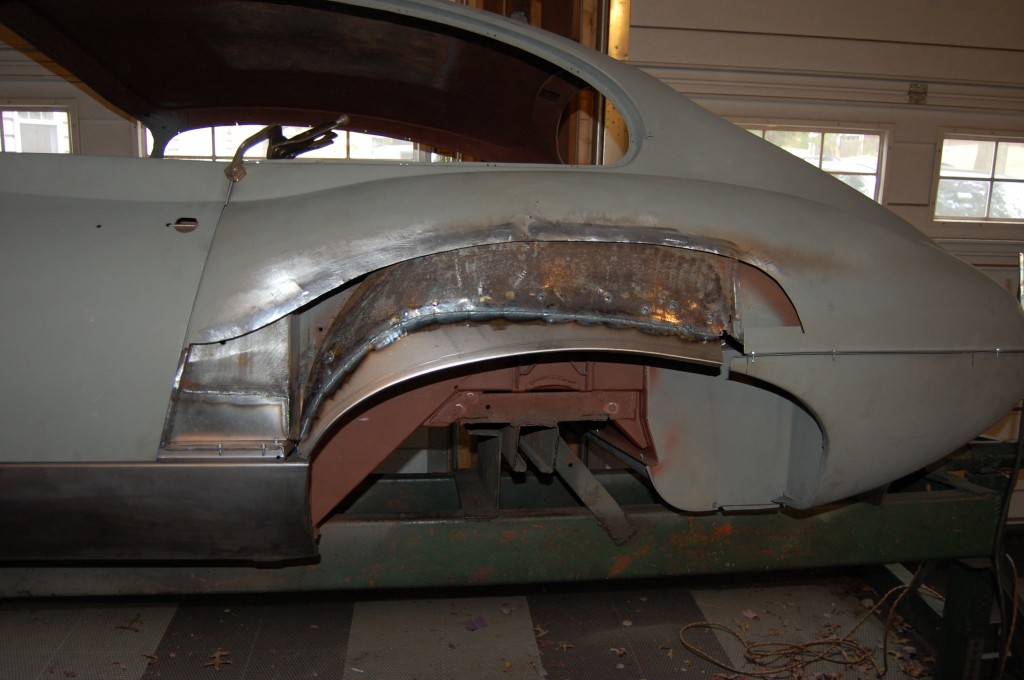
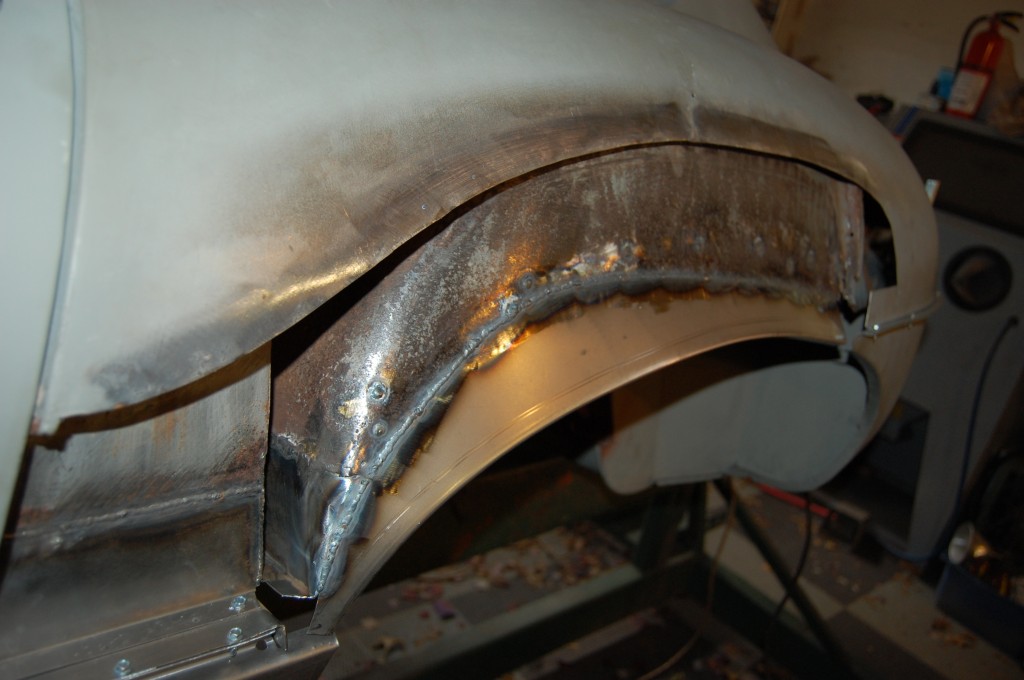
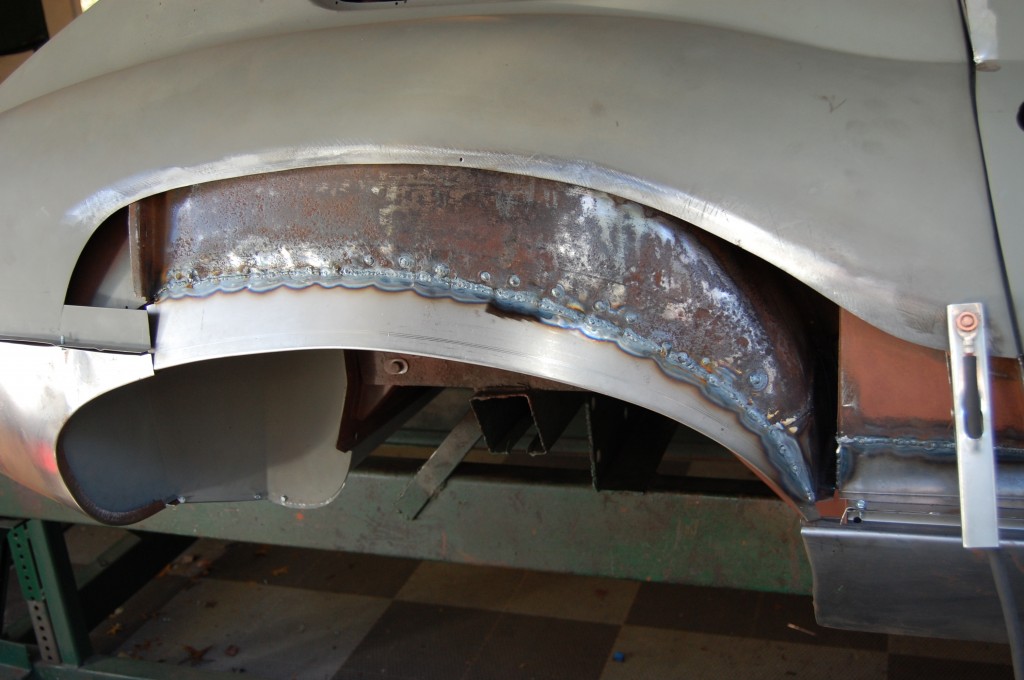
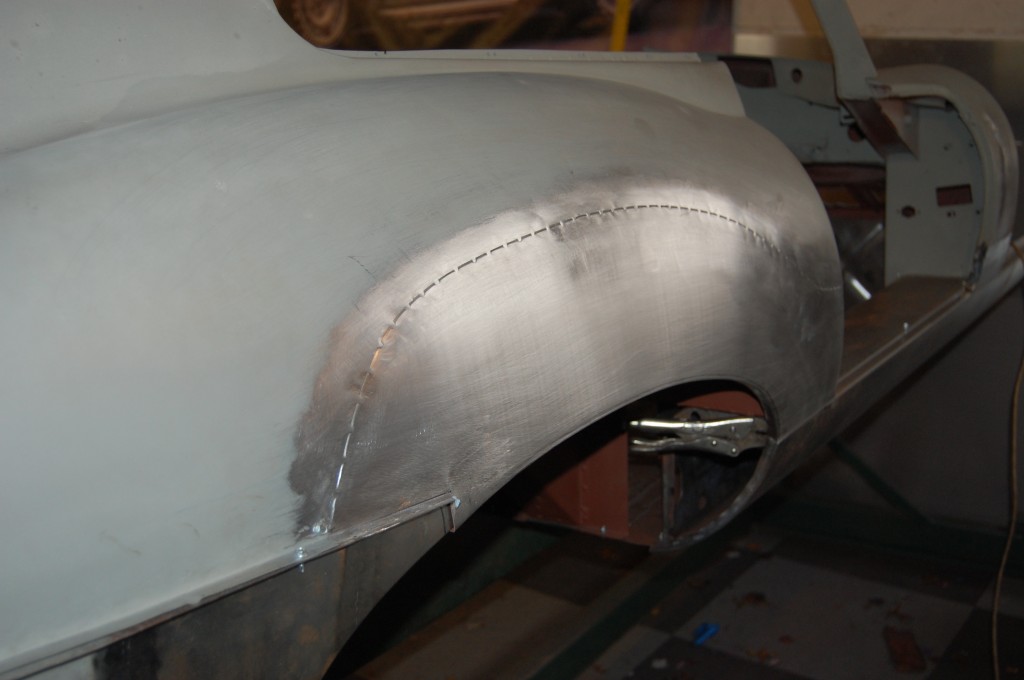
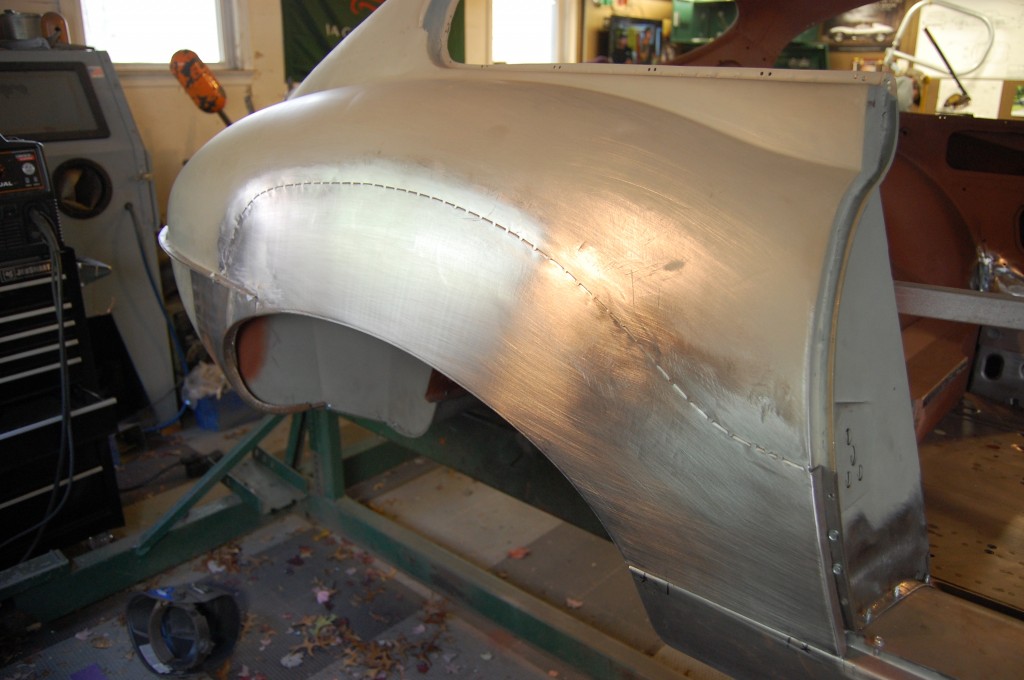
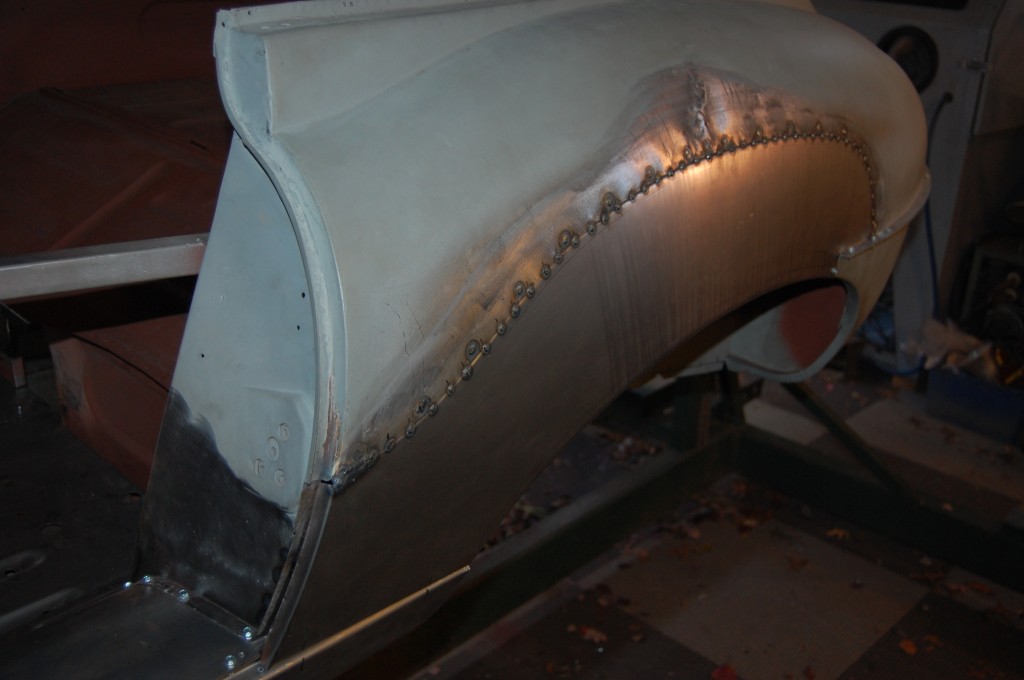
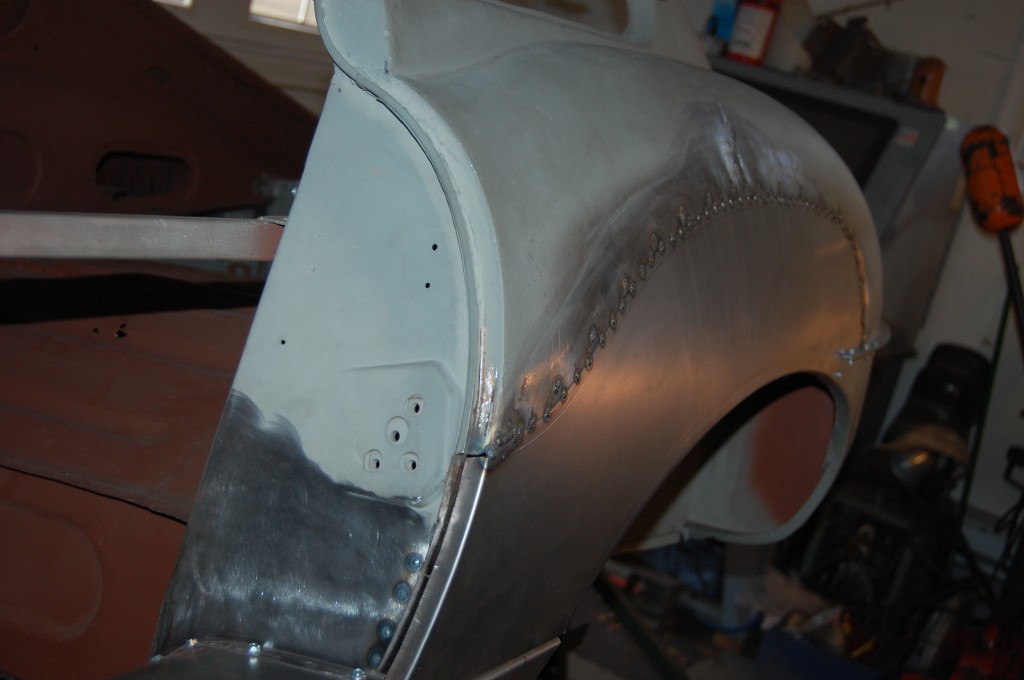
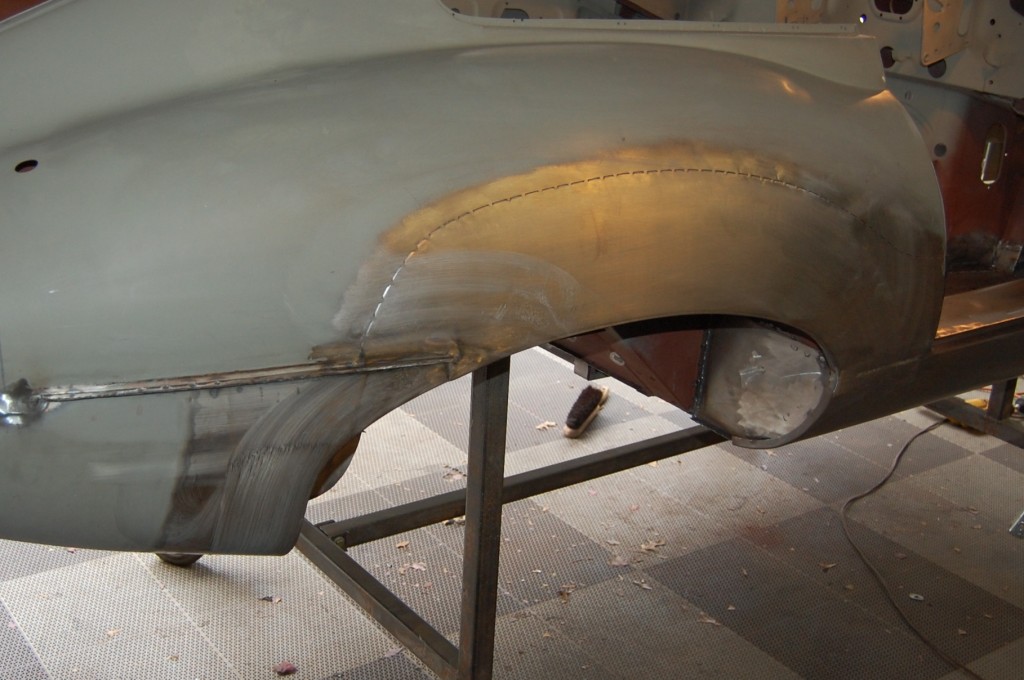
- At this pount, we have dressed down the welds and the repair is completed! NOW – Yes – the body shop is going to have to fill this seam… However, it is strong, it’s not going to flex and pop out the filler, the filler will be shallow – maybe 1/16″, and the way this works out is that this seam is just SLIGHTLY below the surface. Other shops TIG this and then grind the living sh!t out of it to smooth it out – God only knows how thin some of that metal ends up! And I just worry that under aggressive driving and railroad tracks, that later the rear wing is going to flex and buckle with that type of repair. This is ROCK SOLID and thick – and guaranteed for LIFE (yours or mine – whoever goes first – I’m 42…) But that’s not the point – the idea is to prevent problems like that altogether!
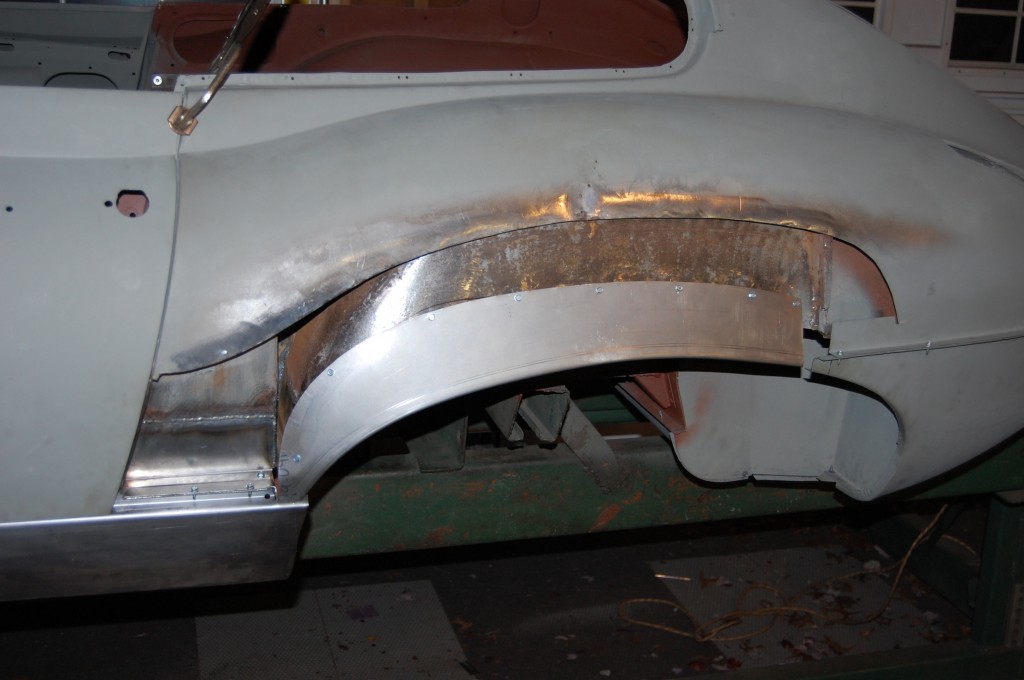
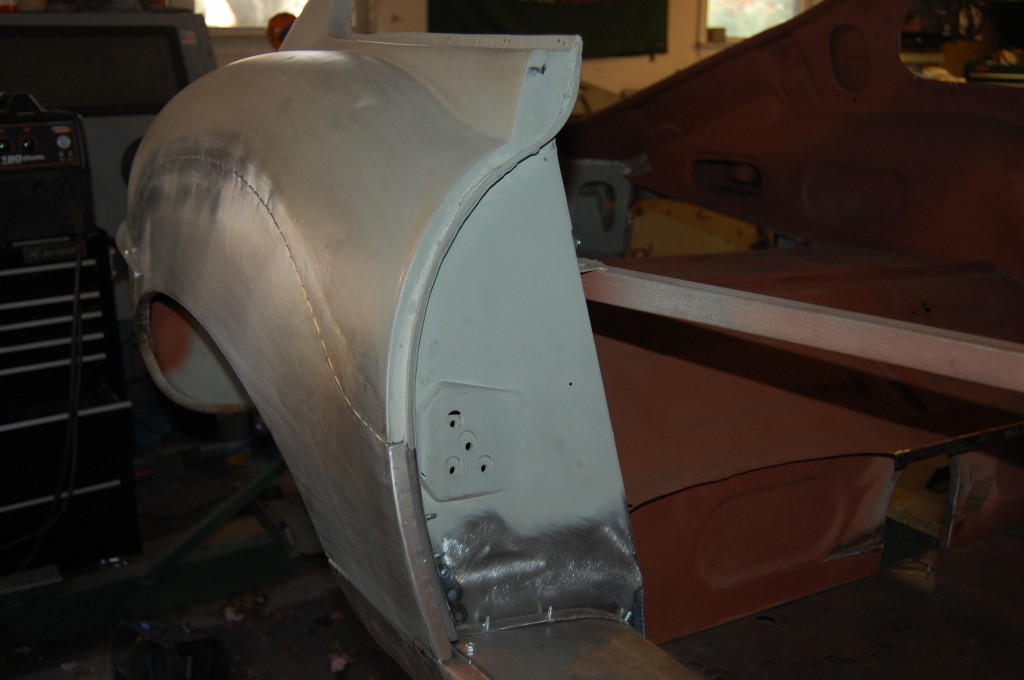
- Another shot showing that there is NO warpage with this method, and that the curvature of the fnder from top to bottom is correct – this car DOES have the “bulging hips” that it should.
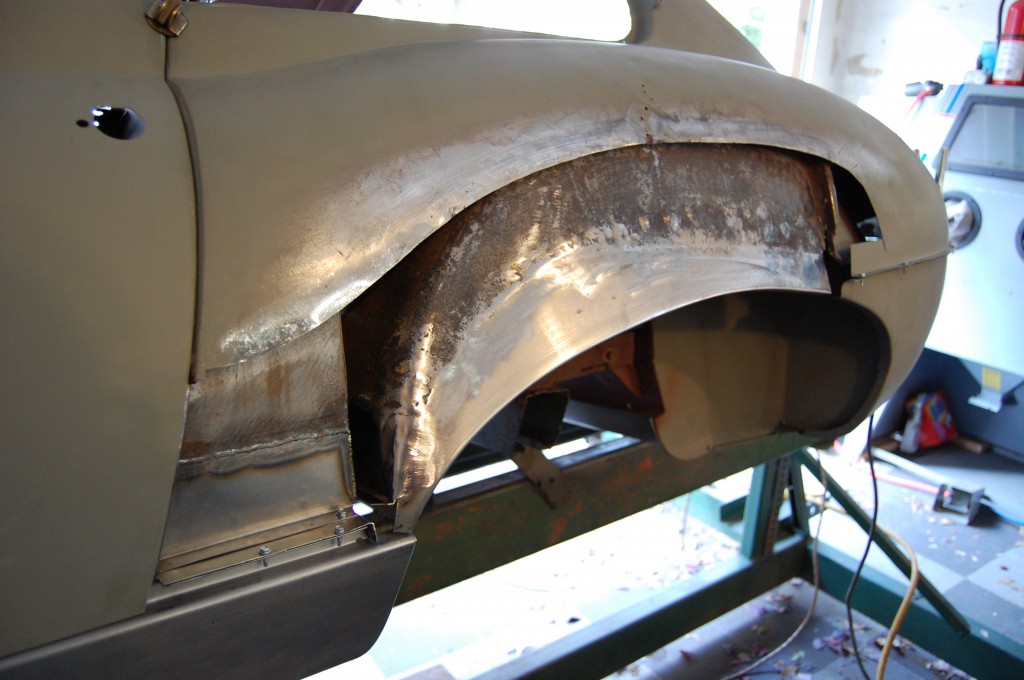
- A final shot with no fglash just to show that the shape REALLY is correct – it doesn’t just LOOK correct in grey primer…
- Over to the LH side, which was worse. On this side, we have damage above the seam from the horrible repair before. I have TIG welded the dent puller holes and dollied this out as best I can it’s not perfect and will need some filler. And because of that mess, the whole top of the wing was drooping in – it was basically impossible to make a patch and weld it in there that would force the panels out to the “bulging hips” (there’s just something I like about saying that…)
- Well, I came up with an INGENIOUS way to force things out, and THAT is what I’m not revealing in this post. But if things are this bad, it really needs to come here anyway… I’ll just say that there is a feature to this patch that is pretty trick…
- Here is the inside of the LH side finished off and coated.
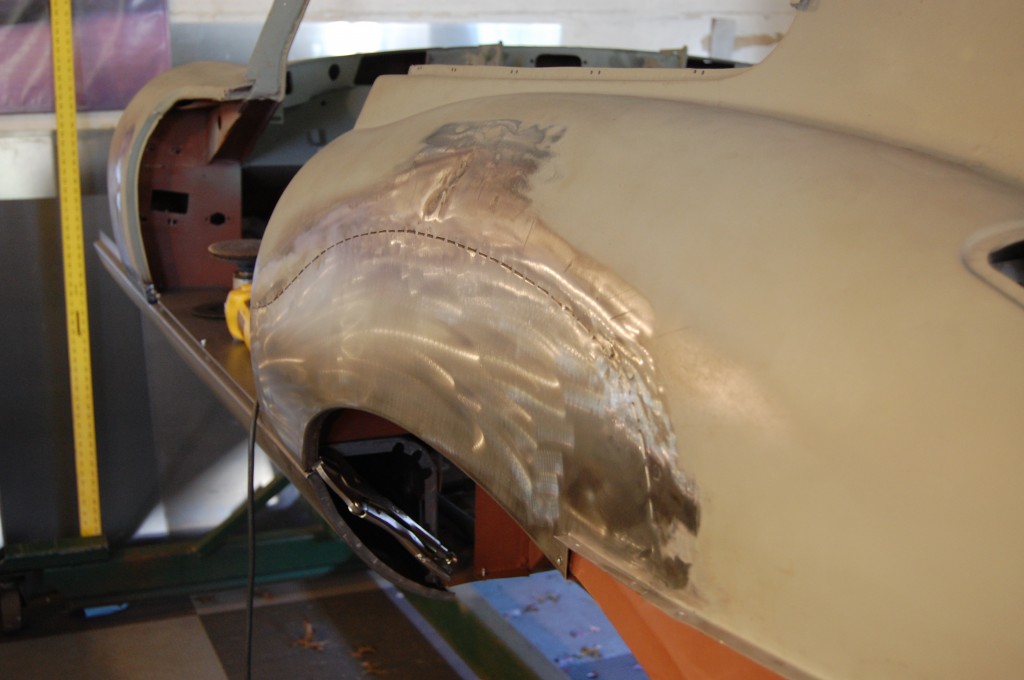
- Here is the LH side welded into place with the MIG tacks and plugs just like the other side. I’m not wild about that little mess above the patch, but this was the best O could do on that, and it’s shallower than it looks.
- And we do have “bulging hips” – not the flattened slabs filled with 3/4″ of filler and lead like the car came in with…
- See how the camera can fool you? In this shot, you can’t see the “dent” above the patch at all – it looks dead smooth. In the picture 2 above, it looks WORSE than it really is. Just keep that in mind when viewing phgotos, and NEVER buy bonnets and fenders and stuff off ebay in grey or black primer!
- THIS shot, after dressing down the welds, and without the flash, DOES show the dent above the patch – even from the same angle as the photo above where it is invisible. This is probably the best shot of the dent and shows it’s true size and depth – it’s really no biggie, but after all this trouble, it was dissapointing to not be able to get it all the way out.
- This shot of the RH side once the shell was completed and ready to be primed really shows the success we had with this reapir – I FINALLY have this down so that I can repair it without warpage at any size – OH YEAH BABY – VICTORY!!!
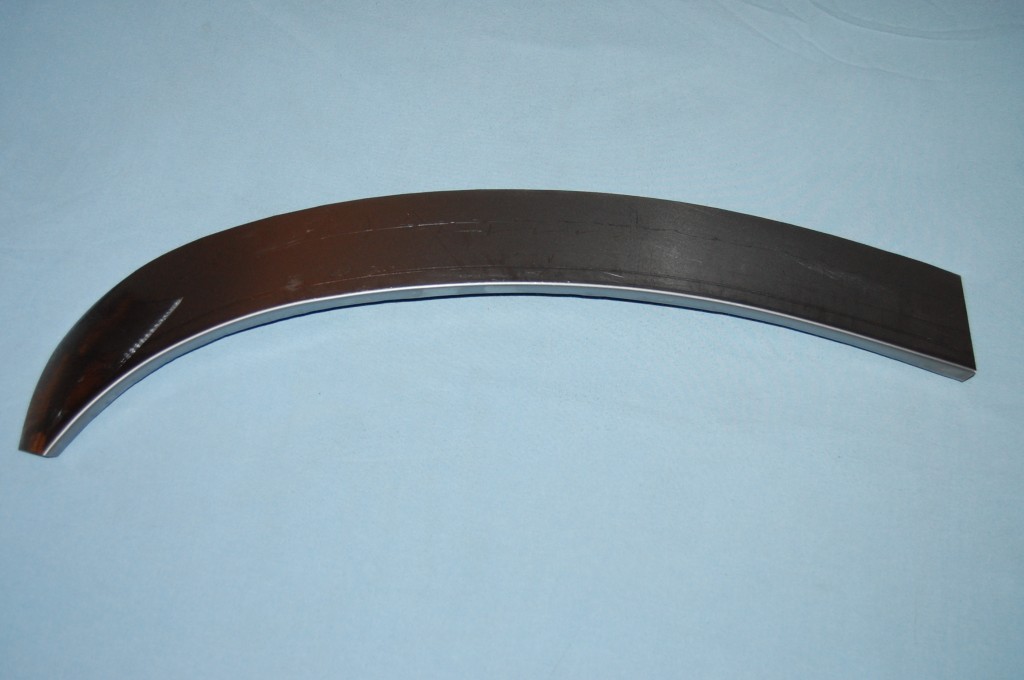
- This is the inner wheel arch patch we now offer for all 6-cylinder E-Type coupes and 2+2’s – we are the ONLY source for ti – worldwide – and it’s is correct.
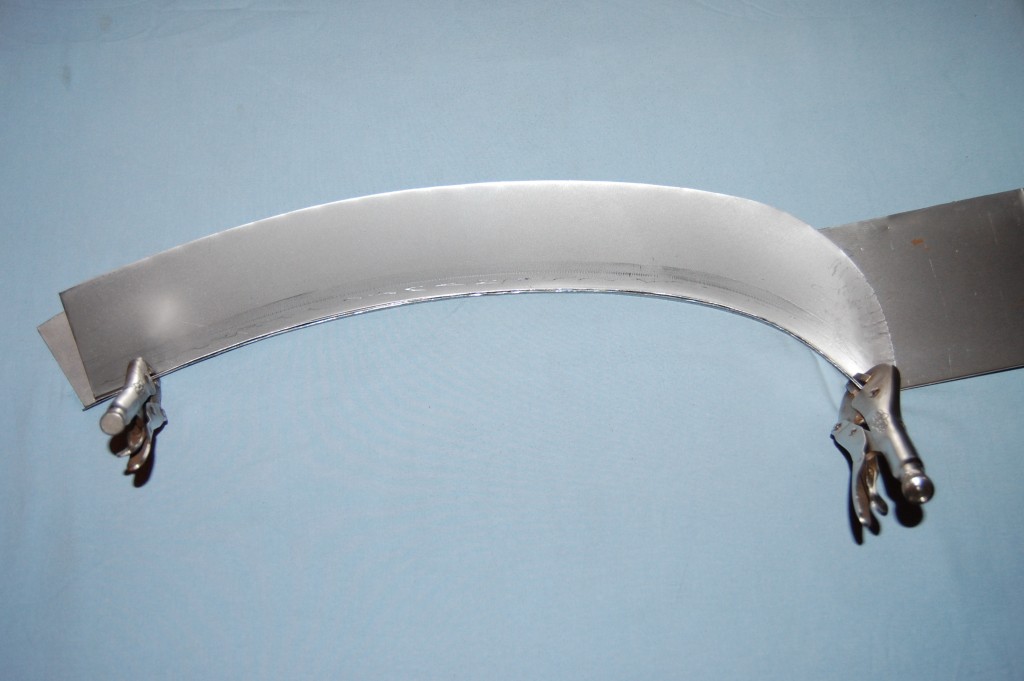
- Our outer wheel arch repair is also the most exact that you can purchase for 6-cylinder E-Types, and if you purchase the inner and outer together, I will personally hand-fit them together and hammer and dolly the edges to a very tight fit as seen in this photo. These cover about 3 inches – MORE than enough to cover even the worst rust – but possibly not enough to cover an oversize patch that some bodger has installed in the past. If you need more, call and I can form up something custom. It’s probably not going to be cheap, but it’s going to be RIGHT – and it’s a MUCH better alternative that replacing the complete rear wing – that’s VERY costly and opens up several other cans or worms!

