
Hello! – Once again I find myself needing to apologize for a long hiatus between the blog posts… A big reason for that is the car you’ll see below – which is now completed – finally!
This E-Type has been “the bane of my existence” for most of this year. The project was to supply a Series 1.5 coupe shell in place of the customer’s current Series 1.5 2+2 shell. So, based on the desire to use the customer’s current Series 2 steering components (there are differences in the firewall and front bulkhead), and for the sake of availability and cost, we sourced a Series 2 coupe shell to build this up from.
Also worthy of note is that the customer originally wanted to go full Series 1. But with the steering differences, and the interior differences, it just made more sense to stick with Series 1.5, which gave us the Series 1 look, but the ability to use the SEries 1.5 components from their 2+2 donor.
SO – in early 2012, I found a Series 2 coupe donor in Connecticut, brought it home, and disassembled it. The plan wa to convert the shell to a Series 1 tail while restoring it with the usual new floors and sills, and also swap all of the “coupe only” items for his current “2+2 only” items – door internals, 1/4-windows, interior drip rail trim, console, etc…
I know this shell was on the rougher side of things when I bought the donor car, but as usual, my optimism got the better of me, and at the time, it was what was available, and so I dove in.
The shell turned out to be a DISASTER – it is the roughest one I’ve done to date. I love a challenge, but this was ridiculous! And so on many, many days this year, I would head out the the shop with every intention of diving into this car, only to be disgusted by the condition of the shell, and then wander off and work on bonnets or something. And every time I DID get into it, things just got worse and worse the more you peeled back the layers, and I’d soon jump back off it in disgust…
In addition, the deterioration was so deep – AND, previous bodgers had gone CRAZY on this thing with overlapped patches and bondo and you name it, that we couldn’t even blast it properly, and alot of the internal sections were still “as-received” and there was alot of hand-stripping of undercoating, surface rust, etc. as we went – so it wasn’t pretty to work on either – or very pretty to blog…
Well, I’m happy to say that I did finally push through and get her done, and NOW she’s something I’m pretty proud of, since as we joked all Summer and Fall, we basically “built a new E-Type under an original roof” – if you draw a line 2 inches ABOVE the rear bumper seam, and take that all the way to the firewall, we replaced EVERYTHING below that – inside and out – and then some!
I have put together TEN blog entry drafts with photos, and over the next week I hope to go through and add captions to the photos to take this shell from start to finish. I just finished the car last week, and I’ll do one final entry of a good photo shoot of the finished product – outside.
I actually already blogged most of this conversion earlier this Summer when I did it, but I’m just going to recap that and start here – adding in some shots of the pieces we made for the Series 1 tail, etc. – Enjoy!
-
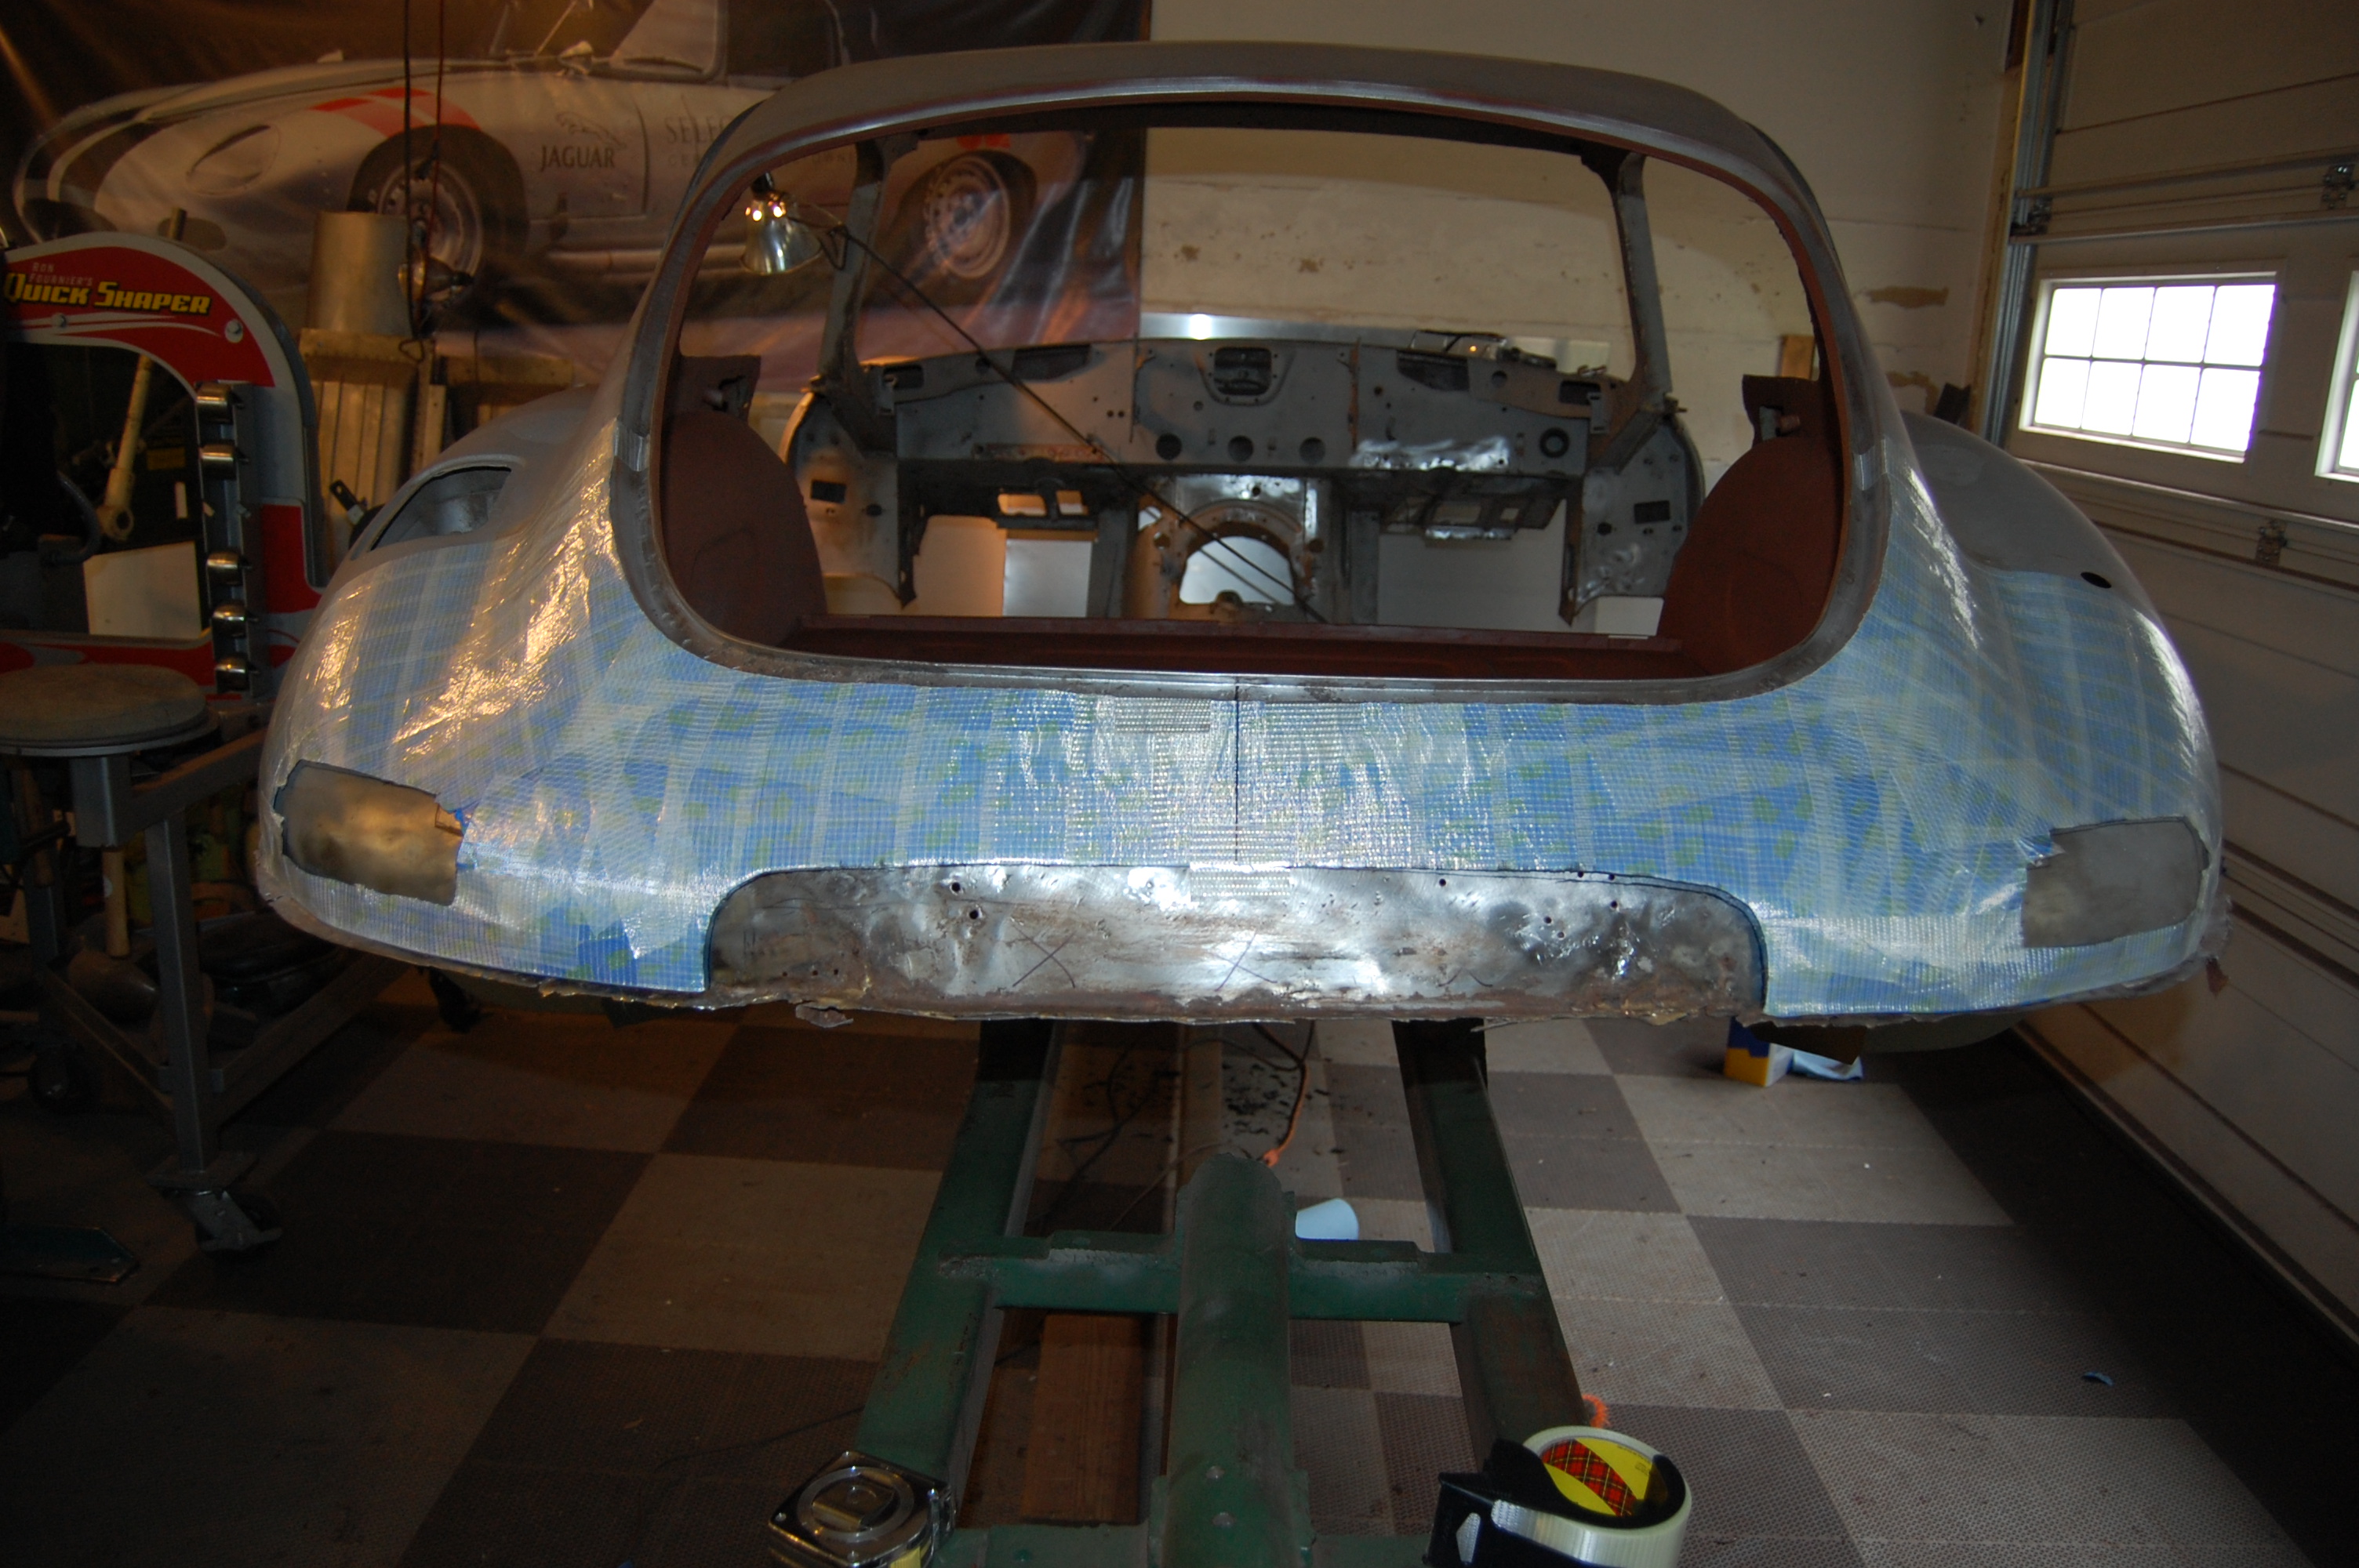
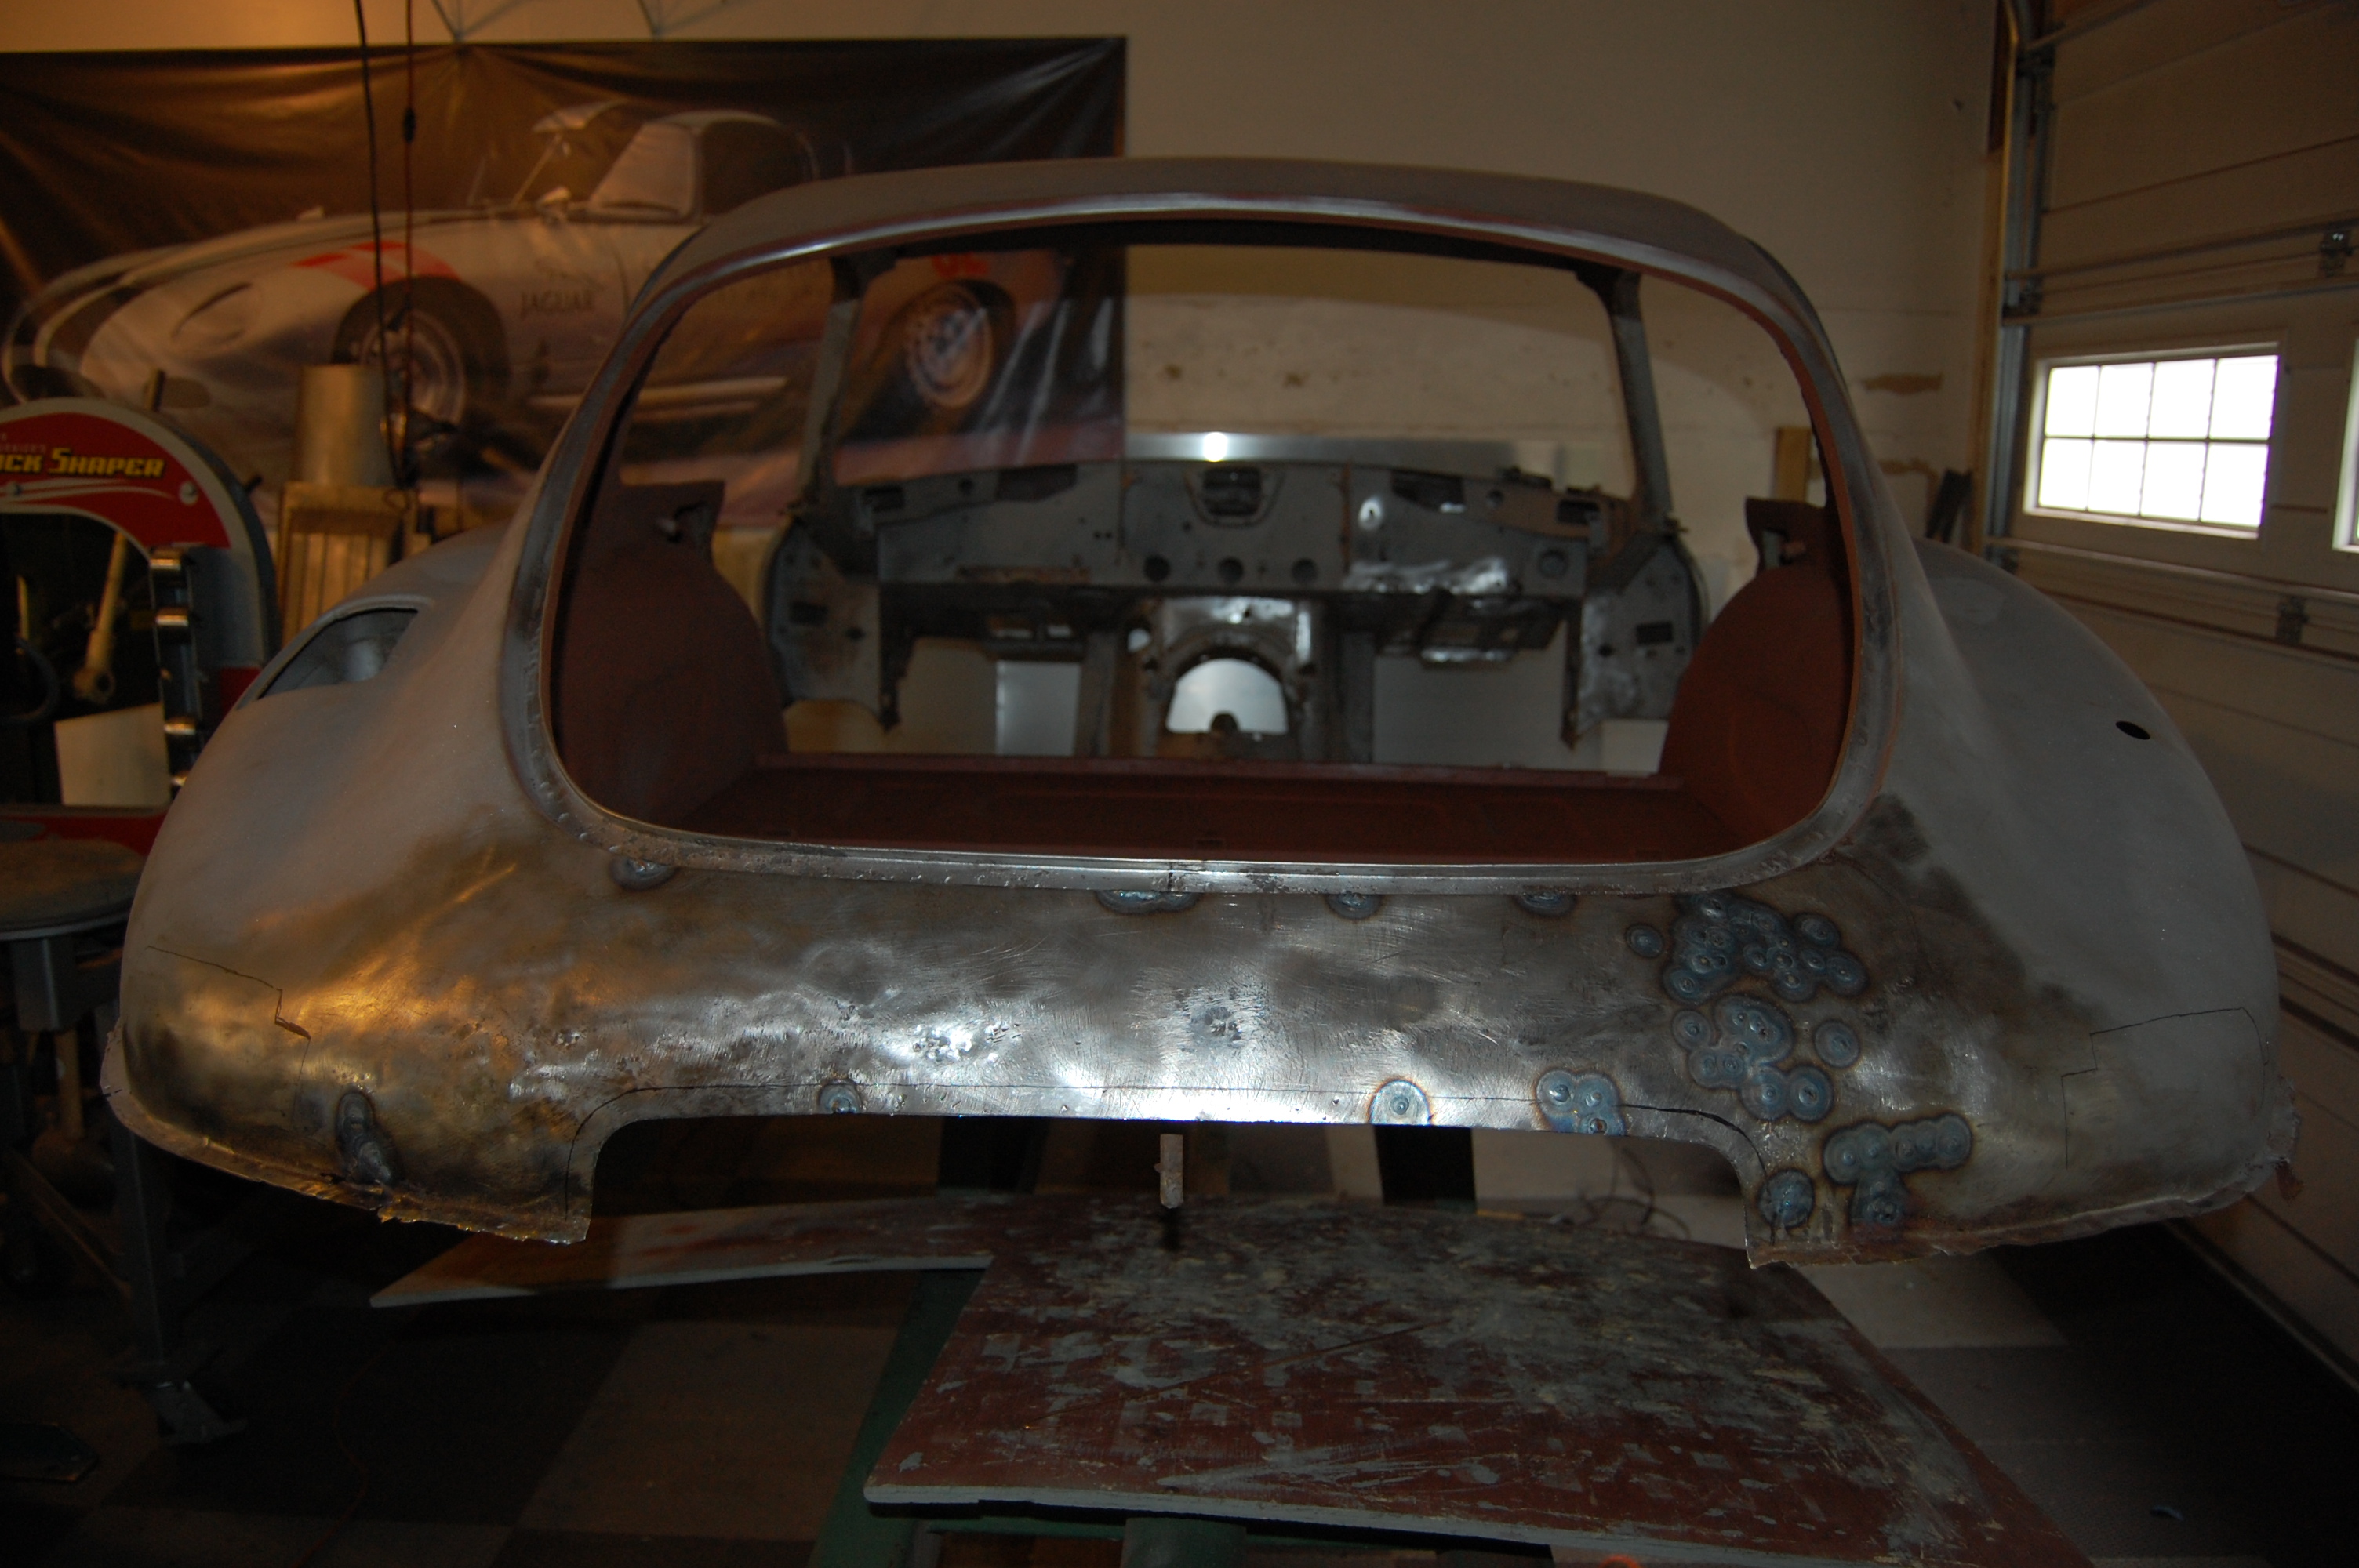
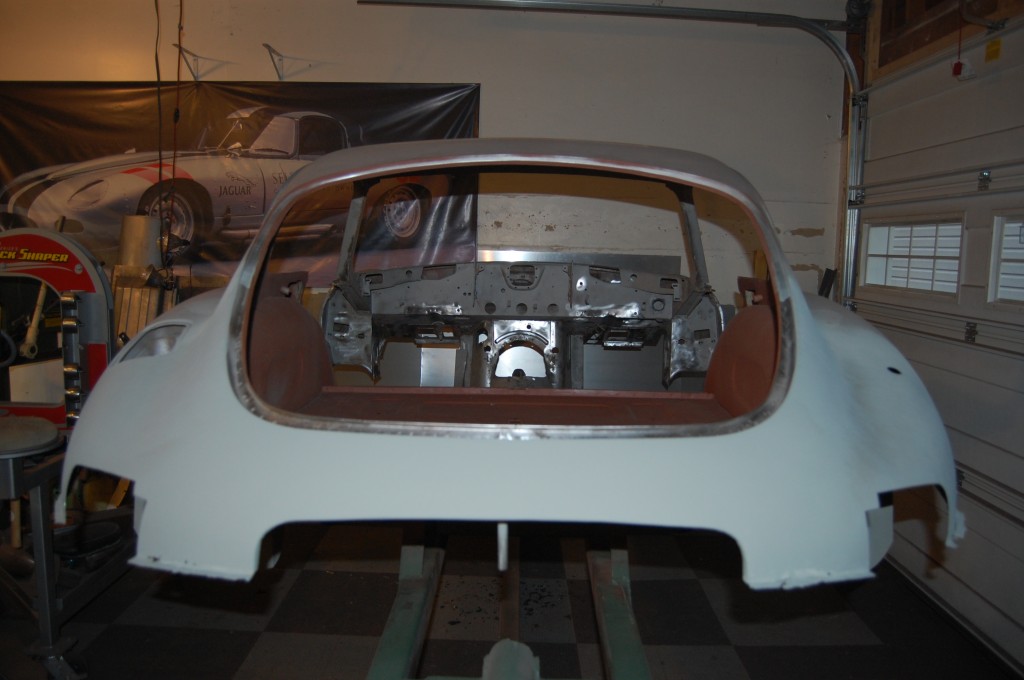
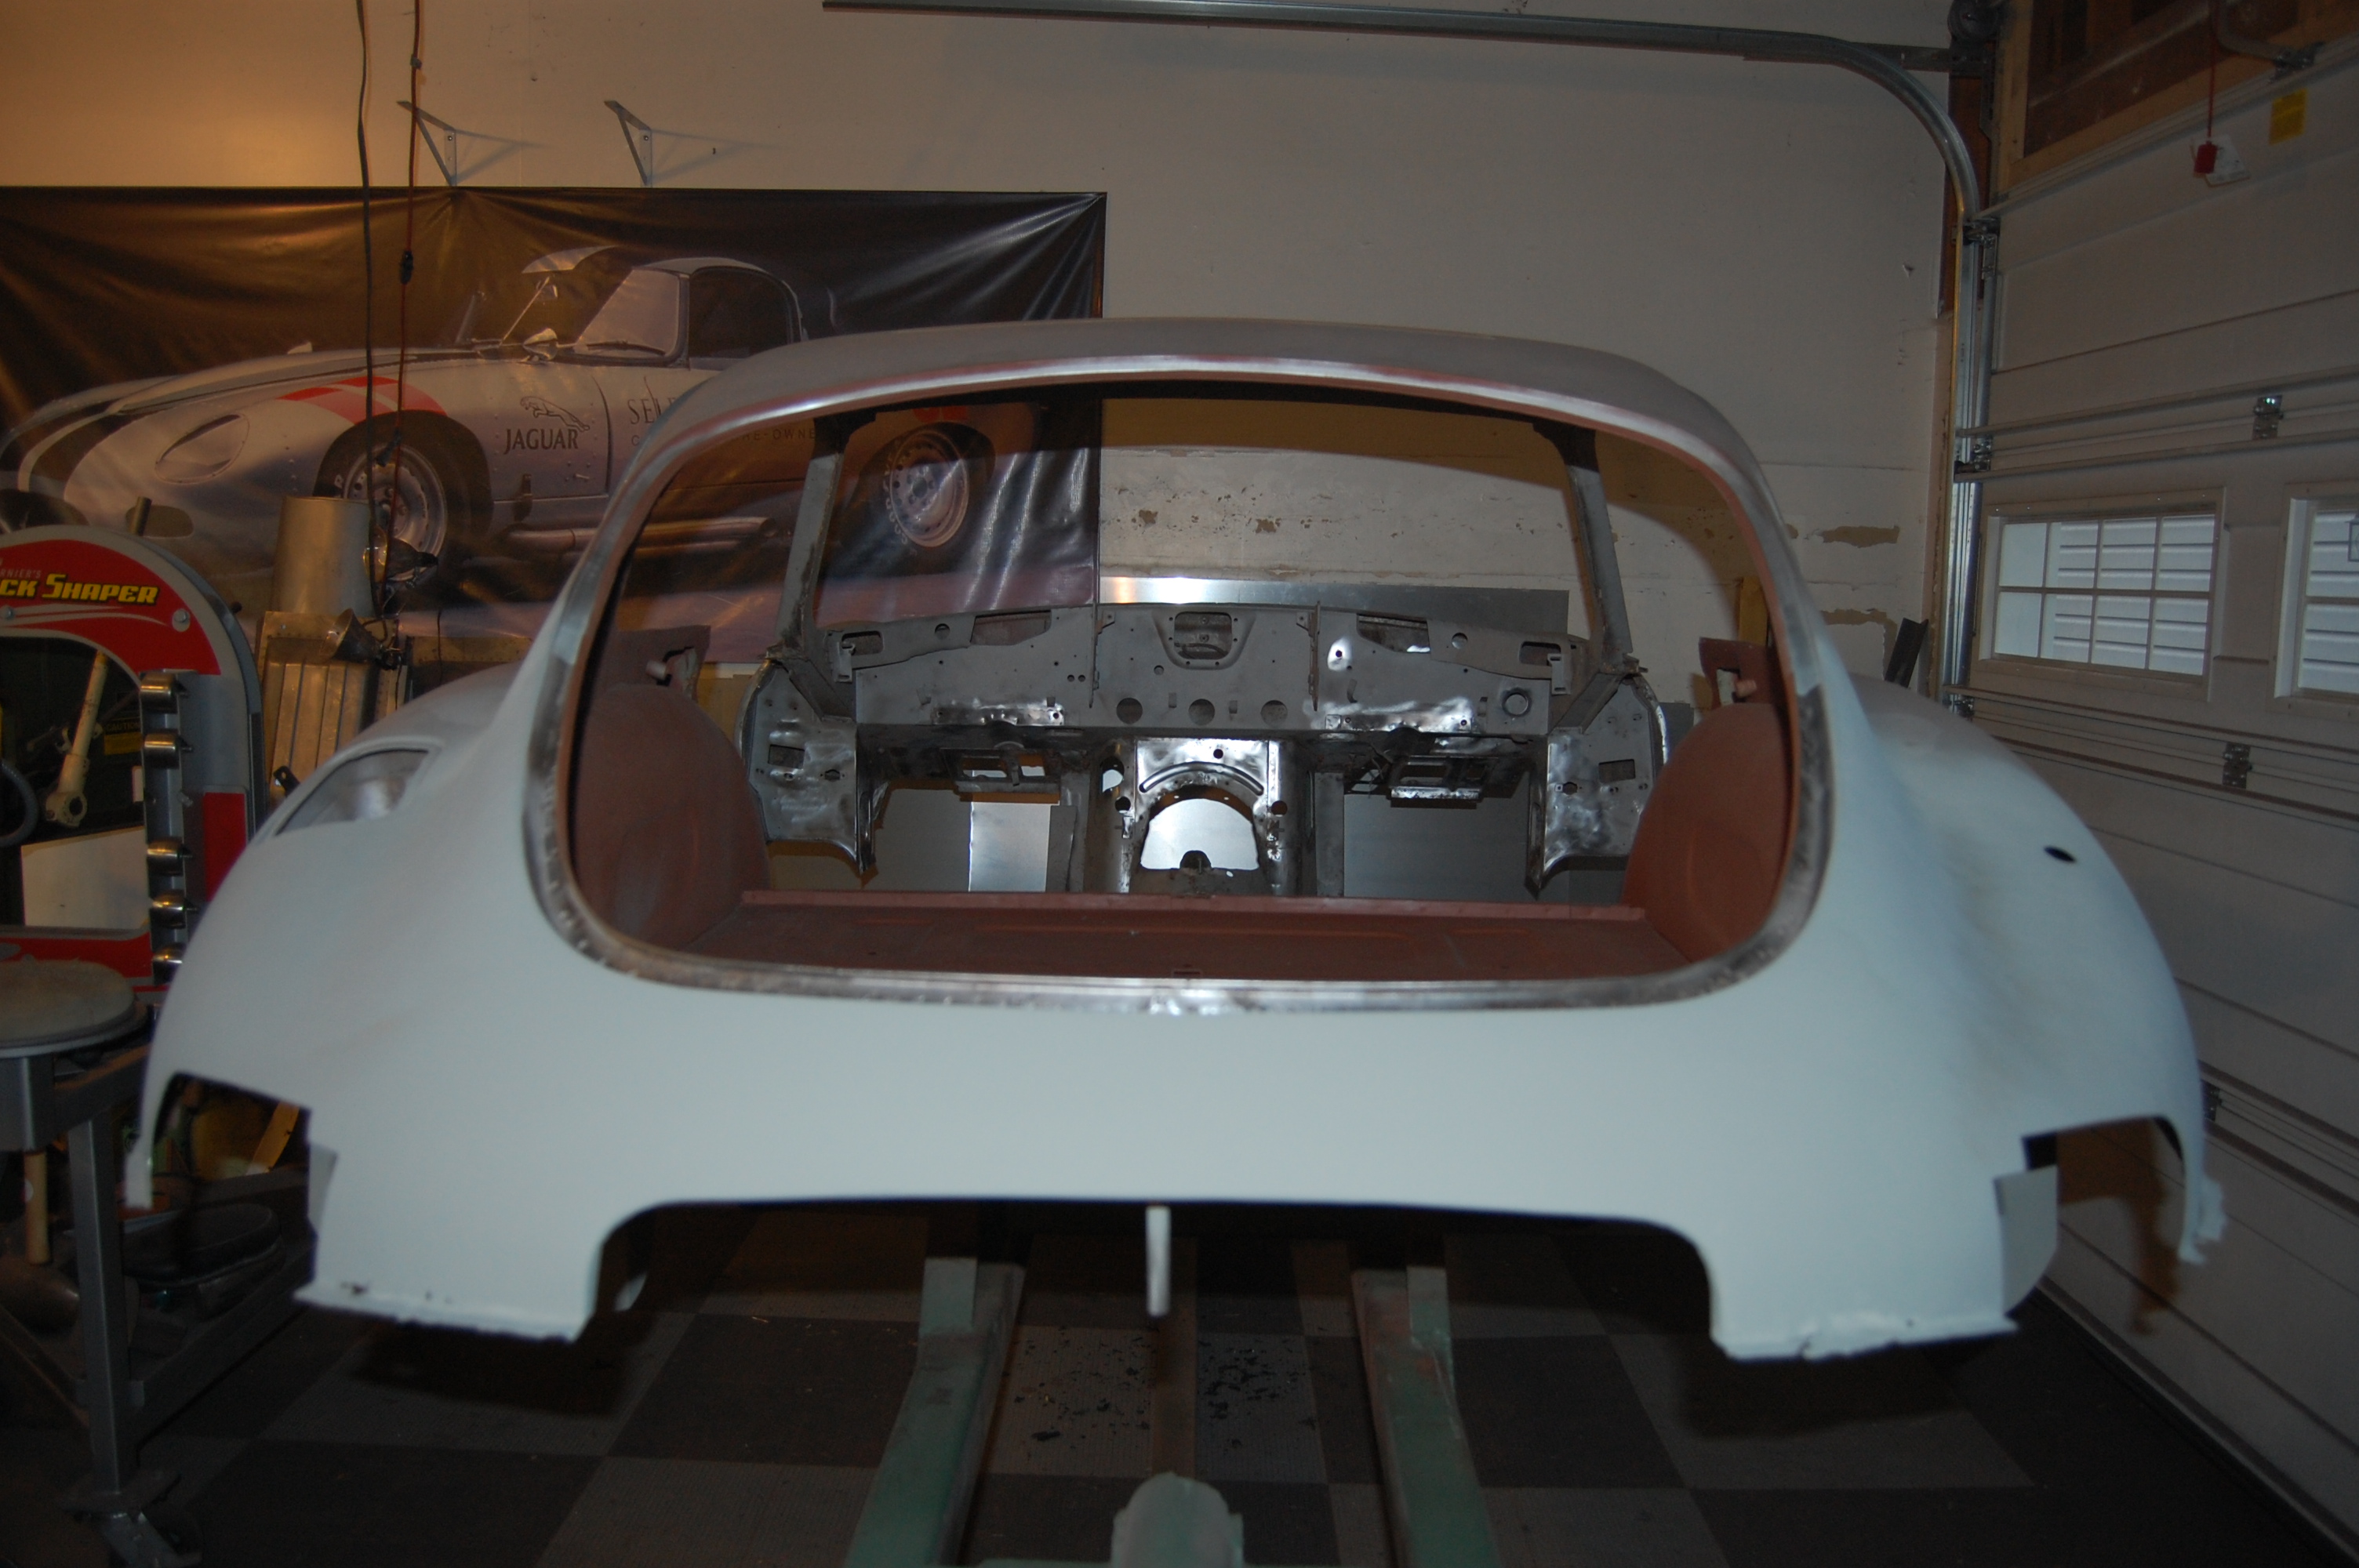
- Here’s the tail as received – stock Series 2. We’ve cut away everything inside and below the bumper seam to replace with Series 1 panels, but it was all rusted anyway!

-
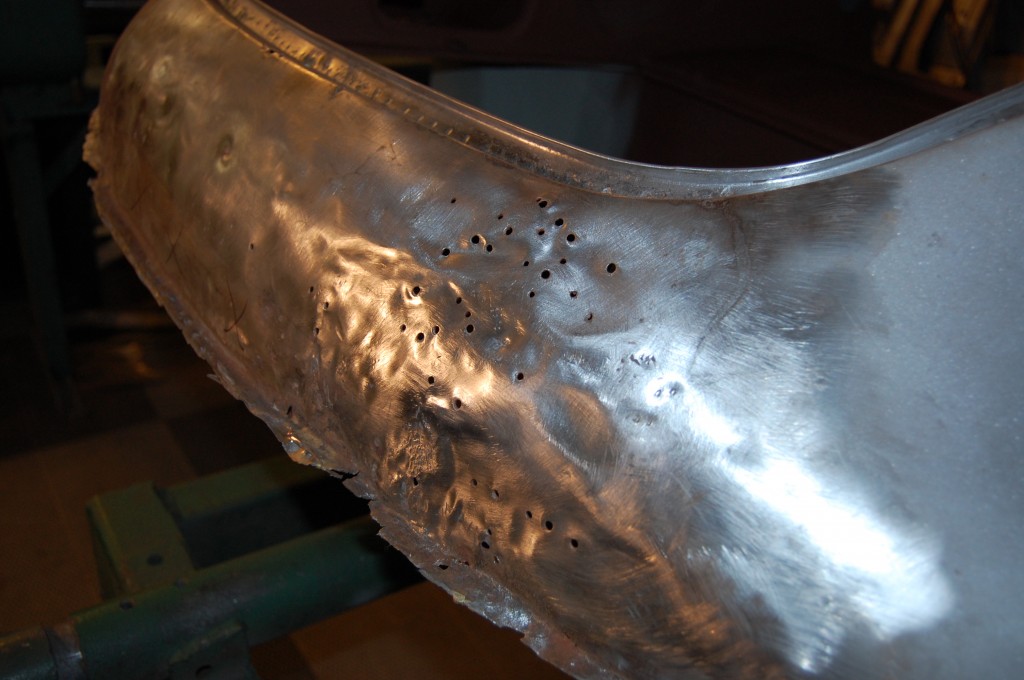
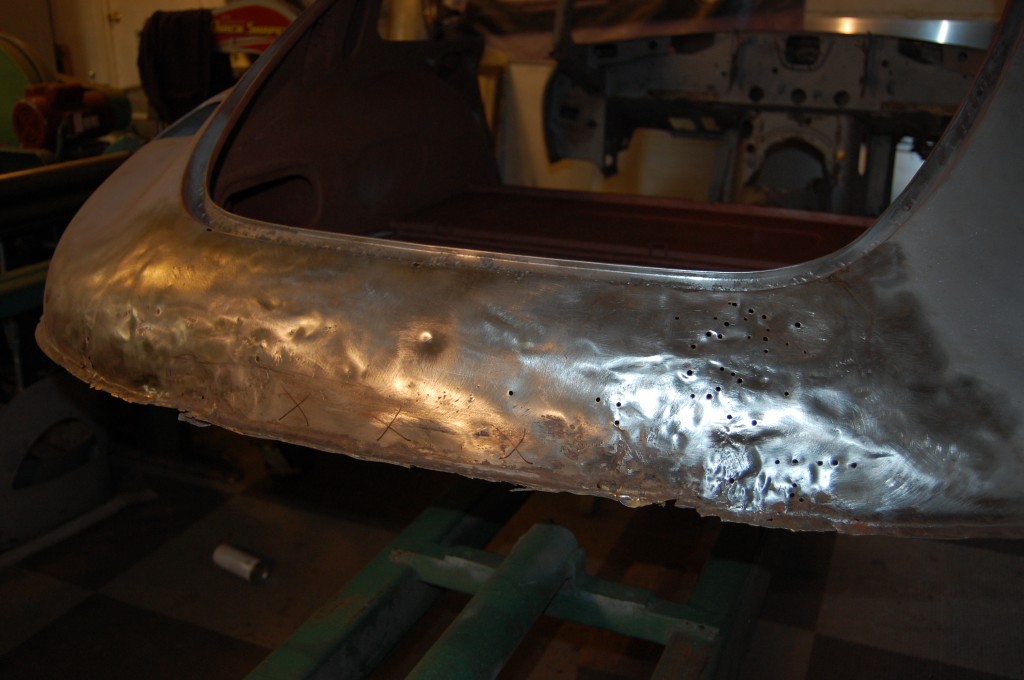
- LOTS of dent puller abuse in the past…

-

- First step is to lay on a pattern taken from a virgin Series 1 coupe – this is an easy and follproof way to get out dimensions for the license panel cutout and the taillamp placement.
-

- Here we’ve started to cut out for the Series 1 license area, and have also done enough hammer and dolly work so that we can TIG up the dent puller holes.

-
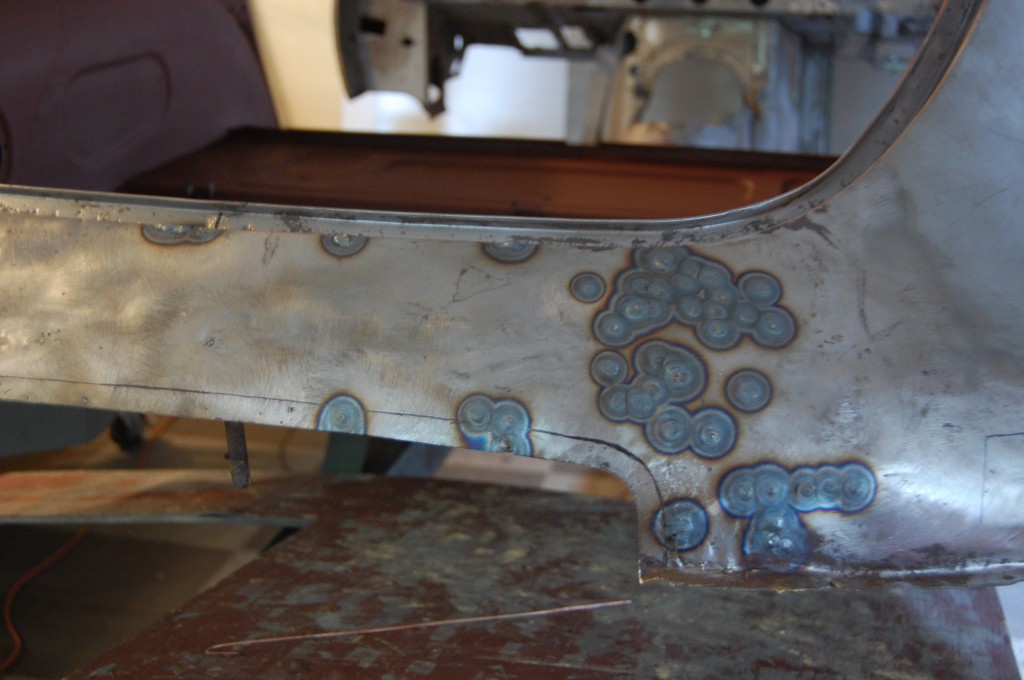
- All welded up – now they’ll be ground and filed smooth, then back to the hammer and dolly again.

-

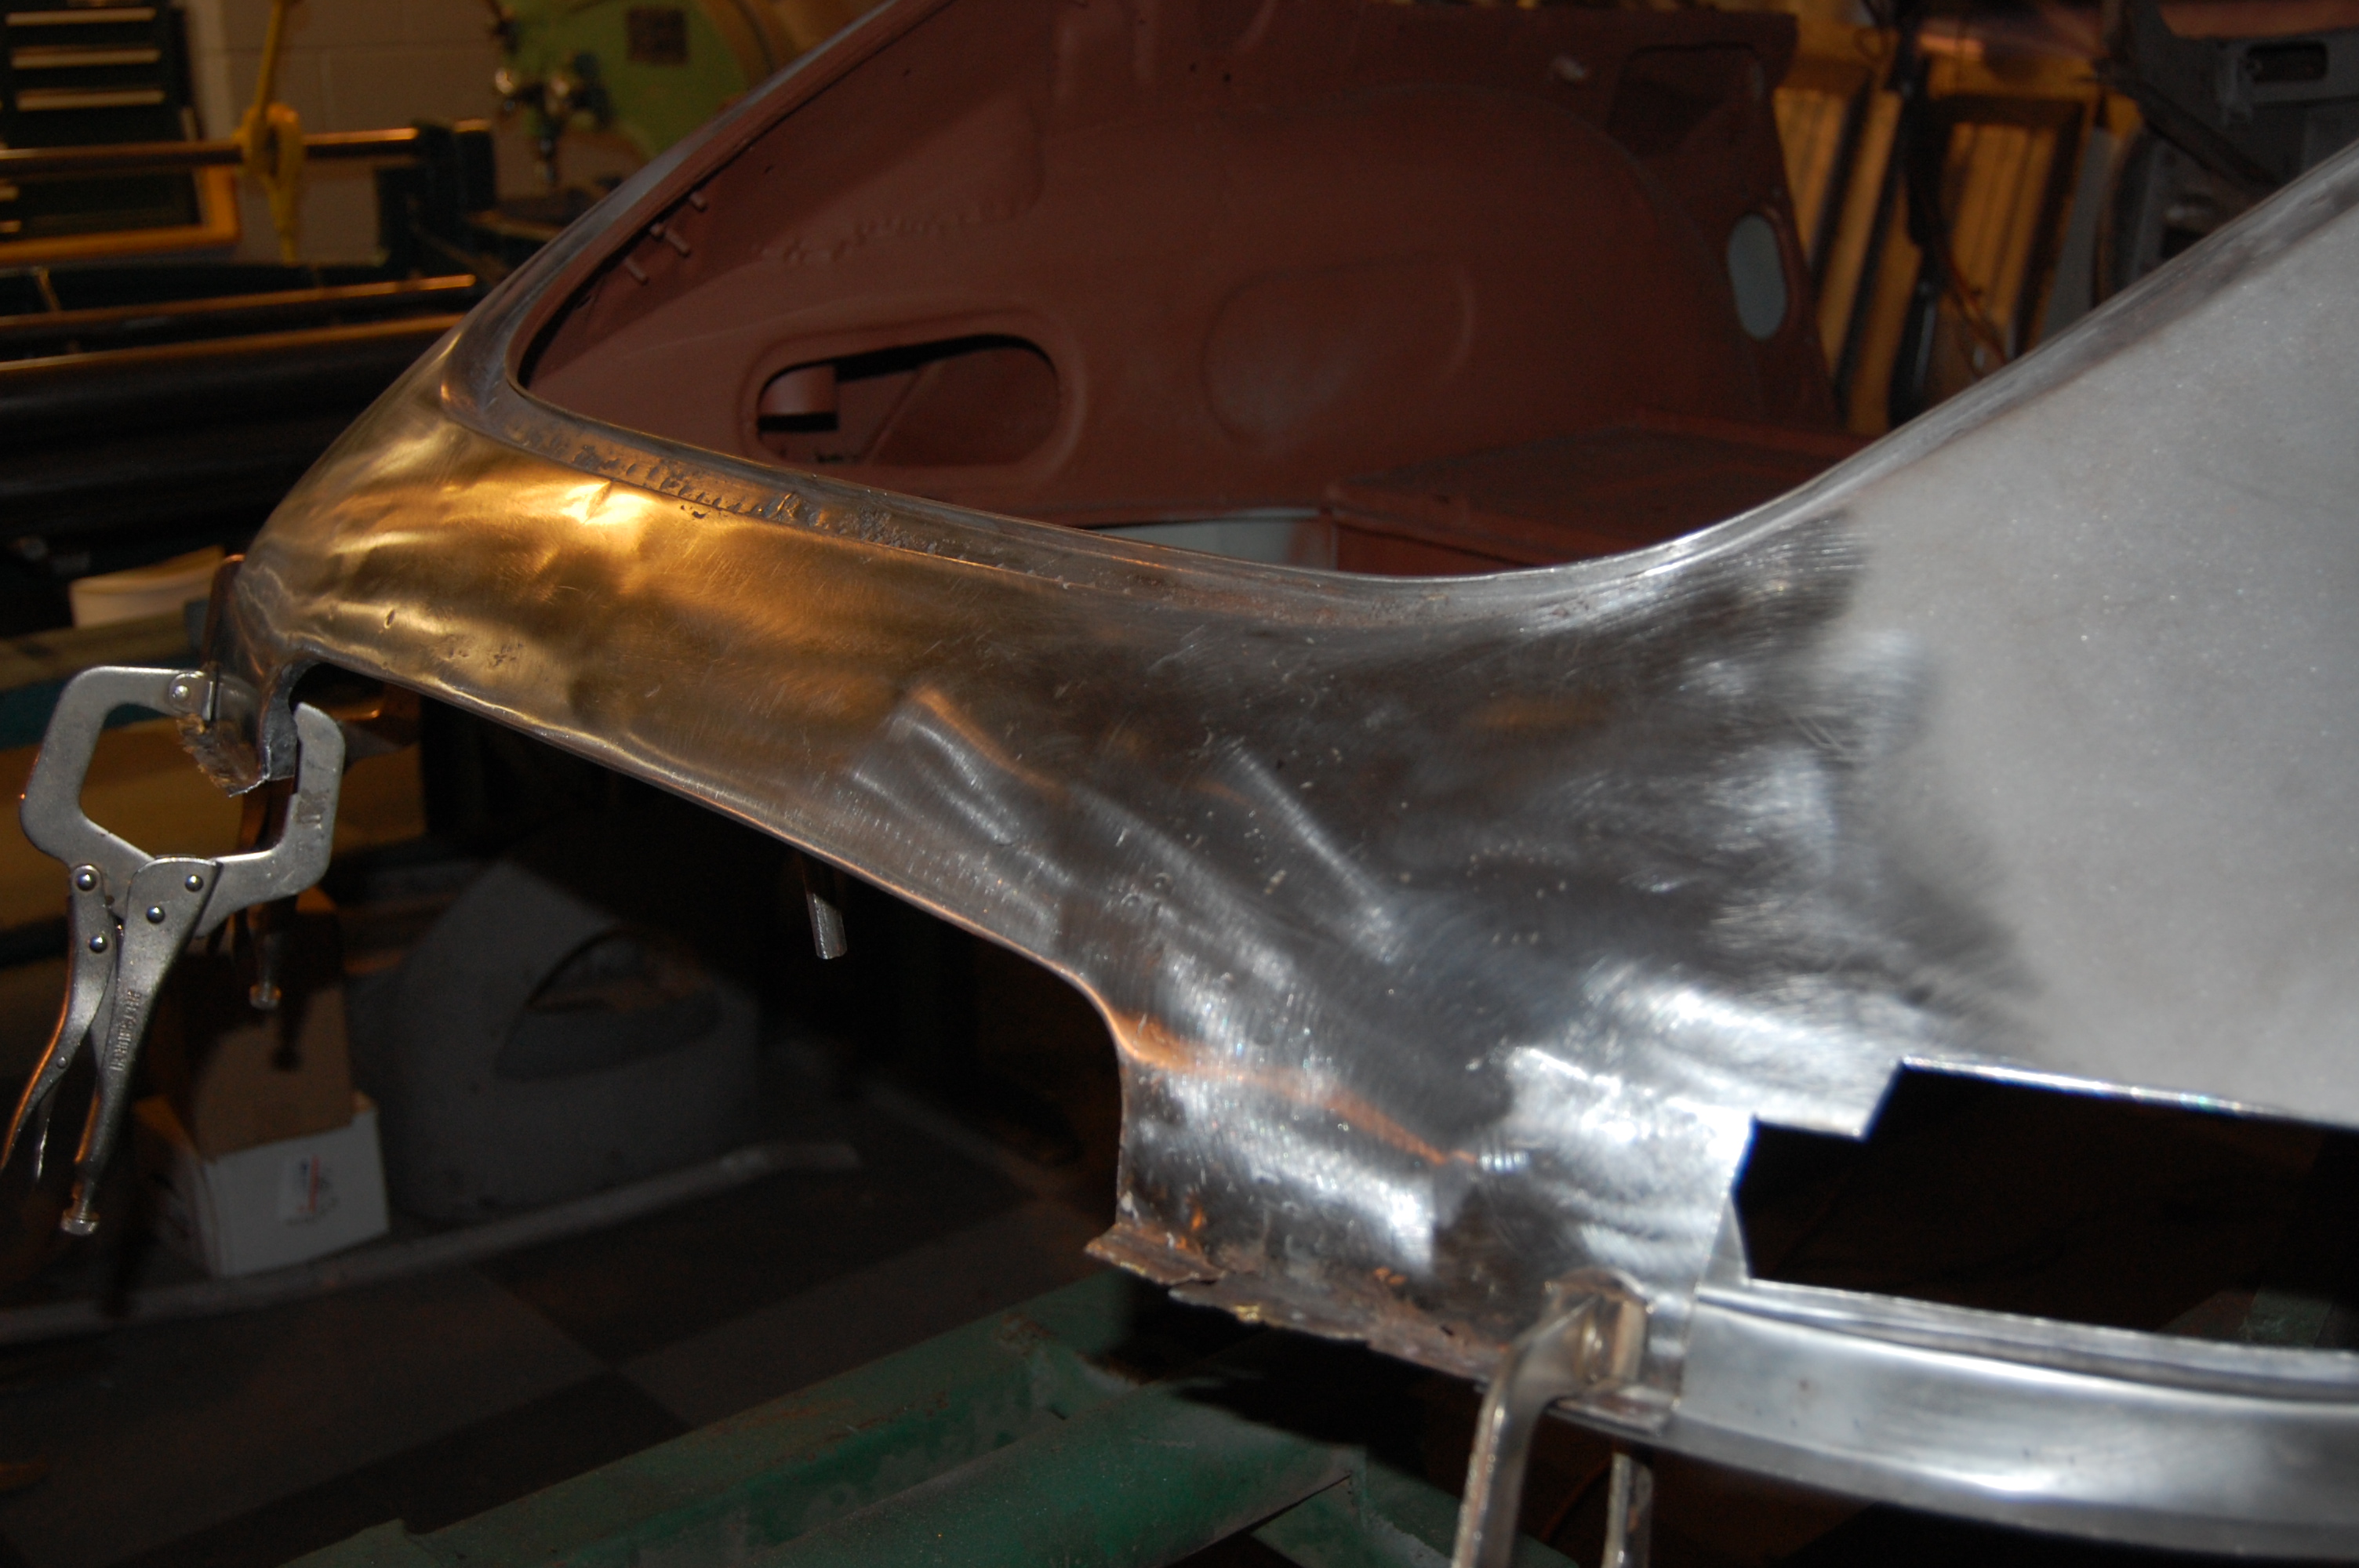
- Here’s another shot showing some additionl work with the TIG to weld up rust holes along the edge of the rear hatch drip channel.
-
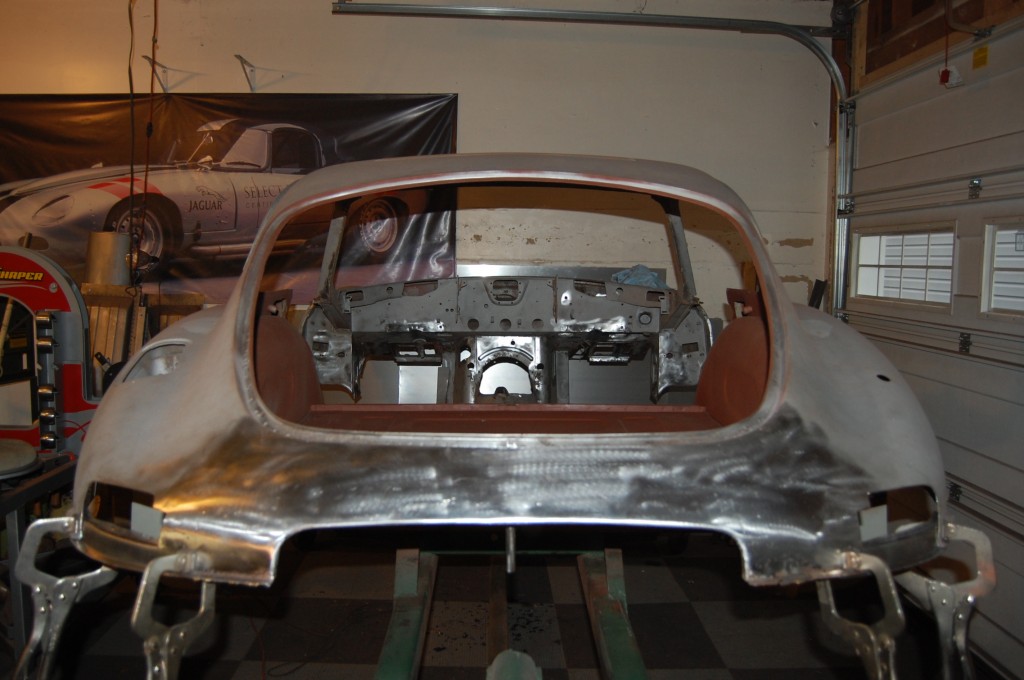
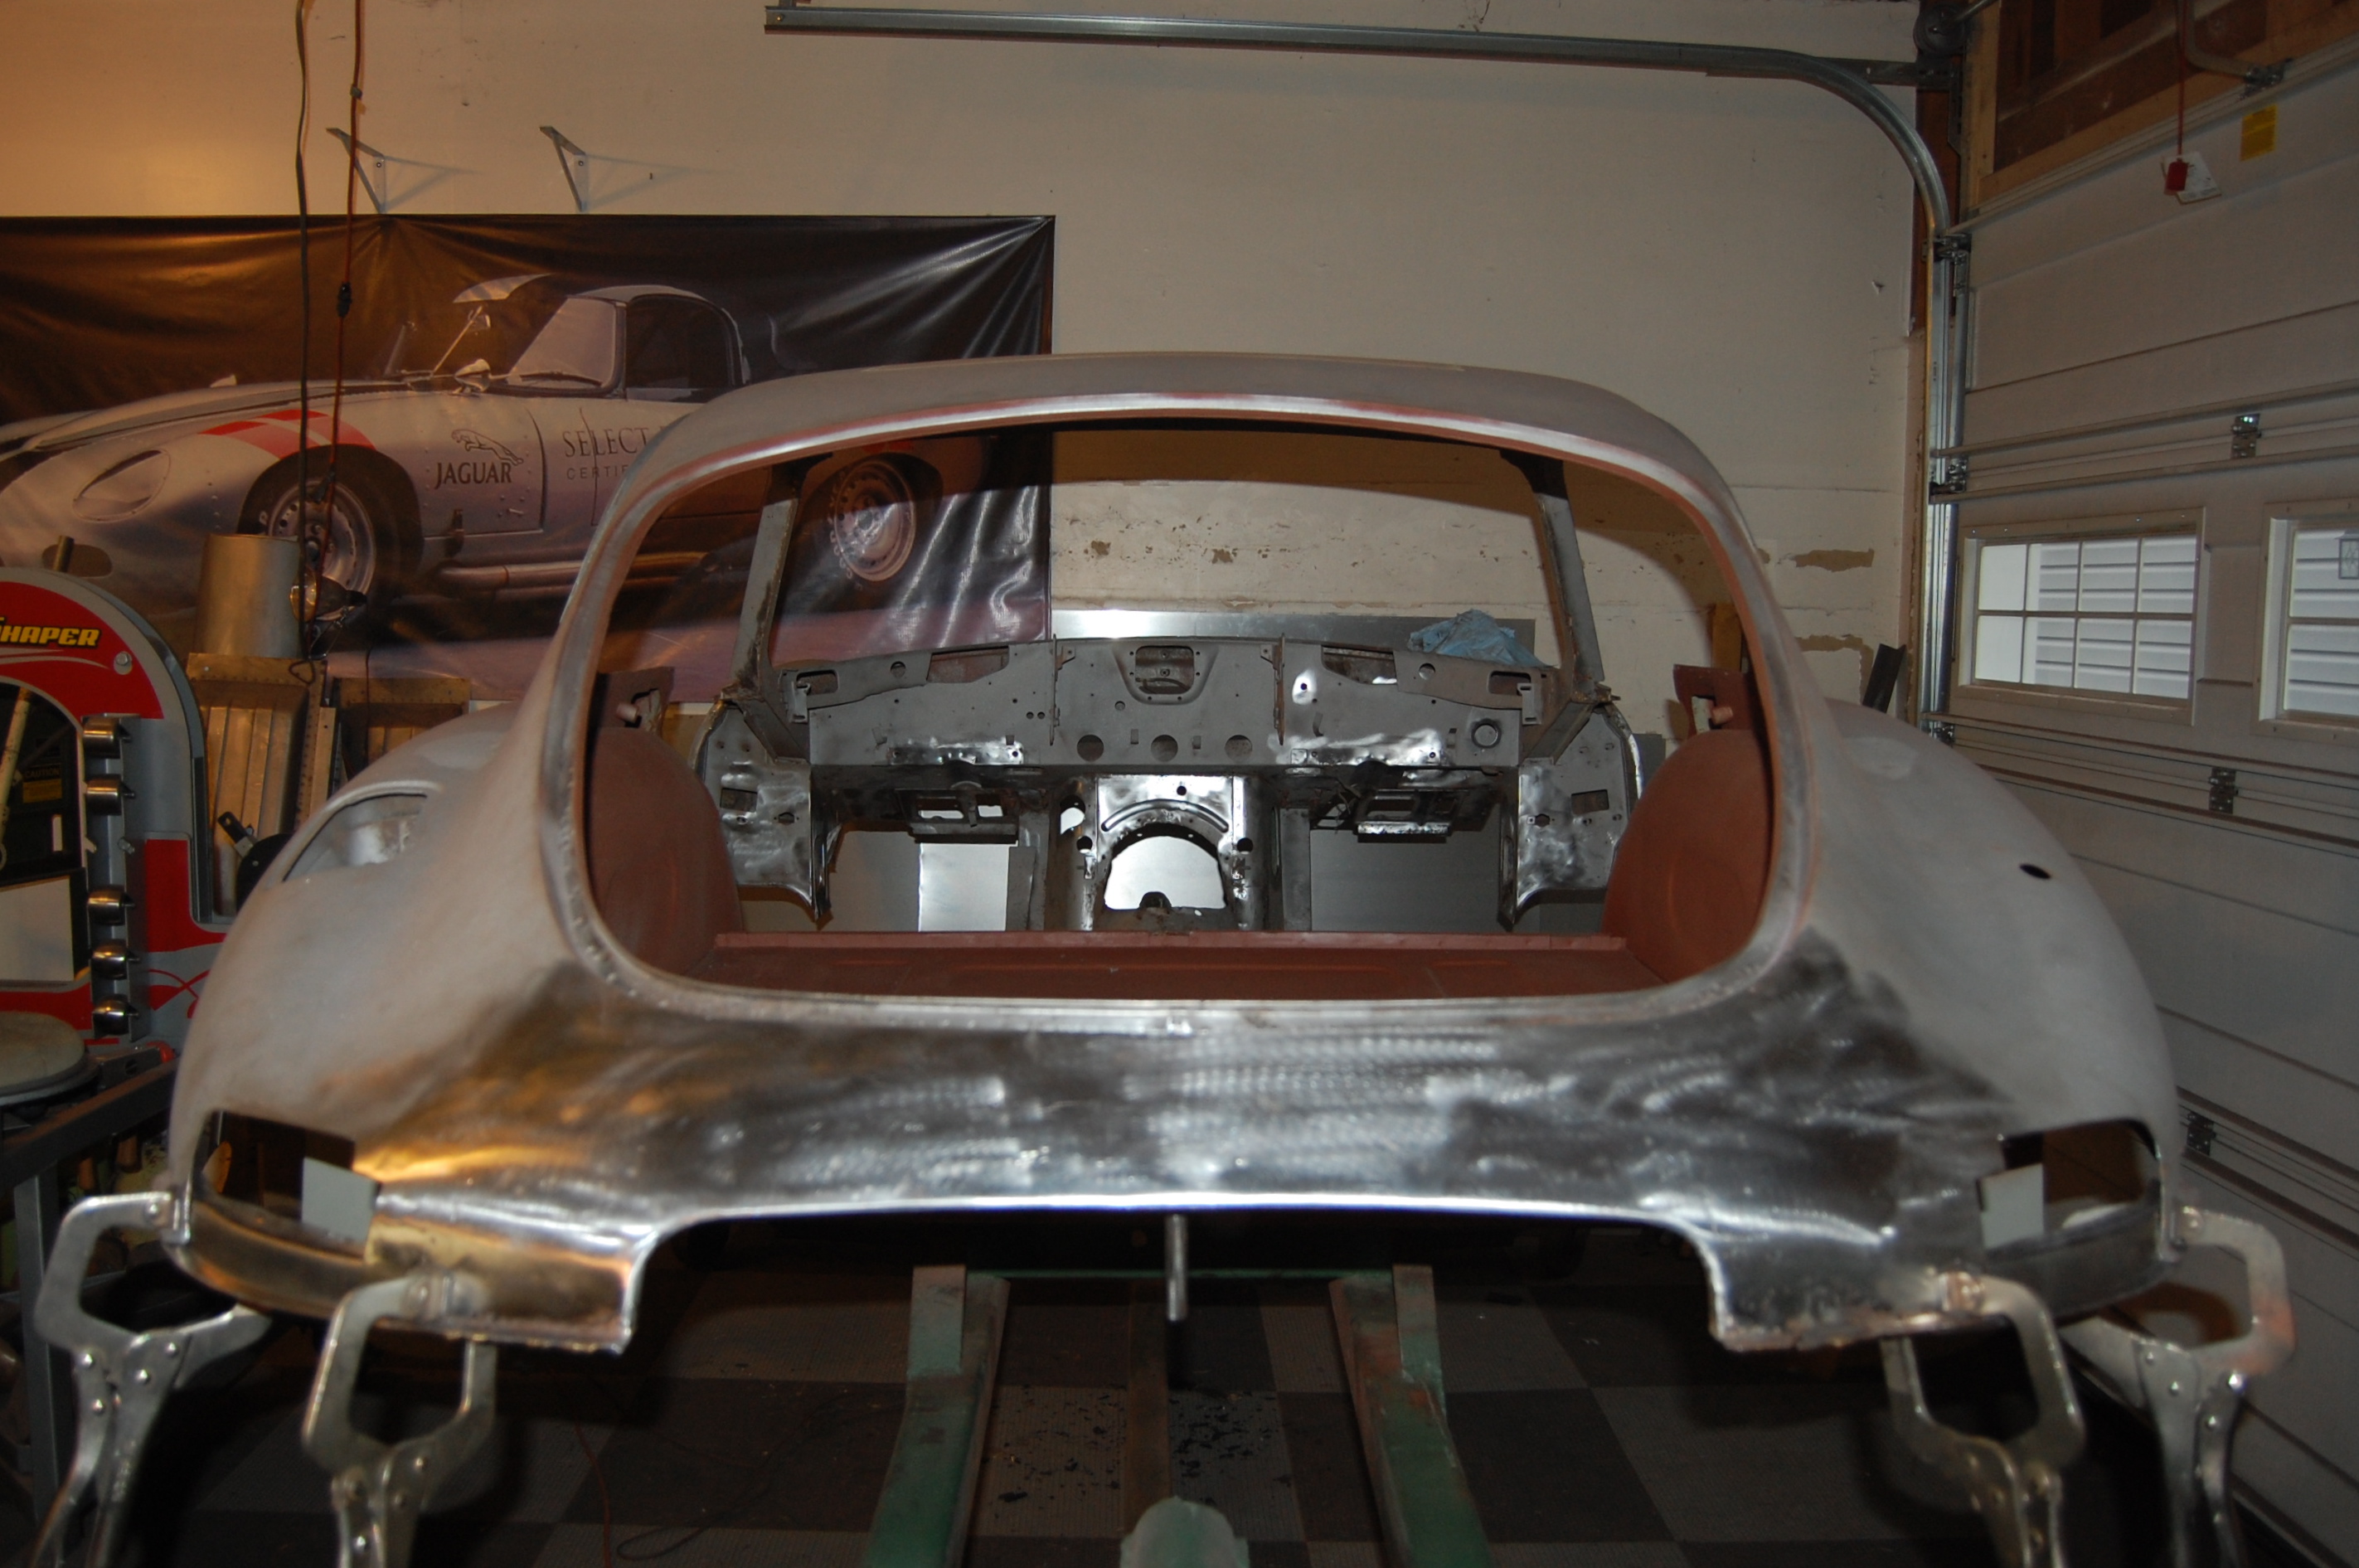
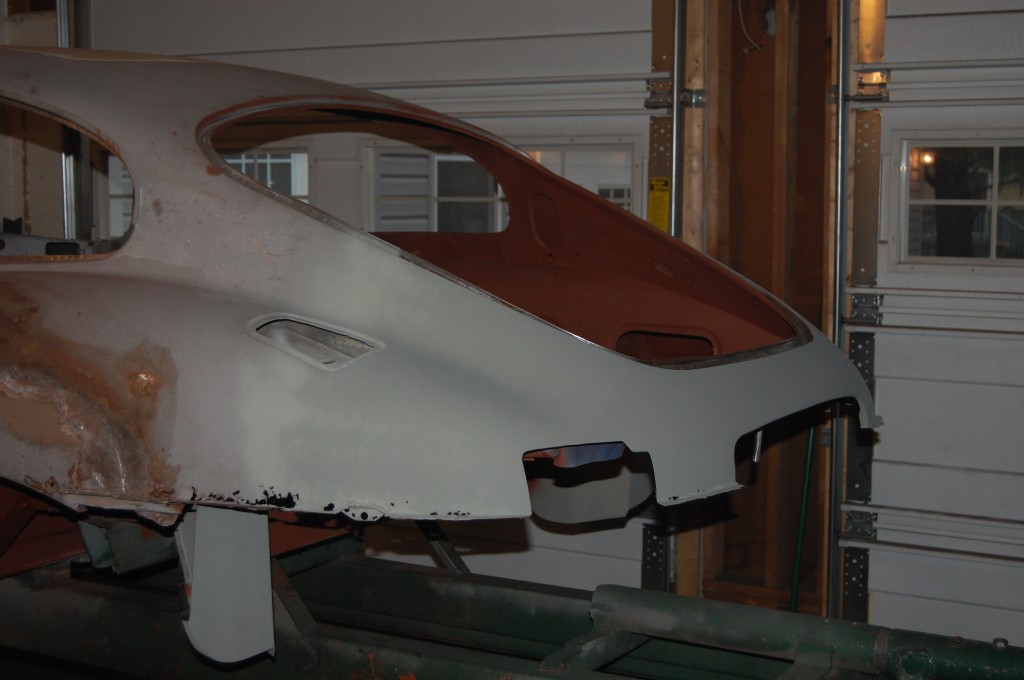
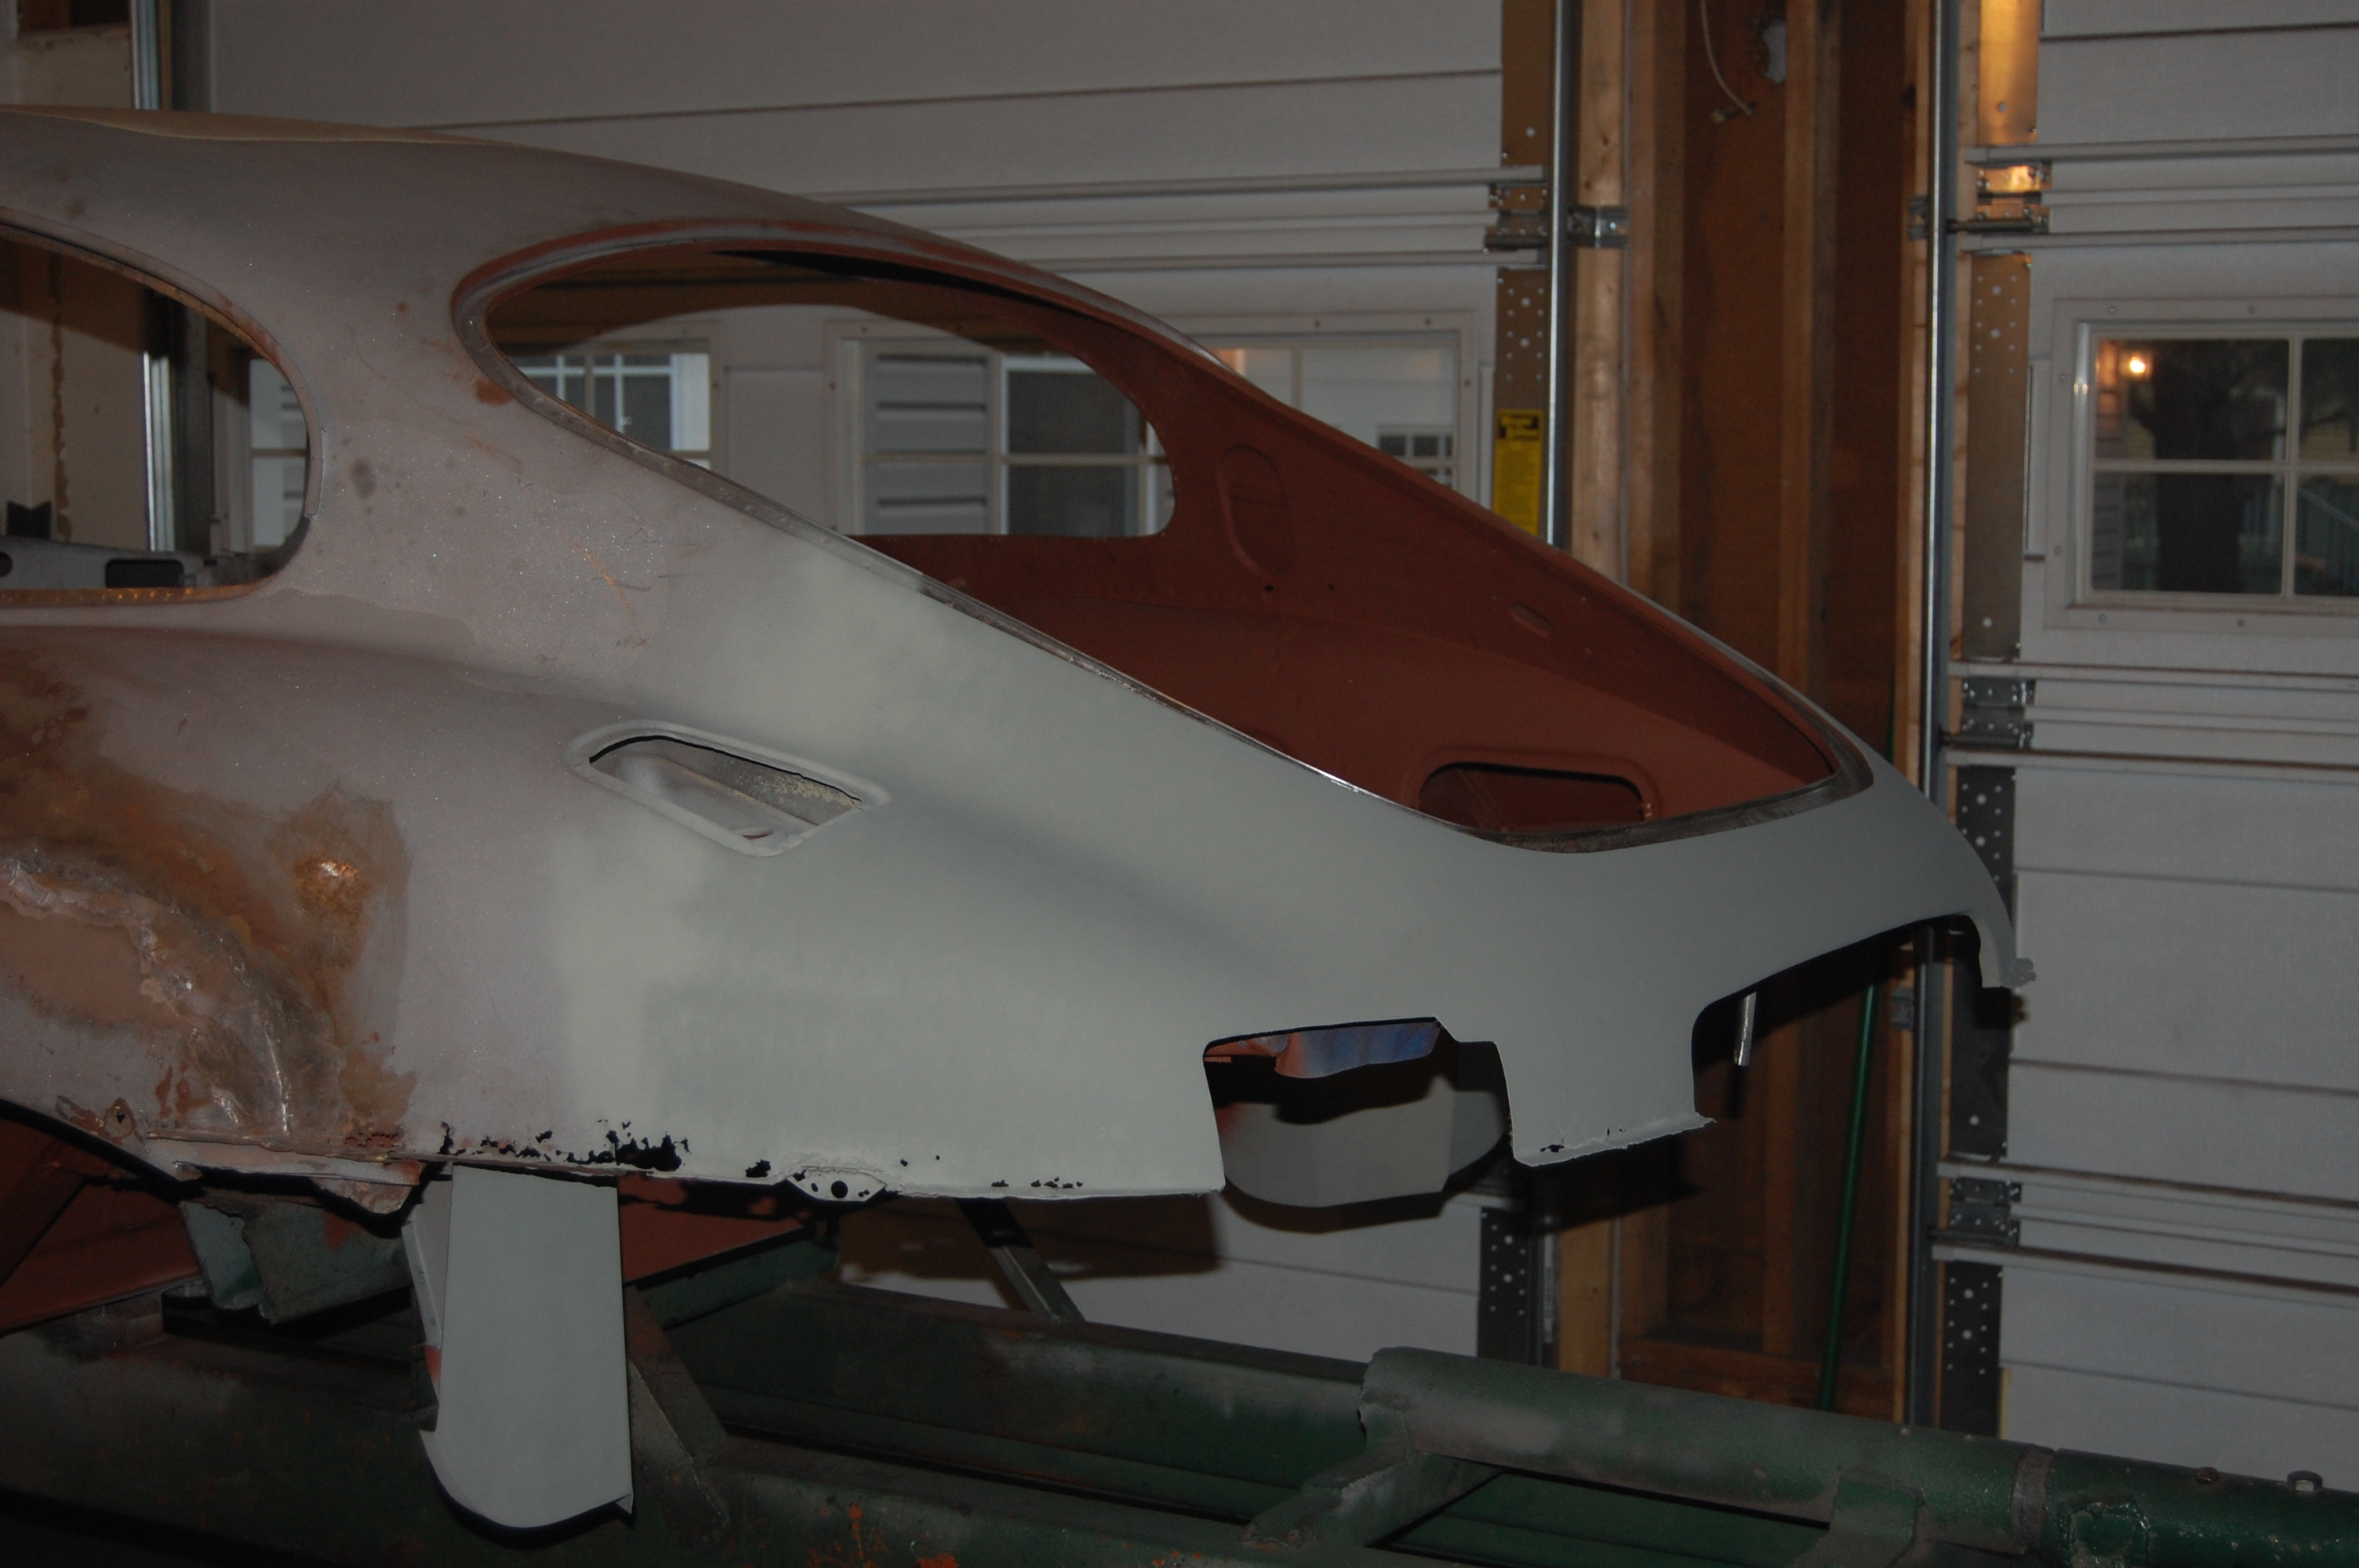
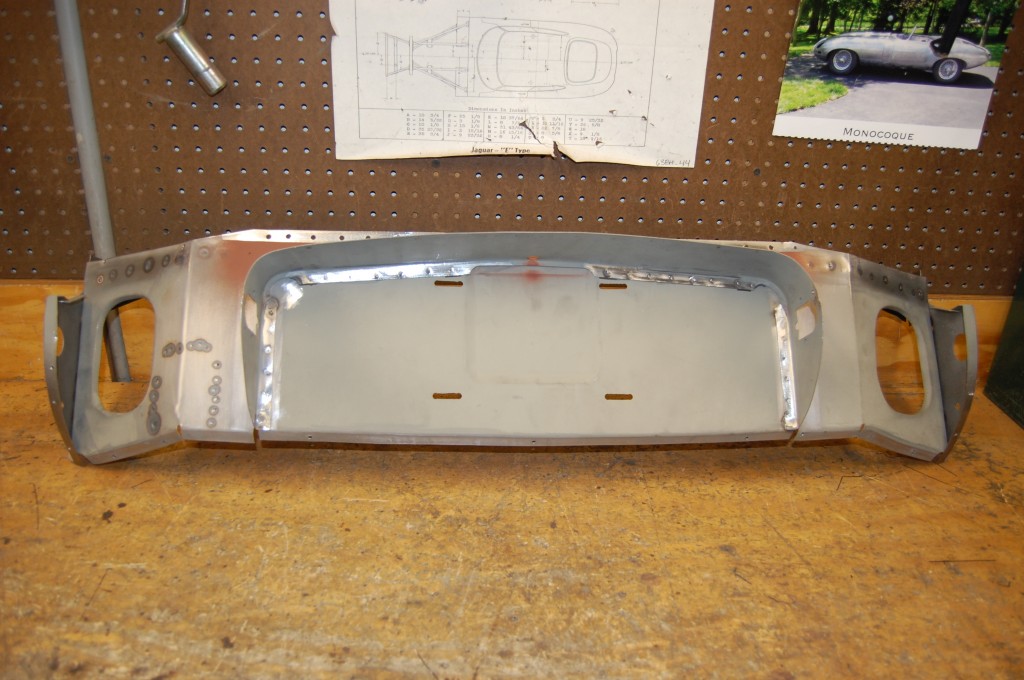
- Now we’re getting somewhere! We’ve completed the hammer and dolly work and the tail is smooth and correct, we’ve also rolled the edge for the Series 1 license area, and we’ve cut the holes for the Series 1 tail lamps and are fitting the filler panels that go in under them – which we hand formed in house.
-

- Looks better already!
-
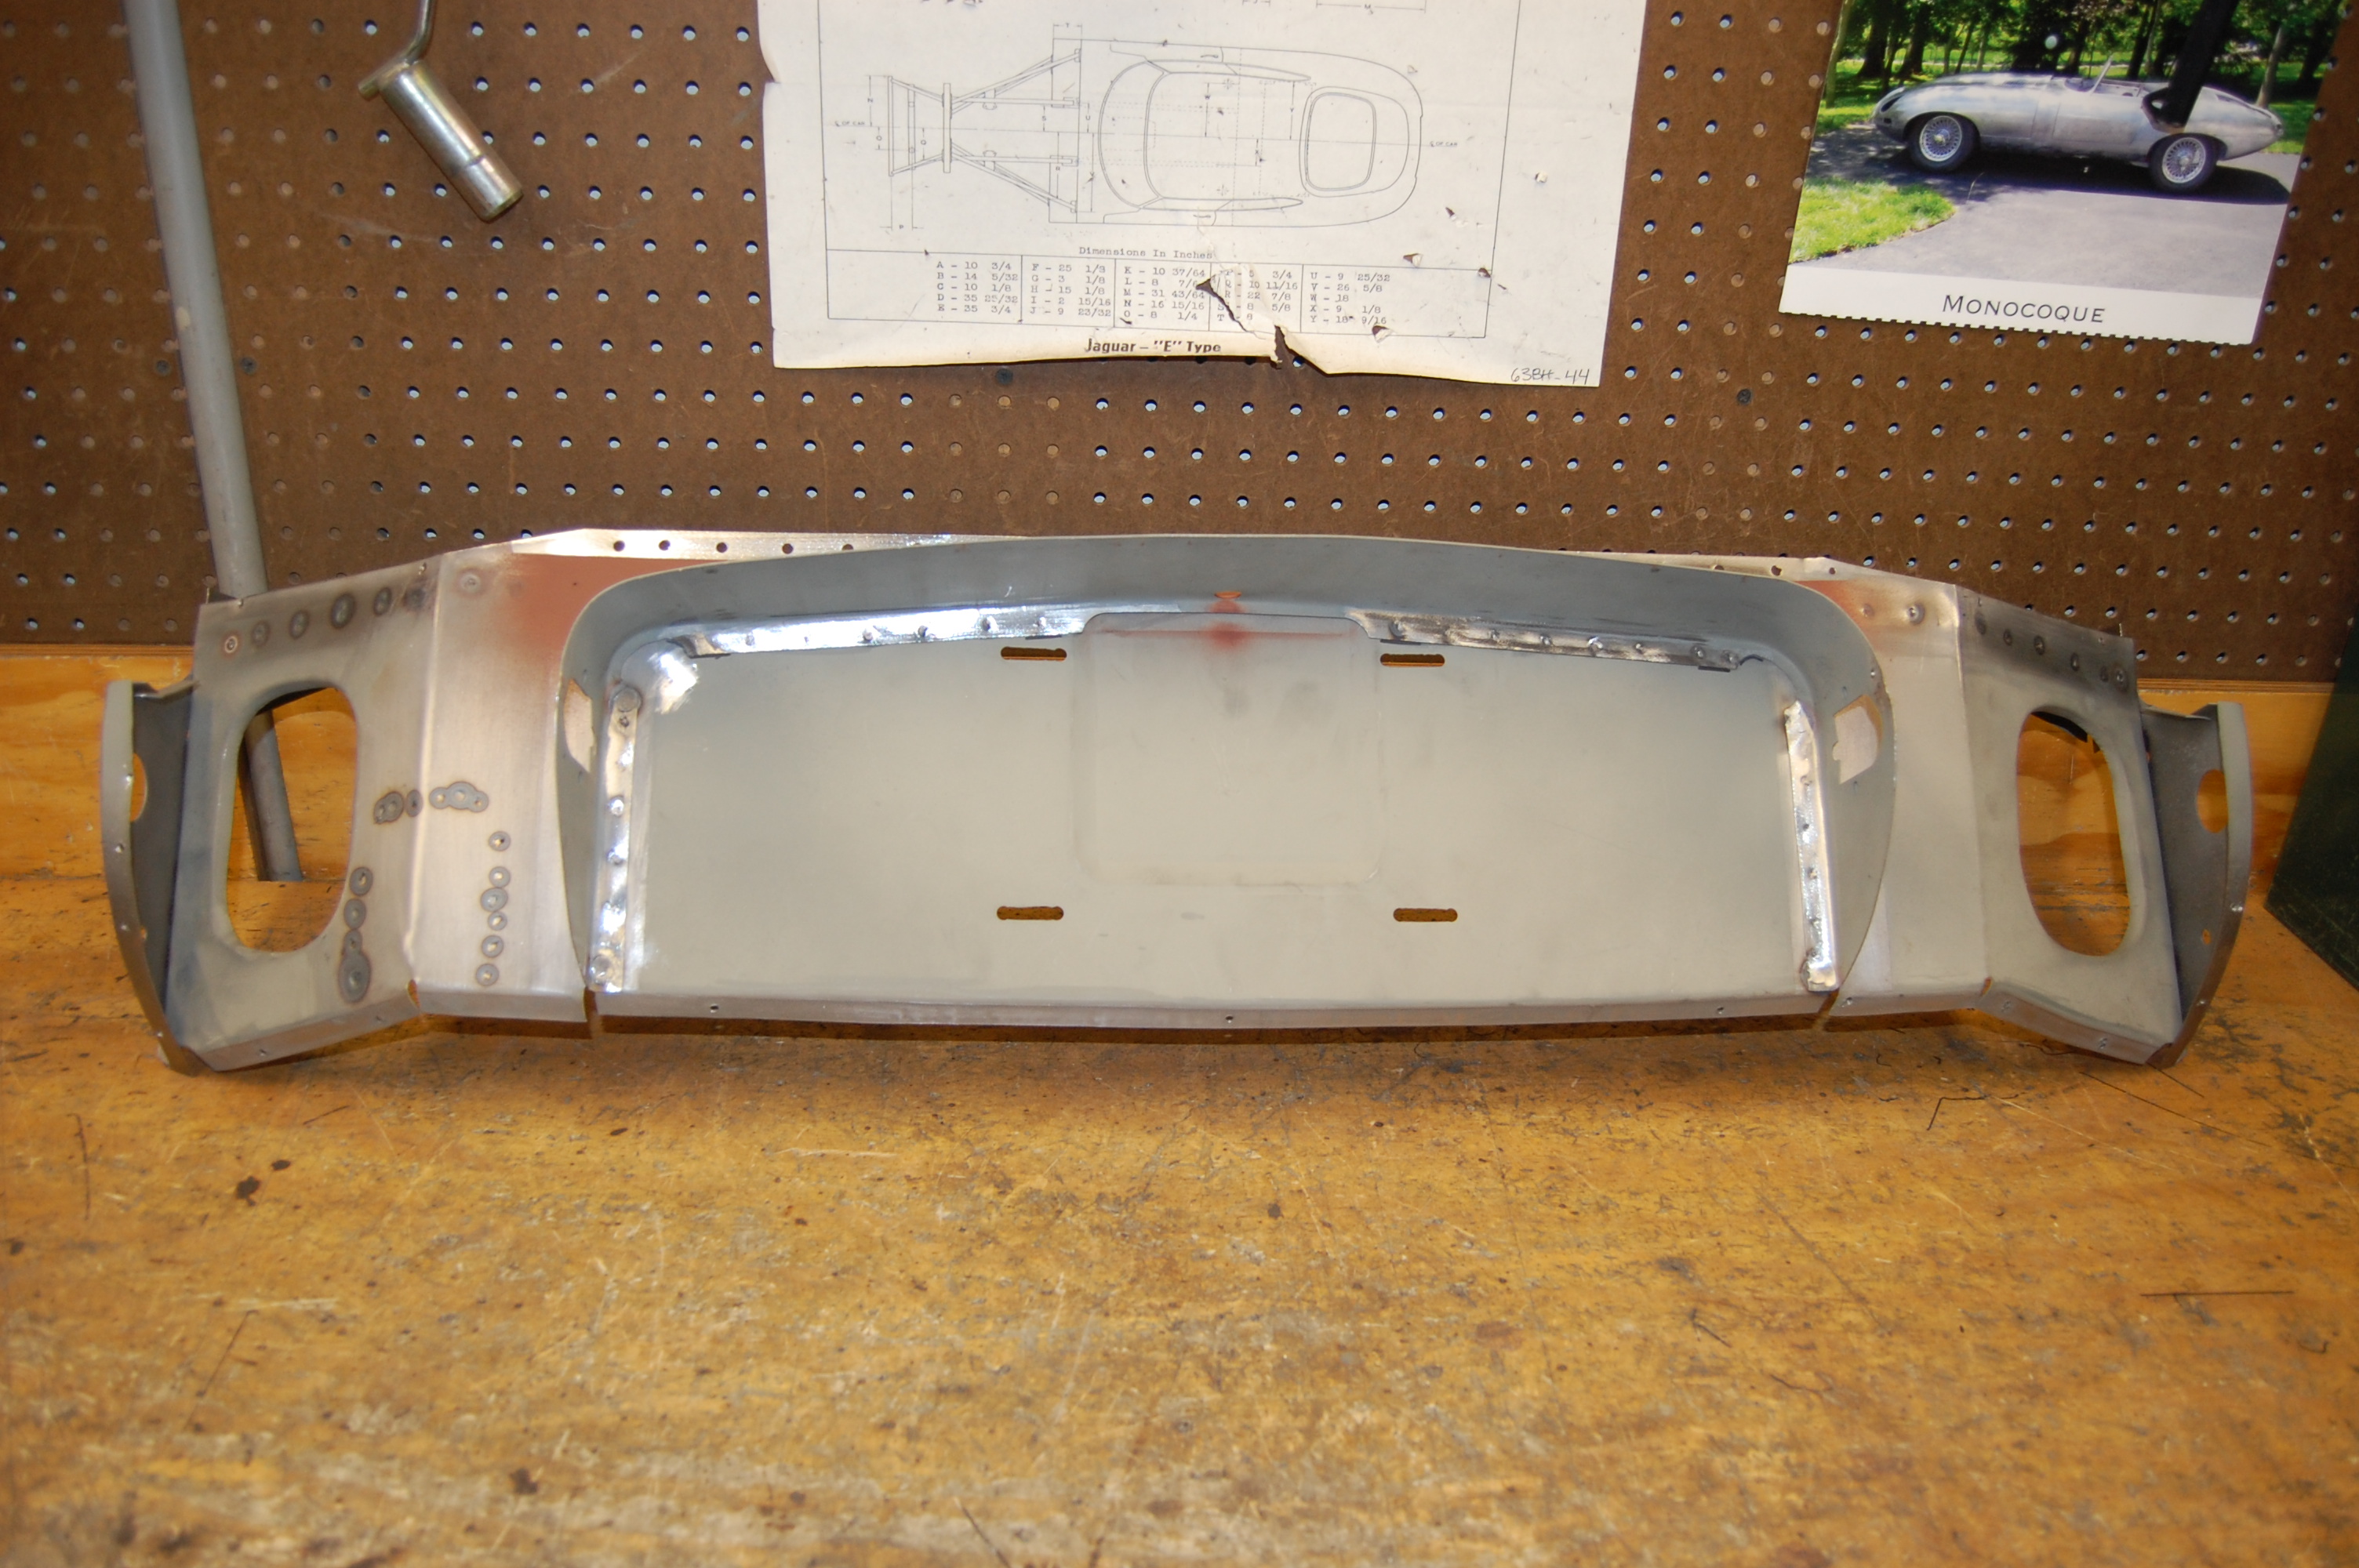
- Sanded down and primed in etch – now it’s time to move to the internals.
-
- The tail looks good, but in this shot you can see some of the other horrors that await…
-

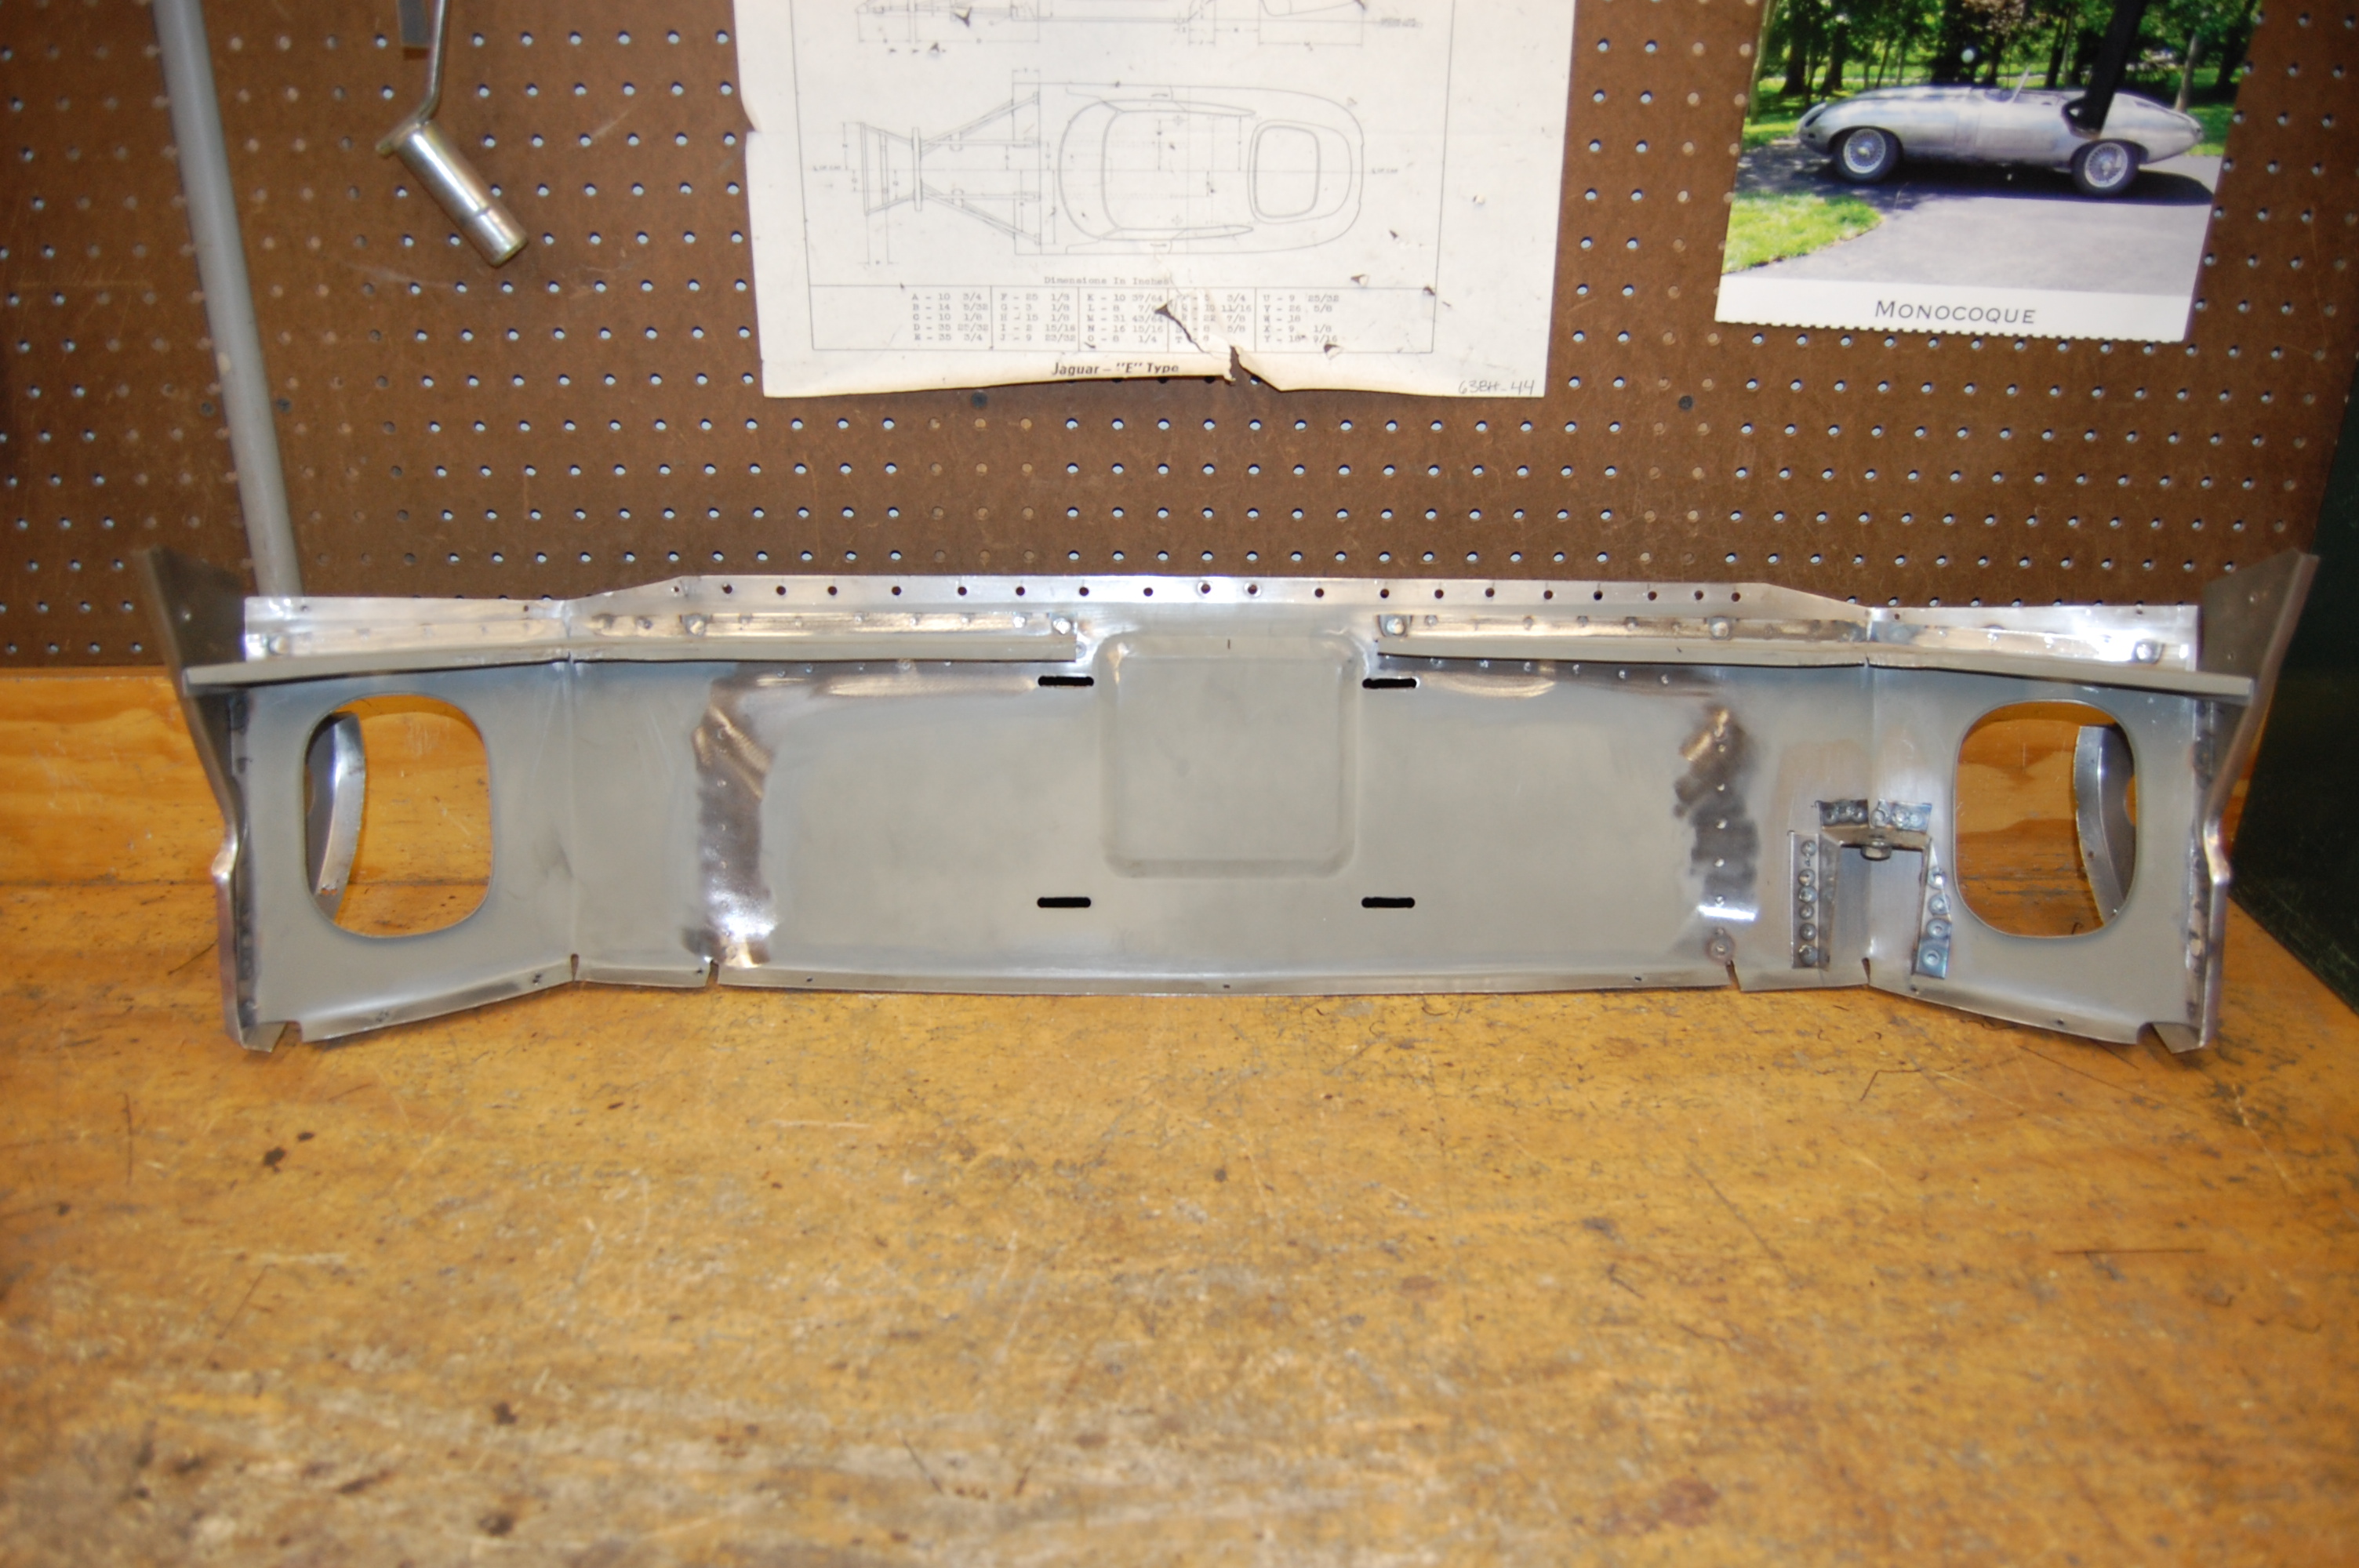
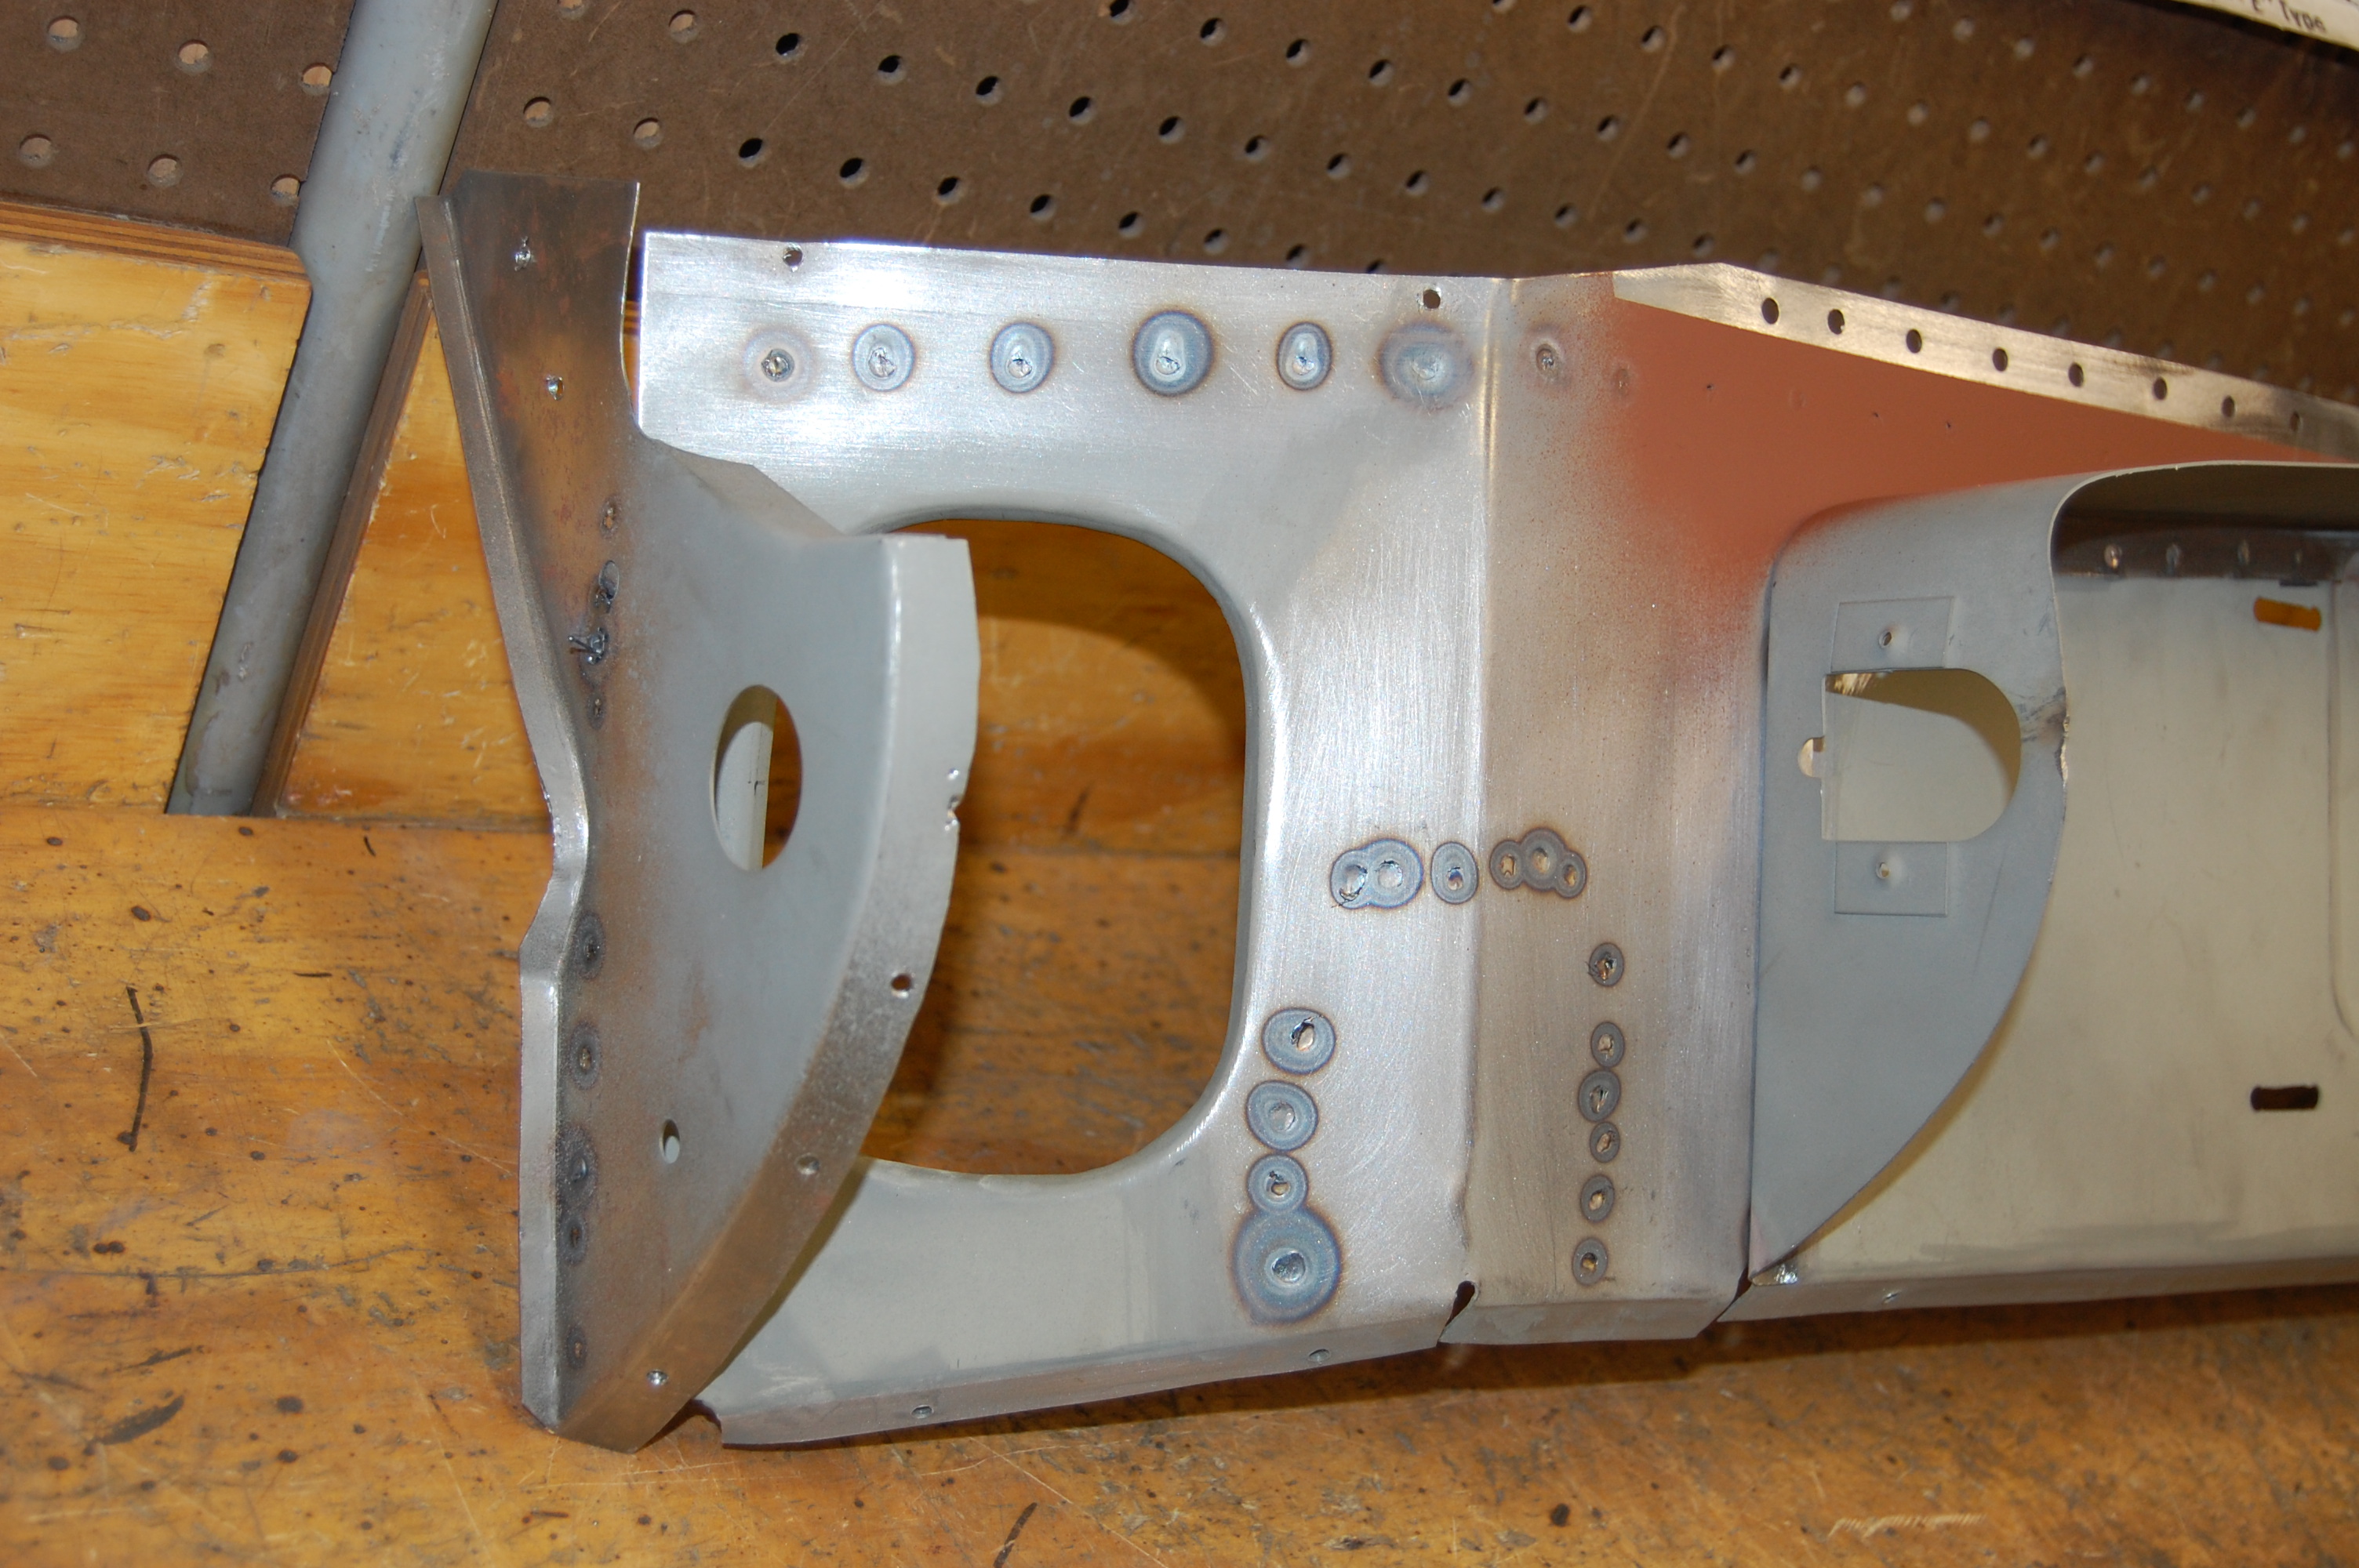
- Fast forward a few months, these photos were taken in the final push of assembly. We fabricated ALL of the panels in this assembly in-house from patterns taken from original E-Types.
-
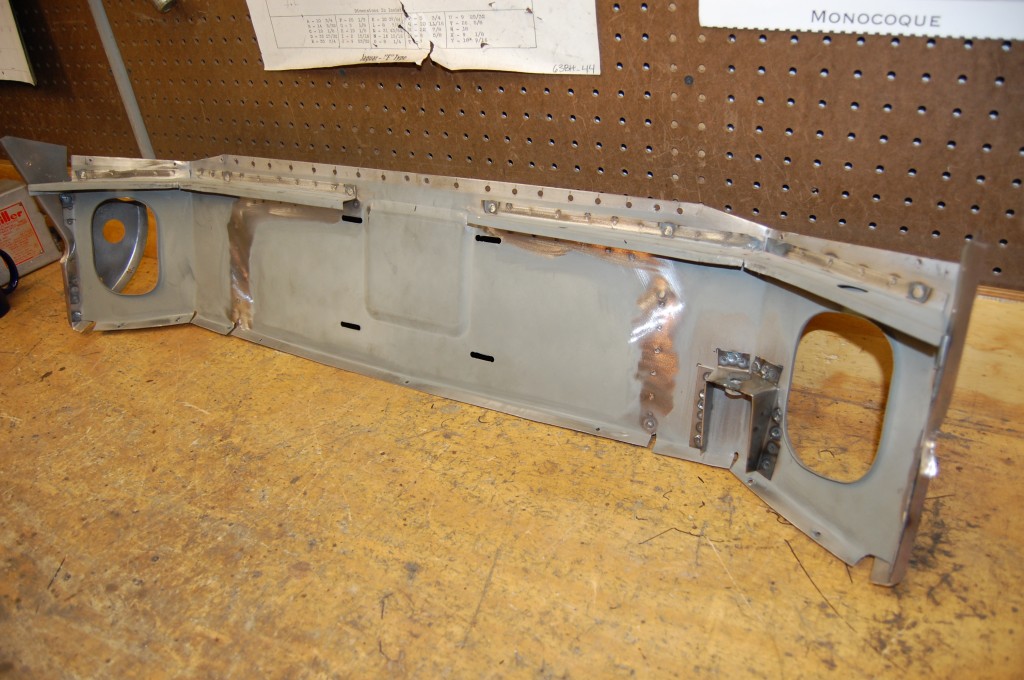
- It’s hard to grasp just how much work went into patterning and forming the panels here.

-
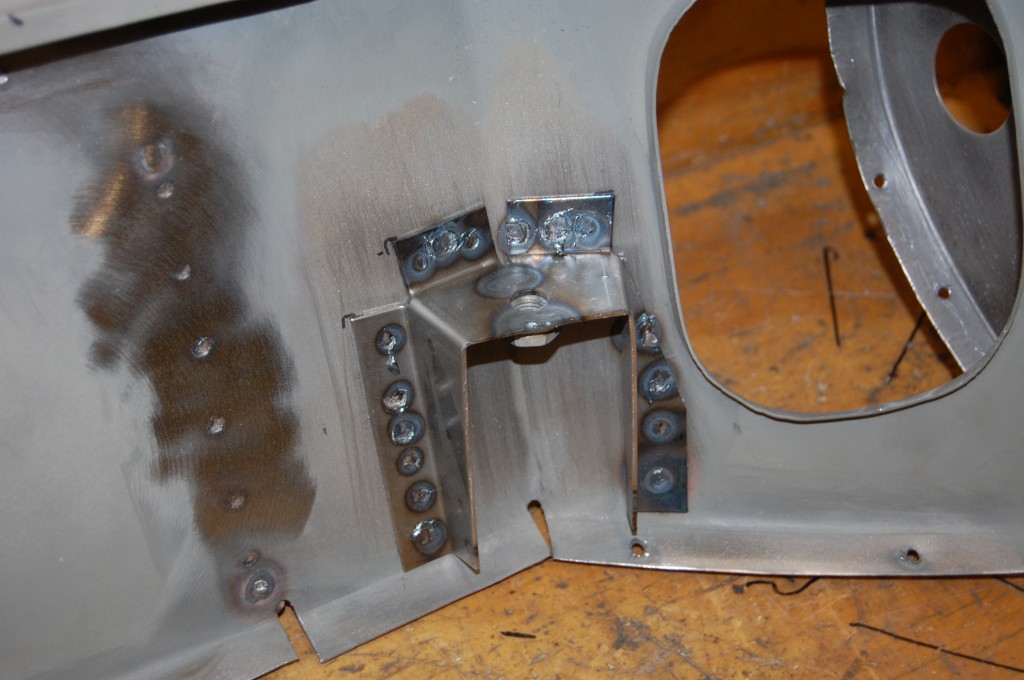
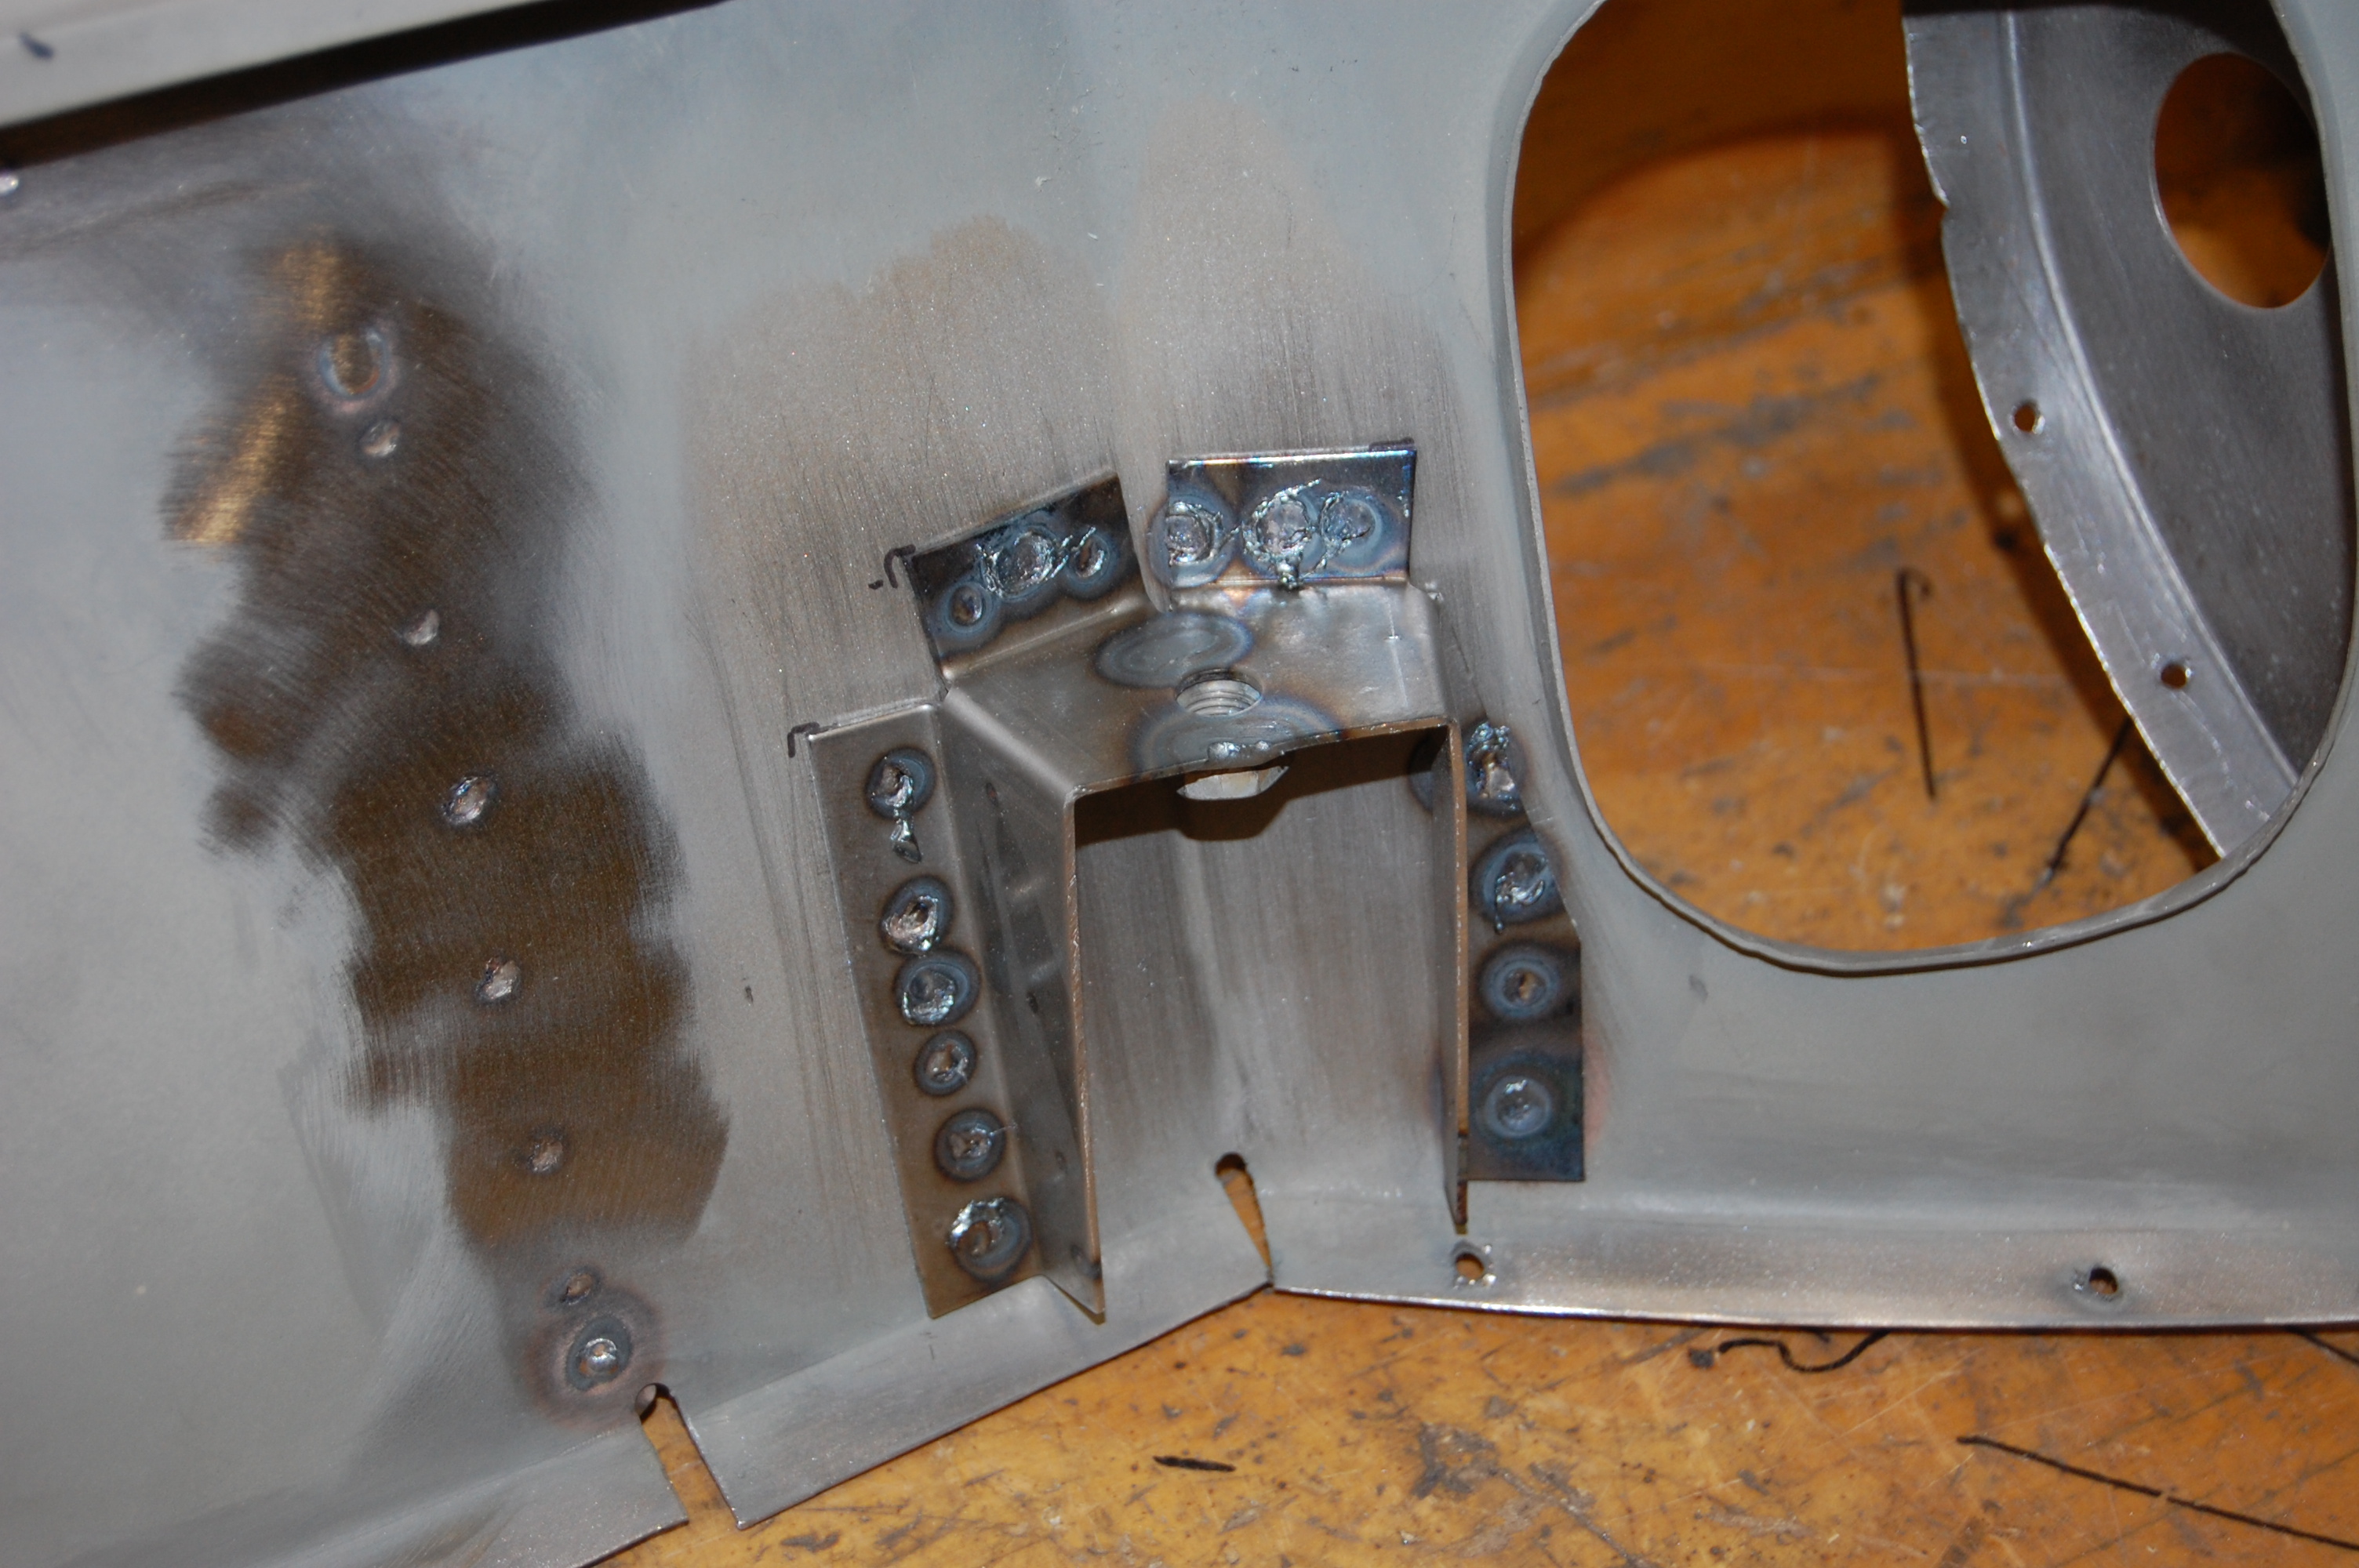
- One of the last items we did was this fuel tank bracket – all three of these are available from us now.
-
- We also have these coupe license area surround pieces on the shelf now as well thanks to this car (I will say that this car DID increase our stock of patterns!)
-

- All of these pieces were fittend to the car and temporarily screwed together, then we disassembled everything and welded it up as a unit on the bench before re-installing into the shell.
-

- This shot REALLY fast forwards, but shows what the tail looks like from the inside after final assembly of the entire rear of the car, boot floor, etc. In this shot, if it’s red, it’s original, and if it’s grey, it’s new!


