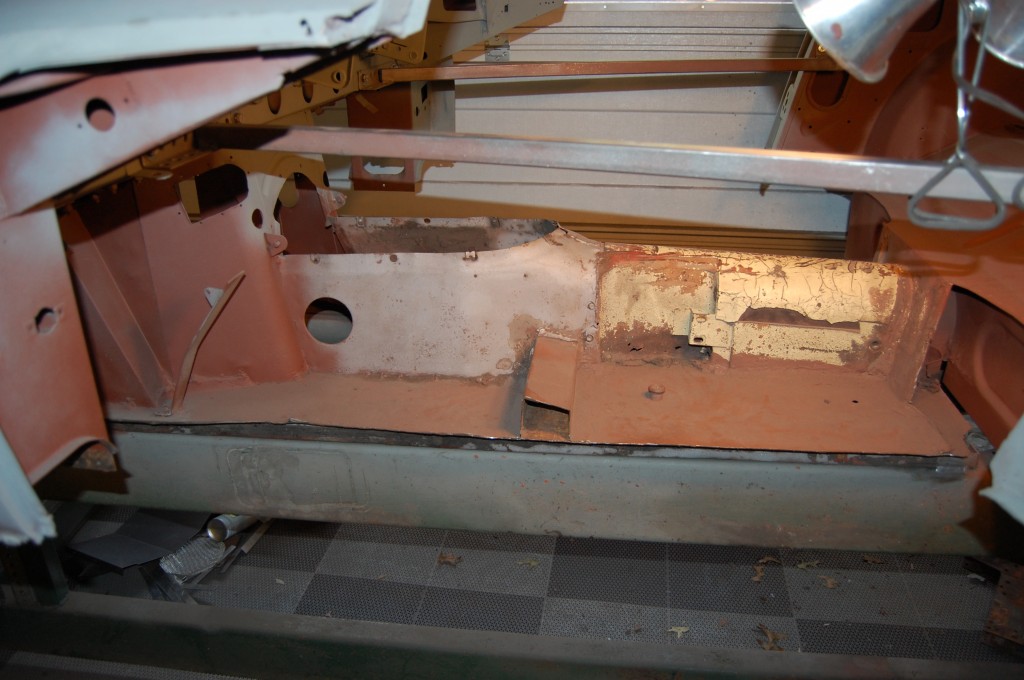
So the whole focus of this car ended up being those ugly rear wheel arches… I learned about a year ago that the way to do it is to FIT, but not install the floors and inner and outer sills – which gives you the exact location of the outer sill line so you can mate your patch up to that – between the door and rear wheel arch. That meant that the next task to handle was to repair the rust in the bottom of the B-post area behind the door.
On a GREAT shell, you might get to keep the original floors and/or inner sills…
On a GOOD shell, you have to replace full floors and inner and outer sills, but the things that the floors and sills come into contact with – A-post and B-post, tunnel, etc. are all OK.
On a BAD shell, even after you pull out the floors and inner and outer sills, everything they mate with is shot in the lower sections, and that is what we were faced with here. The floors and sills were bad, and so was about the lower 1-2 inches of everything they touched!
I’ve tackled the B-post problems a couple of different ways in the past – either patching the lower region of the panels or replacing the whole thing – alot of times it depended on what panels were available – sometimes shells come into the shop with a whole pile of panels the owner has collected through the years… I also didn’t like to patch the shut face panel itself because it shows and I didn’t have a good pattern, etc. On this one, I took the time to make a pattern for a repair panel for the lower half of the shut face, and did it that way on both sides – also patching the lower sections of the panels behind it. We have all of the panels in stock – shut faces, sides behind that with the oval in them, and the inner support structure, but this seemed like the way to go on this shell. But call if if you need some of those panels – we have them, and we’re happy to help!
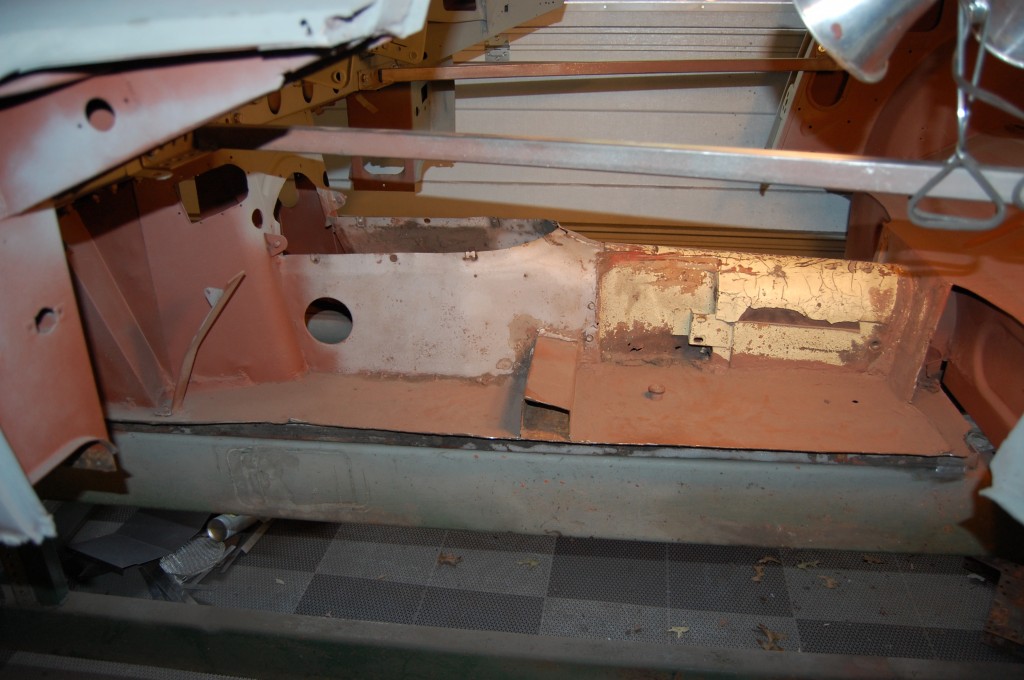
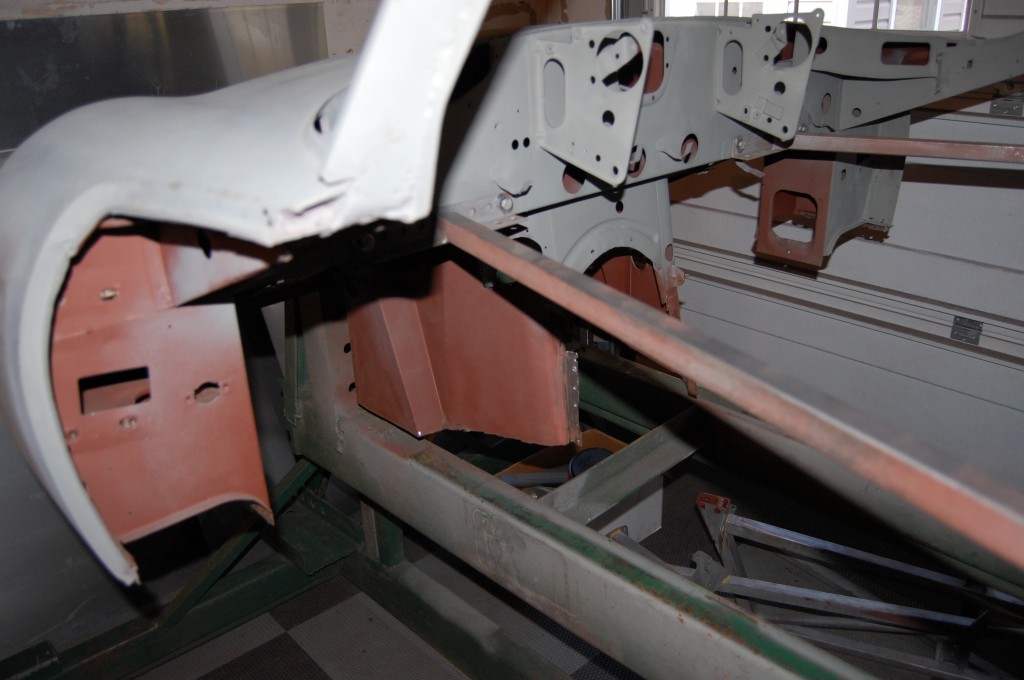
- Here is a shot of what the floors looked like at this point – everything between the main rails under the floor has been left in place to help hold the shell in alignment for now – but it will ALL be coming out…
- Same photo – one funny thing was that after I cut everything out holding the floors in, they wouldn’t move – at all. Well, they do get jammed in there sometimes, and so I whacked them with a big hammmer a few times and they didn’t budge! I’m standing there scratching my head, thinking, “What the hell?… It’s like these things are wel— OH YEAH! I forgot! I DID weld the floors to to rotisserie! Woops!”…
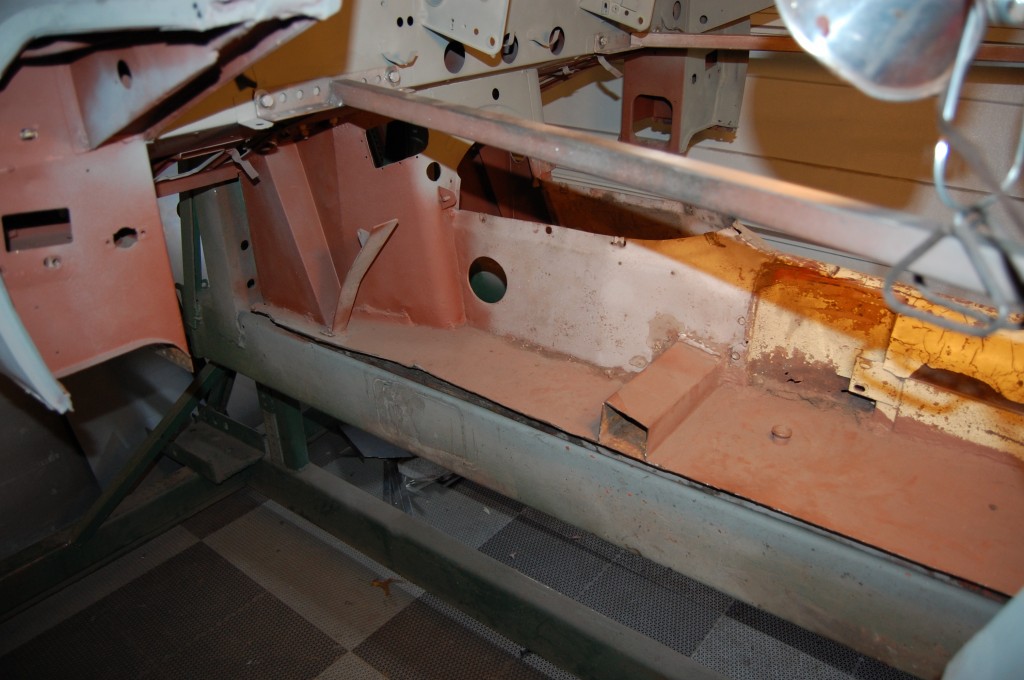
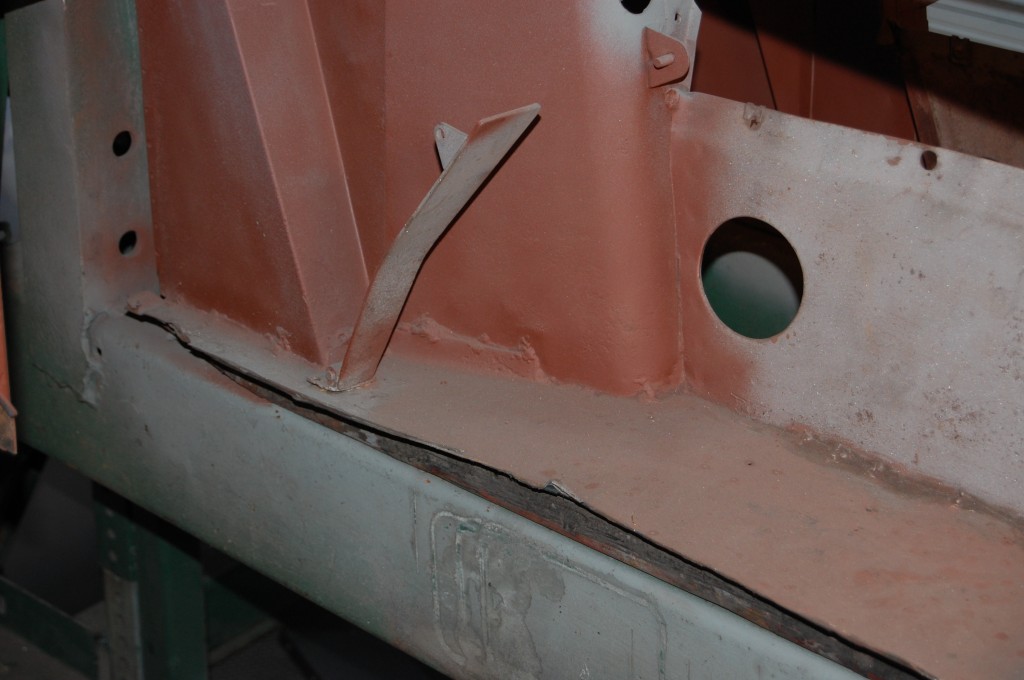
- Some bodger has been all over this car before, and there is metal overlapped in here all over the place!
- This does not look that bad on the forward tunnel panels, but the shoddy work done previously is going to make dissecting this almost impossible!
- I started in on it, and then just threw in the towel and sliced the lower inch or so of all of the forward tunnel panels out. Everything above there is OK and I don’t think we need to replace all of that – we will form up patches for the lower 2 inches or so instead. As you can see, the transmission sides and complete driveshaft tunnel are history.
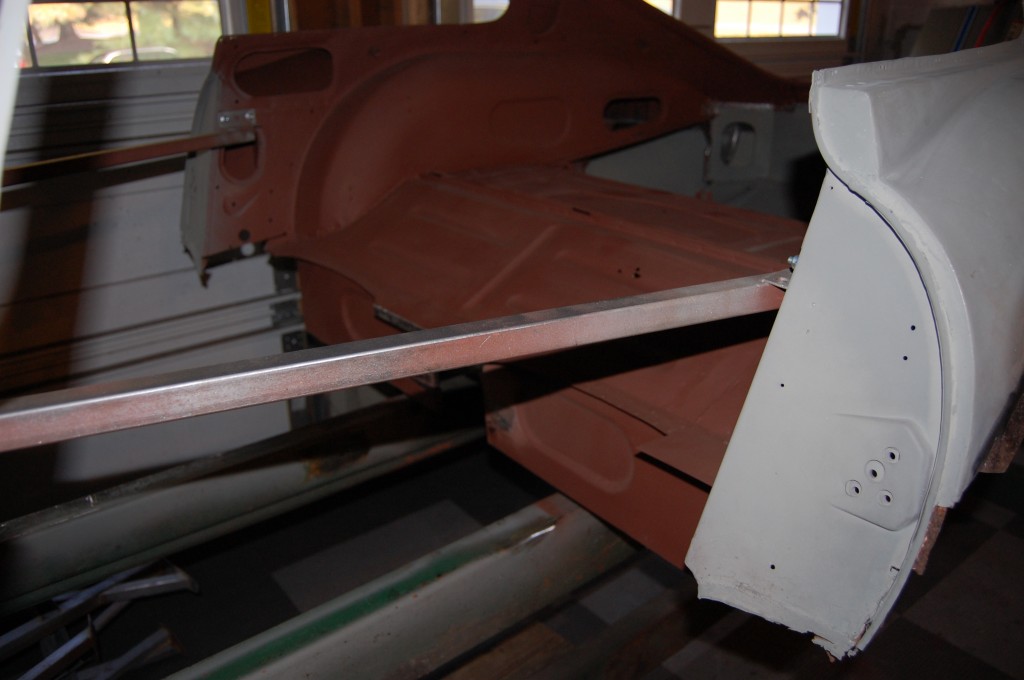
- And we have been just as aggressive in the back – all that is left is the rear wall of the rear bulkhead – already petched in the bottom sections. What we have to do now is prepare what’s left to accept the floors and inner sills. First, we need to repair this shut face panel in the foreground.
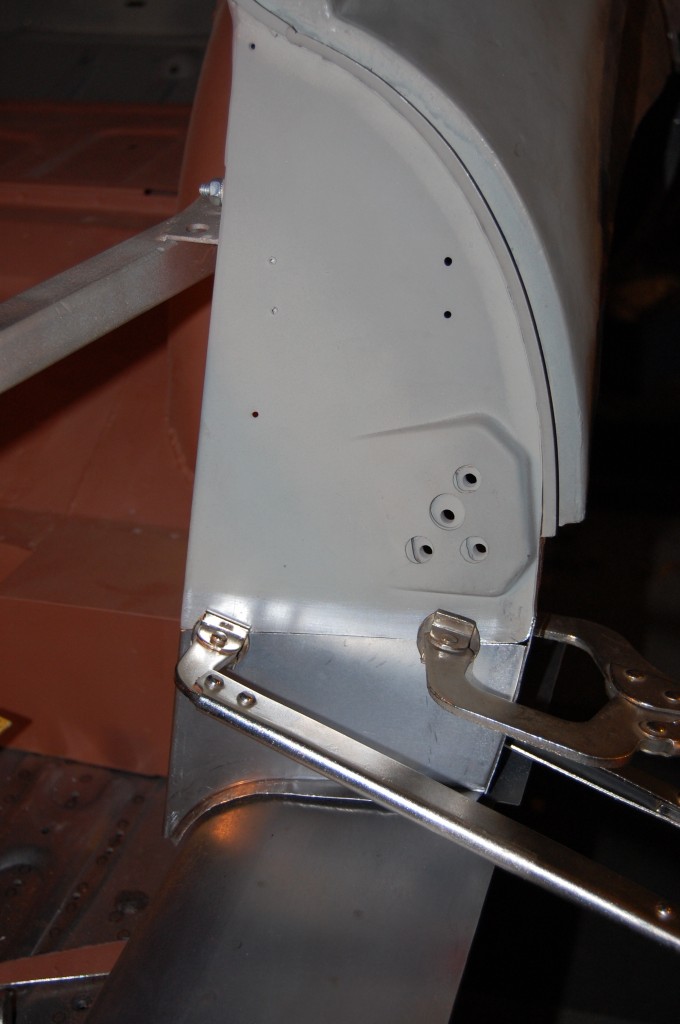
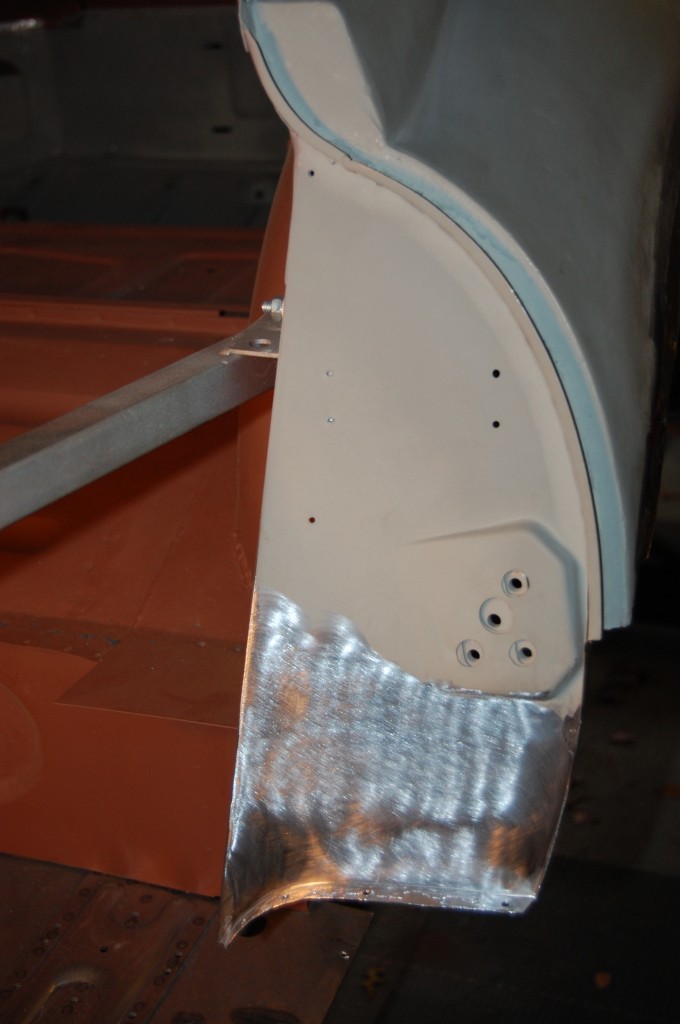
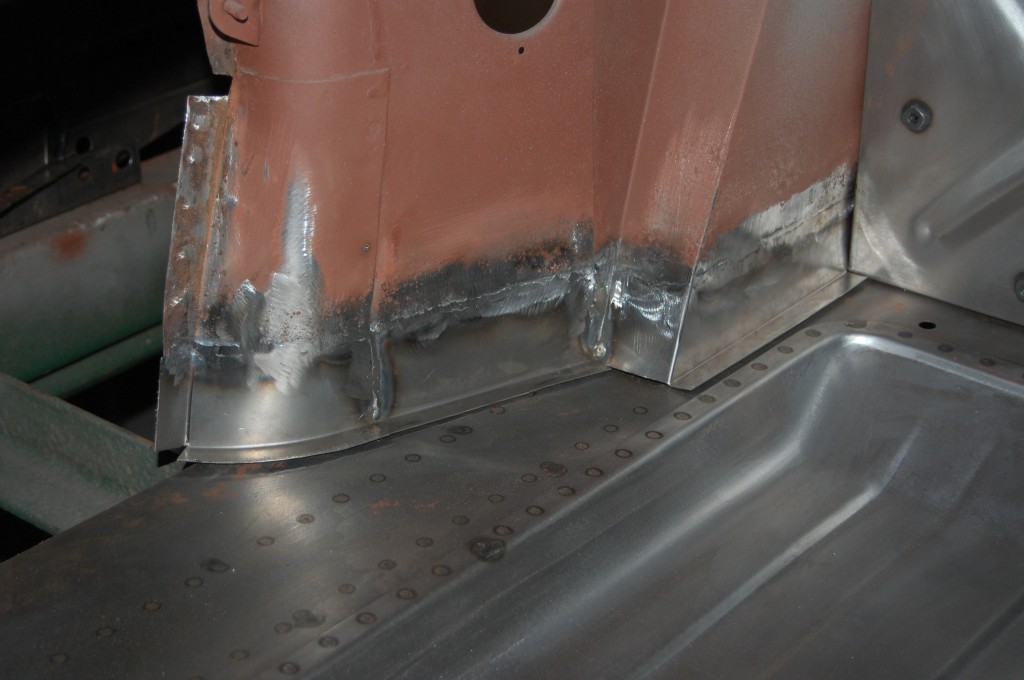
- We patterned these and formed patches that will fit ALL 6-cylinder cars. I find that the rust NEVER goes as far as the raised boss for the door latch, so I made the repair panels cover everything from the door latch down. This one has already been trimmed down about an inch, and is being fitted – with the help of the floor and inner sill. We are able to determine the location of the sill based on the floors, it’s connection at the A-post which is solid (and it always is because it’s 16-gauge…), and careful measurements.
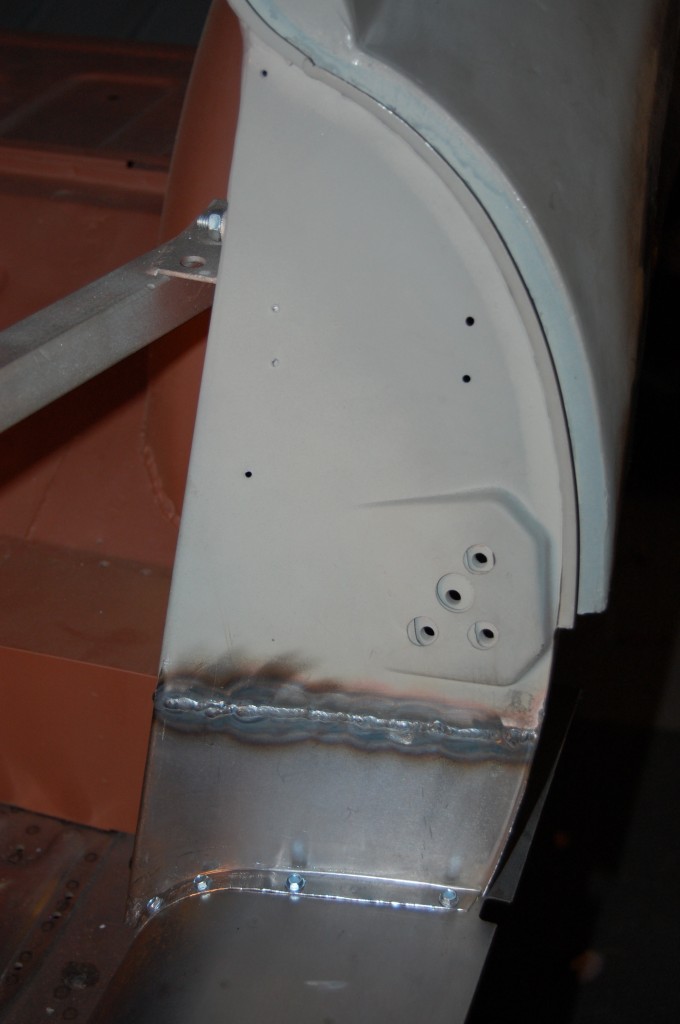
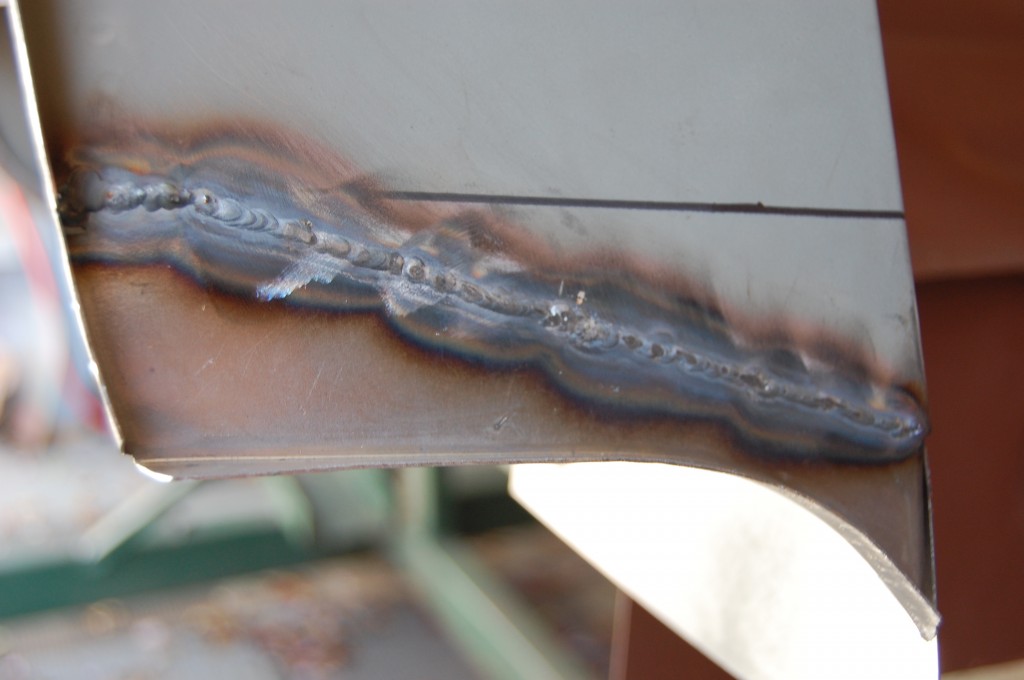
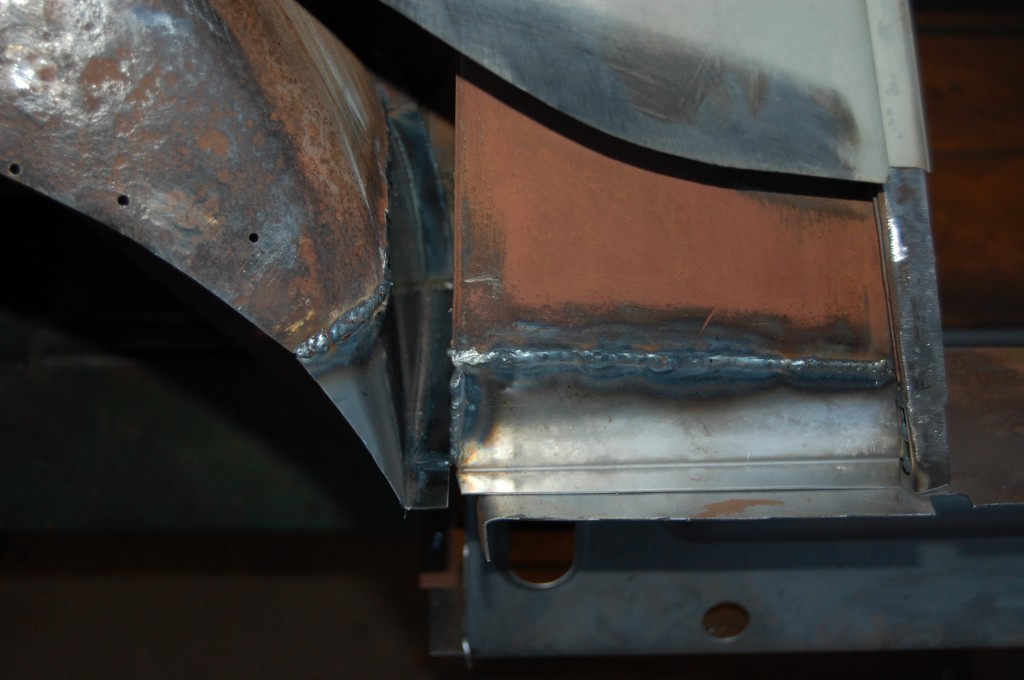
- Carefully TIG welded into place.
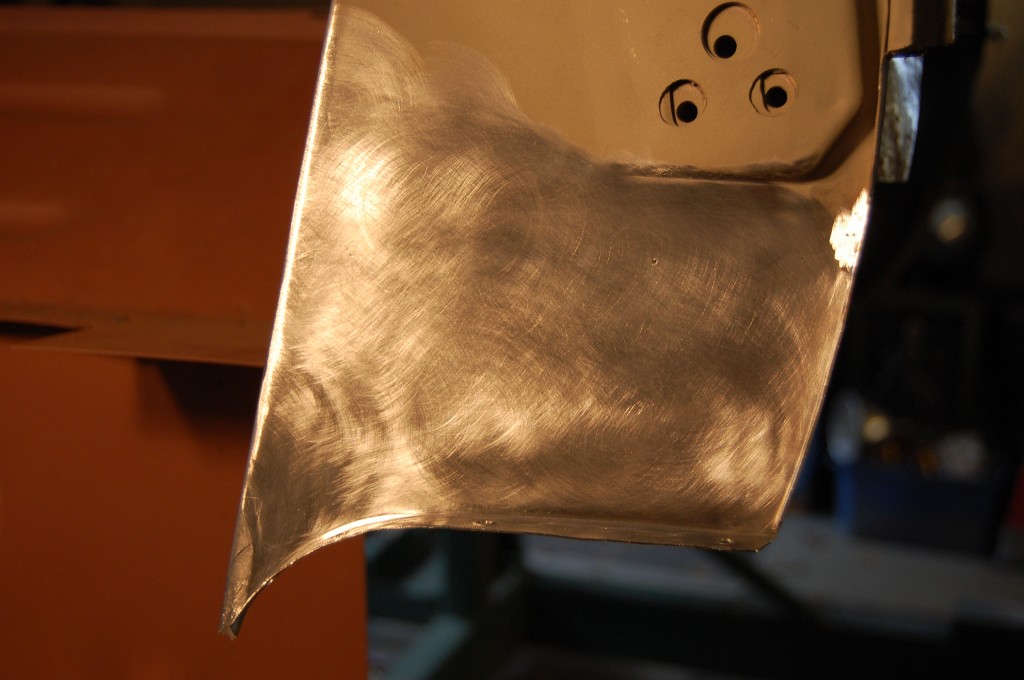
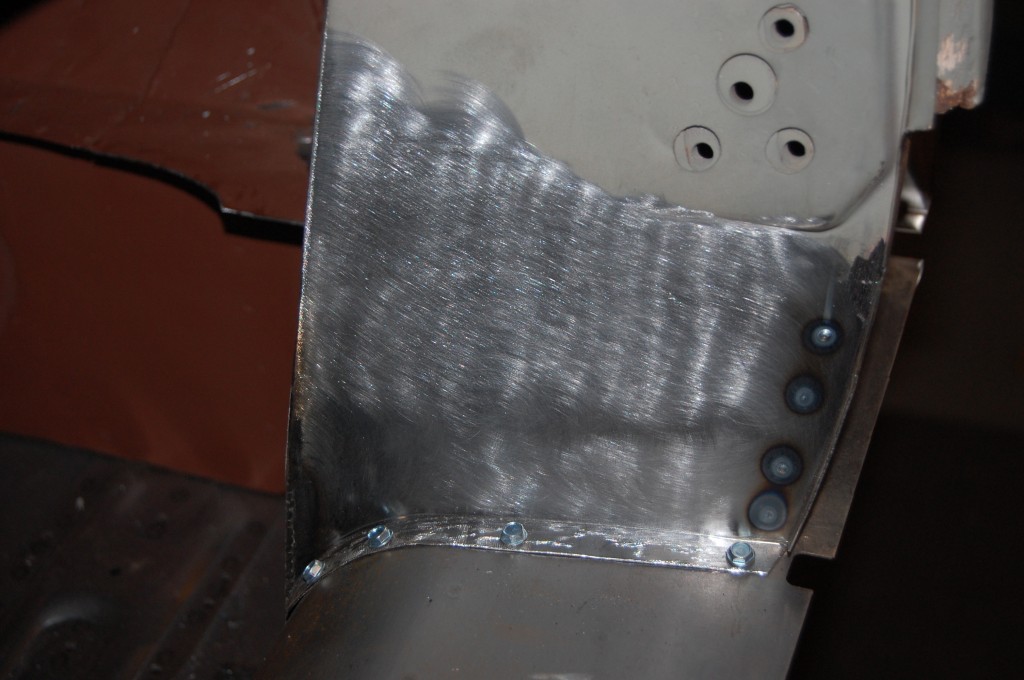
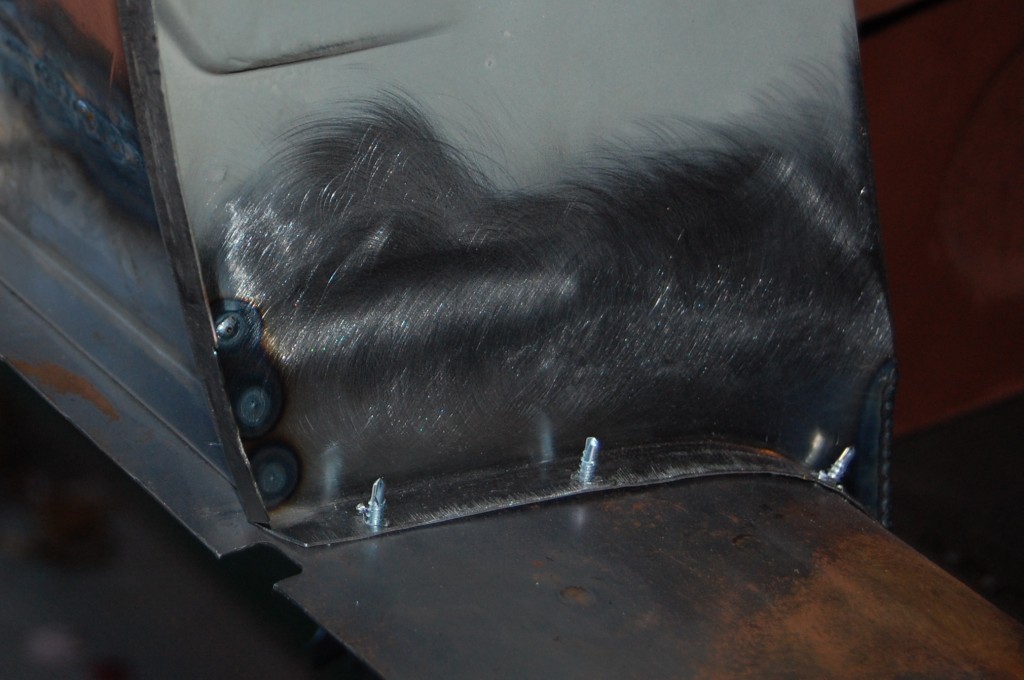
- Then dressed down and dead smooth – what patch!?!
- Another shot in different lighting.
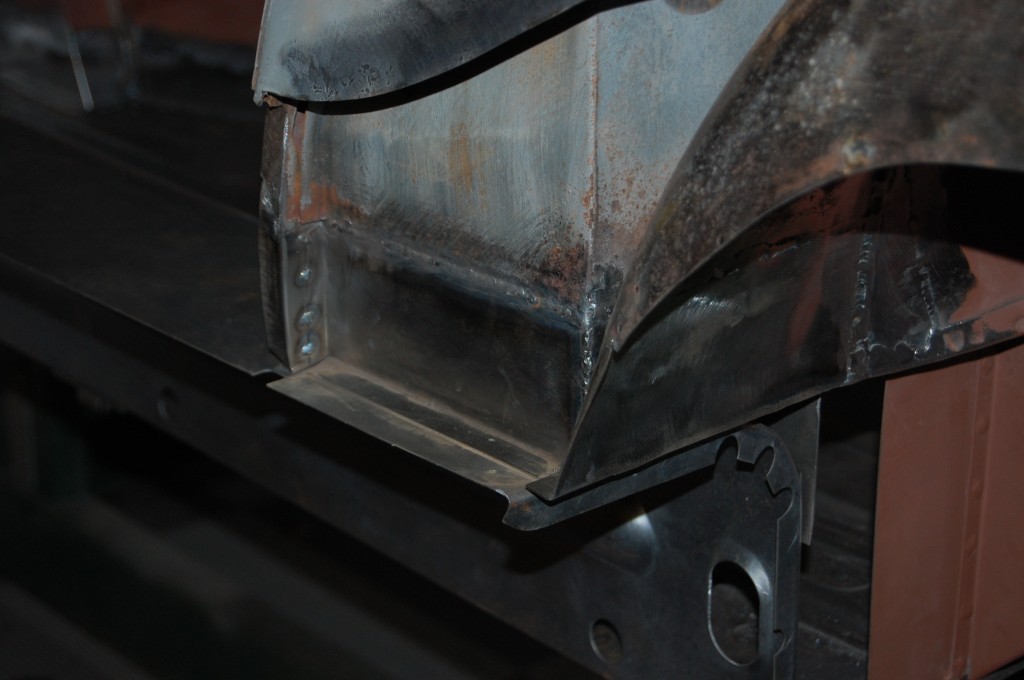
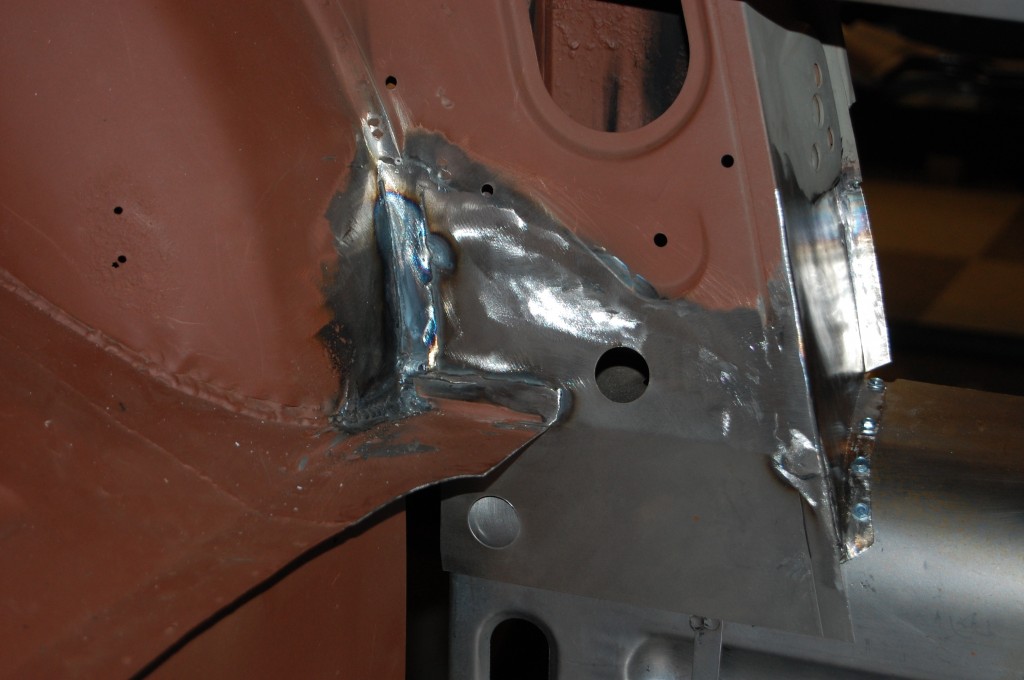
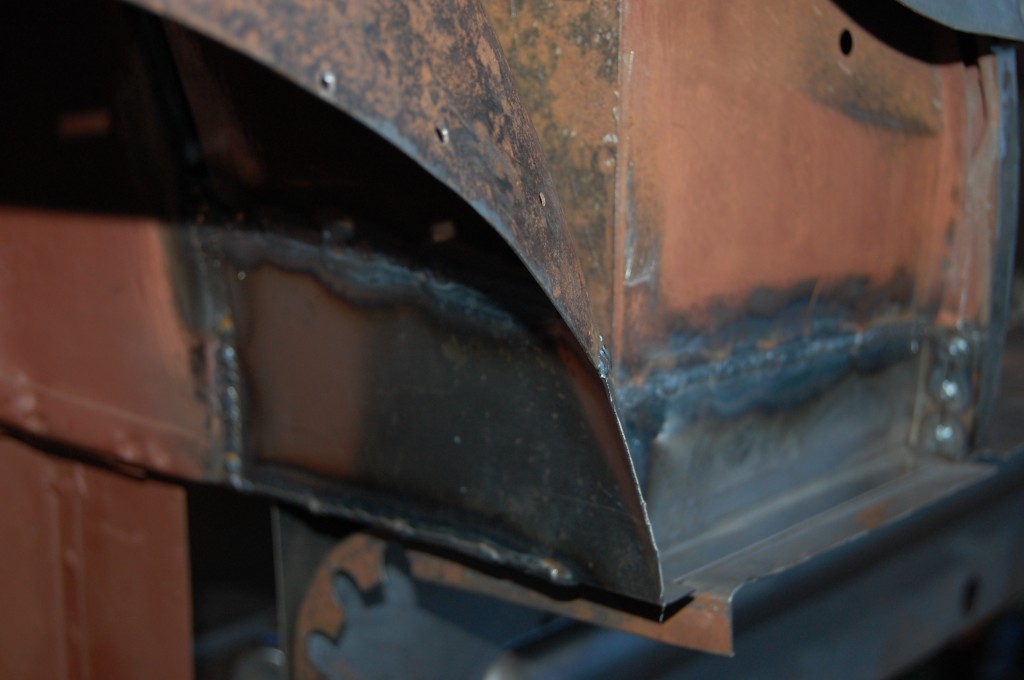
- Now we have also patched the support structure behind it – hence the weld marks where the weld has penetrated.
- Here’s that panel – and a few others – patching up this area this cleanly takes ALOT of time! This will now be scuffed and sanded as much as we possibly can, and then coated with red oxide.
- Here is a shot of the patches along the bottom of the forward tunnel panels. You really don’t need to get quite this fancy down in here, as It’s all buried in carpet, etc. – but I can’t help making every panel as perfect as I can.
- More repairs on the side panel behind the shut face.
- And here is a shot of the forward tunnel panel patching on the LH side – same attention to detail. Believe me, having that nice new flange down there is going to make things MUCH easier later…
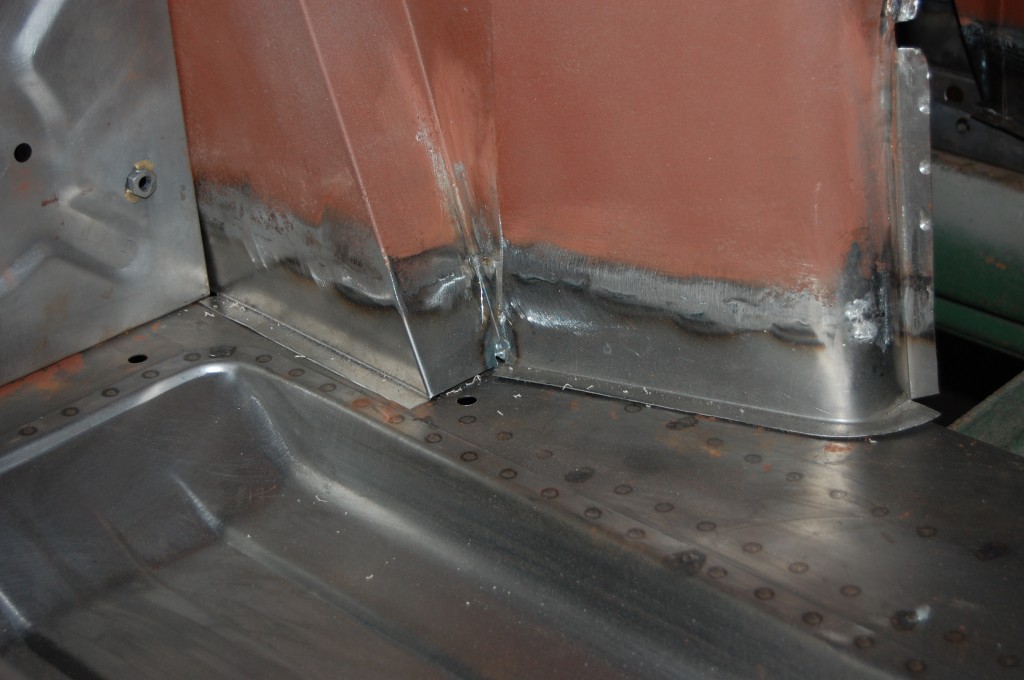
- Now we’re putting the same patch into the RH shut face – note that it has been drastically cut down over here – only use as much as you have to – with patches, the top edge is always arbitrary and made to cover the worst possible car – DON’T USE THE WHOLE THING! – You’re just moving the weld into a more noticable, and usually more difficult area.
- Dressed down and smooth – another invisible repair.
- Same story over here – patches along the bottom 2 inches of everything. I want to mention again that USUALLY, all of this would have been opened up and sandblasted, but this car was a special case where we had to do alot of this by hand after the fact due to it being so bad…
- Another shot of the repaired structure behind the RH B-post. On these internal welds, I don’t dress them down – that WOULD be overkill…
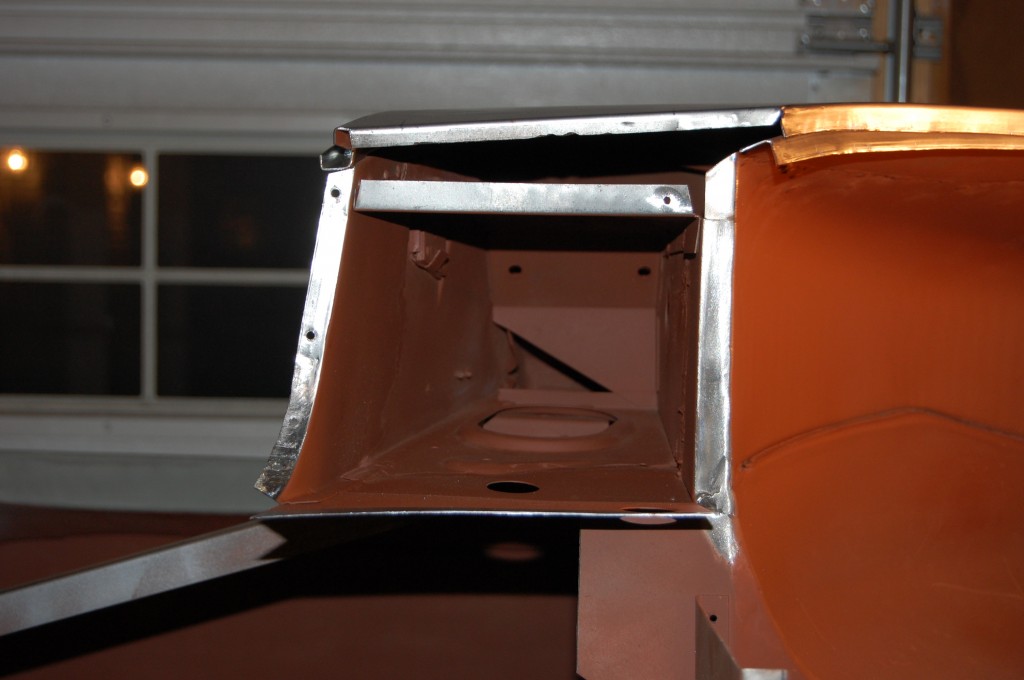
- Here is a shot of the completed LH B-post from the bottom – with all new flanges to connect to the new inner sill – after LOTS of hand sanding with all kinds of special little discs, etc., and LOTS or red oxide. And – for those who look closely, you’ll notice we have fast forwarded a bit and there’s something else new in this photo too!
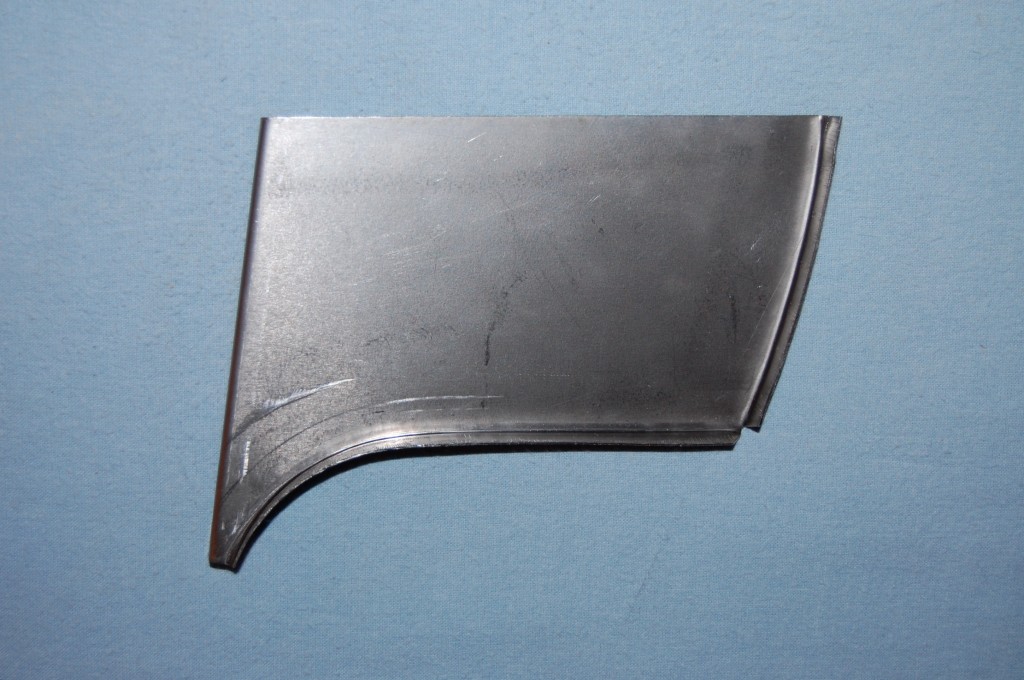
- This is the shut face repair panel we now make in-house – pretty sure we are the only source. You CAN get the whole thing from the “other guys” – and I’ll admit it’s not bad as far as fit goes. BUT – it’s pricey (of course) and you’re opening up a big can of worms to replace the whole thing. For one thing, the very top of the shut face panel interfaces with several very small, intricate panels around the top of the door rubber, etc., and the factory REALLY went to town with the lead in this location and basically “sculpted” the shape up there – especially on coupes. Trust me, you don’t want to disturb that if at all possible! Call us or send photos of your problems – we’ll have the right answer – we’ll send panel and a solution that will get almost any E-Type repair done BETTER, EASIER, and LESS COSTLY!

