
I don’t know what these are actually called – but you know what I’m talking about…
The factory was actually pretty ingenious in the way they made this seam easy to spot-weld, and then just hid it behind the rear bumpers. Through the years, many people have deleted the rear bumpers, and smoothed out this seam – I’m personally not a big fan of that.
For one thing – because of the way they did this, they also did not have to worry about the surface of the skin above and below the seam matching up – the surface of the wing might be up to 1/8″ inside or outside of the surface of the lower valance, and if you get rid of these seams, you need to deal with that somehow and it’s not easy. Also, welding this up is going to introduce heat – and shrinkage, and that will need to be dealt with as well. So most of the “smoothed out” cars I have seen are inevitable FULL of filler back there, and it just bothers me…
Instead, I prefer the look of the rear with the bumpers off, but the seam still there. That is what ALL original racers looked like, and what all of the vintage racers looked like in the 80’s and 90’s when I was around it. Plus, I spend my life around these body shells in various unfinished states, and that’s just “what they are supposed to look like”…
The one BAD part about the rear bumper seam is that the edges are SHARP – especially when they are new! And I have sliced open MANY t-shirts (and occasionally, myself too…) on them!
This blog entry is about replacing the edge of the seam itself on the upper side. I would say this is something that almost NEVER rusts, but of course, on this car it did! I guess road salt and moisture got behind the bumper and ate away at the metal both above and below the seam. So, where we usually just seperate the lower valance and hammer and dolly the seam flat, here, we had to replace it – ALL of it – from the wheel well to the license area – on both sides…
-
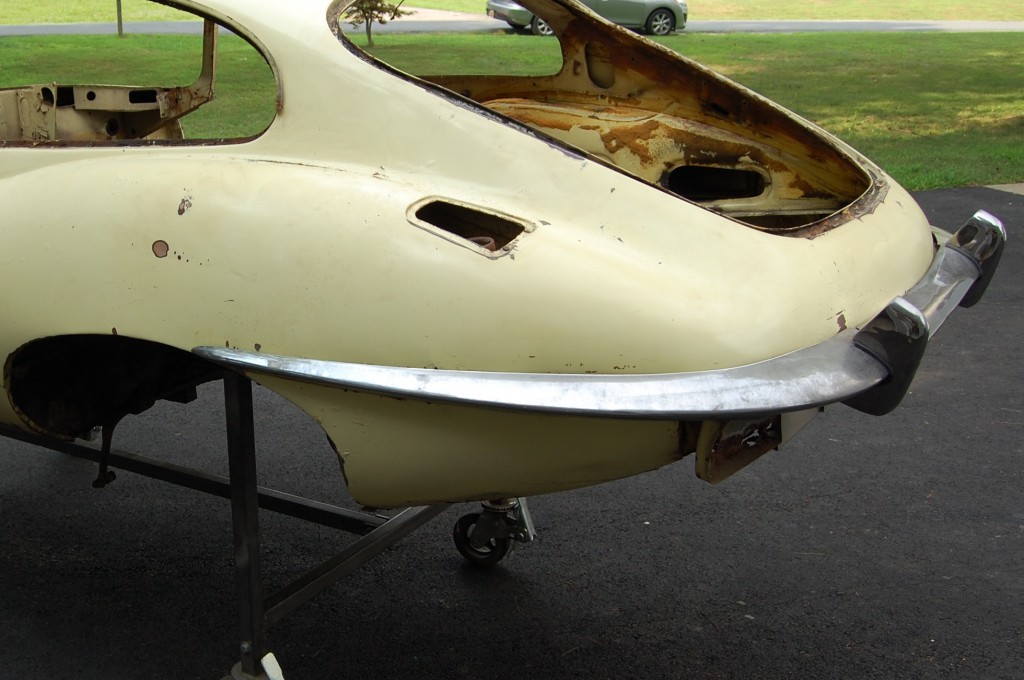
- Here is the car as we received it – but after disassembly – things don’t look amiss here…
-
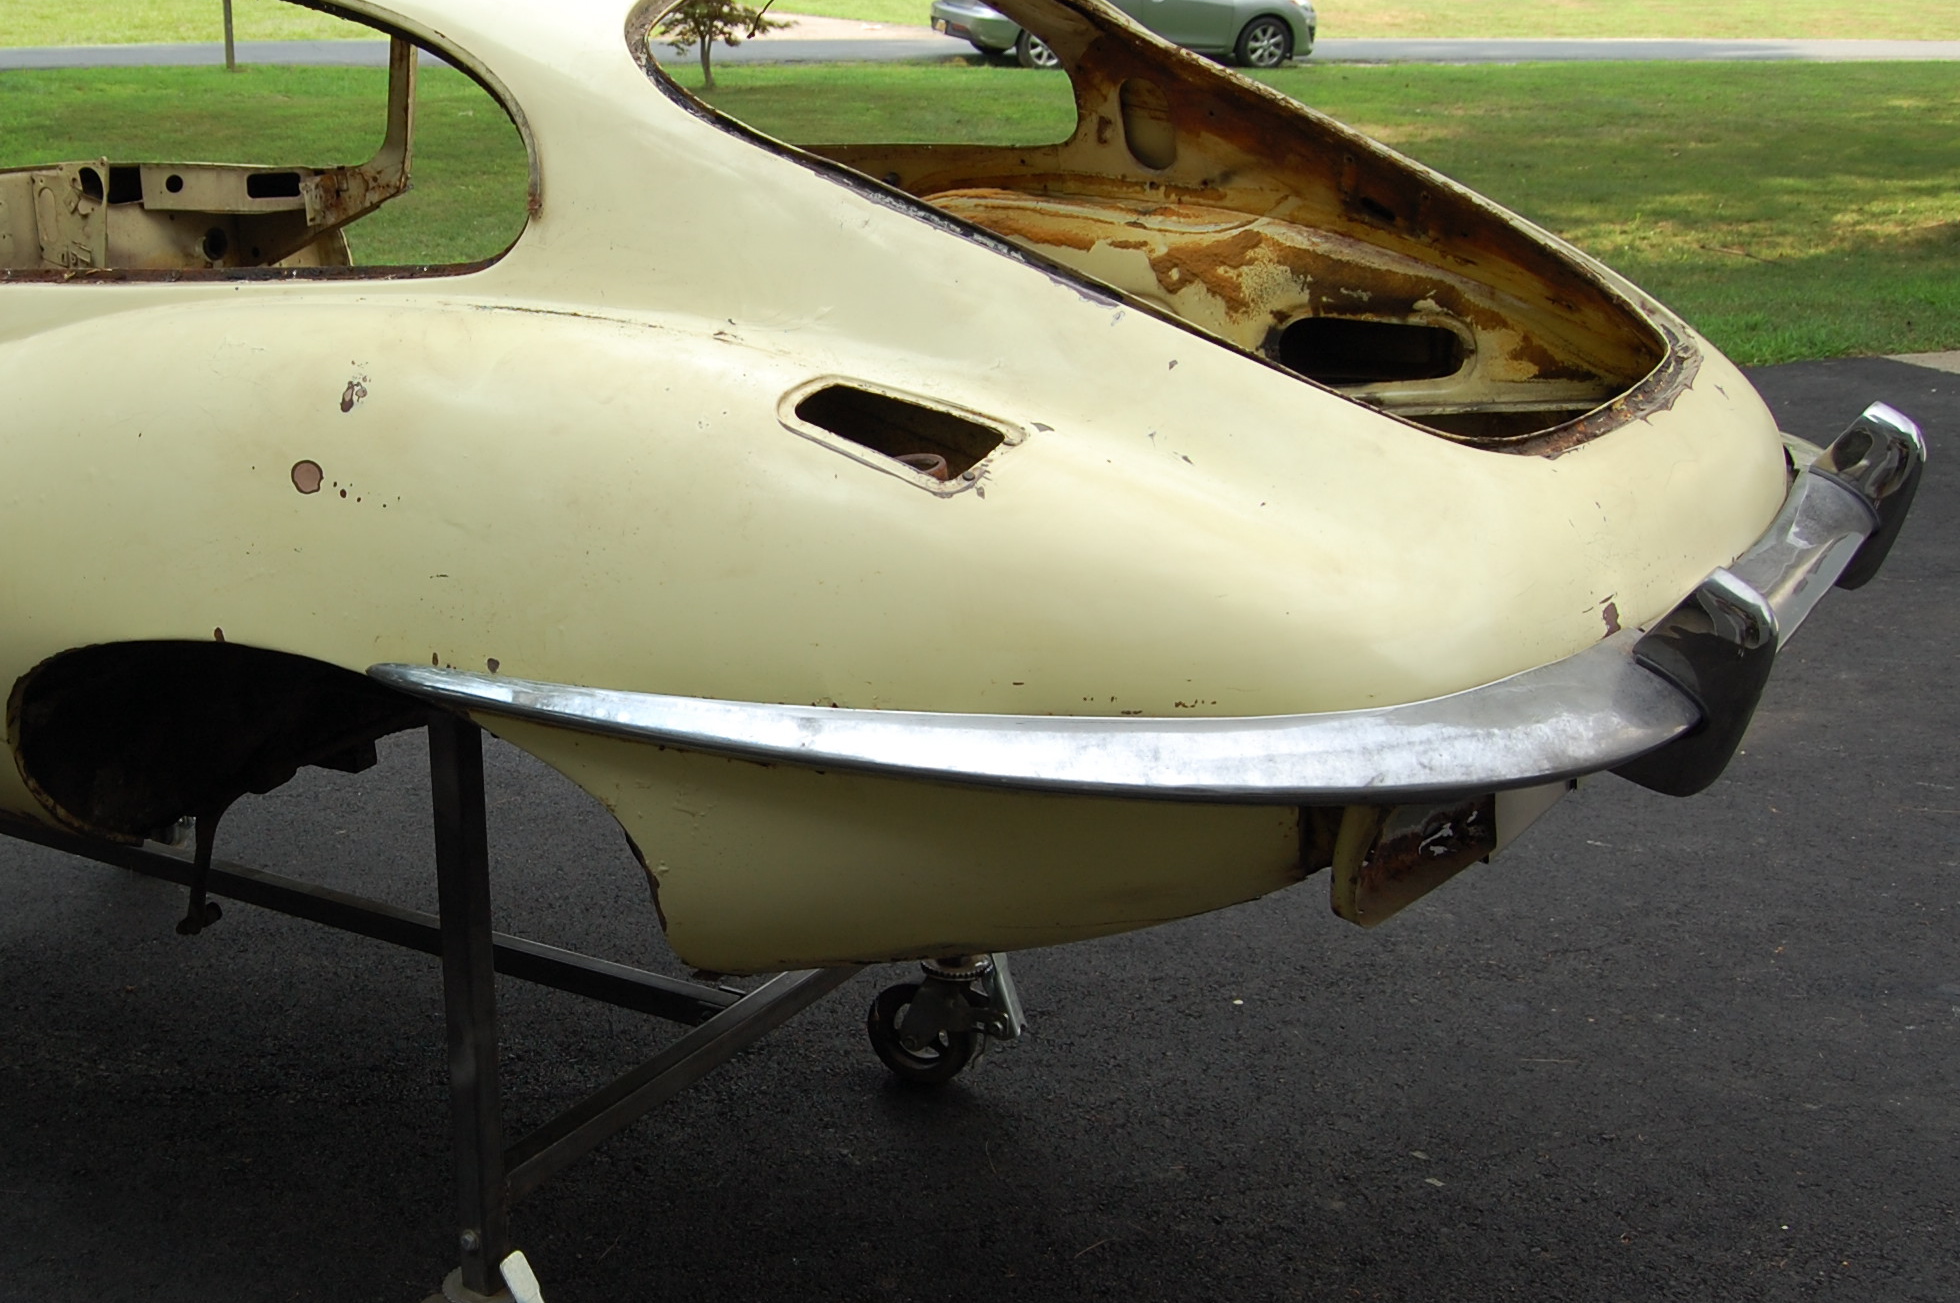
- …but after the bumpers came off, it was obvious that we had trouble ABOVE the seam – damn…
-
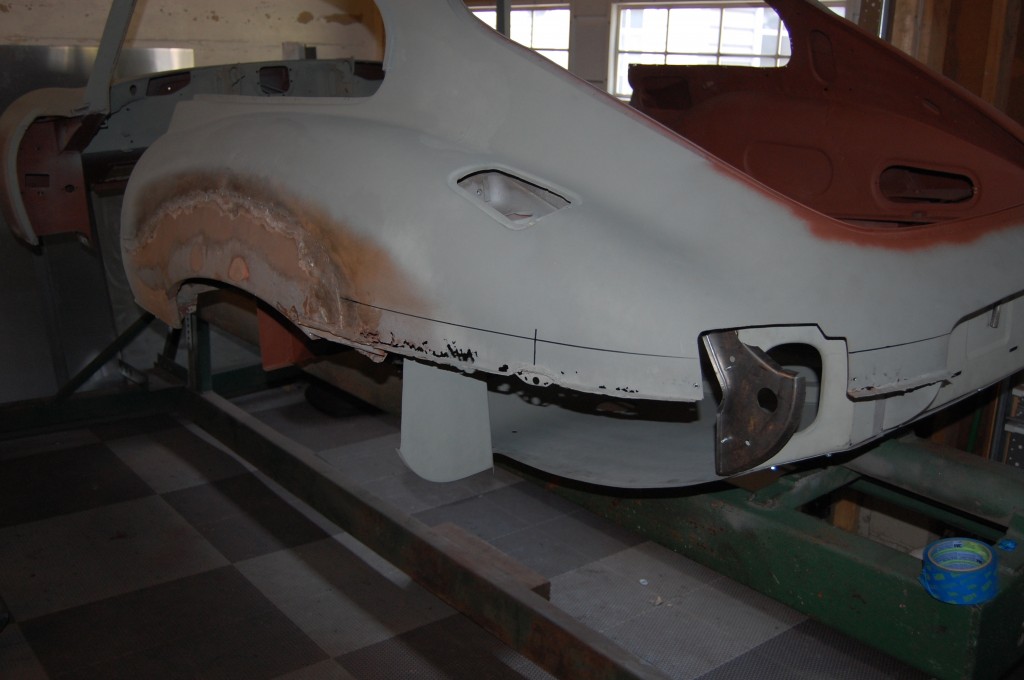
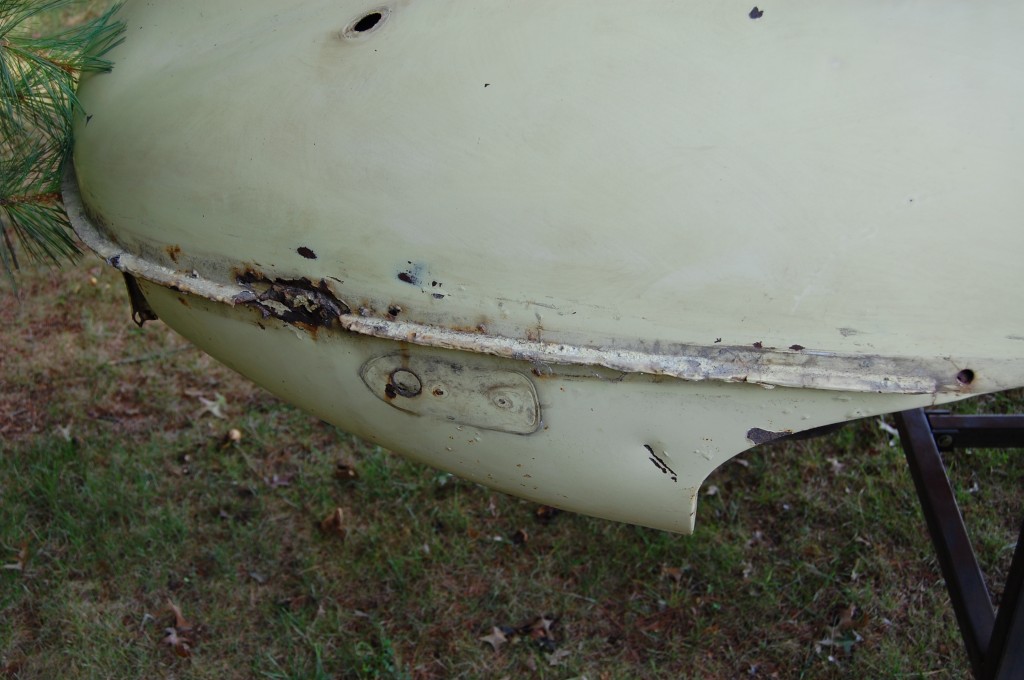
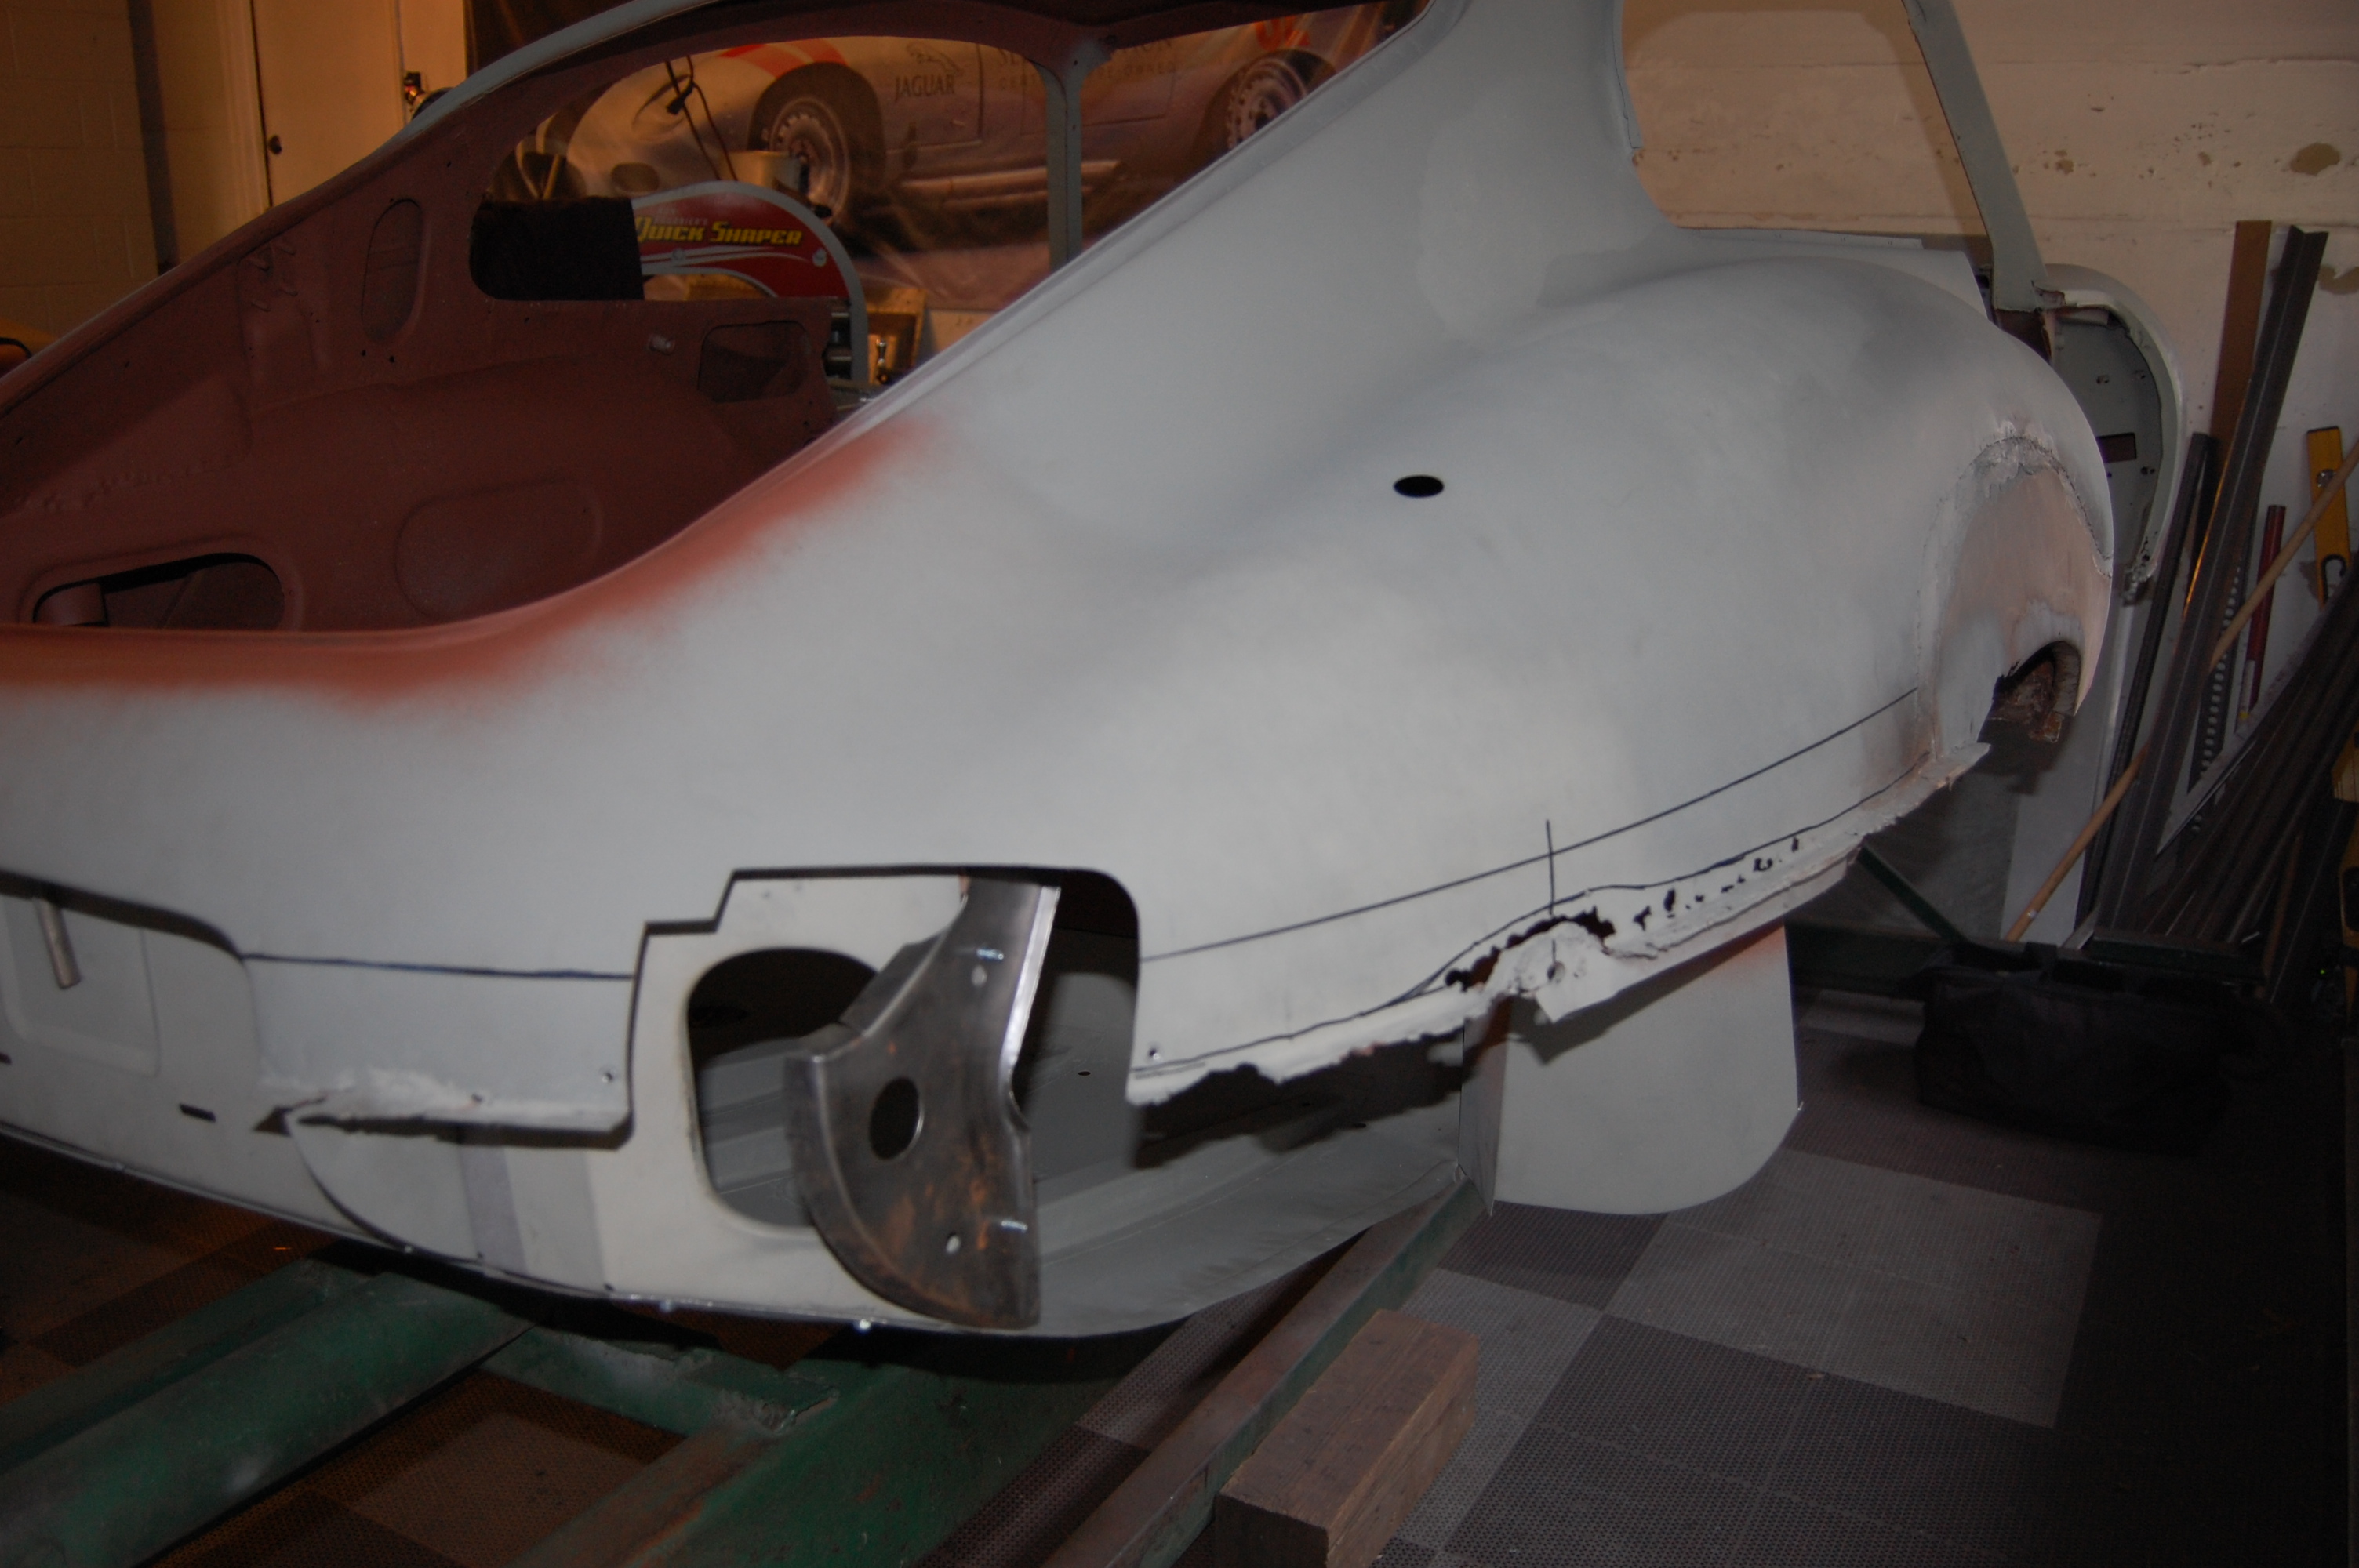
- After blasting, things just got alot worse – as usual…

-
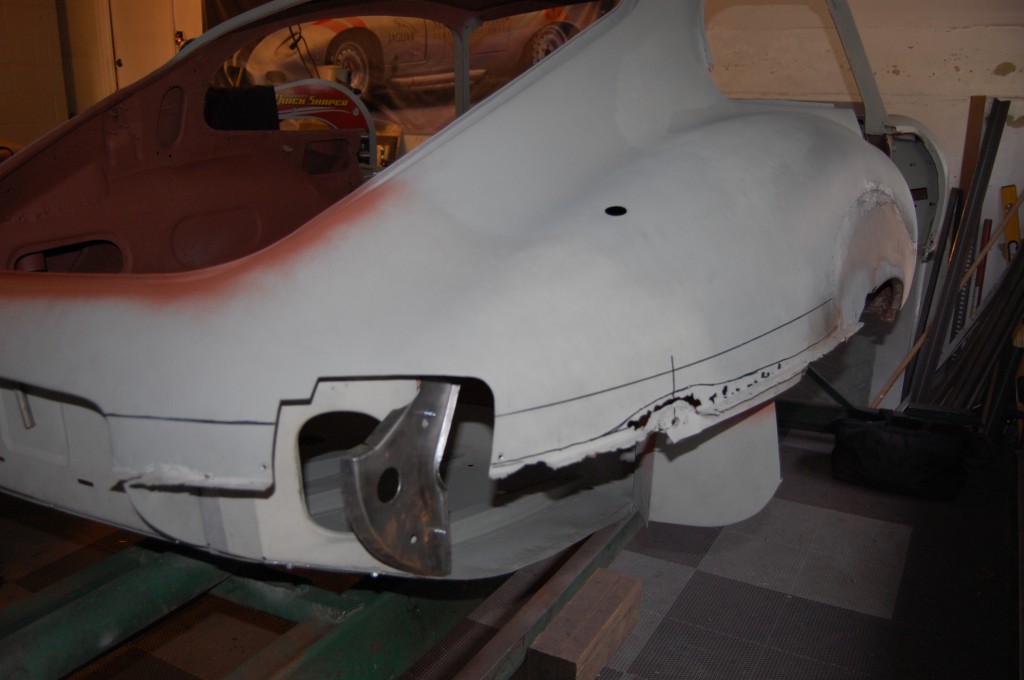
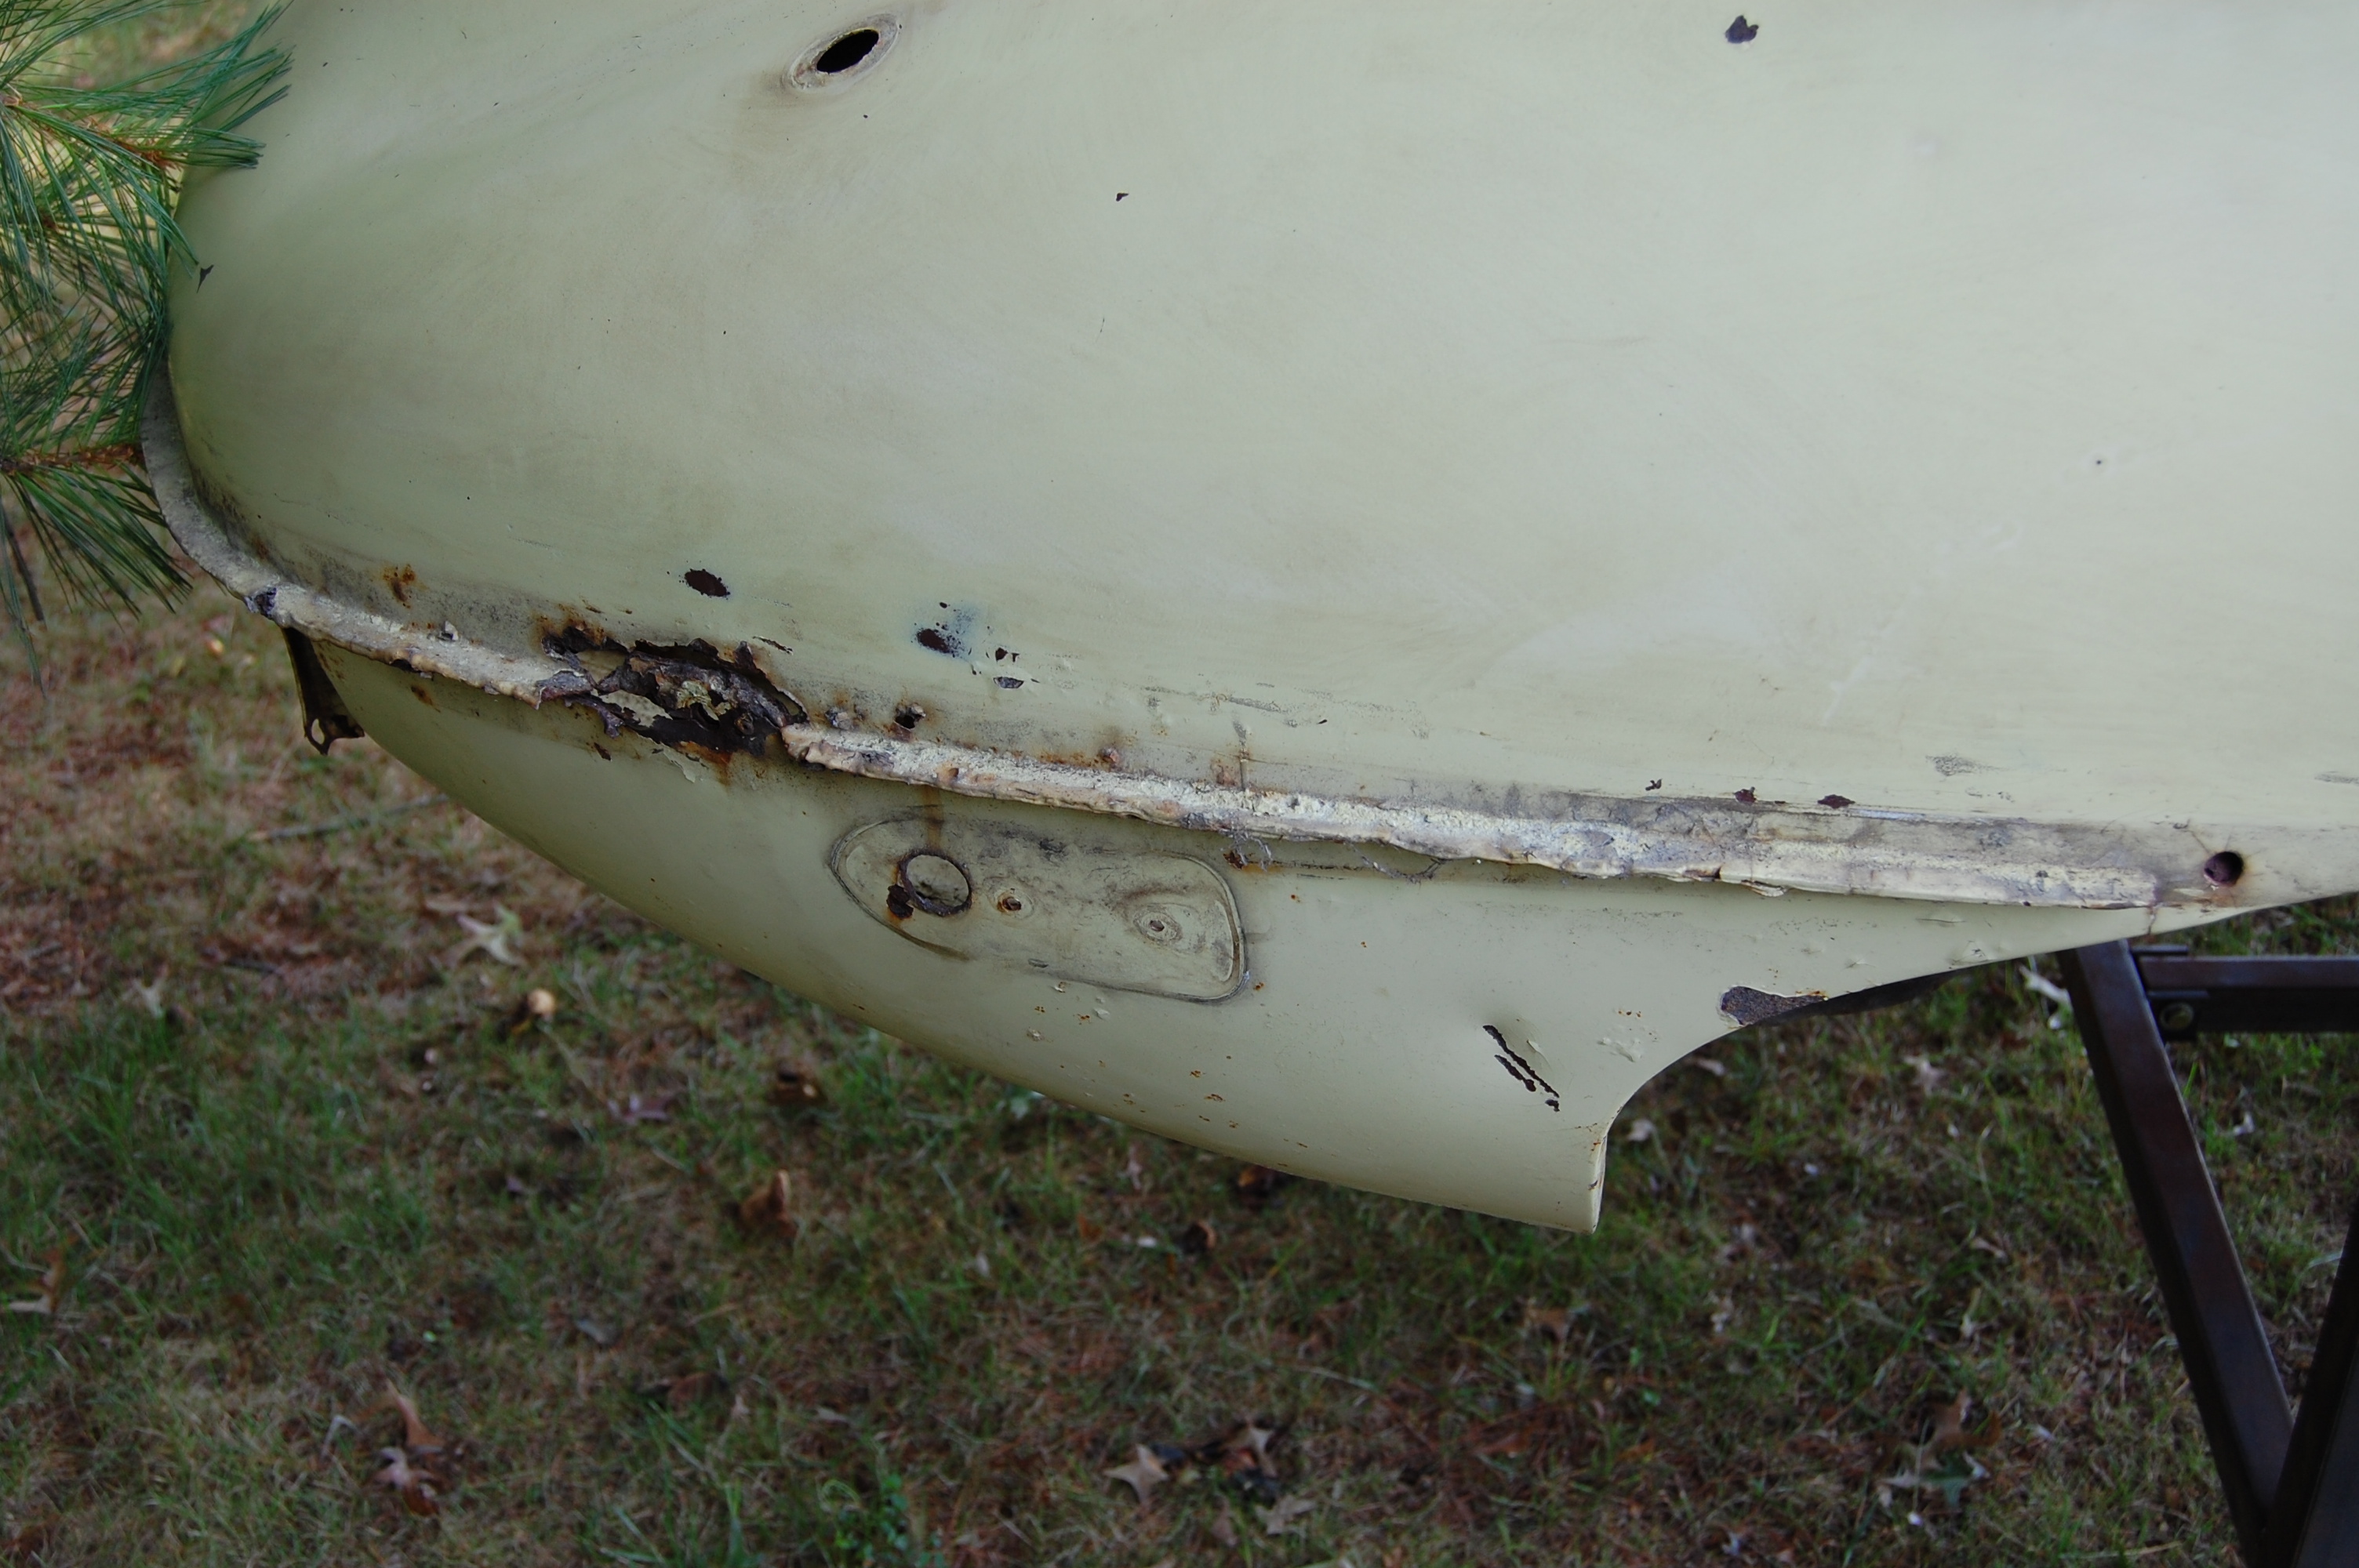
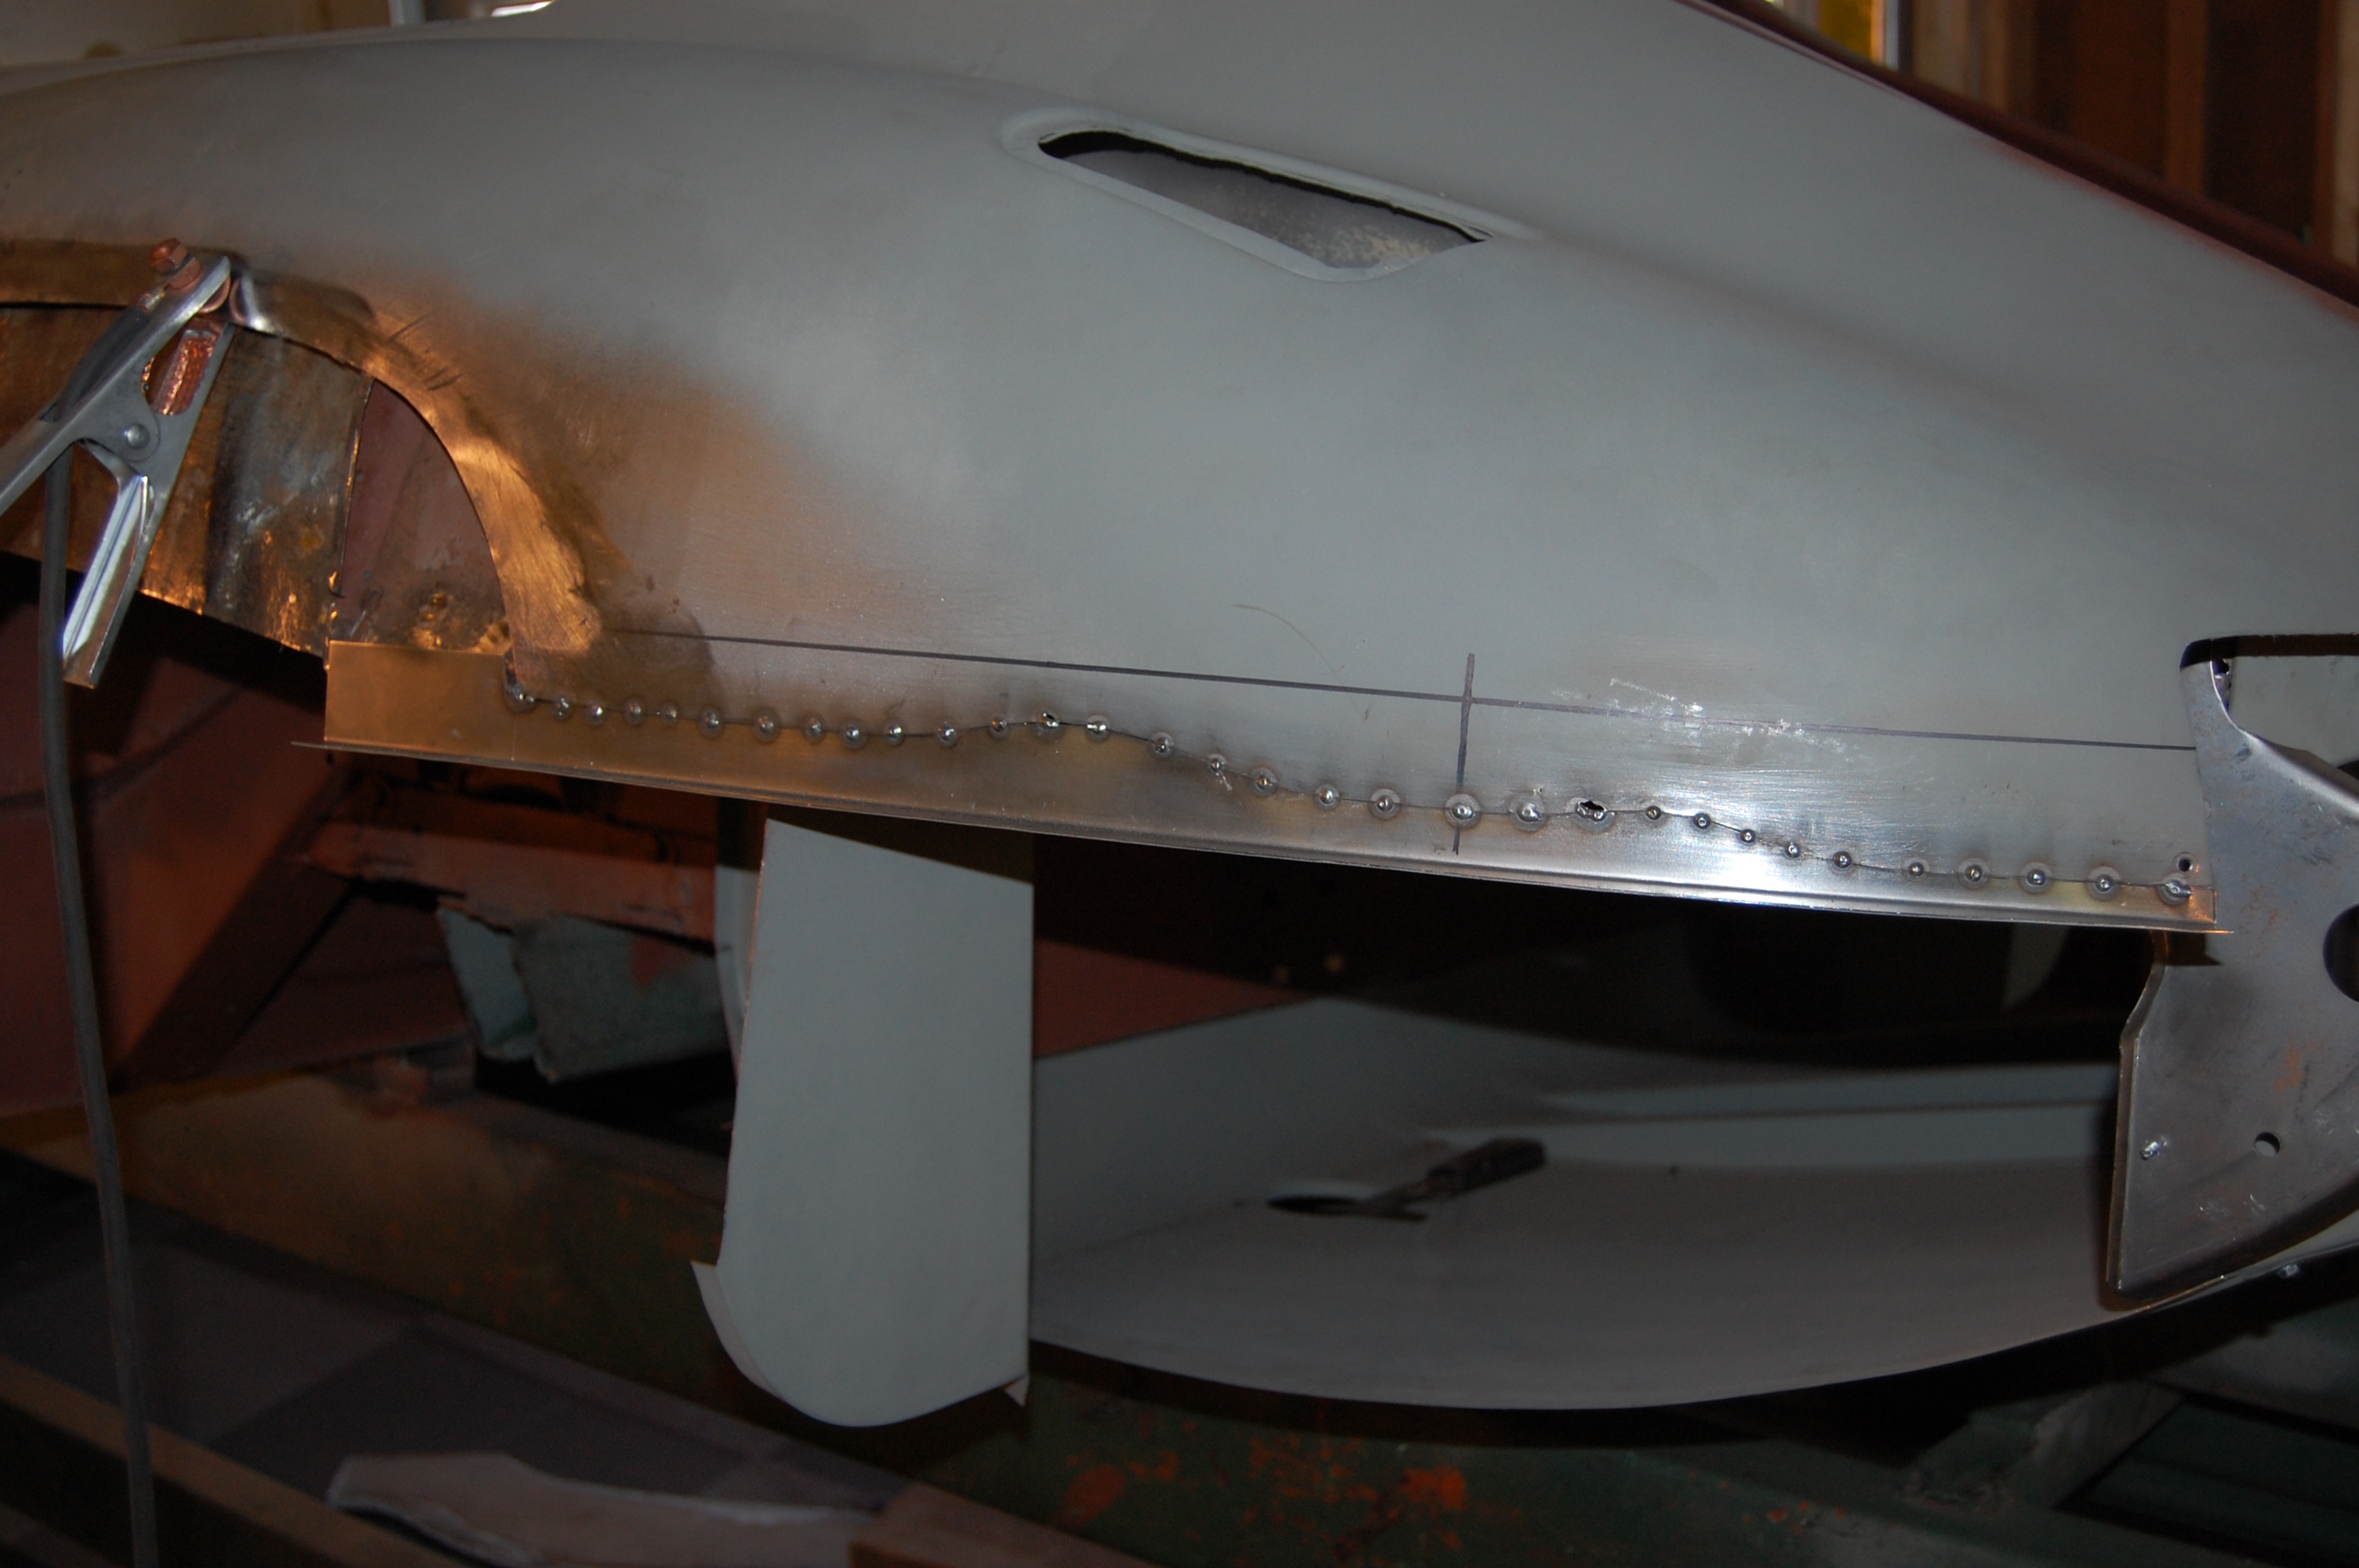
- Things were really bad on this side – especially around the bumper bolt. Note the two lines – the bottom one is where the cut will be – we are trying to keep it as close to the flange as possible – the flange will give strength top the panel and reduce the opportunity for the weld heat to buckle things. The top line is a known distance from the flange fro reference during the repair.
-

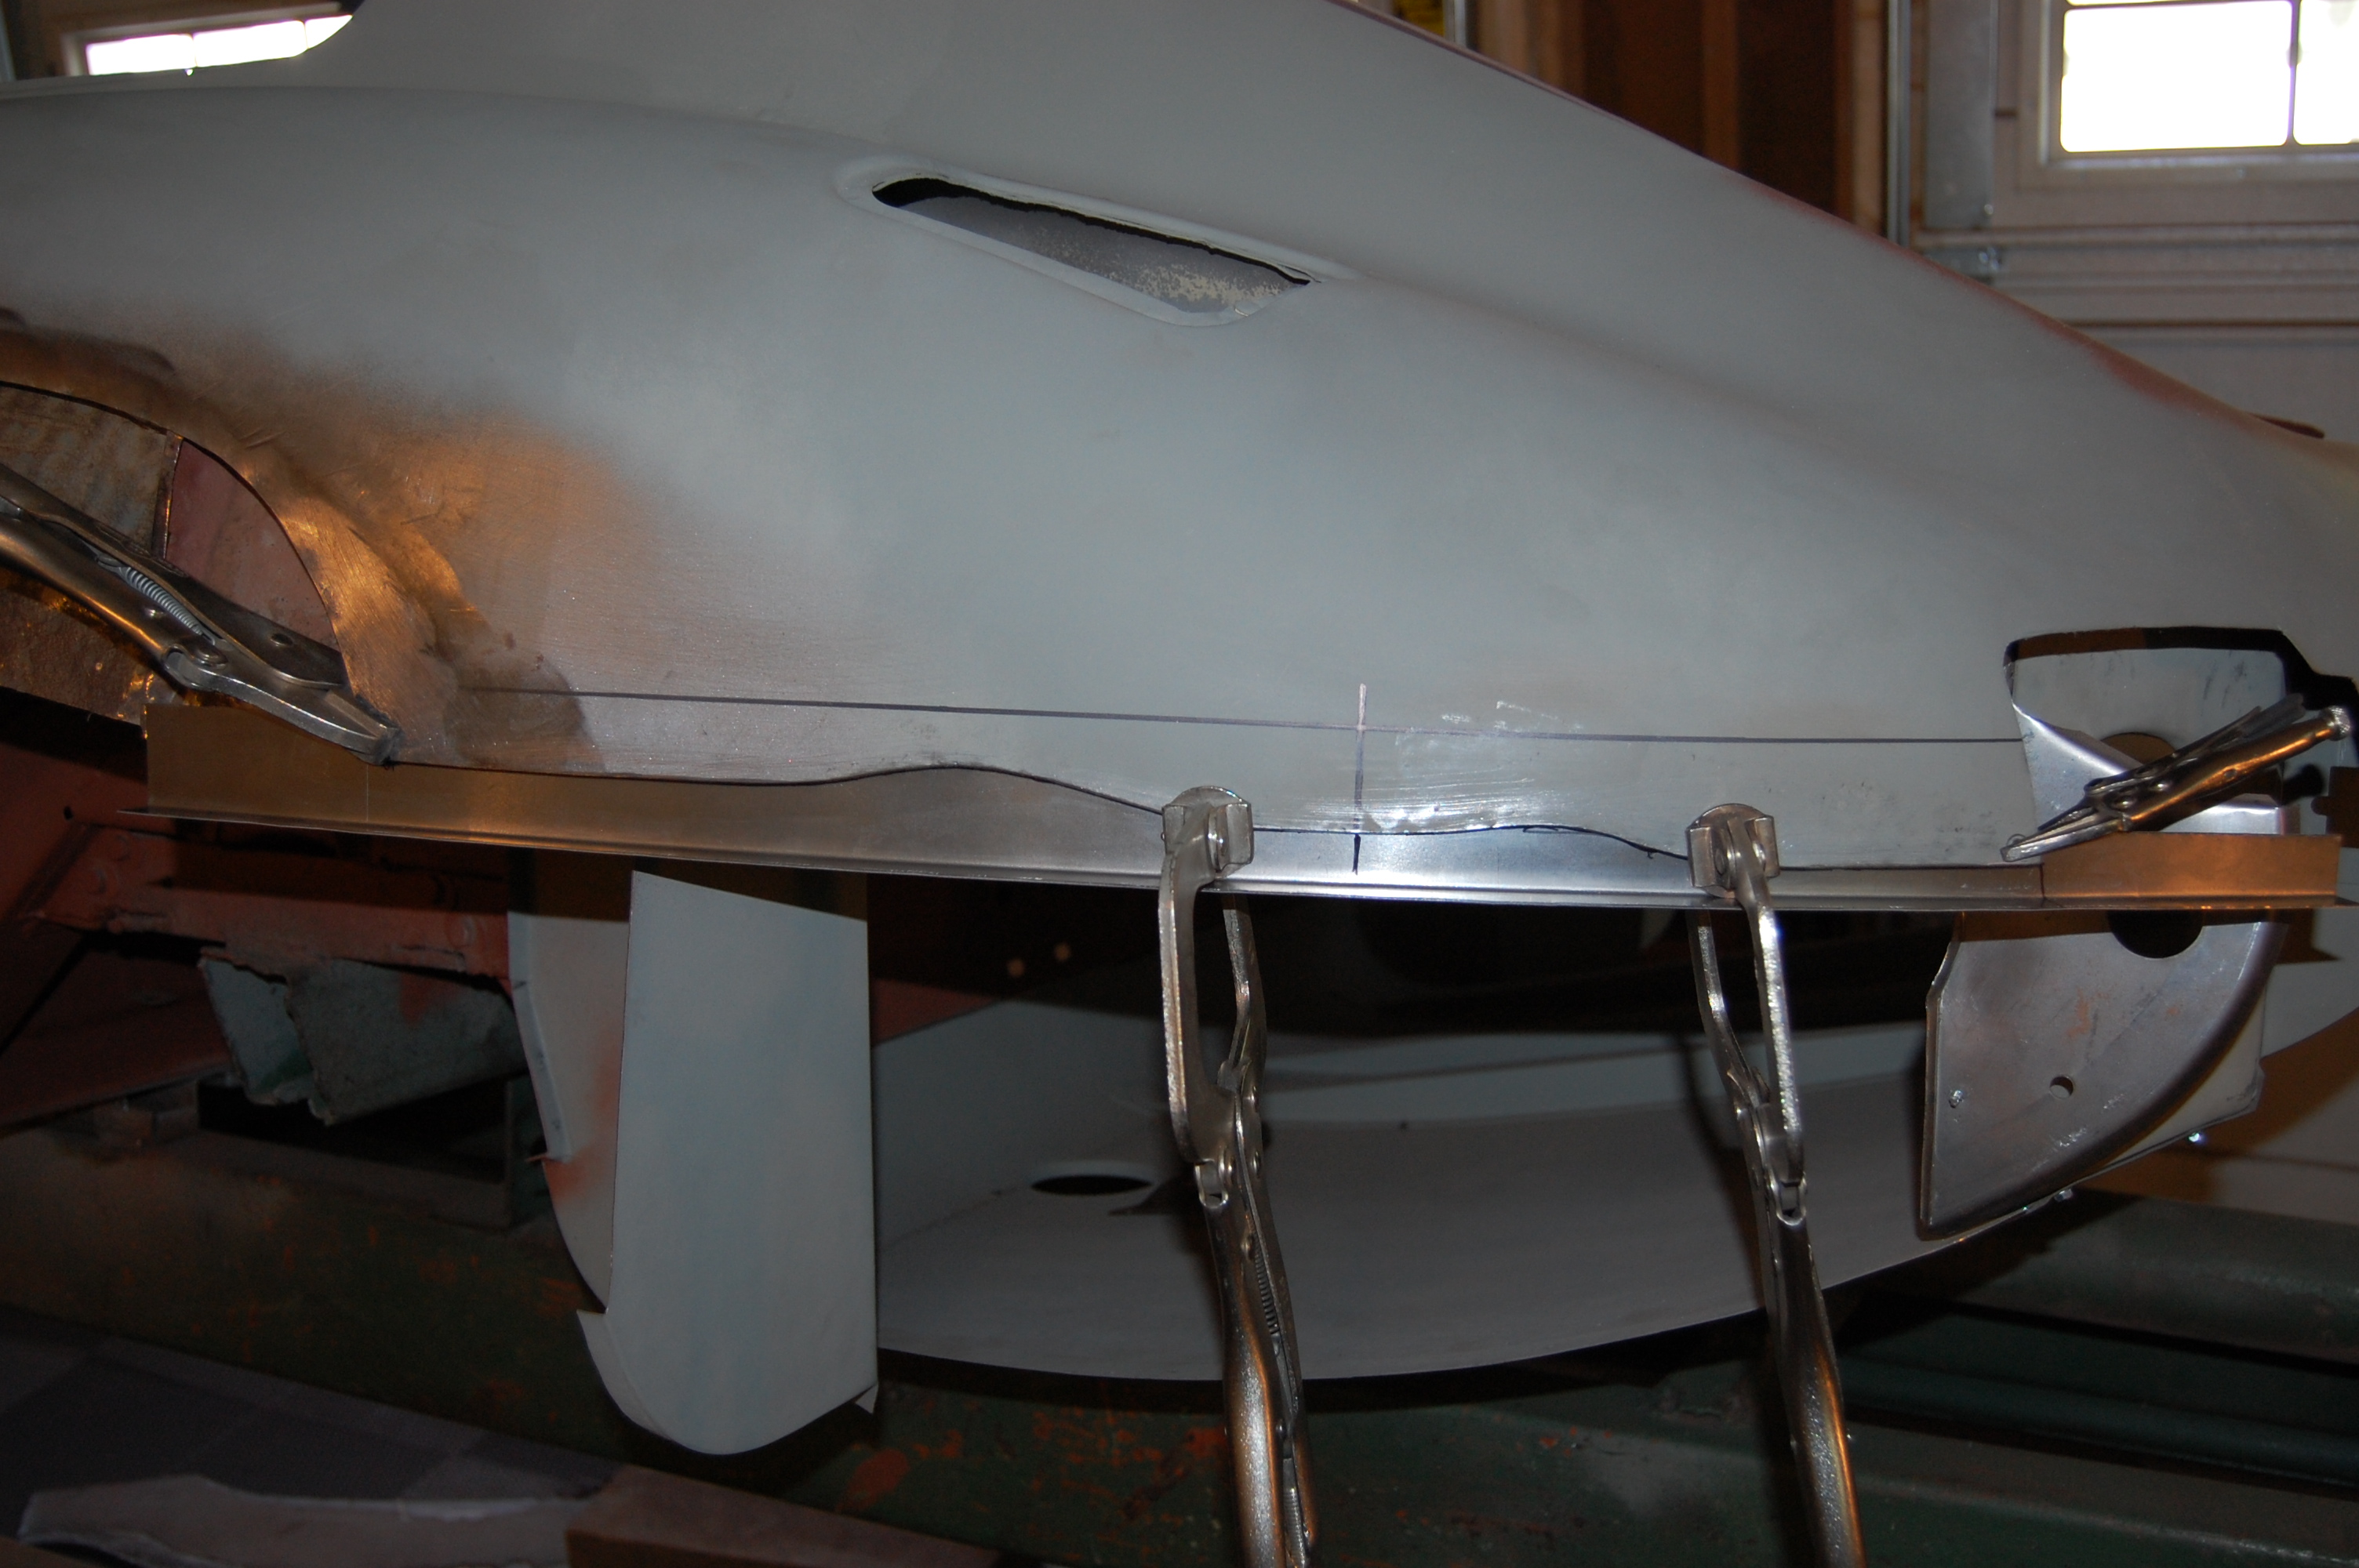
- LH patch is formed up and being fitted into place.
-

- Now it is tacked in with the MIG. Note that a couple of the tacks have burned through – the metal was thin there and we probably should have gone a little higher with the cut. Oh well – the TIG will fill it in.
-

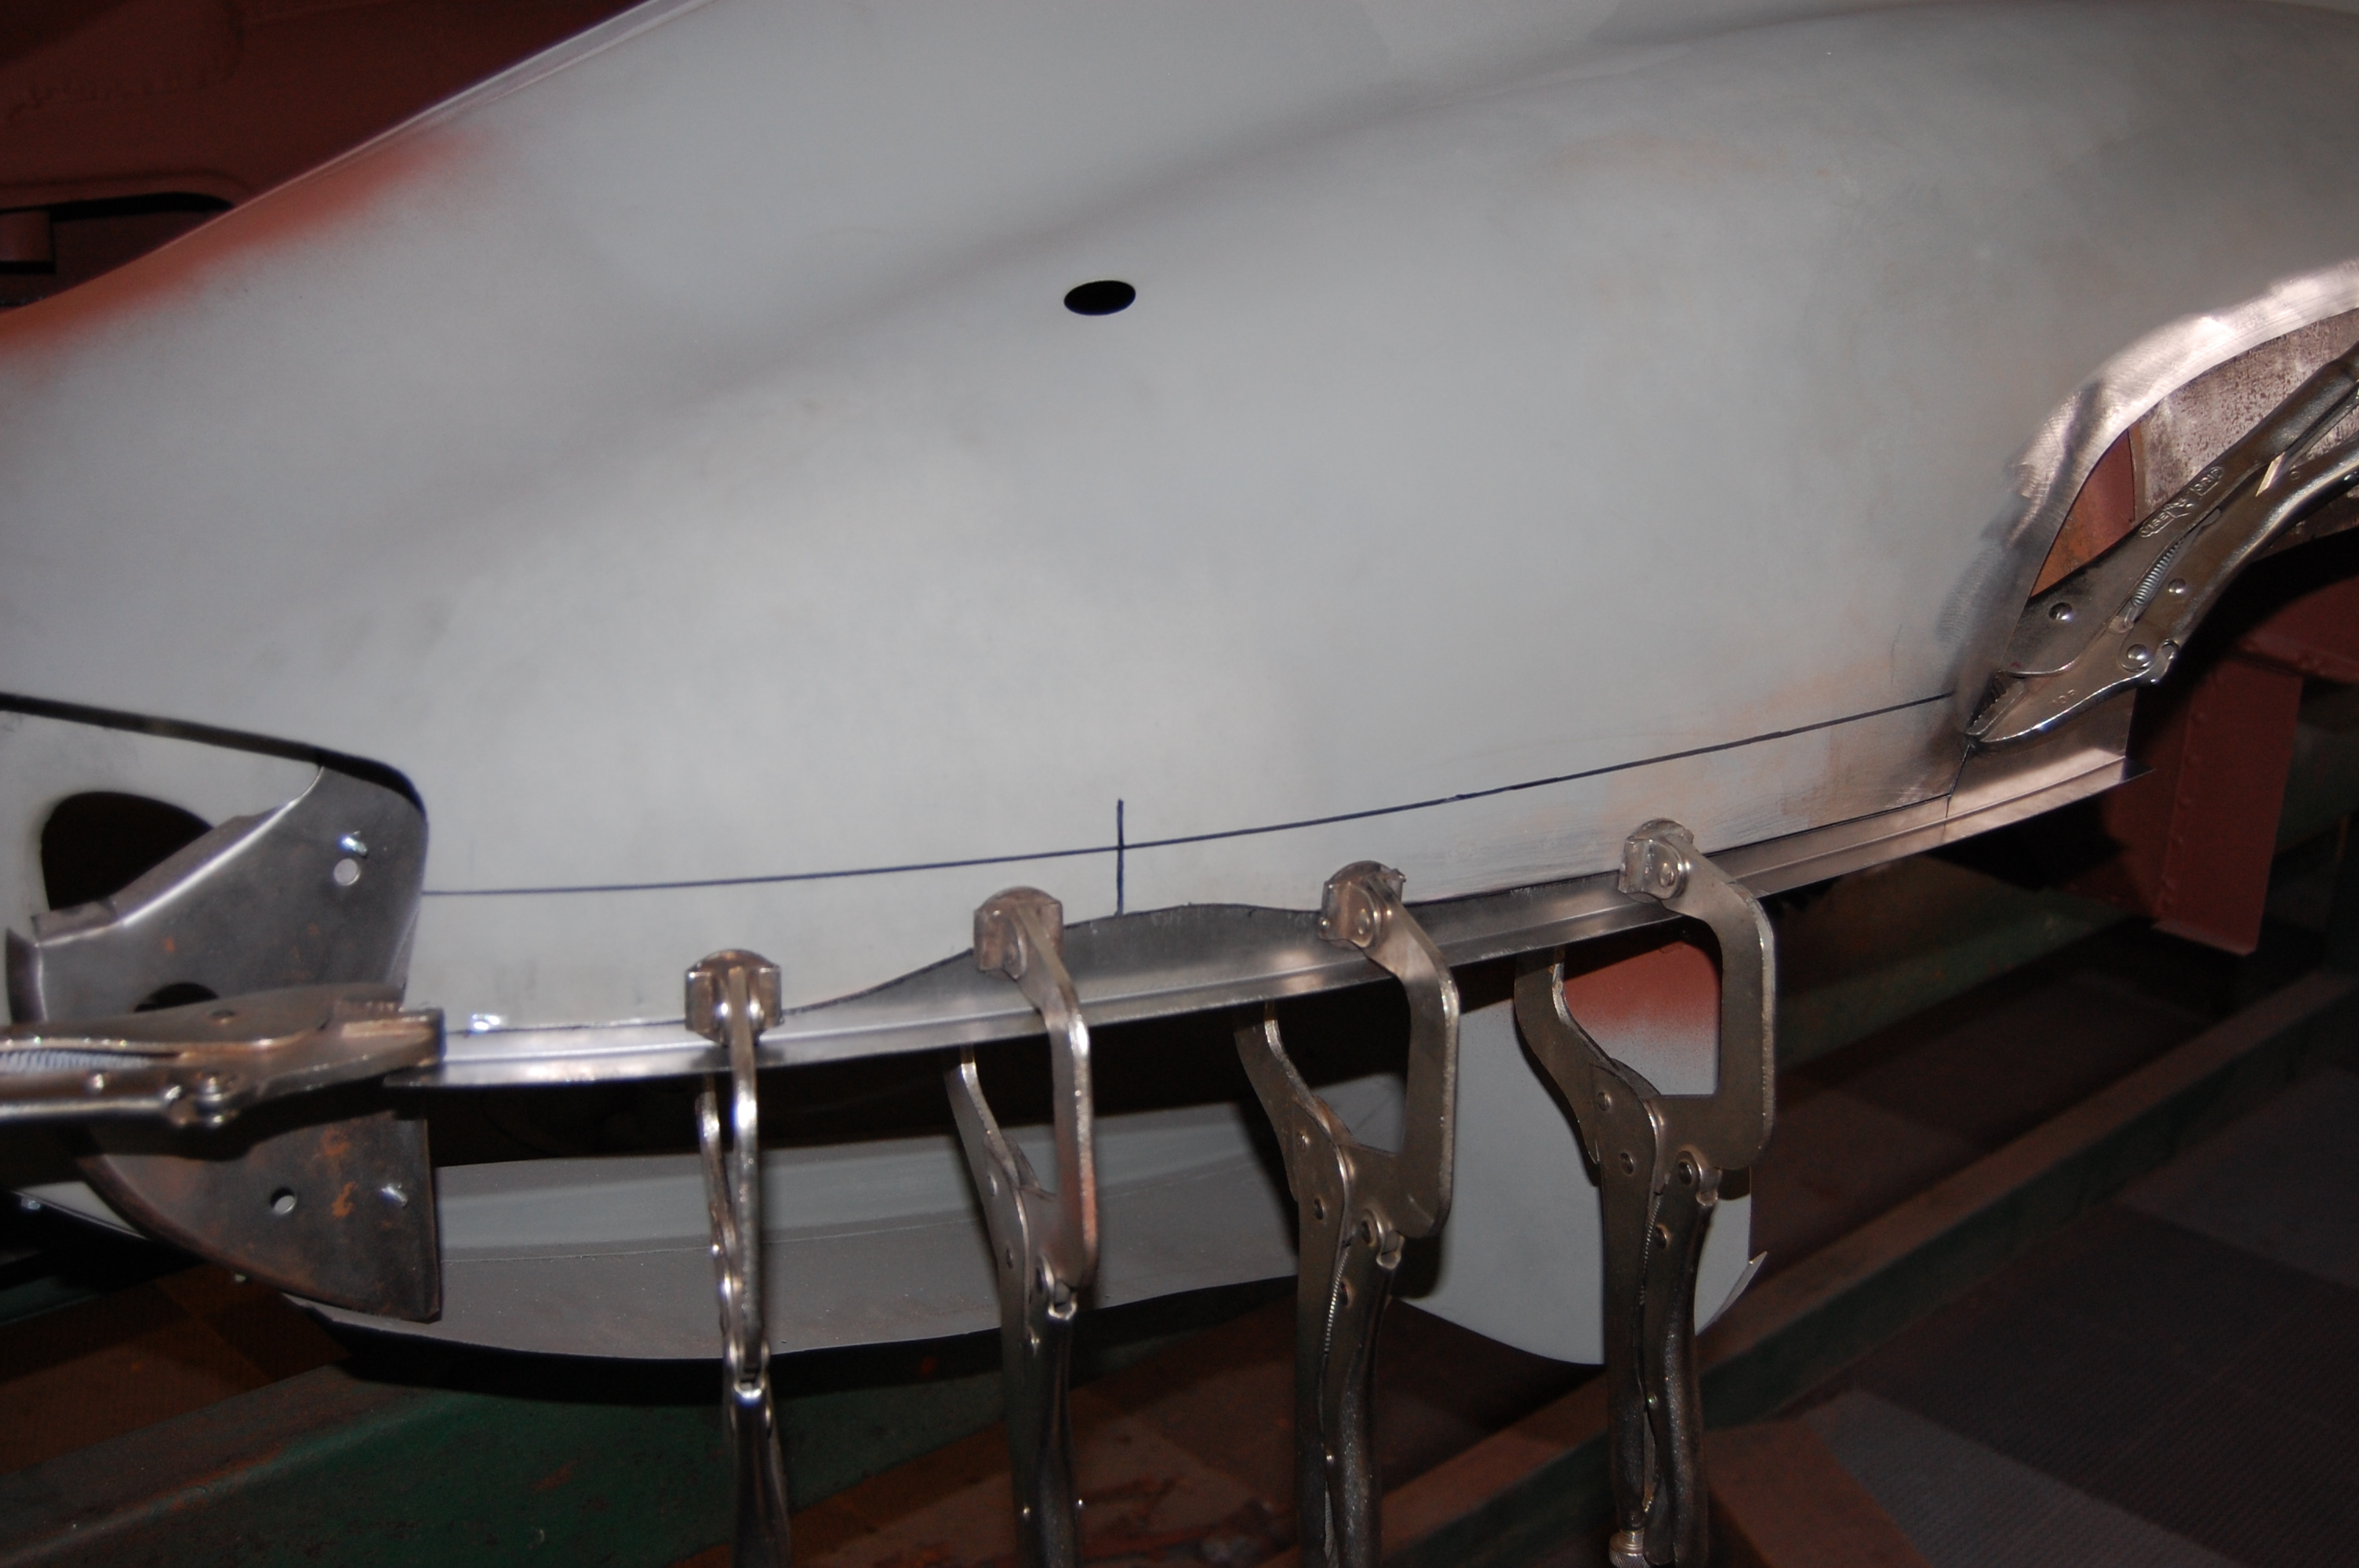
- Here is the RH patch being fitted.
-

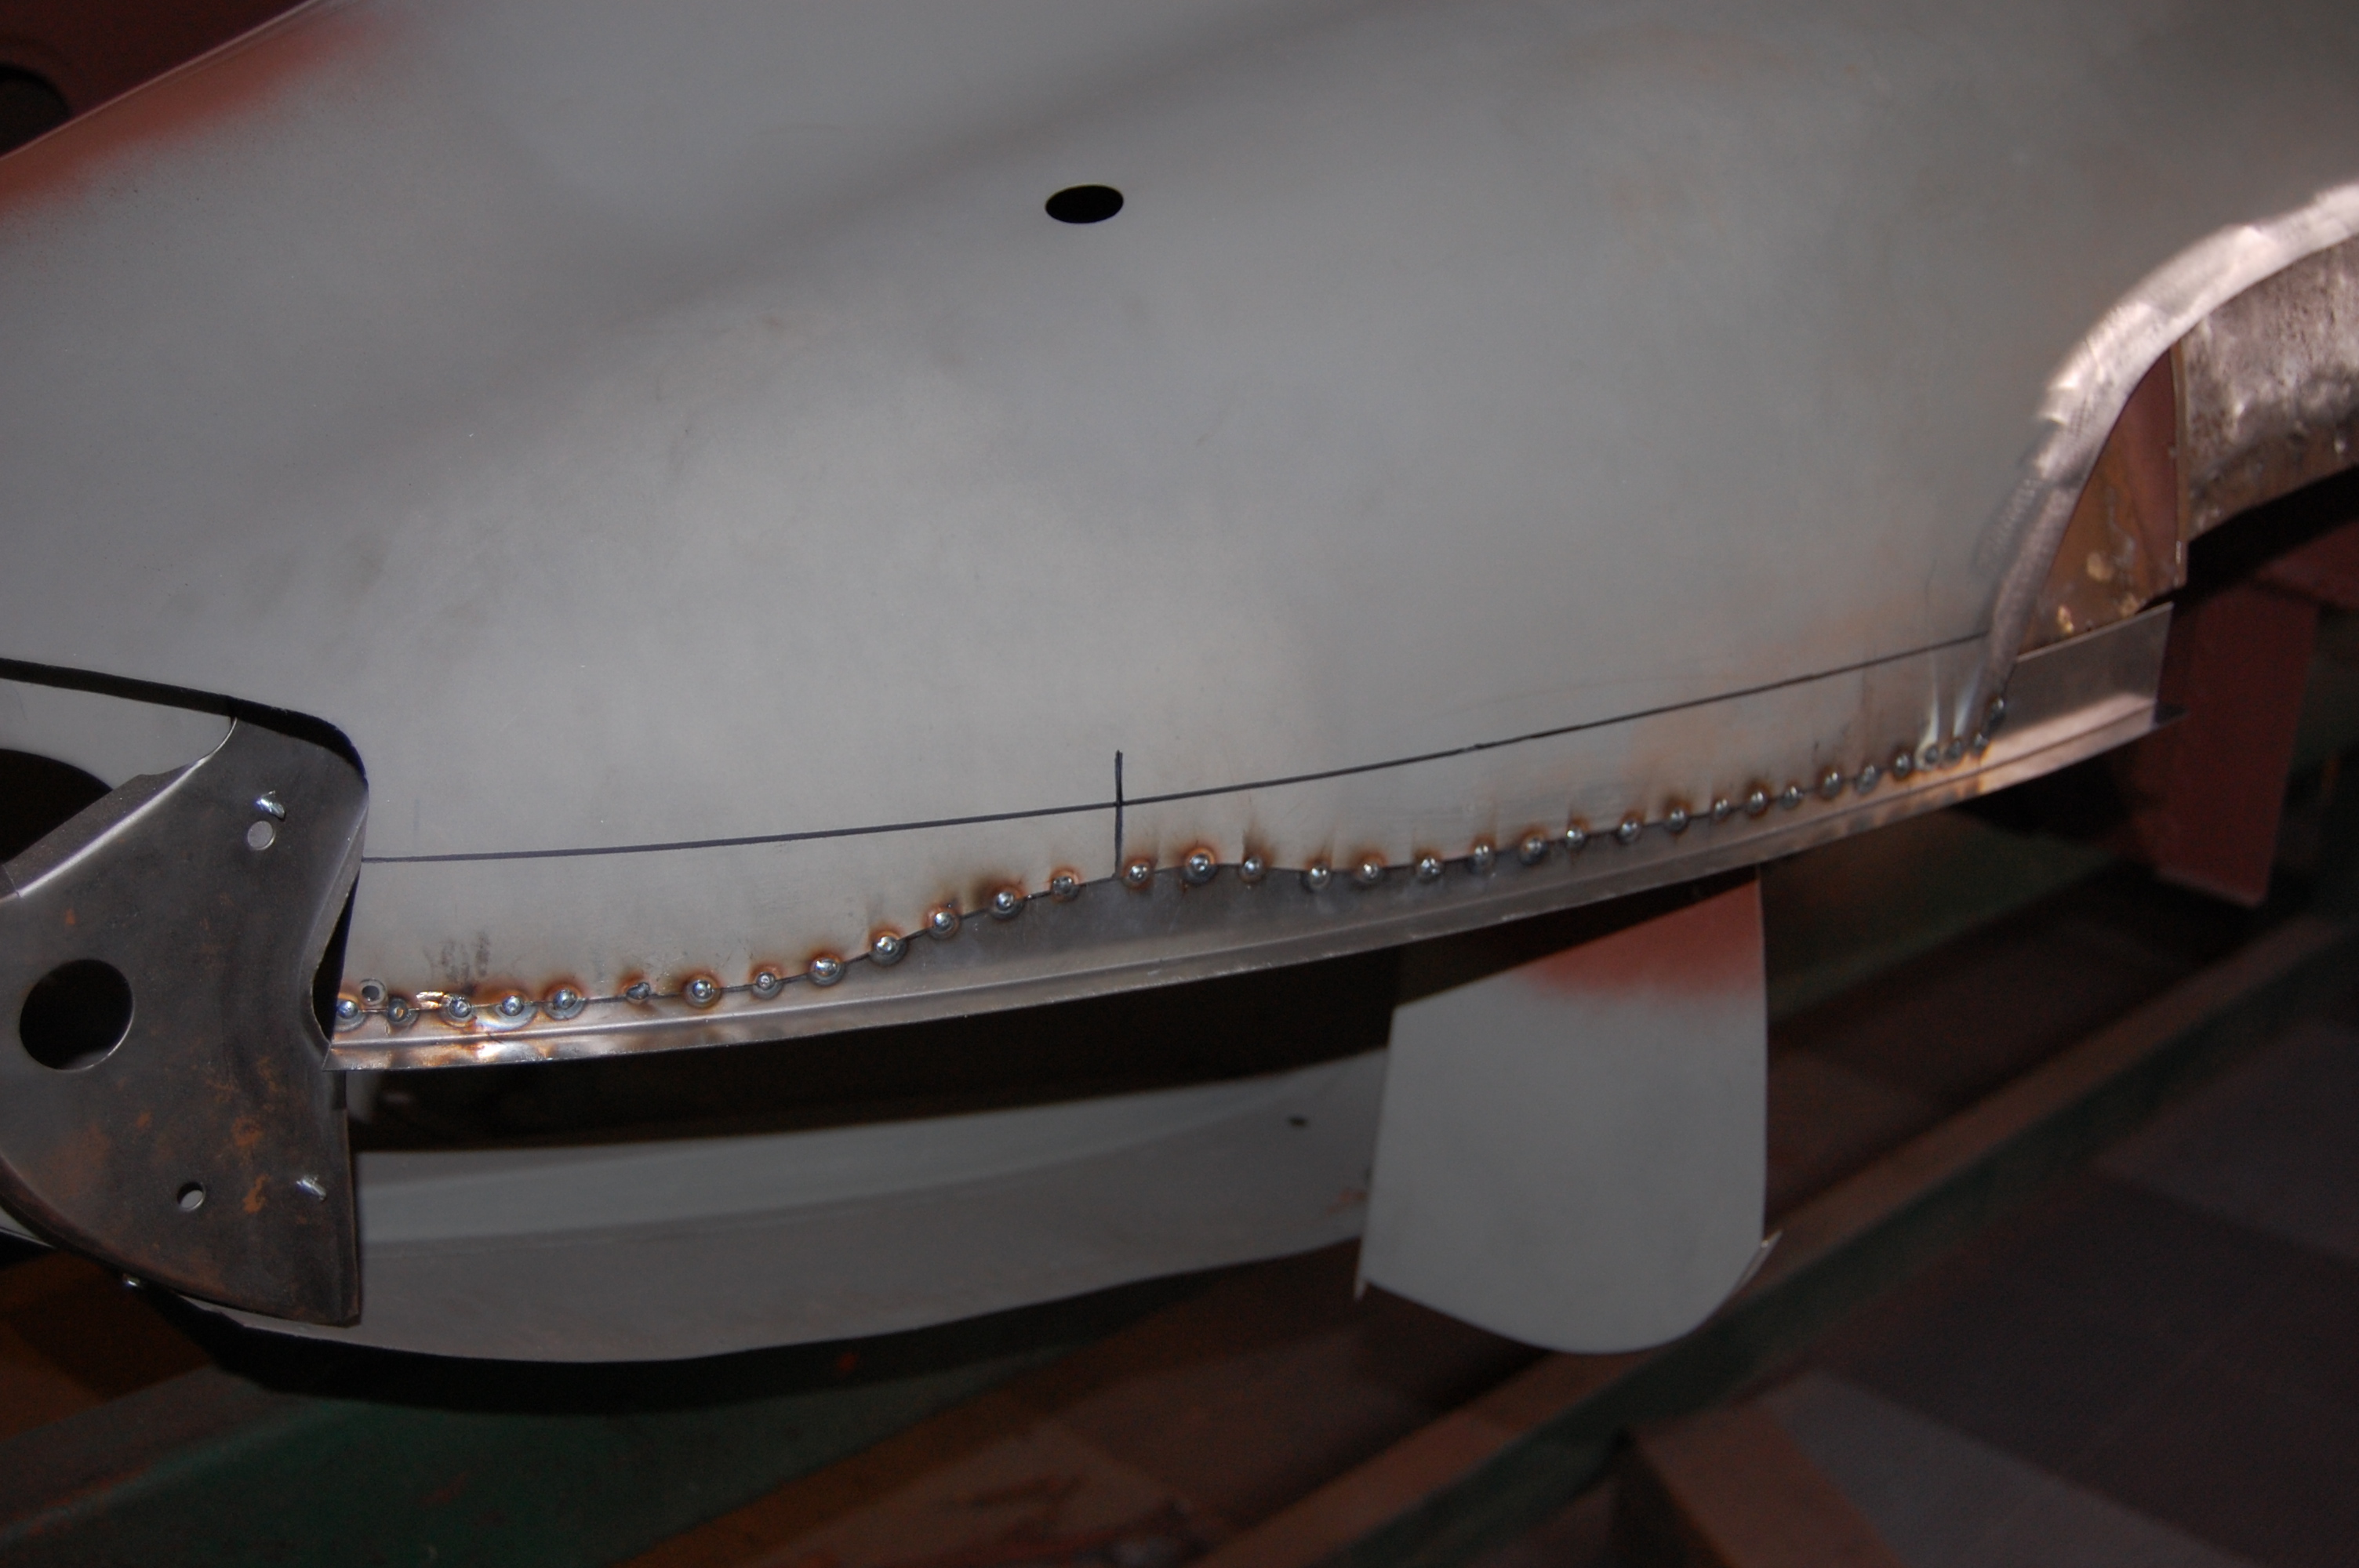
- …and tacked into place…
-
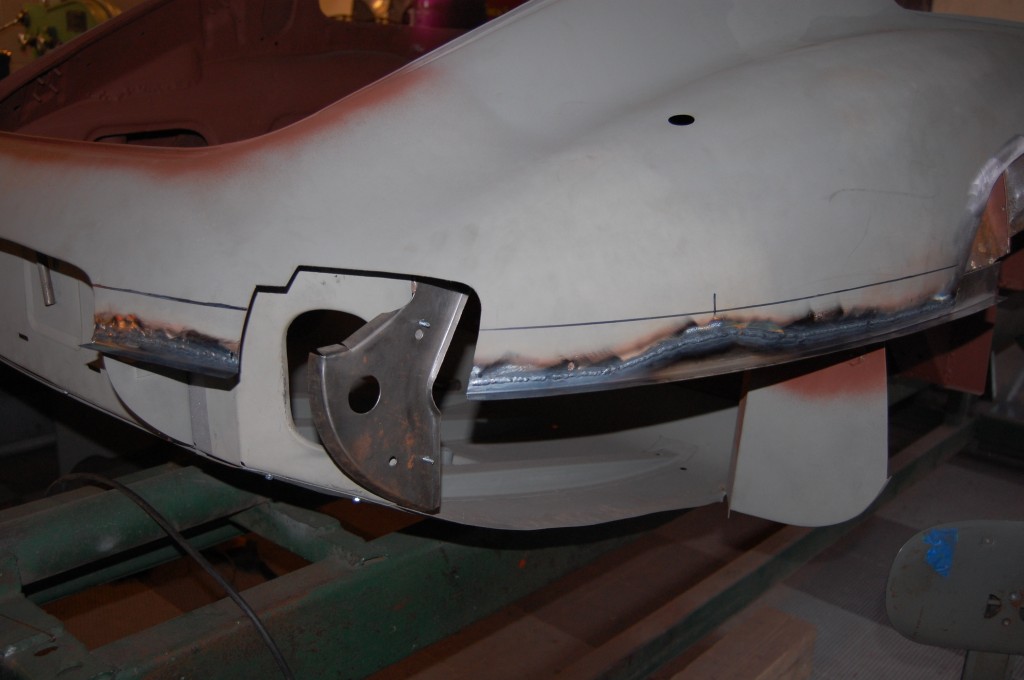
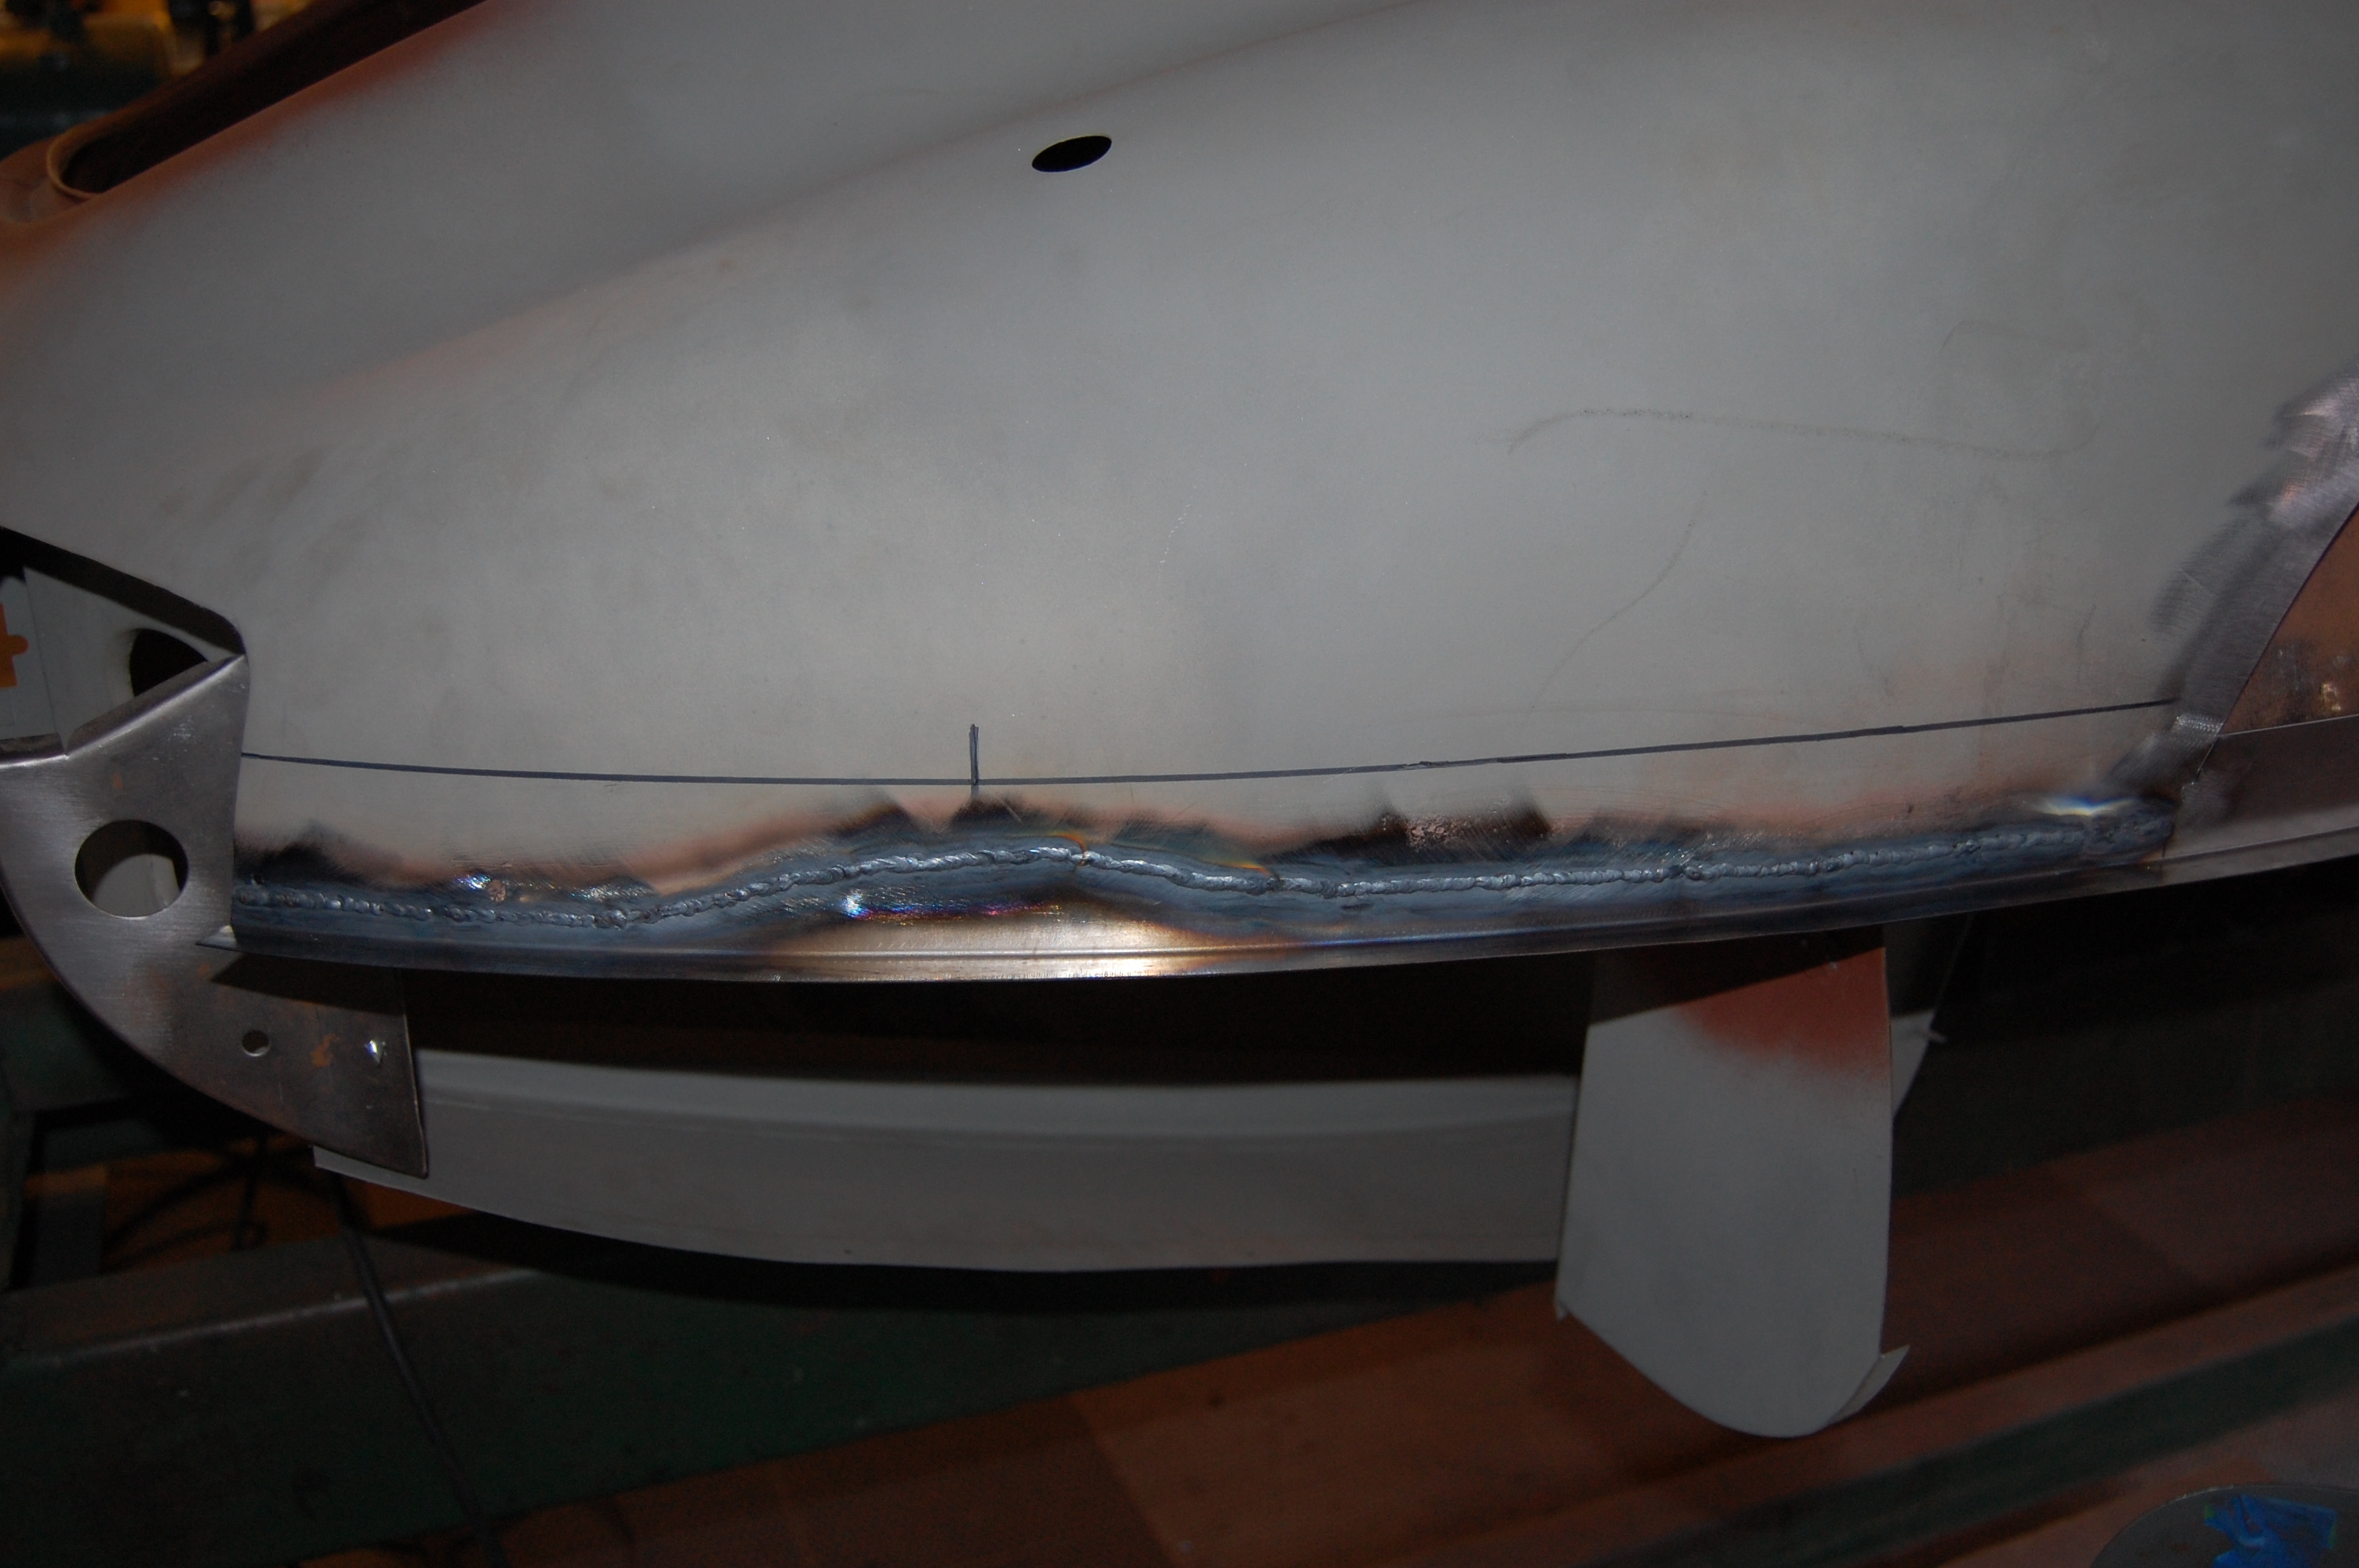
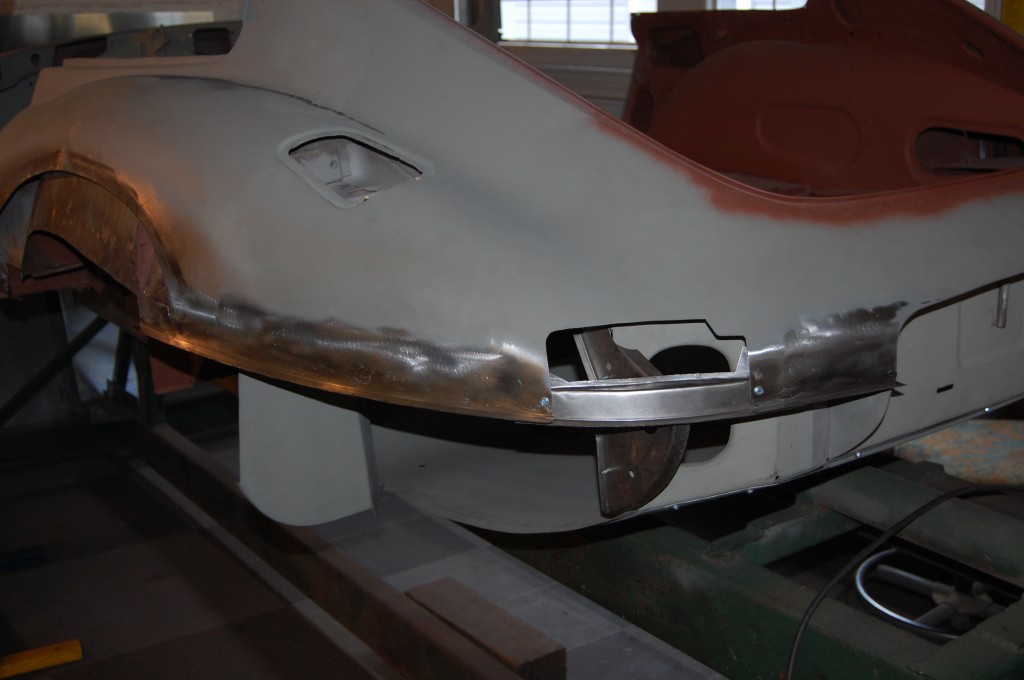
- …and TIG welded.

-
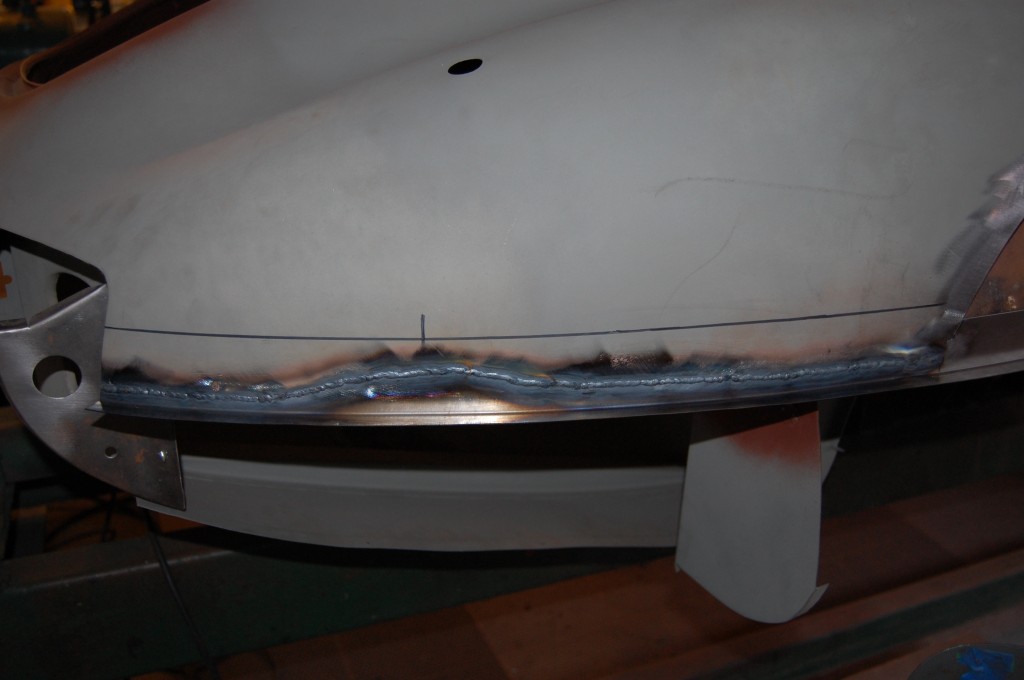
- This seam turned out well in the end, with no buckling of the wing at all.
-
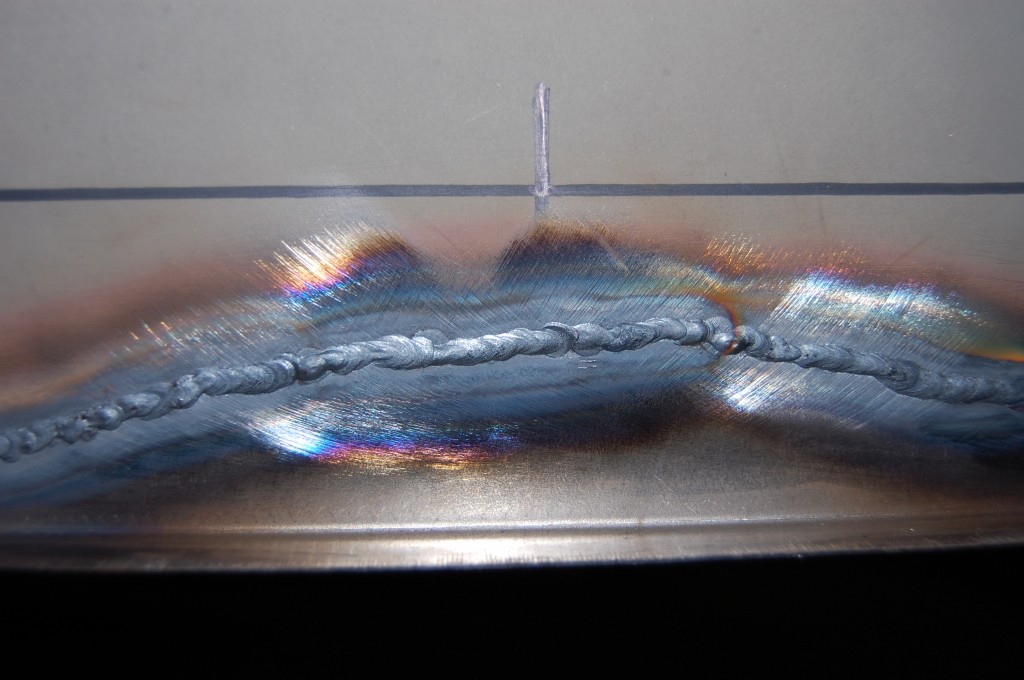
- This is very delicate work – takes alot of practice…

-
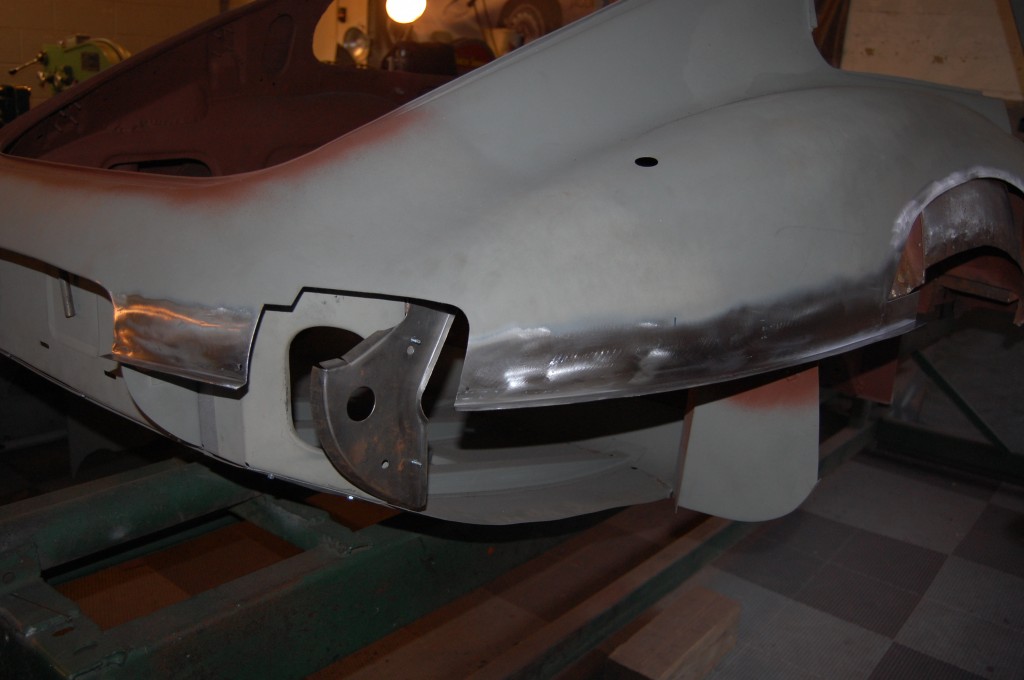
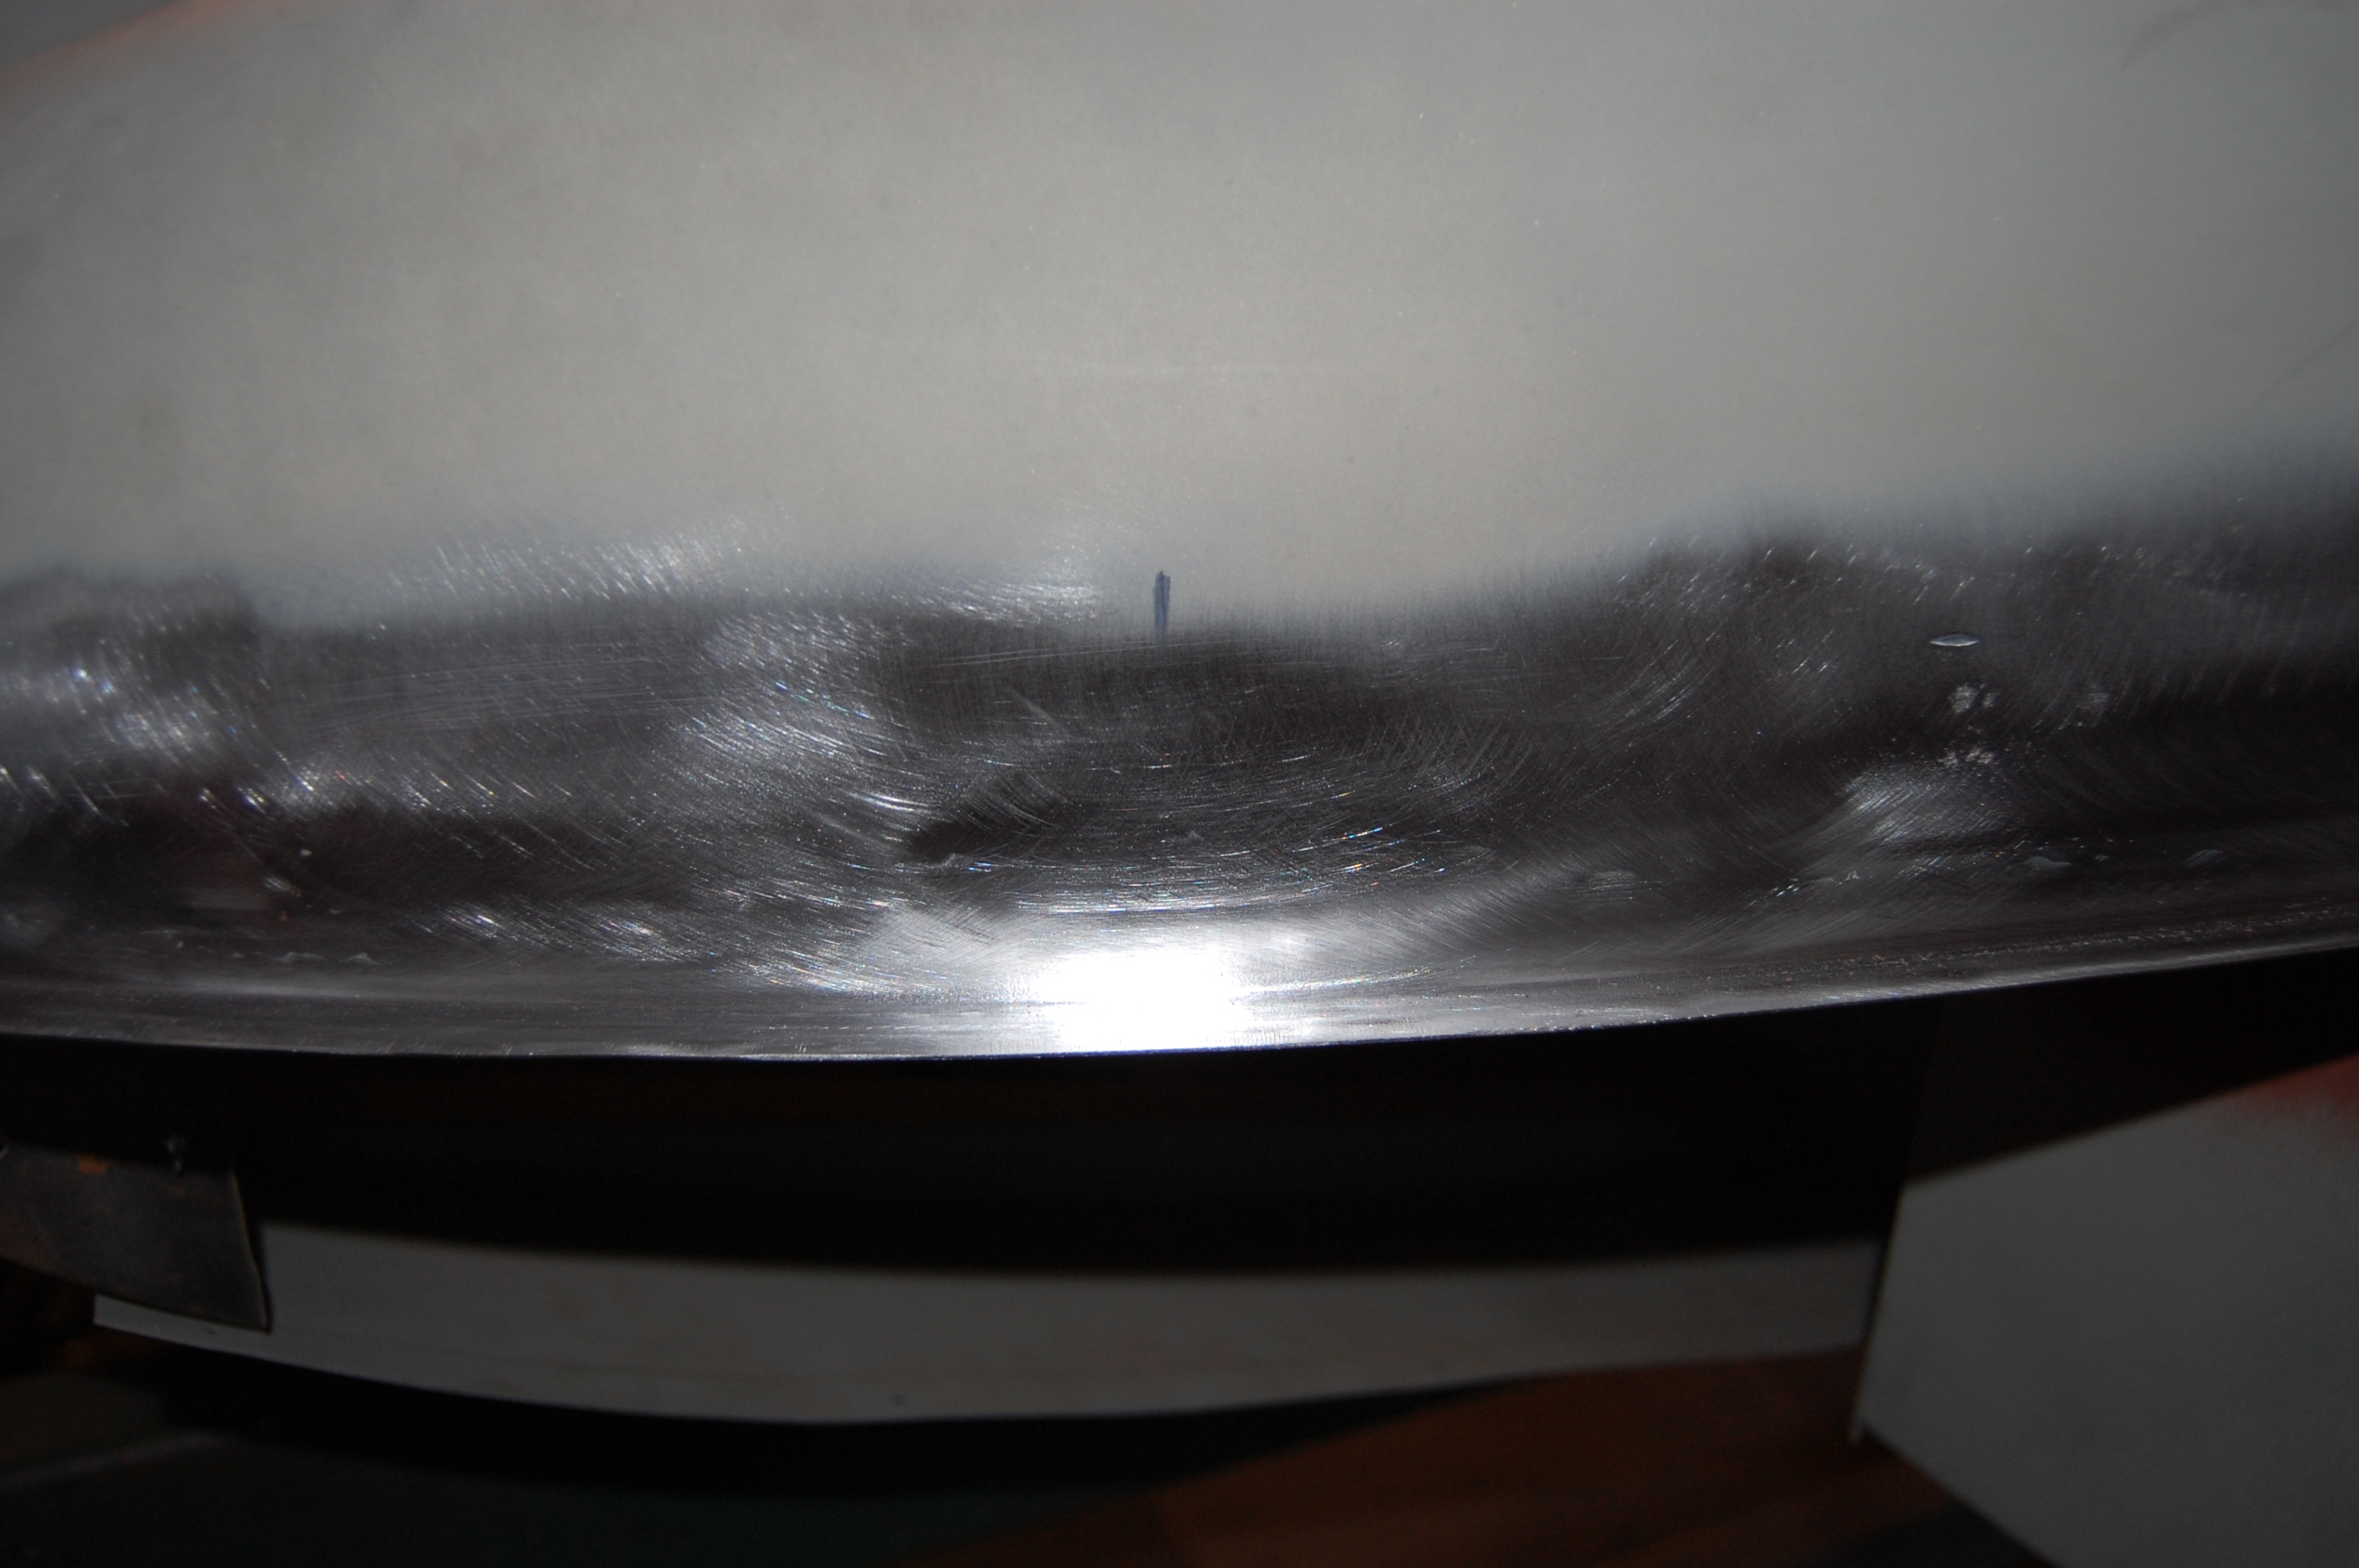
- Here is the completed repair, dressed down.

-
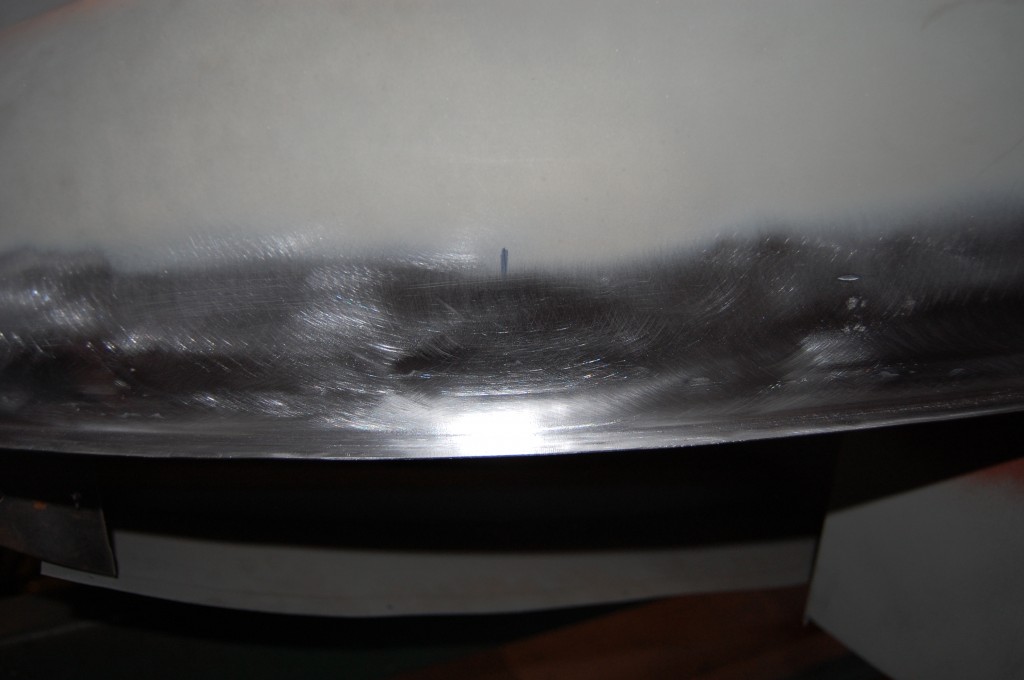
- Like it never happened!
-
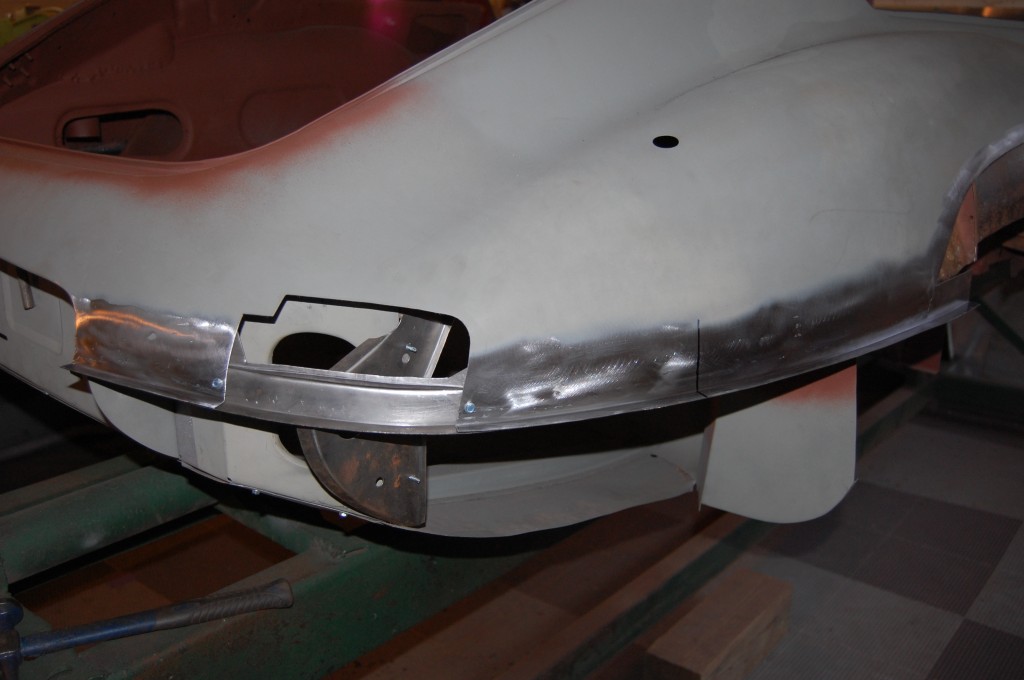
- Now we are fitting the tail lamp filler, and it’s getting closer to a NEW Series 1 body shell every day!

-
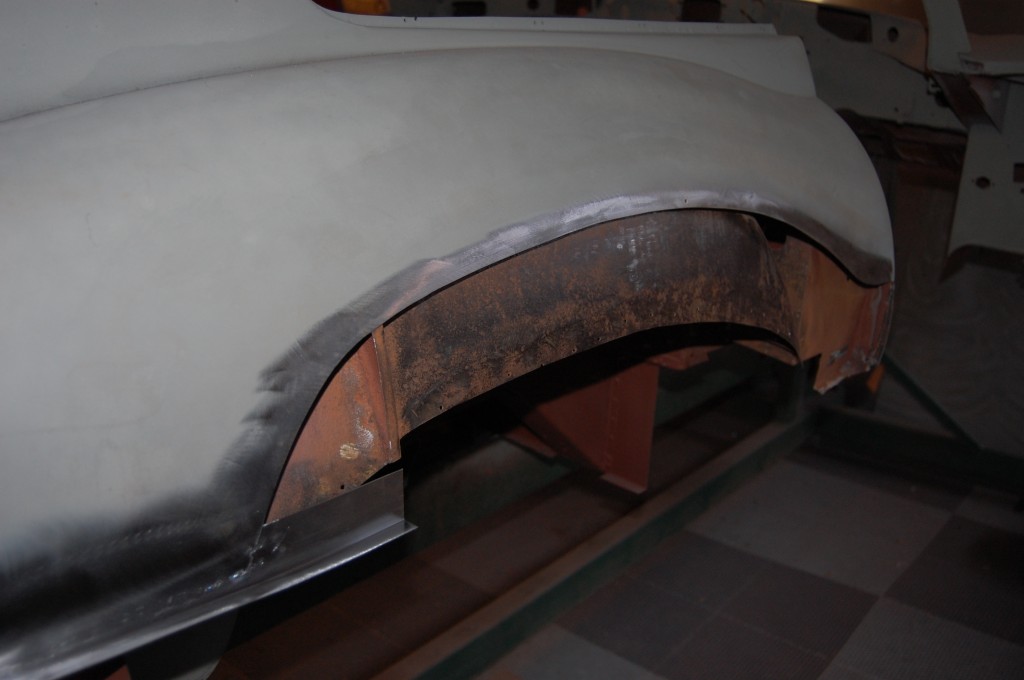
- Skip forward a few weeks, and we’re getting closer to being able to tackle this wheel arch problem… But – before we can – EVERYTHING around it has to be fixed first – and these bumper flanges are just the beginning. Note that we went long on the flanges for now – better safe than sorry!

-
- Here’s a shot oif the LH side completed as well – stay tuned for more “deep diving” on this really rusty shell!


