Finally, it was time to pull the shell out of the rotisserie, and mount the frame rails and bonnet. We ran into a couple of snags on this one, but figured them out – as I’ve told customers in the past in regard to mounting bonnets – “we don’t get ‘stuck’ on bonnet mounting issues” like the local body shop – we have the experience and resources right here to pull through – whatever it takes.
-

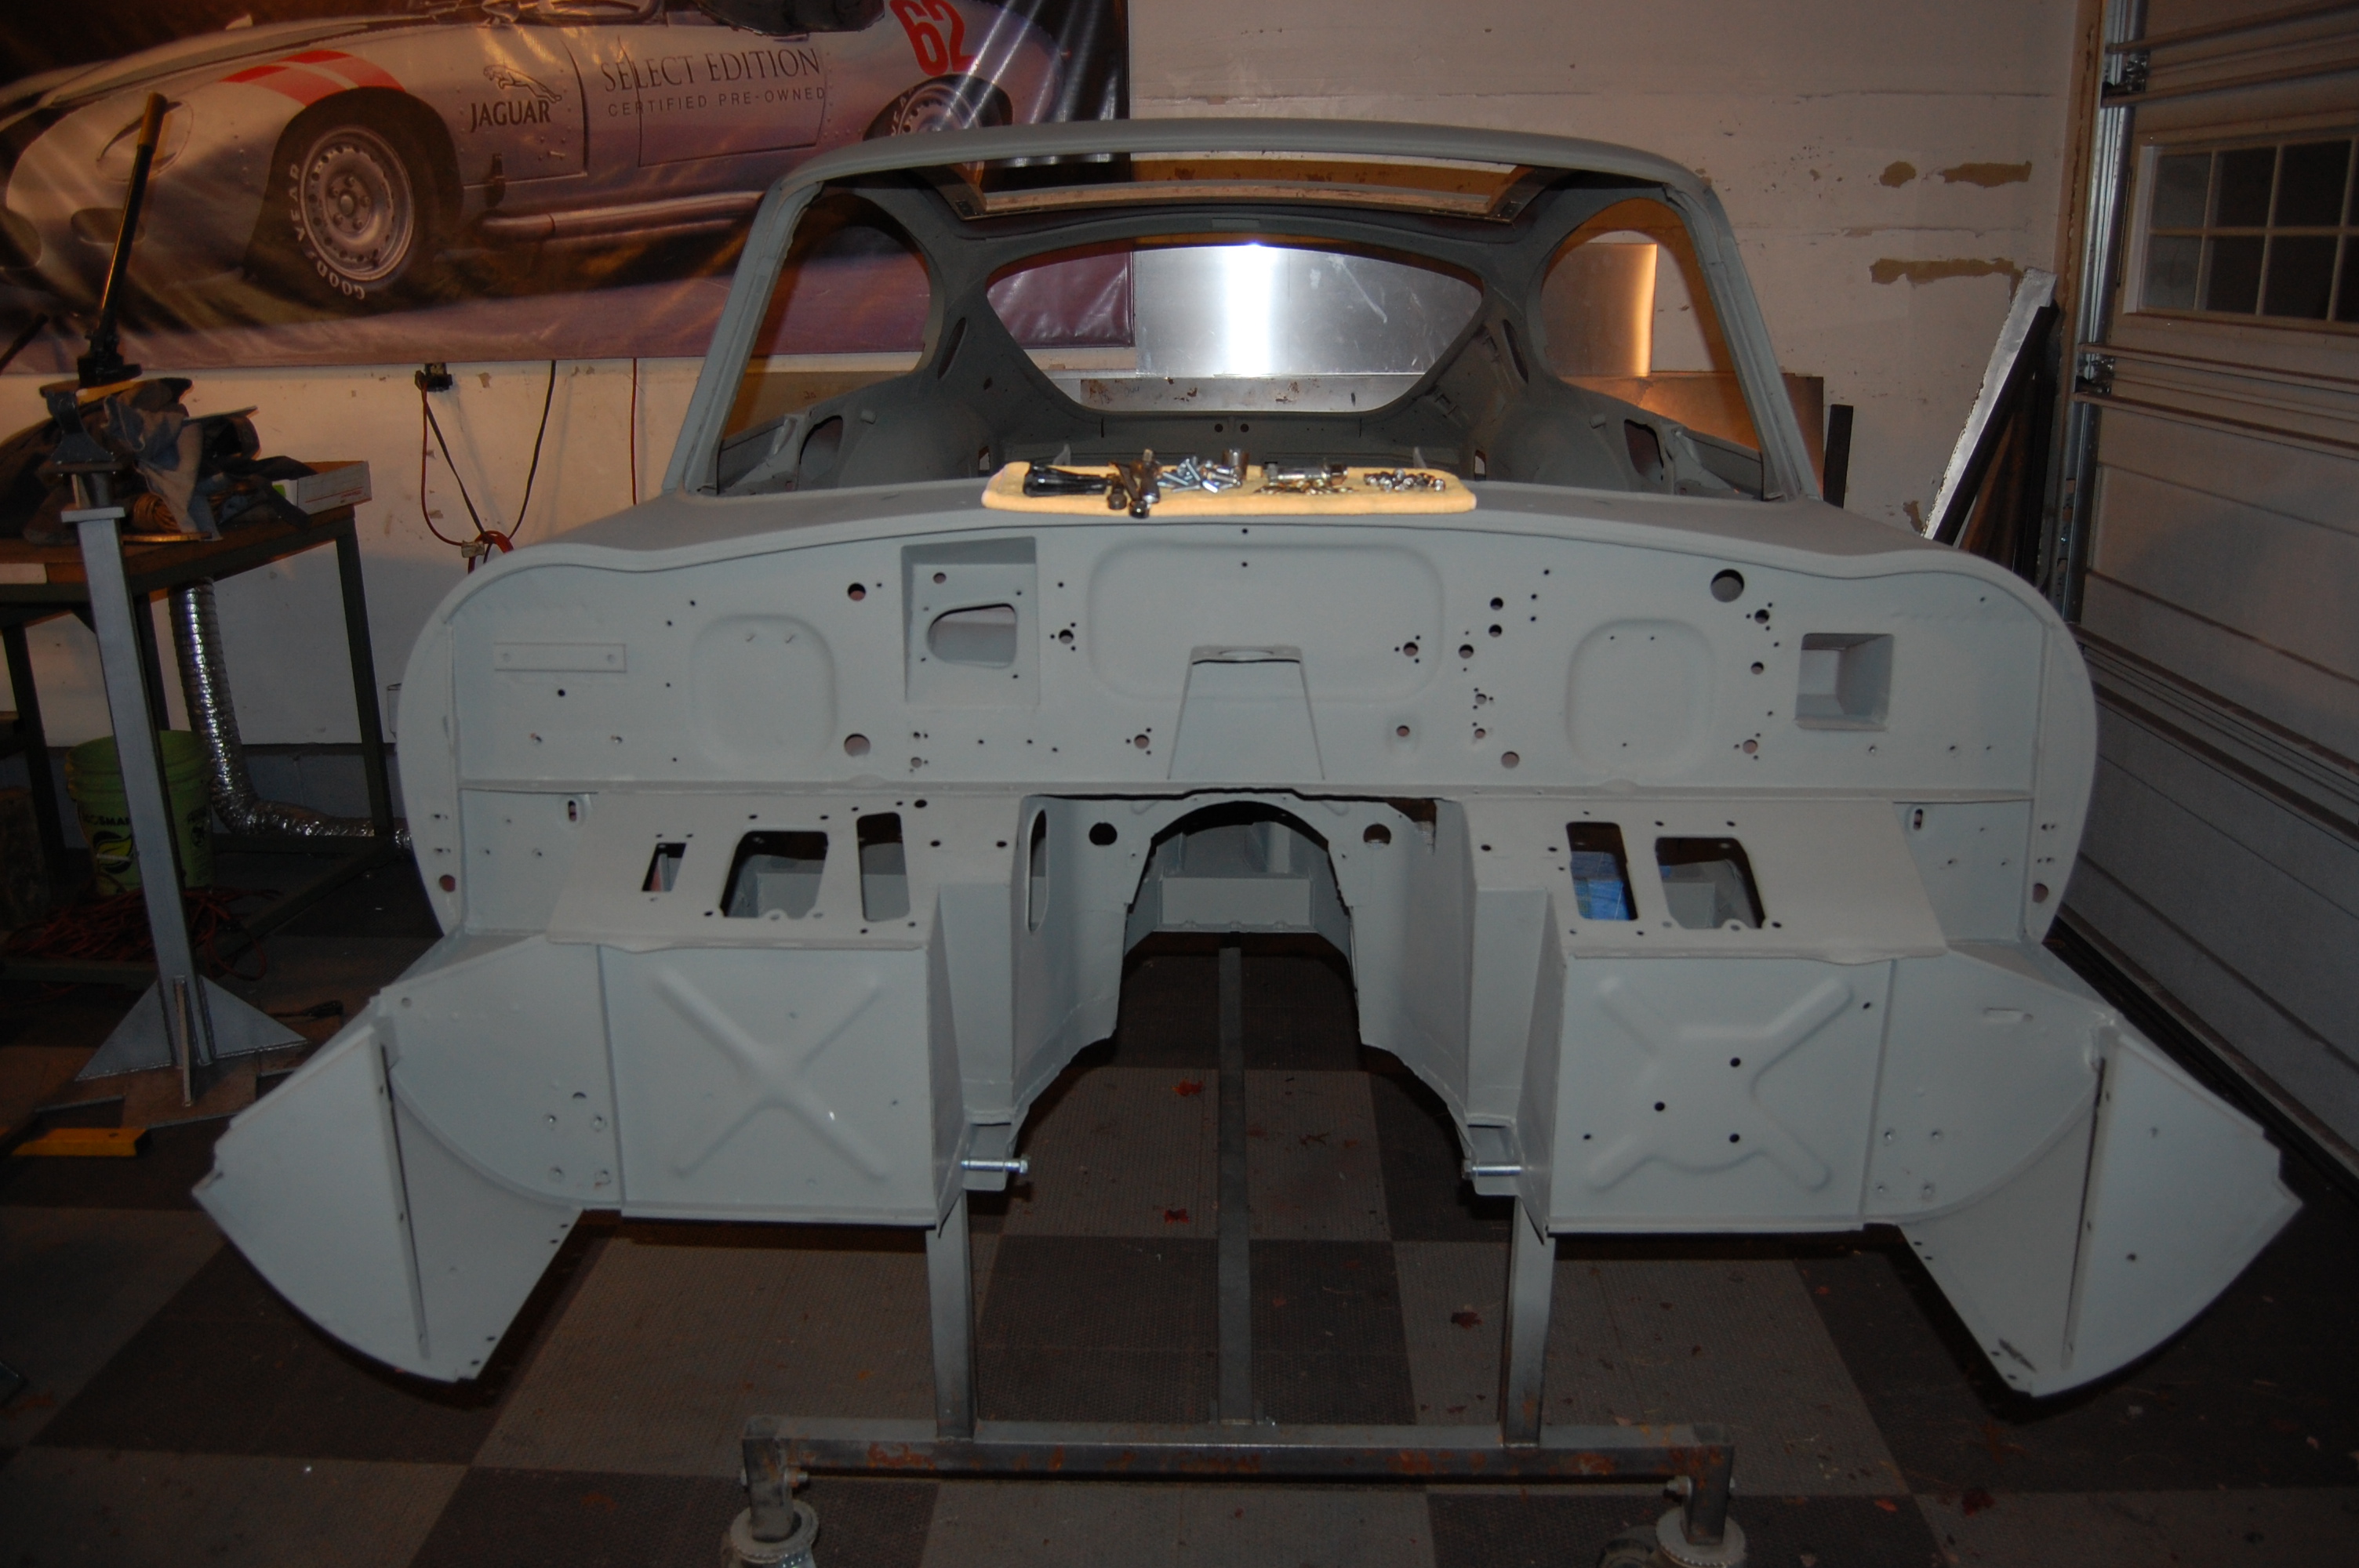
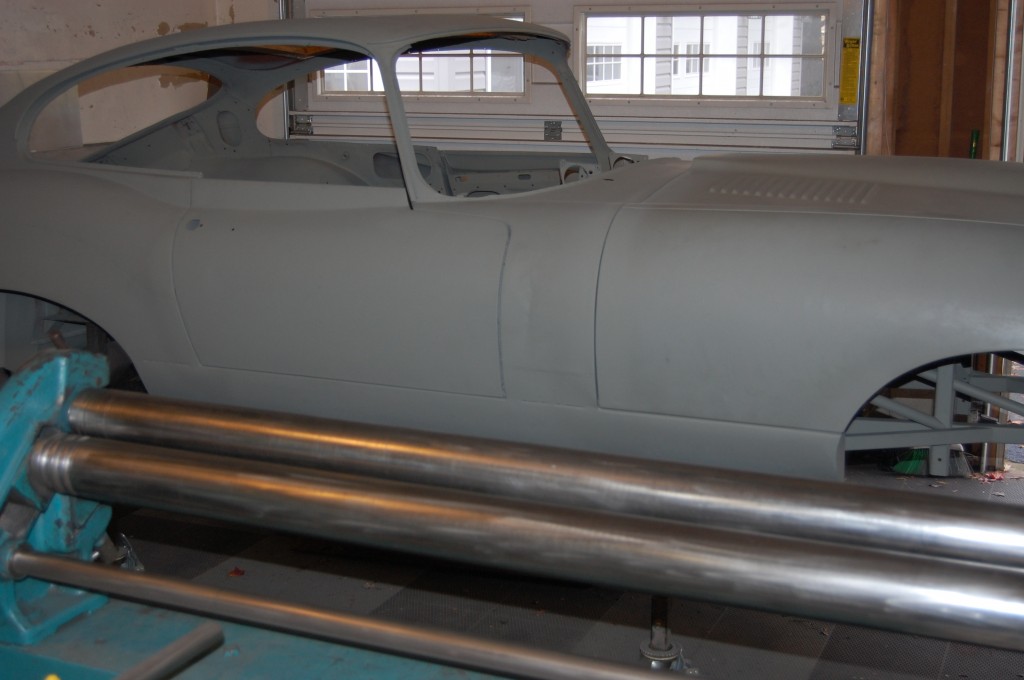
- The shell is now out of the rotisserie, into a cart, and coated with self-etching primer everywhere.
-

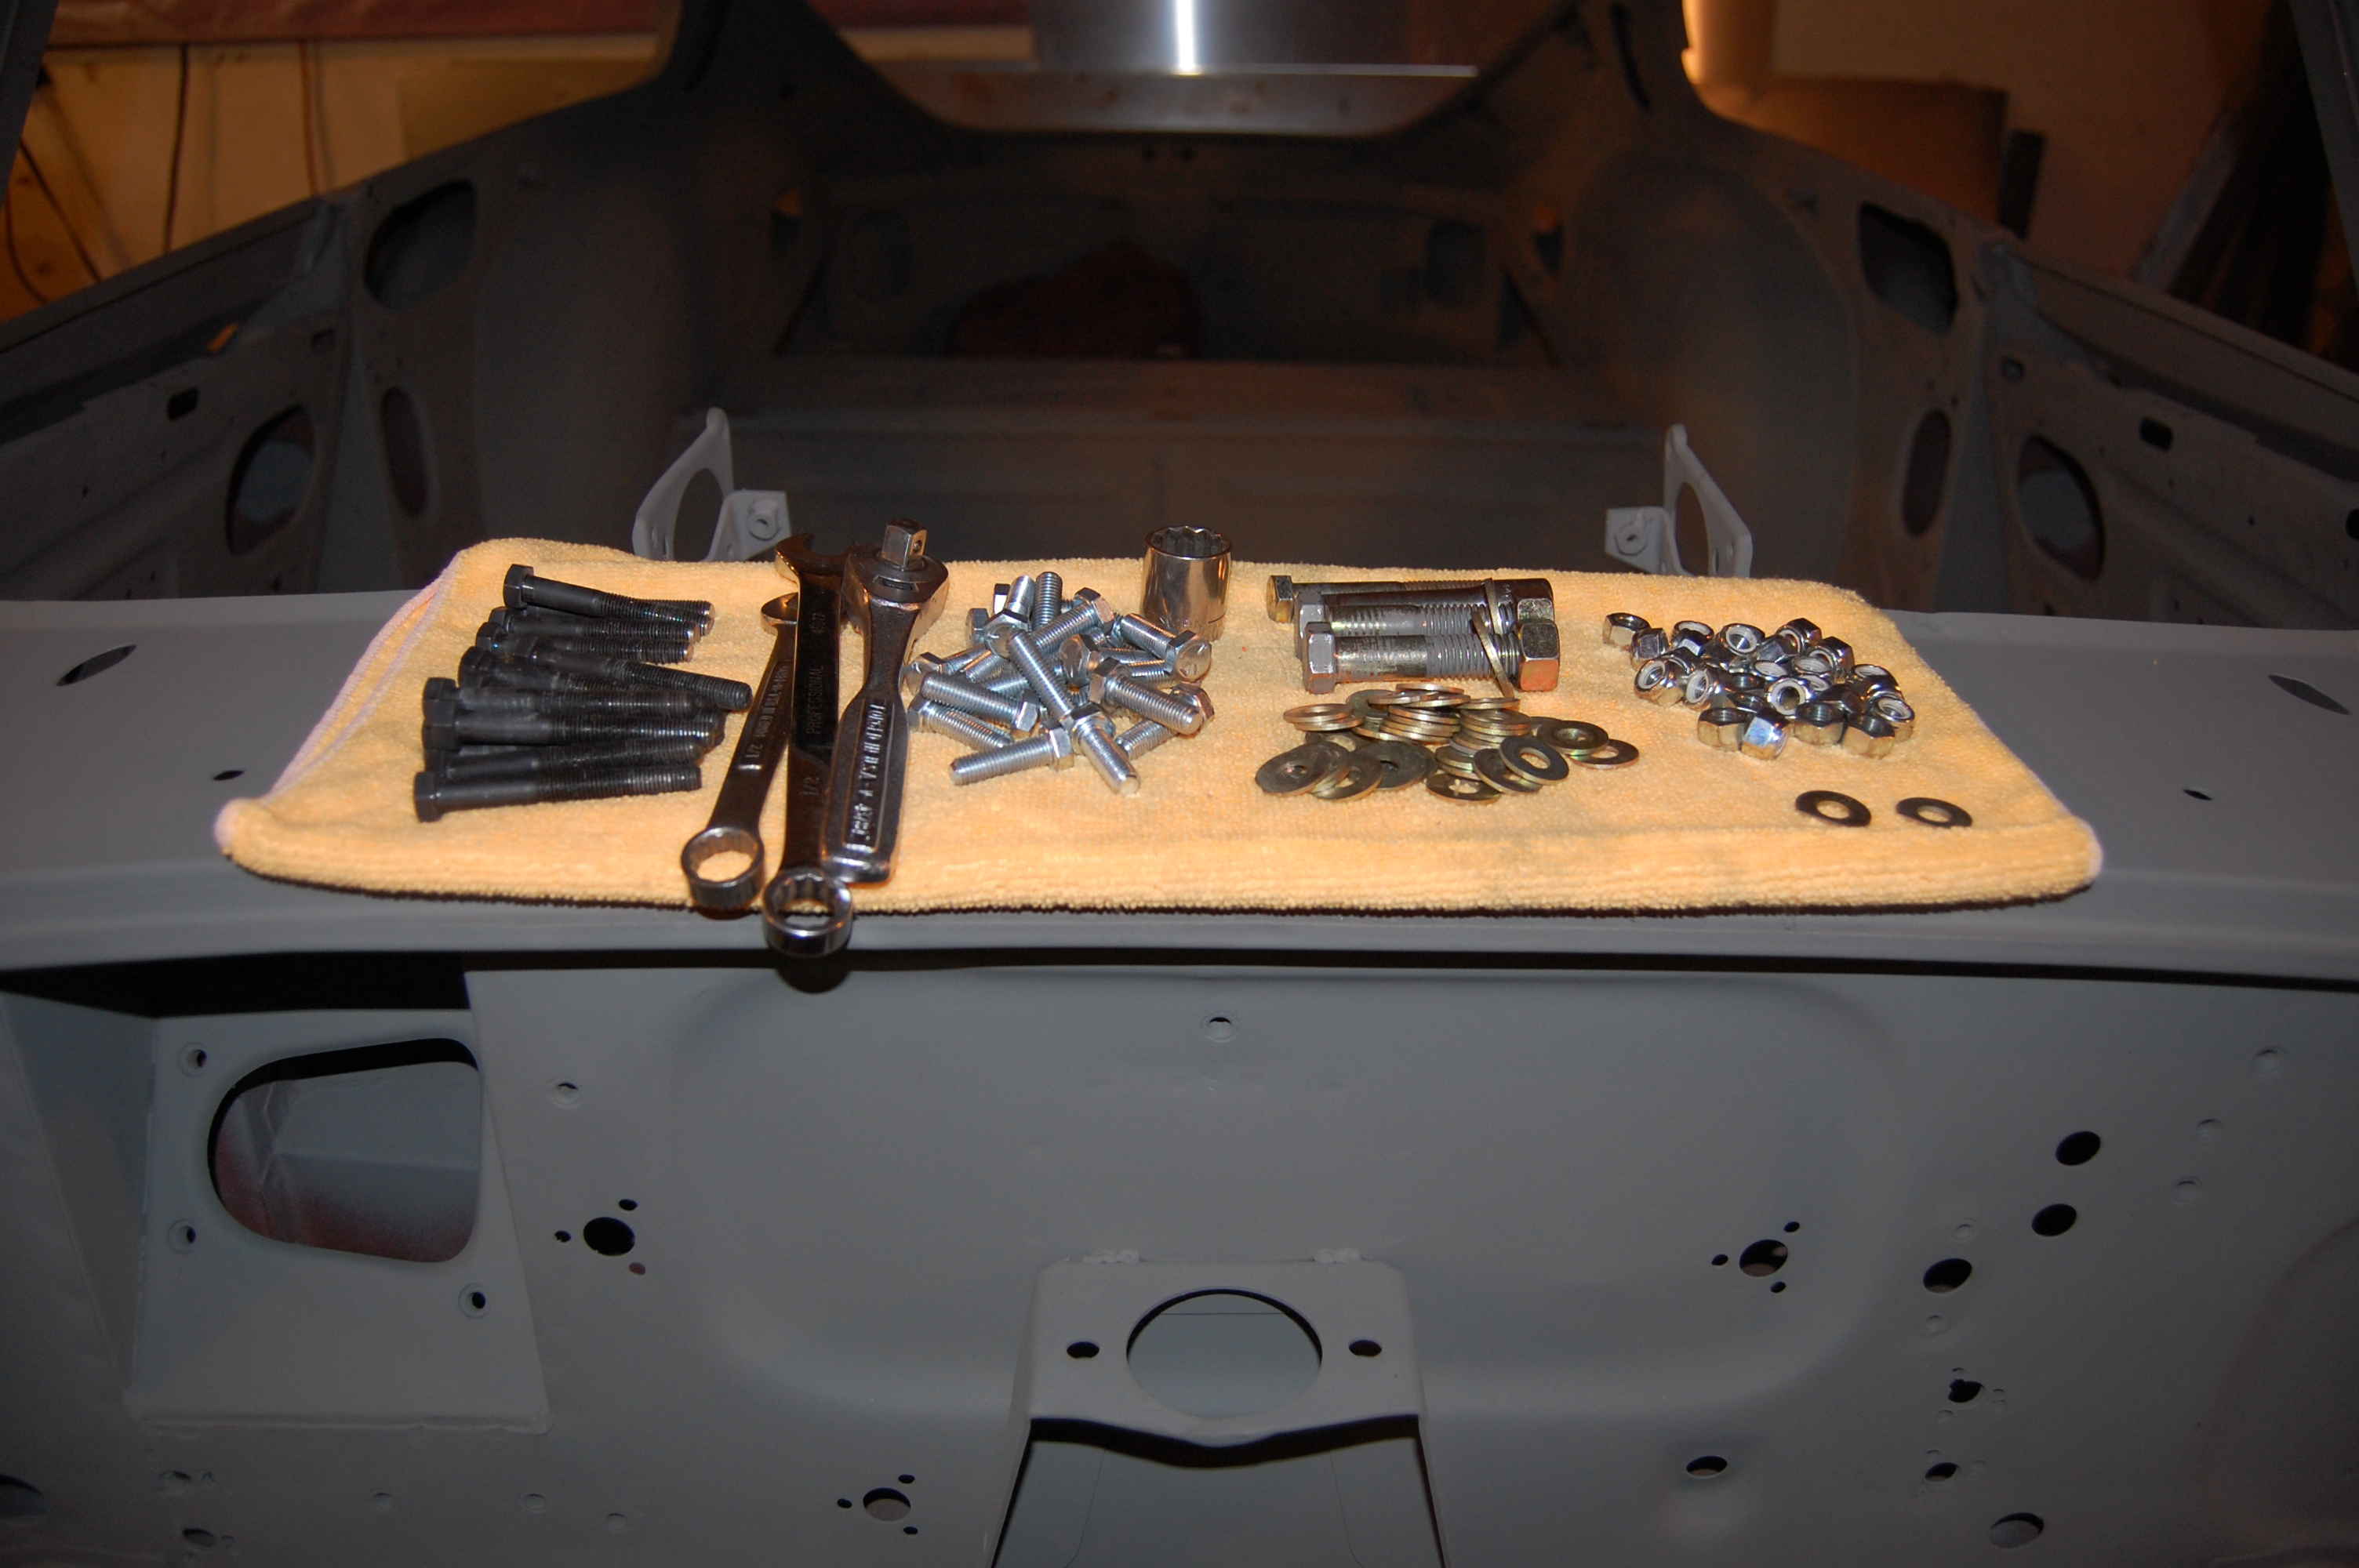
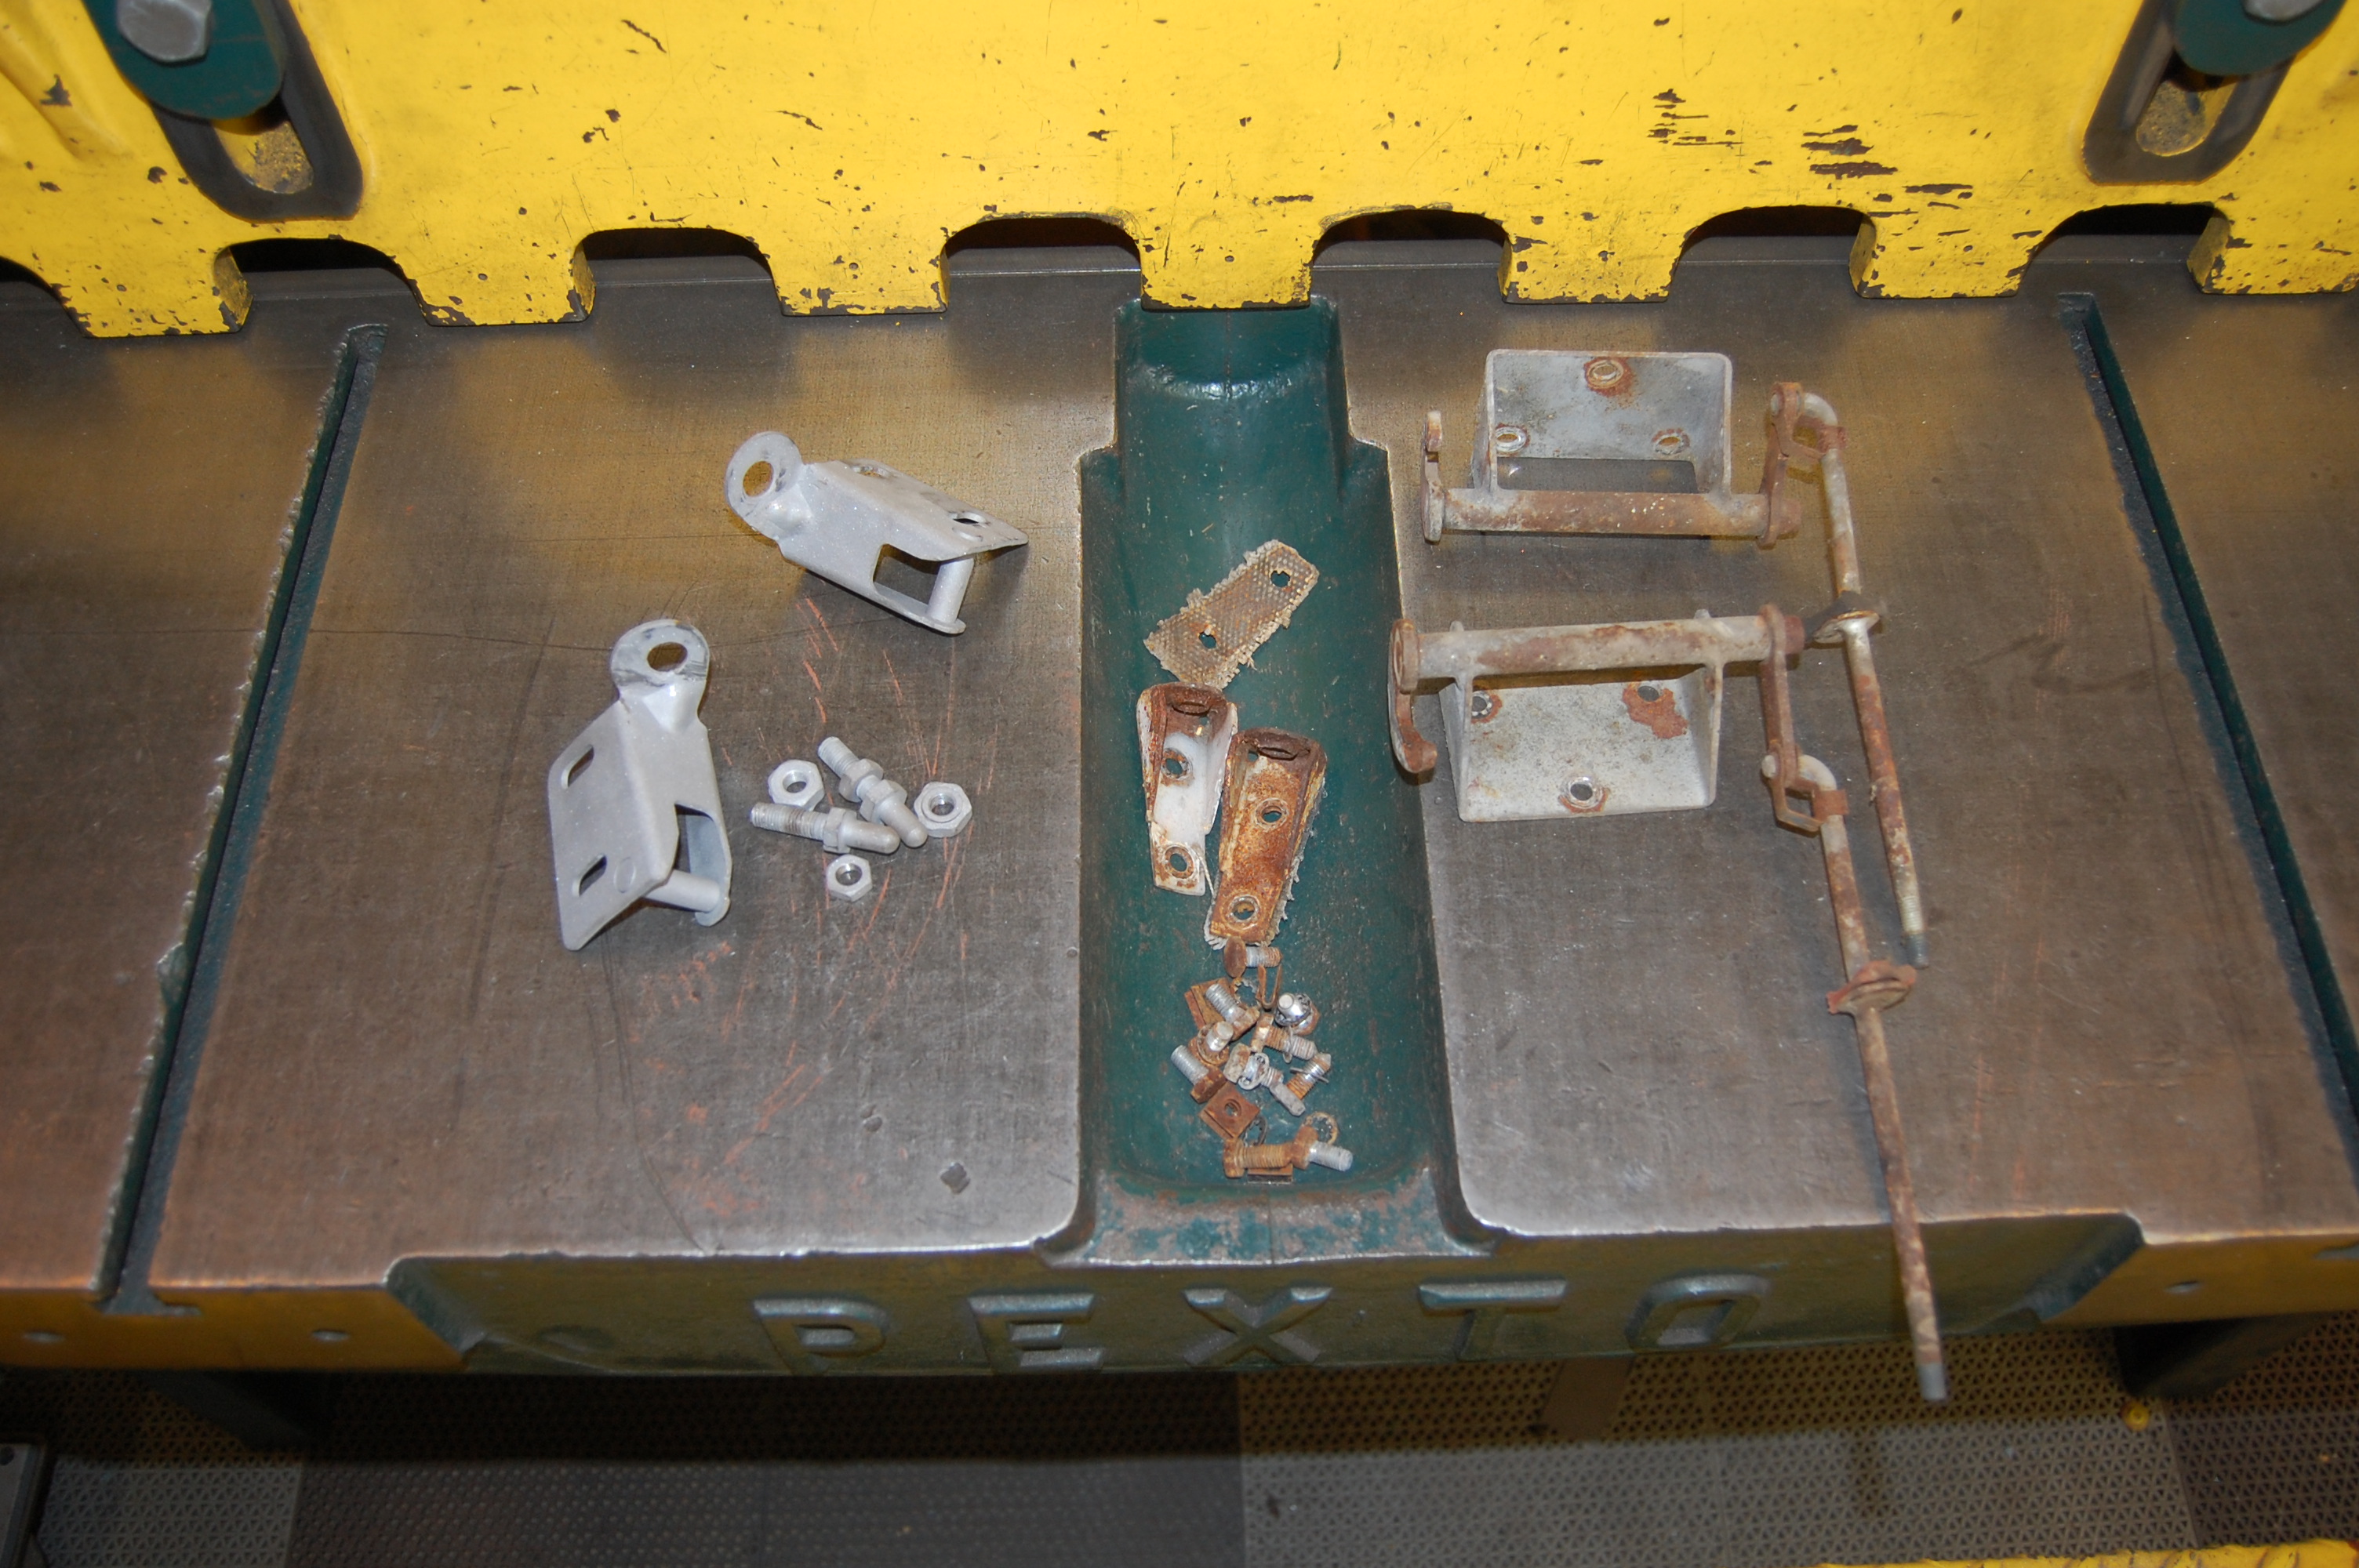
- Here is the hardware we will use to mount the frame rails – grade 8, black oxide bolts from my “secret source”…
-
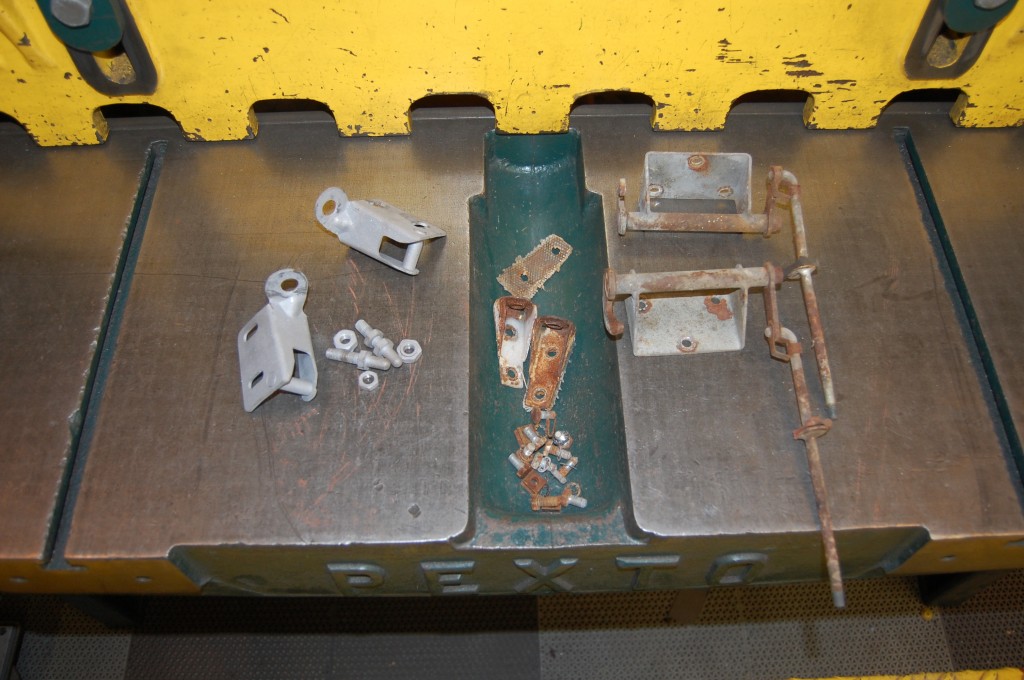
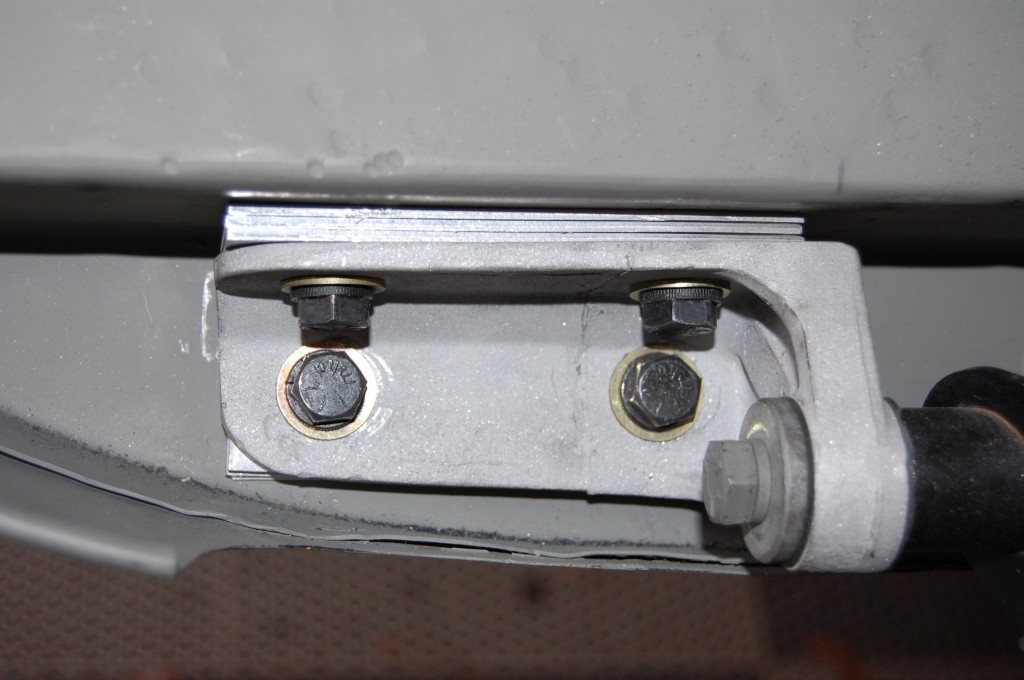
- This latching and alignment hardware will all be restored and used to help us get the bonnet just right. DON’T use reproduction stuff here – it sucks…
-
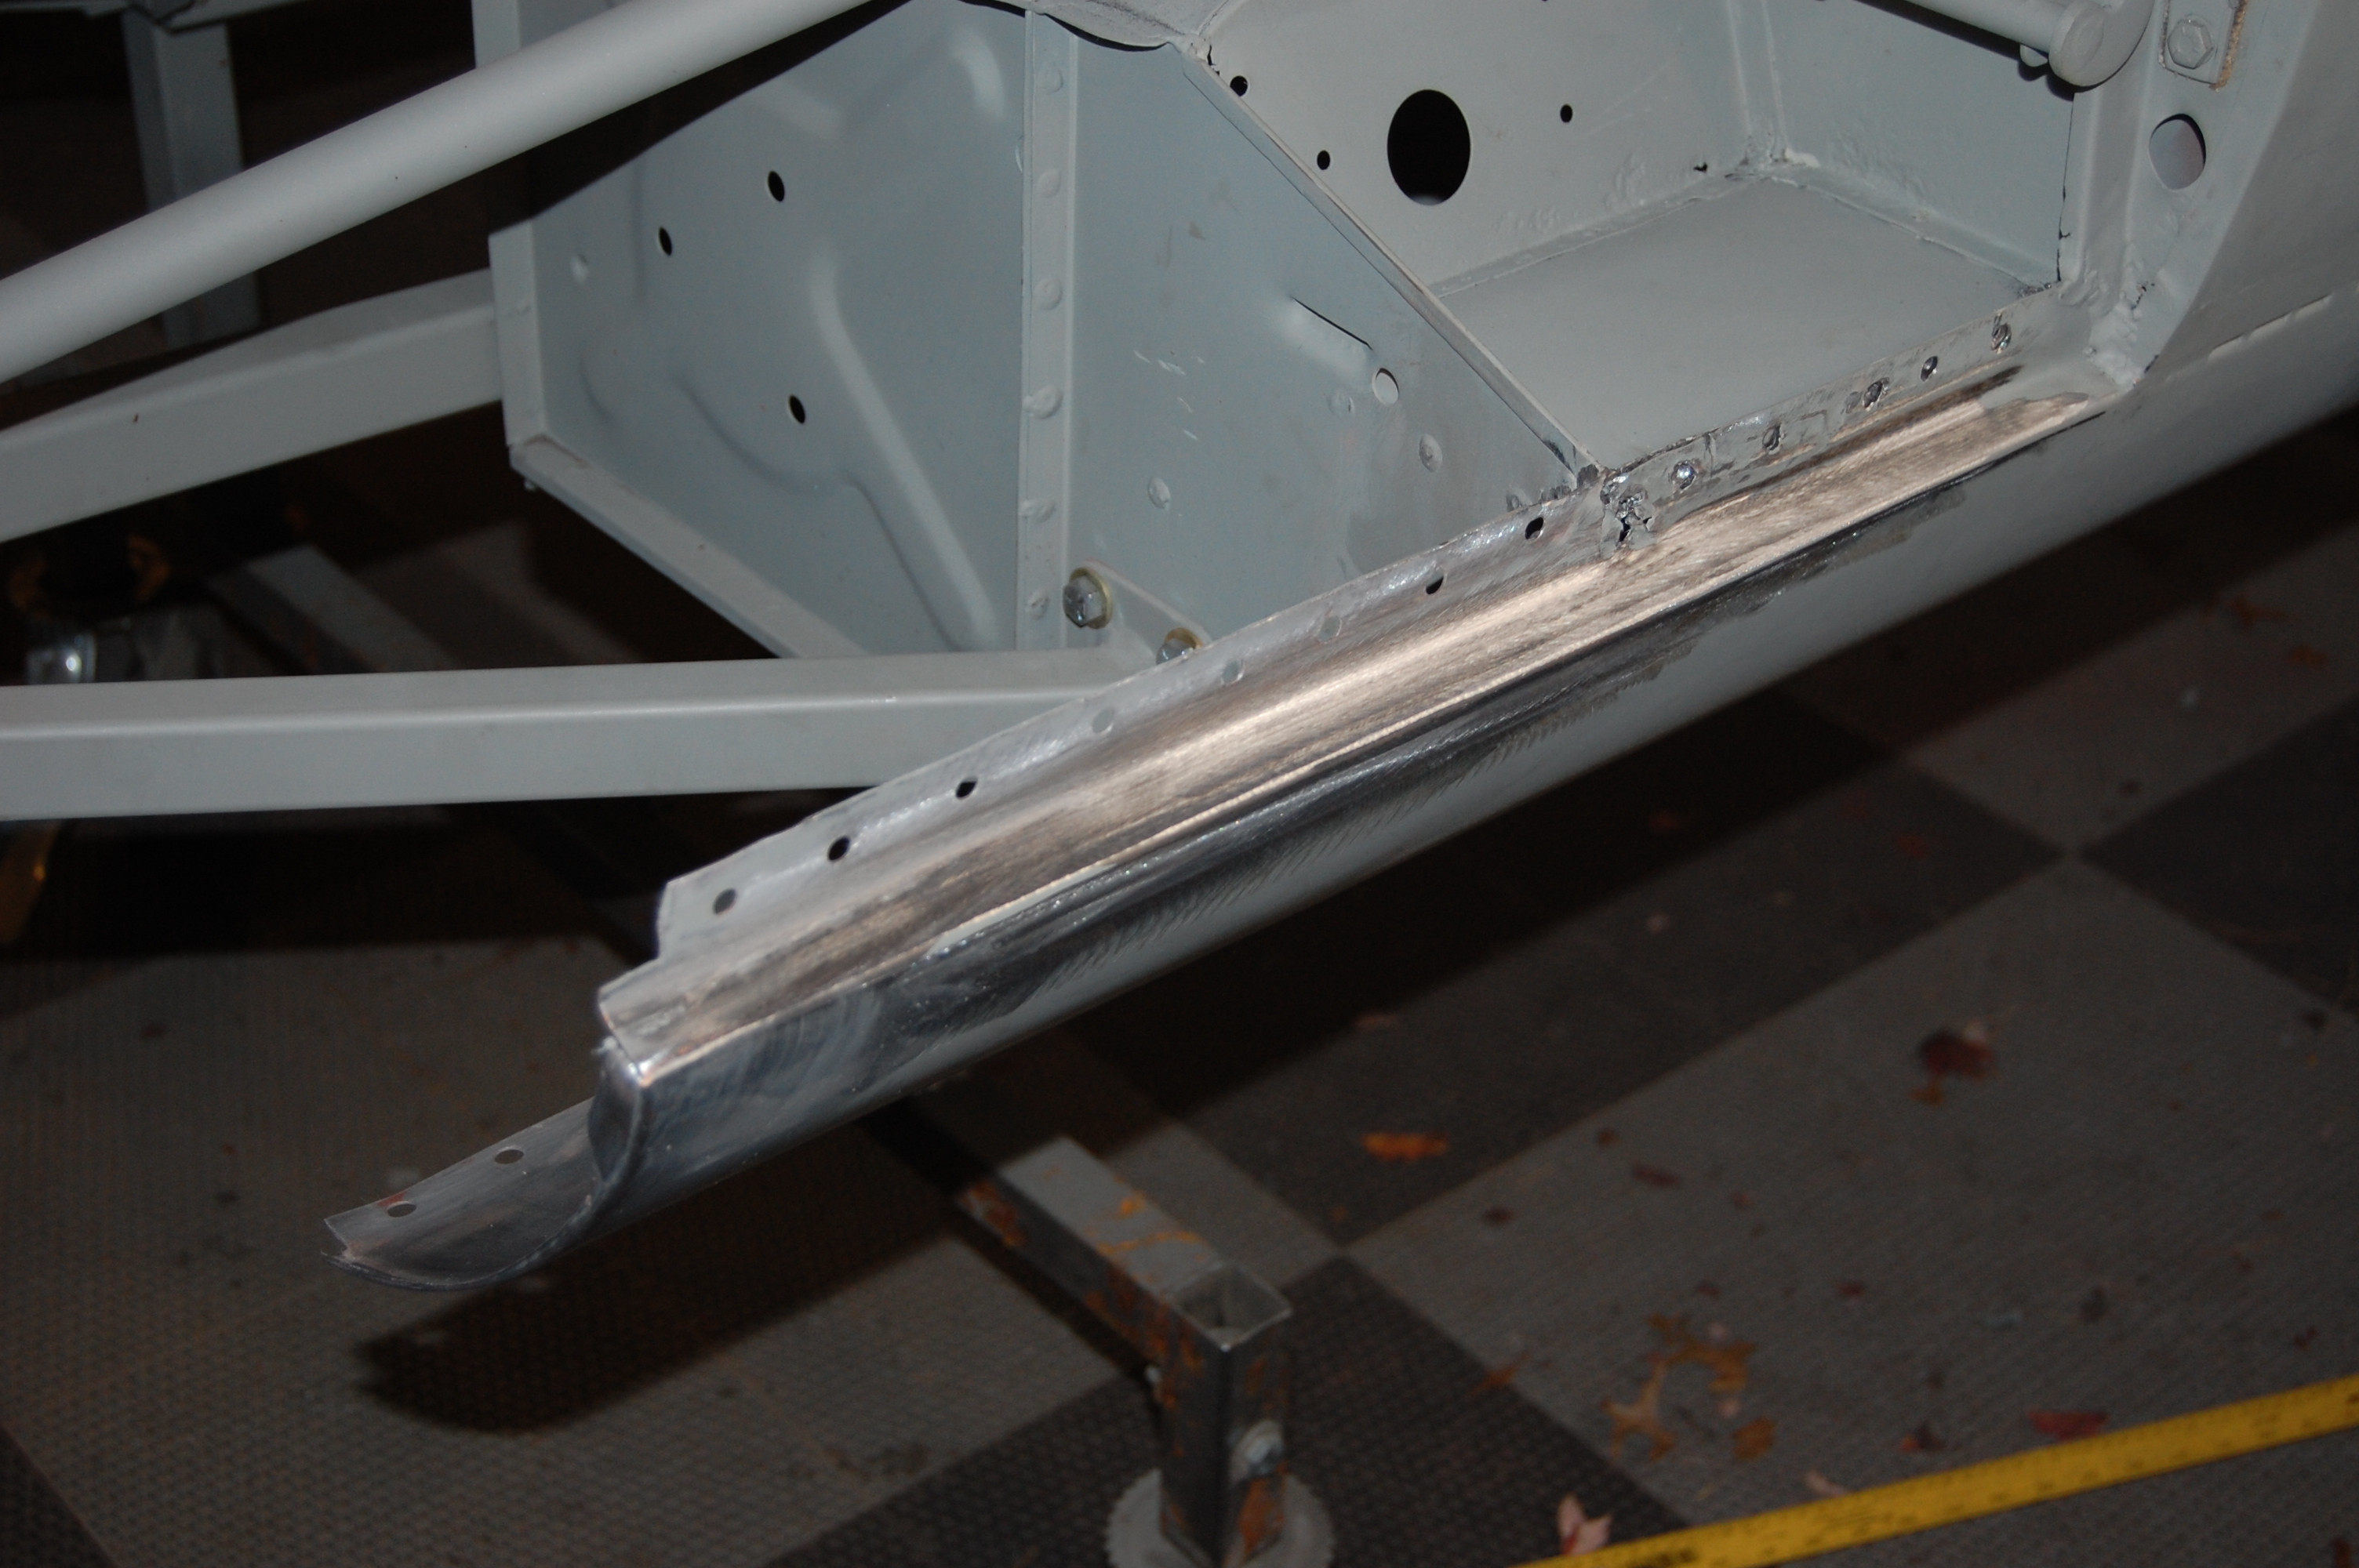
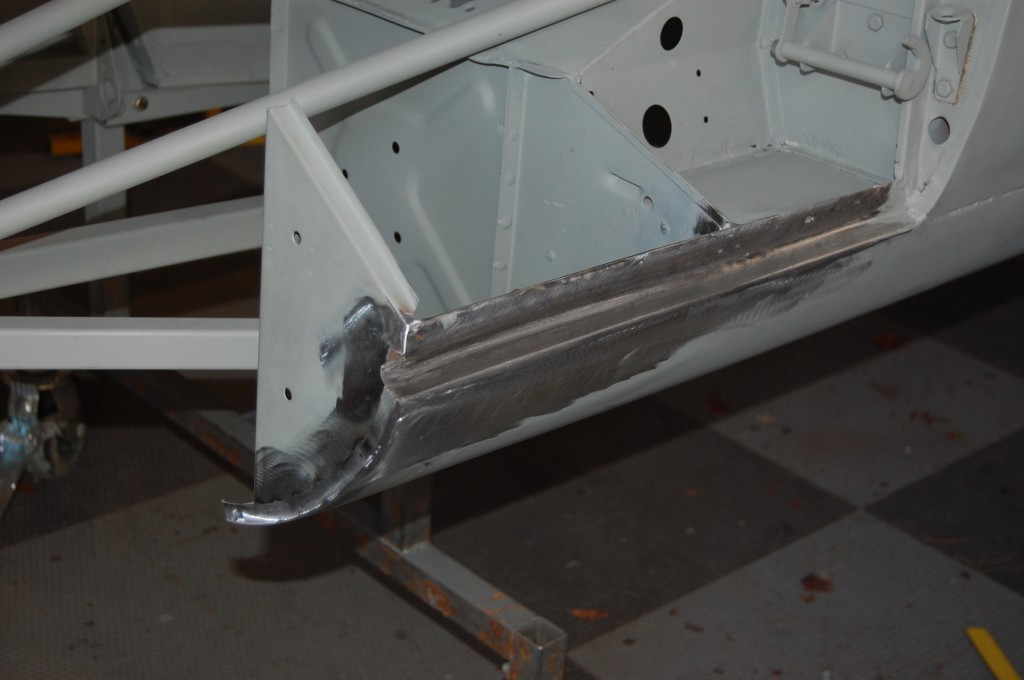
- This was the big challenge in mounting this bonnet – I screwed up the installation of the sill on the LH side where it sticks out past the bulkhead.

-

- The top edge was cocked in about 1/4″ – it was kind of “rolled” in… This was a drastic reversal, but it had to be done.
-

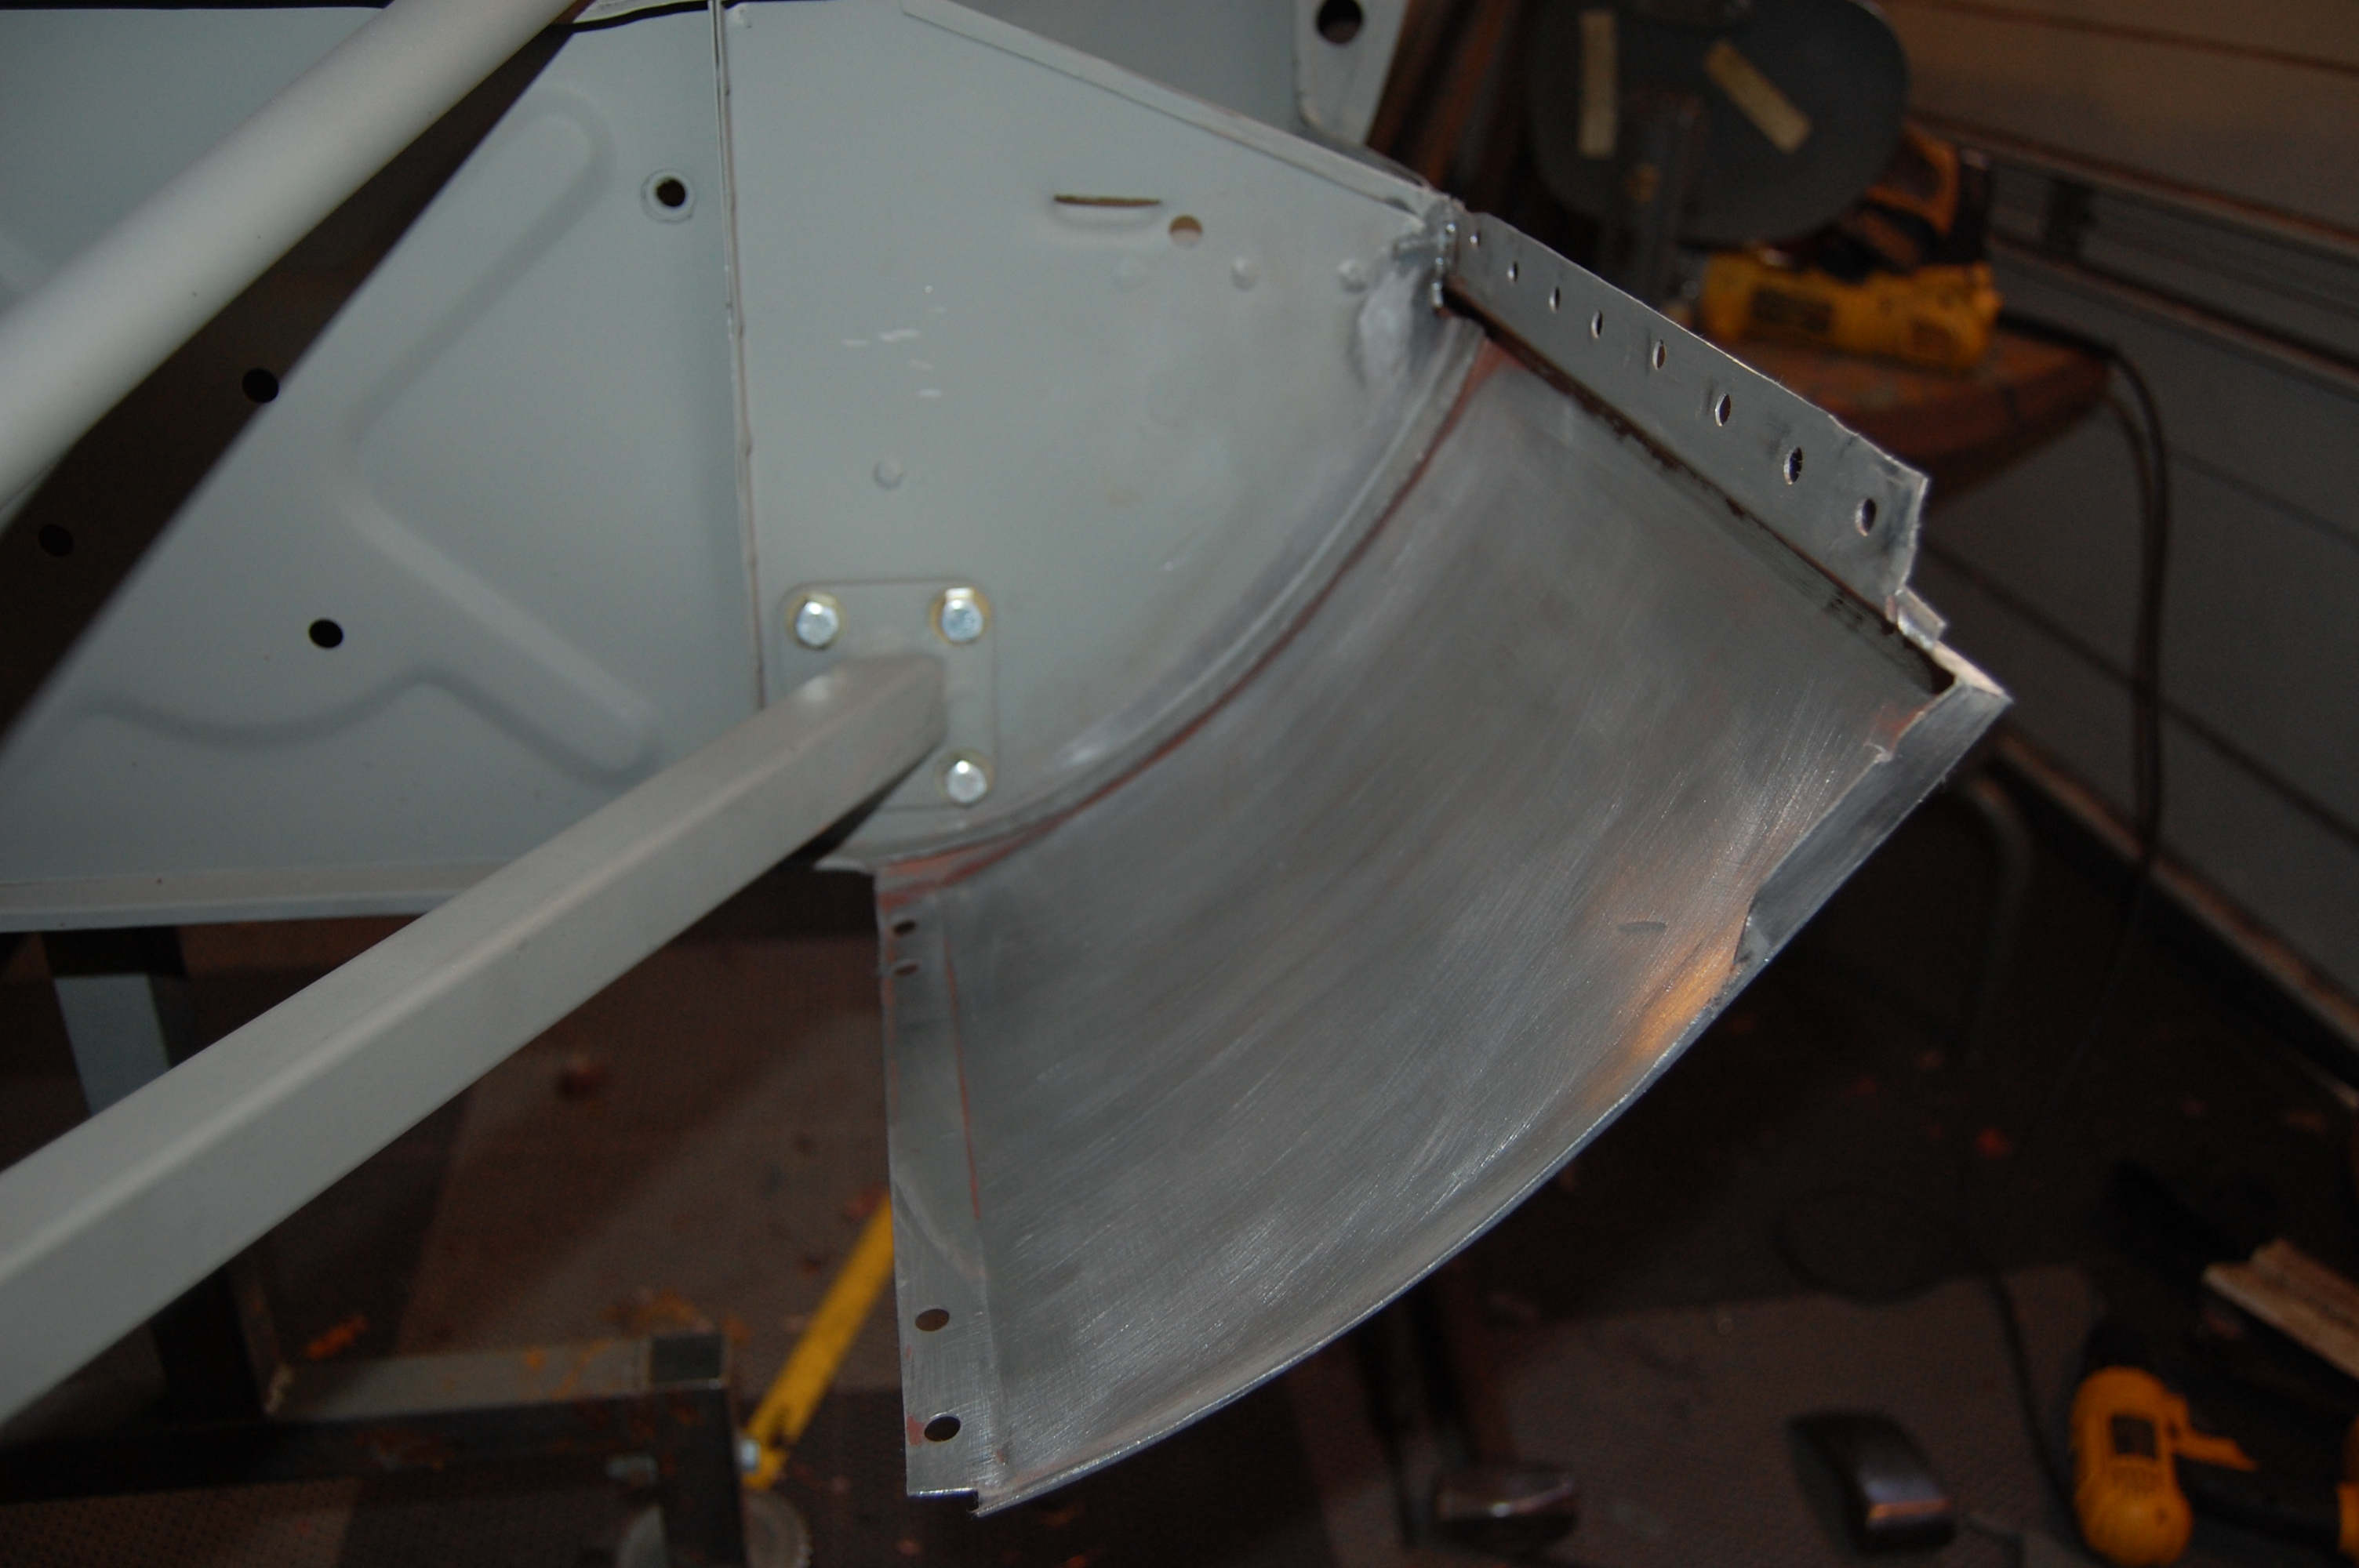
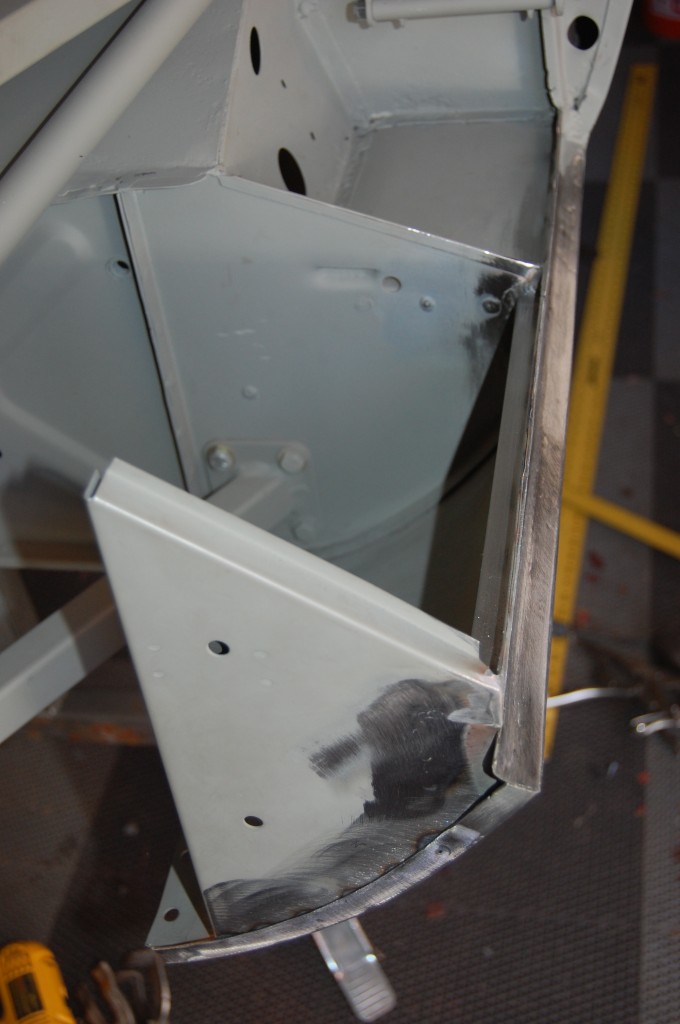
- Part of the fix included removal of the front closing panel and the battery tray bracket. To get the closing panel out, I had to slice the flange off the forward edge of the sill, but that was OK – it allowed me to soften the curve of the sill some – which was necessary to make this adjustment properly.
-
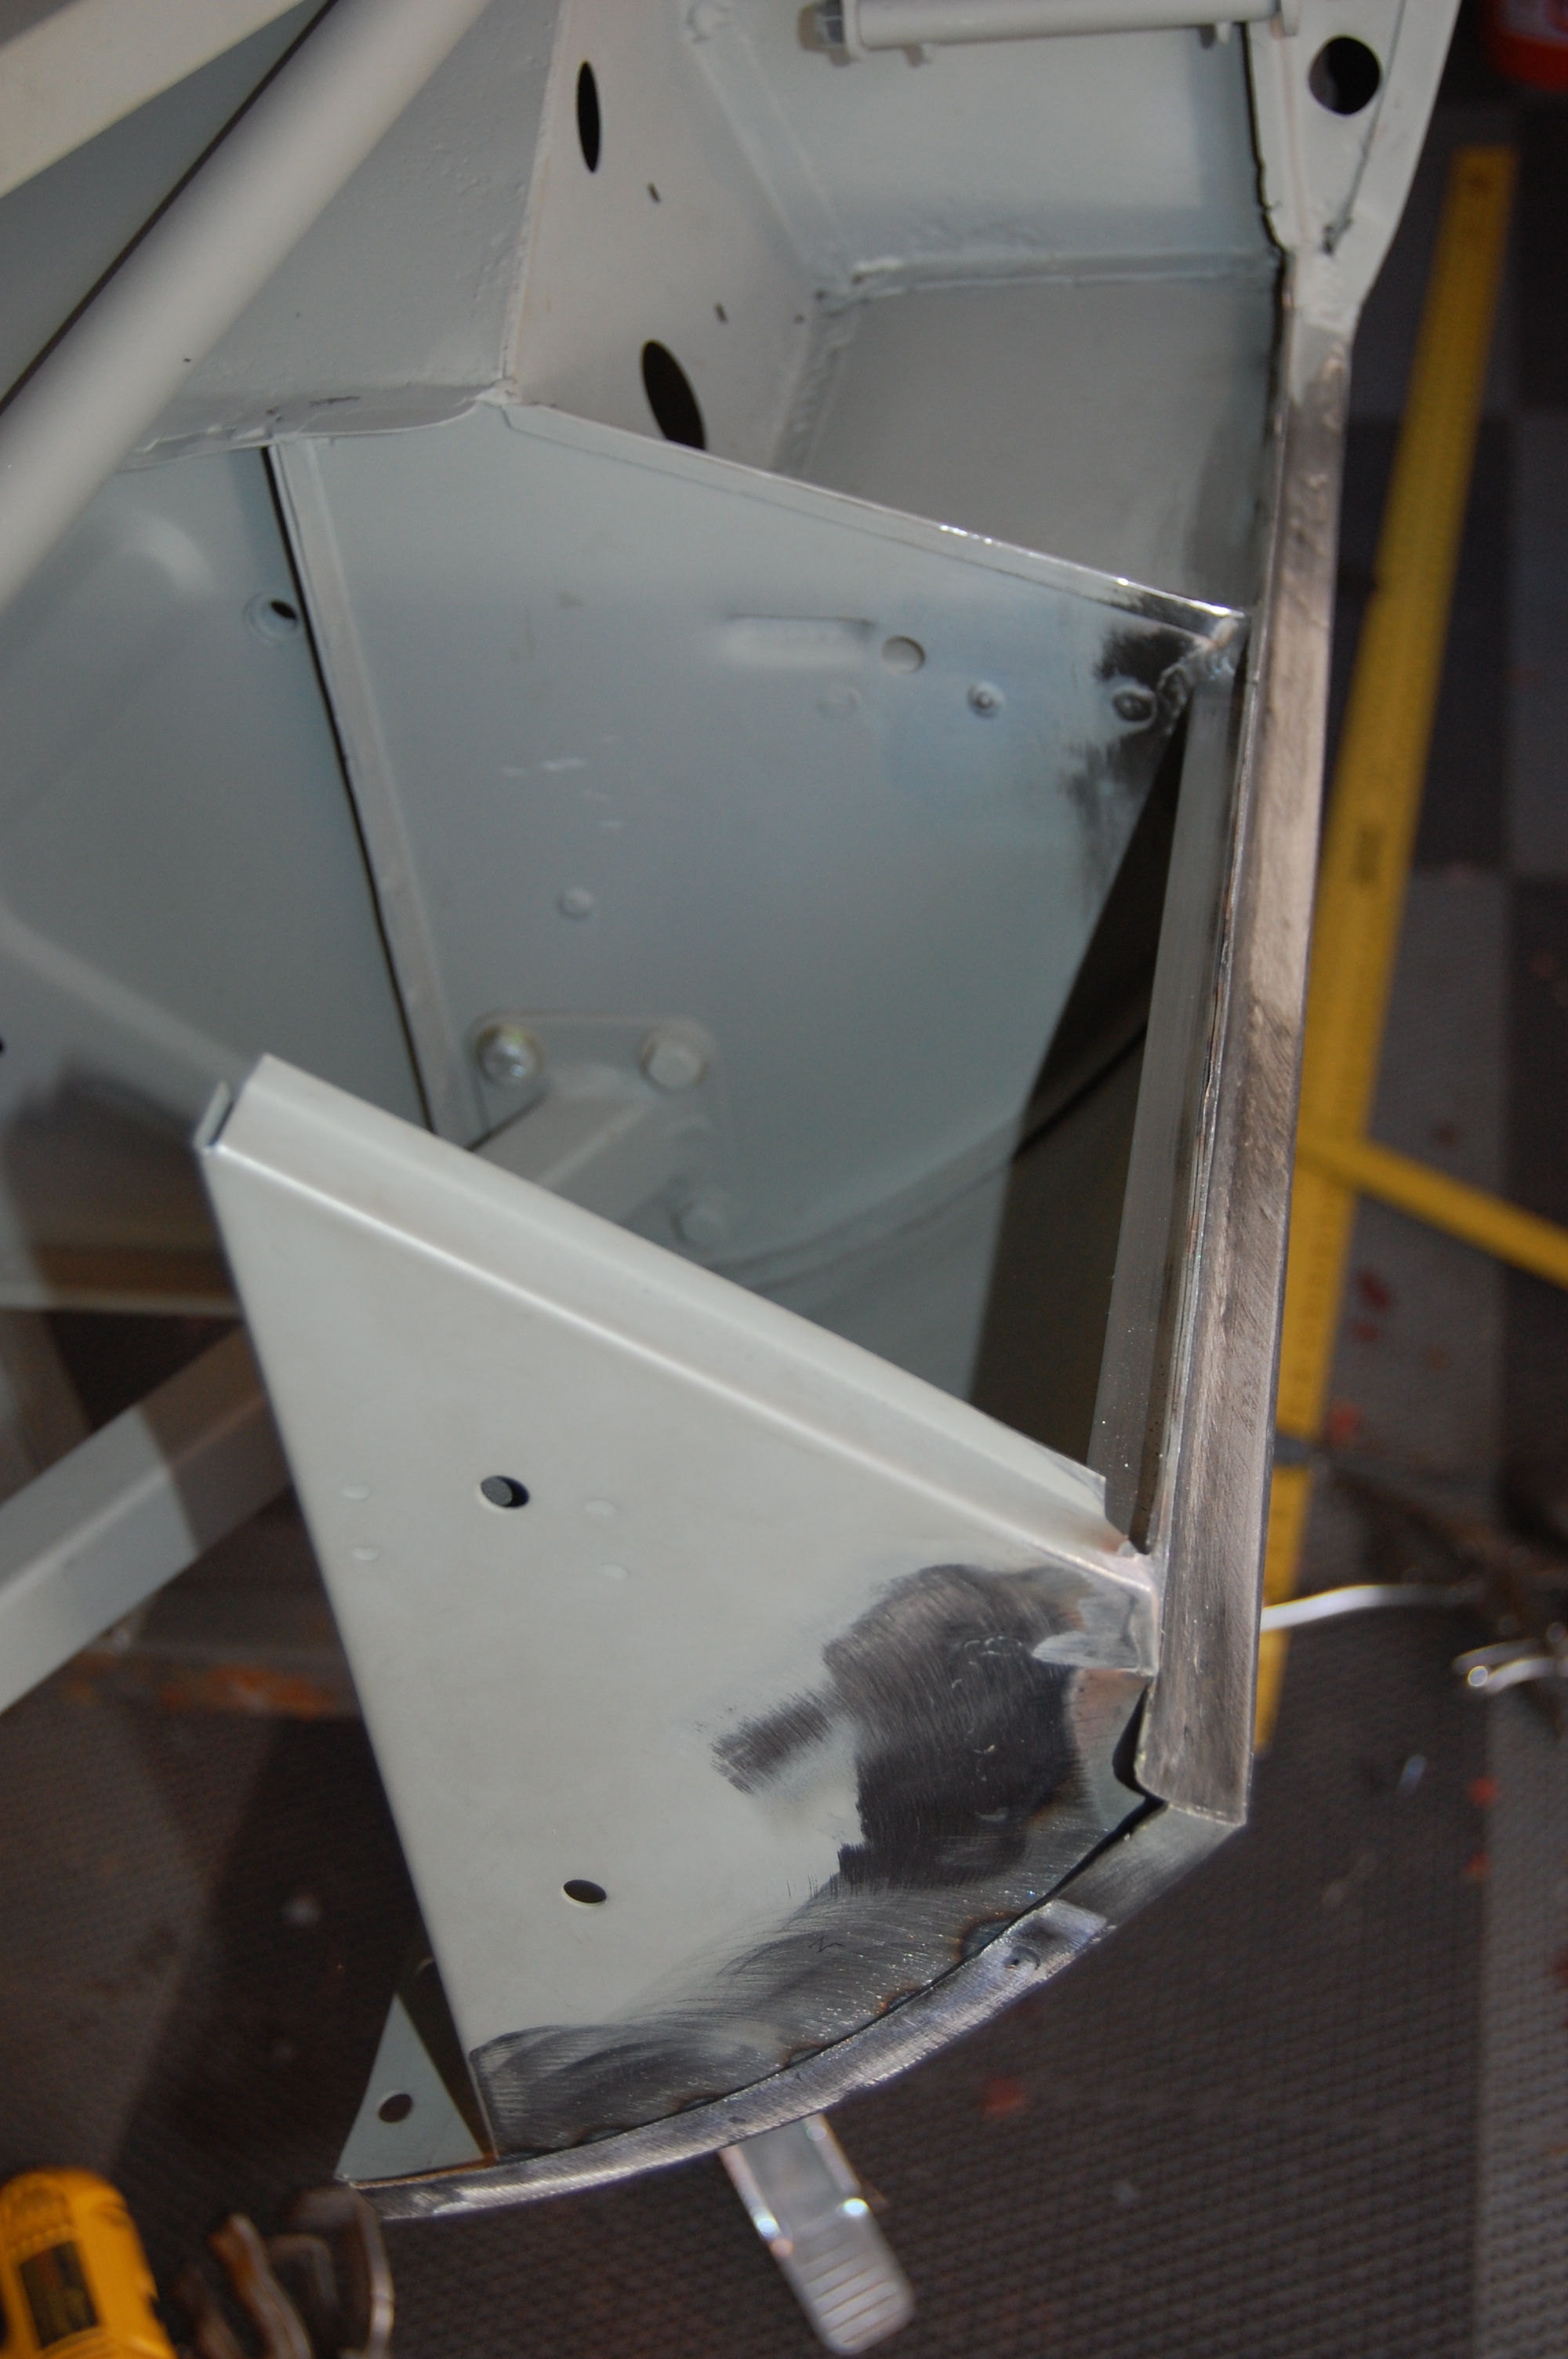
- So once it was all dissected, I rotated the sill back out to get us into the ballpark.

-
- Then things were sewn back up and the closing panel and battery bracket replaced – though I was able to re-sue the forward sill closing panel without too much extra effort.

-
- NOW, things are where they should be. This was a real screw-up on my part, and I know what happened here – I was working late at night to meet a deadline, and was tired. Don’t be afraid to pull things apart this drastically to back up and get things right – it will pay off in the end. Of course, always being fresh and doing it right the FIRST time also helps…
-
- NOW we’re looking good. The rear edge looks lke it is up a bit – the bonnet is probably not latched.
-

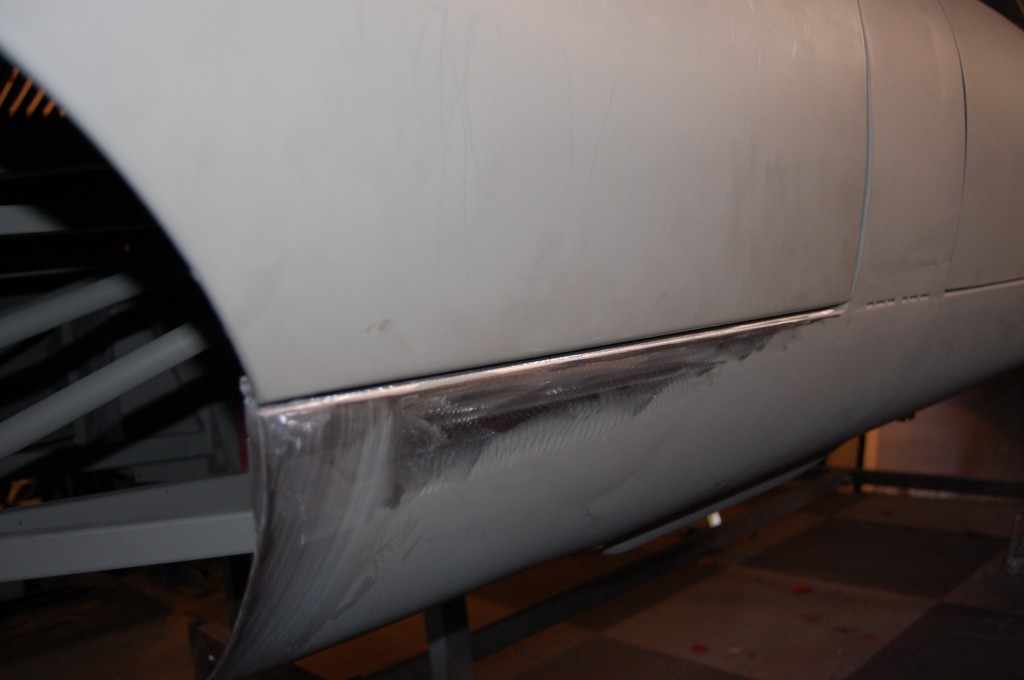
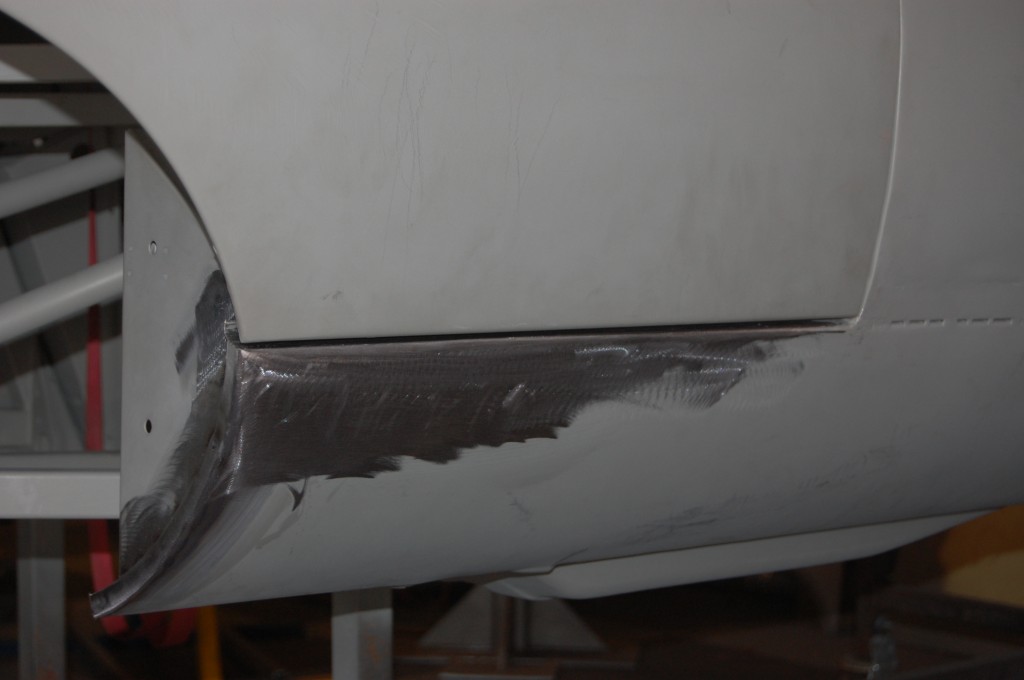
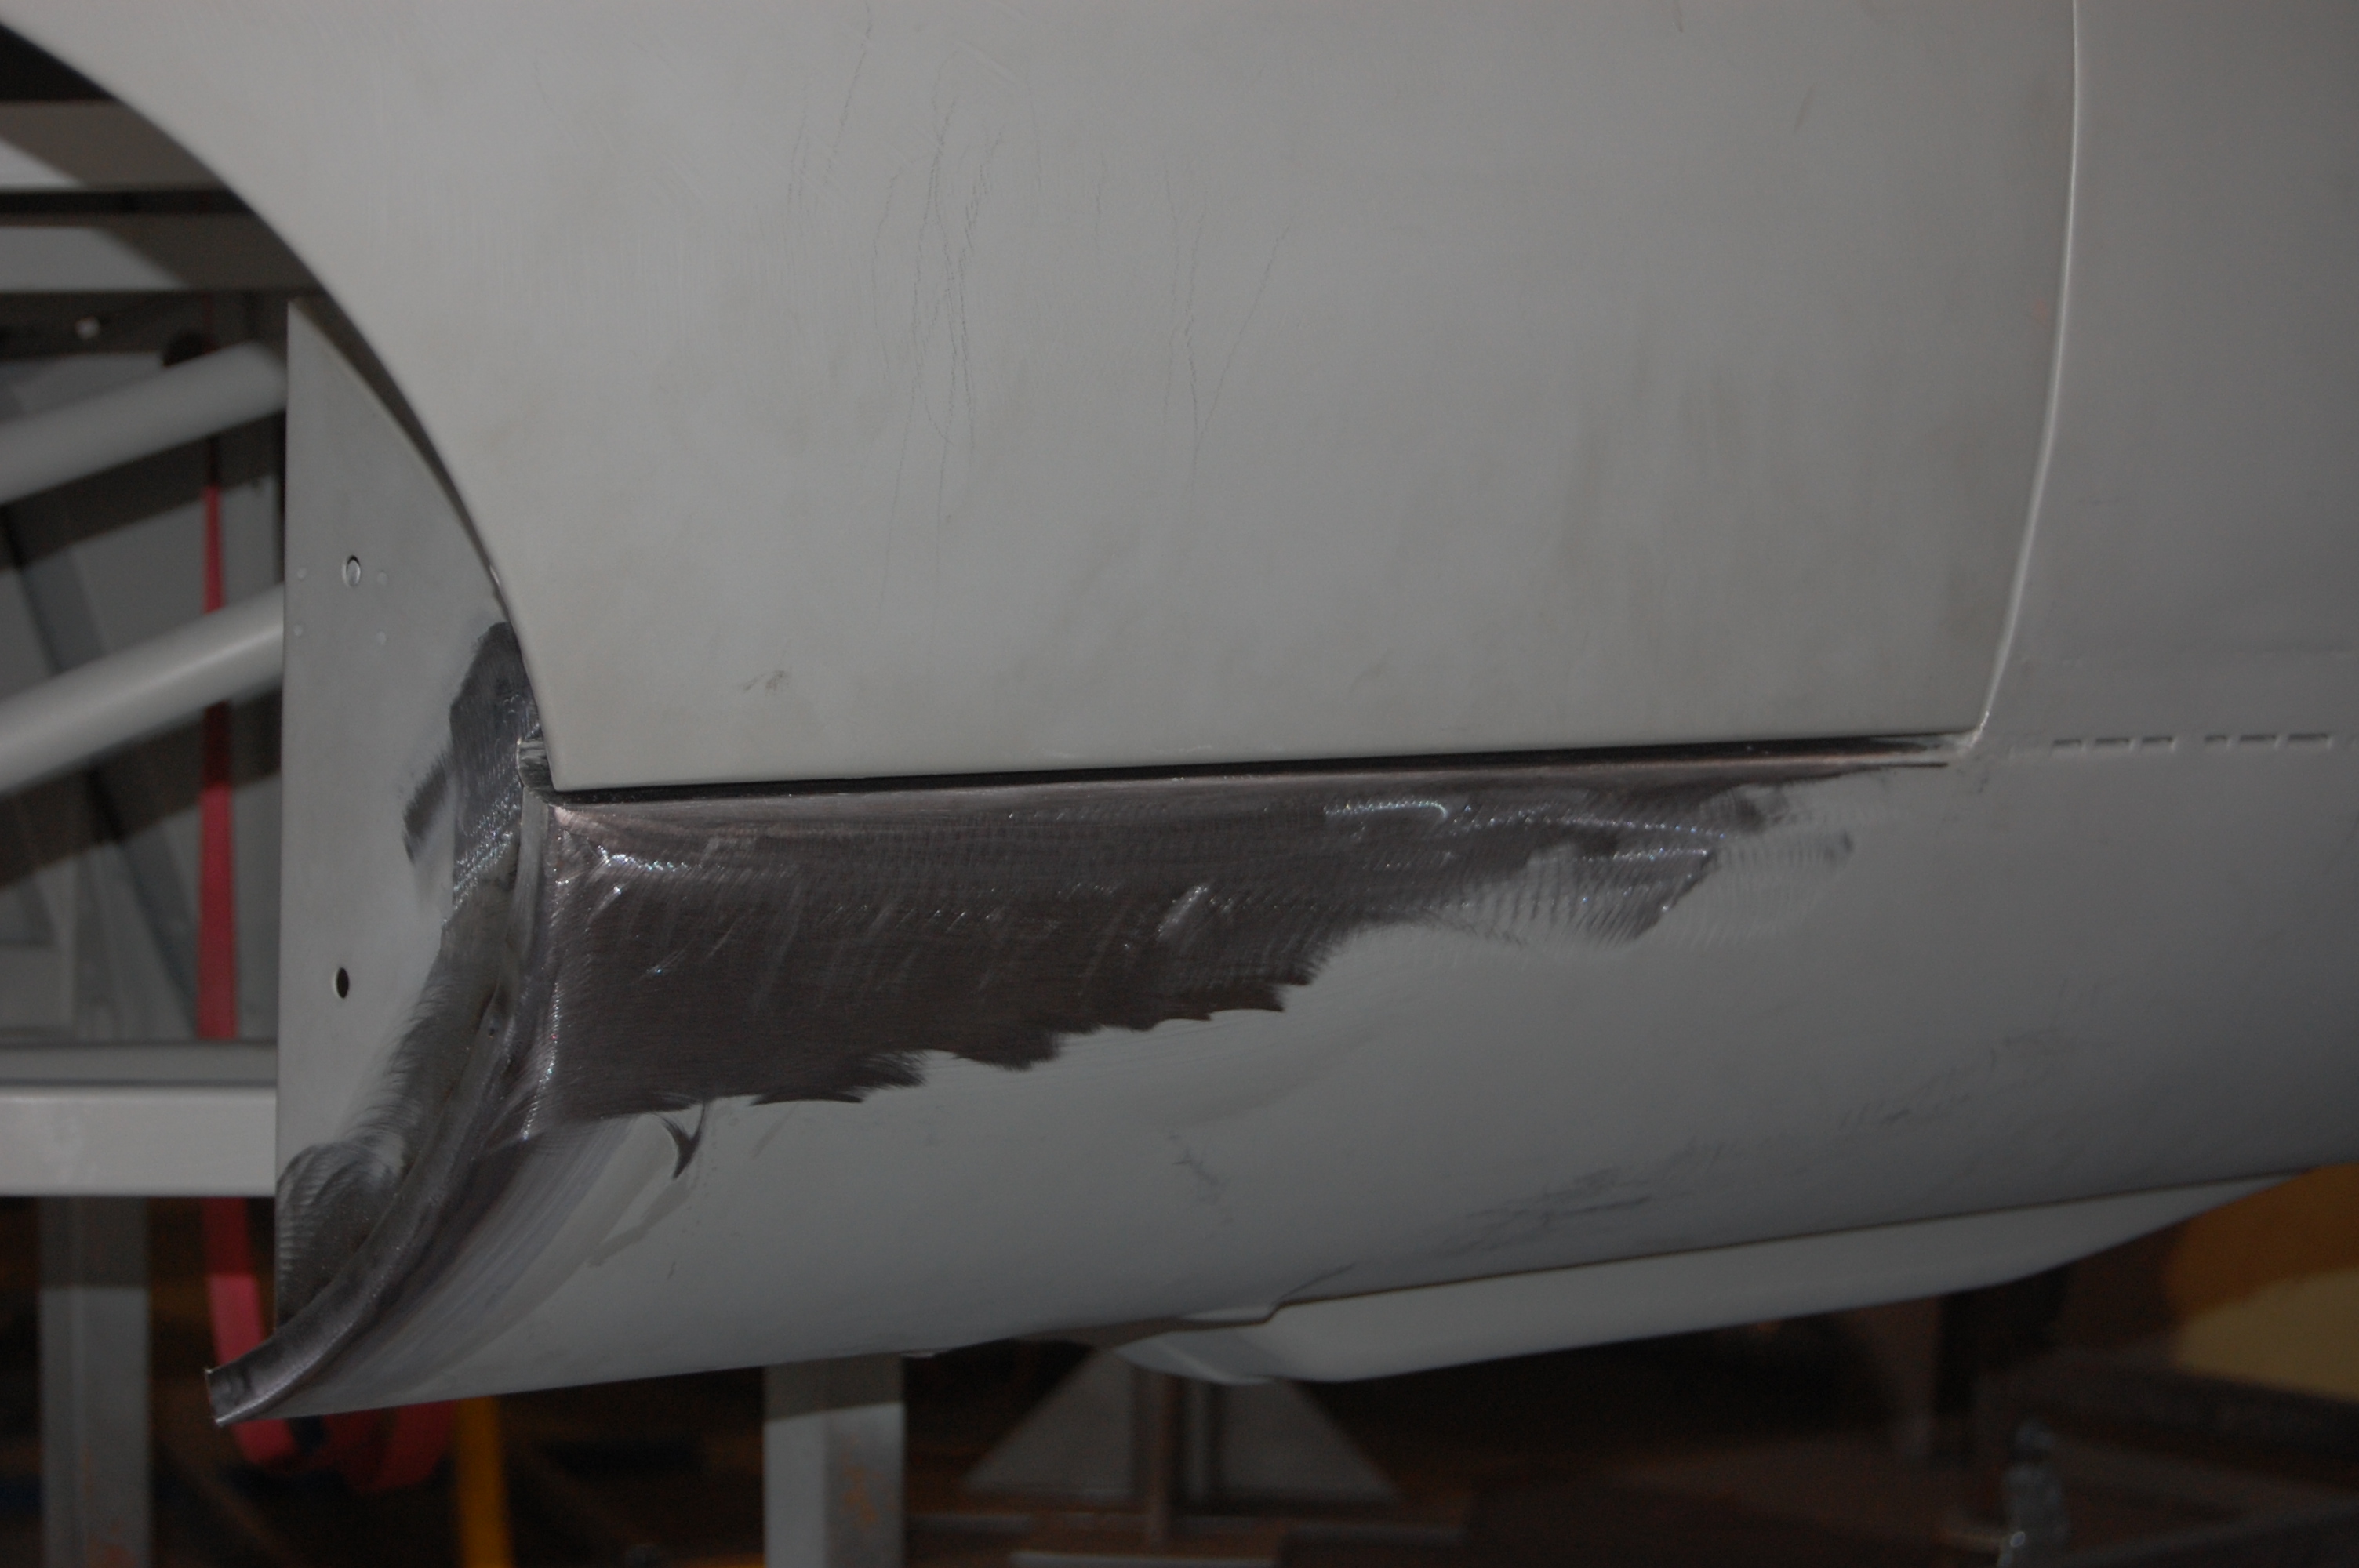
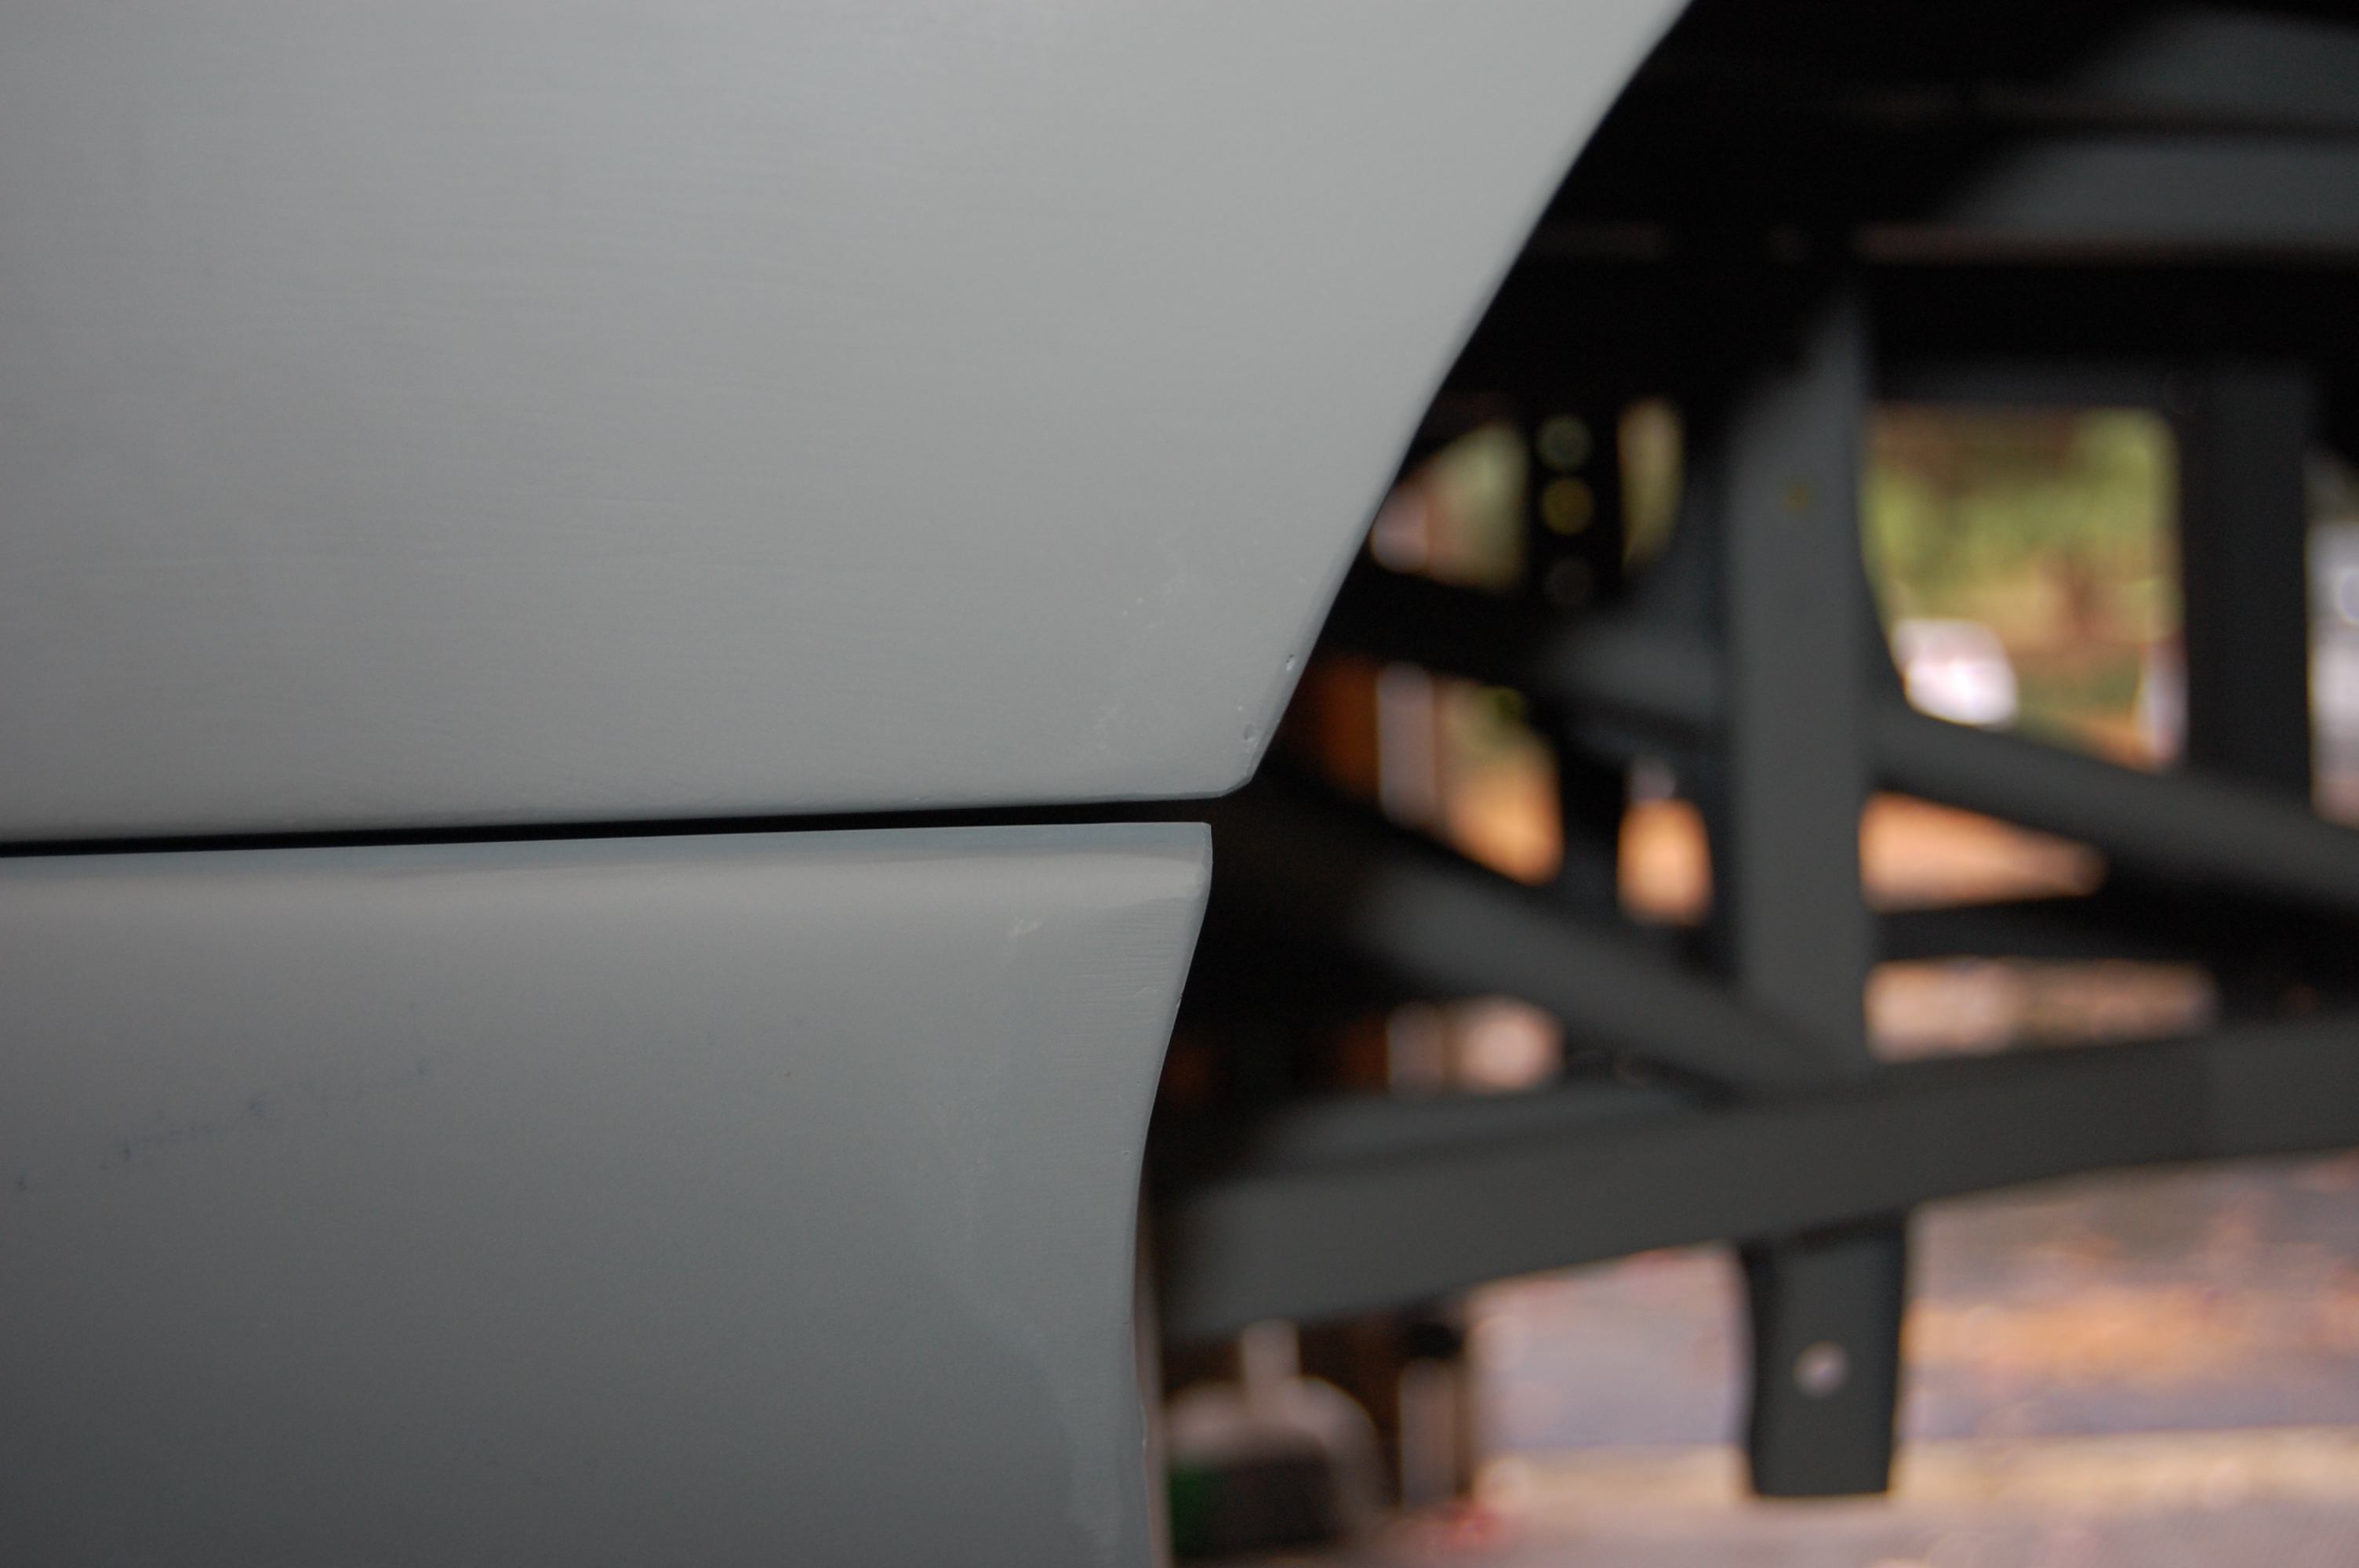
- This side fit like a glove right off the bat, but the match-up of the wheel arch edge needed a little adjustment to be perfect.
-
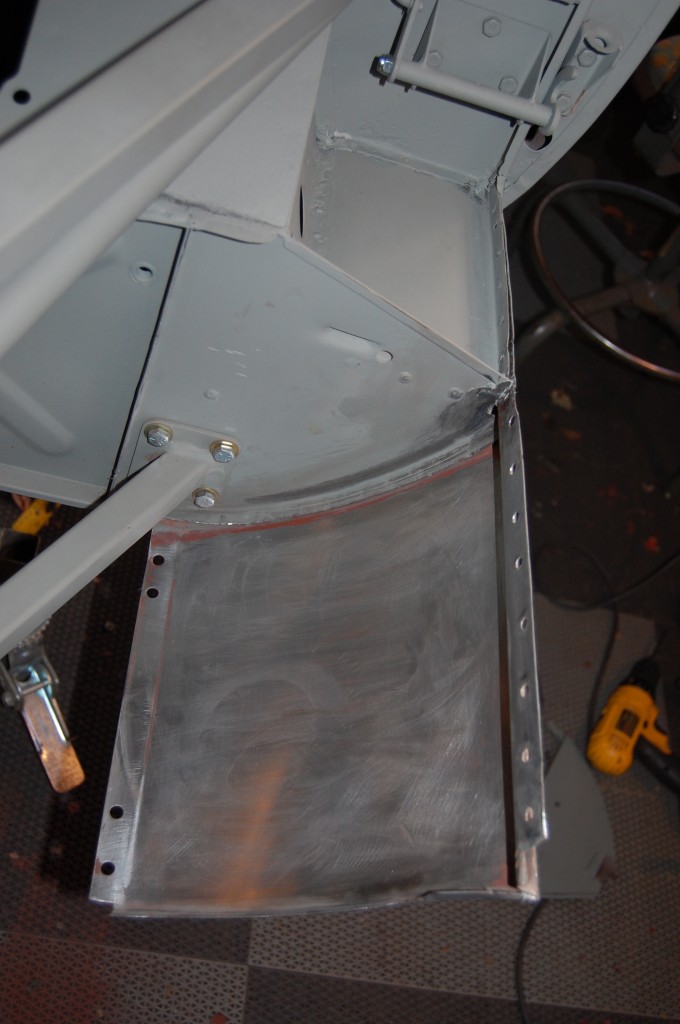
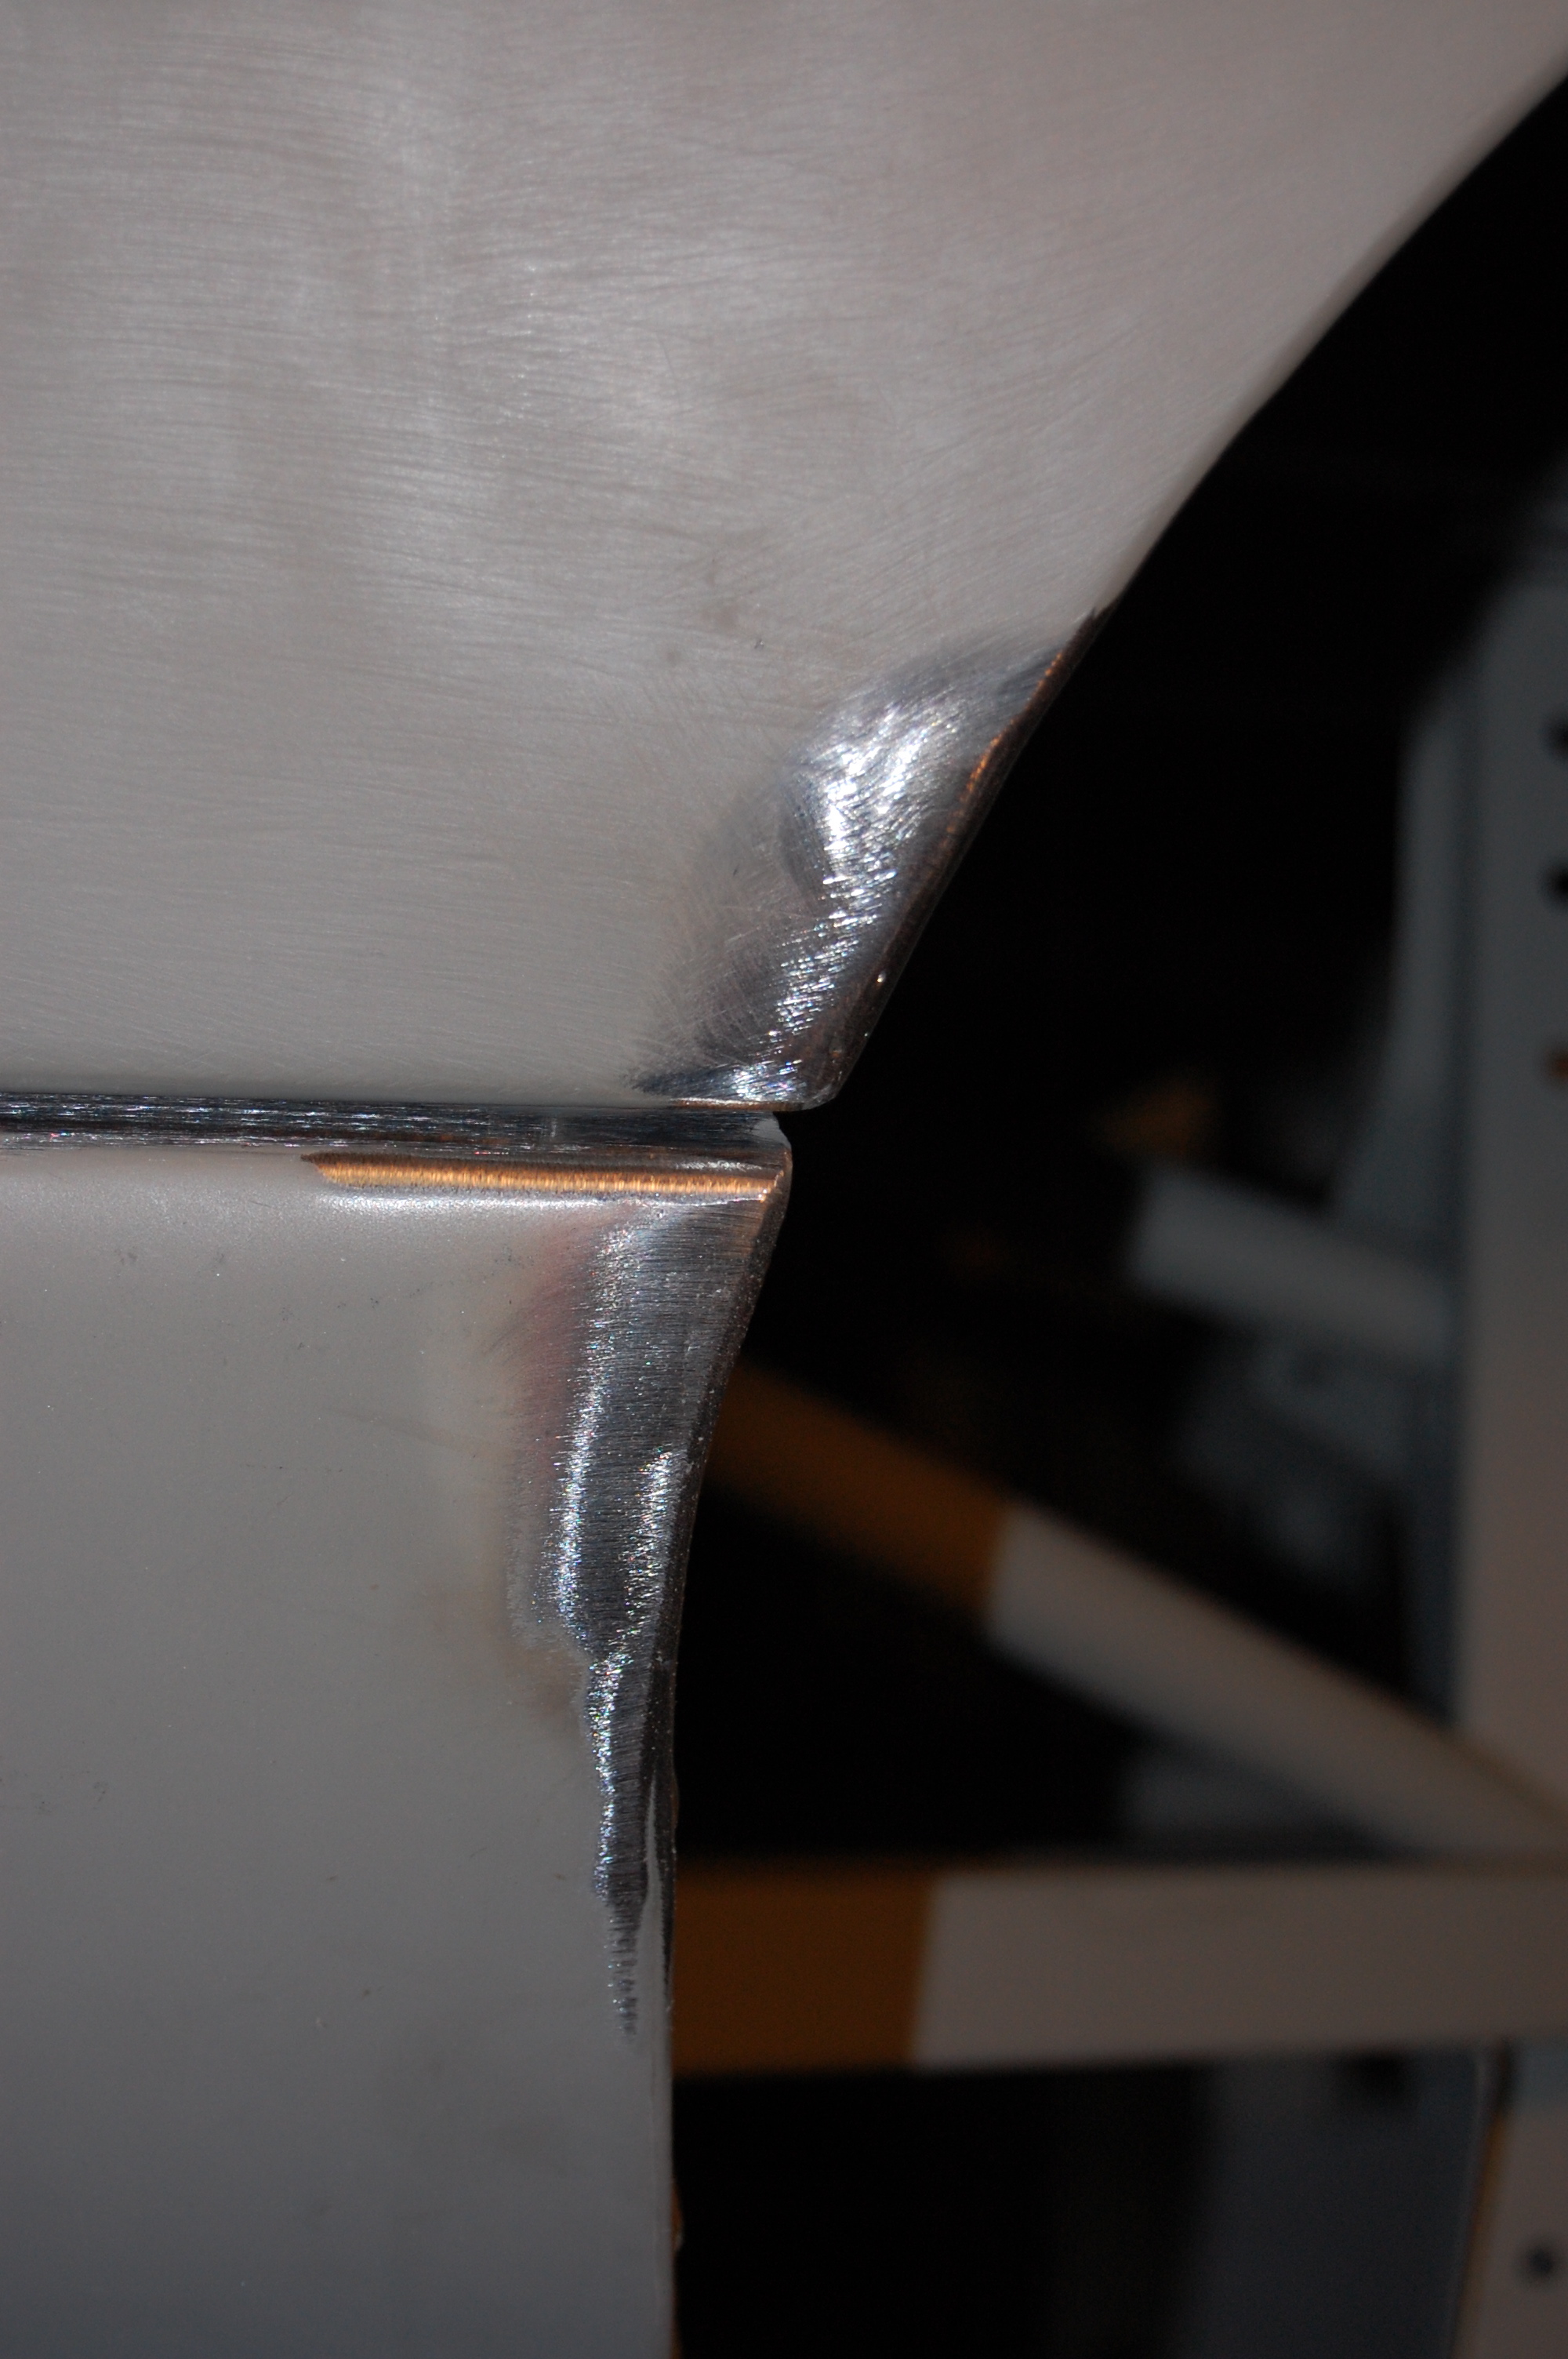
- This is what you are looking for – we added metal to the edge of the bonnet, and cut back and re-welded the tip of the sill to get here.
-
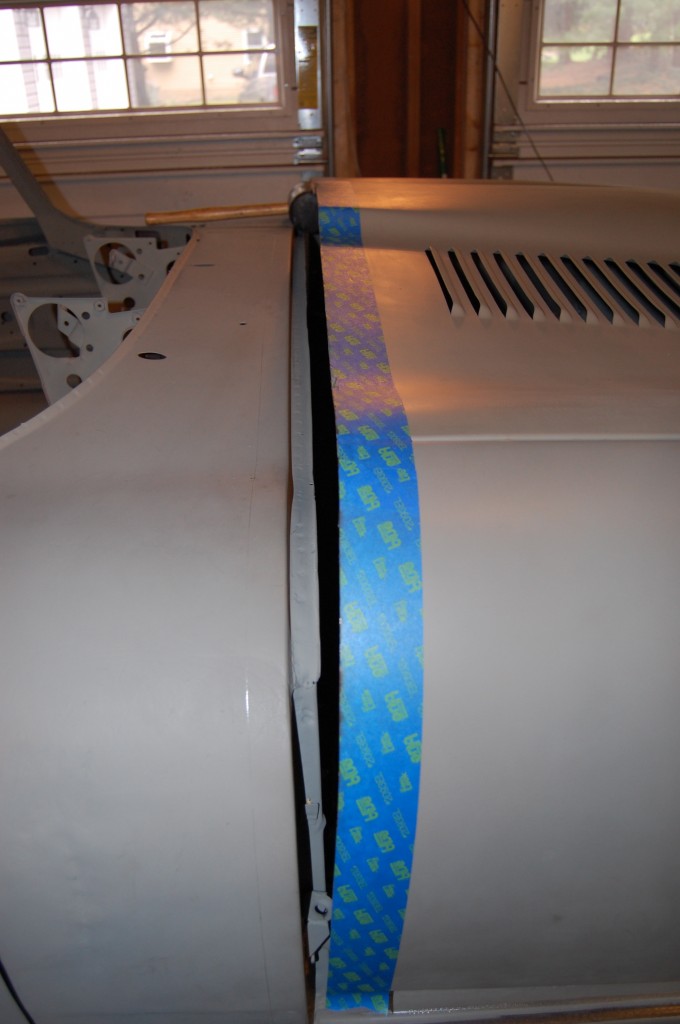
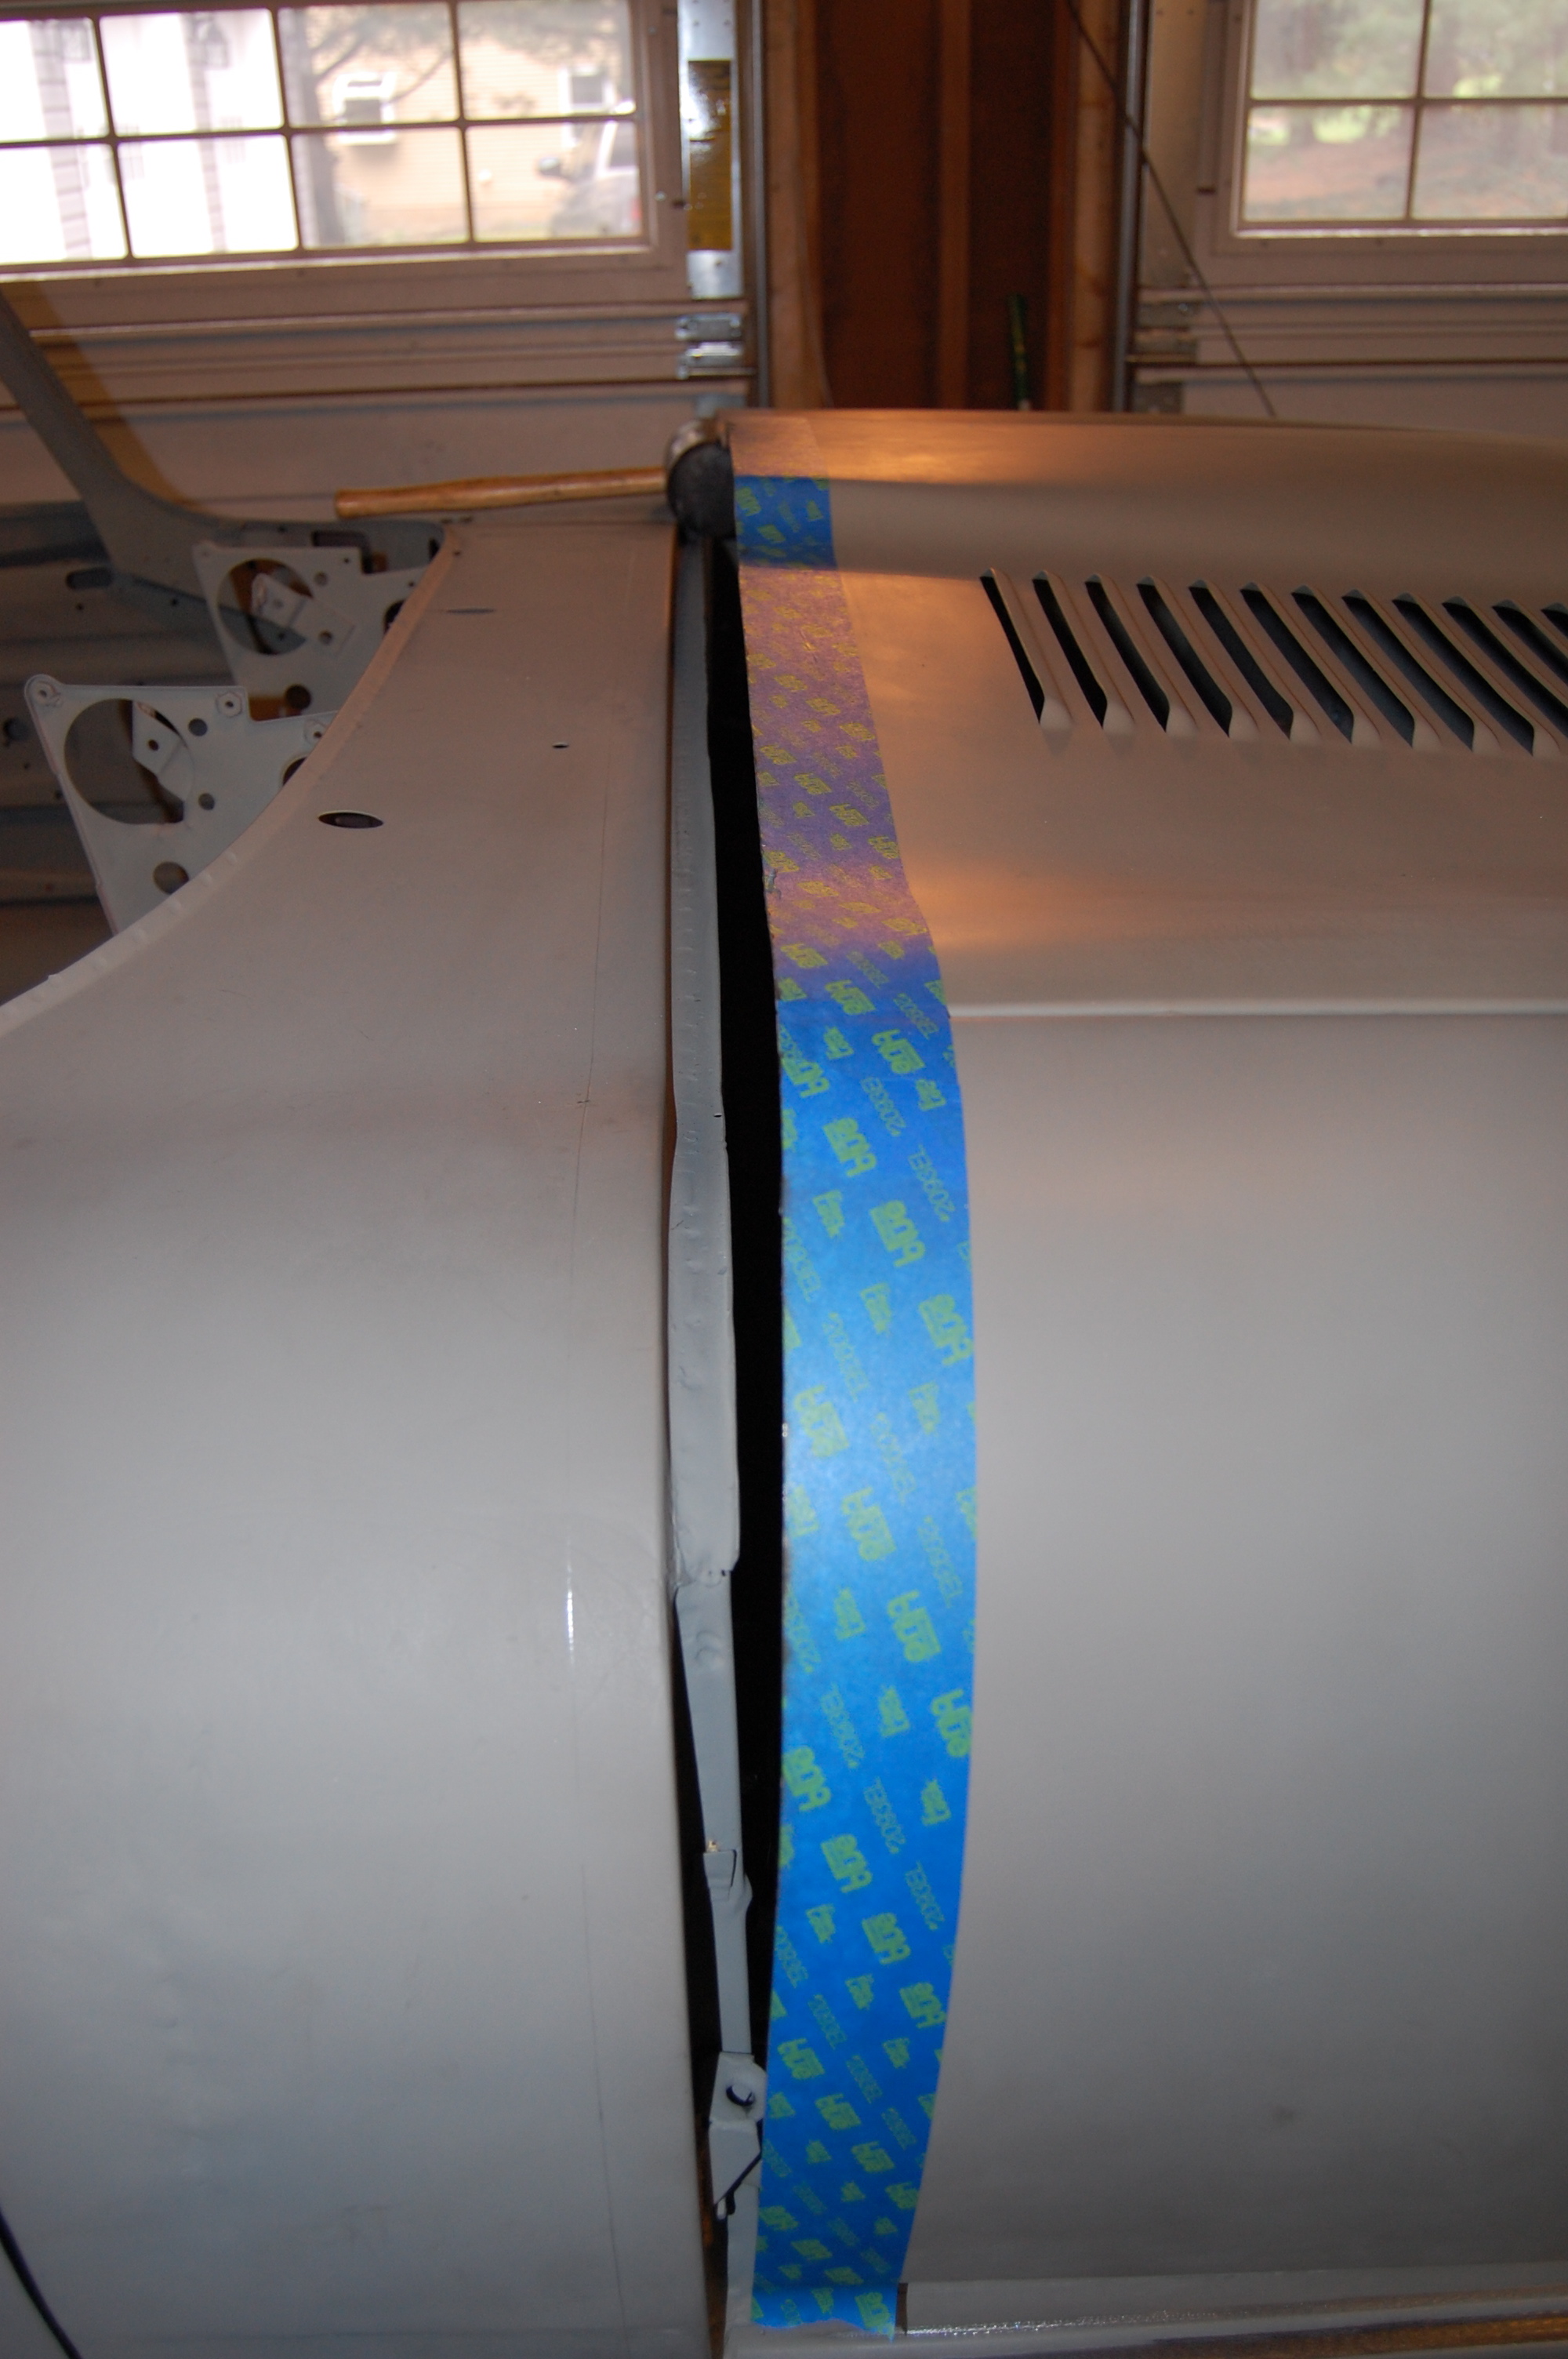
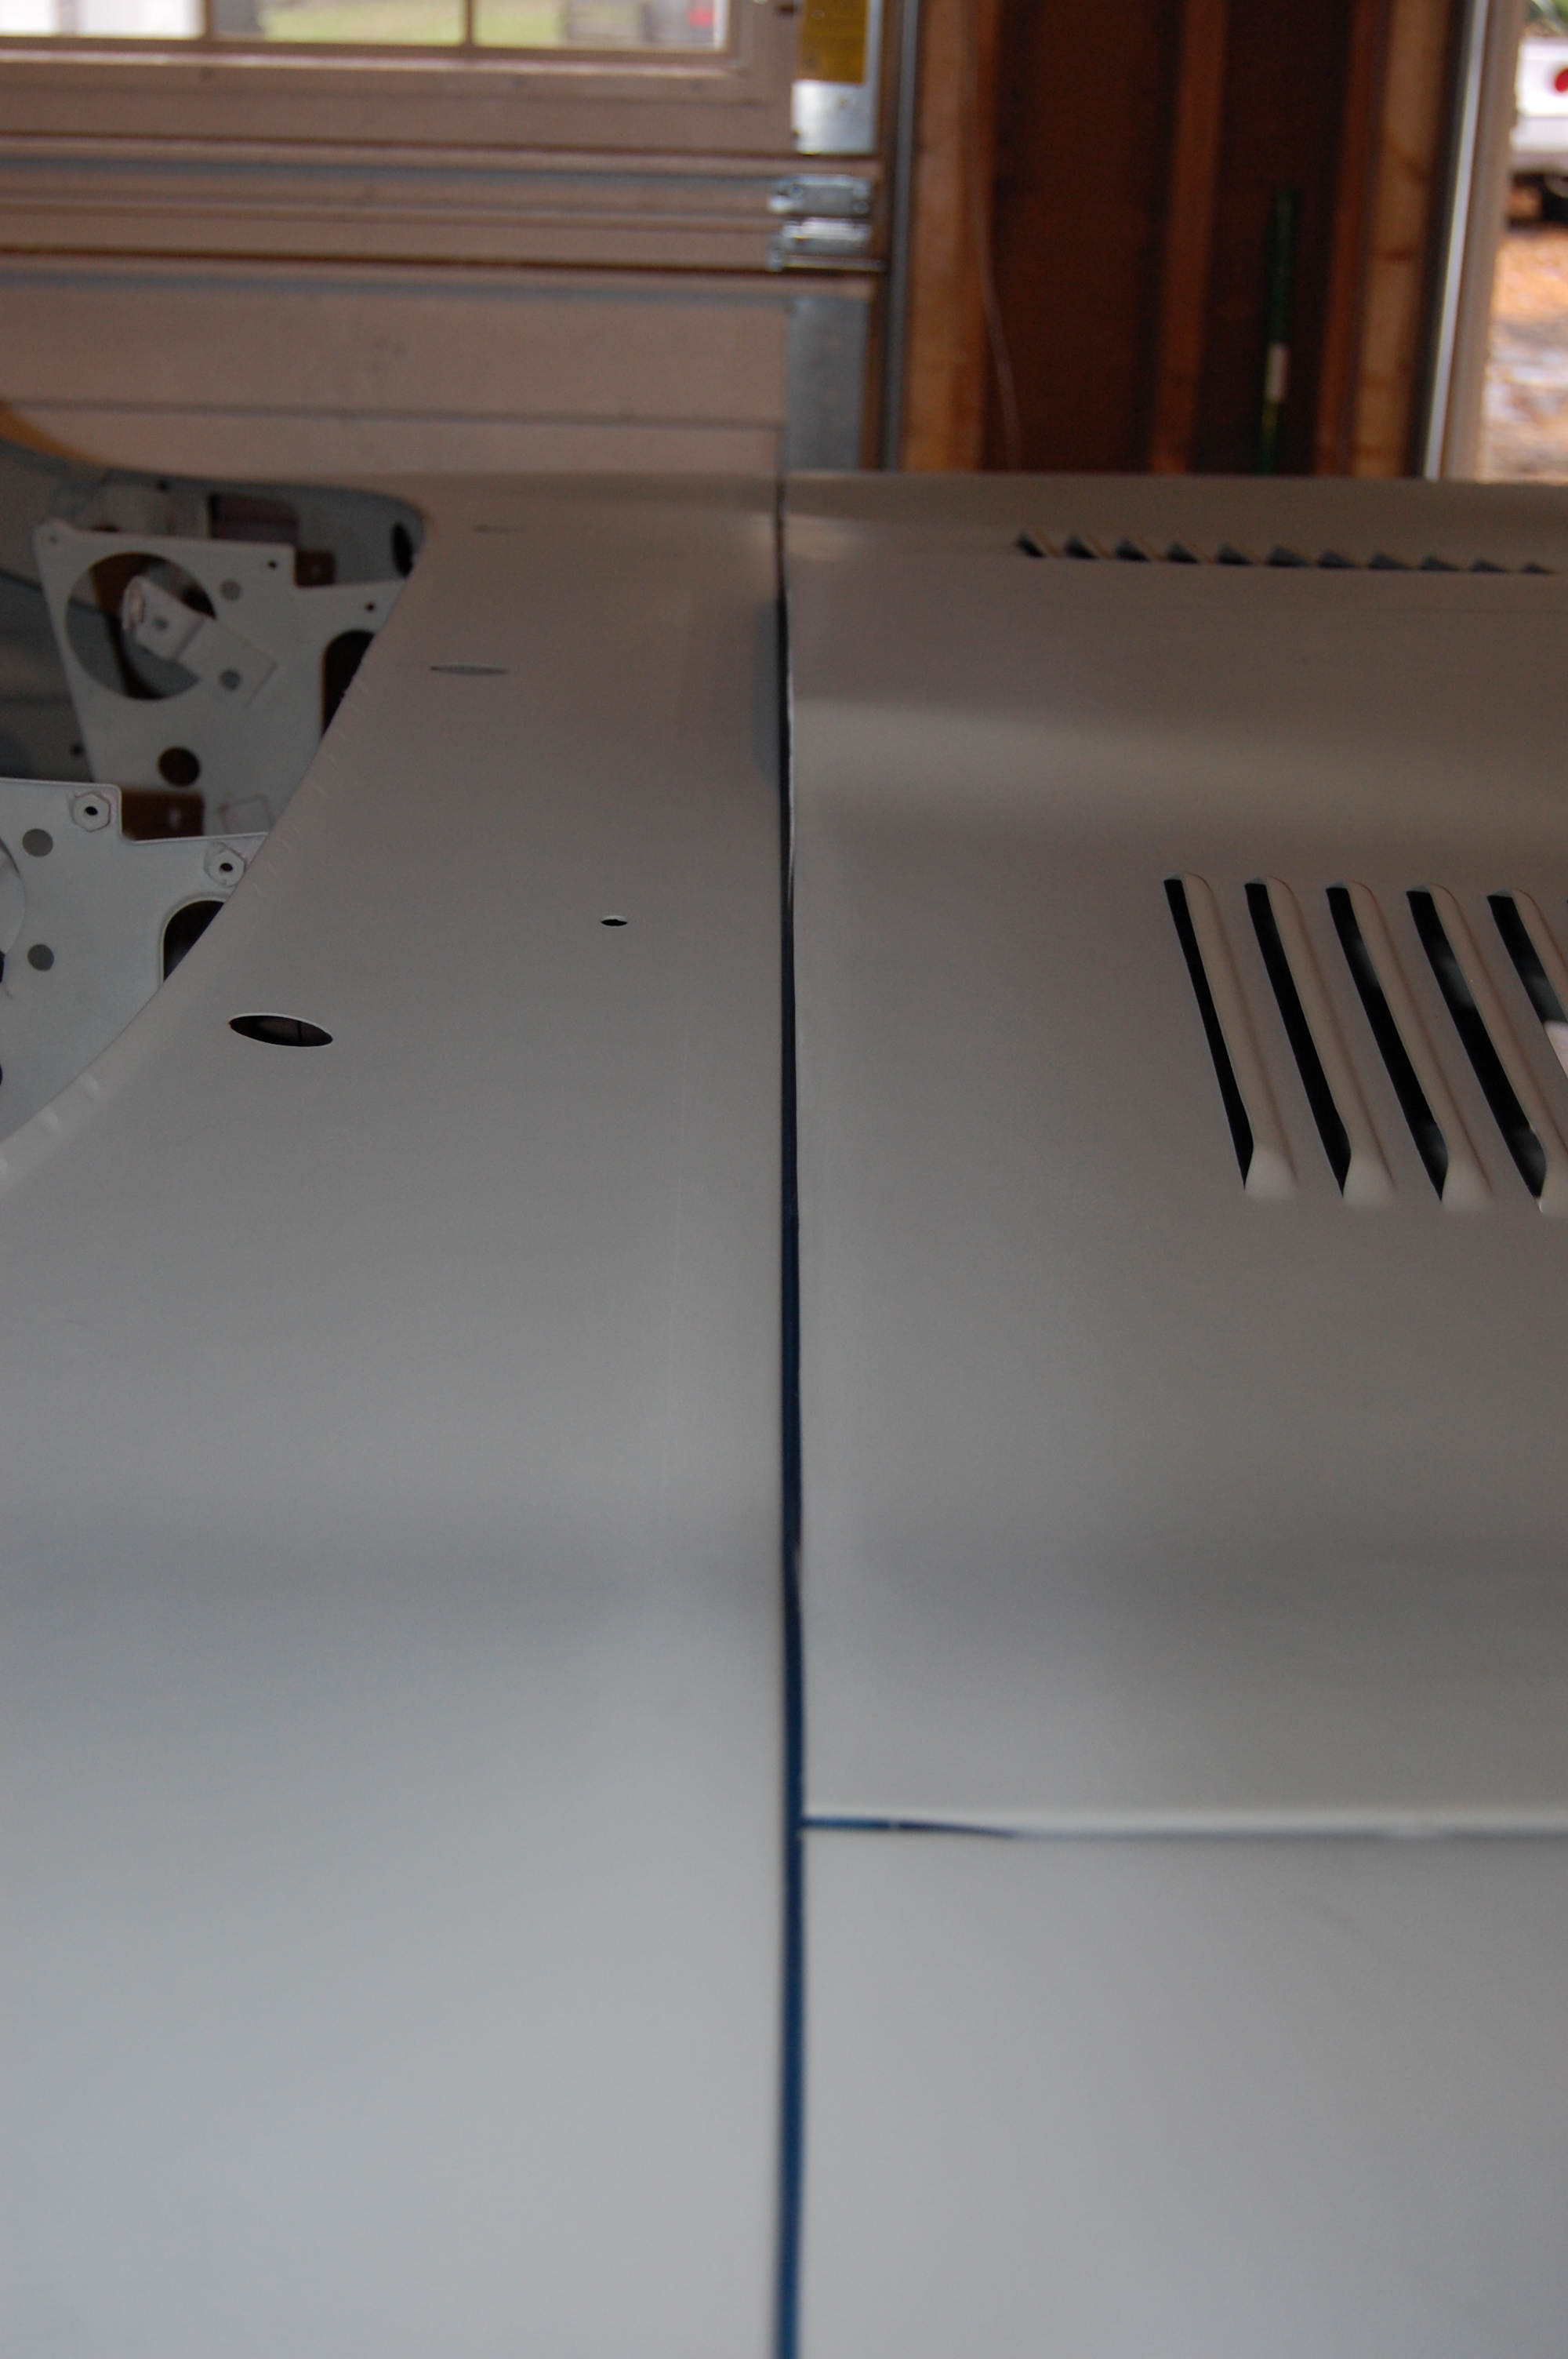
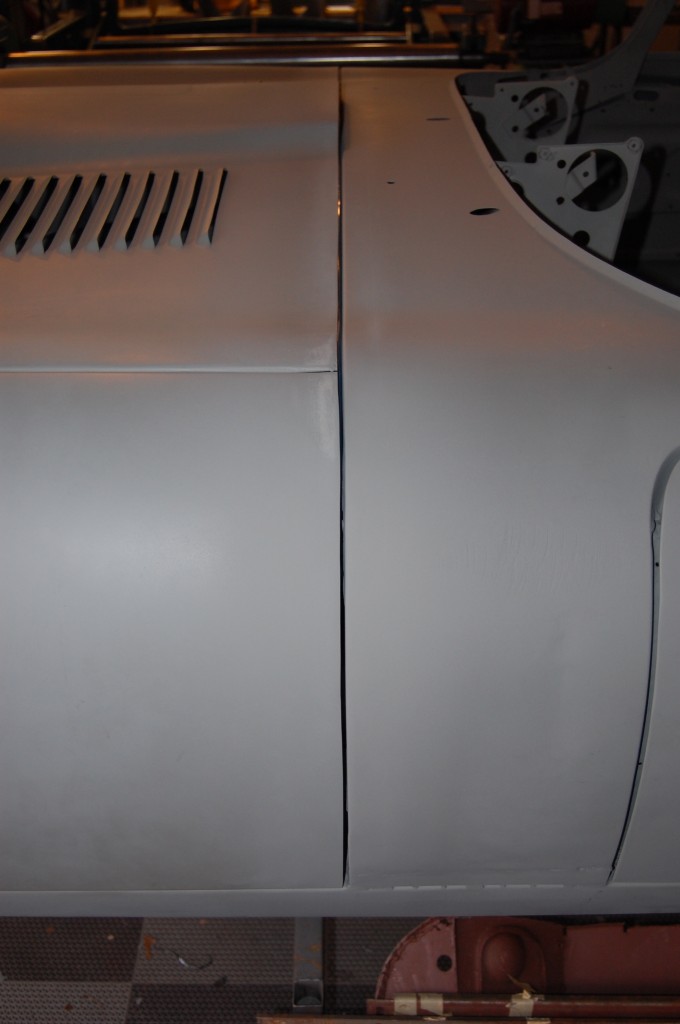
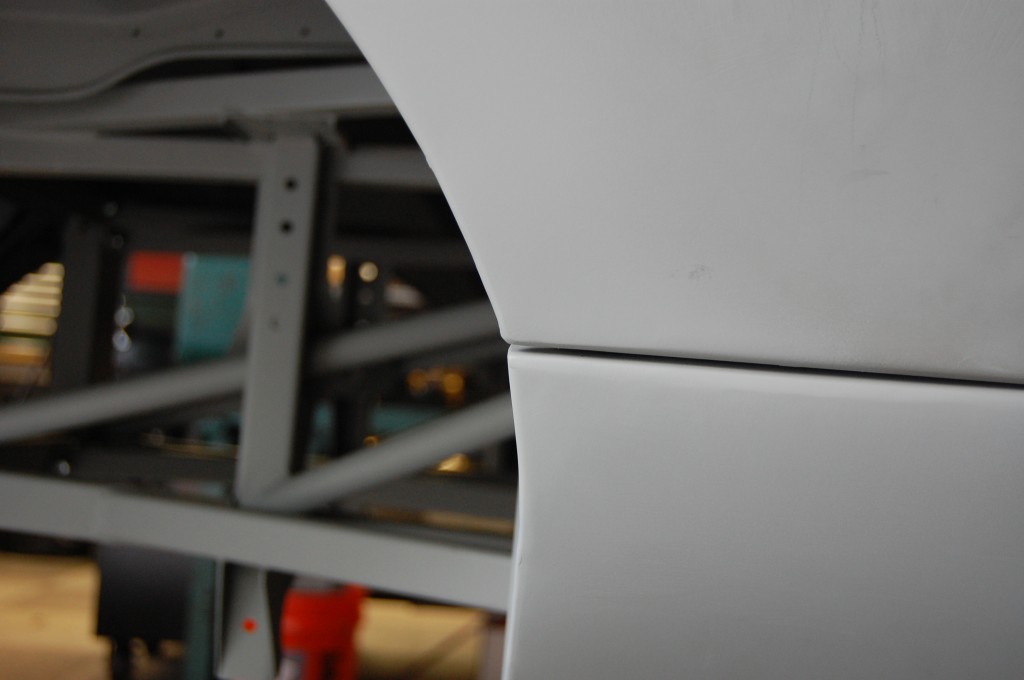
- At this point, everything fits great EXCEPT the rear edge – which is too tight. This is EXACTLY where you want to end up. Now we can re-cut the rear edge, getting just the right gap, and making the cut LASER straight.
-
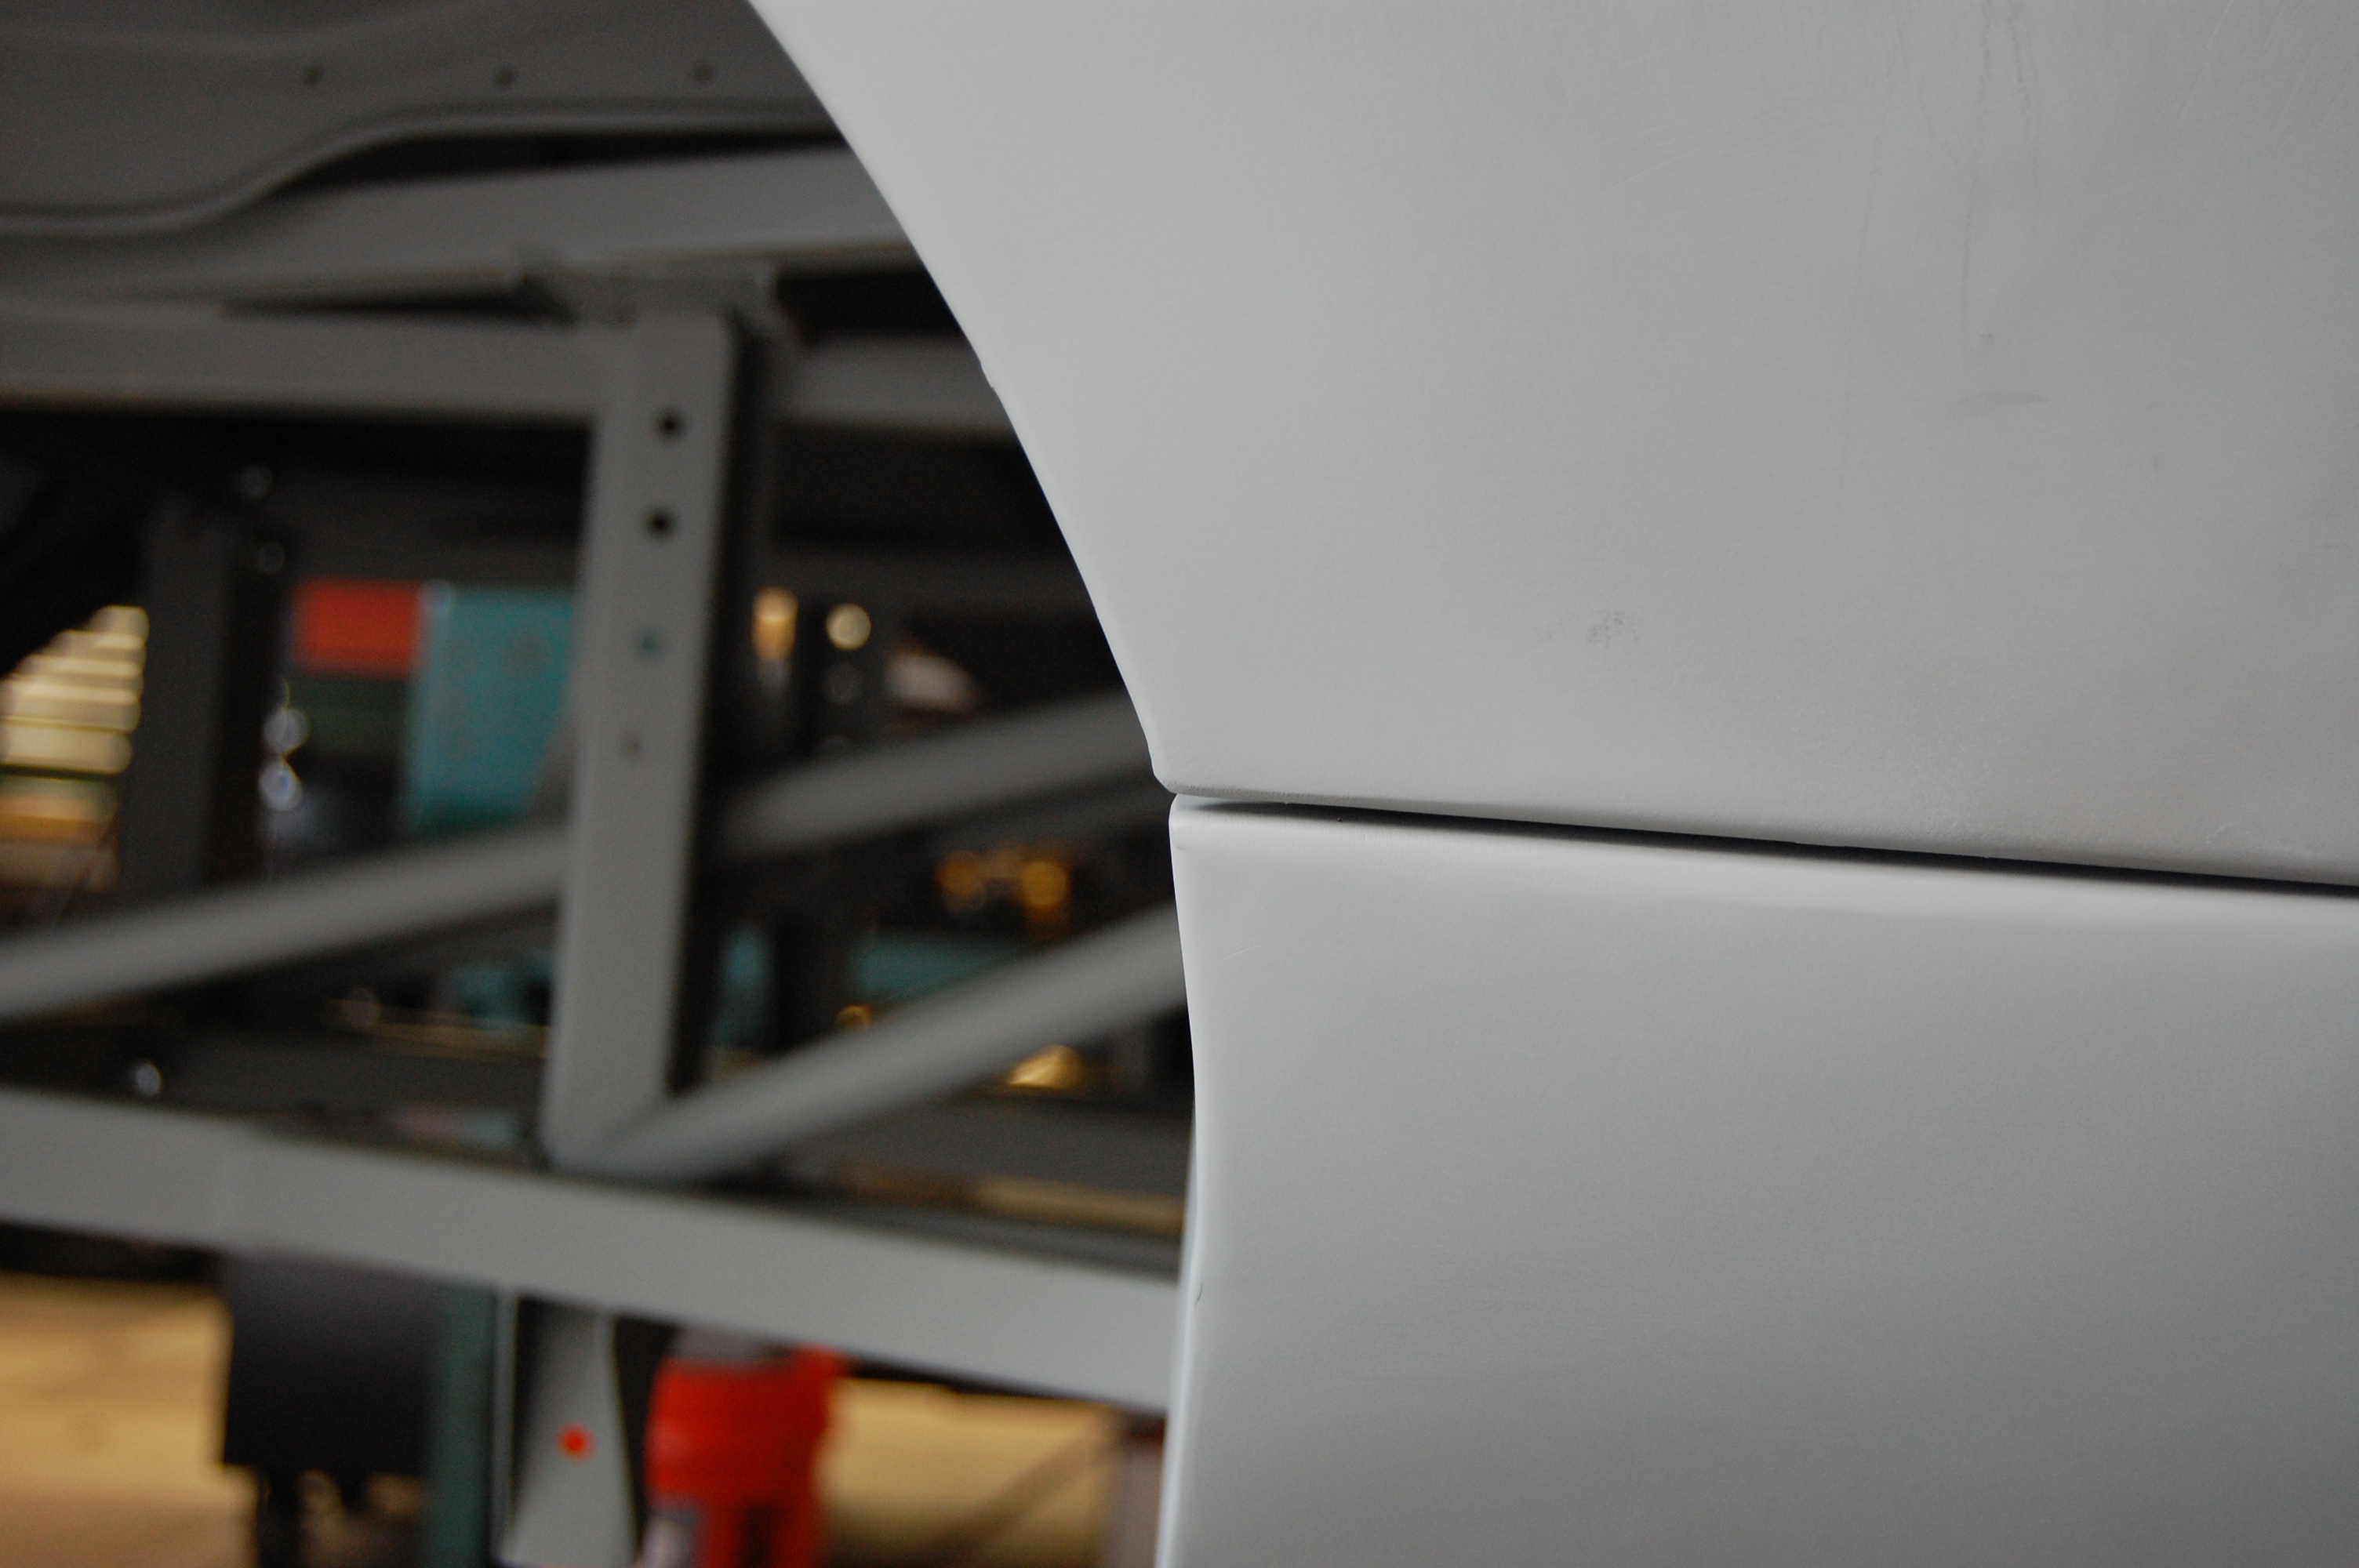
- The fit on the LH side is quite good now – just a little close back here.

-
- At this point, the edge has been marked and cut, and just needs to be cleaned up.
-
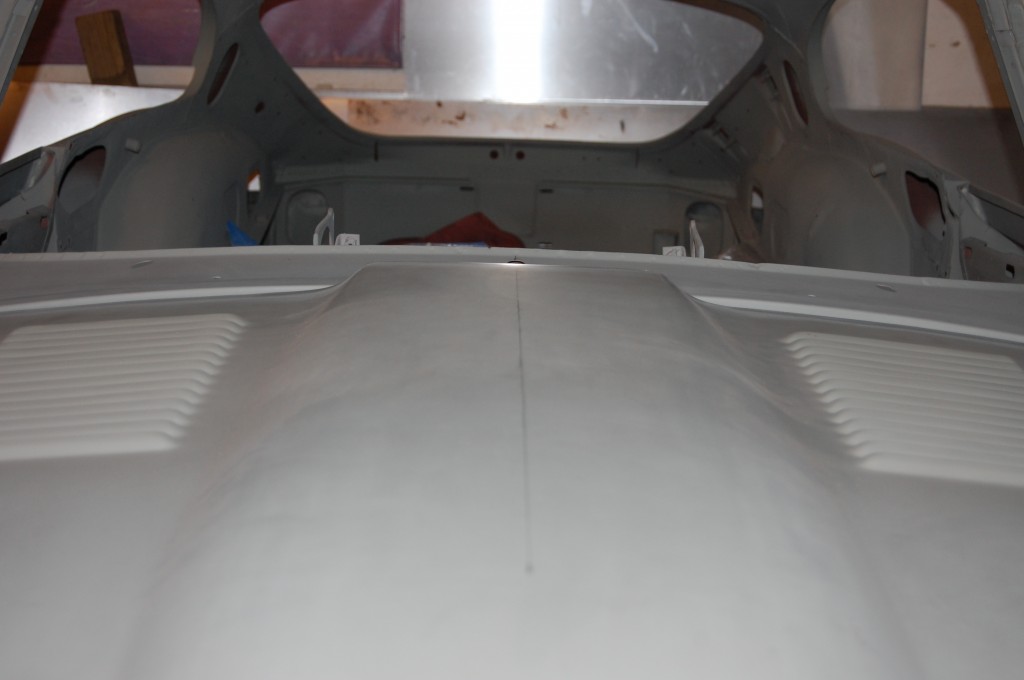
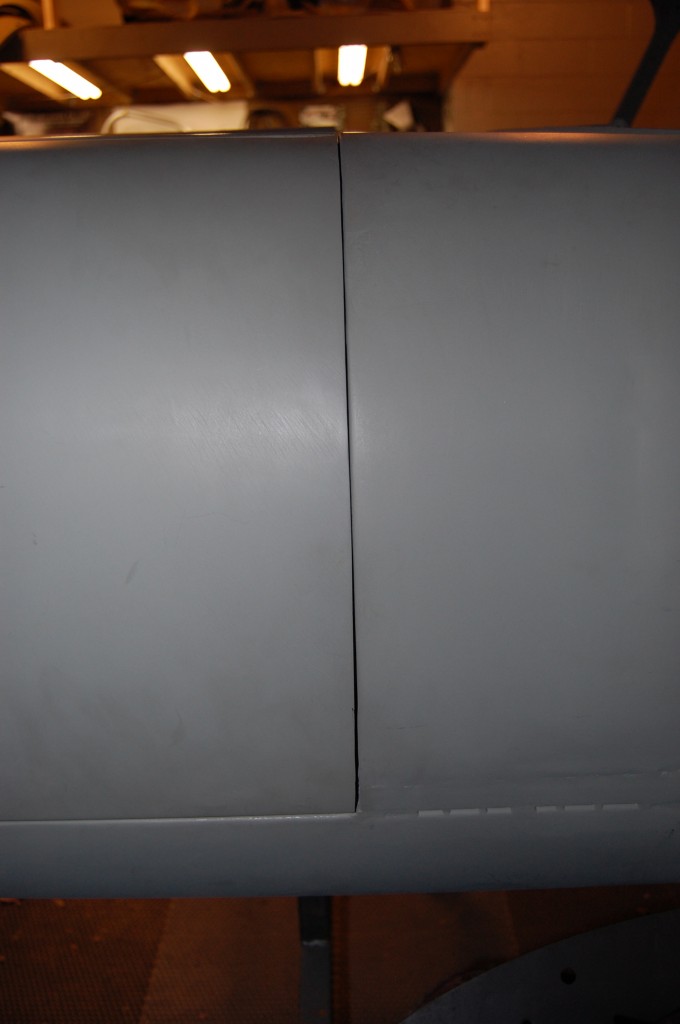
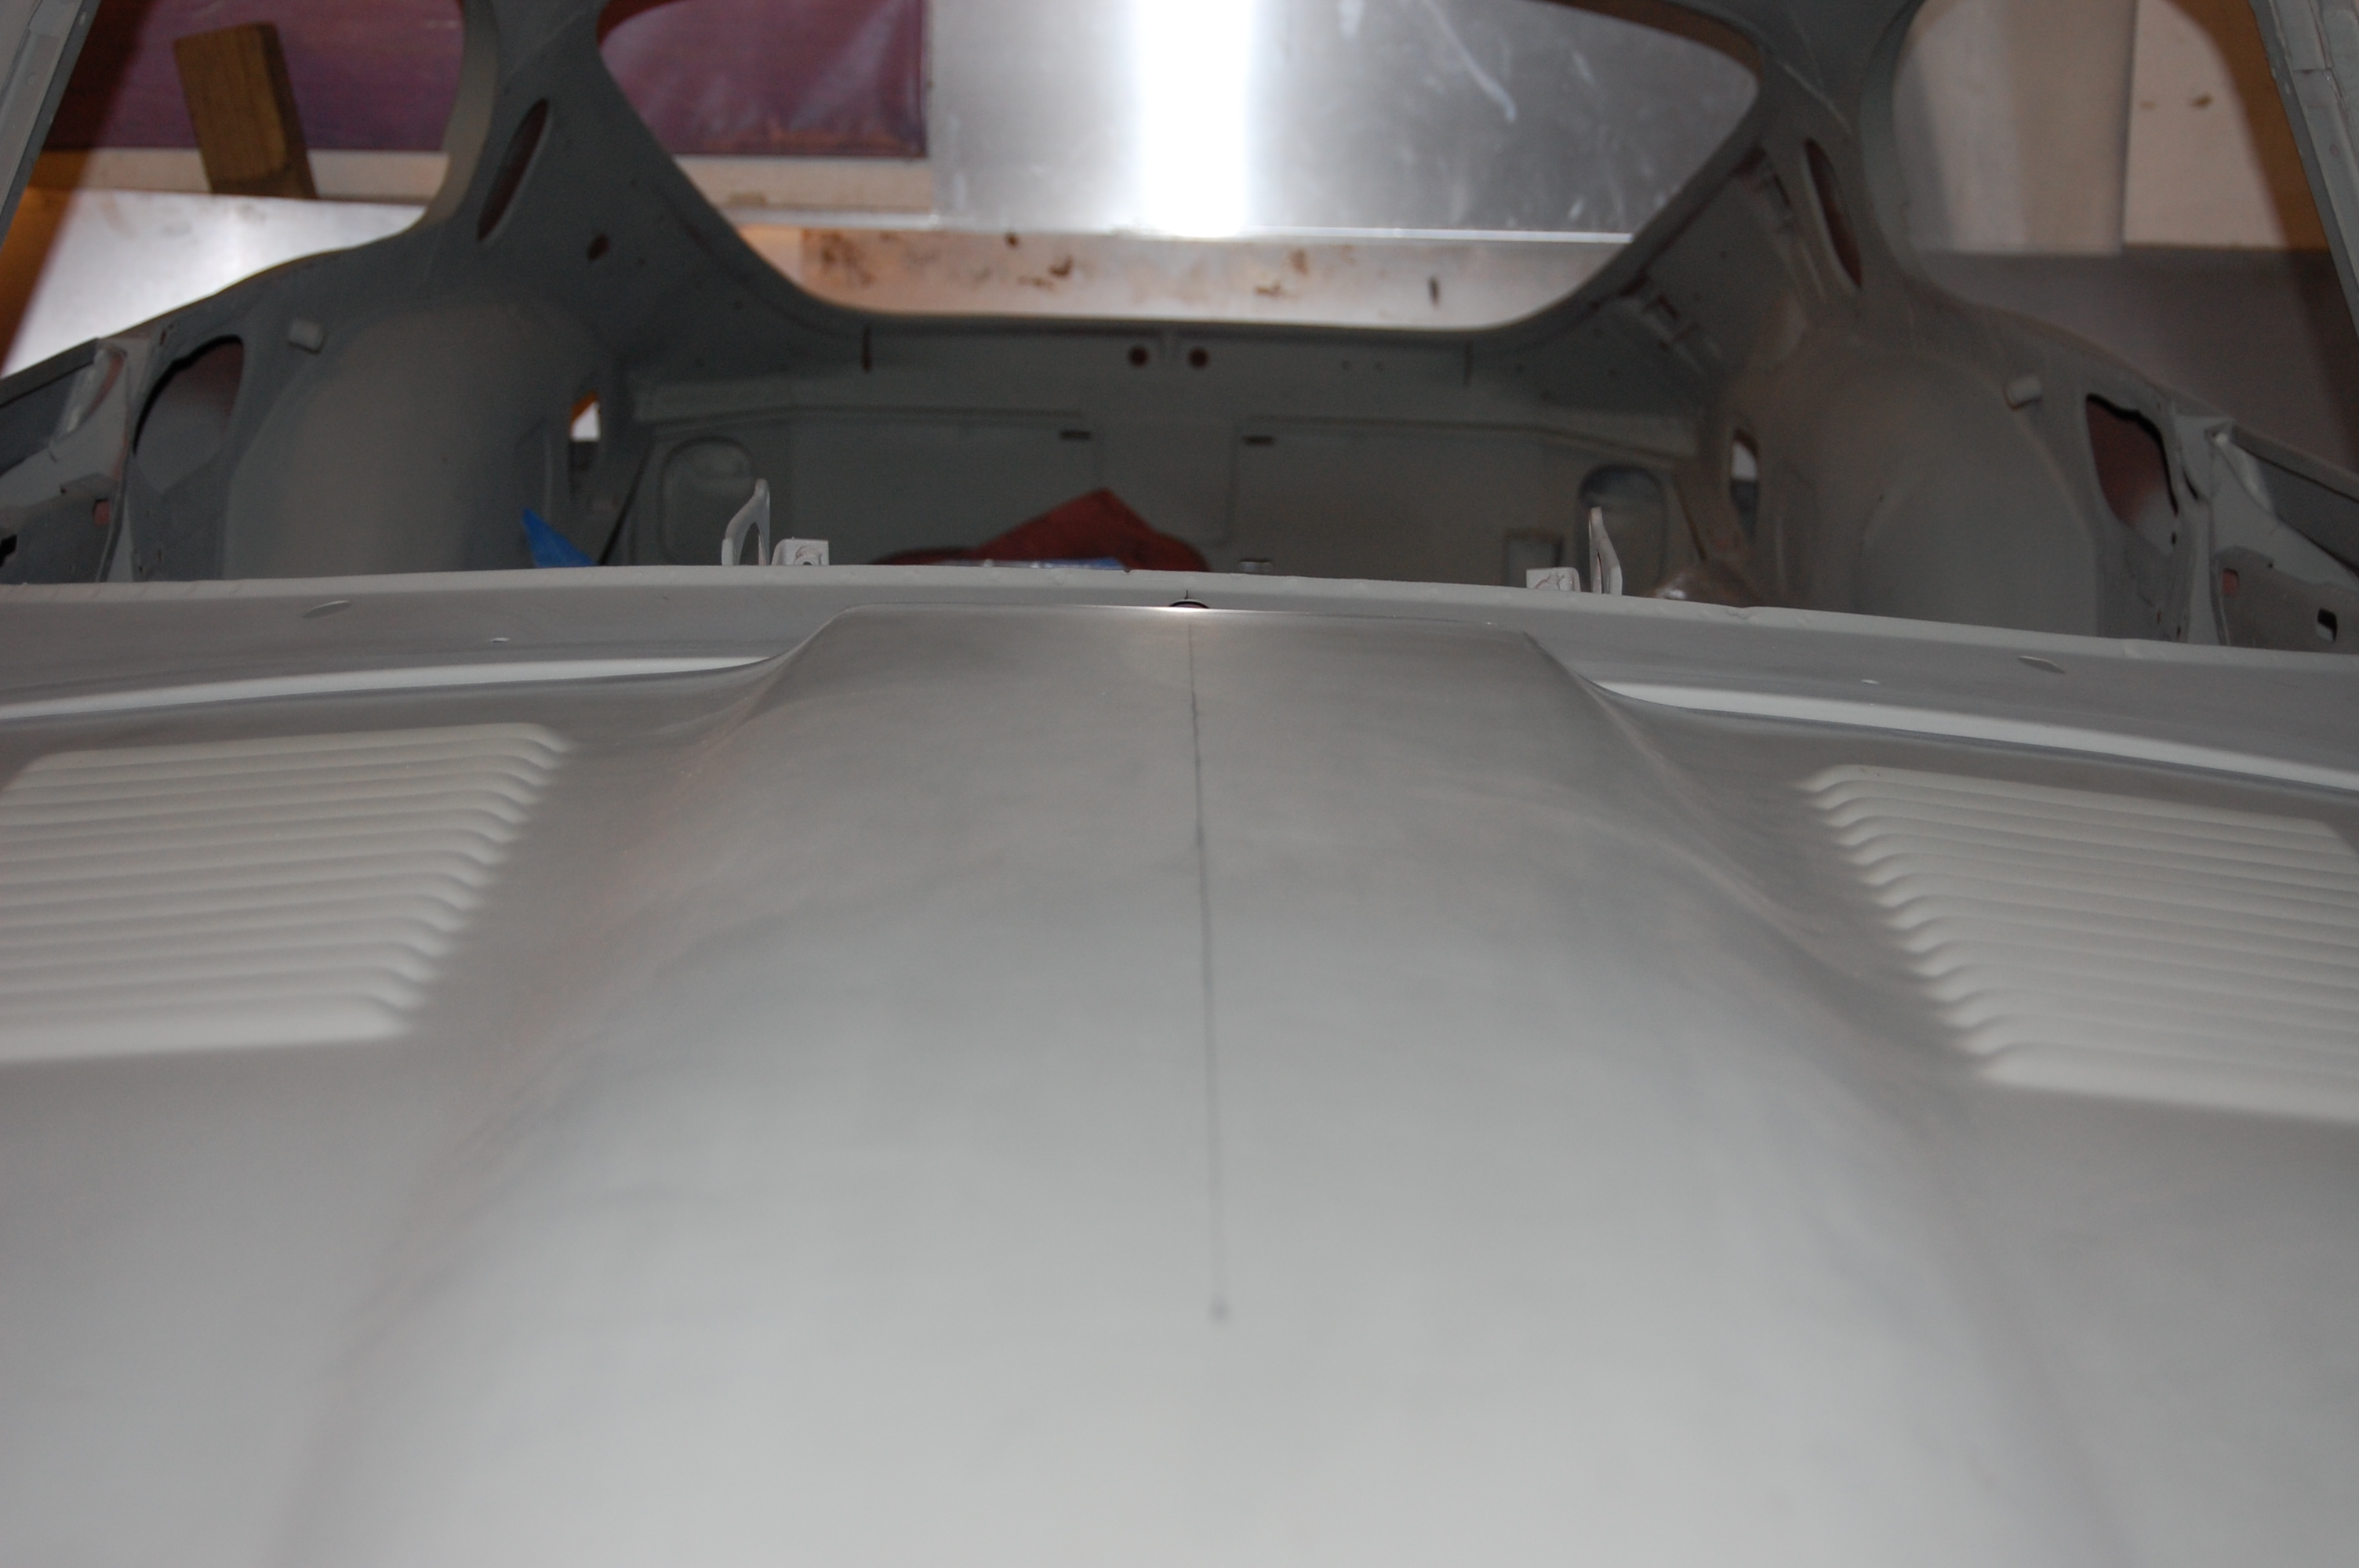
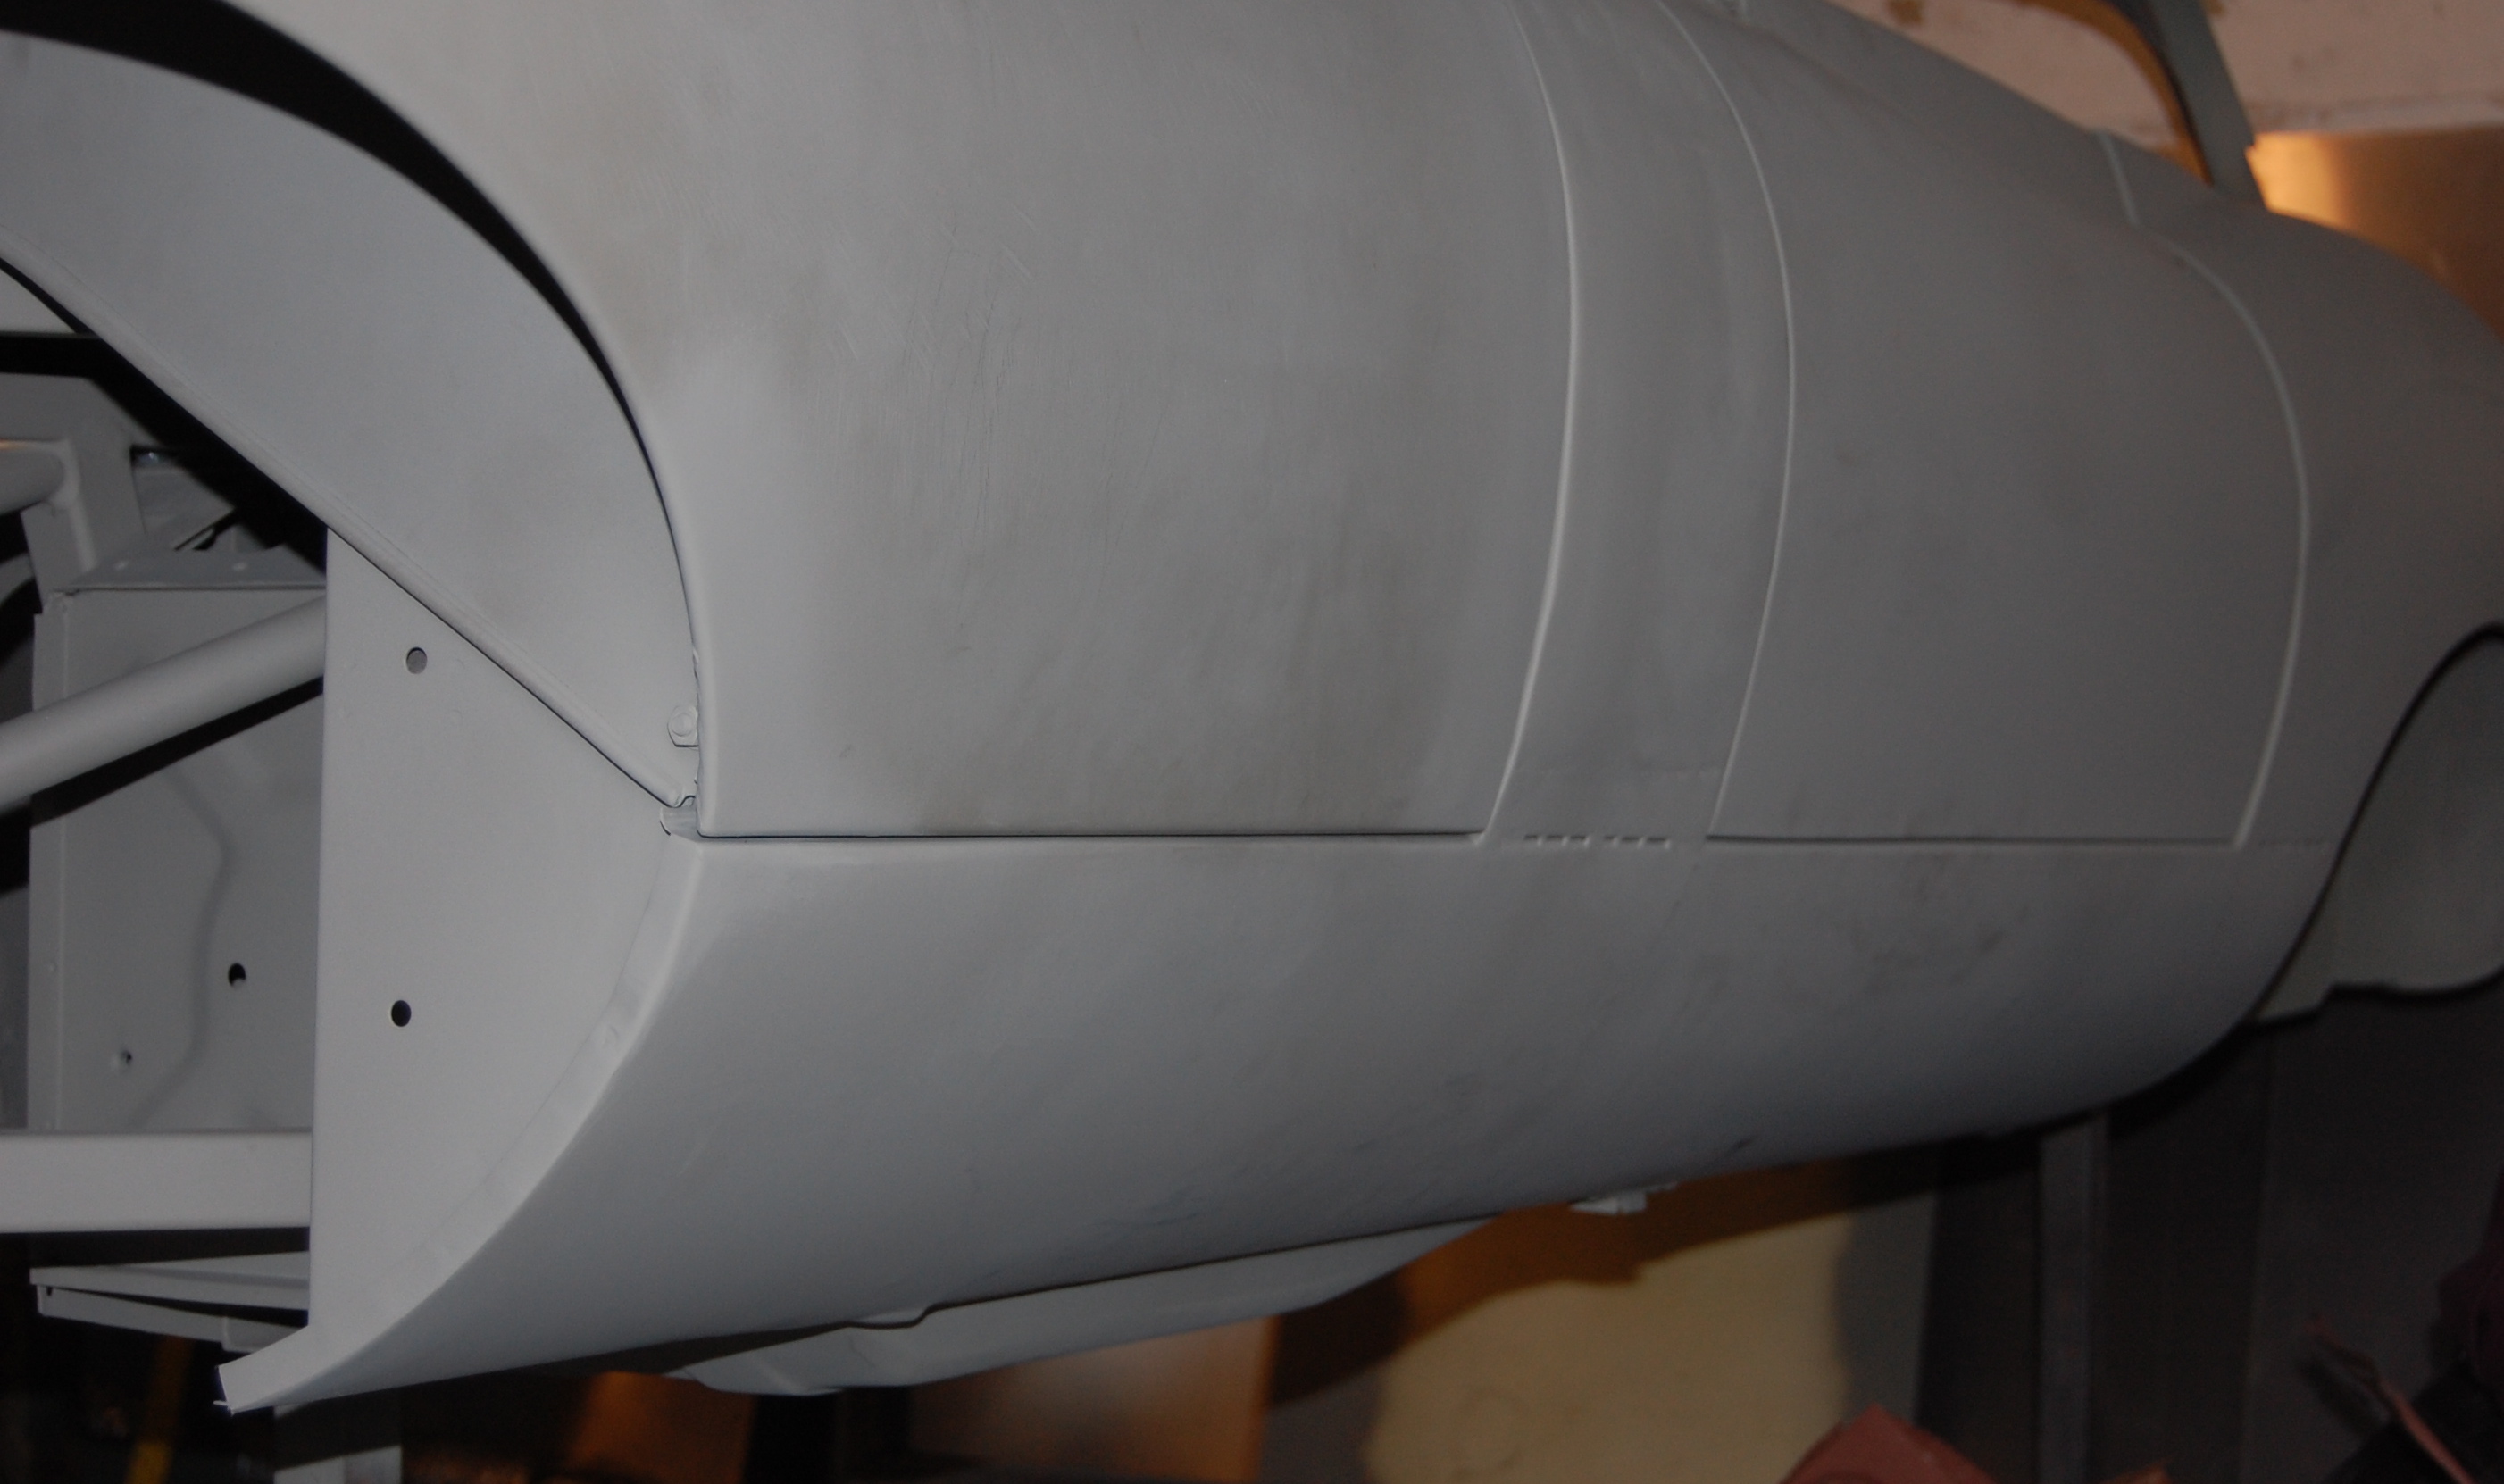
- This shot shows that we have aligned the bonnet in the DEAD center of the car. This is CRUCIAL if you want things to fit right! Also note that it is sunken below the cowl because the rubber seal is not in. WITH the seal, it fits perfectly.
-
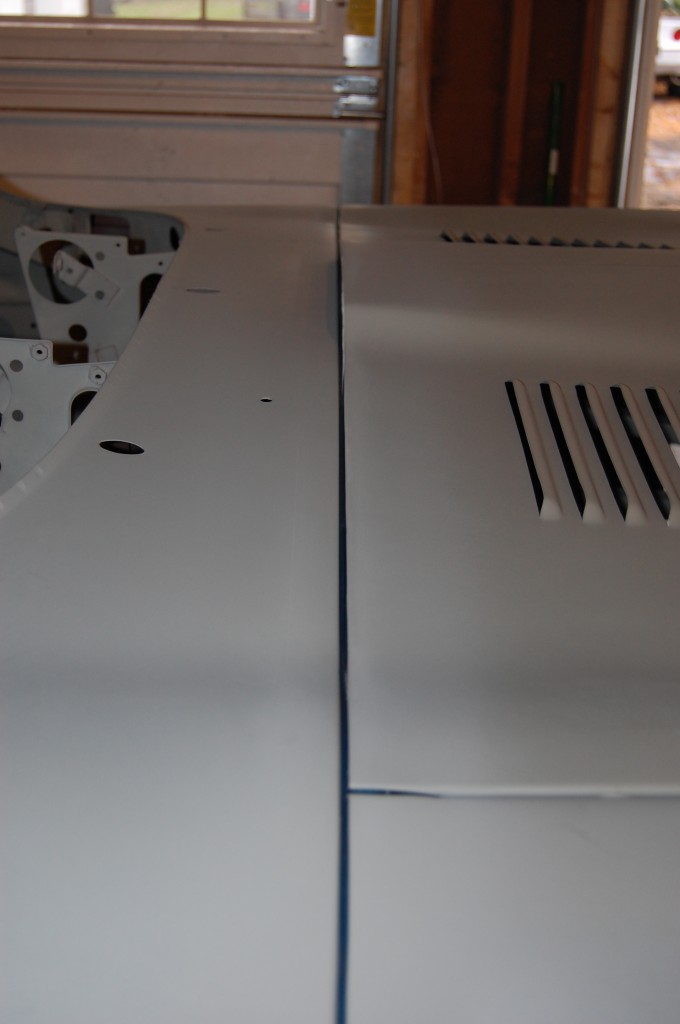
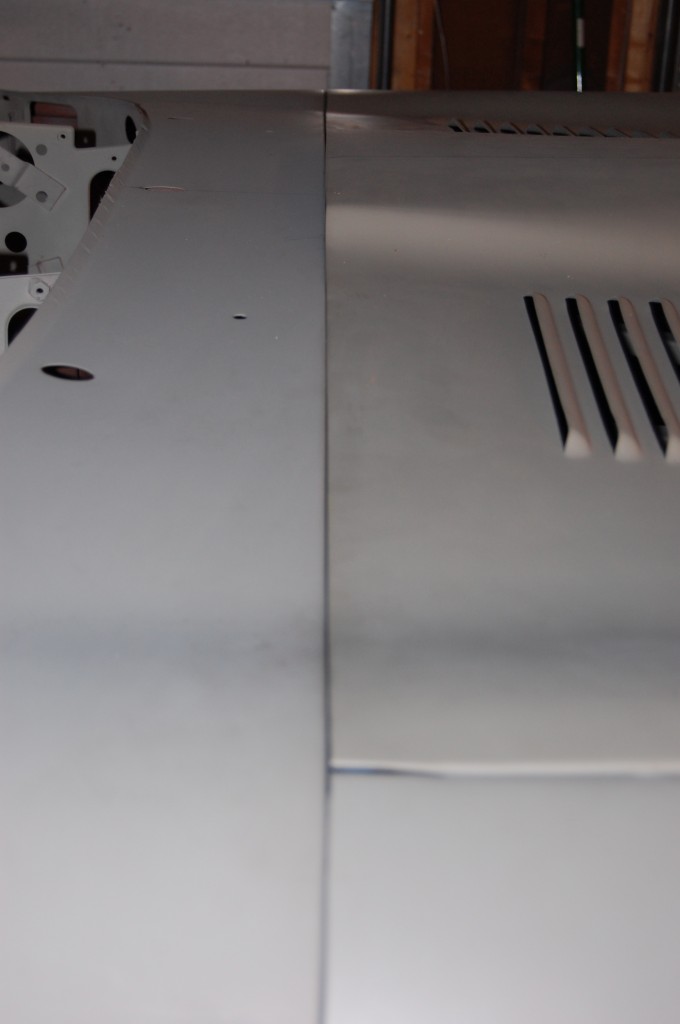
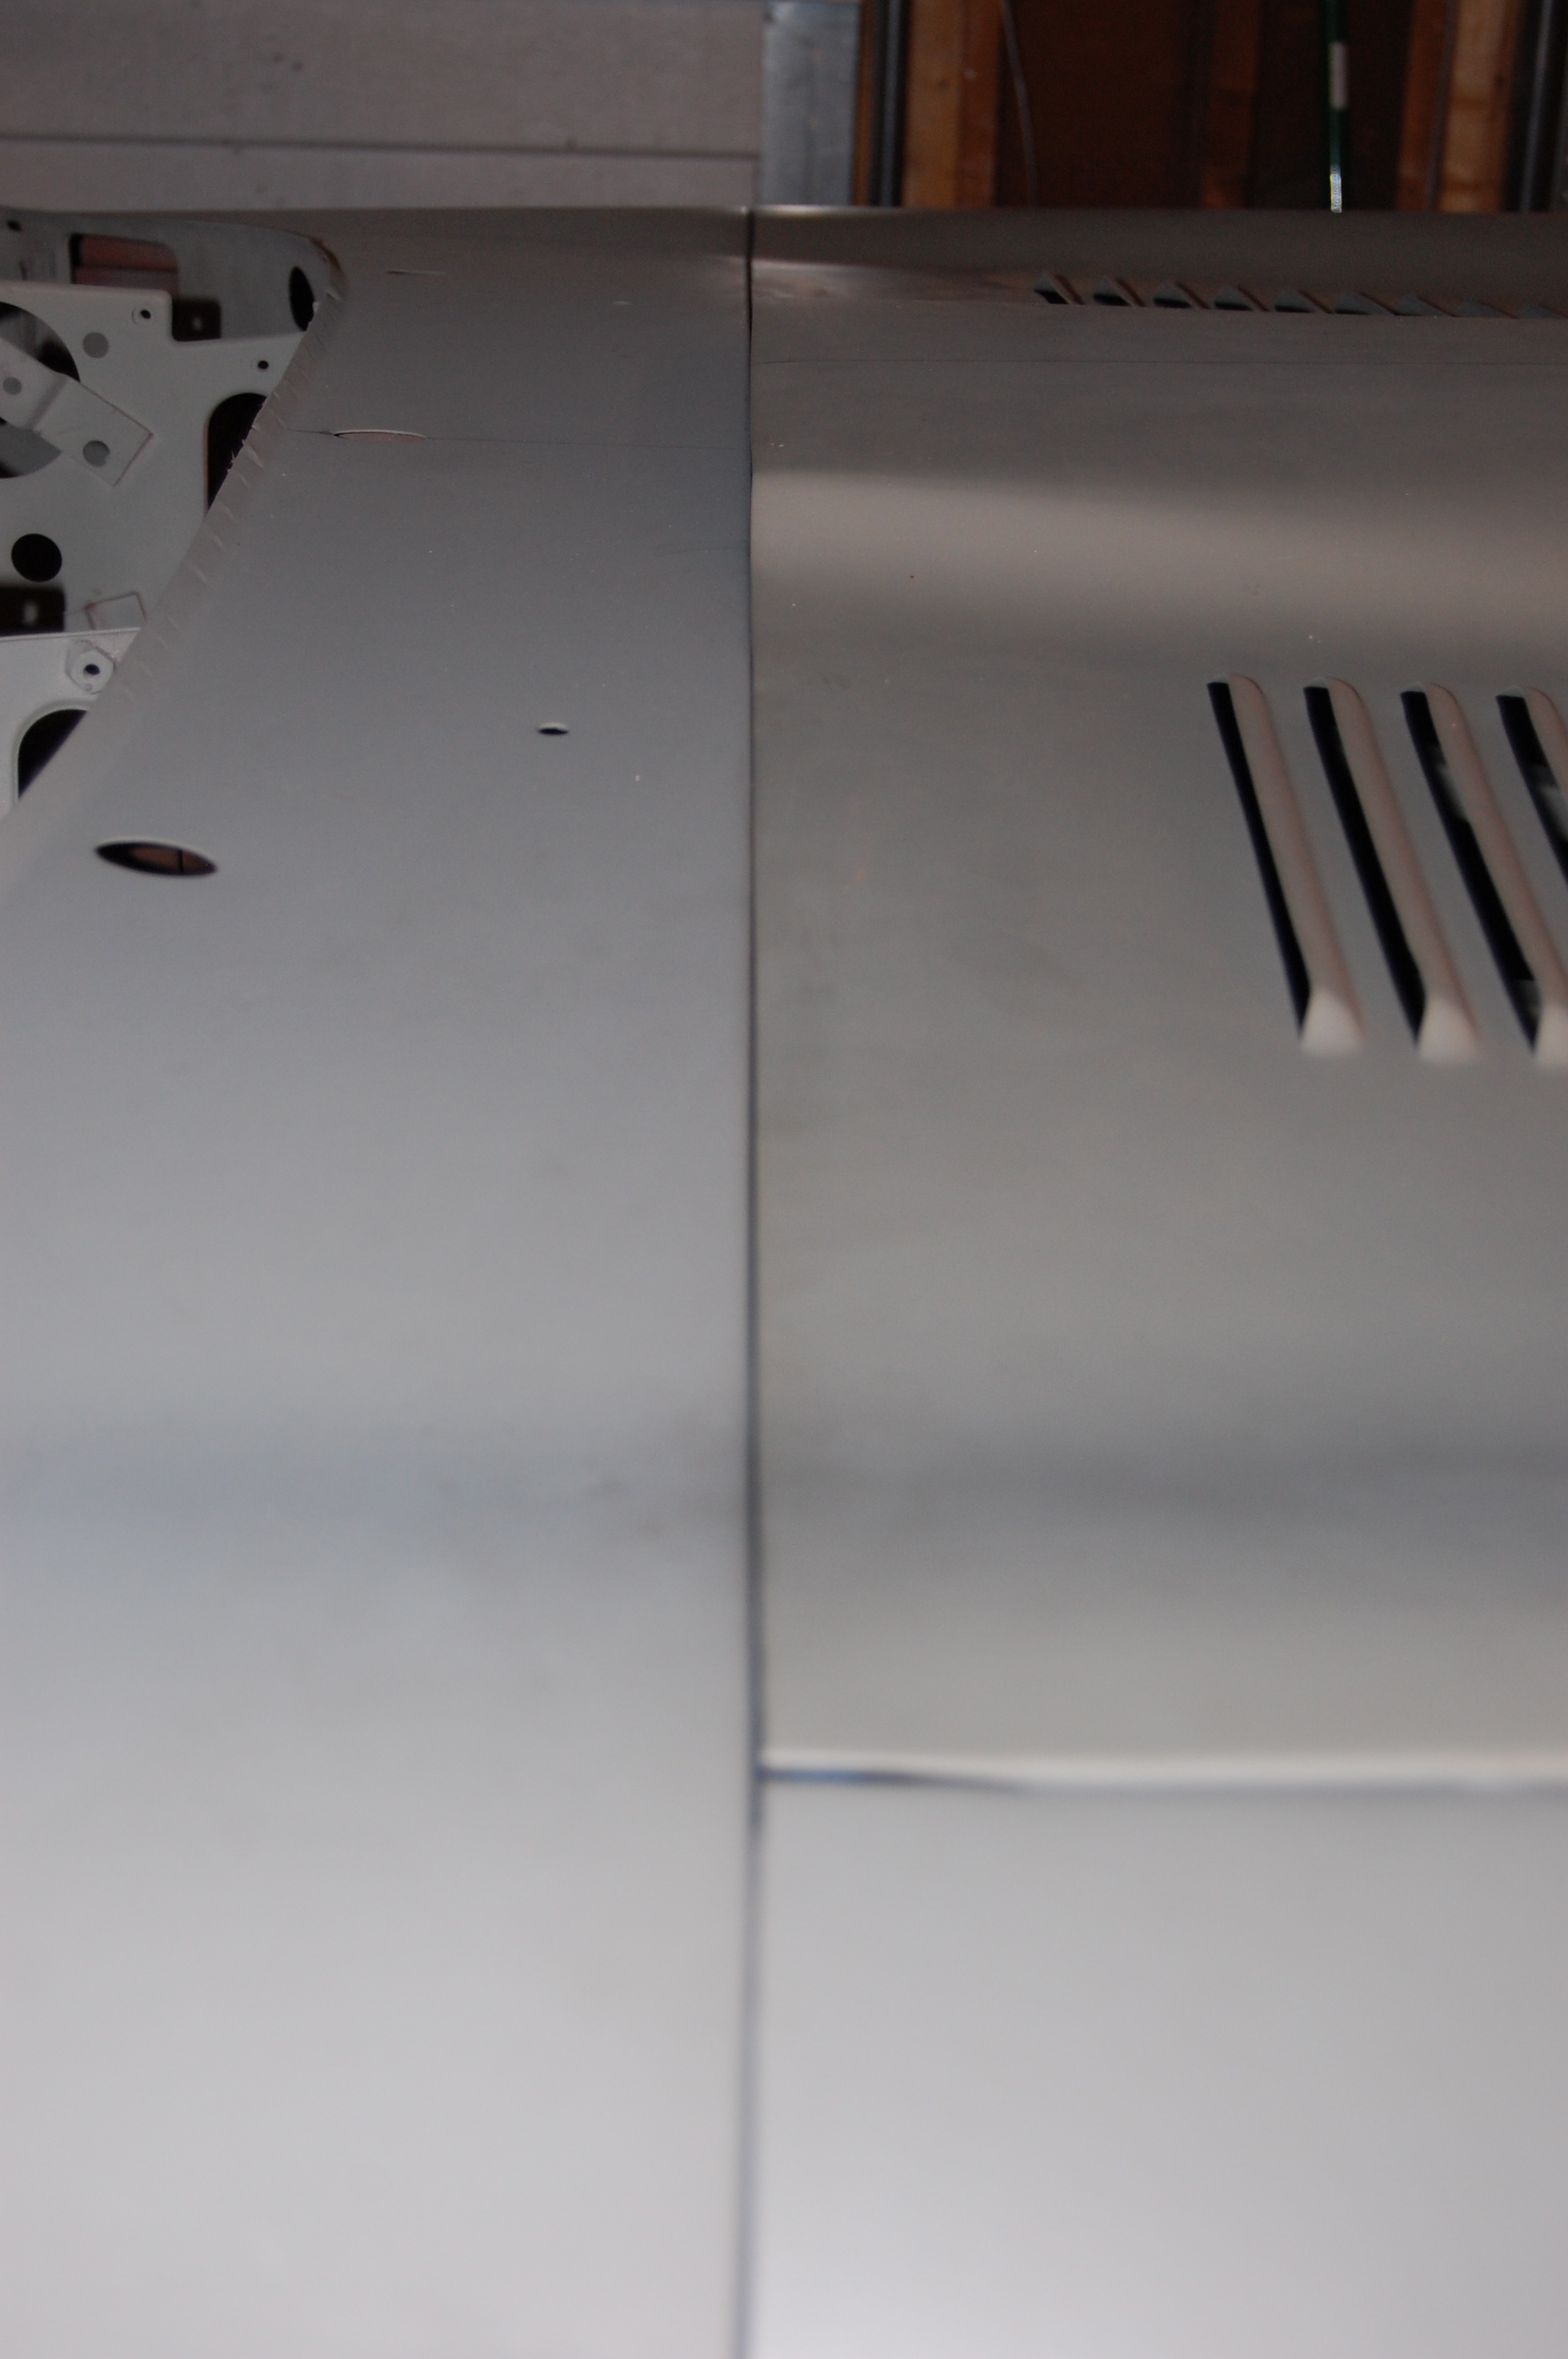
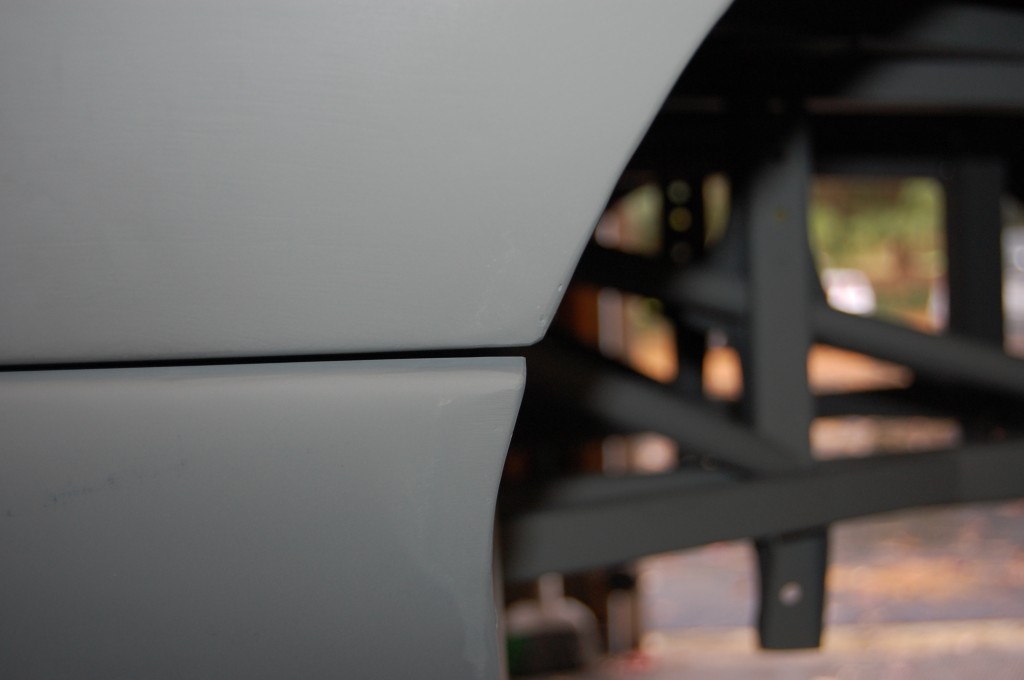
- The rear edge now has the correct gap, and is DEAD STRAIGHT!
-
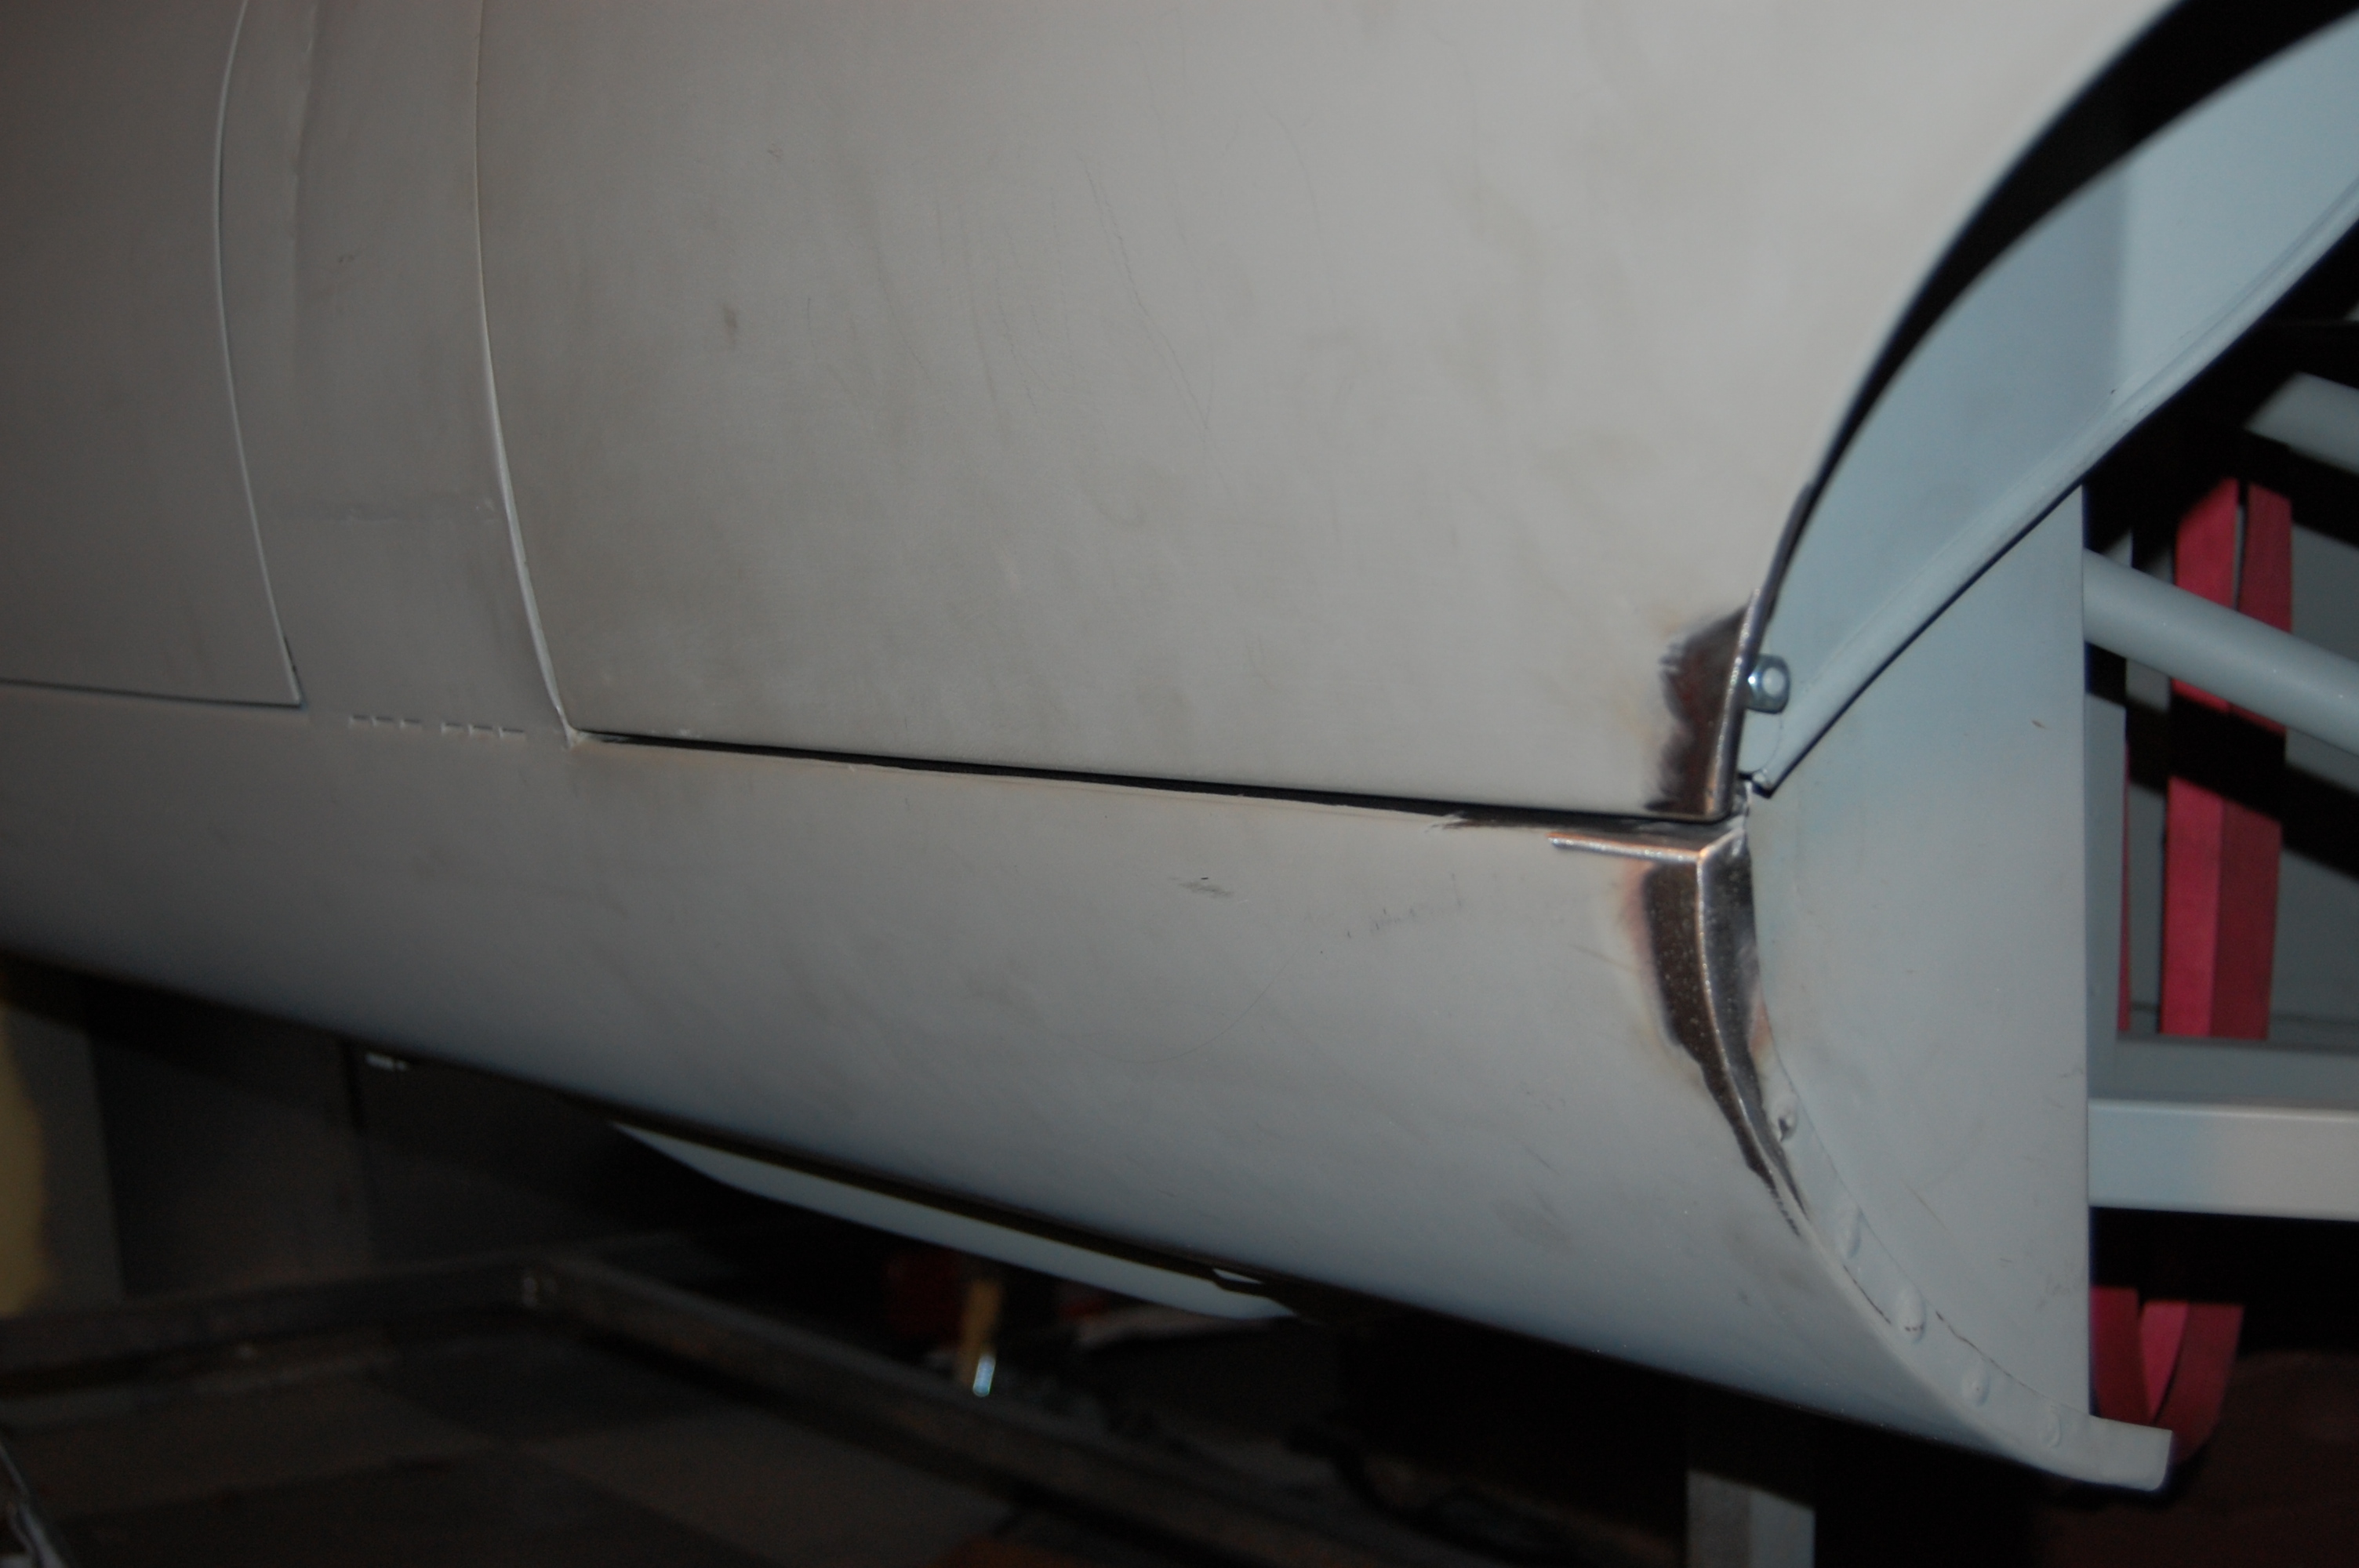
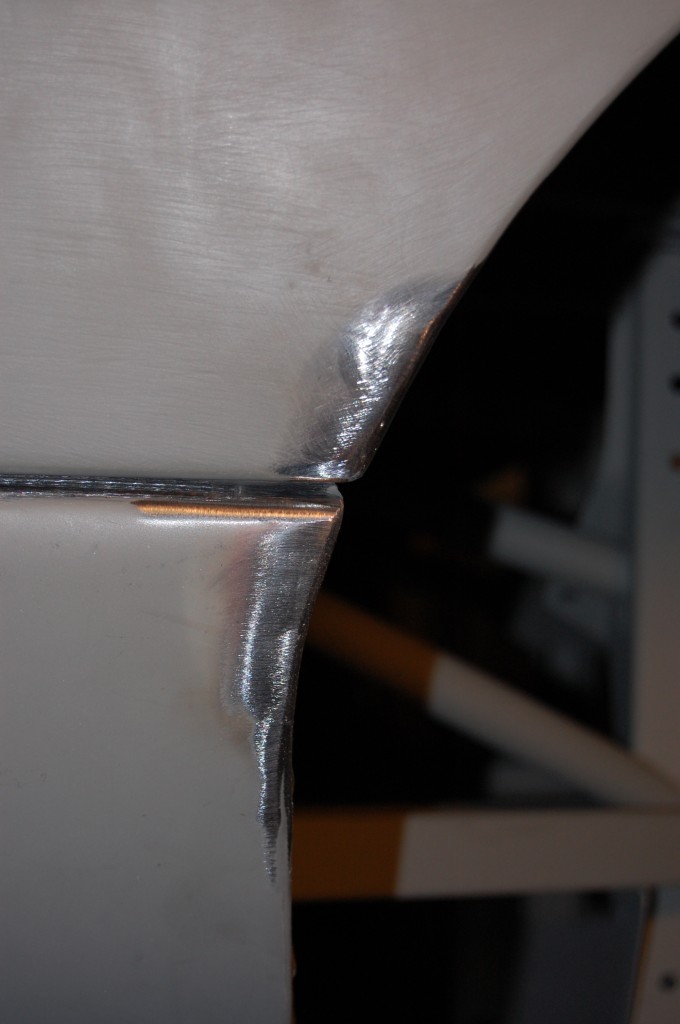
- This RH corner is quite nice now…
-

- And the LH corner is as well – our repair here was a real pain, but absolutely necessary.
-
- Another shot of the rear edge after trimming.

-
- This shot over the roller shows that the door bottom edge and bonnet bottom edge are perfectly in line, and have an equal gap.

-
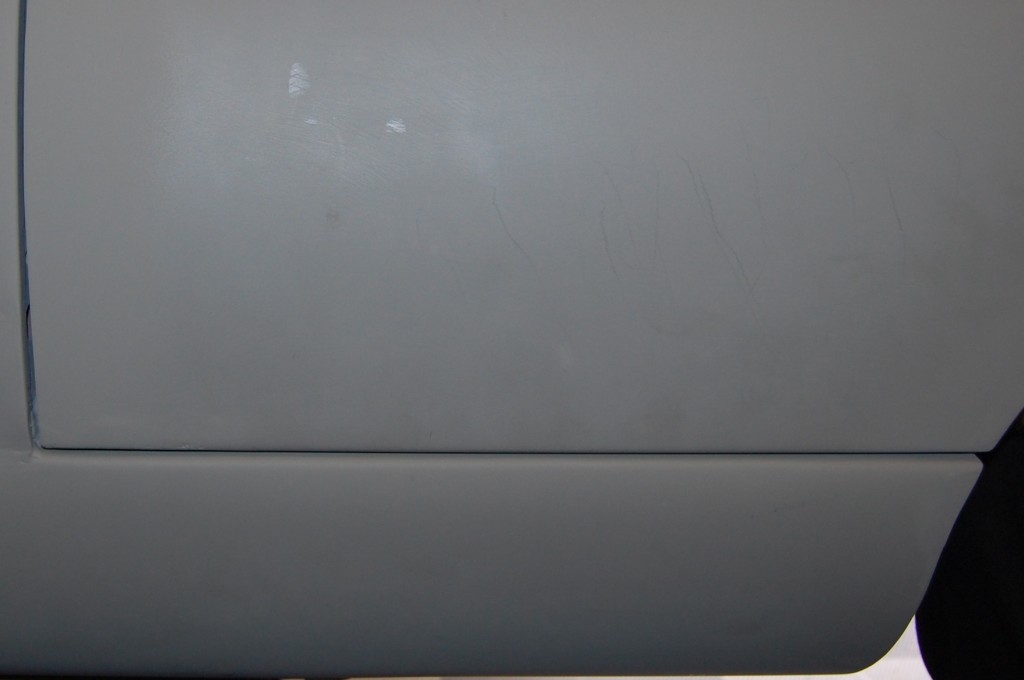
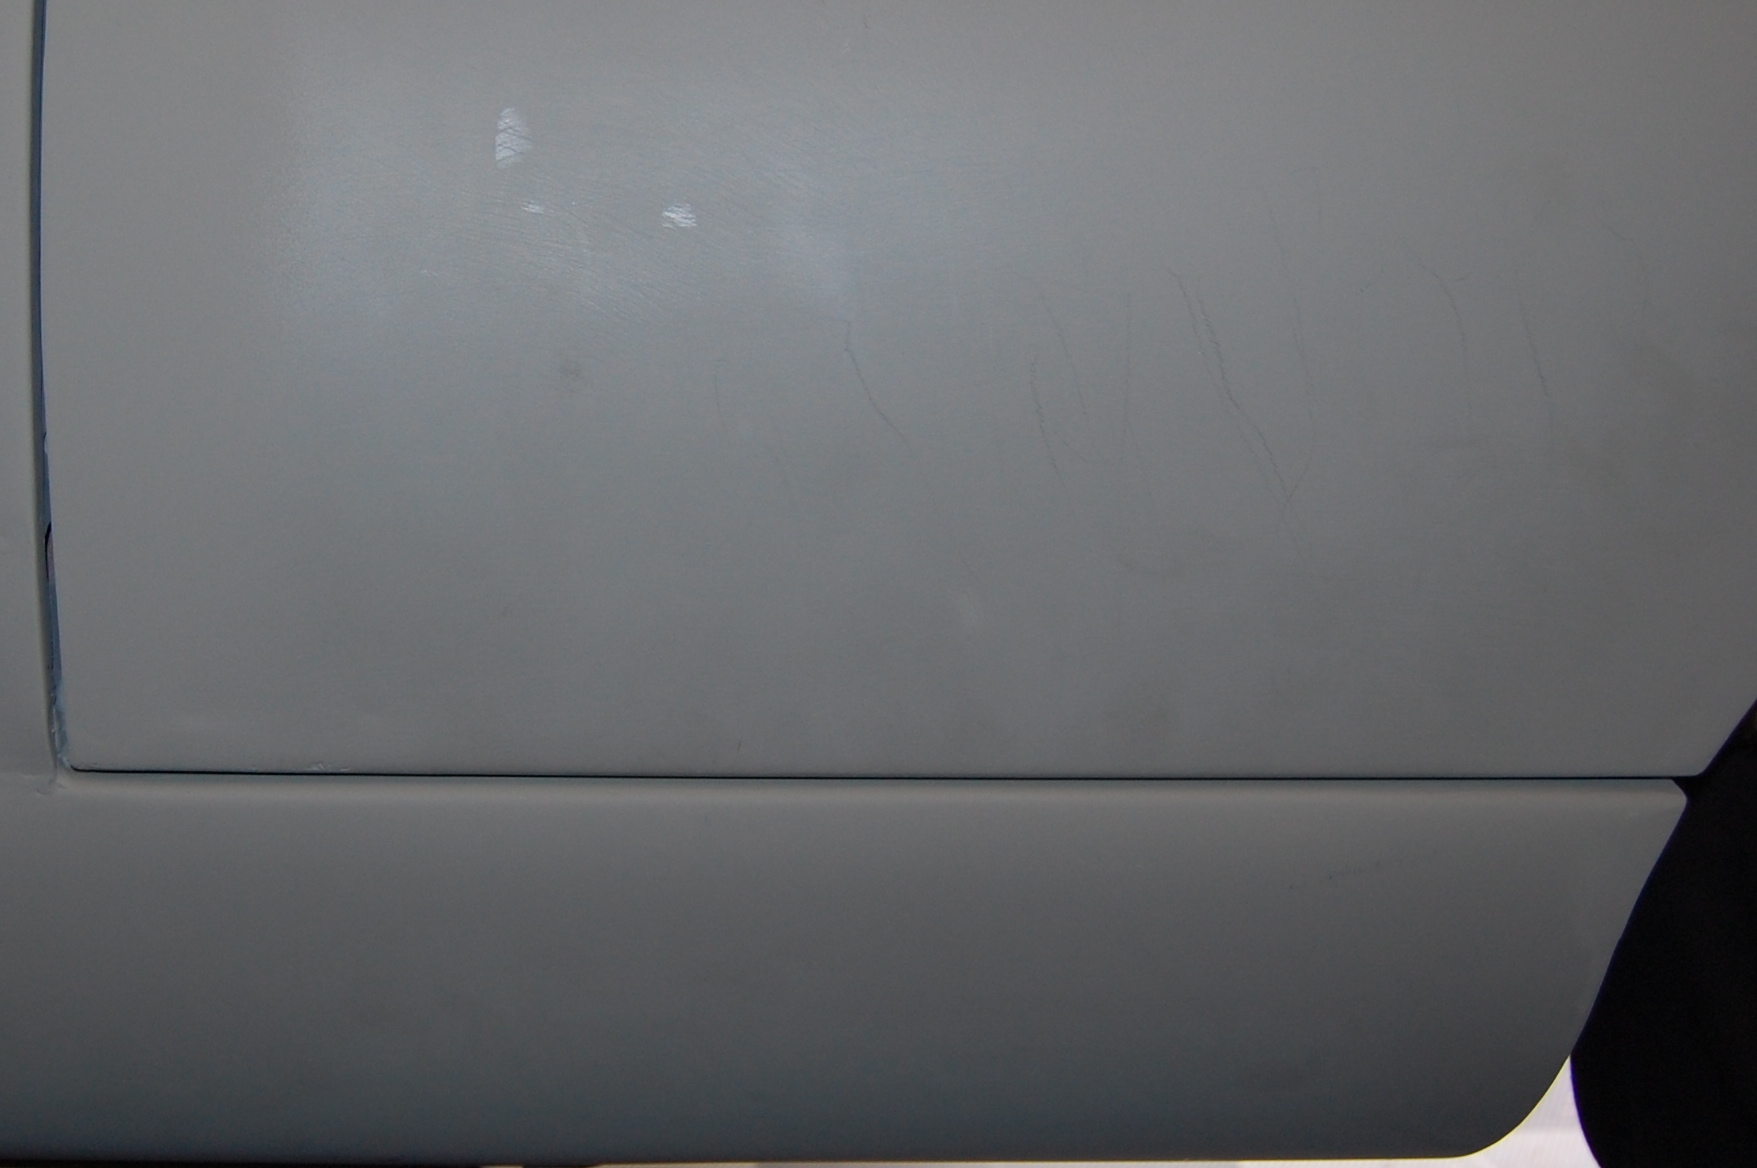
- This is the RH match-up after re-priming – never happened…
-
- The LH side is perfect as well.
-

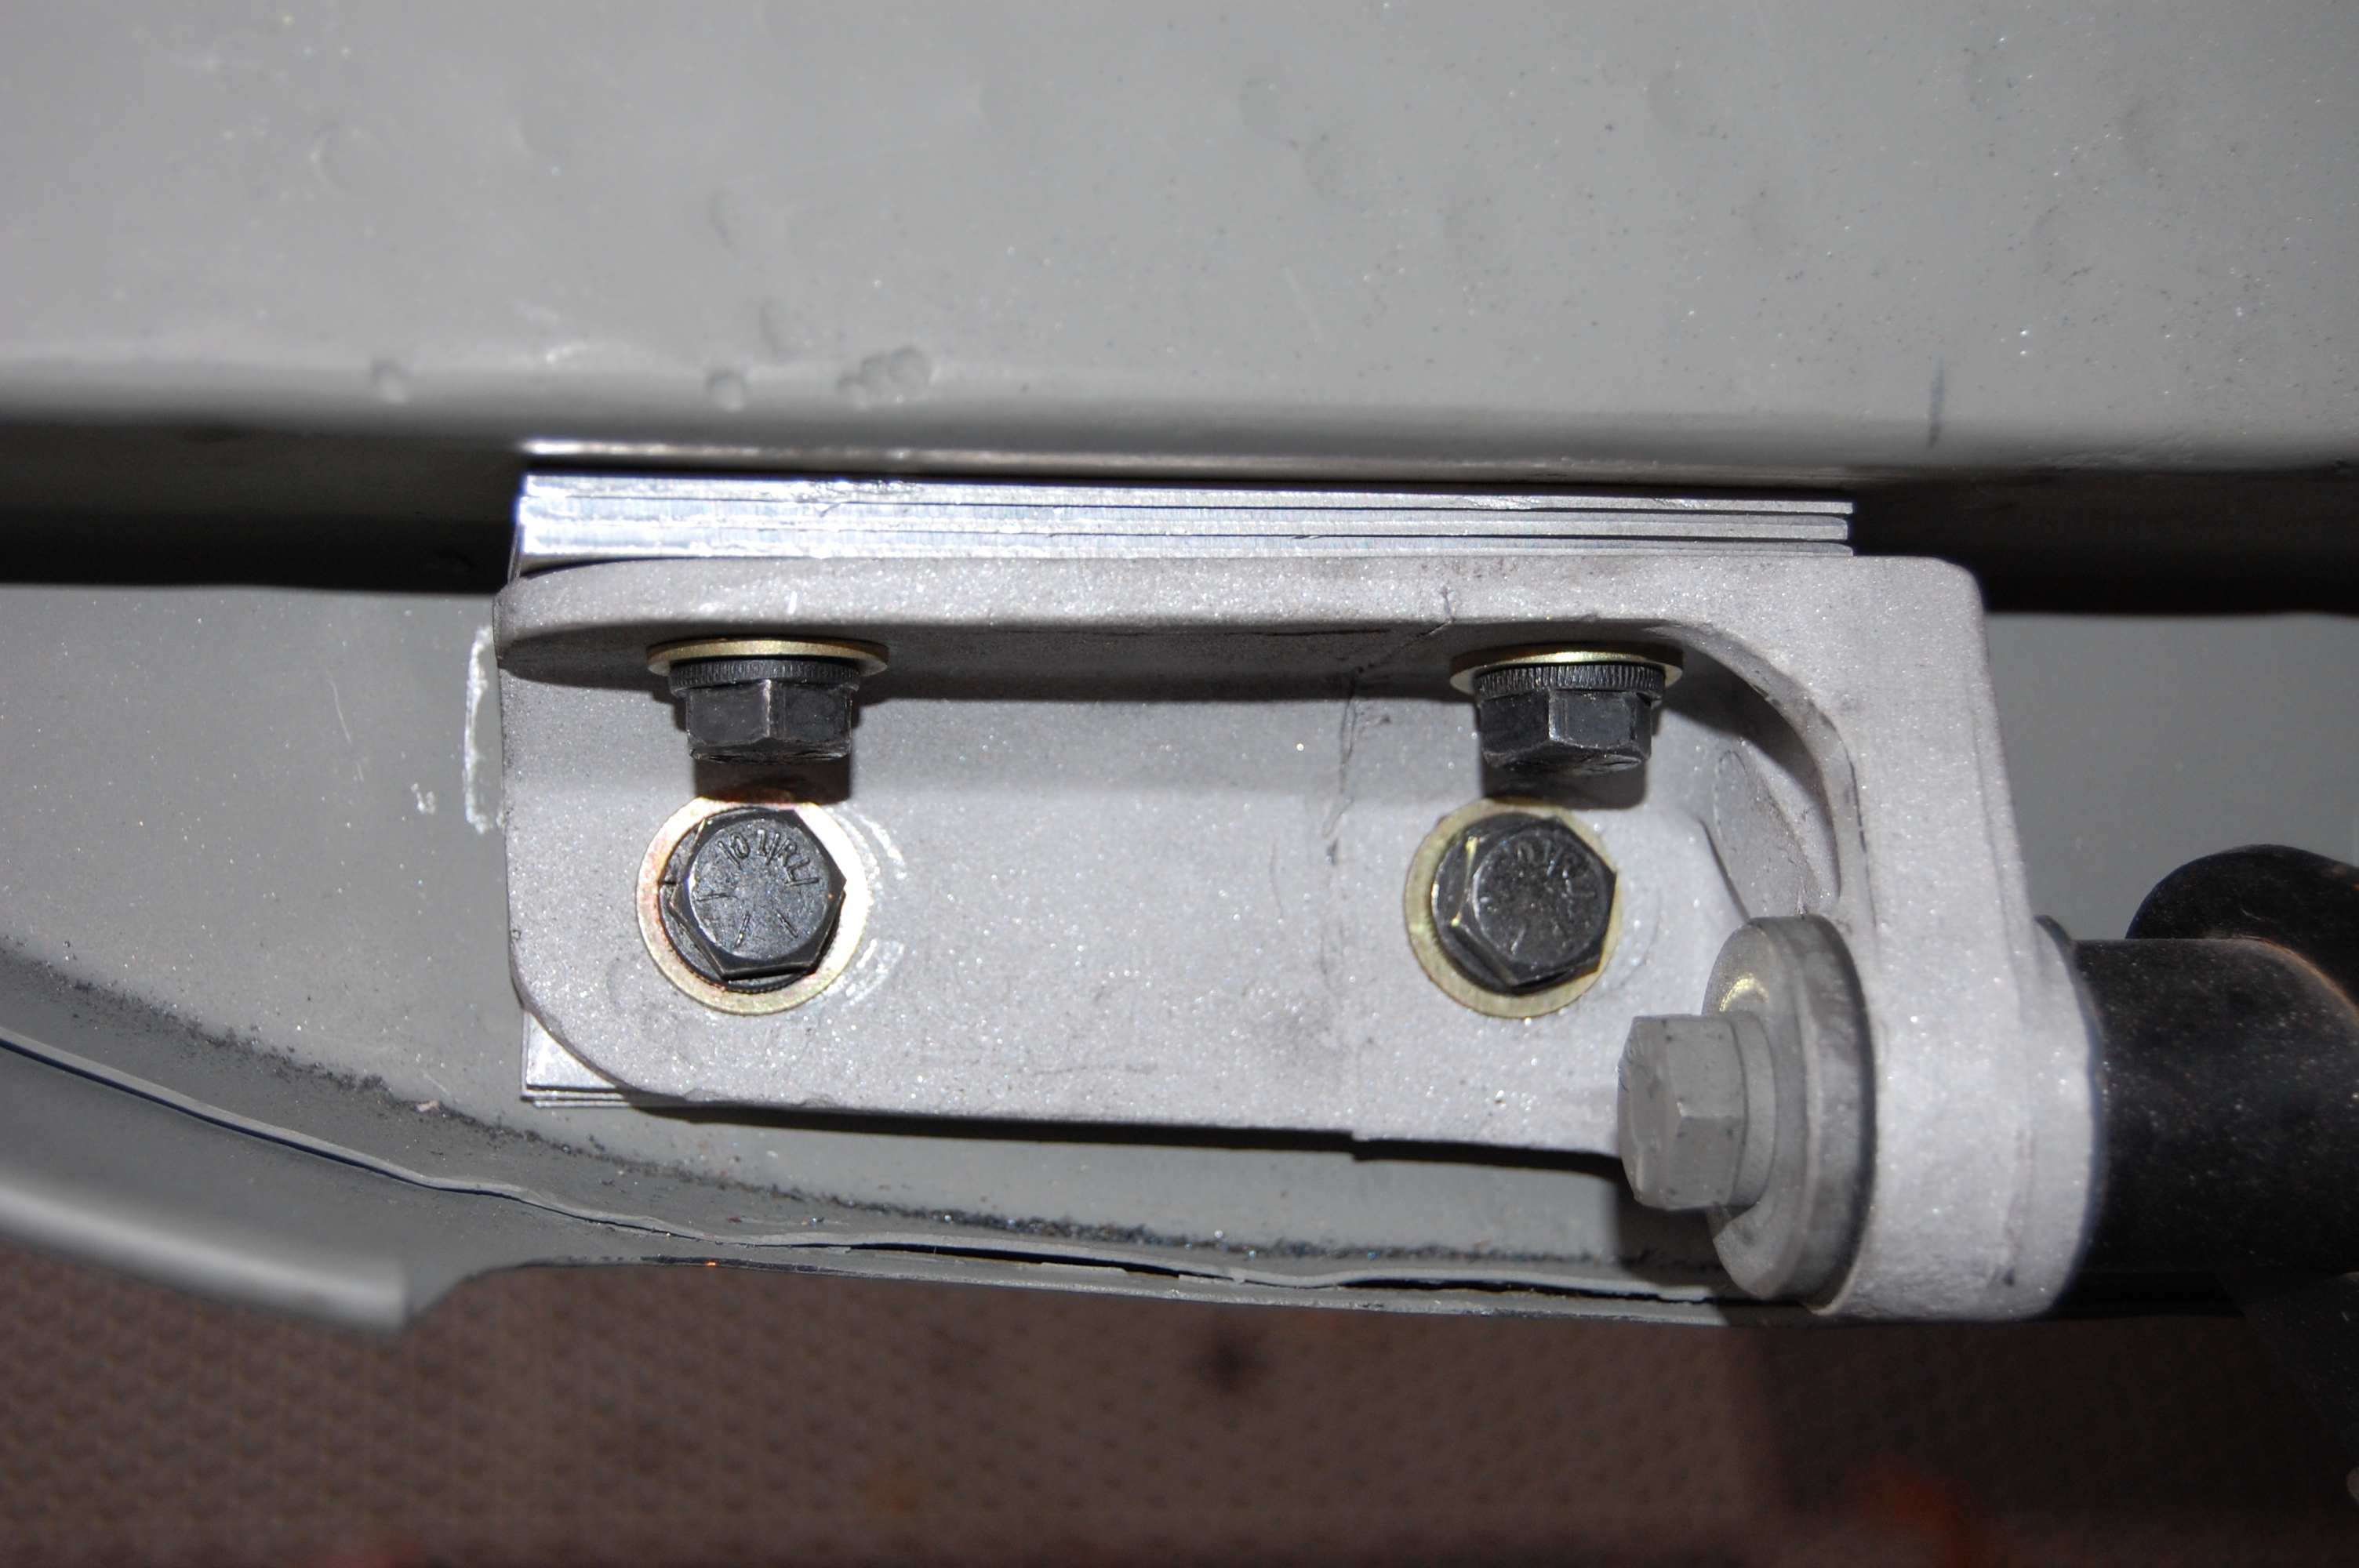
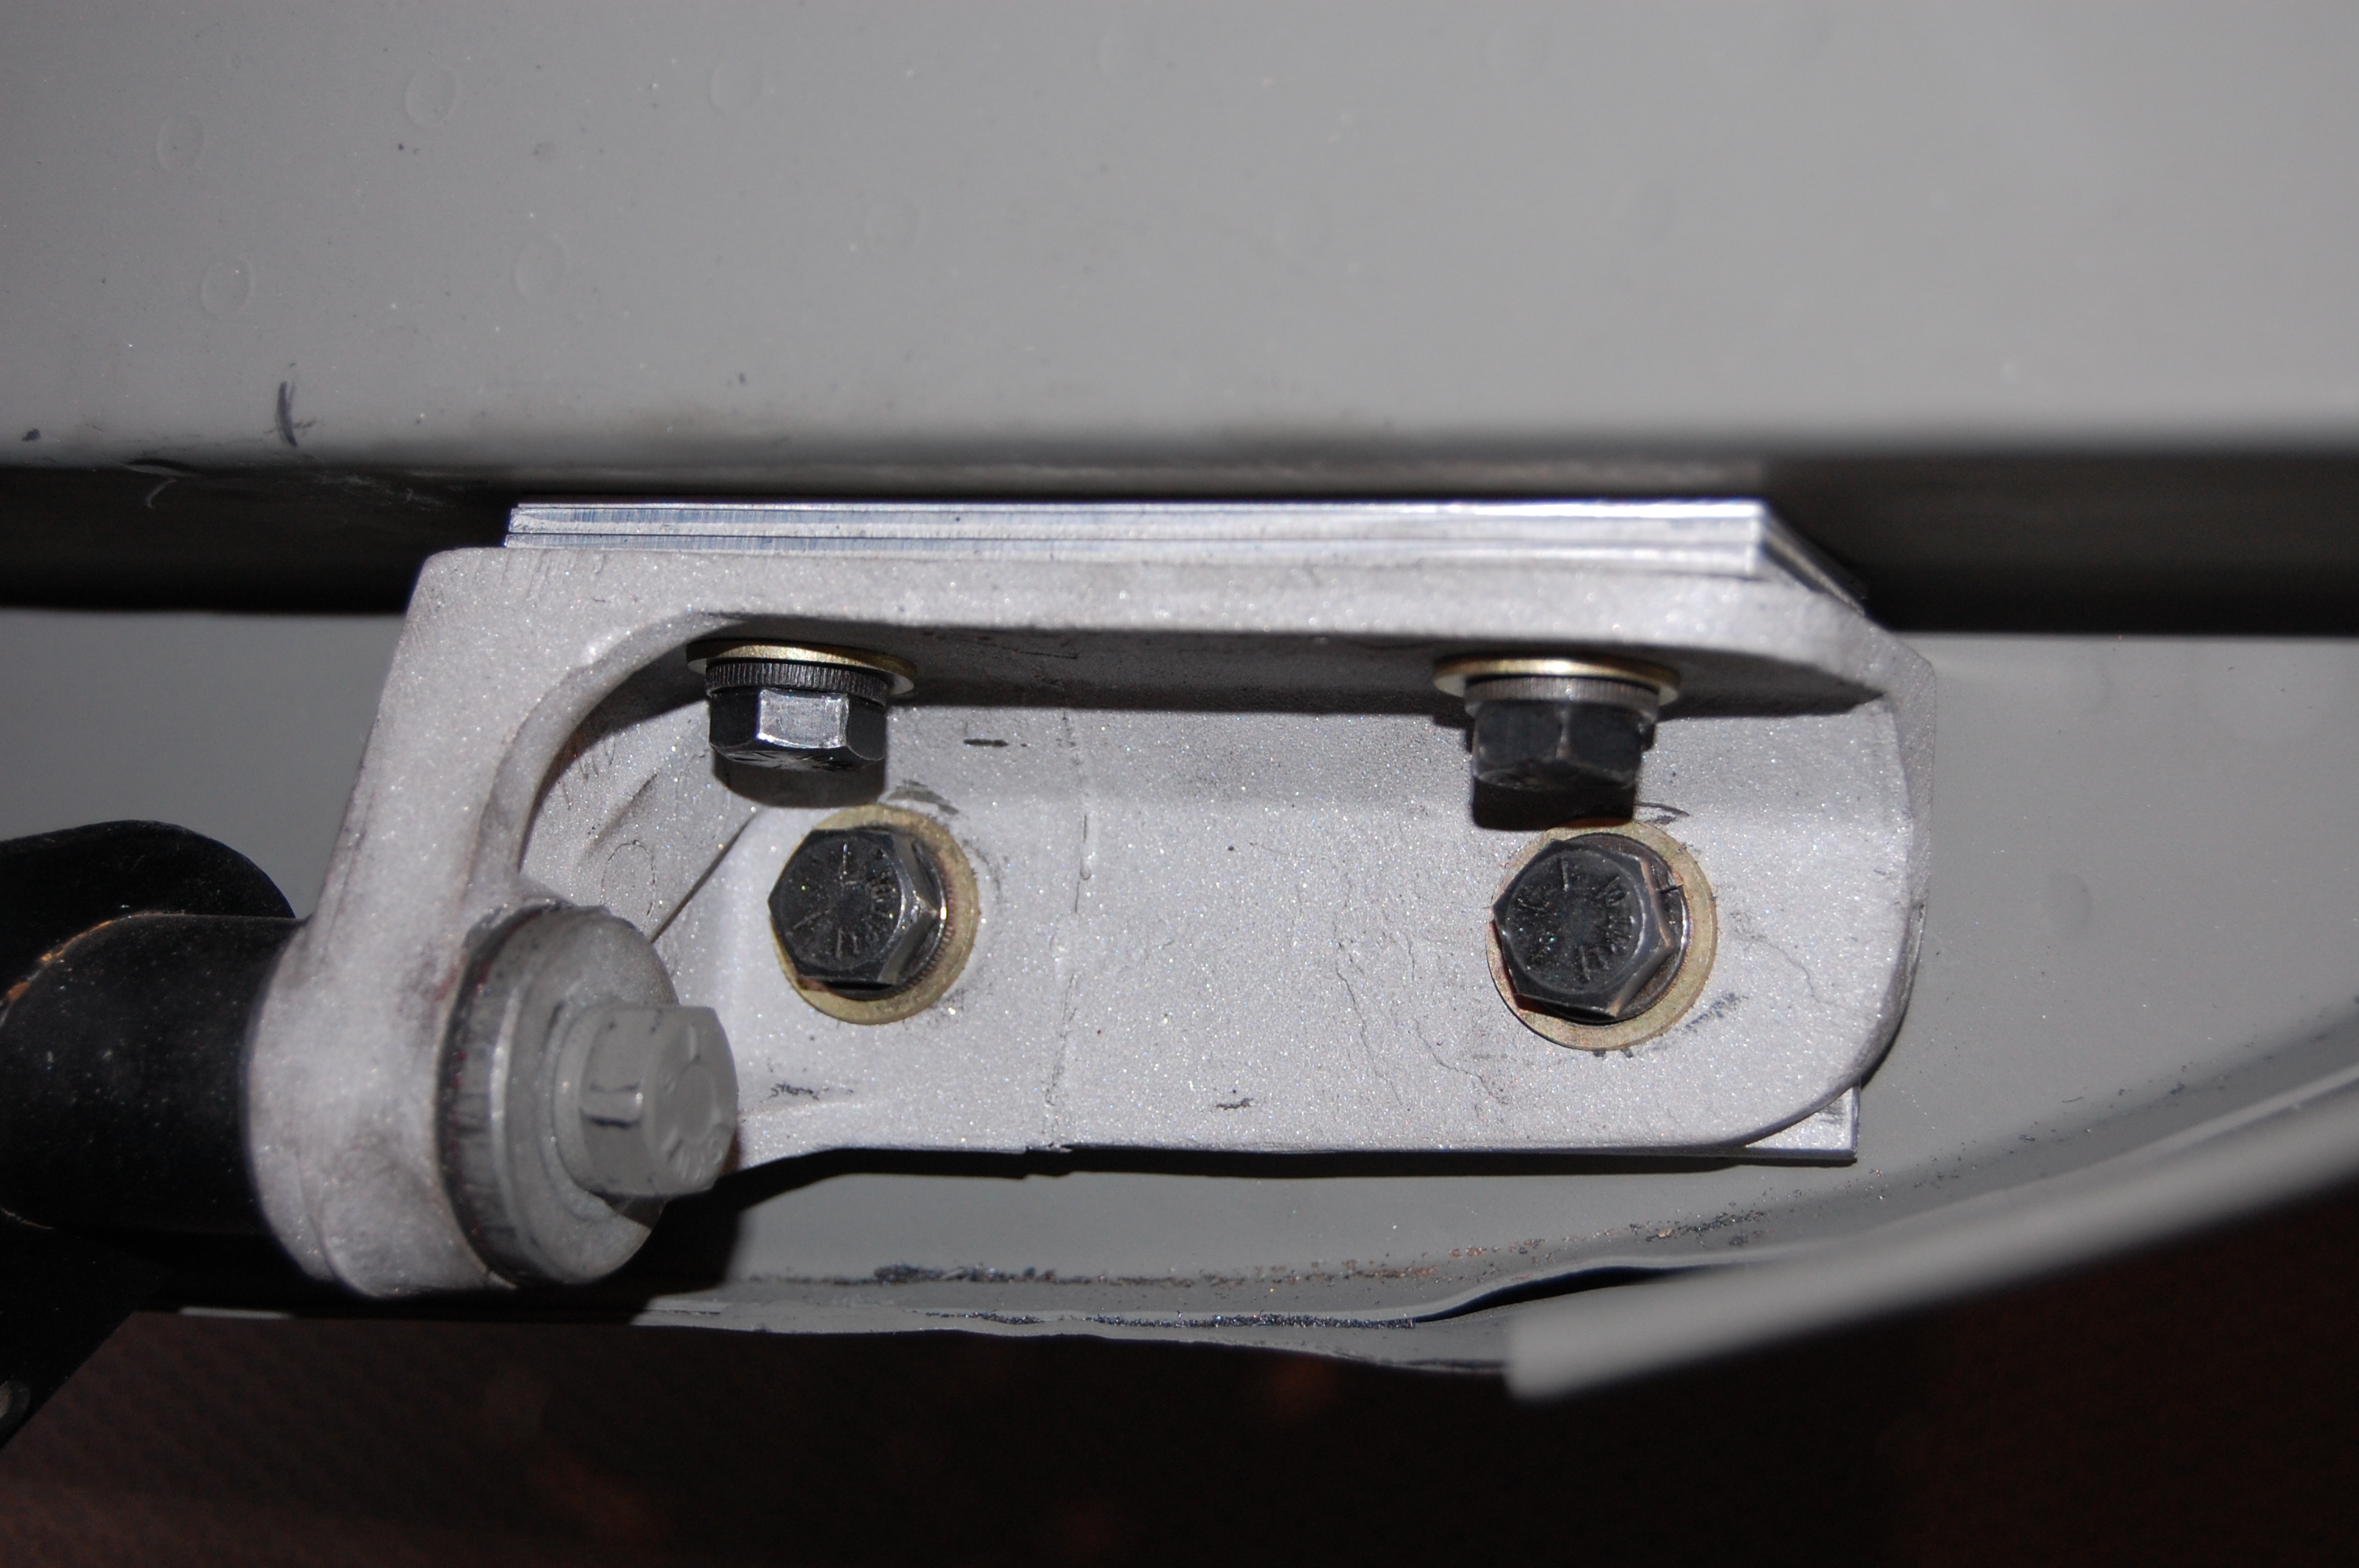
- And finally, the shims – which were all done BEFORE what you saw in this blog, are not too bad as far as their stakc thickness…
-
- …and just as importantly, the stack is about equal from one side to the other.