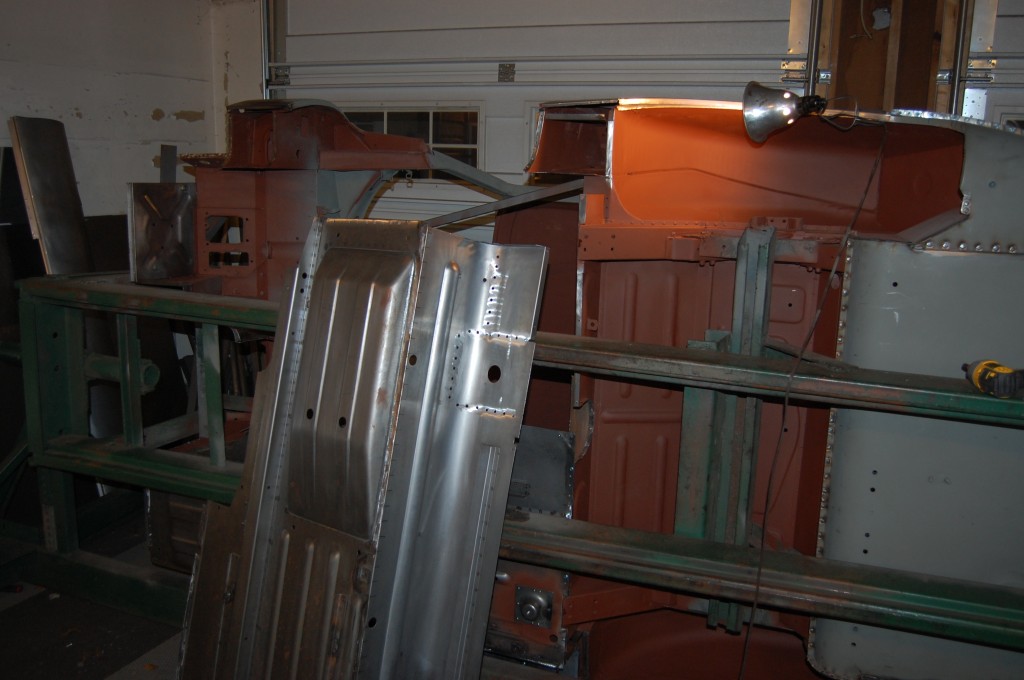
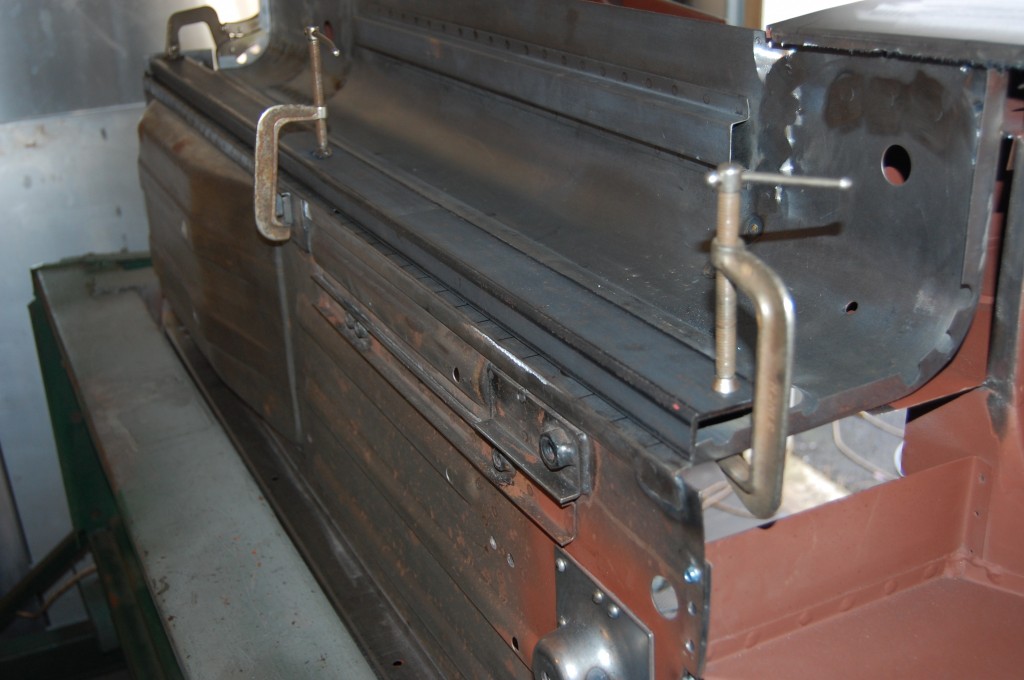
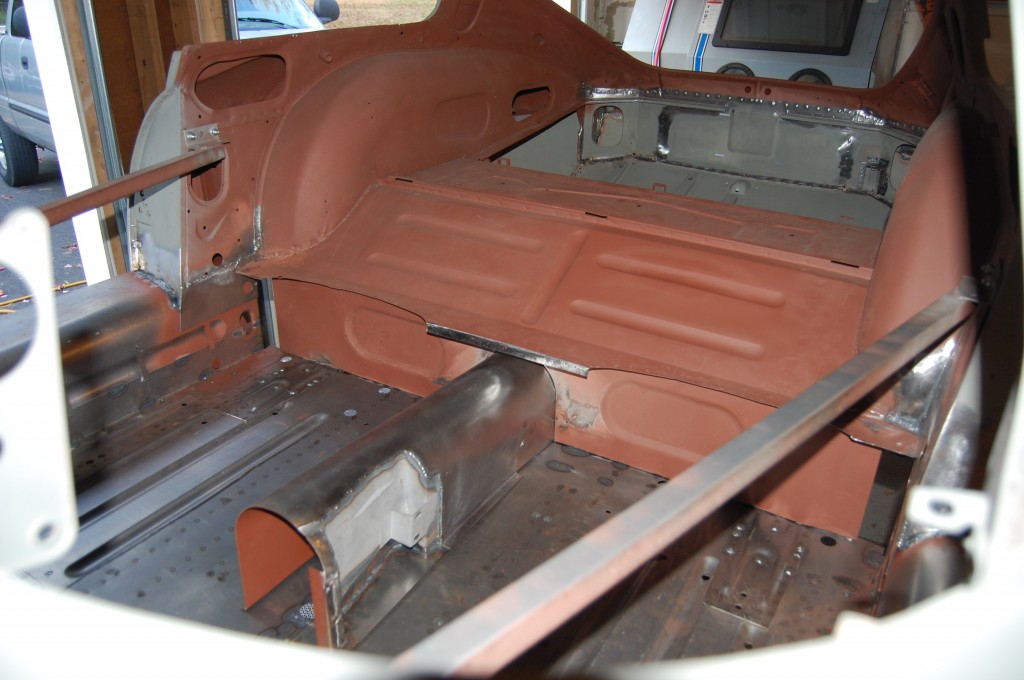
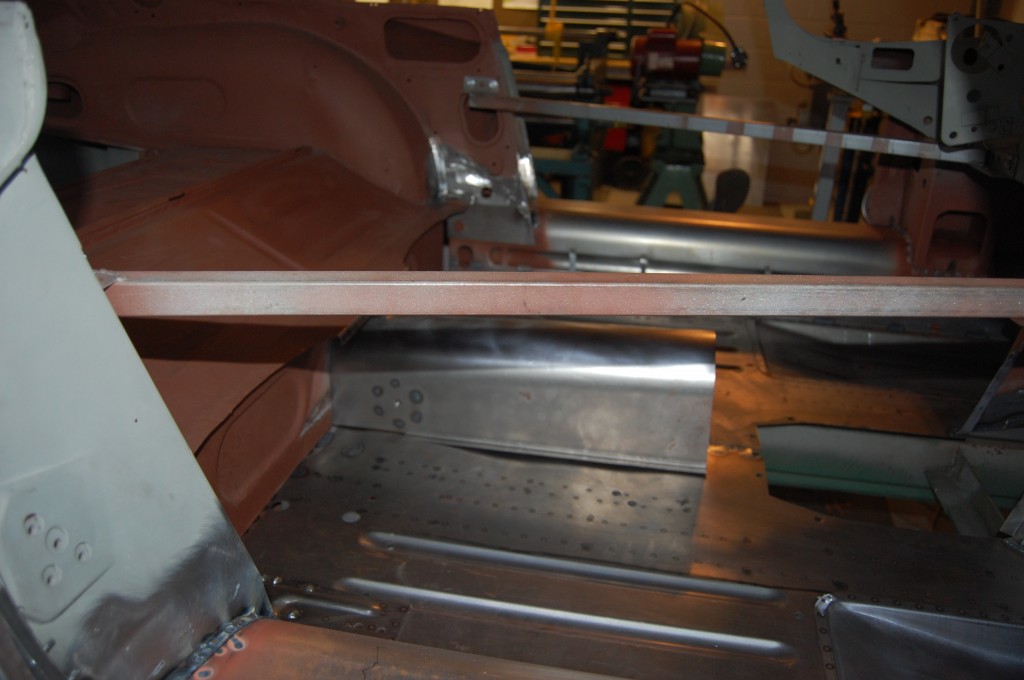
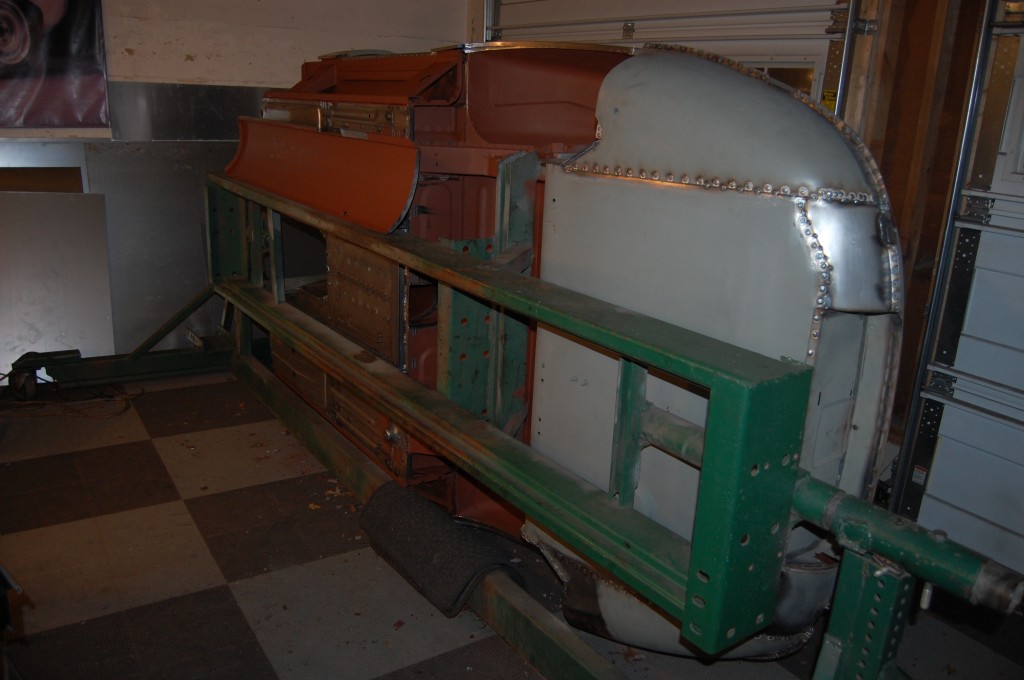
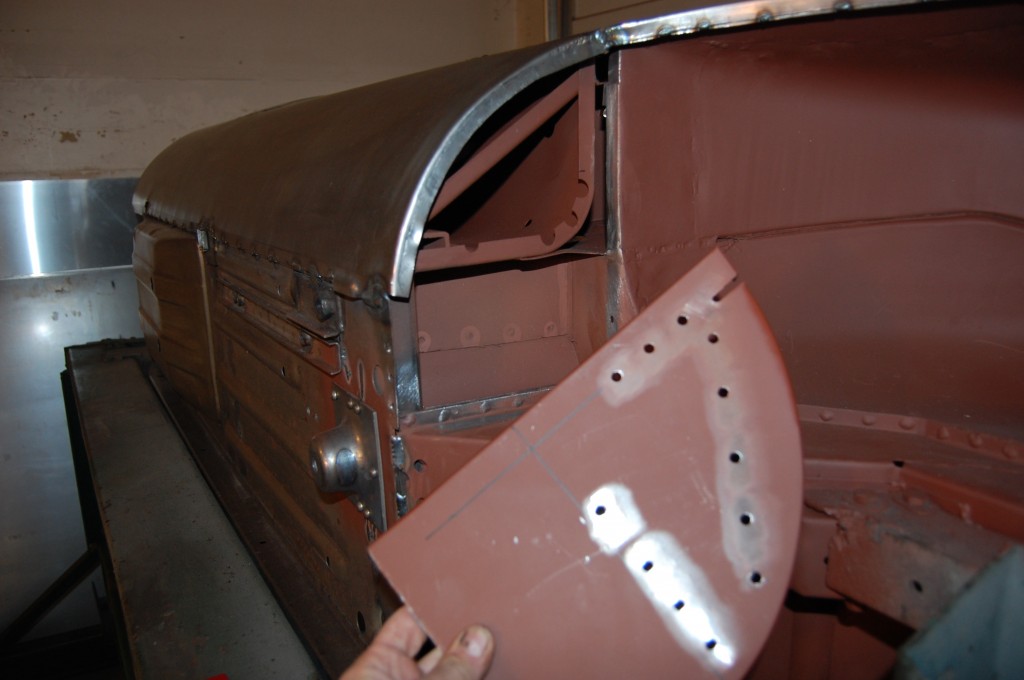
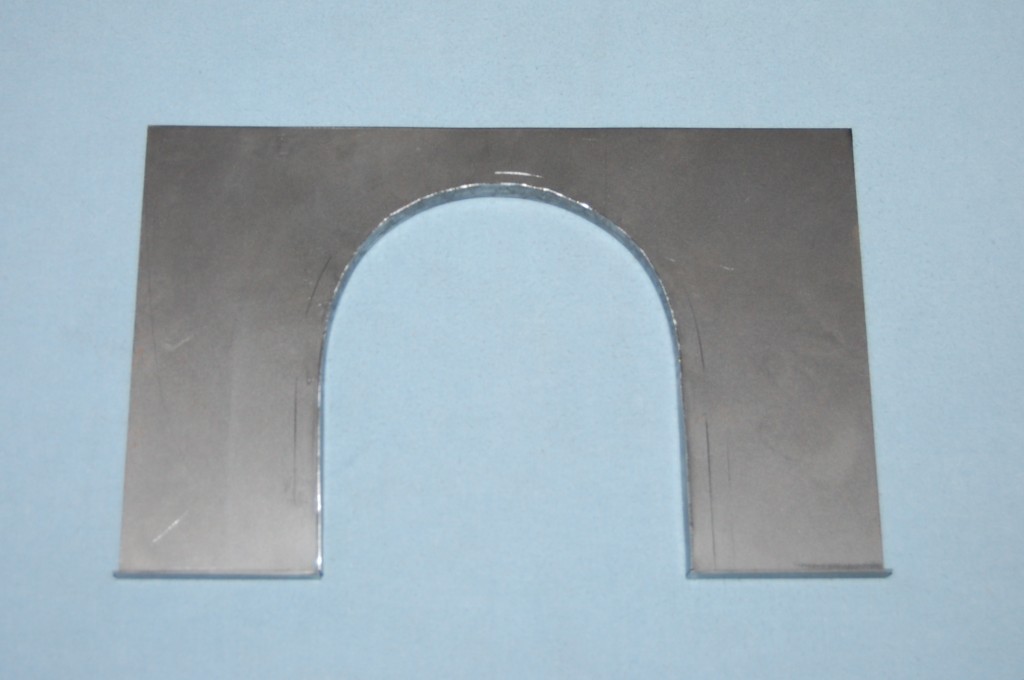
We do this on pretty much EVERY E-Type, so you’ll see floors and sills being installed over and over here – AND the hidden subframe – which we are now installing in pretty much every E-Type because it’s just SO DAMN GOOD! – but I invented it, so I might be a little biased…
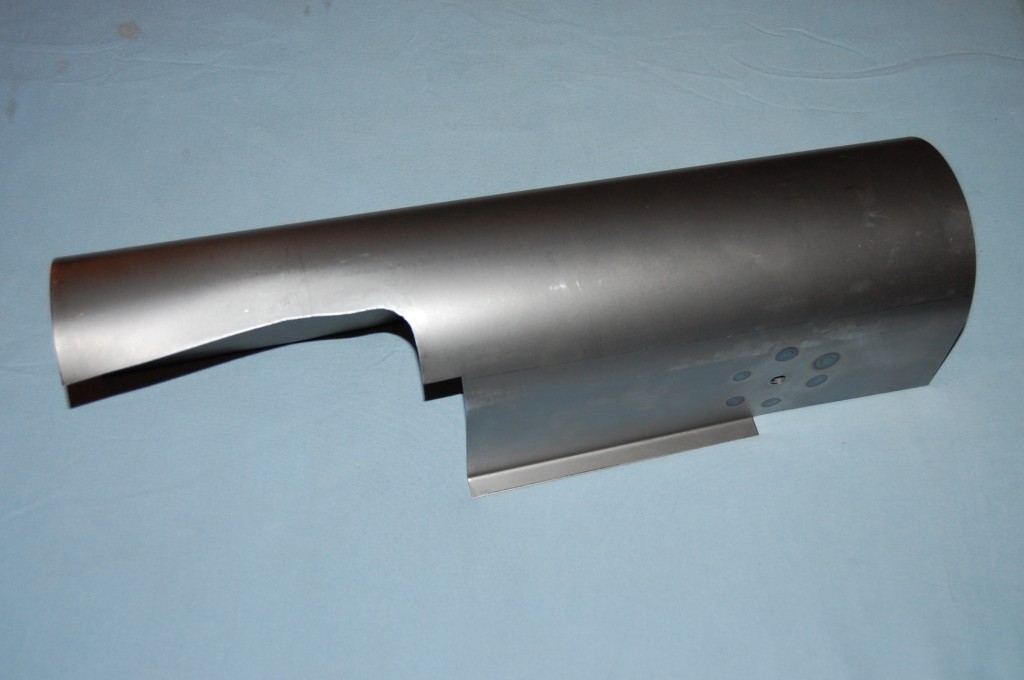
On this E-Type, we had to replace the complete driveshaft tunnel, and we took the opportunity to make up patterns and prototype that as well, so now those are available too!
One more thing – due to popular request, we now offer a “hidden subframe kit” – it comes with the heavy-duty 16-gauge sill gussets, 16-gauge gussets behind the seats that tie into the rear chassis legs, and forward mounting pads for the frame rail mount, which we weld directly to the sill tubes instead of those little Mickey Mouse angle brackets from the factory… All of these pieces are designed to be used with the tubing shown in the photos, and we can tell you what the specs are and where to get it when you purchase the kit. OR – We can also supply the tubing cut to length!
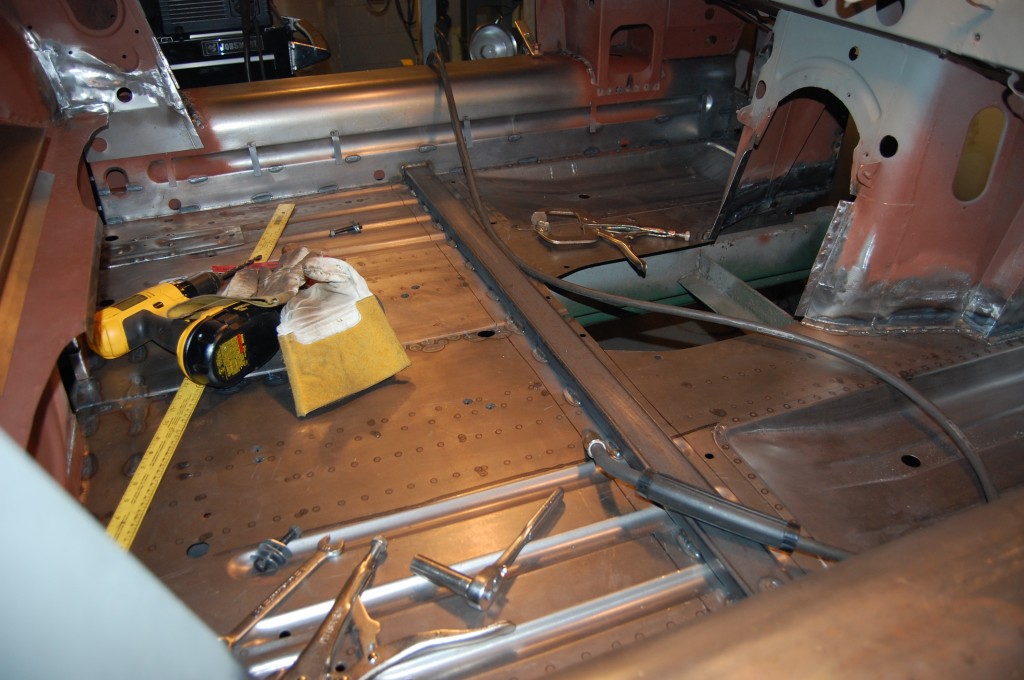
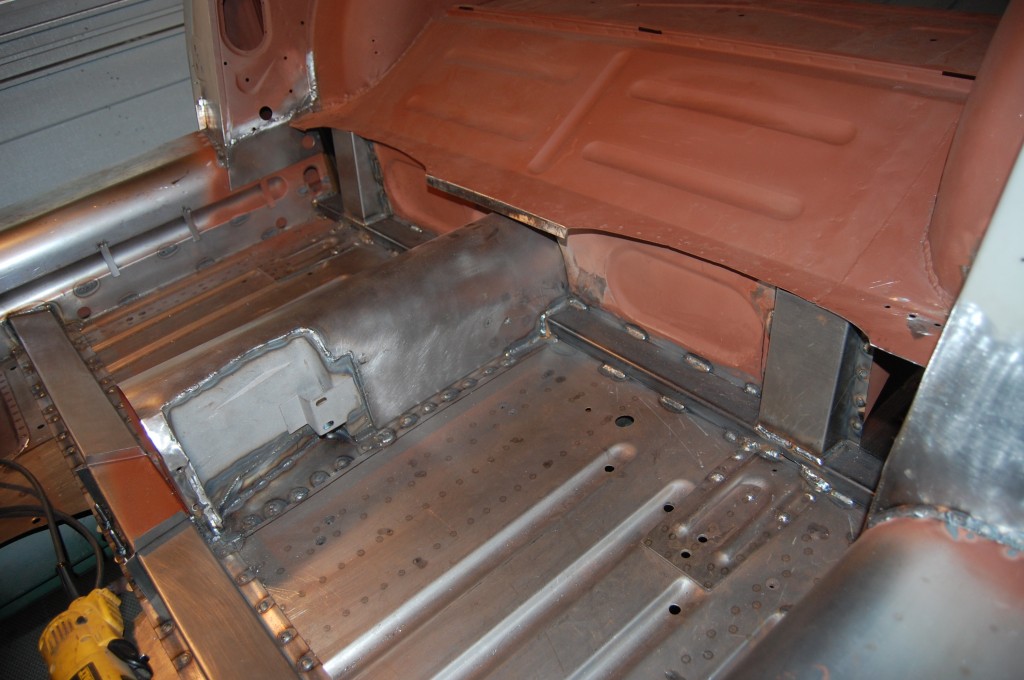
- OK – A-posts and B-posts are all taken care of, the rear wheel arches are repaired, and it’s OK to fix the floors and sills permanently now. First, we weld the inner sills to the floor panels – which have already been fitted into the shell before.
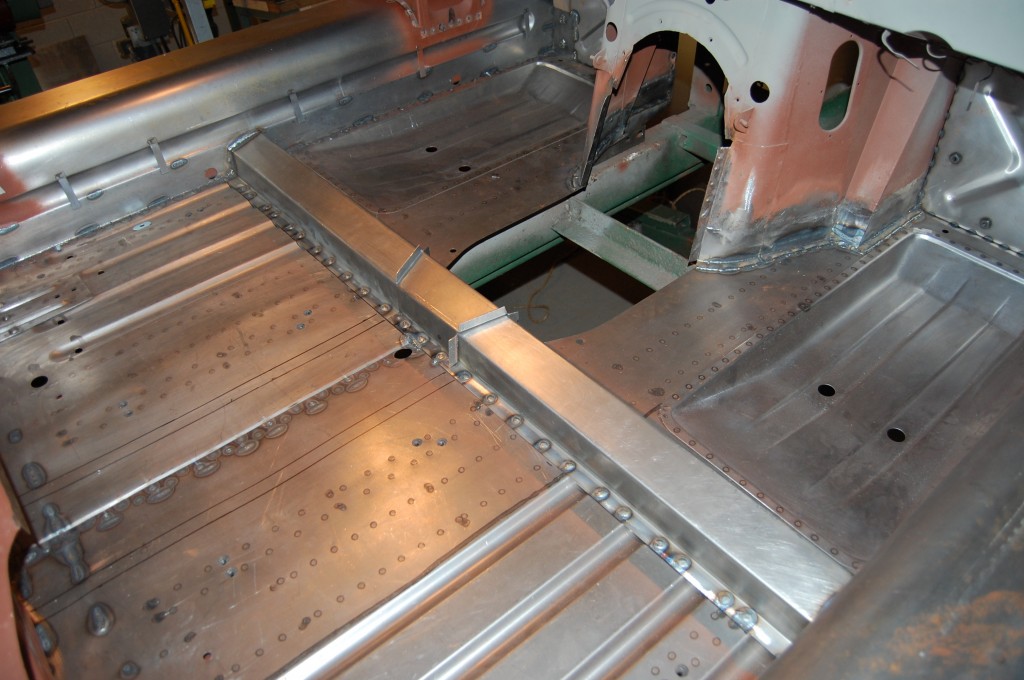
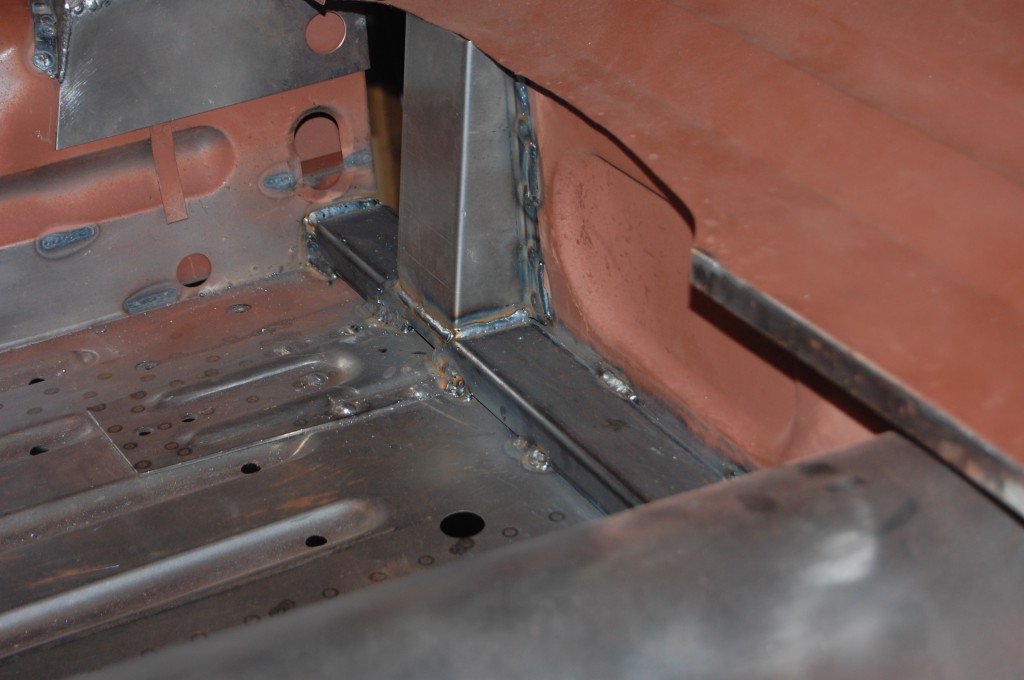
- Once that assembly is welded into place, we start adding in the sill tubes of the hidden subframe.
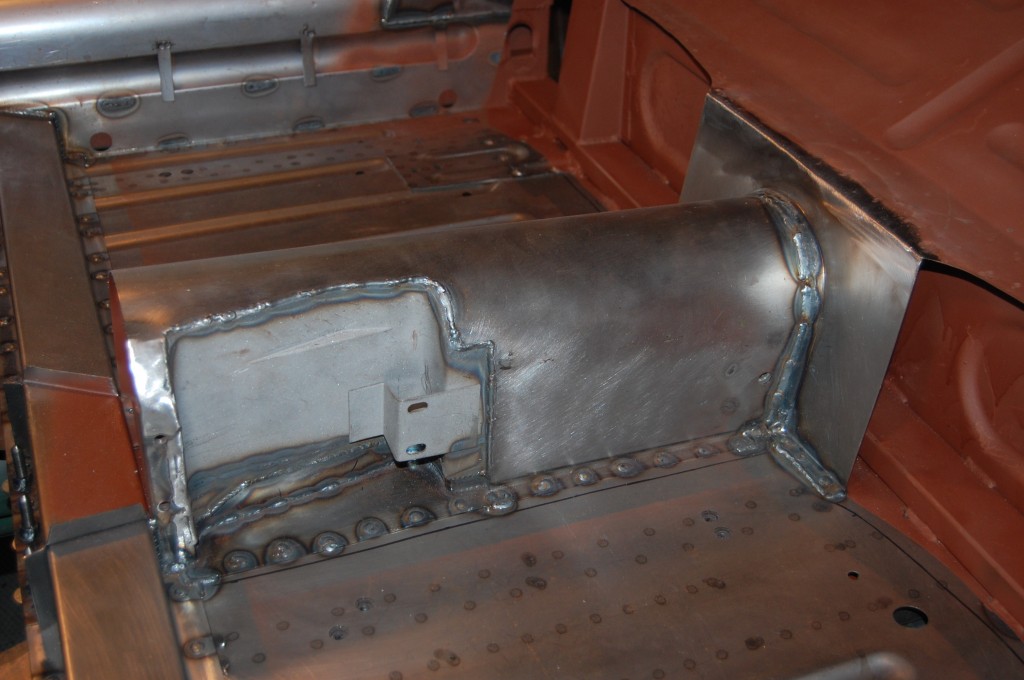
- Here is our new driveshaft tunnel. We have formed the tunnel itself in the roller, and re-used our original handbrake recess. The “other guys do make the driveshaft tunnel, and the dimensions are correct. However, the hadnbrake recss on theirs is ALL WRONG – and I doubt the handbrake would even fit or work properly. Ours is also made of thicker cold-rolled steel, and has a VERY strong seatbelt anchor.
- Another shot of the Monocoque metalworks driveshaft tunnel from the RH side.
- After some initial fitting of the tunnel, we pull it back out and get to work on the crossmember. First, however, we hide a massive piece of thick-wall tubing under it. This intersects with out sill tubes right at the jacking point – adding strength there so that buckled sills from jacking is a thing of the past. My idea with this cross-bar is also to save the occupants in a side collision.
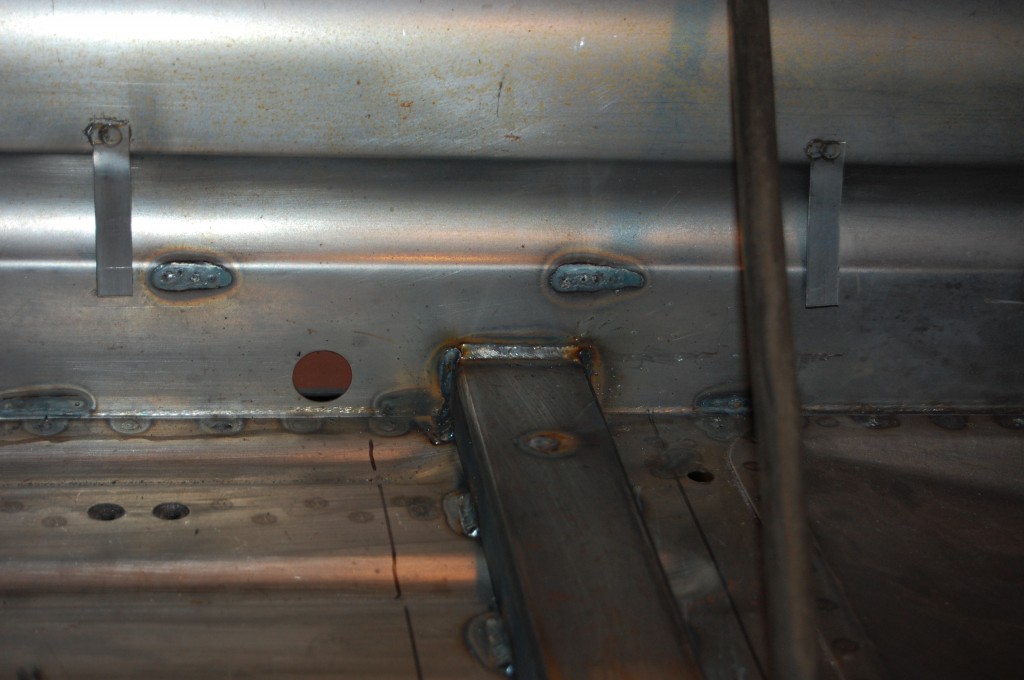
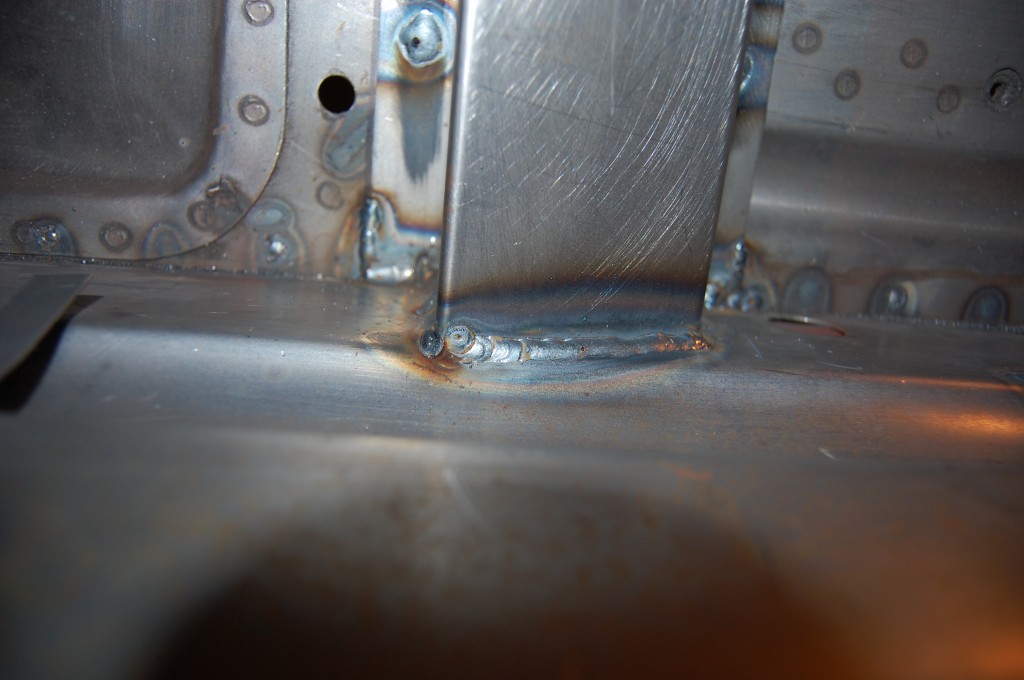
- The new sills are thicker than stock at 18-gauge. We weld the cross-bar directly to them.
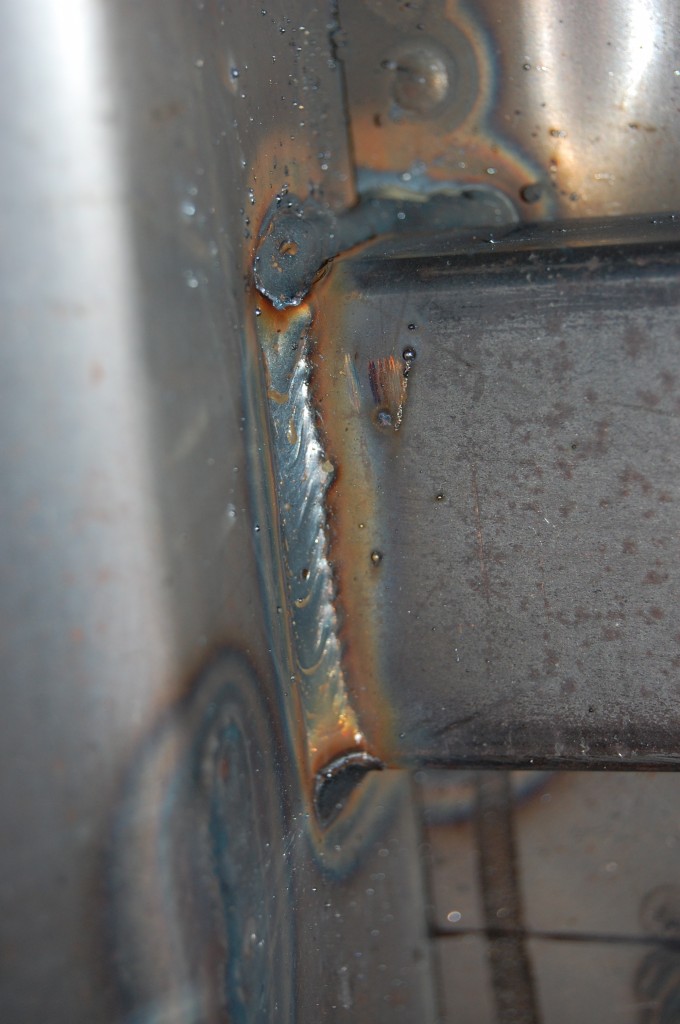
- A pretty weld is a strong weld…
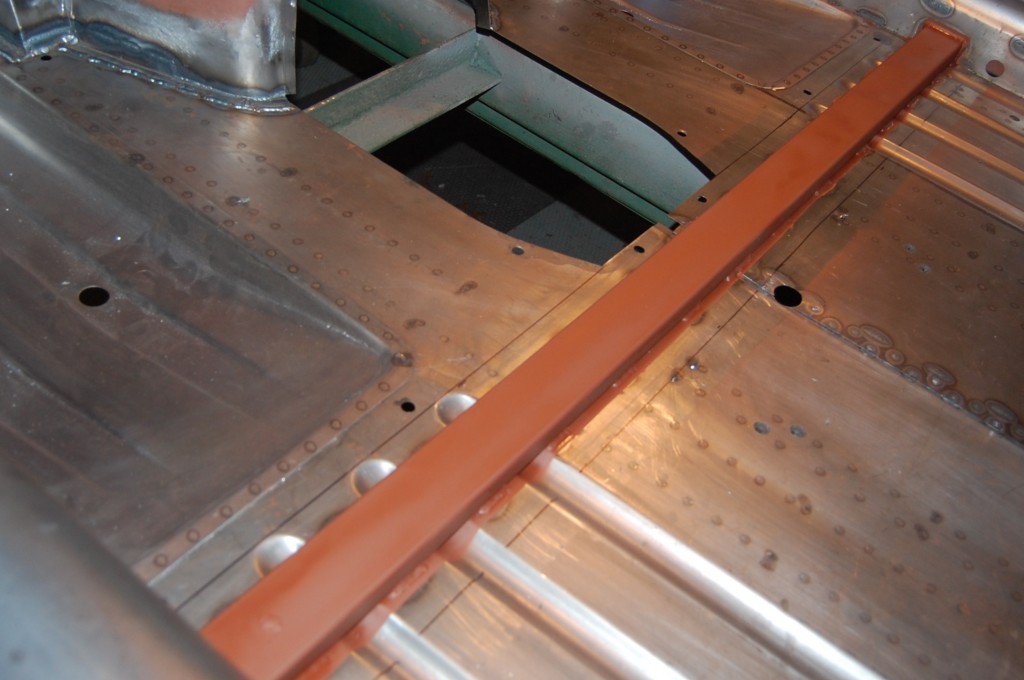
- Cross-bar is completed, next we will hide it with the stock crossmember – but we coat it with red oxide first.
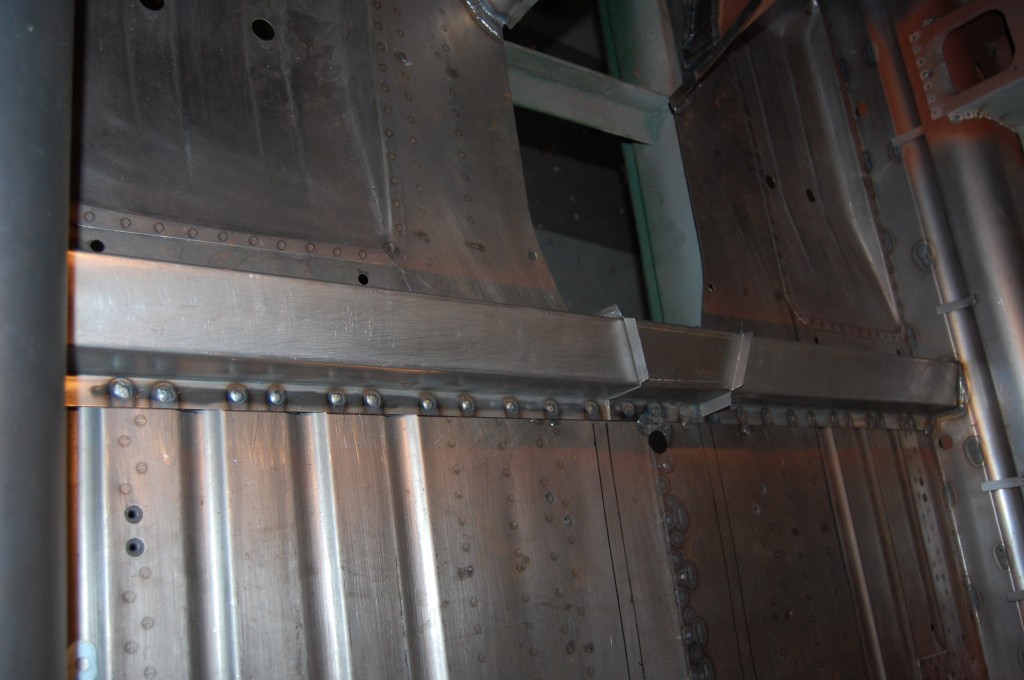
- Now we have welded in the “stock” crossmember – I put that in quotes because the stock piece is thin 20-gauge – and even though with the hidden bar in there, this is now an almost cosmetic addition, we make it fron thick 18-gauge anyway. This, combined with the hidden cross-bar, would probably hold up the Empire State building if the shell is turned opn its side…
- The ends of the crossmember are welded just as cleanly. Stock, these had little tabs that were spot-welded to the sill. I don’t do it that way because it is weaker, and you really can’t get the tongs in here now anyway…
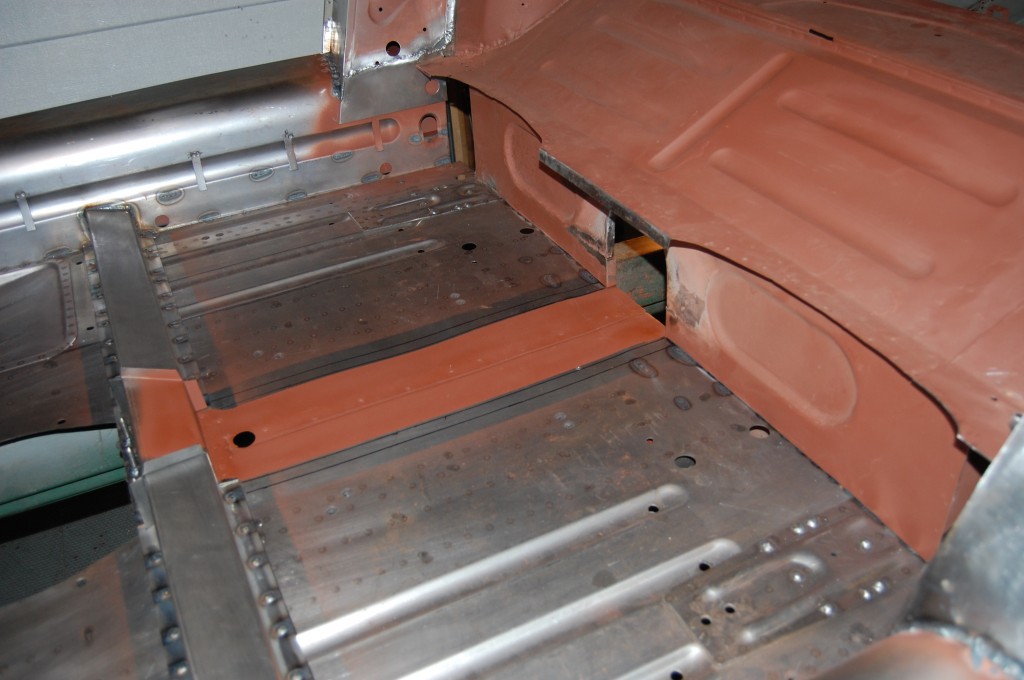
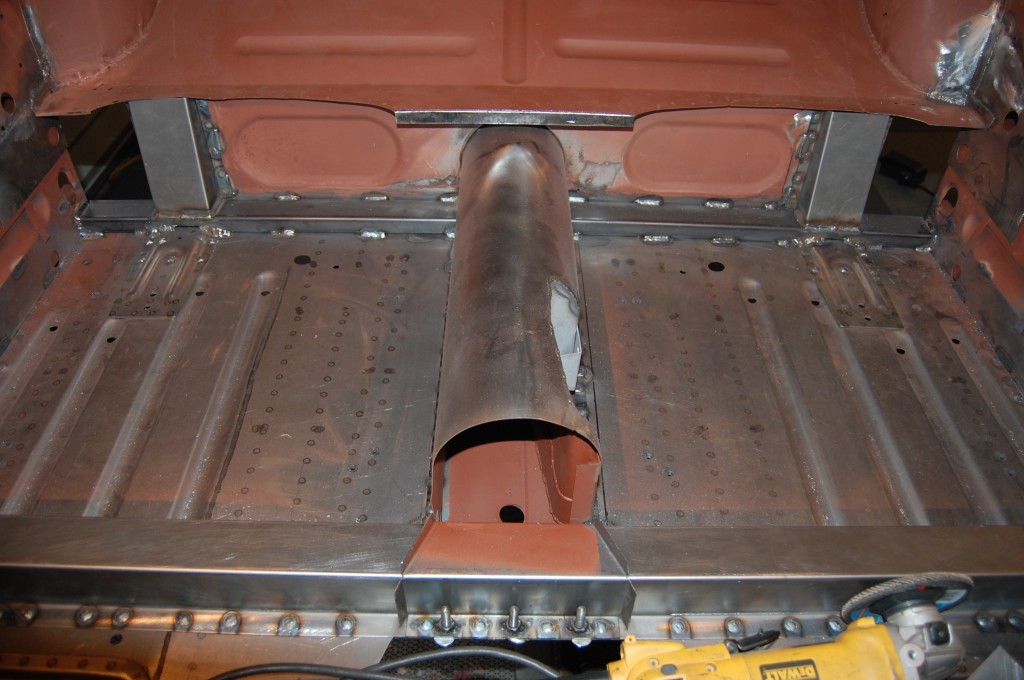
- Here is the complete crossmember with the central brace for aligning and affixing the tunnel. We have these in full length or in halves, square for 3.8 cars, or slanted for the 4.2 as shown here – call us!
- Next we put down some red oxide and prepare to install the tunnel.
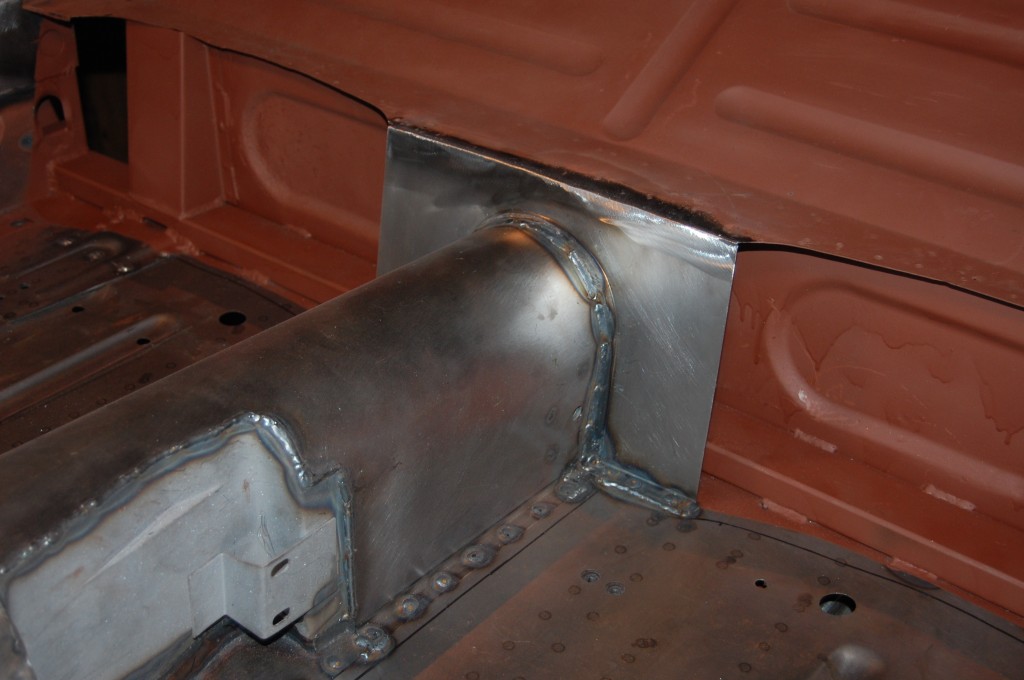
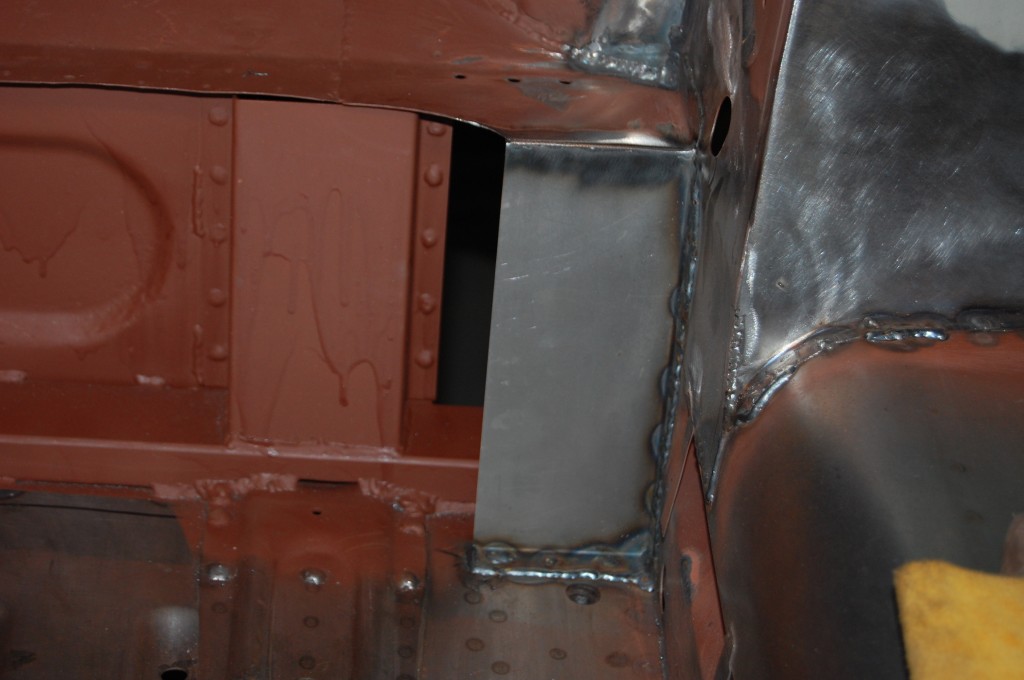
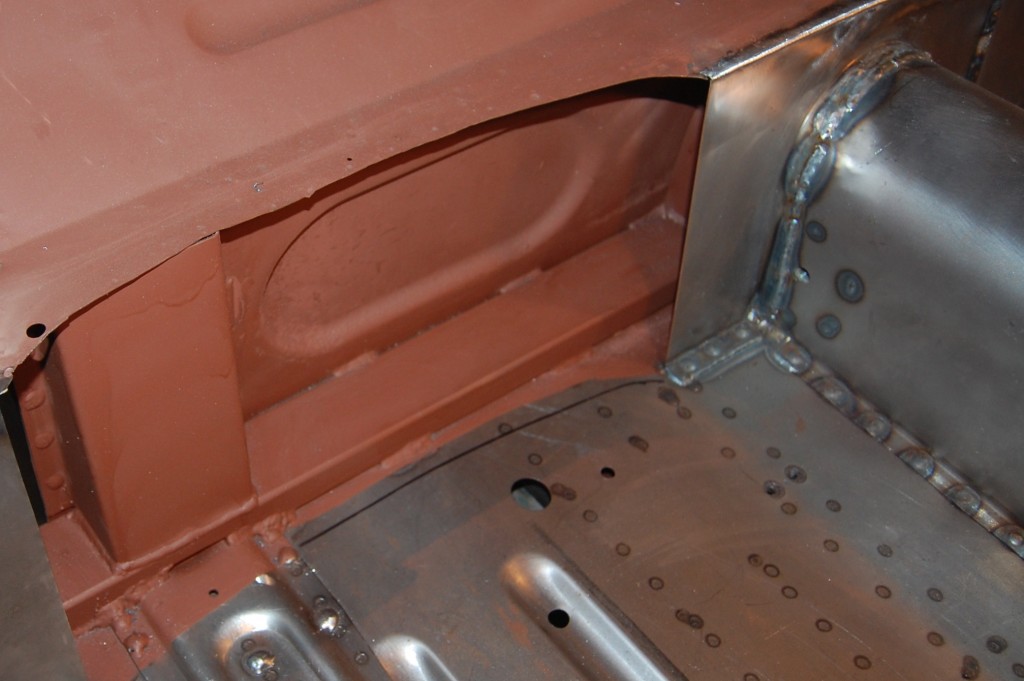
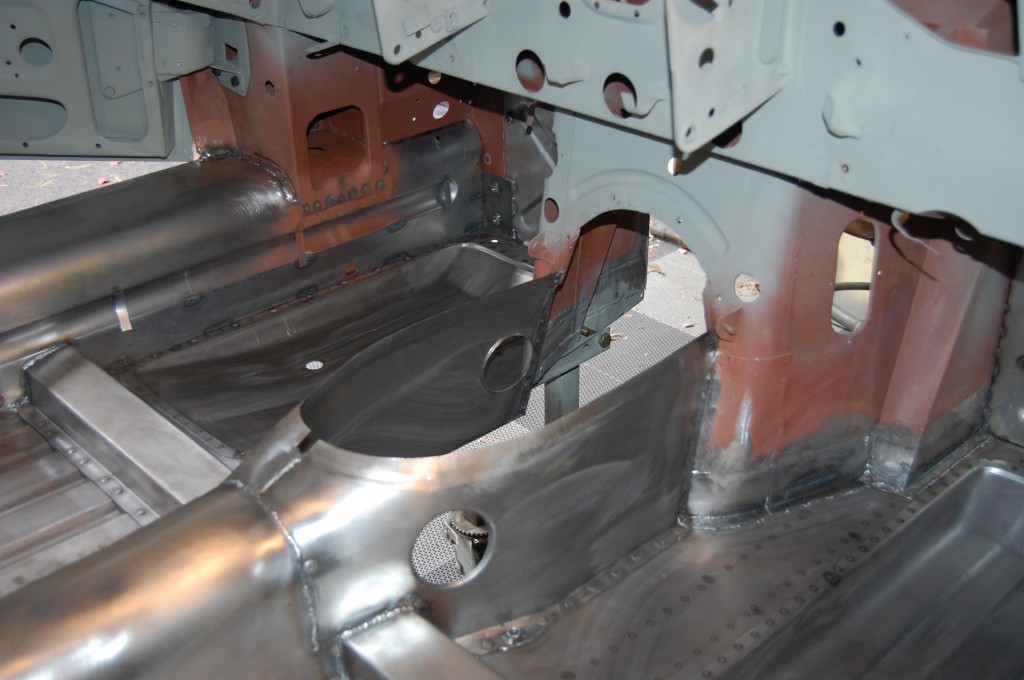
- Skip forward a bit, and the tunnel is welded into place, but so are the subframe tubes that are hidden within the rear bulkhead. THESE are radius arm cups that will NEVER flex or tear out! And we are just continuing to box in the cockpit seating area, AND getting a MUCH stronger attachment from the rear chassis legs to the floor!
- This is about 100 times stronger than stock…
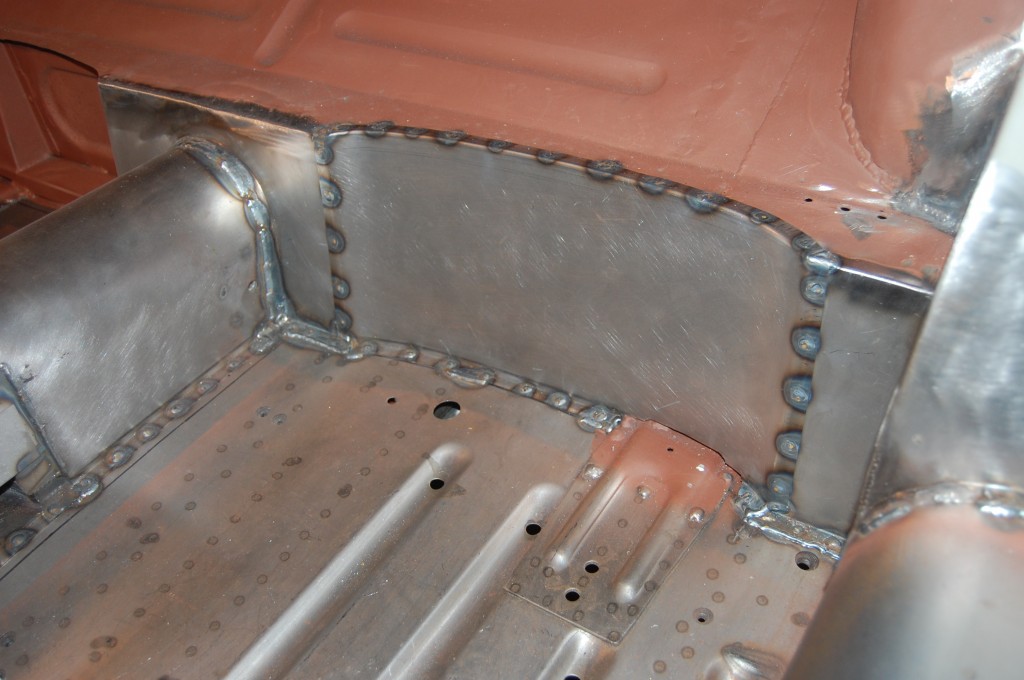
- I love this shot – you can really SEE the strength of this shell now! Note the nuts welded along the front of the crossmember for the gearbox mount – these are the types of details that your “local body shop” will miss, don’t know about, don’t know how to align, etc…
- Next, we start rebuilding the rear wall and seat dishes to box in the rear lower bulkhead. This center piece is first, and a new panel offering from Monocoque Metalworks – I tols you we got alot of new panel offerings out of this one!
- Fits like a glove!
- Next we weld in these small outer pieces – which are ALWAYS rusted in the bottom. We have these now too – there’s not much too them, but they’re right and thick…
- Finally, we weld in the “seat dish” – also available from us. Other manufacturers make this whole 5-piece wall as one assembly, but it seems to be about 1/8″ too short, and trust me, it’s MUCH easier to put it in piece by piece like this. Plus – as always, ours is thicker and NOT coated in crummy black primer – and it costs about the same…
- We always make sure we get the internal boxed sections well coated before we seal them up.
- Next step is to weld in the trans tunnel sides – also made here – and these are EXACT. there are differnces between Series 1 and 2, 3.8 and 4.2 – we KNOW them all cold, and will make sure that you get the right panels for YOUR E-Type!
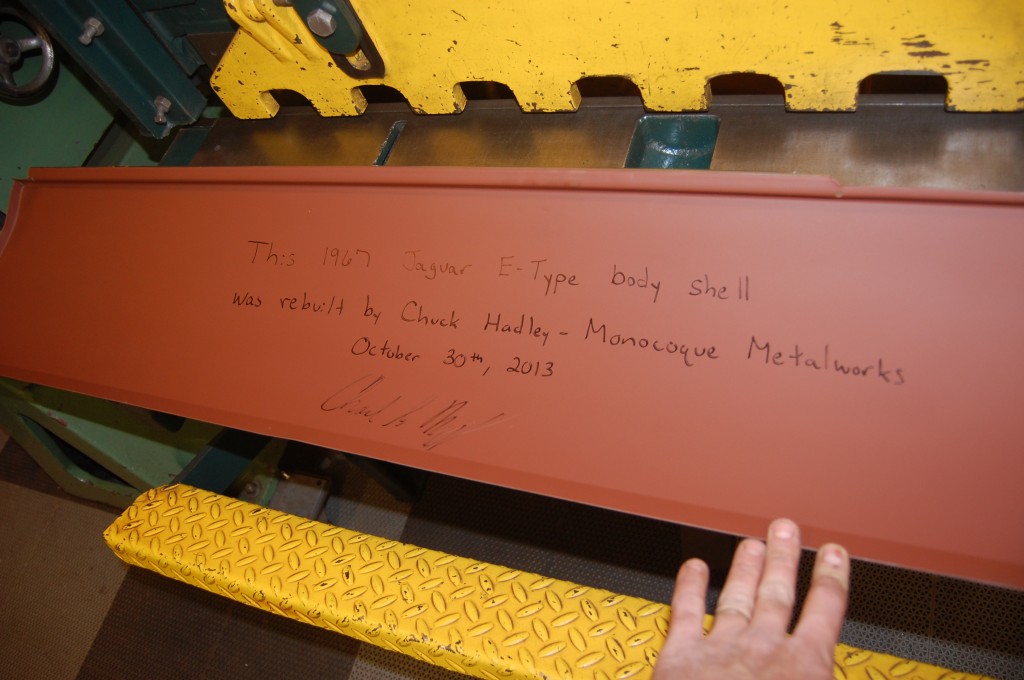
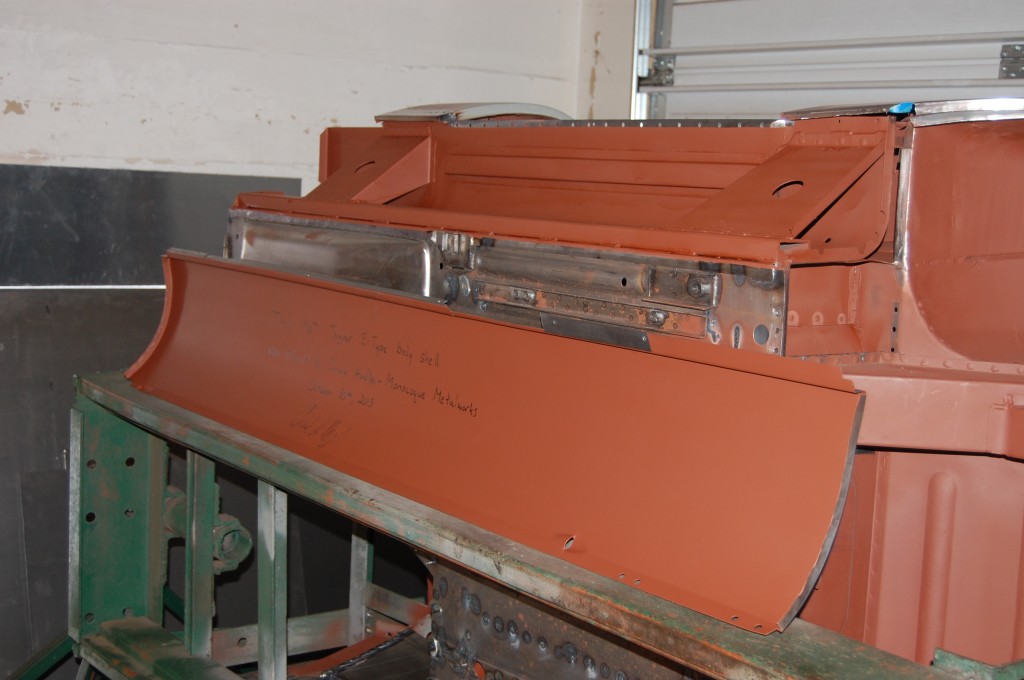
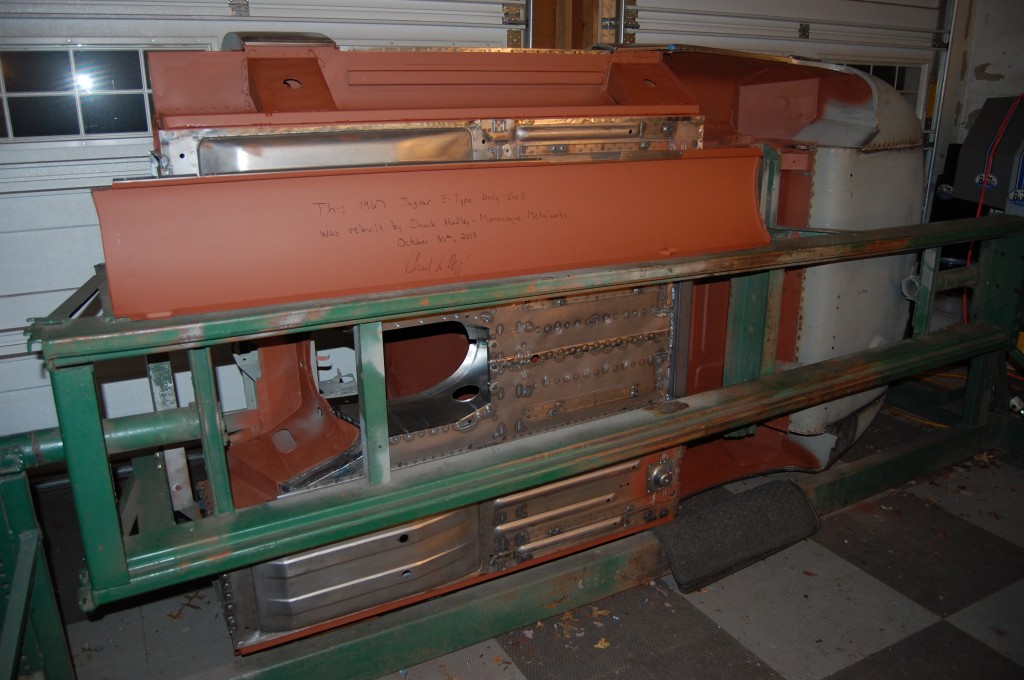
- I sign EVERY shell – I’m proud of the work and it’s guaranteed for life.
- Everything inside the sill has been well coated, and we’re ready to close things up on this side. Our 16-gauge gussets have gone in instead of the stock 20-gauge units with a hole in them so big that there is NO strength left I don’t know WHAT they were thinking! These are ridiculously thick – and the hole is only big enough to get the nozzel of a spray can in there so we can coat them well with red oxide inside.
- Another shot before the outer sill is attached. It’s hard to see here, but at the forward end of the sill tube, we have welded a plate with nuts that accepts the outer, lower leg of the engine frame rail. This ties the frame rails directly into the radius arm cups in the rear of the floor. I spent a lifetime laying awake in bed at night designing this subframe – it cannot be done better. It’s well engineered, solves the radius arm cup and jacking point problems, stiffens the chassis incredibly, is not really any more expensive than the stock parts, only adds 32 pounds (but it is at the floor line so it actually LOWERS the center of gravity), is totally hidden, and might actually save a life some day. If you are replacing floors and sills on your E-Type and you don’t do this at the same time – you’re crazy. Call me about it!
- And another… The rear has been welded up now as well.
- The final piece of the puzzle is the rear sill end closing panel. We drill some holes and plug-weld it to the inner sill and the heavy-duty gusset. That’s baout it for the floors and sills on this one – and the hidden subframe. We ARE now selling “hidden subframe kits” with these heavy-duty gussets and the pieces behind the seats and the frame rail mounting plates. You can source the tubing locally, or we can provide that too – cut to the proper length! – Call me about it if you would like the kit – (443) 907-2287
- One of our new panel offerings that was used in this repair.
- And out new driveshaft tunnels – you remove and re-use your original handbrake recess. The other guys charge $400 for their tunnel with the incorrect handbrake recess – we sell this heavier gauge unit for $195.
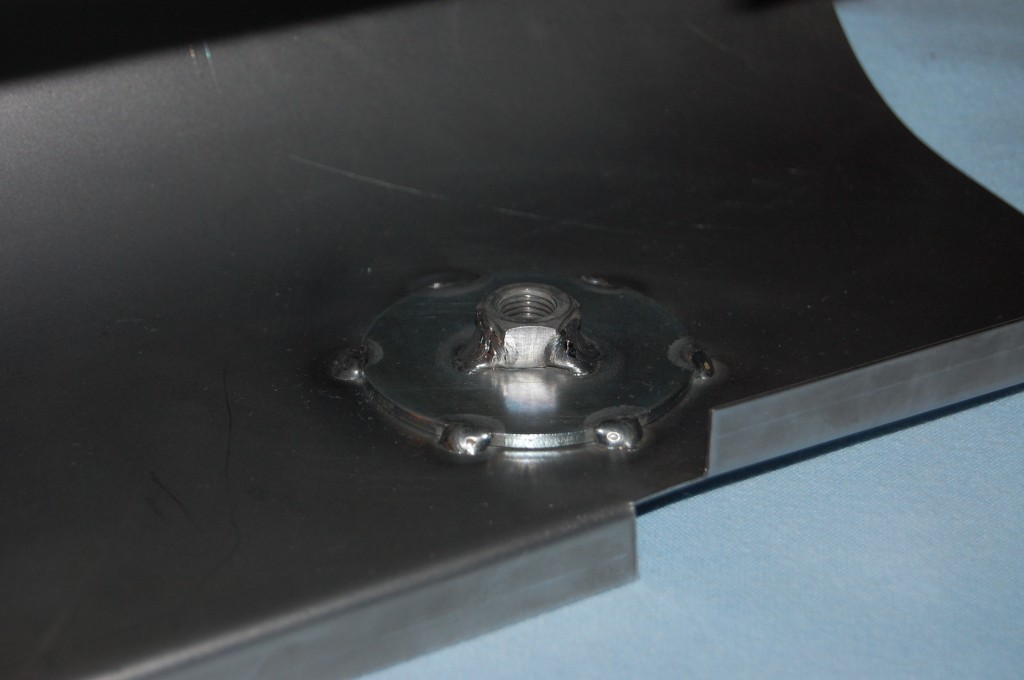
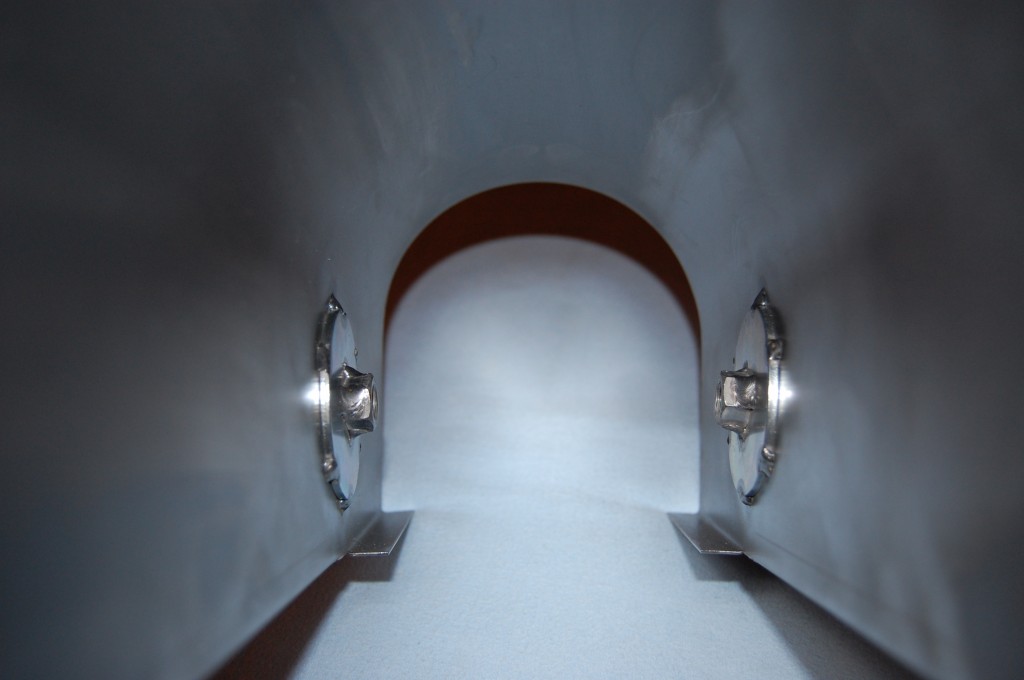
- And we DO weld in the correct fine-thread seatbelt anchors with SUPER heavy-duty backing washers. You will NEVER rip these out – if you do, we’re talking about unsurvivable G-forces anyway!
- An internal shot of our tunnel – also proud of this one – it’s thick, and thanks to our massive, vintage roller, the curve is straight and uniform. The seatbelt anchors are a testament to how I feel about adding strength and safety to these cars. I survived my teenage E-Type adventures, and I want you to as well!

