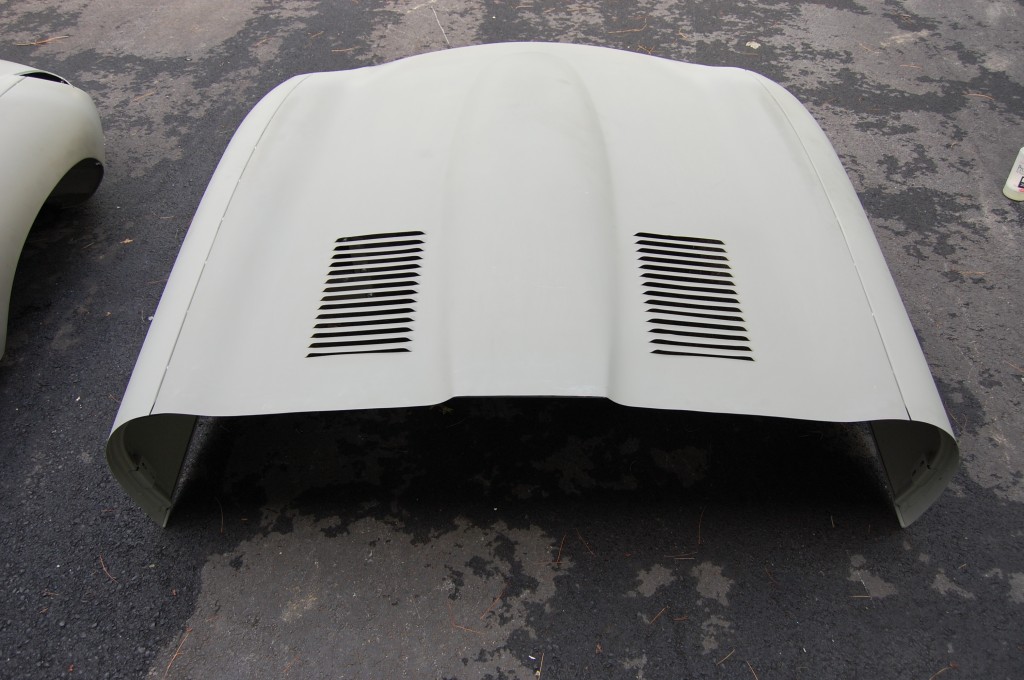
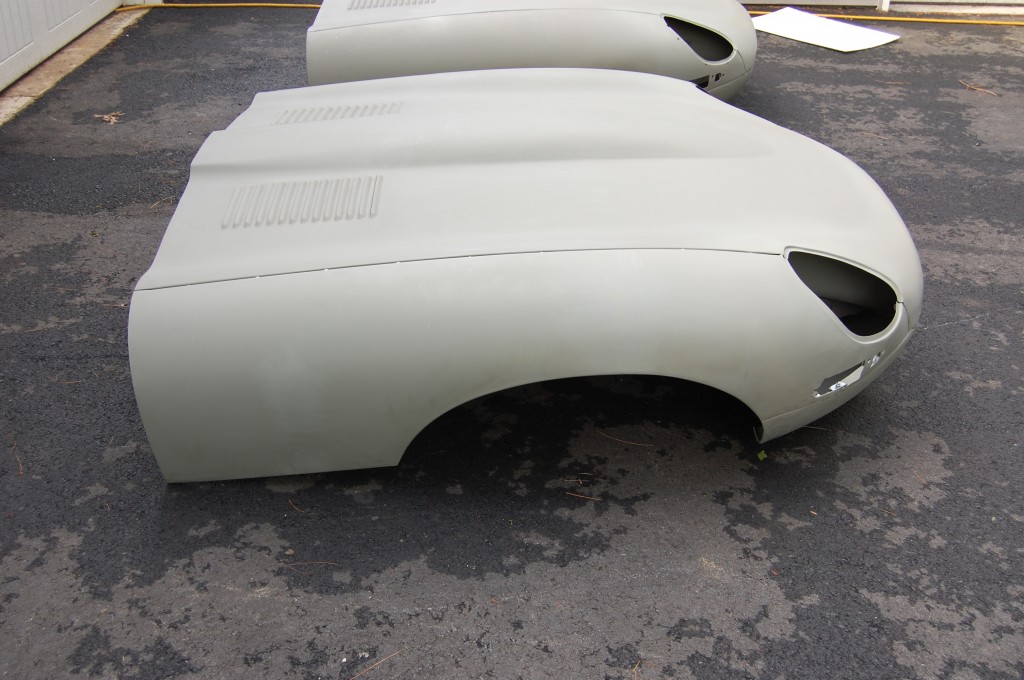
OK, people – I’m back!
Really sorry for the long hiatus on the blog – it has just been a VERY busy Summer and the blogging was the one thing that pretty much just had to go for a while. Doing the blogs takes time, and it was simply time that I didn’t have… I’ll try REAL hard to not let that happen again!
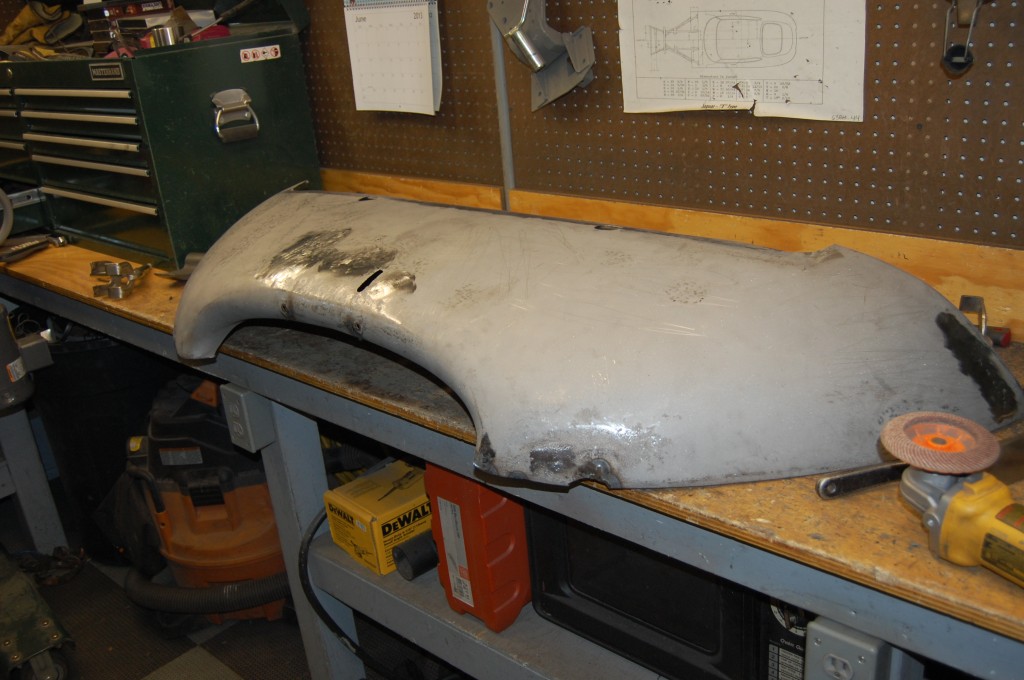
I’ll start things out with a start-to-finish blog of a very rough 1968 Series 1.5 bonnet that we did over the Spring and Summer. We had originally discussed doing the shell as well, but based on our current backlog on shells (we squeezed the bonnet in but can’t do that on shells…), the owner elected to have the shell done at another shop in New Jersey.
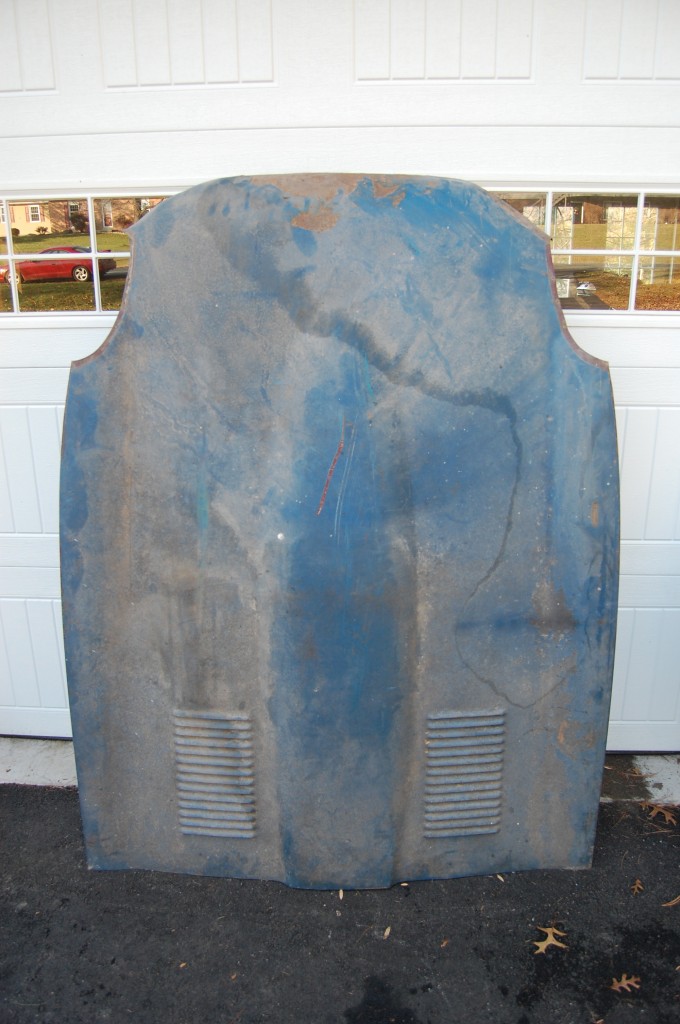
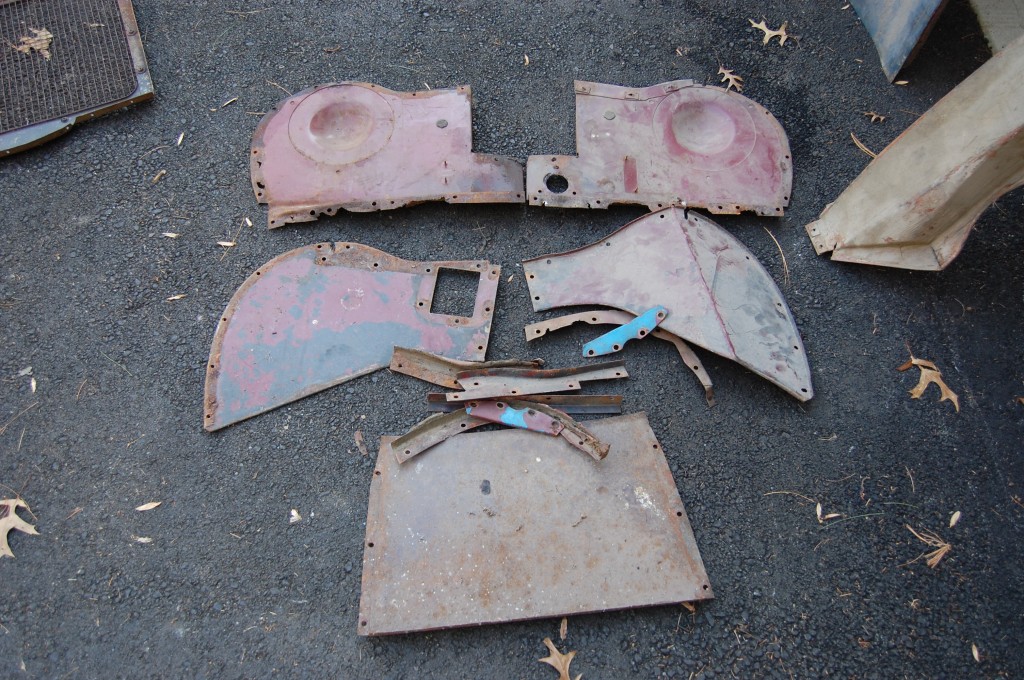
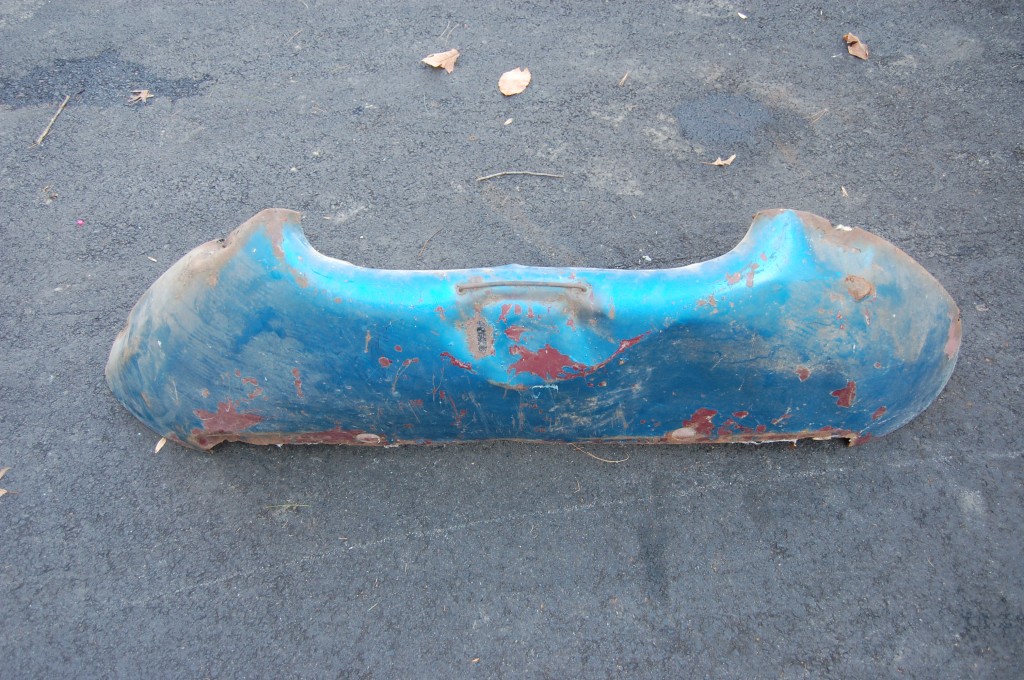
We had a chance to visit that shop and see their work and compare notes on the metalwork of these cars – I’ll go through that adventure next. But for now – here is the story of this bonnet – which came in as a pile of rough Series 1.5 parts in the back of a pickup truck, and left as a concours-level Series 1 covered-headlamp bonnet.
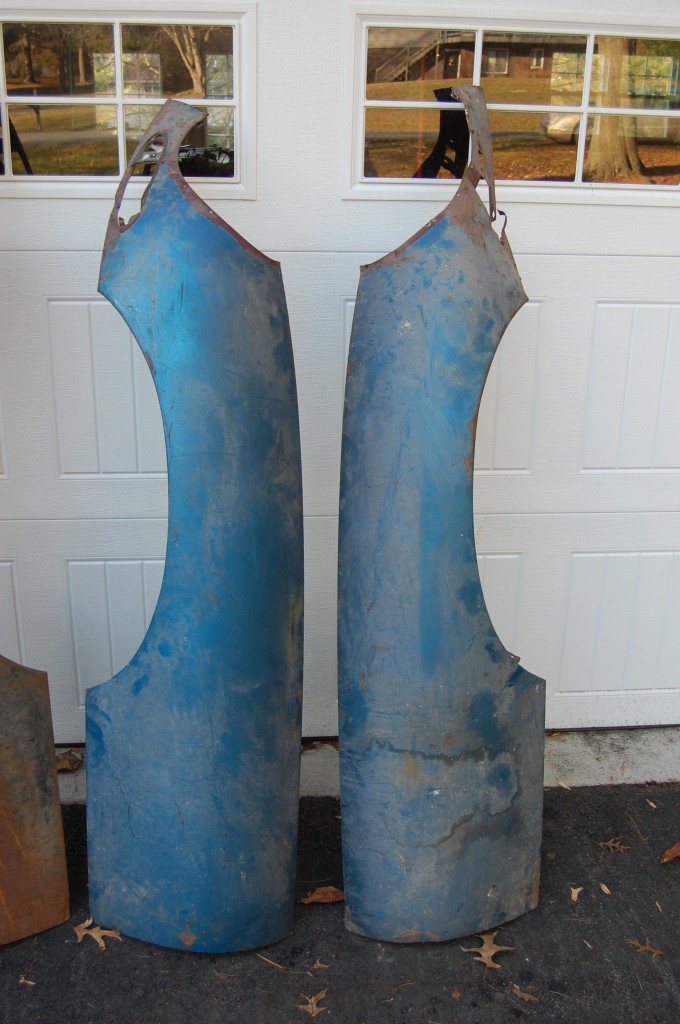
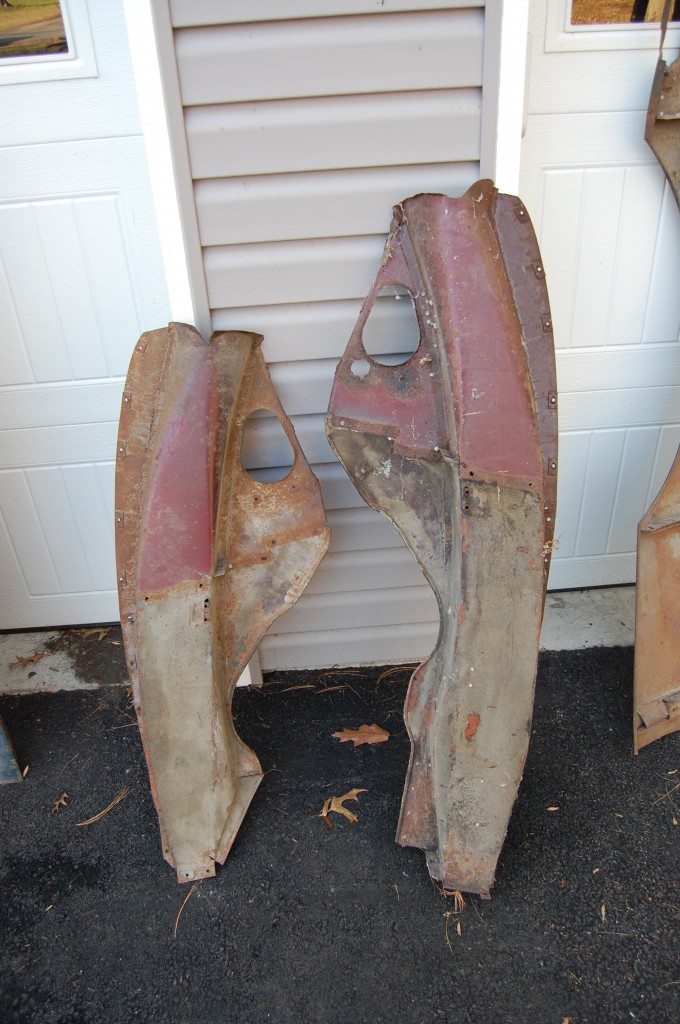
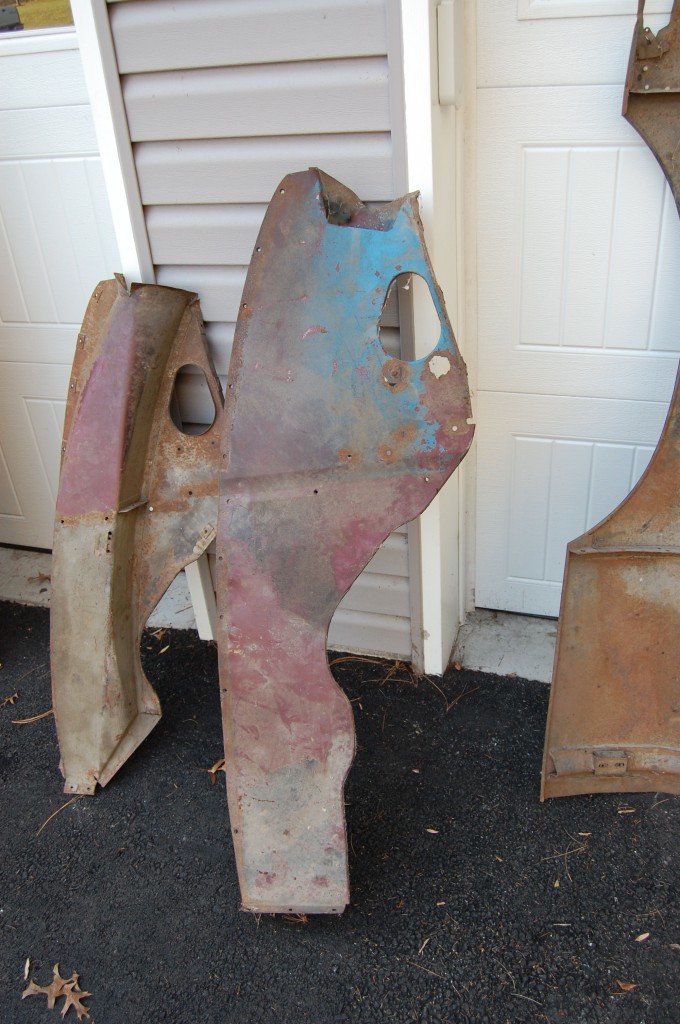
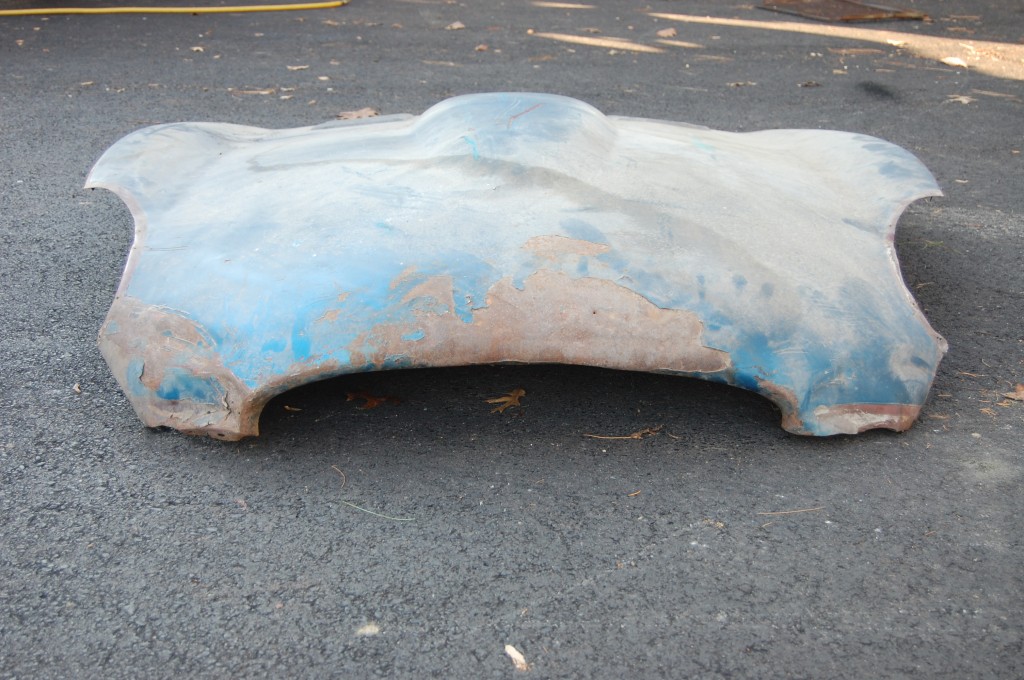
- Wings are tired, but still very restorable.
- The Series 1.5 wings are the flimsiest up here, lacking the headlamp flange of the Series 1, or the full lower flange of the Series 2, and are often bent like this in storage and handling.
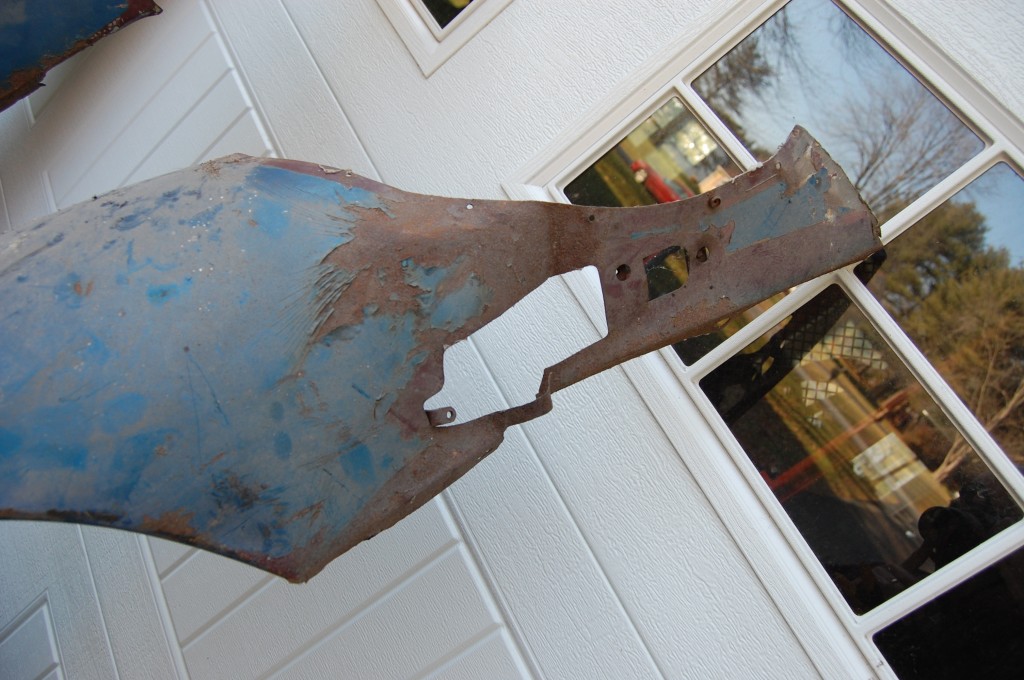
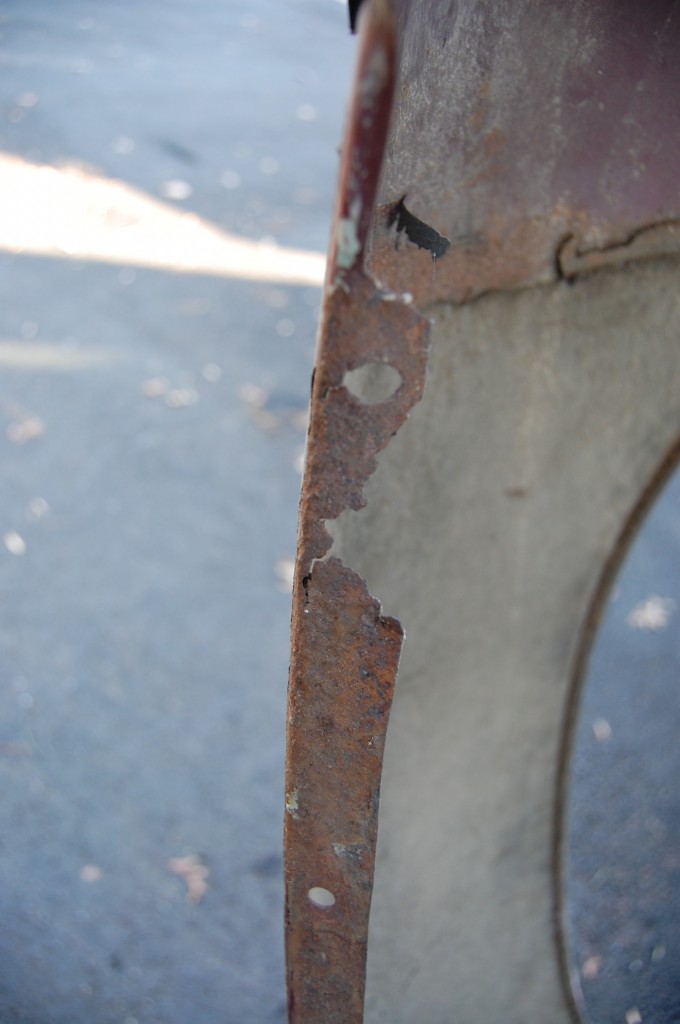
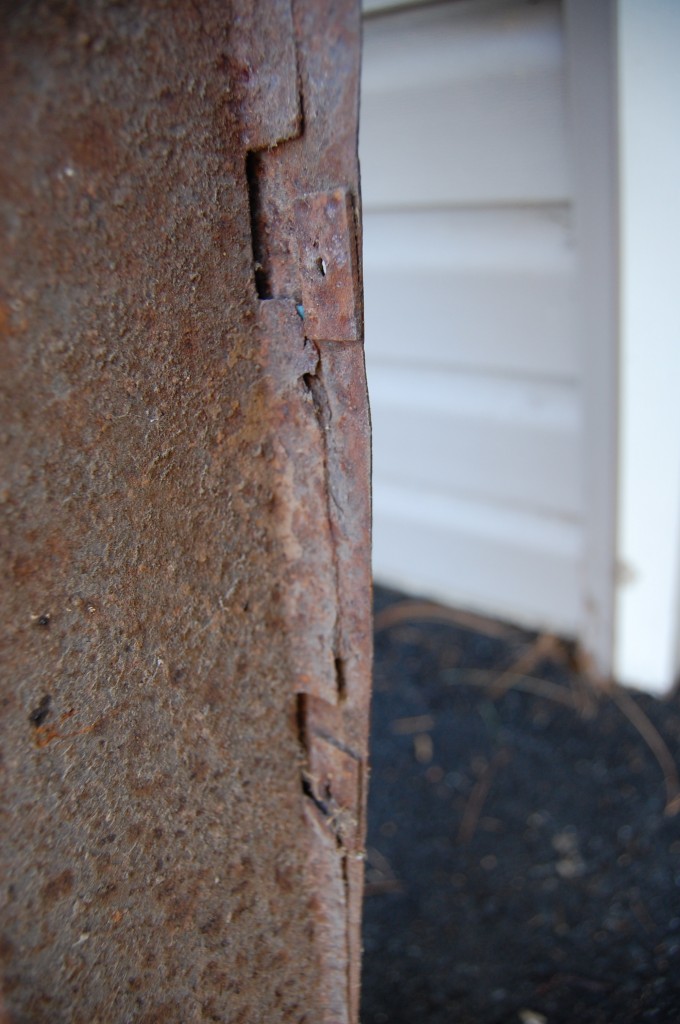
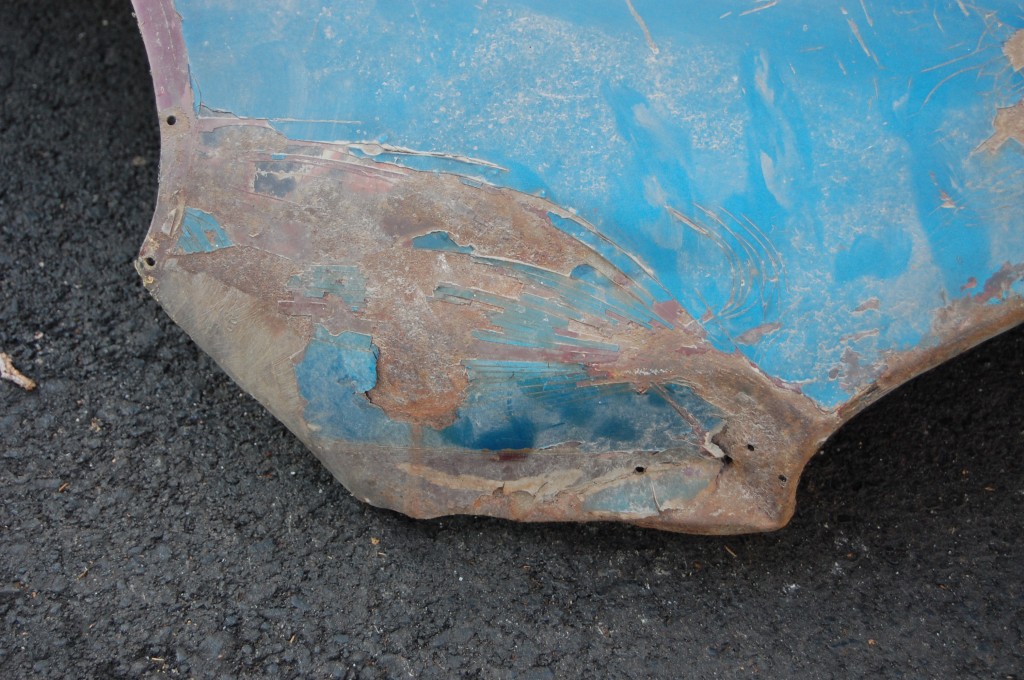
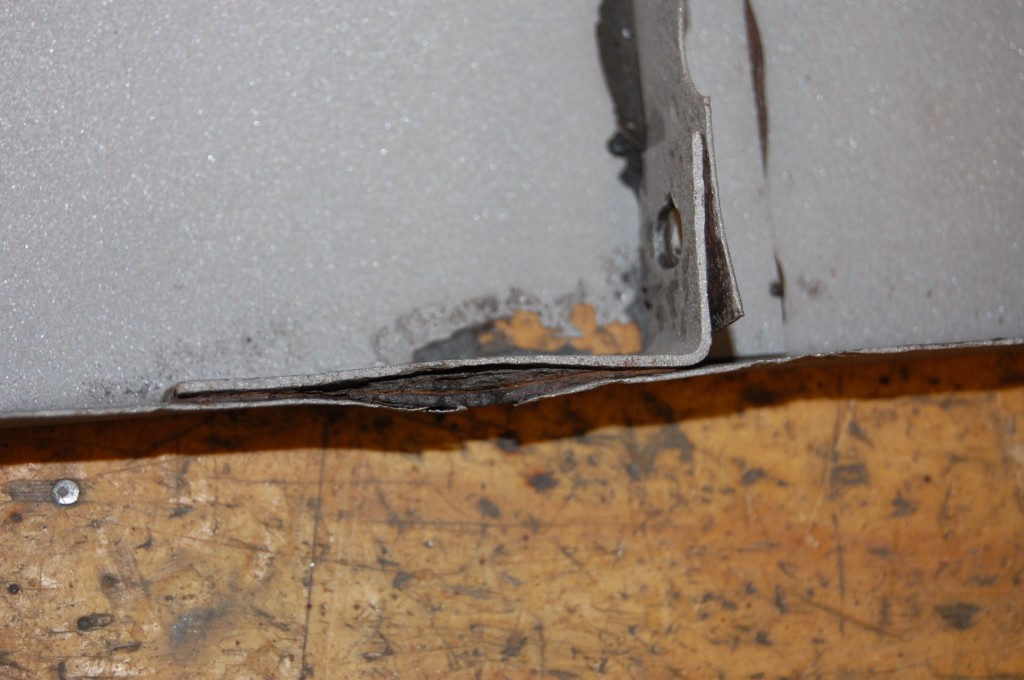
- Rust in the lower corner has led to this seperation of the center wing flange.
- Typical center-to-wing flange rust.
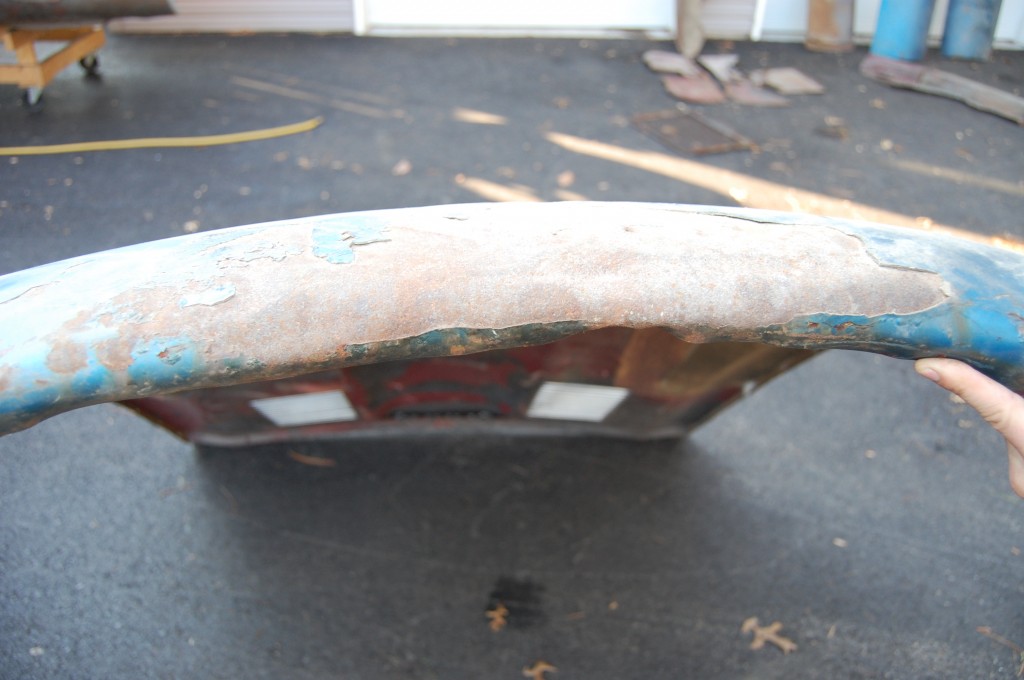
- Center section is a mess…
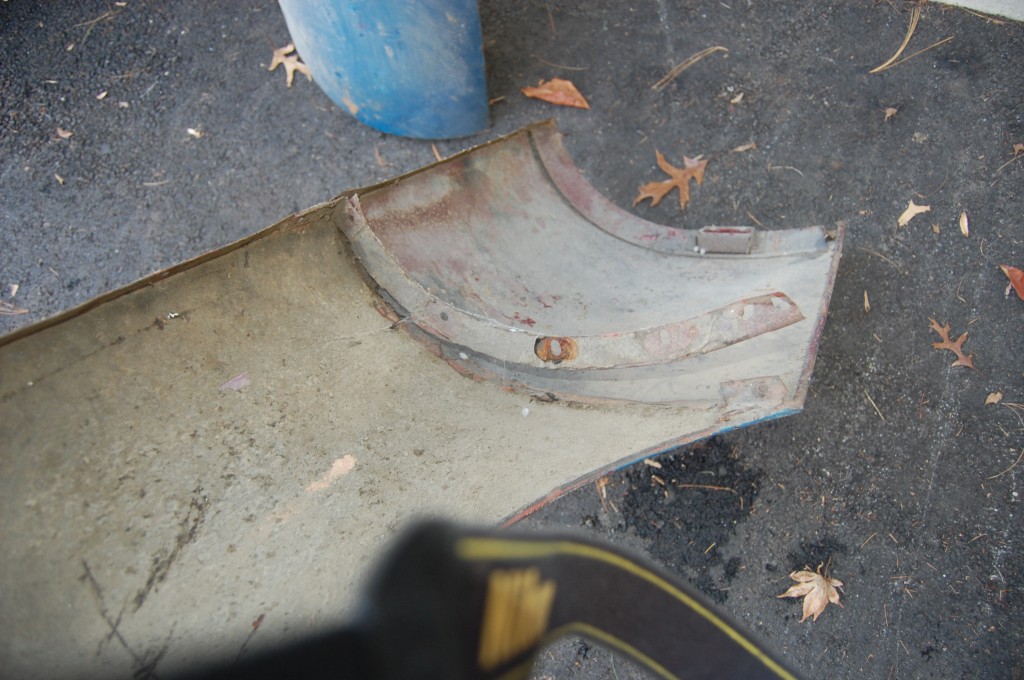
- These are tired too, but also restorable. These inner valances are getting tough to find in decent shape.
- They are straight overall, though – a good sign.
- This rust where the air tube meets the wall on the inner valance is also typical. This one is just on the borderline of restorable…
- We won’t use the Series 1.5 headlamp diaphrgams, as this bonnet will be converted to covered headlamps.
- Lower valance is probably past restorable, but we’ll do it anyway!
- The main support member will be replaced with one of our new pieces.
- Another shot showing massive distortion from crashes and parking blocks…
- Looks more like a Series 2 – YIKES!
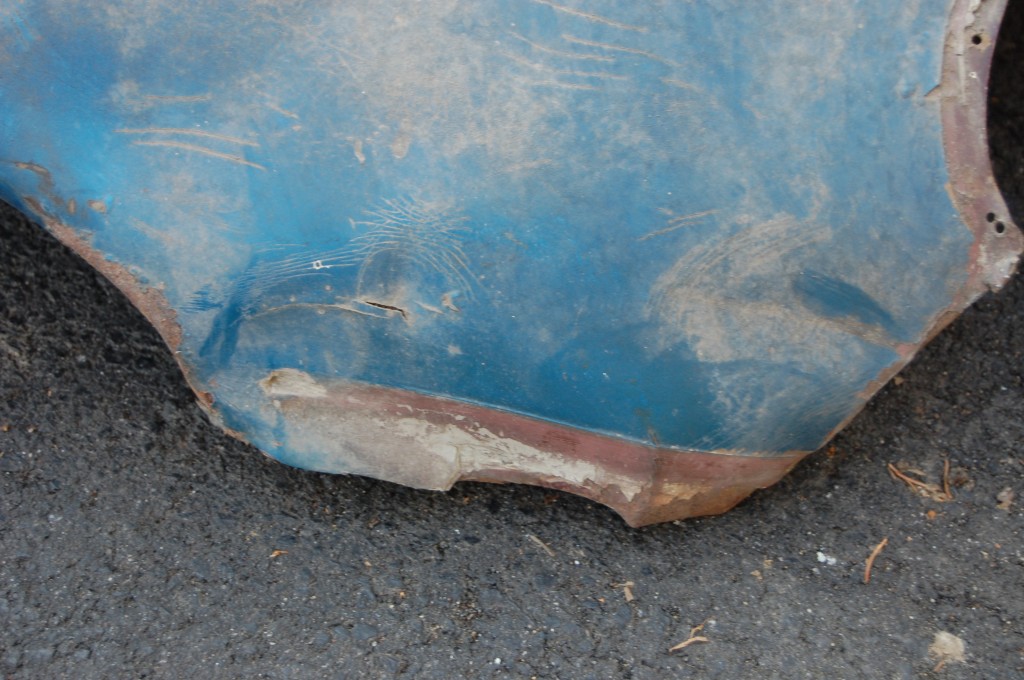
- Damage from lighter hits – the bumper has left it’s mark. The bumper protects the bonnet from women hitting it with a handbag and that’s about it…
- The other corner has issues as well…
- Wow – this is WAY off…
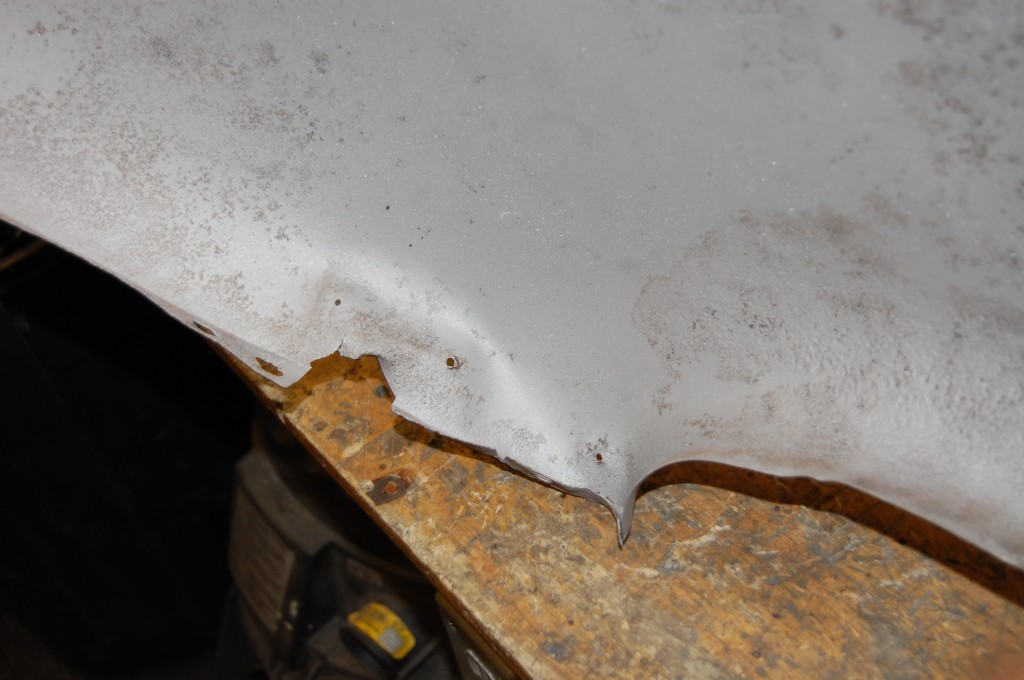
- Uggghhhh – my old nemesis… I’ve got this area down now, though – this won’t be a problem.
- THIS, on the other hand, is going to require some real attention – AAAGGGHHHHH!!!!
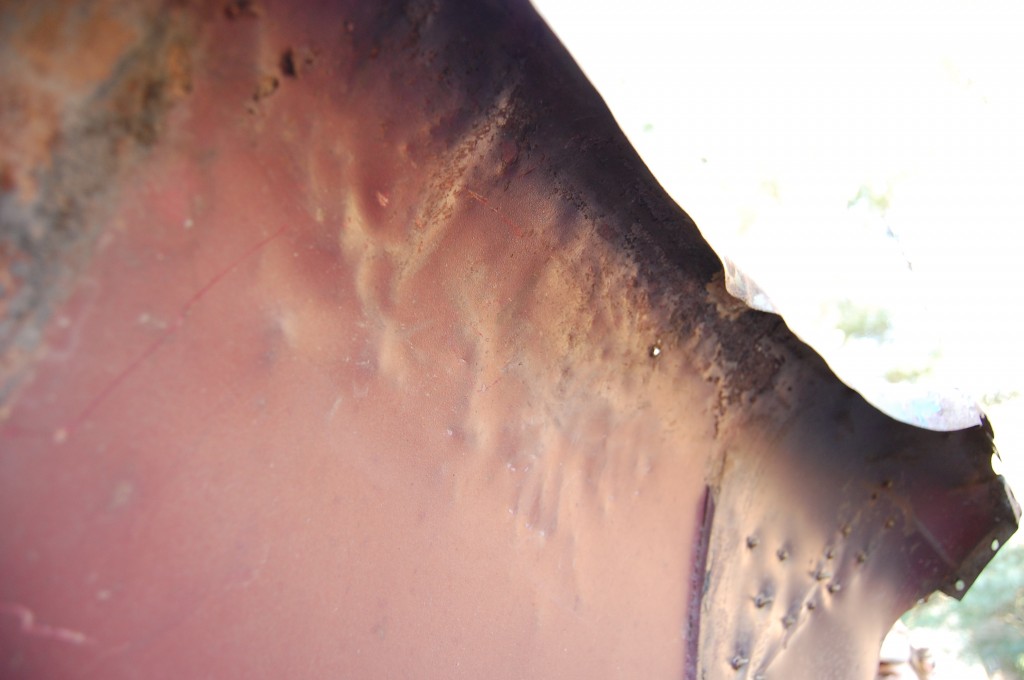
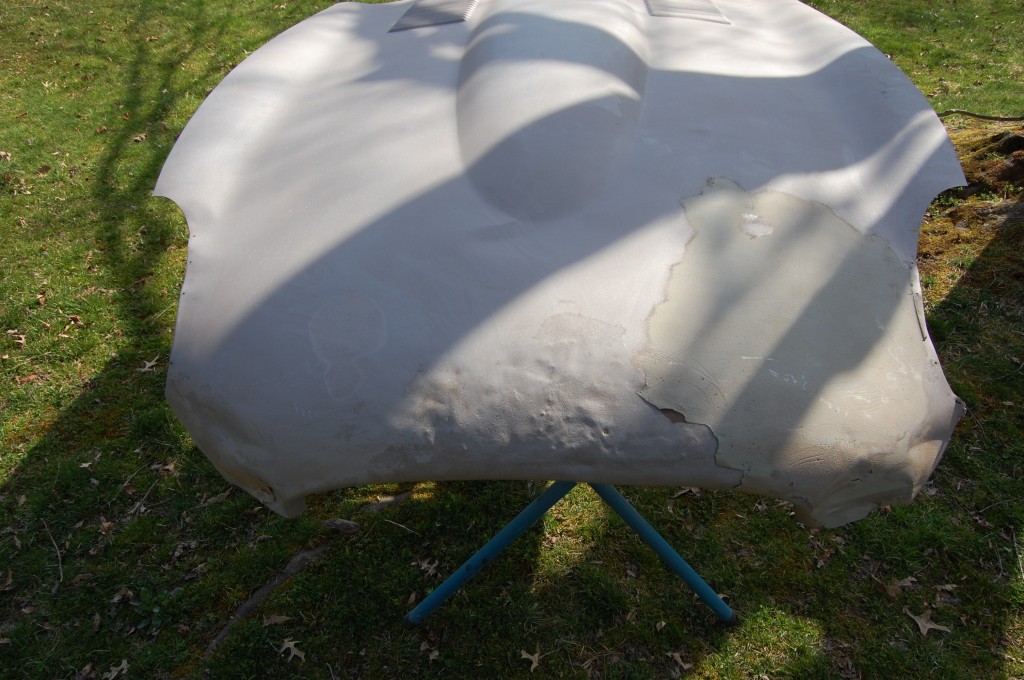
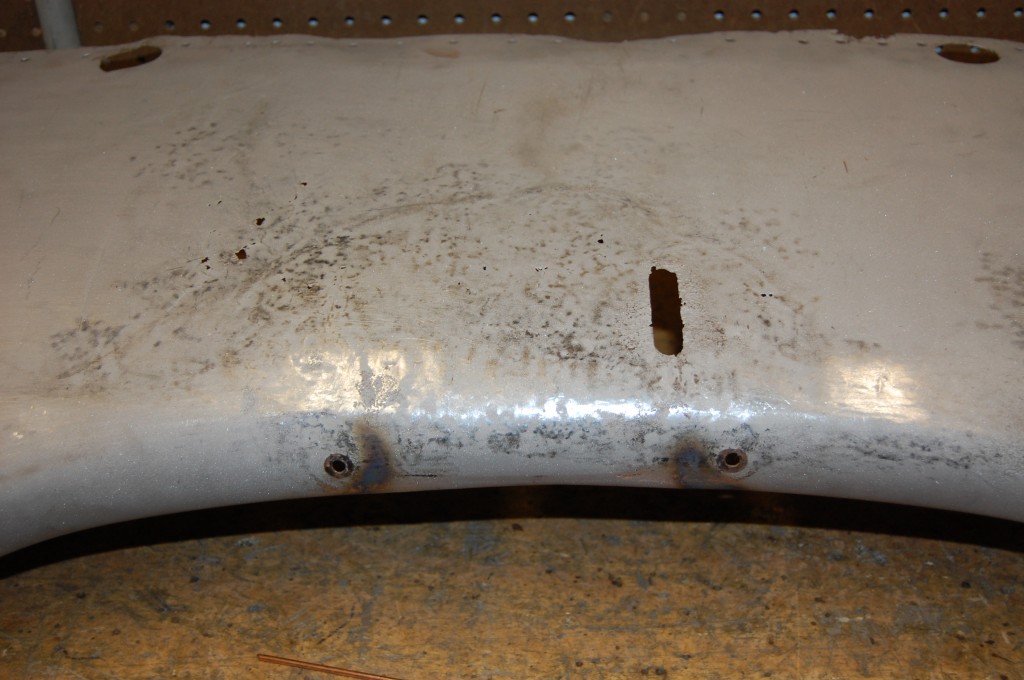
- In the right light, the real surface of the steel shows, and it’s NOT good…
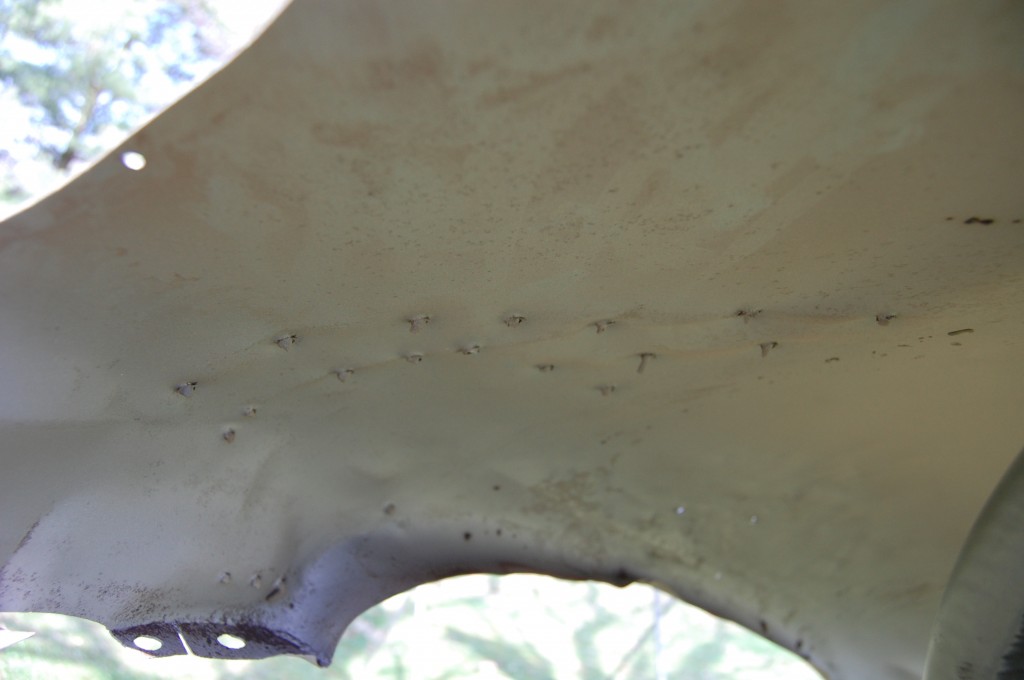
- Another shot of one of the lower corners of this E-Type bonnet center section from underneath. Enough of this – time to turn this baby around!
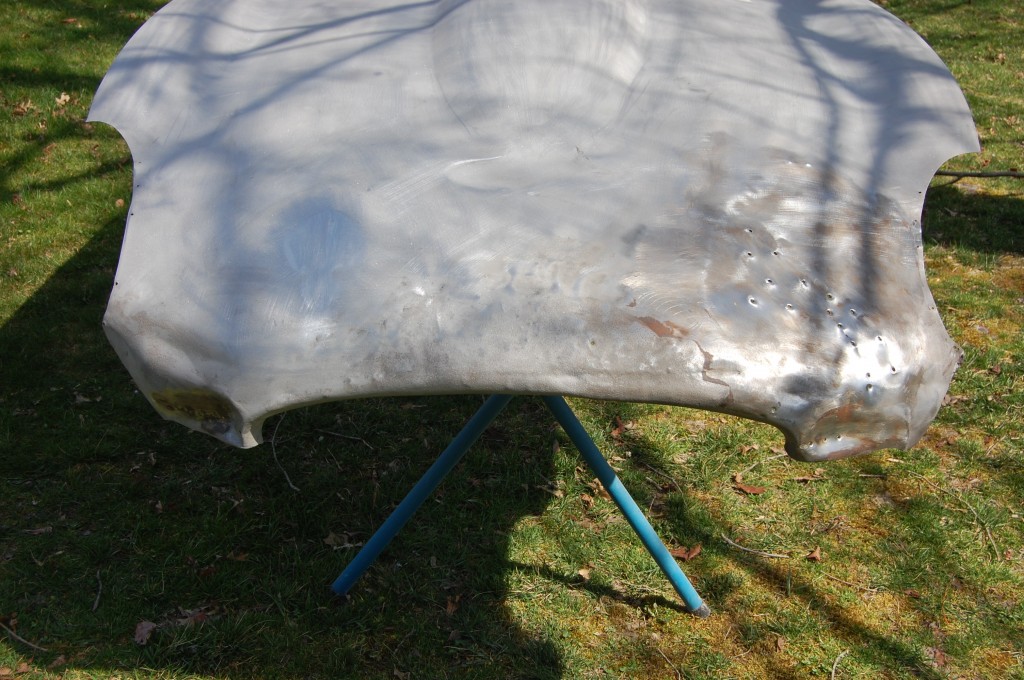
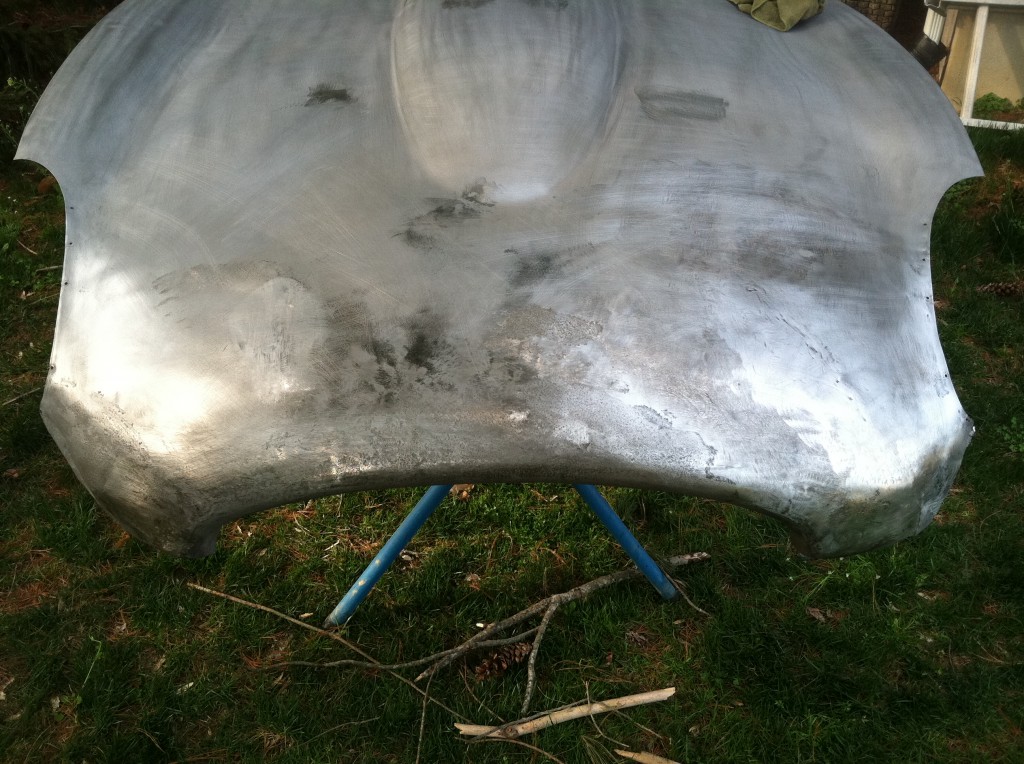
- Step 1 is to strip and blast the panel bare – WITHOUT WARPAGE – and then re-assess.
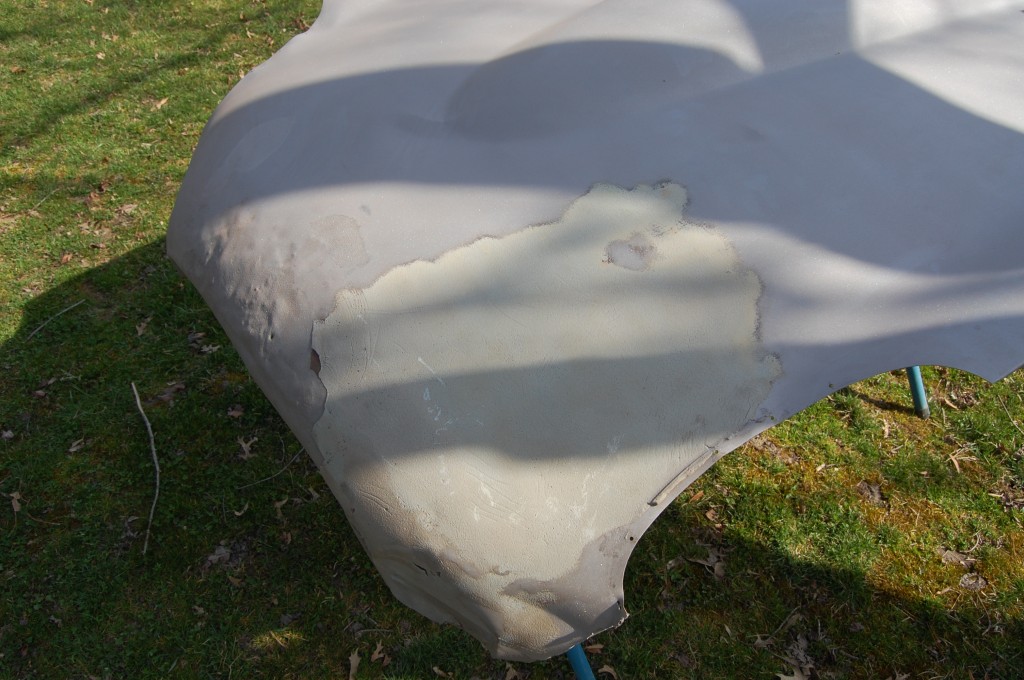
- As you can see, bondo removal is next…
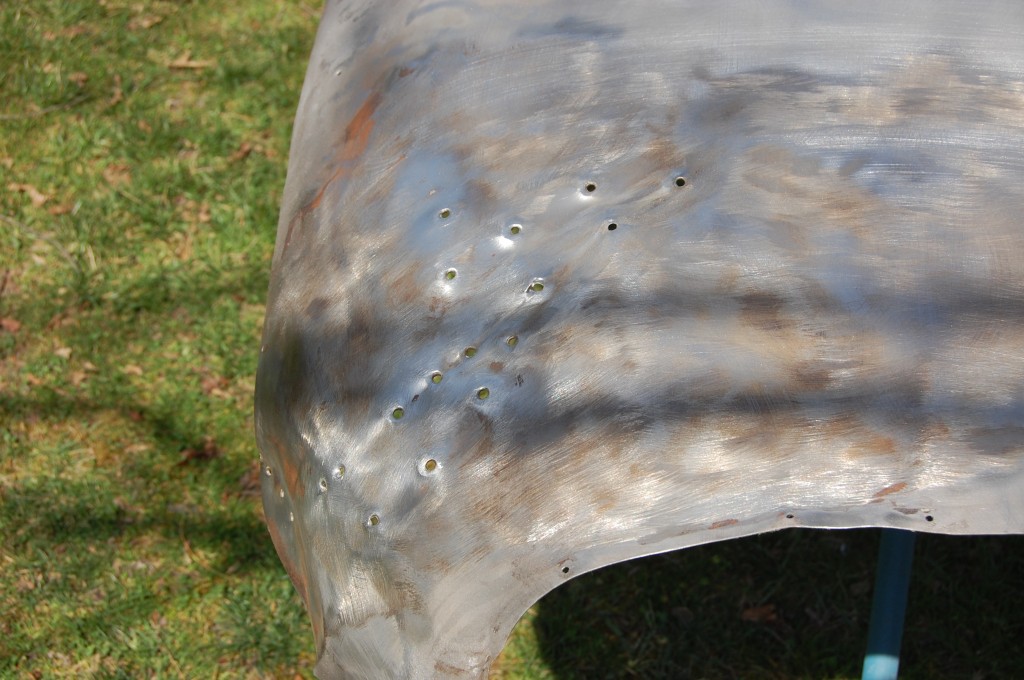
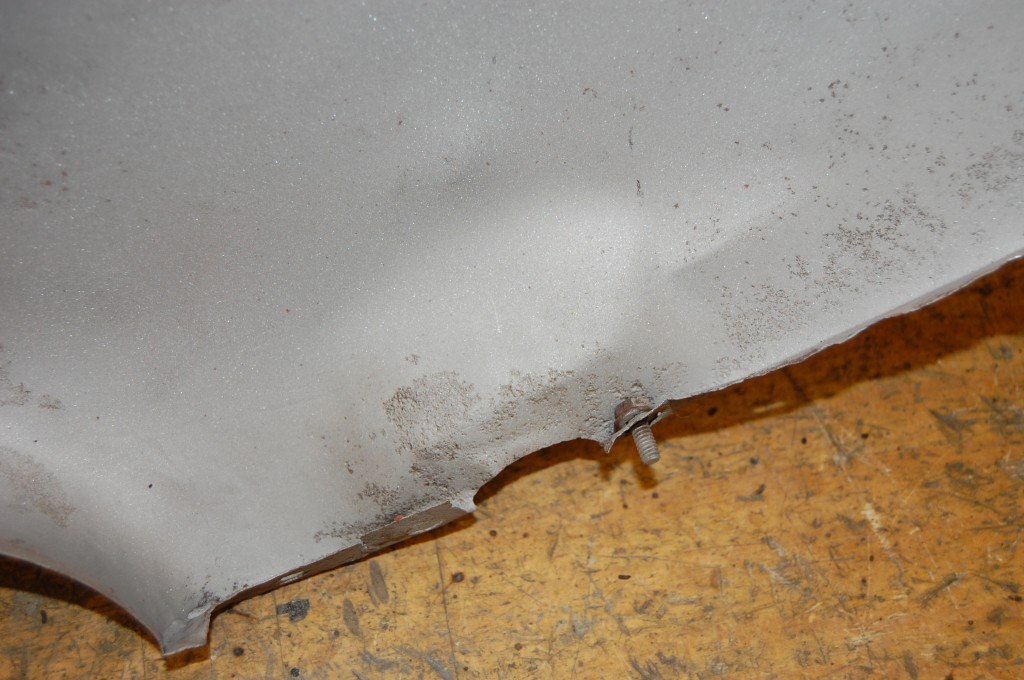
- Another shot of the previous damage, “repaired” by a gorilla with a dent puller I guess…
- Nice…
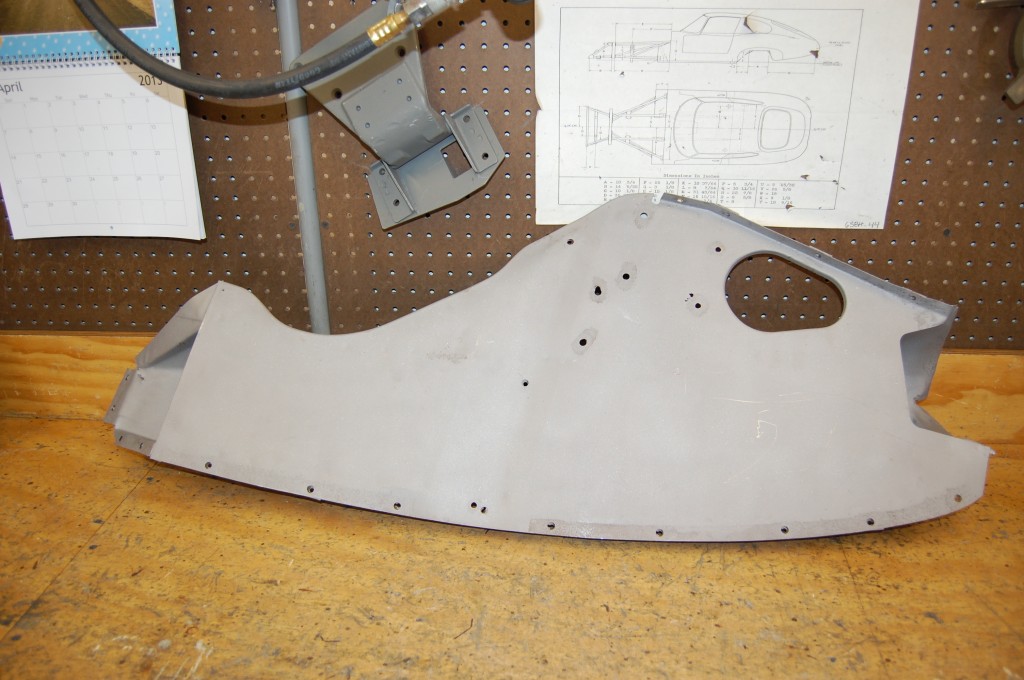
- The RH inner valance was in pretty good shape.
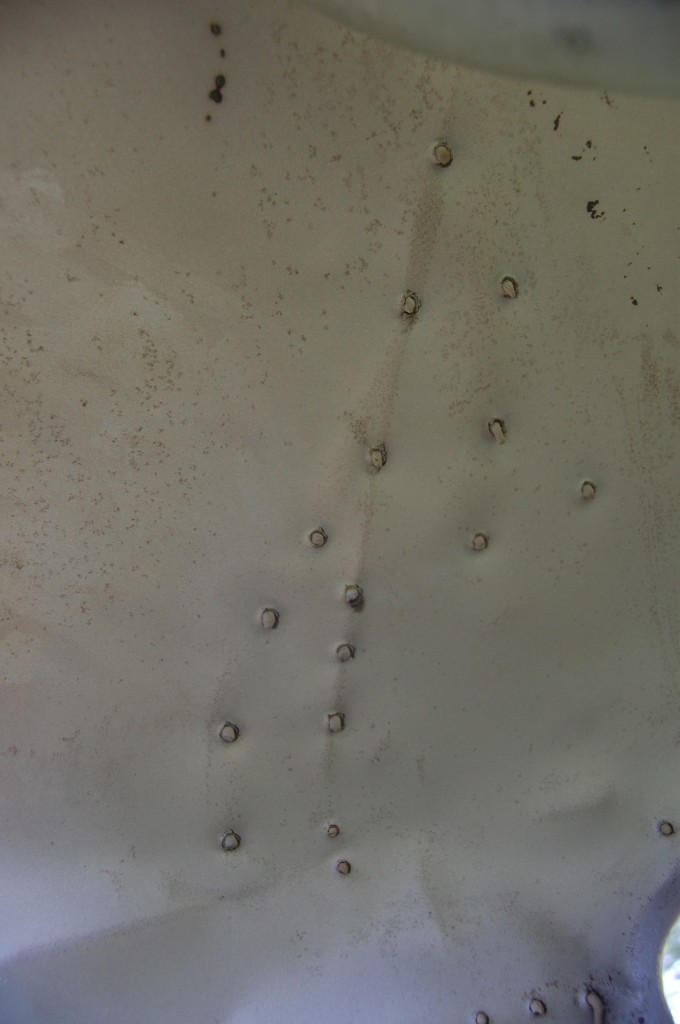
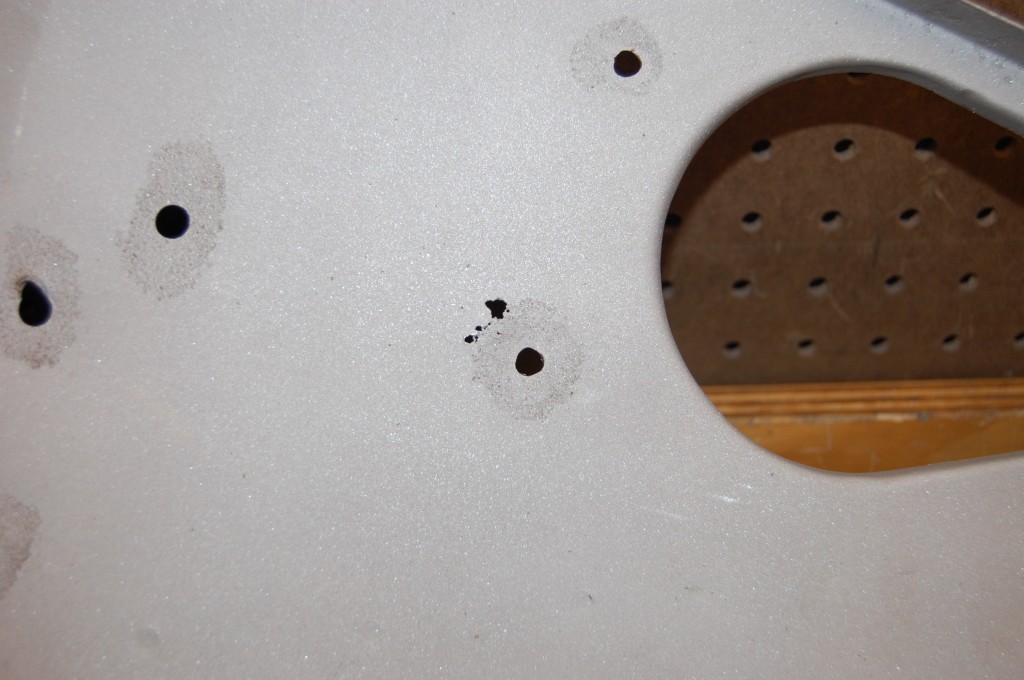
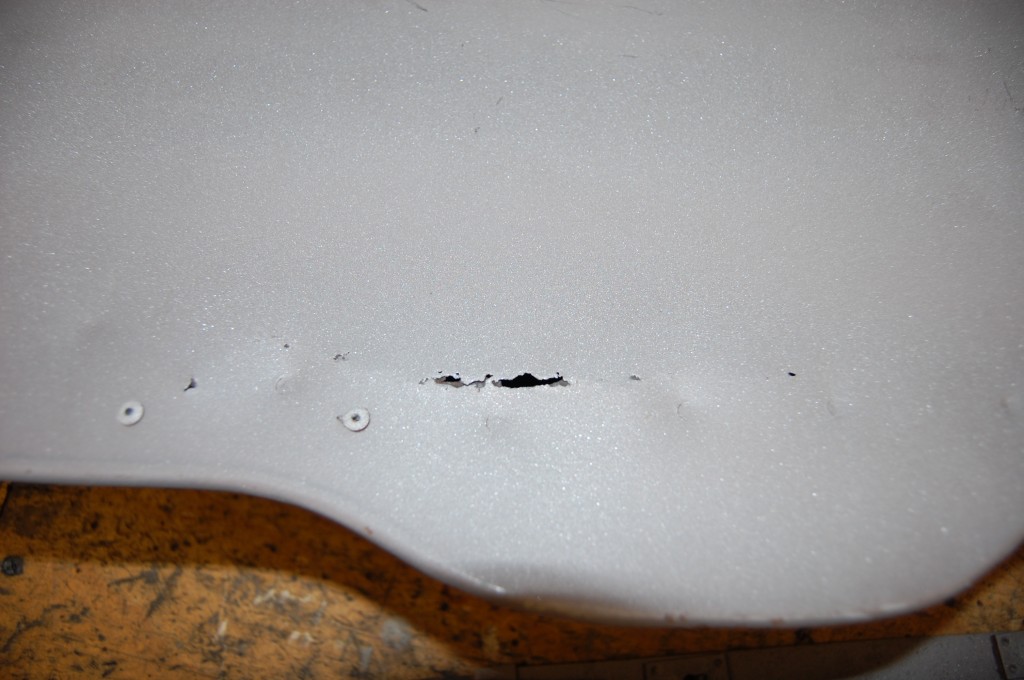
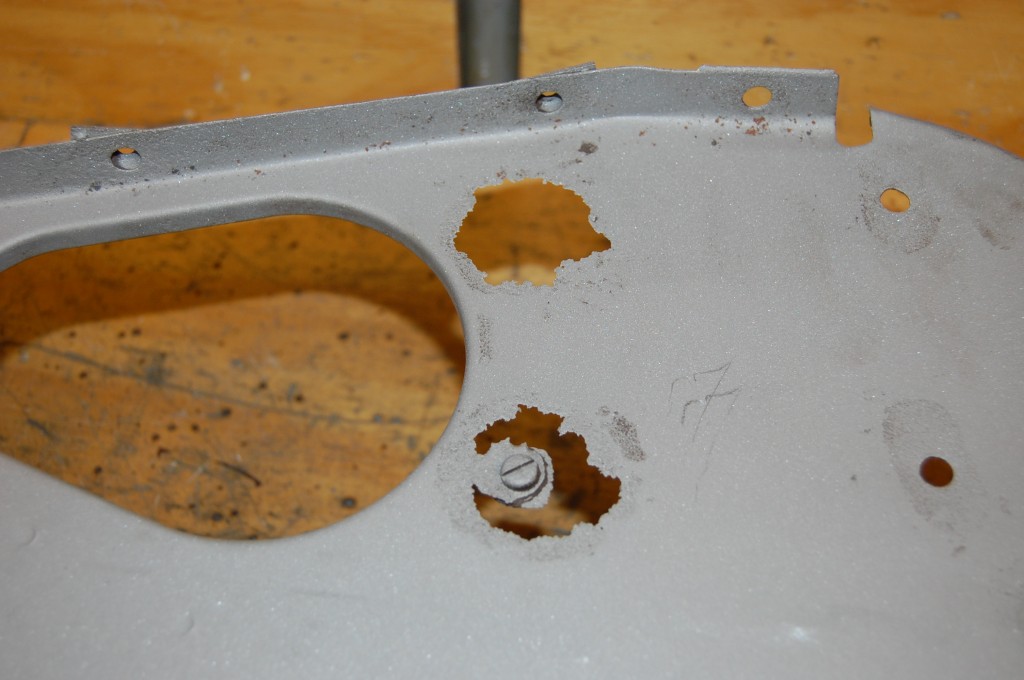
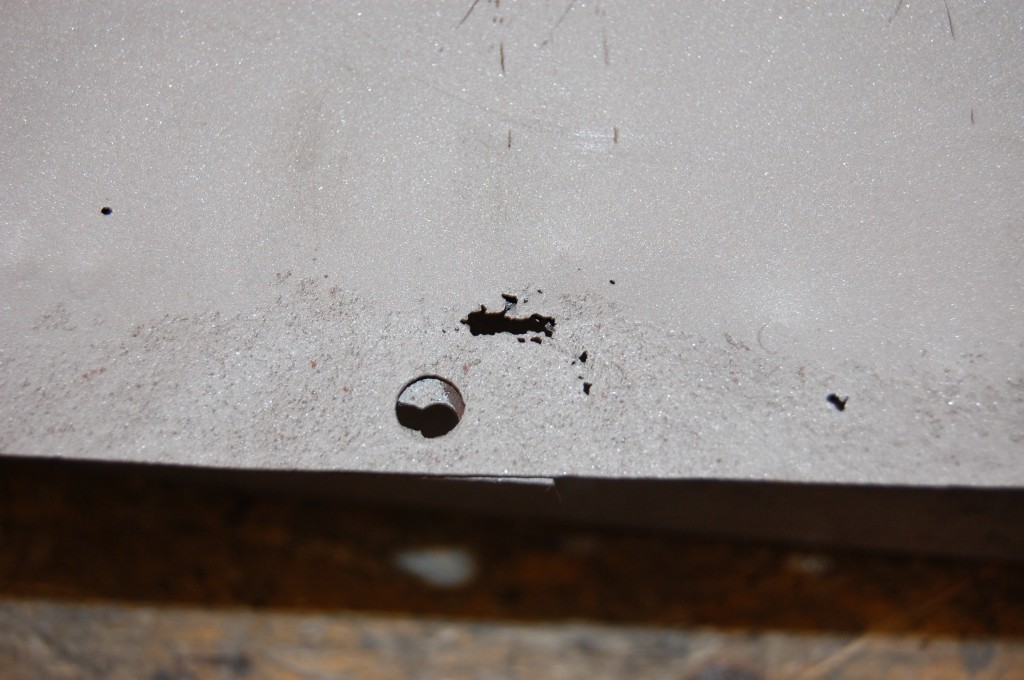
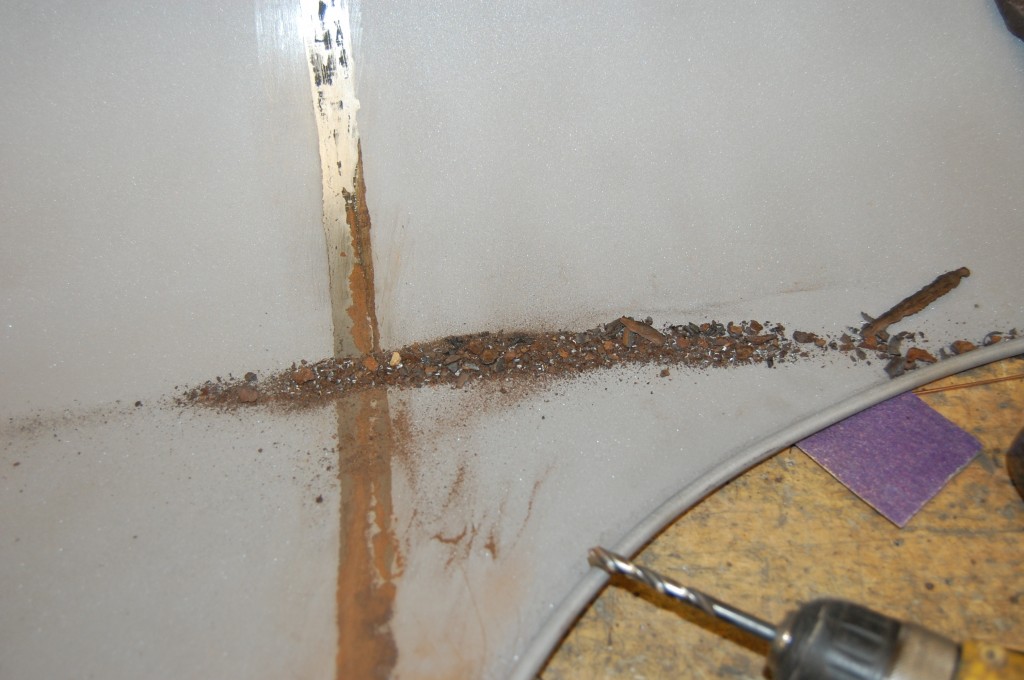
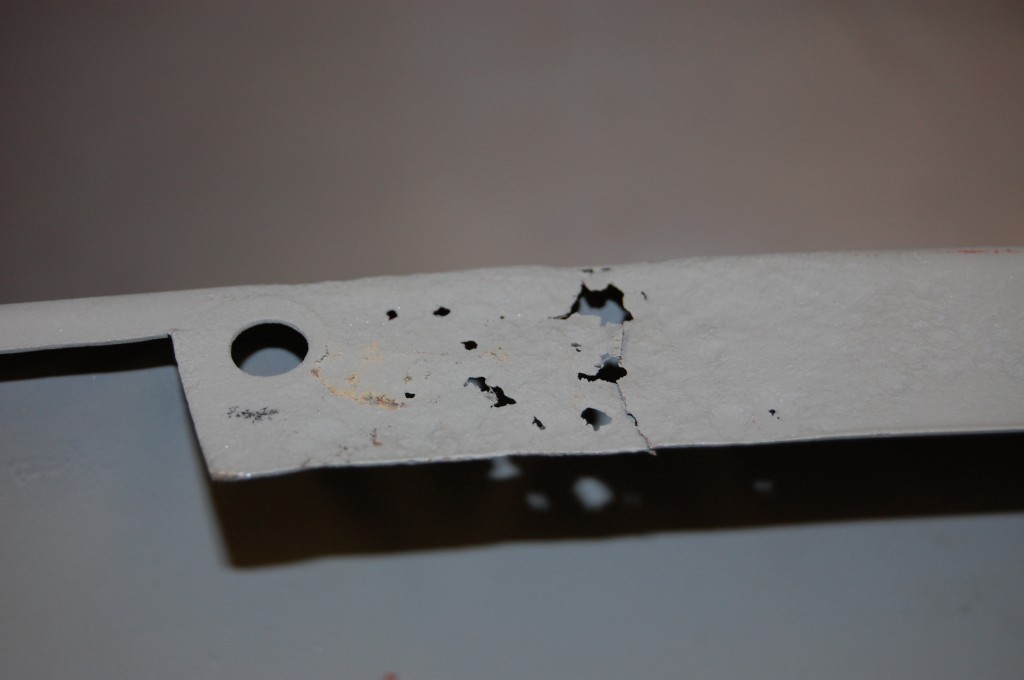
- These two holes behind the horn opening are drilled by hand at the factory to mount the wiring harness – it seems that they never got around to changing the dies to punch them when the pieces were stamped… Because of that (I think…), these holes often rust – like this…
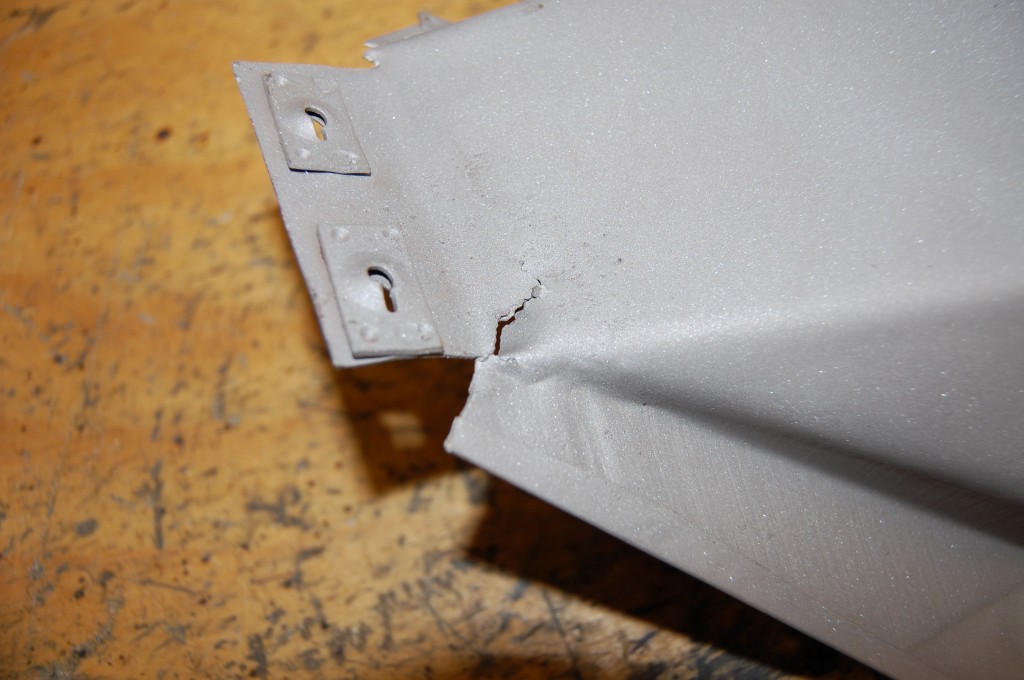
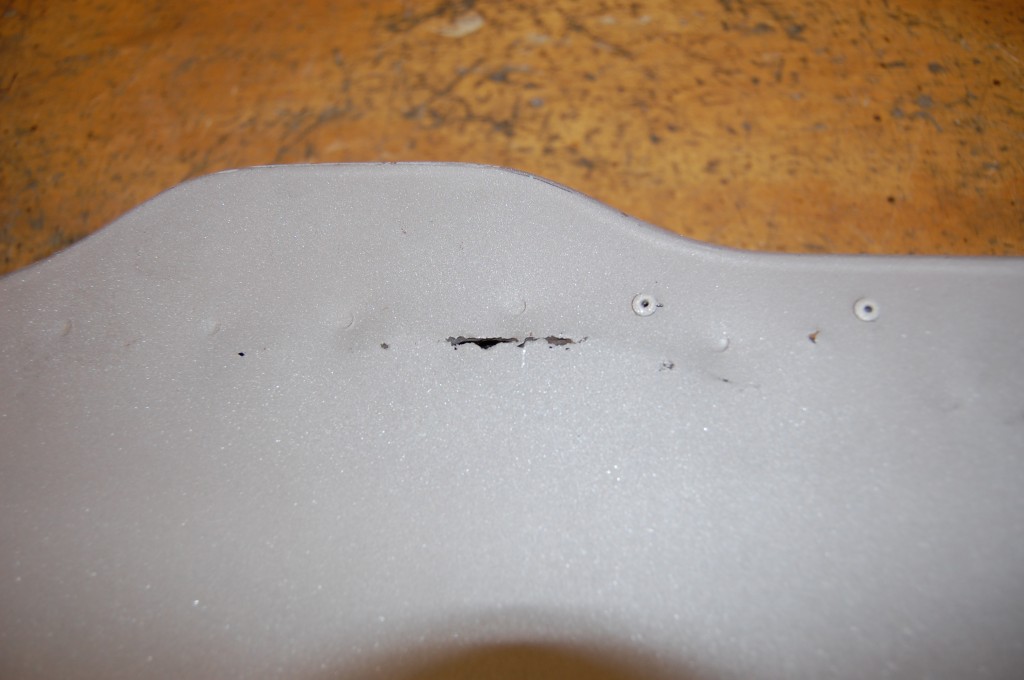
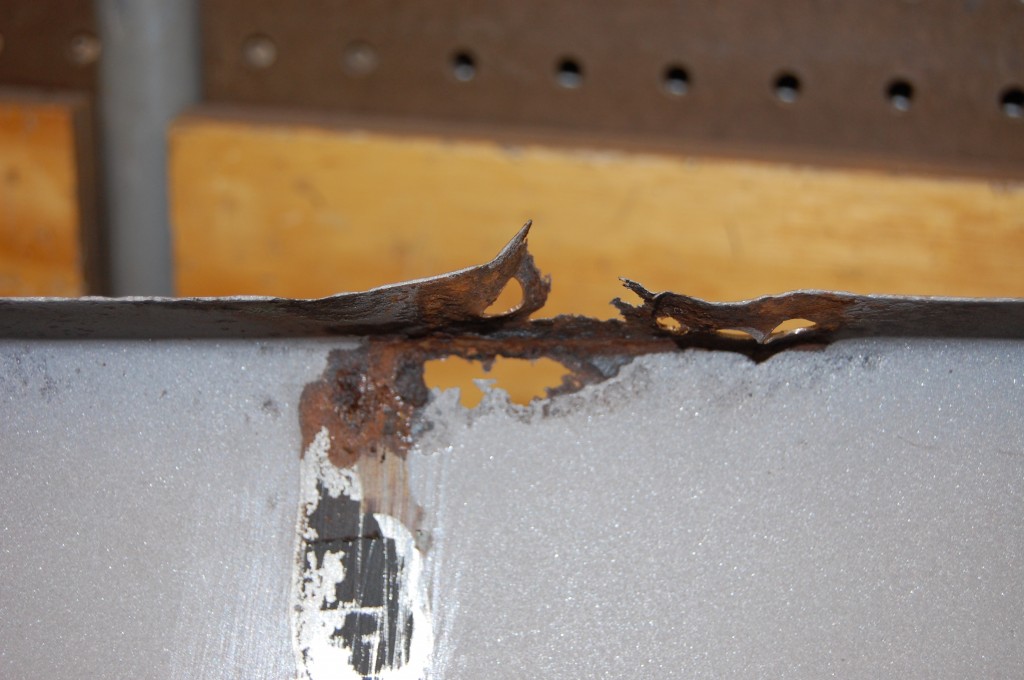
- As usual, the RH inner valance has a tear in the lower rear corner – a factory flaw in the E-Type bonnet…
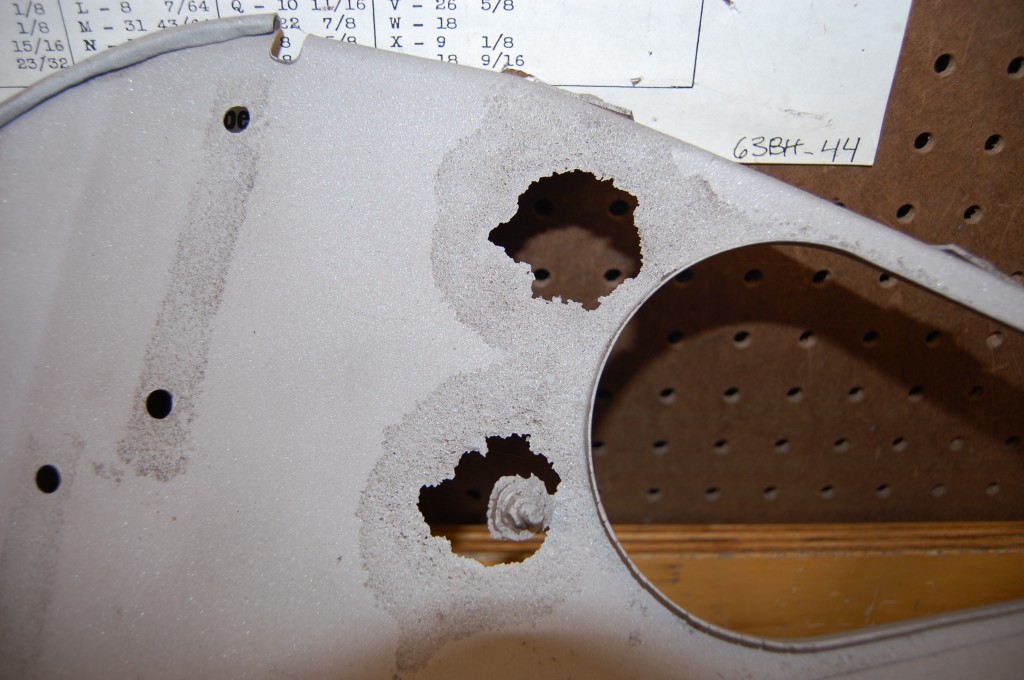
- Here is an extreme case of rust in the wiring harness holes – Wow!
- This is the LH inner valance. It has rust in the main wall where the air tube is spot-welded to the wall – a common occurrance and tough (or impossible…) to repair without warping the flat wall.
- The filler is finally out – we have our work cut out for us!
- YIKES!
- This center section was repaired on a VERY intense day around here – so, no photos during the work – sorry! But she’s looking alot better now! This is about 8 hours of metalwork as I recall.
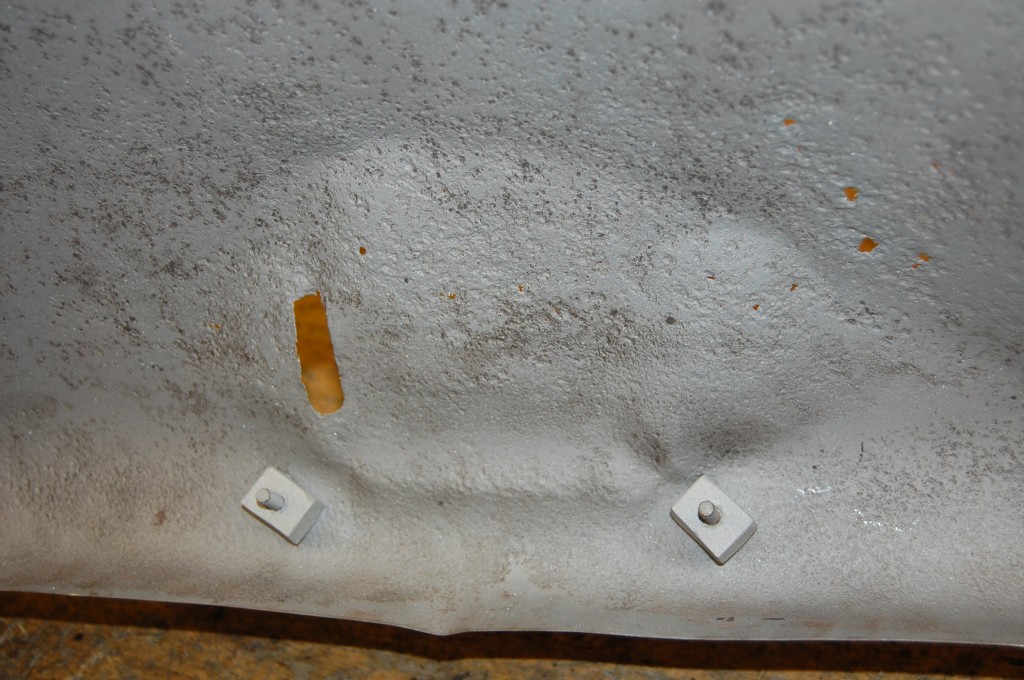
- There was a good deal of surface rust and heavy pits in the nose, so we coated the area with red oxide.
- remember when this looked more like a Series 2!?!
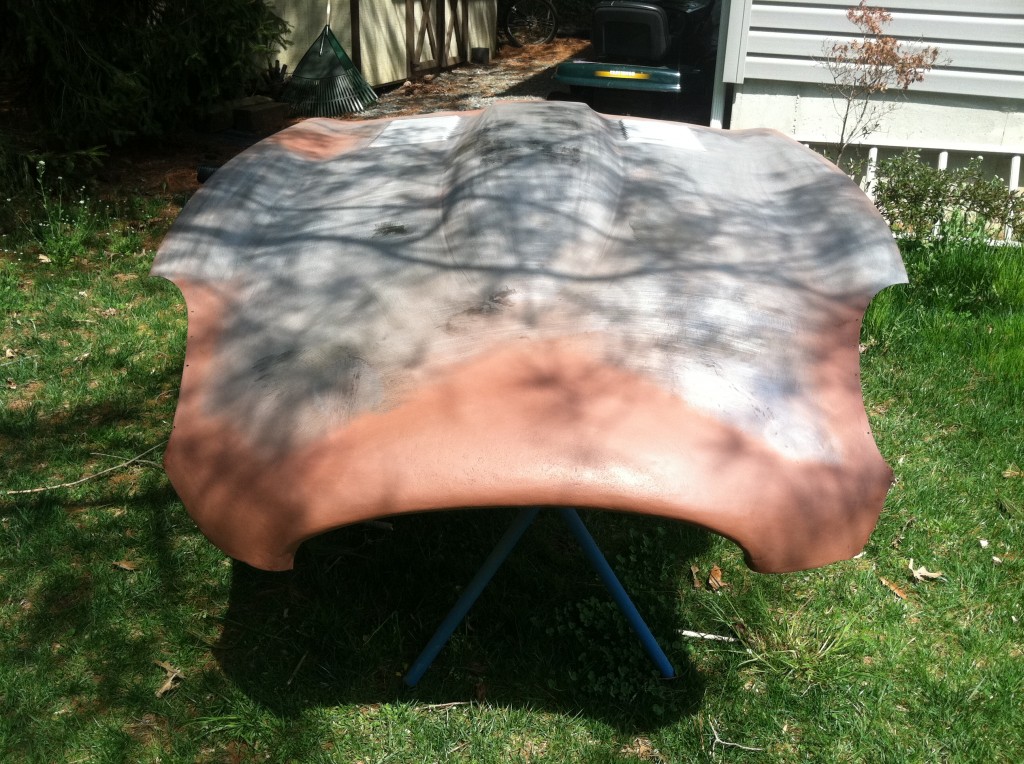
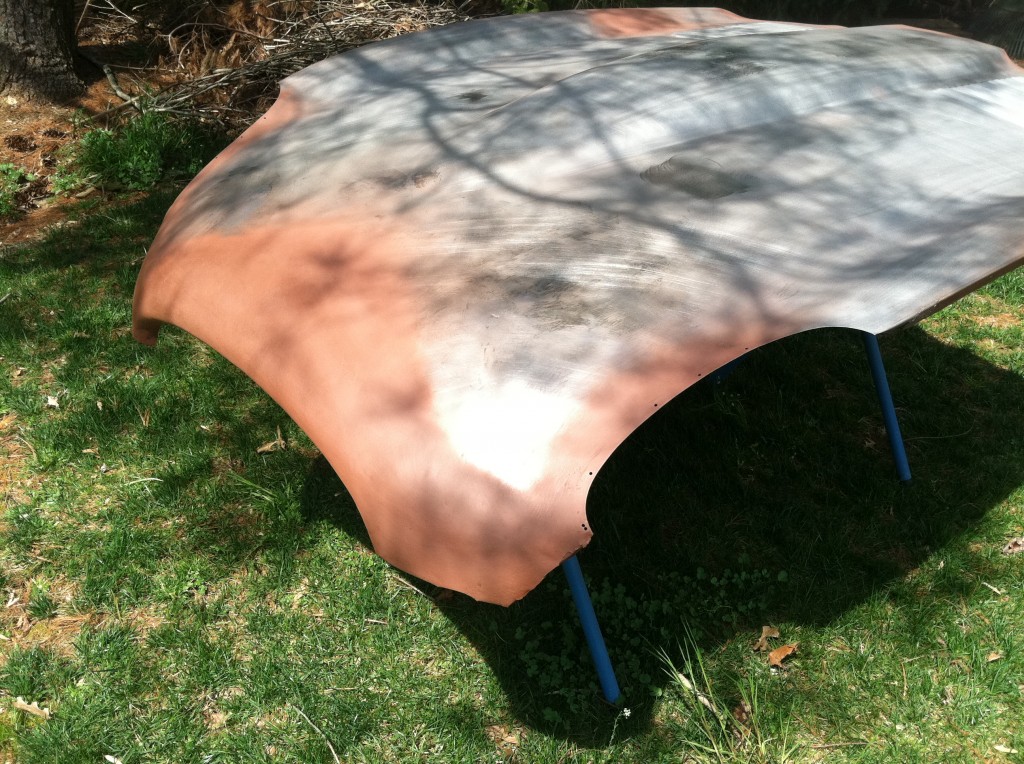
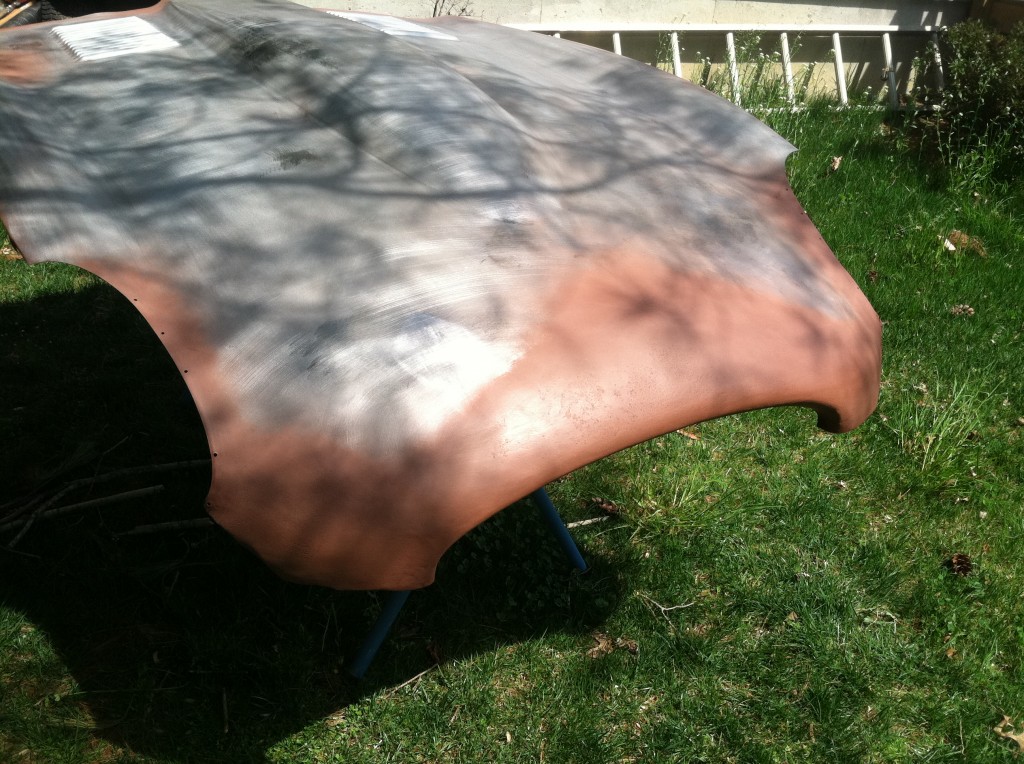
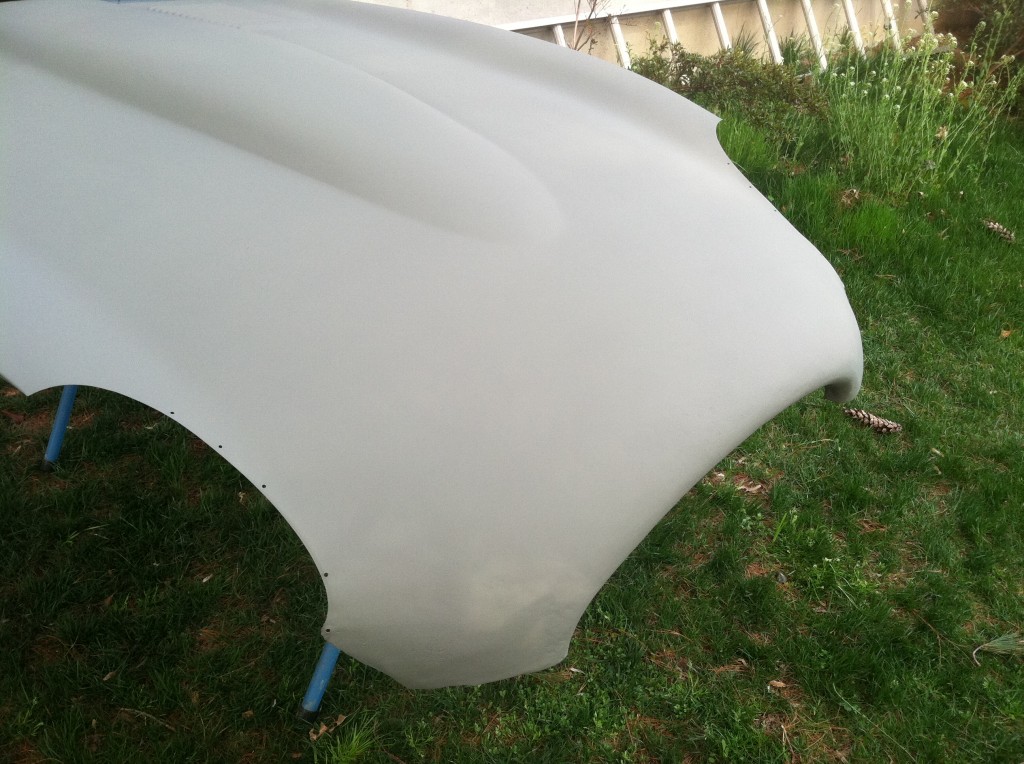
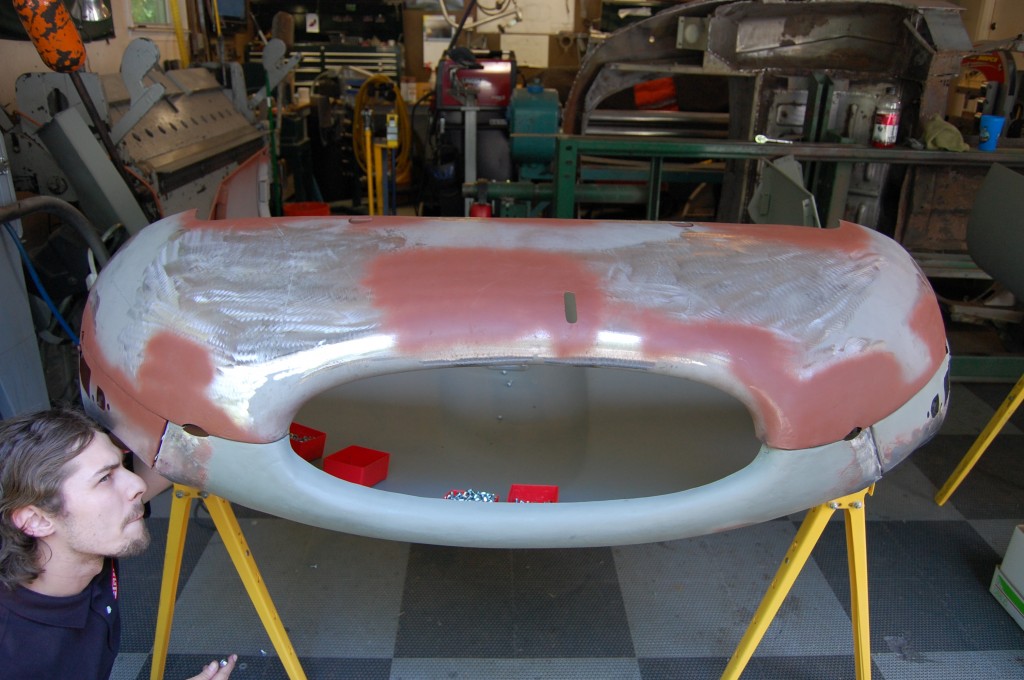
- She’s close enough now for a very light skim coat of filler just to smooth things out. My basic philosophy on filler is this: “It’s OK for smoothing, NOT shaping!”
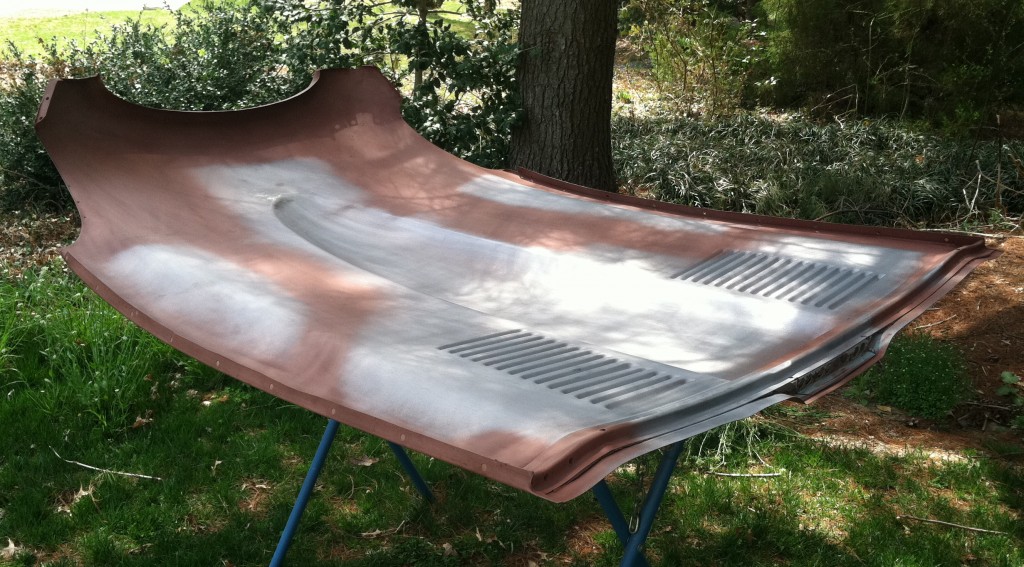
- Heavy pitting on the underside also gets treated to red oxide before the self-etching primer.
- Now it is sprayed with 2 coats of self-etching primer, which is a very thin coat.
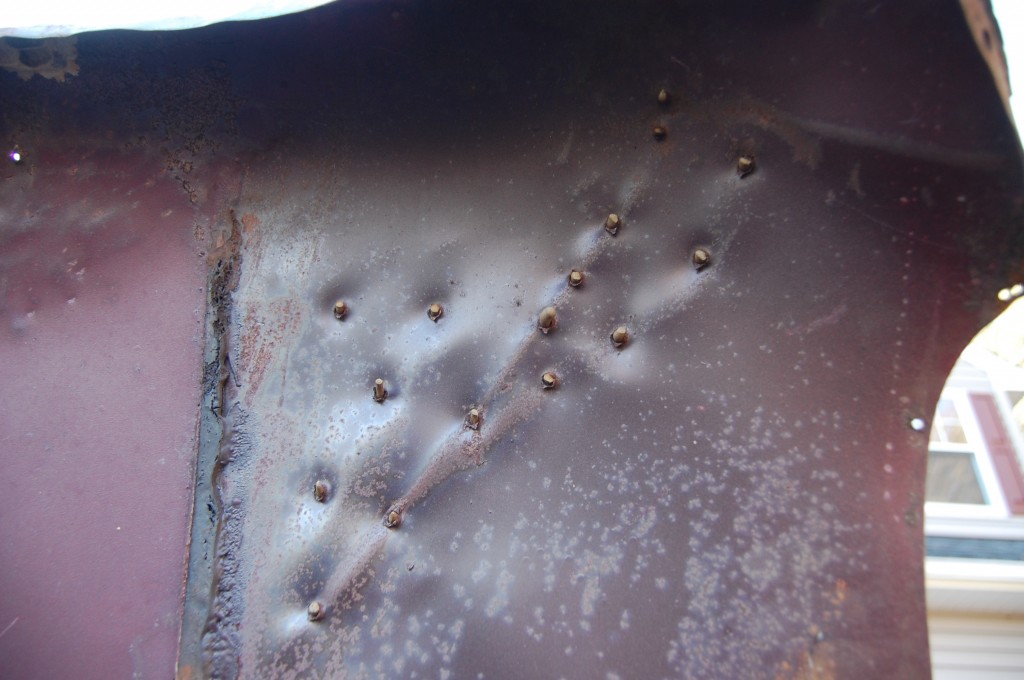
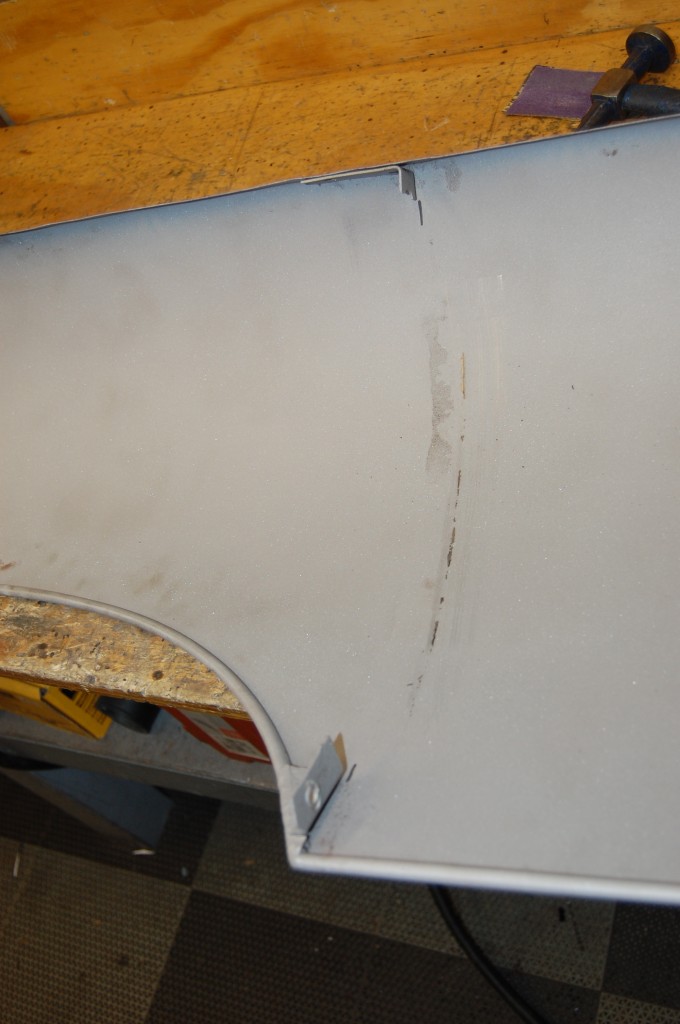
- If you look closely, you’ll see that the surface is not dead smooth, but it’s close. Remember the big gashes in this corner with the dent puller holes?…
- And the SHAPE is correct – from all angles.
- OK – back to the repairs for the LH inner valance.
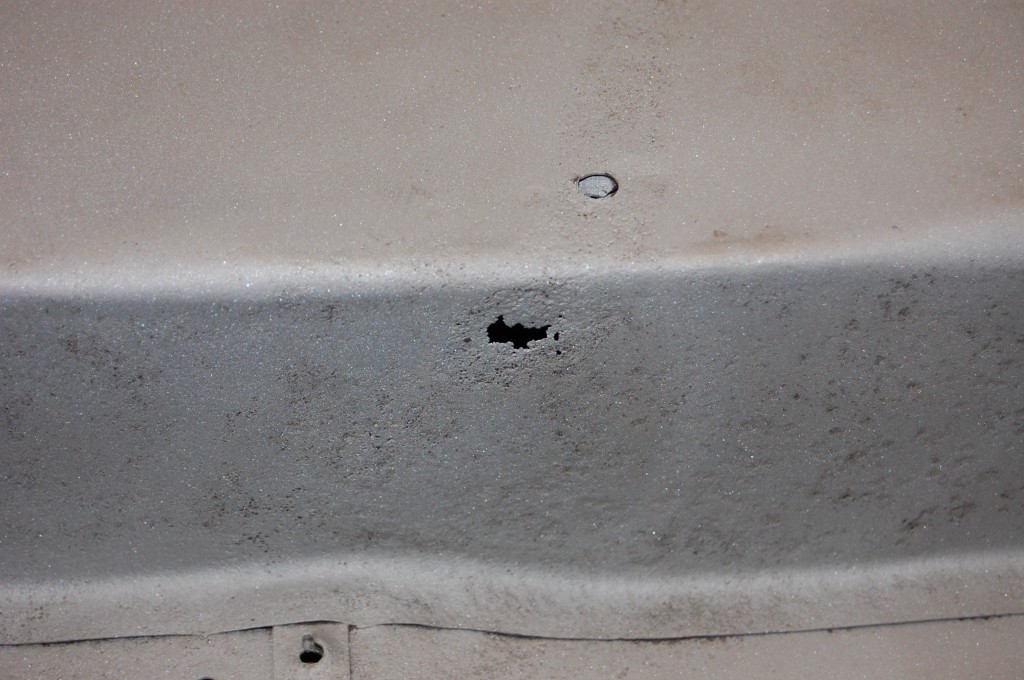
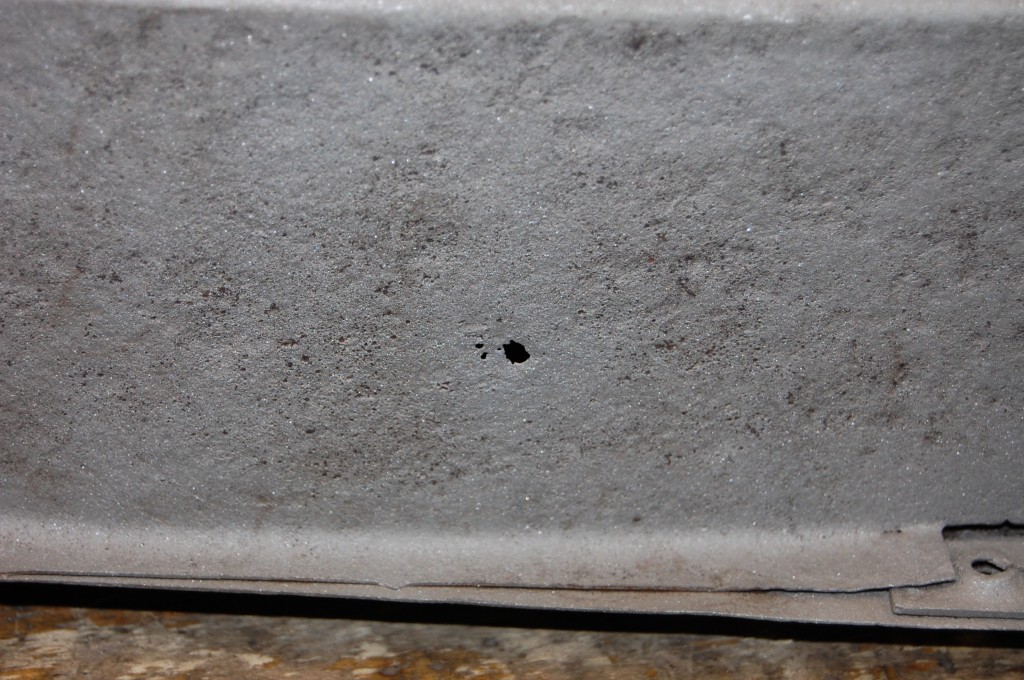
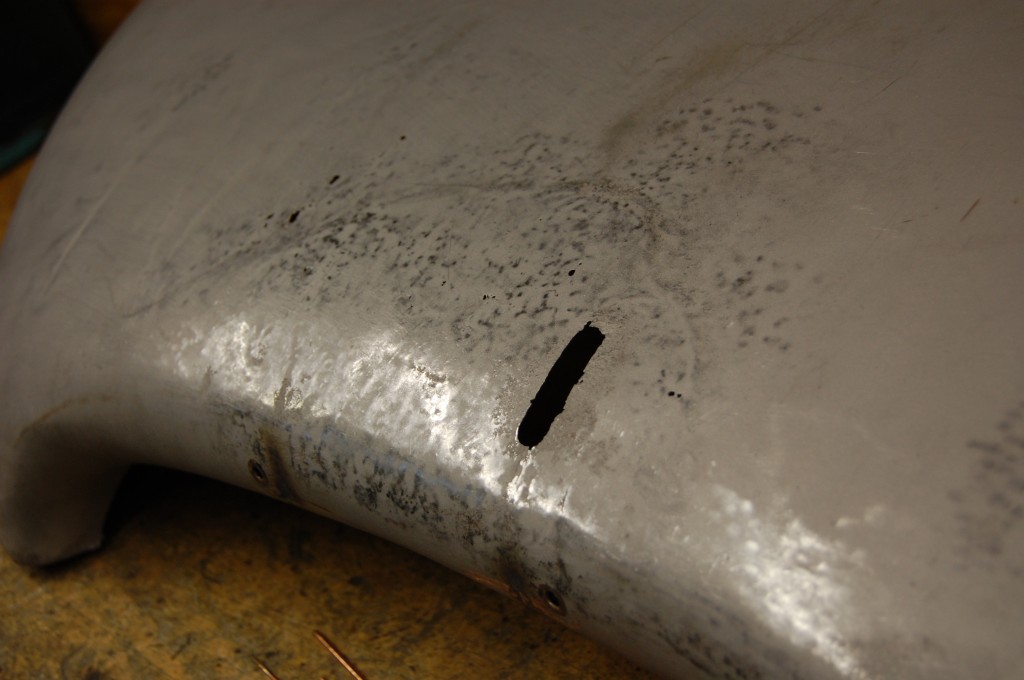
- This is a small hole, but will be a big repair.
- This is also the kiss of death for the inner valances. This one turned out to be the last one like this we will fix – we have now patterned and will start fabricating the entire inner wall of this piece, and then restore these inner valances by removing the air tube from the wall, and restoring that, then spot-welding it back onto a completely new wall.
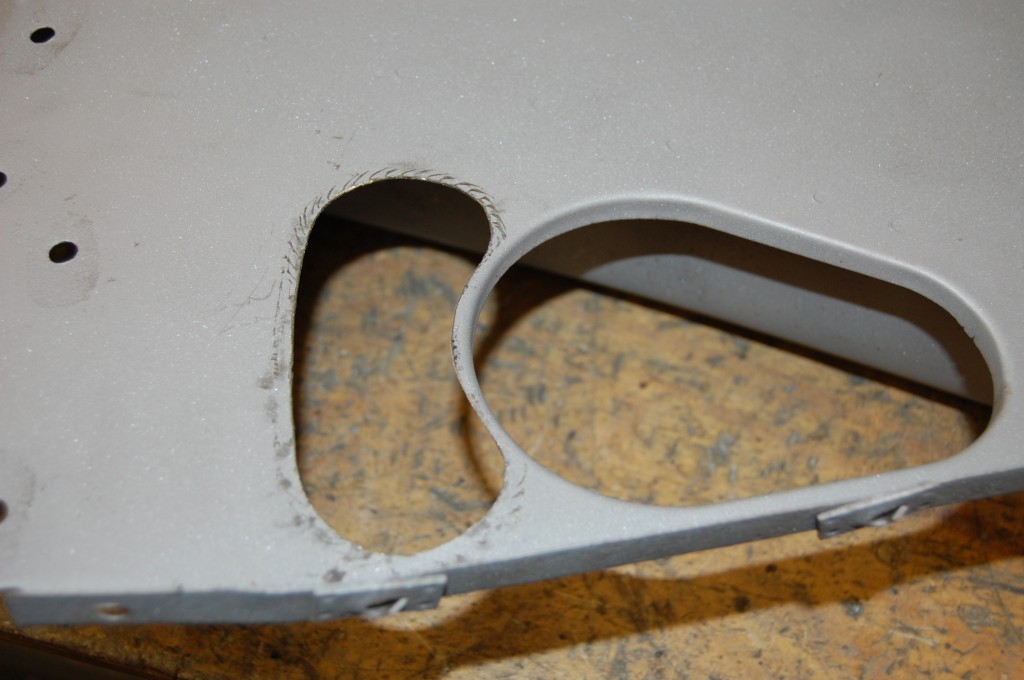
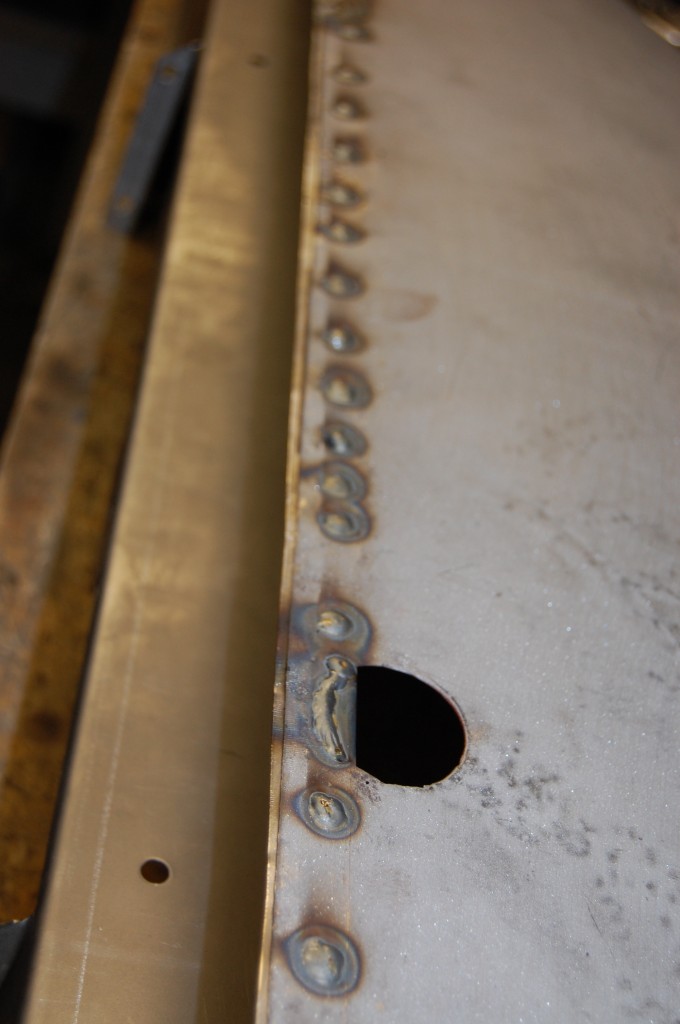
- This was what I came up with for those badly rusted wiring harness holes. By leaving the horn hole intace, we should help to minimize distortion.
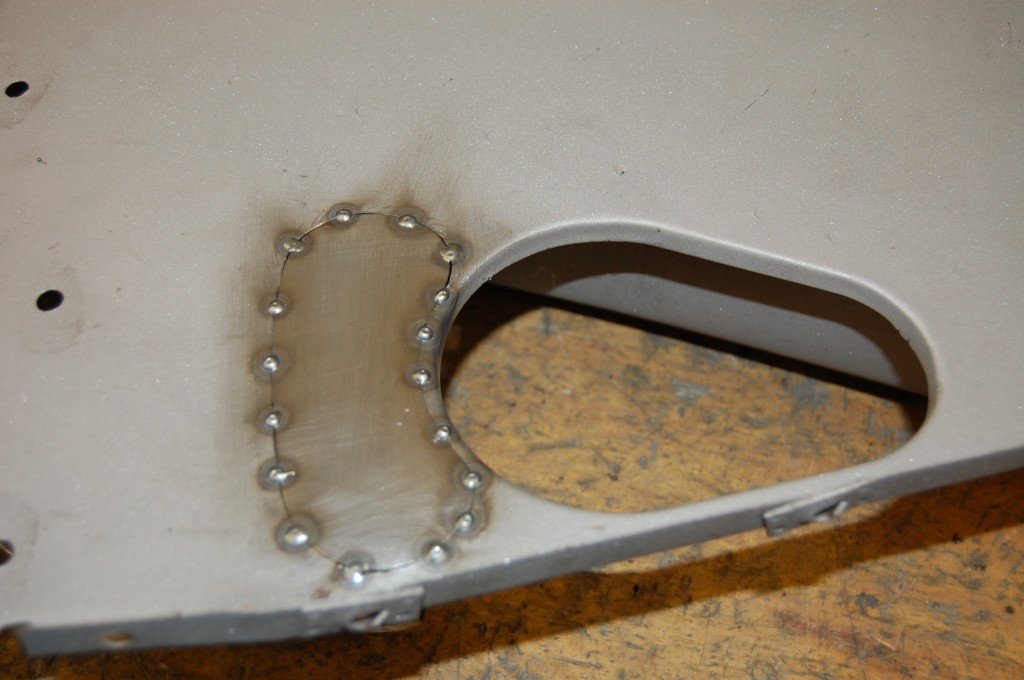
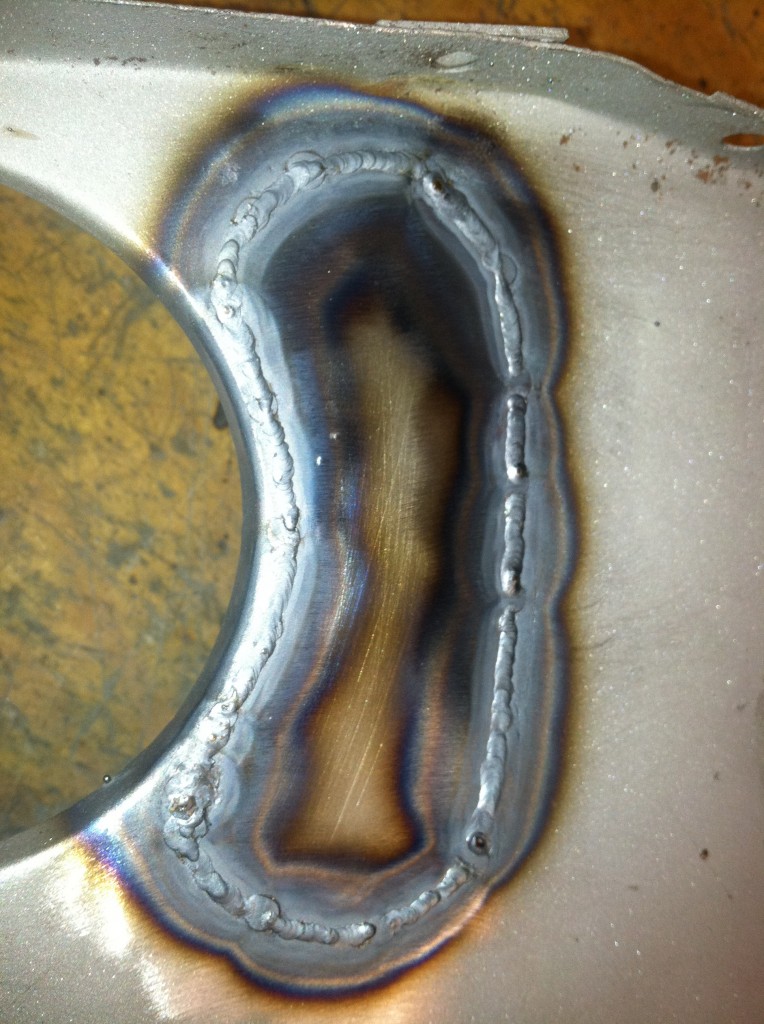
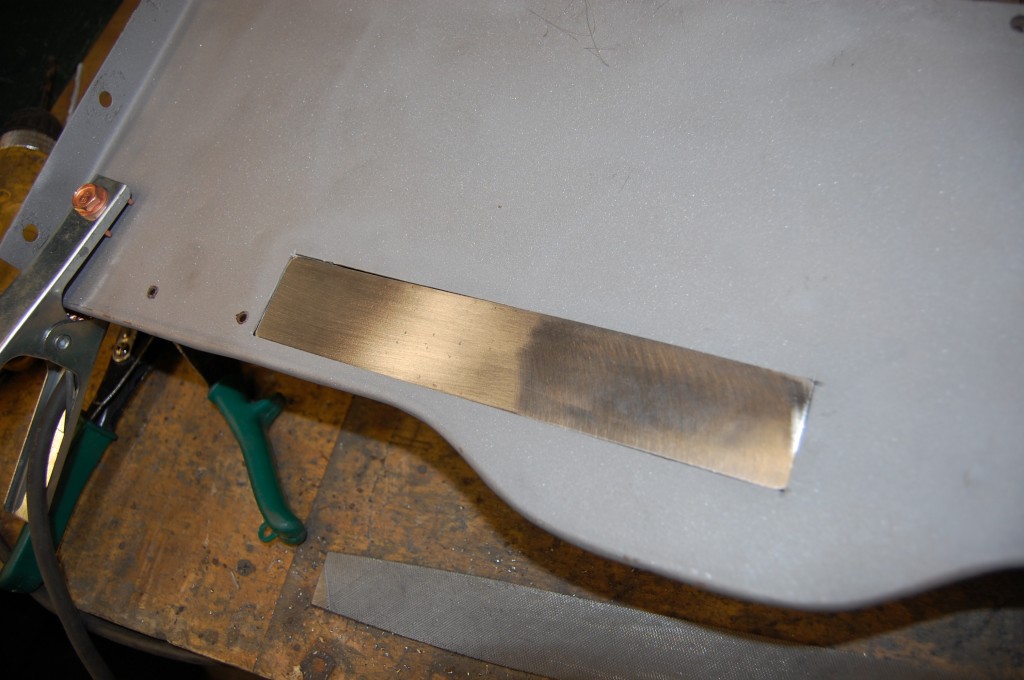
- Here is the kidney-shaped patch of 19-gauge cold-rolled steel, tack-welded into place.
- We carefully stitch it in next with the TIG.
- This was my attempt at repairing the wall. I did throw this in the blast cabinet for more cleaning at this stage, but keep in mind that EVERY seam on your E-Type looks like this…
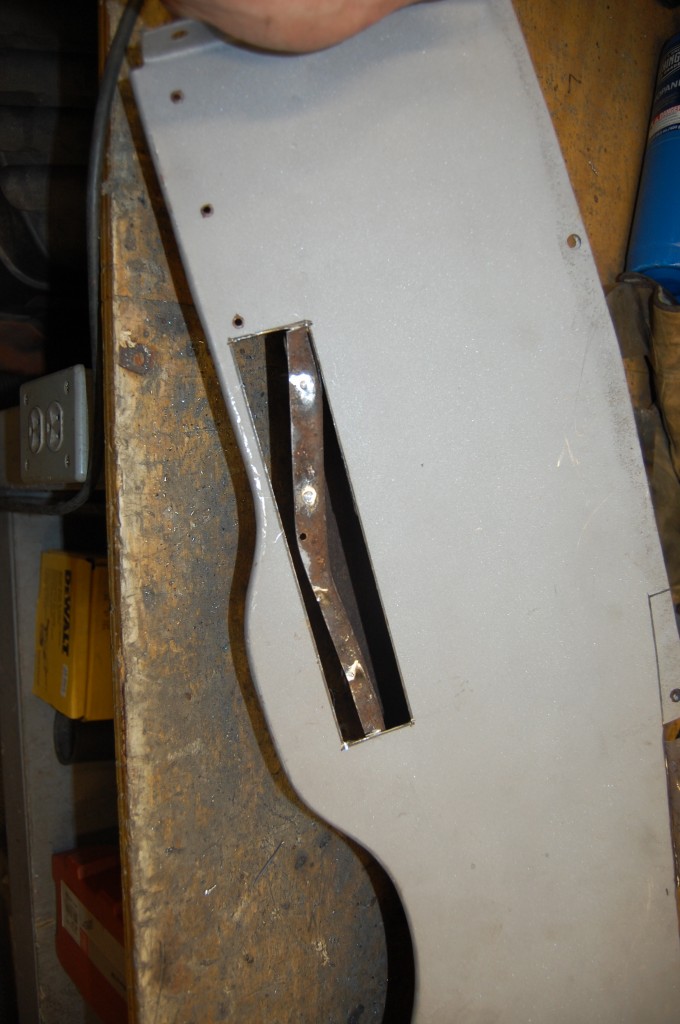
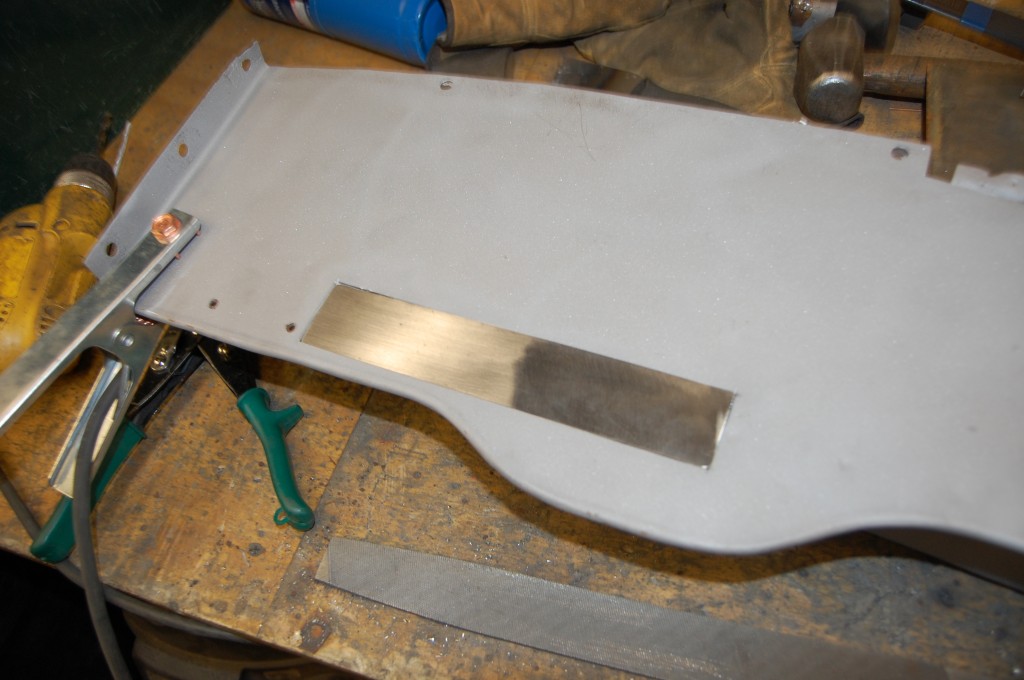
- This is the rusted section in the upper area of the wall.
- Here’s the patch fitted into place.
- A closer shot…
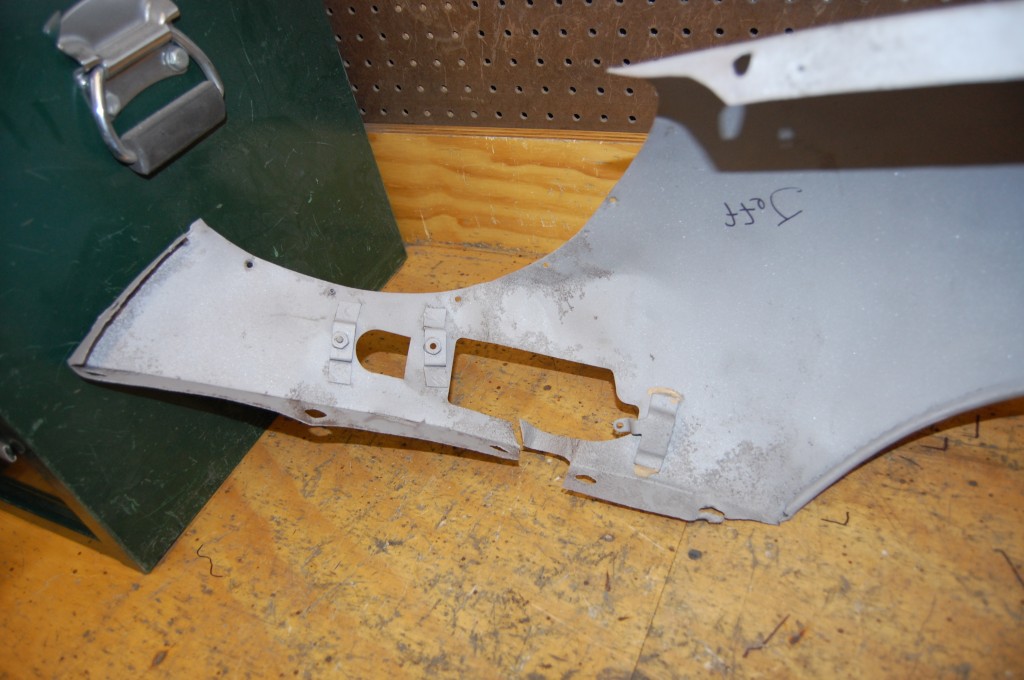
- On to the RH wing, where the center flange had seperated.
- Still wrinkled up here, but blasted bare and altnough there is heavy pitting, the metal is solid.
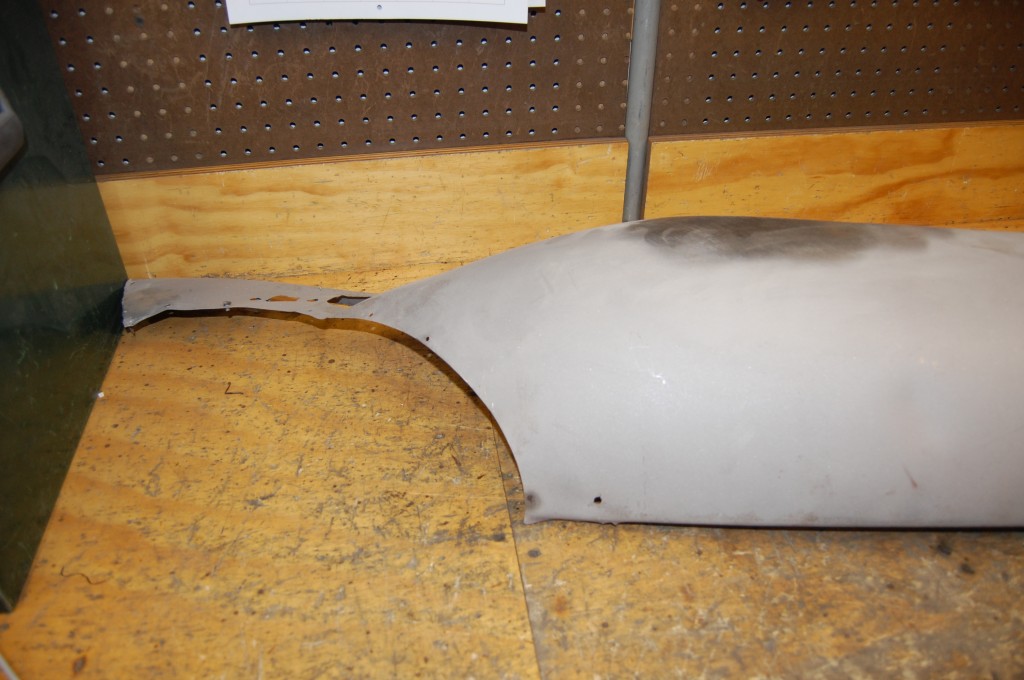
- Another shot of the damage in the forward section of the RH wing.
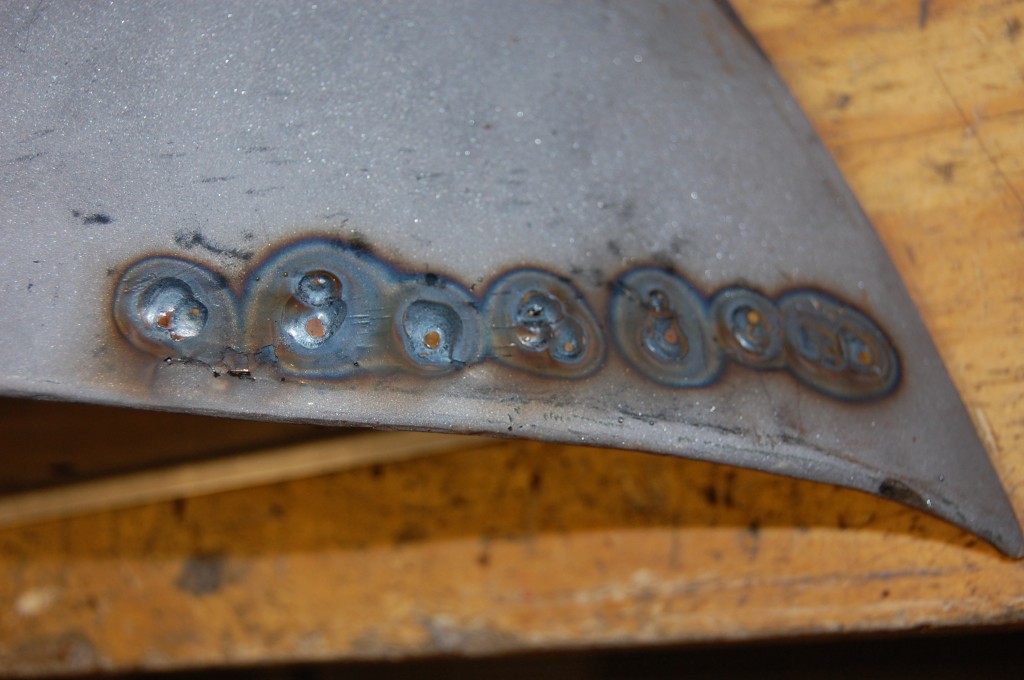
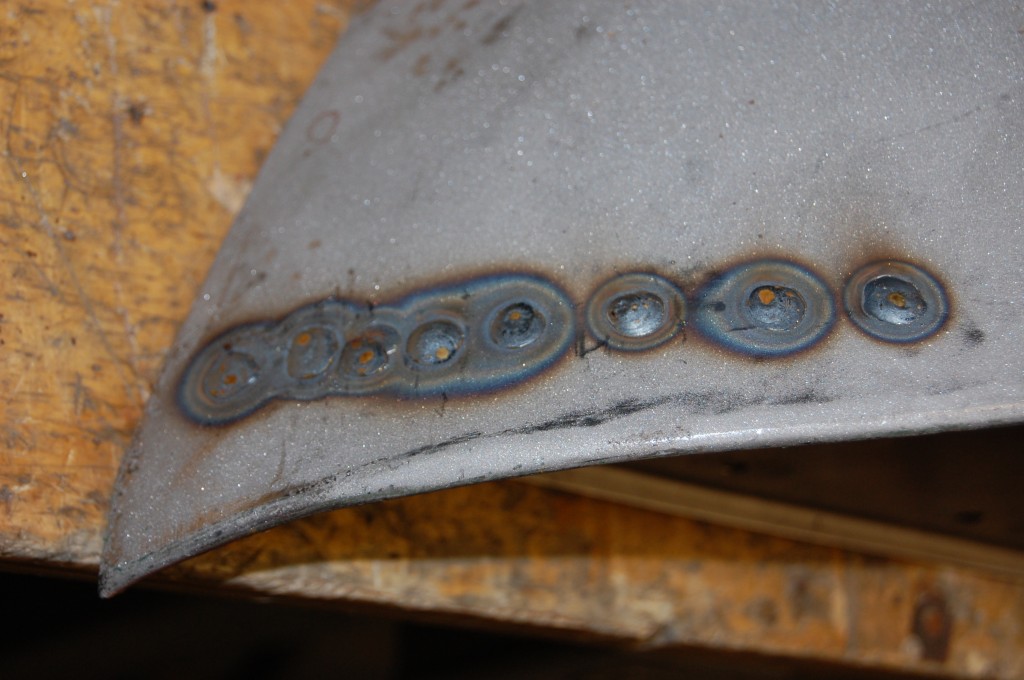
- This small hole in the inner valance will be sealed up carefully with the TIG and a thick piece of filler rod.
- …as will this one…
- Hmmm – has to come out!
- This is the forward section of the LH wing and will also need a patch.
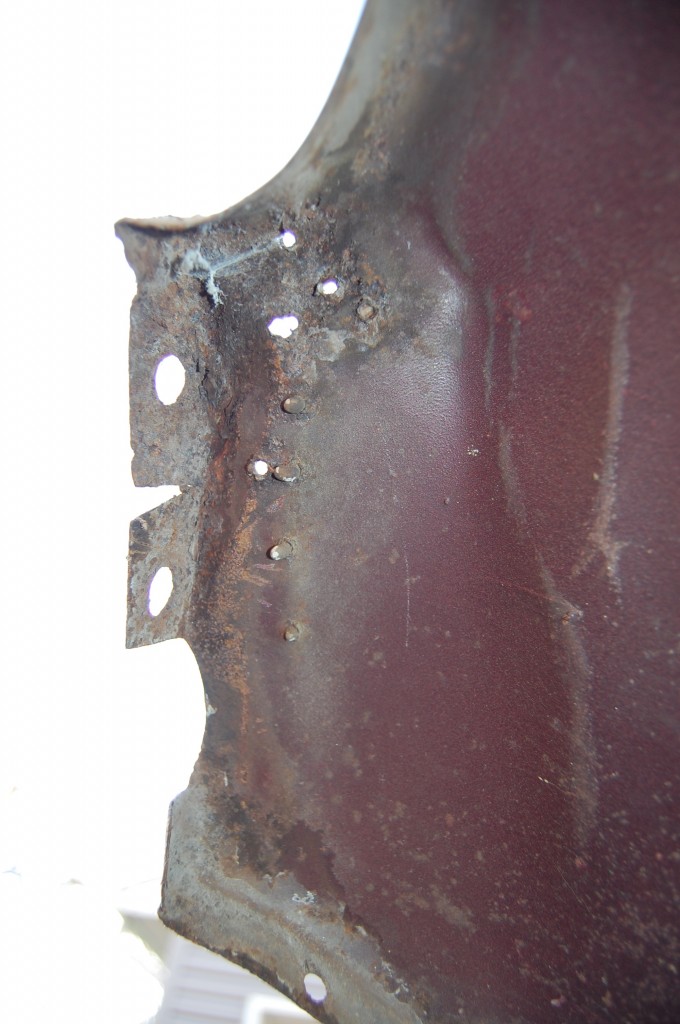
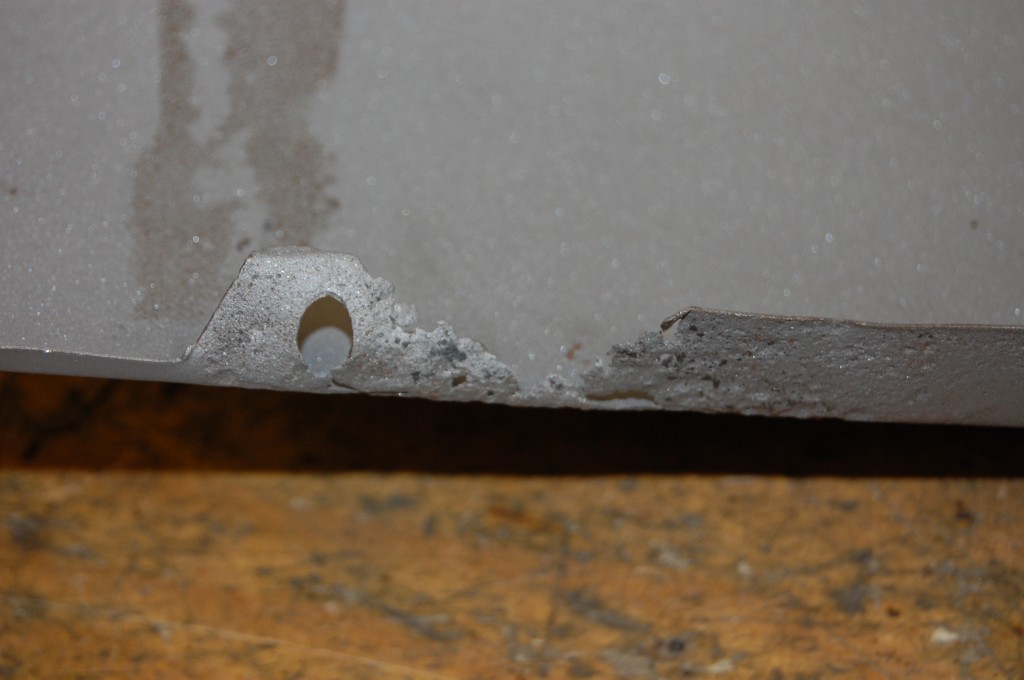
- Rust coming out from behind the center wing flange on the LH side…
- This side is even worse than the other! People have been throwing away E-Type wings like this for years – and sadly, replacing them with new (and expensive!) reproduction wings that fit poorly…
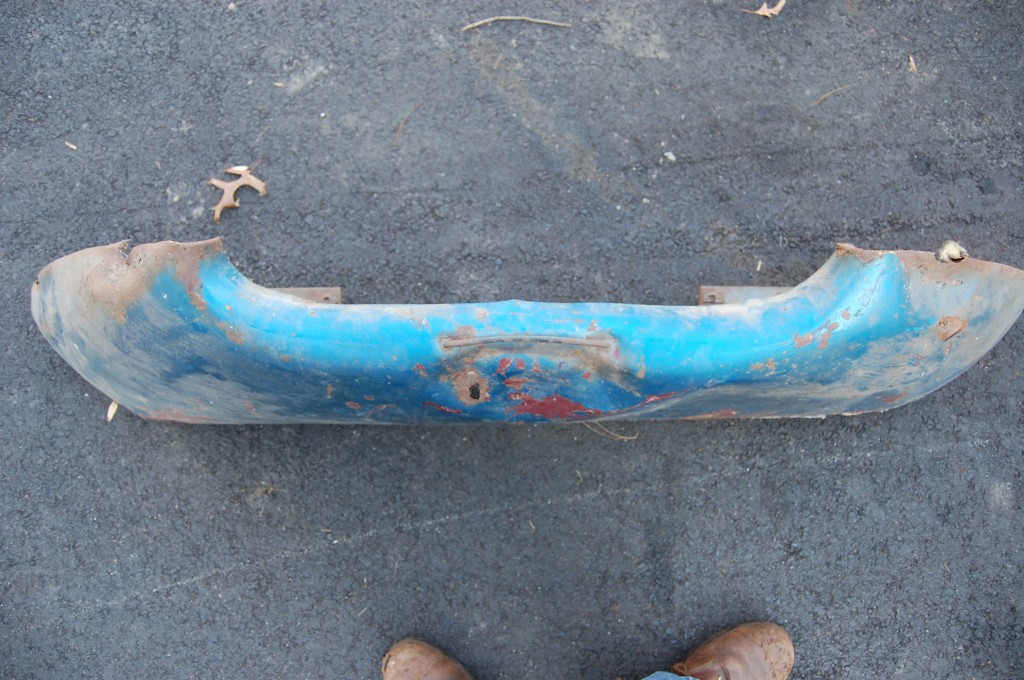
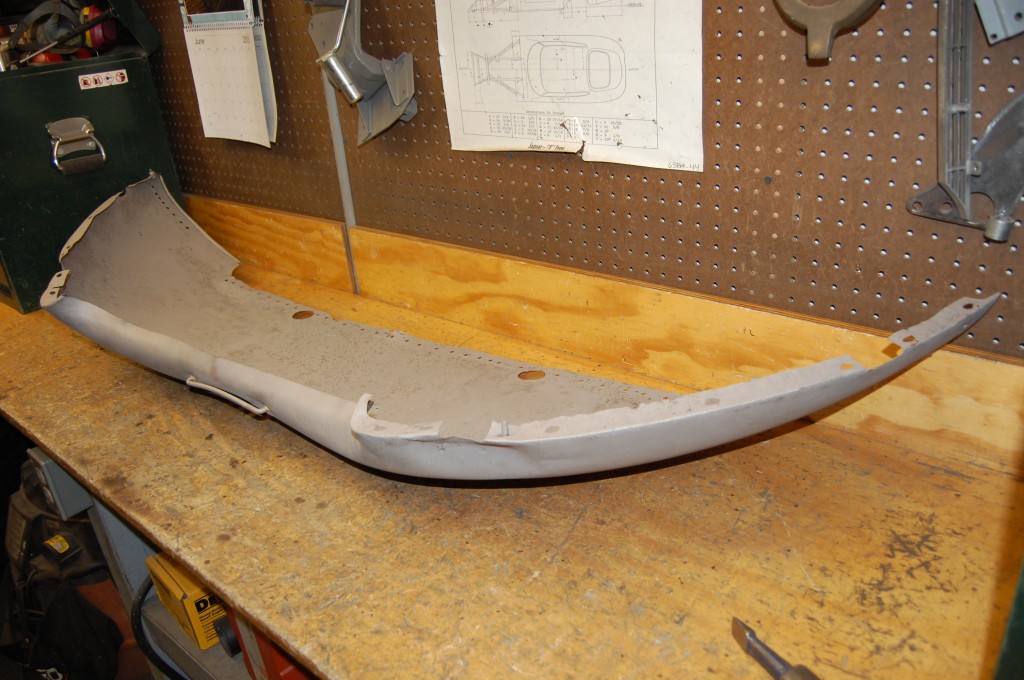
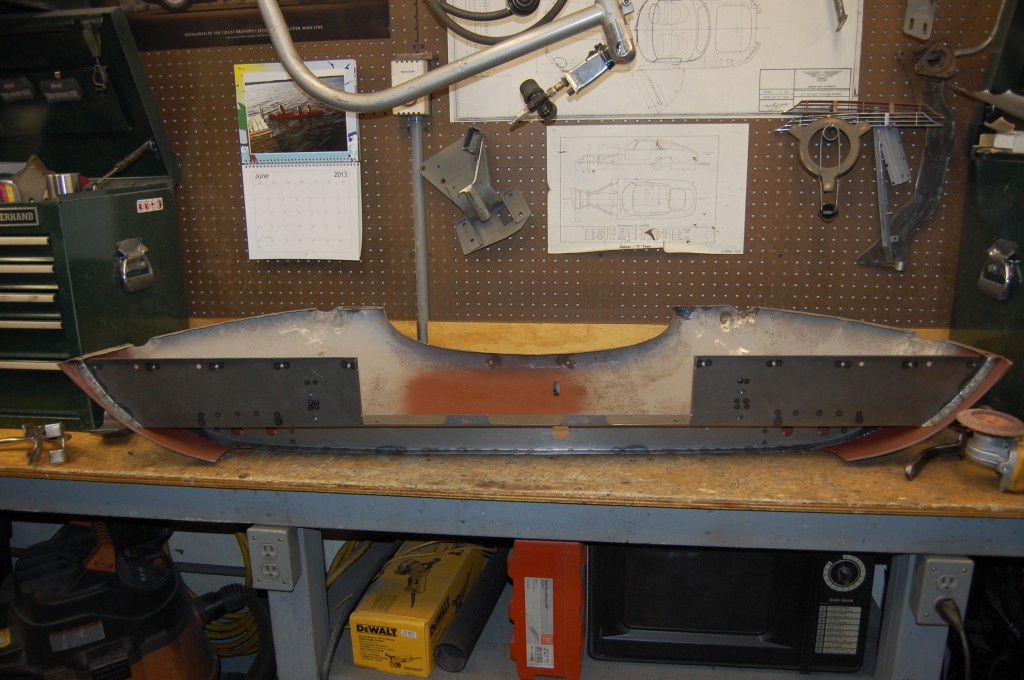
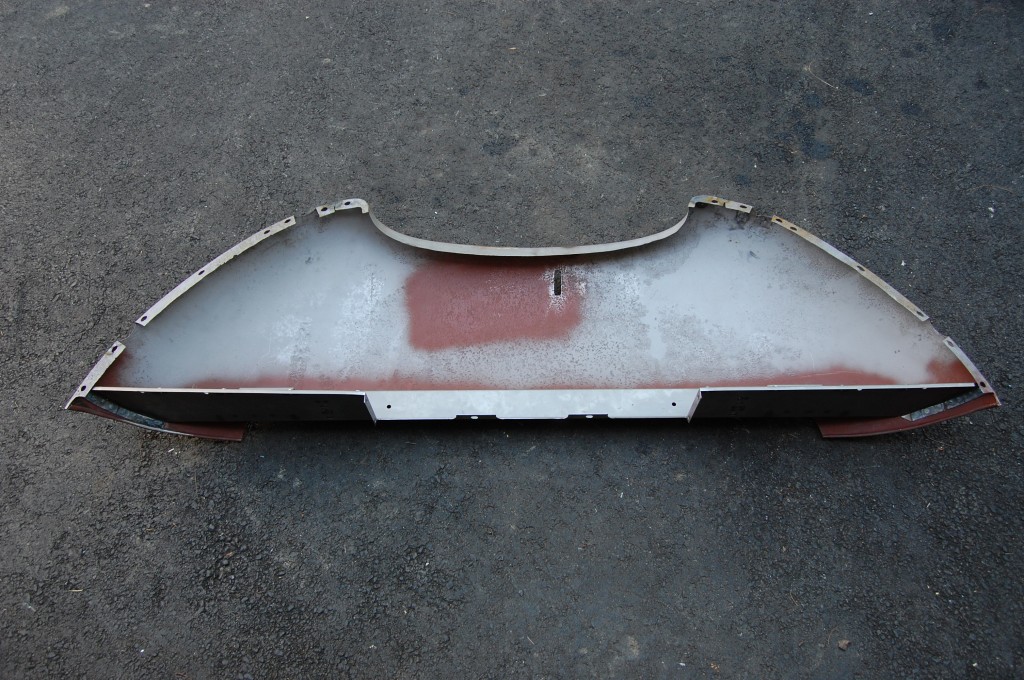
- Lower valance has had the main support carefully removed, and is stripped and blasted – but still all twisted up!
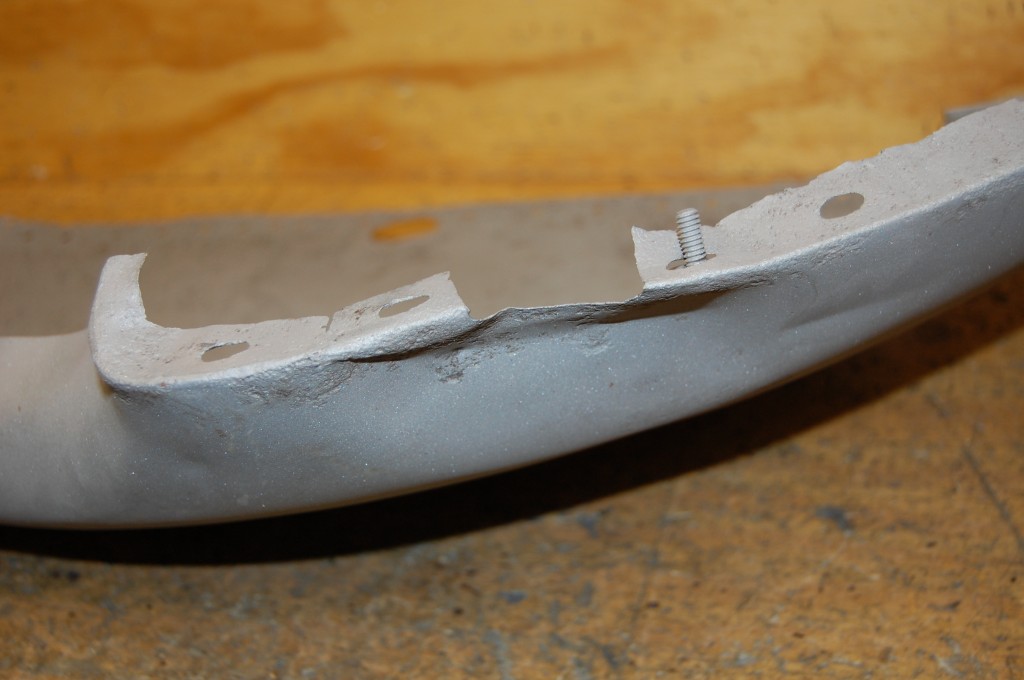
- Very typical bumper blade damage.
- Same area from the inside.
- HEAVY pitting on this lower valance skin – with lots of pinholes!
- This side is even worse…
- The skin of the lower valance has now been reshaped and smoothed by hand, but there is still more to do…
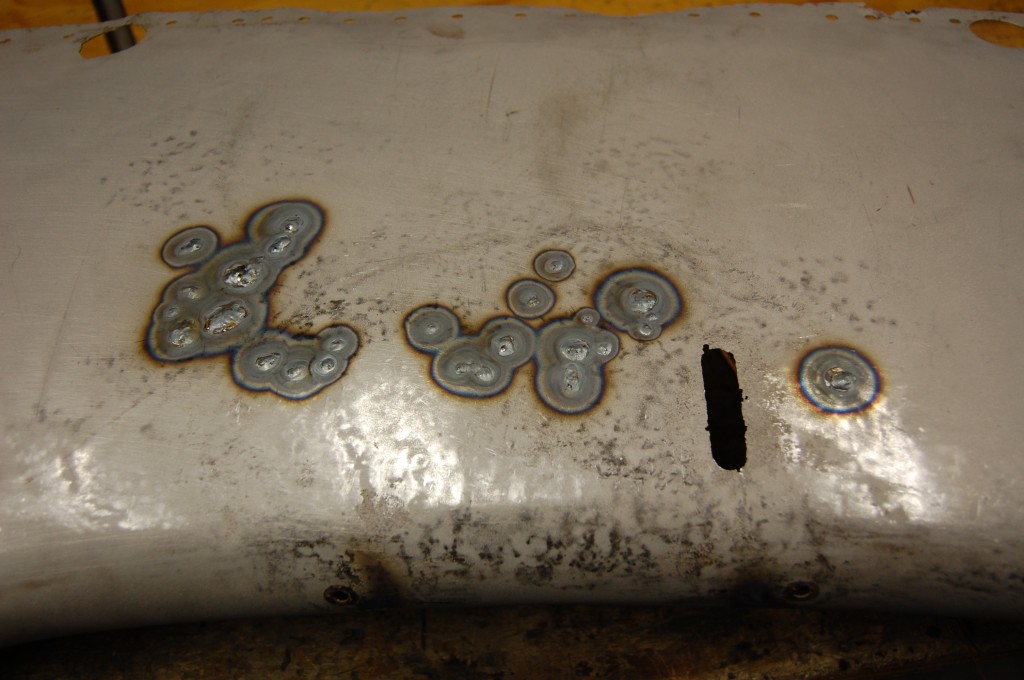
- This is in great shape now, but we still need to weld up all of the pinholes and smooth it with the shrinking disc.
- It’s very delicate work to weld these pinholes, since the steel around them is paper thin!
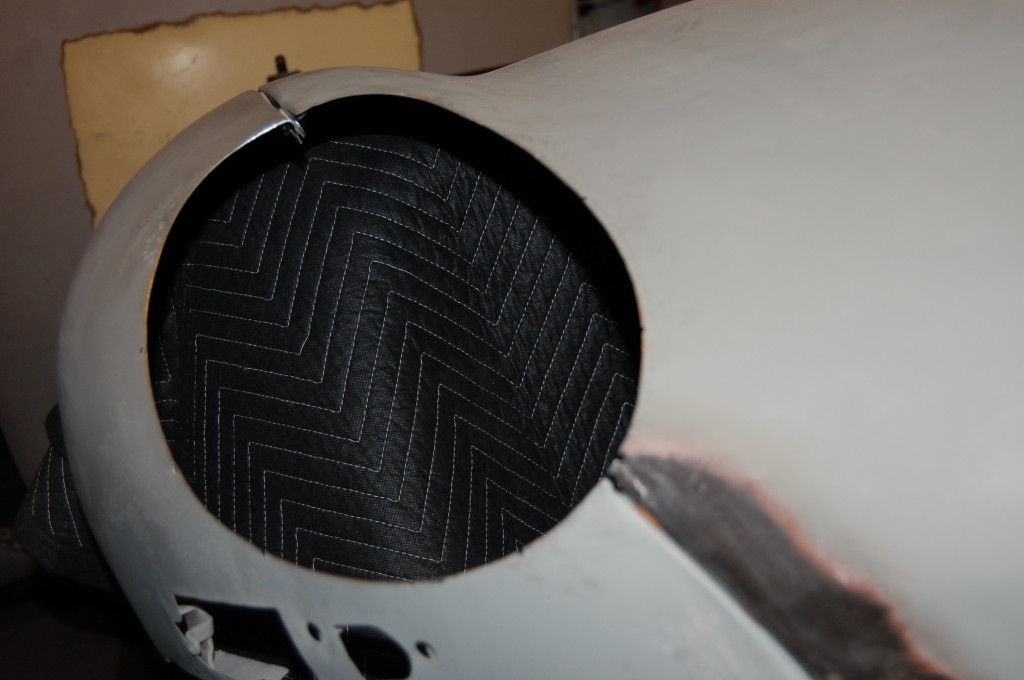
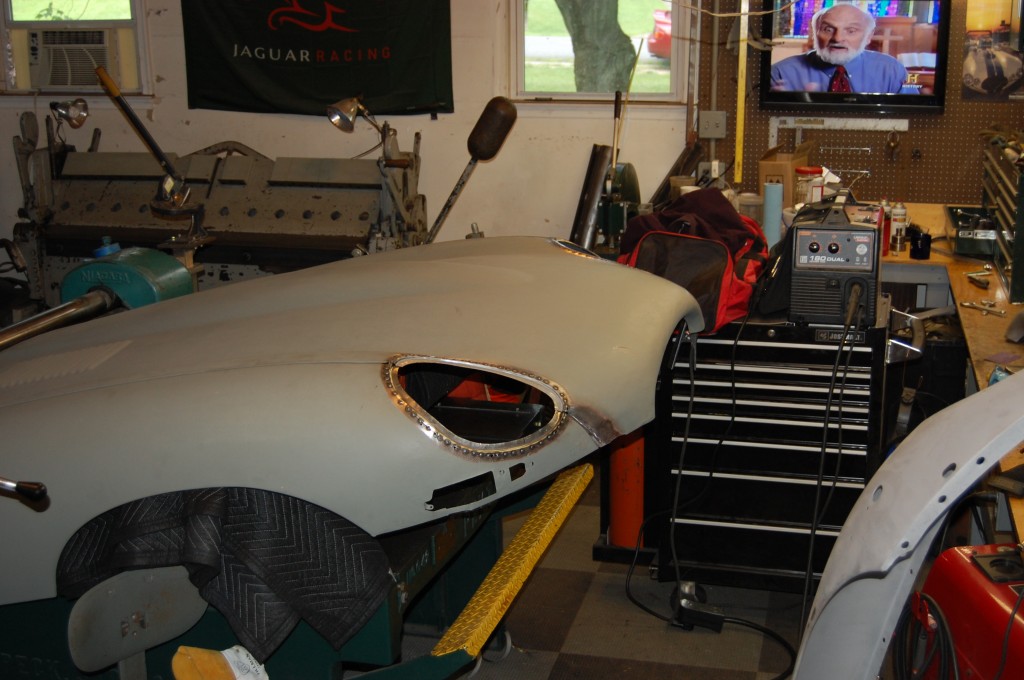
- Time to convert this to a covered headlamp bonnet.
- This is how we start, by bolting the wings to the center section and positioning the entire assembly on blankets on the shear.
- Next, we fit the flexible shape pattern to ensure the proper location of the headlamp conversion flanges.
- These marks will give us a perfectly positioned hole, but one that is exactly 1/4″ oversize all the way around.
- You can see that the factory did not cut the flanges off the bonnets in a very uniform manner! Yes – they simply used something similar to a sawzall to slice the flanges off of Series 1 pieces – I am sure of it…
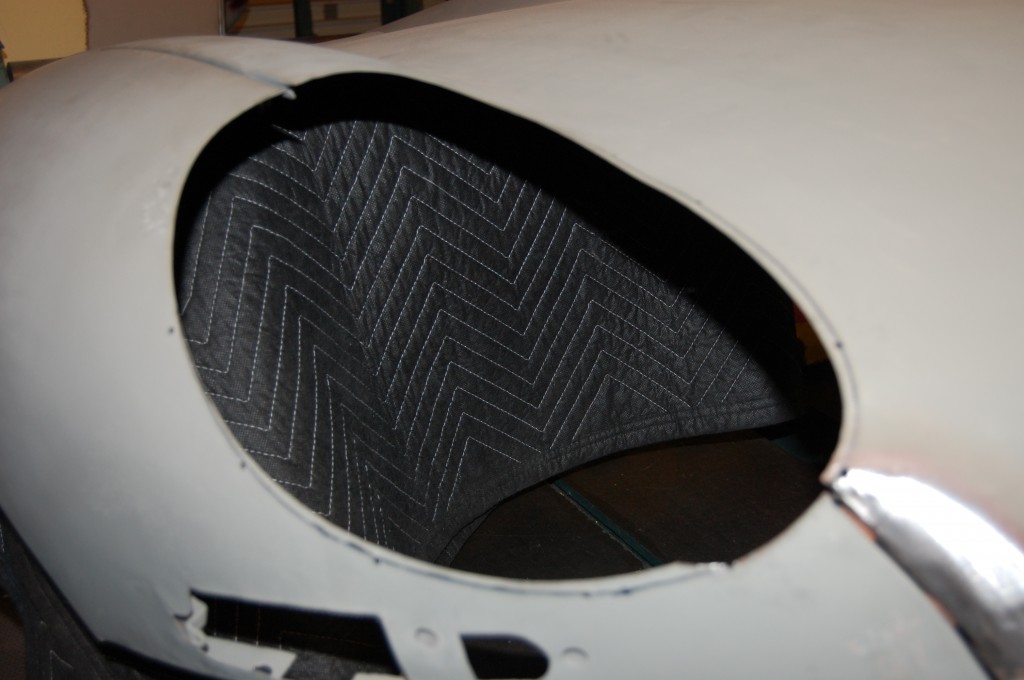
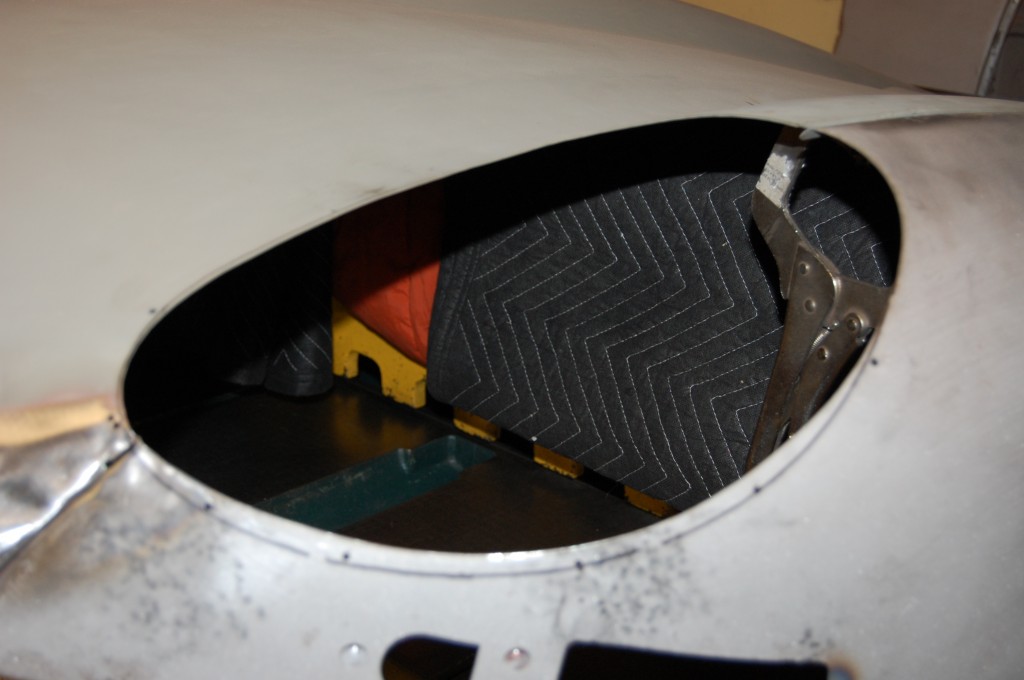
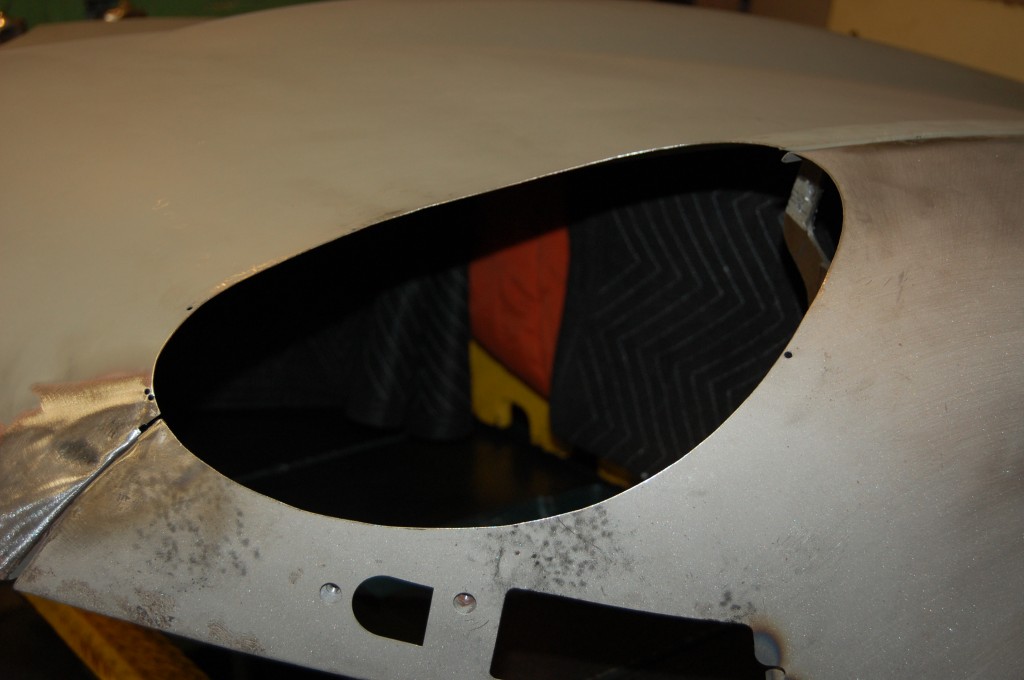
- The hole is now perfect – but exactly 1/4″ too big.
- Same treatment on this side.
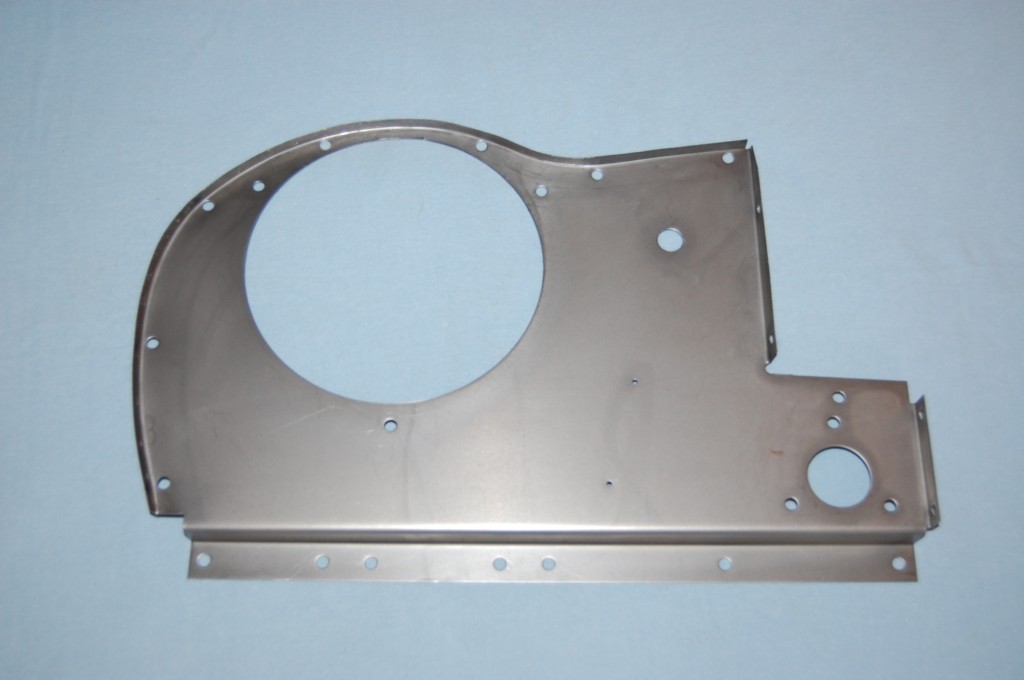
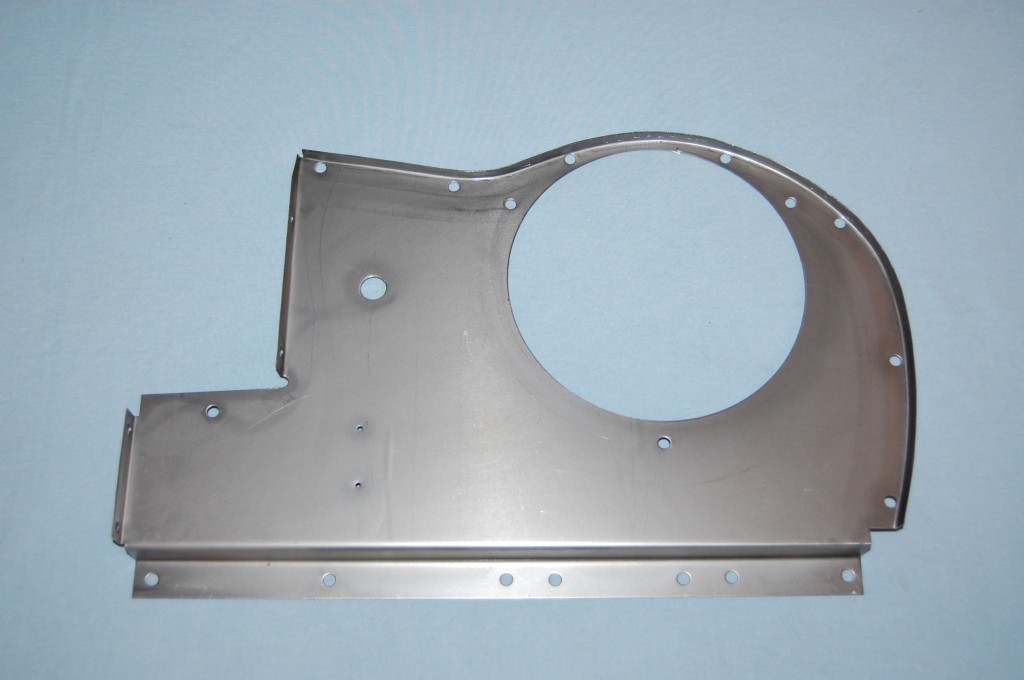
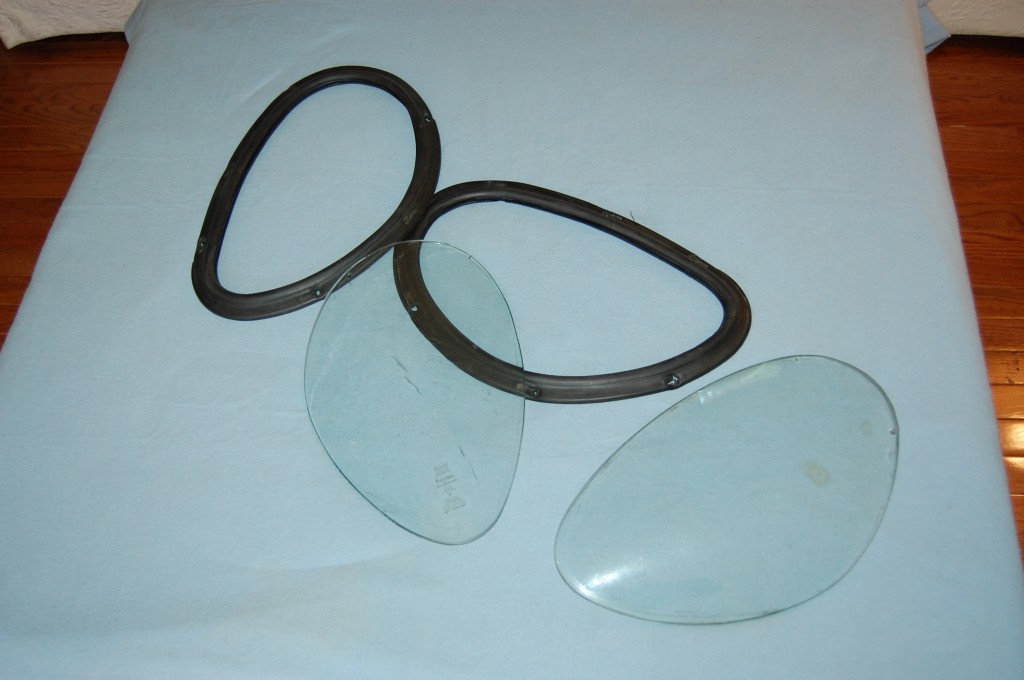
- Before we weld in the flanges, we make sure we have everything we’ll need to complete the conversion on hand. These are new 19-gauge headlamp diaphragm panels made here. We will use original rings from rusted panels – if we can dig some up…
- Other side.
- Better have these on hand when you do this work!
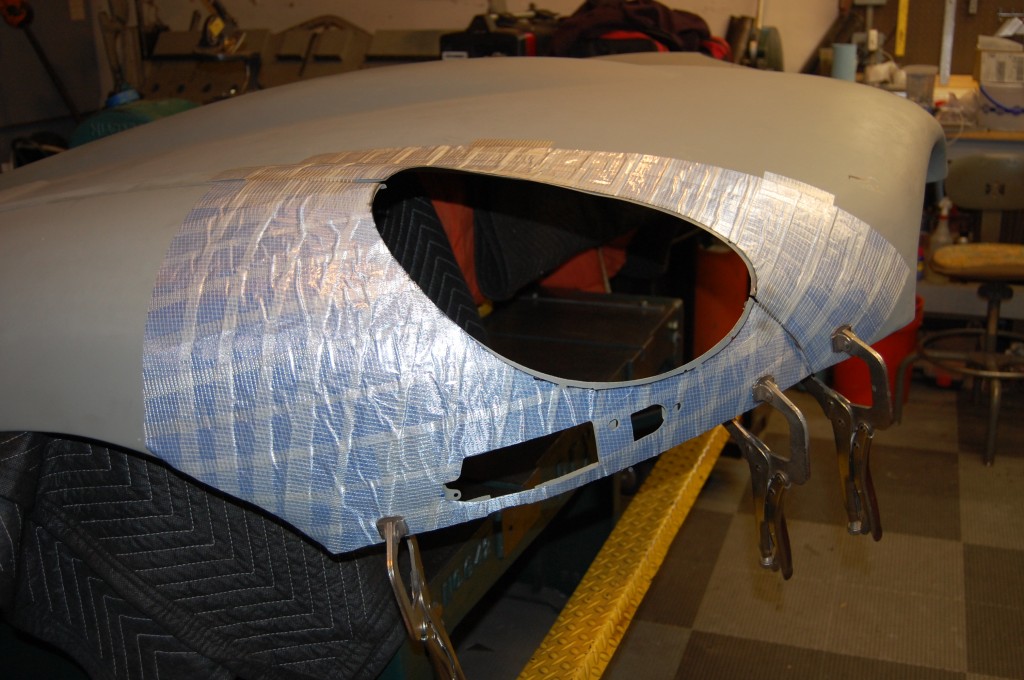
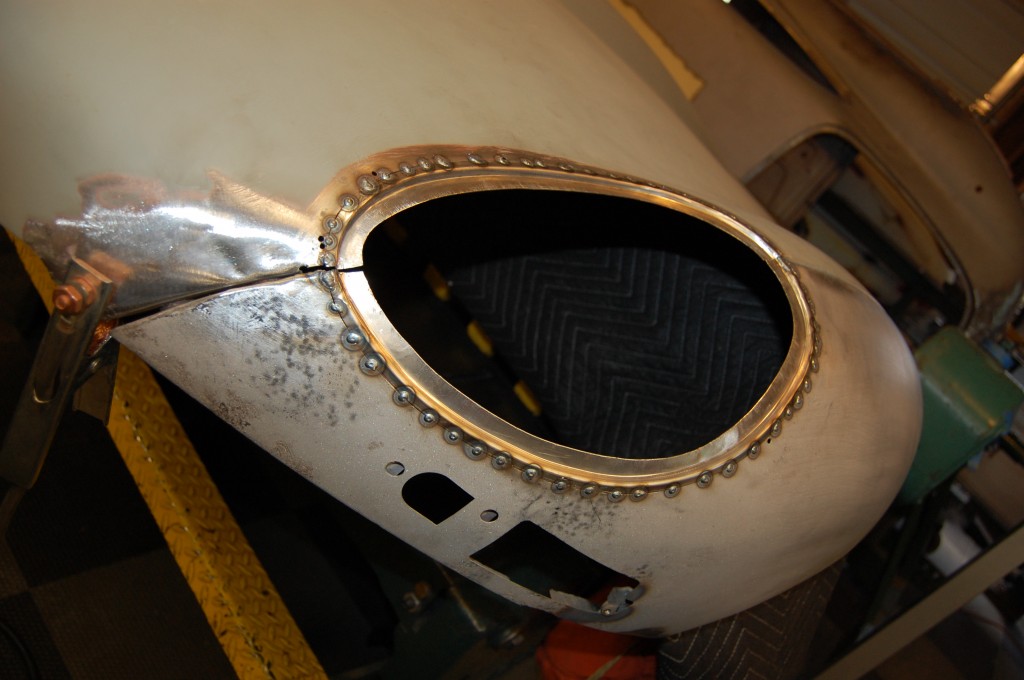
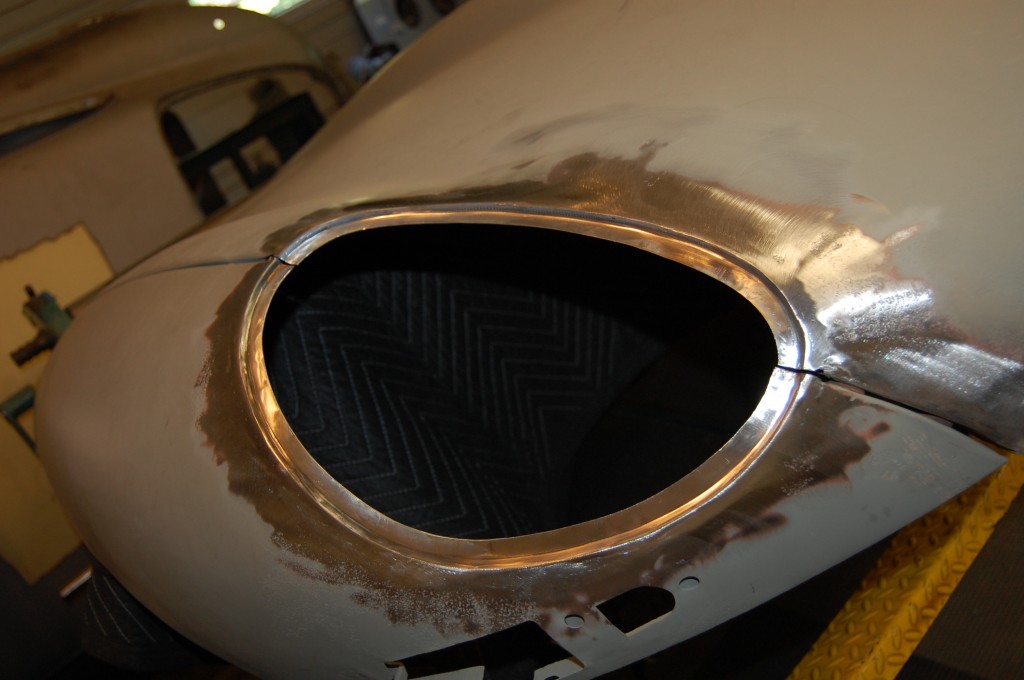
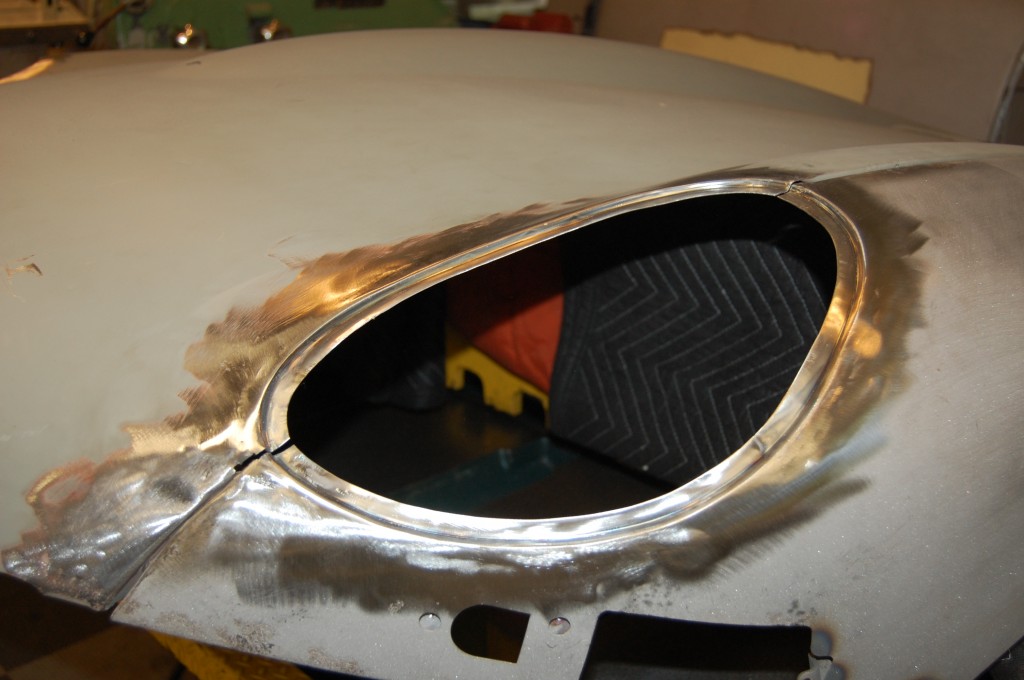
- All 4 flanges have been fabricated, fitted, and tacked into place.
- LH side tacked – this would probably be enough to hold it permanently, actually… We tack this with the MIG.
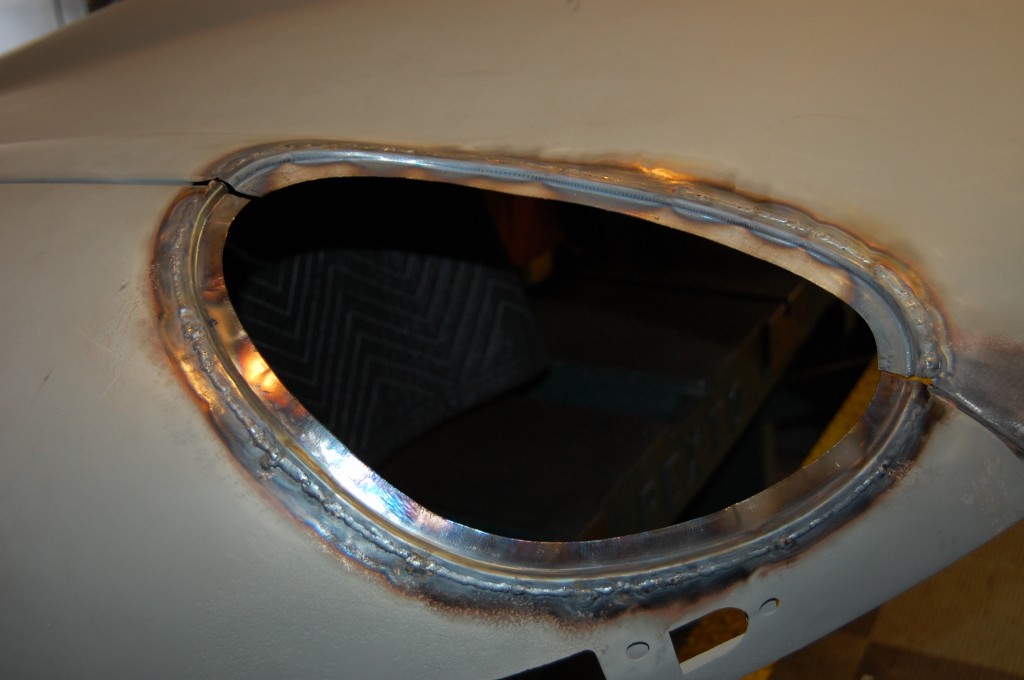
- But we complete the job carefully with the TIG.
- LH side TIG-welded.
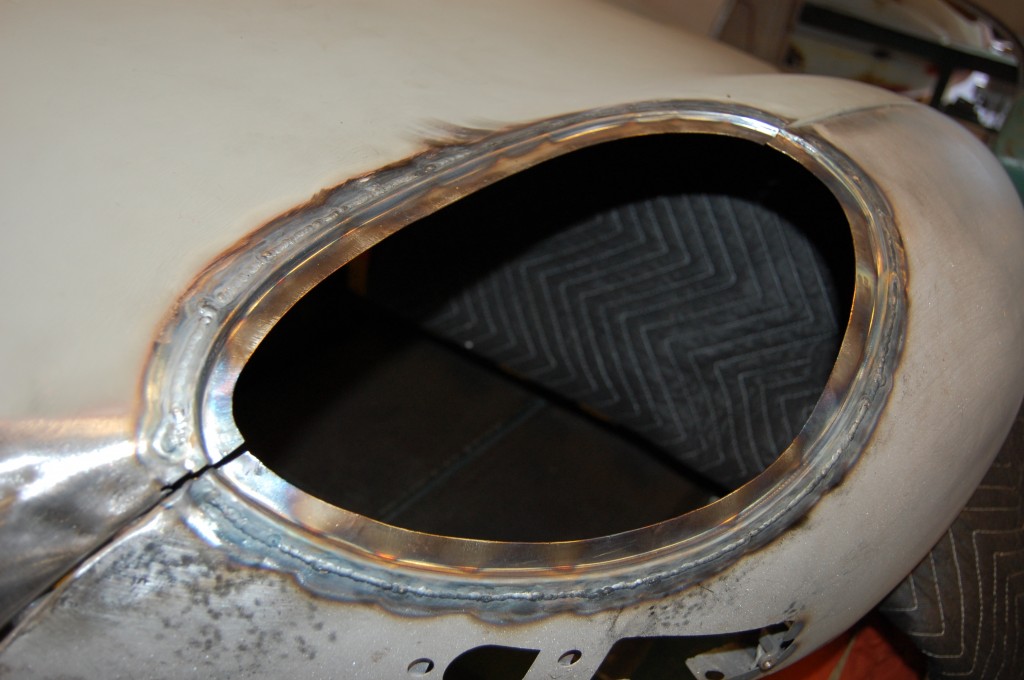
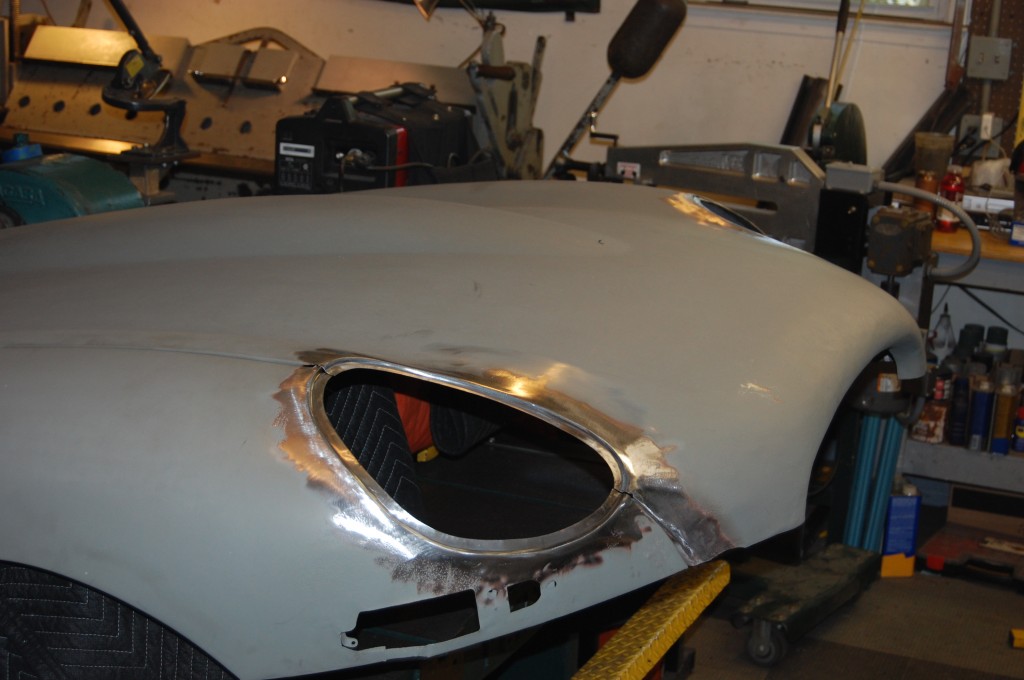
- Next, we carefully grind down the welds and use the dolly and hammers and slappers to smooth out the transitions.
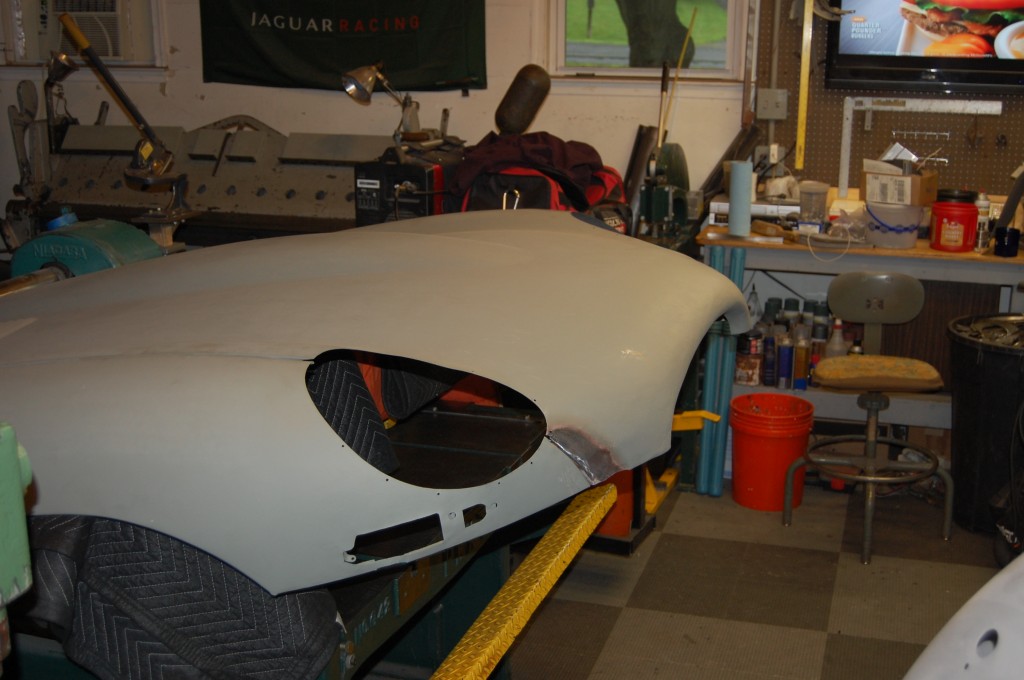
- LH side completed!
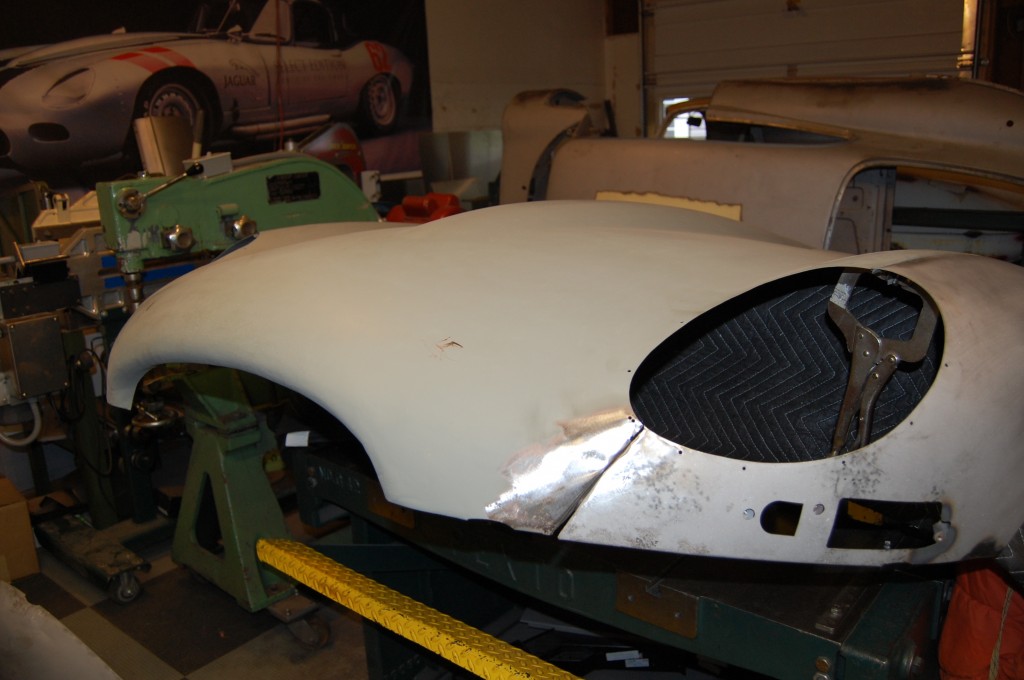
- Back where we started, except she’s a Series 1 now!
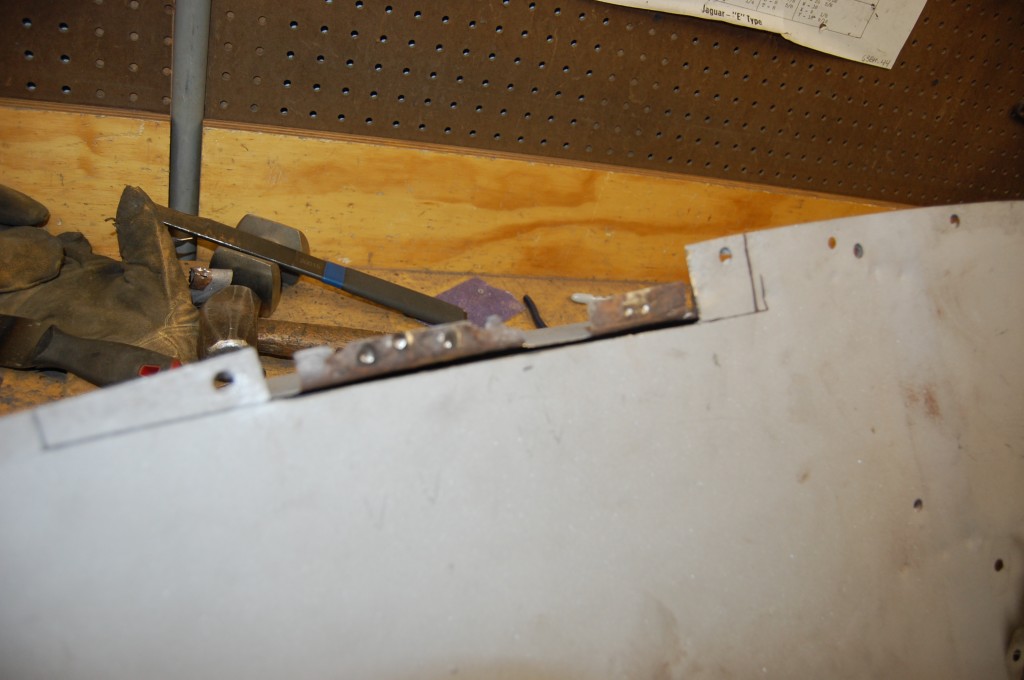
- even MORE flange problems – this is the forward area of the LH side on the center section.
- Here, the same area is repaired but not yet drilled.
- Back to the lower valance. On this one, I cheated a bit. The rear edge was badly corroded, and rather than add hours and expense to this restoration by putting a patch in here, I simply trimmed this back about 3/16″ and you can’t even tell…
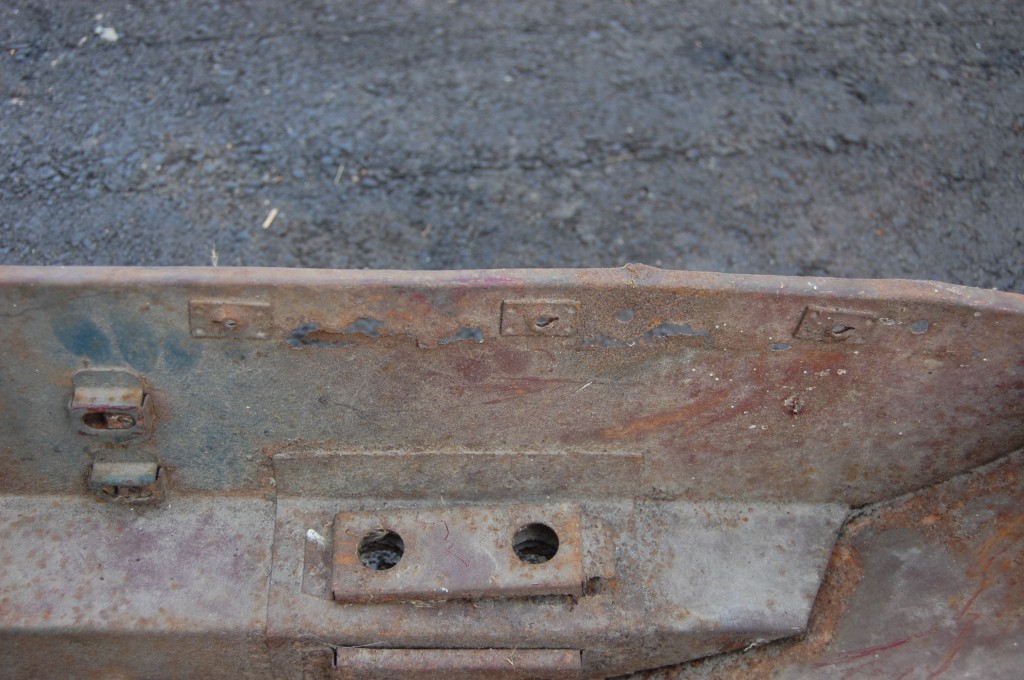
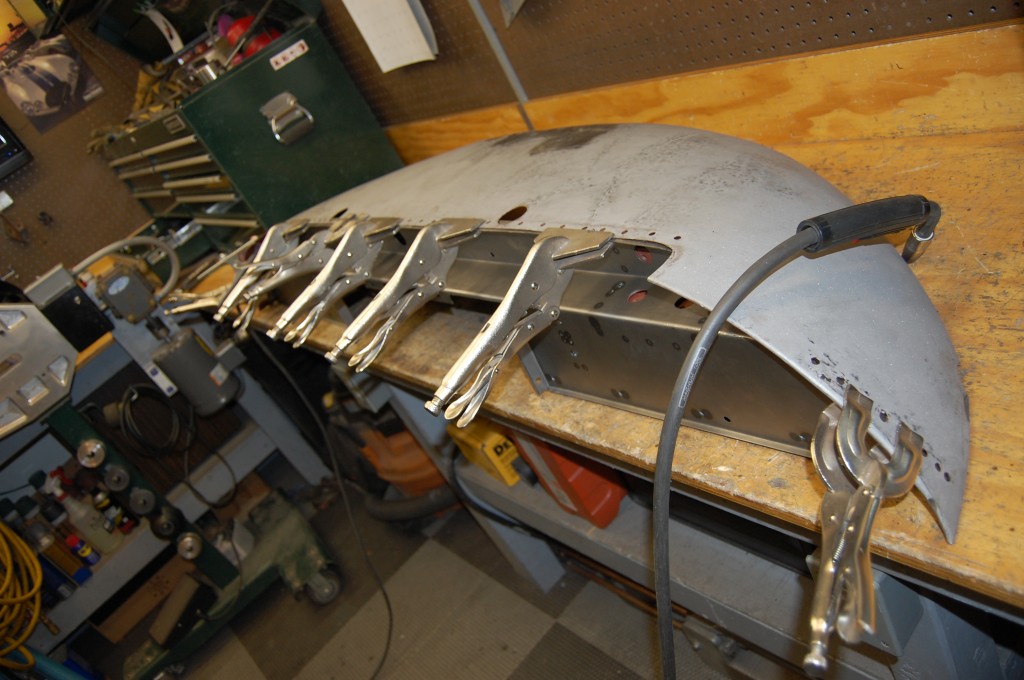
- New main support piece is now clamped into place…
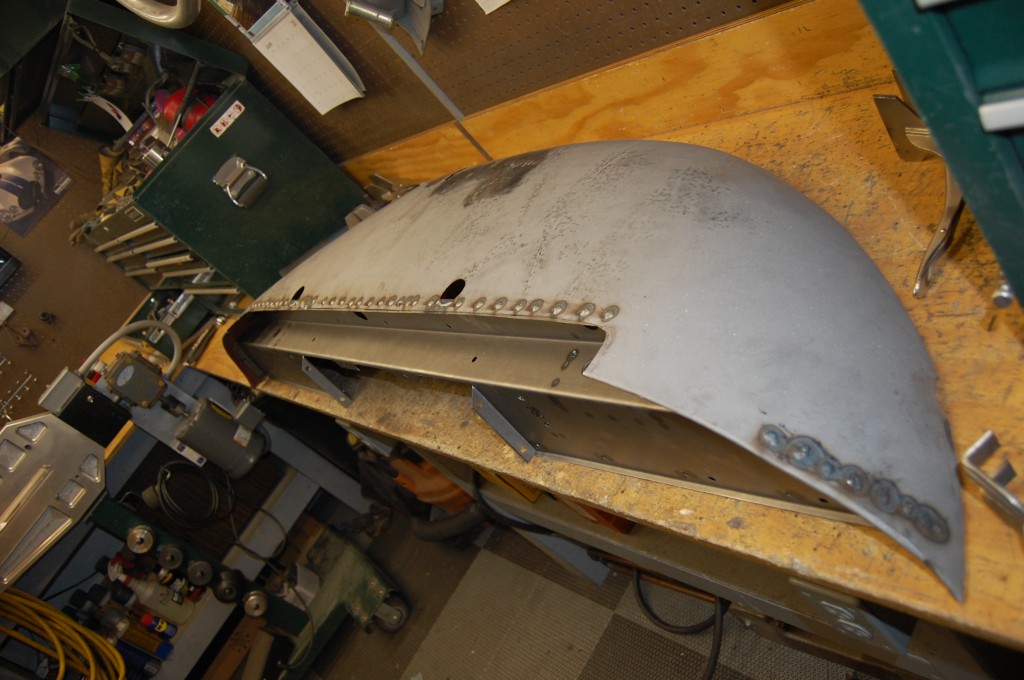
- …and plug welded.
- These sides can be tricky, and will always take a little filler when finished.
- See how the rear edge of the skin is a little short – it’s no big deal for this driver E-Type, and I think was the way to go in this case.
- Here is the other side. These sides can be messy because the factory puts in alot of spot welds here and so you end up with alot of overlapping holes to be welded up…
- Repaired, and the welded up holes have been ground down, but we still haven’t done the shrinking yet.
- Another shot of the new main support for this E-Type lower valance.
- Here is the completed lower valance.
- Time for the test assembly to begin!
- Weather conditions this Spring (aka RAIN ALL THE TIME!) led to this bonnet being test assembled and glued with some pieces still not etch primed.
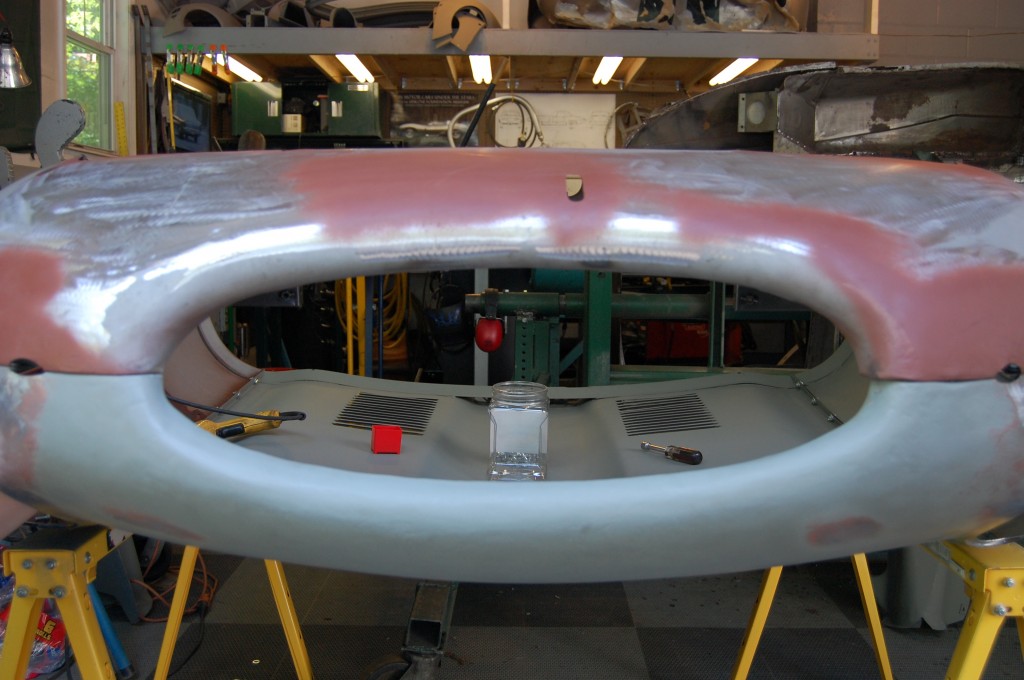
- Brent is carefully lining up the bolt holes and edges of these panels during our test fitting. The lower valance is now shrunk and smoothed, and the heavily pitted areas have been hit with red oxide. LOOK at that MOUTH! Compared to what we started with, a miracle has taken place!
- The shadows and light lines tell the story here – the mouth is damn near PERFECT!
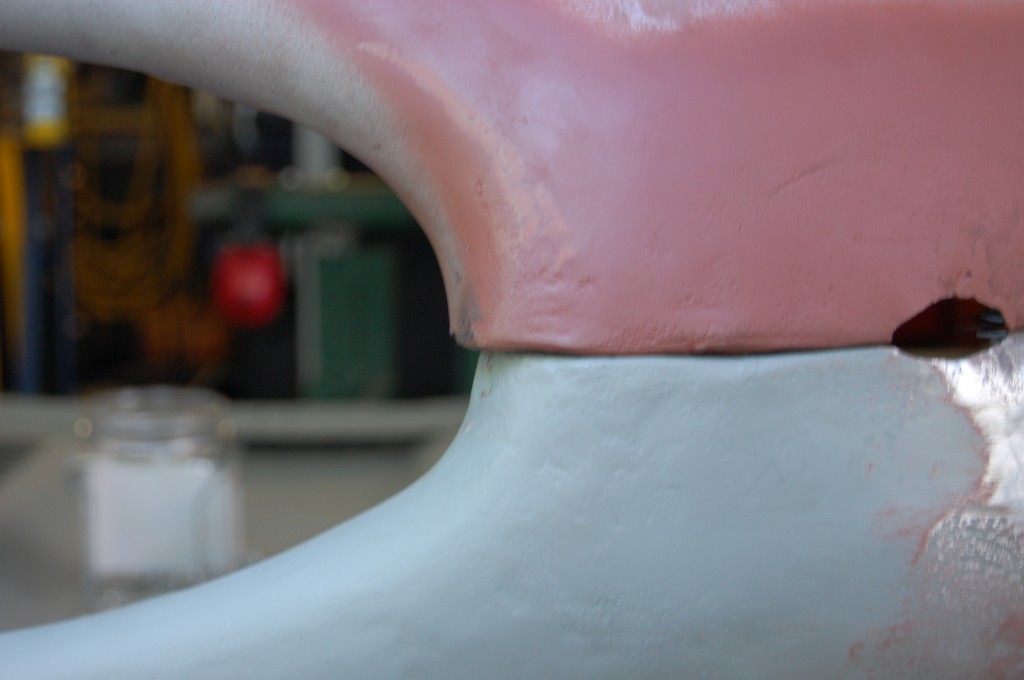
- …except for this… But actually, this is factory. And I know some of you probably don’t believe that, but it’s true. These two pieces came from the factory together, the other side of the mouth, the two rear outer ends, and all 4 bumper holes line up perfectly, and this is off by this much – about 1/4″. This is how this bonnet came from the factory, and I have seen it many times – they knew the motif bar ears would cover this, and it was acceptable.
- Ready for the adhesive!
- Test assembly of LH side.
- Test assembly of RH side. I ended up not being able to find any usable original headlamp rings, and so I made these from scratch one night. I was very proud of myself the next morning when Brent came in, saw these, and said, “Oh – you found some?” Yeah – they’re THAT good!
- Eveything fits like it should, and it’s time to apply the adhesive.
- 3 hours and alot of explatives later, and the glues is all applied and drying for 72 HOURS – don’t rush it!
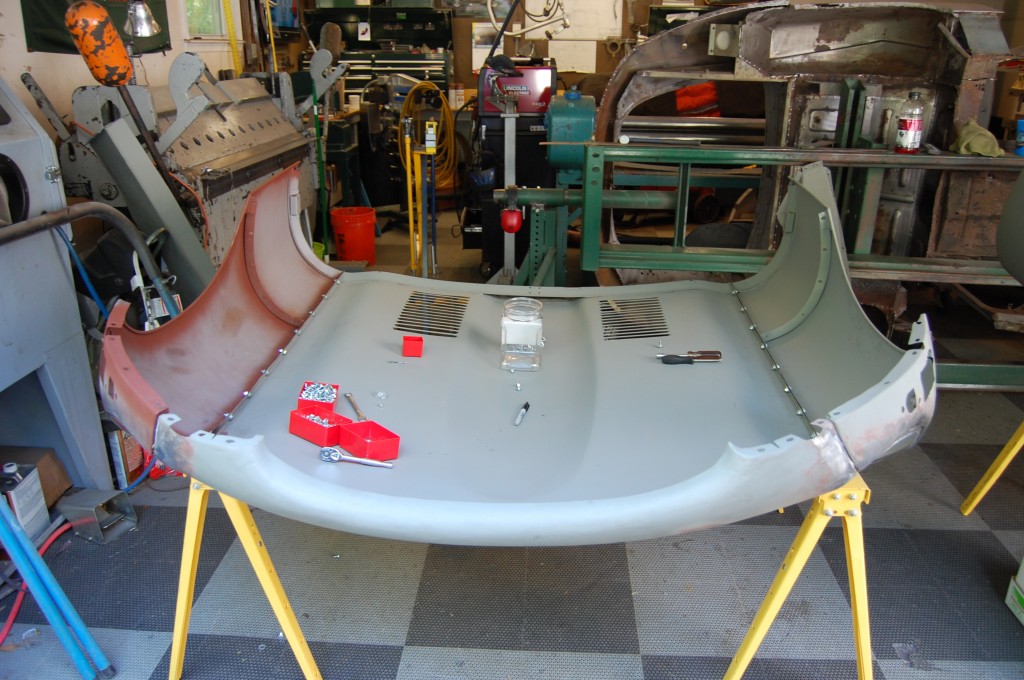
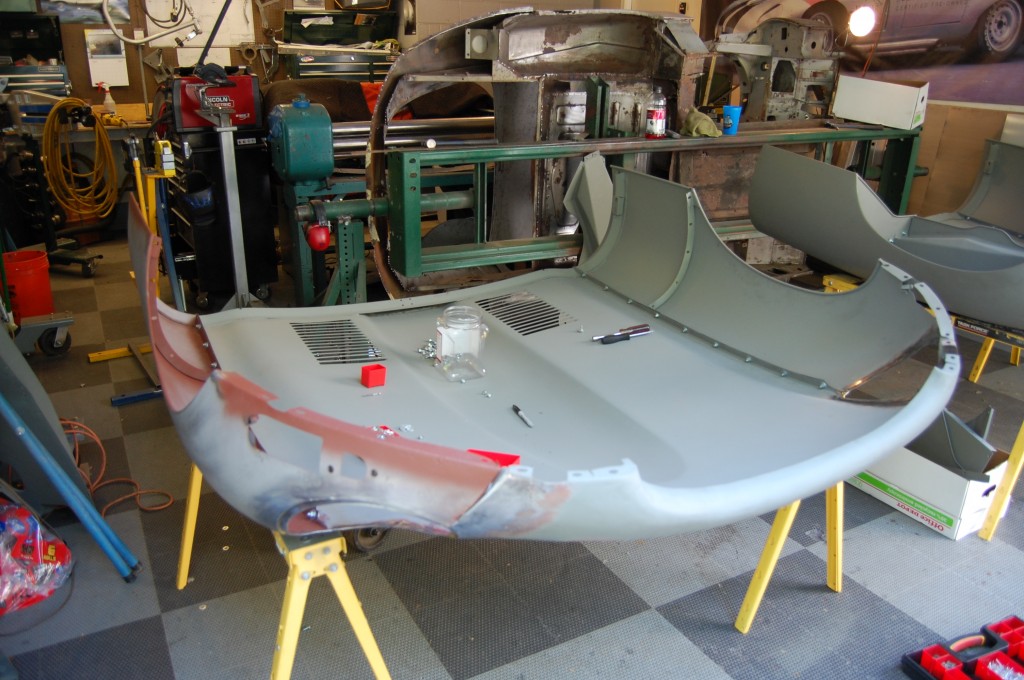
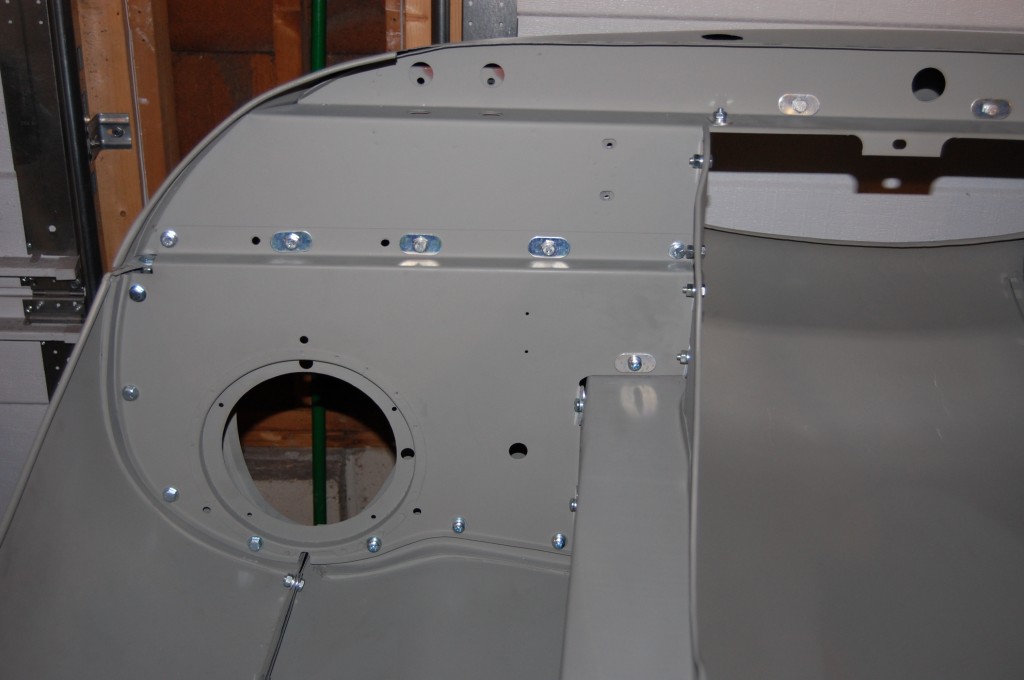
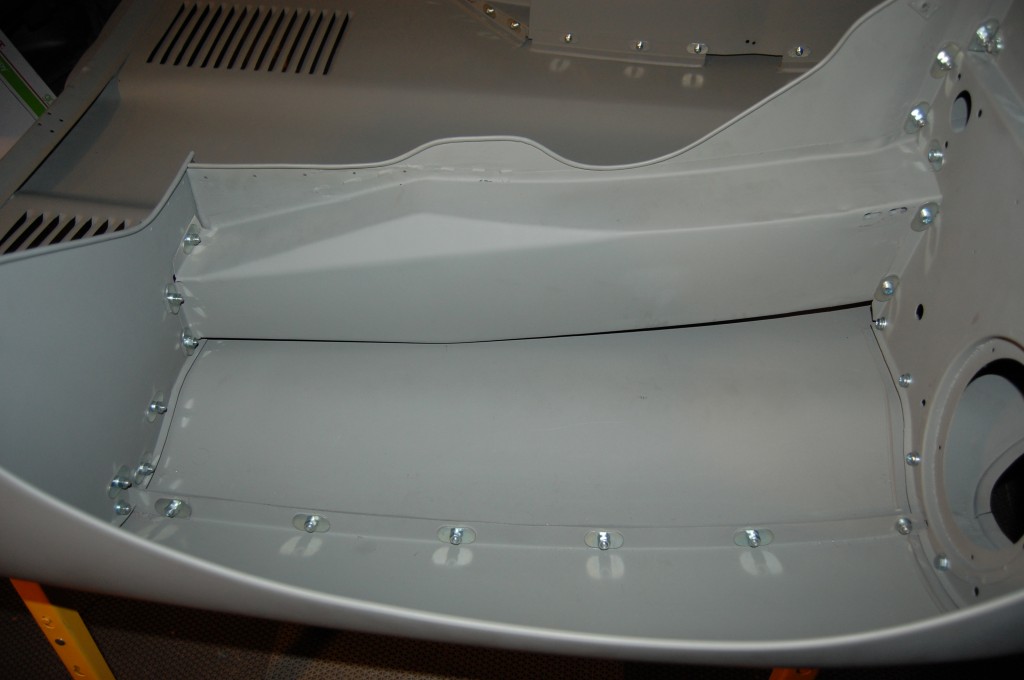
- FINISHED! Wow – these things look good when they’re done! The glue has set up, the bonnet was COMPLETELY disassembled, glue was trimmed, all pices re-primed, and then fianl assembly is completed with all new hardware (since this bonnet arrived here with NONE!) The bonnet in the background is from a 1966 2+2 – we always assemble and glue them two at a time.
- Take a good look at all of the areas we’ve gone over in this blog entry…
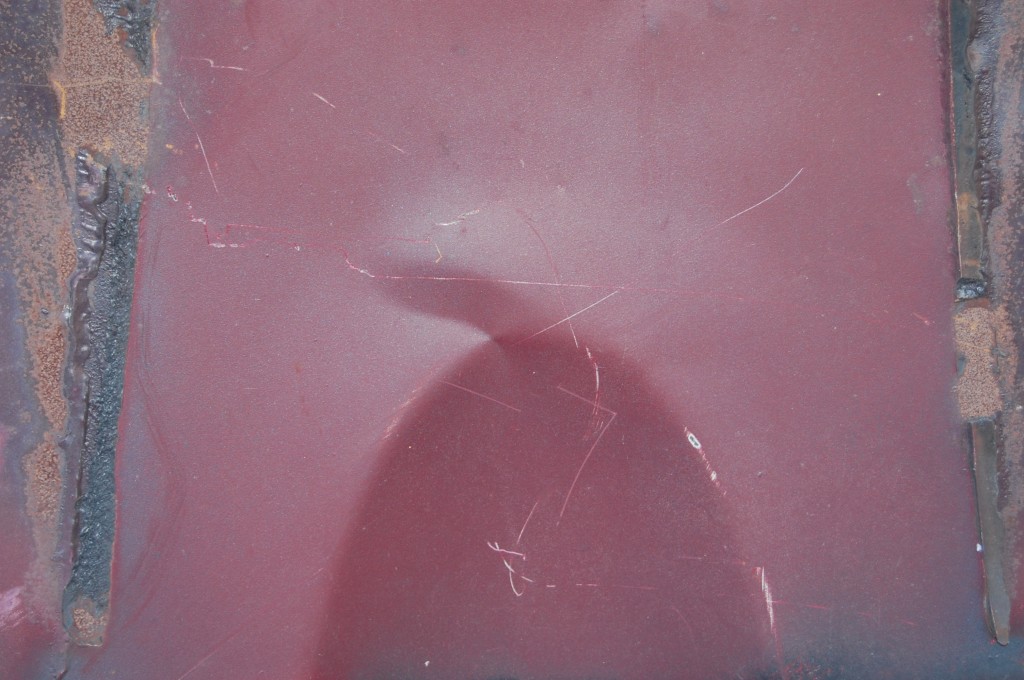
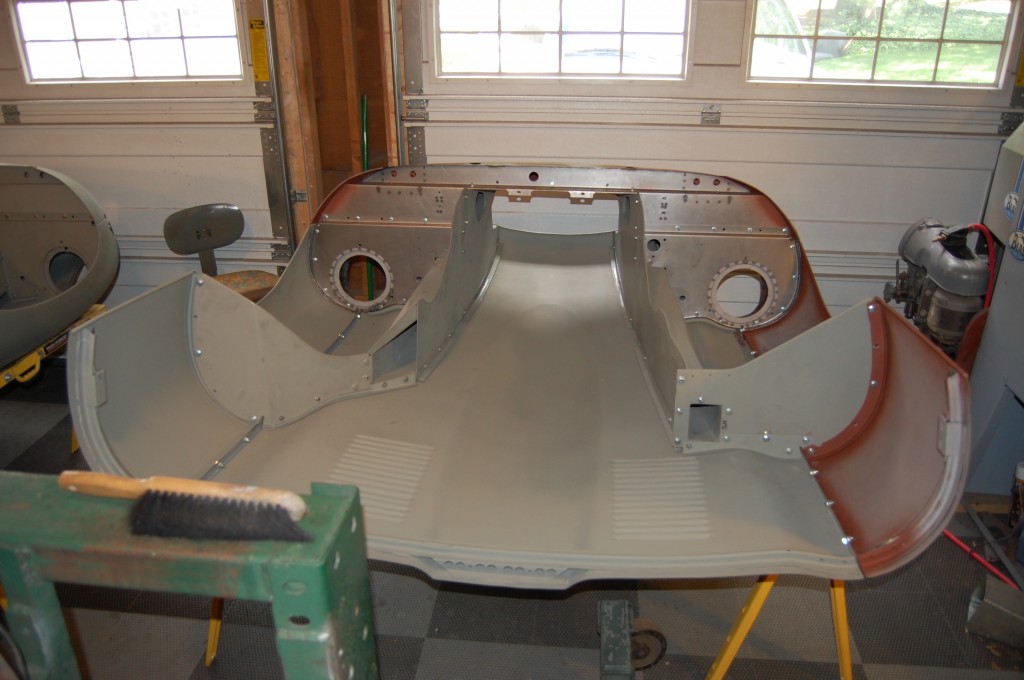
- Look at the underside of this center section – remember the kink at the tip of the power bulge? Remember the surface of the nose from the earlier, interior shot?…
- There is alot of new steel here – the complete lower valance support member and the headlamp diaphragm were all made here from scratch – and so were the glued flanges!
- Same over here – lots of MM-fabricated parts.
- Here you can see some welds on the air tube if you look closely, but this is up inside the wheel well and all gets covered with undercoating, so it’s very acceptable on a driver (or concours, for that matter…)
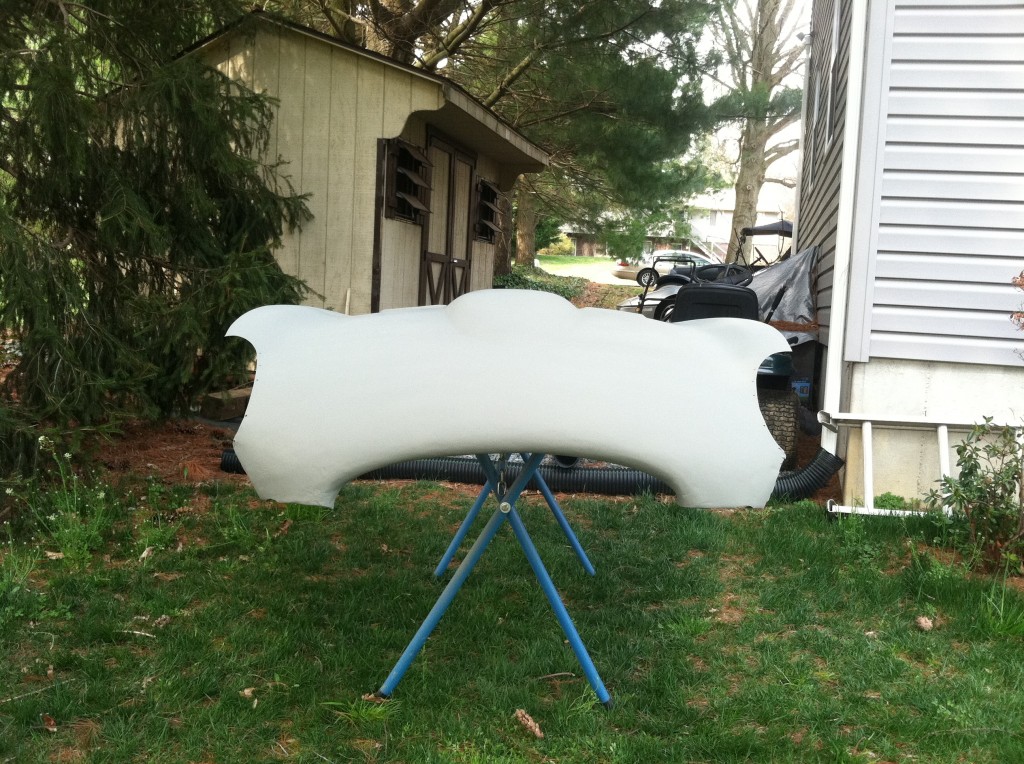
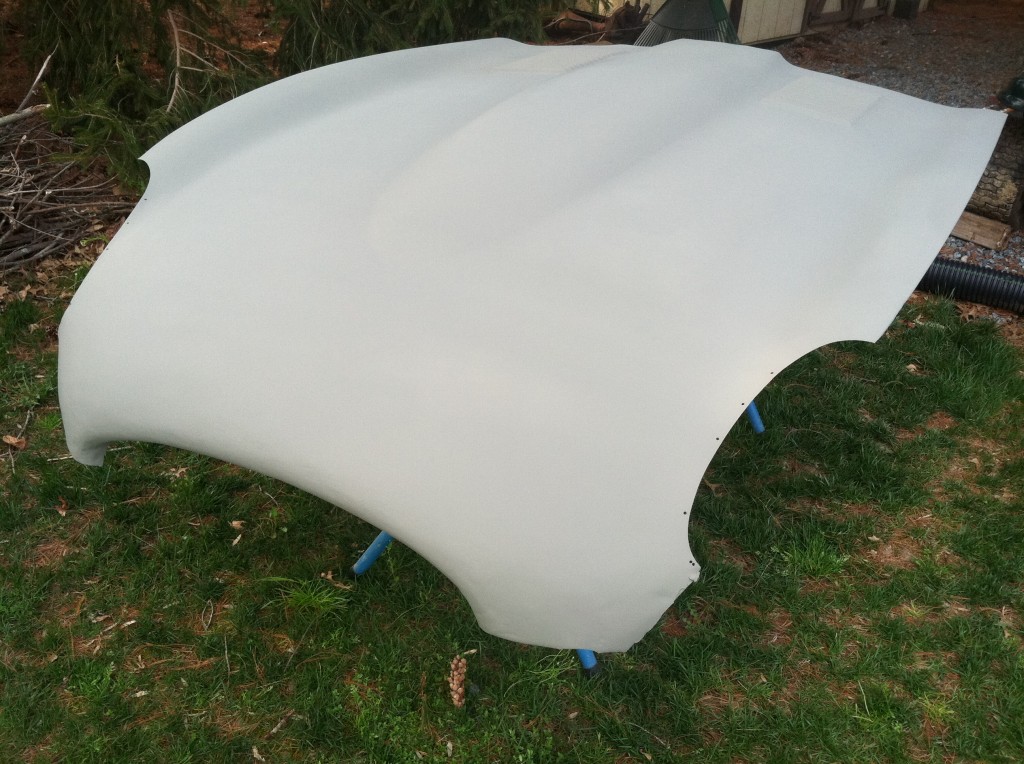
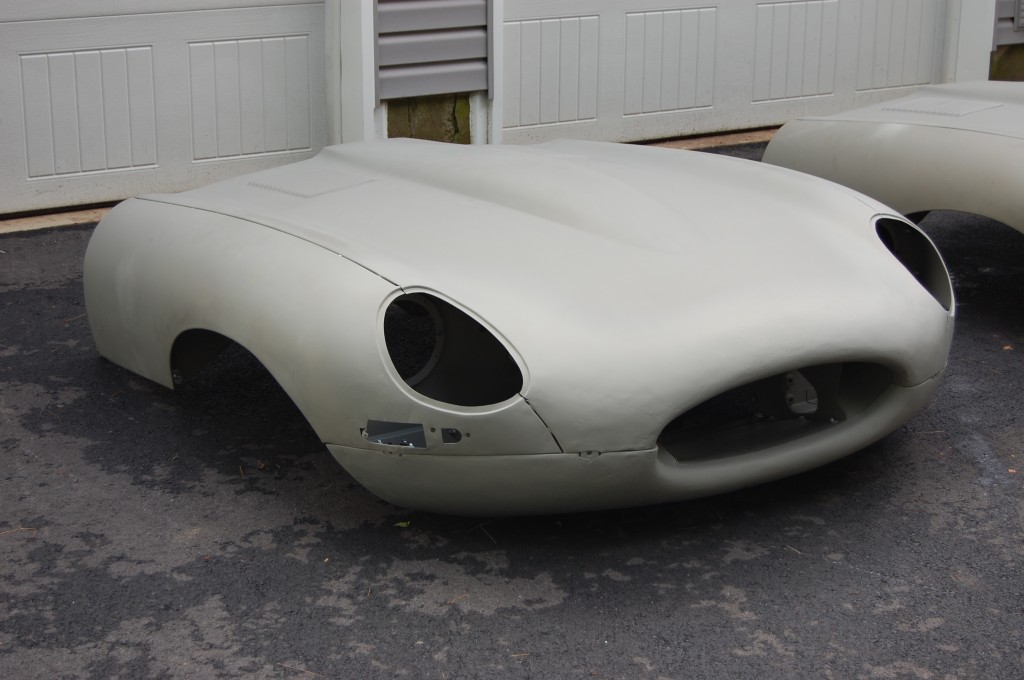
- Out in the sun, and she looks as good as new!
- She’s come a long way since those long gouges with the holes in them!
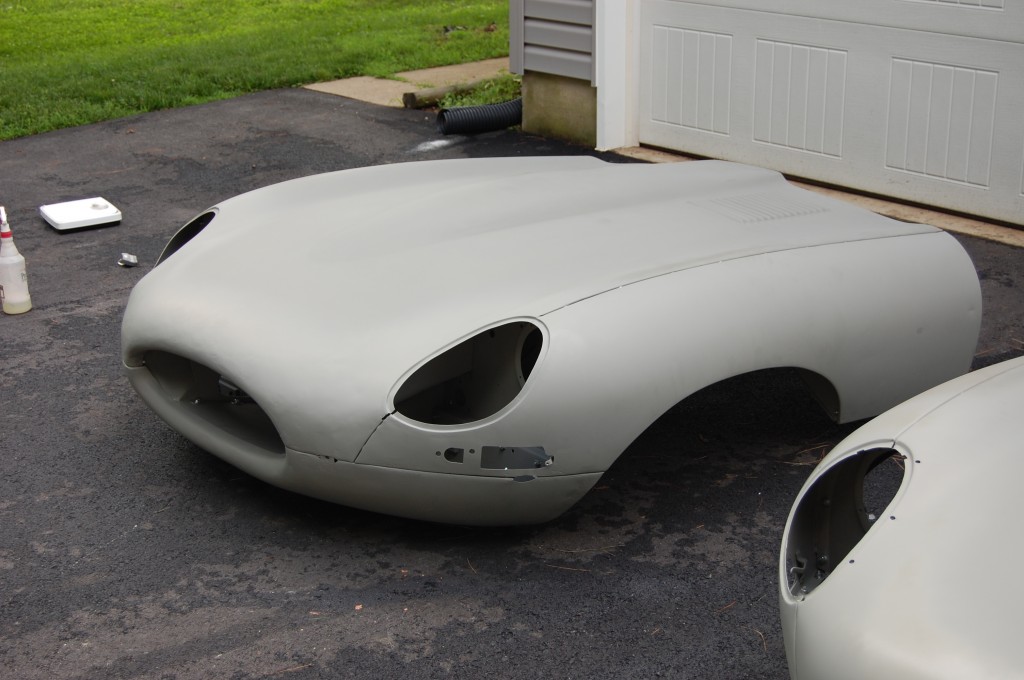
- All is well from this angle too, and this bonnet should fit its original shell nicely.
- What else can I say? – it really speaks for itself…
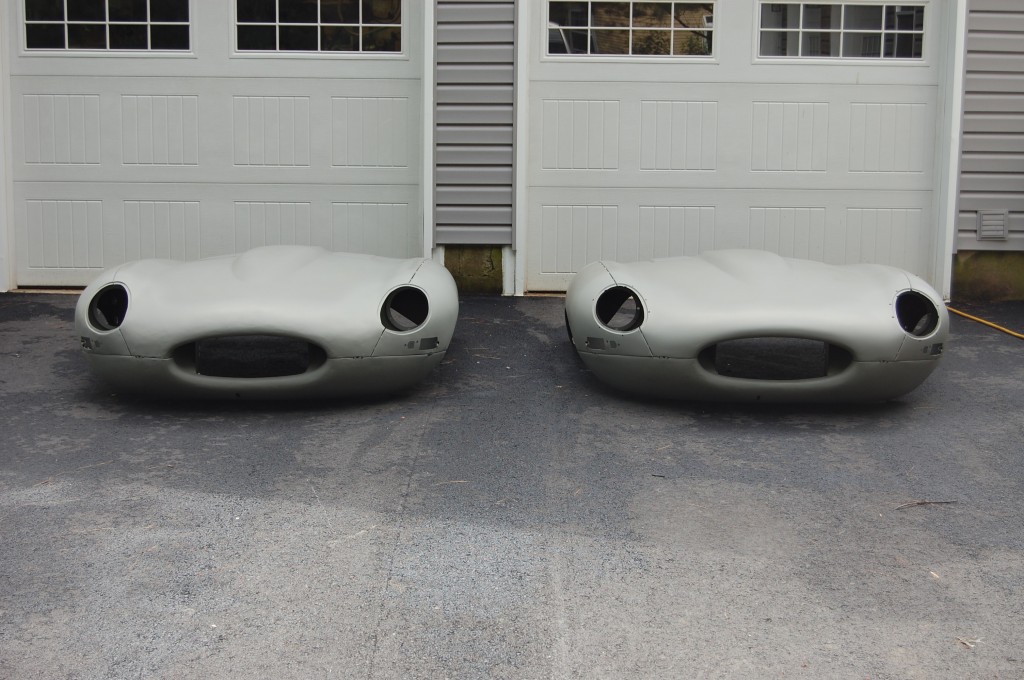
- The LH bonnet is the one we’re talking about in this blog – it started as a mangled Series 1.5. The RH bonnet is a virgin, undamaged Series 1. If you look closely, you can see that our converted and reapired bonnet on the left has surface imperfections, vs. the smooth as glass surface of the undamaged original. So we will need to skim coat this and block sand it to smooth things out. BUT – notice that from a SHAPE standpoint, our repaired bonnet is right where it should be. We can restore ANY bonnet to this level – call us if your bonnet needs our help!

