We do our best with everything we touch here (because I can’t help but always think I’m working on my own E-Type – over and over and over…) – but this one REALLY came out GREAT!
We have been helping this customer with their shell for about a year now – supplying panels and advice. They finished up the shell finally, and moved on to the bonnet…
John stopped by early this Summer with some photos of the bonnet under construction at his shop, and I saw the center section and said, “OK – wait – what’s going on here?”
“Oh yeah – the nose doesn’t seem quite right – I’m just going to do the best I can with it.”
I was pretty forceful with my response on this one… “John – You HAVE to bring it down here and let me fix it. If you don’t, the car is going to look horrible and be almost worthless. I don’t want to be pushy, and God knows I need more work like a hole in the head, but let me fix this for you – it will be the best money you’ve spent on the car – I guarantee it!”
He agreed, and brought it down a couple weeks later. And then I REALLY had to put my money where my BIG MOUTH was!
Finally, I felt like I was “in the mood”, and had at it – and I think you’ll agree that this work is going to do a WORLD of good for this E-Type! This one came out GREAT – have a look!
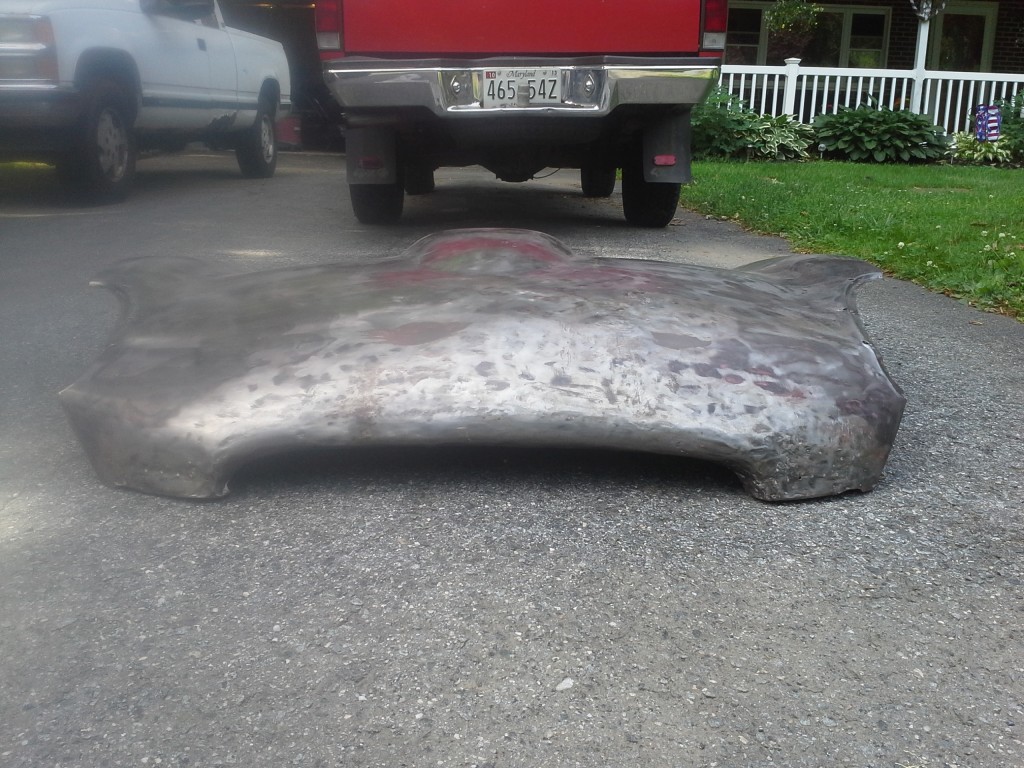
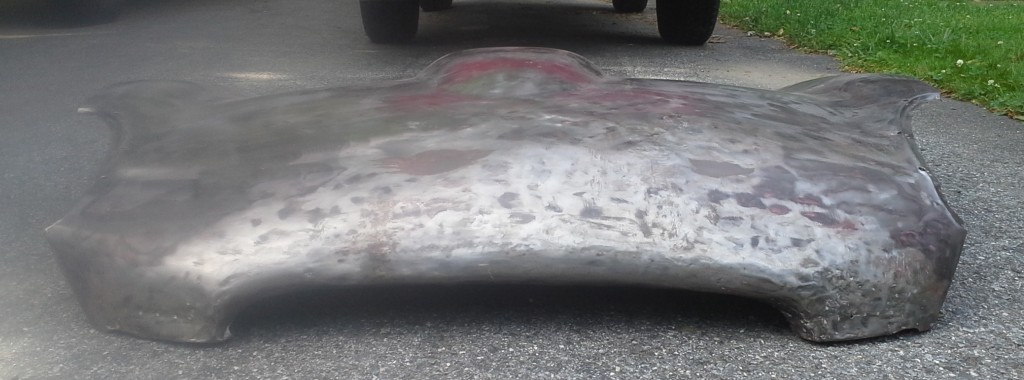
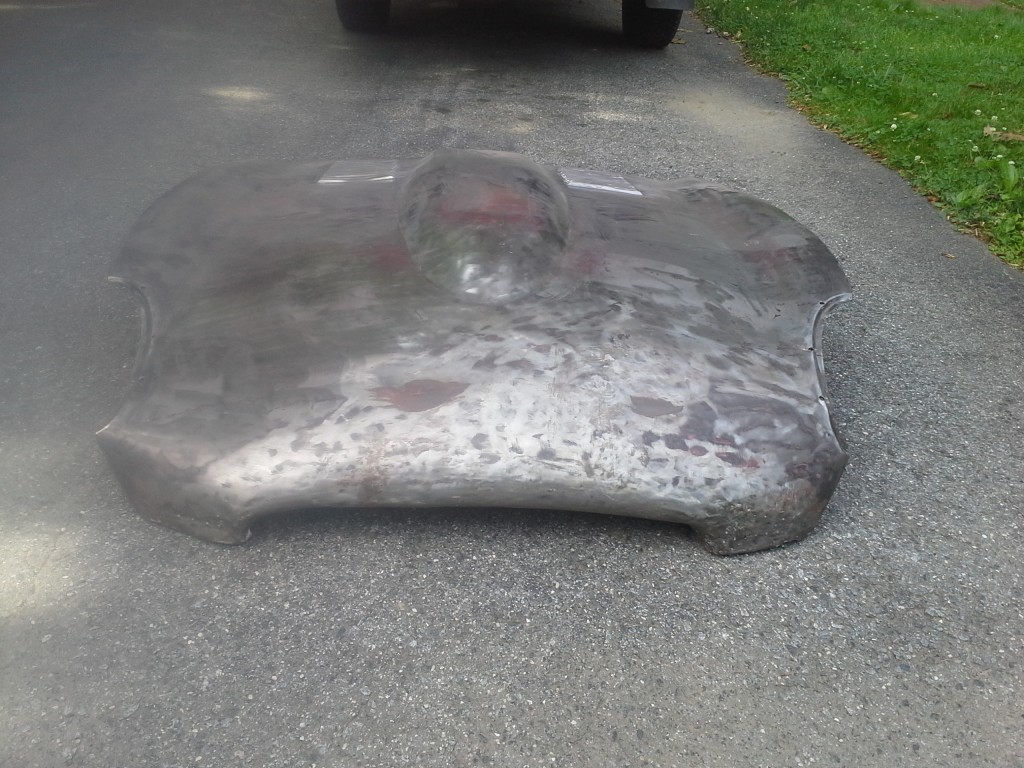
- Here is the panel as received. See what I mean?… After all of the work that I had seen the customer put into the car over the past year, I just couldn’t allow this to go back on the car on my watch! I mean, come on – it’s SQUARE!!!
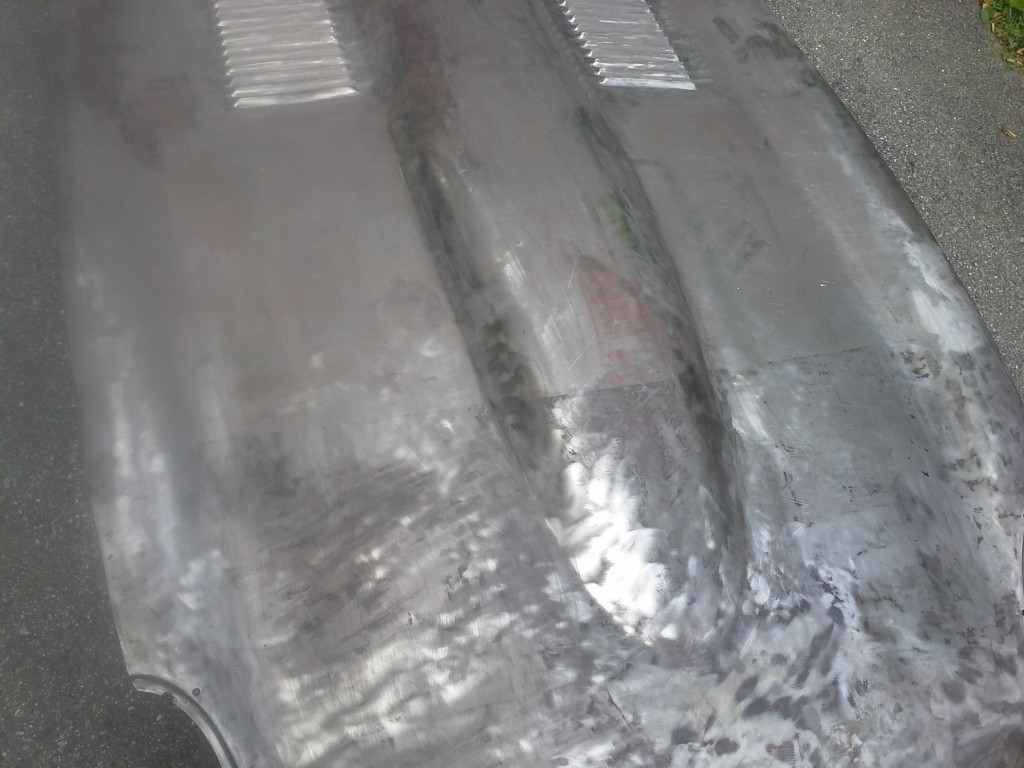
- Check this out… This line reresents some type of “dipping” of the bonnets that took place at the factory. Whenever they get stripped in certain ways – wire wheels, etc., you see this. The customer stripped the bonnet down this far on their own.
- We finished off the stripping job in the blasting booth – which also gave us the surface we like for the hammer and dolly work to begin. First, Brent held this up, while I beat the nose into the general shape on a shot bag.
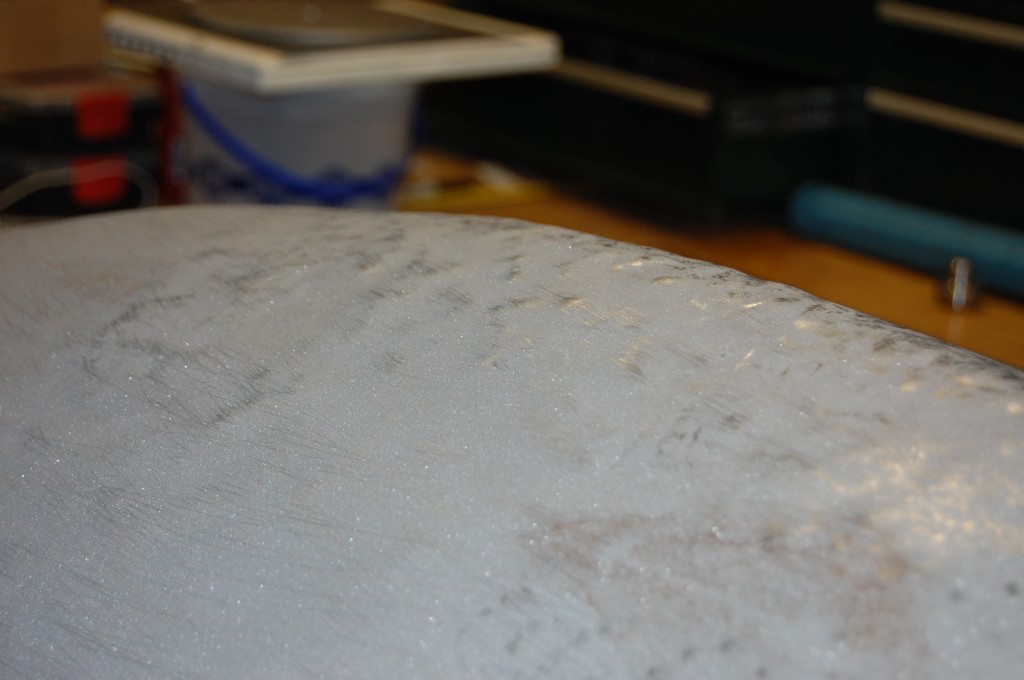
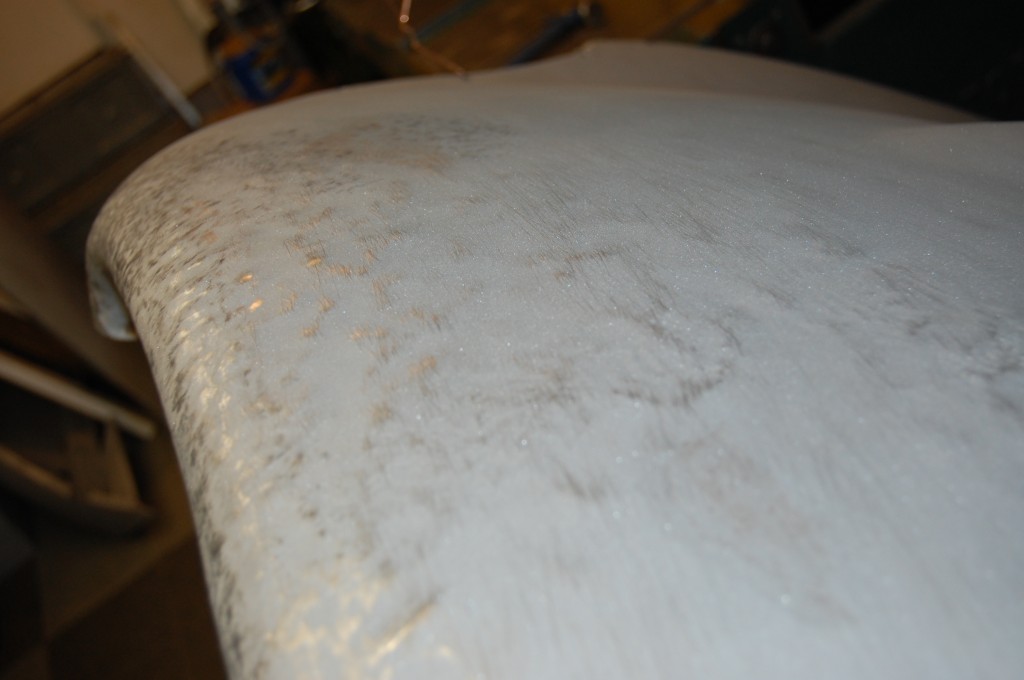
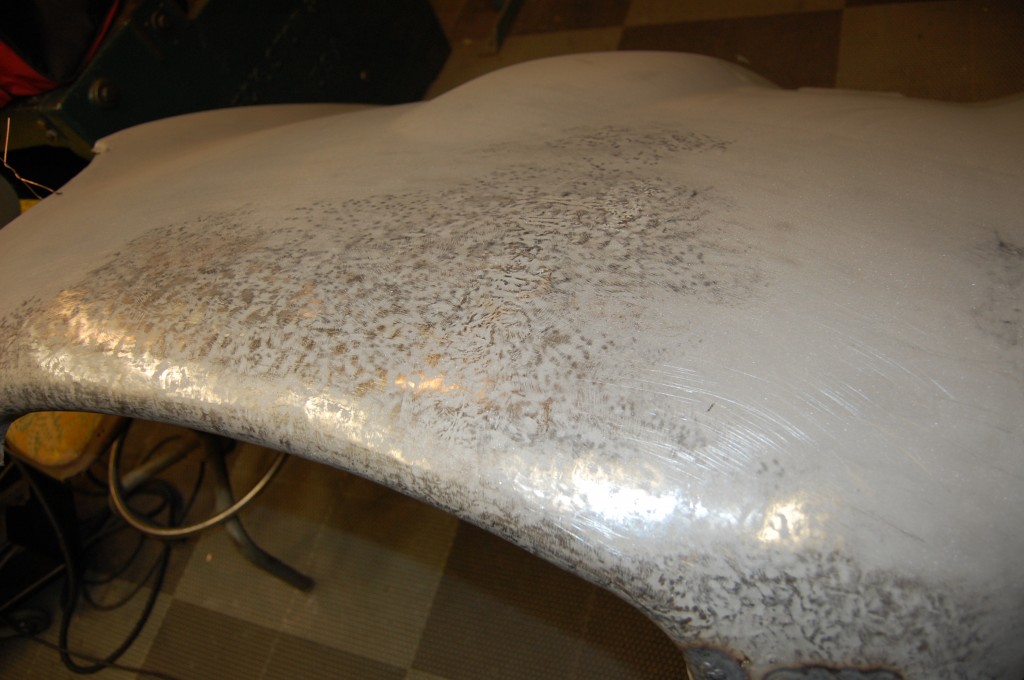
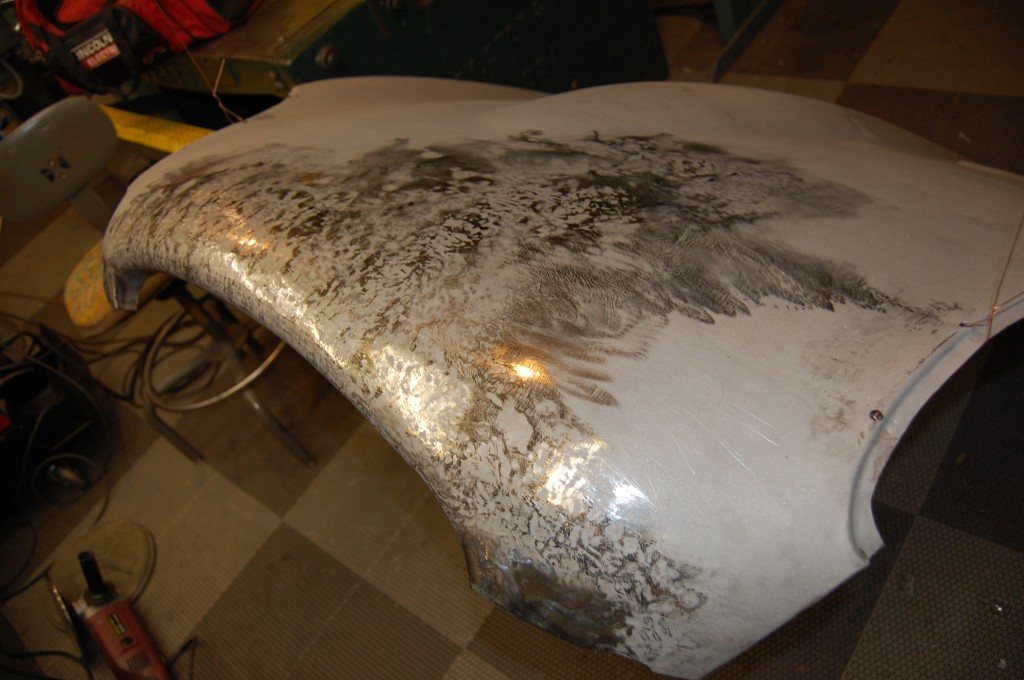
- Next step is to block sand the panel to reveal the tru surface, and it isn’t pretty! Look at the pitted area that has already started to rust – this panel was blasted the night before – THAT is what I have been dealing with this Summer – AAAGGGGHHHHH!!!!!
- Another shot of our starting point…
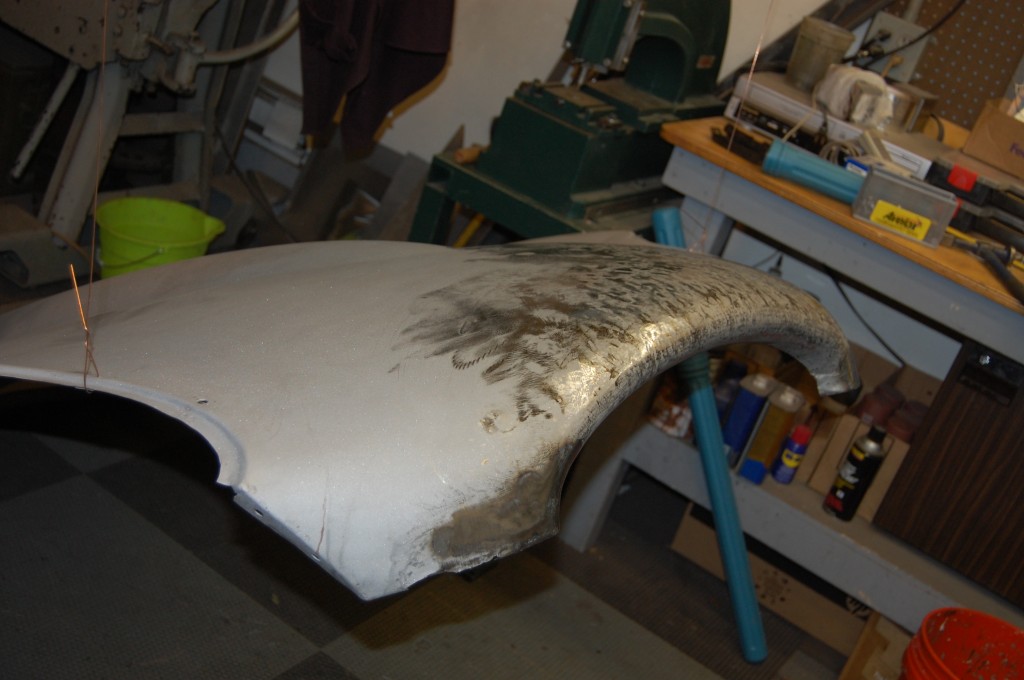
- And another. You can just make out a crease that has been hammered out in the past in the foreground. YIKES! Just looking at this is already making my wrists and arms hurt – this is going to be ALOT of hand work!
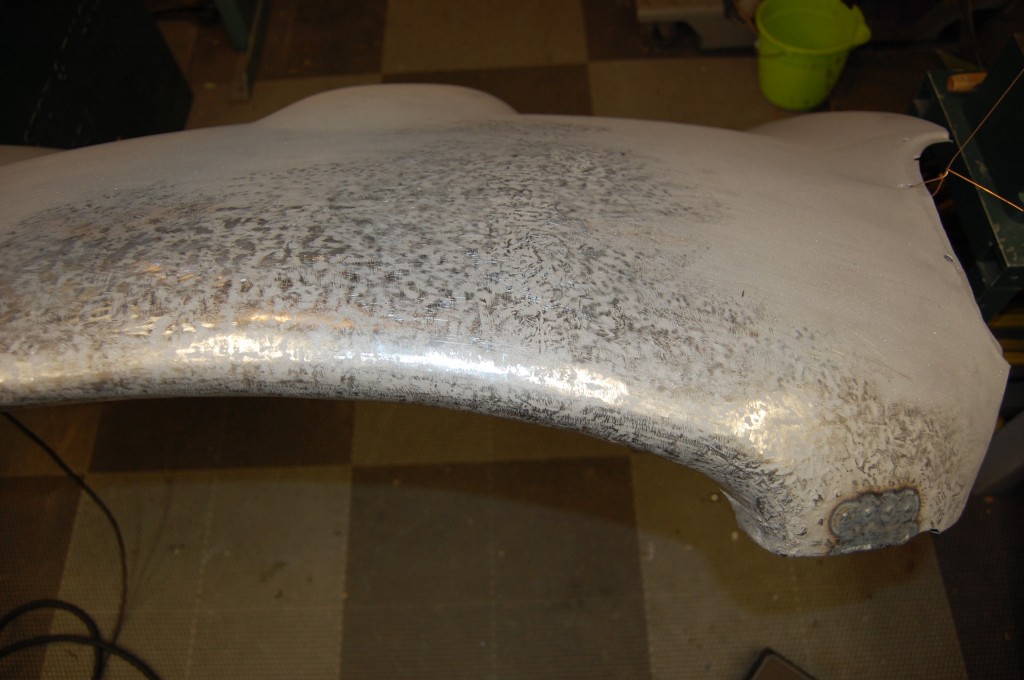
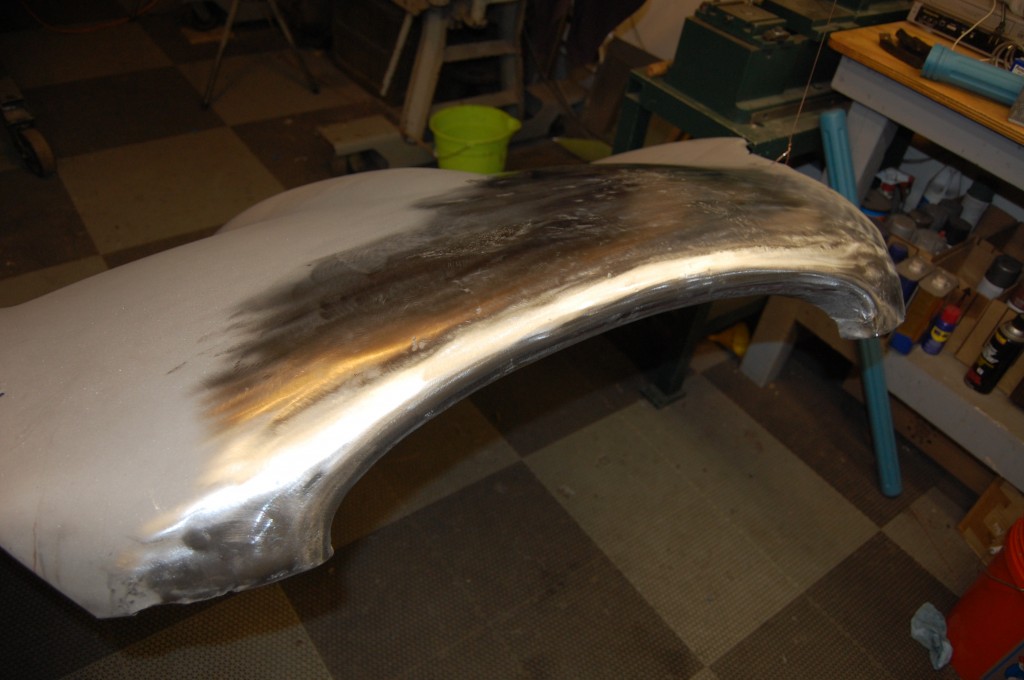
- Several hours later, and WOW – things are really coming around! Now you can see the map of where that crease is/was…
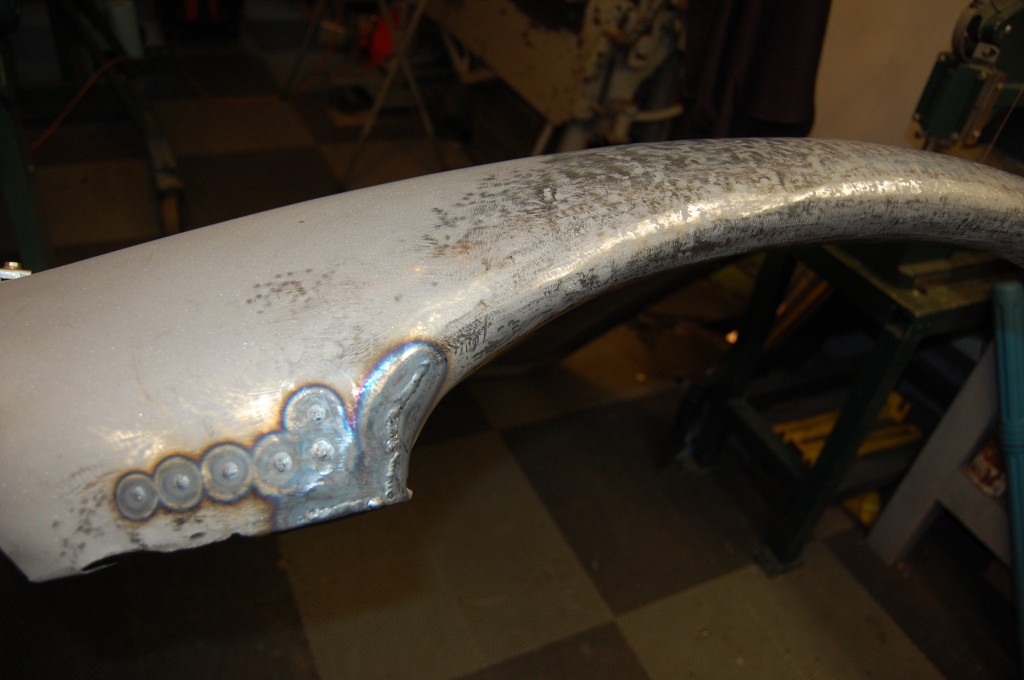
- That’s MUCH better! The trusty dent-puller was used in the past to pull out some typical bumper creases. So we’ve welded those up with the TIG, and also dealt with some stress-hardening cracks in the leading edge of the mouth from the previous “repairs”…
- I spent alot of time in the slapping phase, and it really shows – this was basically ready for the body shop here.
- But I was really shooting for perfection on this one, so out came the shrinker!
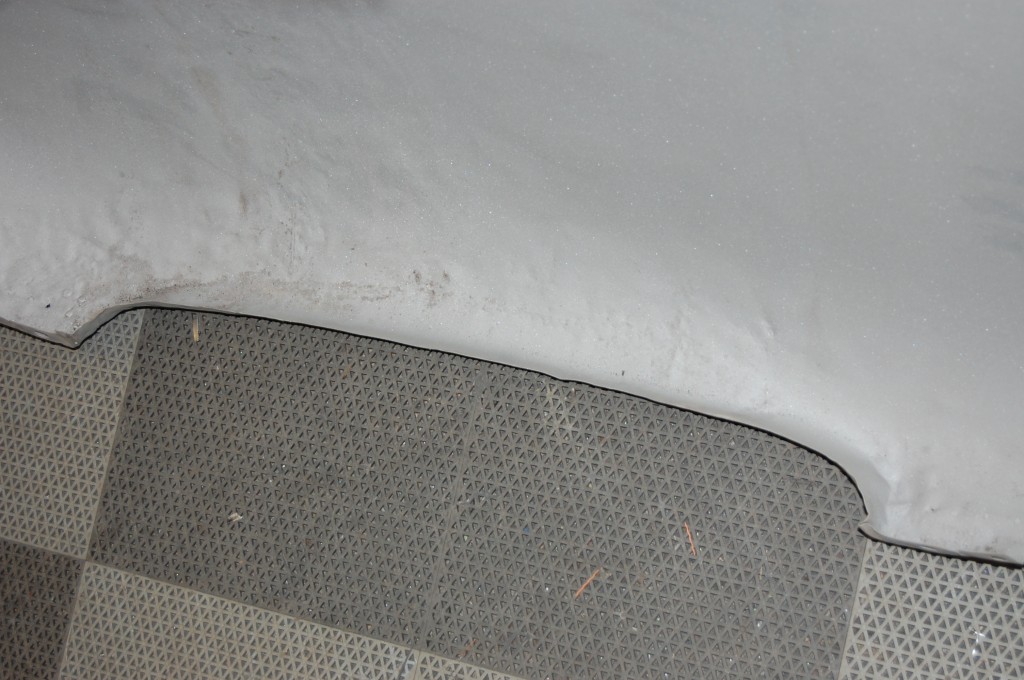
- Smooth as glass!
- I’ve started scuffing down the burnishing left by the shrinker more aggressively than I used to. The shrinker leaves the metal burnished and polished almost as smooth as a mirror – and hardens the surface as well. All of that adds up to possible adhesion issues, and so I use a disc sander with fine grit to scuff that whole burnished later off. You have to be careful – not too much heat, and just barely remove the polished surface – don’t shape or smooth in this step – get that all done before you get here or it will be almost impossible to hold back on fine tuning the surface with the sander!
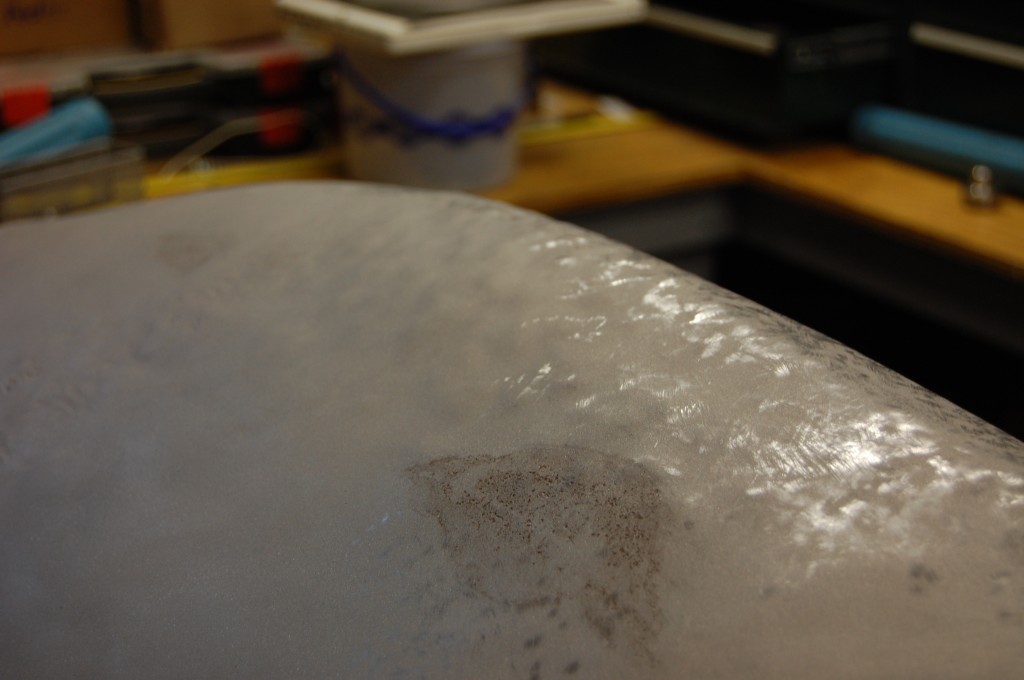
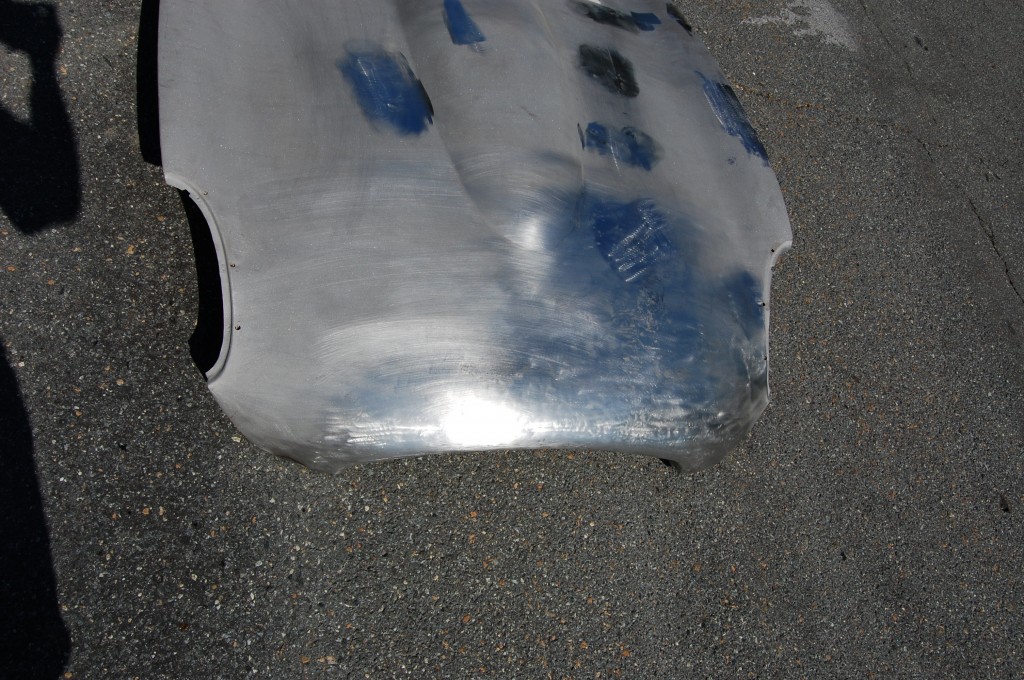
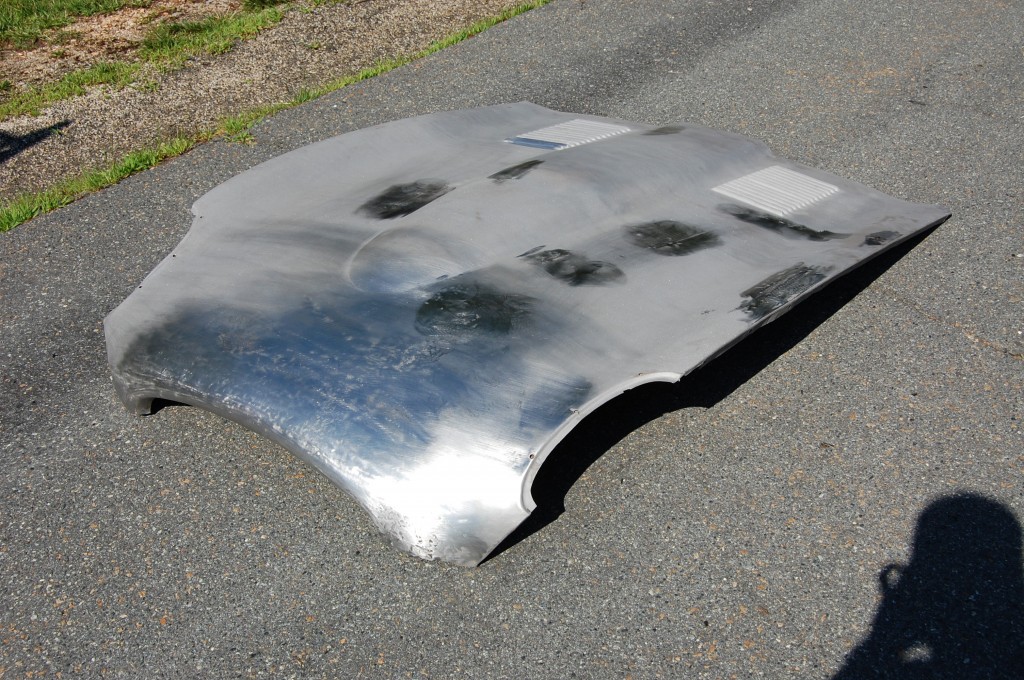
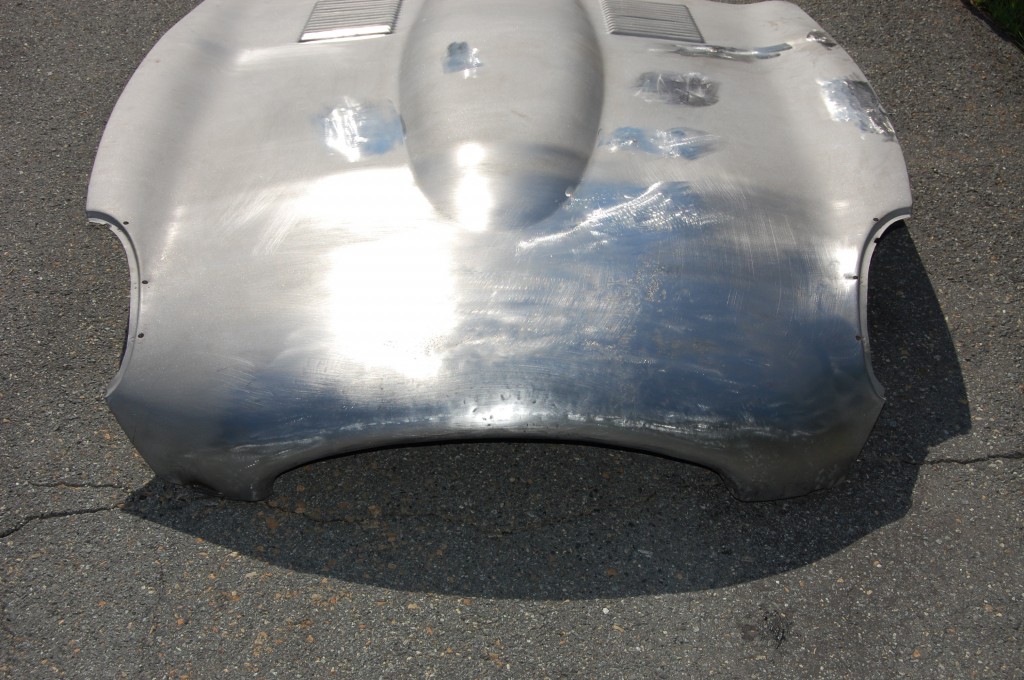
- Out in the sun, after also scuffing with a Scotch-Brite pad. She’s a whole new animal now!
- I was really proud of this one! The other patches where you can see that work has been done is a clean-up job on hammer hits from past work… I’m not sure what they were up to – it almost looked like sandblast damage around the glued flanges, but this panel had never been blasted before… Whatever, people just LOVE to beat these panels with hammers and then cake on the filler…
- Remember this?…
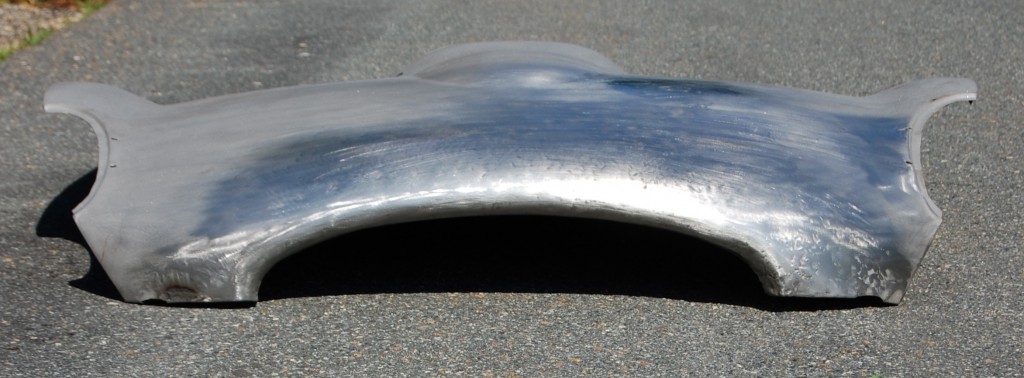
- …well, GET SOME OF THIS, BABY!!! I swear it’s the same panel!
- BEFORE Monocoque Metalworks…
- …AFTER Monocoque Metalworks!!!

