That’s no joke – I’m either going to finish this thing in time for the race or die trying… 20 days to go!
It’s been a LONG week on the Donovan #61 race bonnet – even if looking at the progress doesn’t make it look that way… BUT – earlier today, a rough test assembly showed me that it looks like we’re going to be able to pull off “something” in time for the Jaguar Races on May 31st!
Take a look at where we are now vs. last Friday. By next Friday, it MUST be done – no matter what it takes!
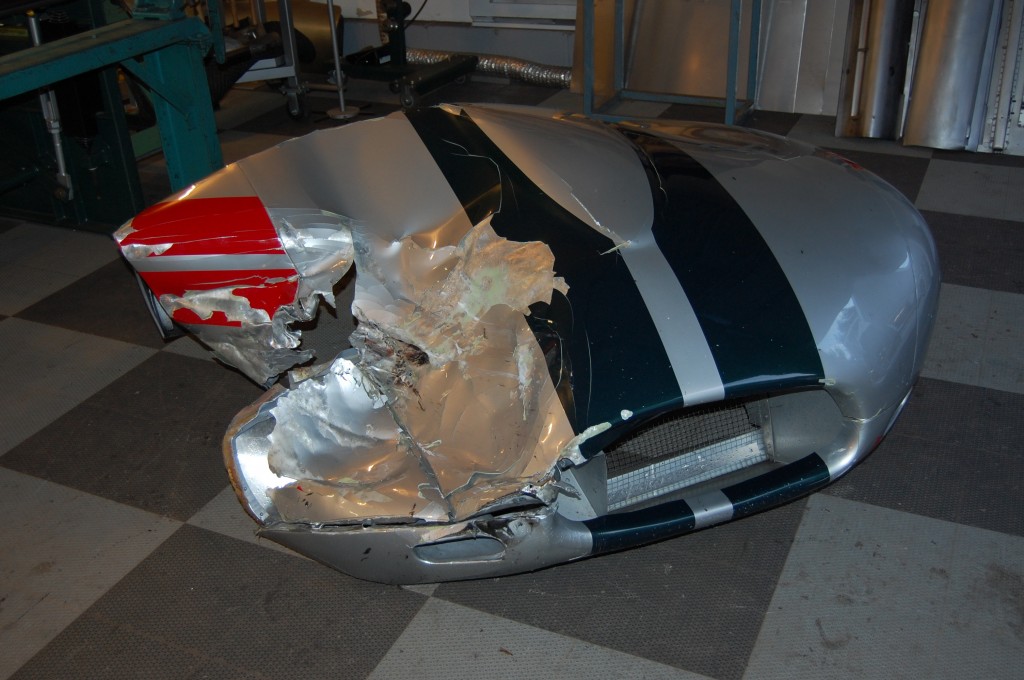
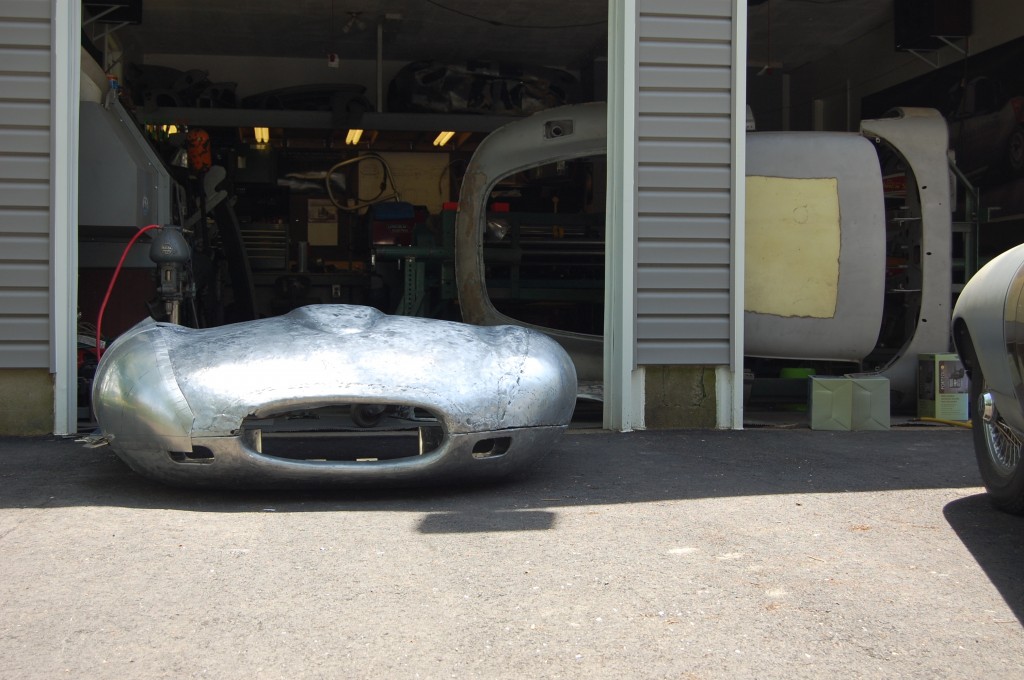
- Here’s what we started with…
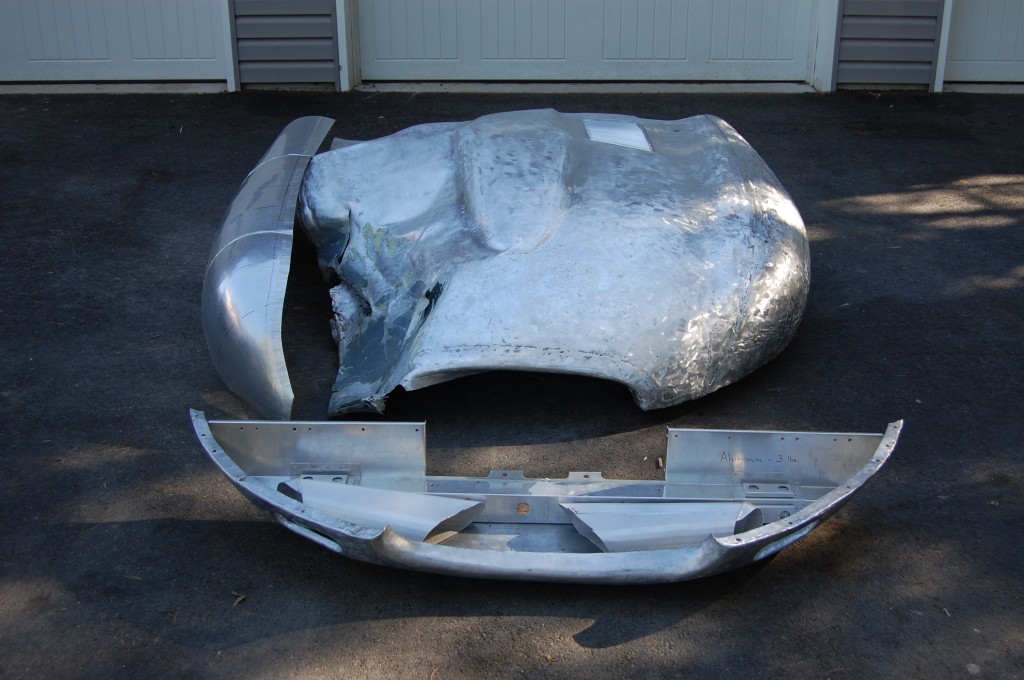
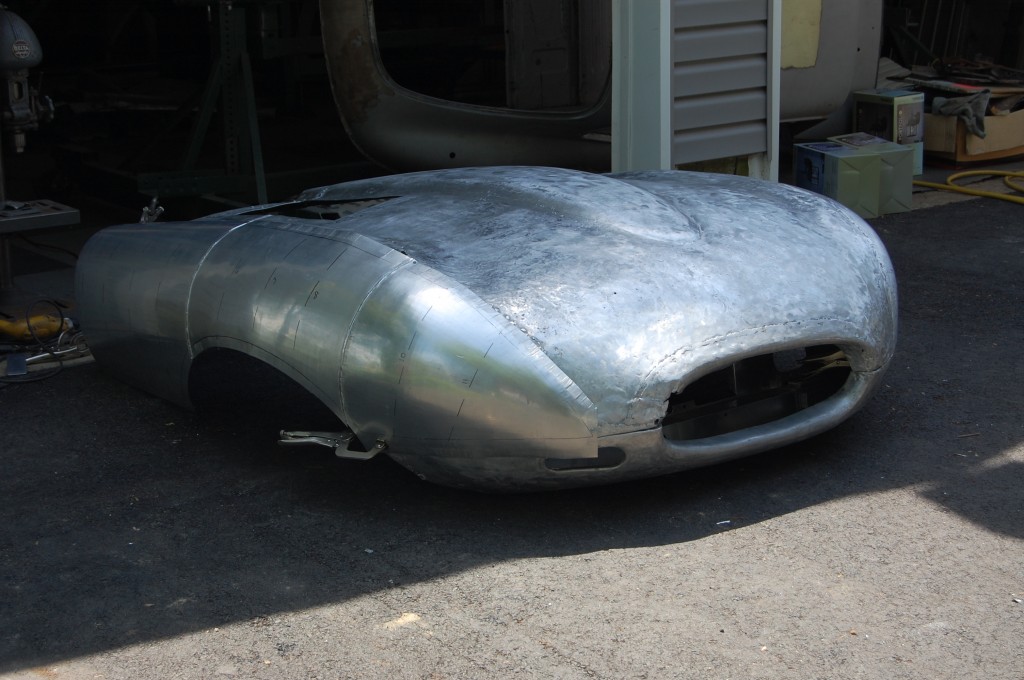
- …and some fabrication and 25 lbs. less of filler and paint, and here’s where we left off last Friday.
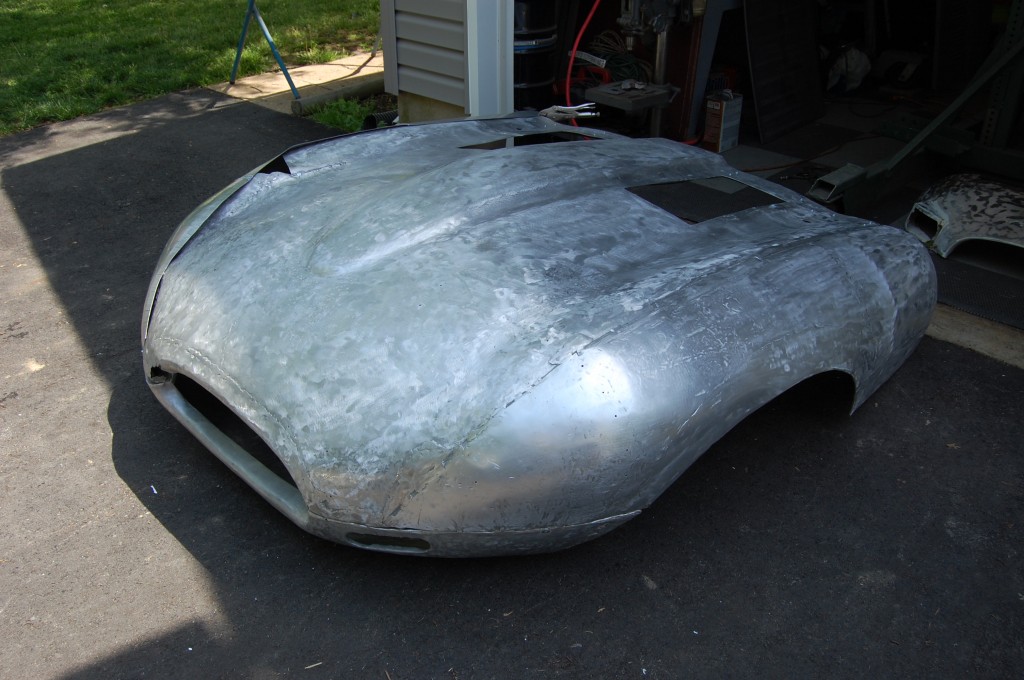
- Now in this shot, I’ve already done DAYS of hammer and dolly work since the last photo. It has been a real battle between me and this piece of aluminum. One of use was going to be beaten into submission by the other… Earlier this week, I was really starting to think that was going to be me…
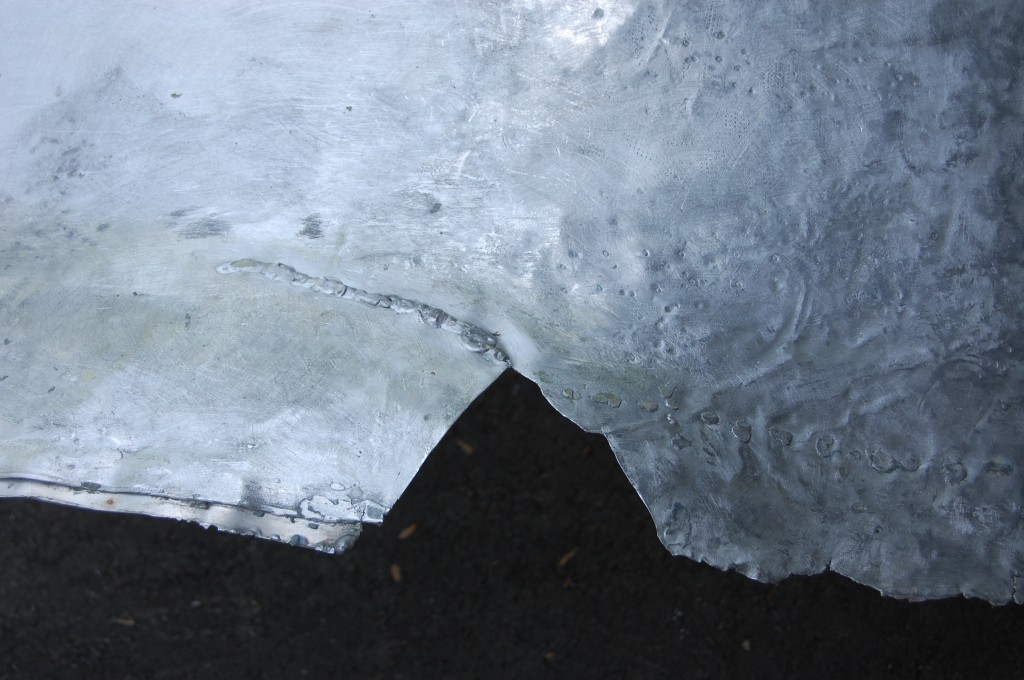
- We found out that the whole RH side was not only kinked and bent in half, but the metal on the two sides of the kink was flattened out. I ended up completely reshaping the RH side of the power bulge to get the proper curvature back in – THREE times! Then it was time to move on to the RH forward quarter of the center section. The part that makes this tricky is this big tear for one, and also the reverse curve in the outer edge – you know, that “valley” that runs up the sides of the bonnets just inside the wing to center section flanges…
- I got this far, and the tear needed to be welded to move forward. I had been having Charlie do all of the welding on this bonnet to play it safe, but time is tight and I don’t have time to set that all up. I need this welded up RIGHT NOW – so I pulled out the TIG and did it myself.
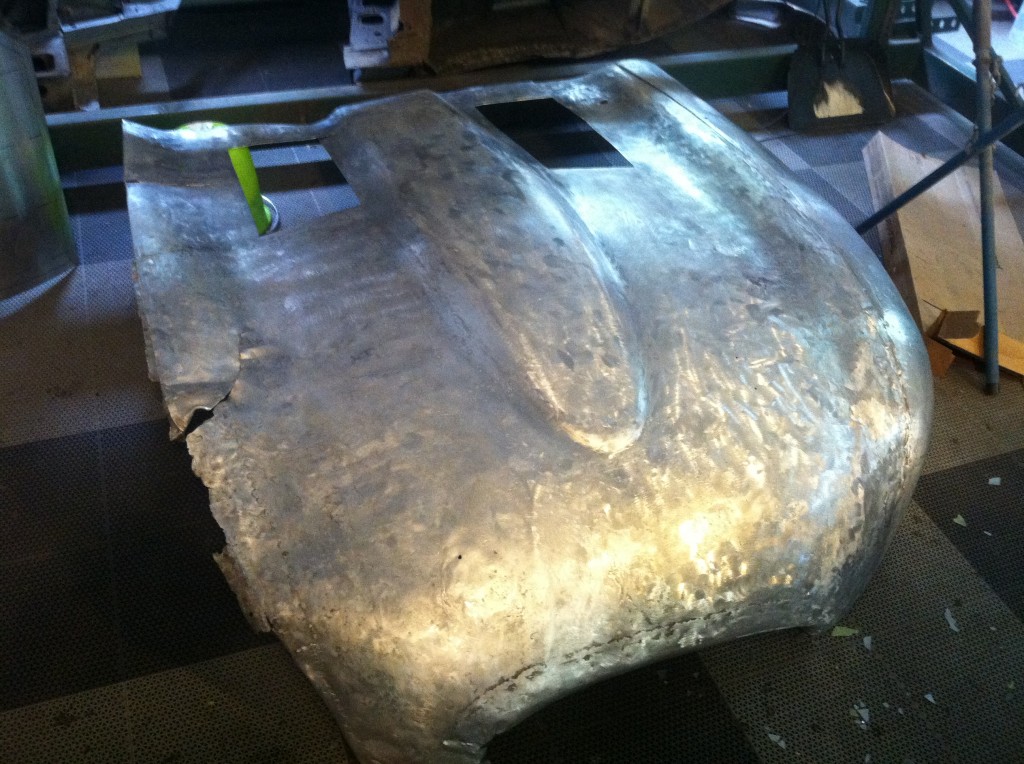
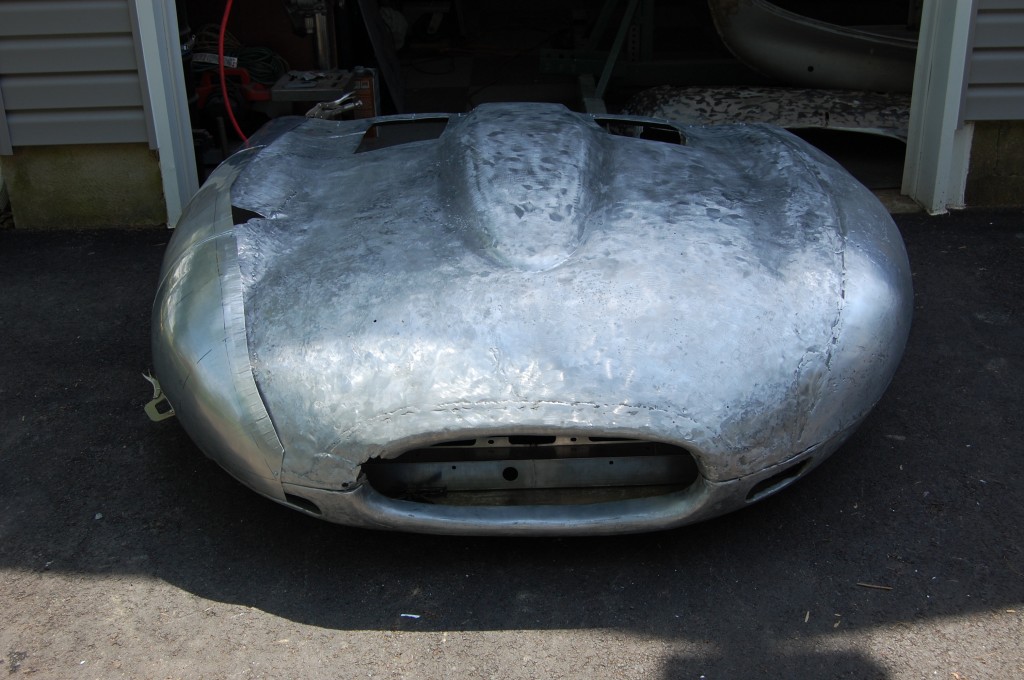
- Now in this shot, you can see that the center section is STARTING to come into shape, but it’s still a real mess… But the “good” area now extends past the RH edge of the power bulge, and that was a big accomplishment. ALOT of smoothing and planishing has been done as well that does not show up in this photo, but you’ll see it in photos down further.
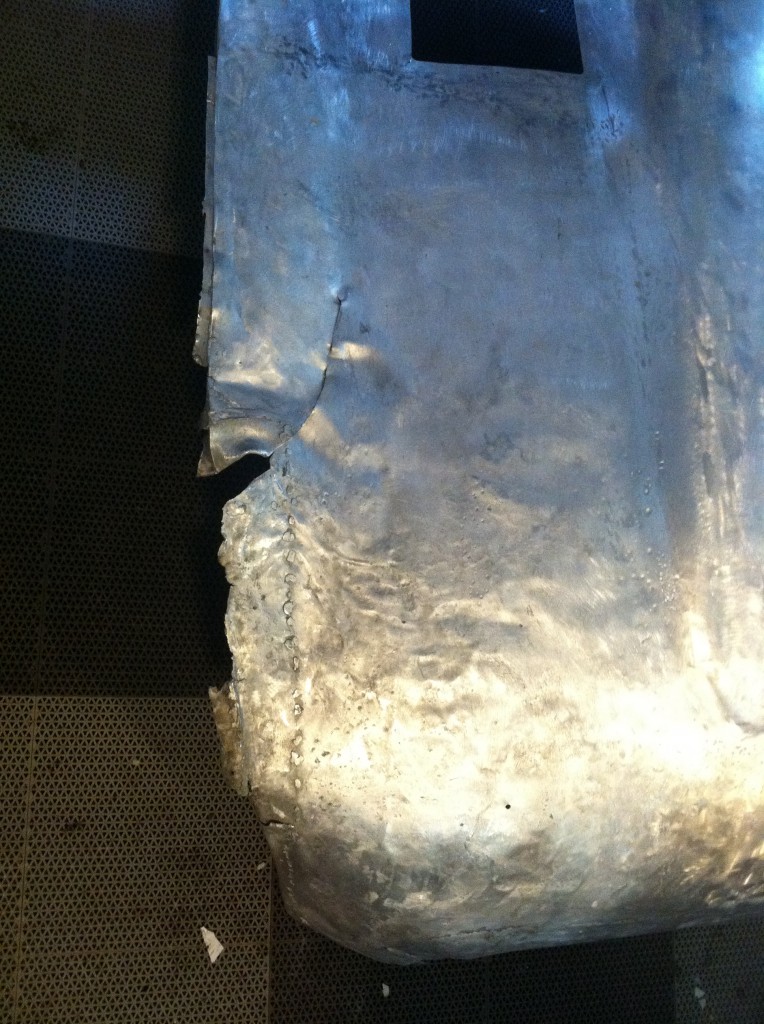
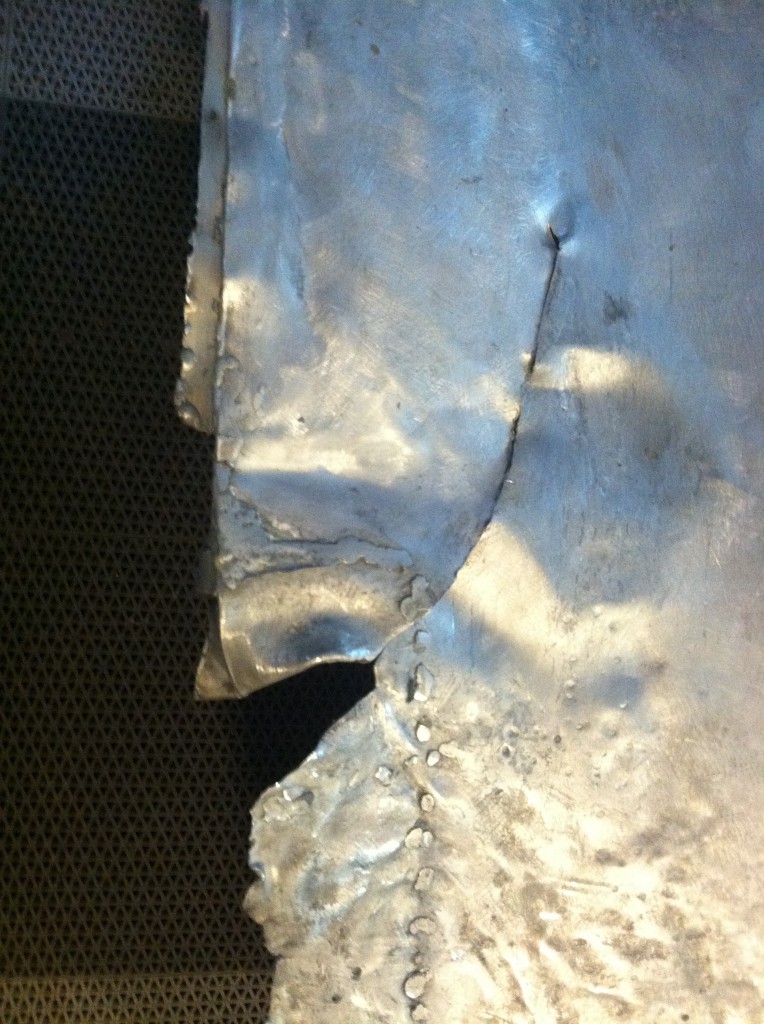
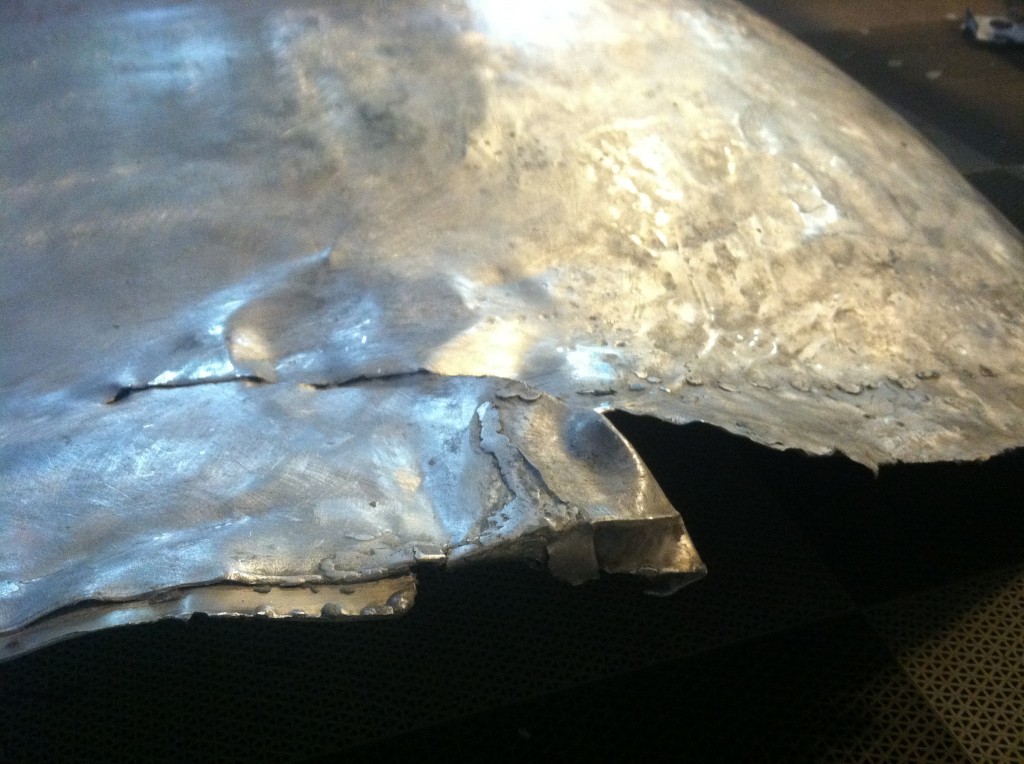
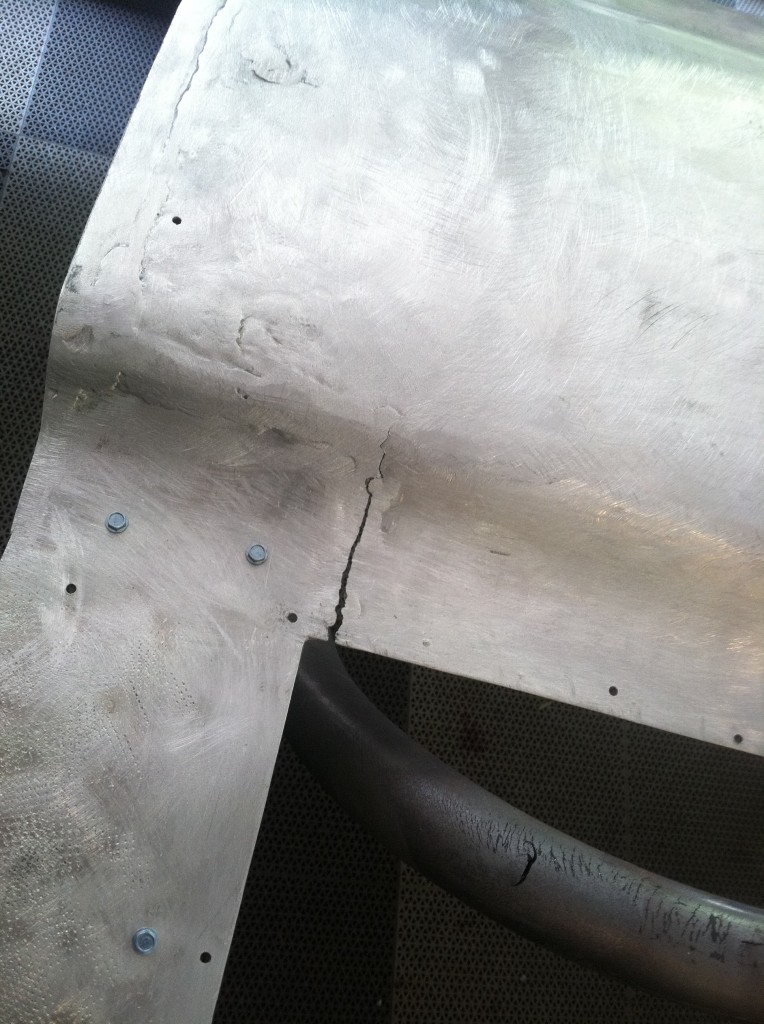
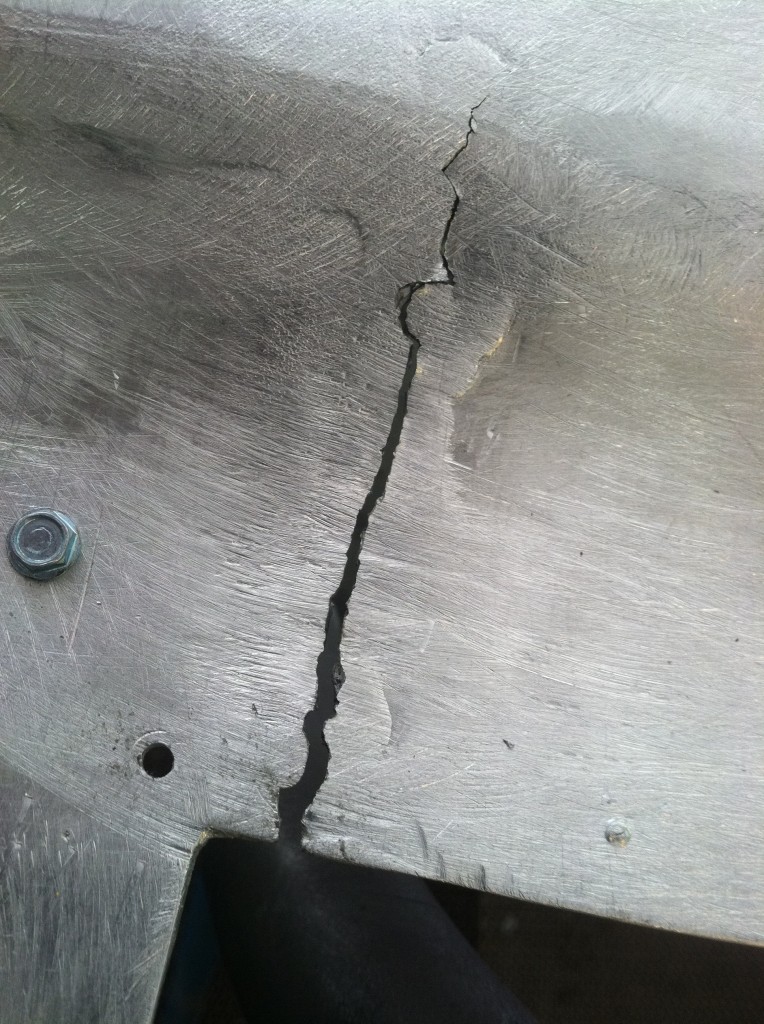
- This had started to tear a little bit from the accident, but after the battle with the power bulge, this totally blew out… The entire section behind the louvers is a seoperate piece added in later, and unfortunately it’s a much harder aluminum – probably 6061 or something…
- Here’s a close-up.
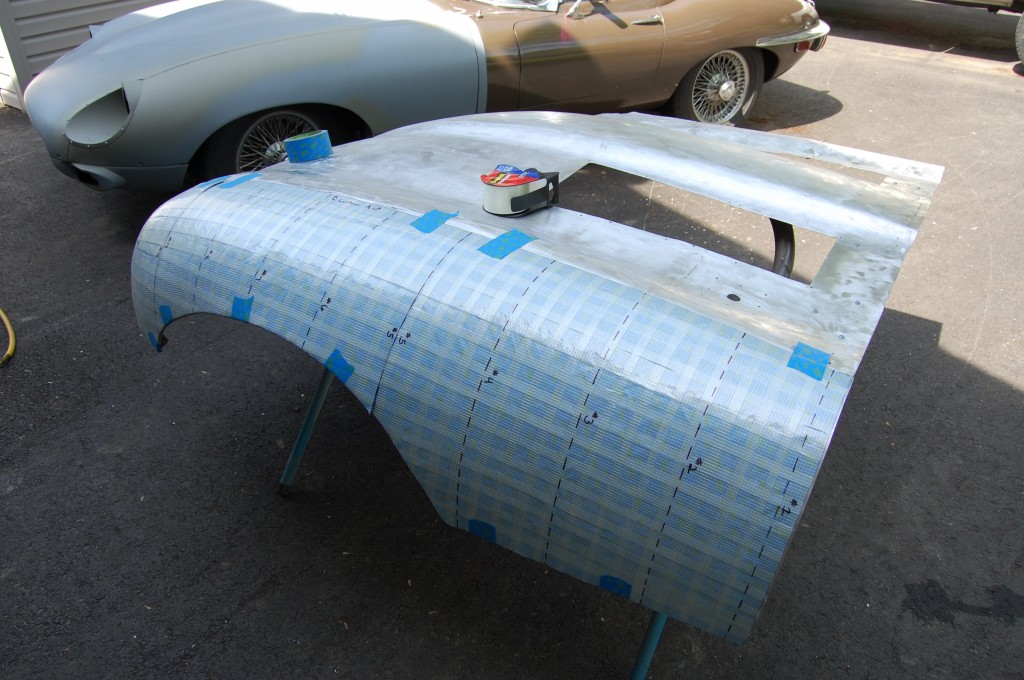
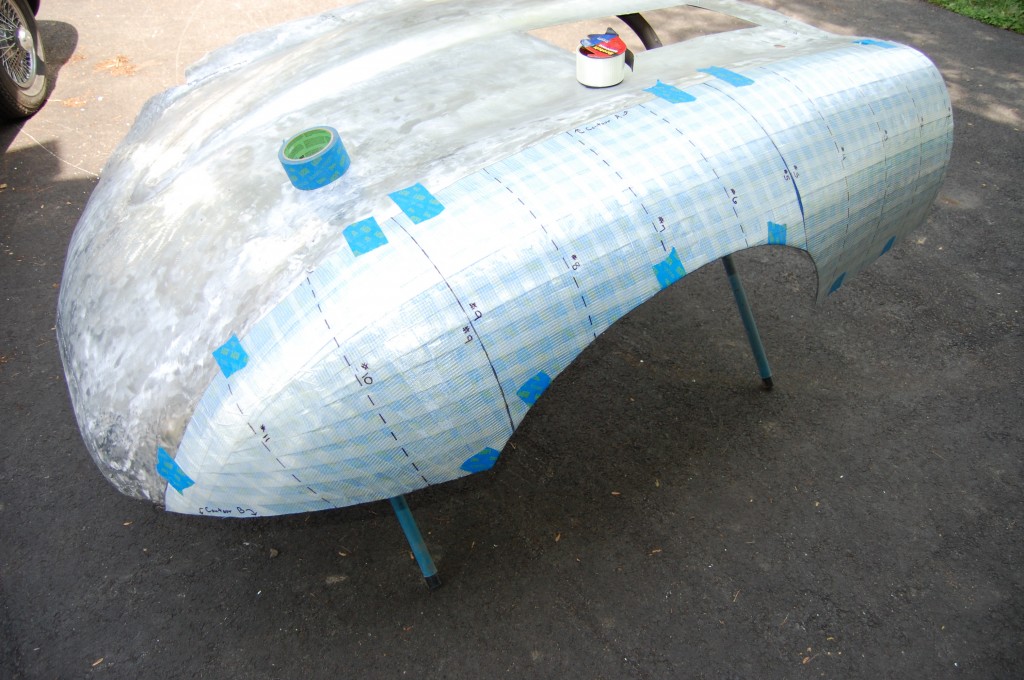
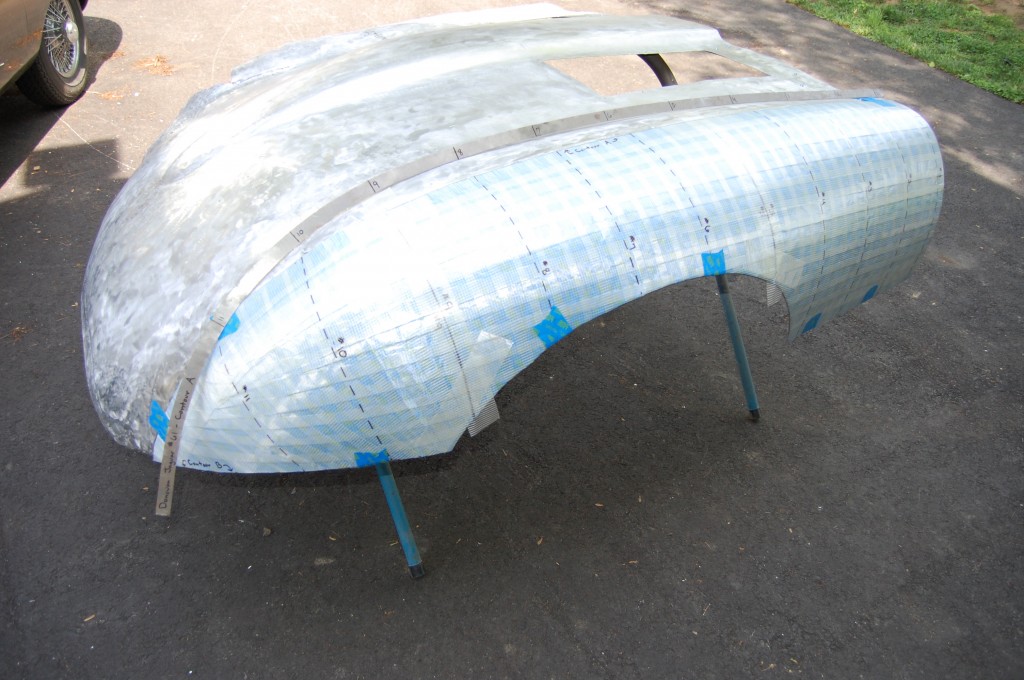
- After welding up the tears and more work, it was time to pull the flexiblae shape pattern back out and tape it back into one piece.
- We are also checking the pattern against what we have now versus the earlier filler-smoothed surface with false seams carved into the surface of the filler.
- It’s actually pretty close. Also – this sure does seam to fit well based on the fact that everything under there was found to be a MINEFIELD of bumps and agry welds. Hmmmm – wonder why that is?…
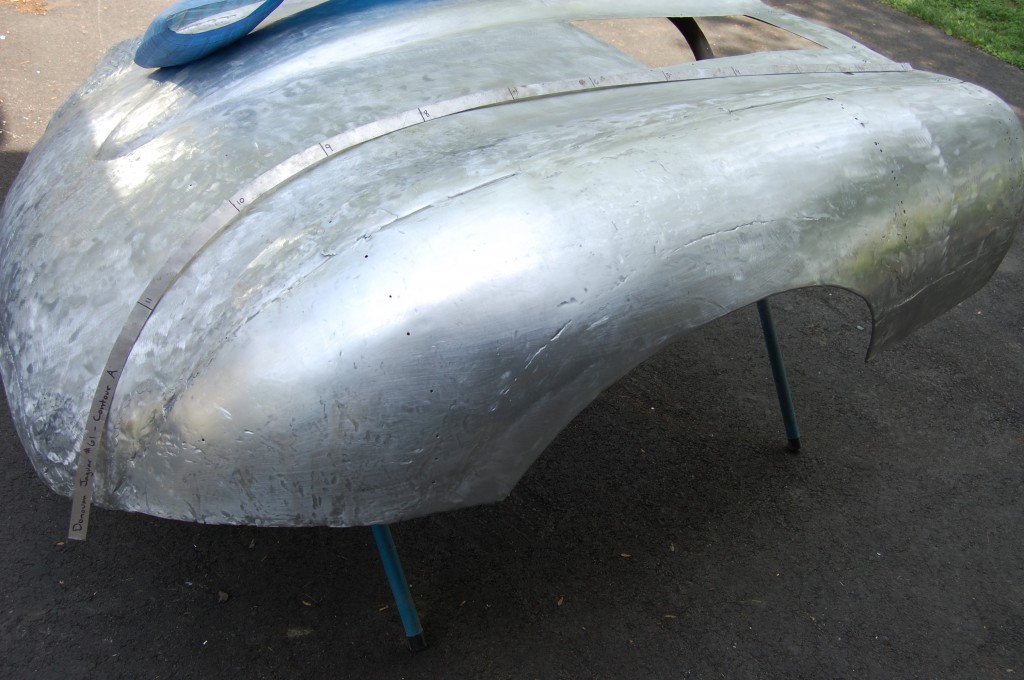
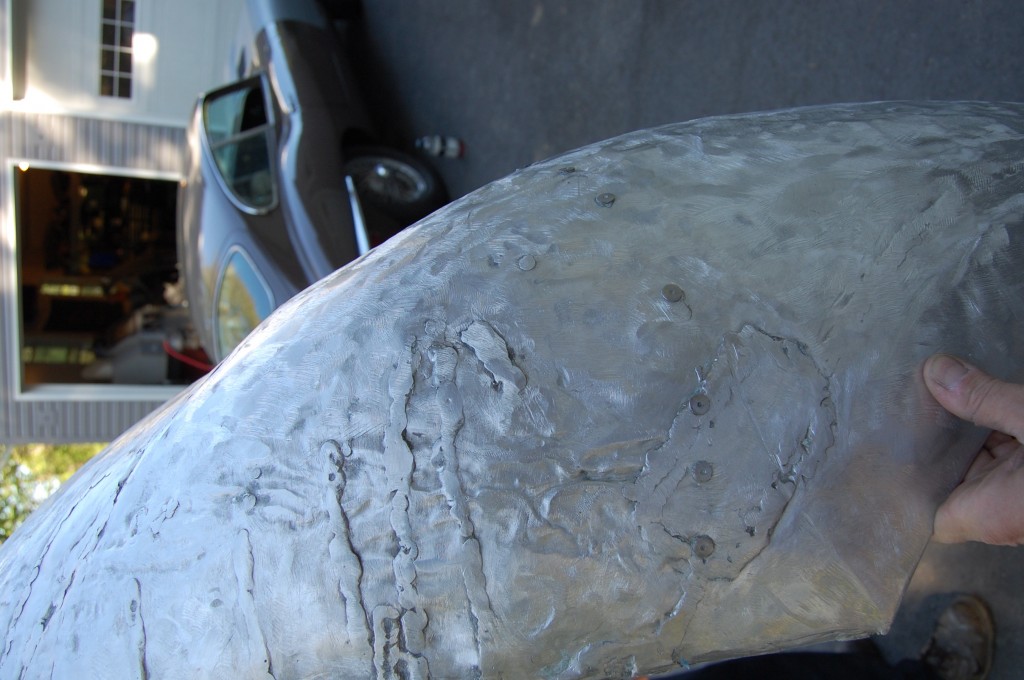
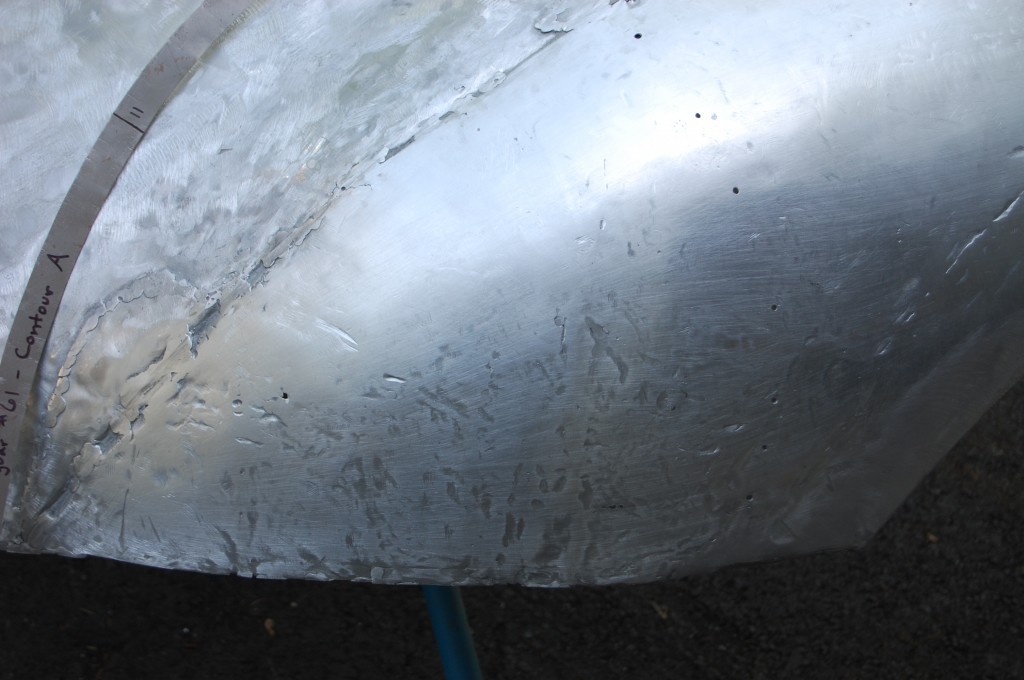
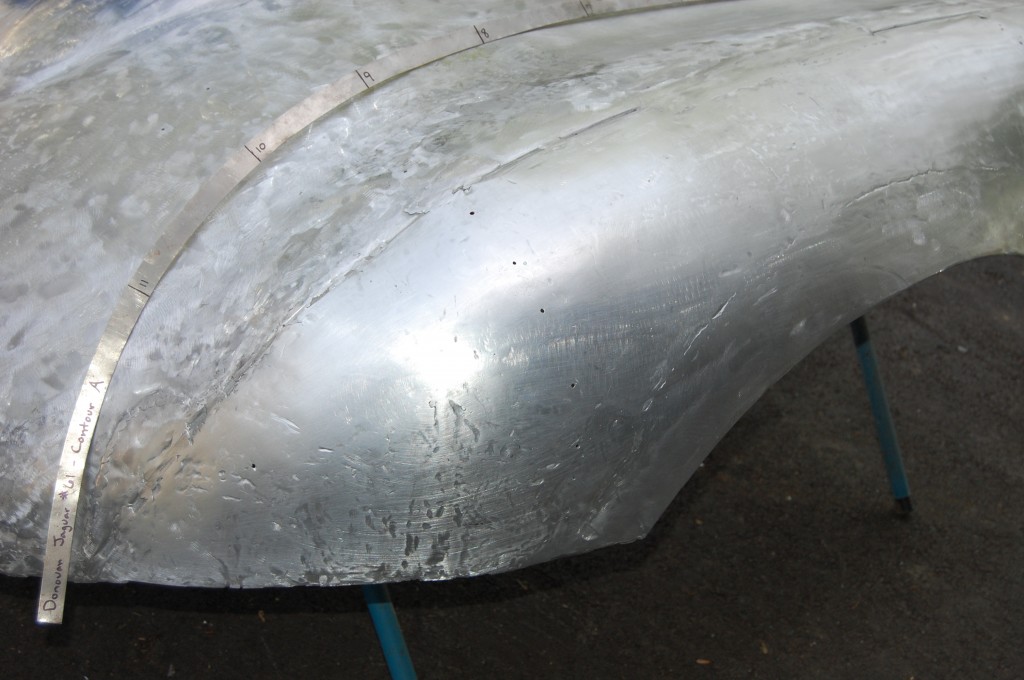
- Here’s the reason – a full day of hammering, slapping, shrinking, planishing, grinding, filing, sanding – you name it, and we used it to get this surface as uniform as possible!
- Remember this?
- Compare it to this! Not too shabby, huh!?!
- I’ll admit this is nothing to write home about still, but we are LIGHT YEARS ahead of where we were, and this wing can now be painted with MINIMAL filler – vs. maximum…
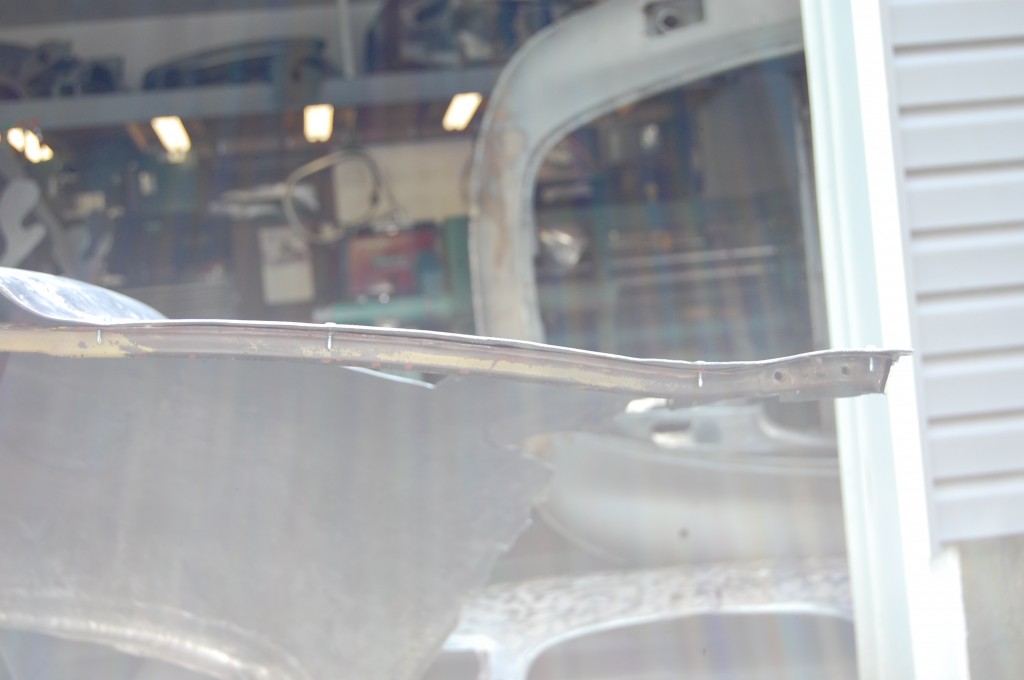
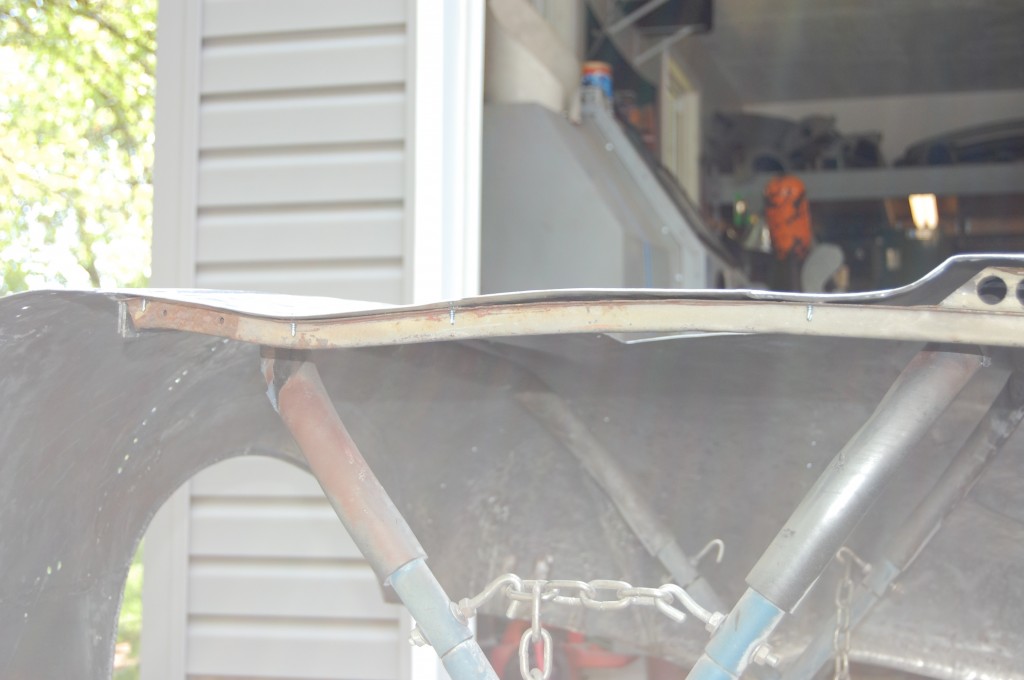
- Another thing we did was to temporarily screw in a straight, original steel rear main support. I had to get this in there to get the shape in the back there and do some flattening and smoothing around the RH louver cut-out.
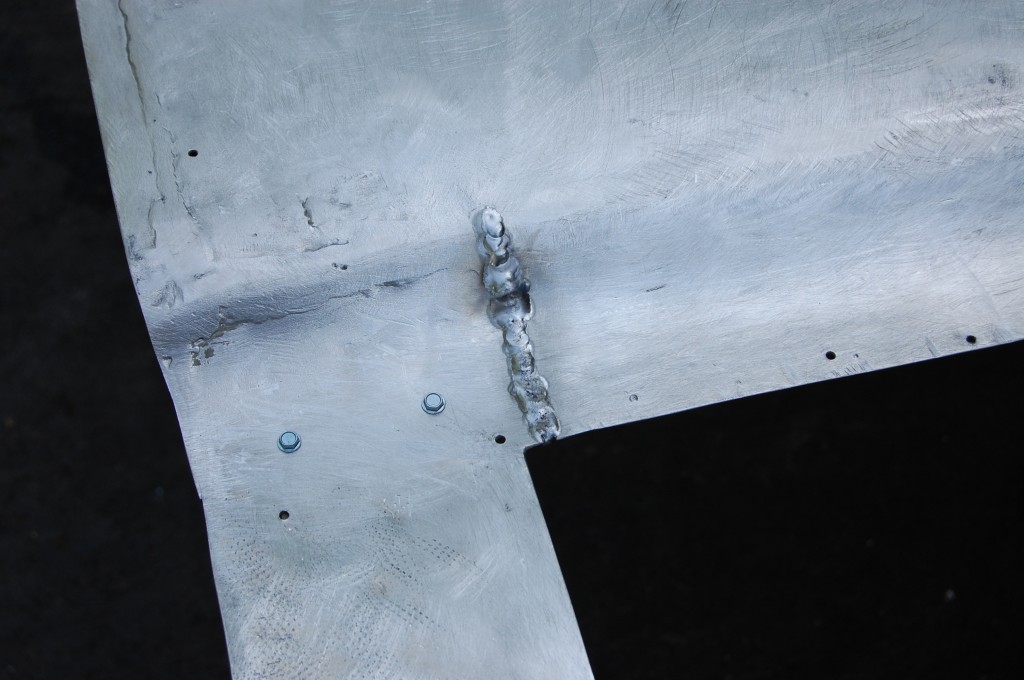
- Not the prettiest aluminum TIG weld, but actually, it’s as good or better than most of the other welds already on these panels.
- Here’s another one – I went heavy on the filler and will have to go heavy on the dressing off, but it’s a strong weld and now this problem is taken care of too.
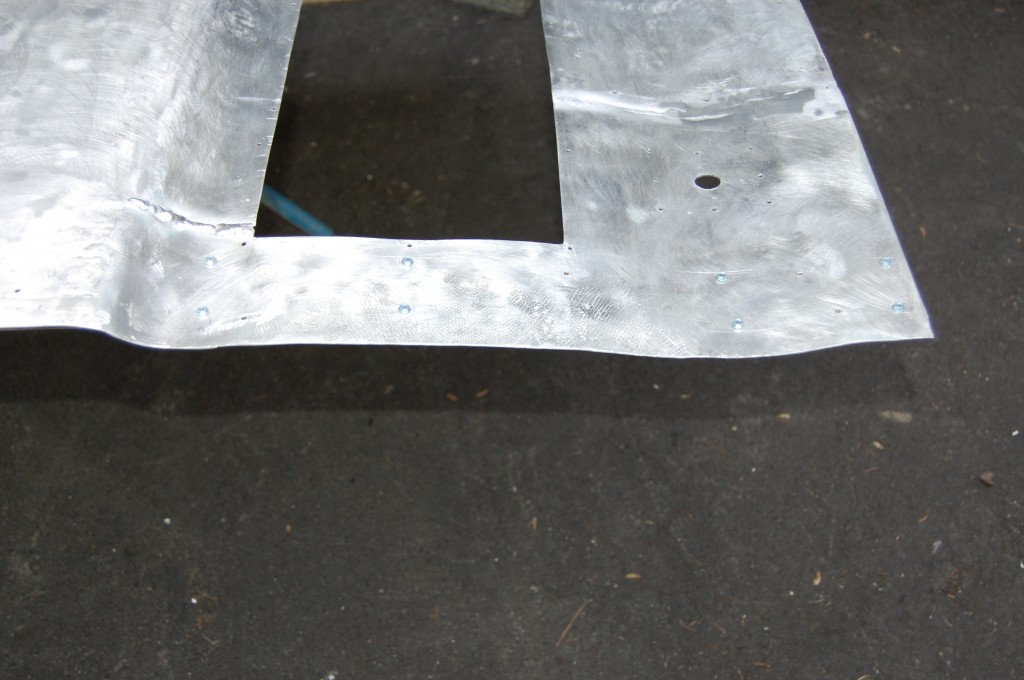
- I screwed the steel support in with small self-tappers, using holes left by rivets holding the aluminum piece in the past.
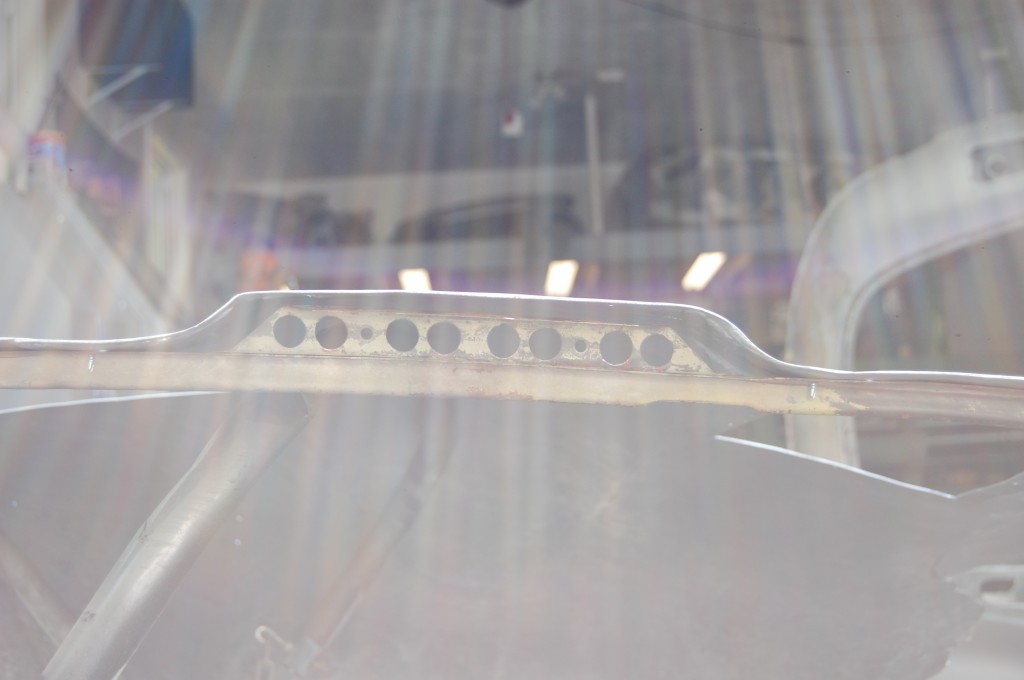
- Getting the steel support in there was a BIG help for the shaping. I never realized how spoiled I am having 20 bonnets around all the time to pull measurements and contours off of. With this bonnet, this was the ONLY area that was stock! The sunbeams in the photo are cool…
- Another shot of the steel support in place temporarily.
- This bonnet has this piece in aluminum, but man, it has seen some HARD times…
- OK – so then this morning, I finally get the underpanel bolted and clamped into place to see what we’ve got. After some bending and more slapping, I think the center section is getting close! Then…
- YEAH BABY!!! GET SOME OF THAT!!! Oh My God, I think I’m actually going to pull this off!
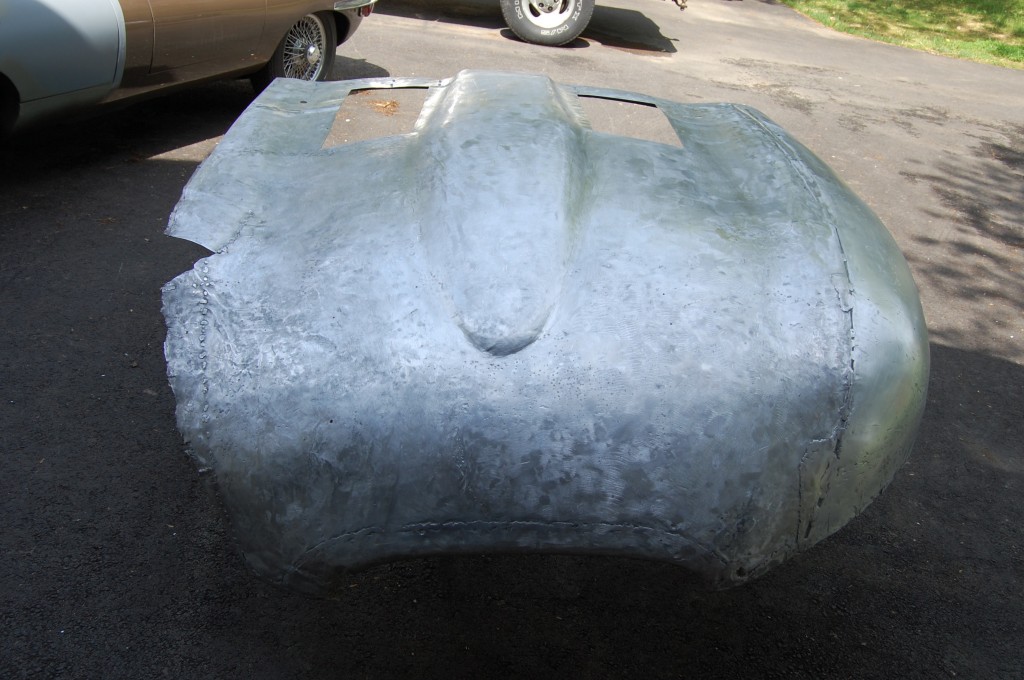
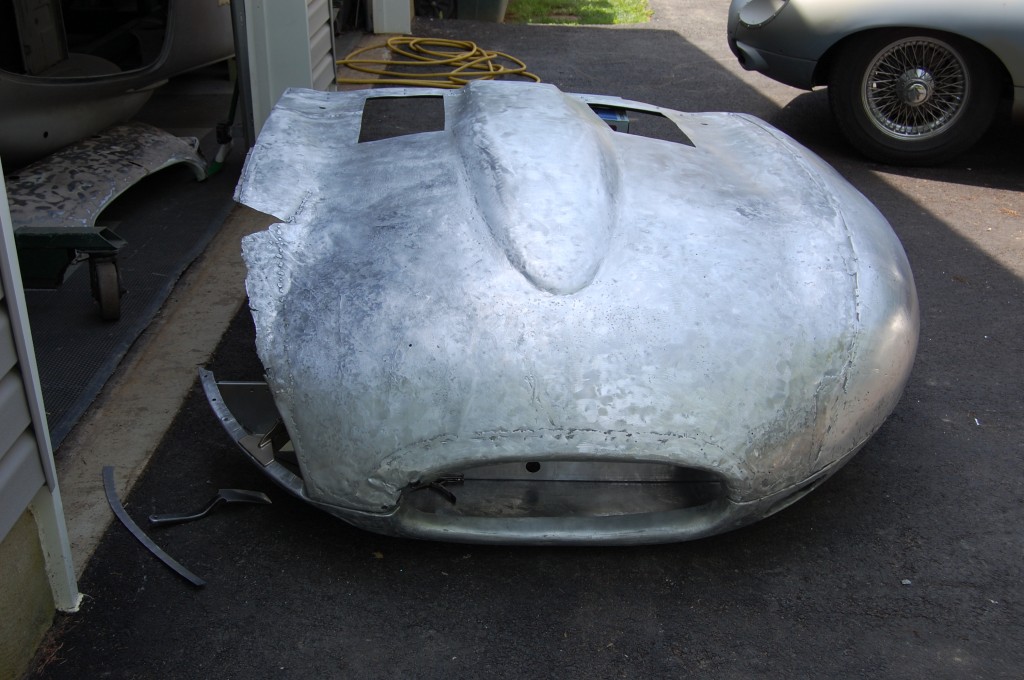
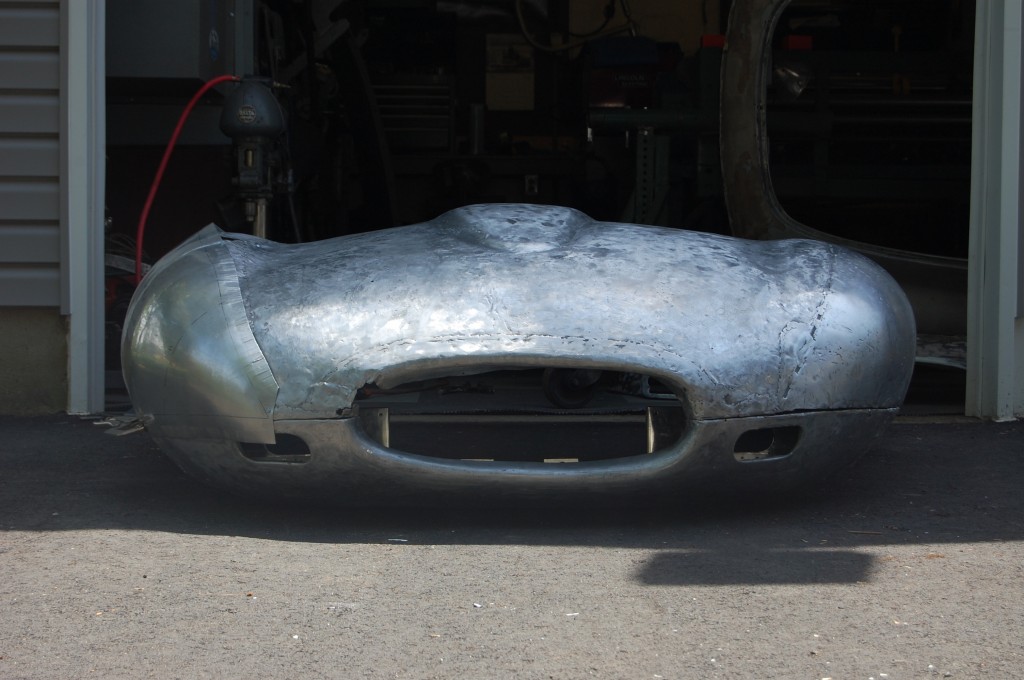
- Here’s a shot from further back. Yes – there is still ALOT of work to do – the mouth needs alot of help, the whole right edge of the center section is a train wreck, the new wing is far from complete, but man, we are in the ballpark!
- This was just the confidence boost I needed to push through and finish this up. It has been a TOUGH week with trying to reshape the center section – Thank God it was aluminum – I don’t think I could have done it in steel – there was that much hammering and slapping (some of it in a blind rage of screaming obscenities and hitting that thing as hard as I could drive…)
- After this week, I am DEFINITELY going to the races – I need to see this project ALL THE WAY through to the finish!
- Wow… I can’t believe it! Stay tuned – By the end of this month, it’s Lime Rock or BUST!

