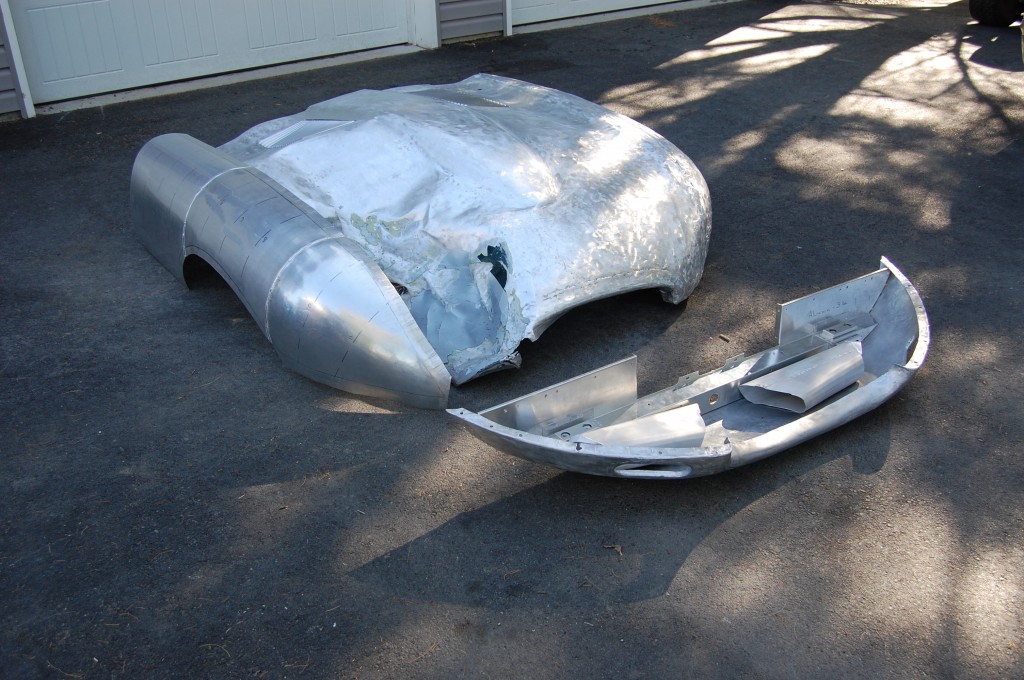
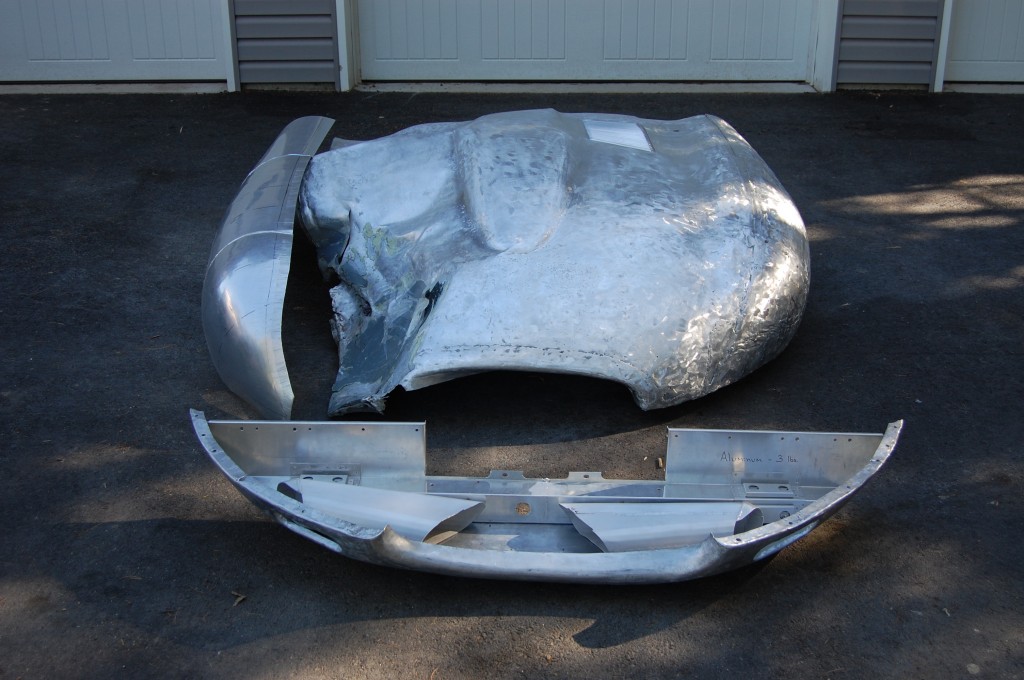
It’s vintage racing season already!?! – YIKES!
Time flies when you’re having fun… We picked up the Donovan Motorsports racing bonnets in December, and I felt like there was “Tons of time” to figure out this aluminum thing. Well, time is running out now – FAST!
Brian Donovan called about 3 weeks ago to tell me that he has decided to take the 61 car to the Empire State Jaguar Club races at Lime Rock on May 31st. So although we had started to mess around with the bonnet here and there over the Winter, it was a long way from something that could be put back on the car, and it was time to kick things into high gear.
I will need to devote nearly all of this coming week to this project, and I should be able to get this done in that time. After that, it is back up to Massachusetts to fit the bonnet to the car, and hopefully, we’ll be at Lime Rock to see the repaired bonnet at speed!
This bonnet is for the “61” car – it is an ORIGINAL Jaguar aluminum racing bonnet that is one of 2 built without any headlamp provisions. I’m sure some of you are thinking, “Yeah, right…” – and to be honest, I had my doubts as well, but after spending this much time with it, I am SURE that’s what it is. The lower valance support members and the rear main support are EXACT aluminum versions of the steel factory pieces. There’s just no way you could make them this perfect without the original presses.
Brian also has paperwork on the car dating all the way back to the 60’s – including validation that this is an original Jaguar piece. Apparently, this bonnet was challenged by a competitor in 1968, and the sanctioning body certified it as authentic at that time.
I am doing everything I can to rebuild what is still salvageable, while fabricating new pieces that are as correct as possible. Here are some photos of the project so far – keep you fingers crossed that we can get this wrapped up in time!
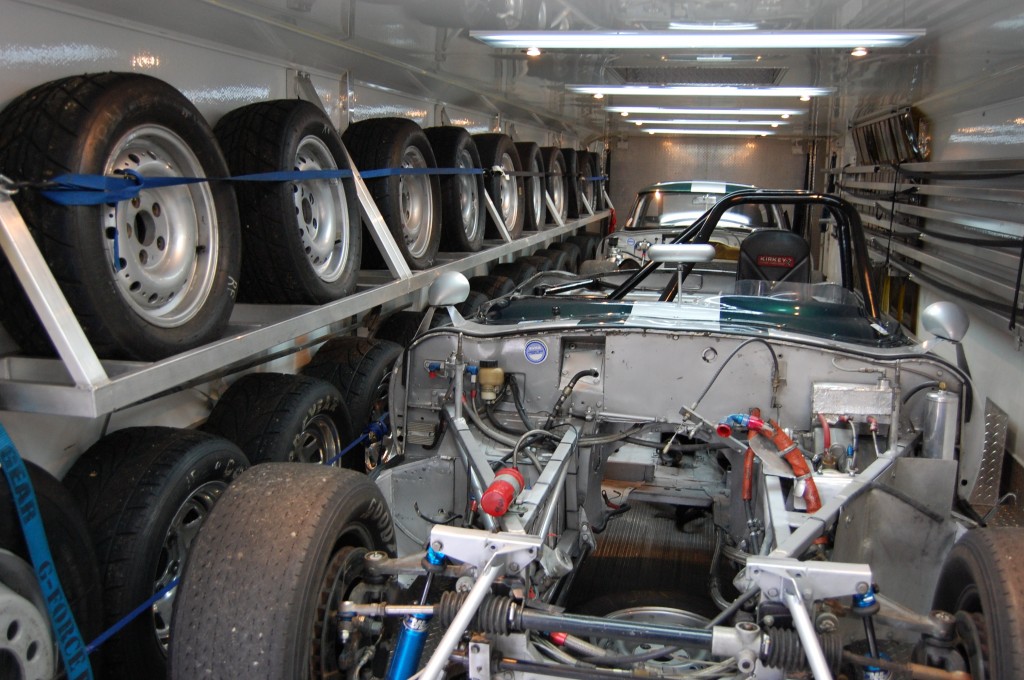
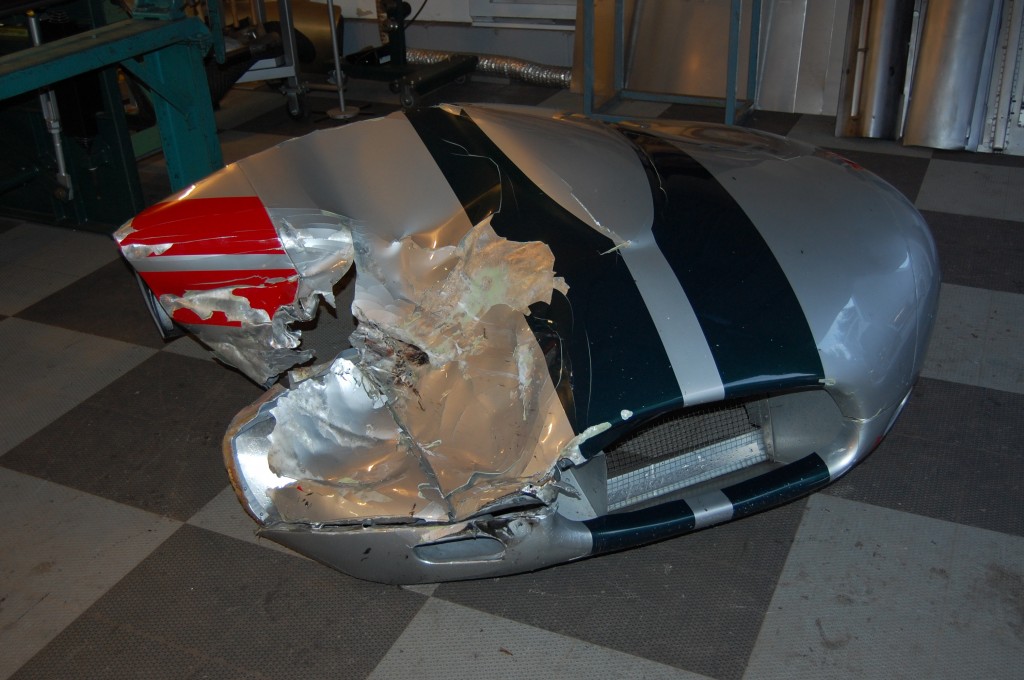
- Let’s recap – here is the 61 car in the Donovan trailer in December – a LONG way from track ready!
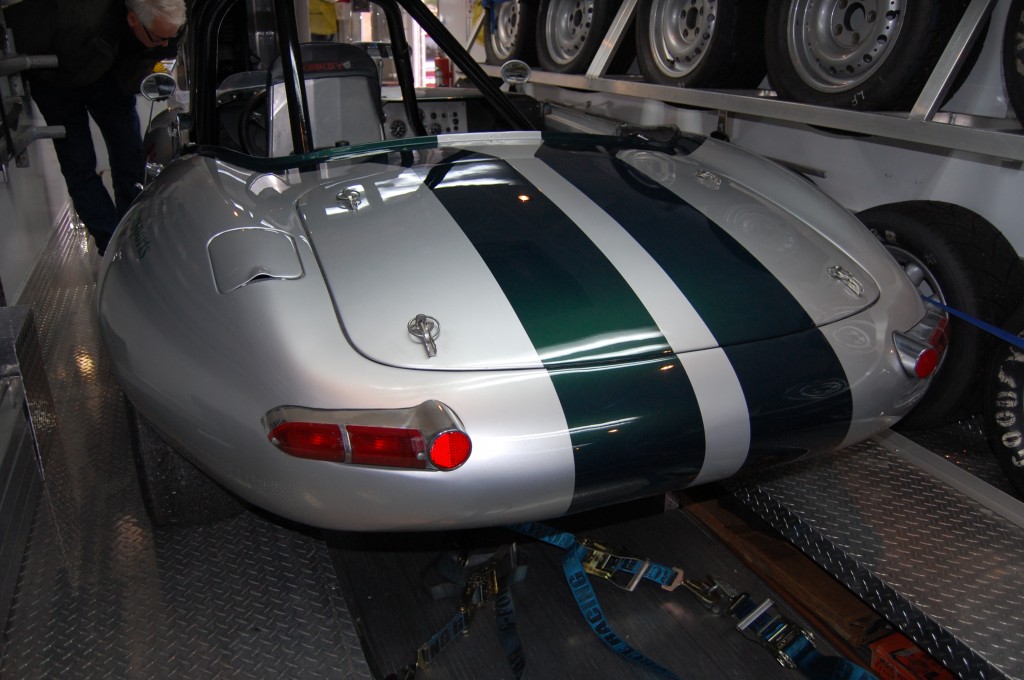
- The tail is smoothed out, and WIDE!
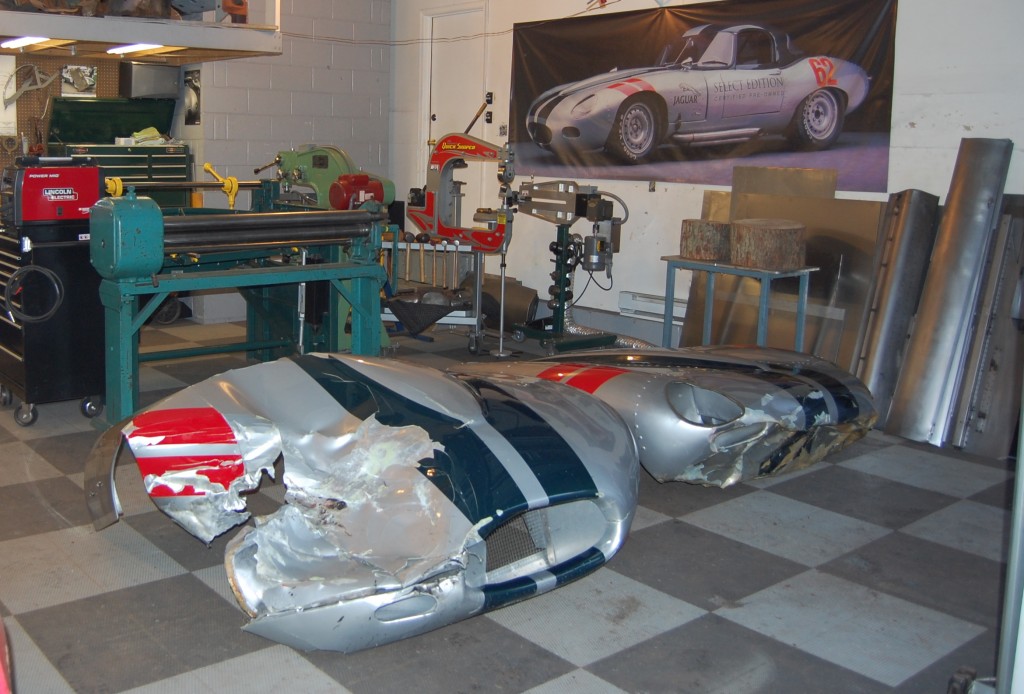
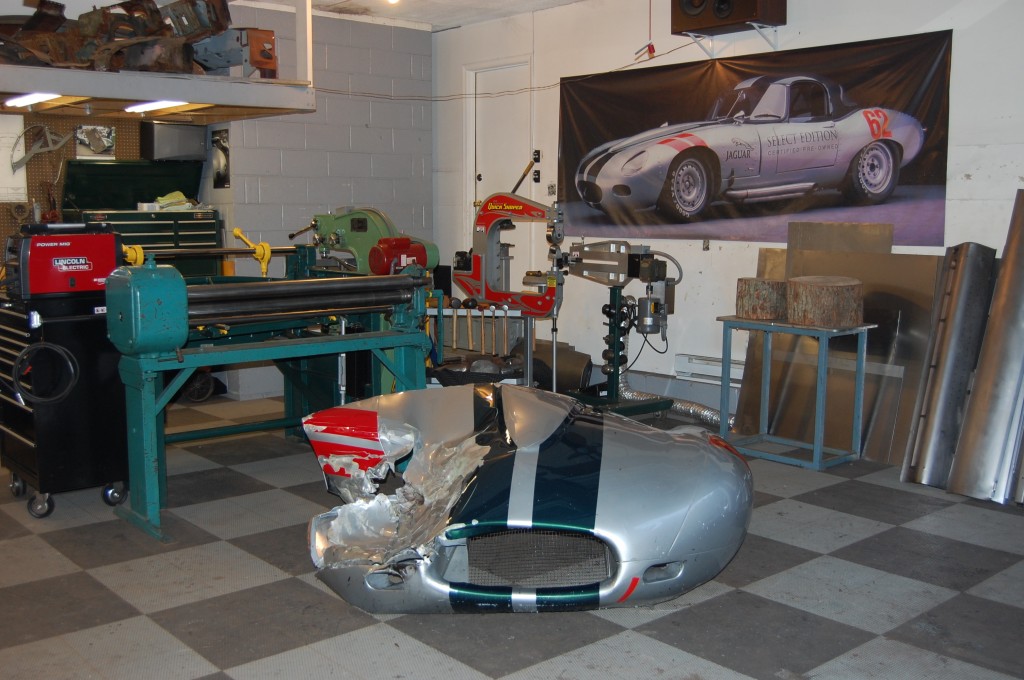
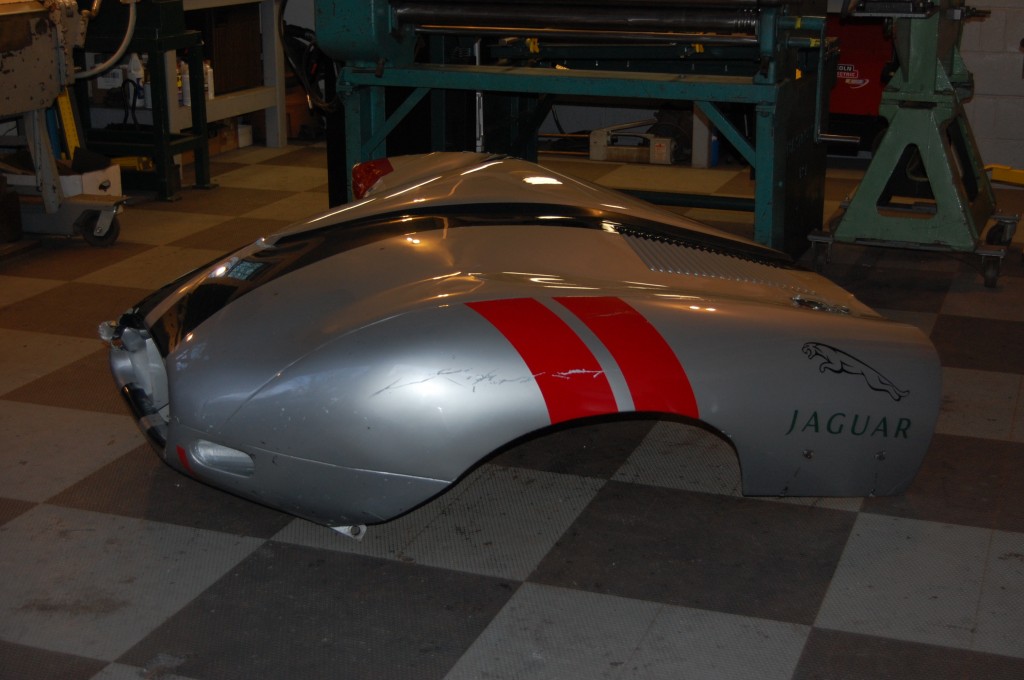
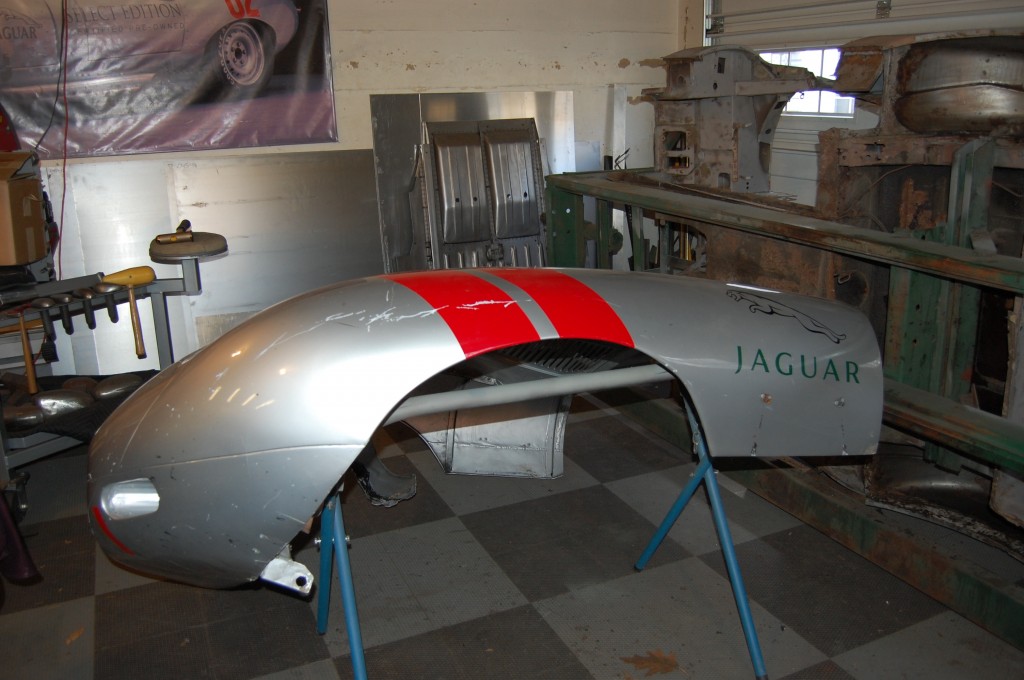
- Here are the 61 and 62 car bonnets back at the shop. The 62 bonnet in this photo is THE bonnet from the poster on the wall – in better days…
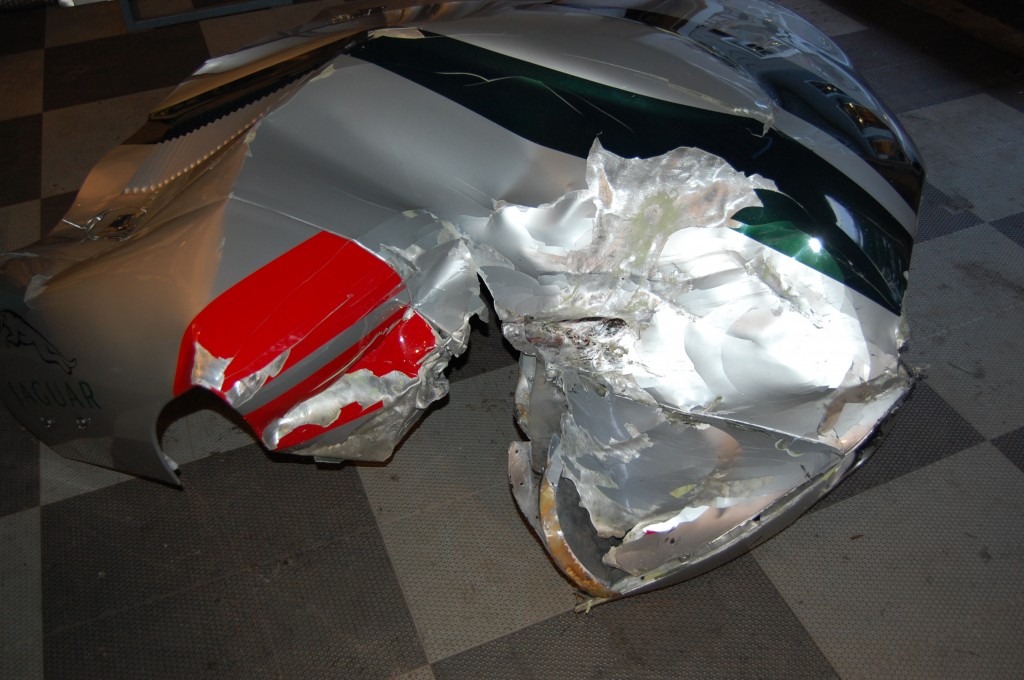
- This is a mess, but 1/2 of it is OK, so it should be repairable by using the good half as a pattern.
- The plan was to fabricate a new RH wing, a new section of the center section, and reshape the lower valance.
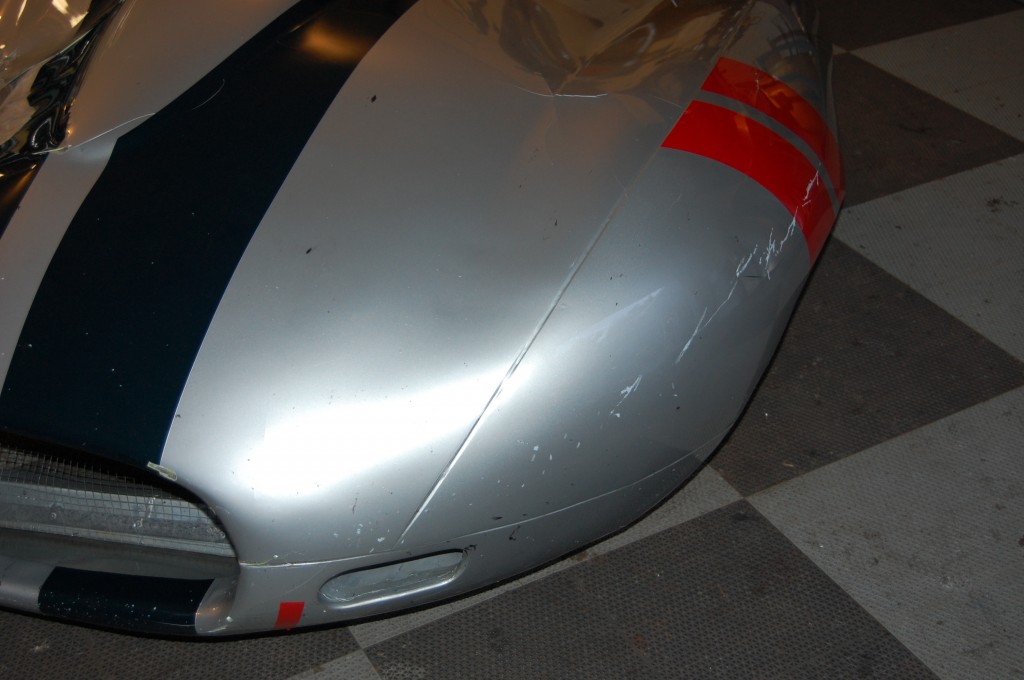
- Looks pretty good from this angle…
- And this section is in GREAT shape – or so it seemed…
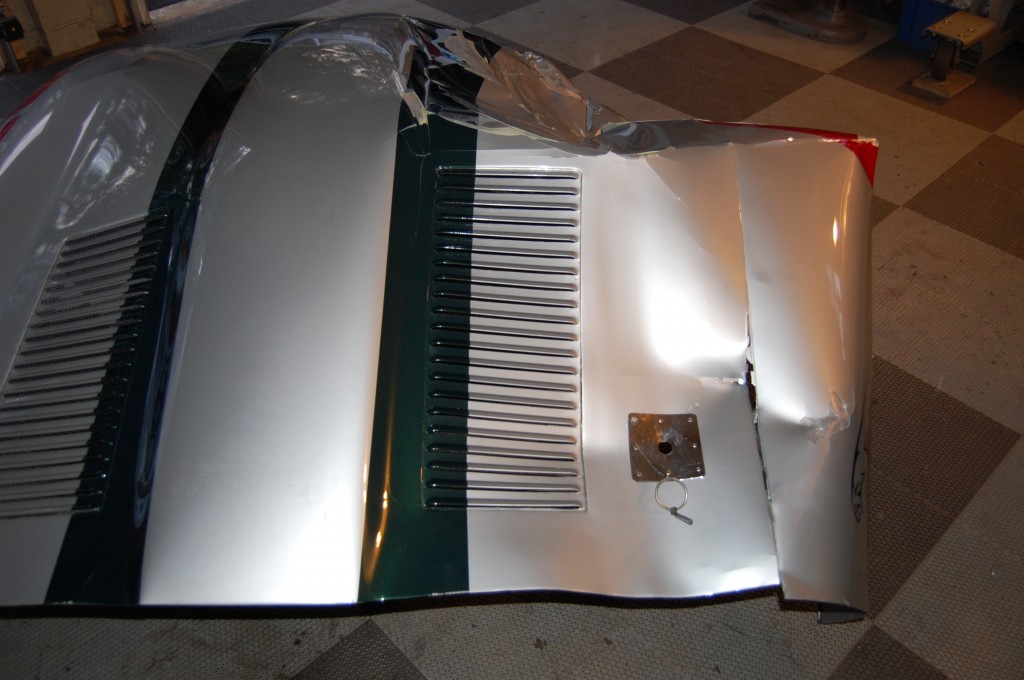
- These wrinkles back here looked tough in December, but I’m getting better at heavily wrecked center sections all the time (even after 25 years of it!), so this looks like no big deal now – especially in aluminum, which I am learning moves easily.
- This whole section will need to be replaced with new aluminum.
- Fast forward to February, and we’re ready to start.
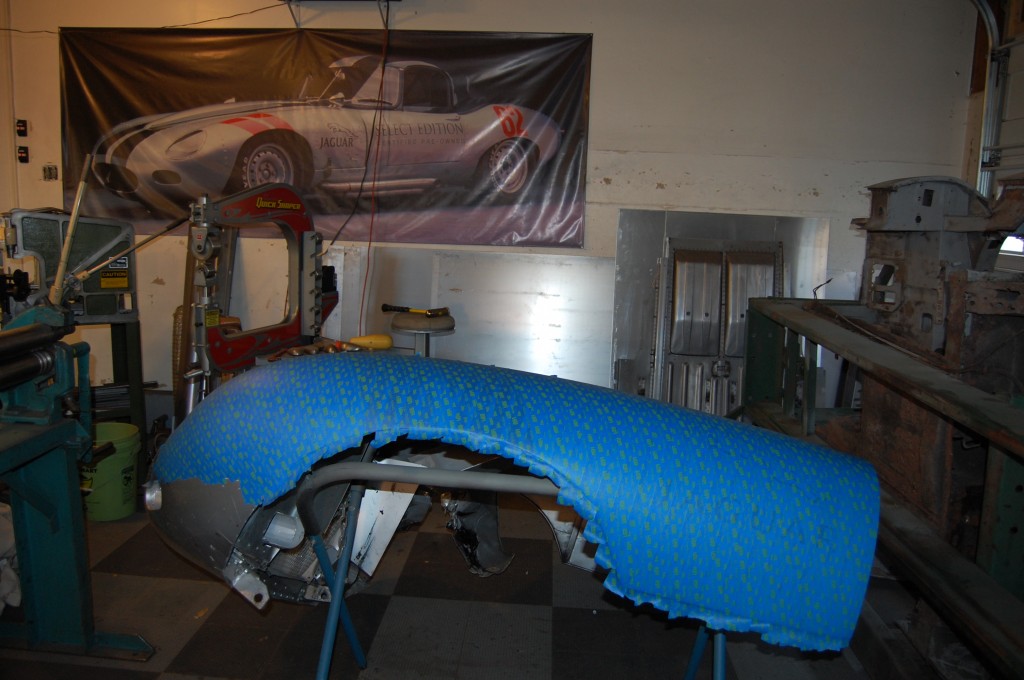
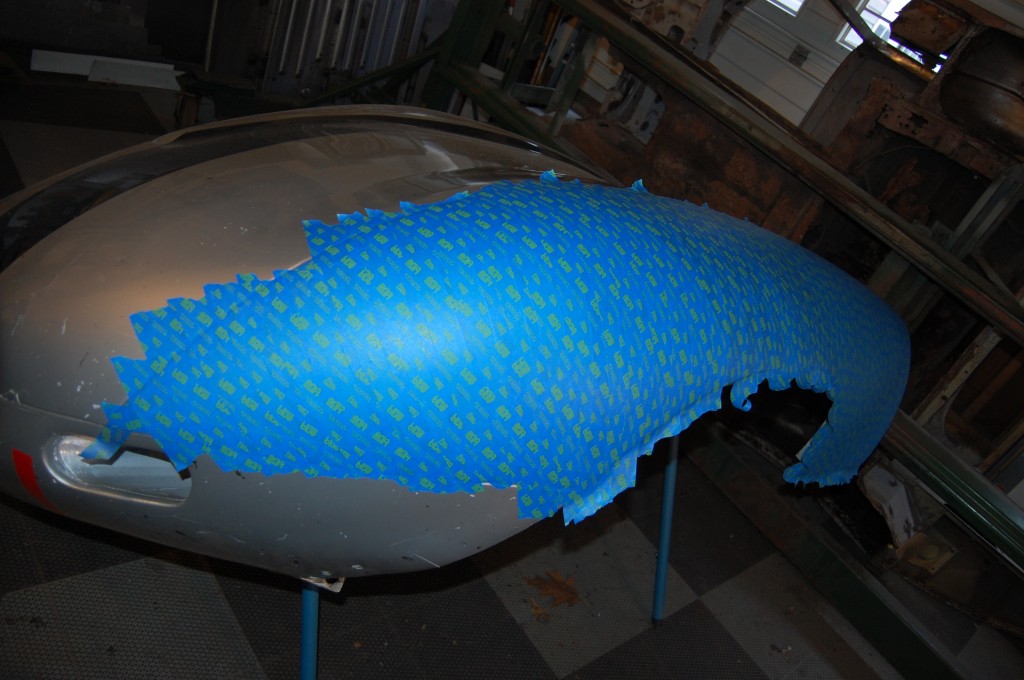
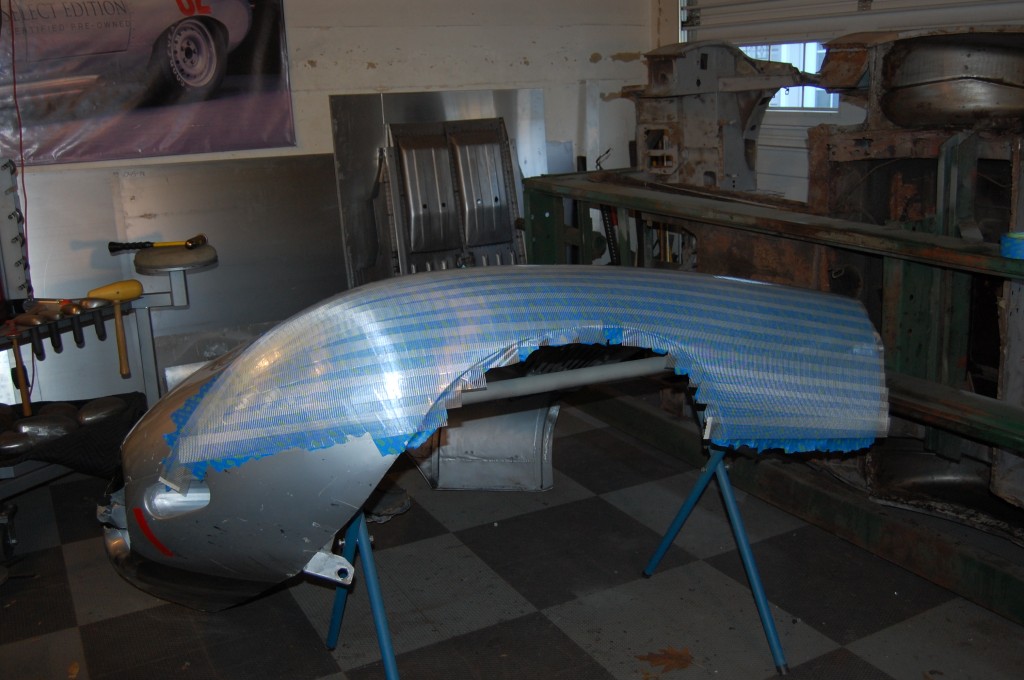
- Step 1 was to pull a “Flexible Shape pattern” from the good wing. This is the first layer of low-stick tape.
- You would be surprised how long it takes to do this right…
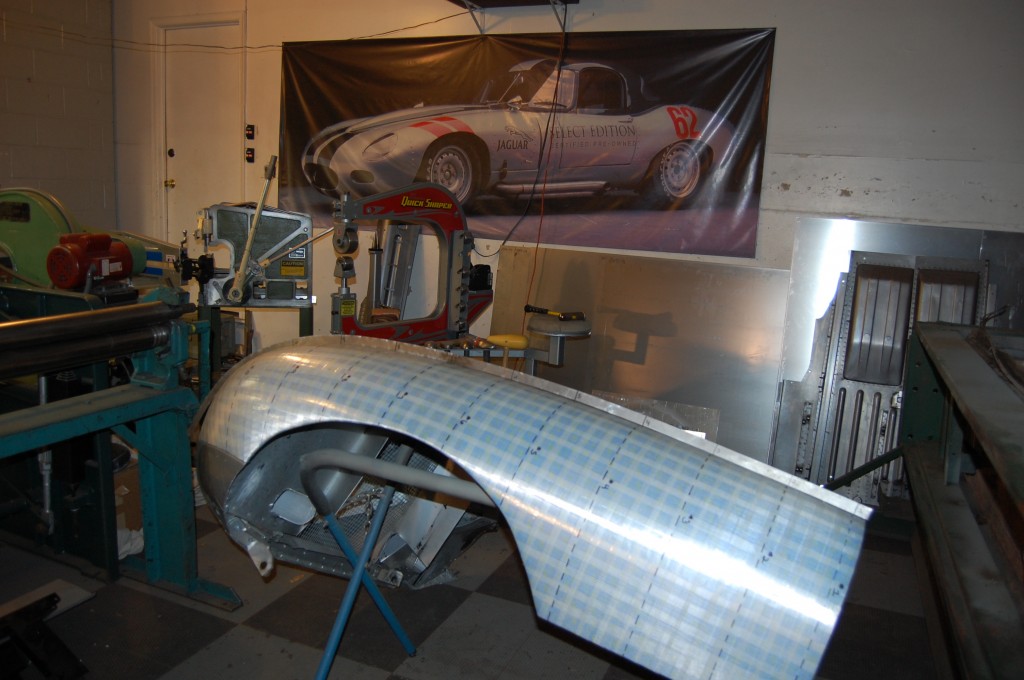
- Next is a layer of fiberglass reinforced tape.
- Then another layer in a cross direction. All through the project, the poster in the background has provided encouragement.
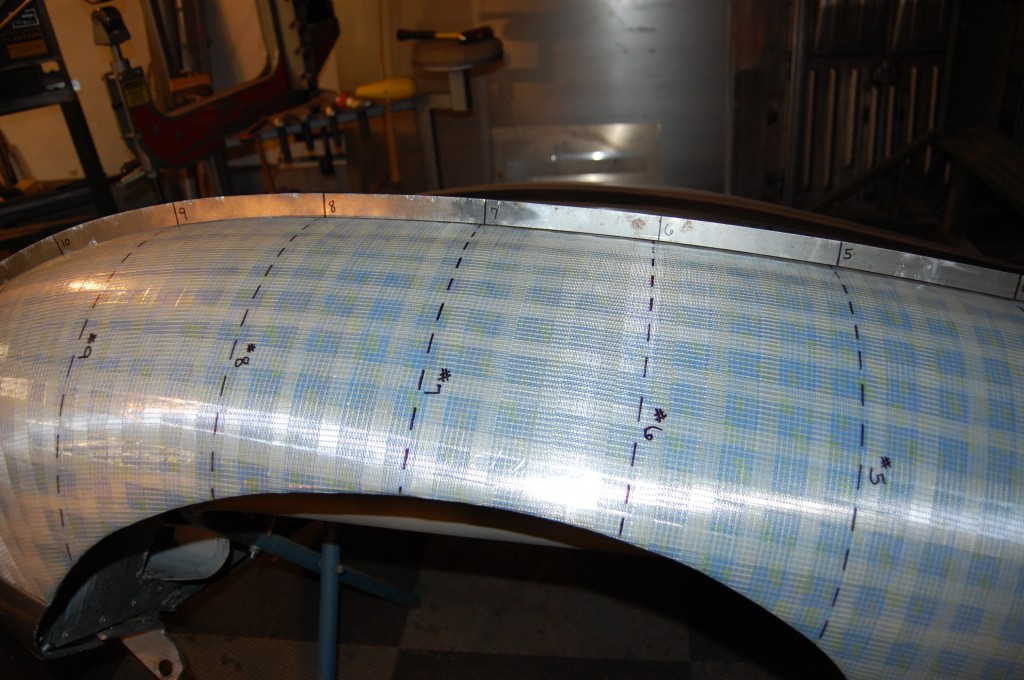
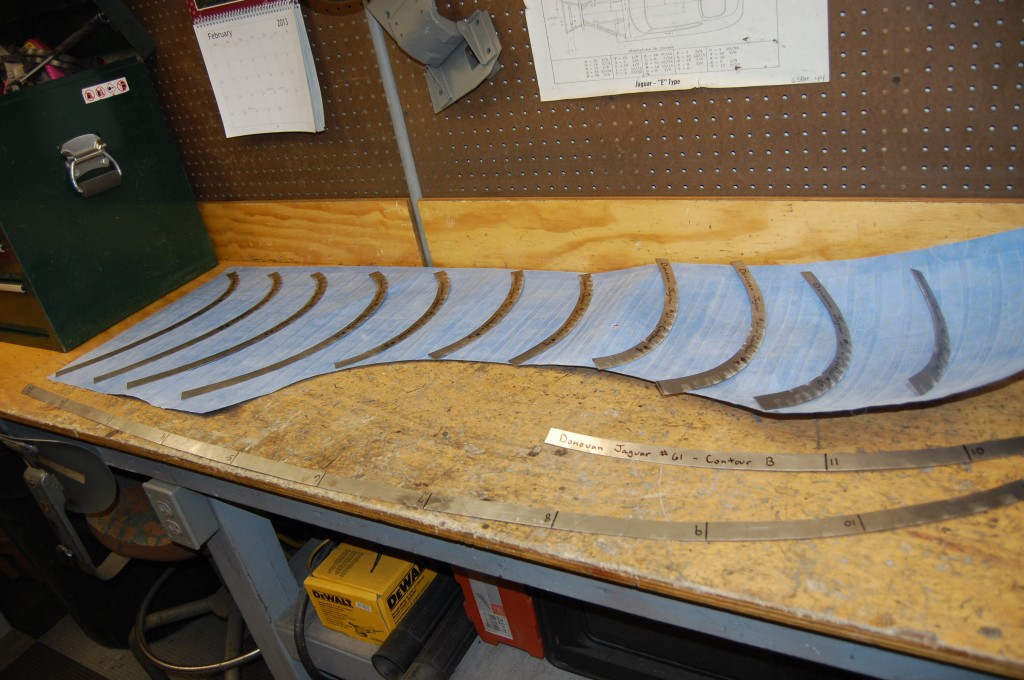
- Next, we marked off lines every 6 inches for the forming of contour gauges. The FSP gives us the shape of the metal, the contour gauges give us the arrangement.
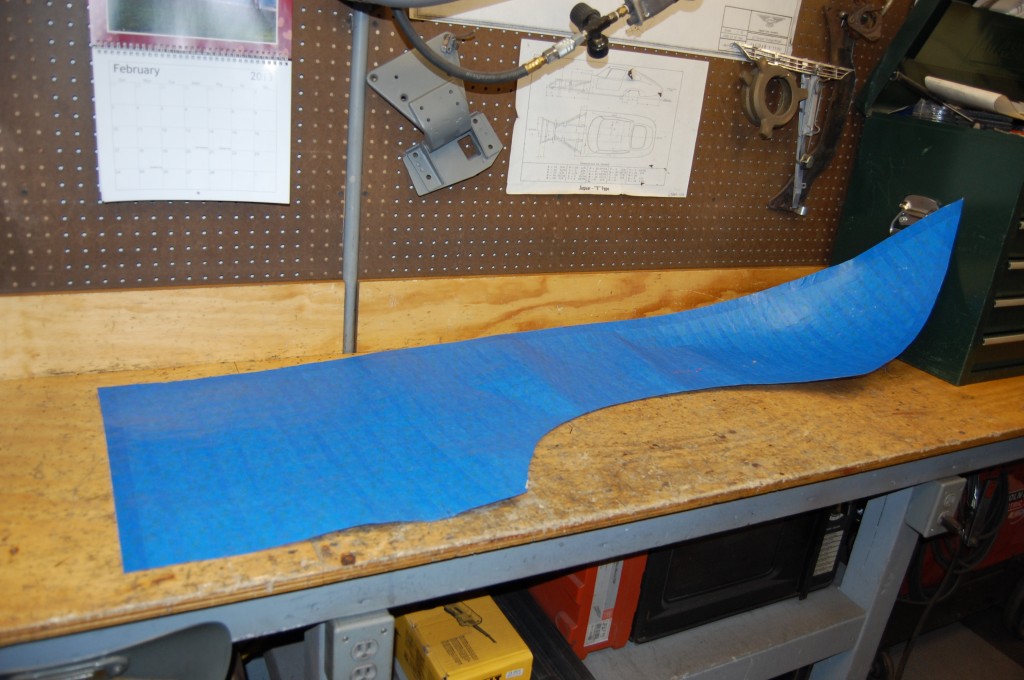
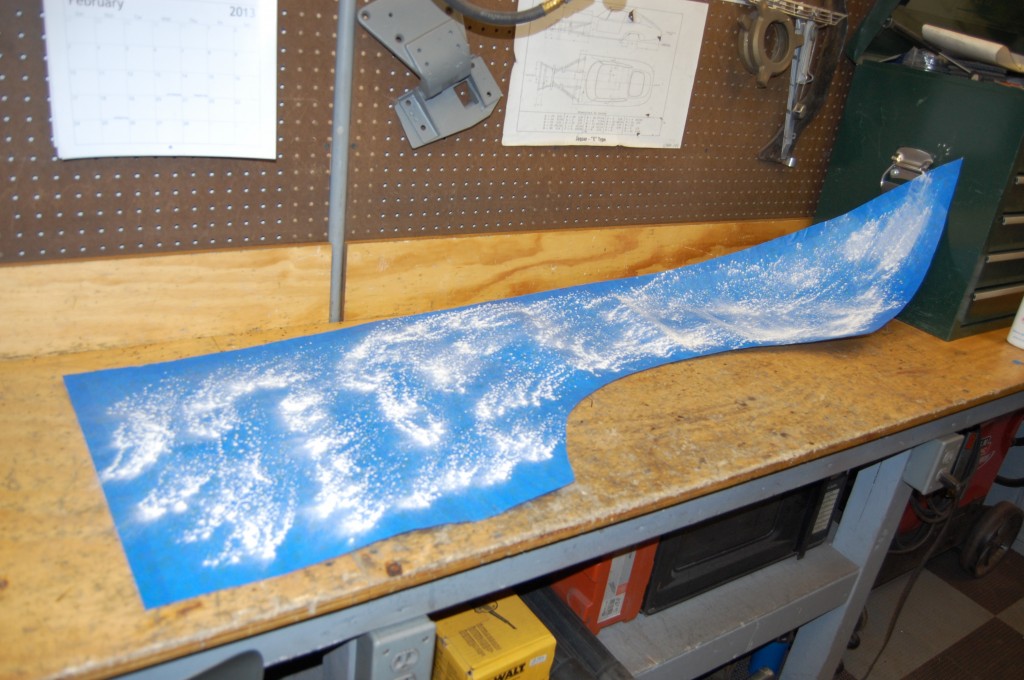
- Now, the FSP is trimmed and pulled from the wing.
- We use baby powder to kill the adhesive.
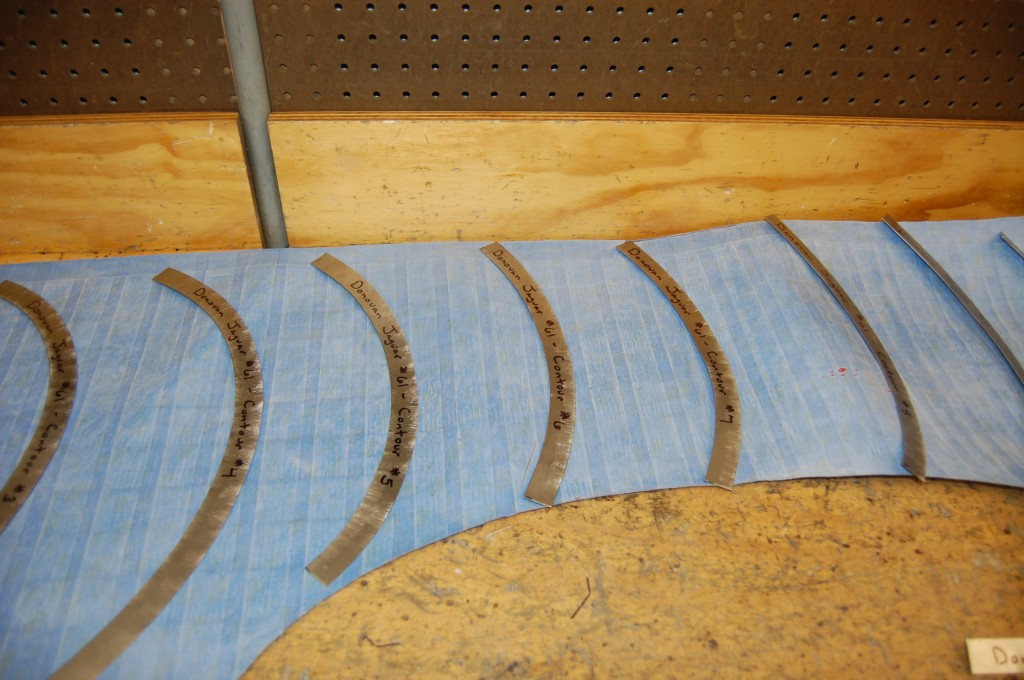
- Here is the pattern with the contour gauges. You have NO CLUE how much time went into getting this far – and this is the only car that will ever use this stuff!
- Here is a close-up. Each contour gauge is numbered to match its corresponding line on the FSP.
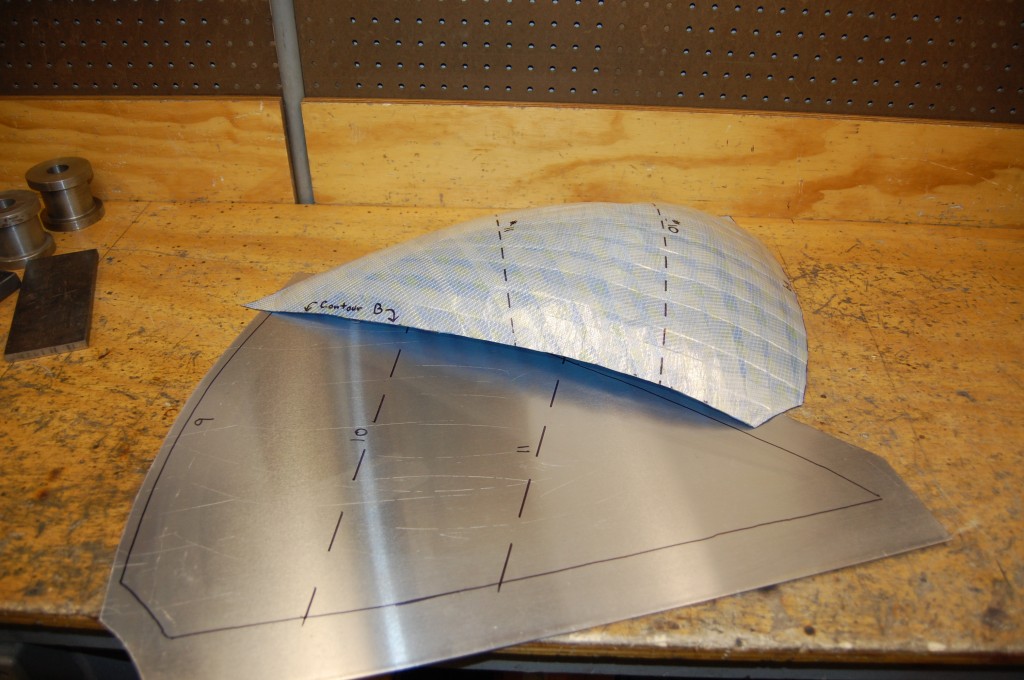
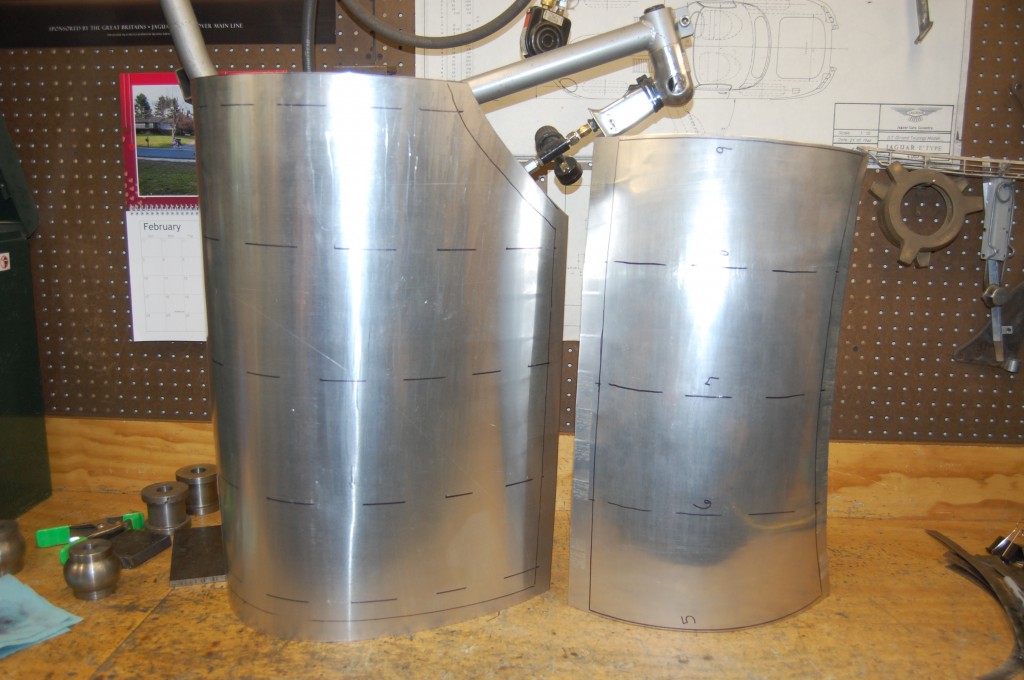
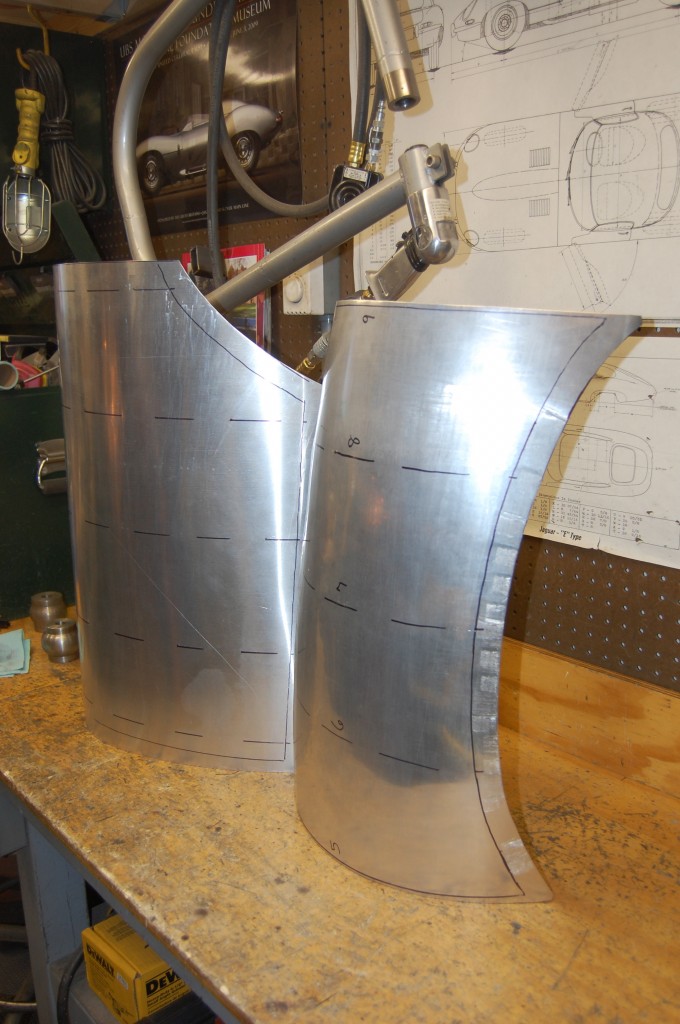
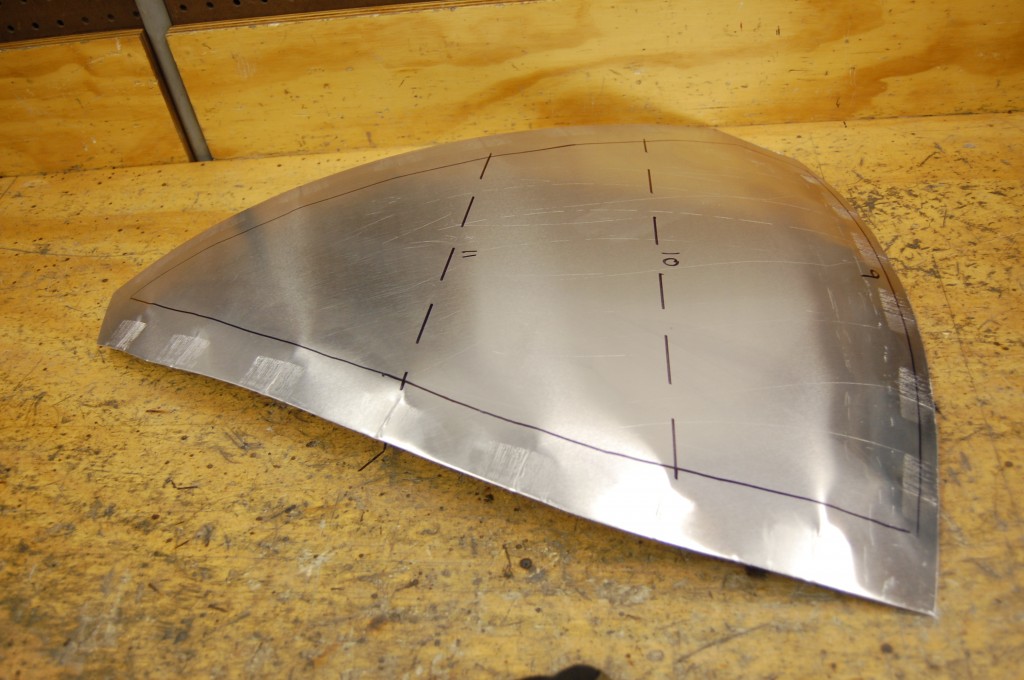
- Here, a piece of the proper grade and thickness of aluminum is rough cut and marked. Notice that I have cut the FSP into three sections – man, deciding to go ahead and do that was a tormenting decision! Time for the beating to commence!
- Pieces 1 and 2. Lots of time in the roller, wheel, etc…
- Another angle.
- Section 3 just staring to take shape.
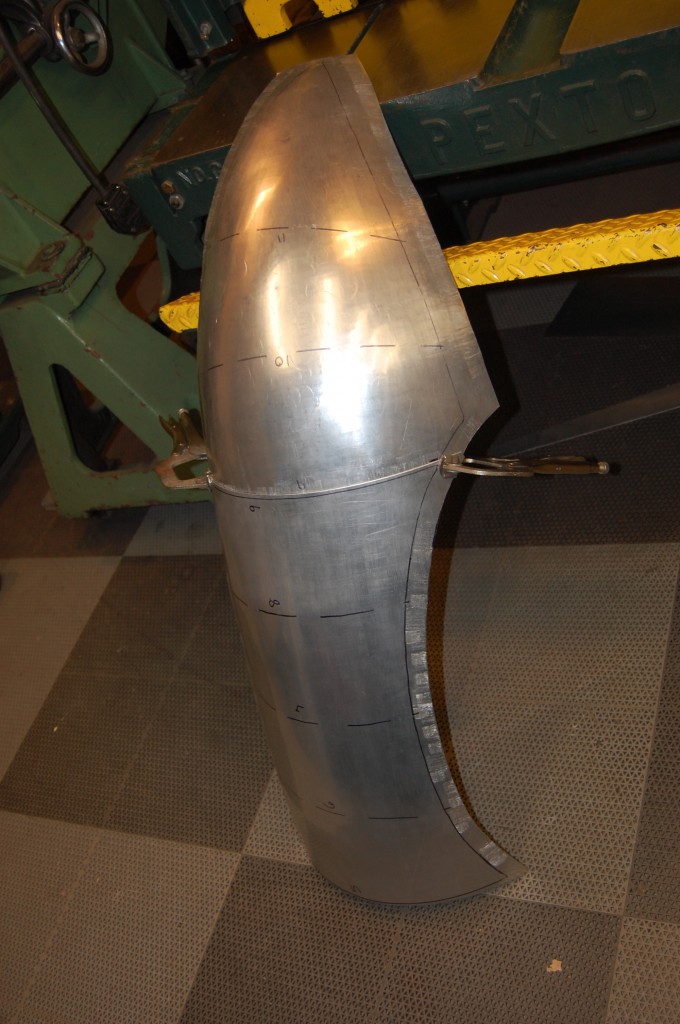
- OK – after several hours with the beater bag and the English Wheel, we now have sections 2 and 3 fitting the FSP – and each other. This is starting to look like we might actually pull this off!
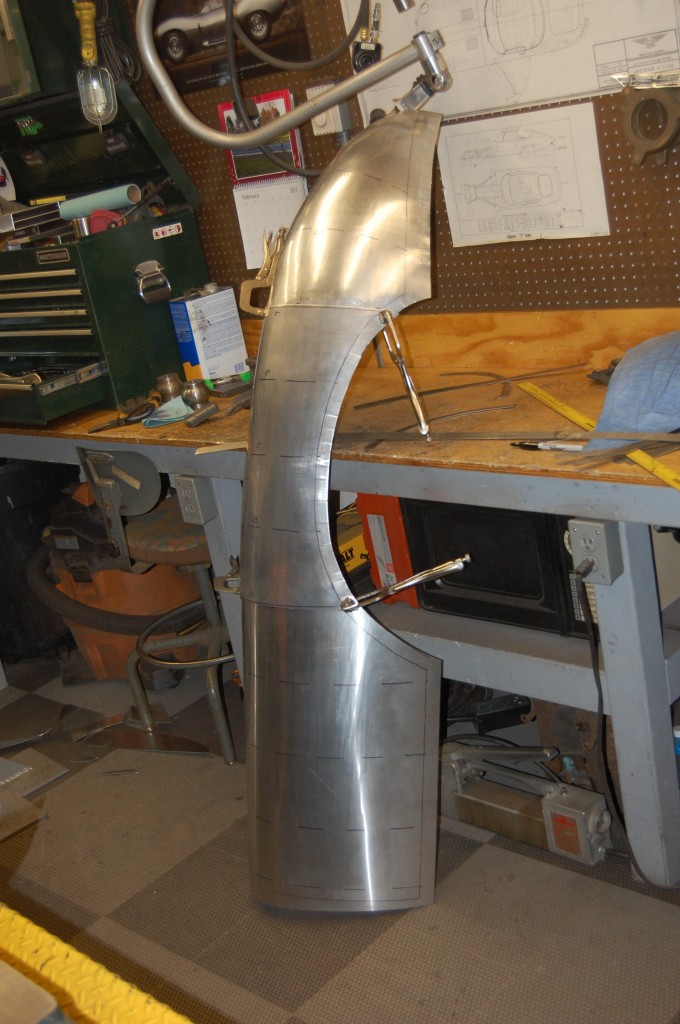
- Here are all three pieces clamped together. WOW – I blew my own mind with this one!
- Then the nightmare started…
- I’m NEVER going to learn… I expected there to be some issues with the “good” side of the bonnet, maybe some wrinkles and hammer marks, but never in my wildest dreams did I expect THIS! This was all hidden under the inner diaphragms…
- “Wow. Dude, I don’t know what I’m going to do with this…” was all I kept saying to Brent when we ran into this.
- This much we could see earlier on, so I should have known what I was in for…
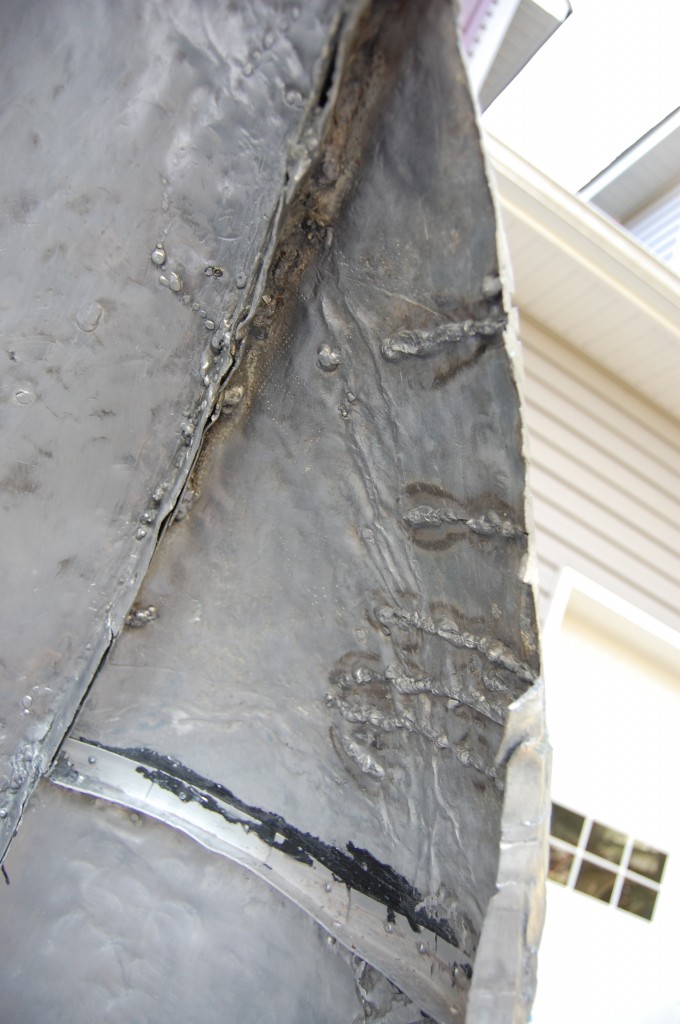
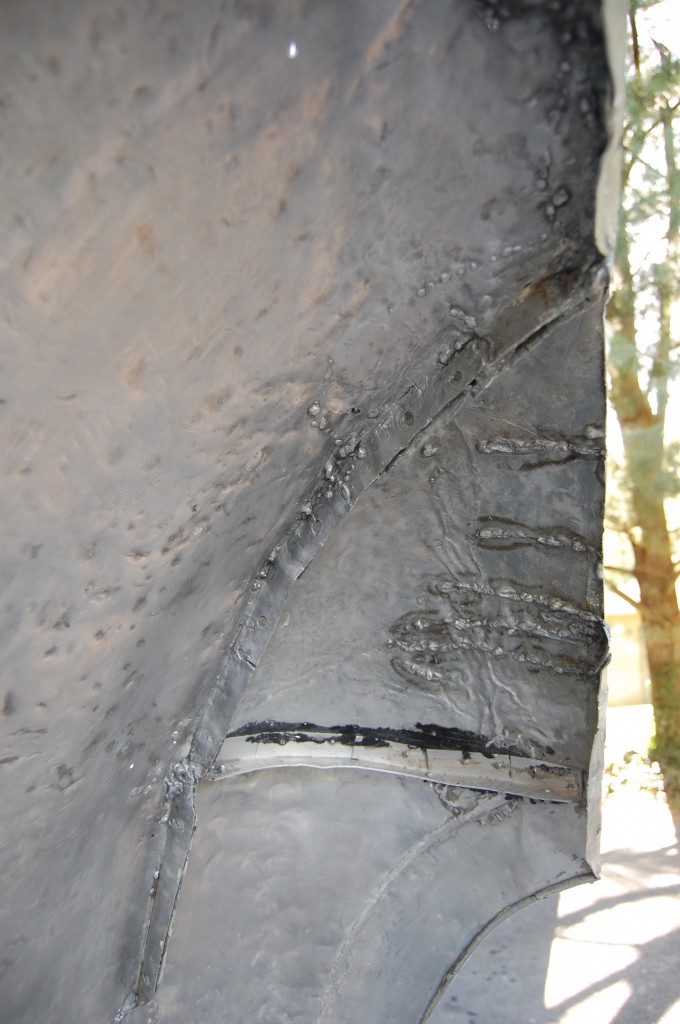
- And then we started seeing that the whole nose piece was a seperate piece just overlapped. And things got even worse from here, as we soon realized that the wing was WELDED to the lower valance AND the center section – ALOT!
- We finally managed to get the lower valance off without too much carnage. We took the bolts out and did our best to pry the flanges apart, and then sneakd in from the back side with a thin slicing wheel.
- Brent then dug through the filler to reveal the rivets that were holding in the main support member.
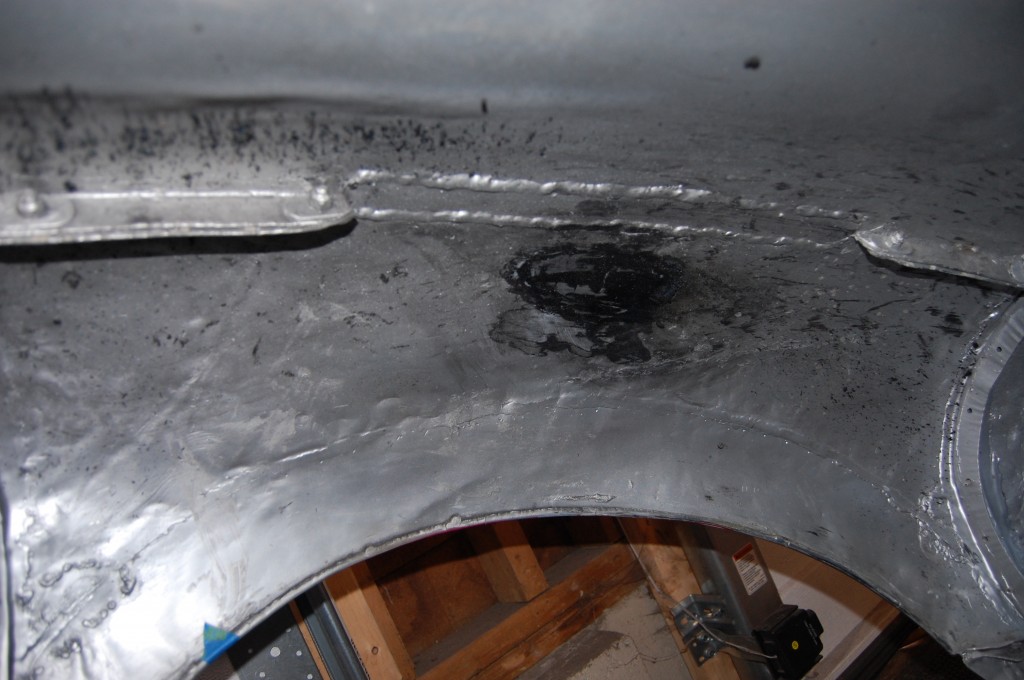
- Brake ducts were crudely welded into place, but there wasn’t much of it, so that was good.
- The filler was deep, and foreshadowed things to come later on…
- This shows the nearly complete weld along the seam between the lower valance and LH wing.
- Main support member is out.
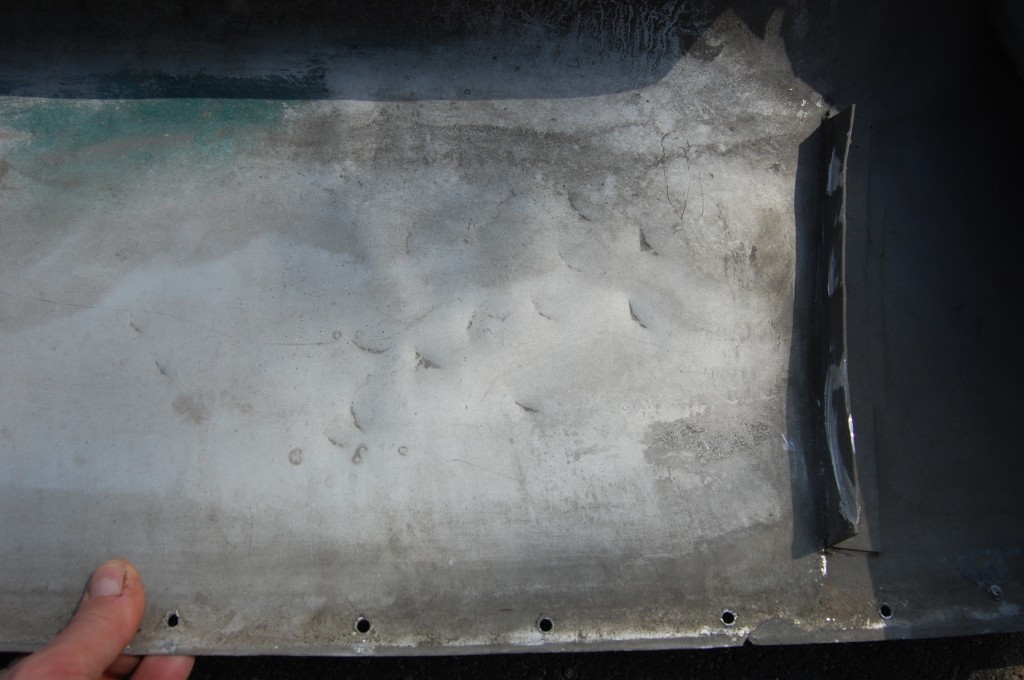
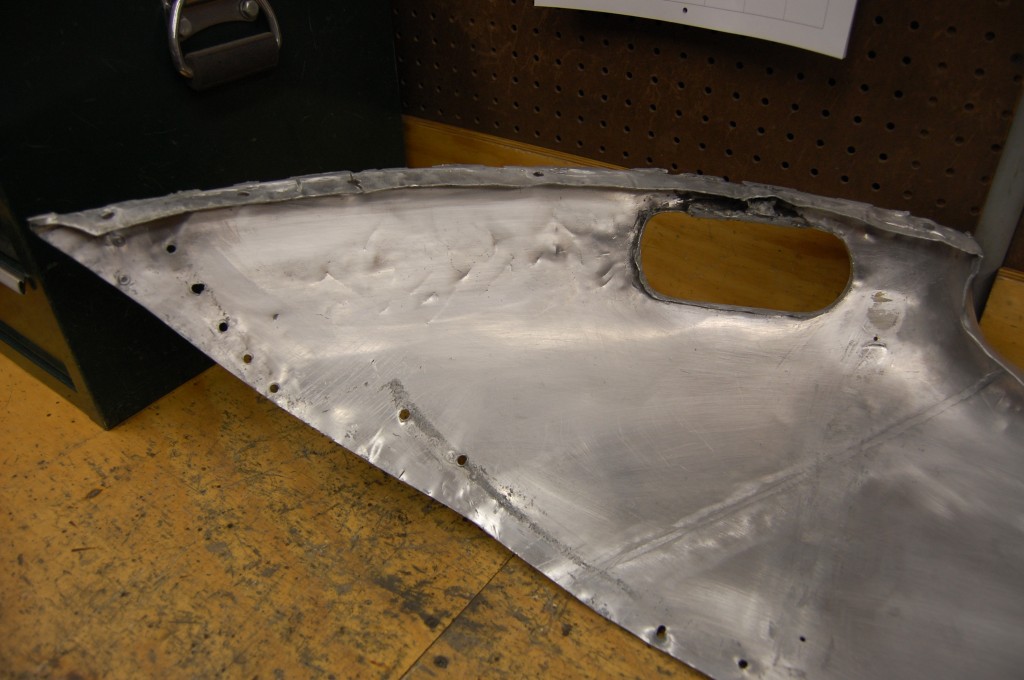
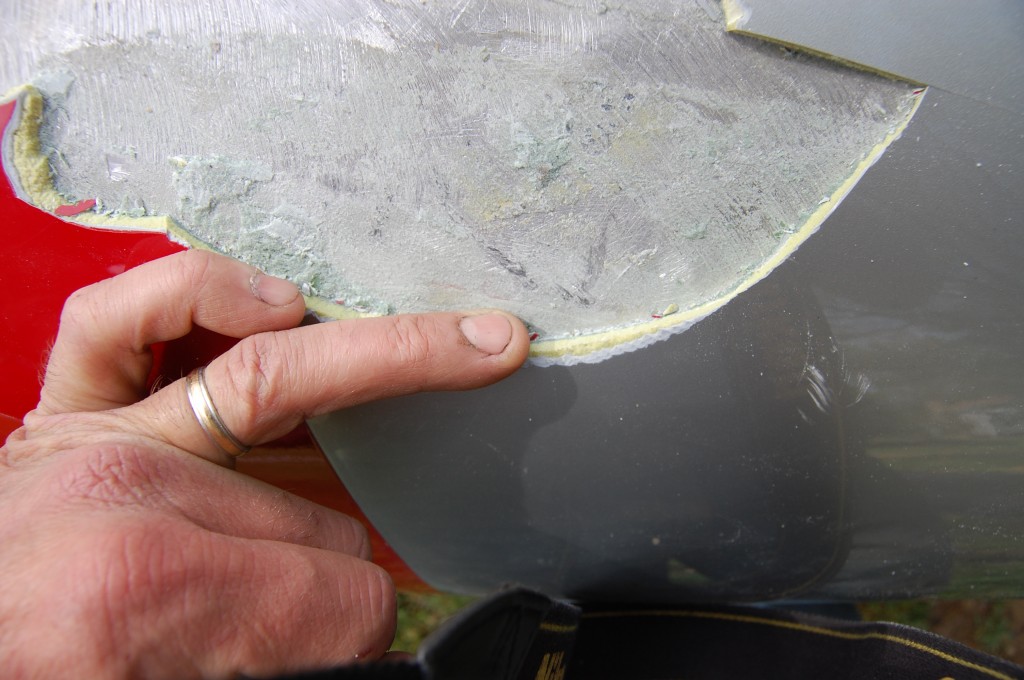
- The lower valance had been replaced in the past at some point, and while it was not as badly damaged as the rest of the bonnet, it still had alot of dents and hammer abuse. This area here was caved in, and had almost 5/8″ of filler in the outside of the piece.
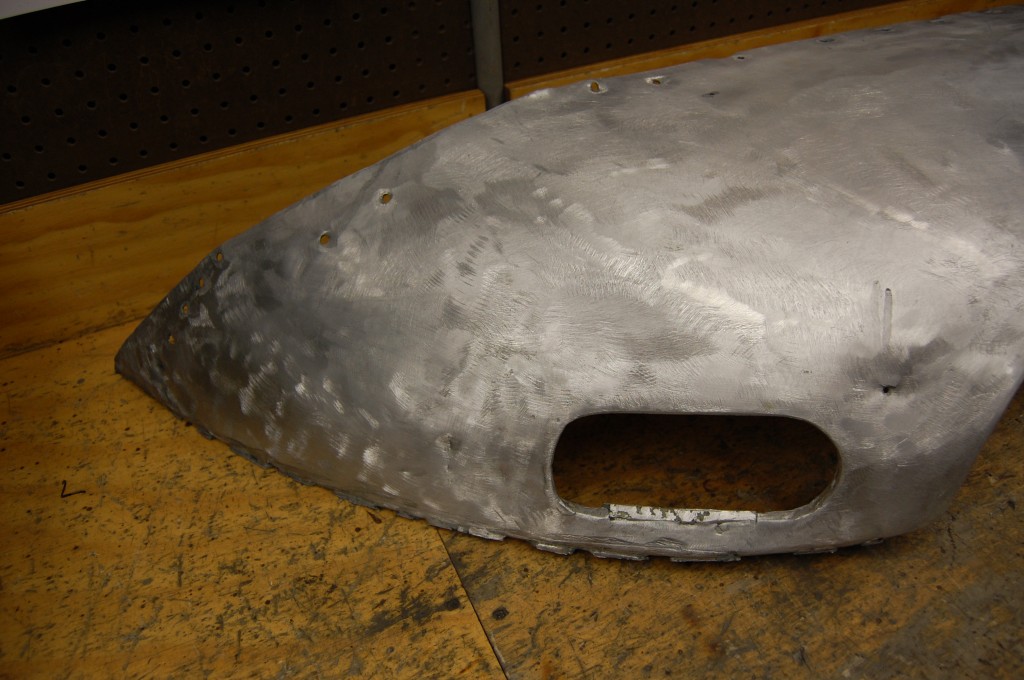
- Here is the skin of the lower valance – completely stripped. It took 6 hours of work to get the filler and paint off by hand – ANY type of blasting was completely out of the question with these aluminum panels.
- This is the “wrecked” side.
- This was worse, but I whacked this a few times with a rubber mallet to help with getting the inner flanges off that were riveted and glued into this skin.
- This is the “good” side. These hammer hits were filled with bondo as well. I should be able to smooth these out so that is not necessary in the future.
- Wrecked side…
- Wrecked side…
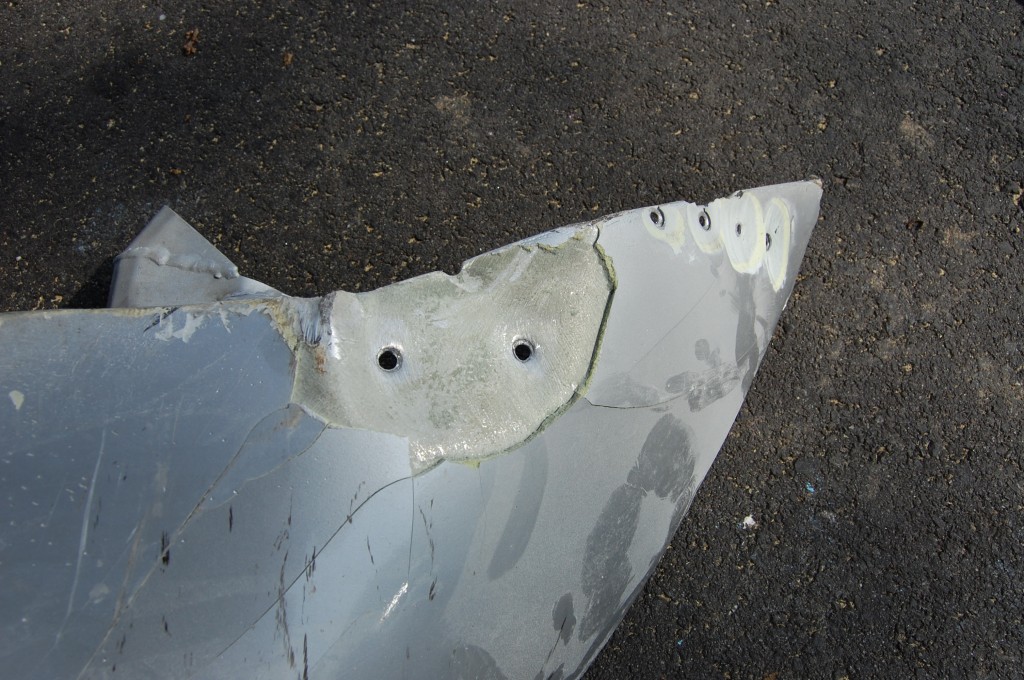
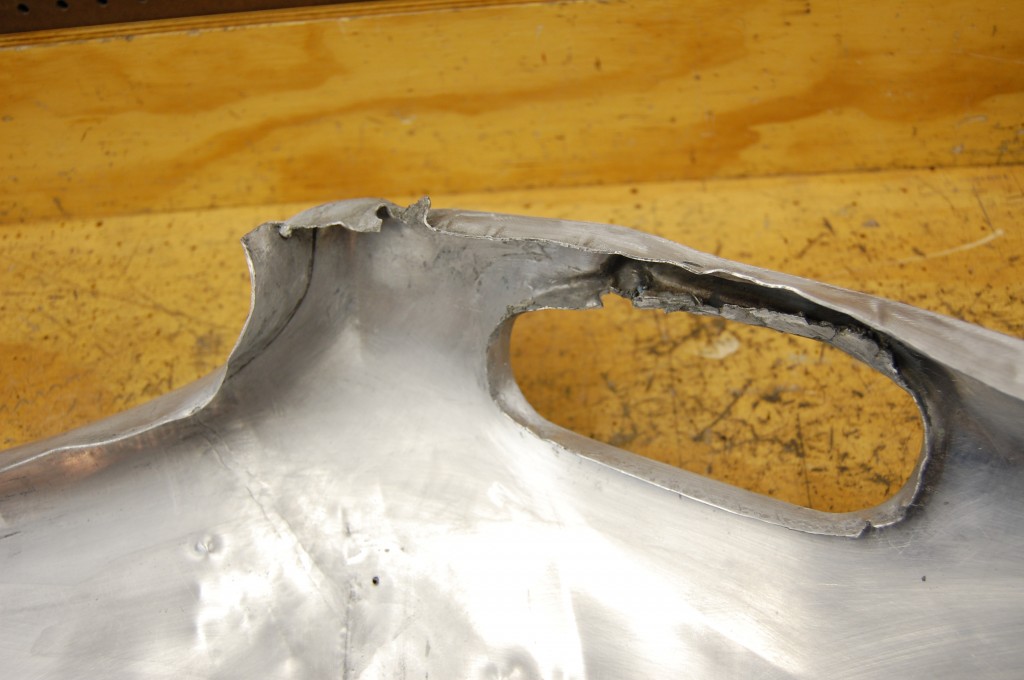
- This flange needs alot of help!
- These holes need to be doctored up as well.
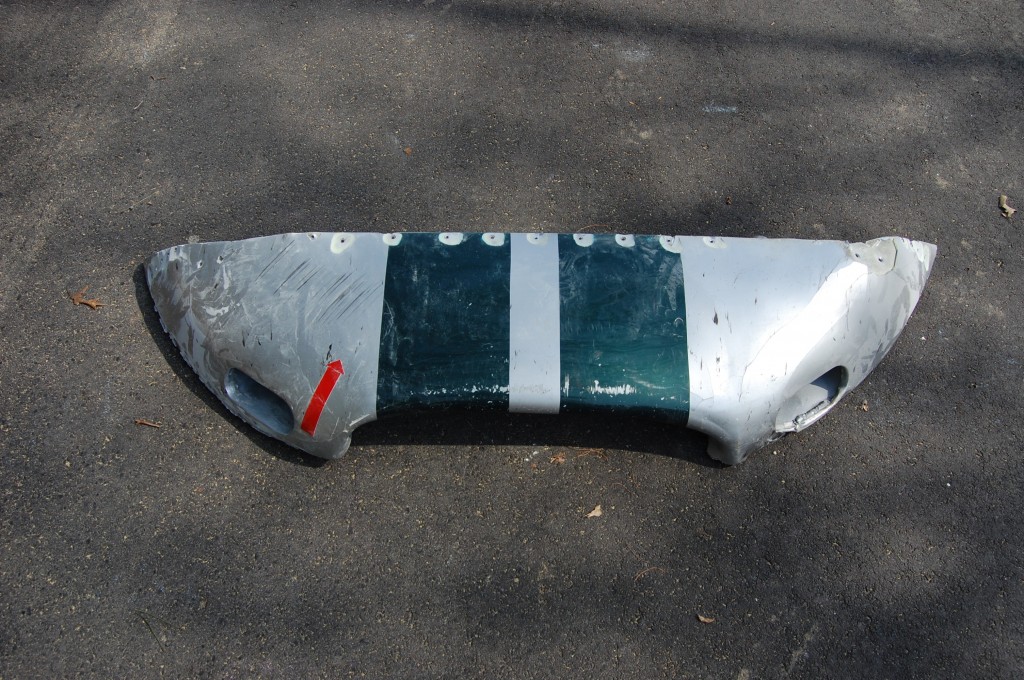
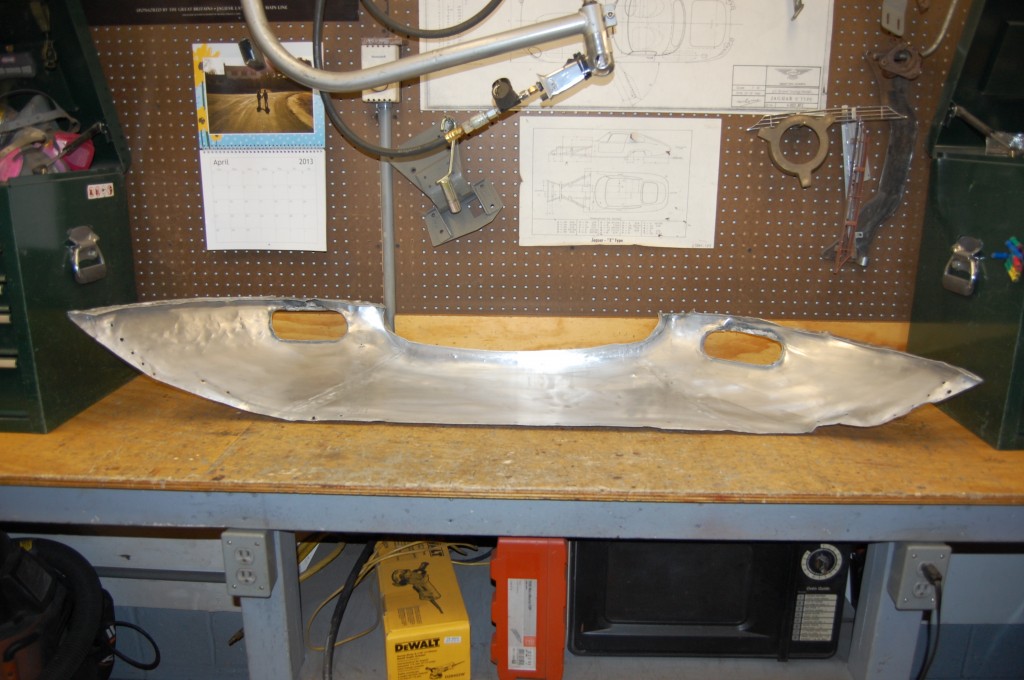
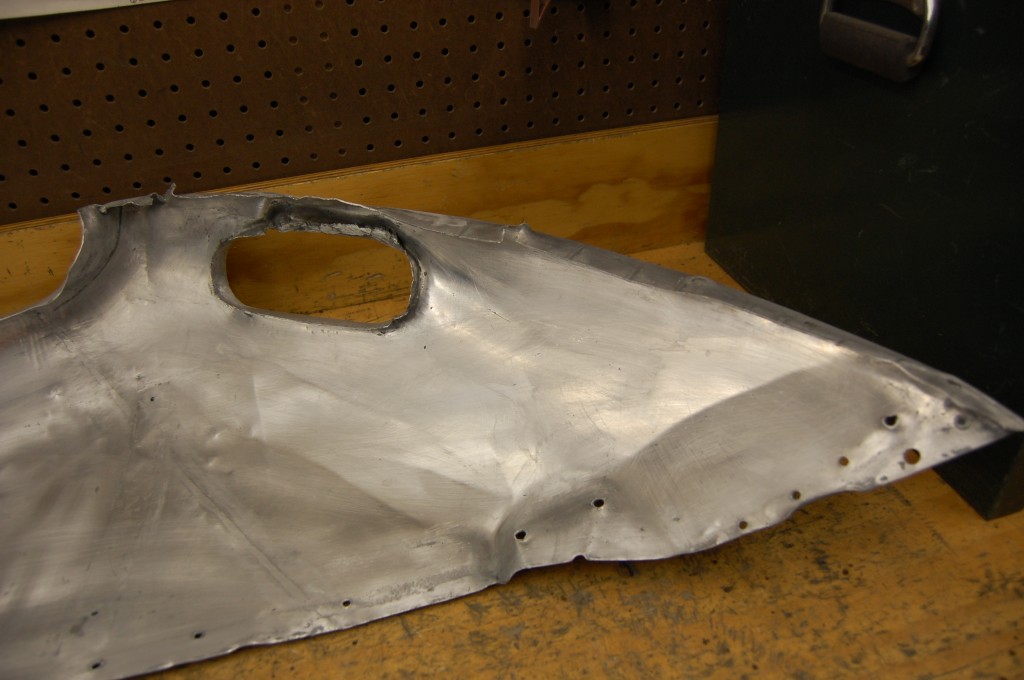
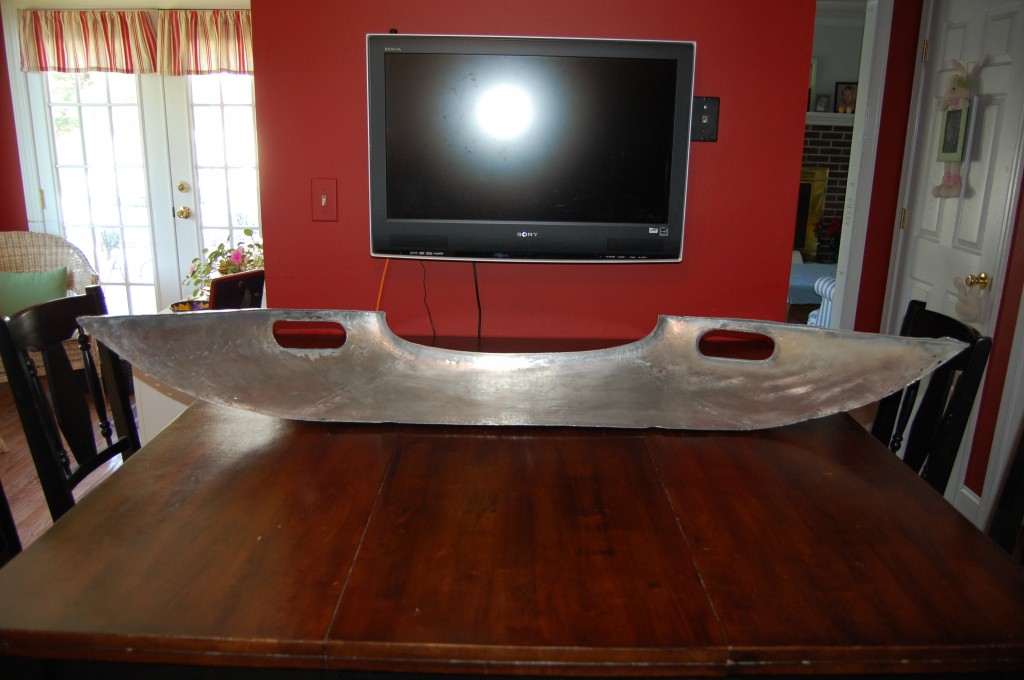
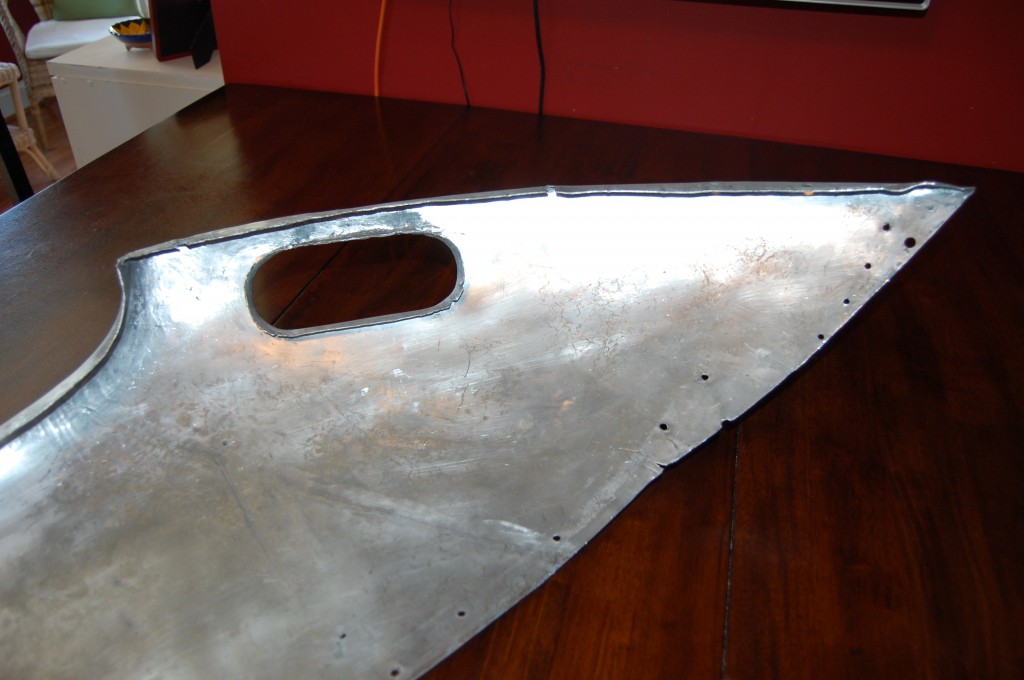
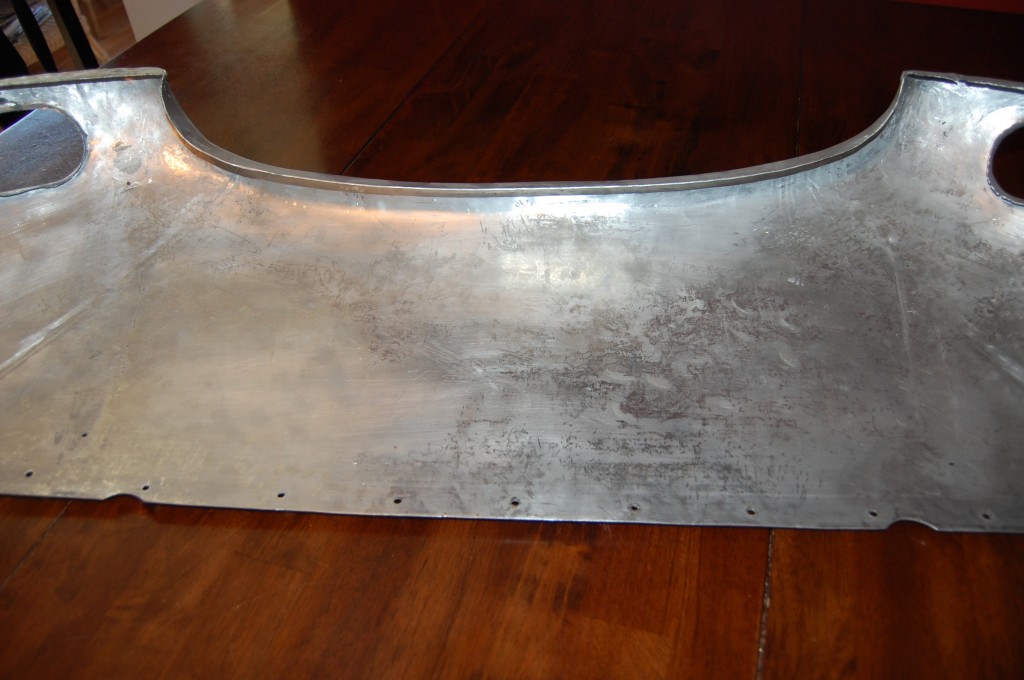
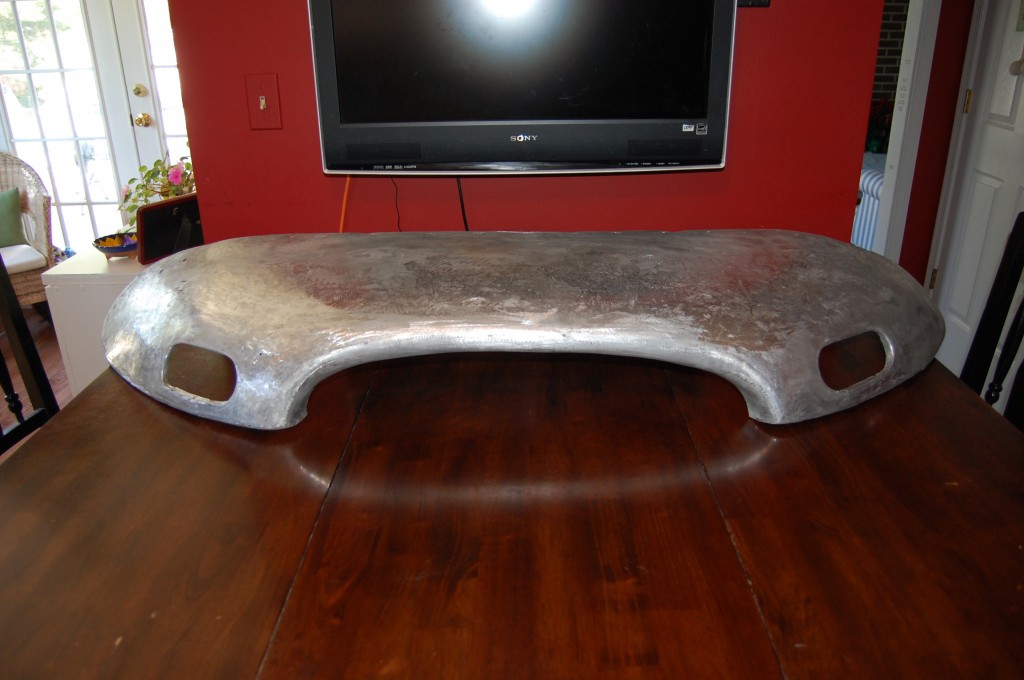
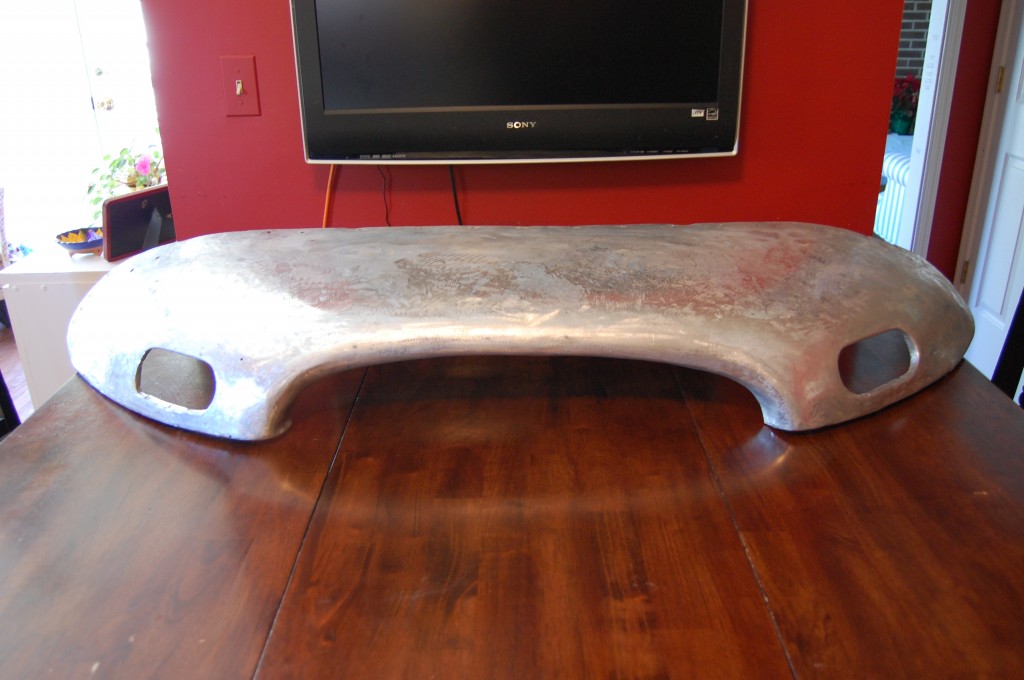
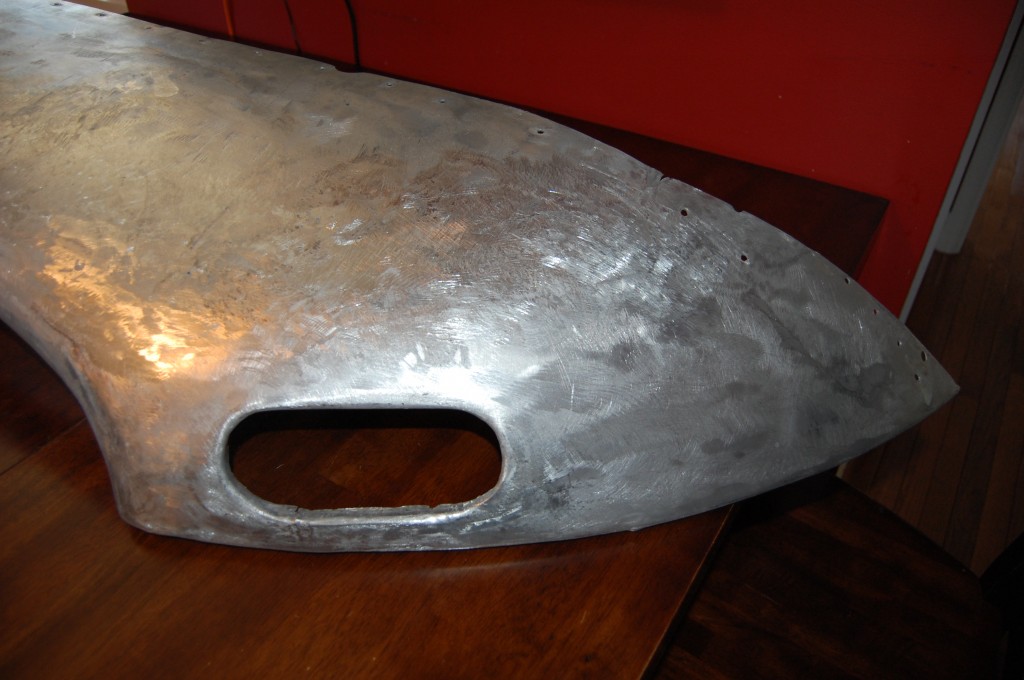
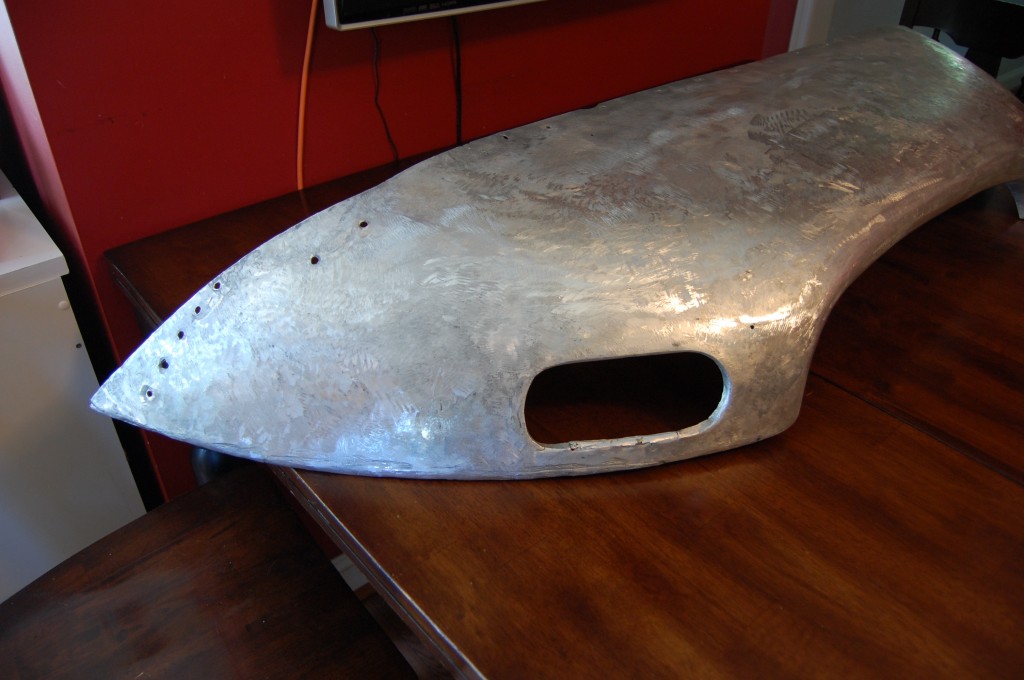
- OK – here is the lower valance skin – AFTER the reshaping and smoothing. Yes – that is my kitchen table. I wanted to get these photos, and the shop was a TOTAL DISASTER – it has been crazy around here…
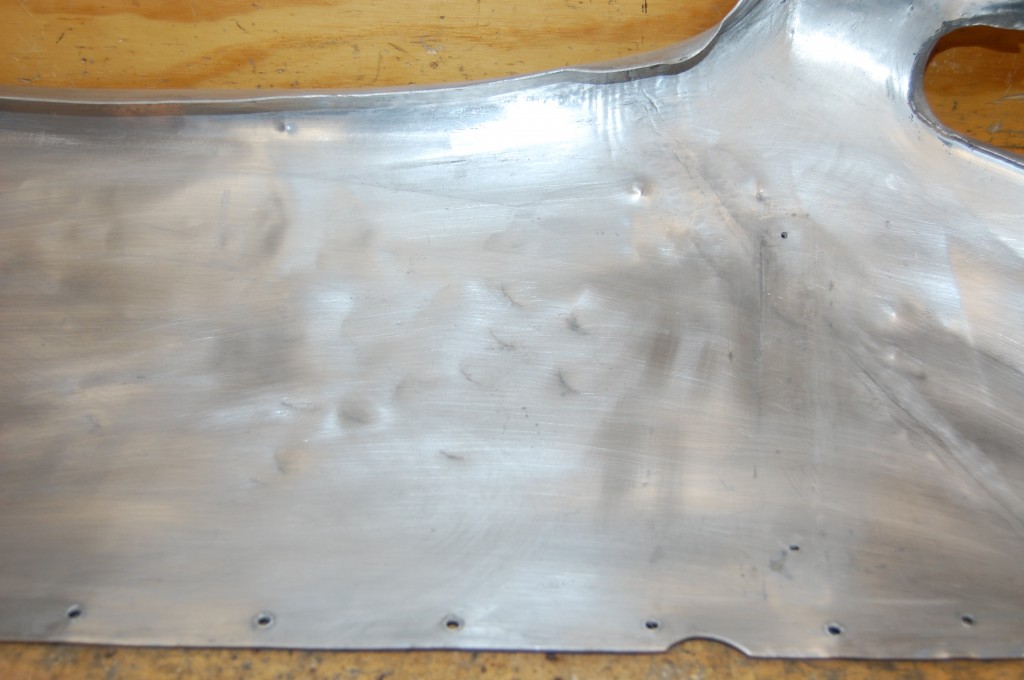
- This is the wrecked side – now smoothed.
- We won’t need 5/8″ of filler here now!
- It’s not quite perfectly symettrical yet, and I may doctor that up a bit more once we have this mated to the center section.
- Another shot with different lighting.
- The outer surface of the wrecked side.
- All of the hammer hits on the good side have been smoothed out as well.
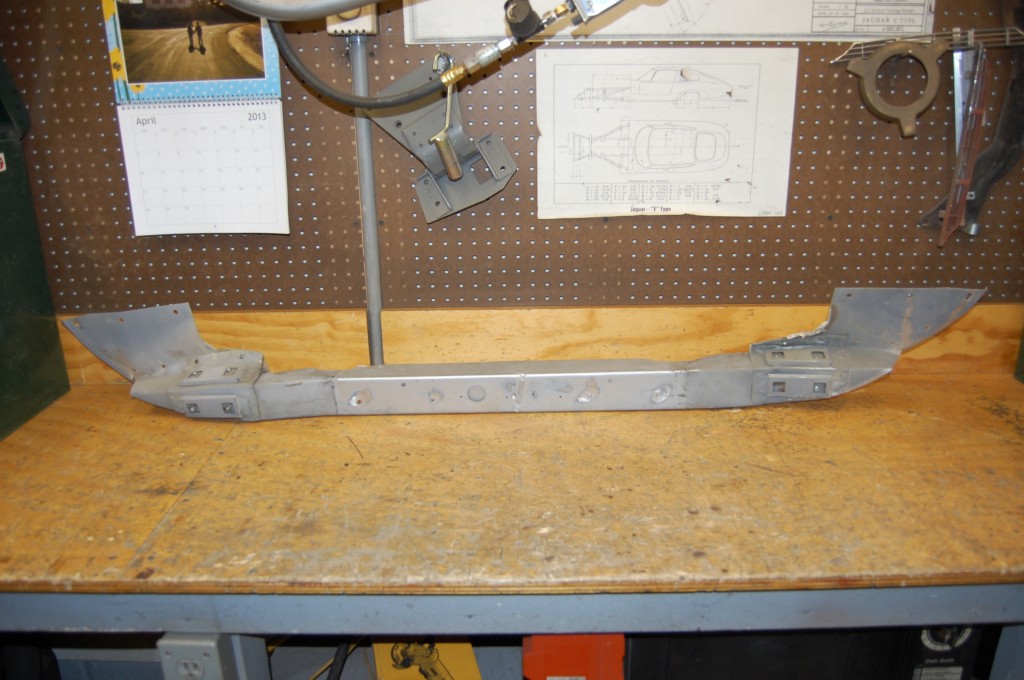
- Next, it was time to turn our attention to the main support member.
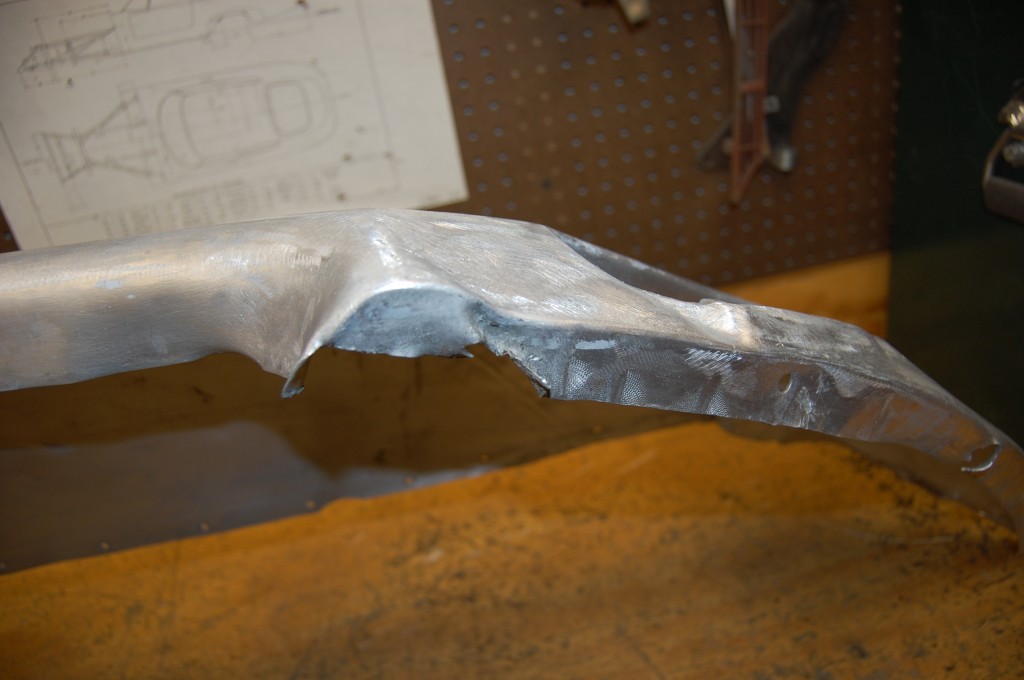
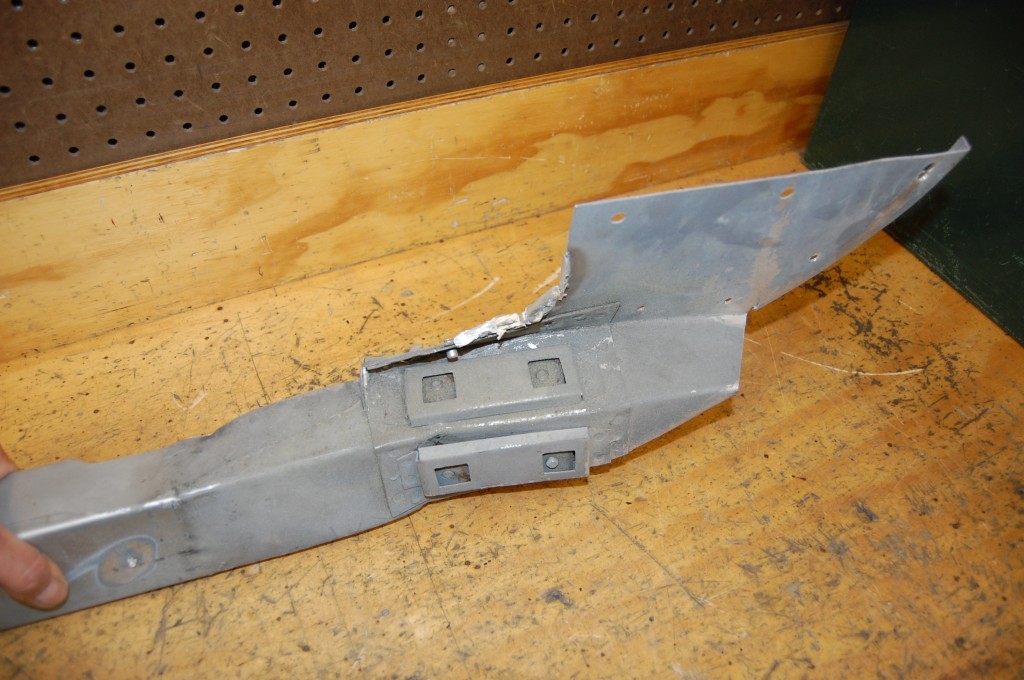
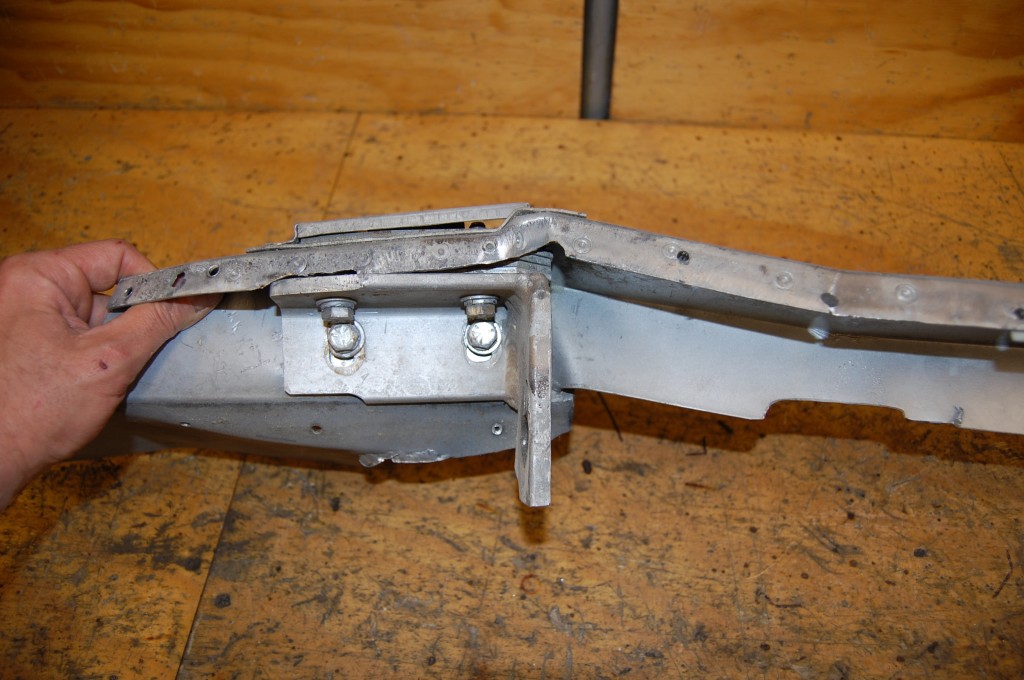
- This is mangled badly – everywhere – but there was enough of it left to see that it was an EXACT replica of the steel version, and confirms that this IS an original Jaguar factory racing bonnet for me.
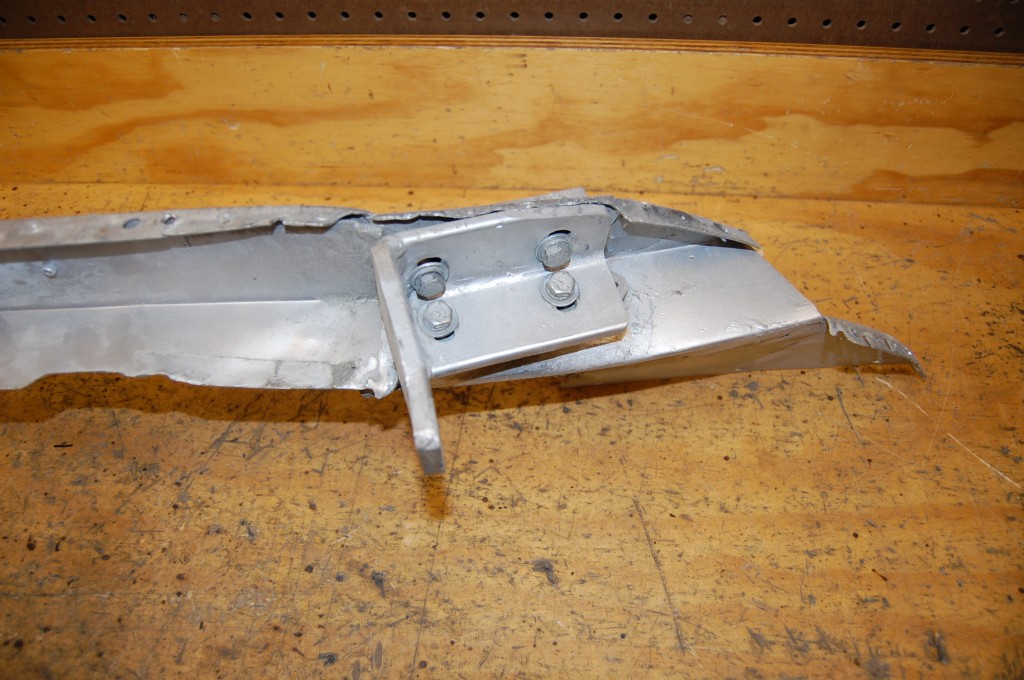
- At some point in the past, the lower valance had about 2-3 inches trimmed from the rear edge, and the support member was narrowed by 1 inch and moved up to the new rear edge. These special hinge brackets were fabricated to take up the lost space, obviously.
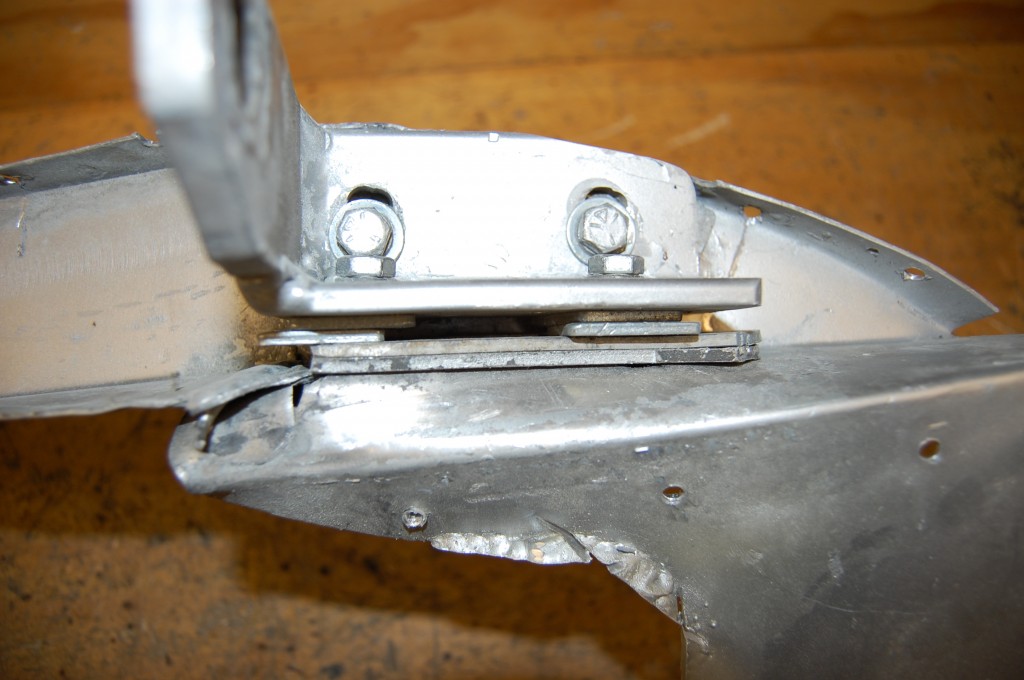
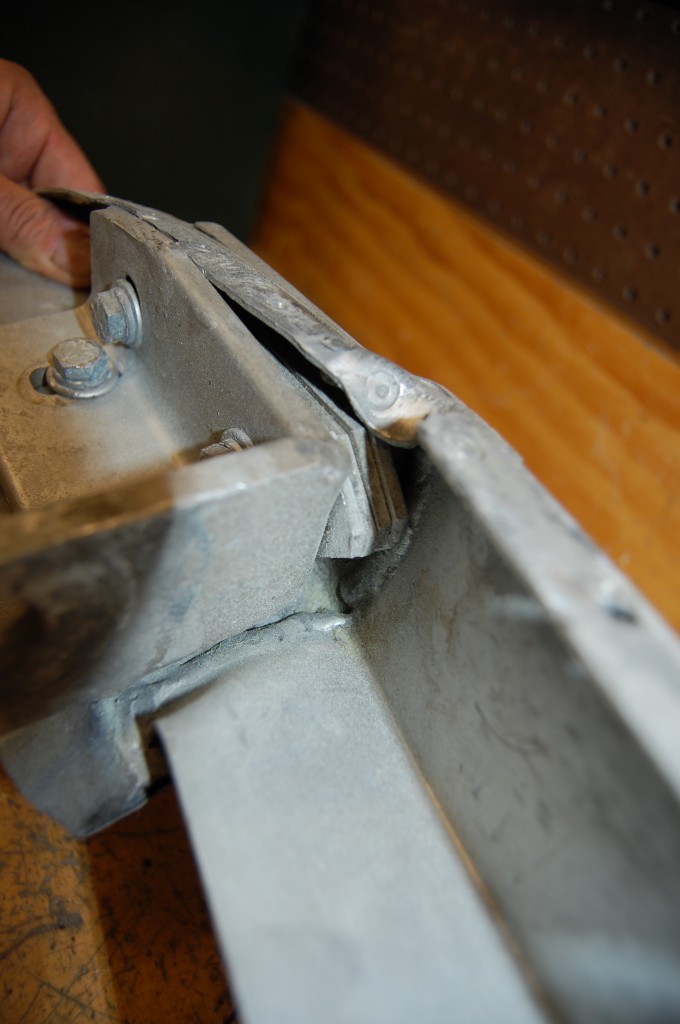
- 50 years of hard racing action have twisted and turned this piece all over the place, and LOTS of shims were needed to keep it on the car. I’m hoping that our repairs will get things dimensionally back to where they should be, and that the amount of shims can be cut down.
- The other sie is twisted and heavily shimmed as well.
- LOTS of shims…
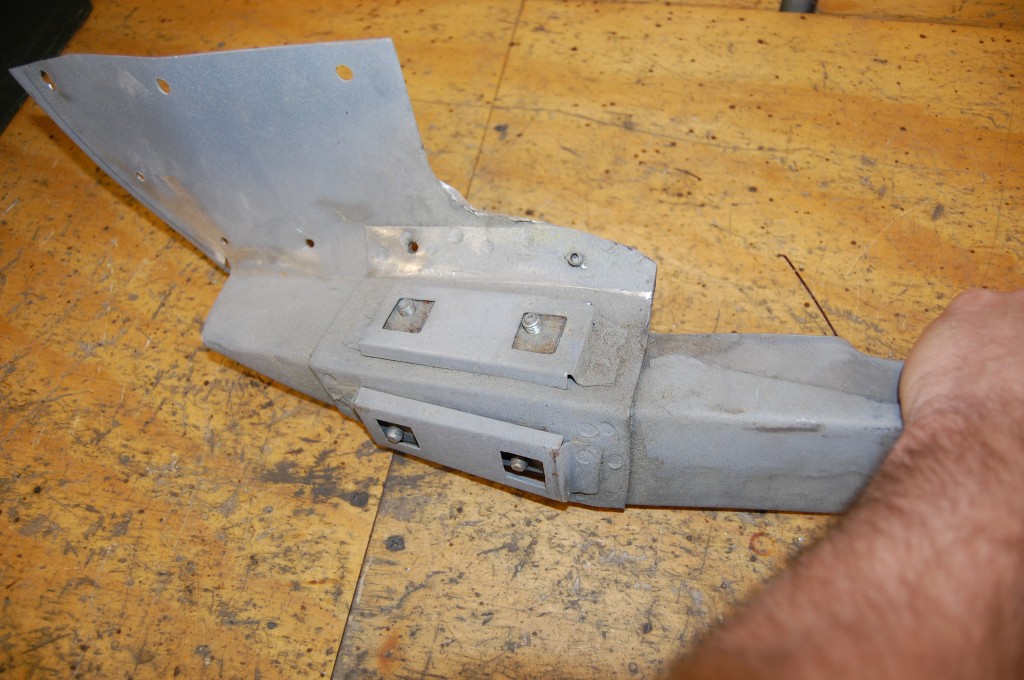
- These reinforcing plates for the hinges and the caged hinge capture plates were EXACT versions in aluminum. The actual caged plates themselves were steel.
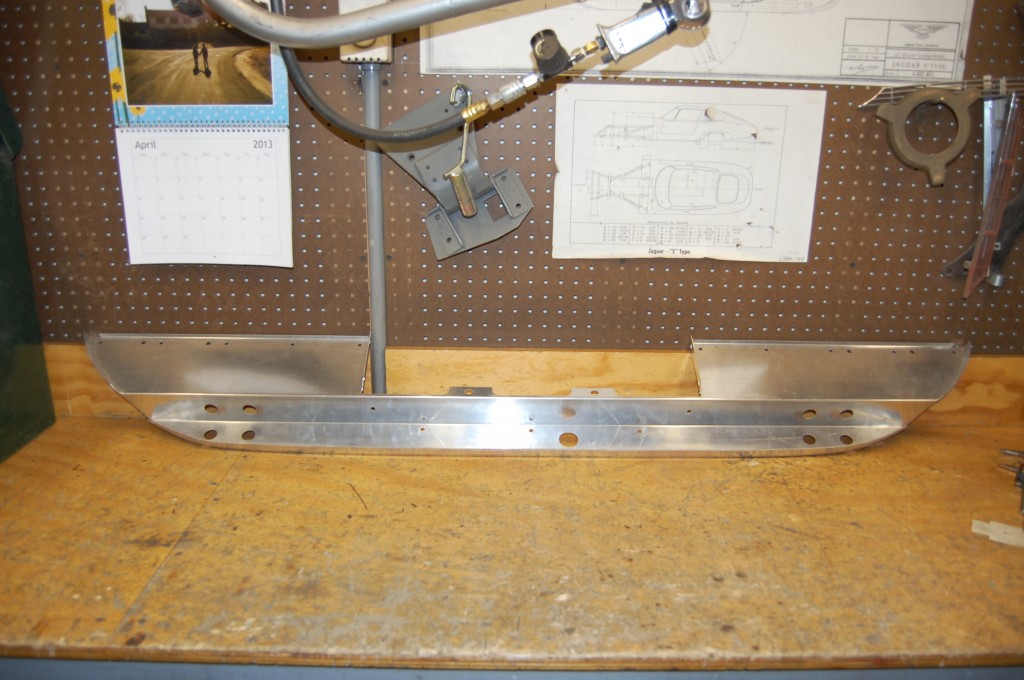
- This is an EXACT aluminum reproduction of the original E-Type bonnet support member. I made a small batch of these over a year ago – the idea was to glue these into carbon-fiber skins. That’s another project that we need to get to eventually!
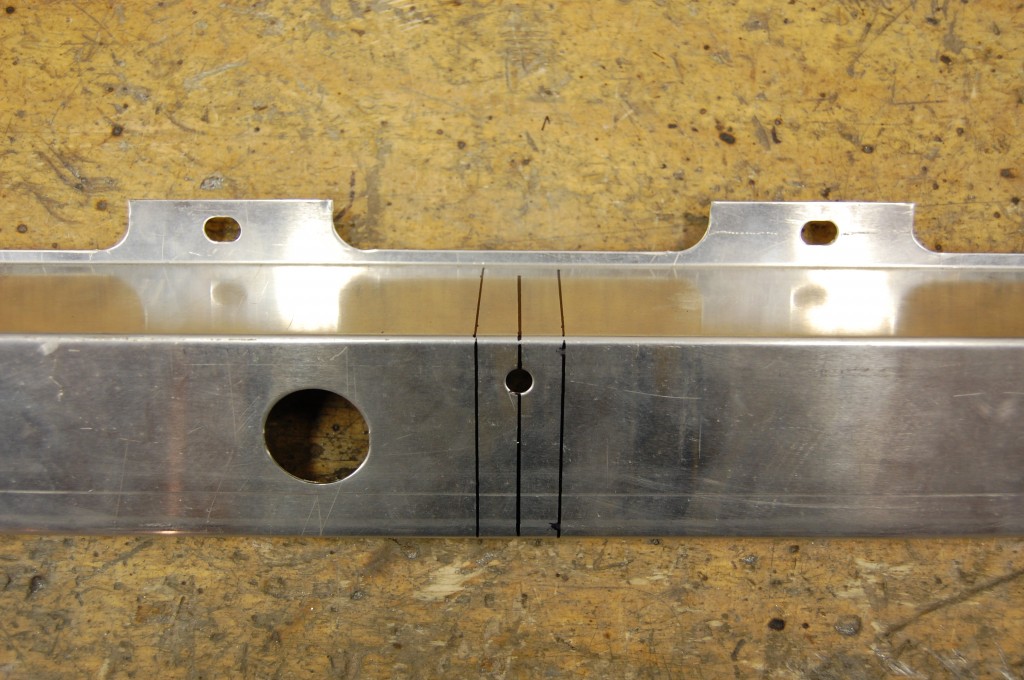
- This lower valance has been cut down to help accomodate larger racing tires when they are turned, and so the support member is moved forward as well. In order to do that, they cut 1″ out of the support member, so I did as well. Here is the marking for the section that will be removed.
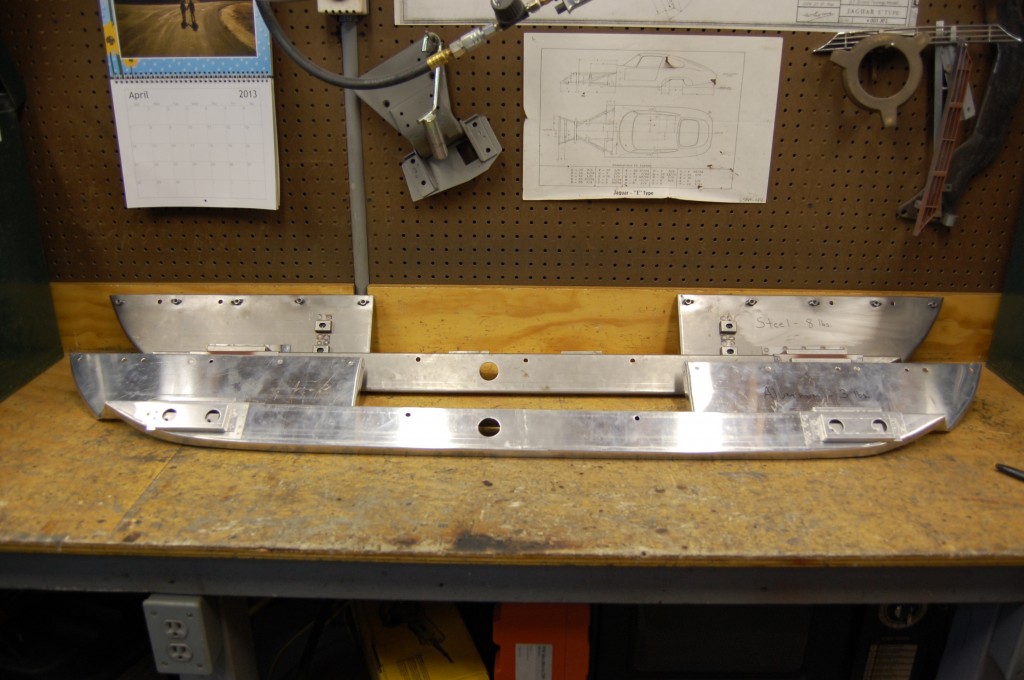
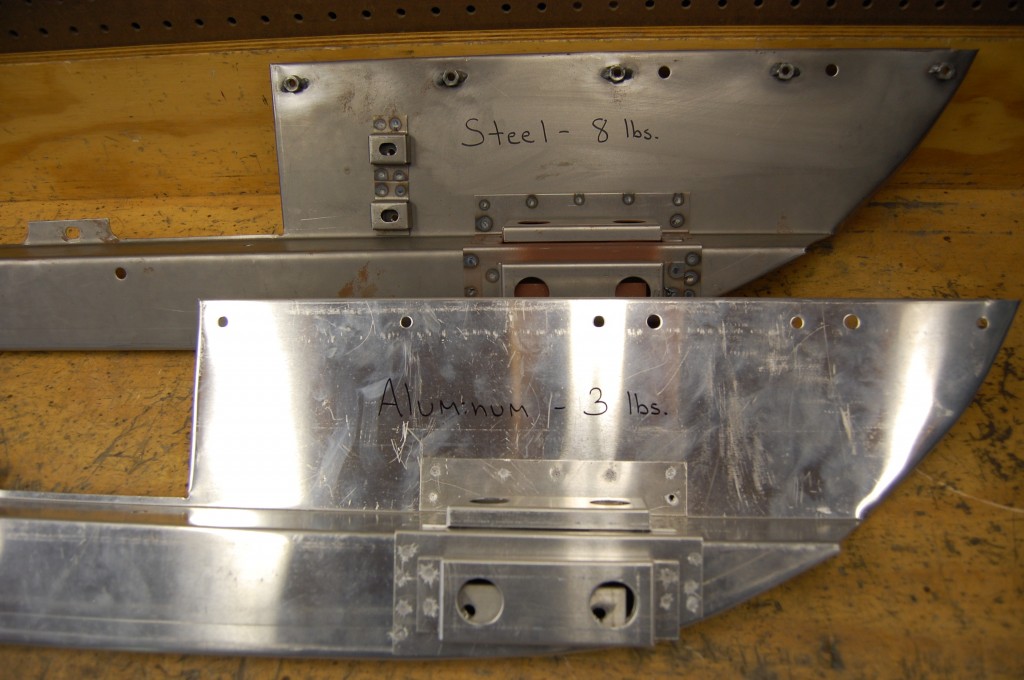
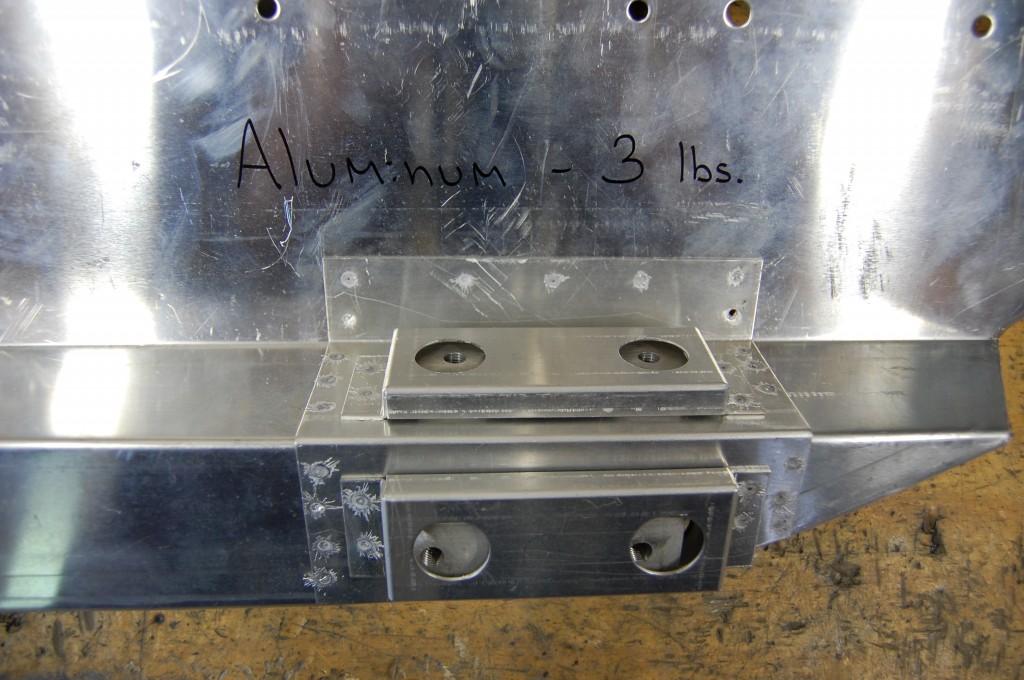
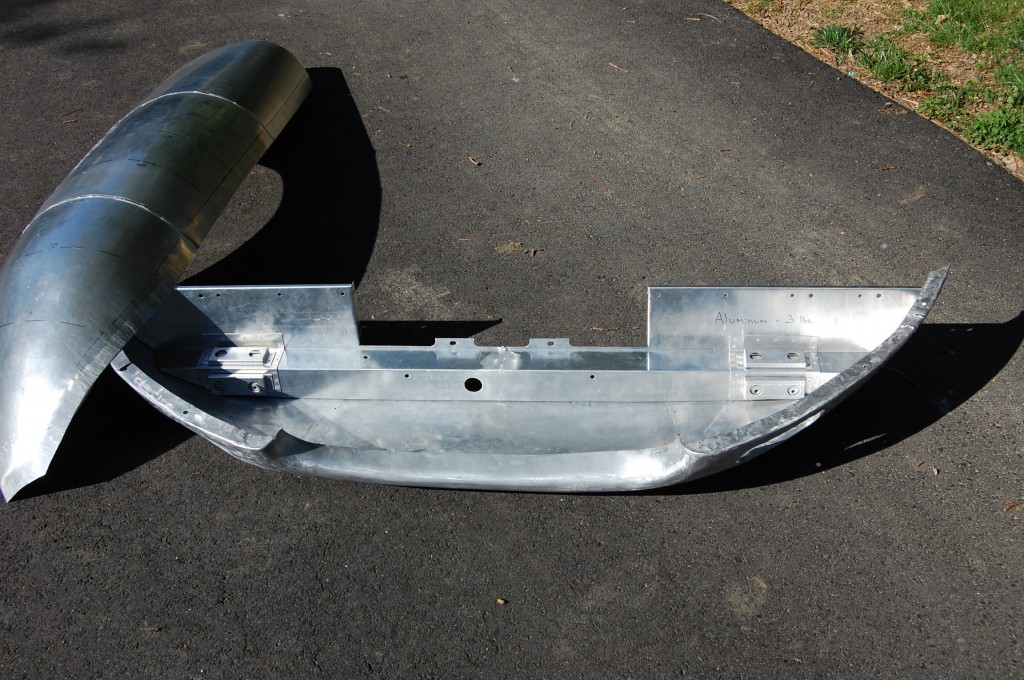
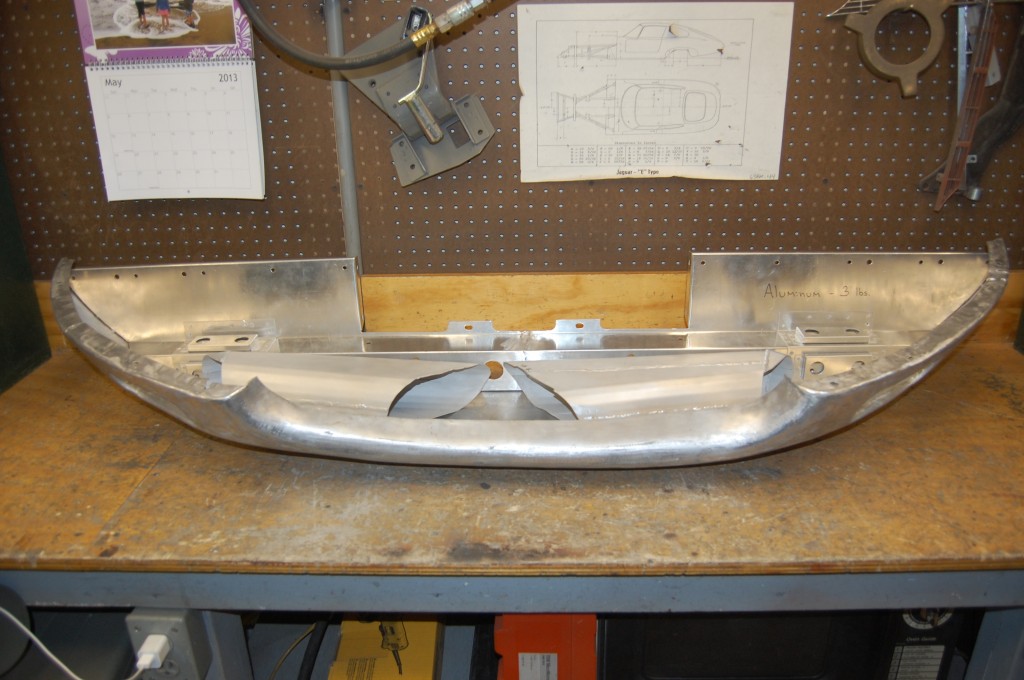
- Here is the aluminum support after being narrowed by 1 inch – note that the center hole for mounting the mouth tray on the street cars is now missing. It has also had the hinge mounts installed. The piece behind it is one of our steel units. We weighed these – the aluminum version is 3 lbs., the steel is 8 – approx.
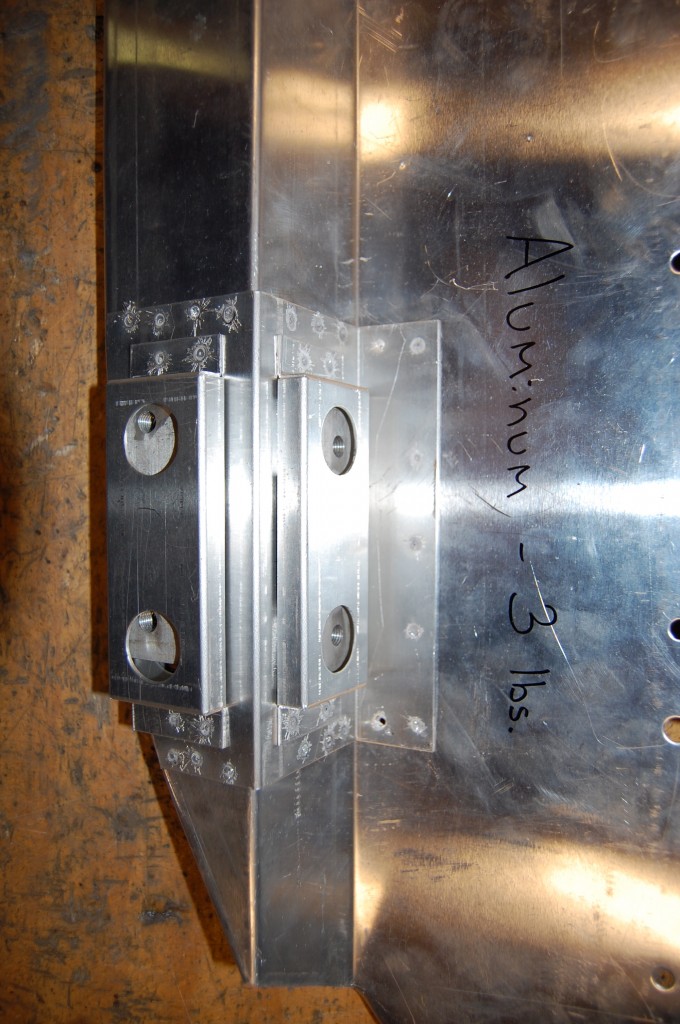
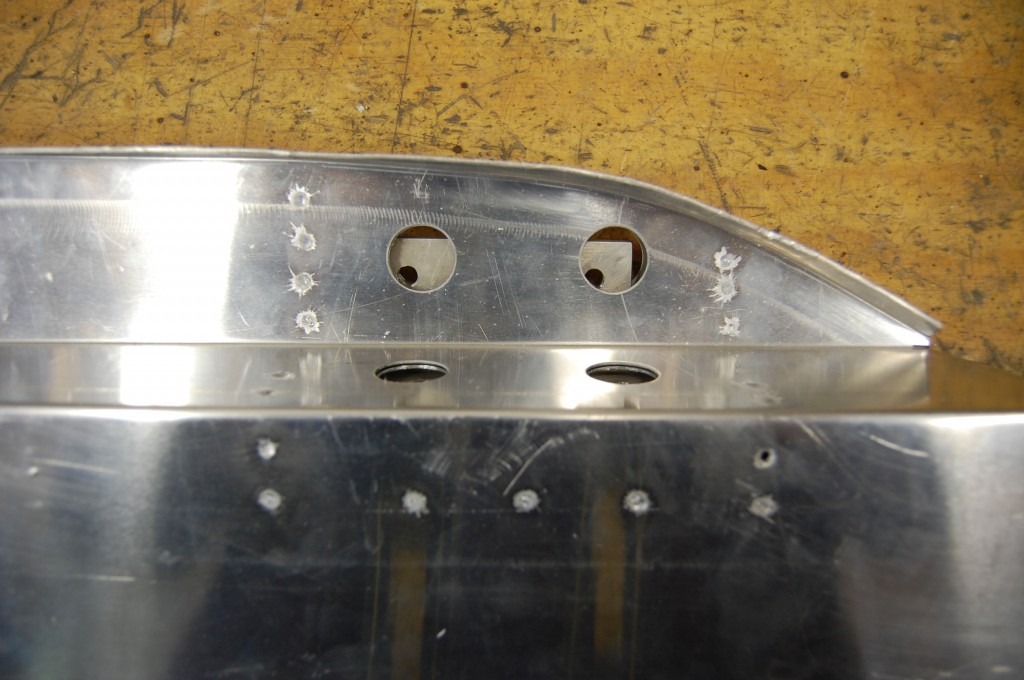
- Here is a close-up – everything is exactly the same – steel and aluminum.
- Here is our caged plate assembly. We did make one deviation from the factory racing piece – we made our plates out of aluminum as well.
- The caged plate assemblies were spot-welded into the support.
- If painted, this is 100% indistinguishable from the production steel cars. It is so sweet – and FEATHER light! I was proud of this one!
- OK – so back to this. After several weeks of head-scratching, discussions with Brian, etc., we all decided to move forward with the original plan of keeping the existing LH wing and as much of the center section as possible, and repairing the lower valance and replacing the RH wing…
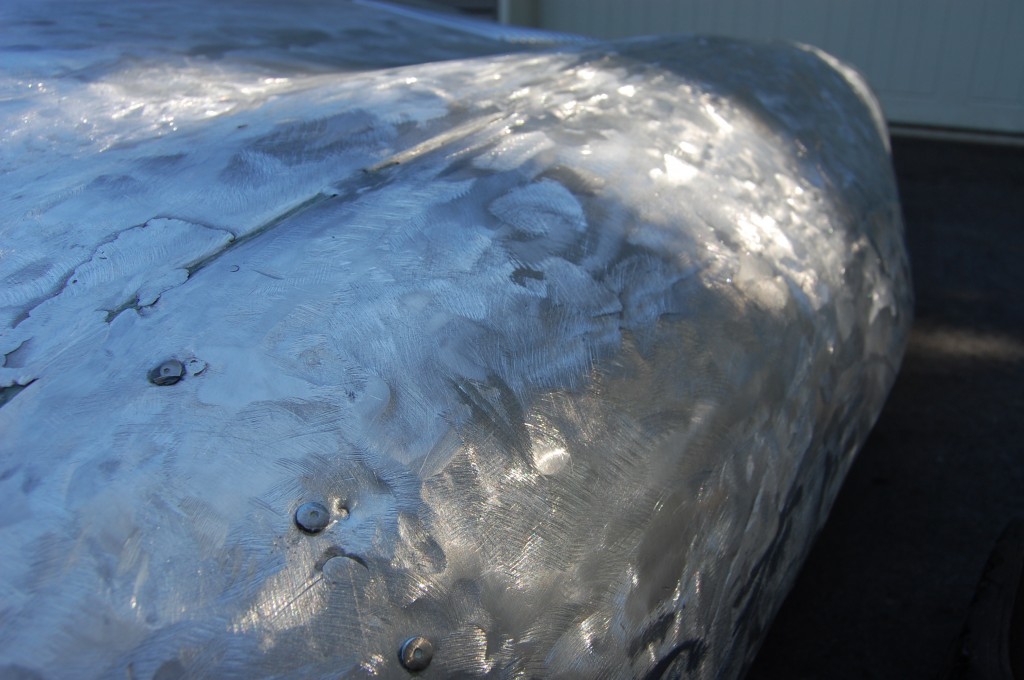
- …but – we all decided to strip this down to bare aluminum and get as much filler out of it as possible…
- …and it looks like that might be alot!
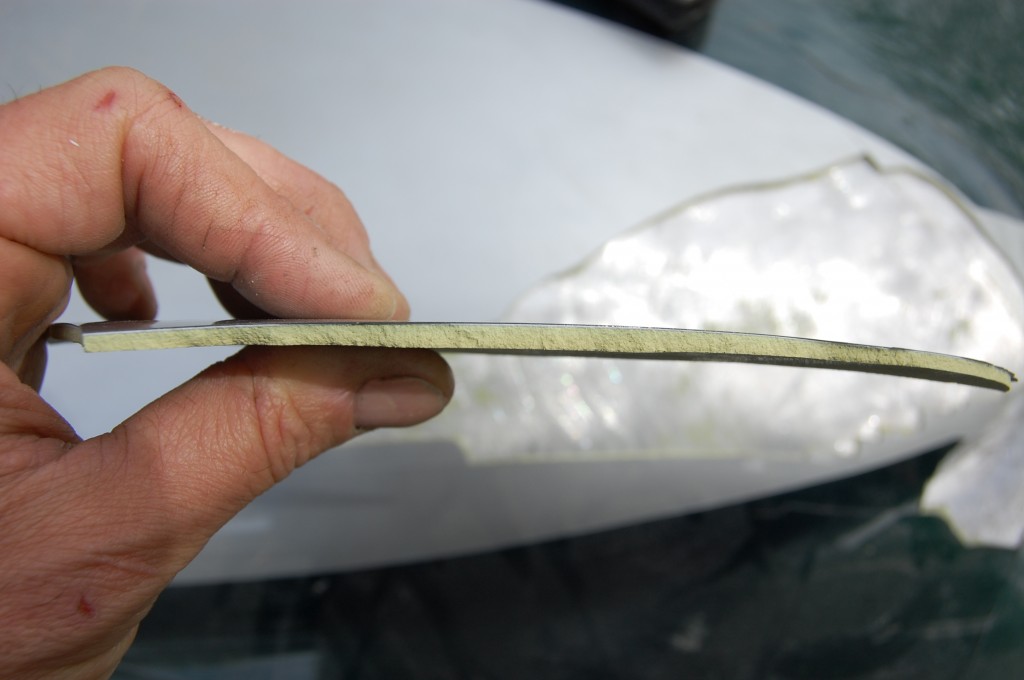
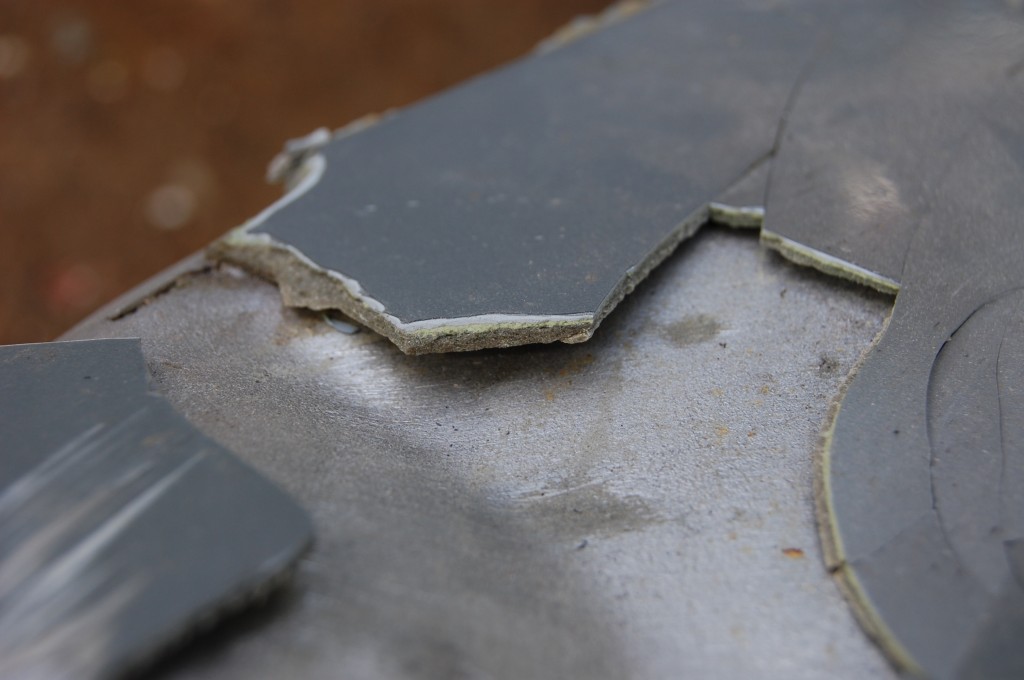
- Here is one of the larger flakes that came off during the wreck – a little over 3/16″ here
- Where it flaked off, it came off easy, but where it didn’t, it DIDN”T!
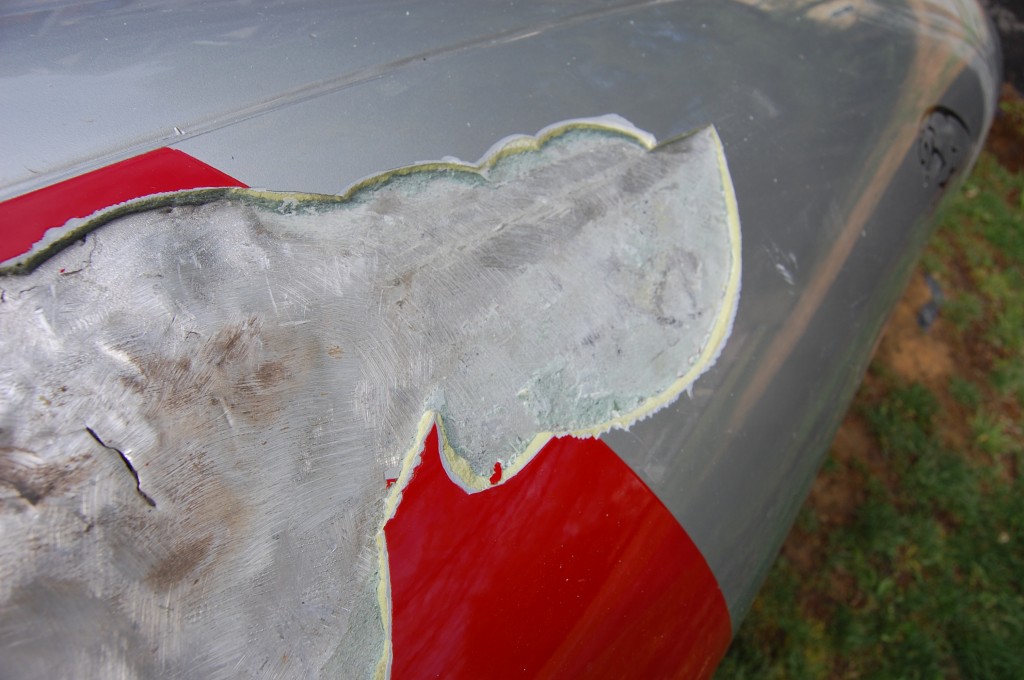
- So we flaked and pryed off as much as we could. This is the area over the LH front tire, and rubbing had heated the area and the filler was flaking off.
- Here, it was over 1/4″
- And then the real nightmare began. WHAT A MESS!!!
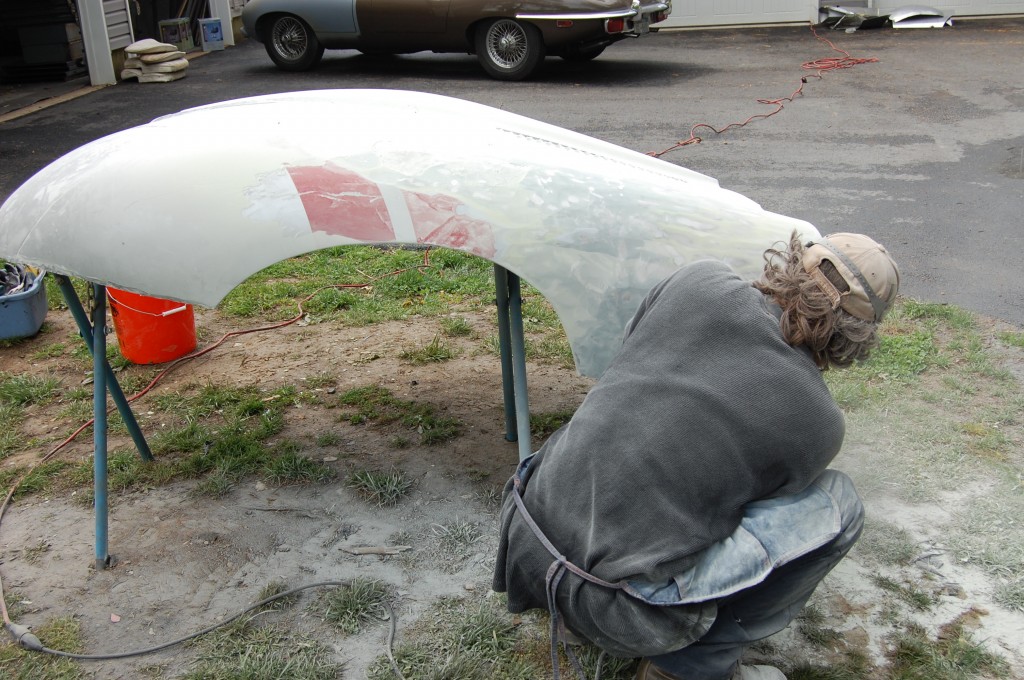
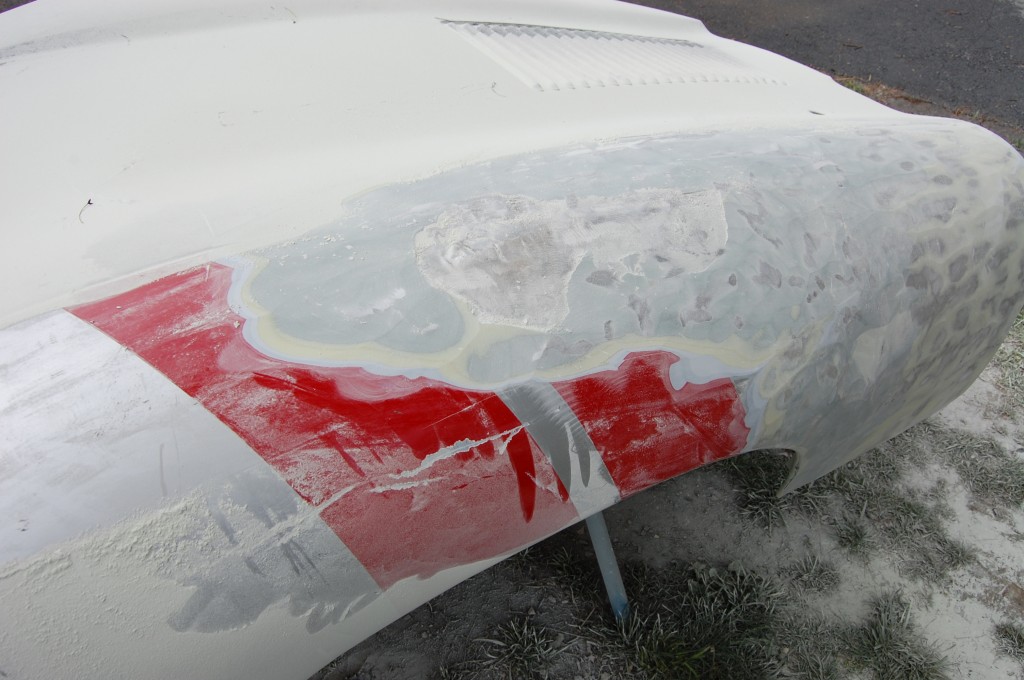
- We started stripping the filler off with stripping pads, just lightly kissing the aluminum and then moving on. Next, we’ll get what’s left with stripper.
- WOW… That’s 50 years of HARD racing! YIKES!
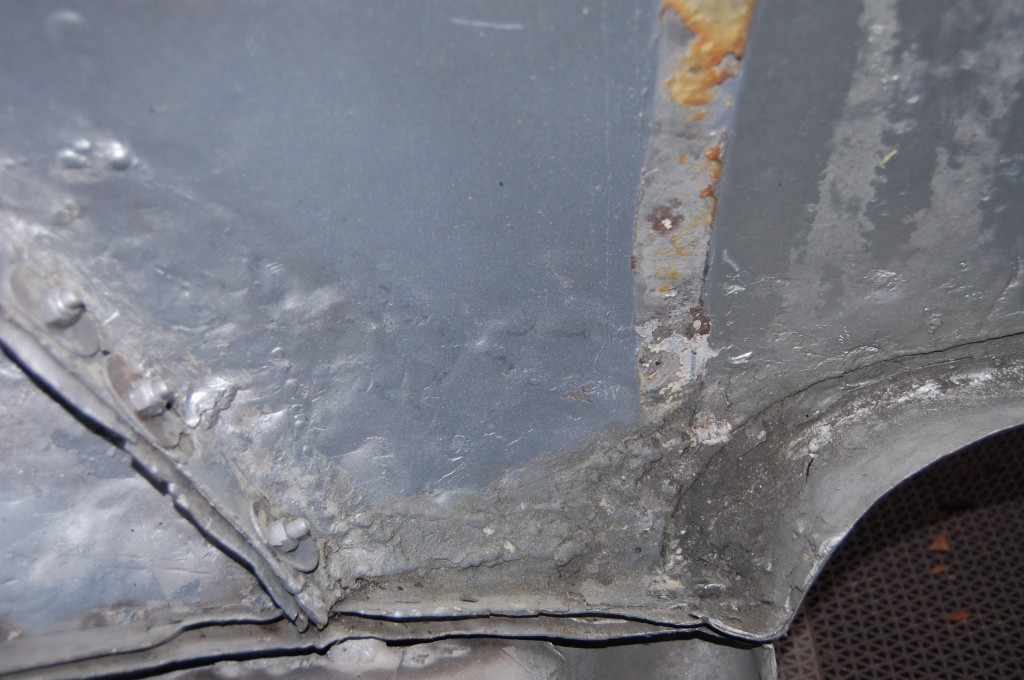
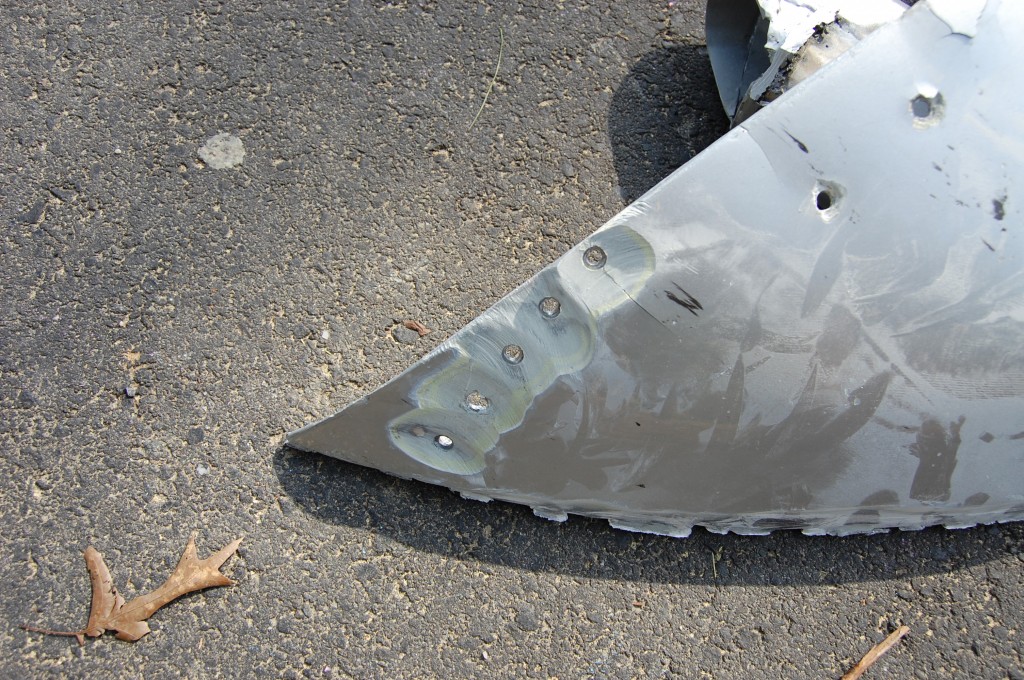
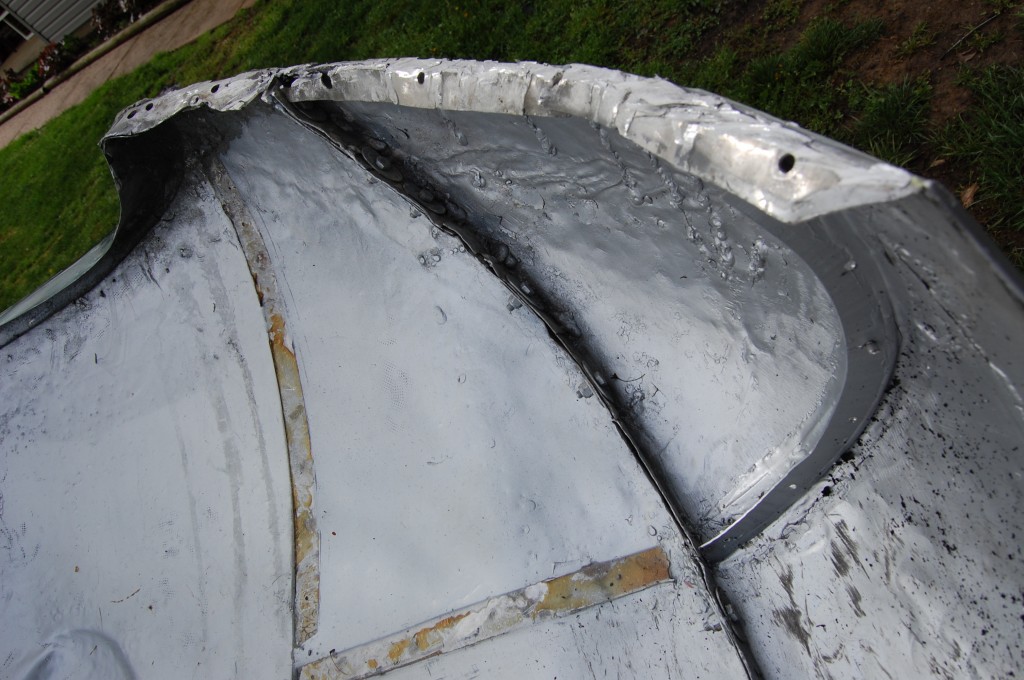
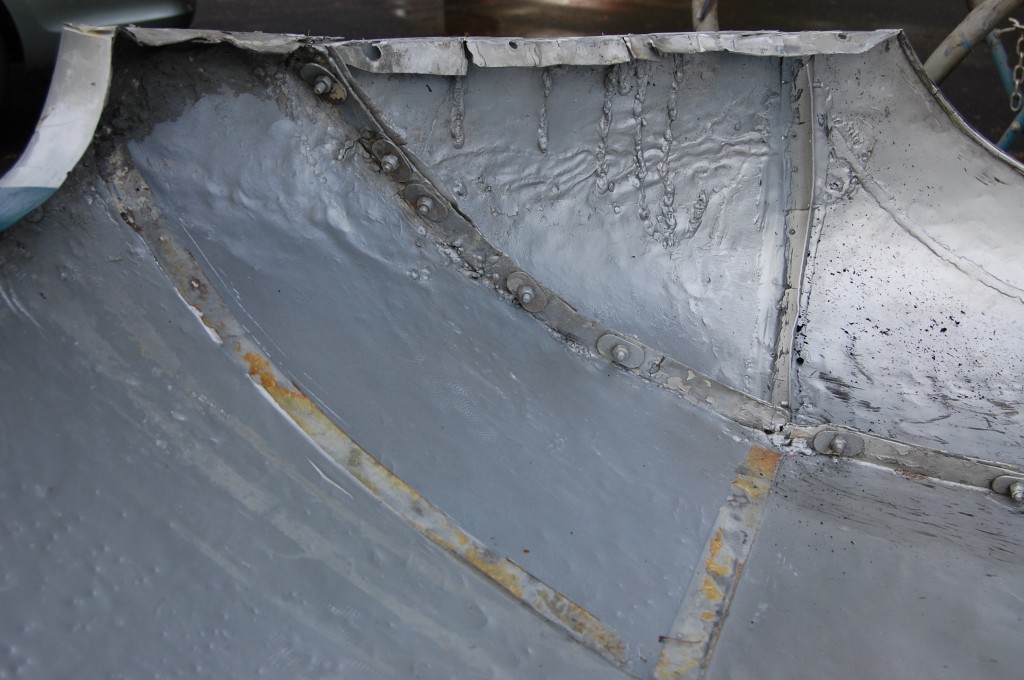
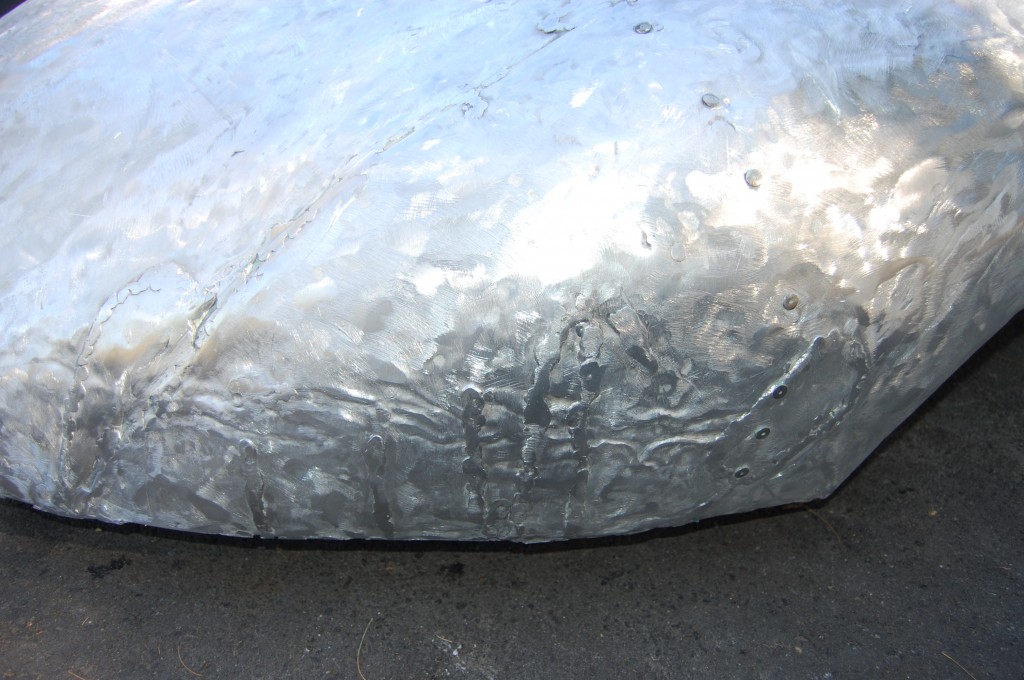
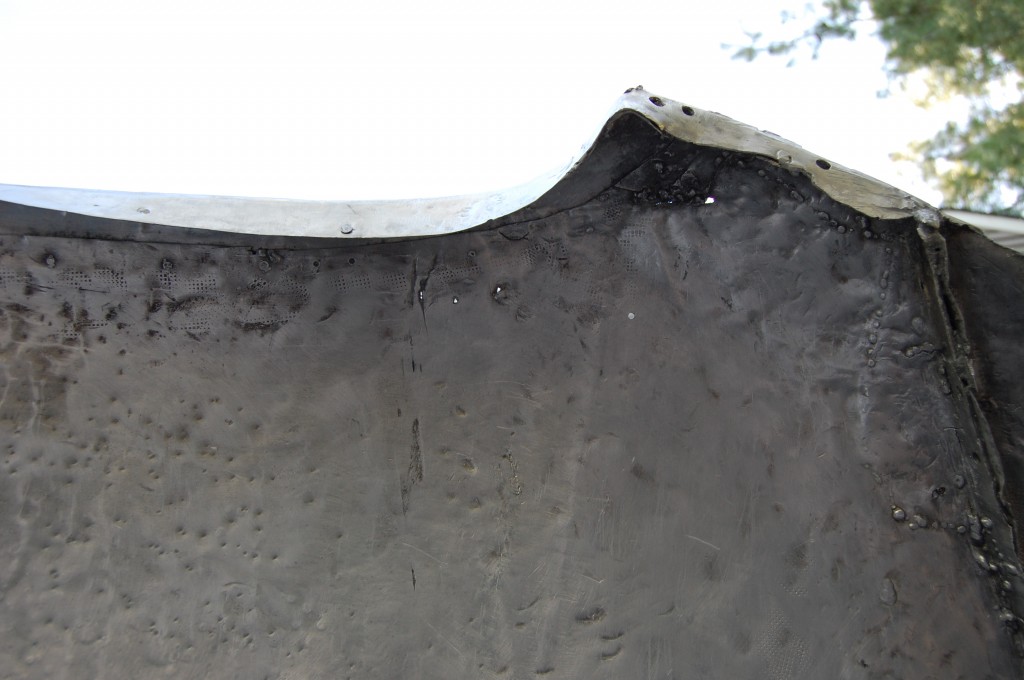
- I know this LOOKS kind of smooth – but it’s not – this is REALLY bumpy! AND – keep this in mind – those GIANT rivet heads were completely buried in filler – TONS of it! We should be able to smooth this out – ALOT!
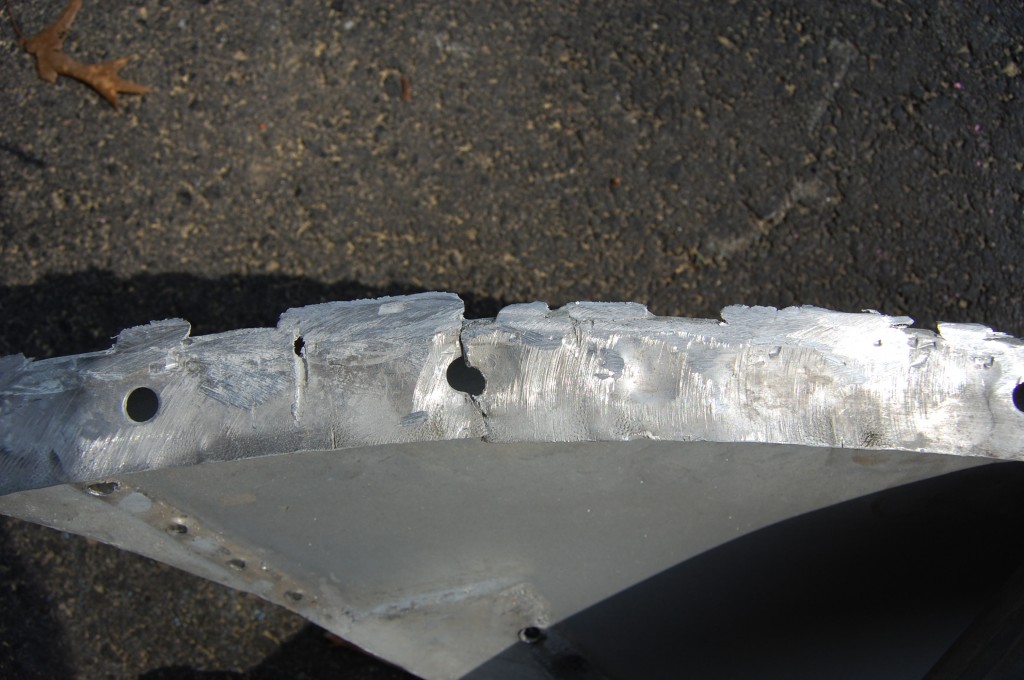
- Here’s the rough area from the inside. The flange was damaged when we sliced off the lower valance.
- Here’s another shot – YUCK…
- Take a good look – that’s 50 years of wrecks, 3 FULL DAYS of stripping by hand, and 16 POUNDS of filler we took out!!! Overall, between this piece, the lower valance, and the RH wing which was replaced completely, we estimate that we removed just about 25 POUNDS of filler from this bonnet! That’s alot considering the whole thing only weighs about 60 now!
- Lots of dolly and slapper work to be done here! I’m pretty sure I can get this into a much better shape so that nowhere near that amount of filler is necessary. But we’re talking about just leaving the whole bonnet in bare aluminum for the 2013 season. One thing’s for sure – it will generate alot of conversation – I think it will look really cool! I told Brian it will be like a museum display – almost like a dinosaur skeleton – where half is real, and the other half is new stuff filled in to make it complete.
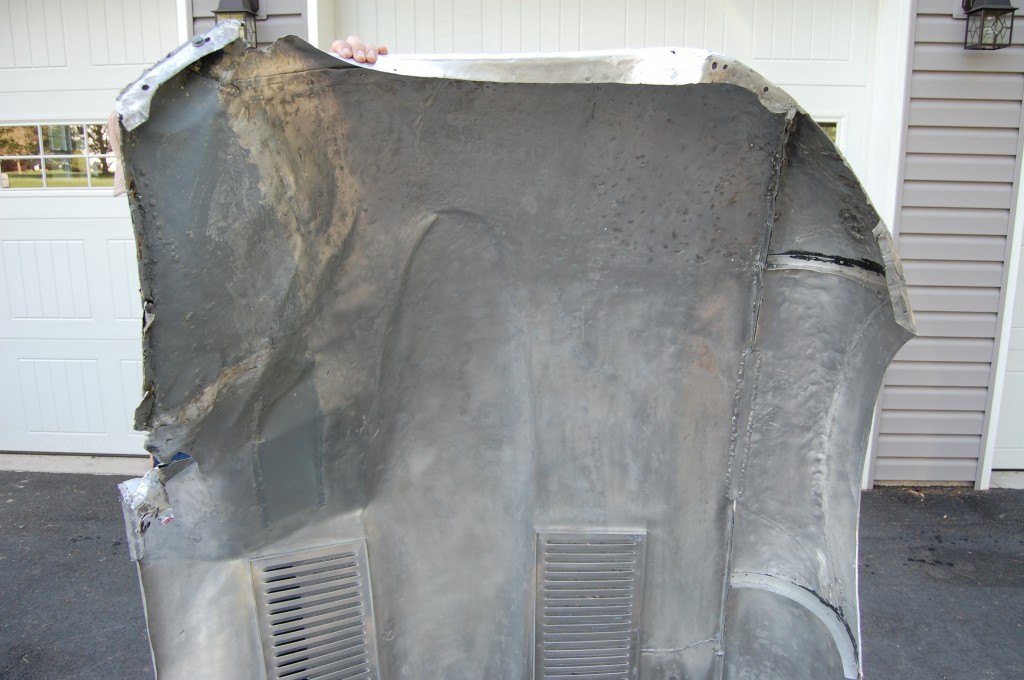
- This is probably the area that had the most filler – I know I can do alot with this – it is relatively virgin metal still that has not been too badly abused yet.
- Here’s another interior shot of the roughest spots.
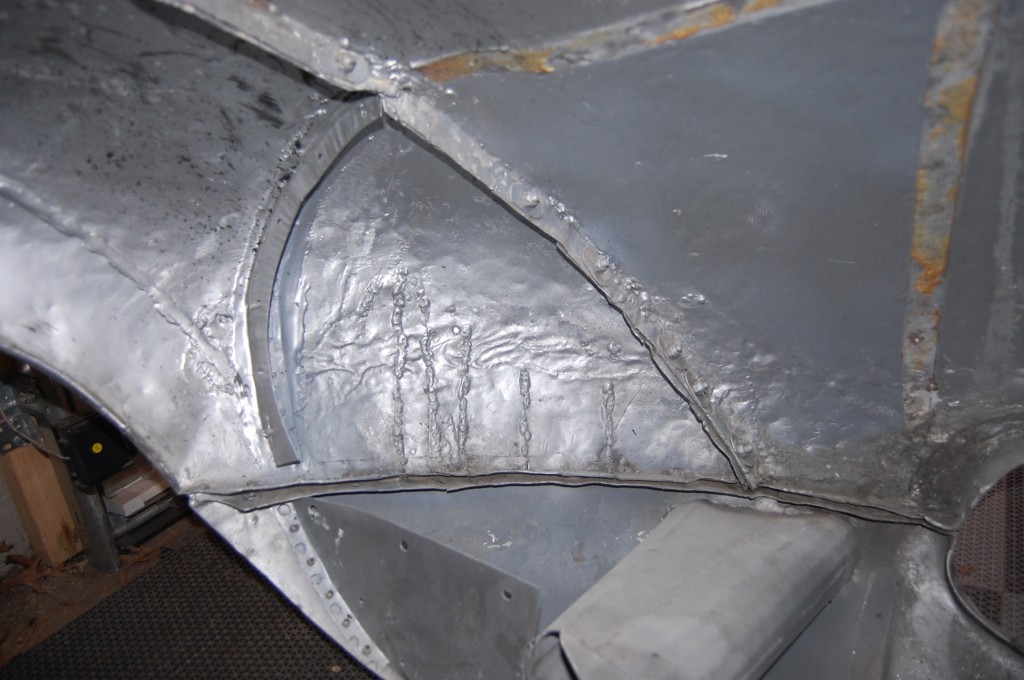
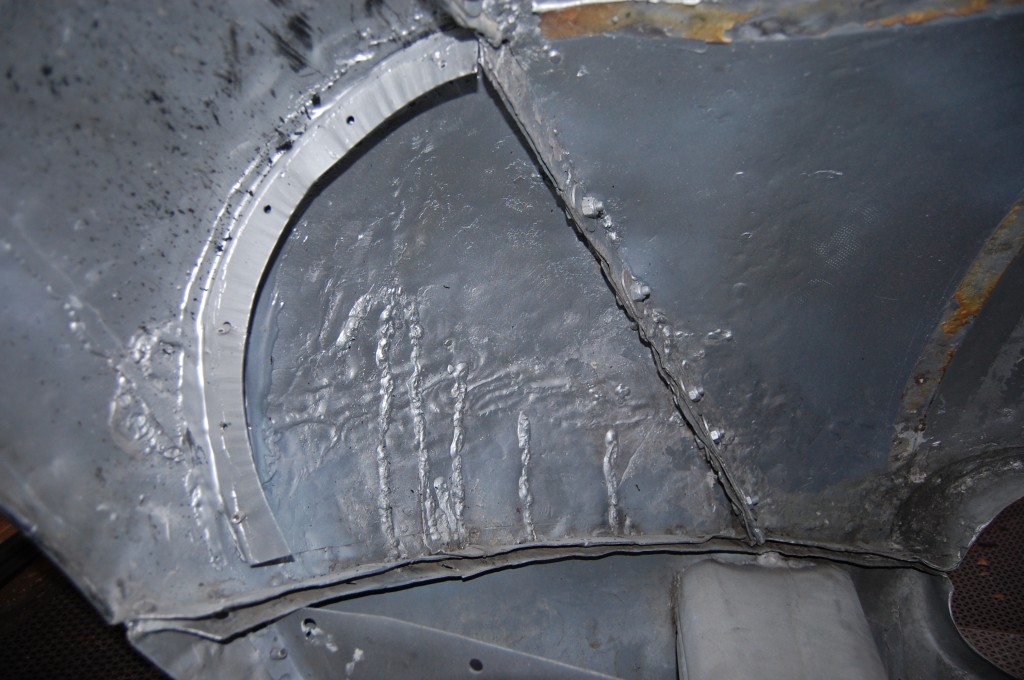
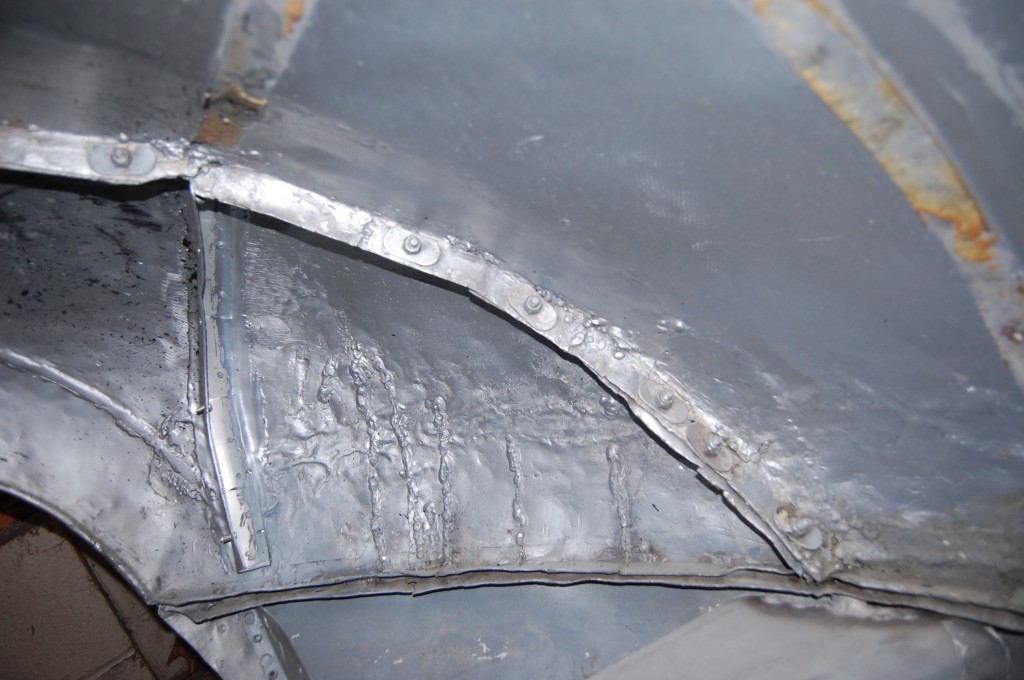
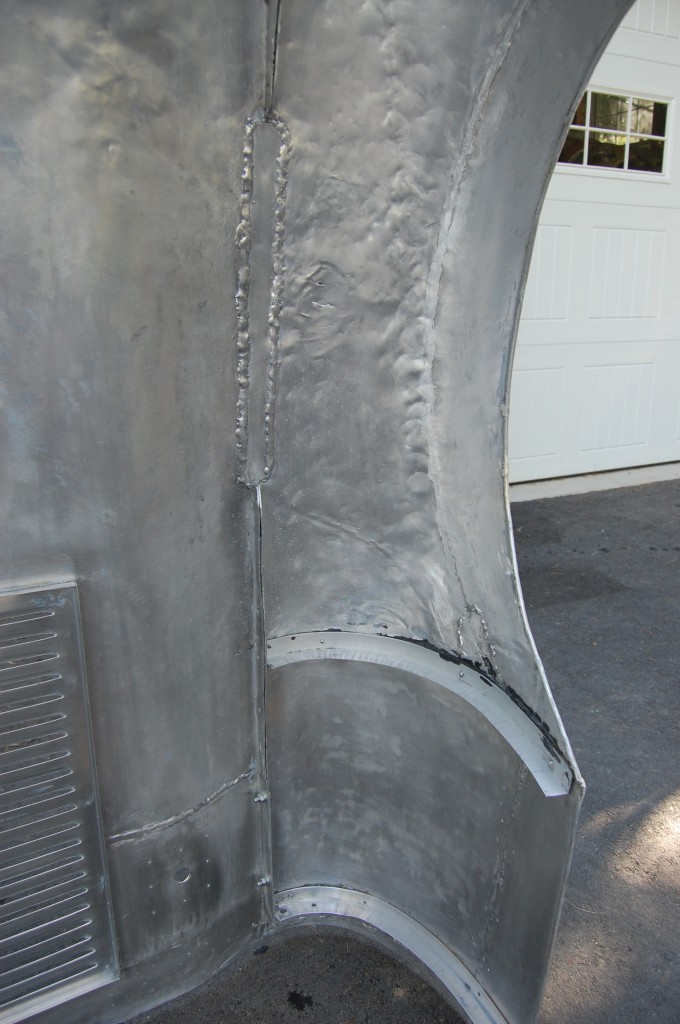
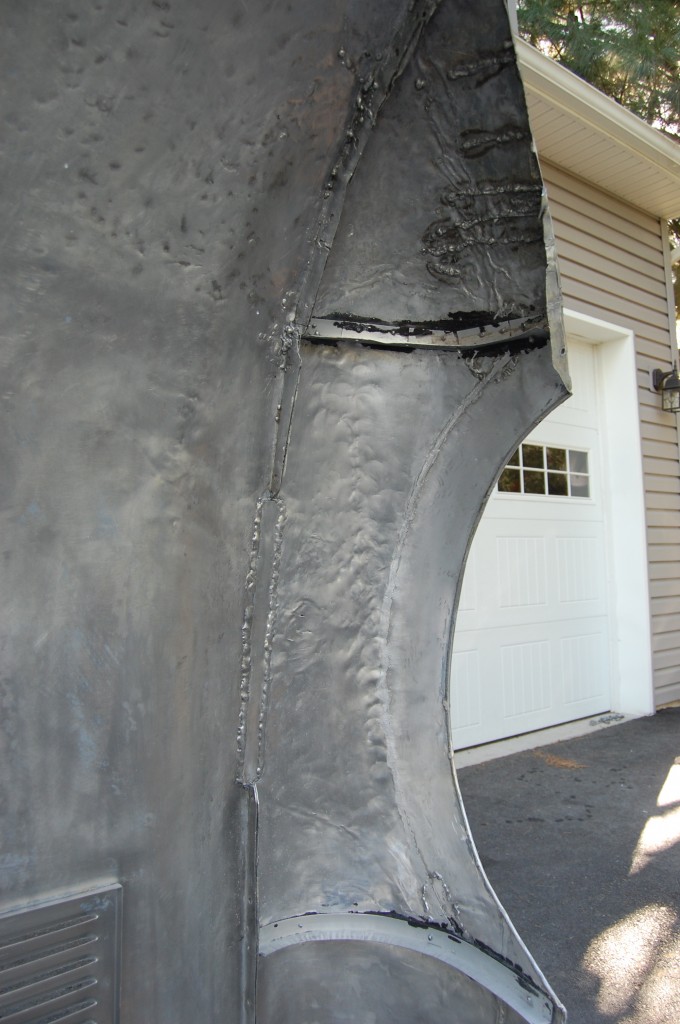
- Next, we tapped our aluminum welding specialist to stitch the three wing panels together and attach the main support member to the lower valance skin.
- Charlie is our machinist. He is a retired machinist from GM, and has 40 years of professional welding behind him. He actually teaches TIG welding at a local community college. He is THE BEST welder I have ever known – period. And so after the numder of hours I had put into these pieces already, I wasn’t taking any chances. I can TIG aluminum – OK – somethimes great. But sometimes, the puddle gets away from me and it makes a mess. NOT an option after the amount of hours here…
- Here’s Brent! We couldn’t wait to see how things are going to tie together, and so far, so good!
- The next order of business here is to planish these welds and then file them smooth, then begin to fold the edges and hem in the wired edges around the wheel opening.
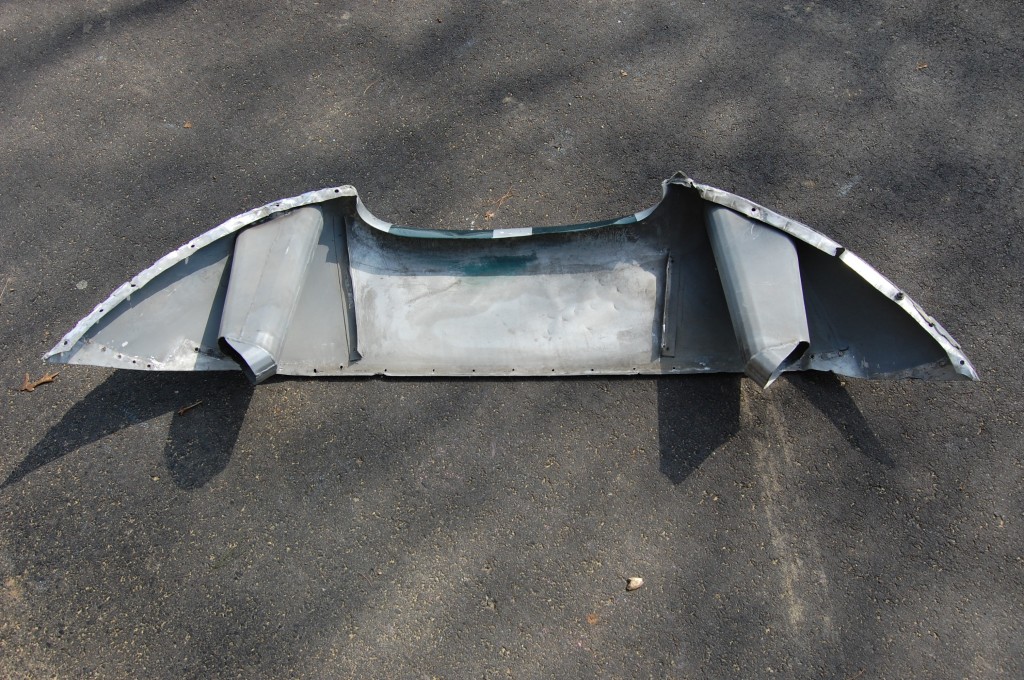
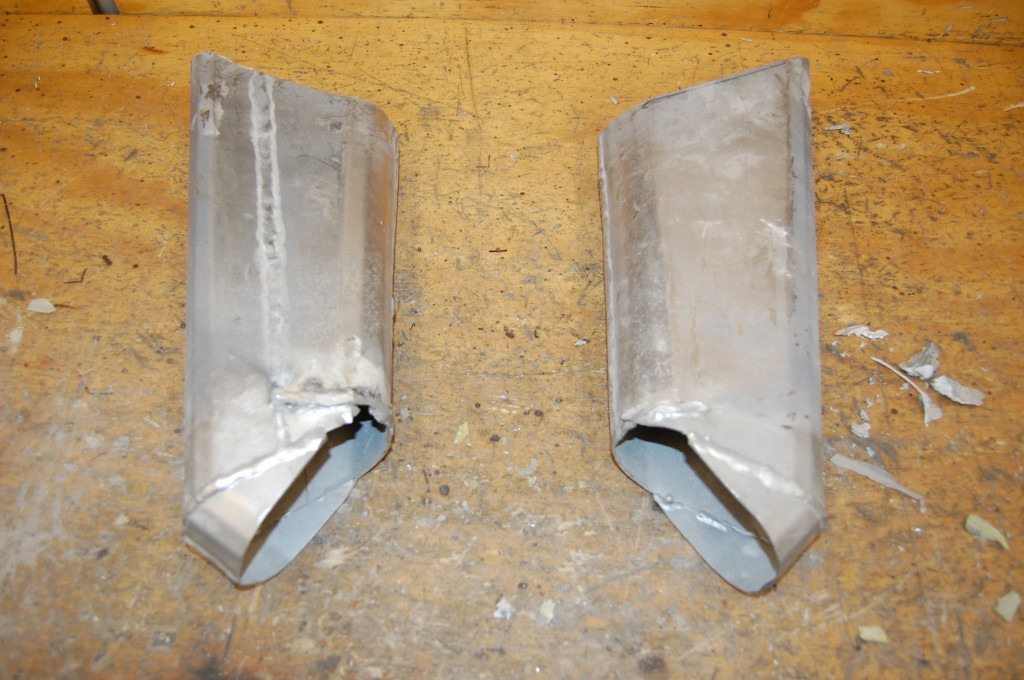
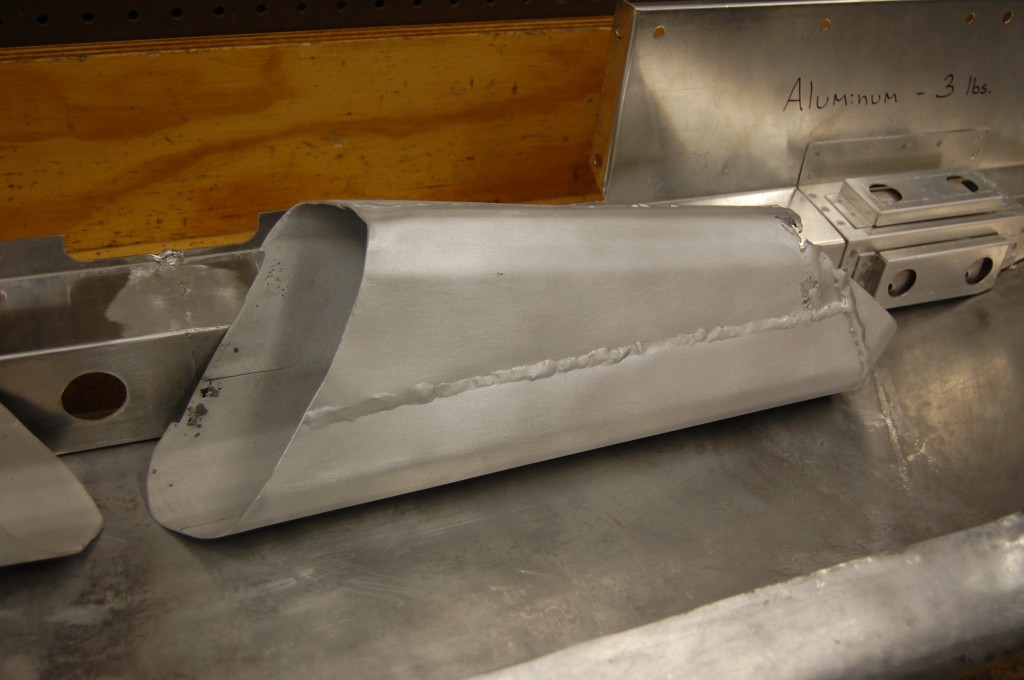
- Next, we tackled the brake ducts. These were formed up from pretty heavy aluminum, and after all of the stripping nightmares, I did go ahead and blast these clean.
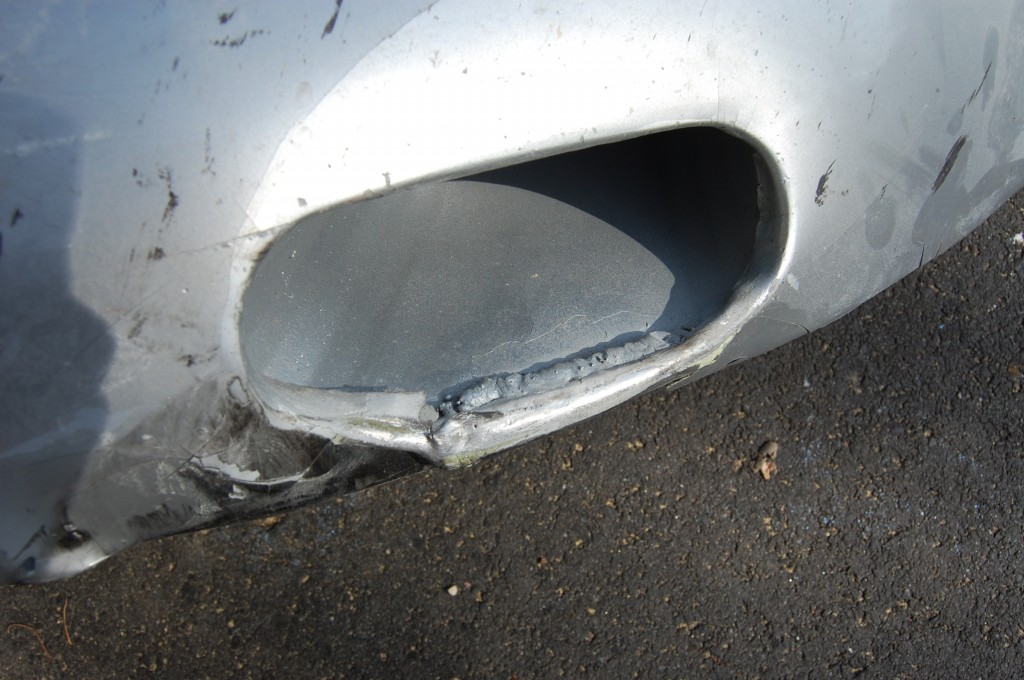
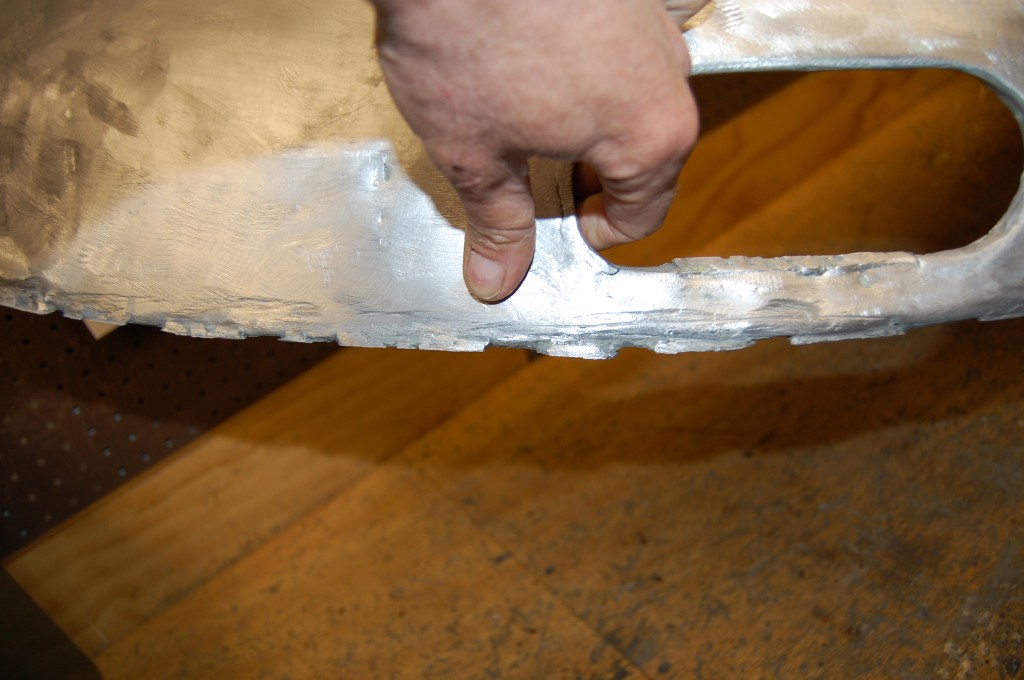
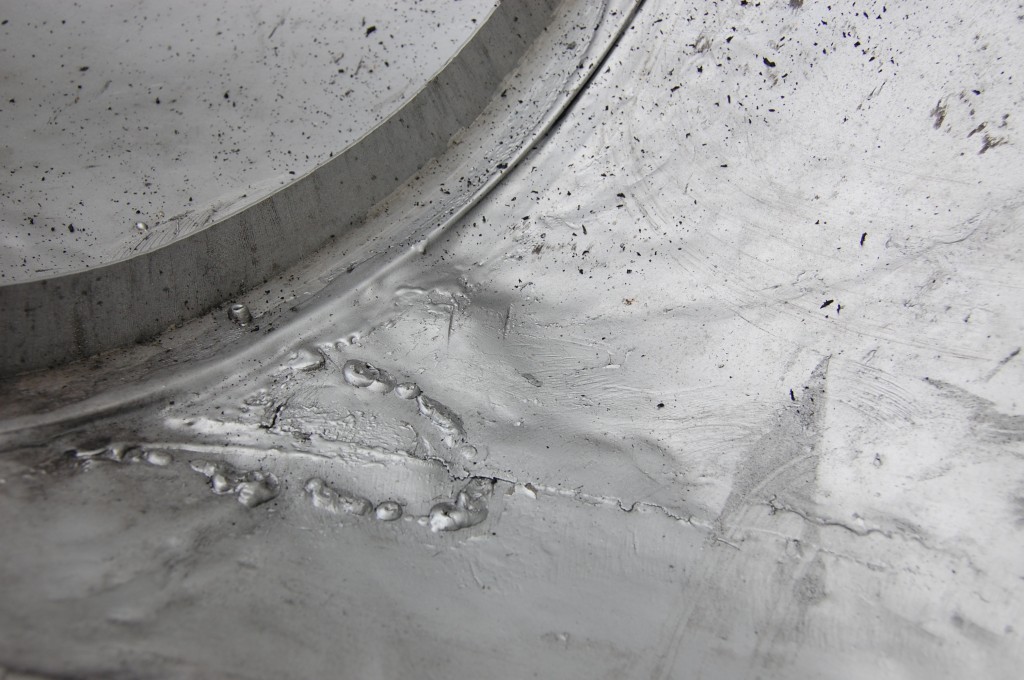
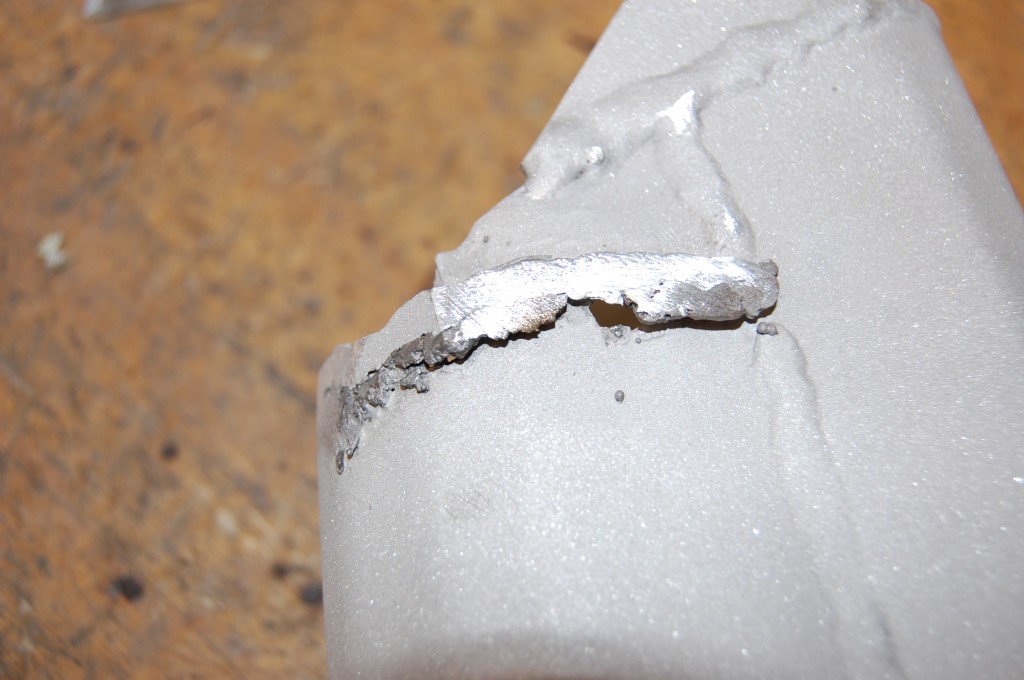
- They did require doctoring up here and there. What you are seeing here is an aluminum weld that is pretty globby – probably done with a MIG and a spool gun. But the crazy part is that along side of it is another STEEL MIG weld! I can’t really explain that one – maybe it was a track repair and it was all that was available on short notice.
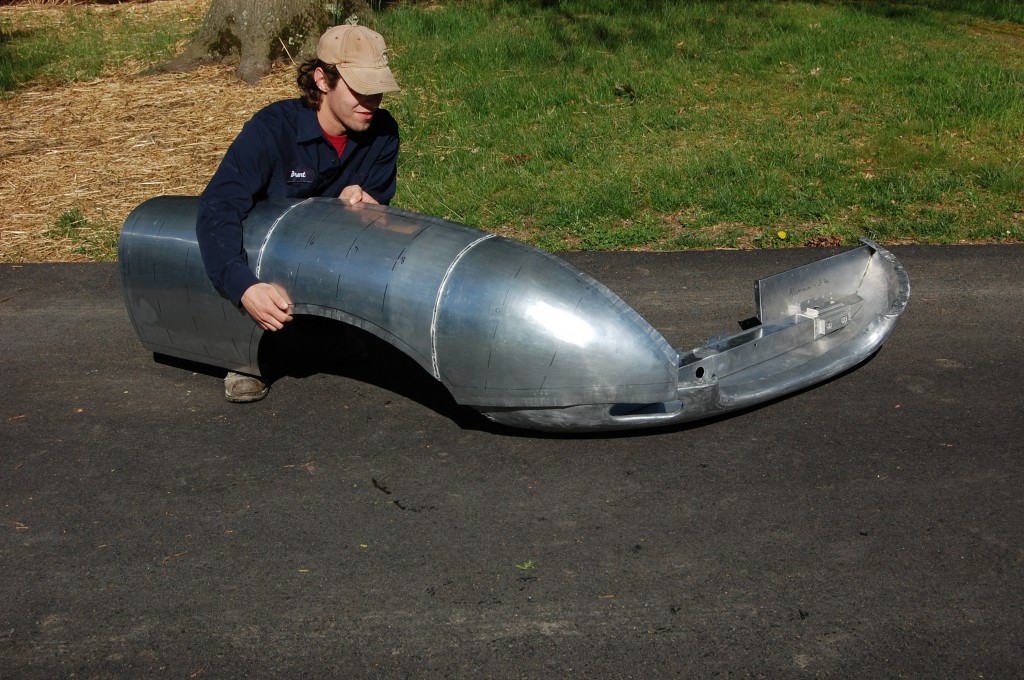
- Just a shot of the restored lower valance and the cleaned up brake ducts. Looking at these photos now, I can already tell that I’ll be reshaping the mouth once it is mated with the center section.
- Here’s a close-up of one brake duct.
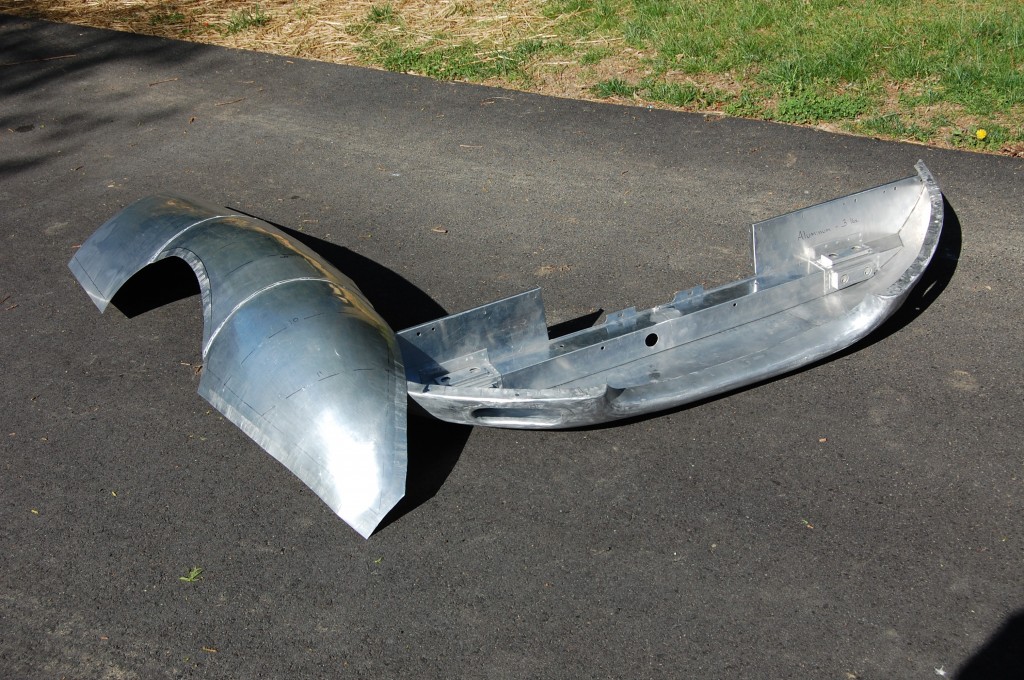
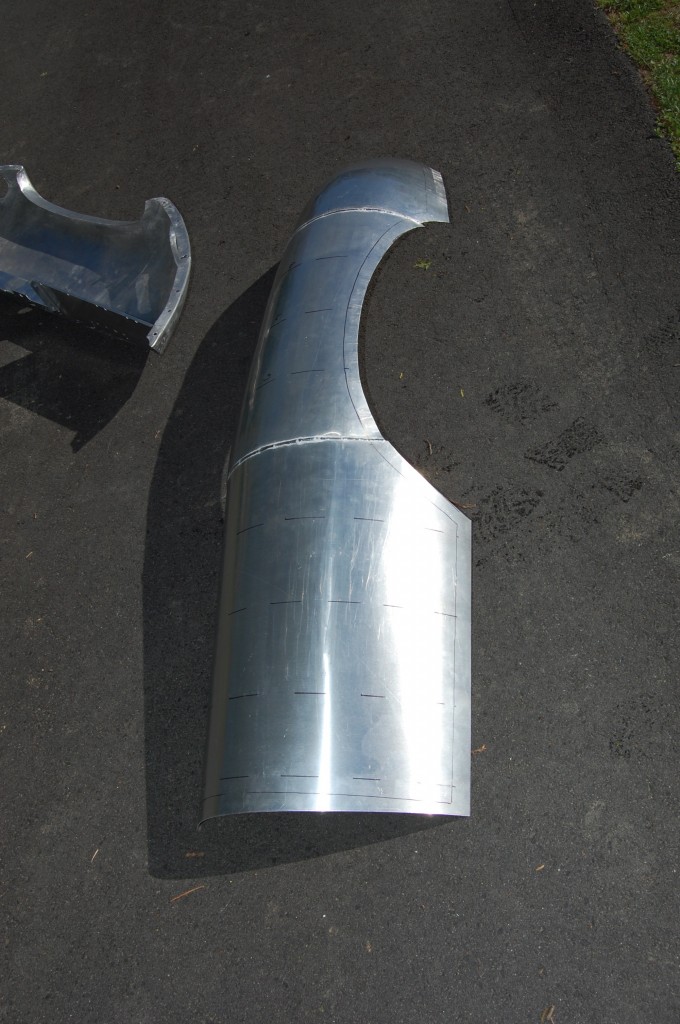
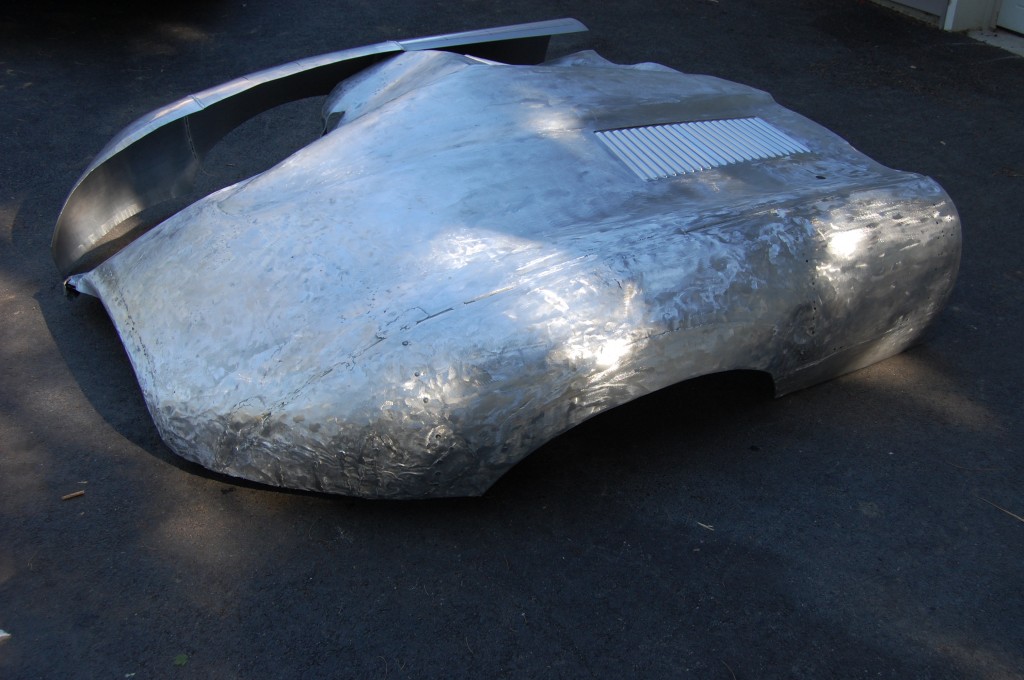
- Here is a shot of the stripped LH wing and center section, and the new RH wing panels.
- We’ve put ALOT of work into this so far, and we’ve come a LONG way…
- …but there’s still MUCH work to be done, and time is running out! This week, we need to take what’s in this pile, and make an aluminum race bonnet out of it. Today is May 5th, and this bonnet is here at the shop in this condition, in Maryland. On May 31st, this bonnet will be “at speed” – in Connecticut! Oh Man, I have to get off the computer and get to work!

