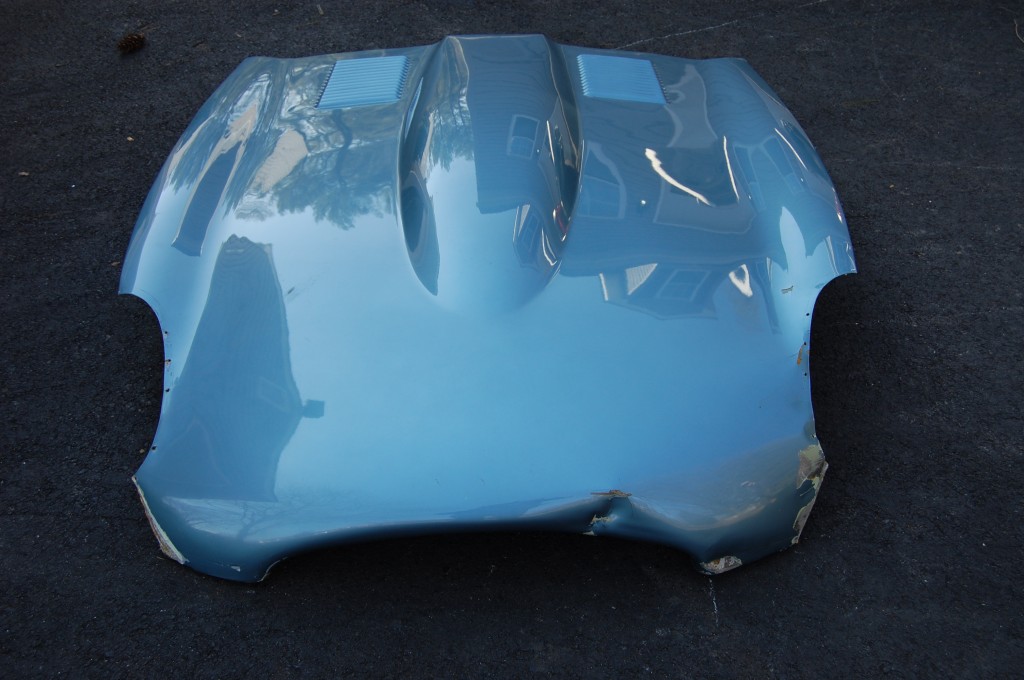
Yup – one of the cars we helped restore already hit a deer…
Two Summers ago (Wow, has it been that long!?!) we did some special fabrication work on a 1968 E-Type OTS to fit a Cosworth 5-speed shift linkage under the stock console. That car was completed, driven around a bit, and the this past Winter, was out on a warmer evening and hit a deer – which is common where this car is from – Highlands, MD, near Columbia…
So the center section is back up here for reshaping. We we have not done metalwork on this car before, and what we found under the paint was a little scary!
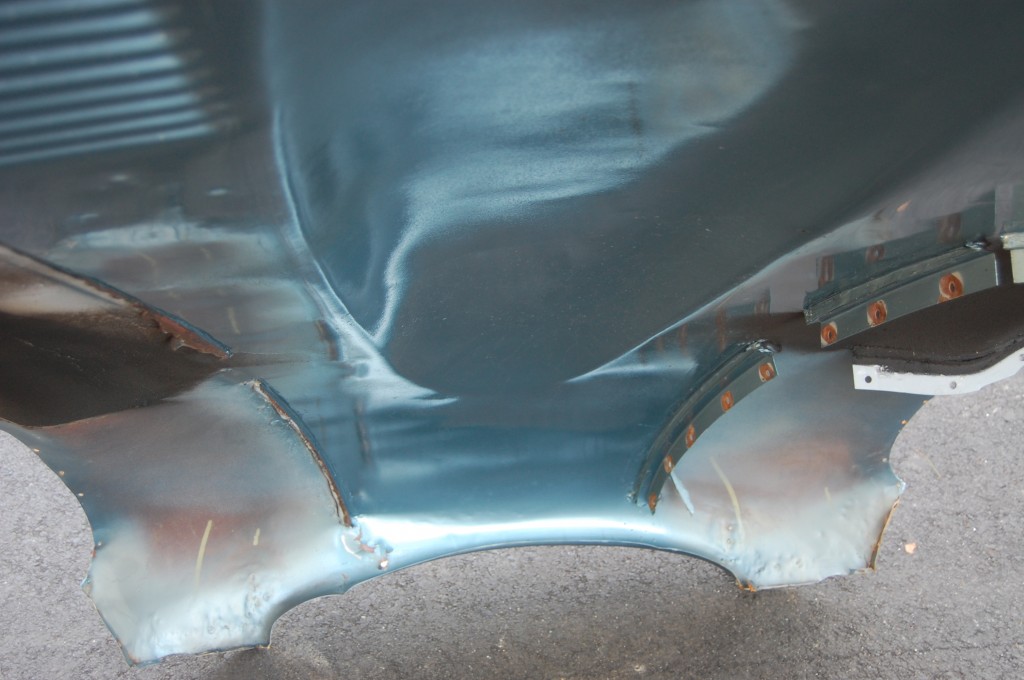
- Here’s the damage – it actually looked alot worse when this was still on the car. We decided that the LH wing and LH headlamp scoop were both toast, so Monocoque Metalworks provided two restored but basically already excellent originals for those pieces. We’ll fix the center section.
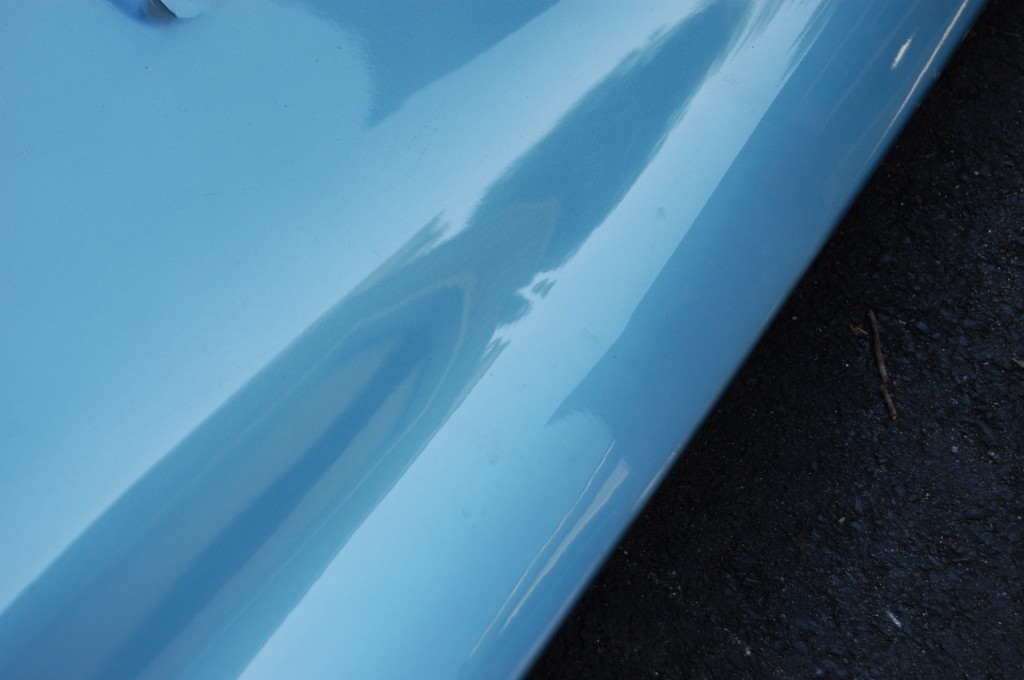
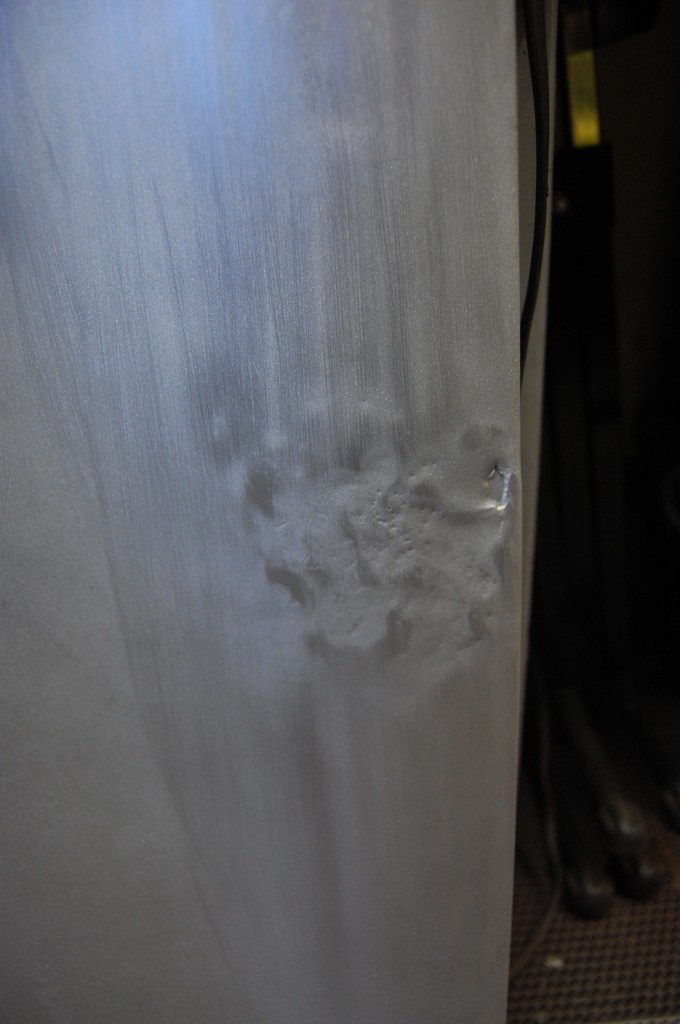
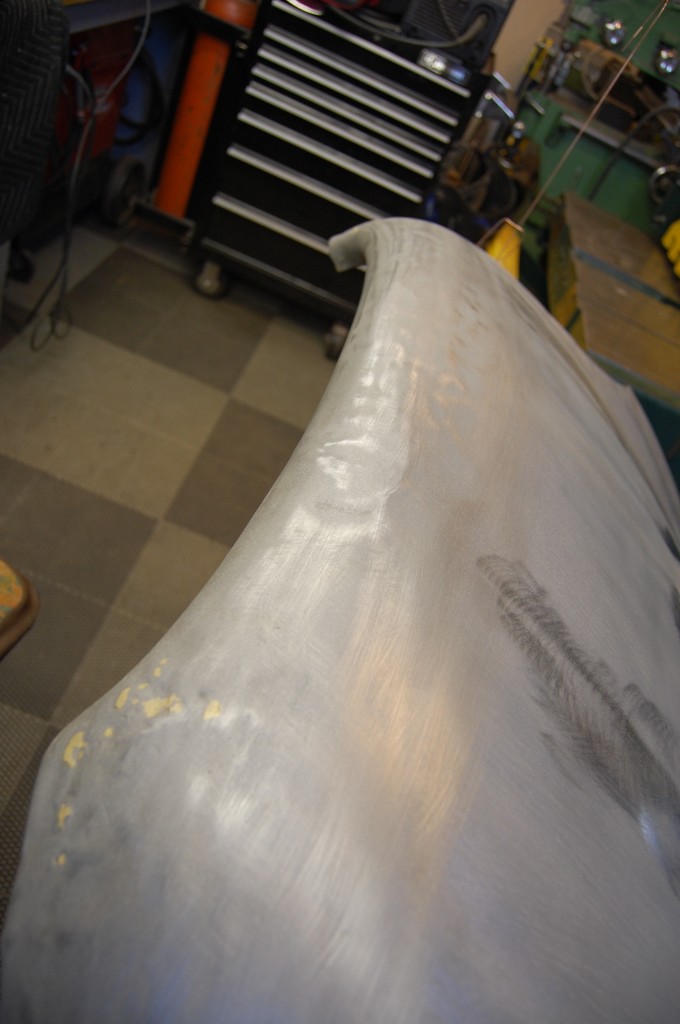
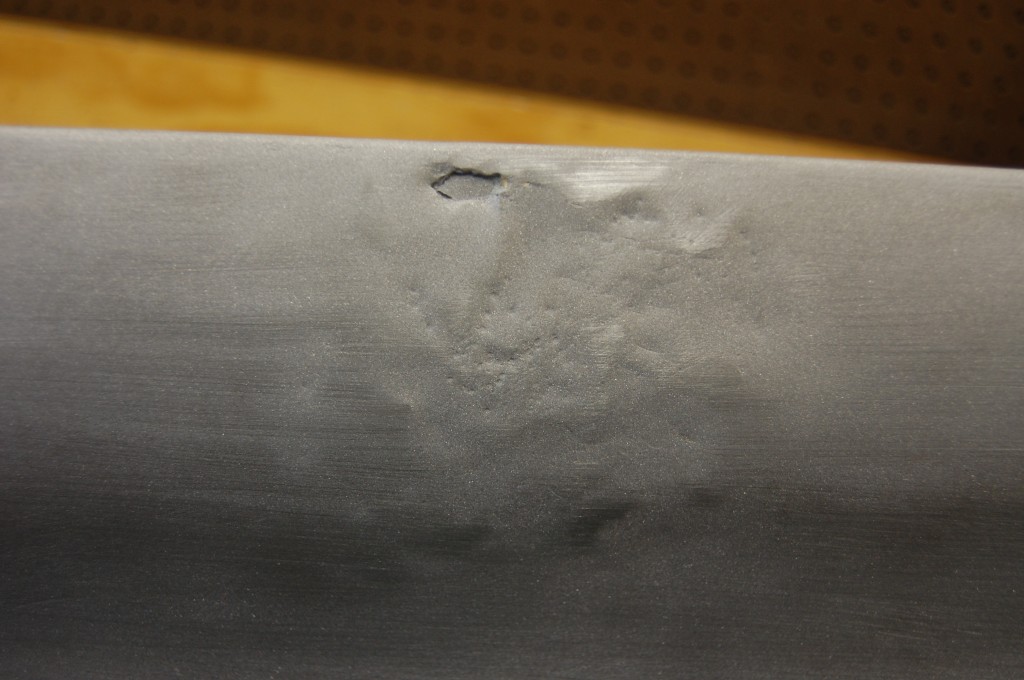
- One of the ripples that the other shop was concerned about, but after we stripped this panel, things like this were the LEAST of our problems!
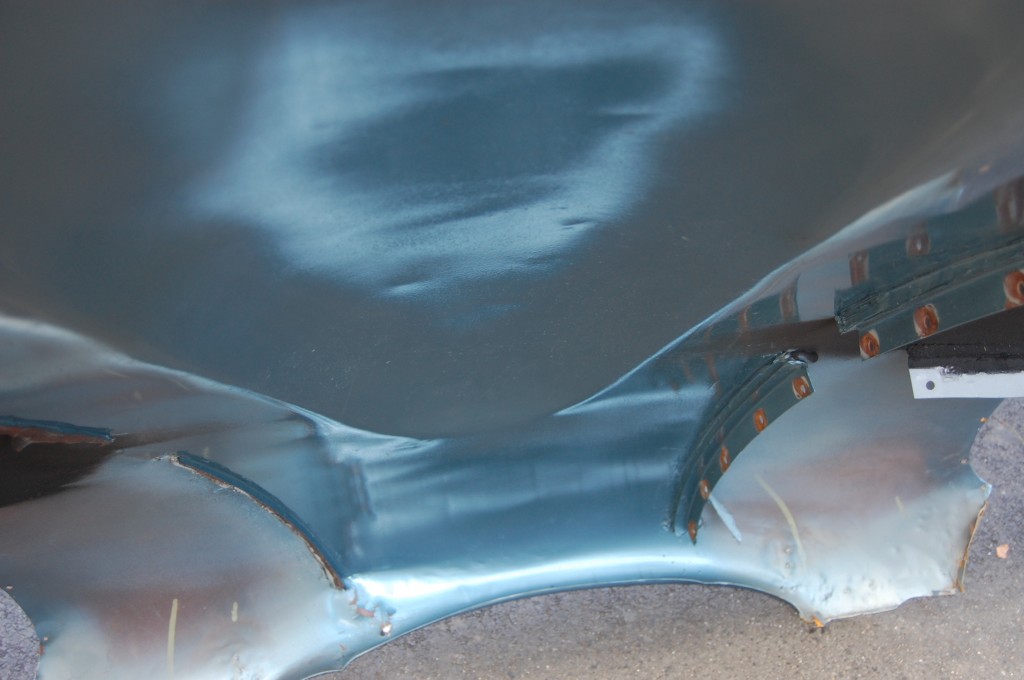
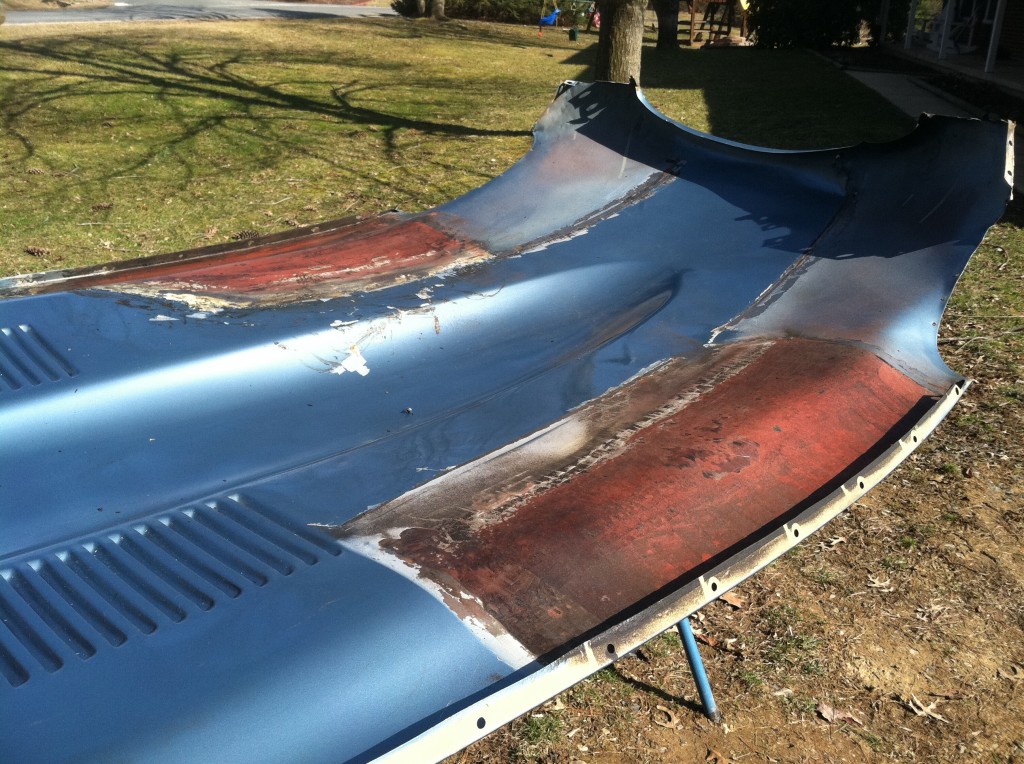
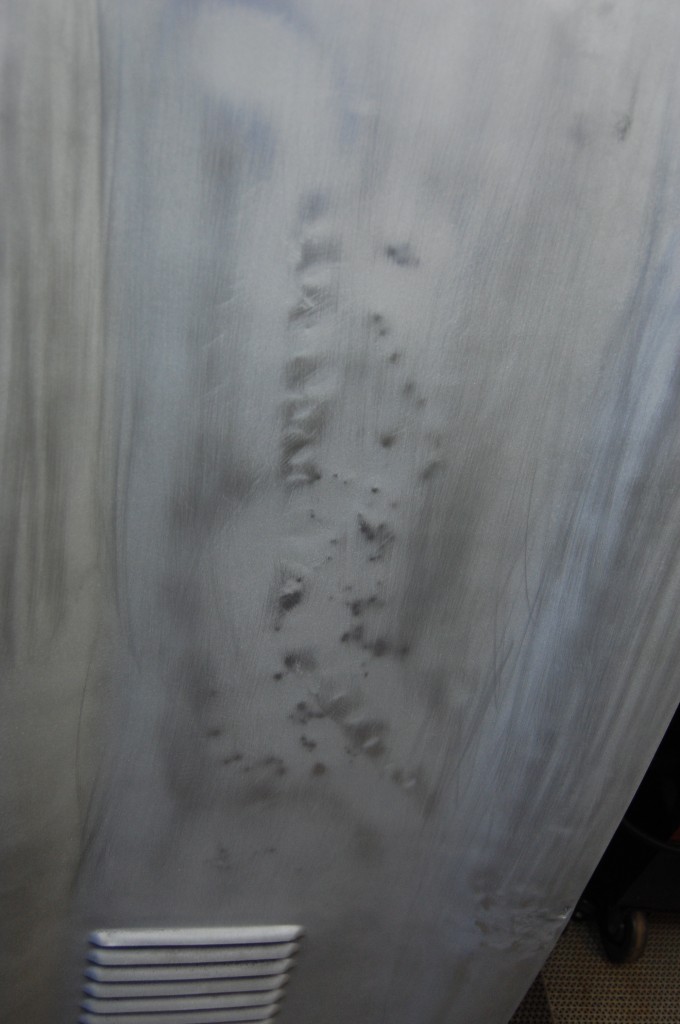
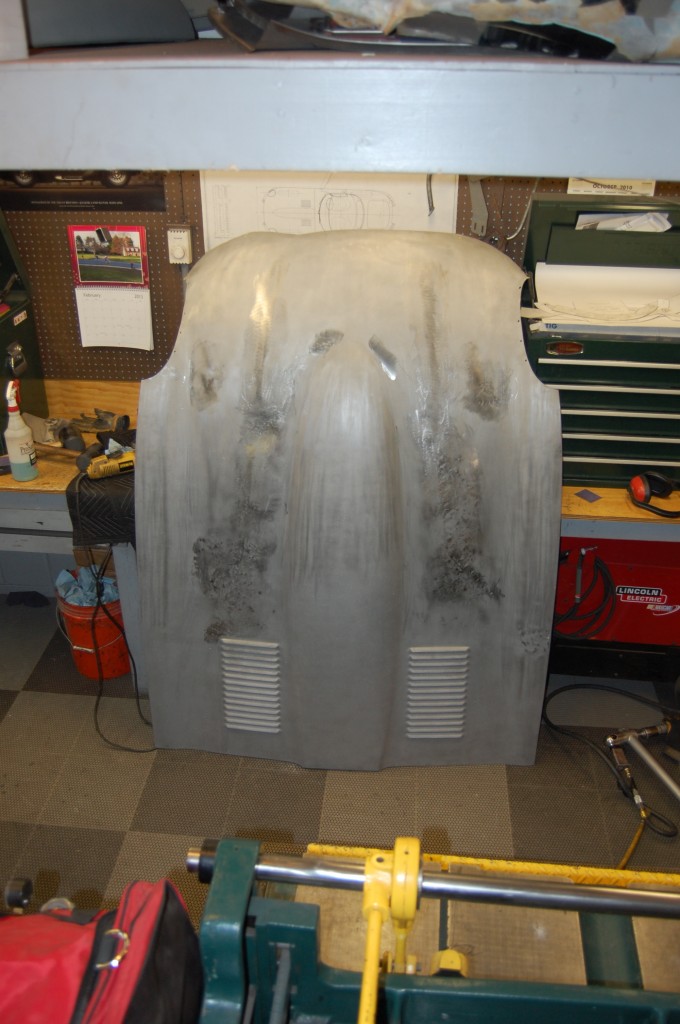
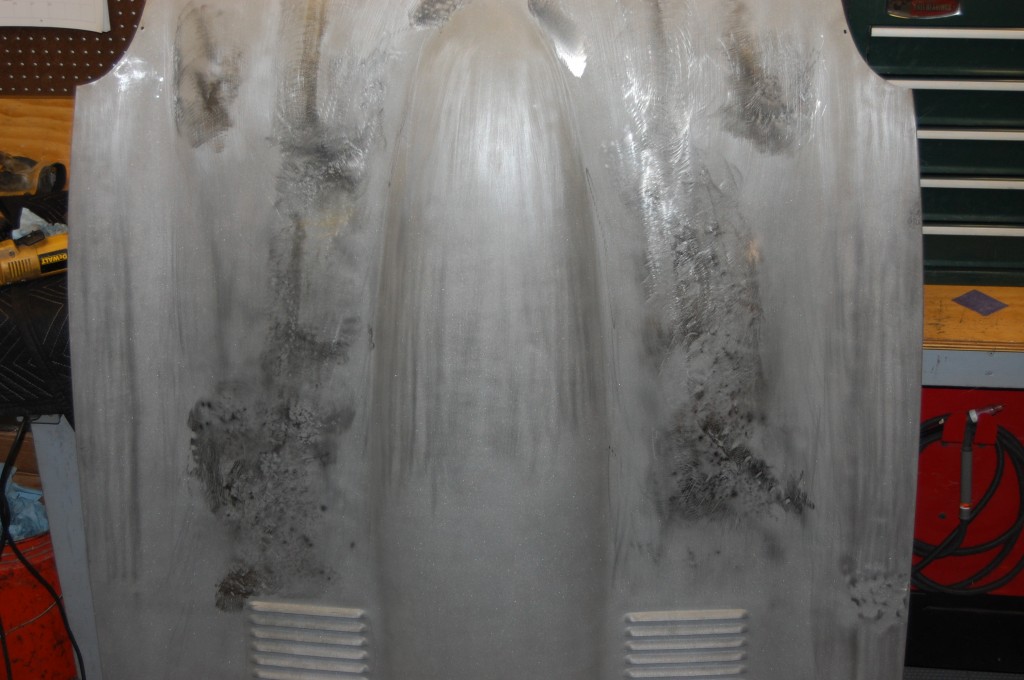
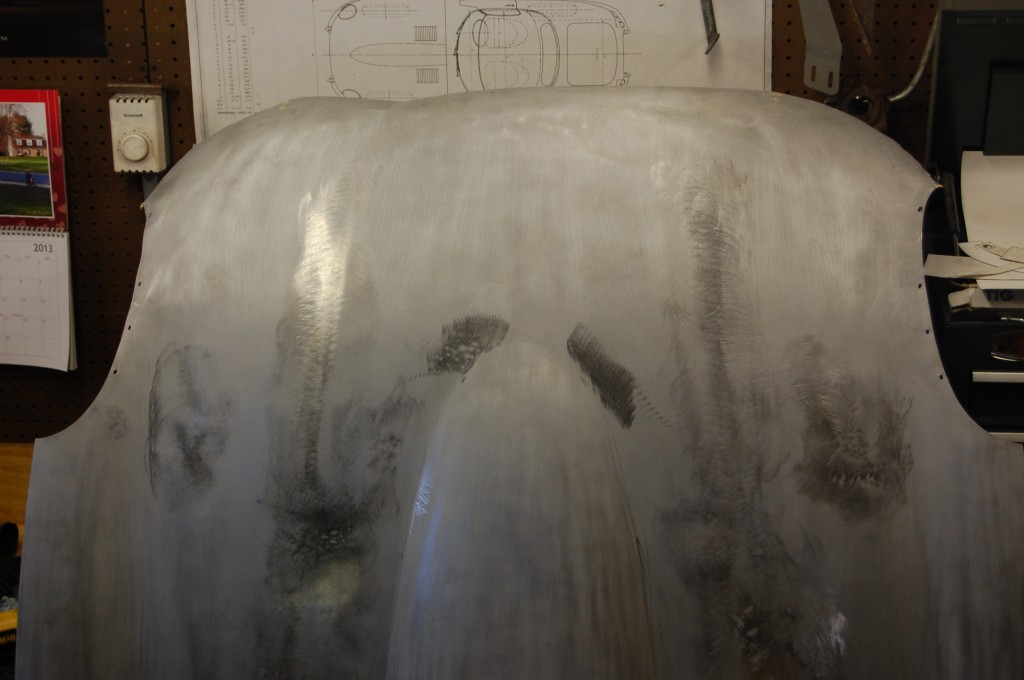
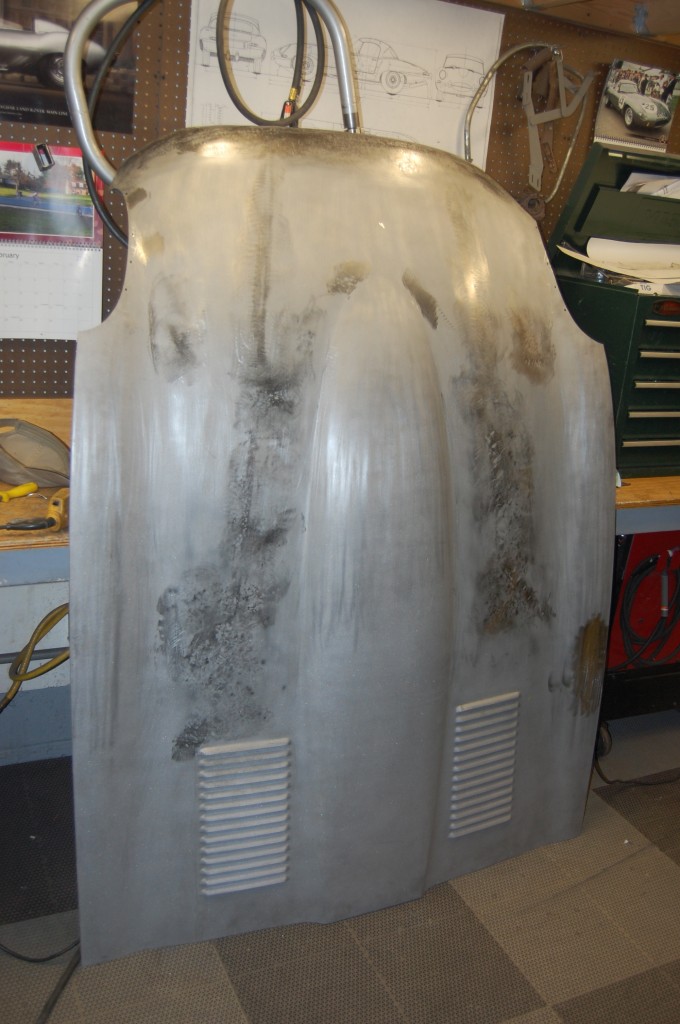
- In my opinion, this is the REAL issue – serious waves from obvious over-sandblasting of this panel in the past.
- These long slow waves in the flat sections are tell-tale signs of too much pressure and too much heat from a very coarse media.
- The crazy thing is, that the top surface of this panel was smooth as glass!
- But as soon as I picked up this panel, I could feel the extra weight – TONS of it! So right there at the other shop, I pointed out this problem so there is NO QUESTION about this happening here. We SOLVE this problem, and NEVER damage panels while stripping them. We built our own booth and complete sandblasting system from SCRATCH just to make sure! John is our sandblaster – he has all of our equipment at his shop down the street and he gets it done right and safely EVERY SINGLE TIME. He and I went through an emotional roller coaster of building machinery, trying out different media, grits, pressure – the works. I can’t tell you how many phone calls I’d get in the early days, “Dude, you better come down here…” follwed by MASSIVE anxiety the whole way down the street, then running our hands over panels with our eyes closed – and trying ti figure out, “are we doing this? was it already there?” – it took ALOT of trial and error! We have it down now – COLD! And I don’t trust my customers’ panels to any other human being, period. You shouldn’t either…
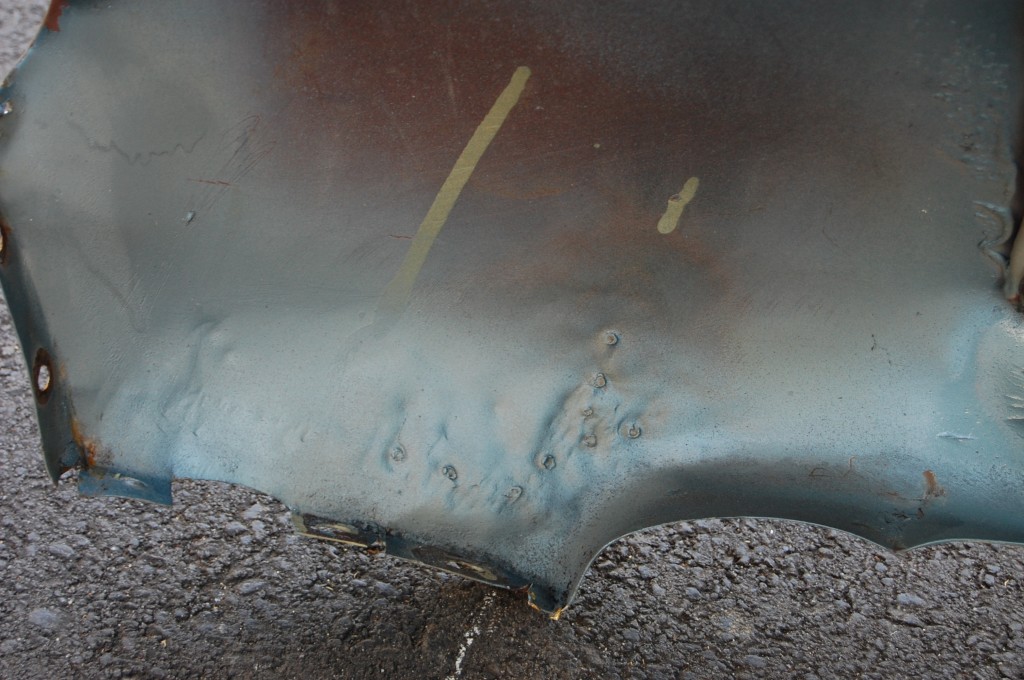
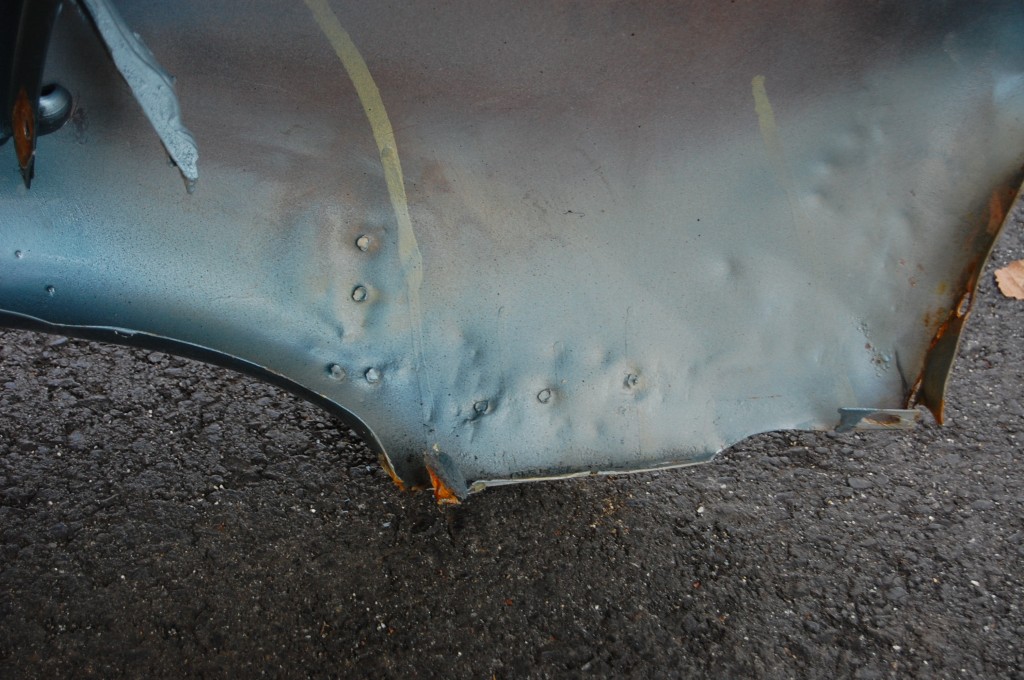
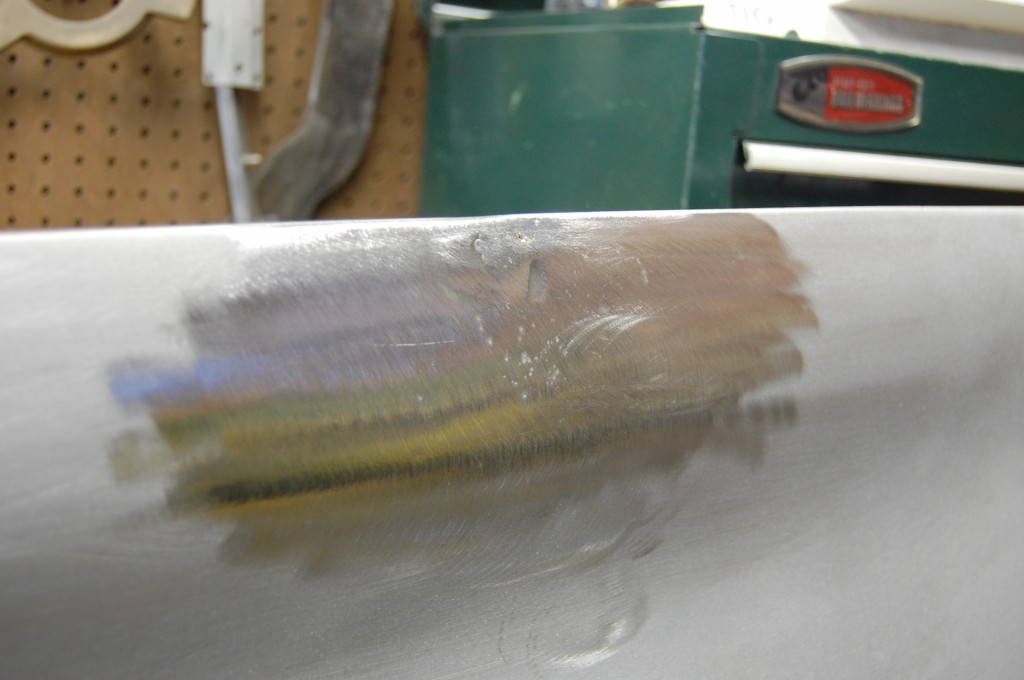
- We’ll doctor up this stuff…
- …this too.
- The other side has the same issue…
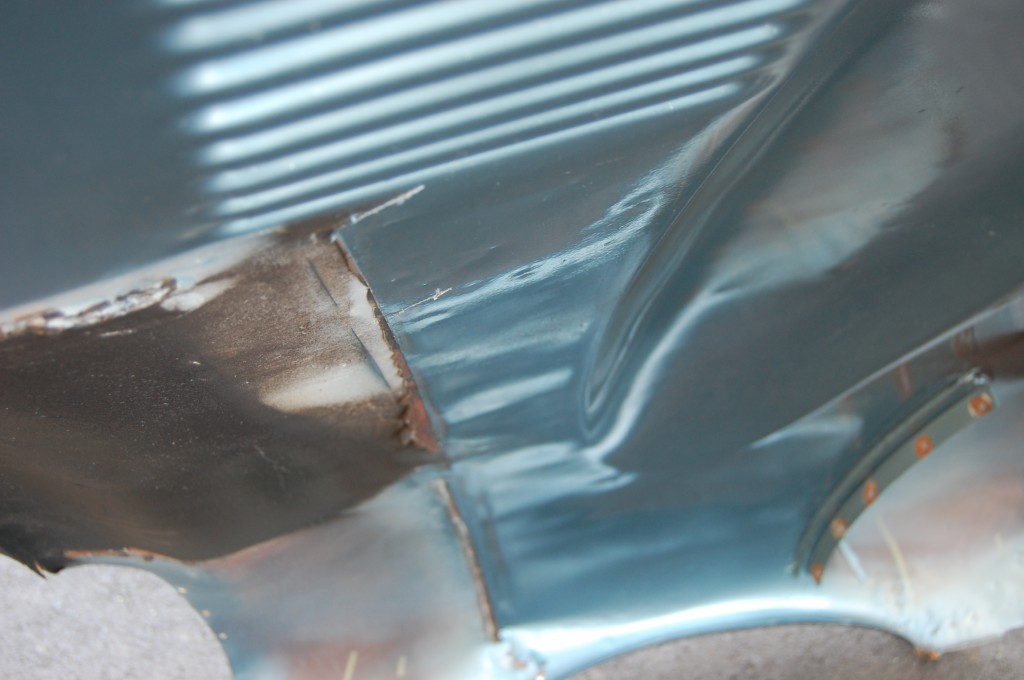
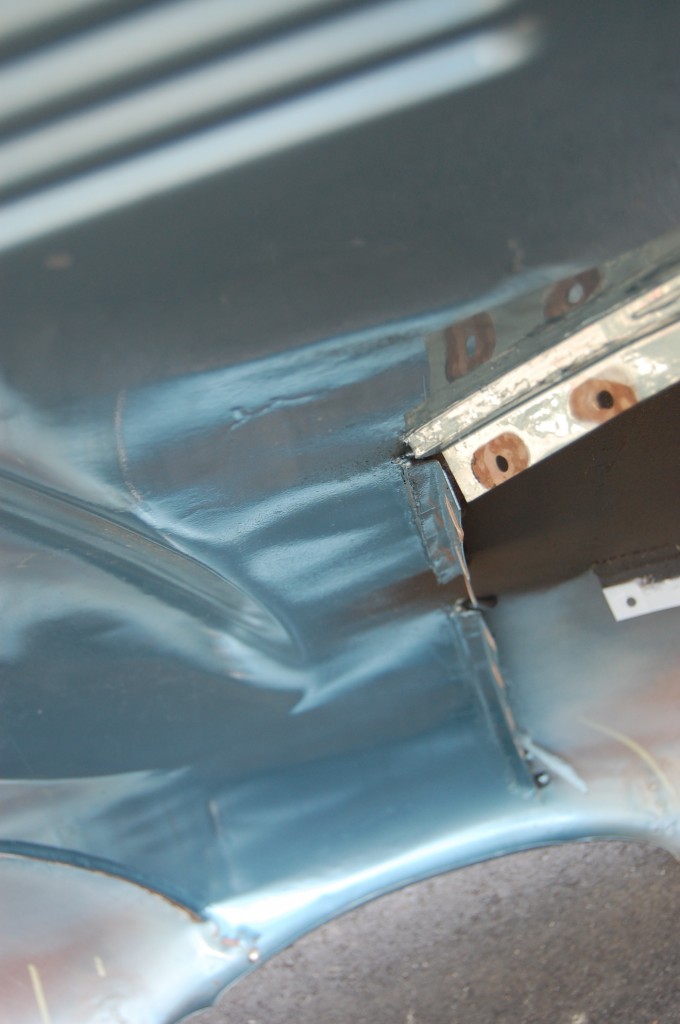
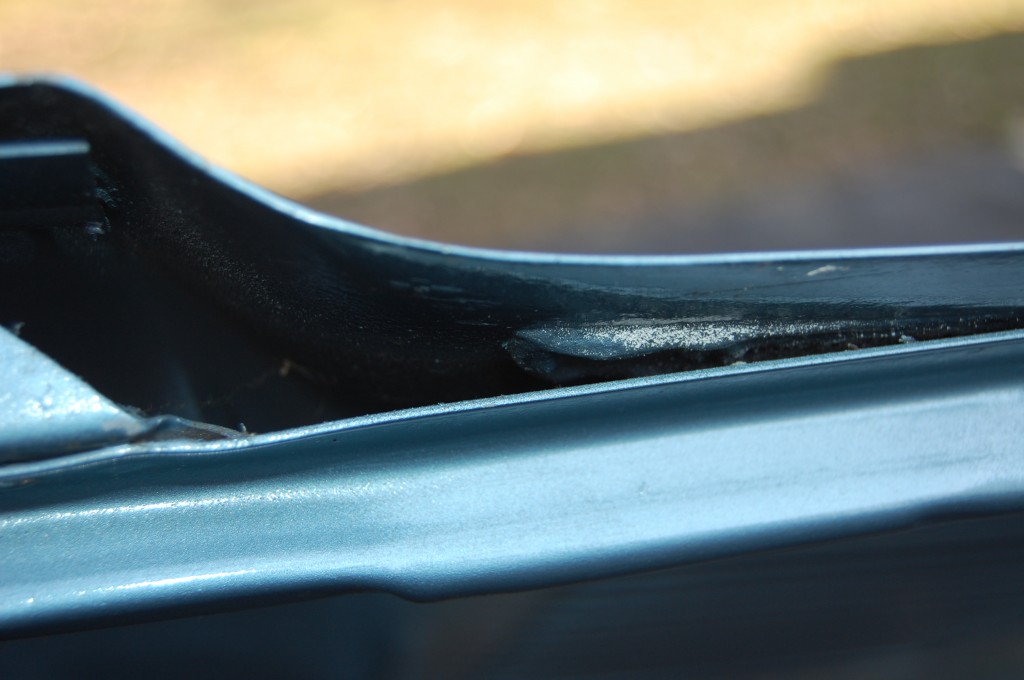
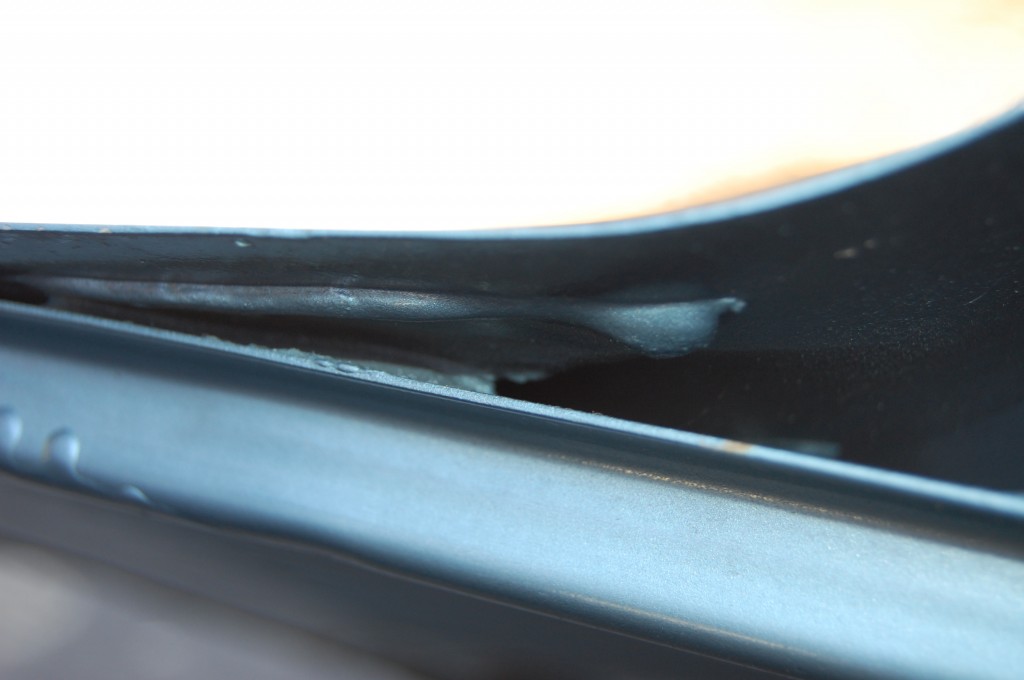
- Delamination of the rear support member at the side of the power bulge.
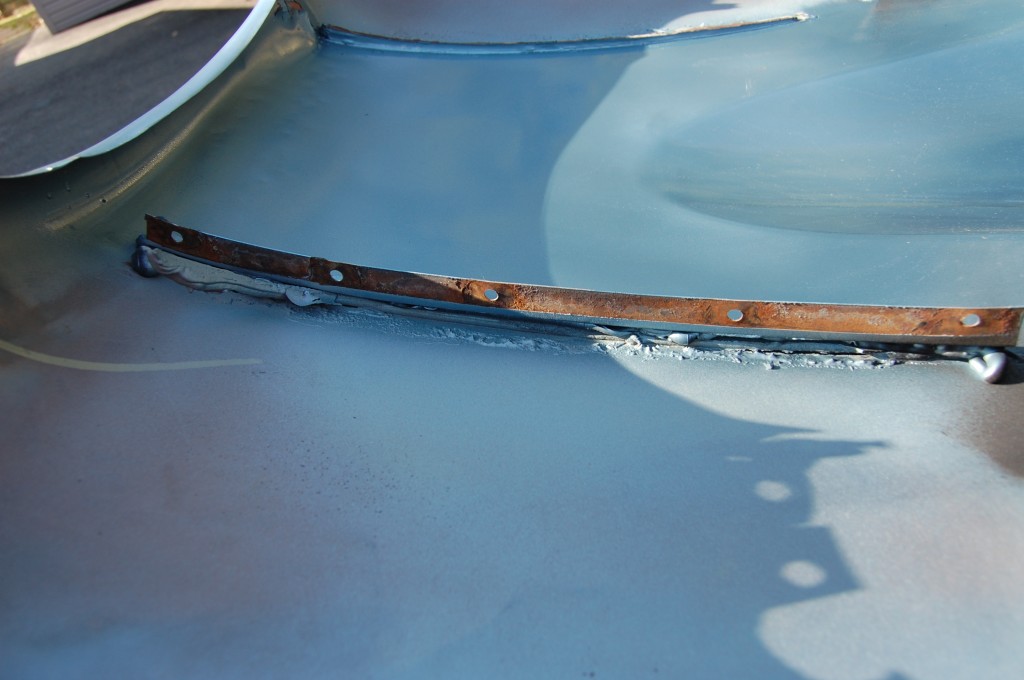
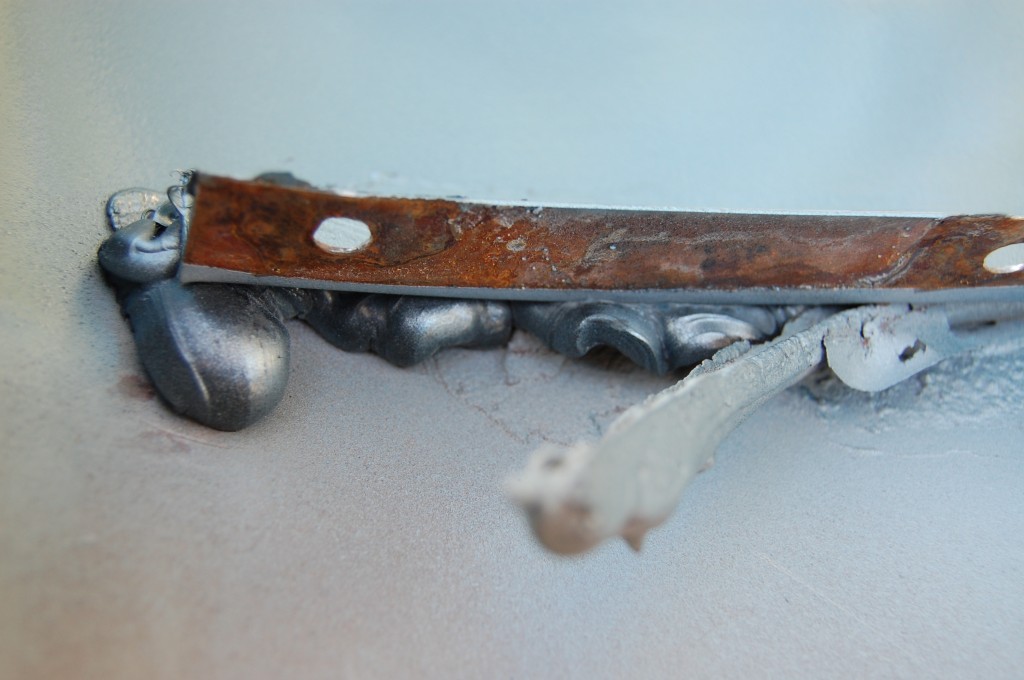
- First we’ll GENTLY remove the flanges.
- No comment…
- Next we strip the undercoating by hand with chemicals.
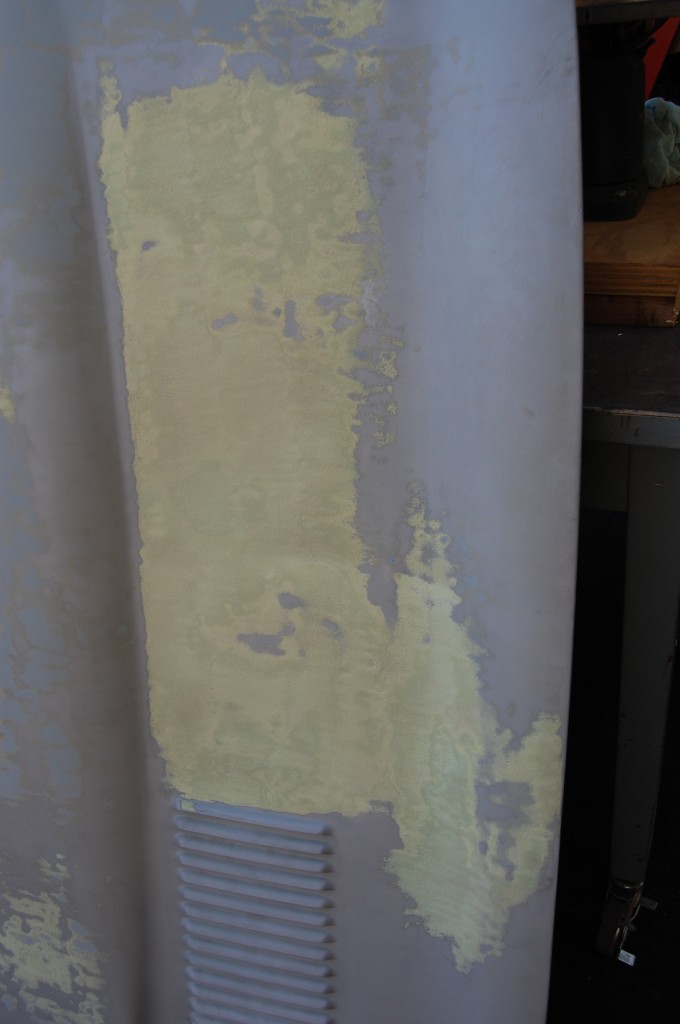
- Filler on the INSIDE!
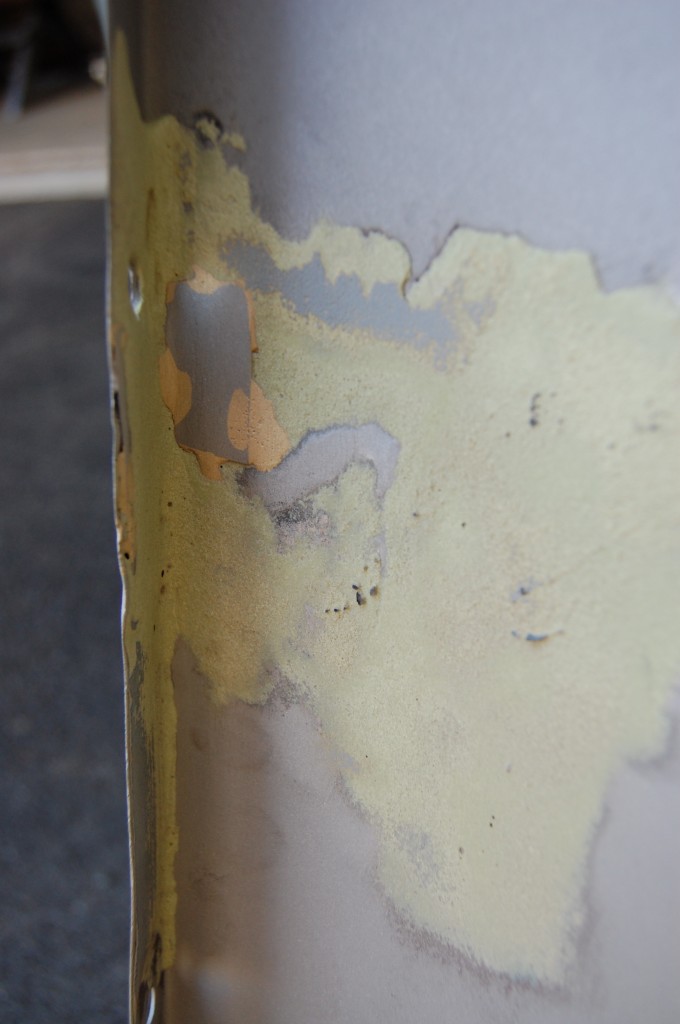
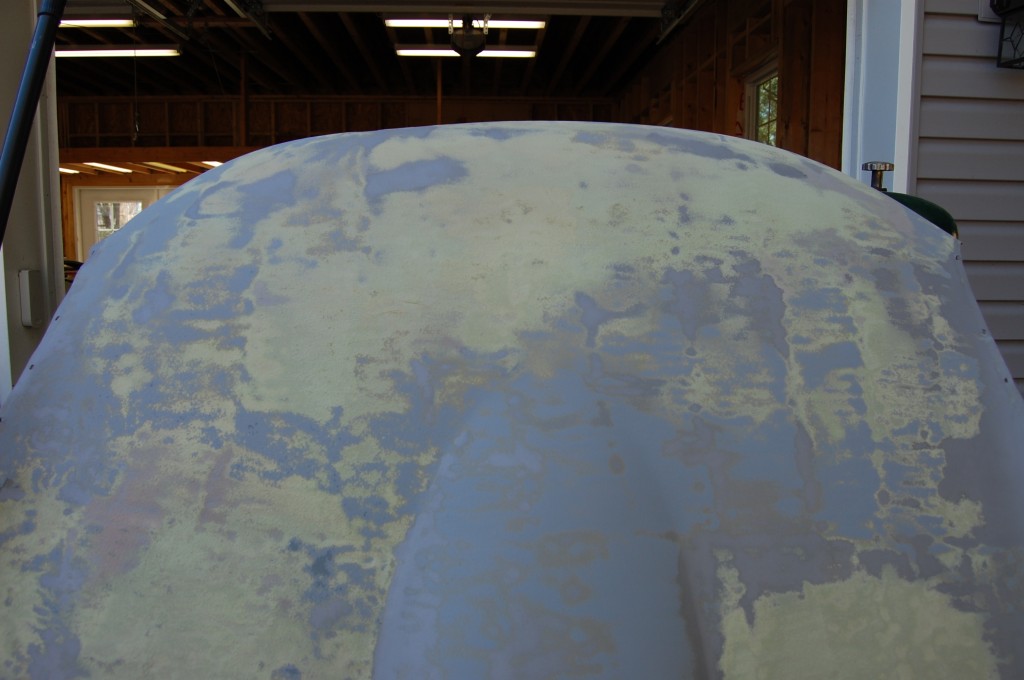
- As suspected, LOTS of filler was used to smooth out the sandblast waves.
- DEEP filler and epoxy primer that was all hand stripped at then blasted again.
- A real paving job…
- The nose already had alot as well.
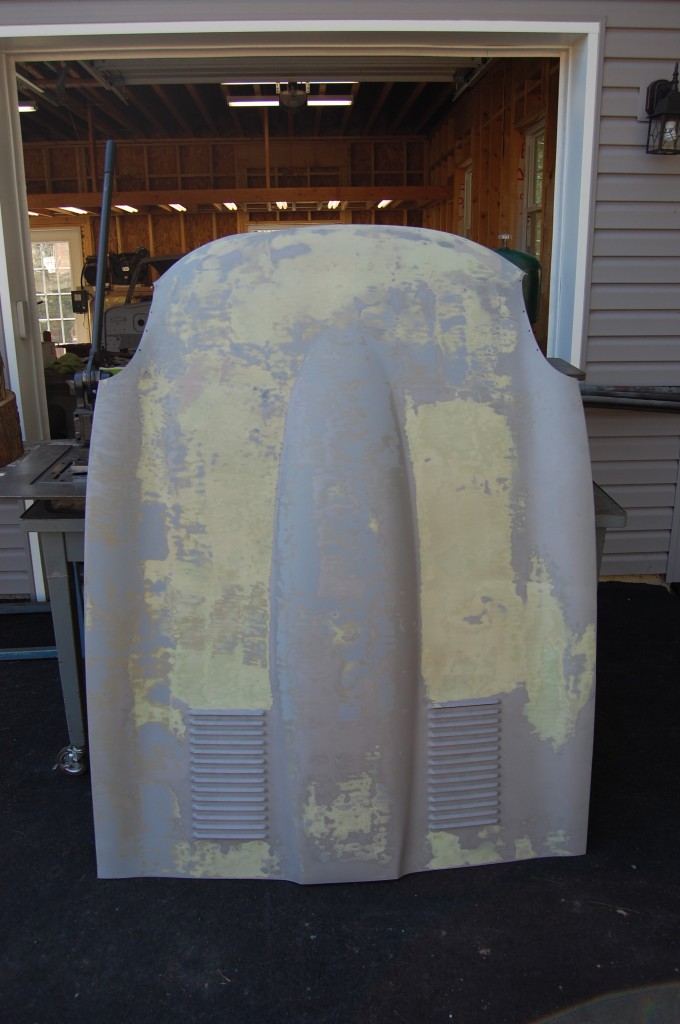
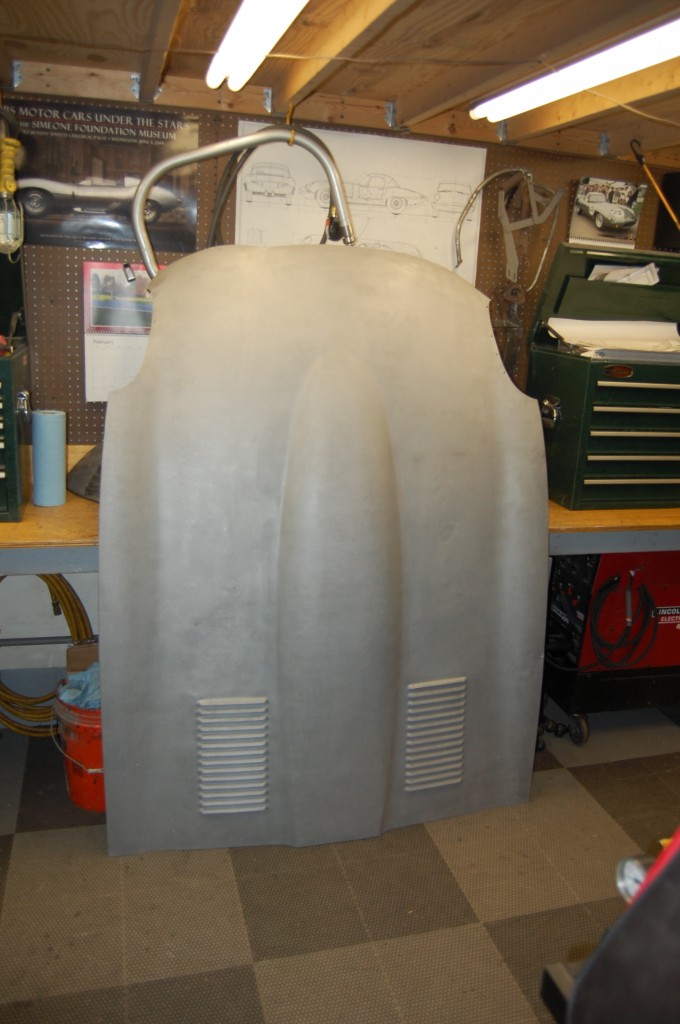
- OK – NOW she’s stripped – finally!
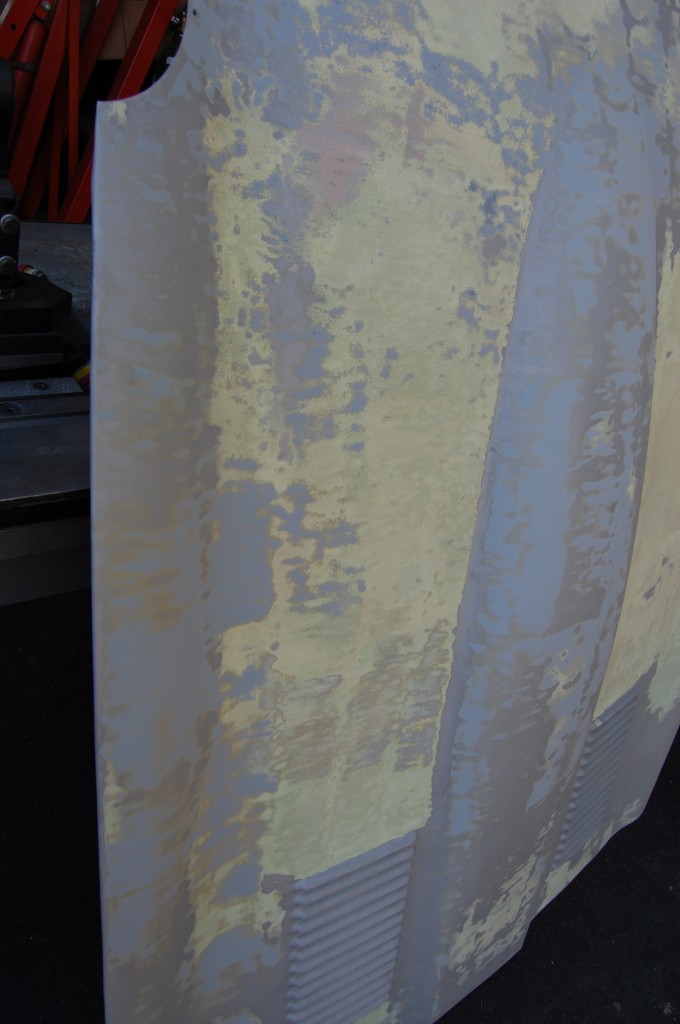
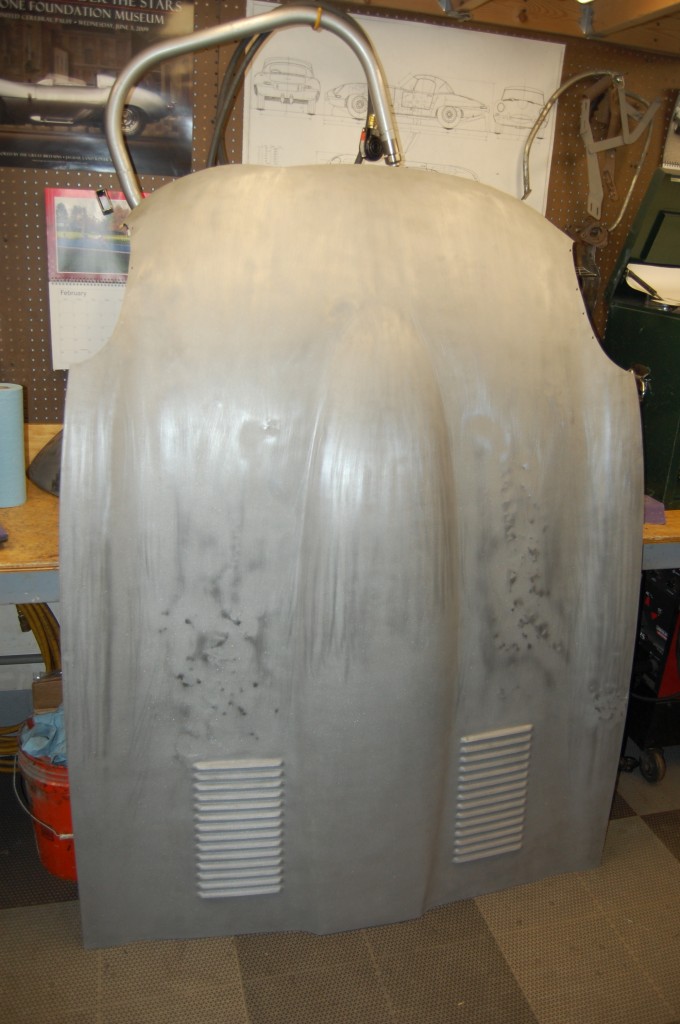
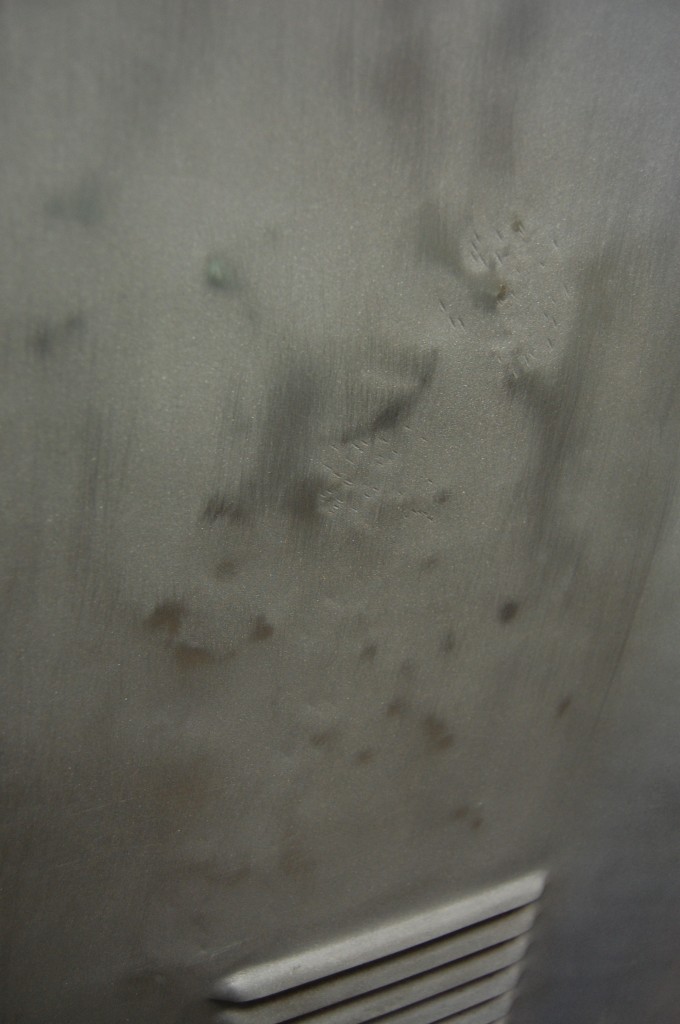
- BVlock sanding starts to reveal the issues. After the waves were put in by excessive blasting, a previous body man attempted to remedy the situation with a hammer. No dolly, no slapper – just a hammer…
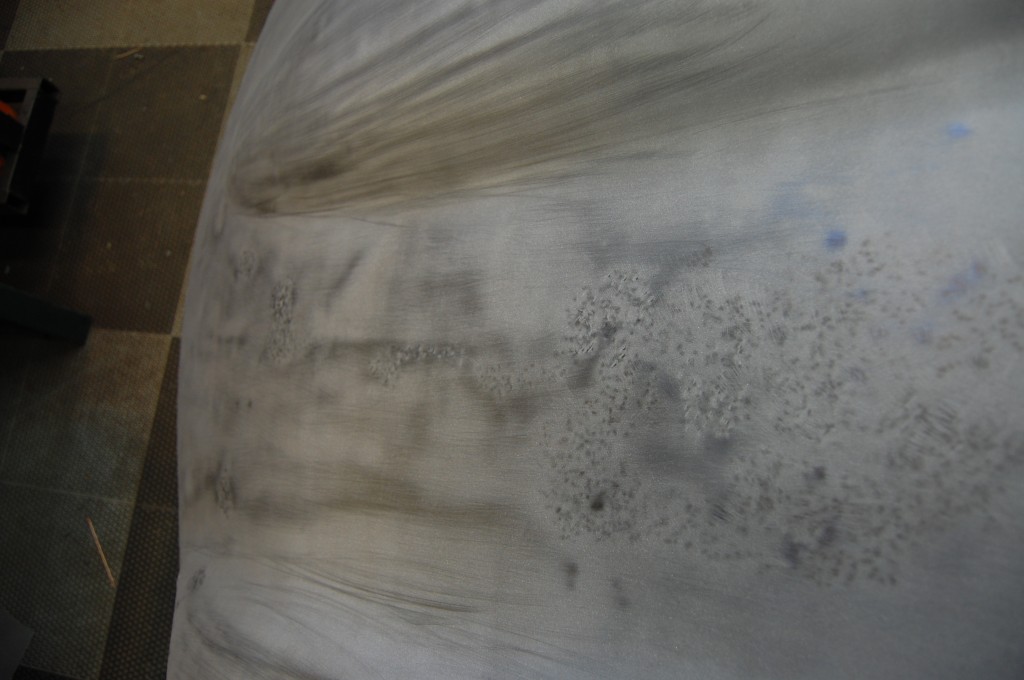
- What obviously happened here was that the bonnet was blasted assembled. This is also a big no-no – it “forms” the flats of the center section around the flanges and the wall of the inner valances pushes up and you get a perfect stamp upward of the inner valance.
- This is some crazy hammering as well, plkus some brazed in patches where rust had come through.
- Oh man, this is going to be challenging…
- Here’ I’ve started in with a slapper and dolly, but I eventually had to switch over to the planishing hammer.
- Several hours later, and we’ve finally smoothed out the flats and most of the blasting damage. This took LOTS of shrinking – on the top AND bottom surface. Even Brent was over there feeling up this panel in our attempt to get her as smooth as possible.
- If you look closely, you can see a perfect outline of the inner valance flanges. That was all RAISED and formed right into this piece. It took HOURS to slap and shrink it down and smooth the whole area. Look even closer, and you can see the hammer marks about every inch right along that path. Hey – wasn’t me – I did the whole job with the slapper, planishing hammer, and the shrinker!
- Now, it’s finally time to handle the accident damage.
- Here, we’ve popped out that kink, and have block sanded the front to see what we’re up against.
- Let’s do something with this without getting too crazy…
- We welded up that recessed area and then used the slapper and dolly to planish the area. Then we used the shrinking disc, then we LIGHTLY scuffed the whole area with a flap disc.
- DONE! She’s still out there waiting to be picked up – this was about three weeks ago. I will try to get a good picture of the re-shaped mouth before it leaves, but for me, the big success here was the smoothing out of all of the past sandblast and hammer damage!

