We have been working on E-Types too – it hasn’t been ALL construction – THAT’s the problem lately – it’s been like I have 2 full-time jobs…
Here are some shots of a 1968 Series 1.5 E-Type center section we restored 2 weeks ago. This is part of a complete bonnet job – we’ll restore all of the panels, re-assemble, and convert to Series 1 with our covered headlamp conversion flanges.
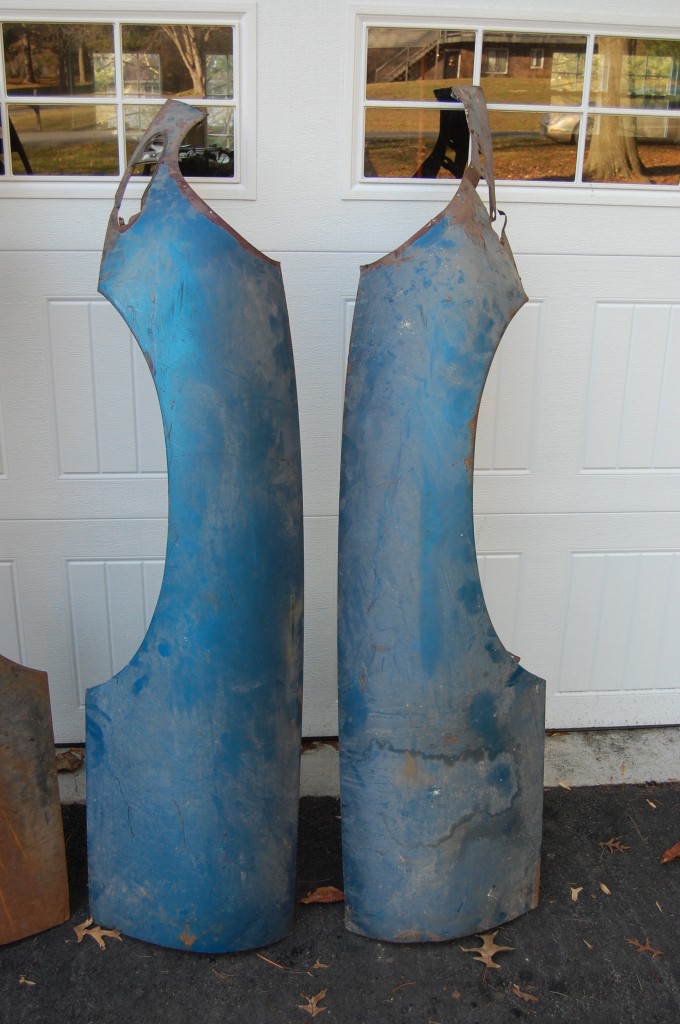
- 1968 Series 1.5 front wings with the typical abuse…
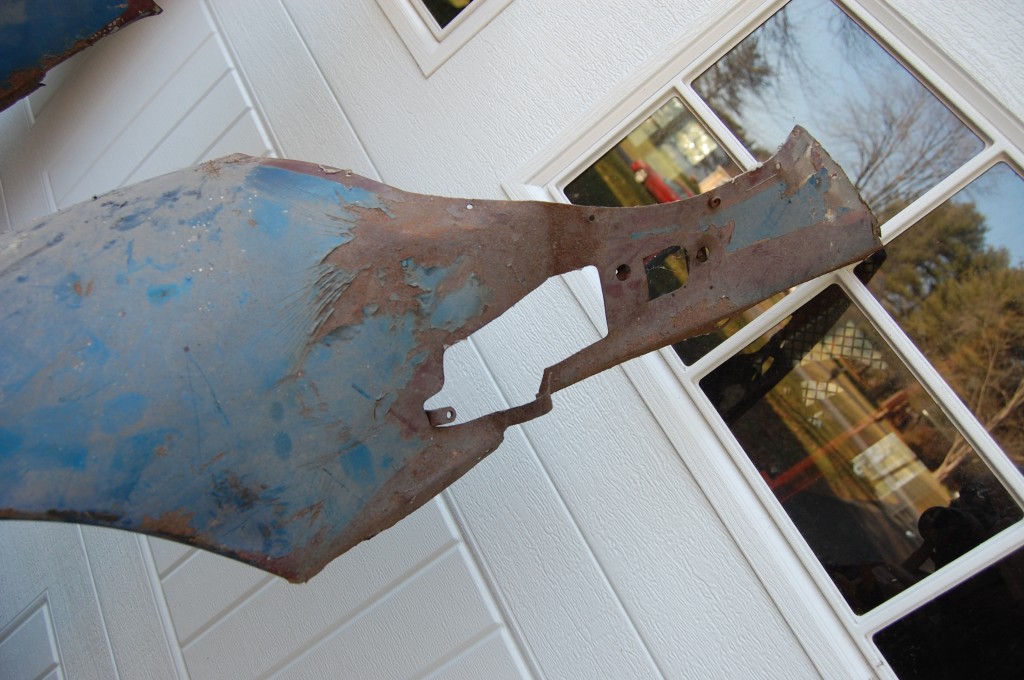
- Series 1.5 wings are the most flimsy up here – they don’t have the Series 1 stepped headlamp glass flange to provide support, nor do they have the full wing-to-lower valance flange of the Series 2.
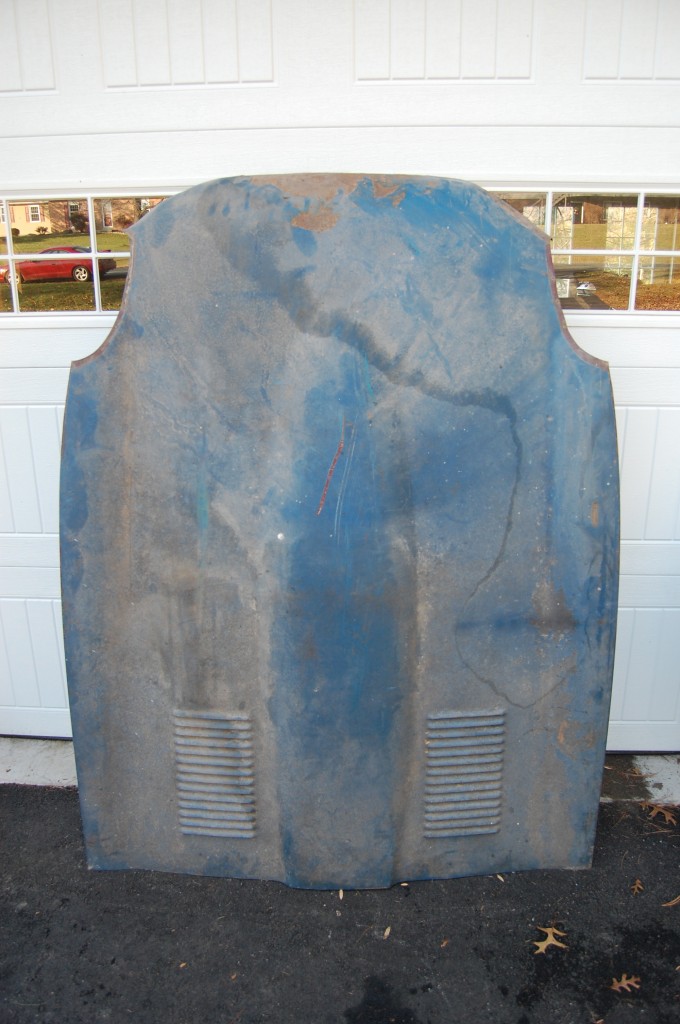
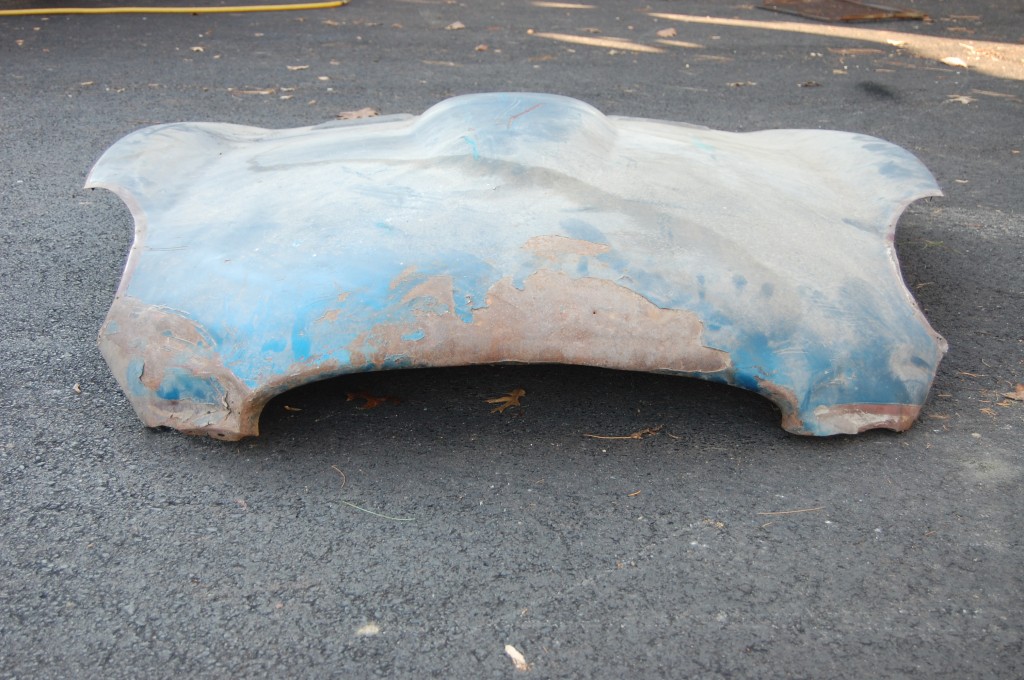
- Here’s the center section…
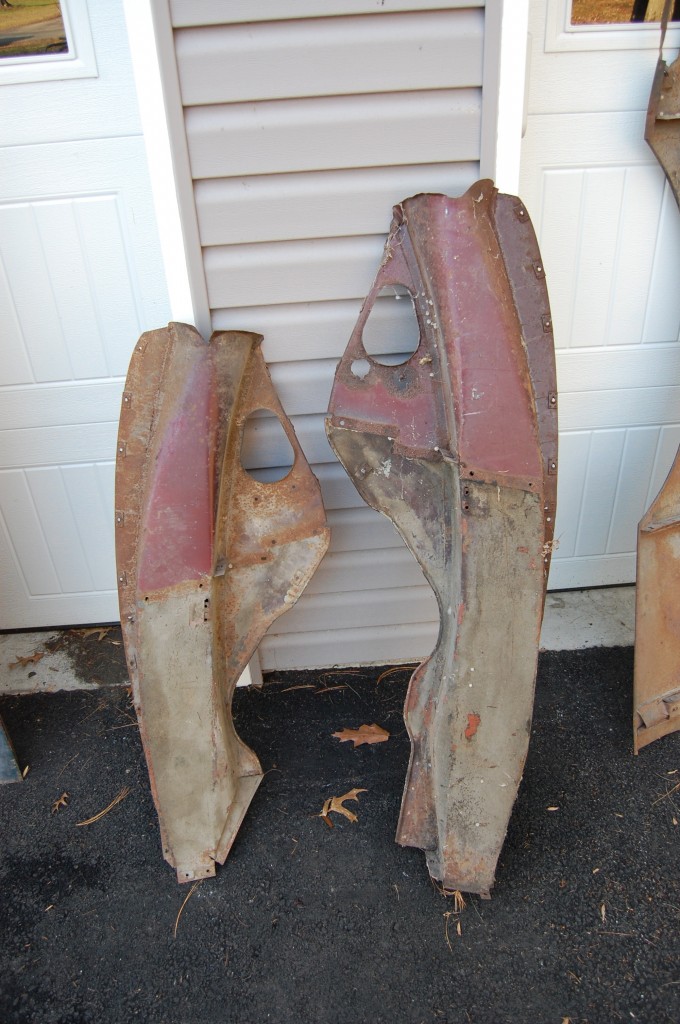
- …and the inner valances. All of this stuff can be restored to nearly as good as new – in bare metal!
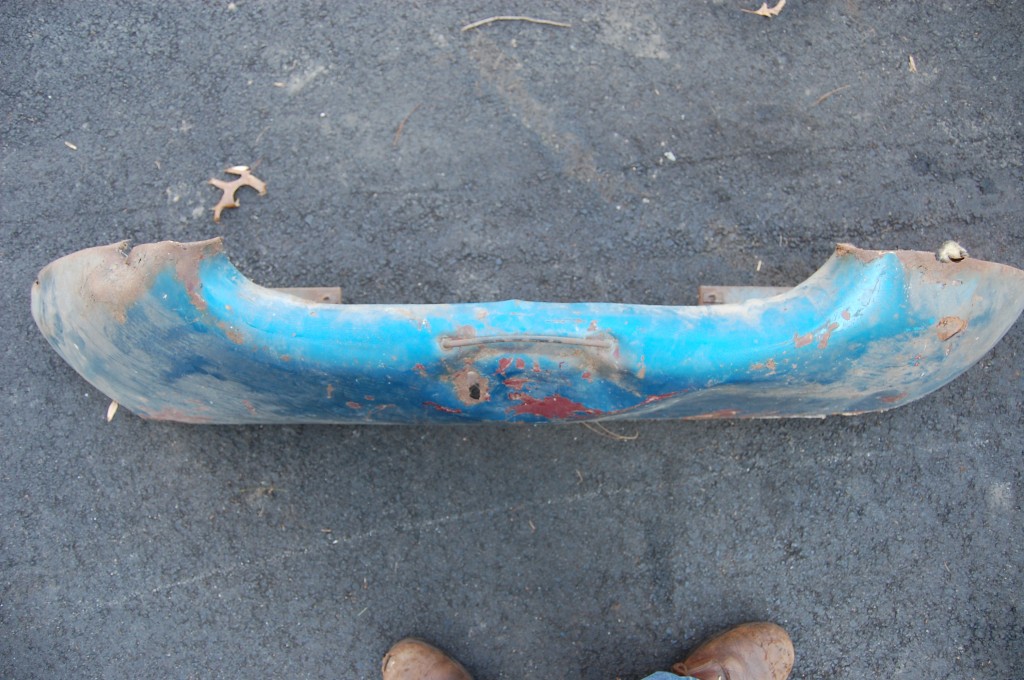
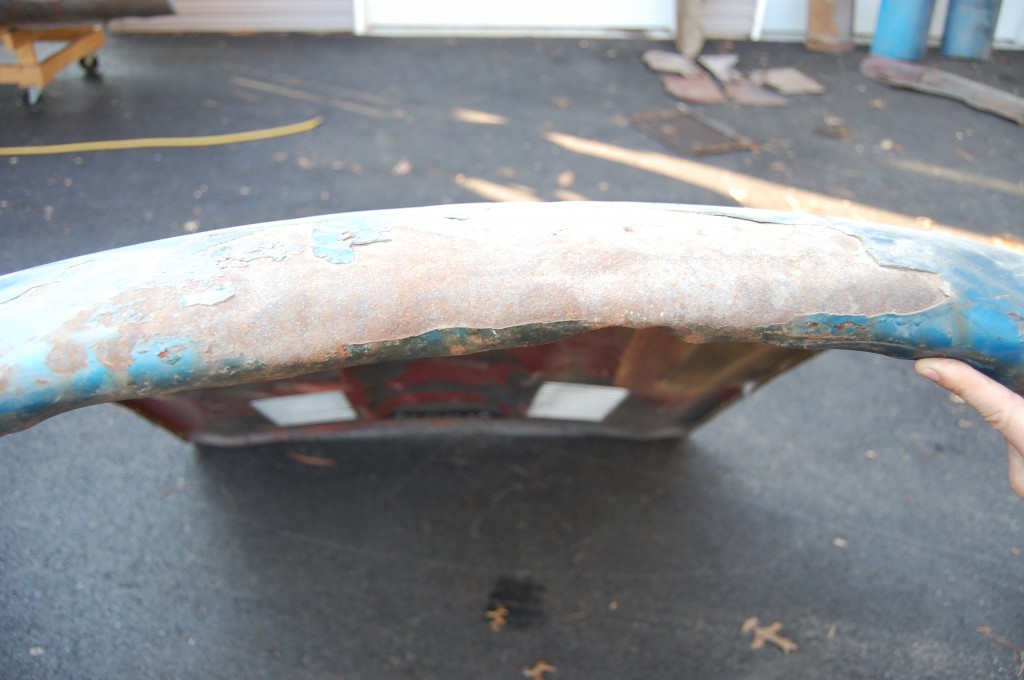
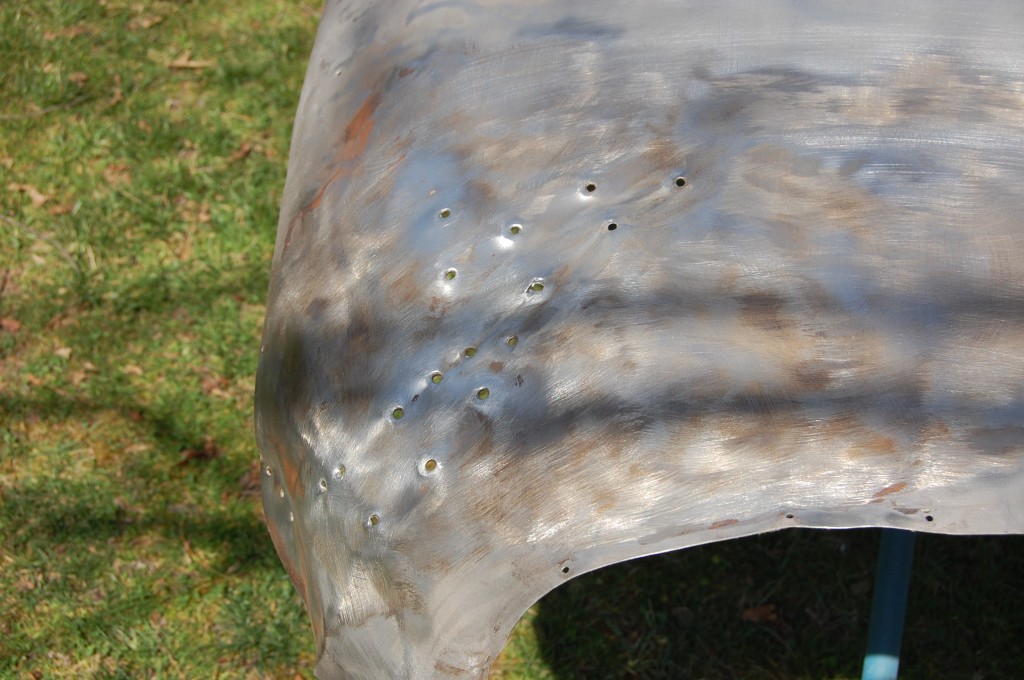
- This lower valance, on the other hand, may be at the end of its life. AFter it was sandblasted, the outer skin has alot of holes and I think she might be too far gone for economical repair. I’m crazy and a masochist though, so I’ll probably try it…
- Hmmm – what do we have here?
- OK – not so bad…
- …neither is this, really…
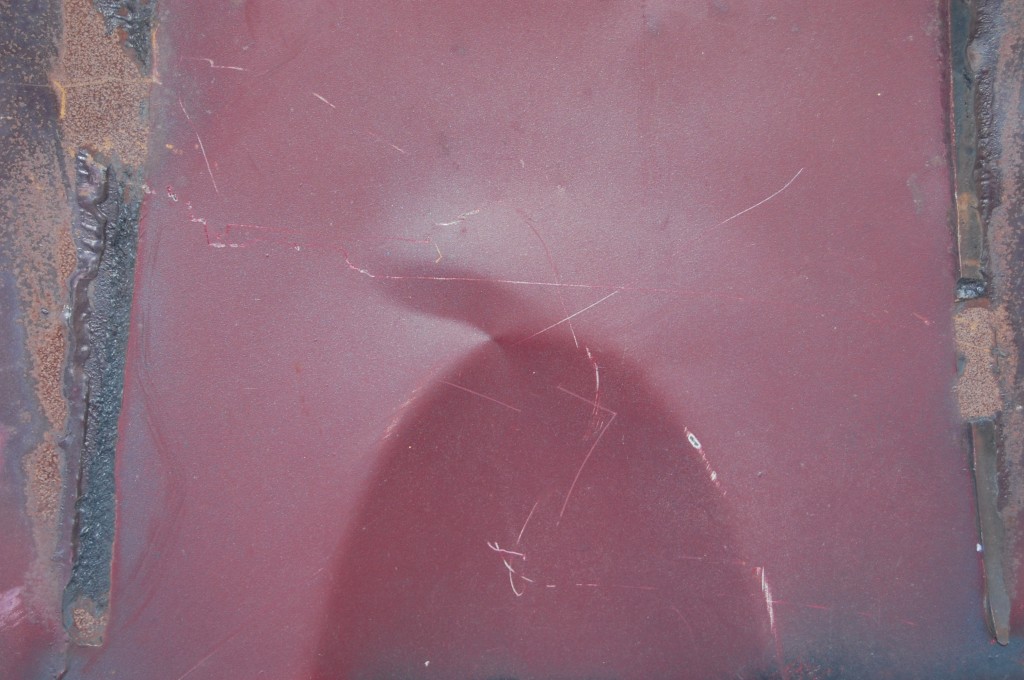
- This is all wrong, and will need to be completely re-shaped based on other “virgin” center sections.
- This USED to be my most difficult spot, but I’m getting pretty good at getting these “tip of the power-bulge kinks” out. These are tough…
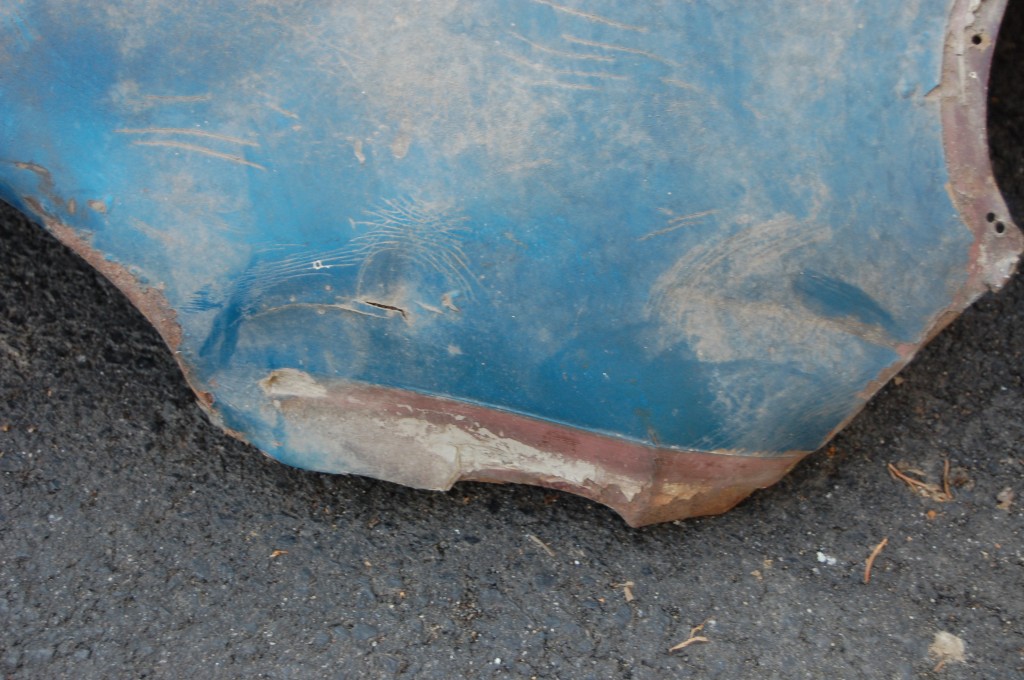
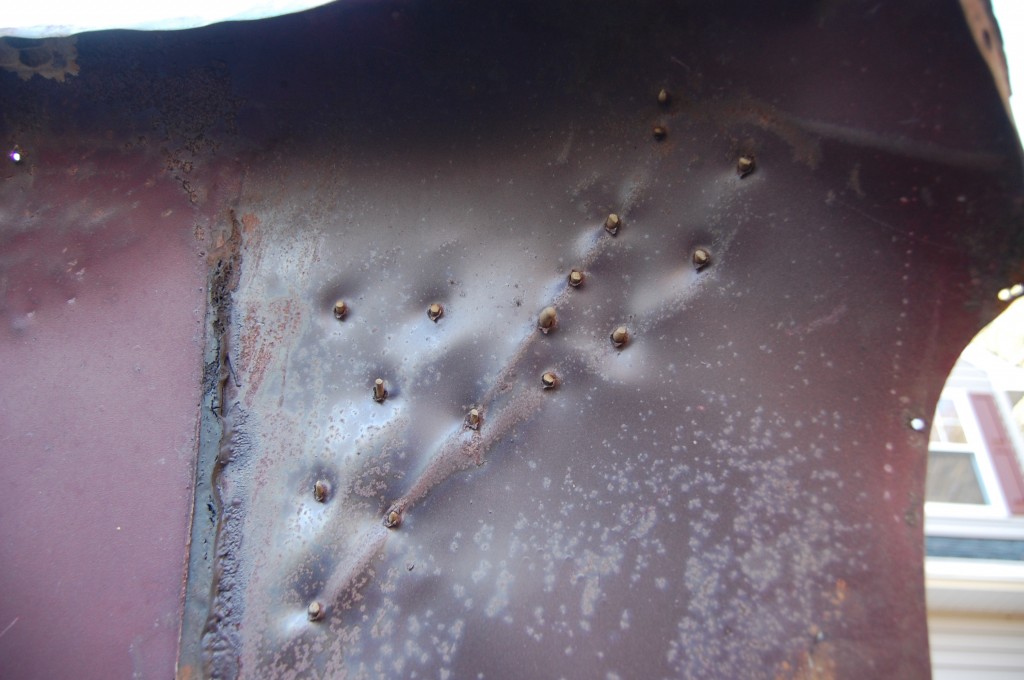
- Oh, lovely… It’s our old nemesis, the dent-puller…
- This is going to need the planishing hammer – my arm won’t be able to take the abuse of smoothing all of this by hand!
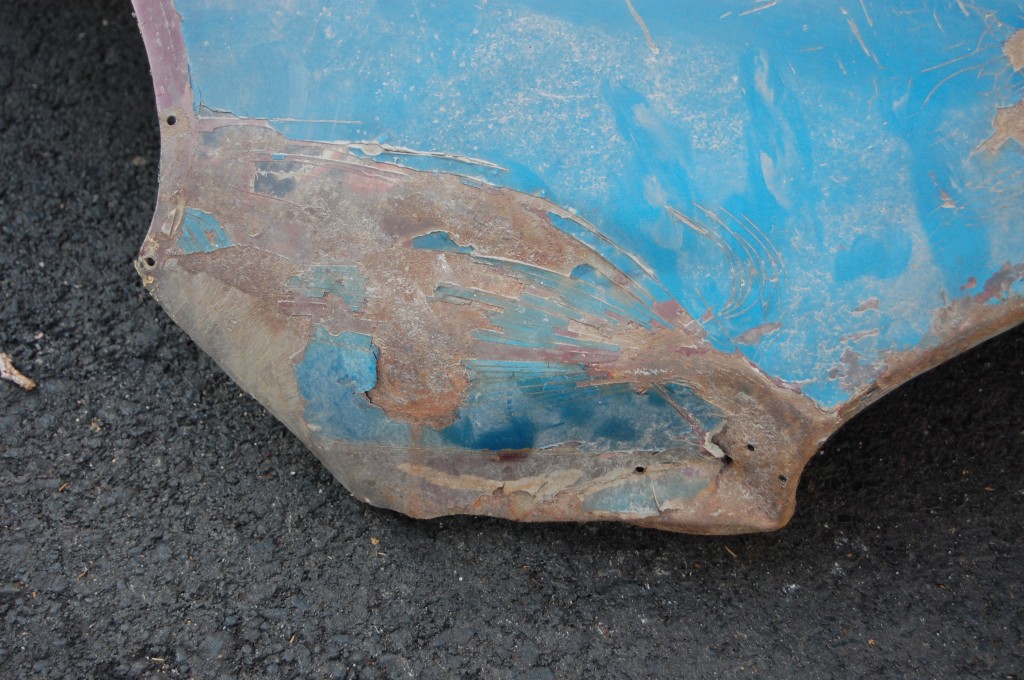
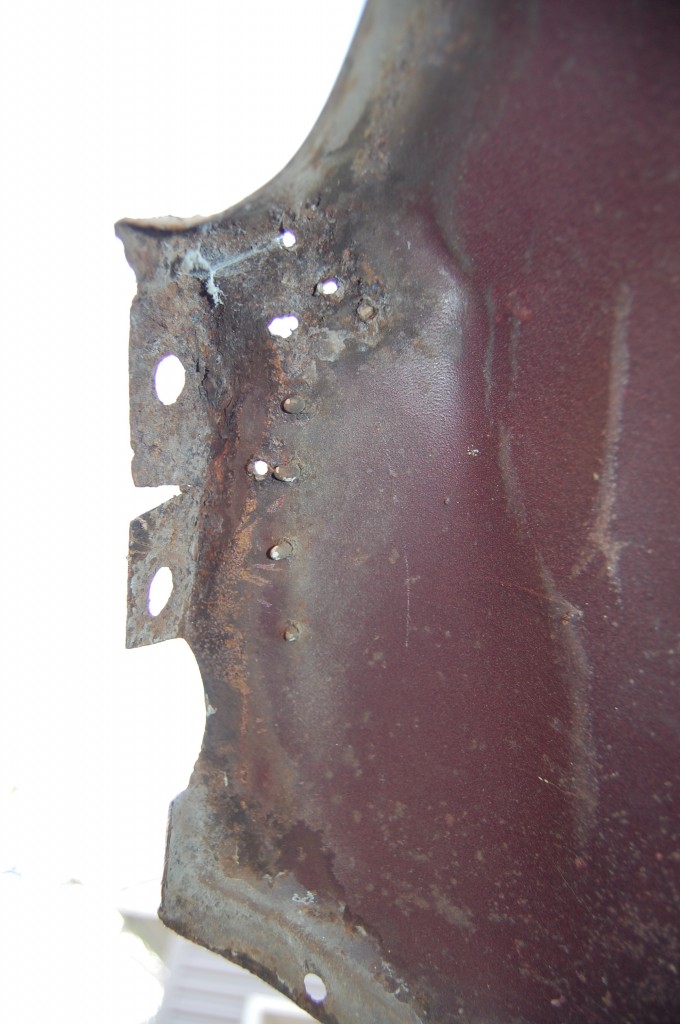
- Sunlight coming through is NOT what you want to see…
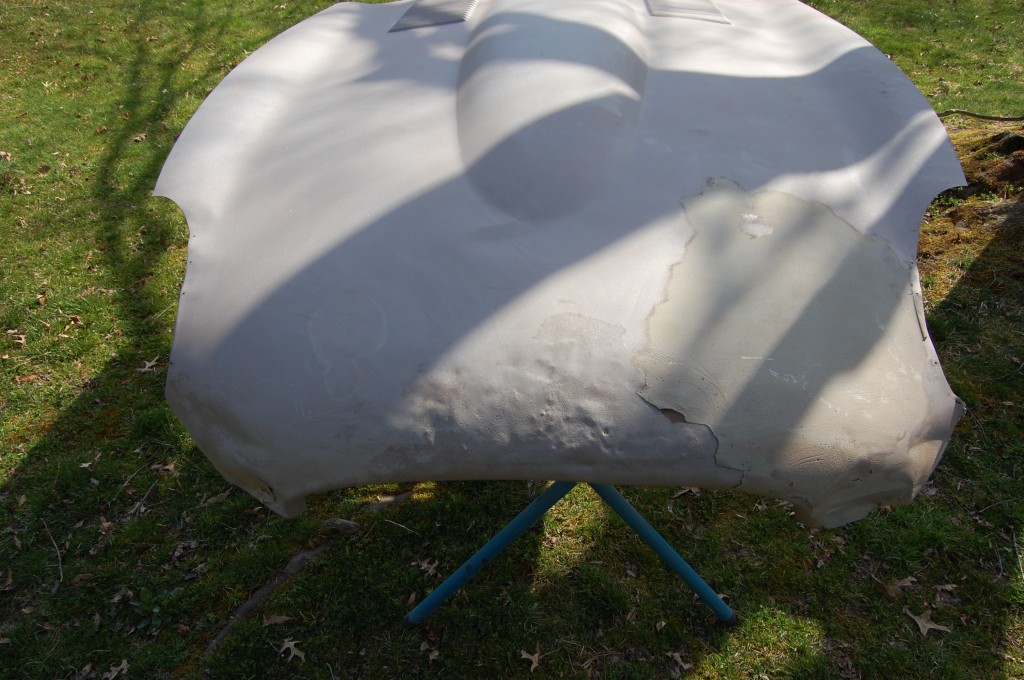
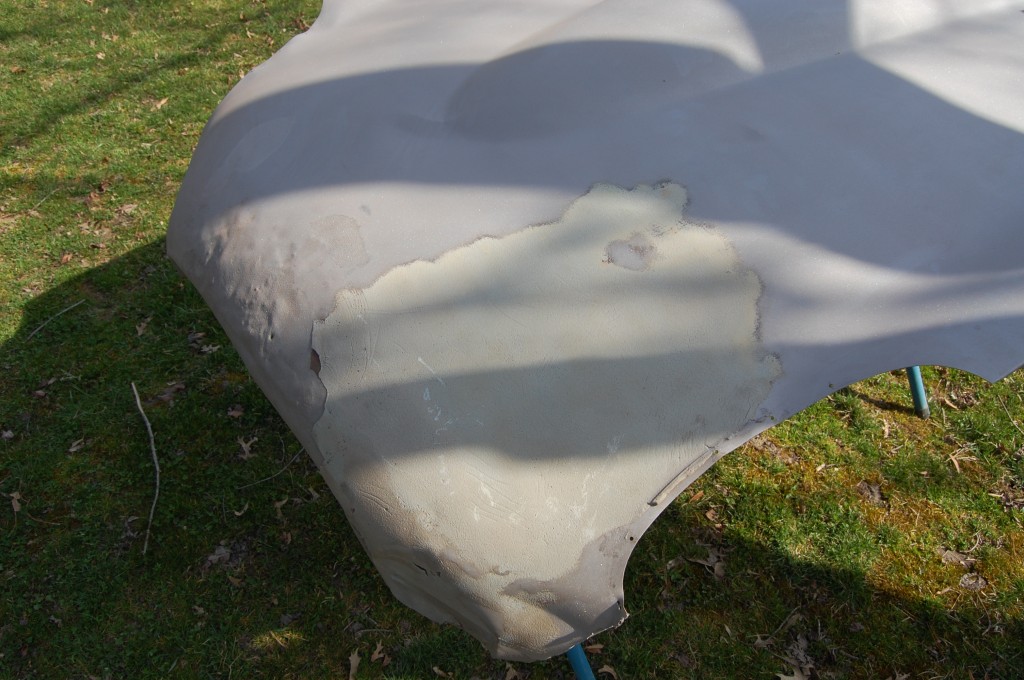
- John has done his magic in the blast booth, and except for this big patch of filler, this panel is now bare and of course, “warp-free!”
- Another shot of the paving job…
- Bondo worms!
- We’ve ground out the filler carefully with a wire wheel.
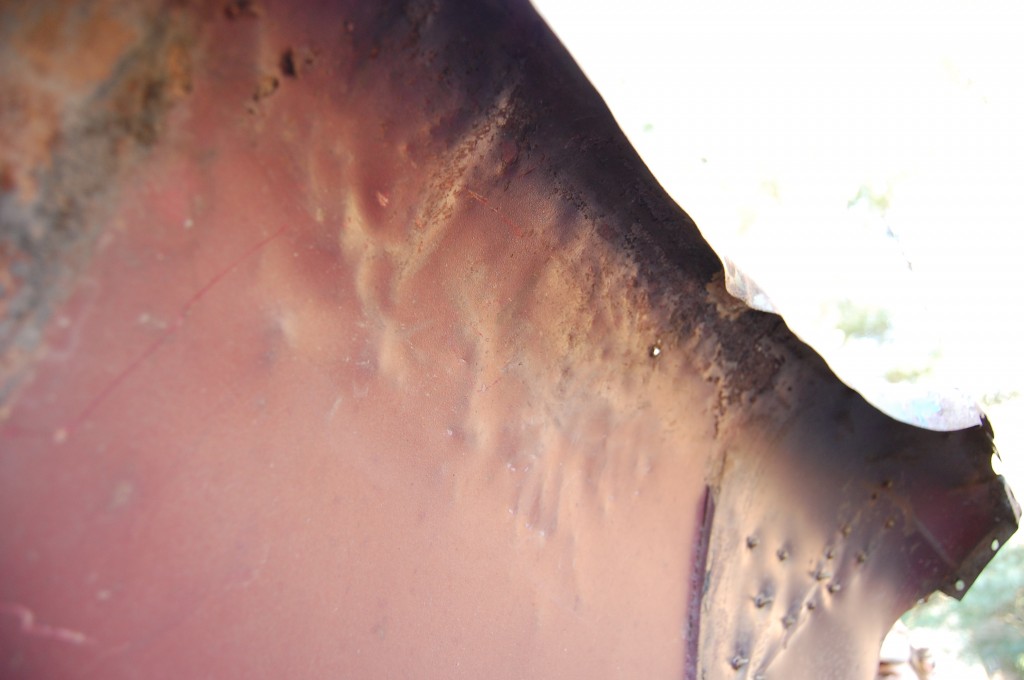
- Here’s a shot of the carnage we will have to smooth out.
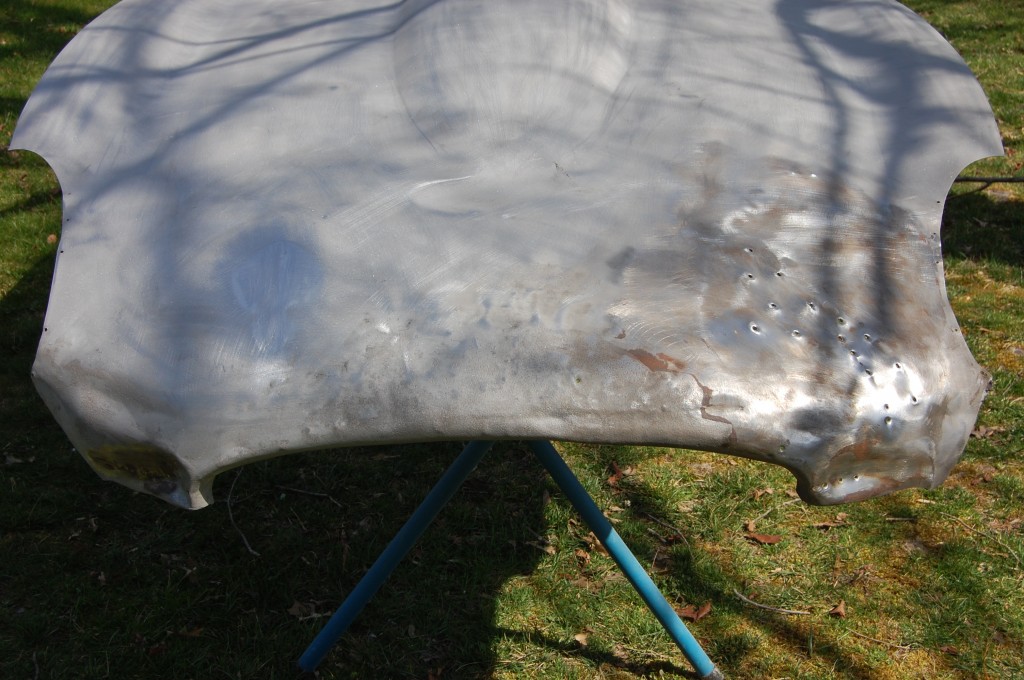
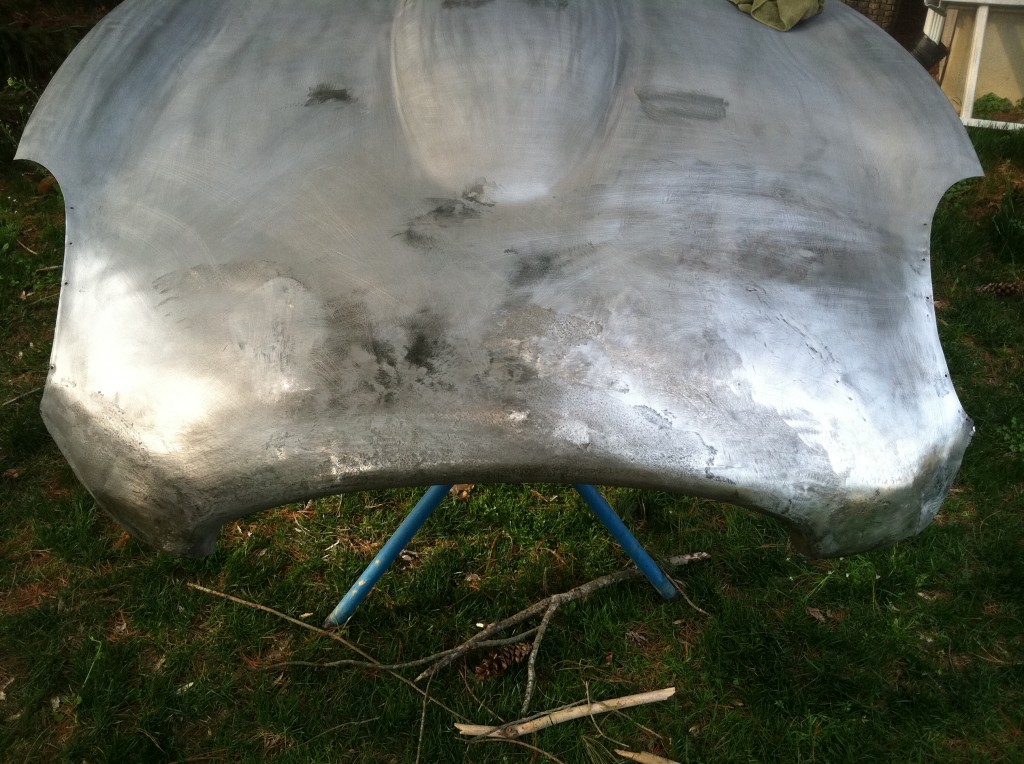
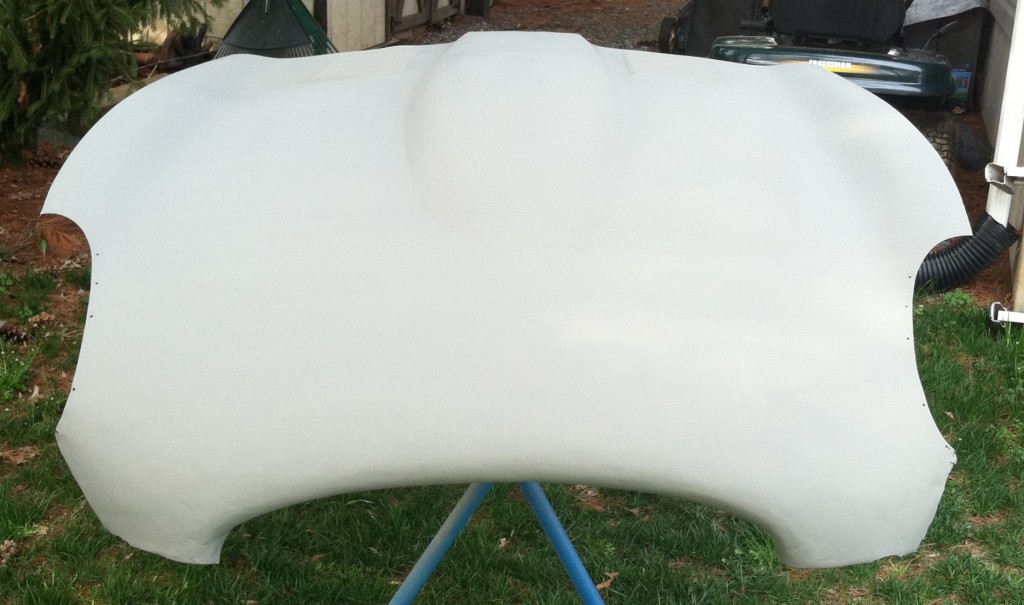
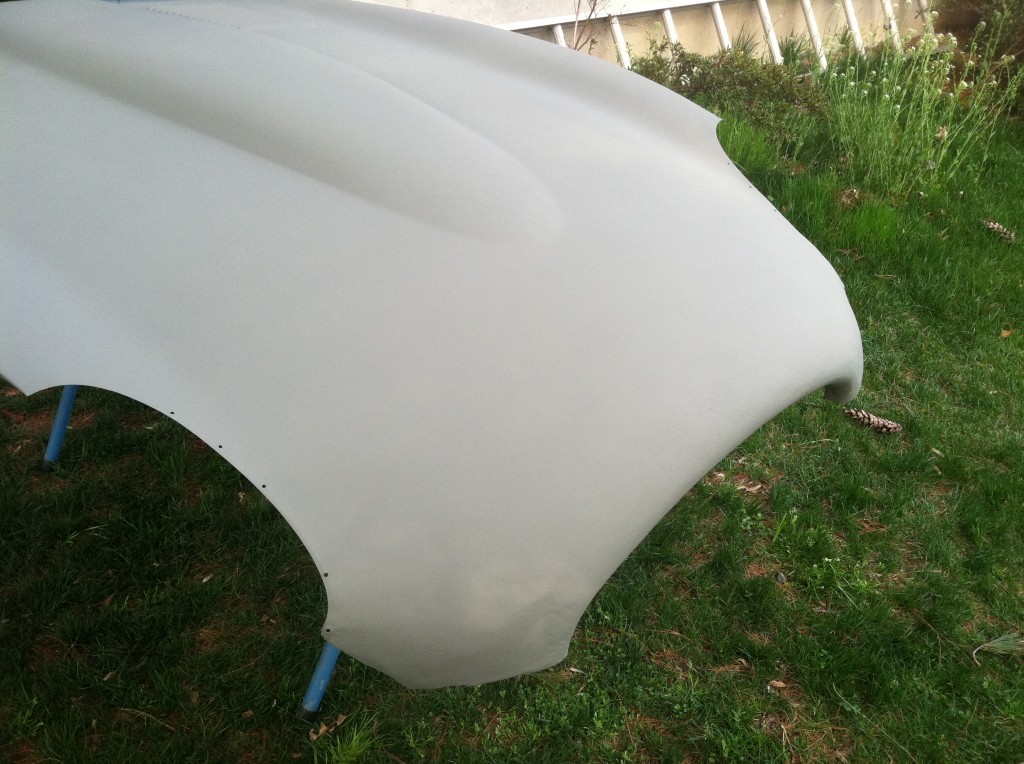
- OK – done! Needless to say, in all of the chaos around here lately, I have not been as good with the camera as I should be. On top of that, this center section was done on what has to be THE MOST FRUSTRATING day I’ve had in the shop in a couple of years – there were a million people here demanding my attention, and it was hot to boot! But I can assure you, this is the same center section…
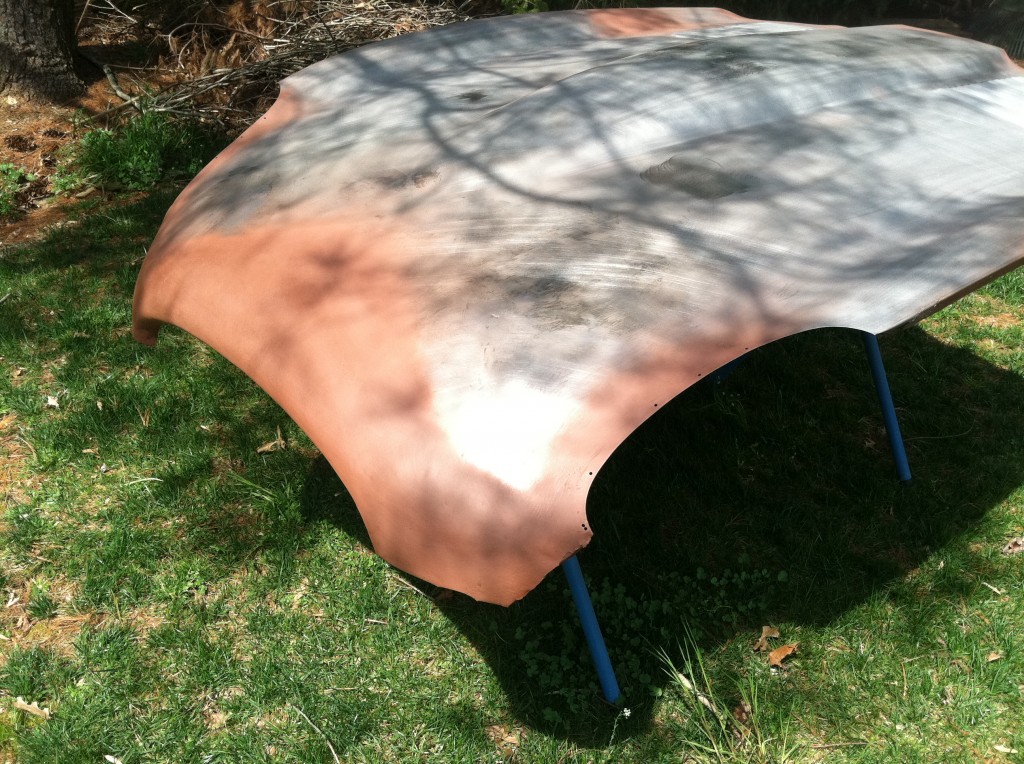
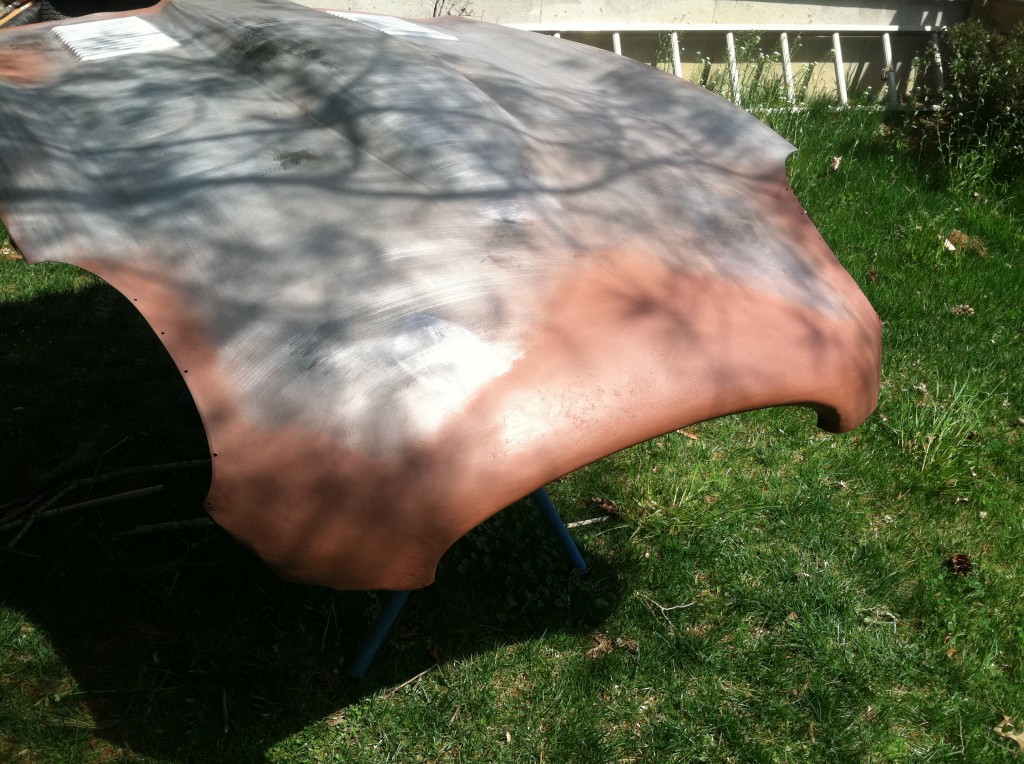
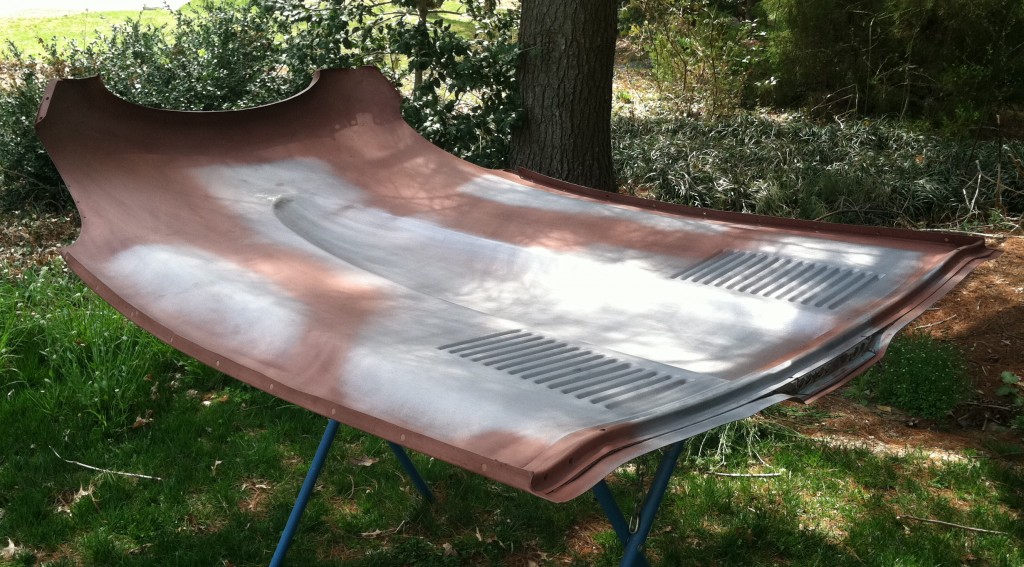
- I didn’t go crazy on planishing the surface absolutely smooth. One reason was that if you put too many hours into a center section, it doesn’t make financial sense, and they all get a little filler in the paint shop anyway to resolve the surface imperfections. AND – on this one, there was some heavy pitting in the nose from all of that rust shown above, So this piece HAS to have filler up in here anyway. AS always, wqe hit the pitted areas with red oxide, then scuff it back down before the self-etching grey primer.
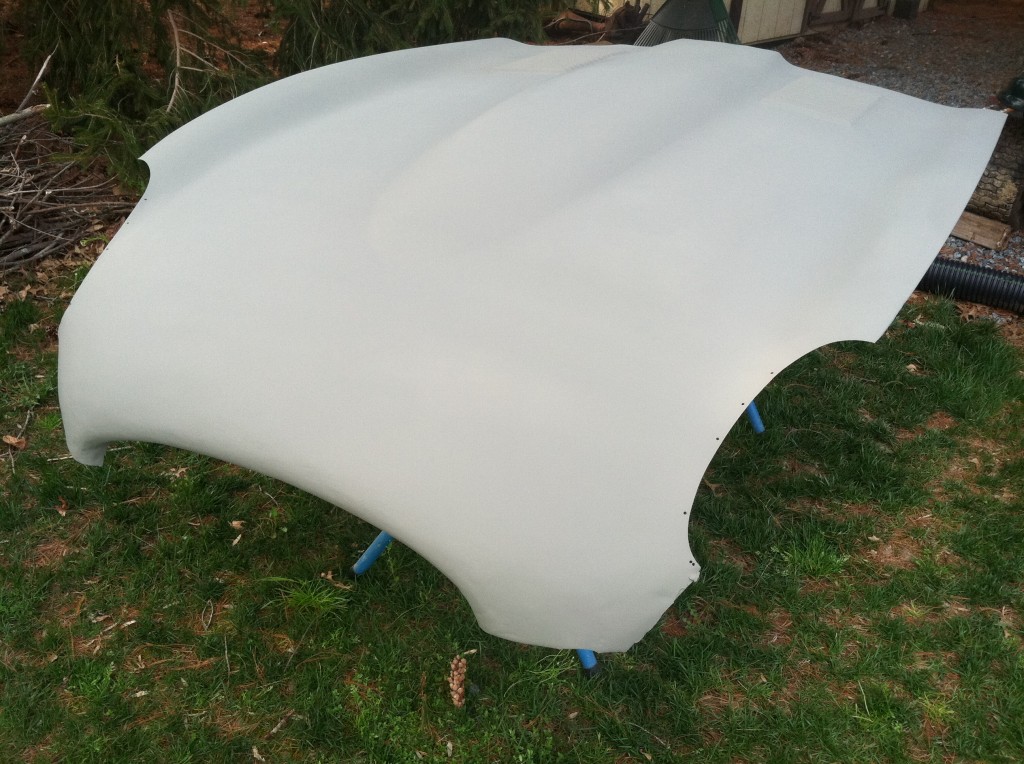
- And although the nose isn’t dead smooth, as always, it’s DAMN CLOSE, and the shape is correct – that’s what is important. The body guys can’t use filler to reshape these things (although MANY have tried!) What we do instead is get the shape correct, get the surface as smooth as possible, and then say, “Here – smooth this out with minimum filler and block sanding – the shape is right.”
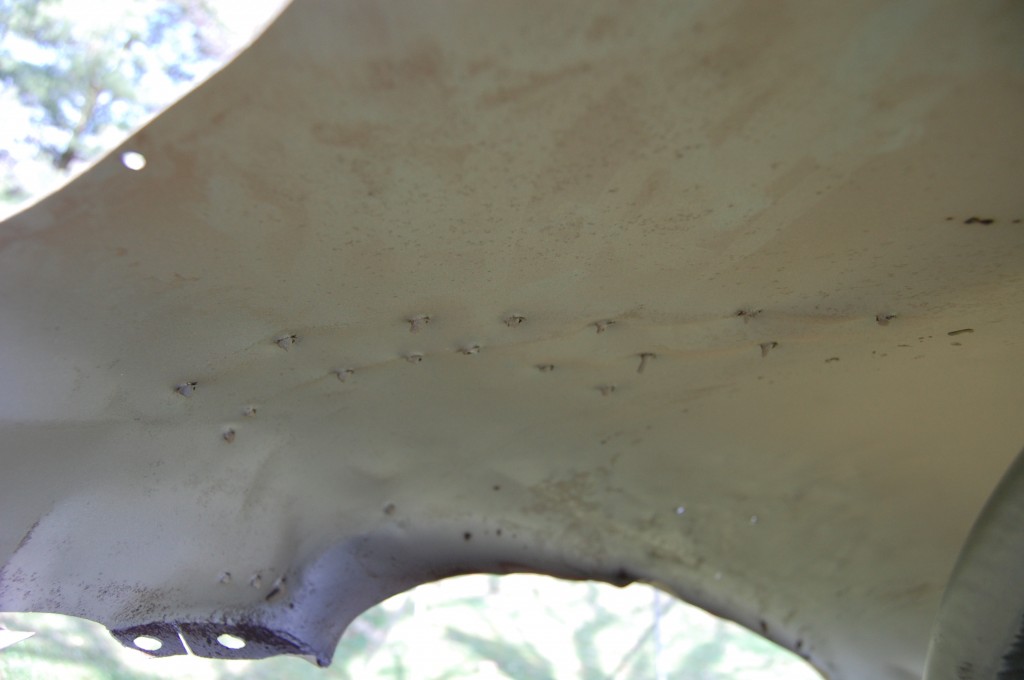
- Red oxide on the pitted areas underneath as well.
- The sun and shadows picks up what I mean about the surface imperfection – look closely. I’ll probably doctor up a few areas with a spoon during test assembly.
- She’s come a LONG way!
- Another E-Type center section brought back from the dead – it never gets old!

